3D Printed Solar Charger Case
by jorgeeldis in Workshop > 3D Printing
173 Views, 0 Favorites, 0 Comments
3D Printed Solar Charger Case

For the 3D design of our box where the circuits and the solar cell will go, we use the free application called FreeCAD, since we find it very friendly and easy to use, there is also enough documentation to understand its use. We begin by creating the file for the body of the box, where we decided to make it a suitable size, 150mm x 150mm, since it is not very large nor is it very fair for the solar cell, with a height of 60mm.
Supplies
Software FreeCAD
3D Printer
Filaments
Measurements
We begin by creating the file for the body of the box, where we decided to make it a suitable size, 150mm x 150mm, since it is not very large nor is it very fair for the solar cell, with a height of 60mm. 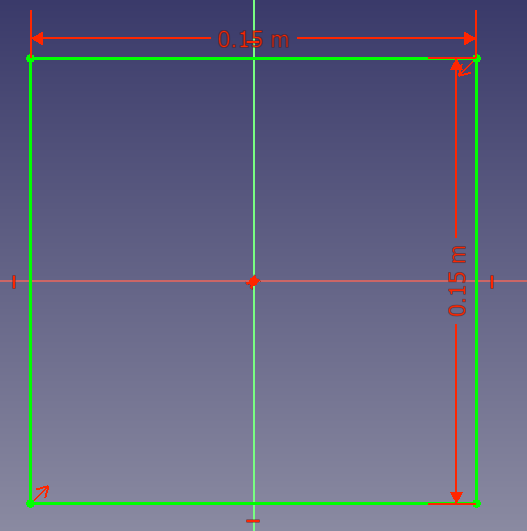
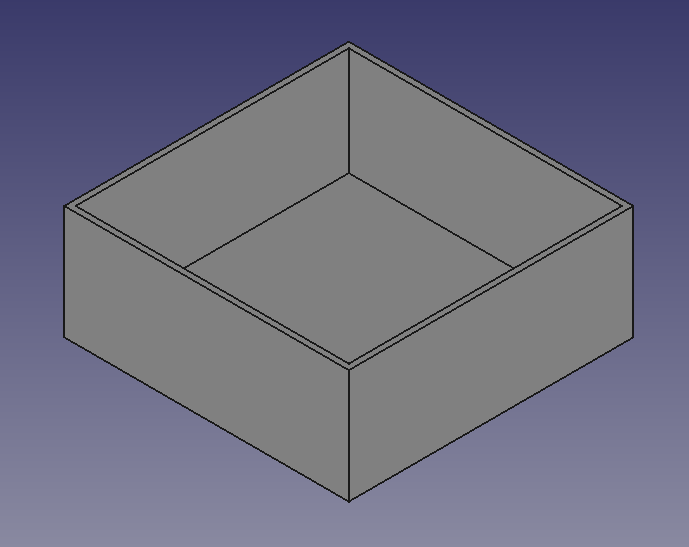
Adding Edges
After having the 3D design of our box with the appropriate sizes, we can make the inner edge of the box with some corners so that in these corners we can make some eggs where we can screw the box with the lid where the solar cell will go.
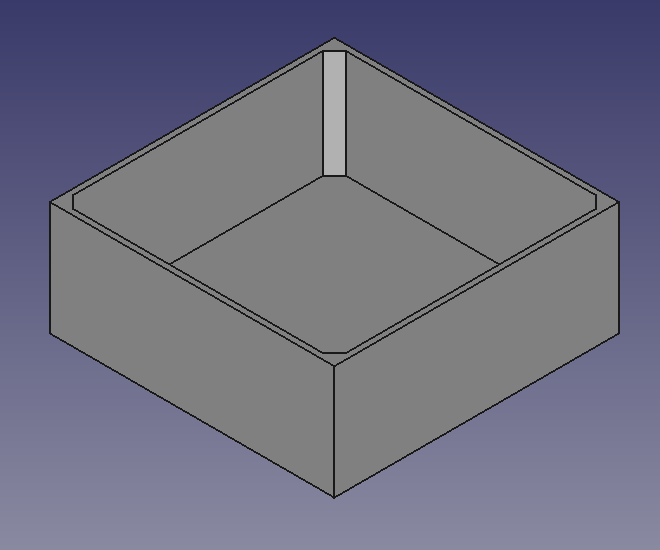
After having the edges we make the cuts to the edges where we use 3mm screws to be able to close the lid properly.
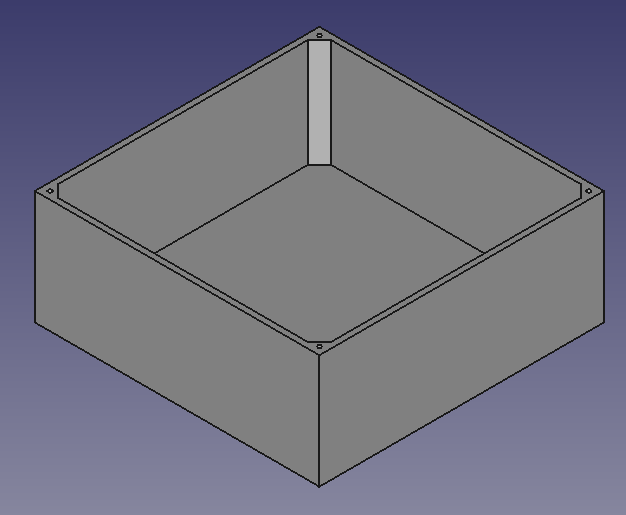
After doing this step, in order to have a lid that can be closed correctly in the box, it is important that the edges are a little below the edge of the box as such, so that when the lid is inserted it can be secure, this is called a pocket.

In order to have a better design, we make a small but important change, which is to make the edges round.

Creating the Lid
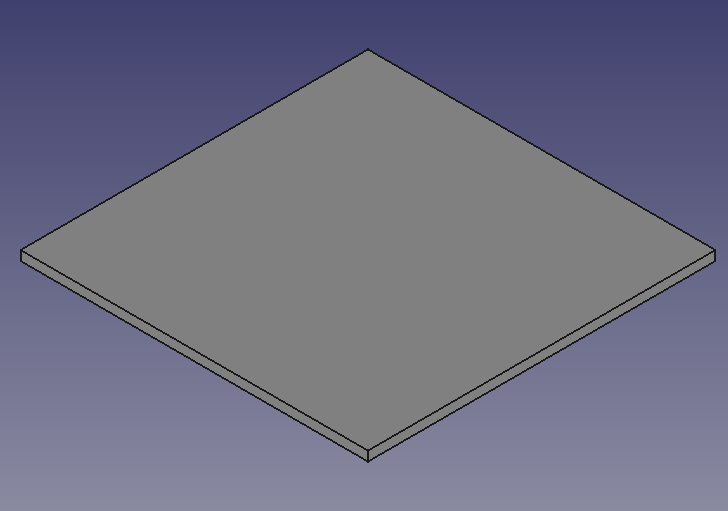
After finishing with the body of the box, the lid process begins. As the lid must be smaller than the box and enter the pocket, it is done with a few mm less so that it can enter without problems and close the box.
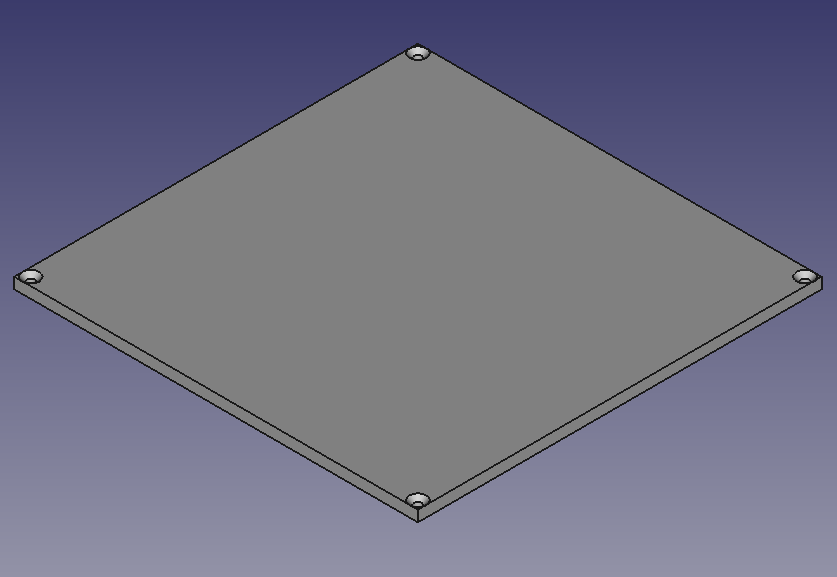
In order to close the lid we must be able to screw it so that it is secure and not open at any time, we will make some concave holes in it to be able to insert the screw and have a safe torque so that they do not come loose.
Before starting to make a pocket where the solar cell will go, it is necessary to test if this cover fits correctly into the box without any problems.

We confirm that the lid enters the box correctly and we continue with the next step, thanks to the measurements of the solar cell that the teacher gave us, we can make the pocket where this cell will go.
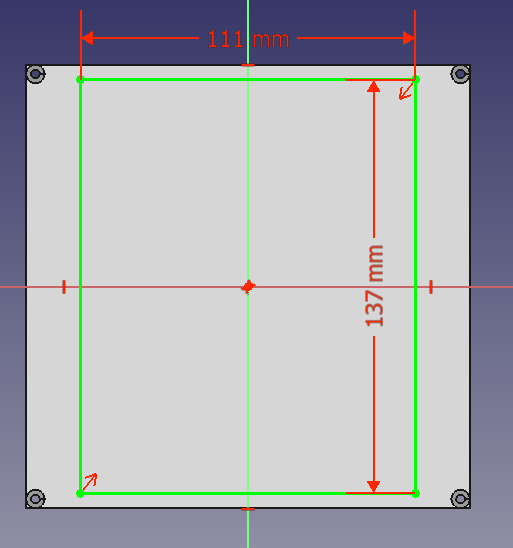
Adding a Hole in the Lid for the Solar Cell
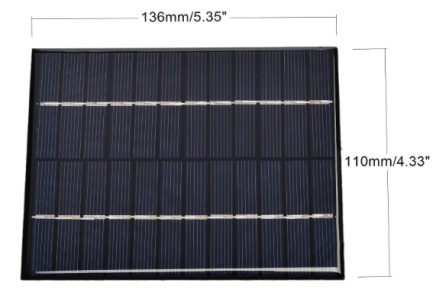
The corresponding measurement is made on the lid, 1mm more than the measurement is added to make sure that the cell can enter without any problems.
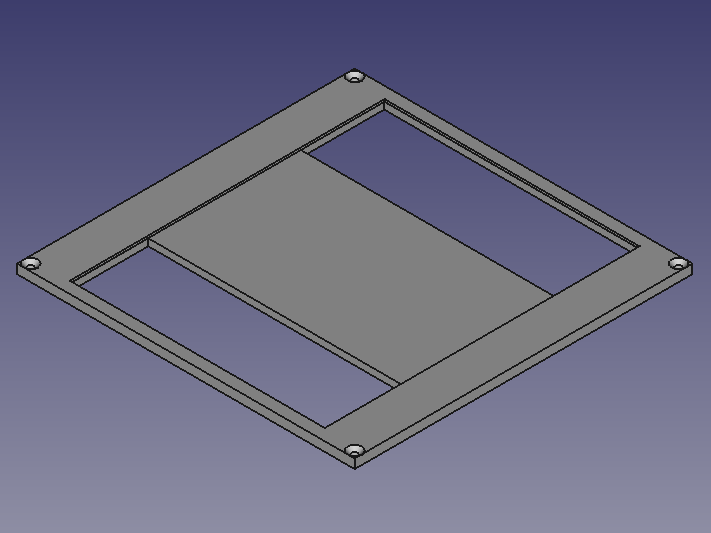
After making the hole where the solar cell goes, it is important to make a support where the cell goes so that it can be properly attached, there are also spaces where the cables from the cell can go to the circuits inside the box, This is assuming that the cell has to connect the cables in the upper or lower parts of the cell and not in the middle of the cell.
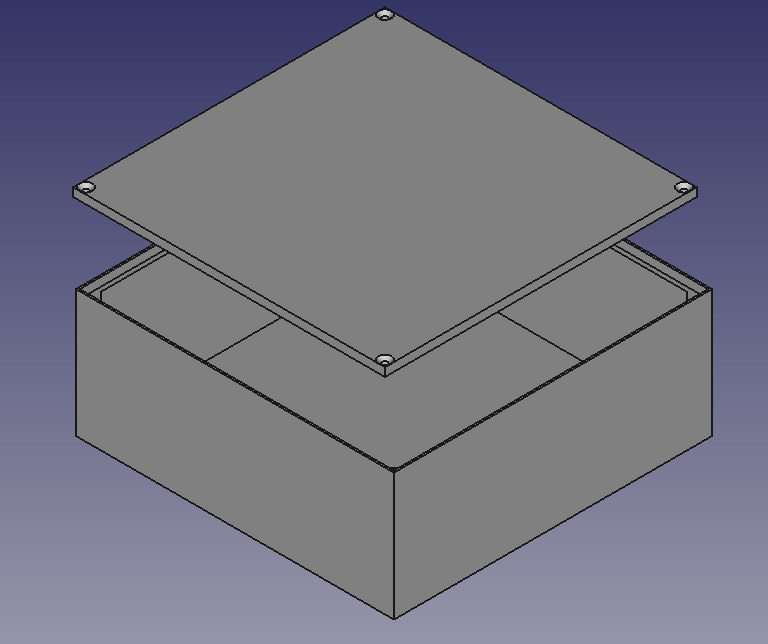
We finished this design by testing the lid against the box in order to confirm that the designs are correct
