How to Make a 3D-Printed Skateboard "Neon Lighted"
by Hassan Nasser in Outside > Skateboarding
2475 Views, 14 Favorites, 0 Comments
How to Make a 3D-Printed Skateboard "Neon Lighted"
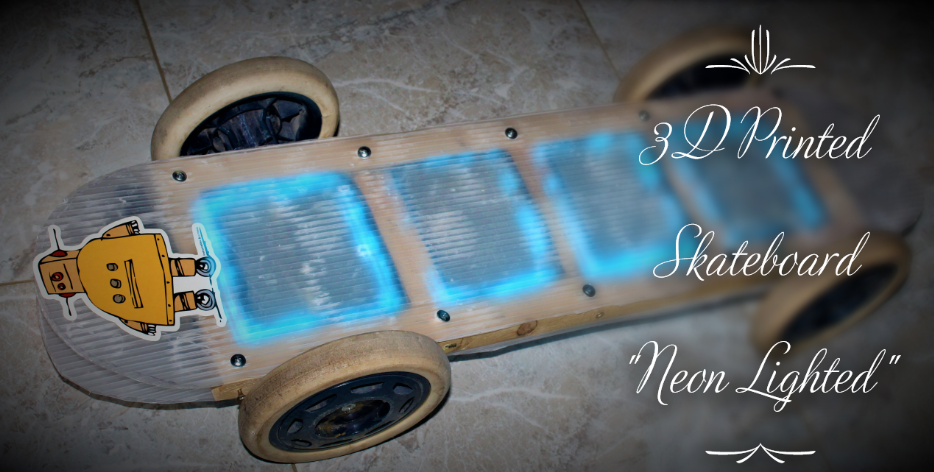
When thinking about skateboard you can't imagine how this simple board makes you feel the fantastic motion across the wheels, but skateboarding is not simple as you think it is one of the sports that need you to react with it and keeps you concentrated on your motion.
Releasing the skateboard competition makes me encouraged to create a new design of the skateboard where I build it out of 3D printed boards and a wood base between them to preserve the sustainability and the strength of the skateboard and integrated with unique blue neon light.
Supplies
- two 80cm wooden sticks
- 1 wooden stick (about 60cm)
- glue gun
- transparent paint (varnish)
- 3D-printer or order them online if don't have a 3D-printer
- 60mm+ 4 wheels
- drill
- Blue Neon Light
- Flat Head Screws
- Truss Head Screw
Tinkercad

In this instructable I used TINKERCAD to design my 3D printed boards (it is a great site where you can design easily your project)
In my instructable I used a transparent white filament to print my board and that because I wanna use the blue neon light below the boards, so this using a transparent filament is important to add the lights on the skateboard.
View this skateboard on tinkercad: SkateBoard
NOTE: download these files to 3D print them.
Designing
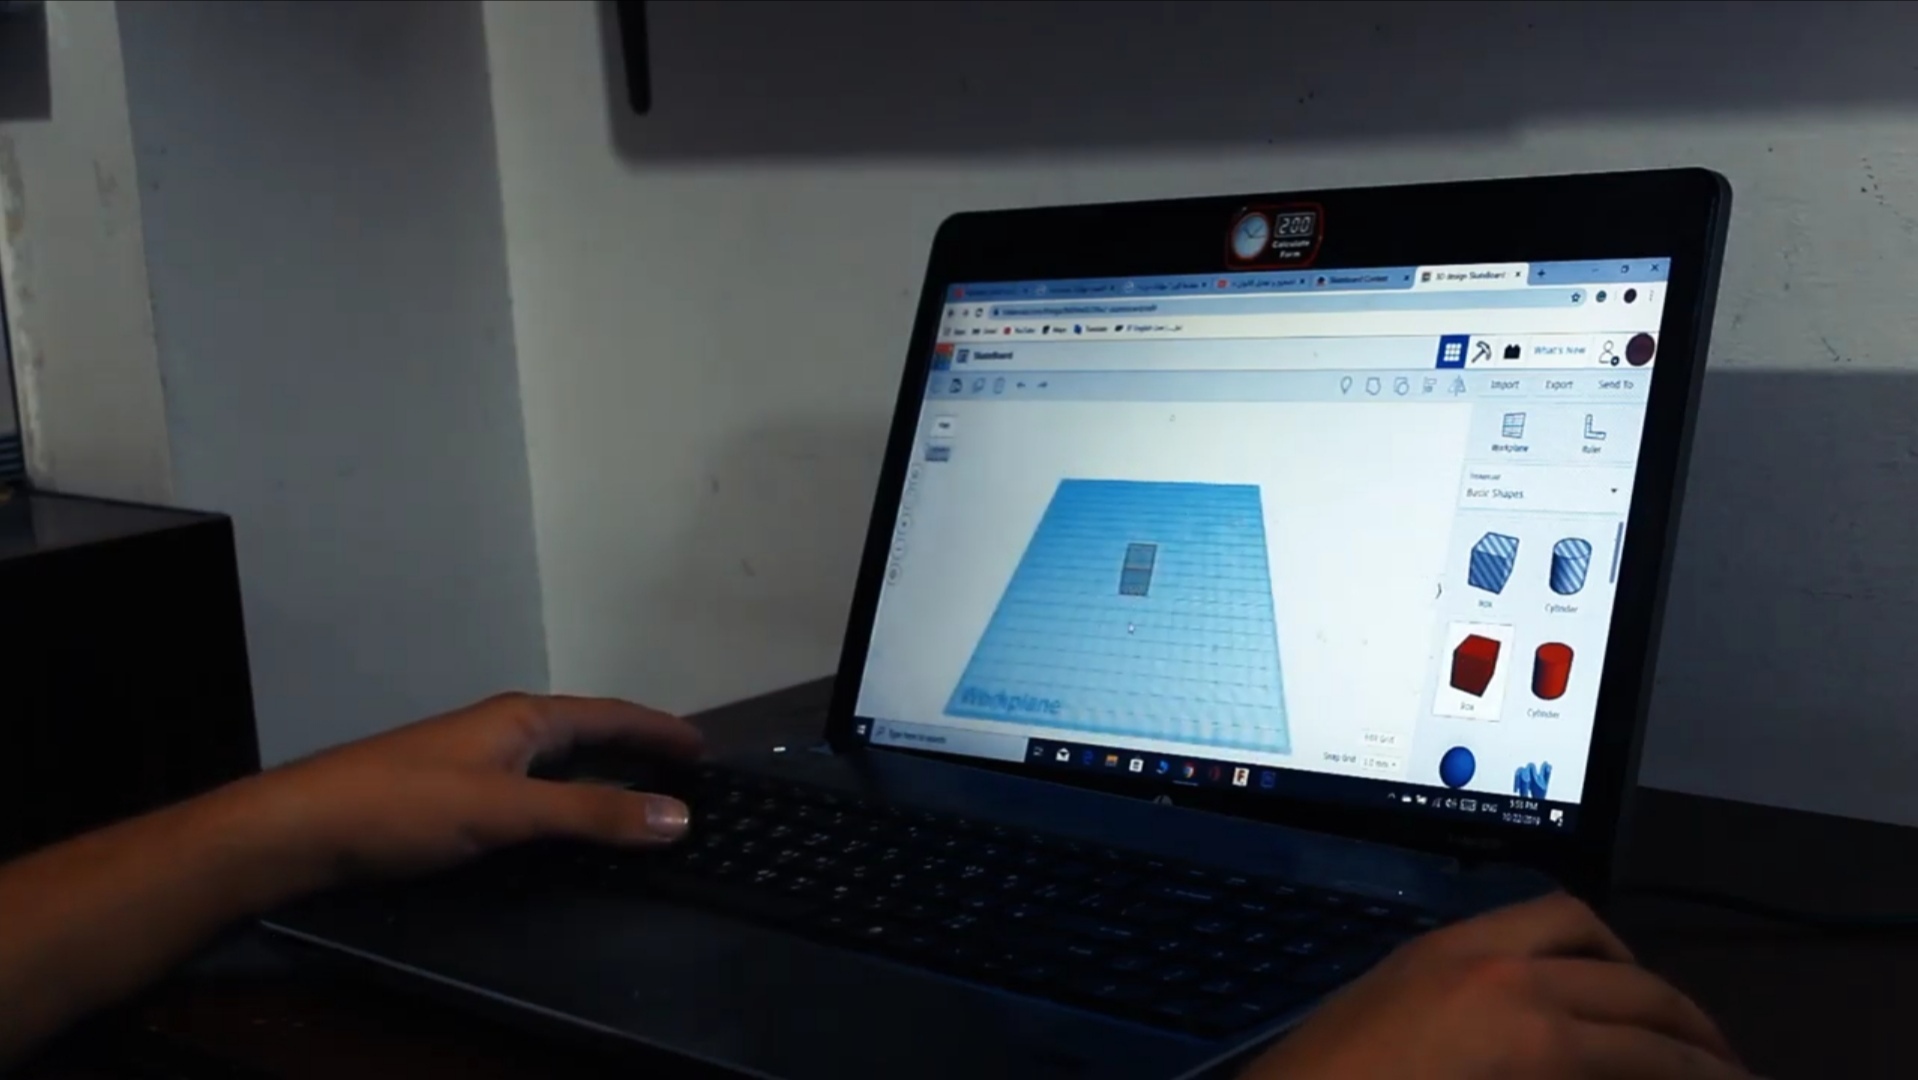
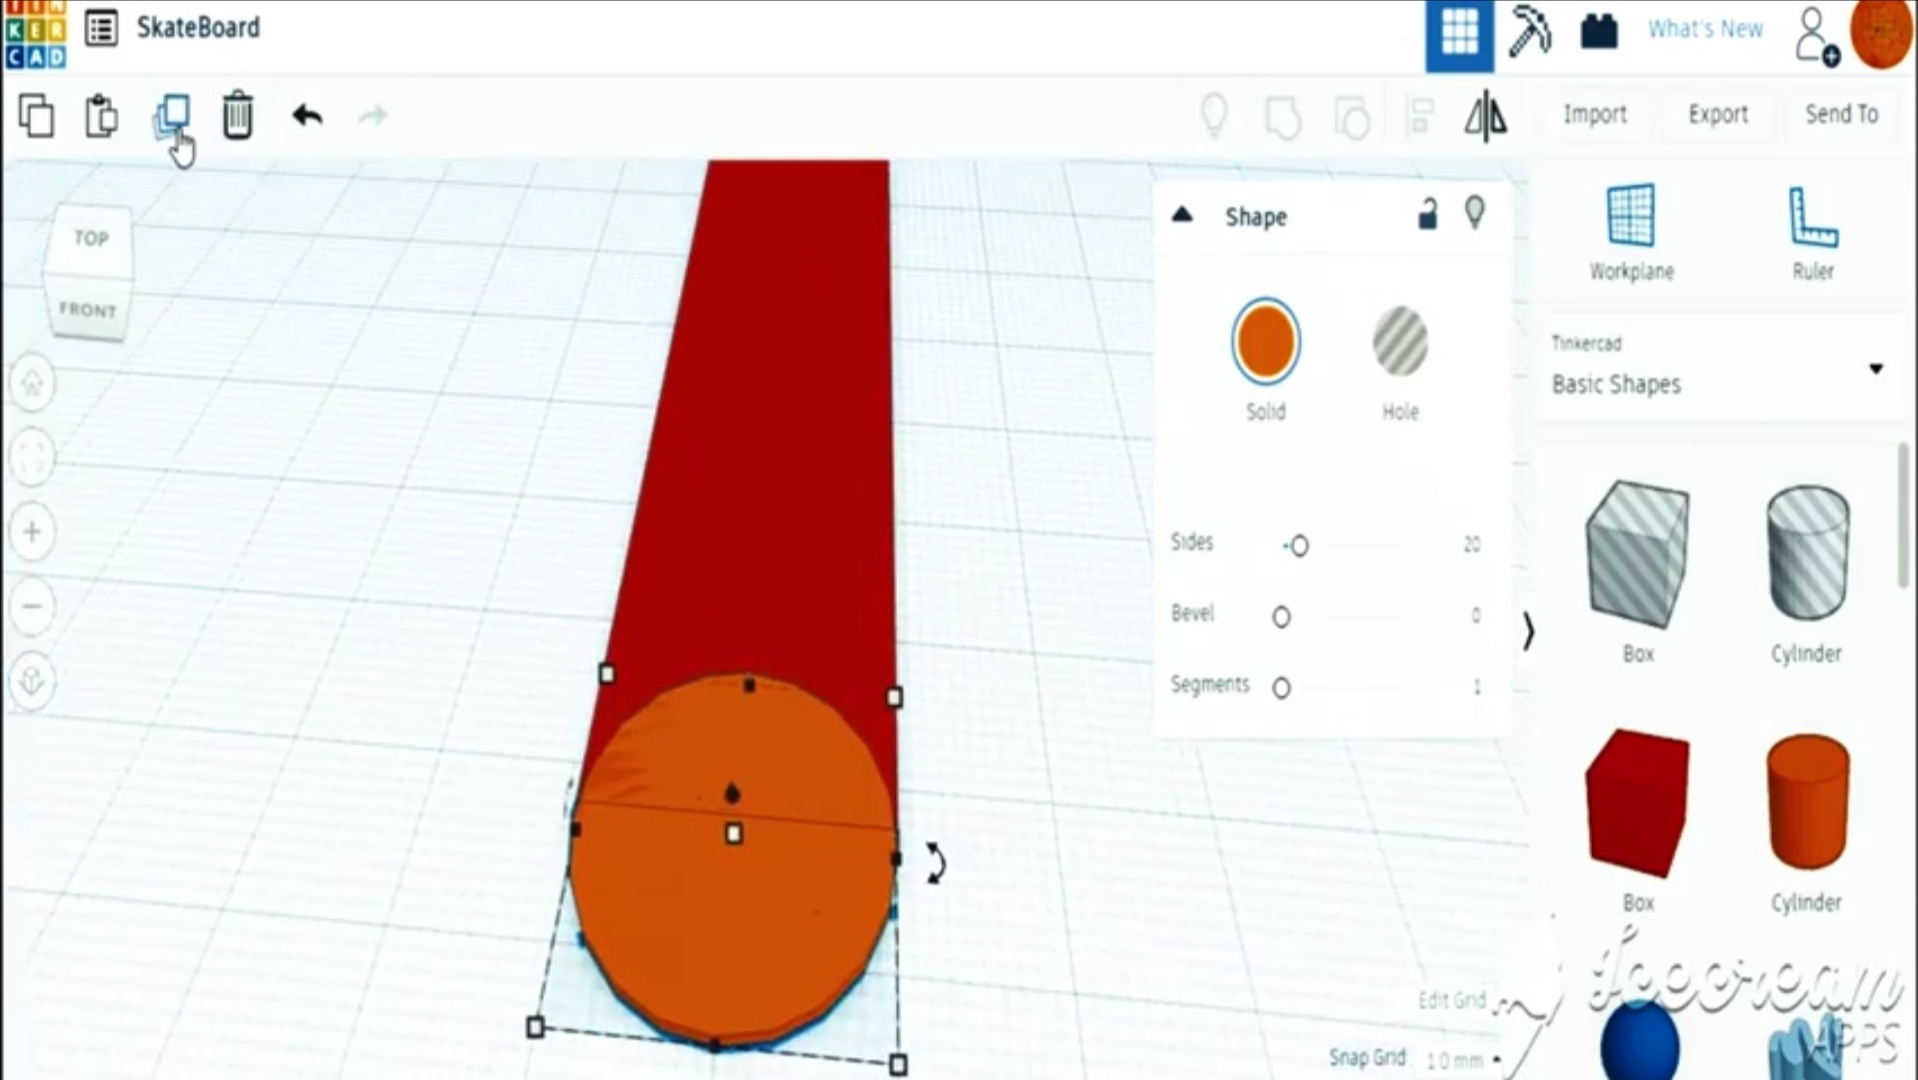
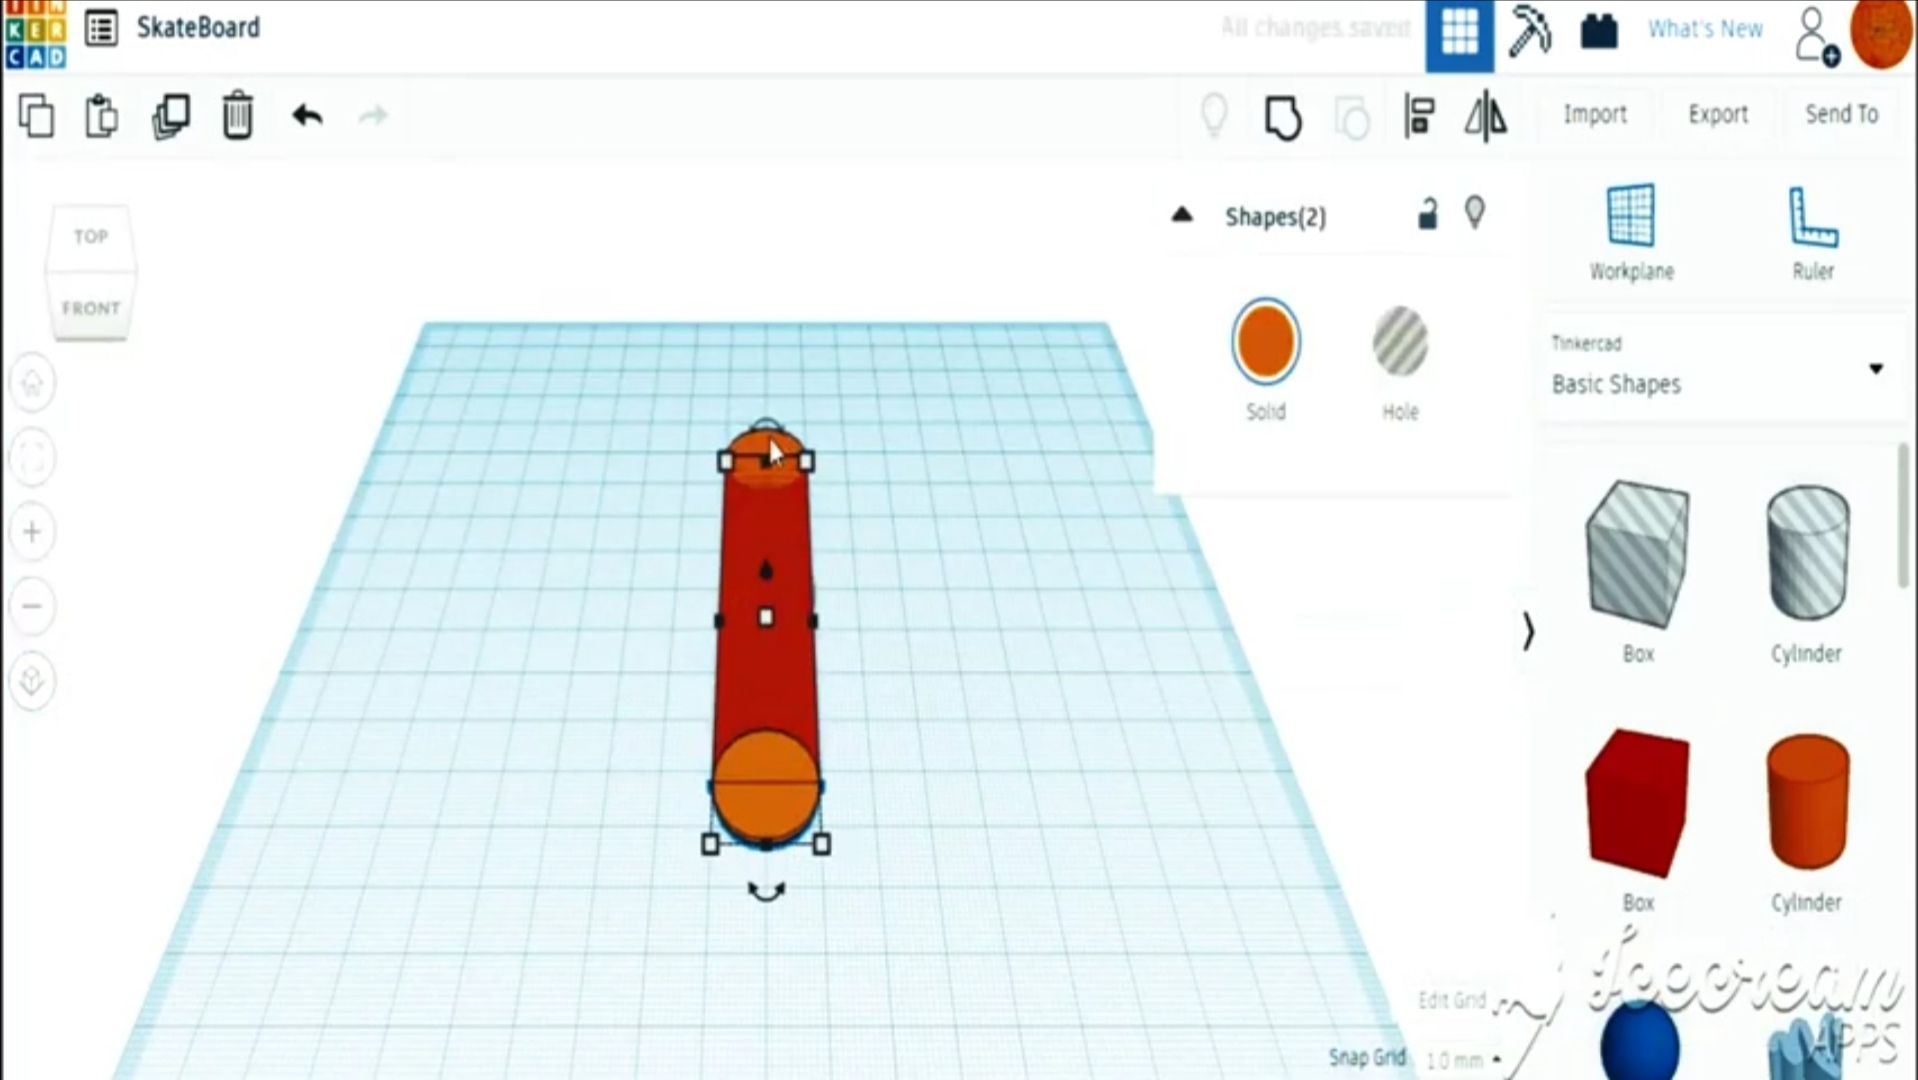
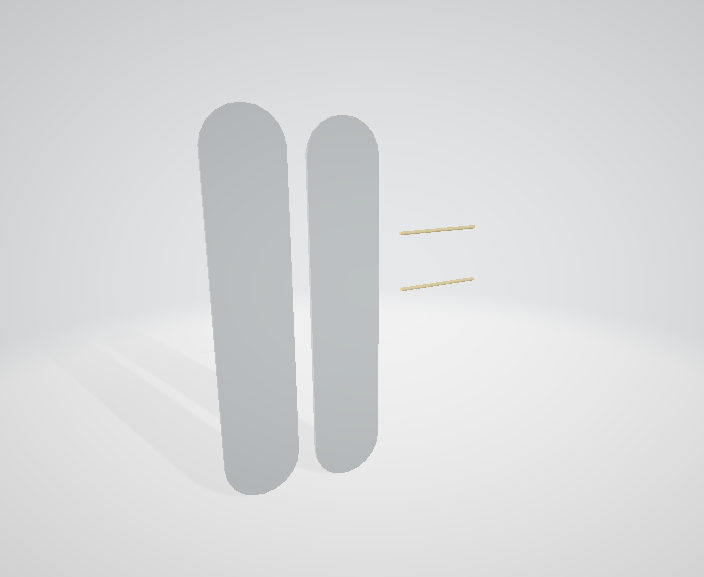
Open Tinkercad and start your design by a rectangle, assign its measurements by 80cm length and 20cm width and 1cm height.
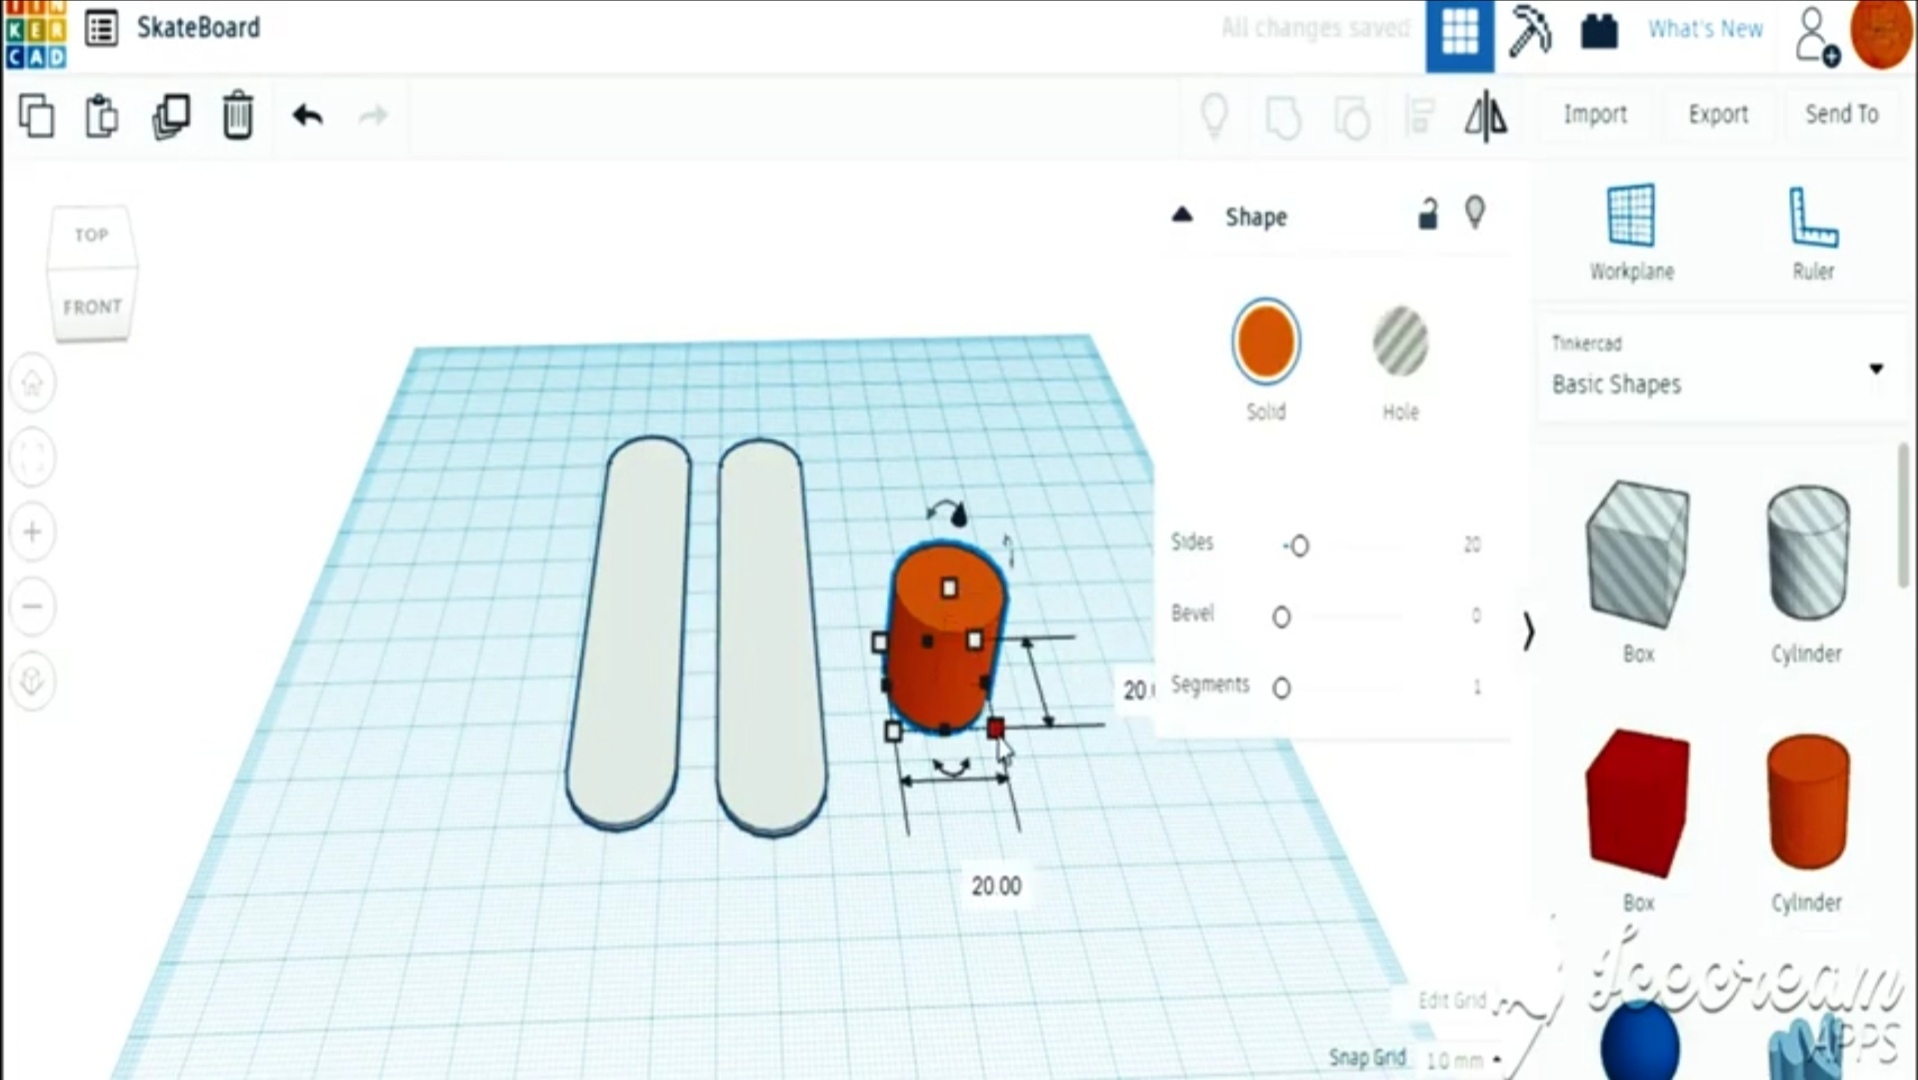
Then add two spheres with 20cm diameter and group them with the rectangle to form the boards.
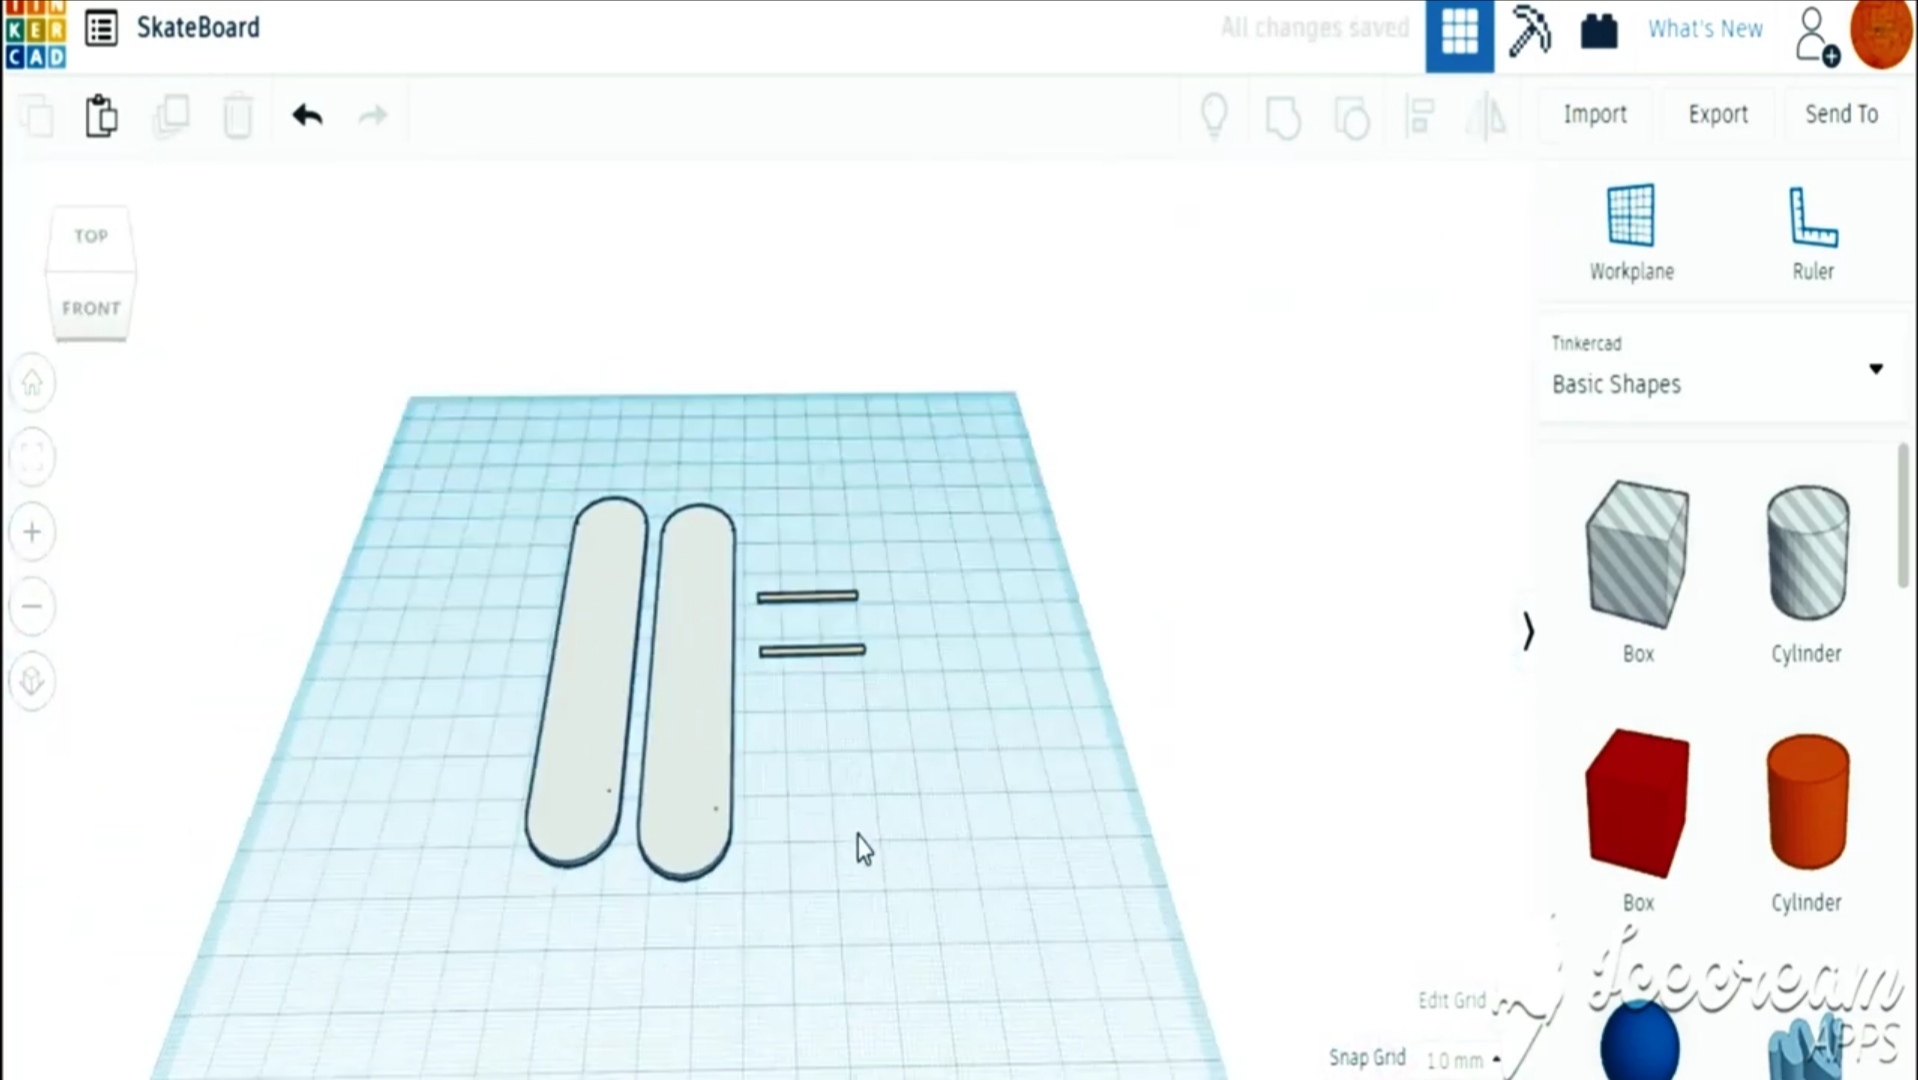
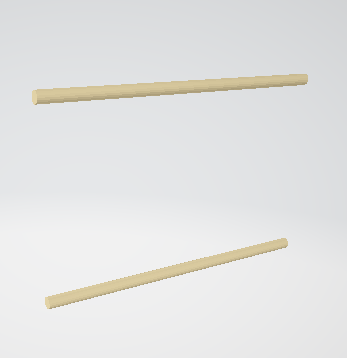
To form the axis of the wheels add two spheres with 1cm width and length and 26cm height.
Ordering the 3D Printed Boards
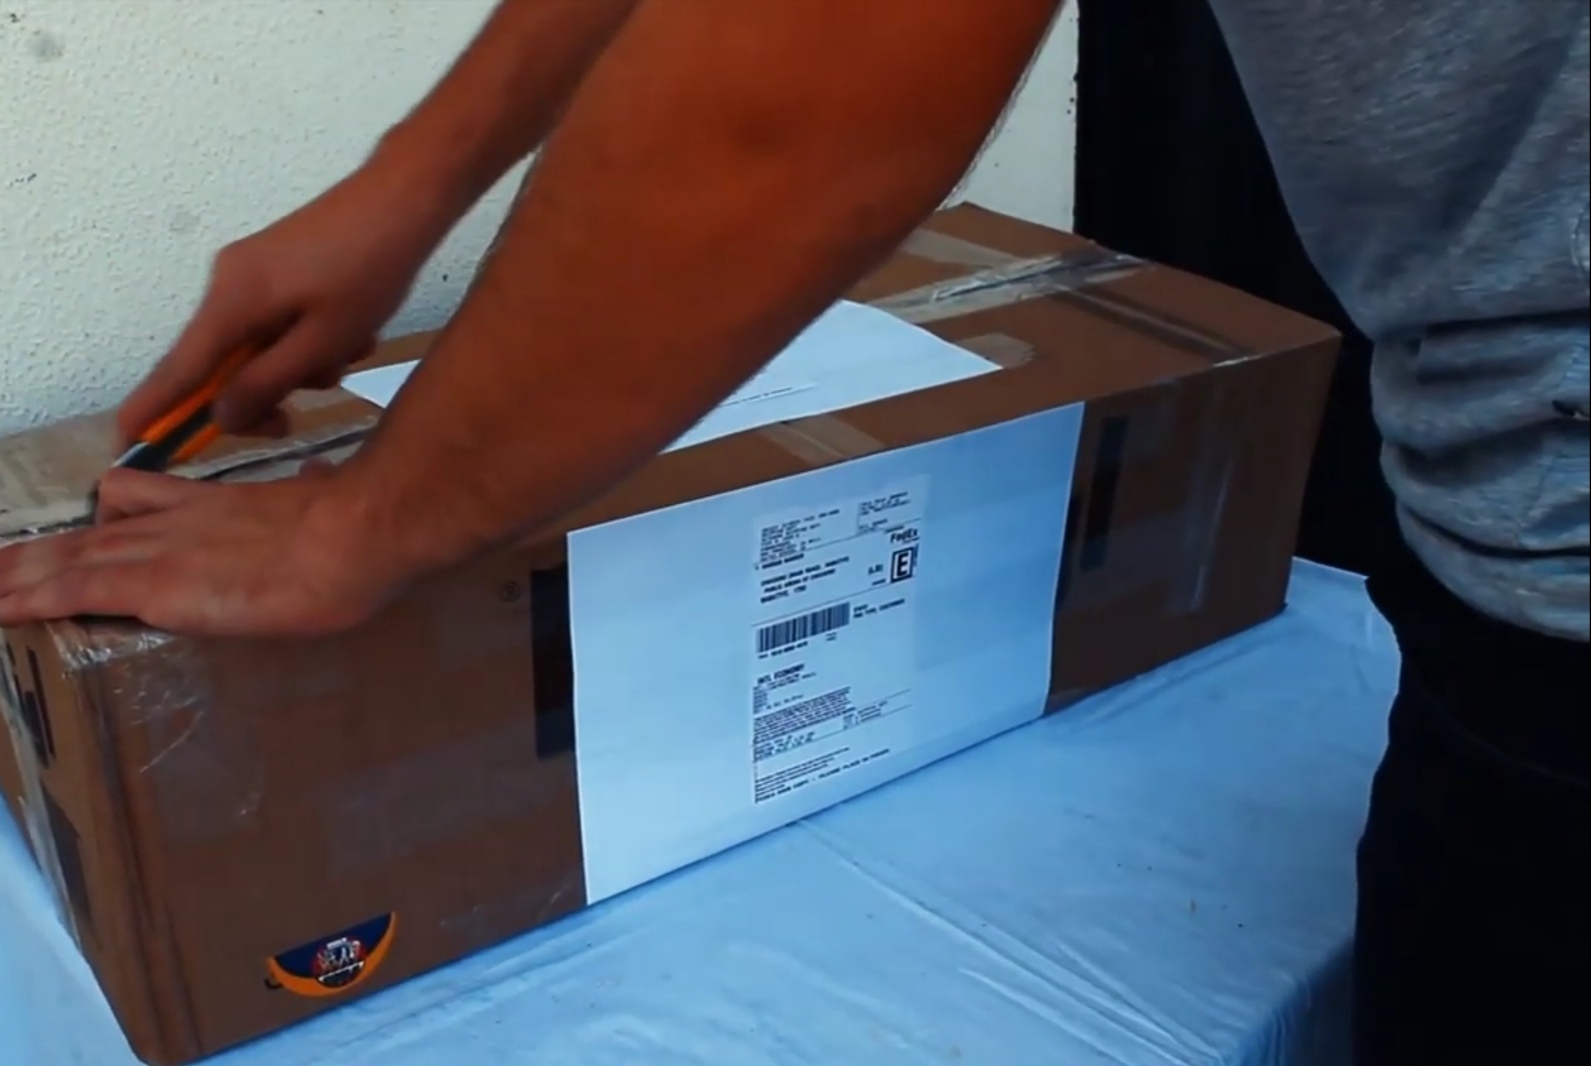
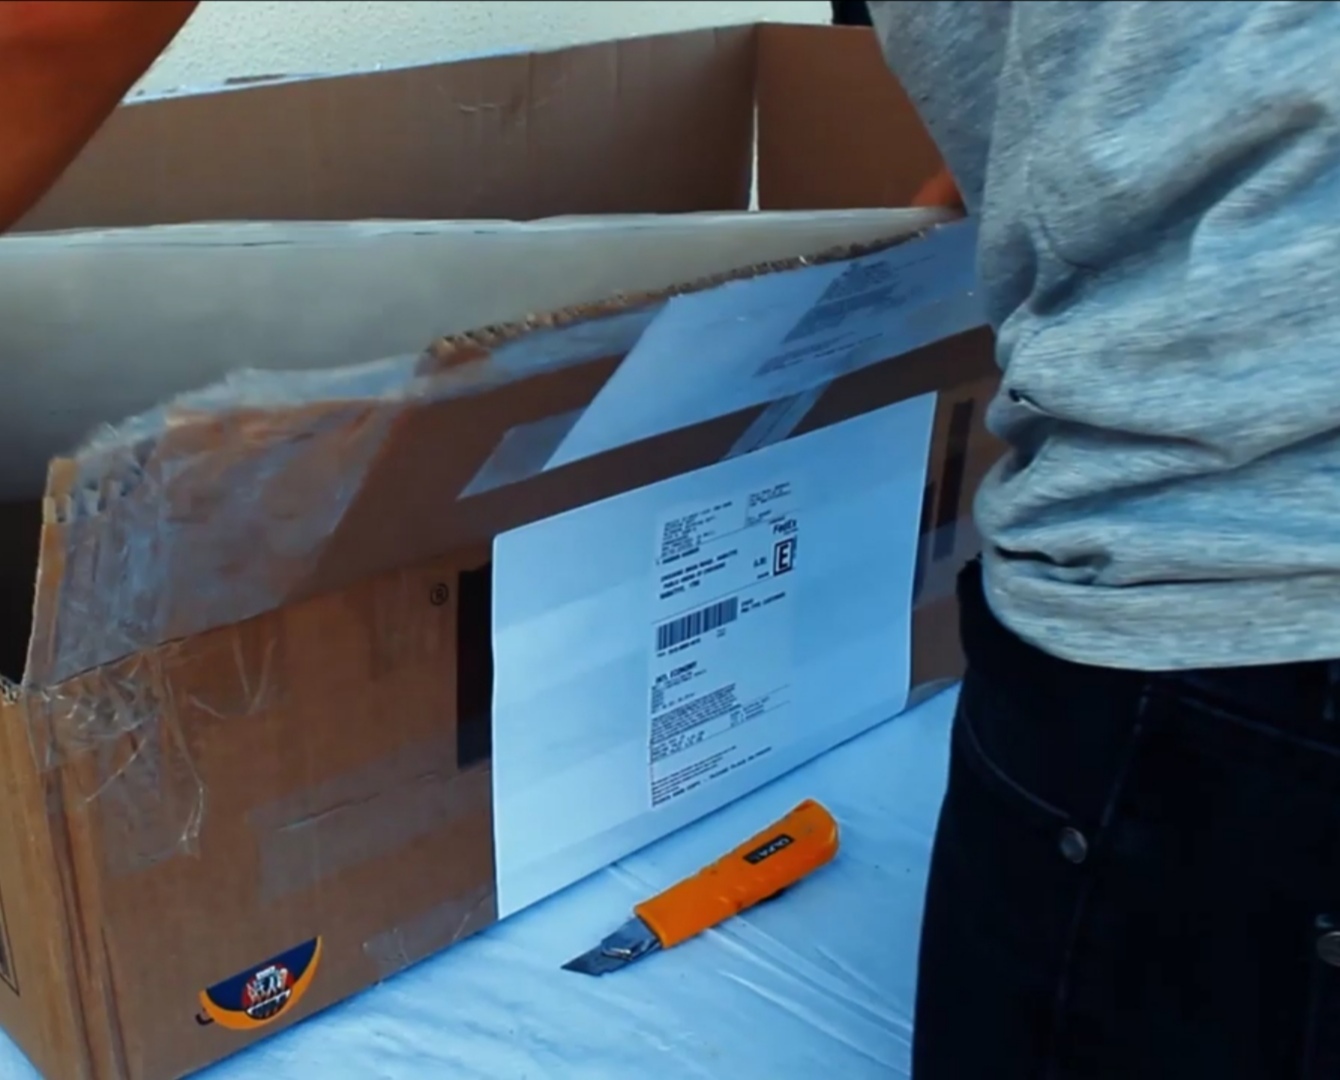
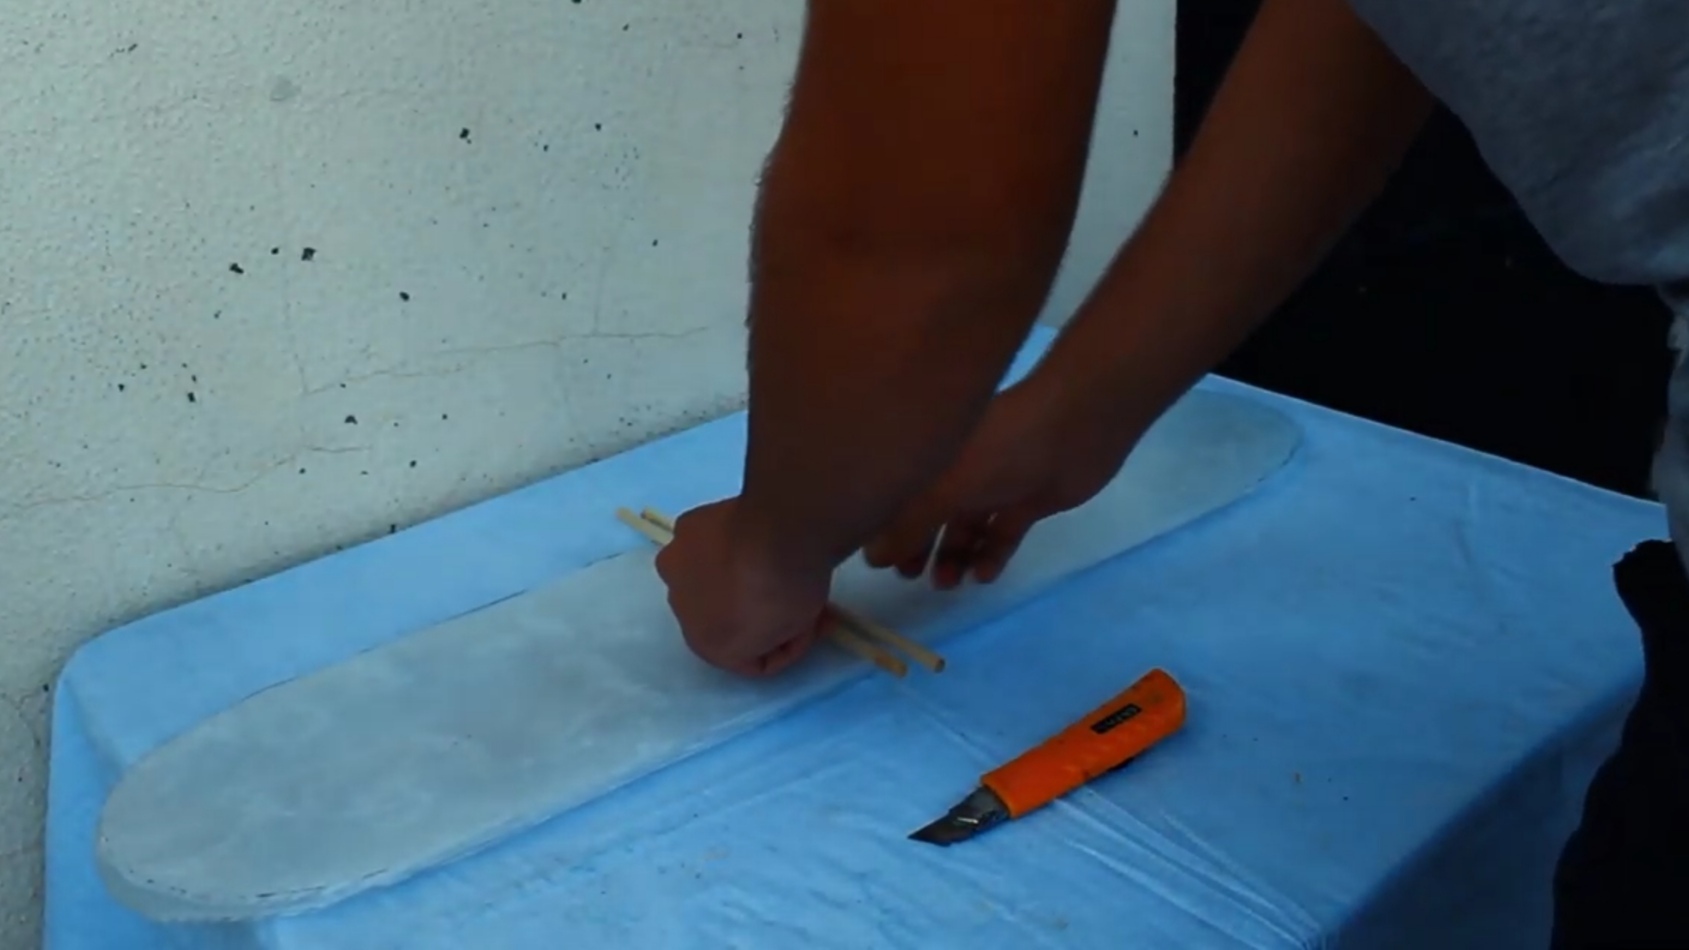
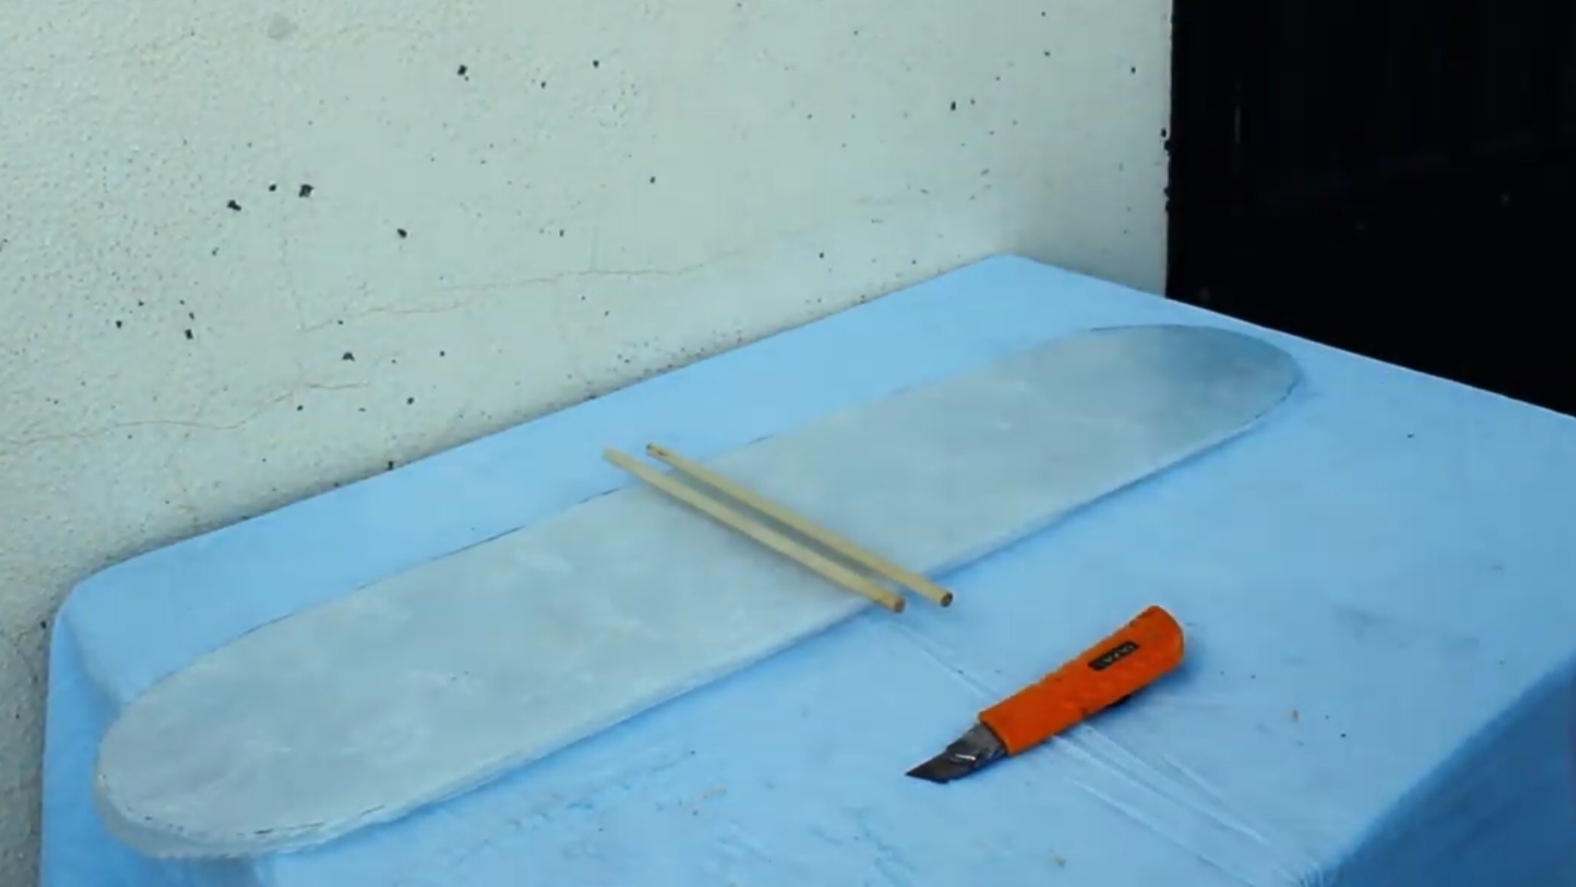
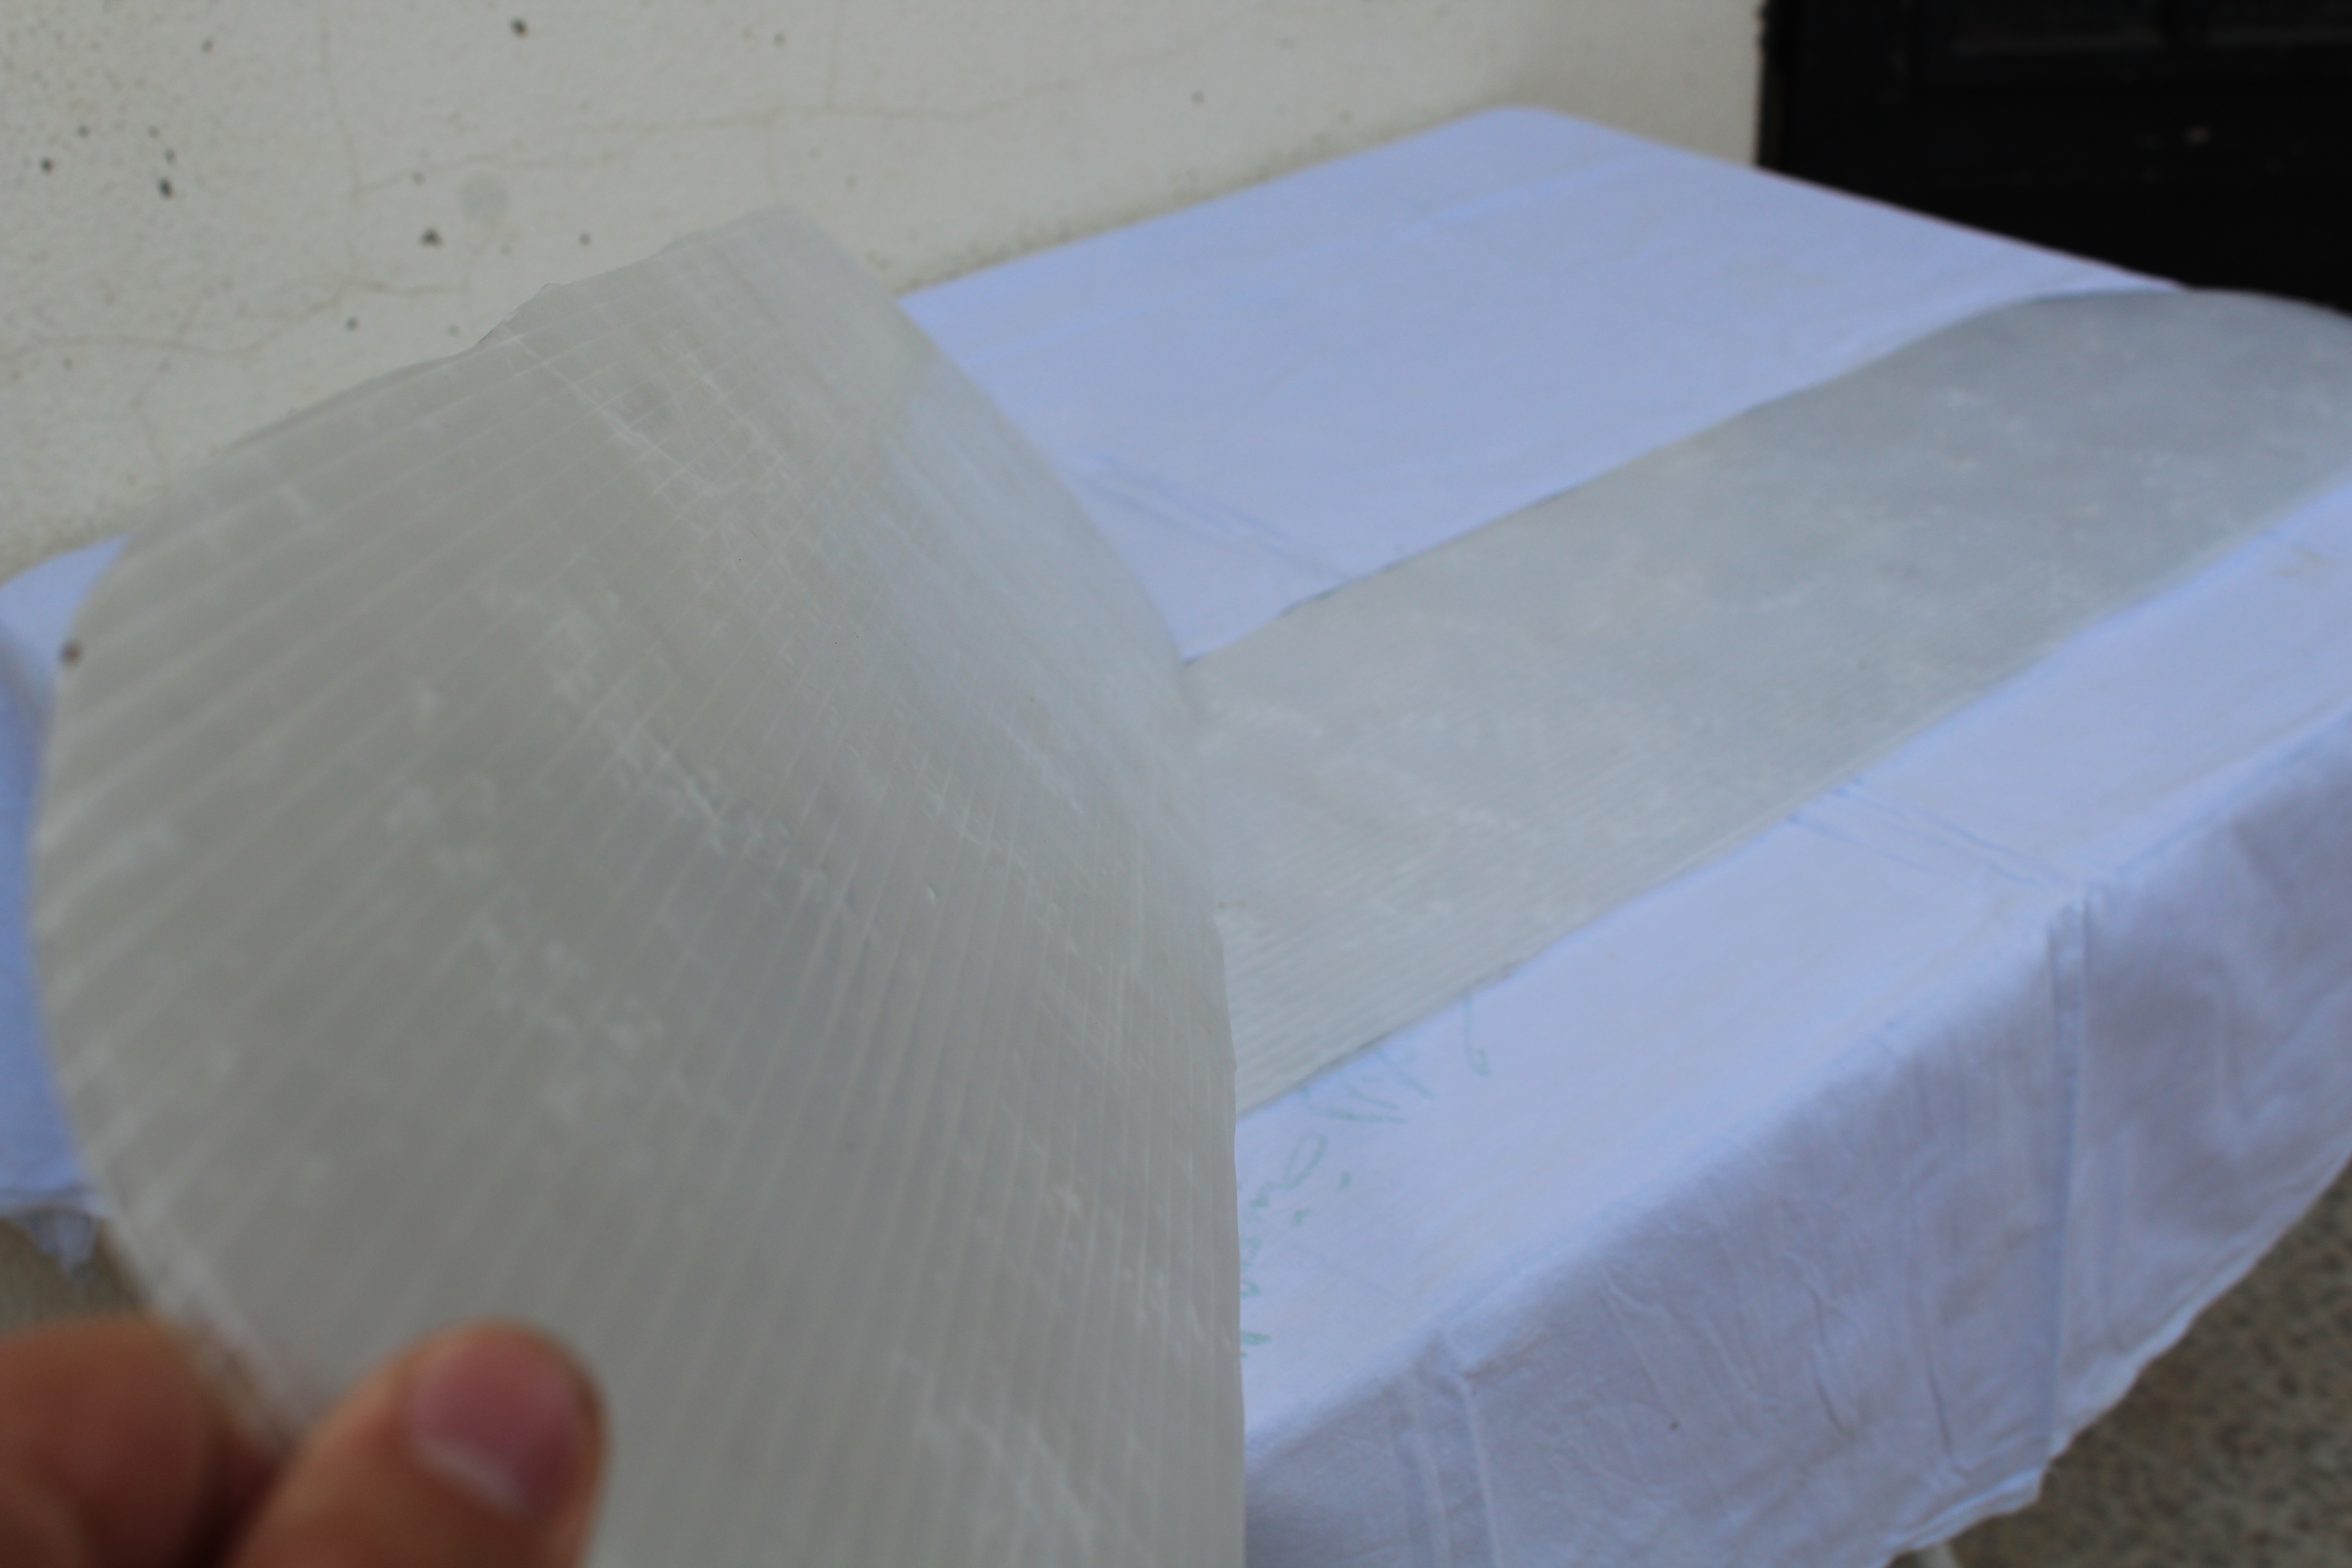
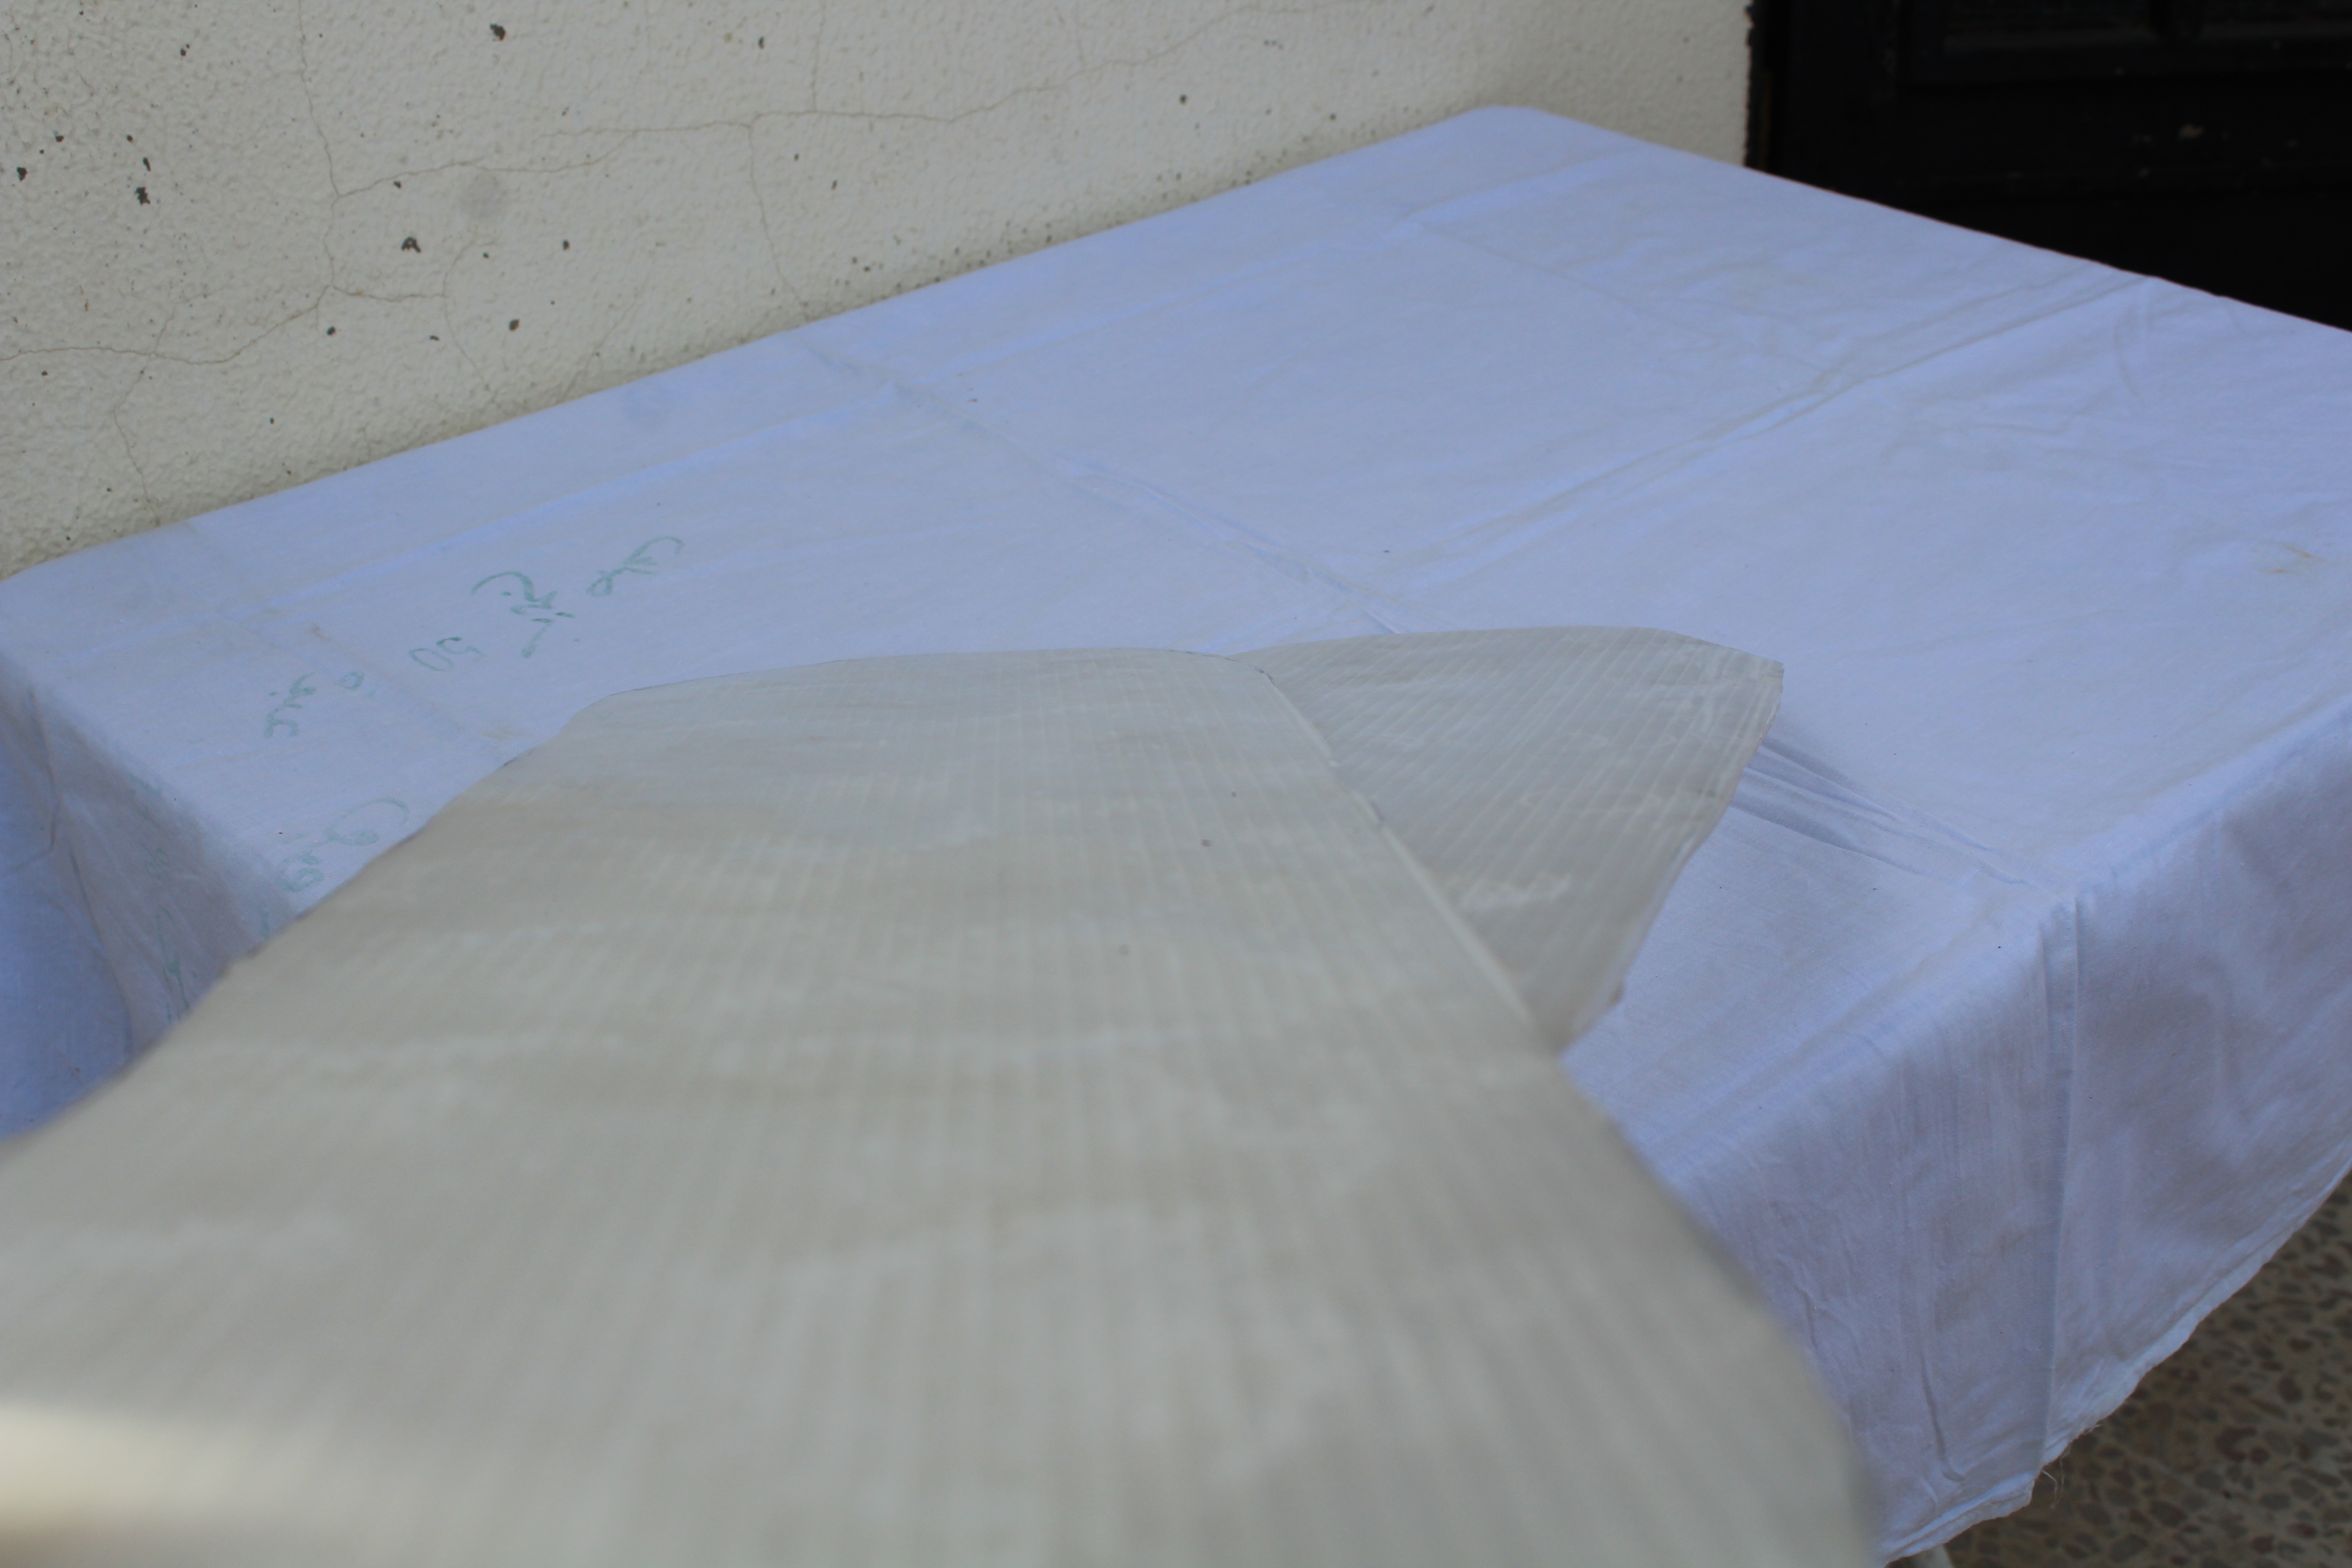
Unfortunately, I don't have a 3D-Printer to print my 3D designs, so I decided to order them online and they shipped them to me after a week.
Download the files I tagged them in the first step to print the boards and axises of the wheels.
Get Ready for Assembling
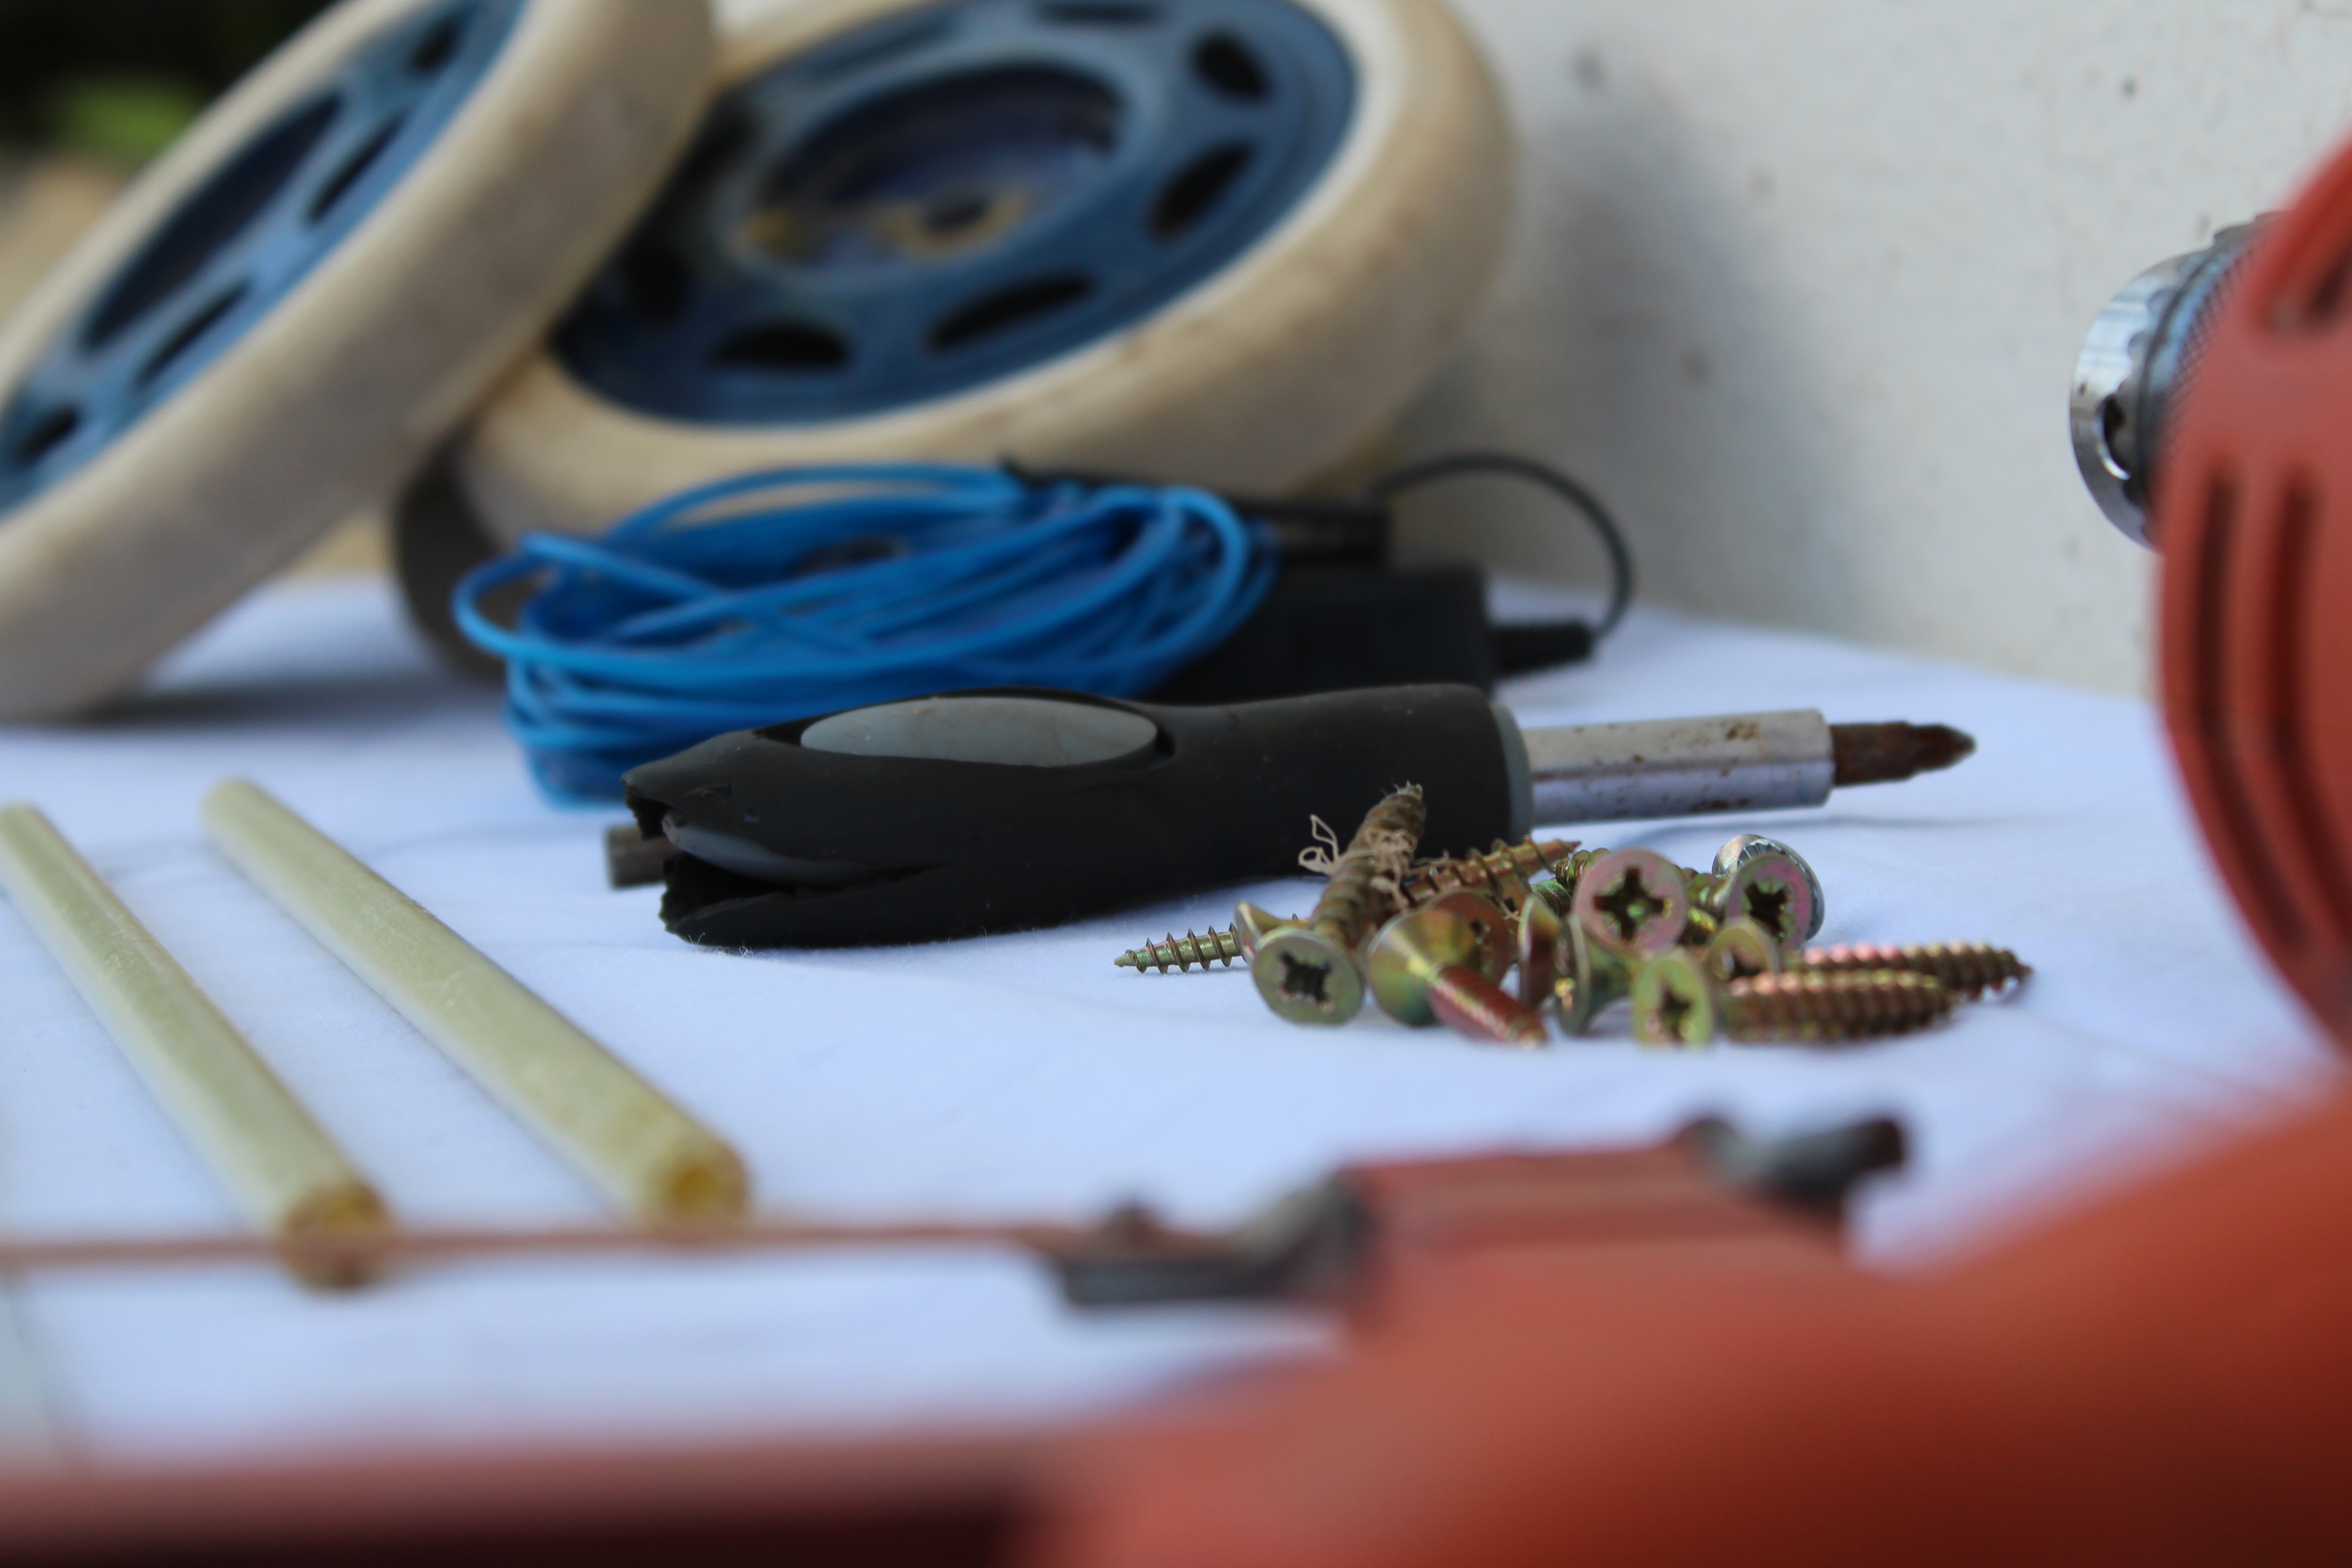
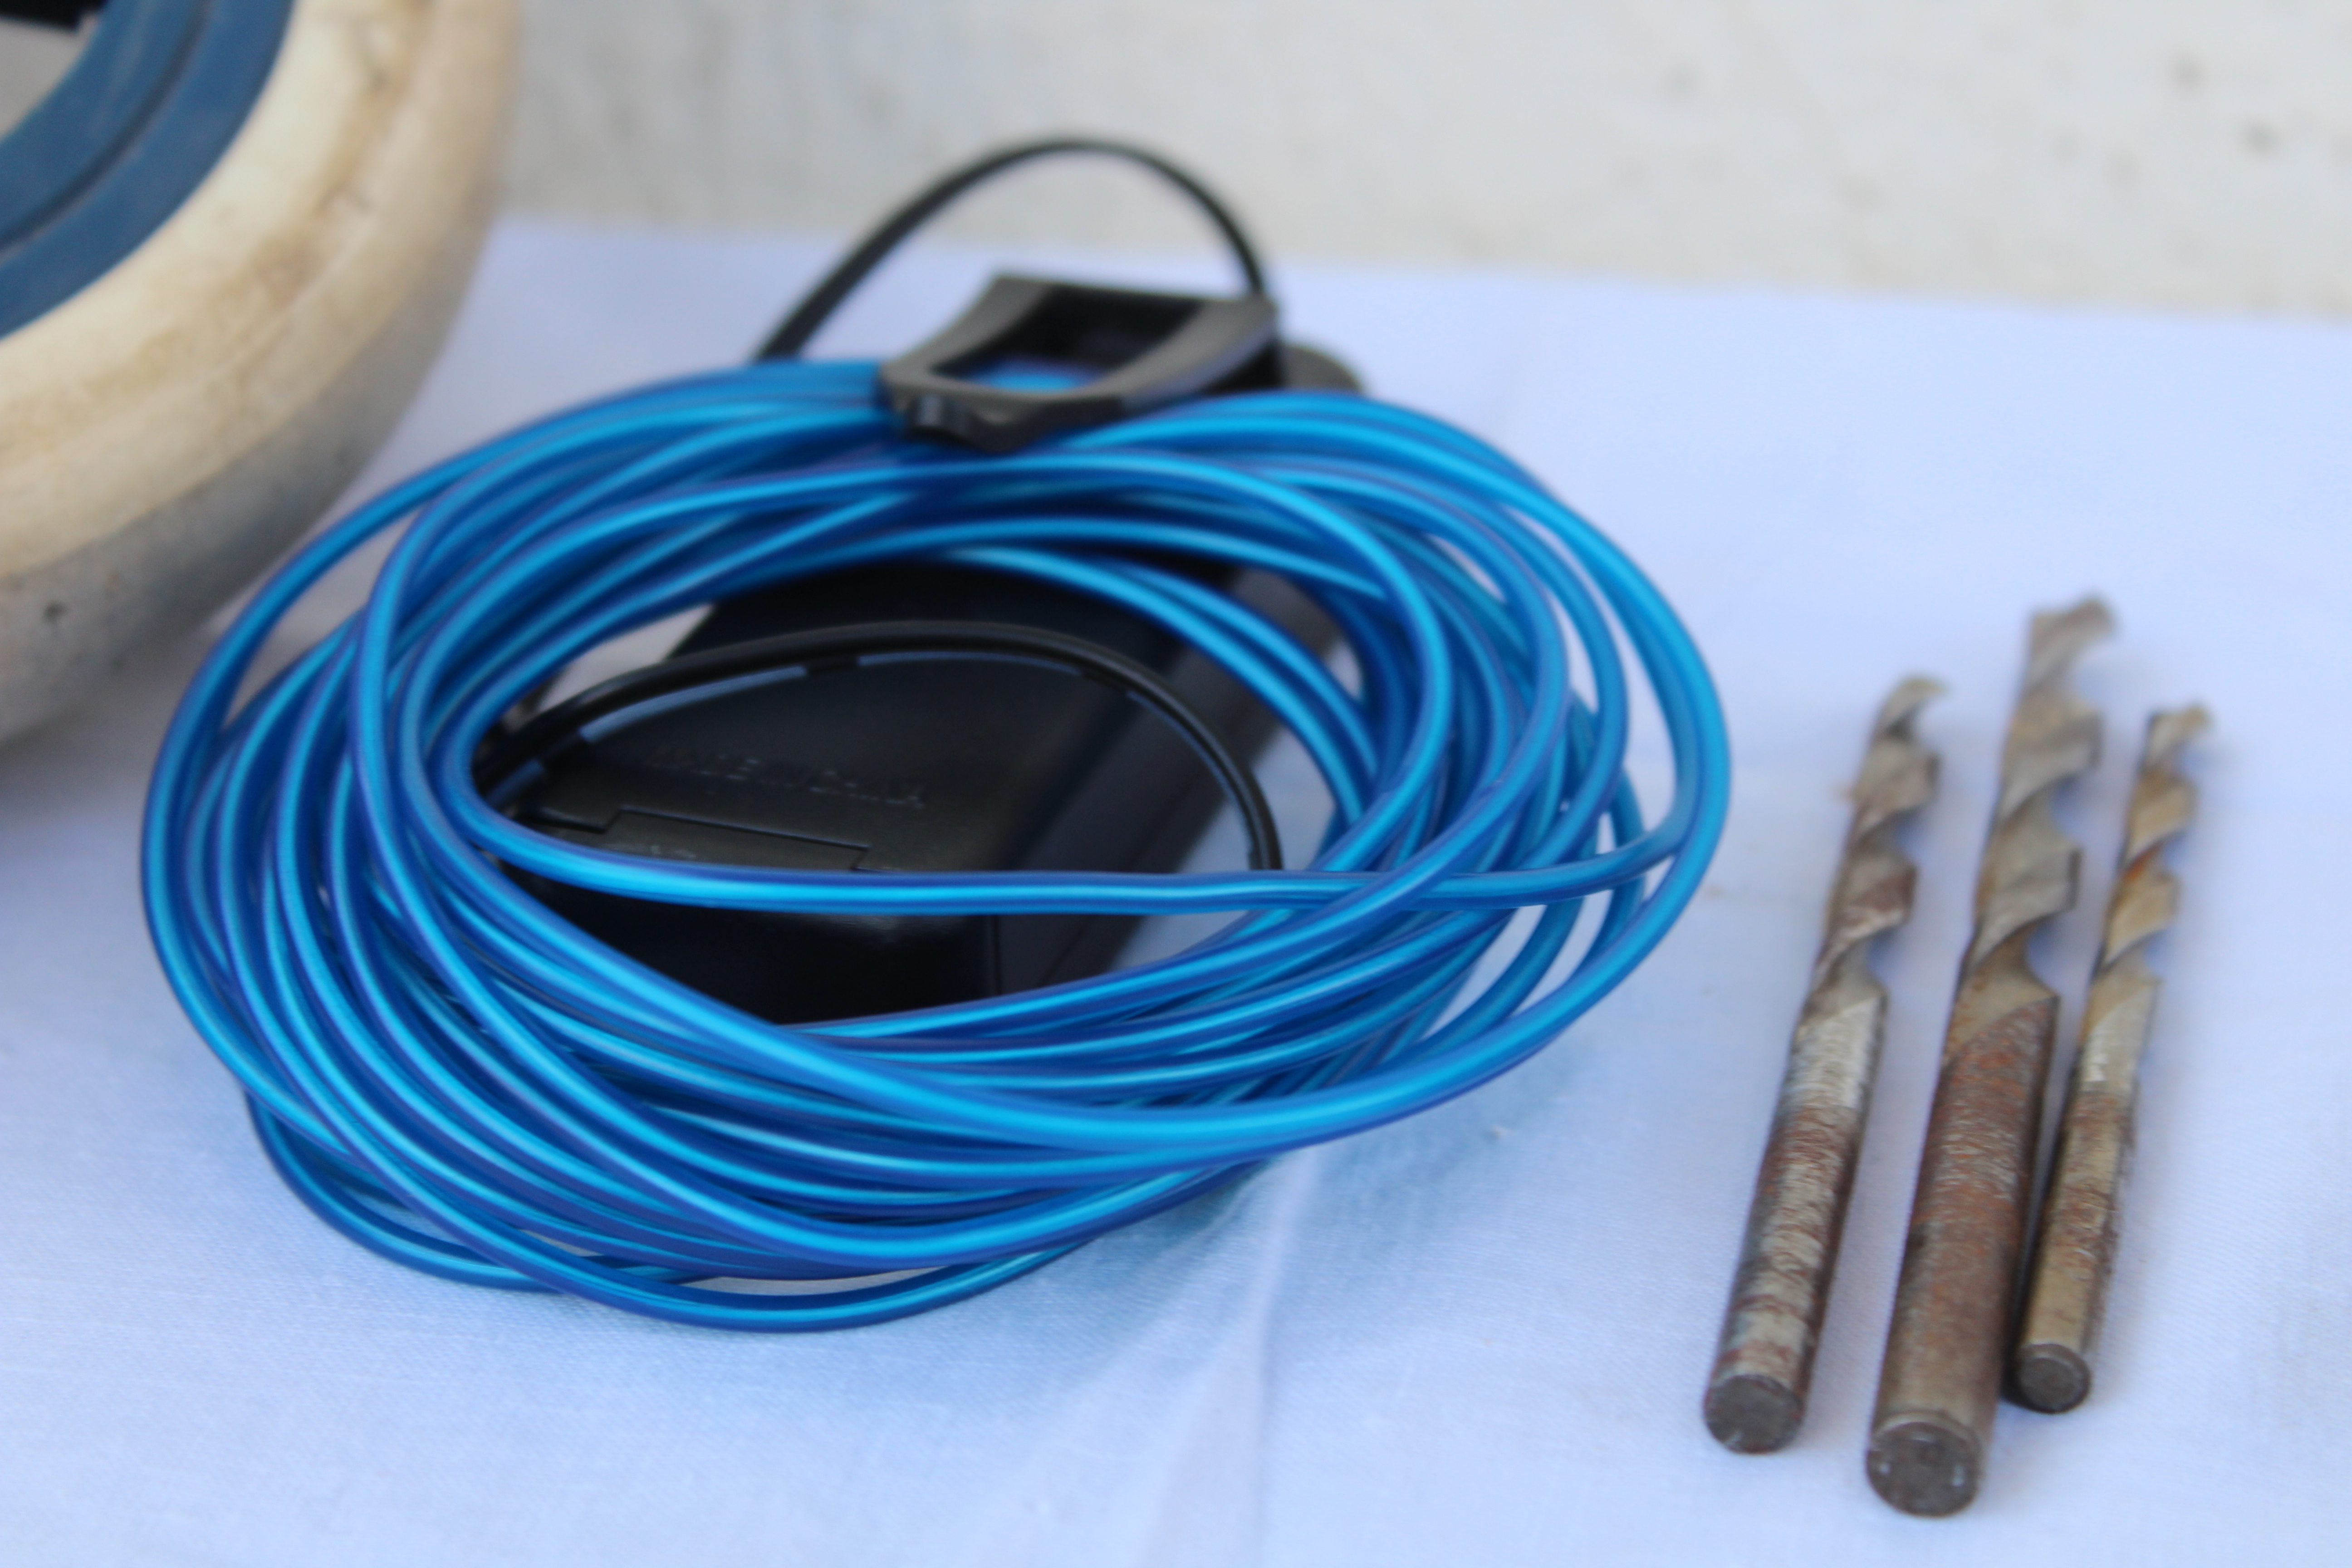
Set up your tools and get ready for the assembling process.
NOTE: I tagged the tools and supplies below the introduction.
Sawing
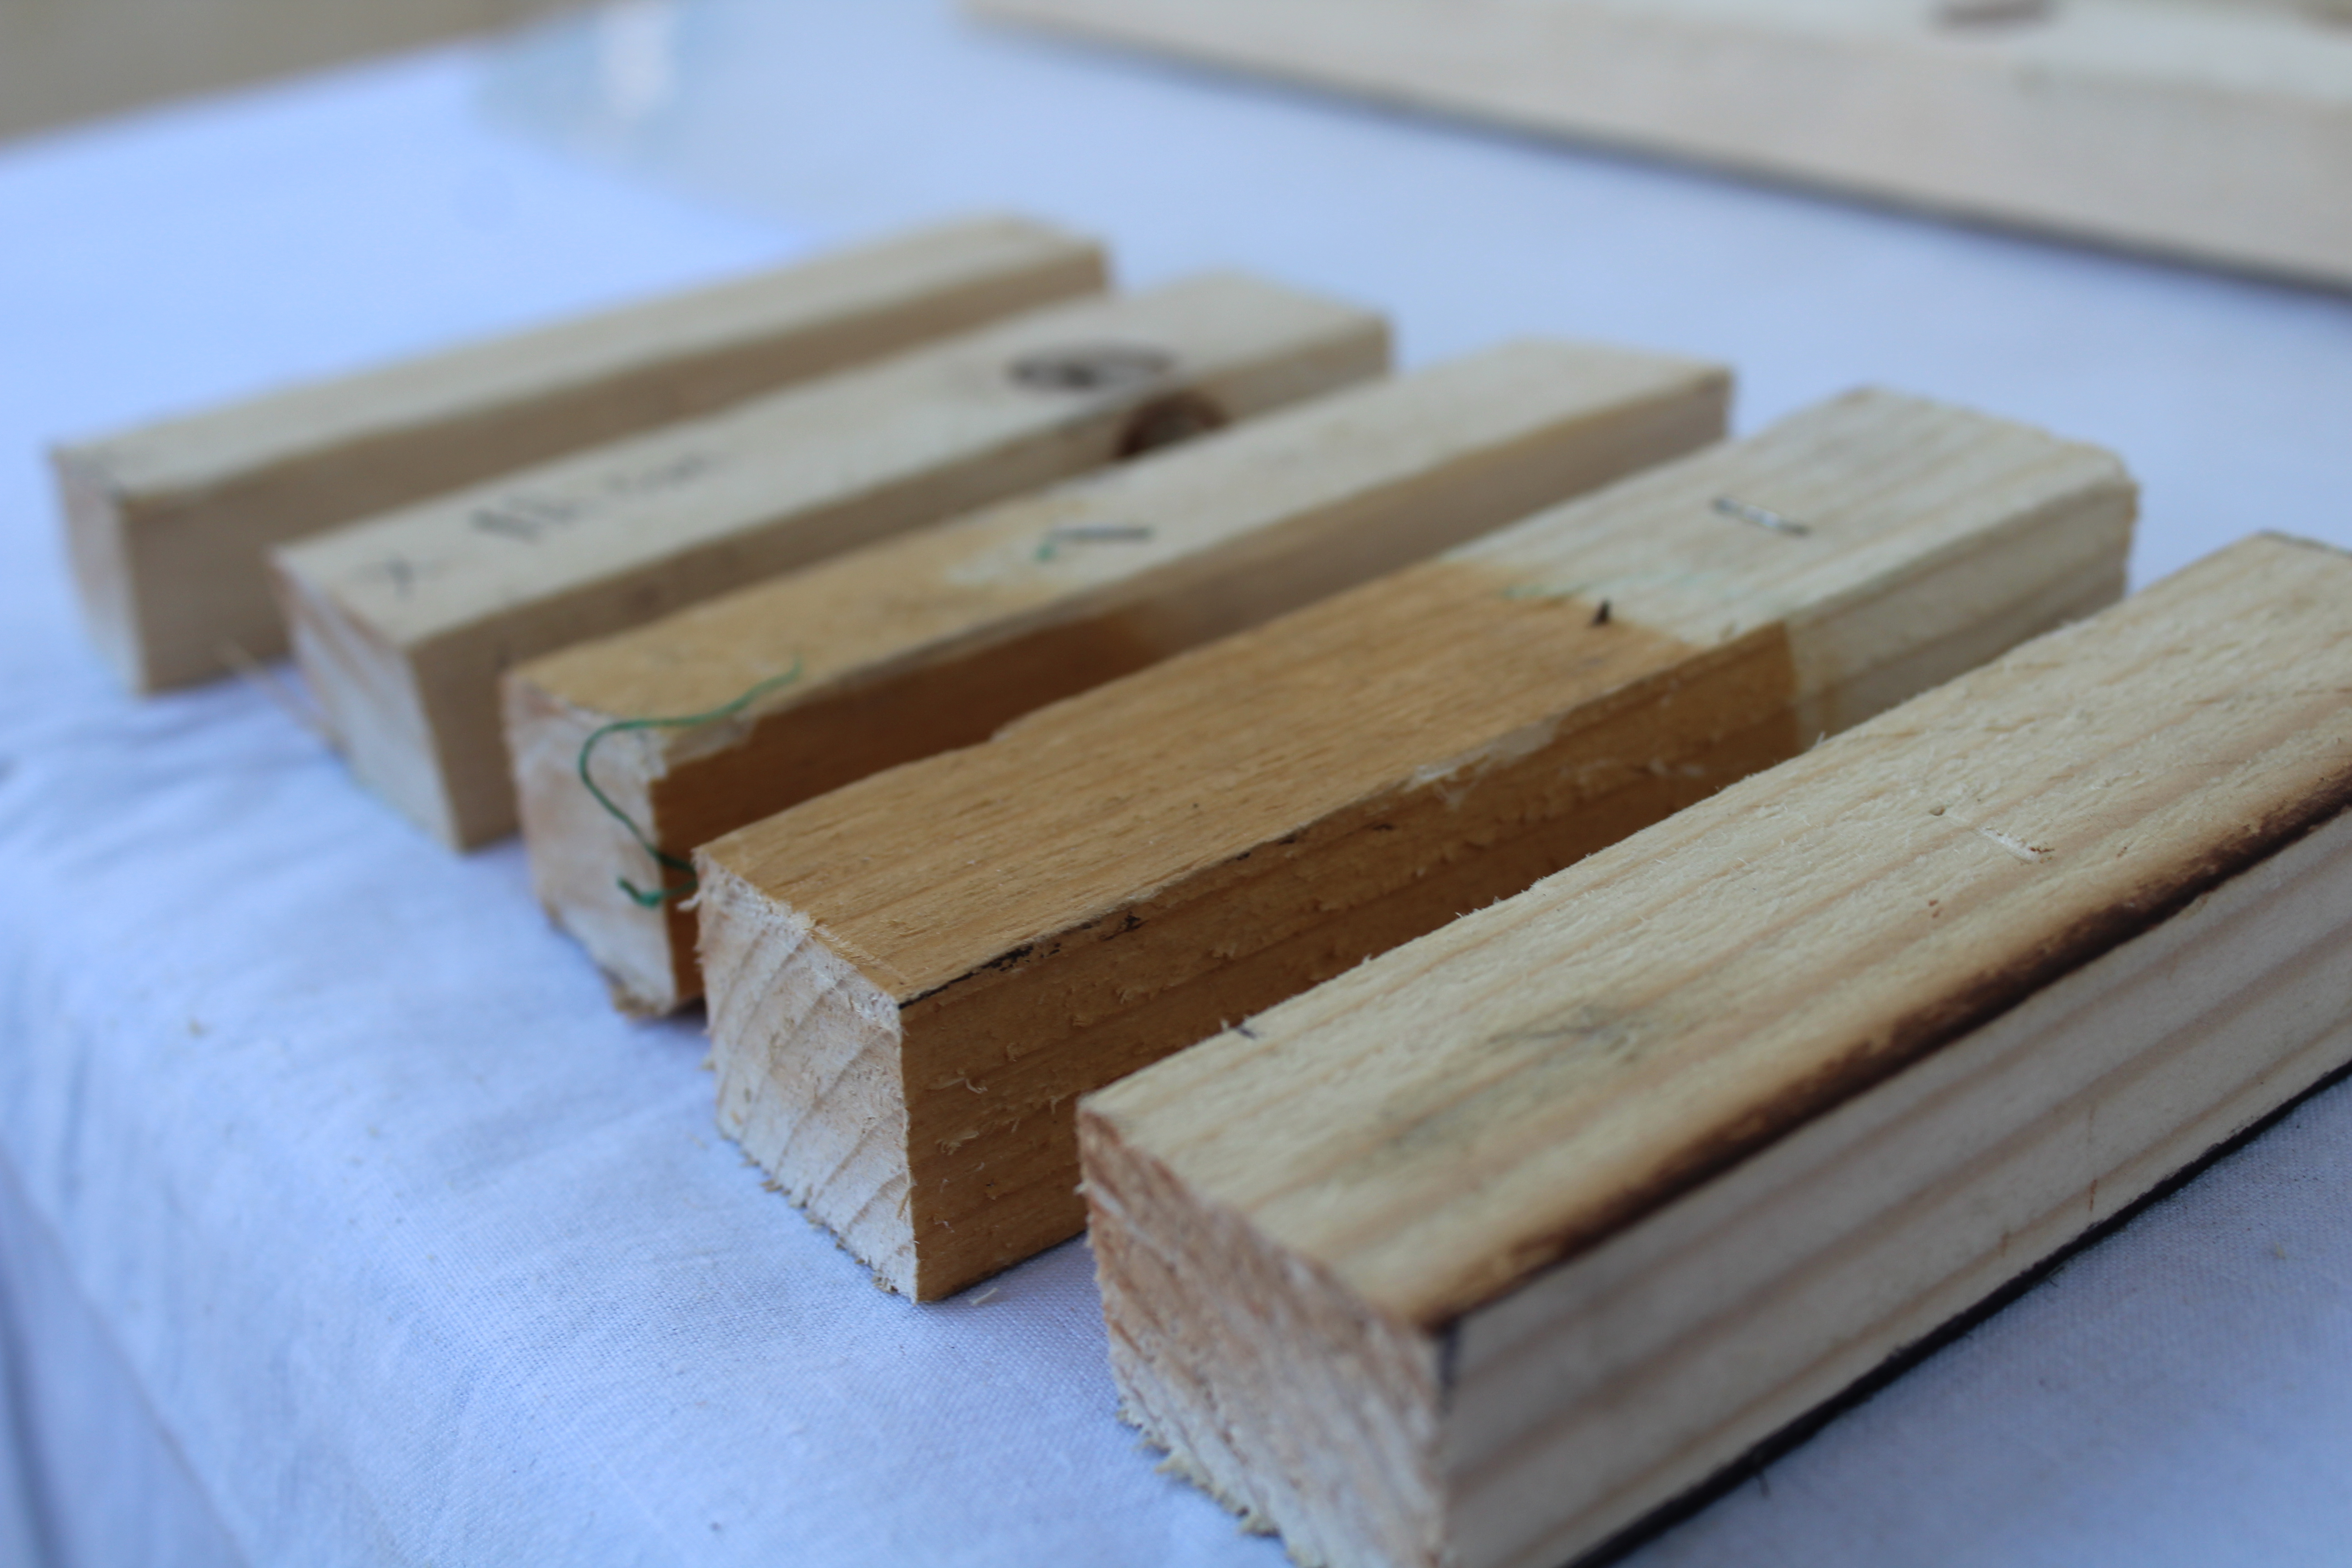
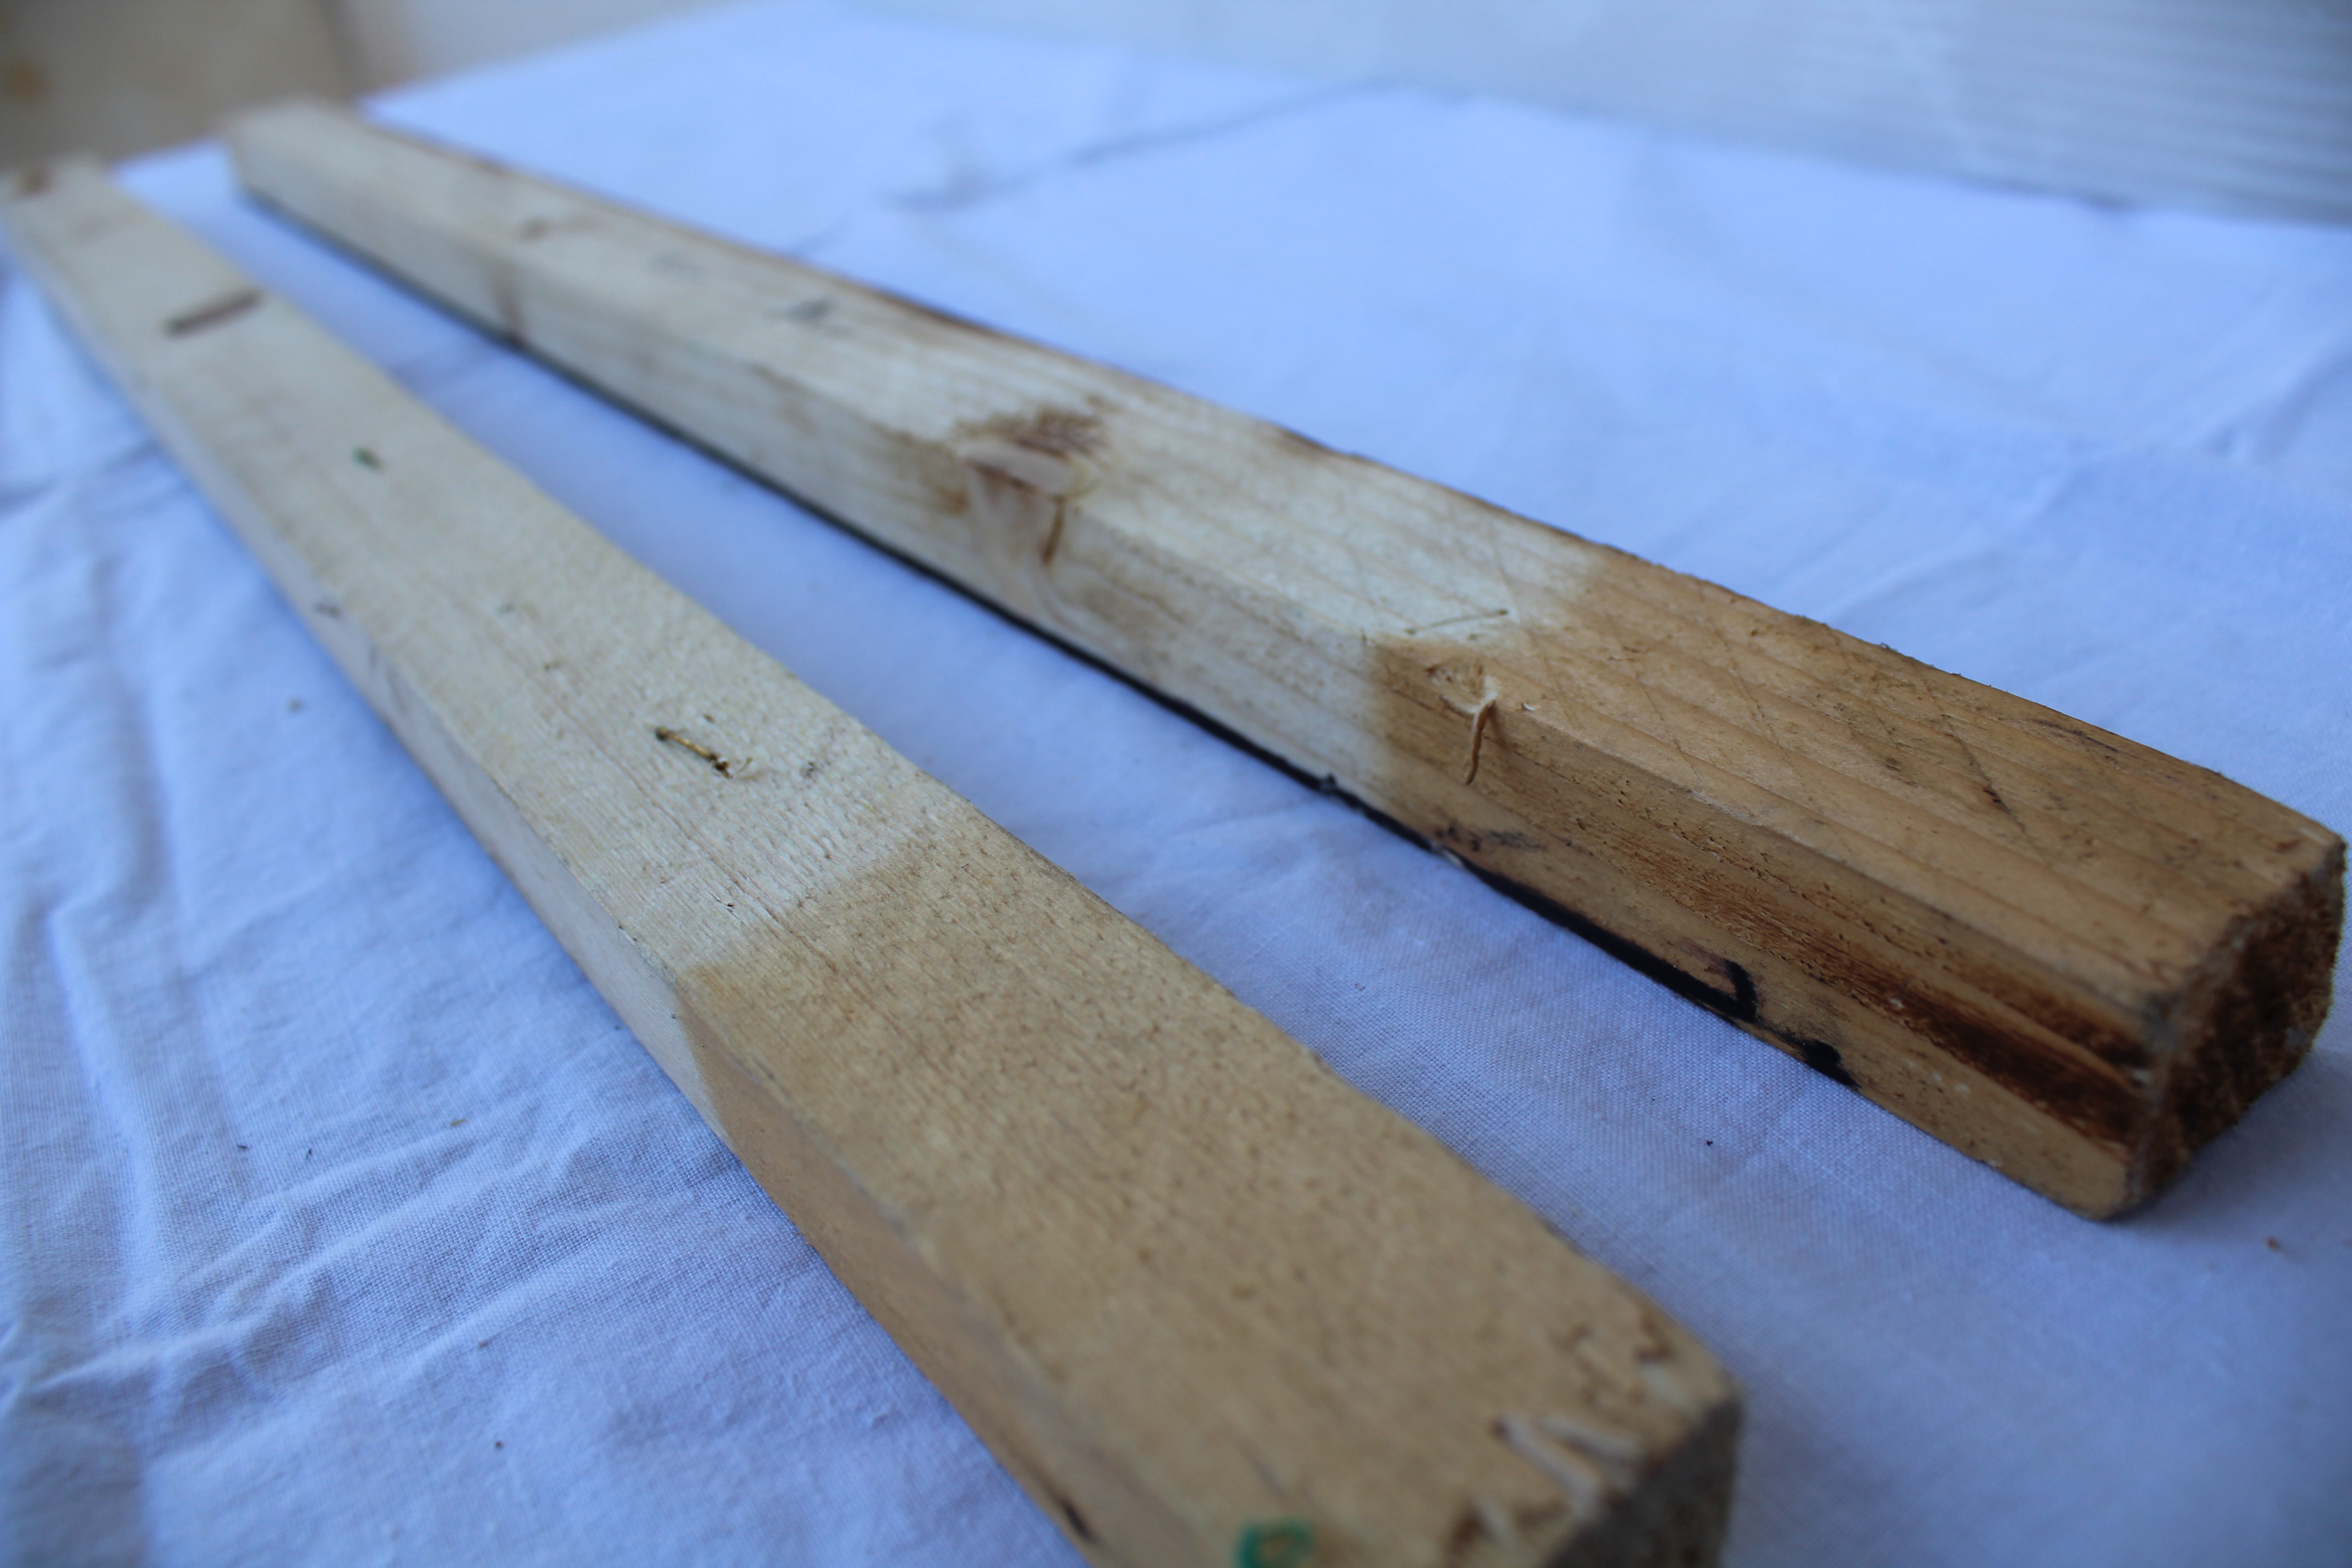
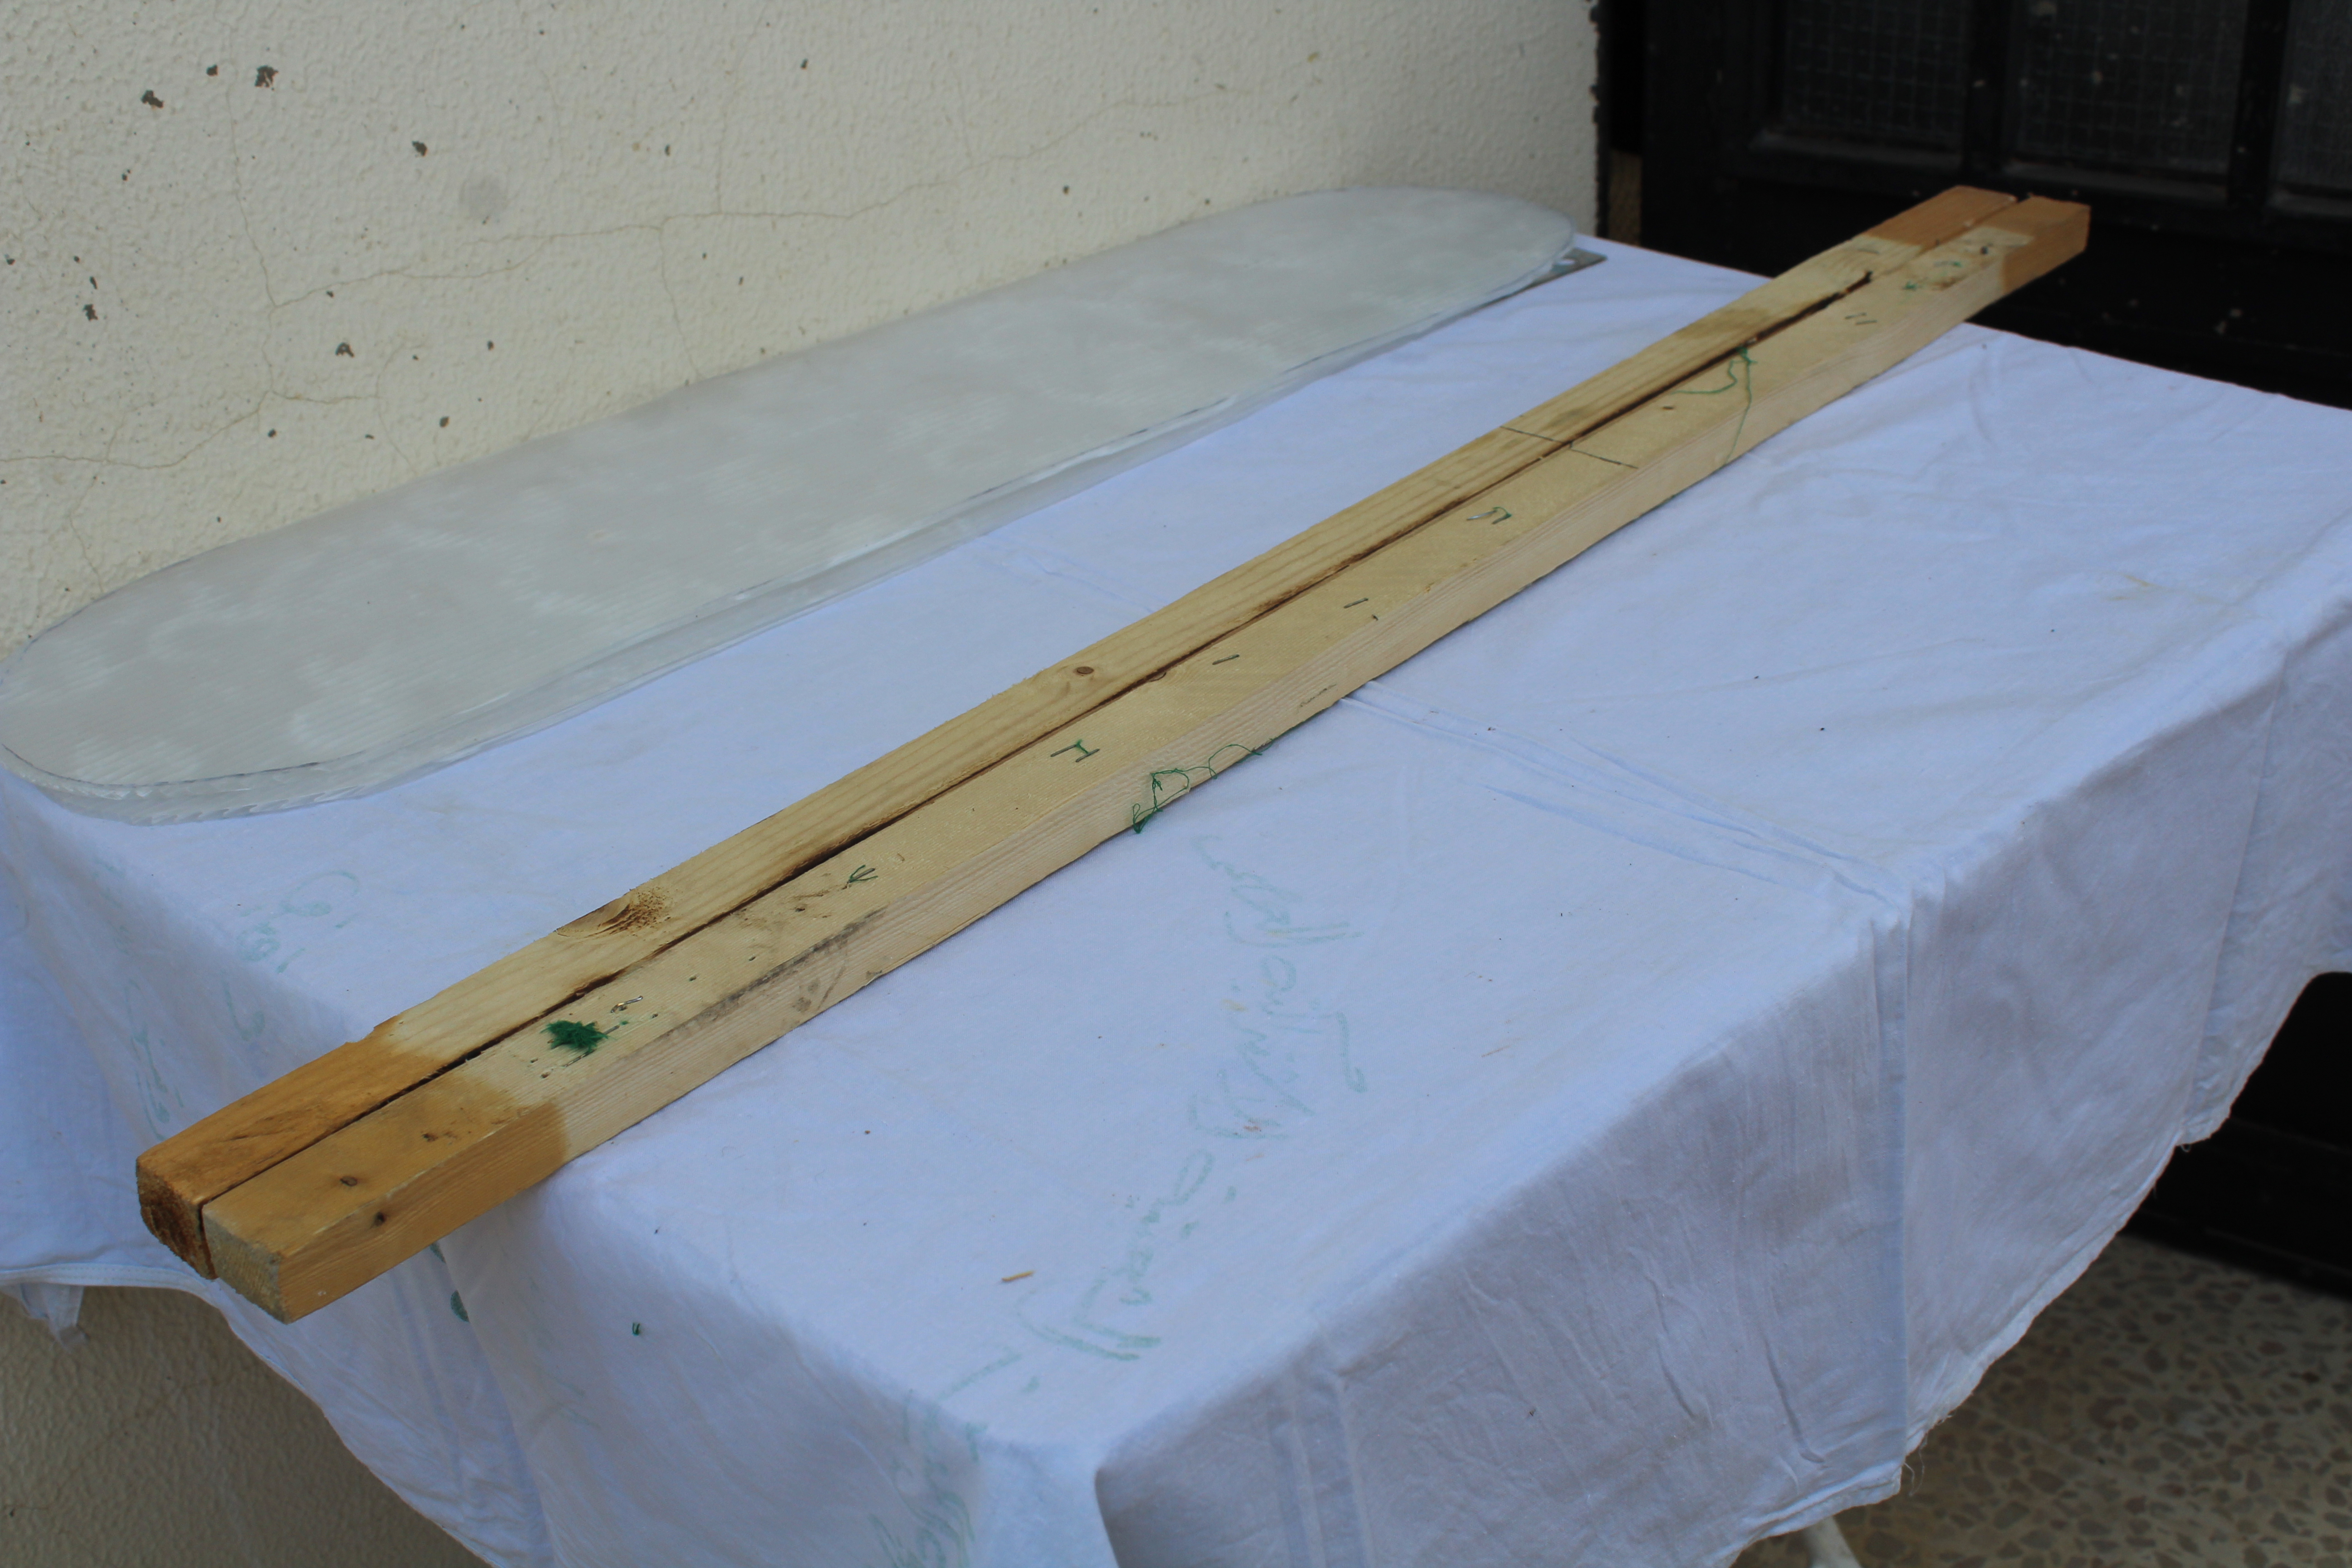
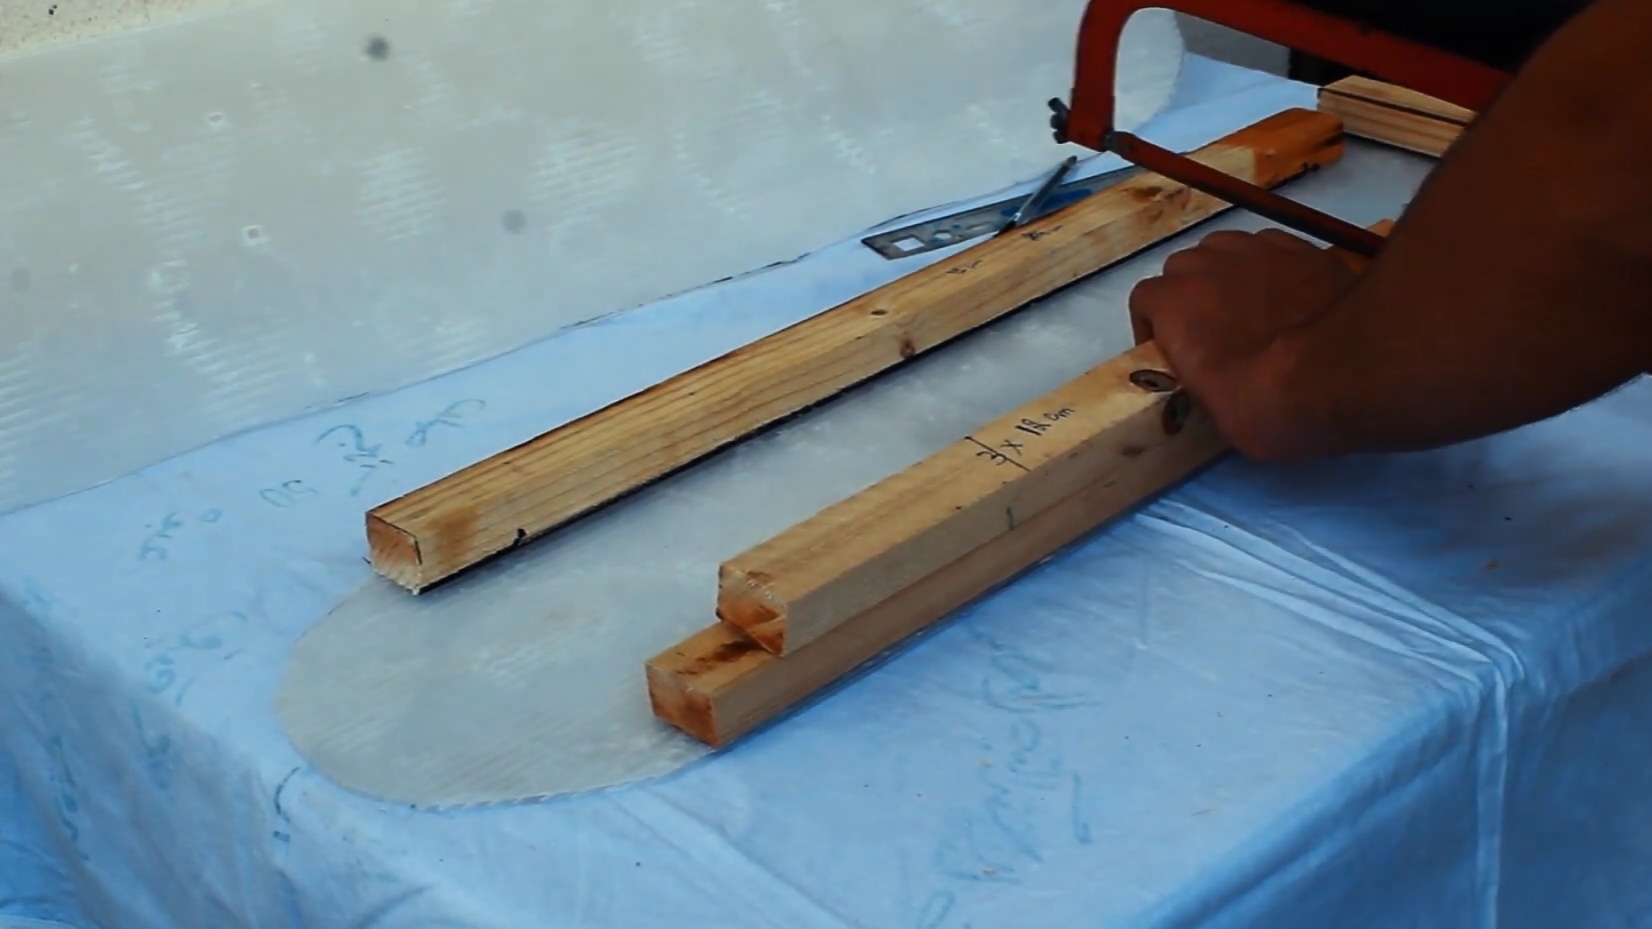
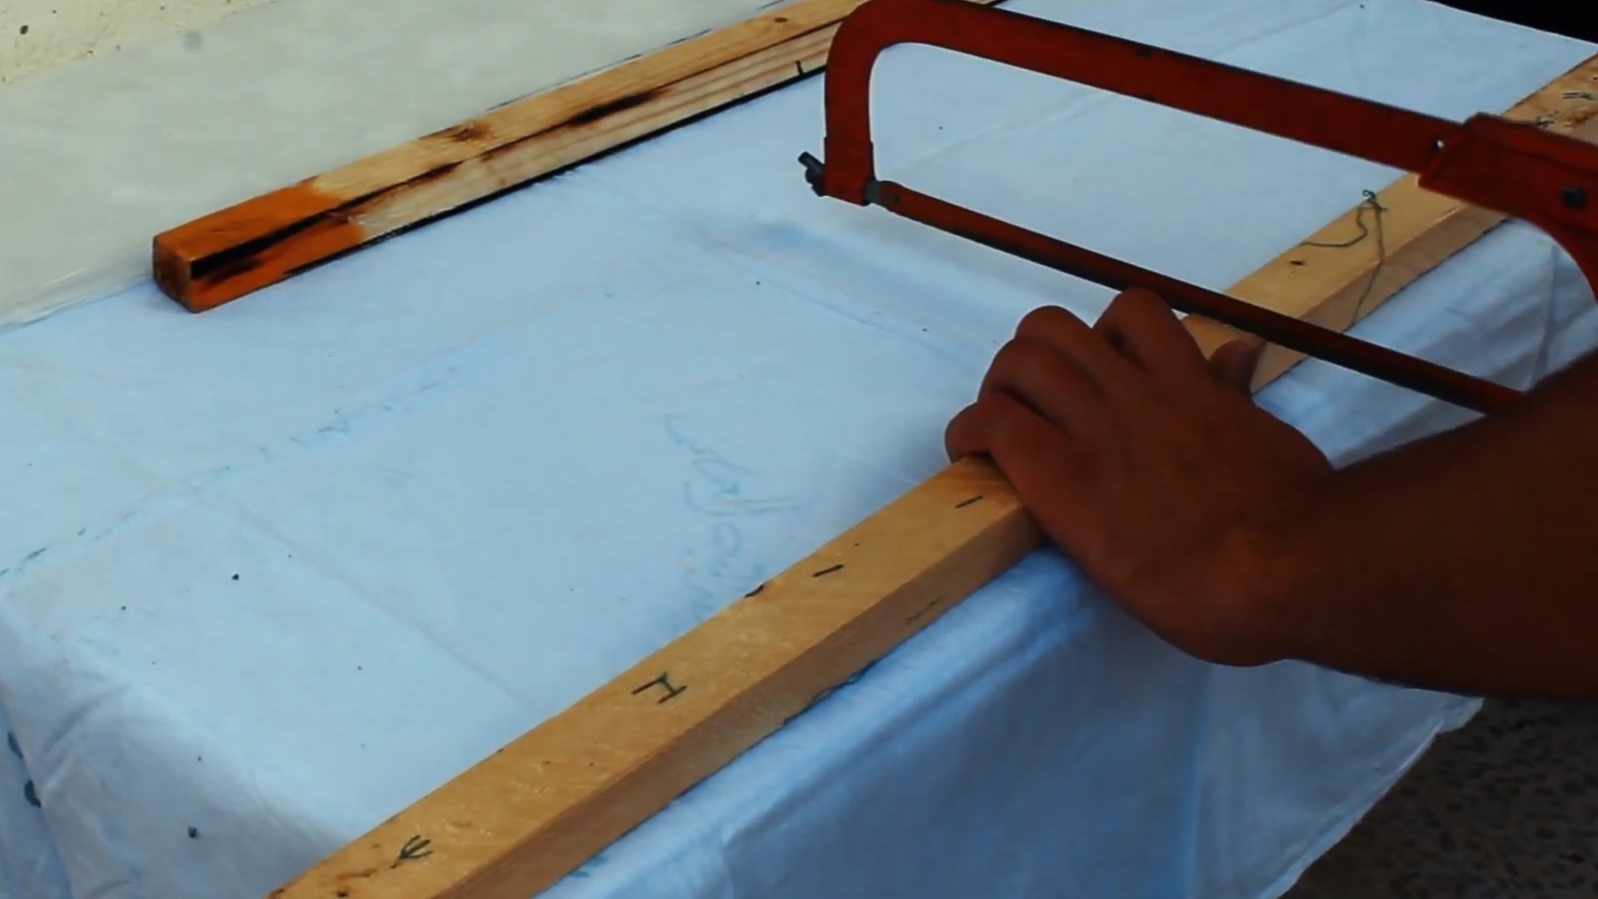
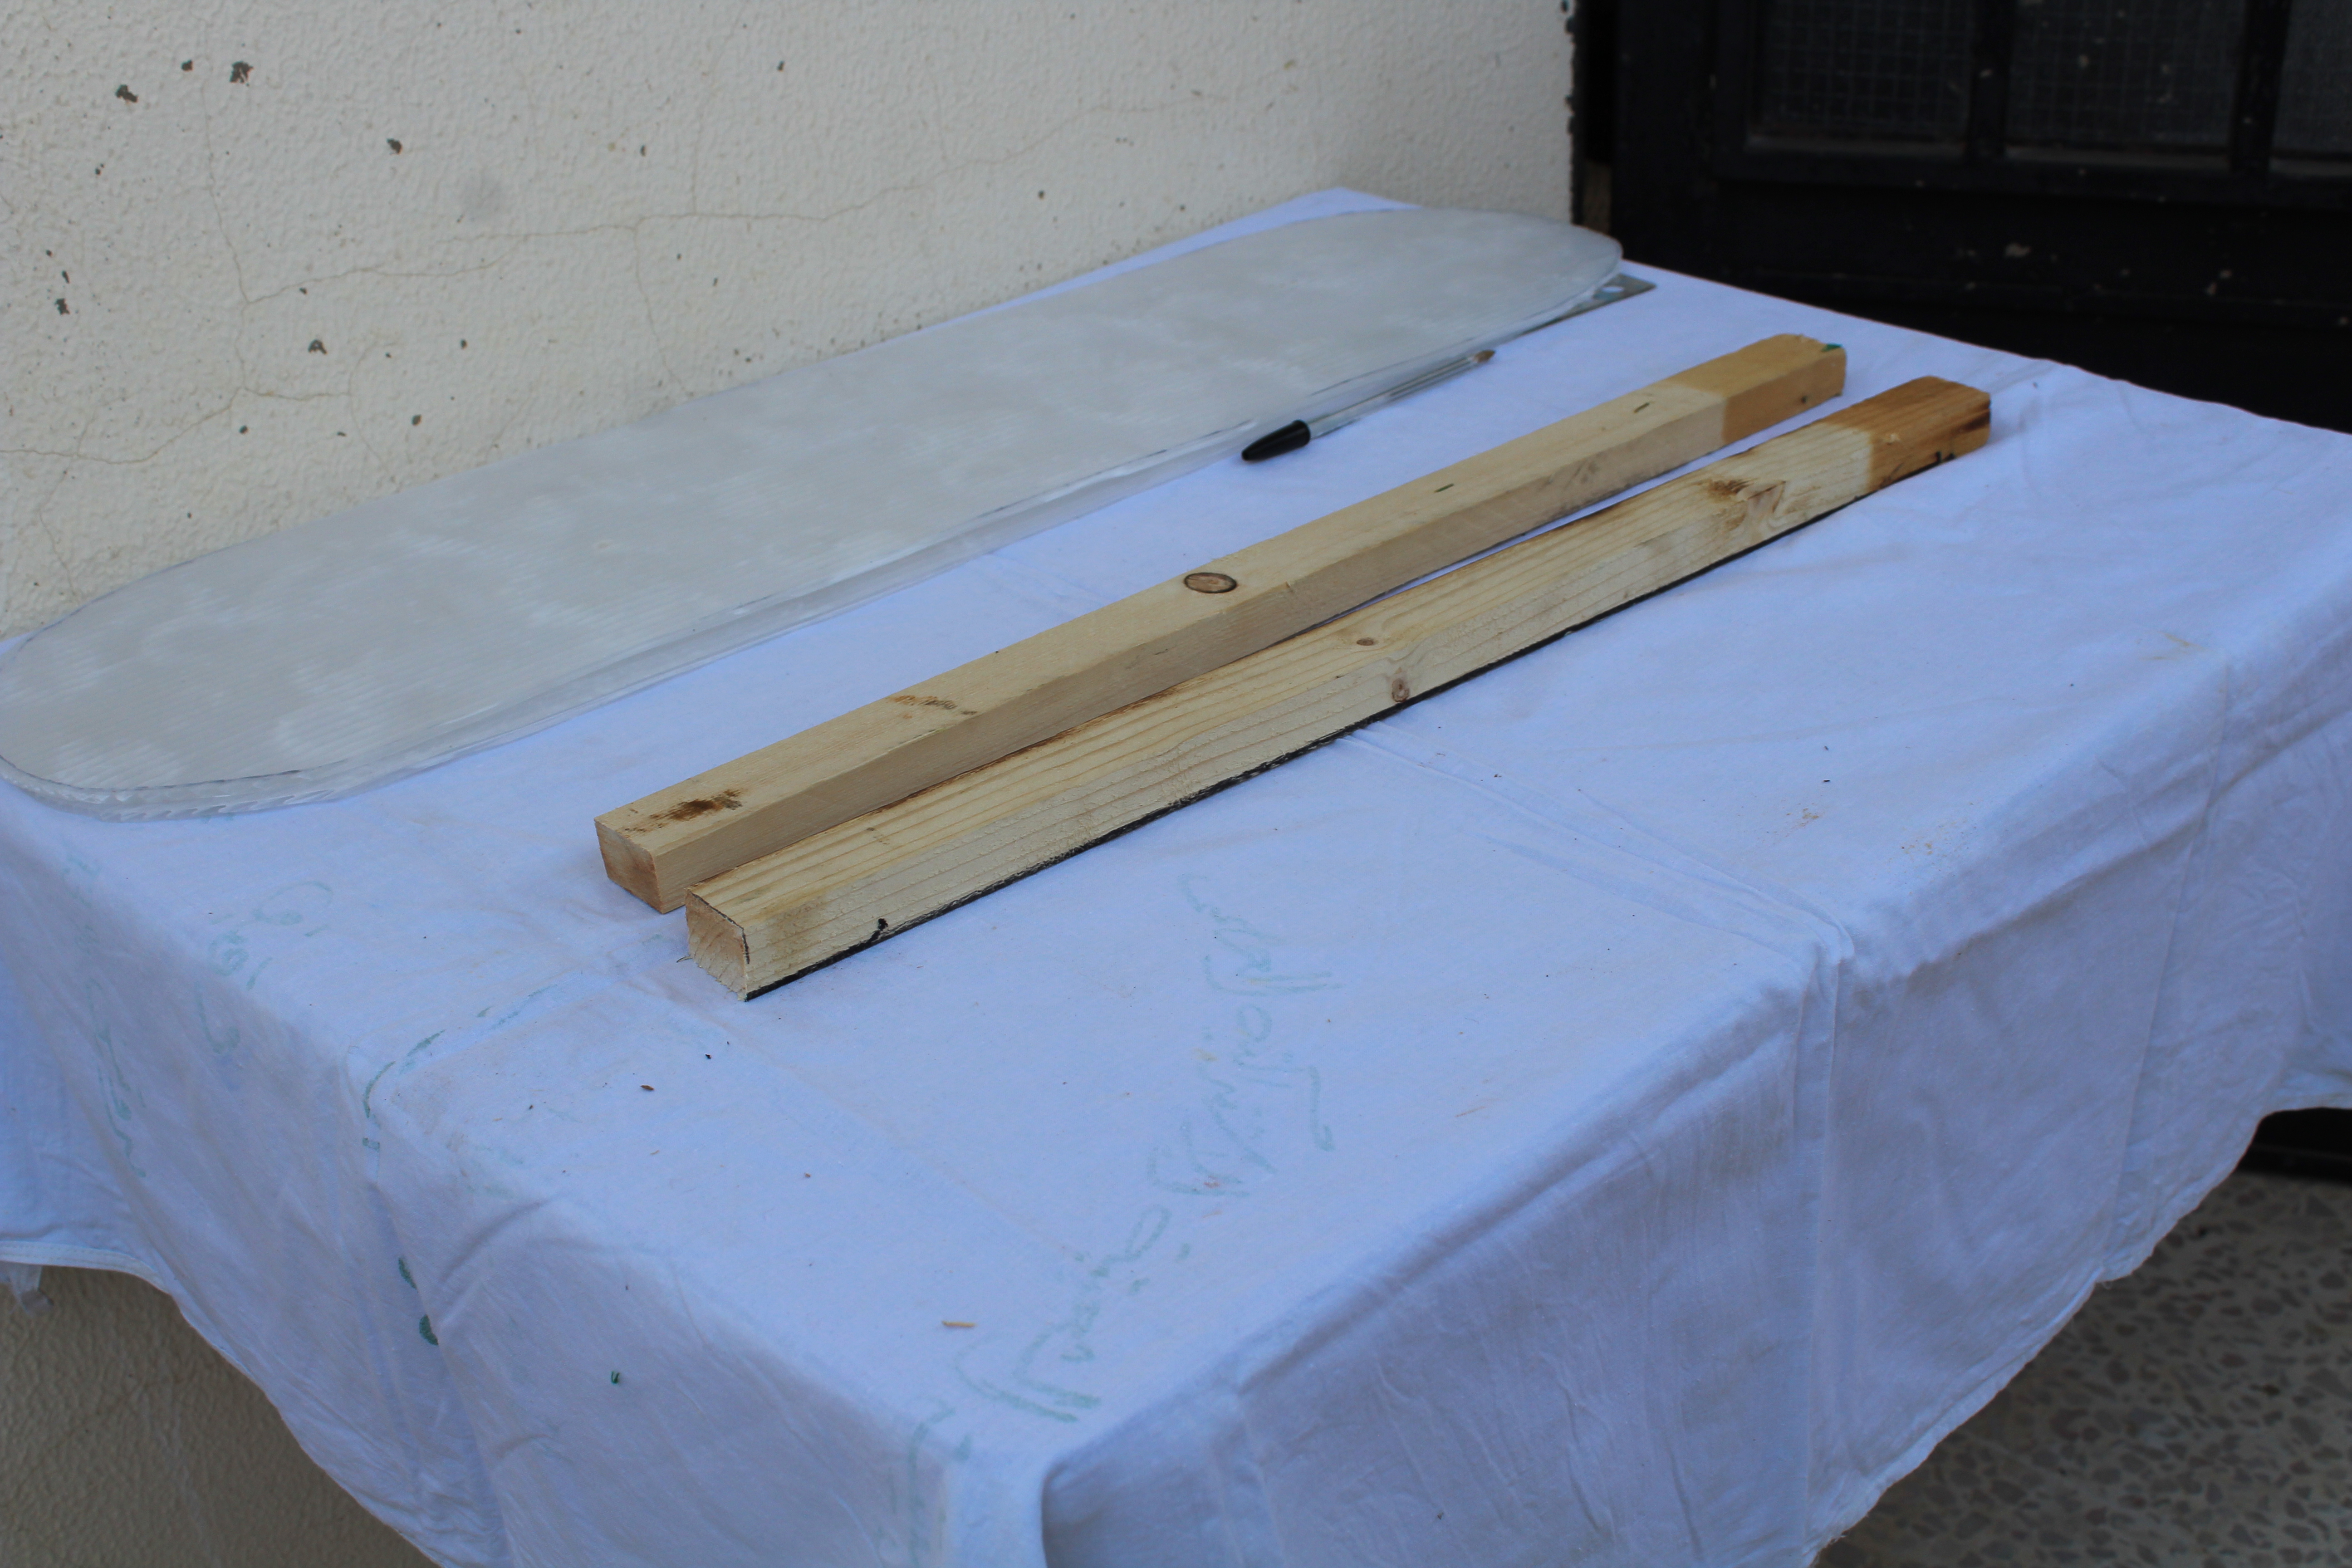
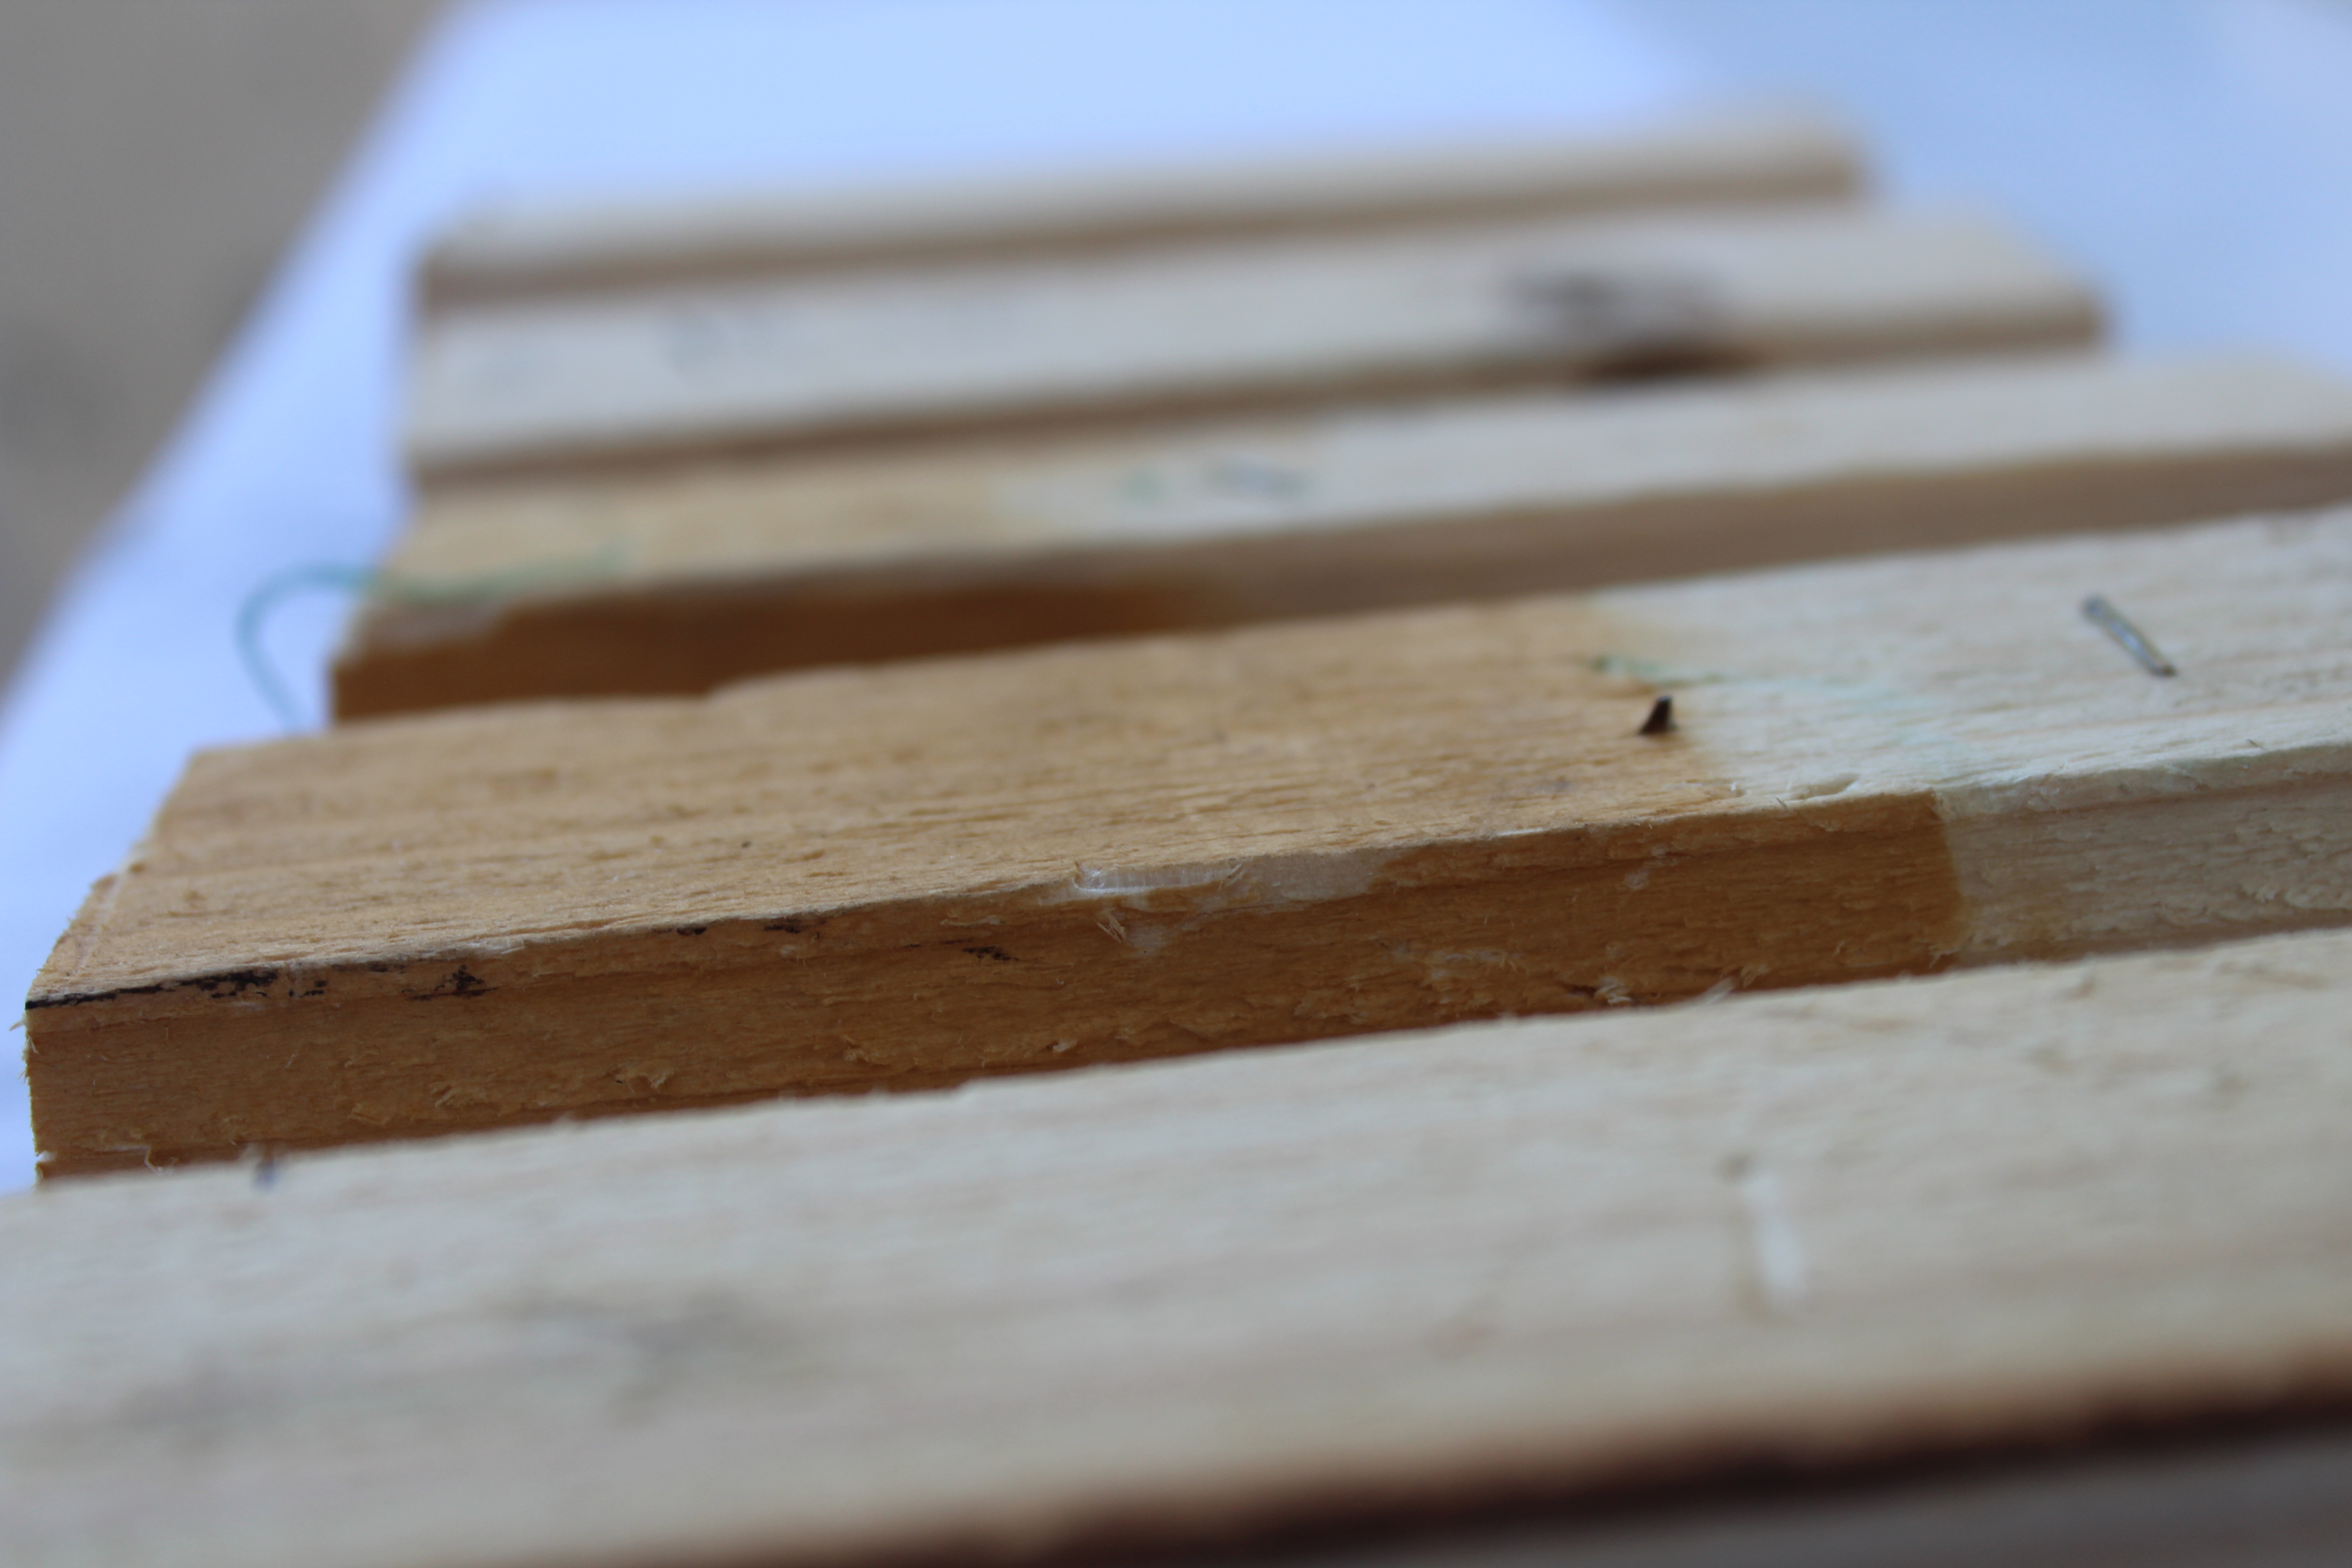
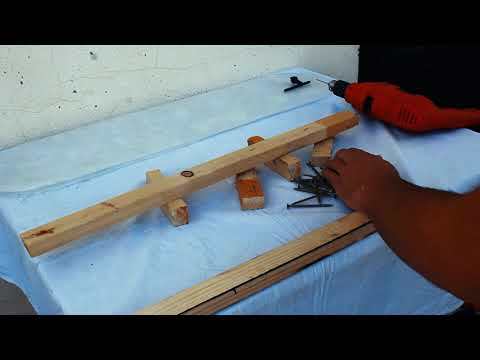
My skateboard is made out of a remix between the 3D printed boards and the wooden base under the boards and that to make my skateboard more strength and sustainable while riding it. So I start building my wooden base by sawing two wooden rods with 80cm length, then cut five wooden pieces with 12cm length to add them between the two long wooden pieces.
Take Measurements
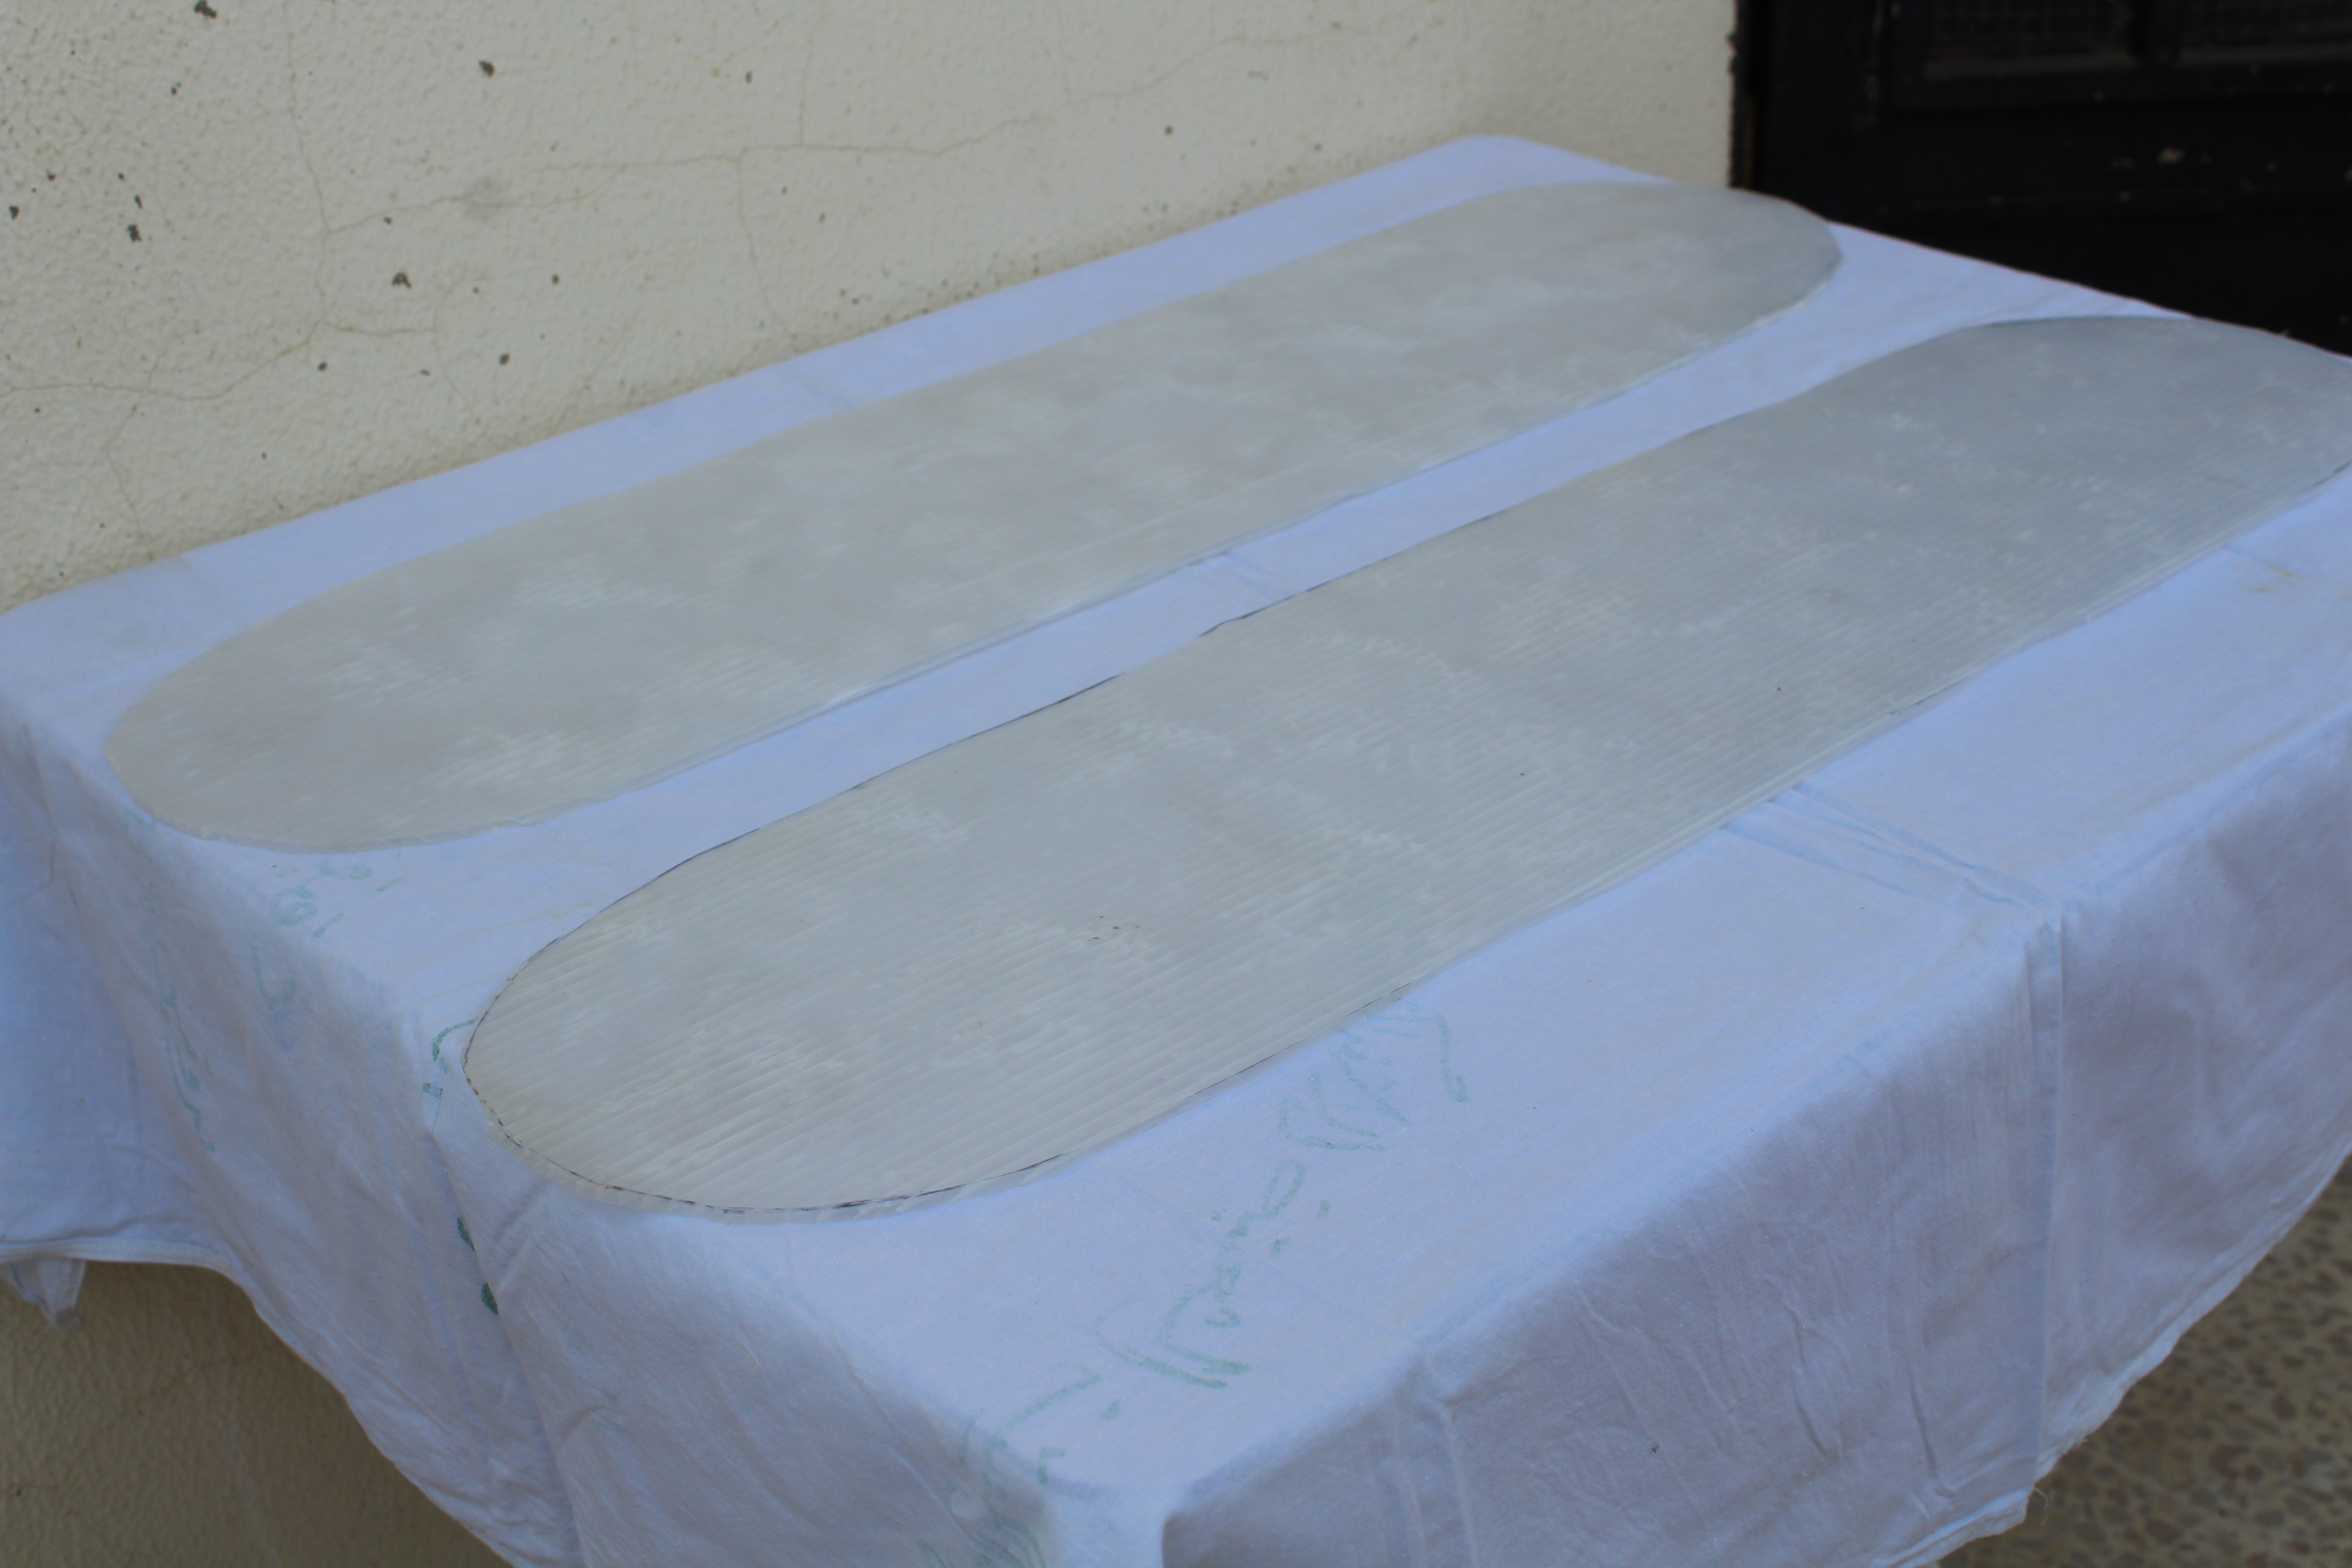
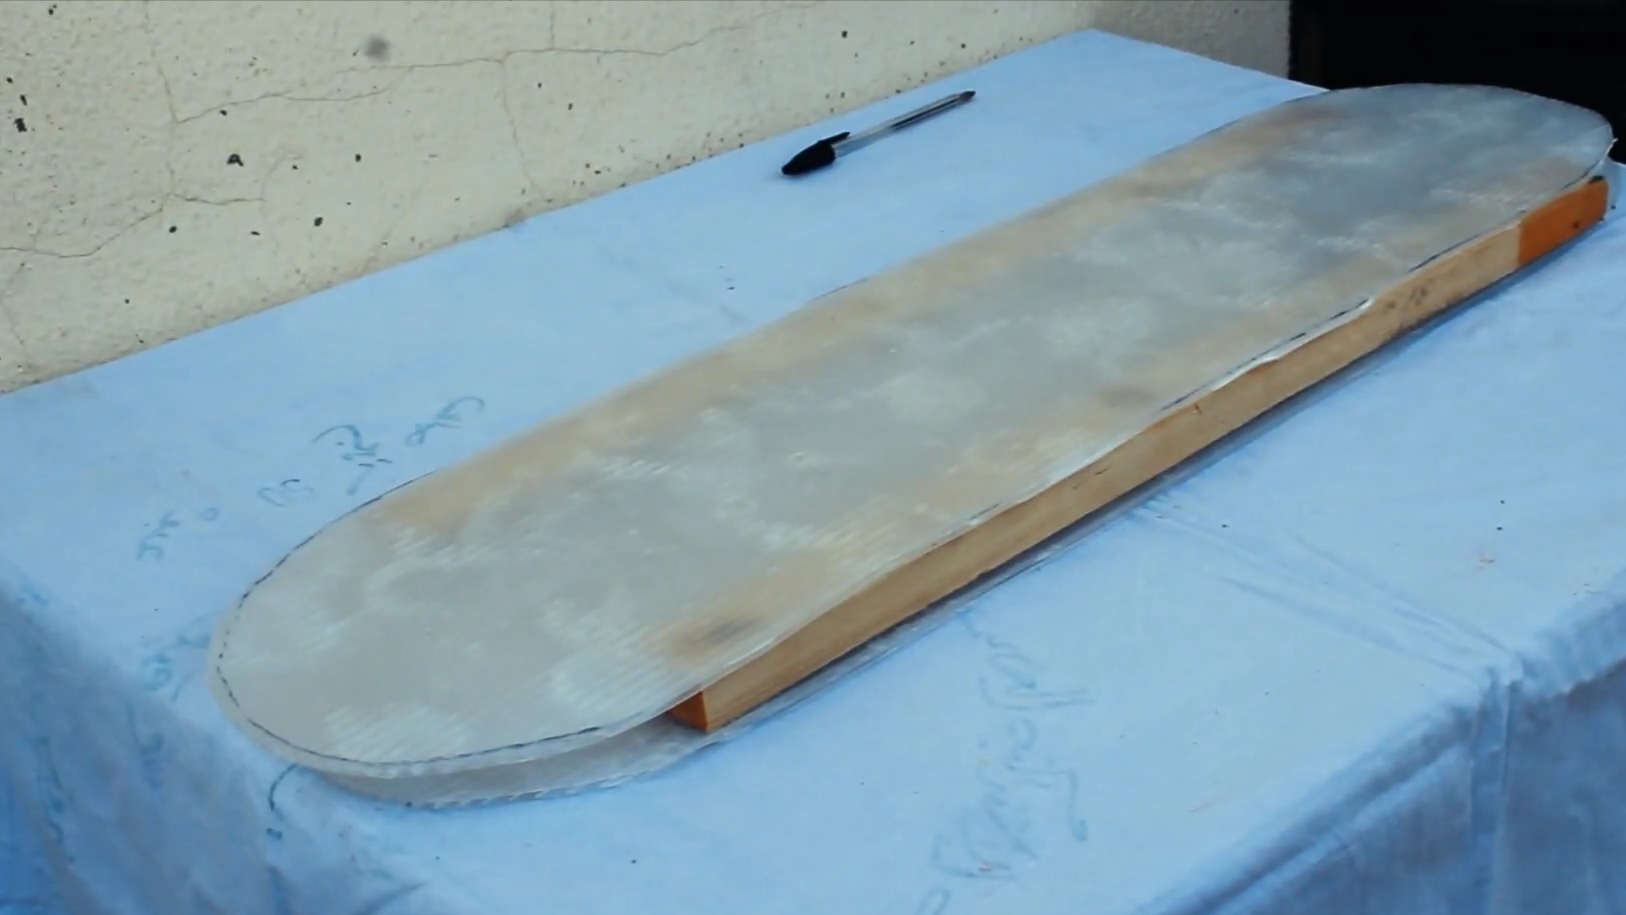
Before assembling the wooden base make sure to take the proper measurements that fit the 3D printed boards.
This step is very important because this base will hold all the weight over it and connects all the wheels together.
Drilling
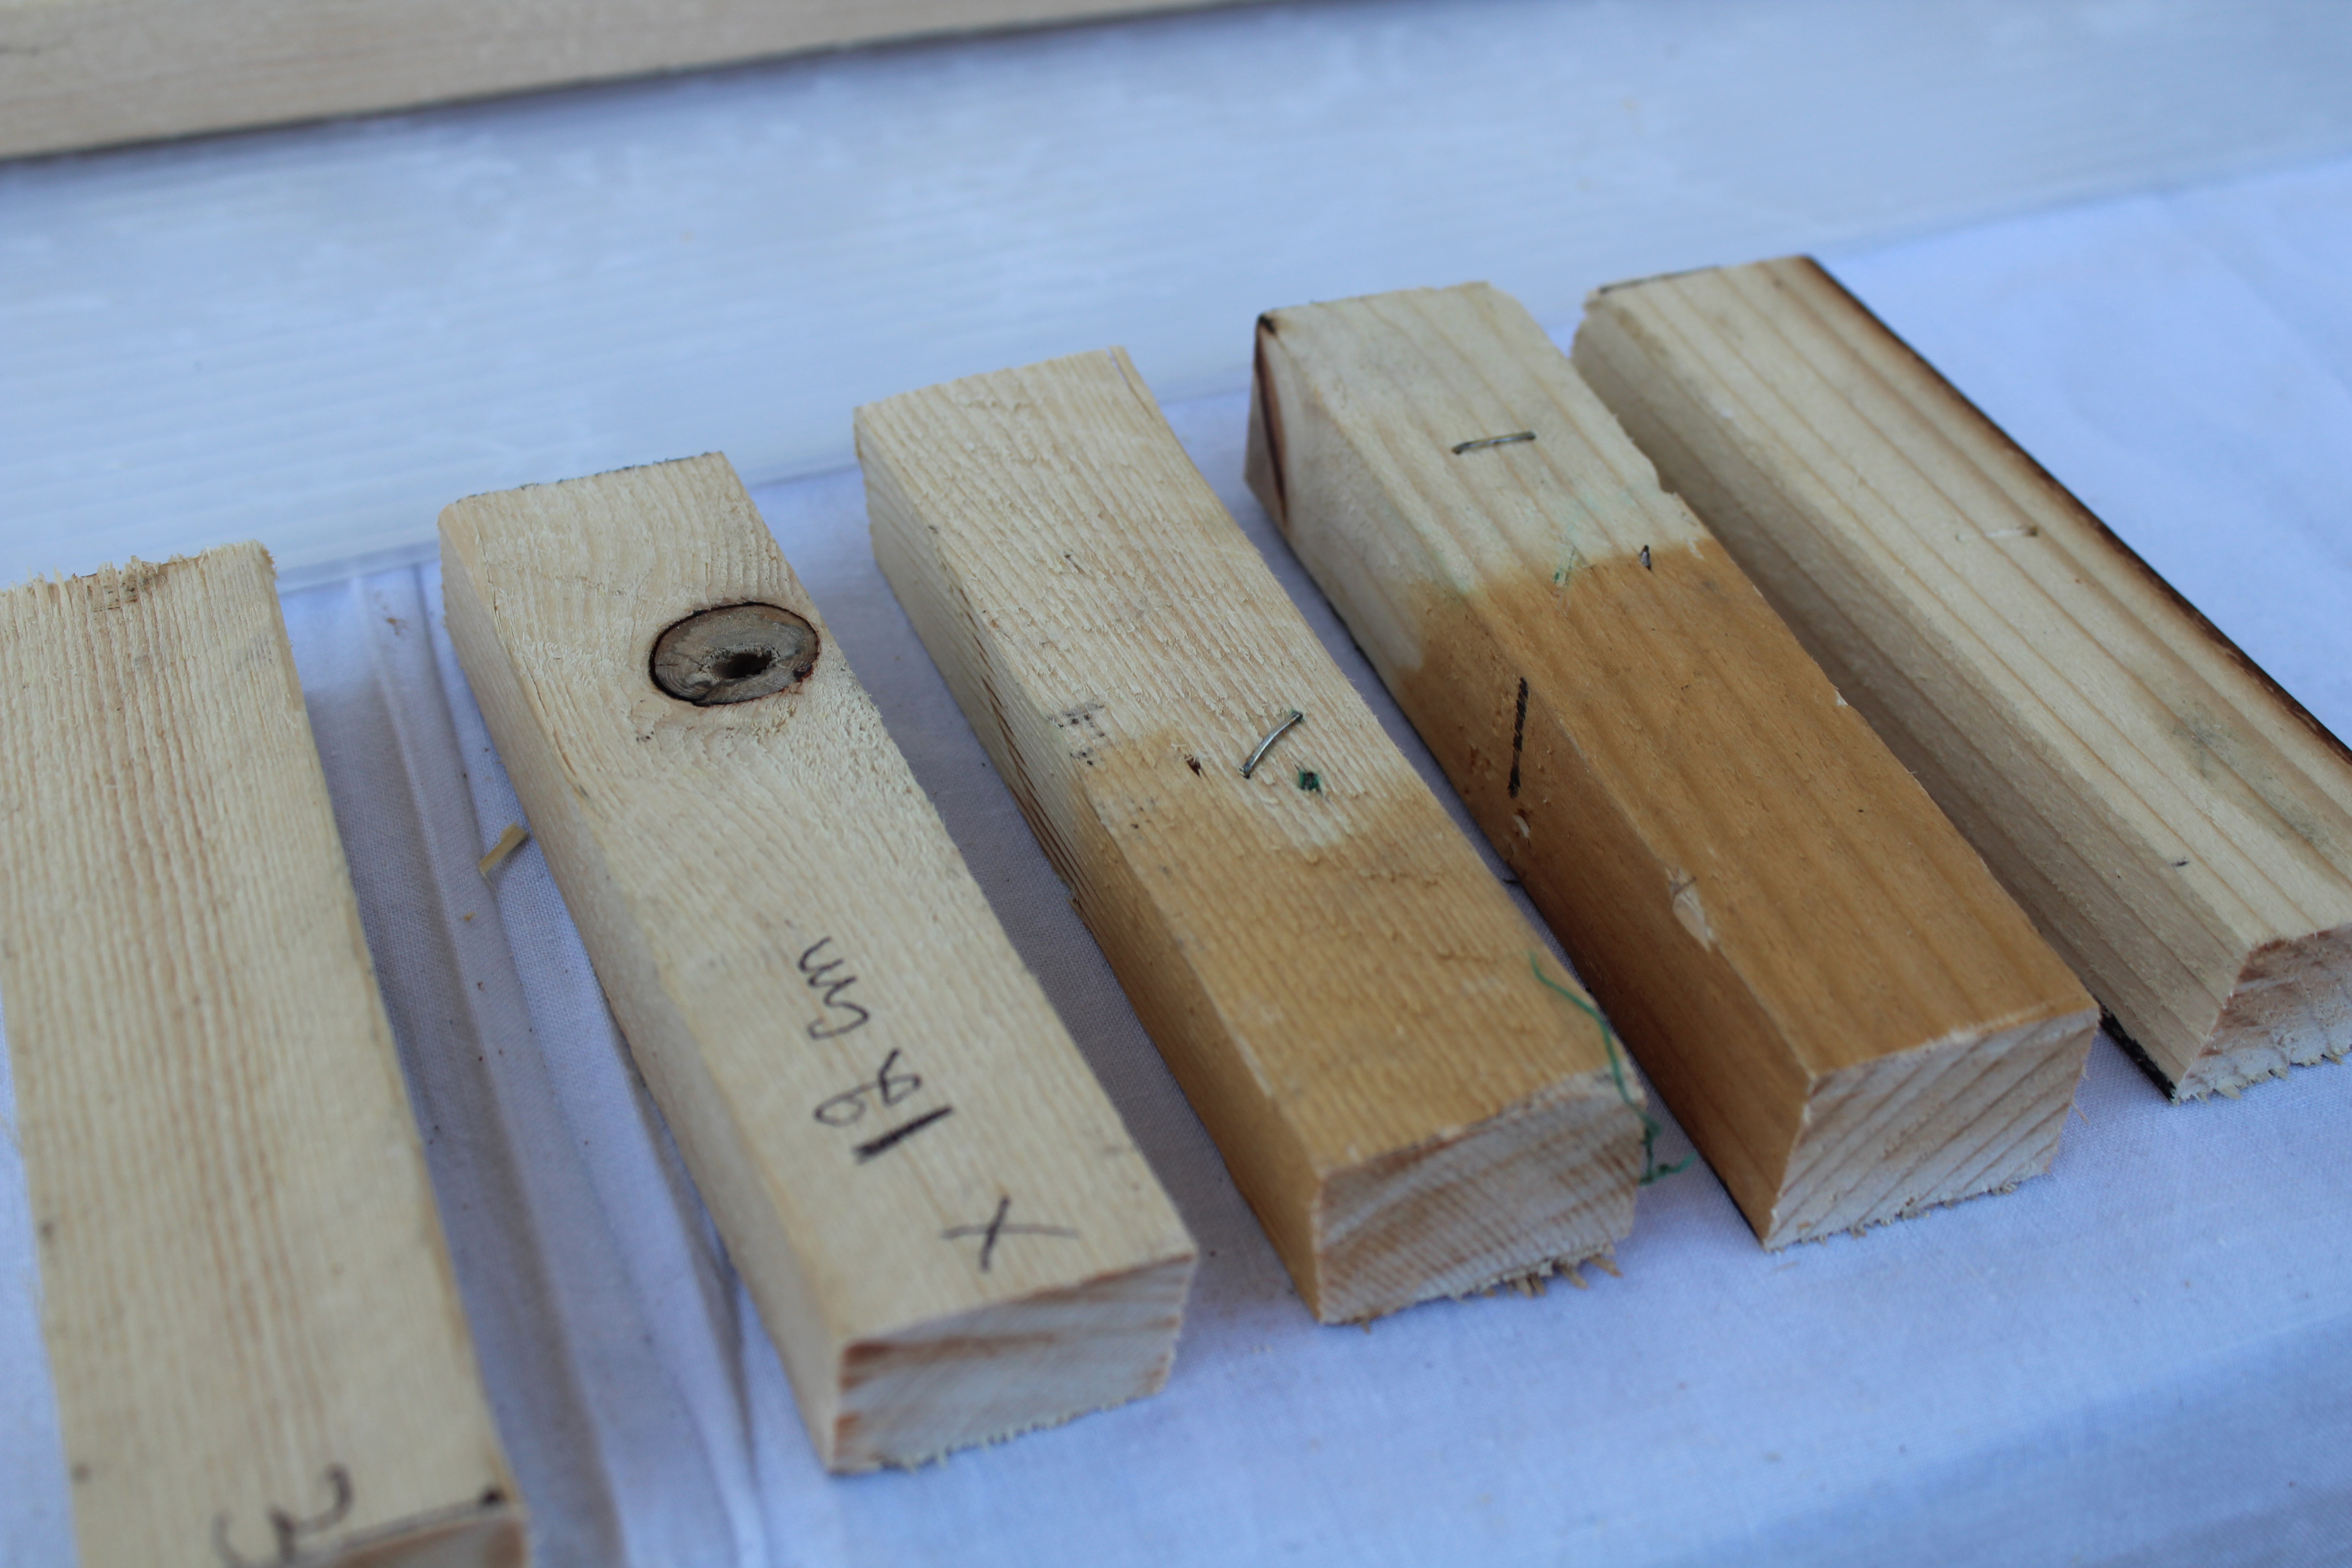
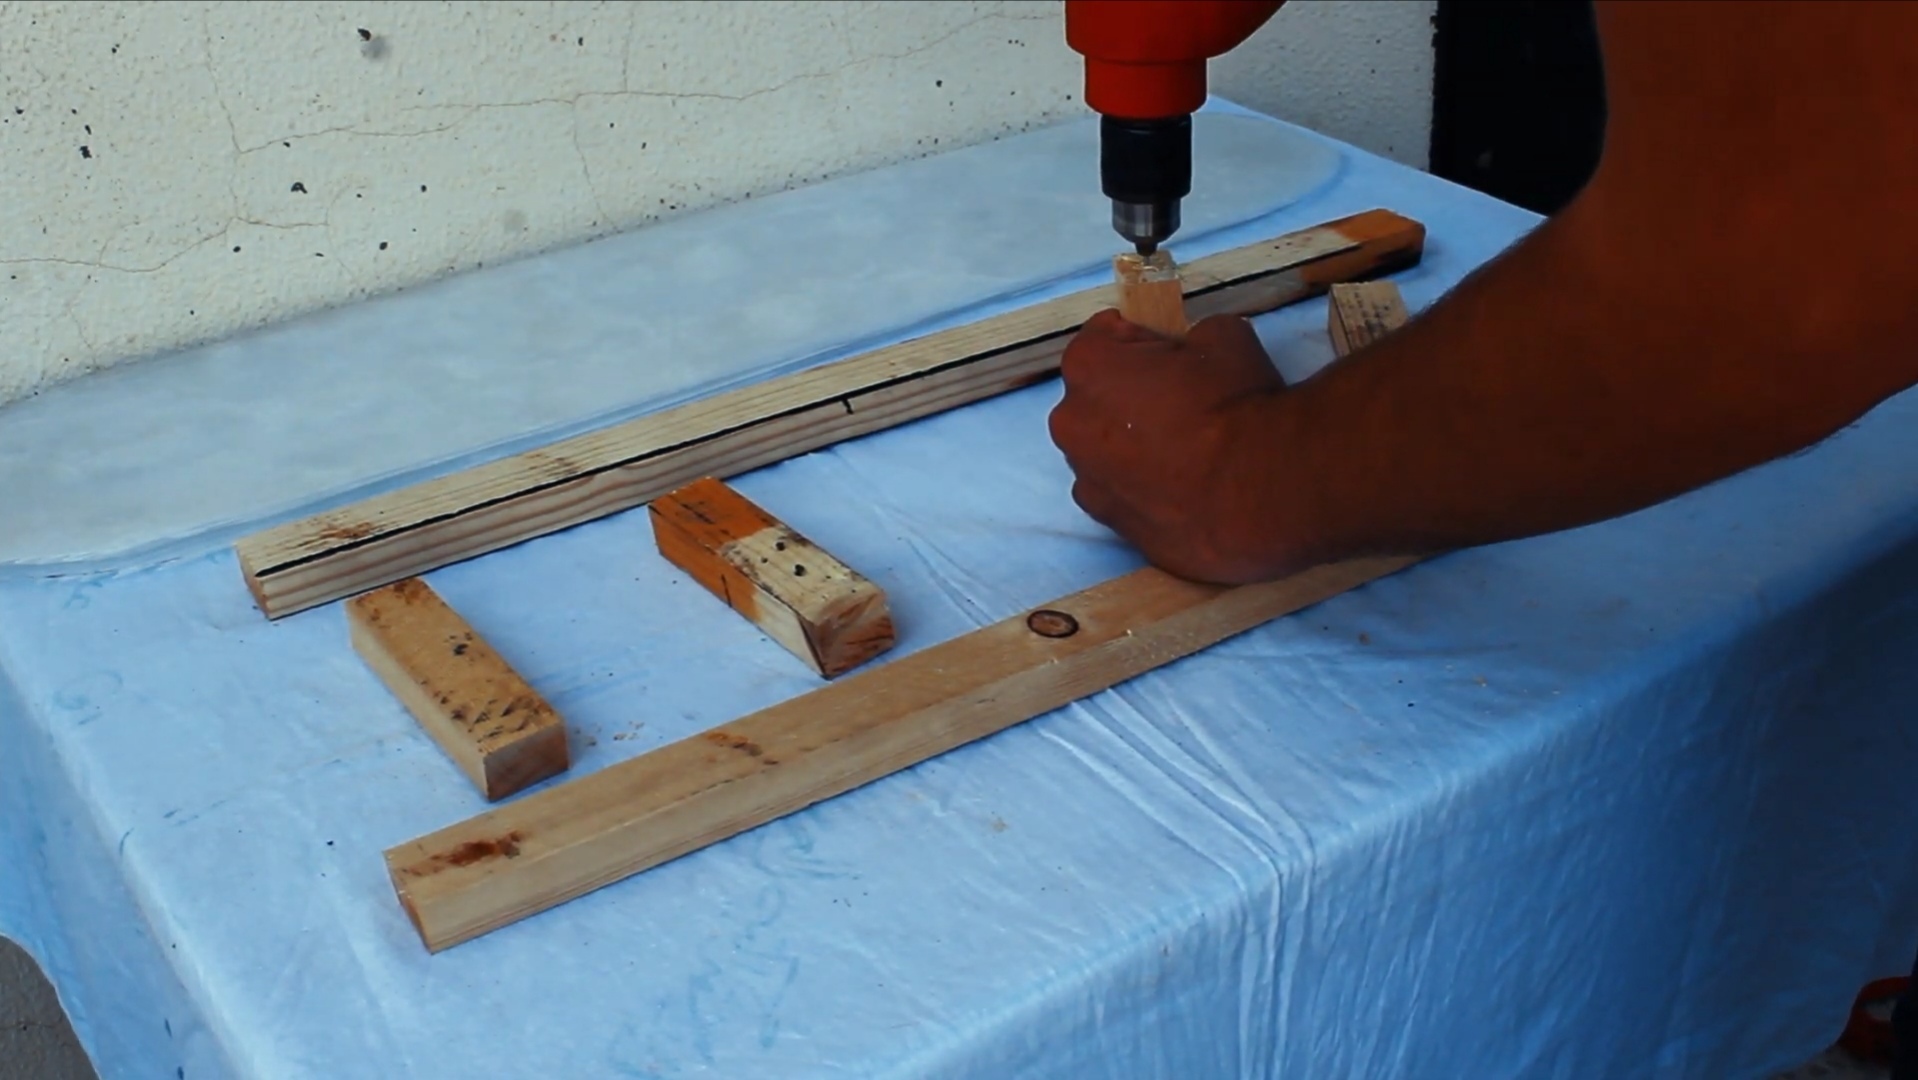
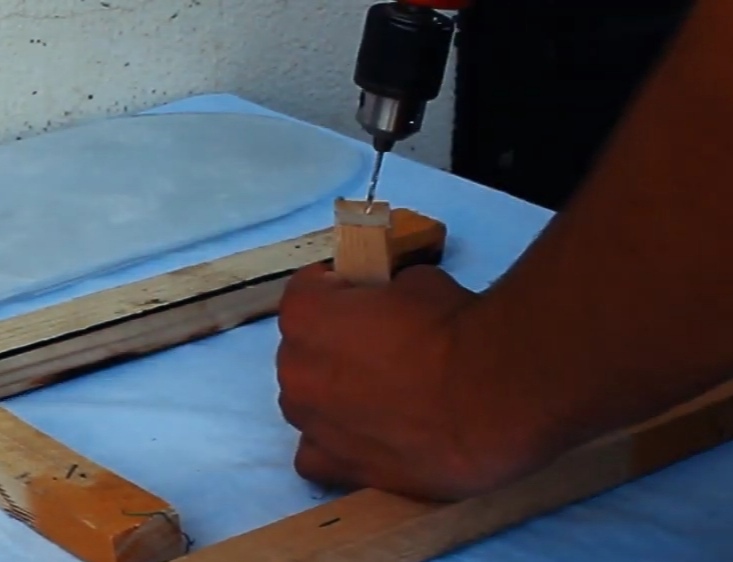
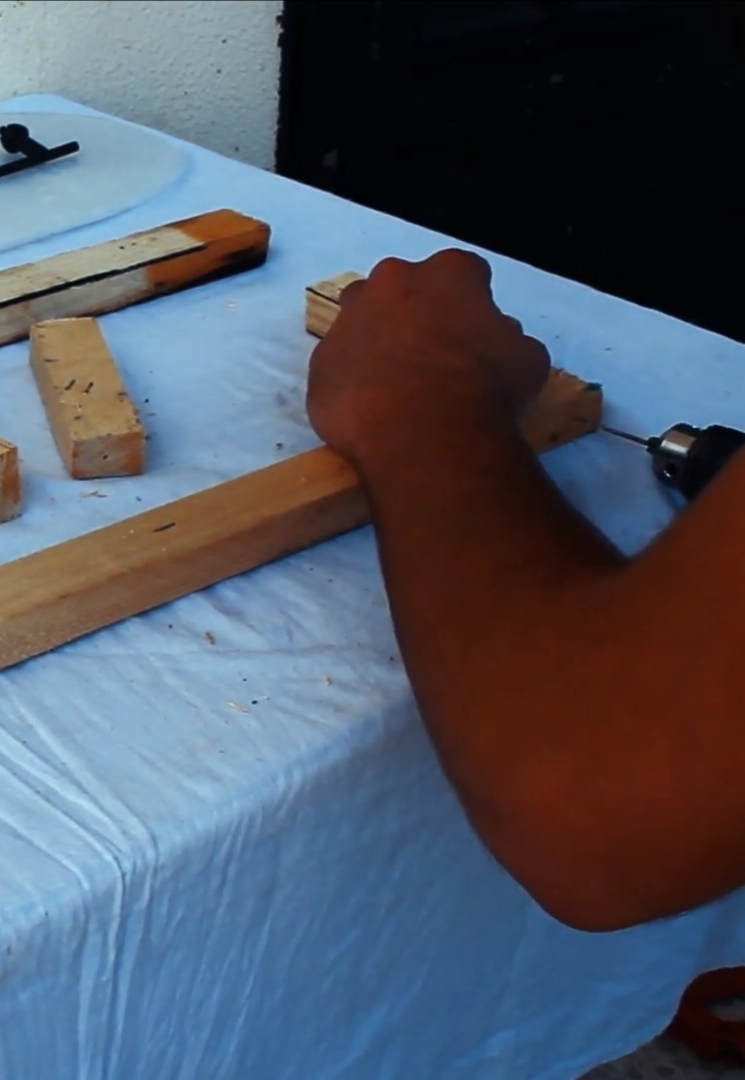
This step is quite easy, you have to drill all the 5 wooden pieces in the center of there side surface of each one and be careful not to break the wood while drilling.
Then drill five holes on the long pieces, two holes on the peripheries and three holes in the middle.
Screwing and Assembling
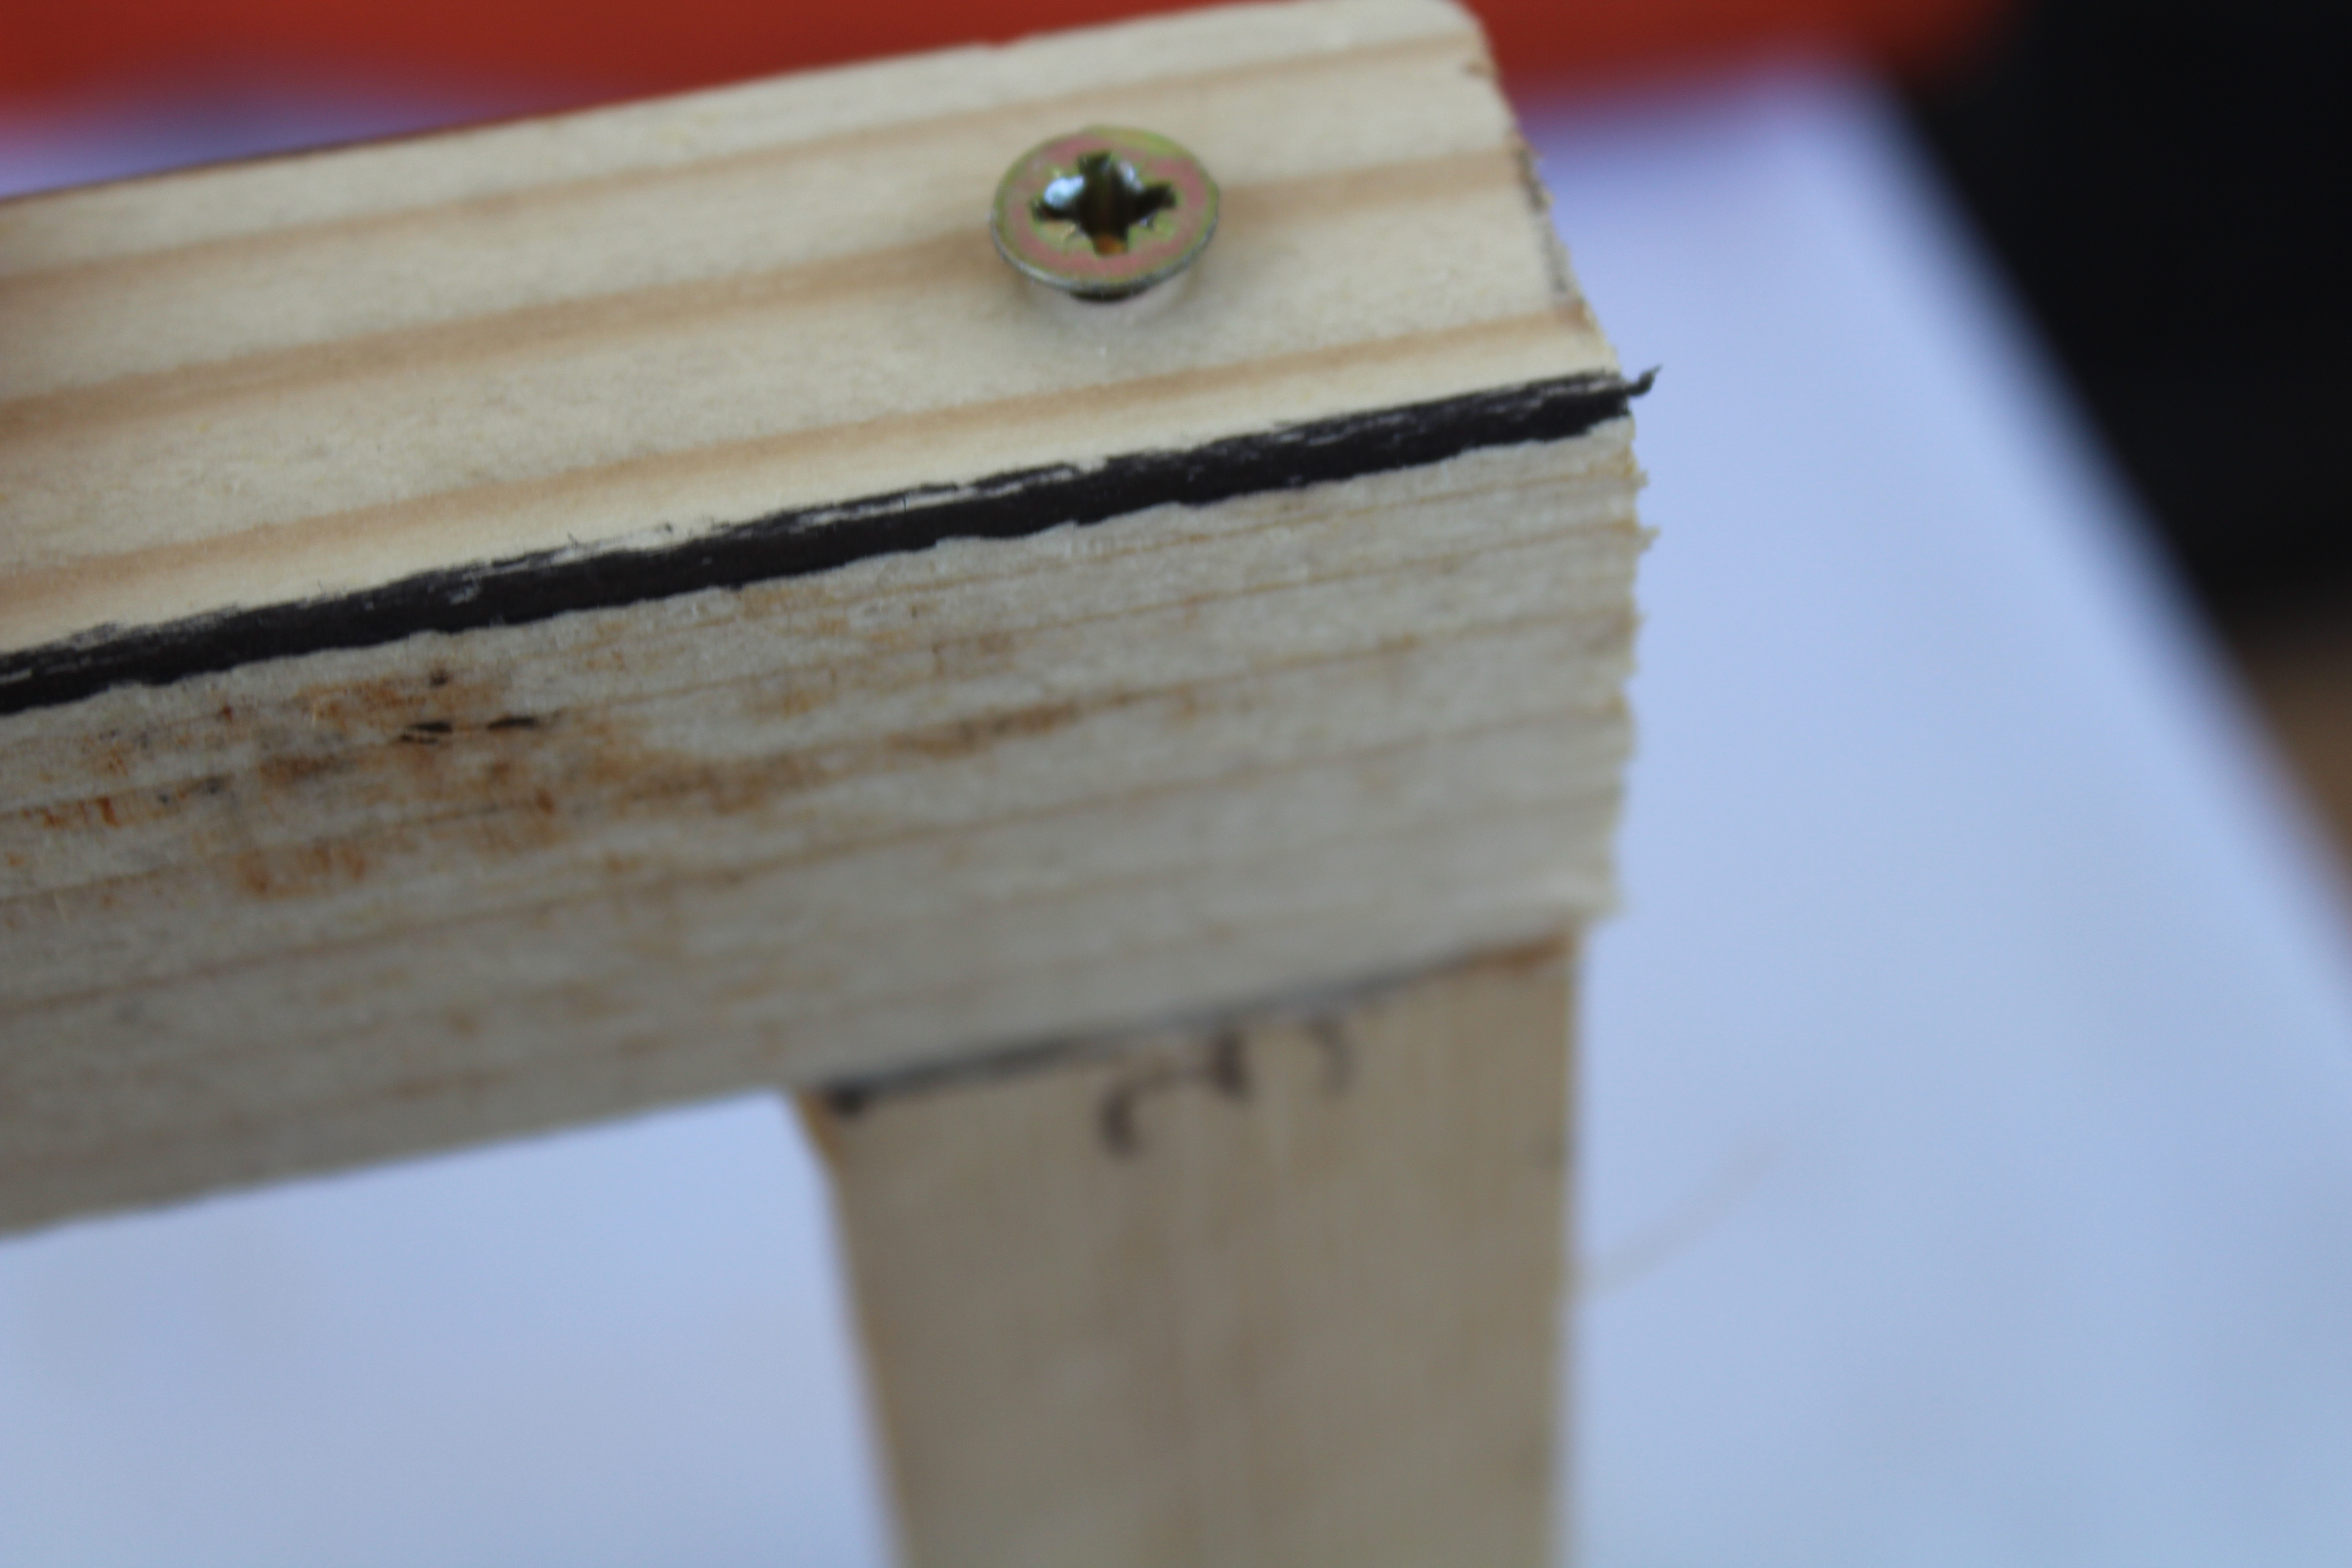
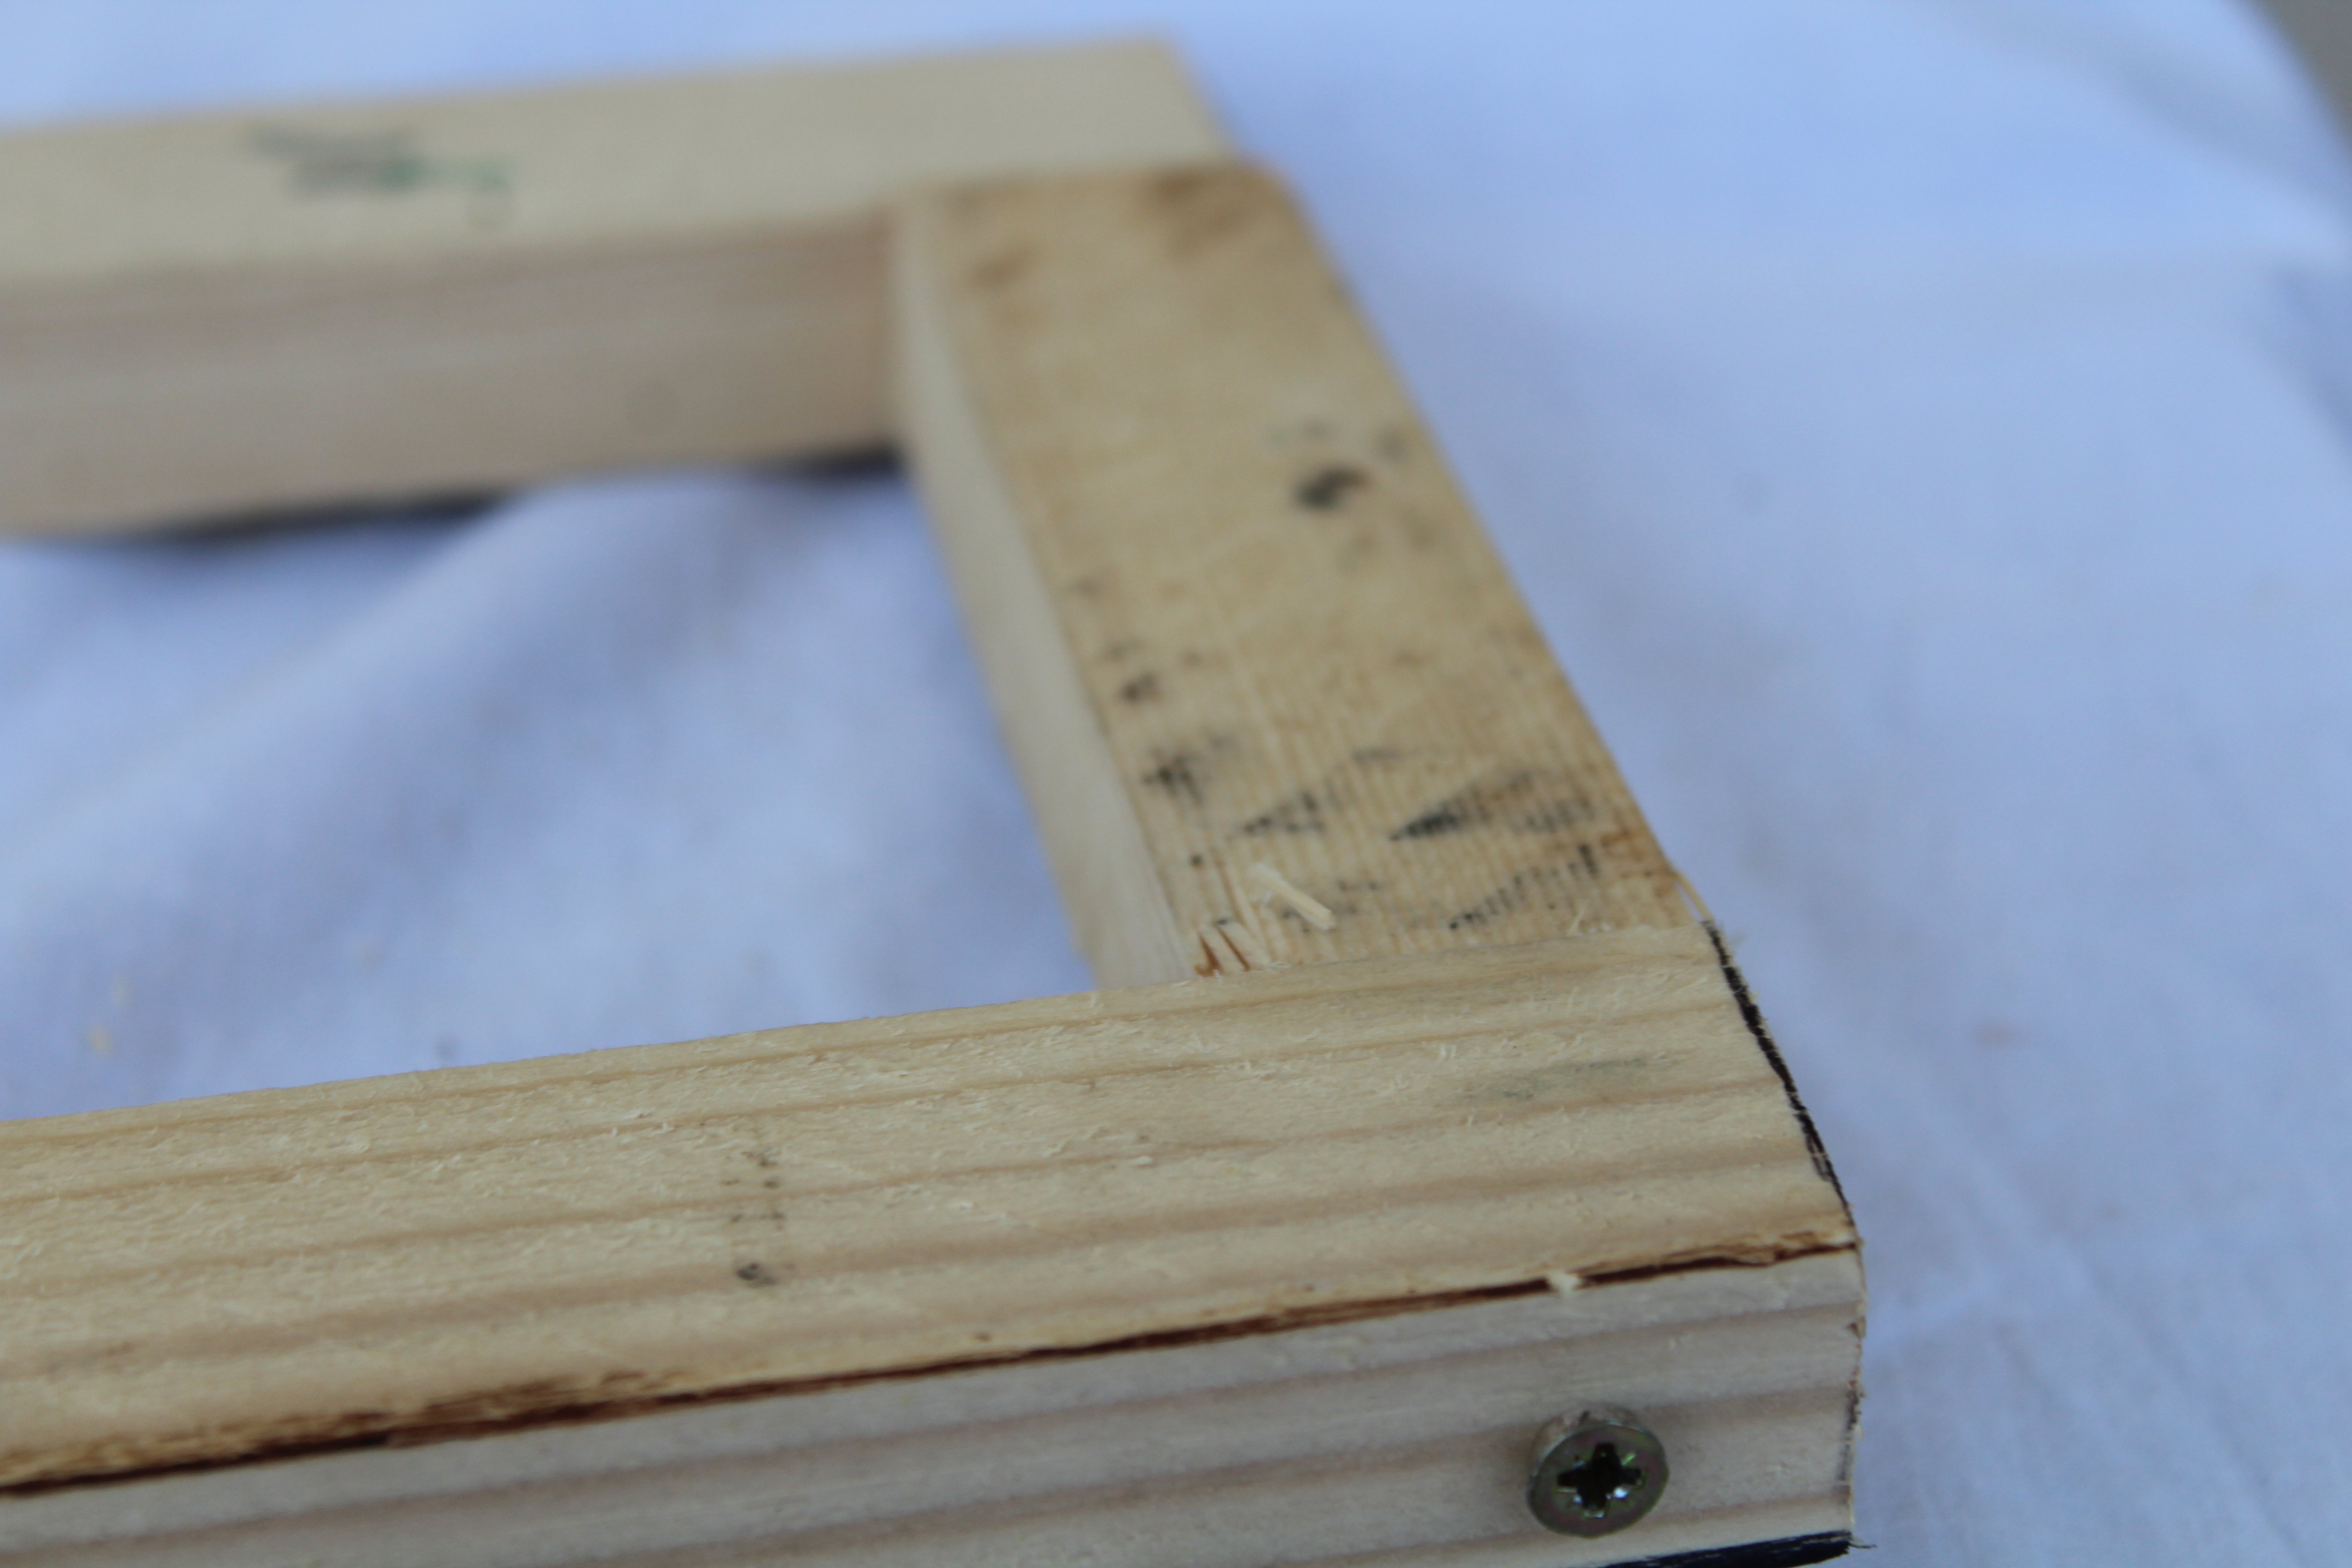
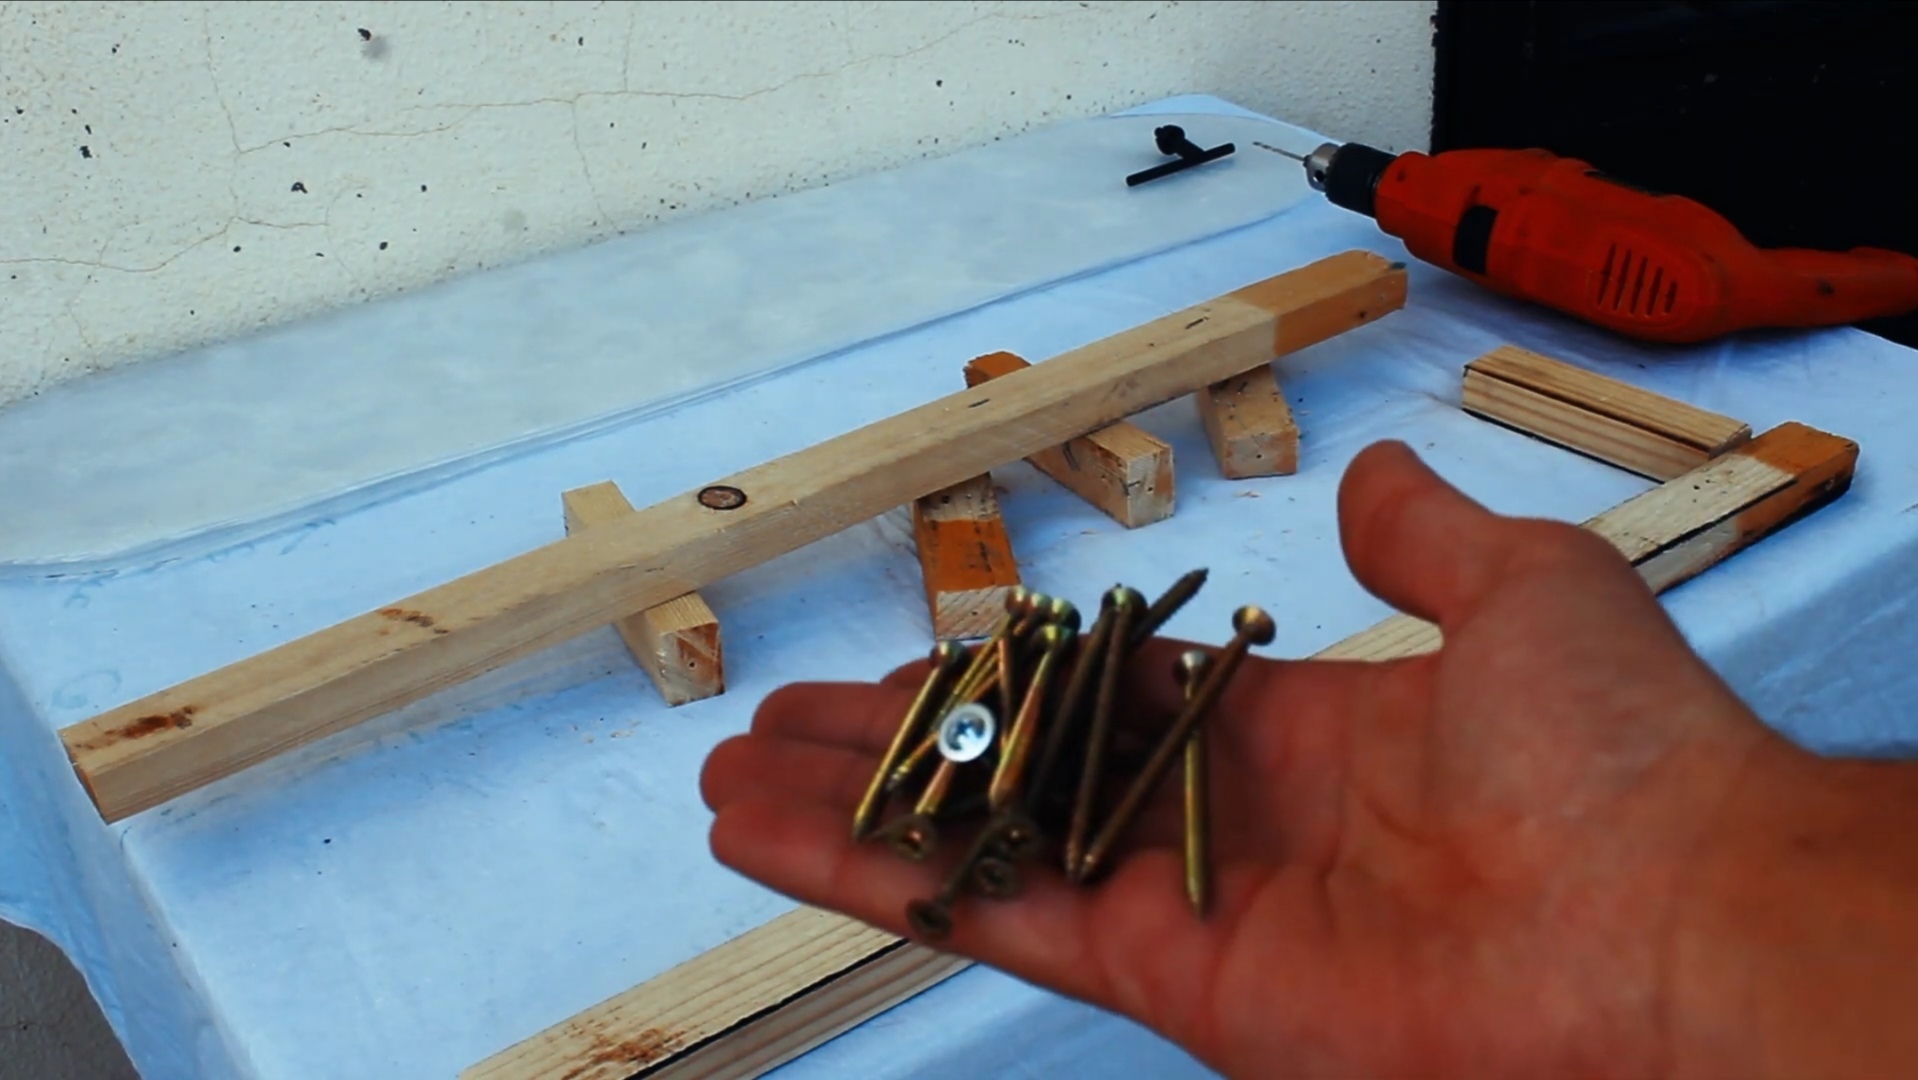
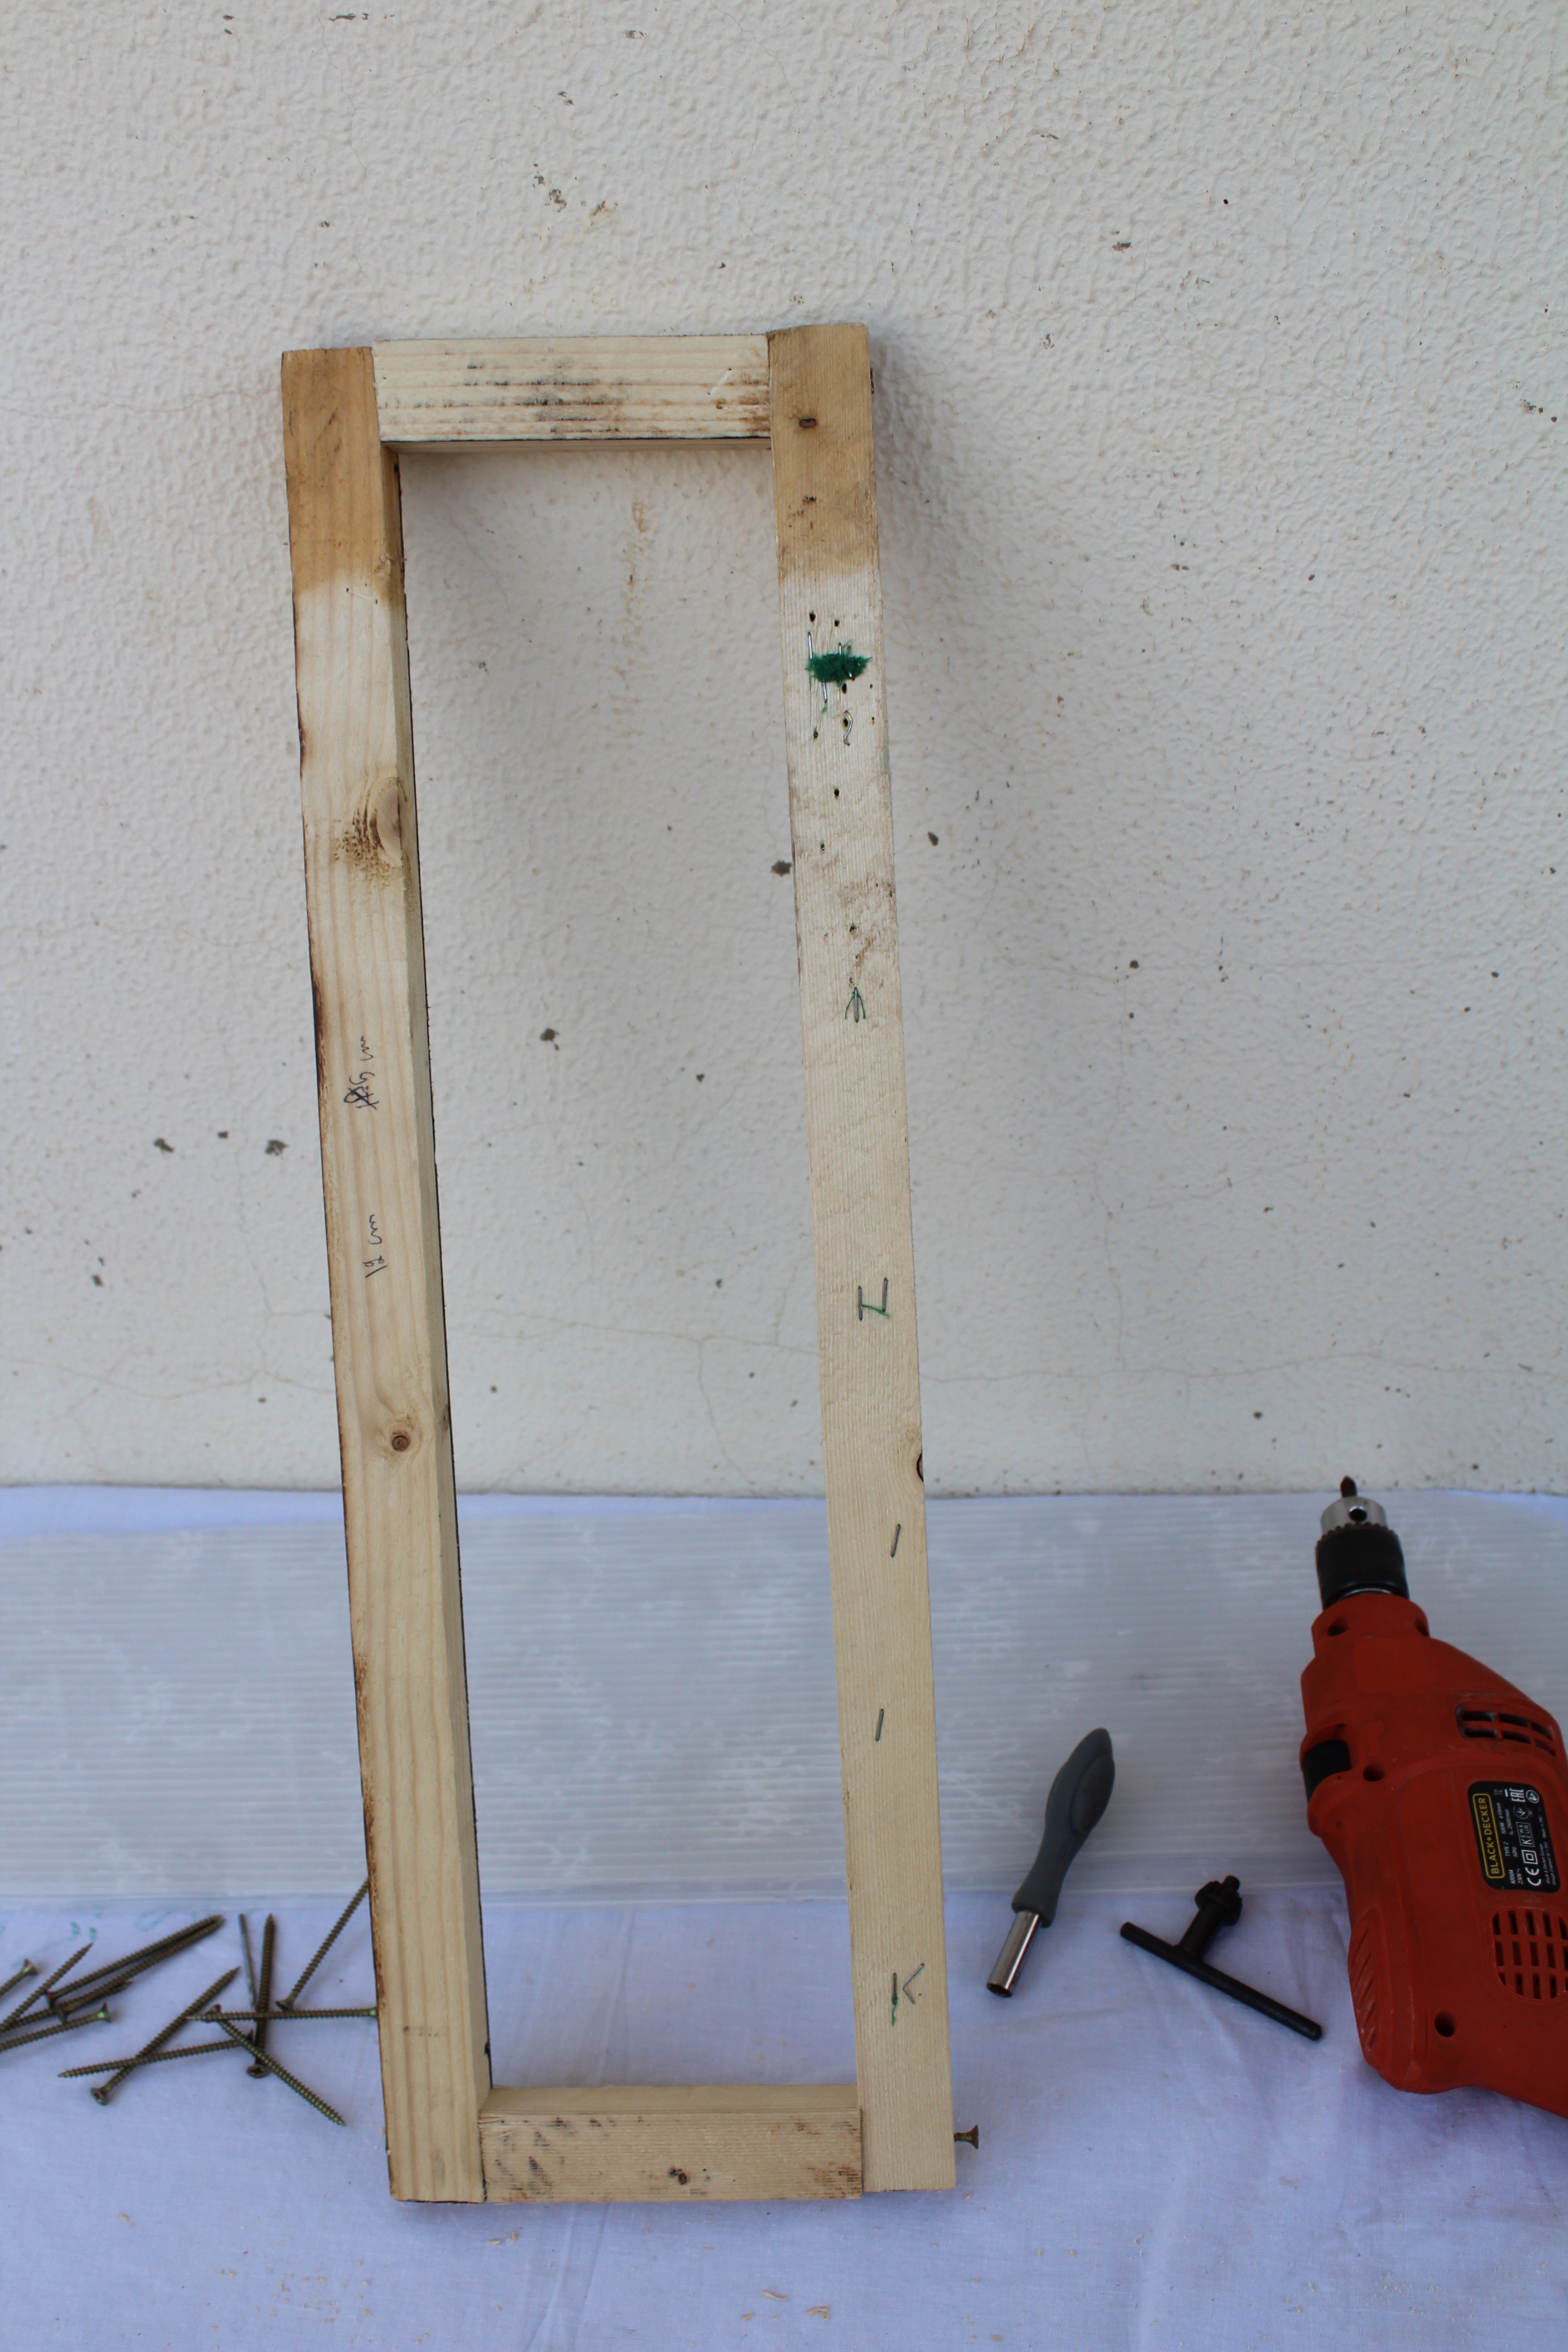
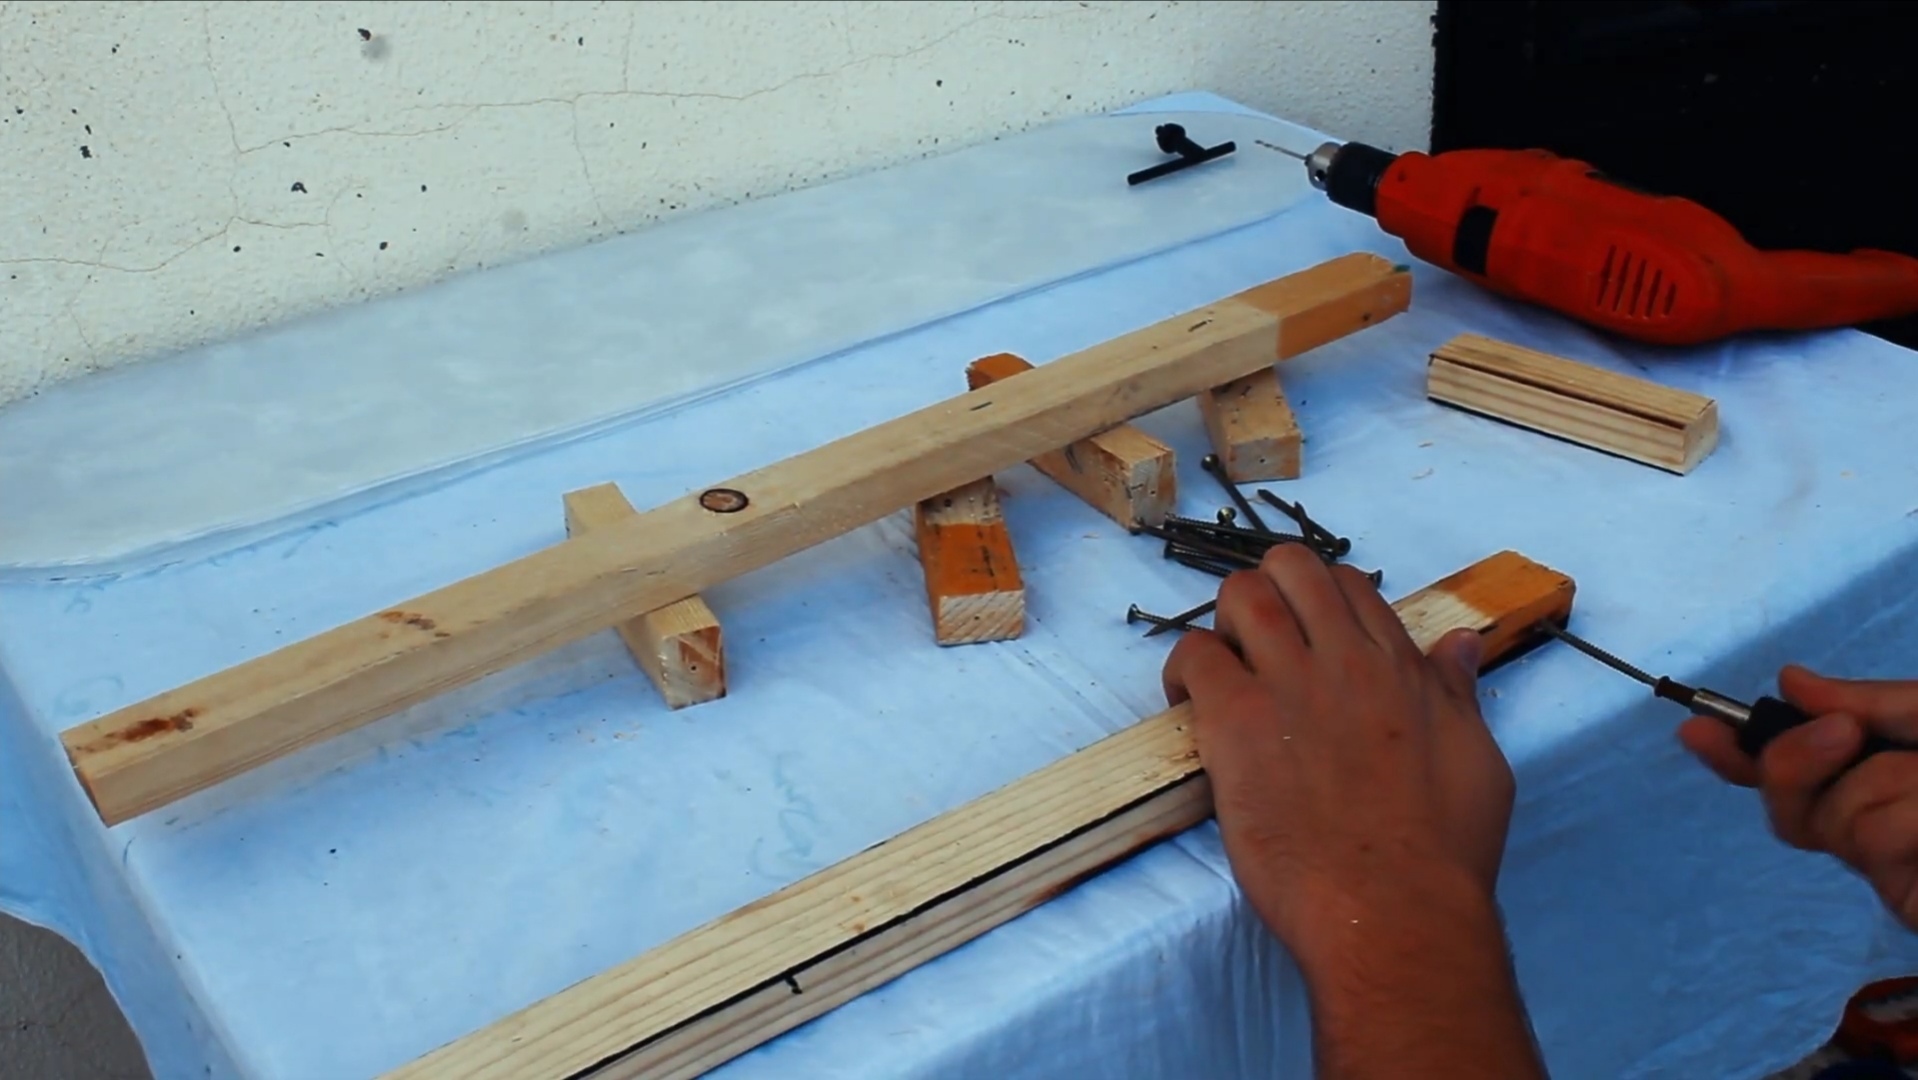
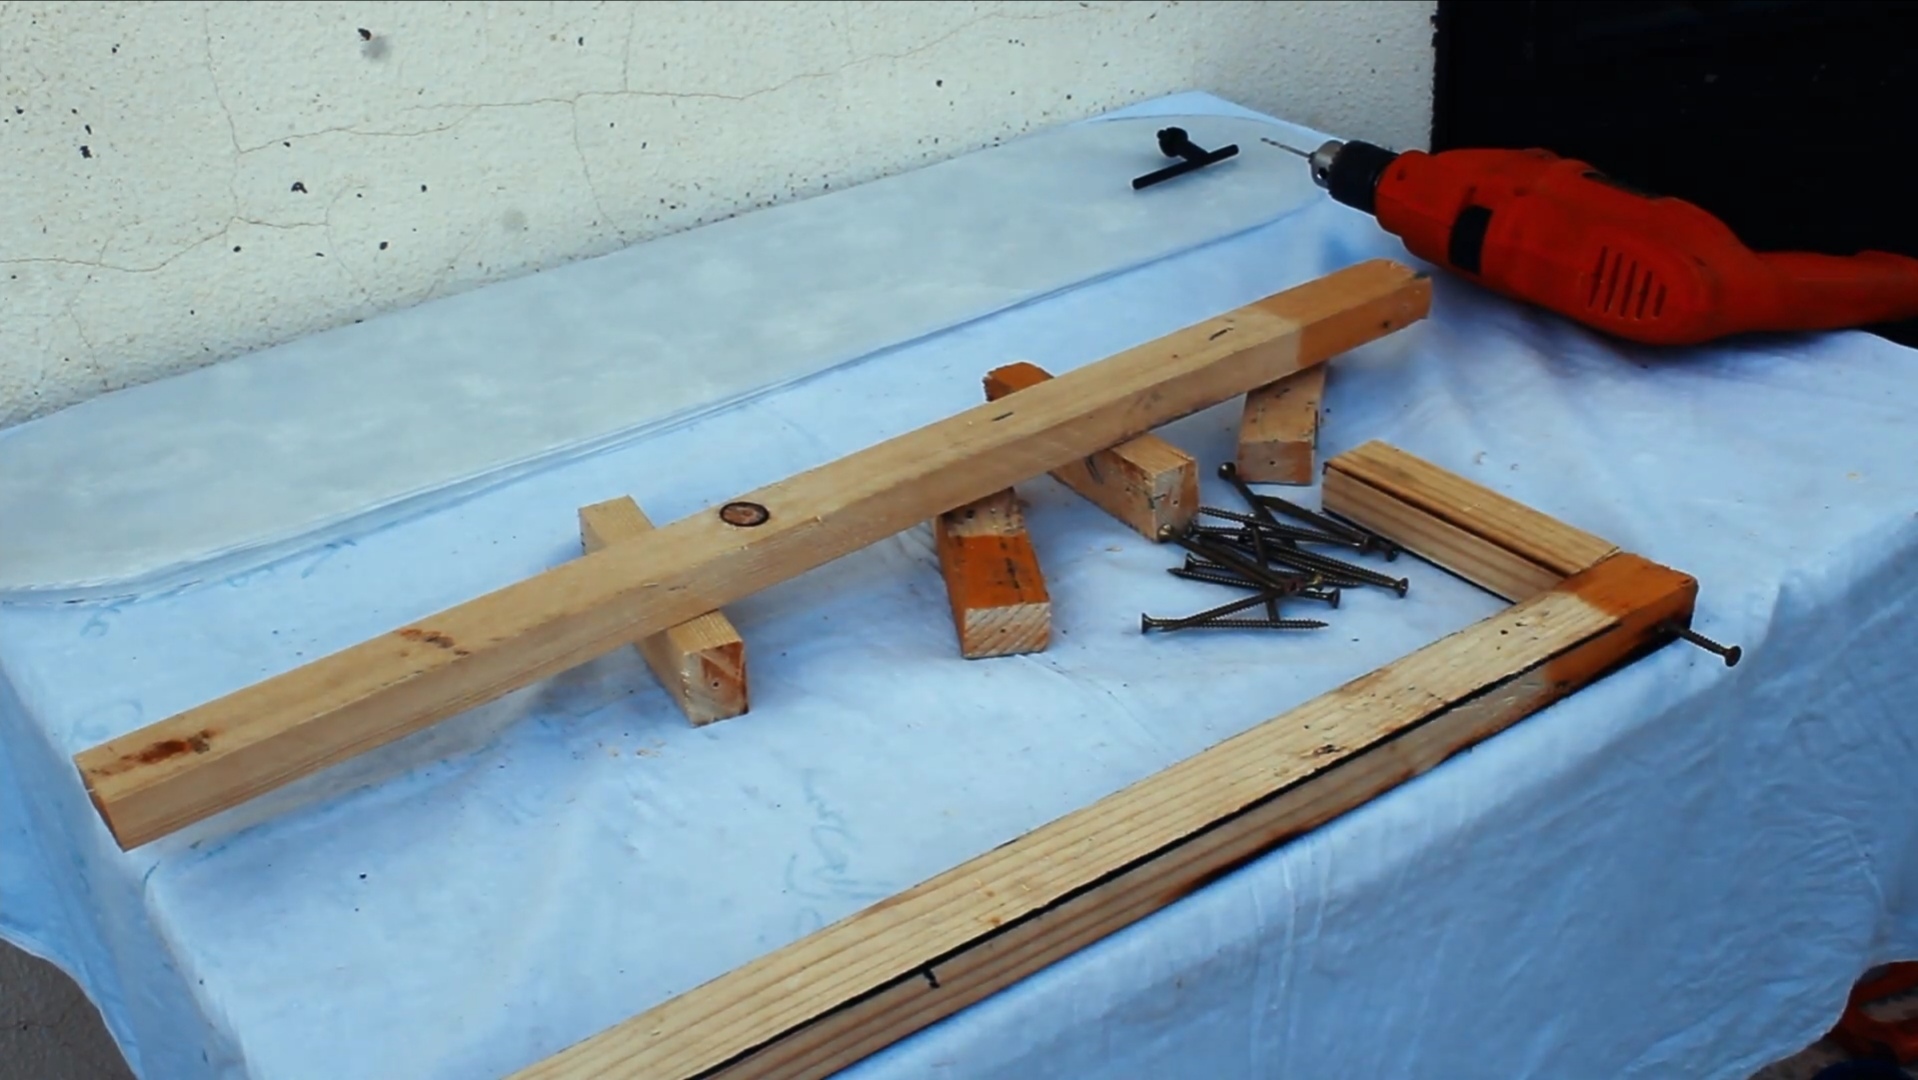
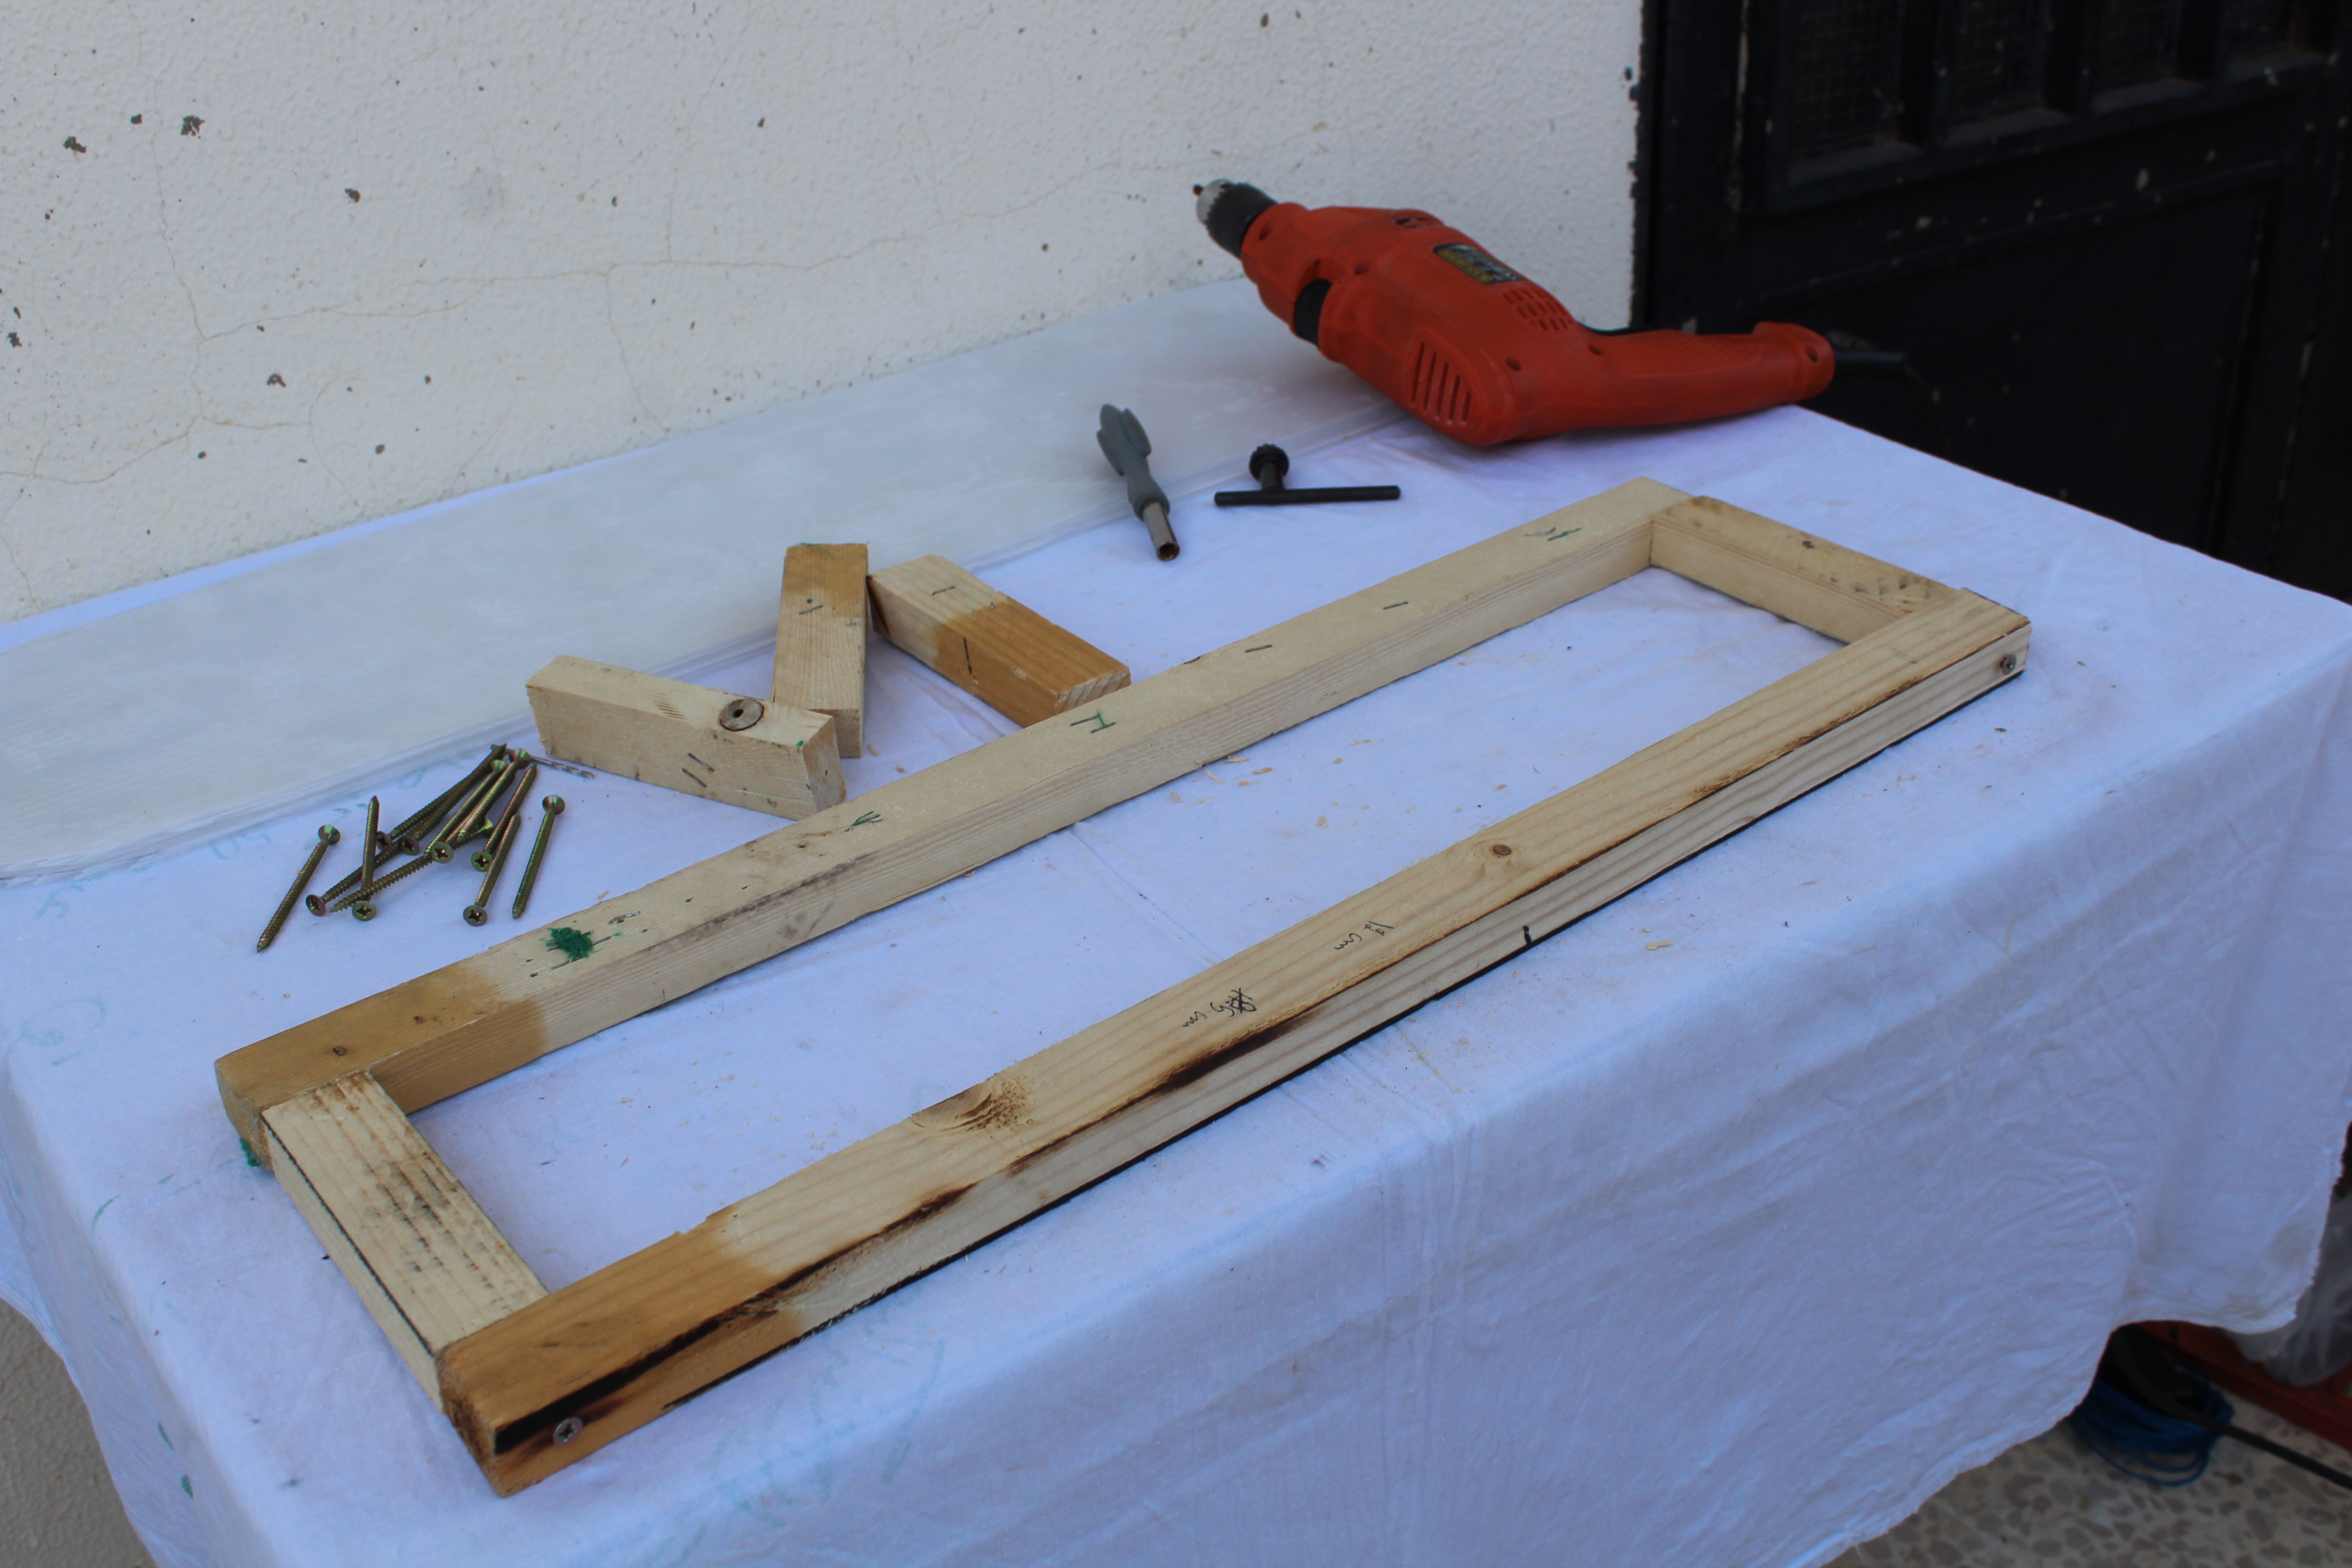
Screw the wooden pieces together using 4cm flat head screws. First screw two pieces on the peripheries of the long pieces, then screw the other wooden pieces along the middle part.
The Wooden Base
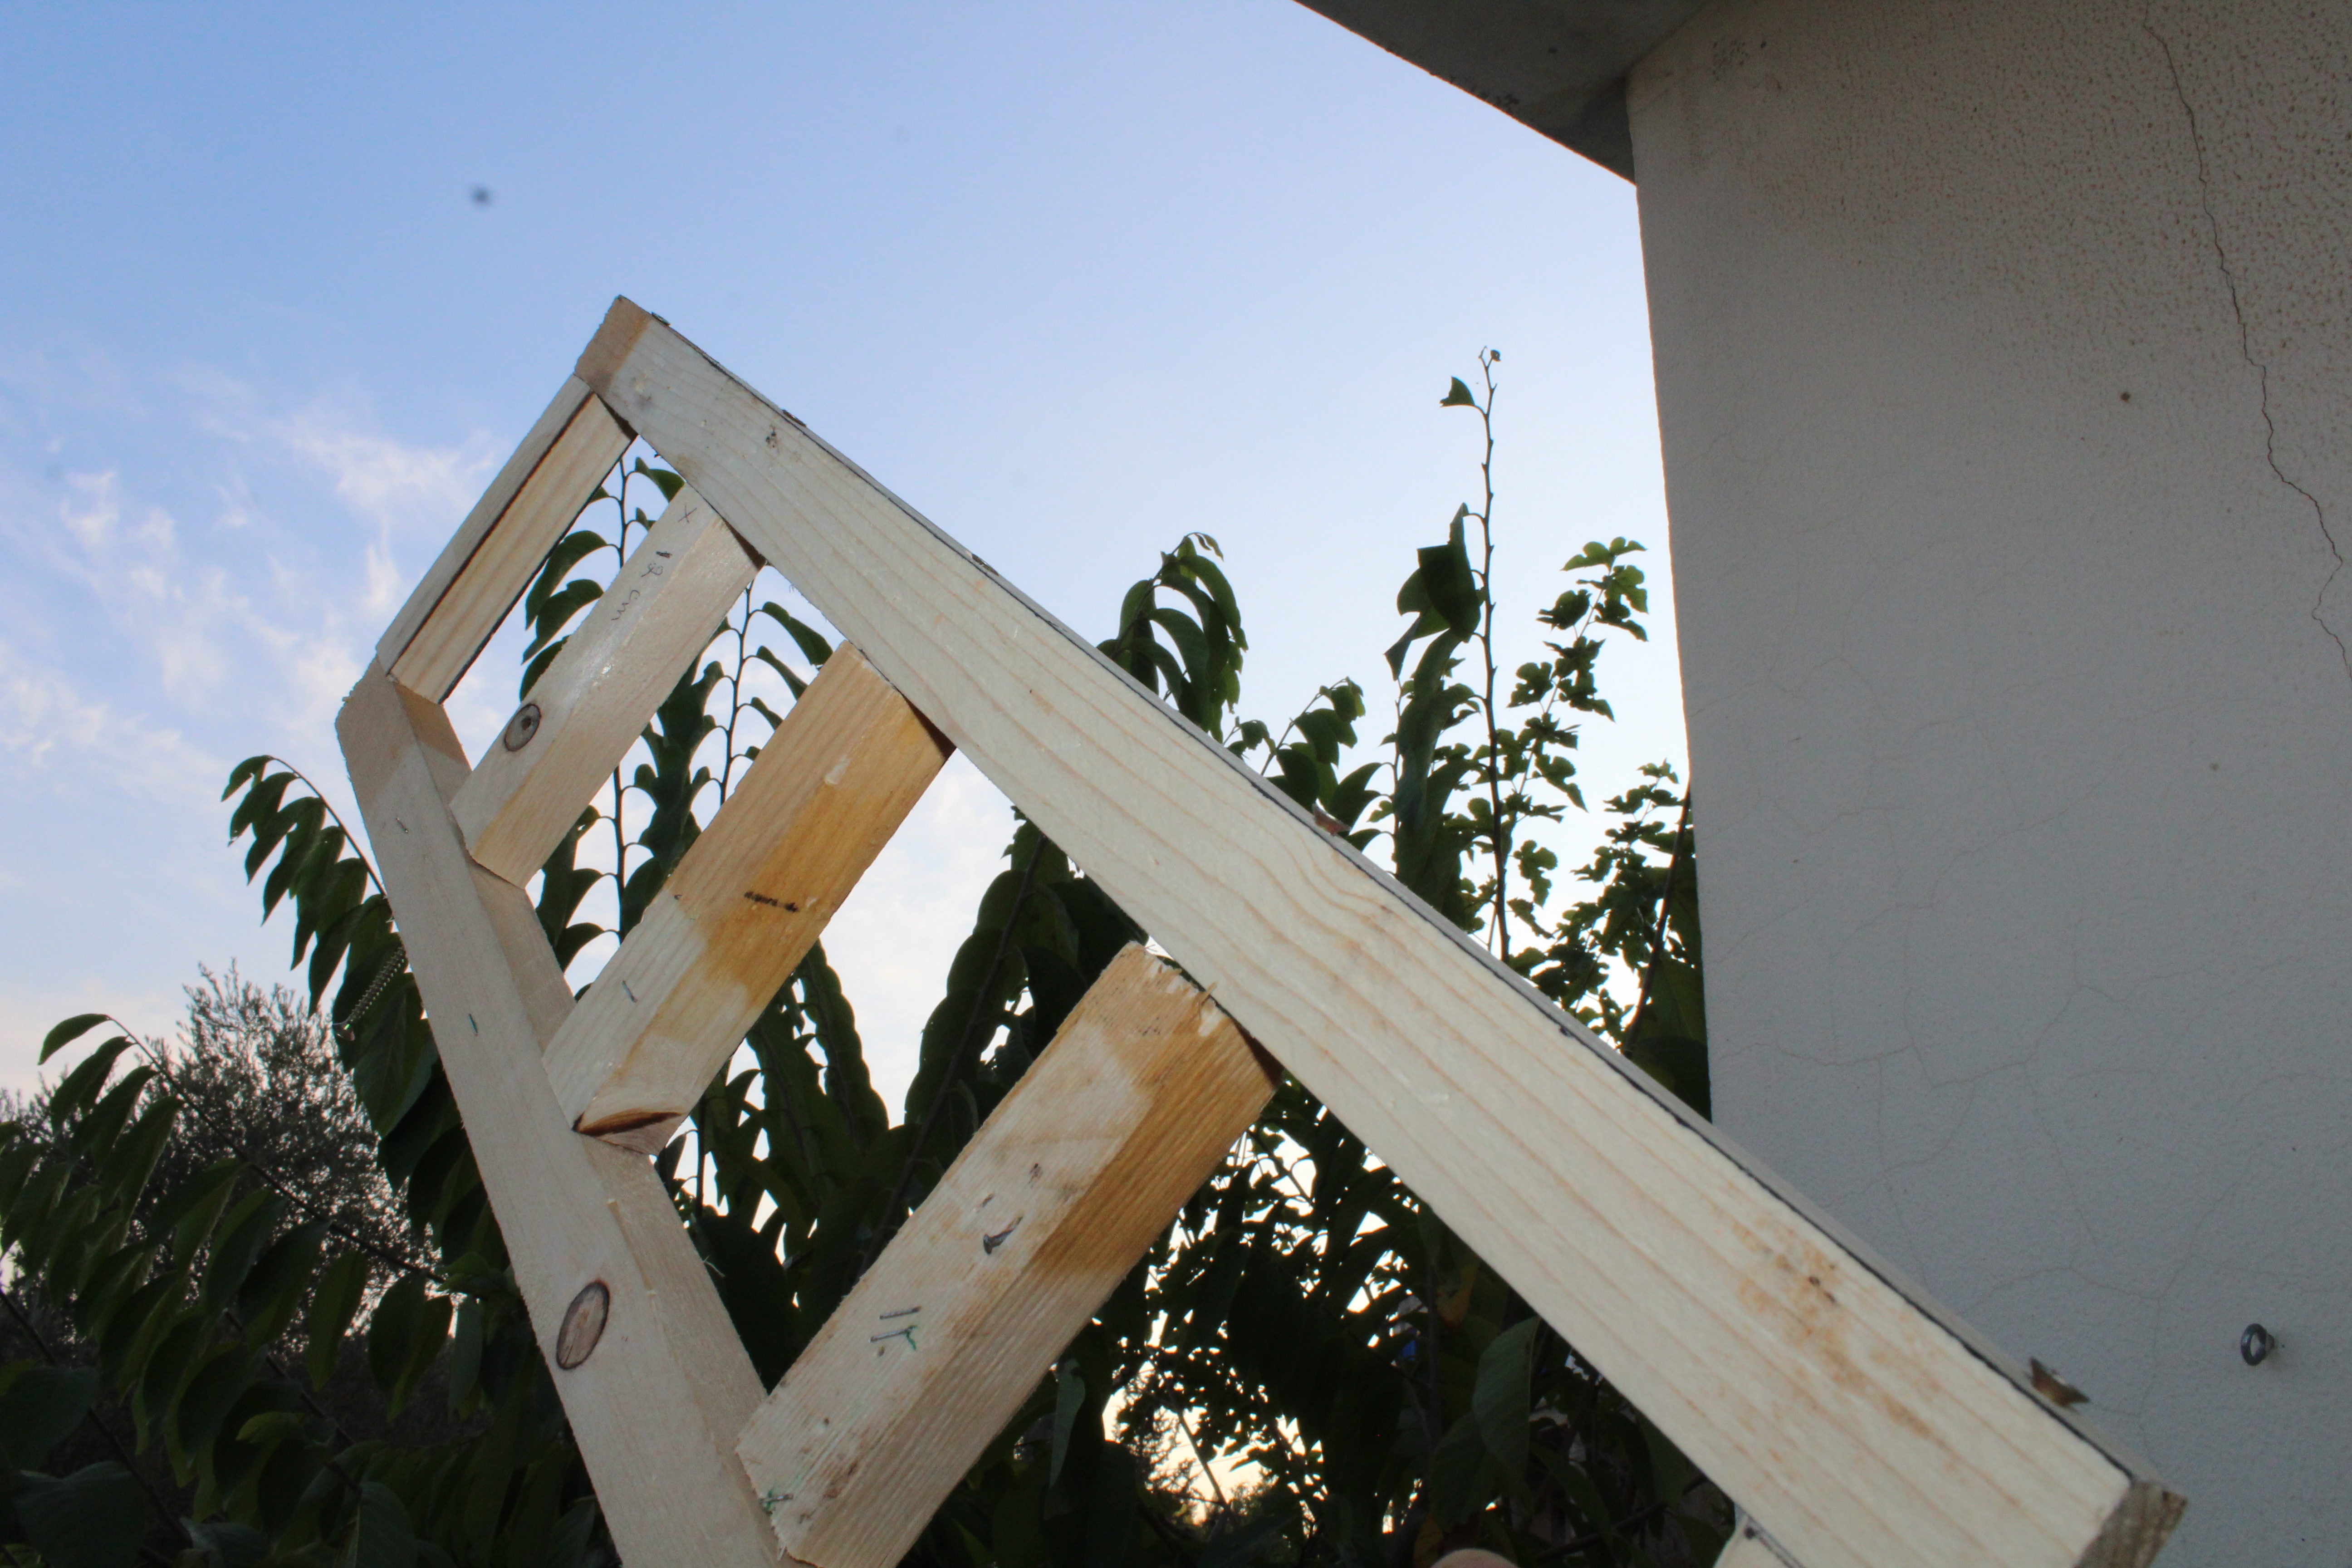
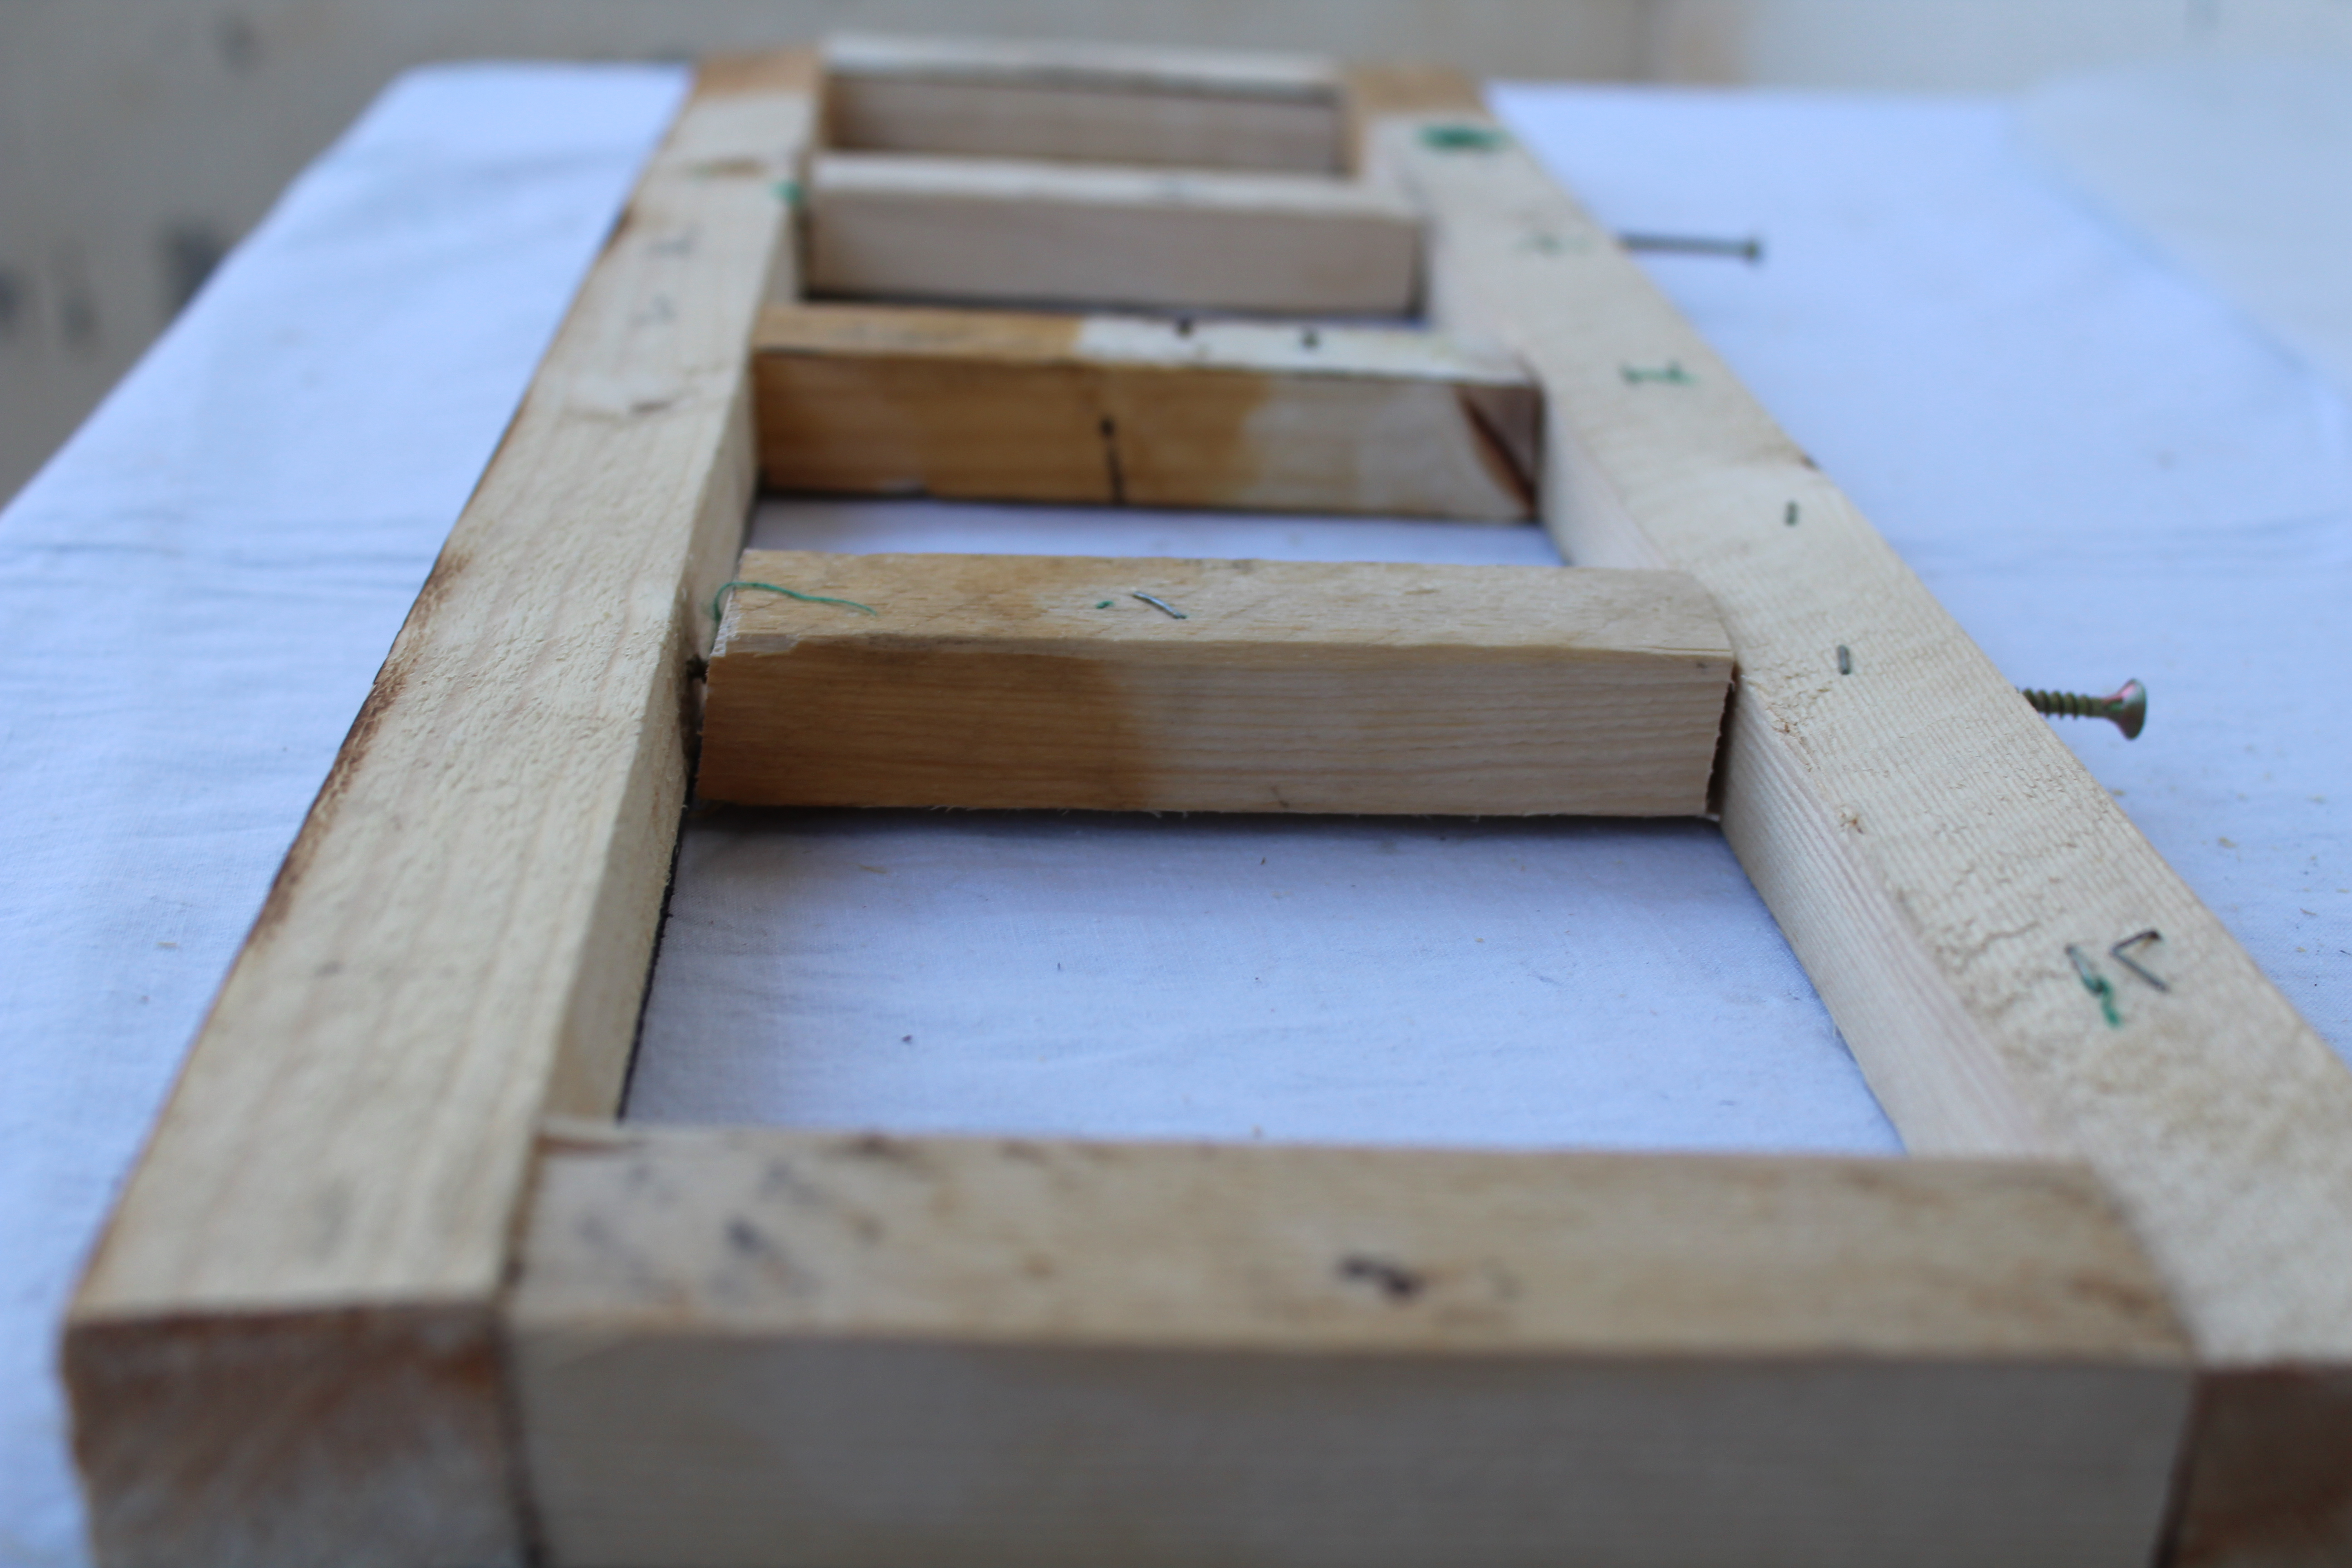
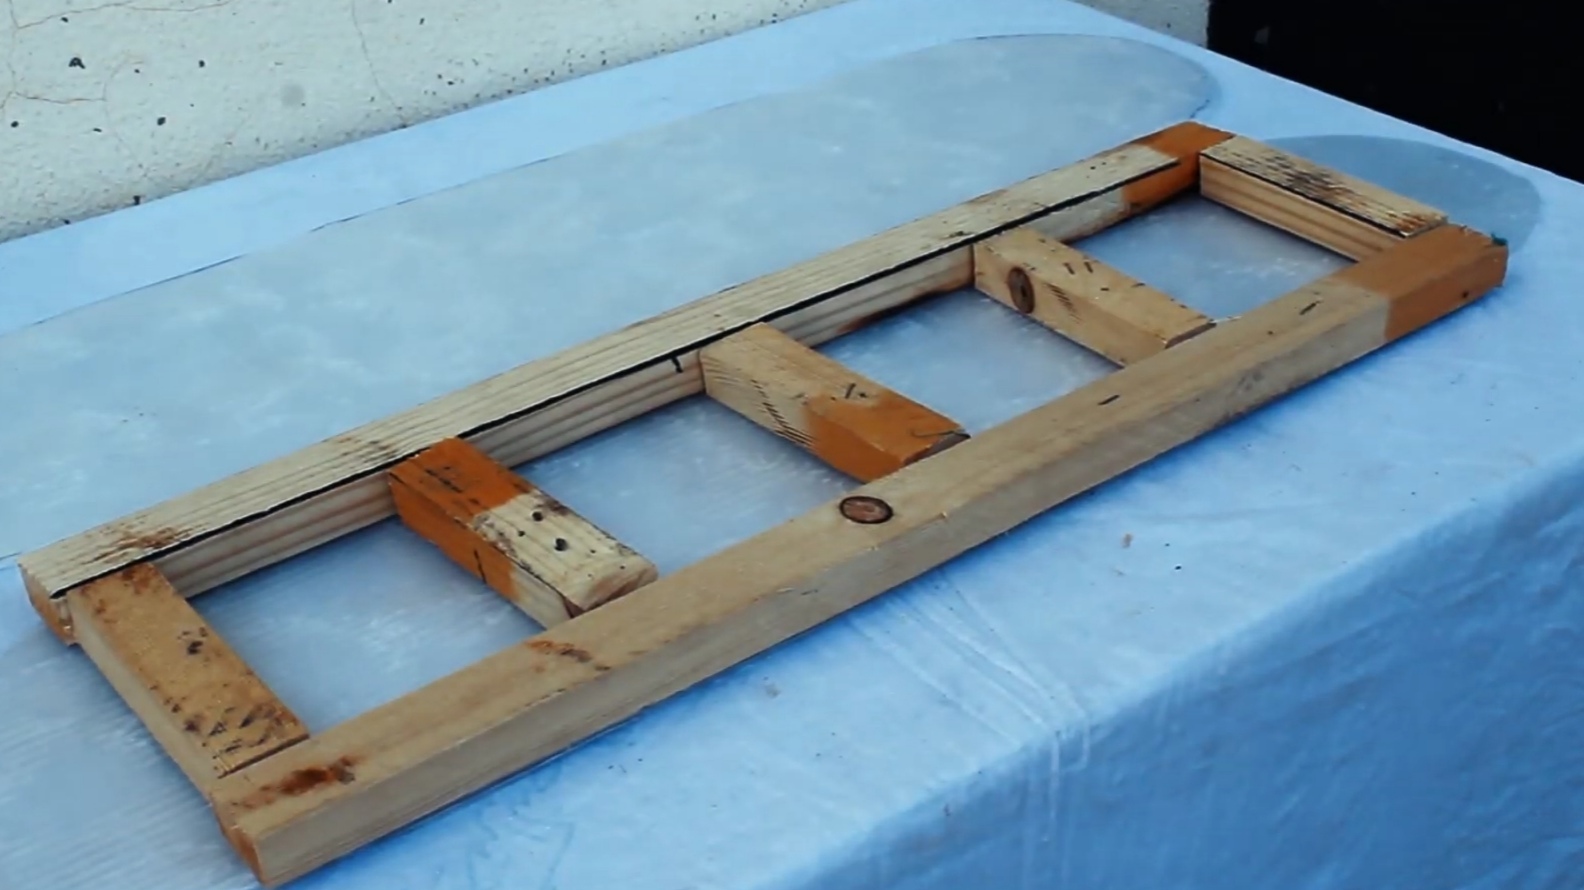
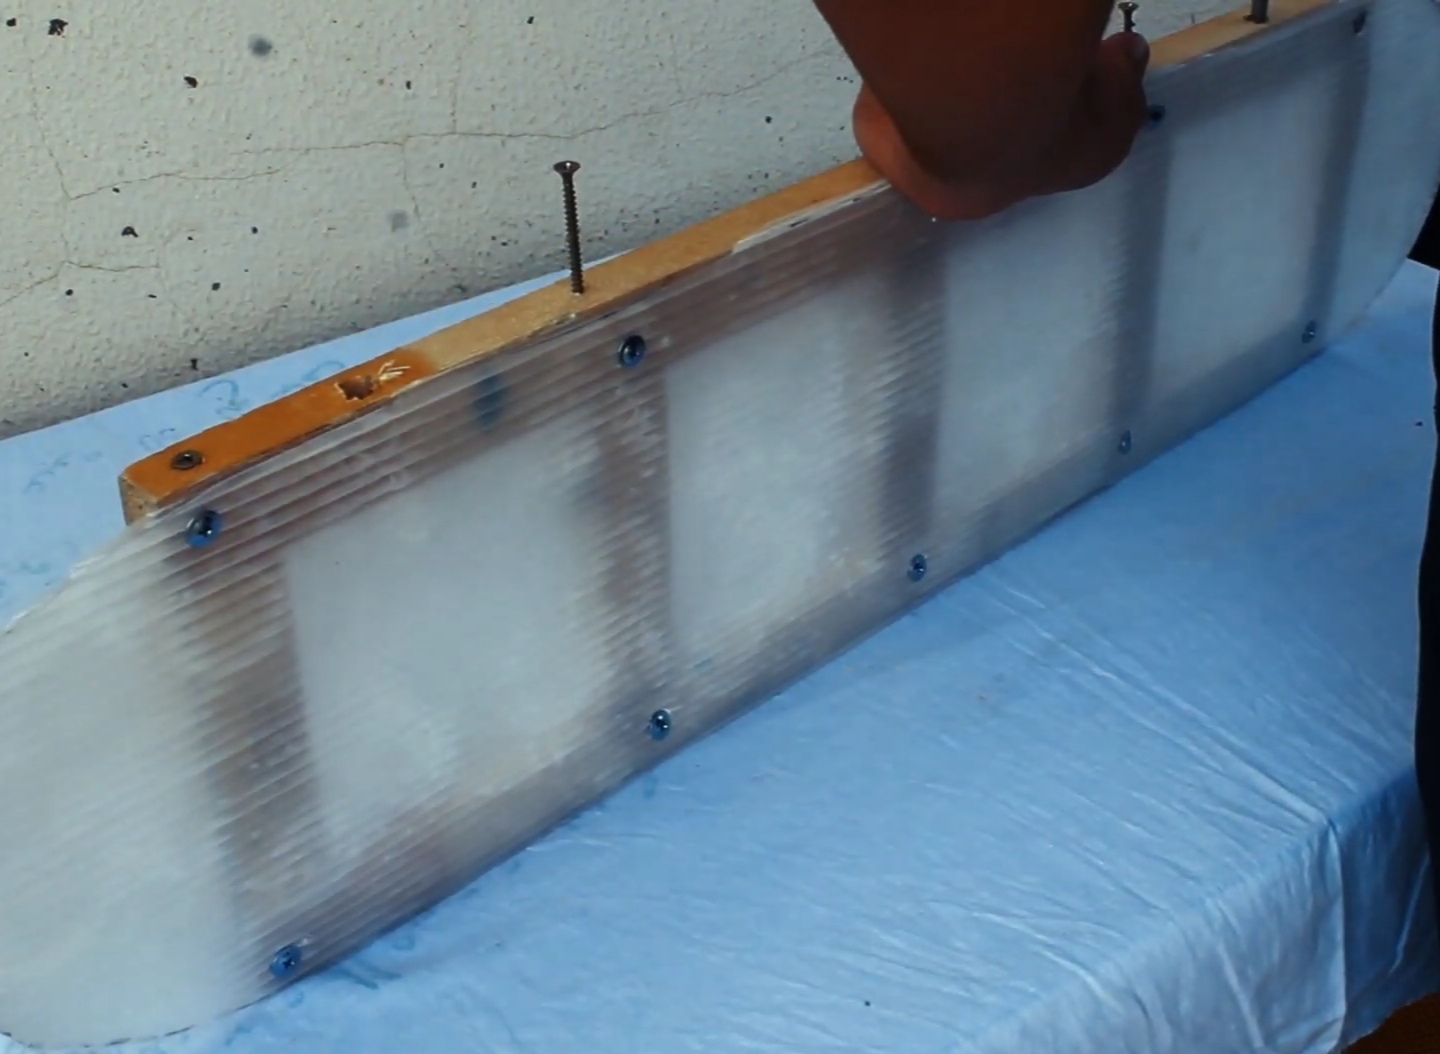
Now your wooden base is ready for the final assembling where you have to fix the 3D printed boards to the wooden base.
In this step, you can add some glue in between the wooden pieces to strengthen the base of the skateboard.
Install the 3D-printed Boards
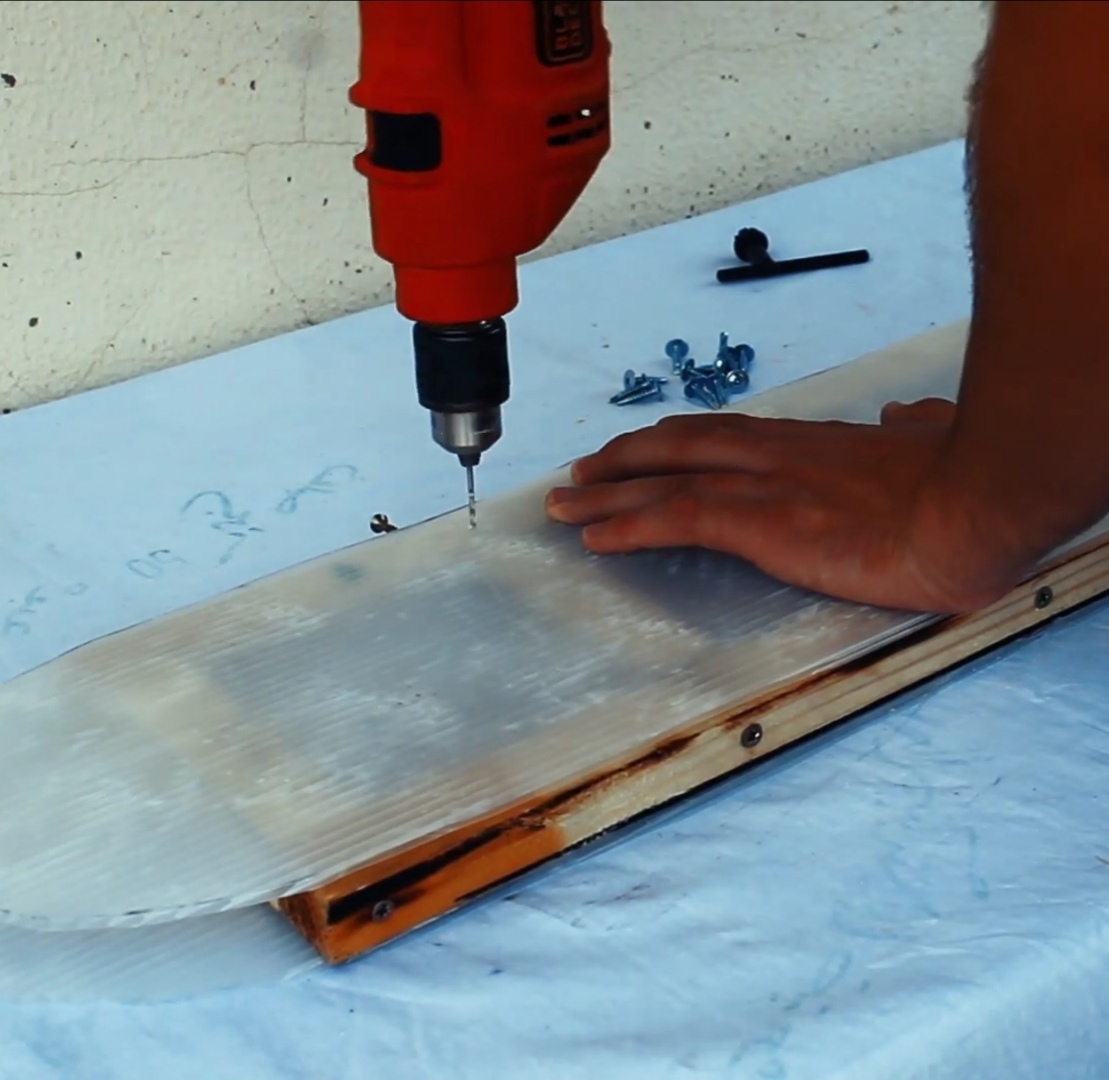
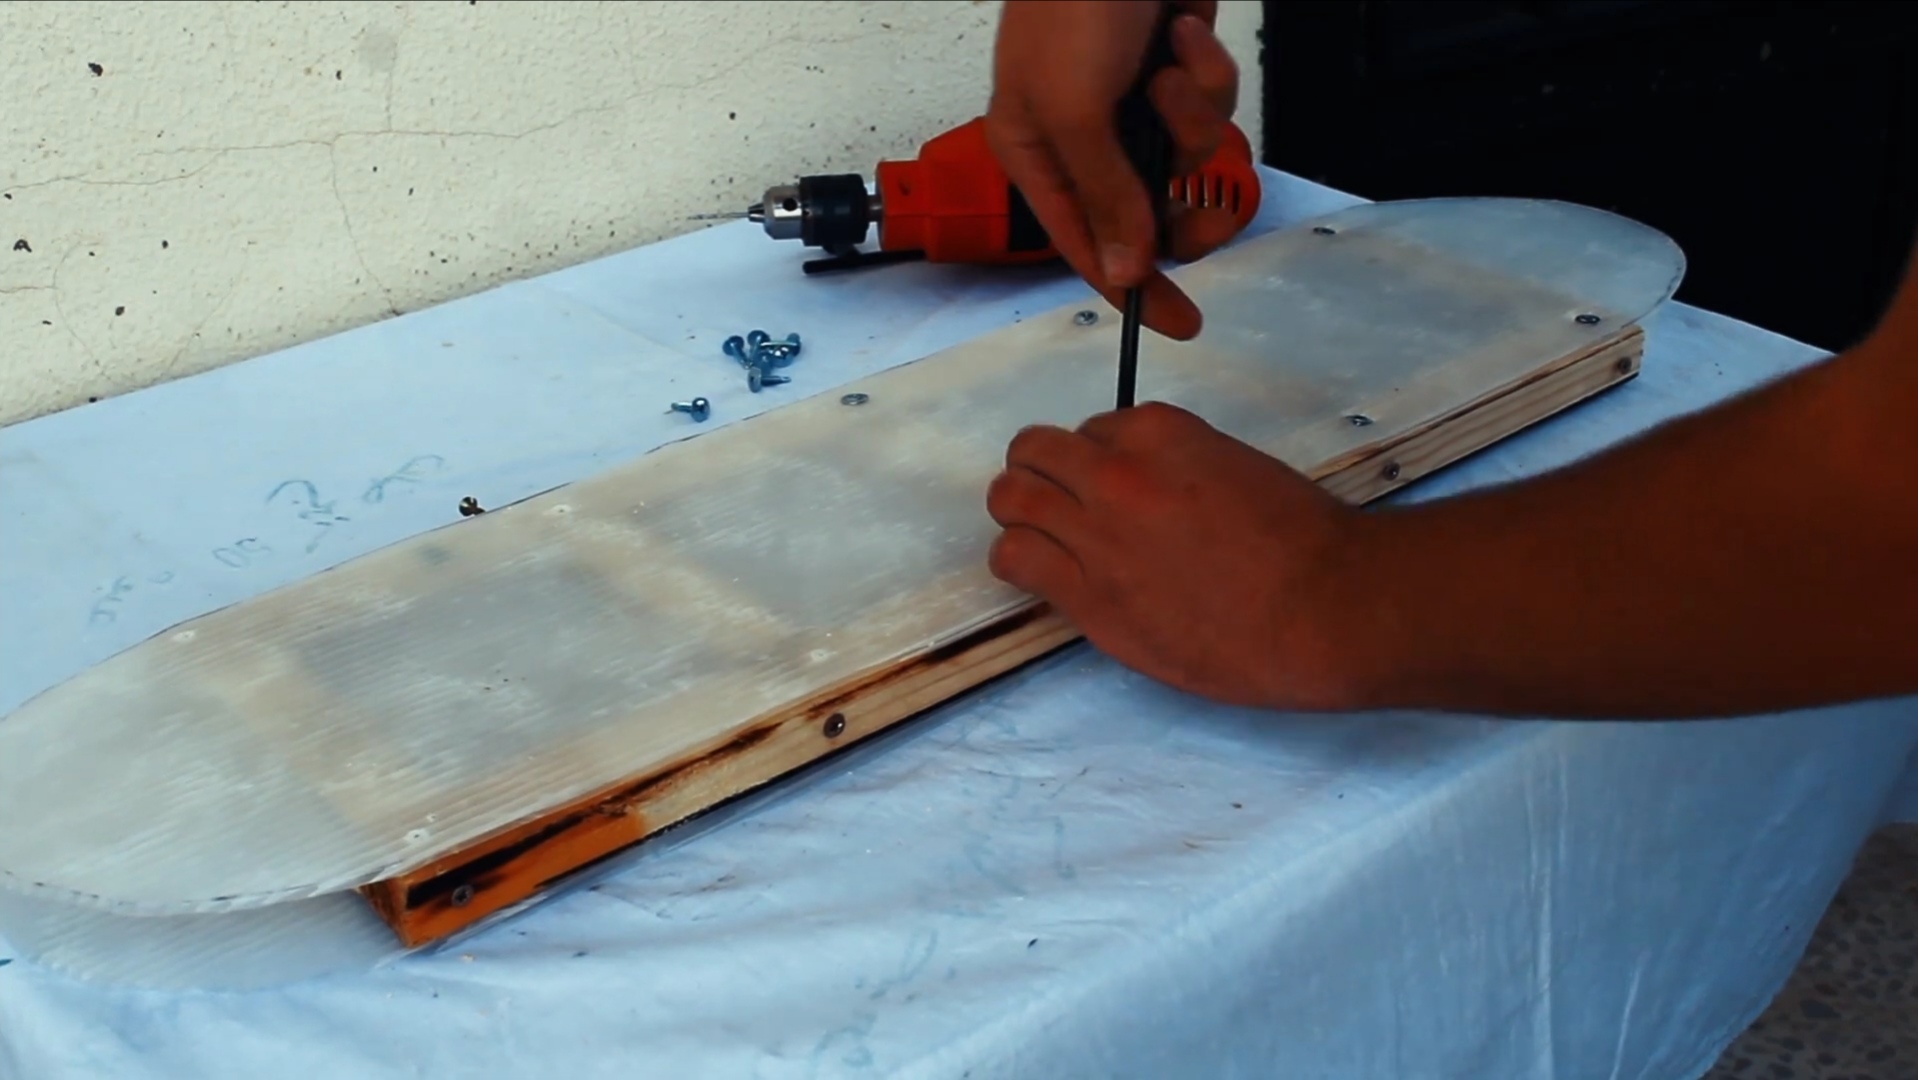
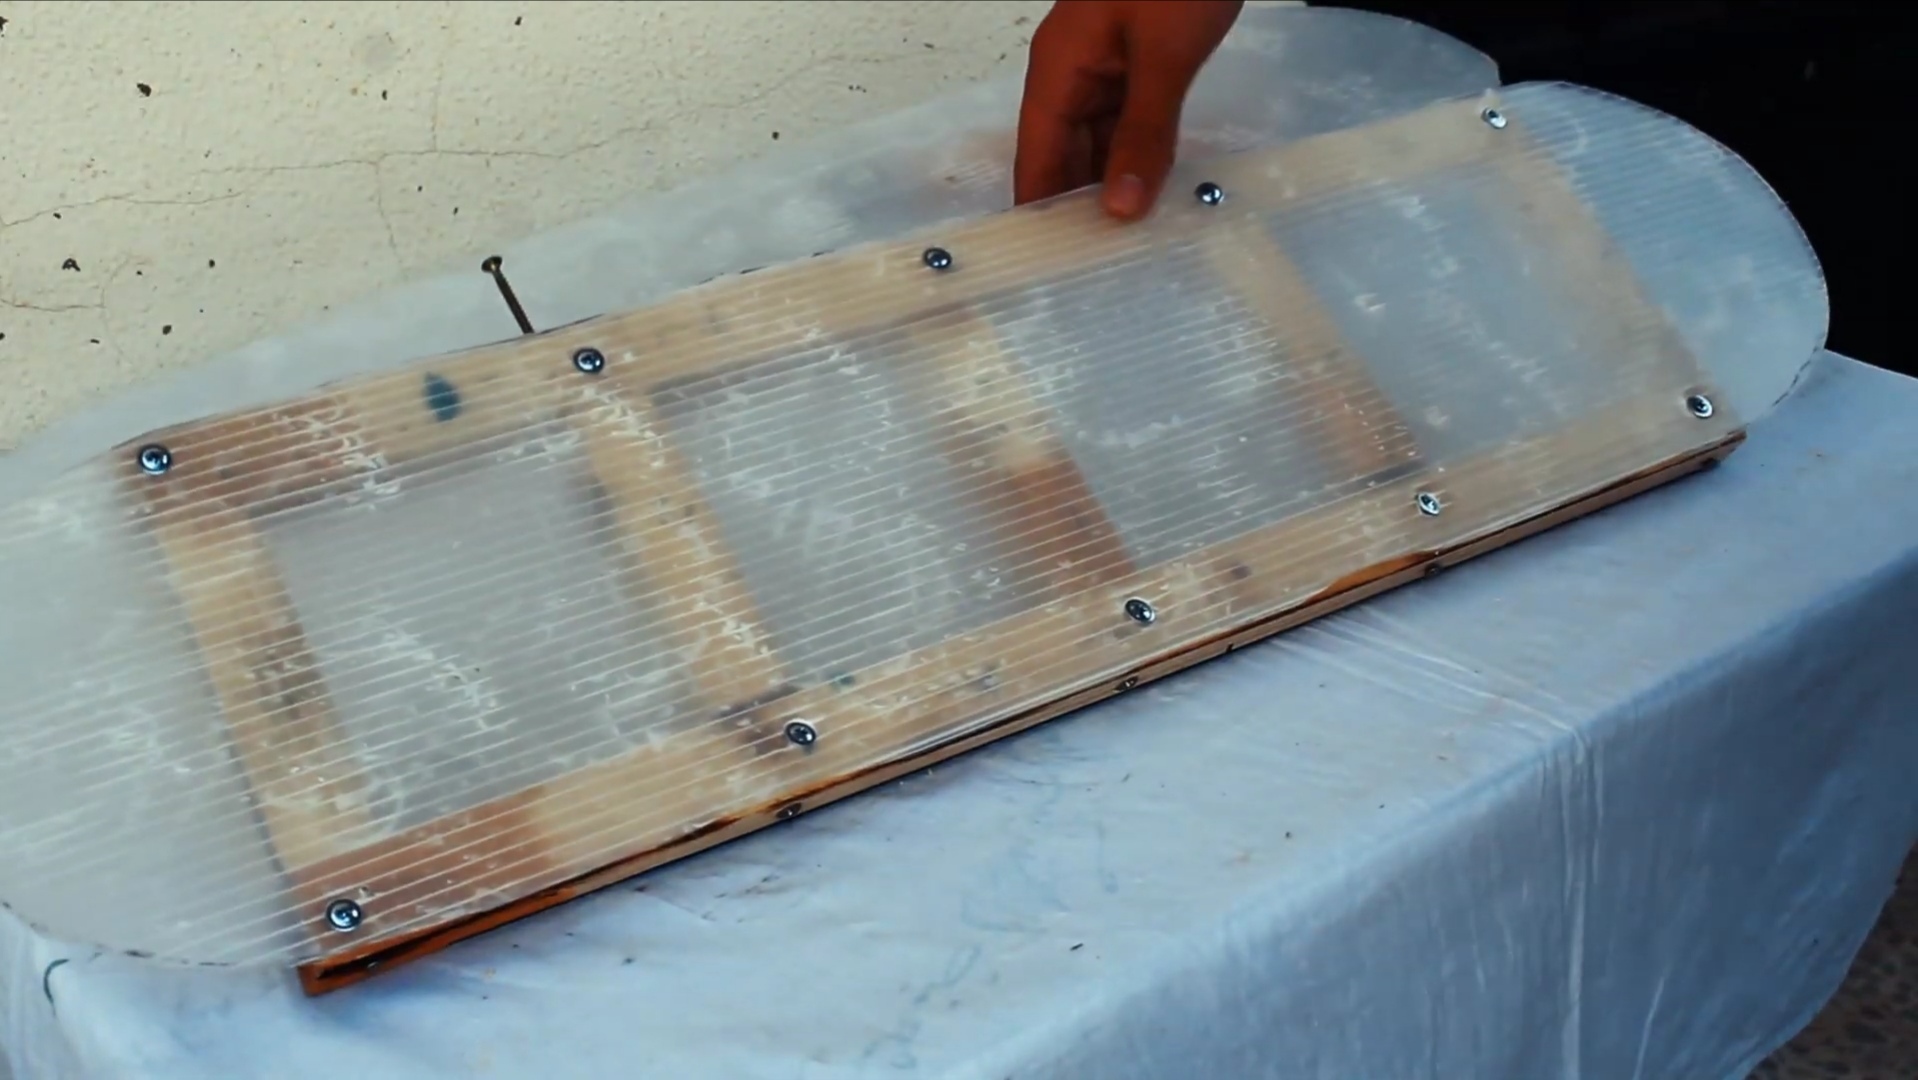
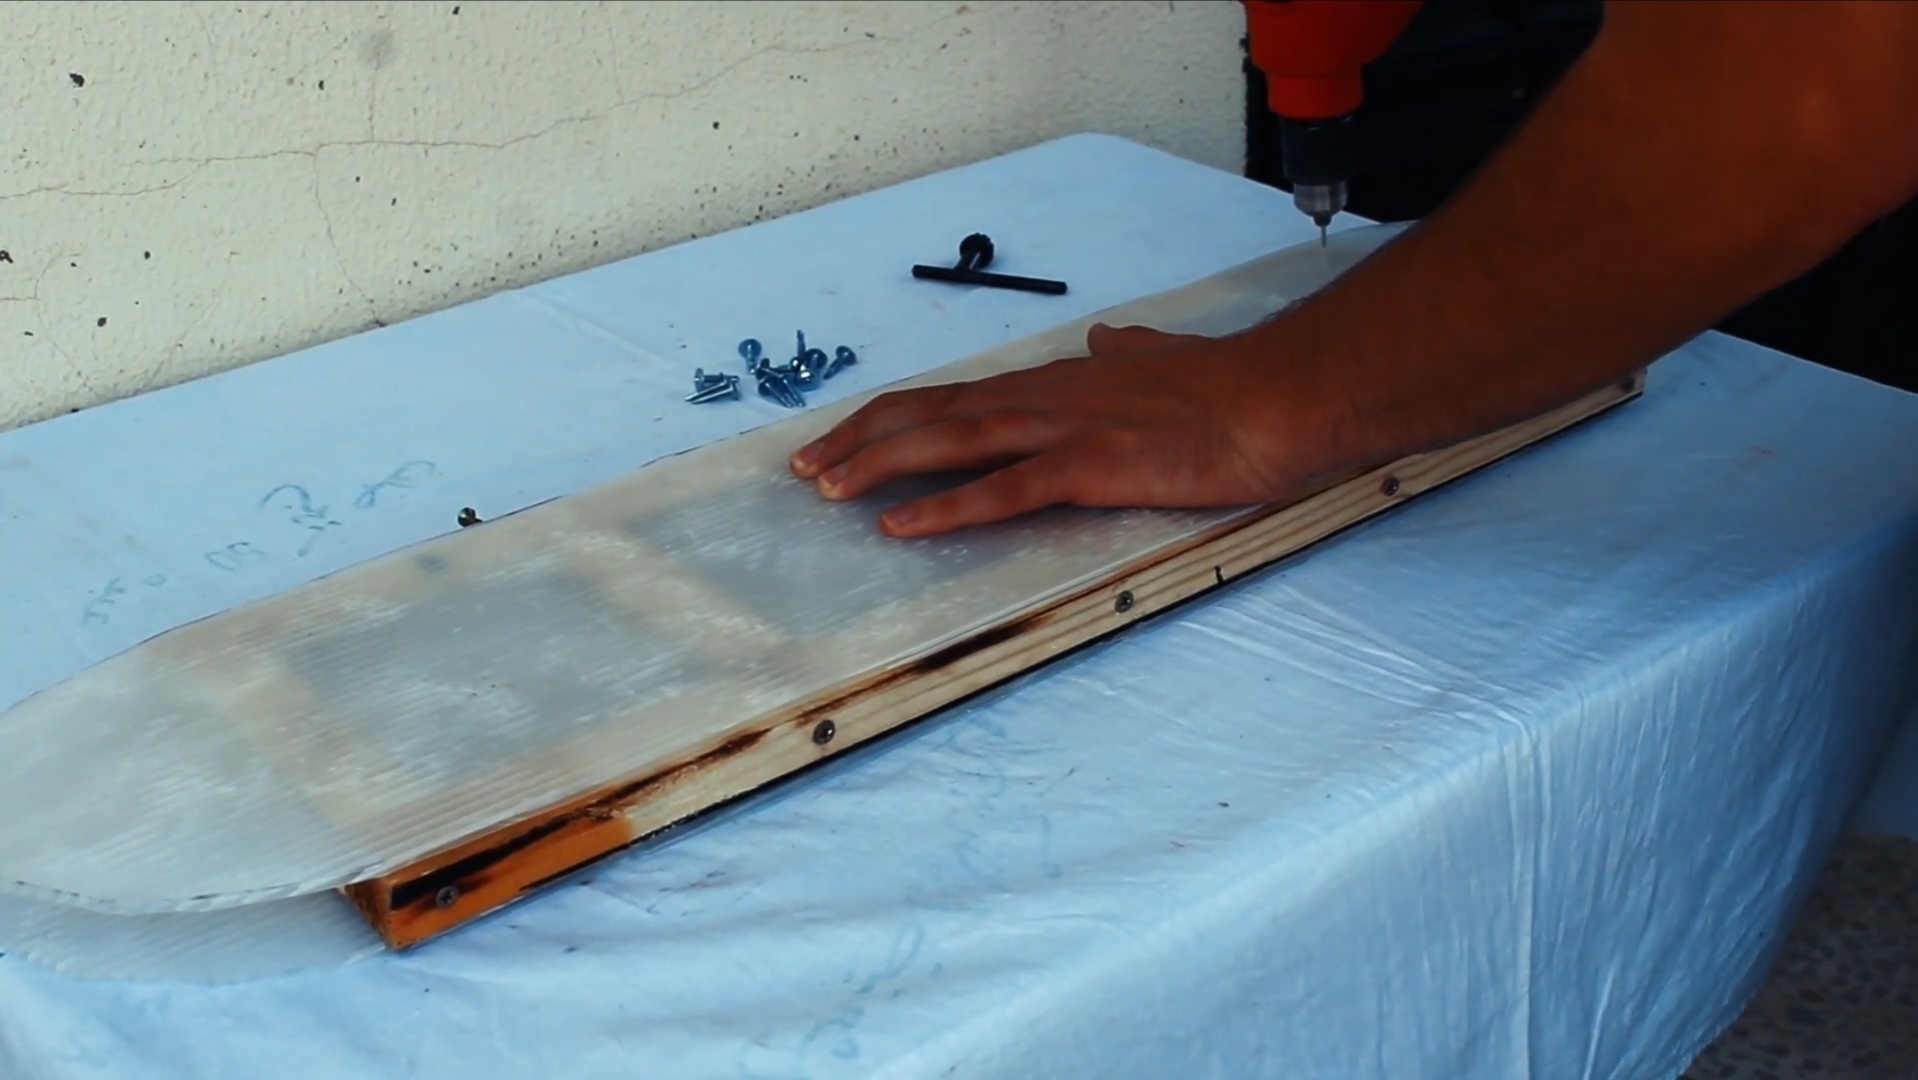
Place the boards on the wooden base and drill 8 holes on each side, drill each hole aside to the small wooden pieces in the middle.
Then fix using the truss head screws the boards to the wooden base, or if you don't want to screw the boards you can glue them using strong glue to make sure it will not come off.
Glue the Neon Light
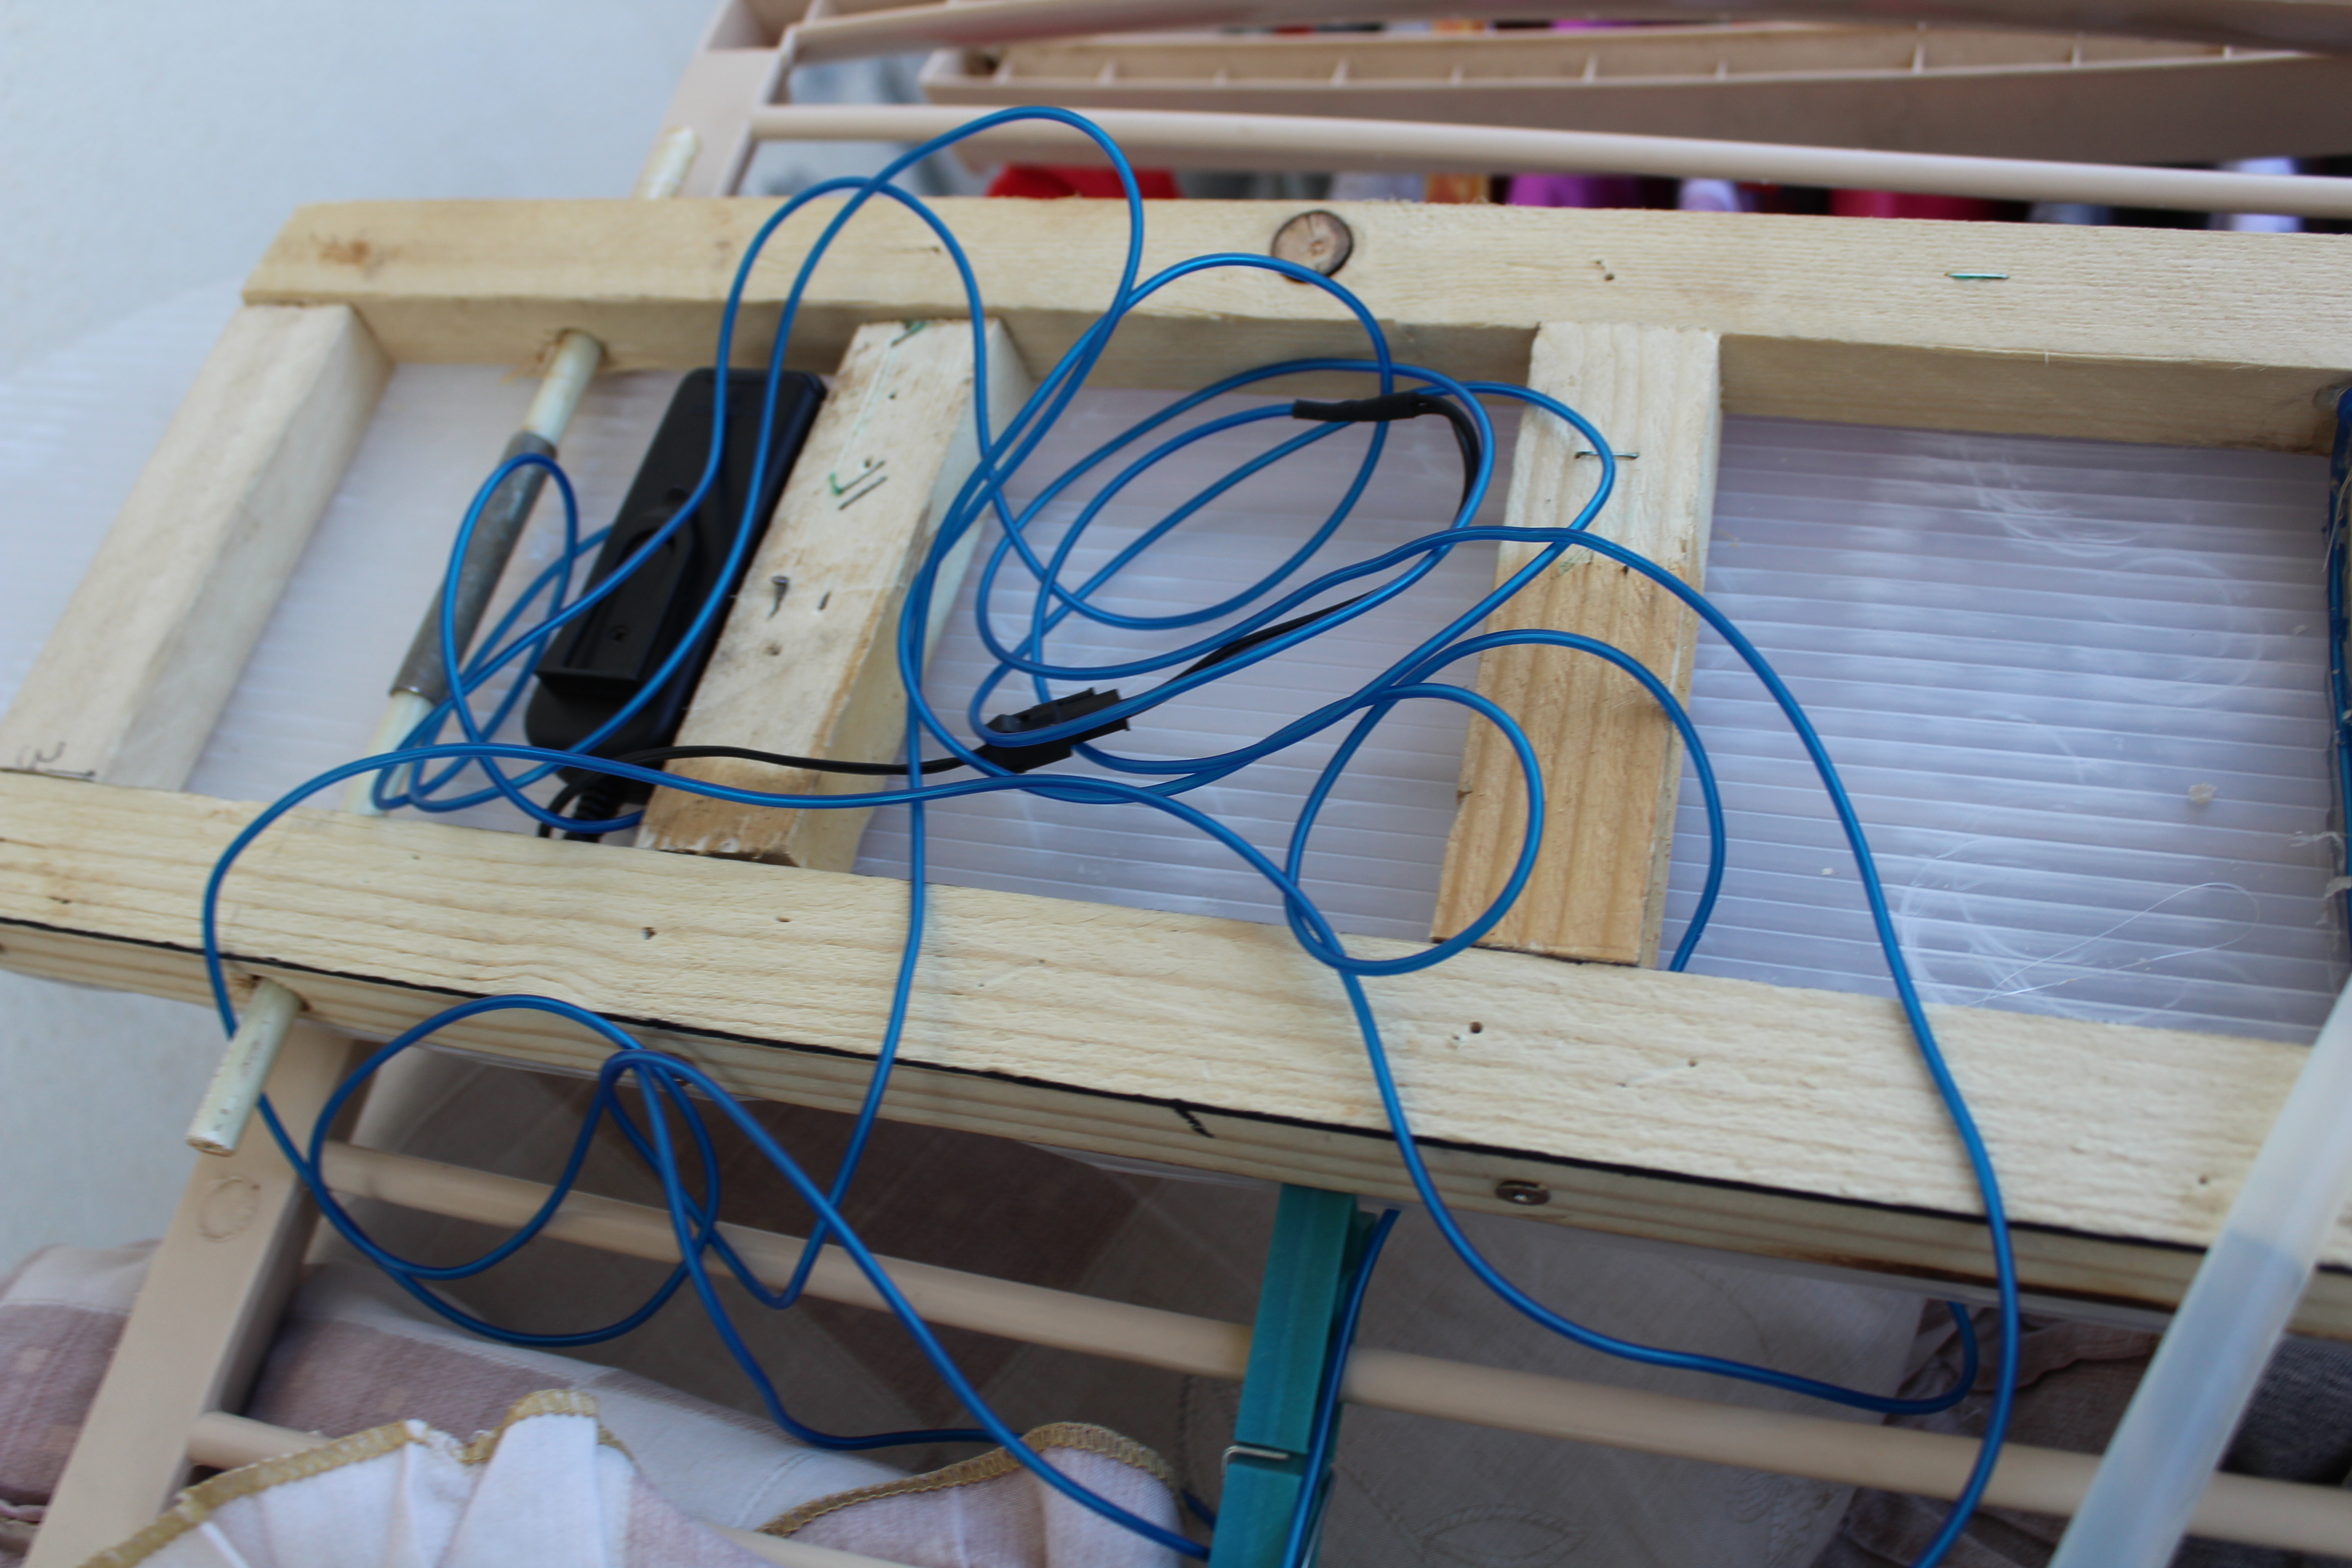
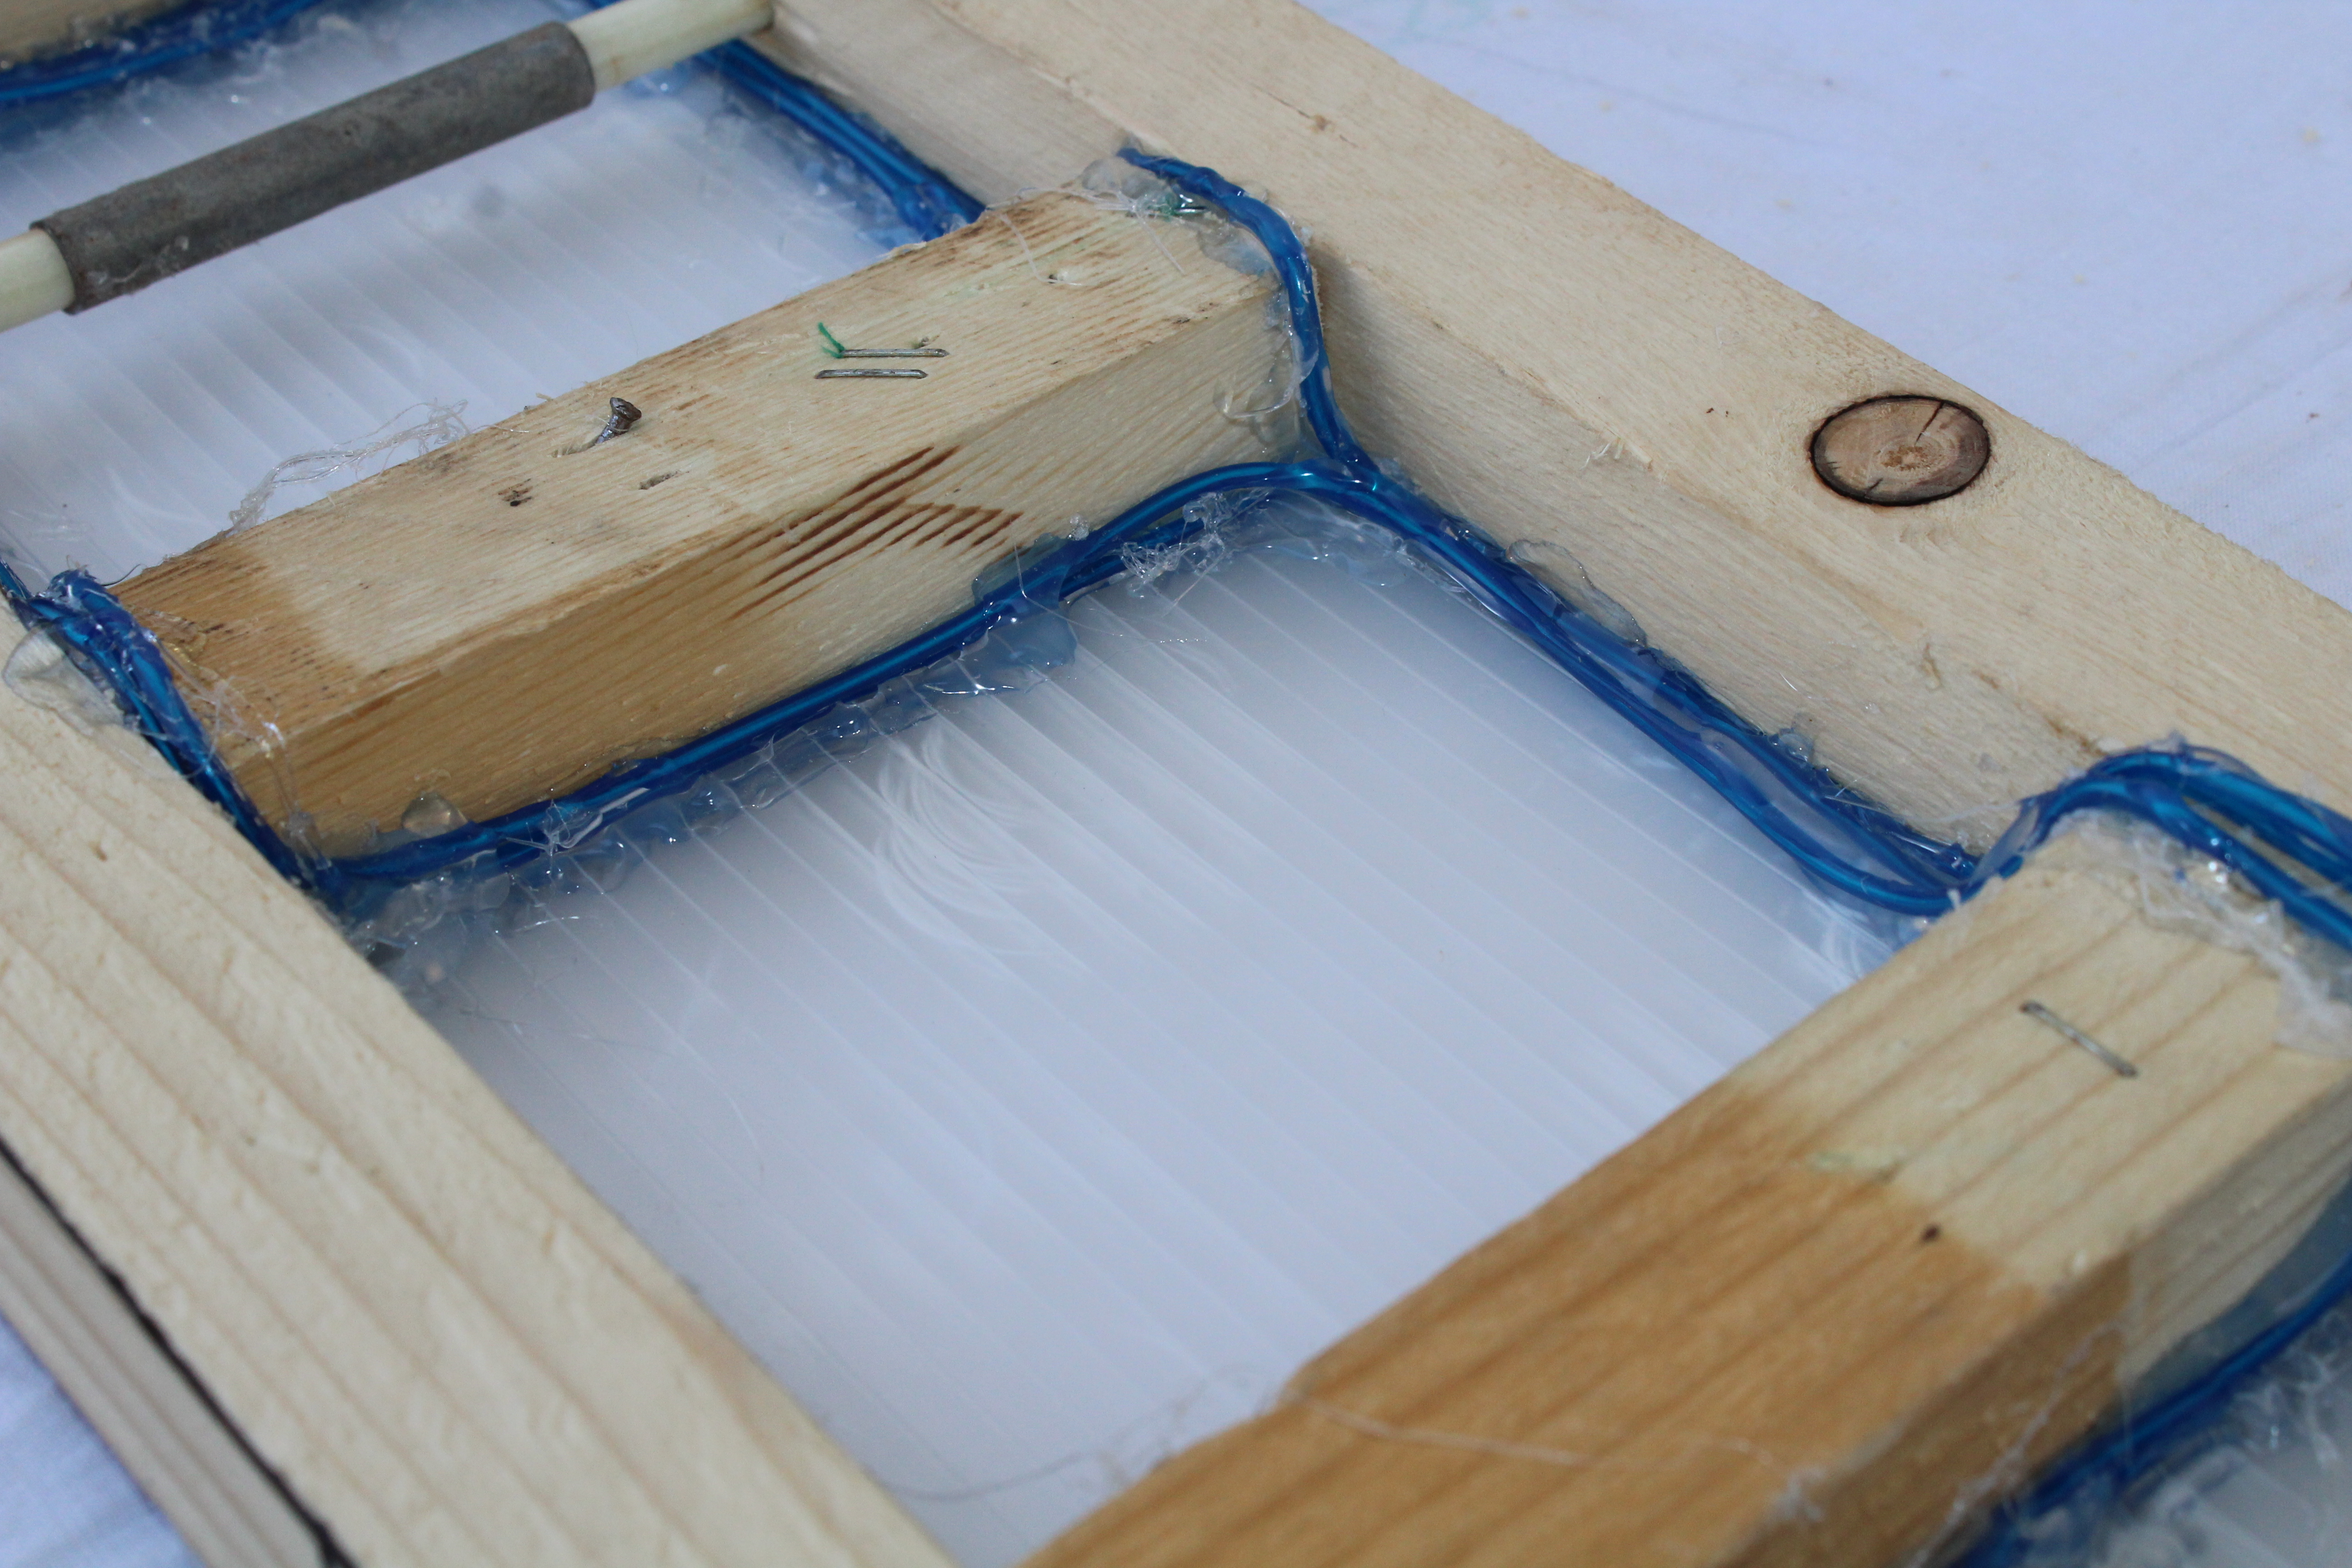
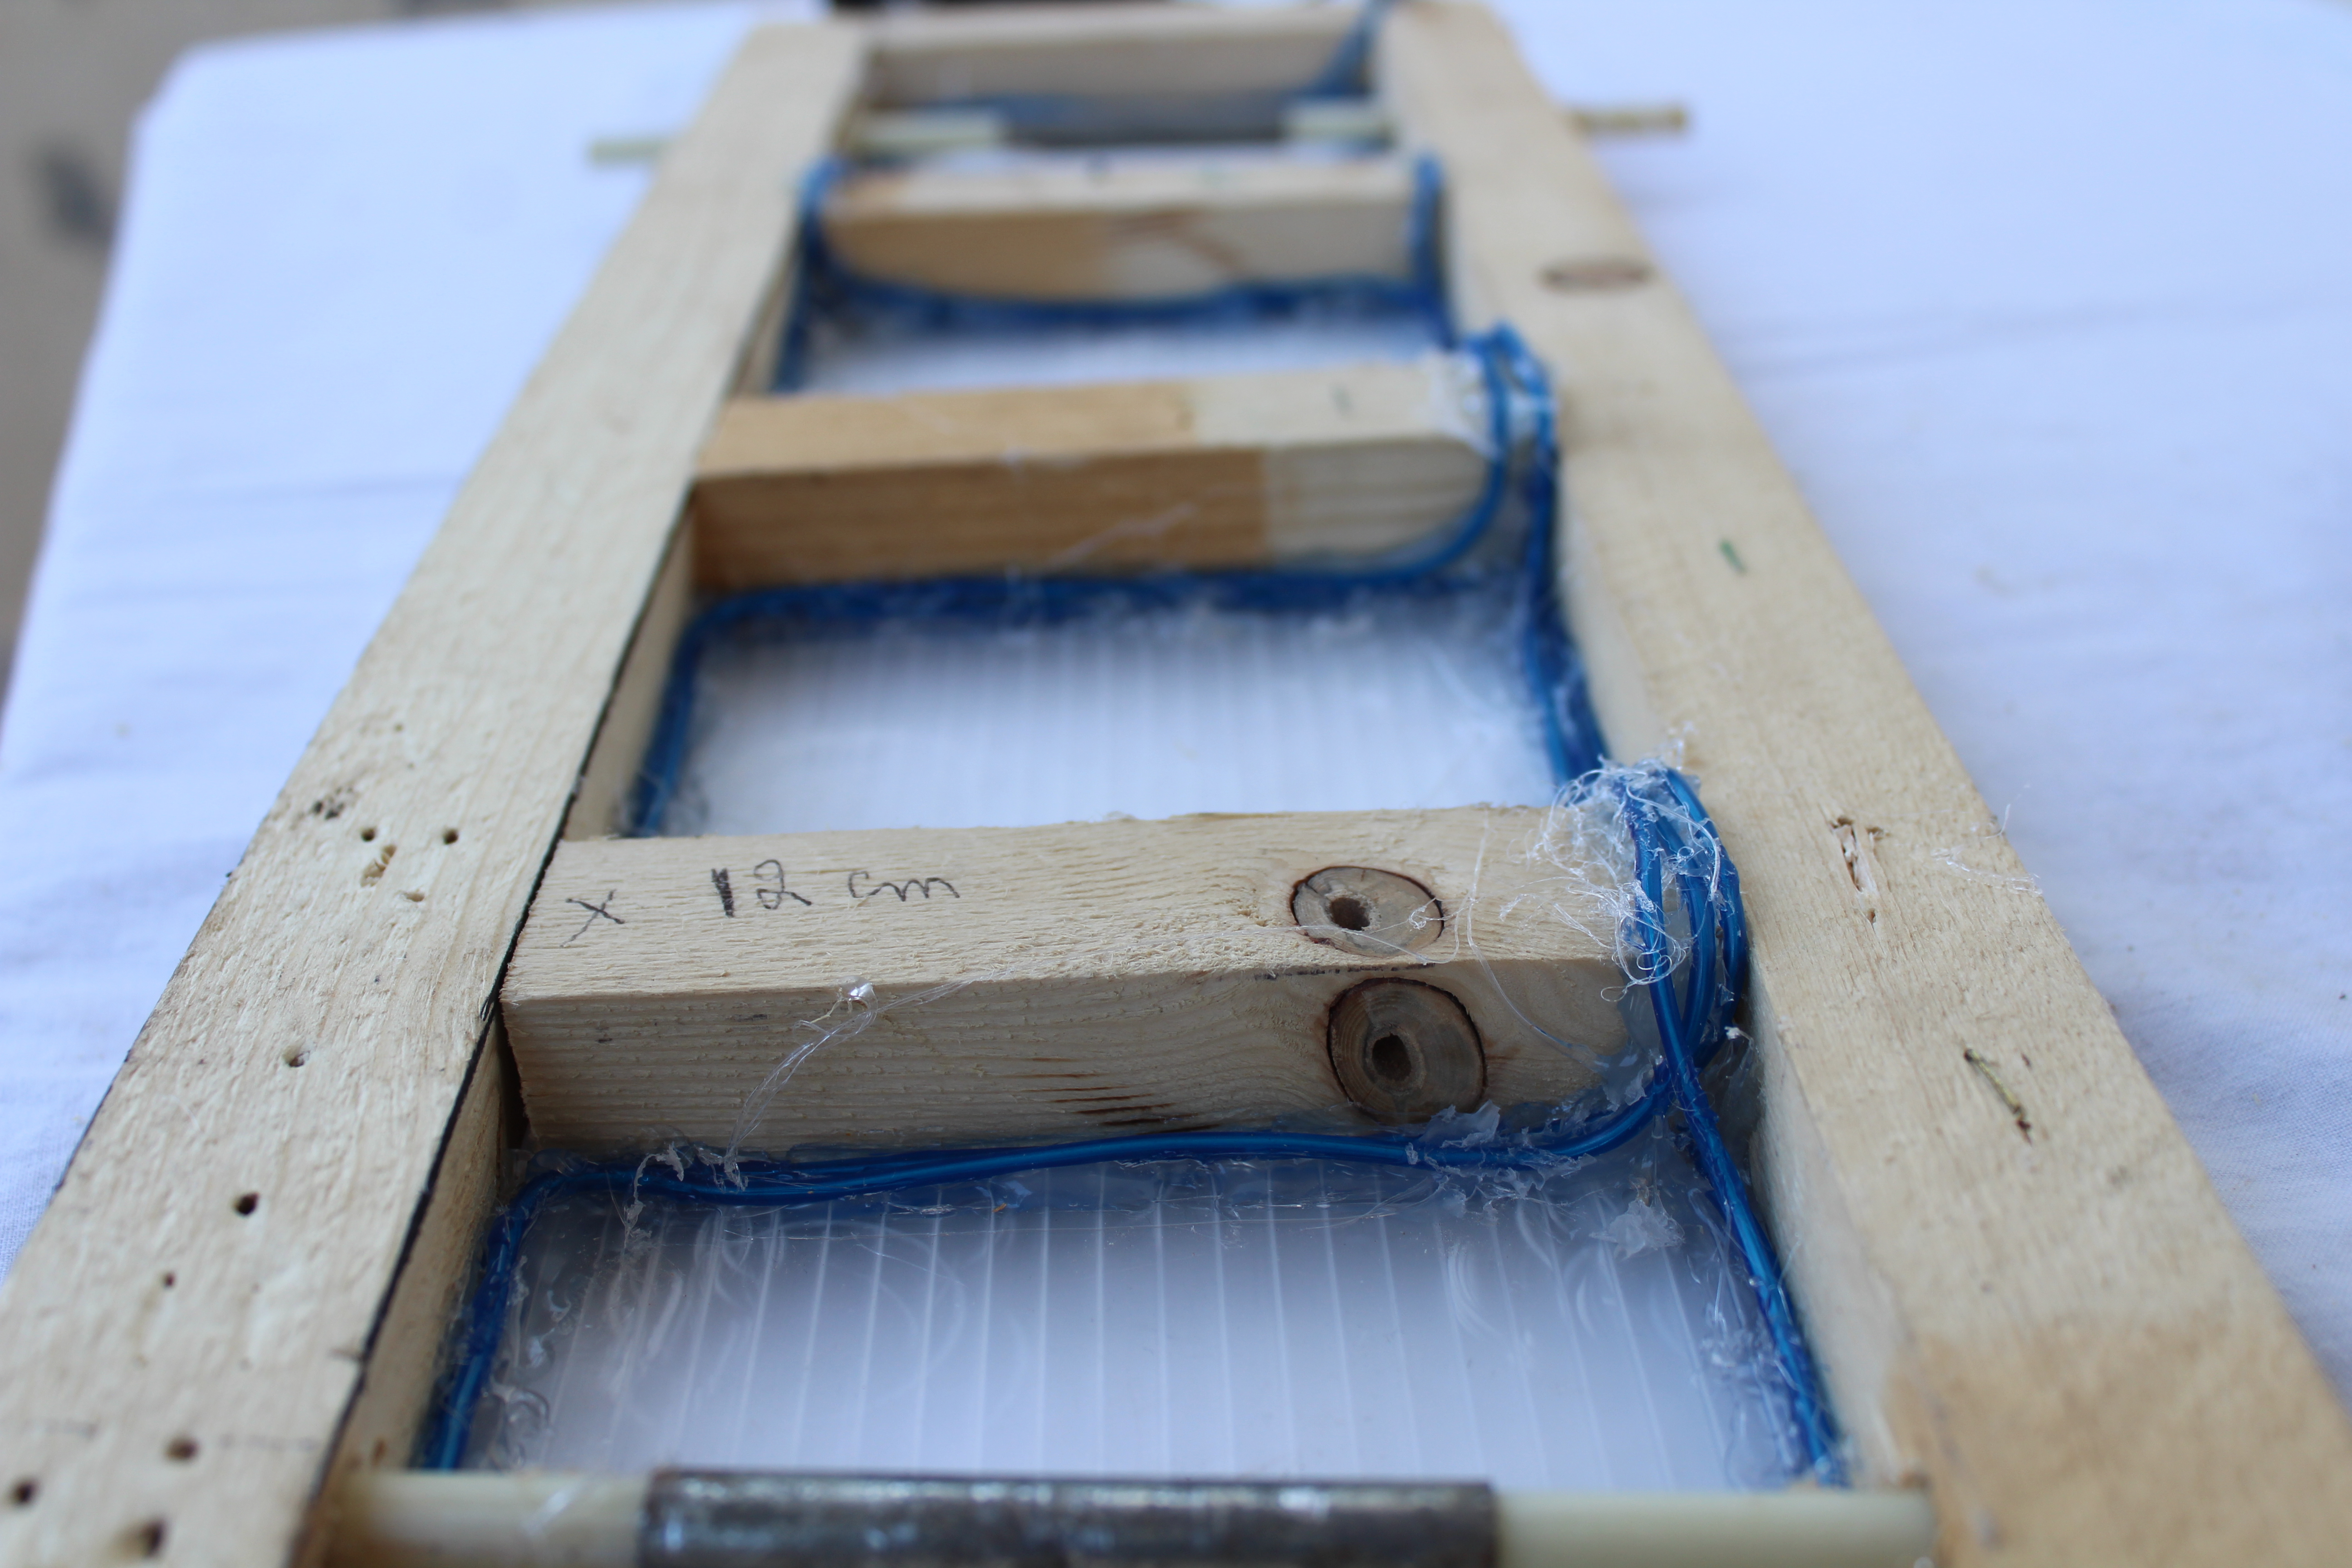
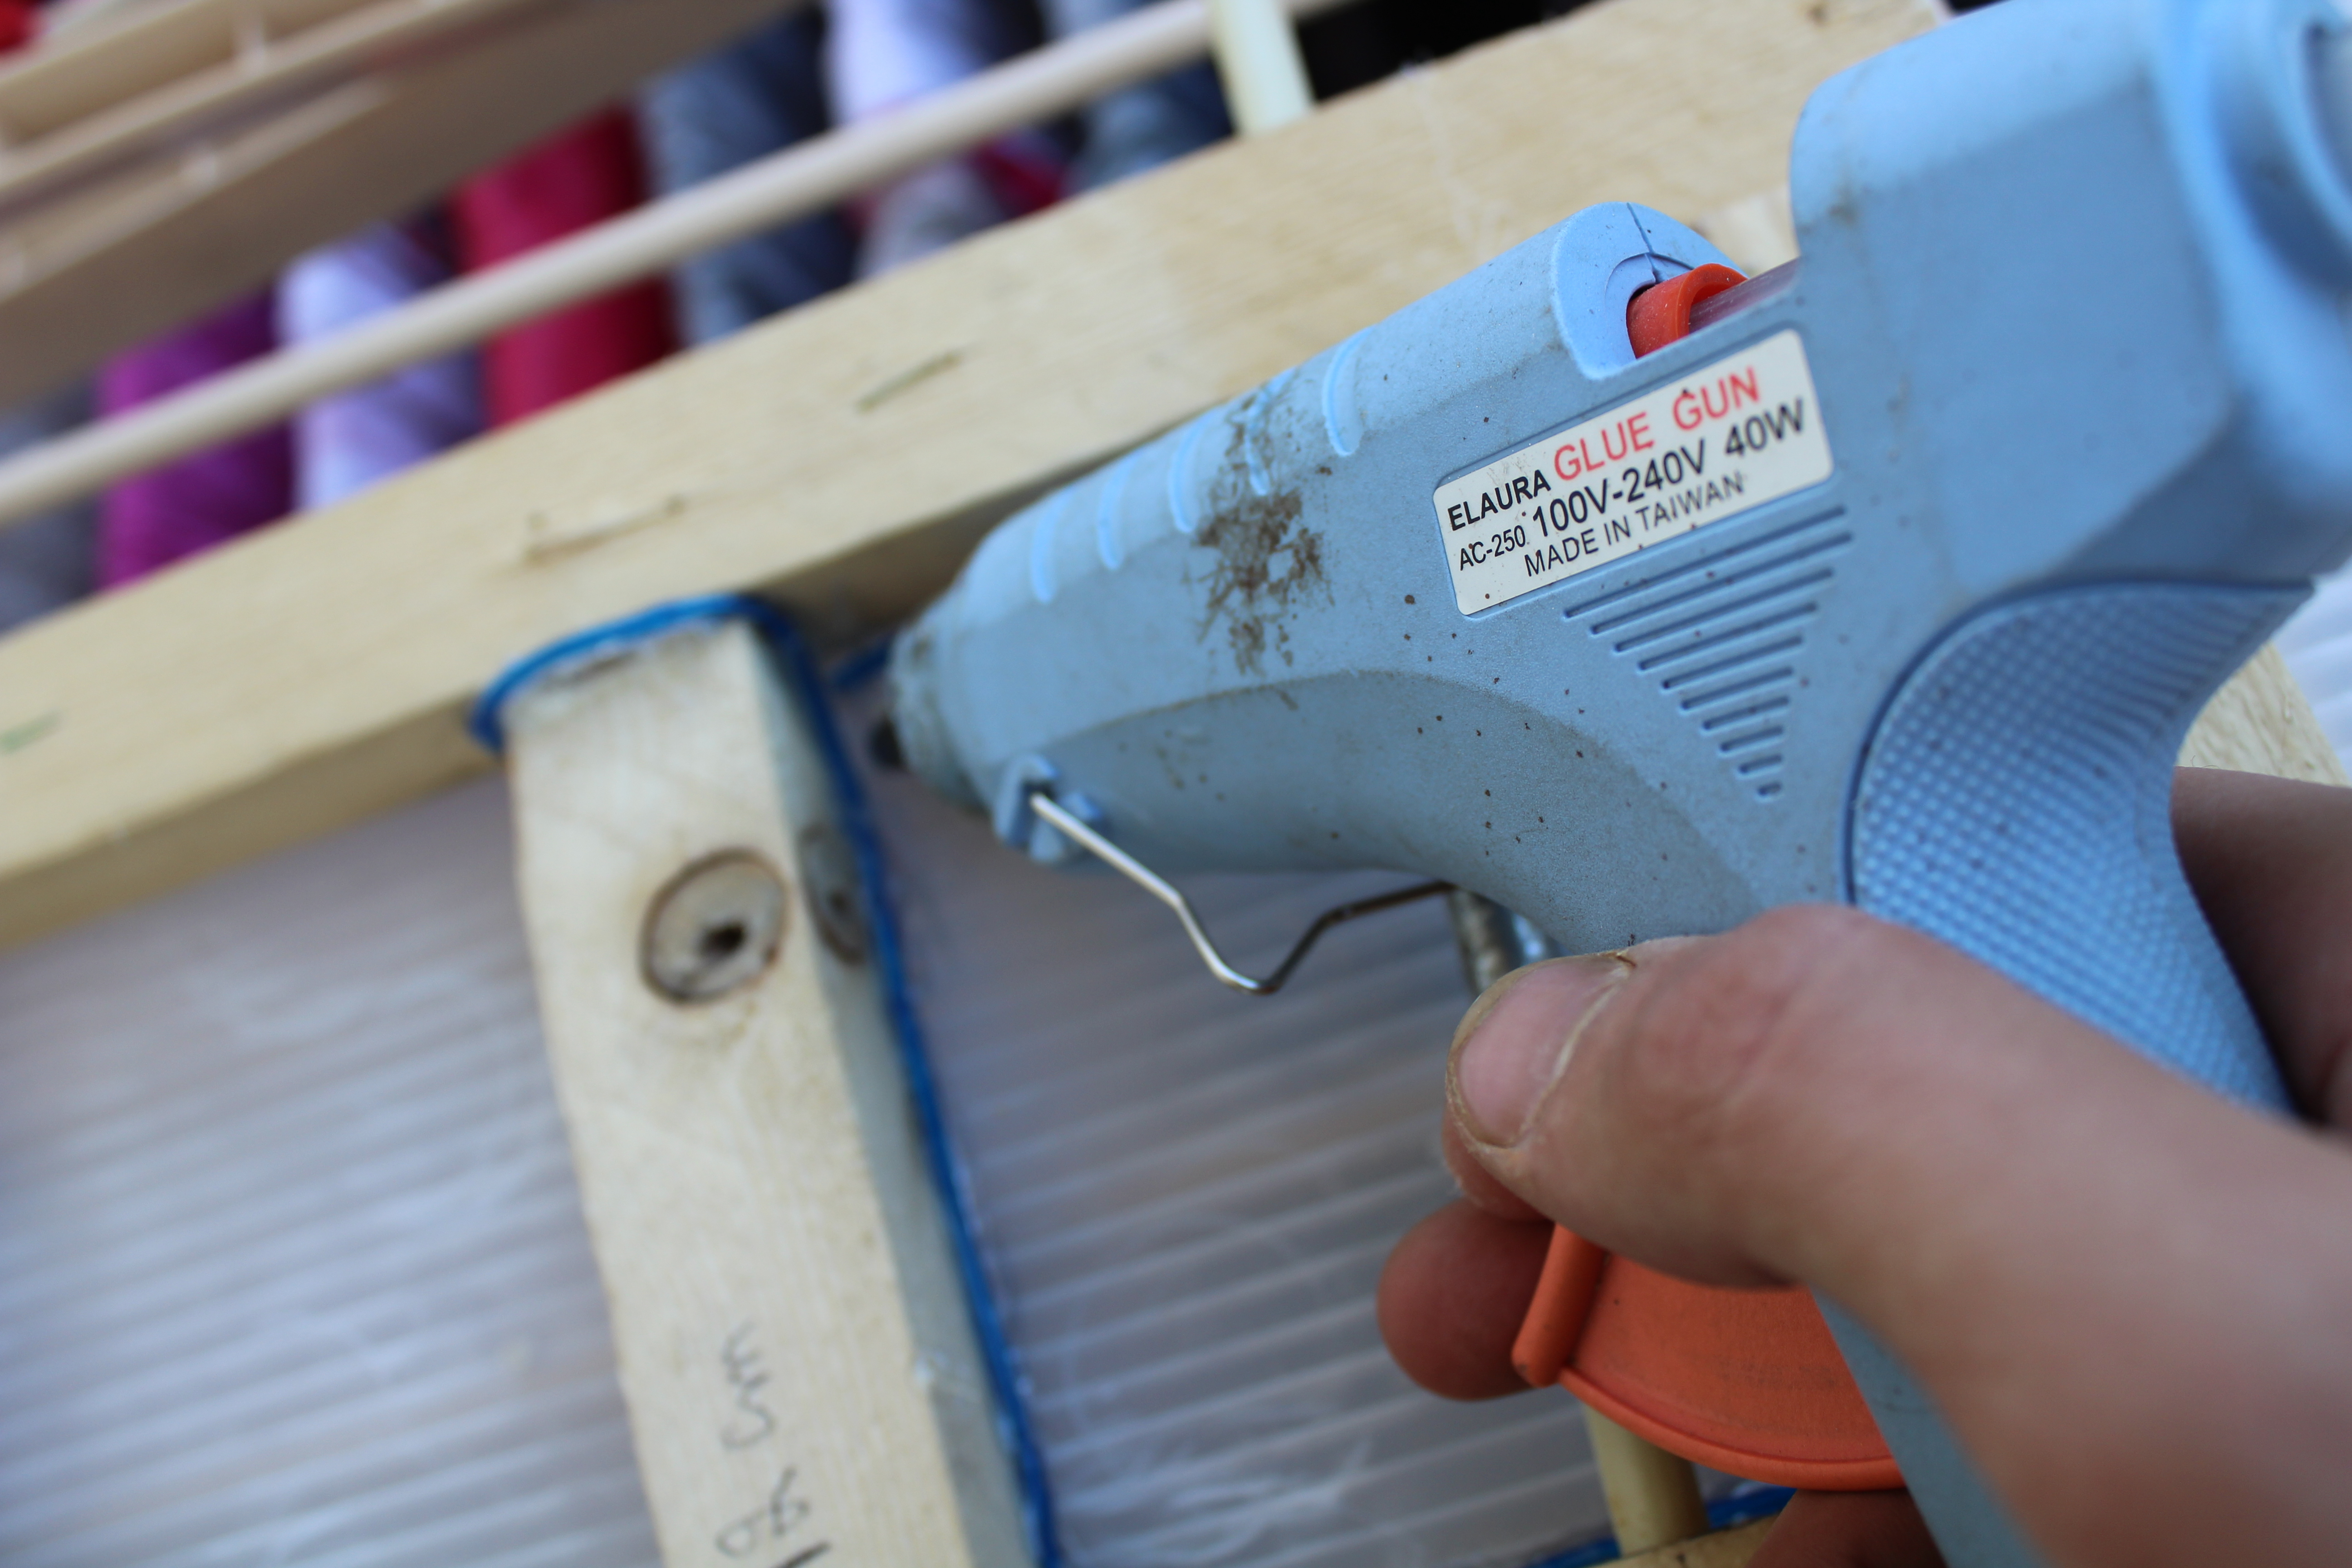
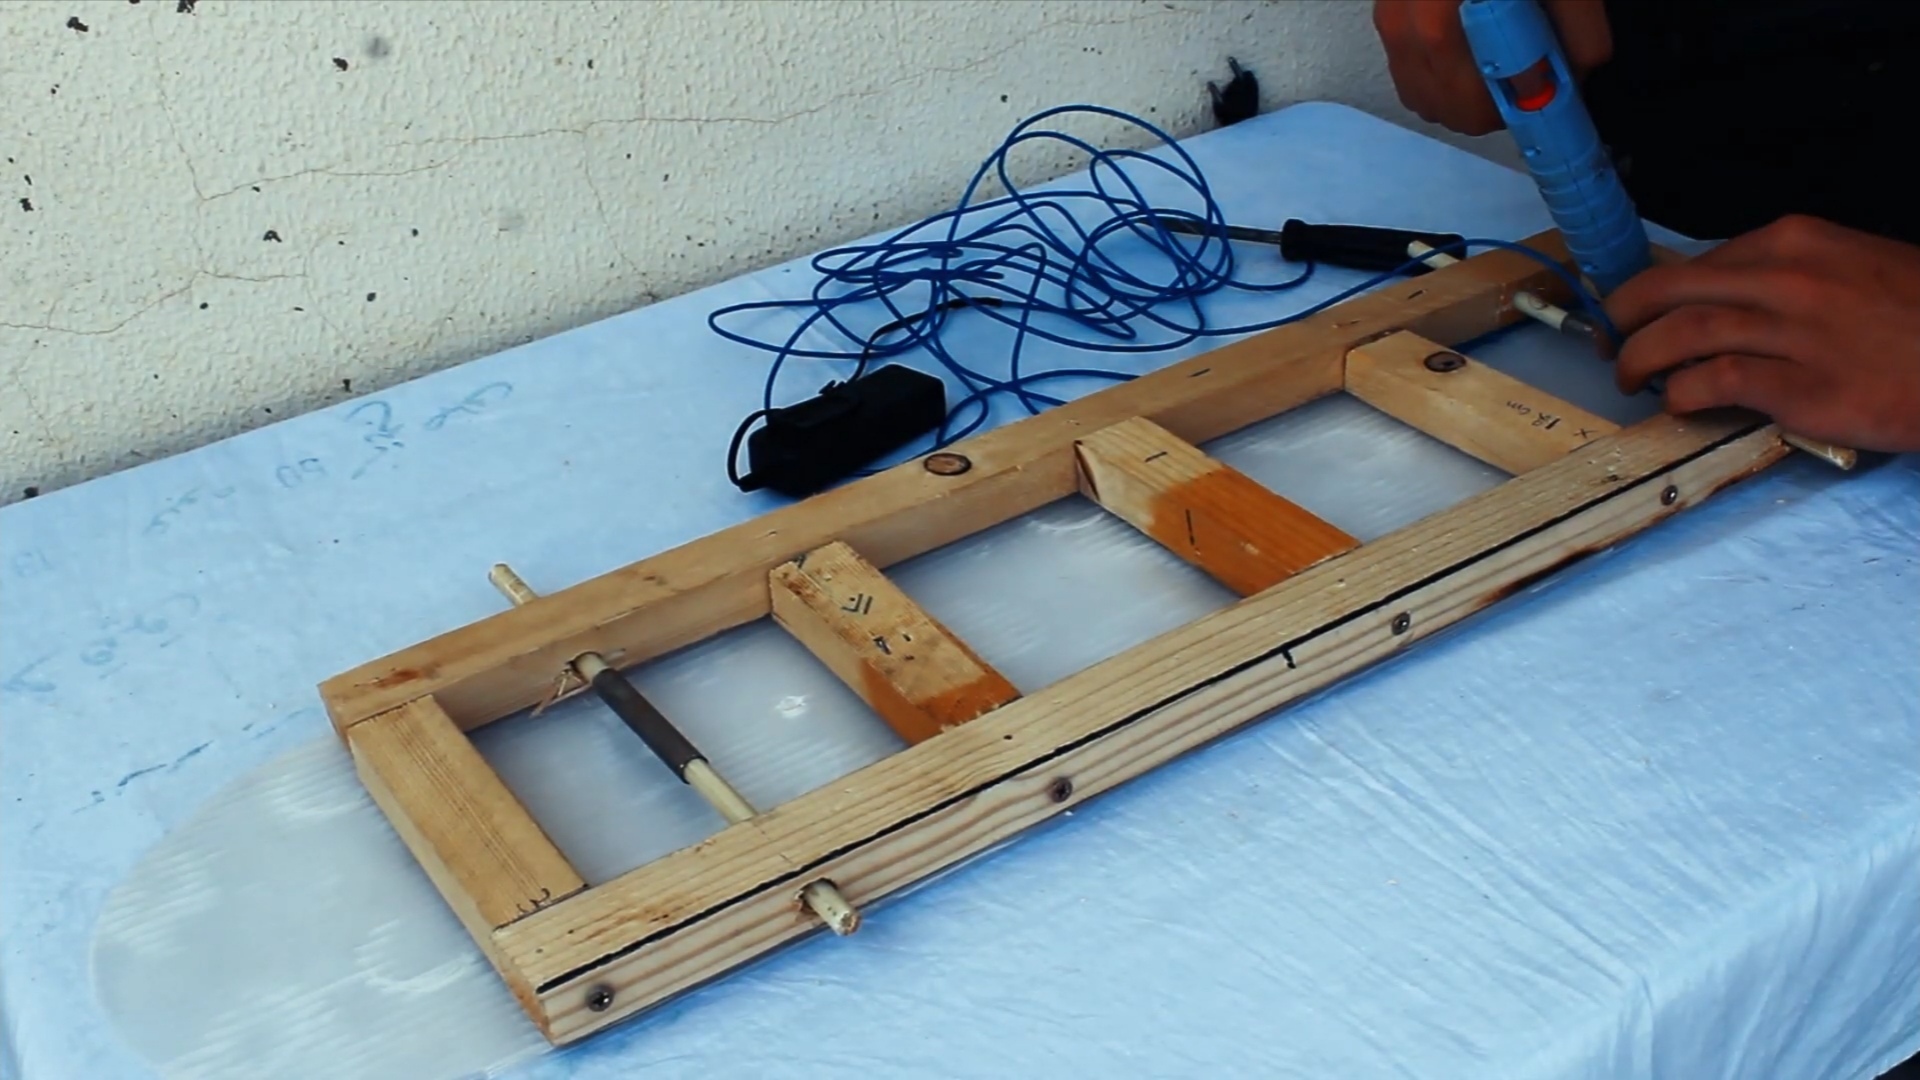
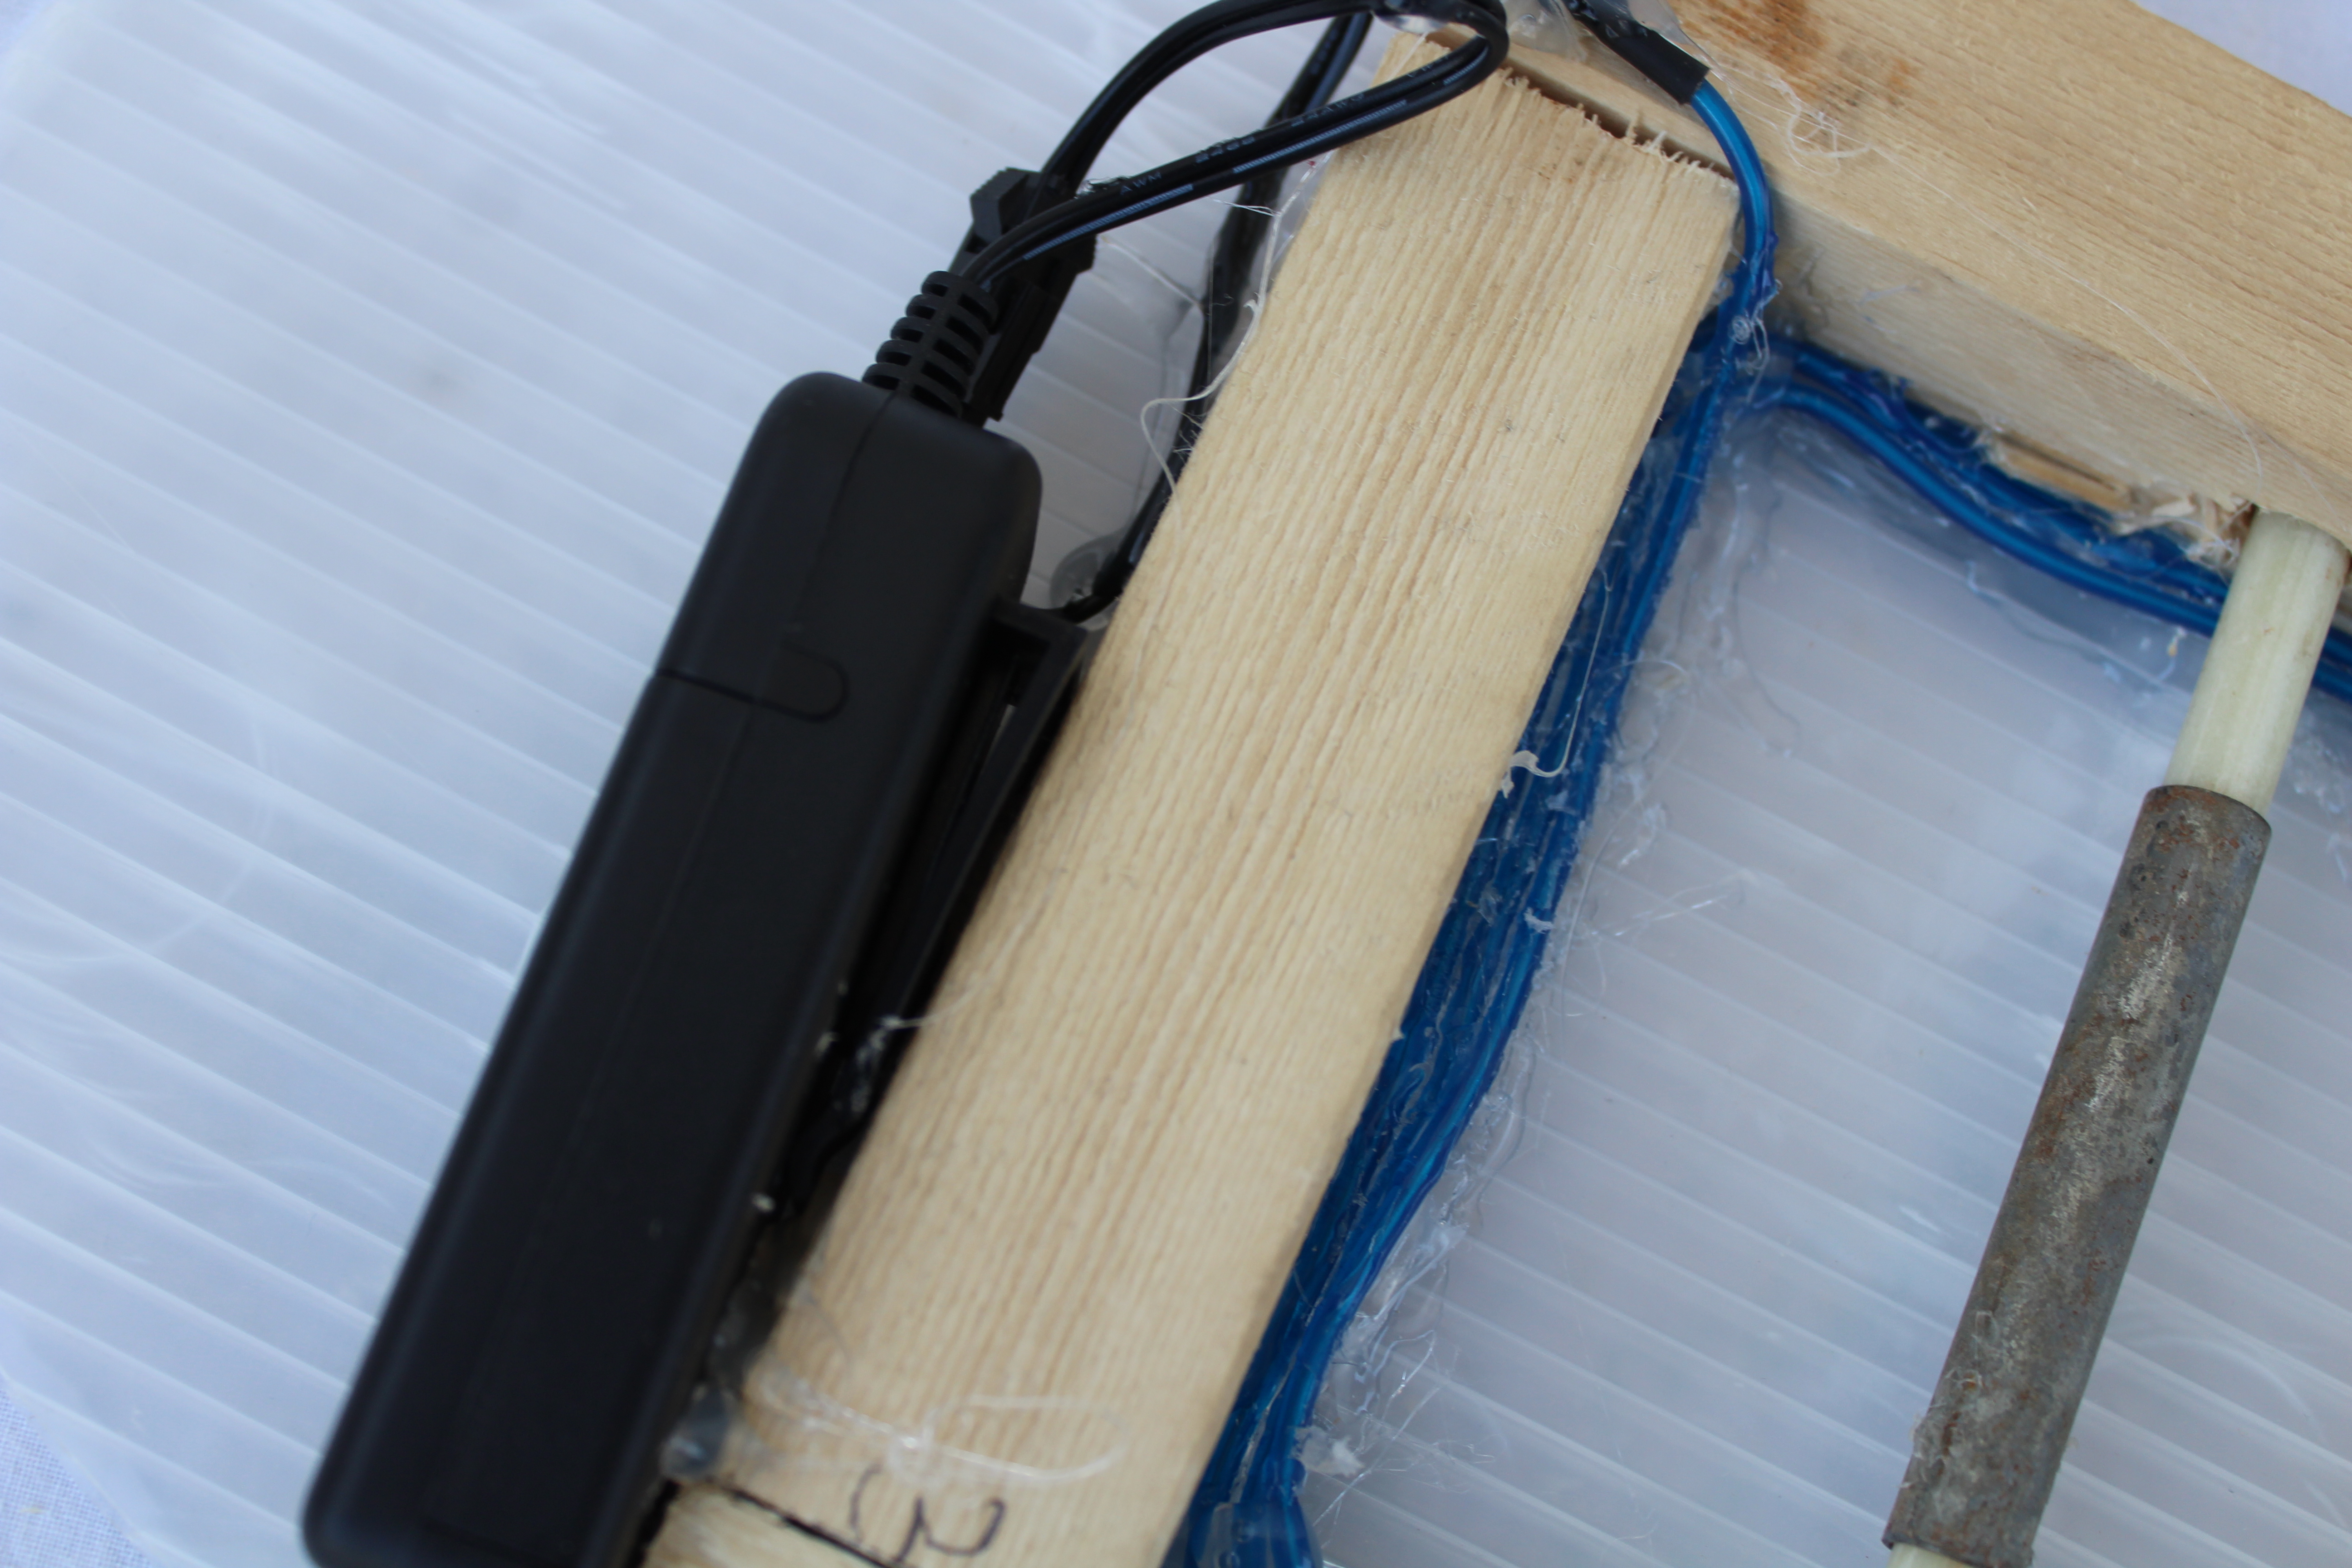
Before fixing the other 3D-printed board, glue the blue Neon Light on the board from the inside of the skateboard.
In this step, I used 5M length neon light and while glueing I've added more than a layer of the neon wire on the rectangles inside the skateboard, and make sure to glue the controller on the peripheral side of the skateboard to be able to reach it.
Optional: You may add some RGB flashlights in the middle of each rectangle or you can form your design in the rectangles using neon wires.
Drill for the Axises
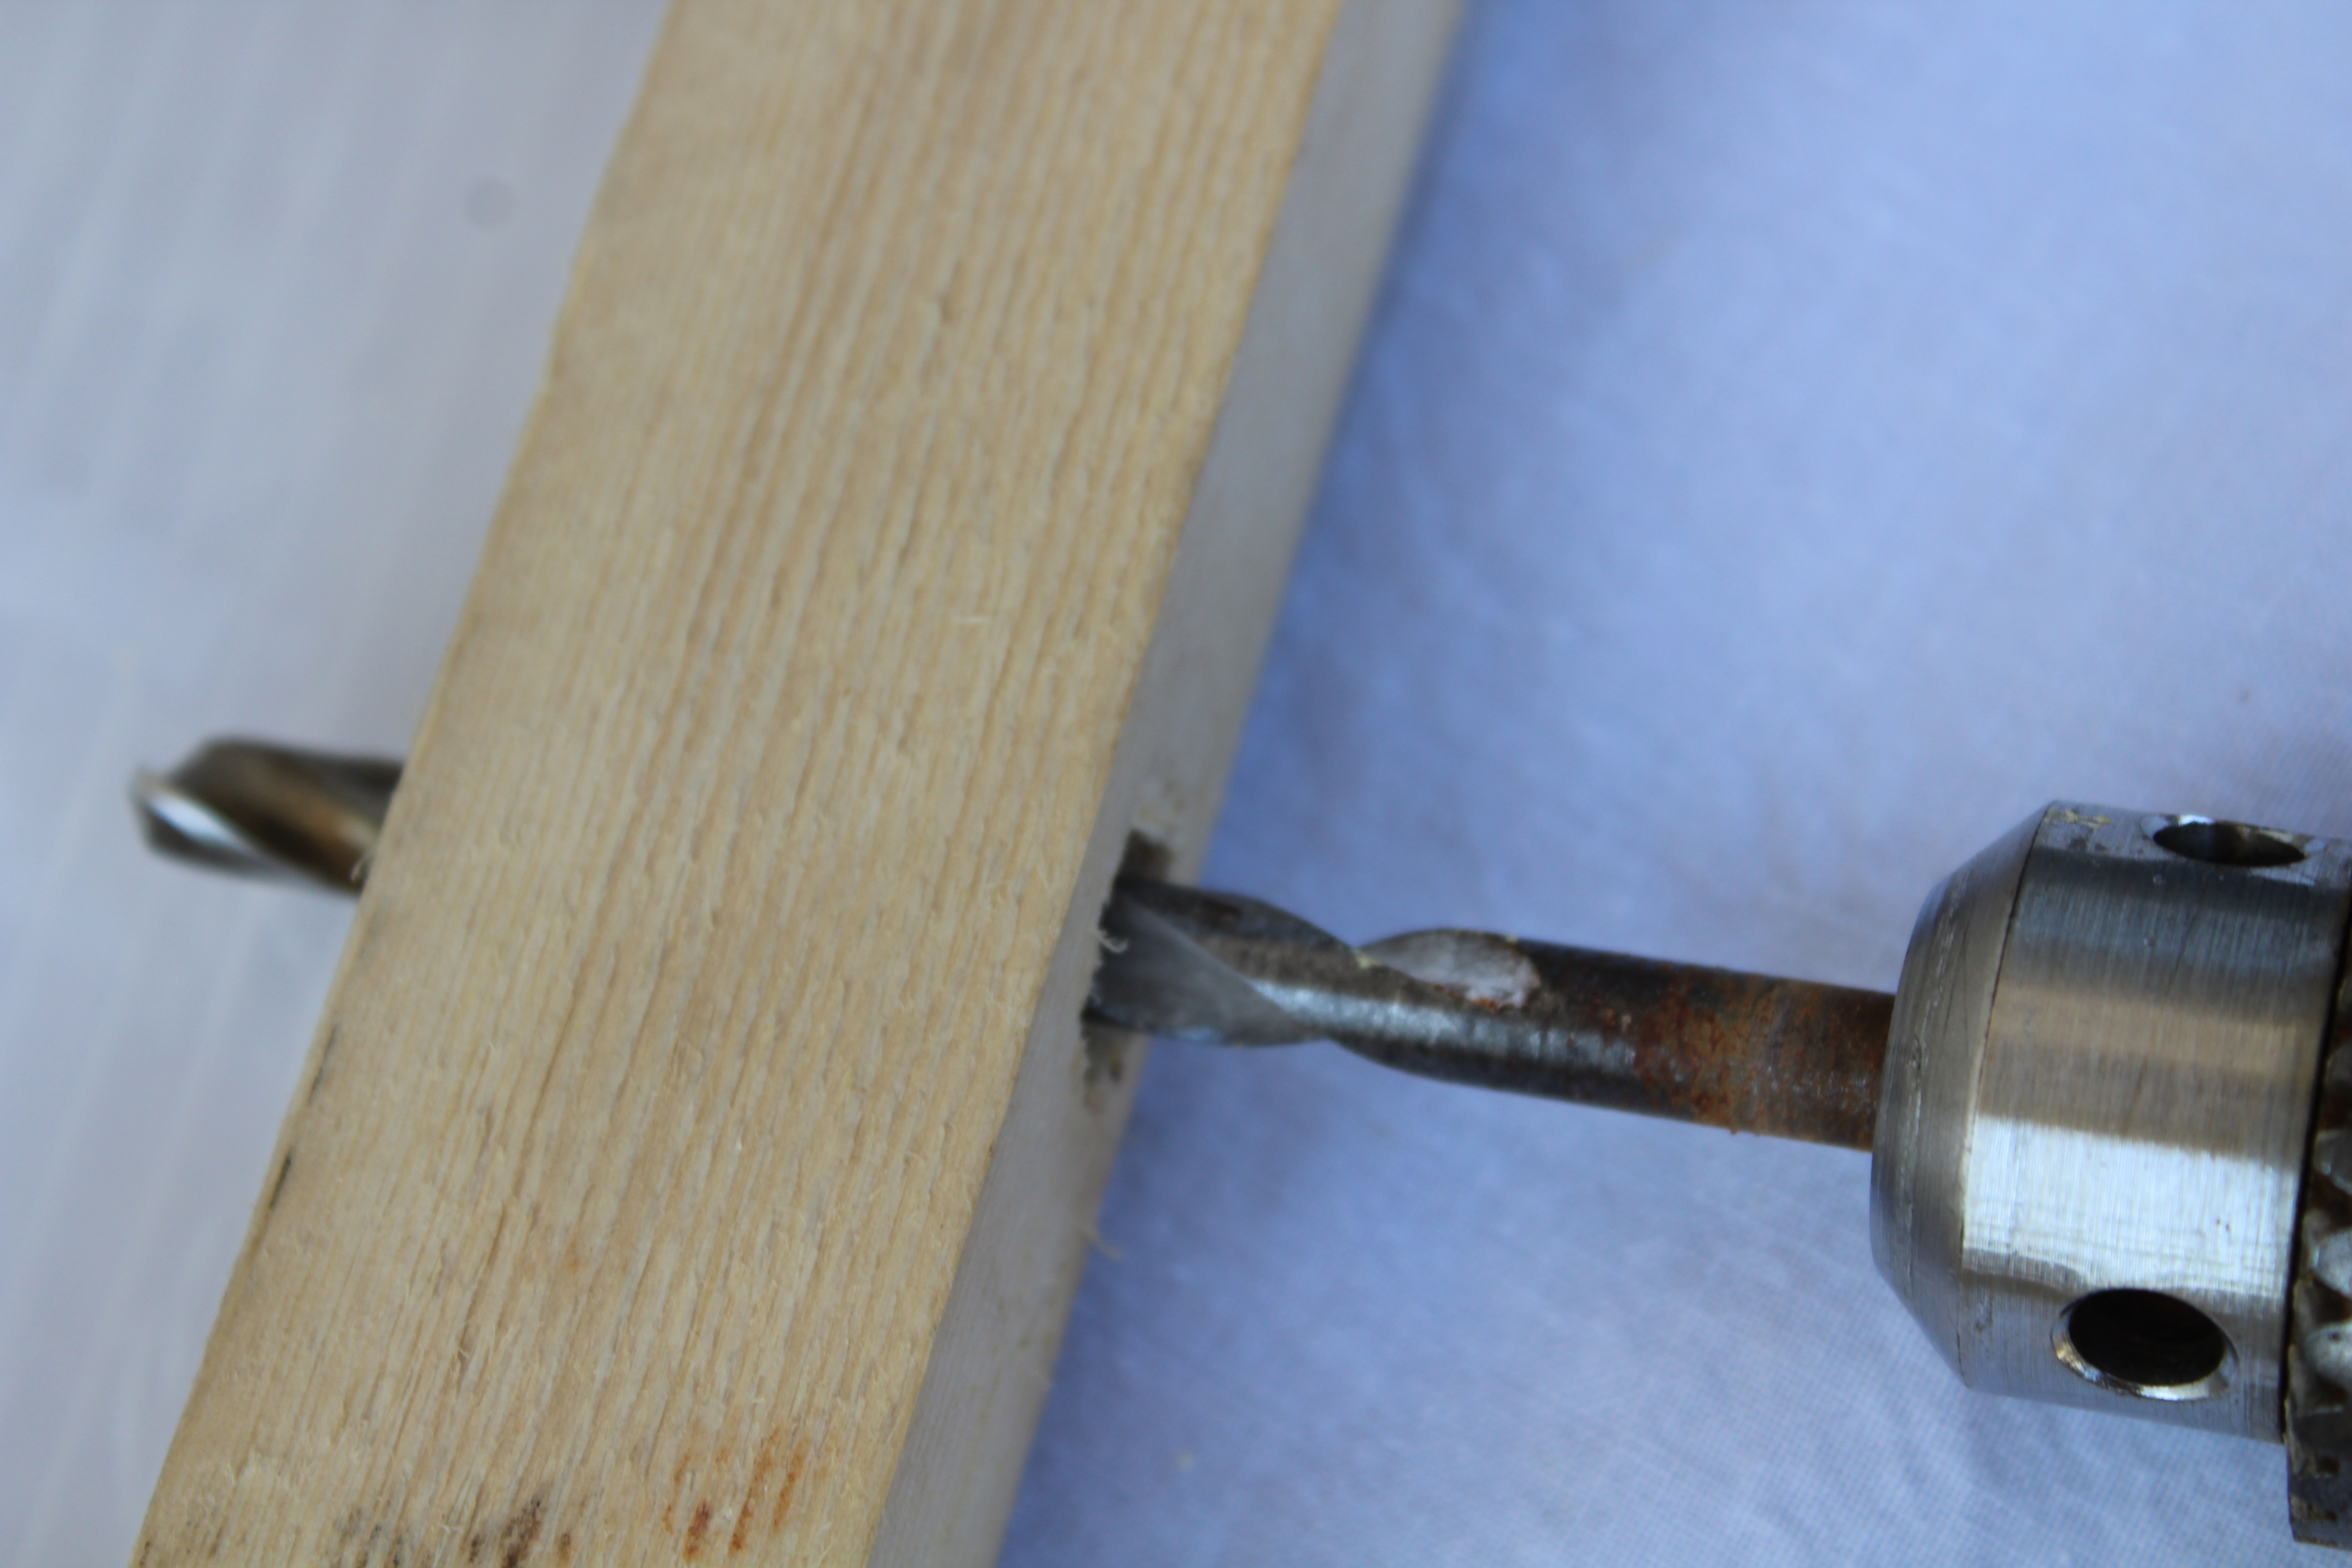
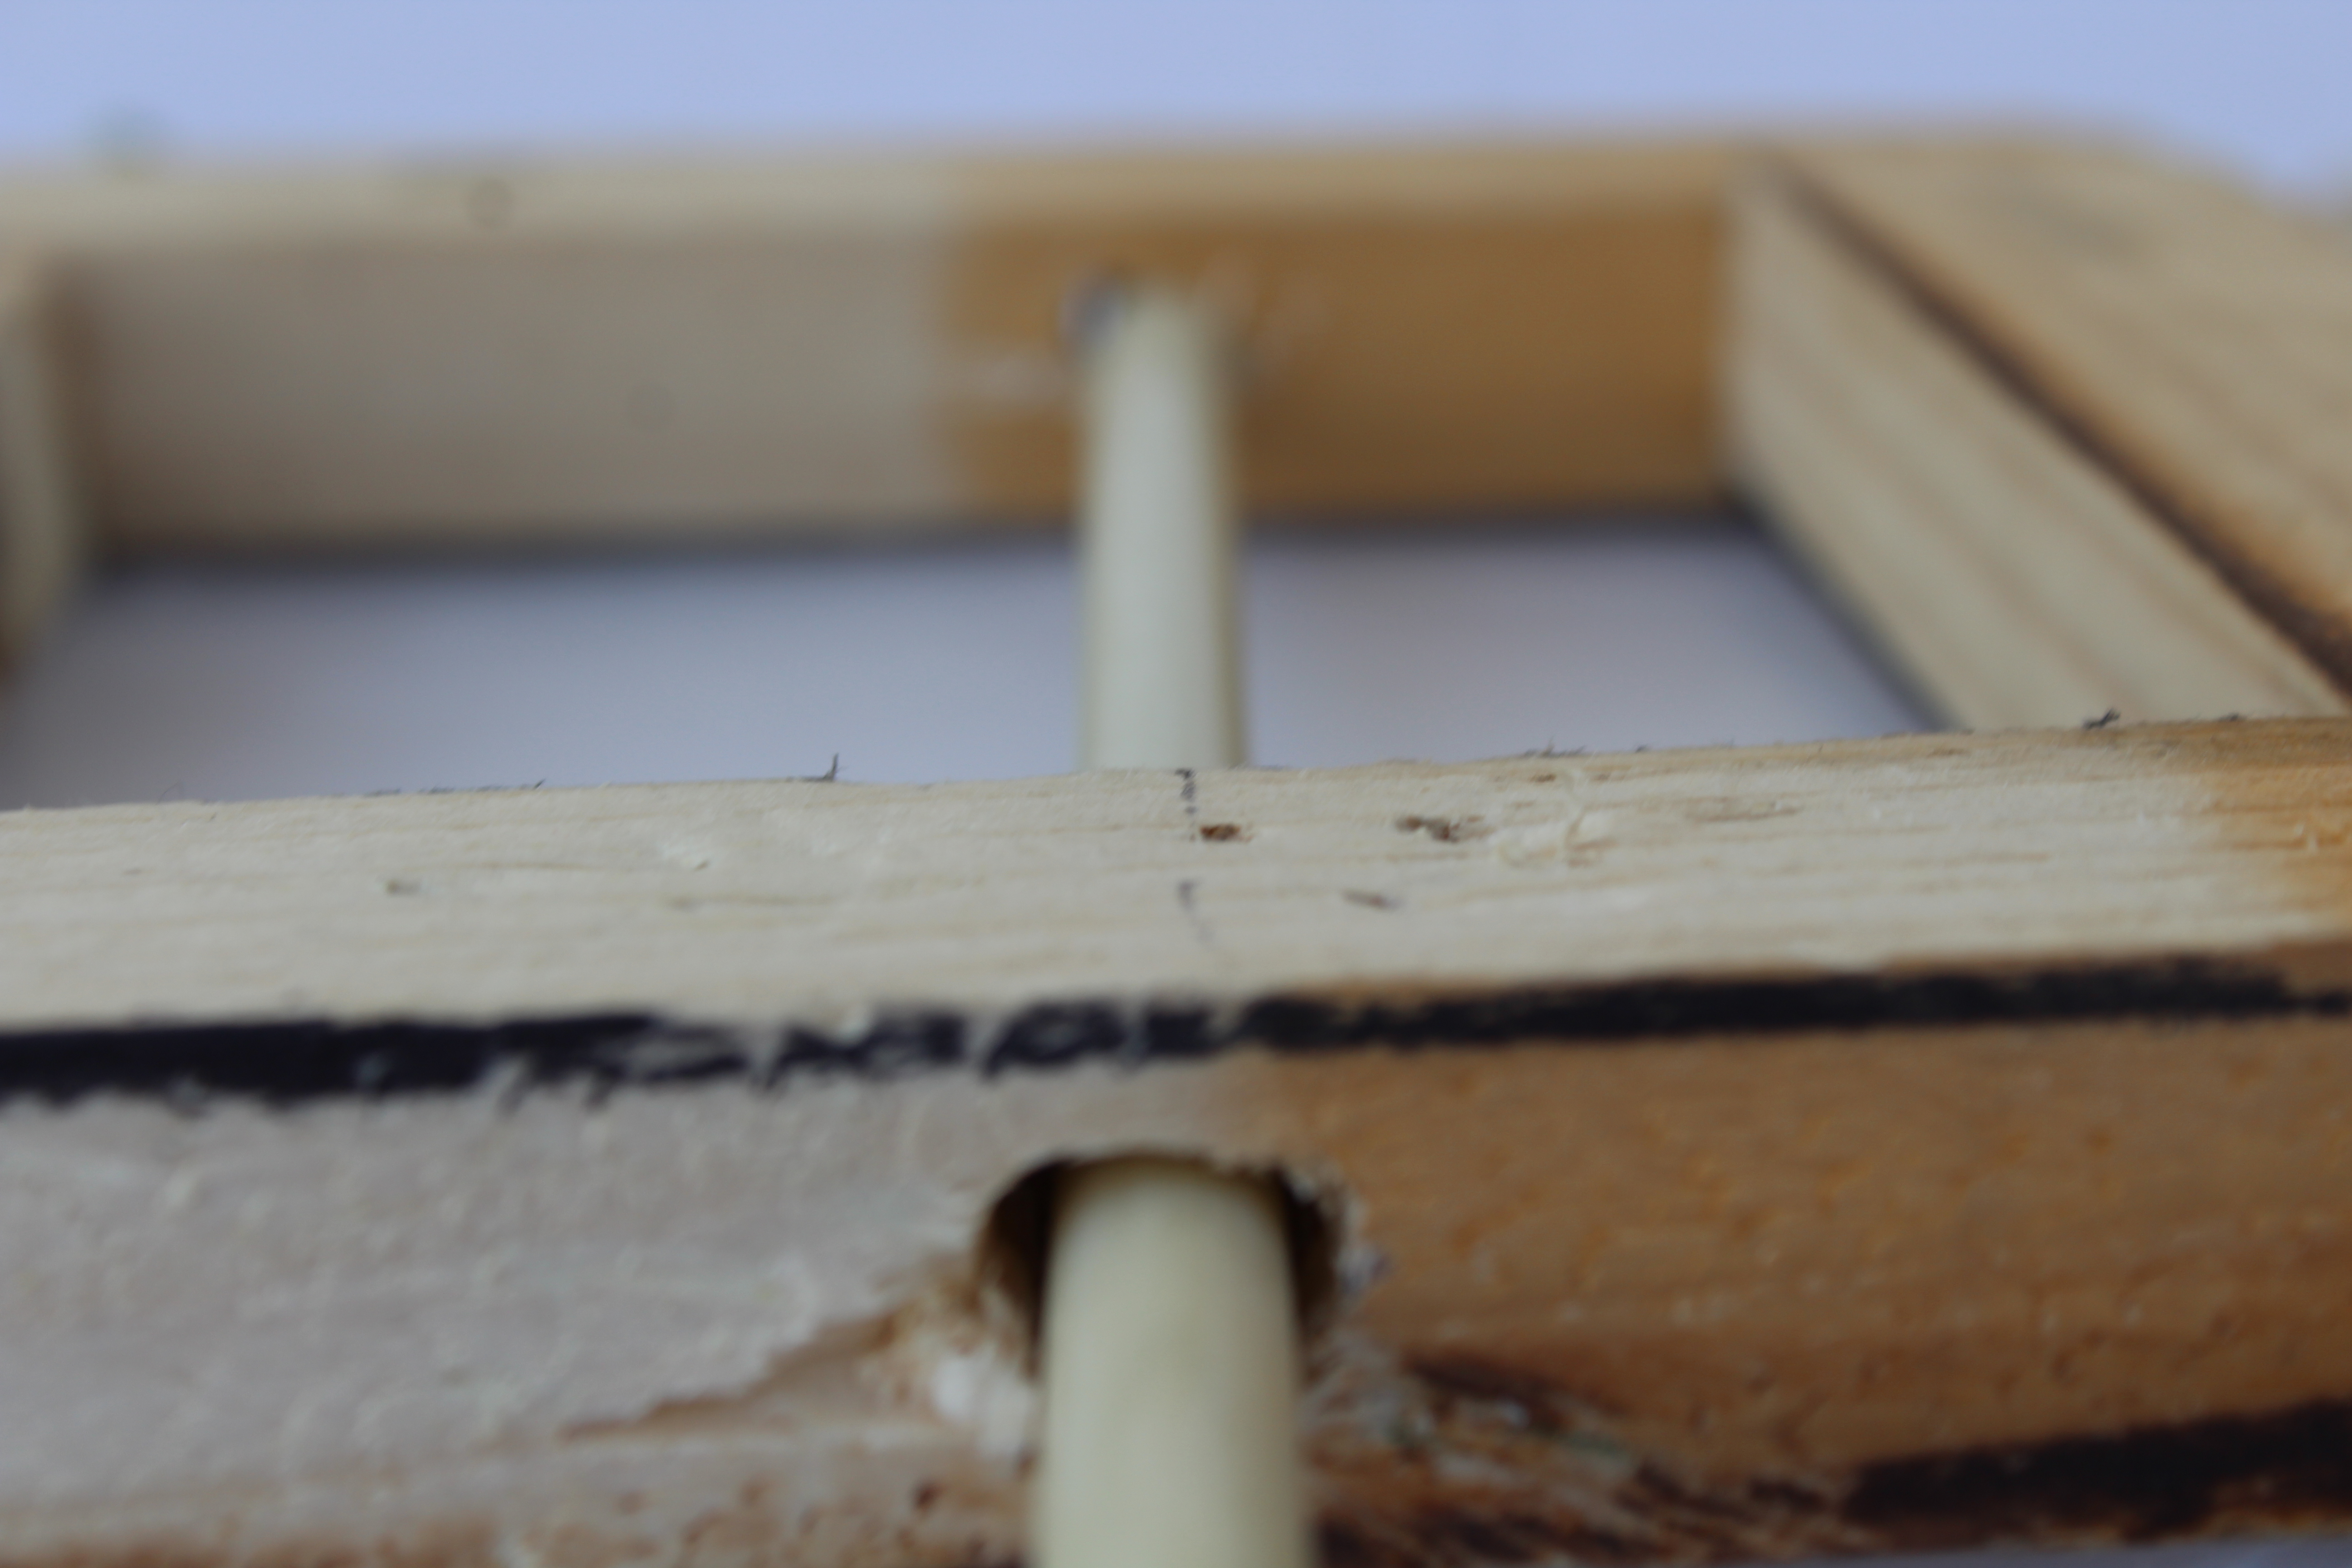
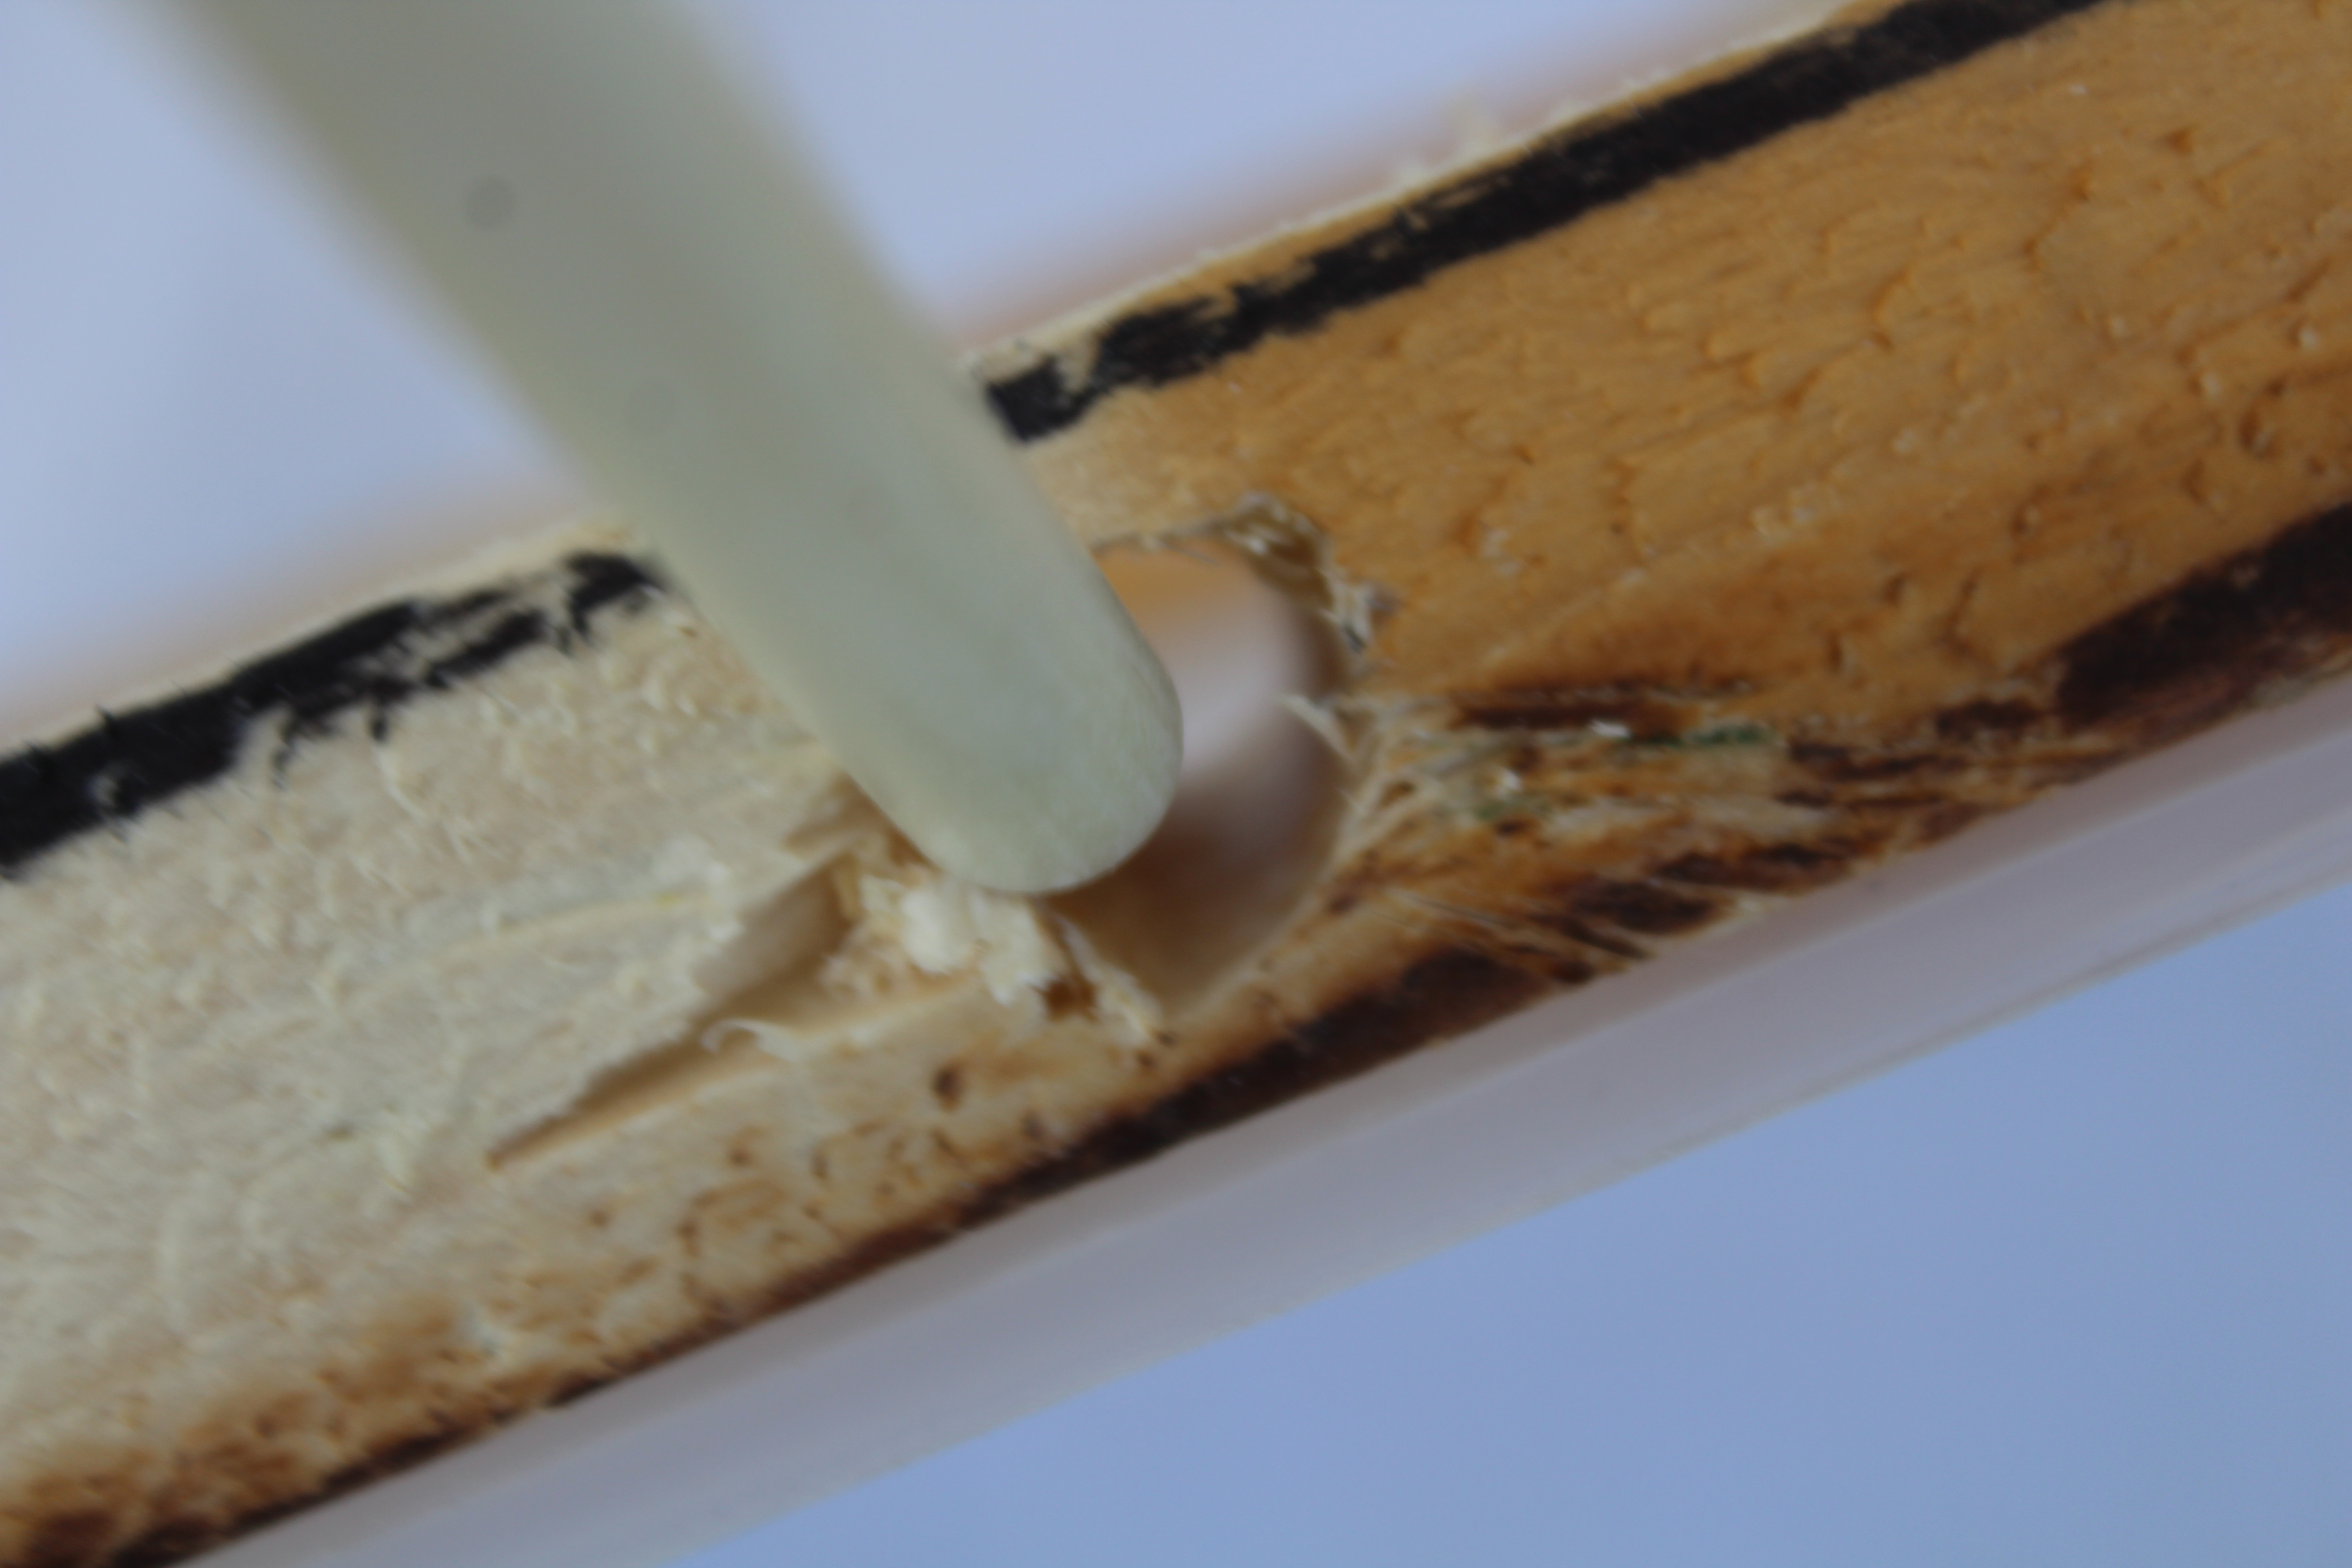
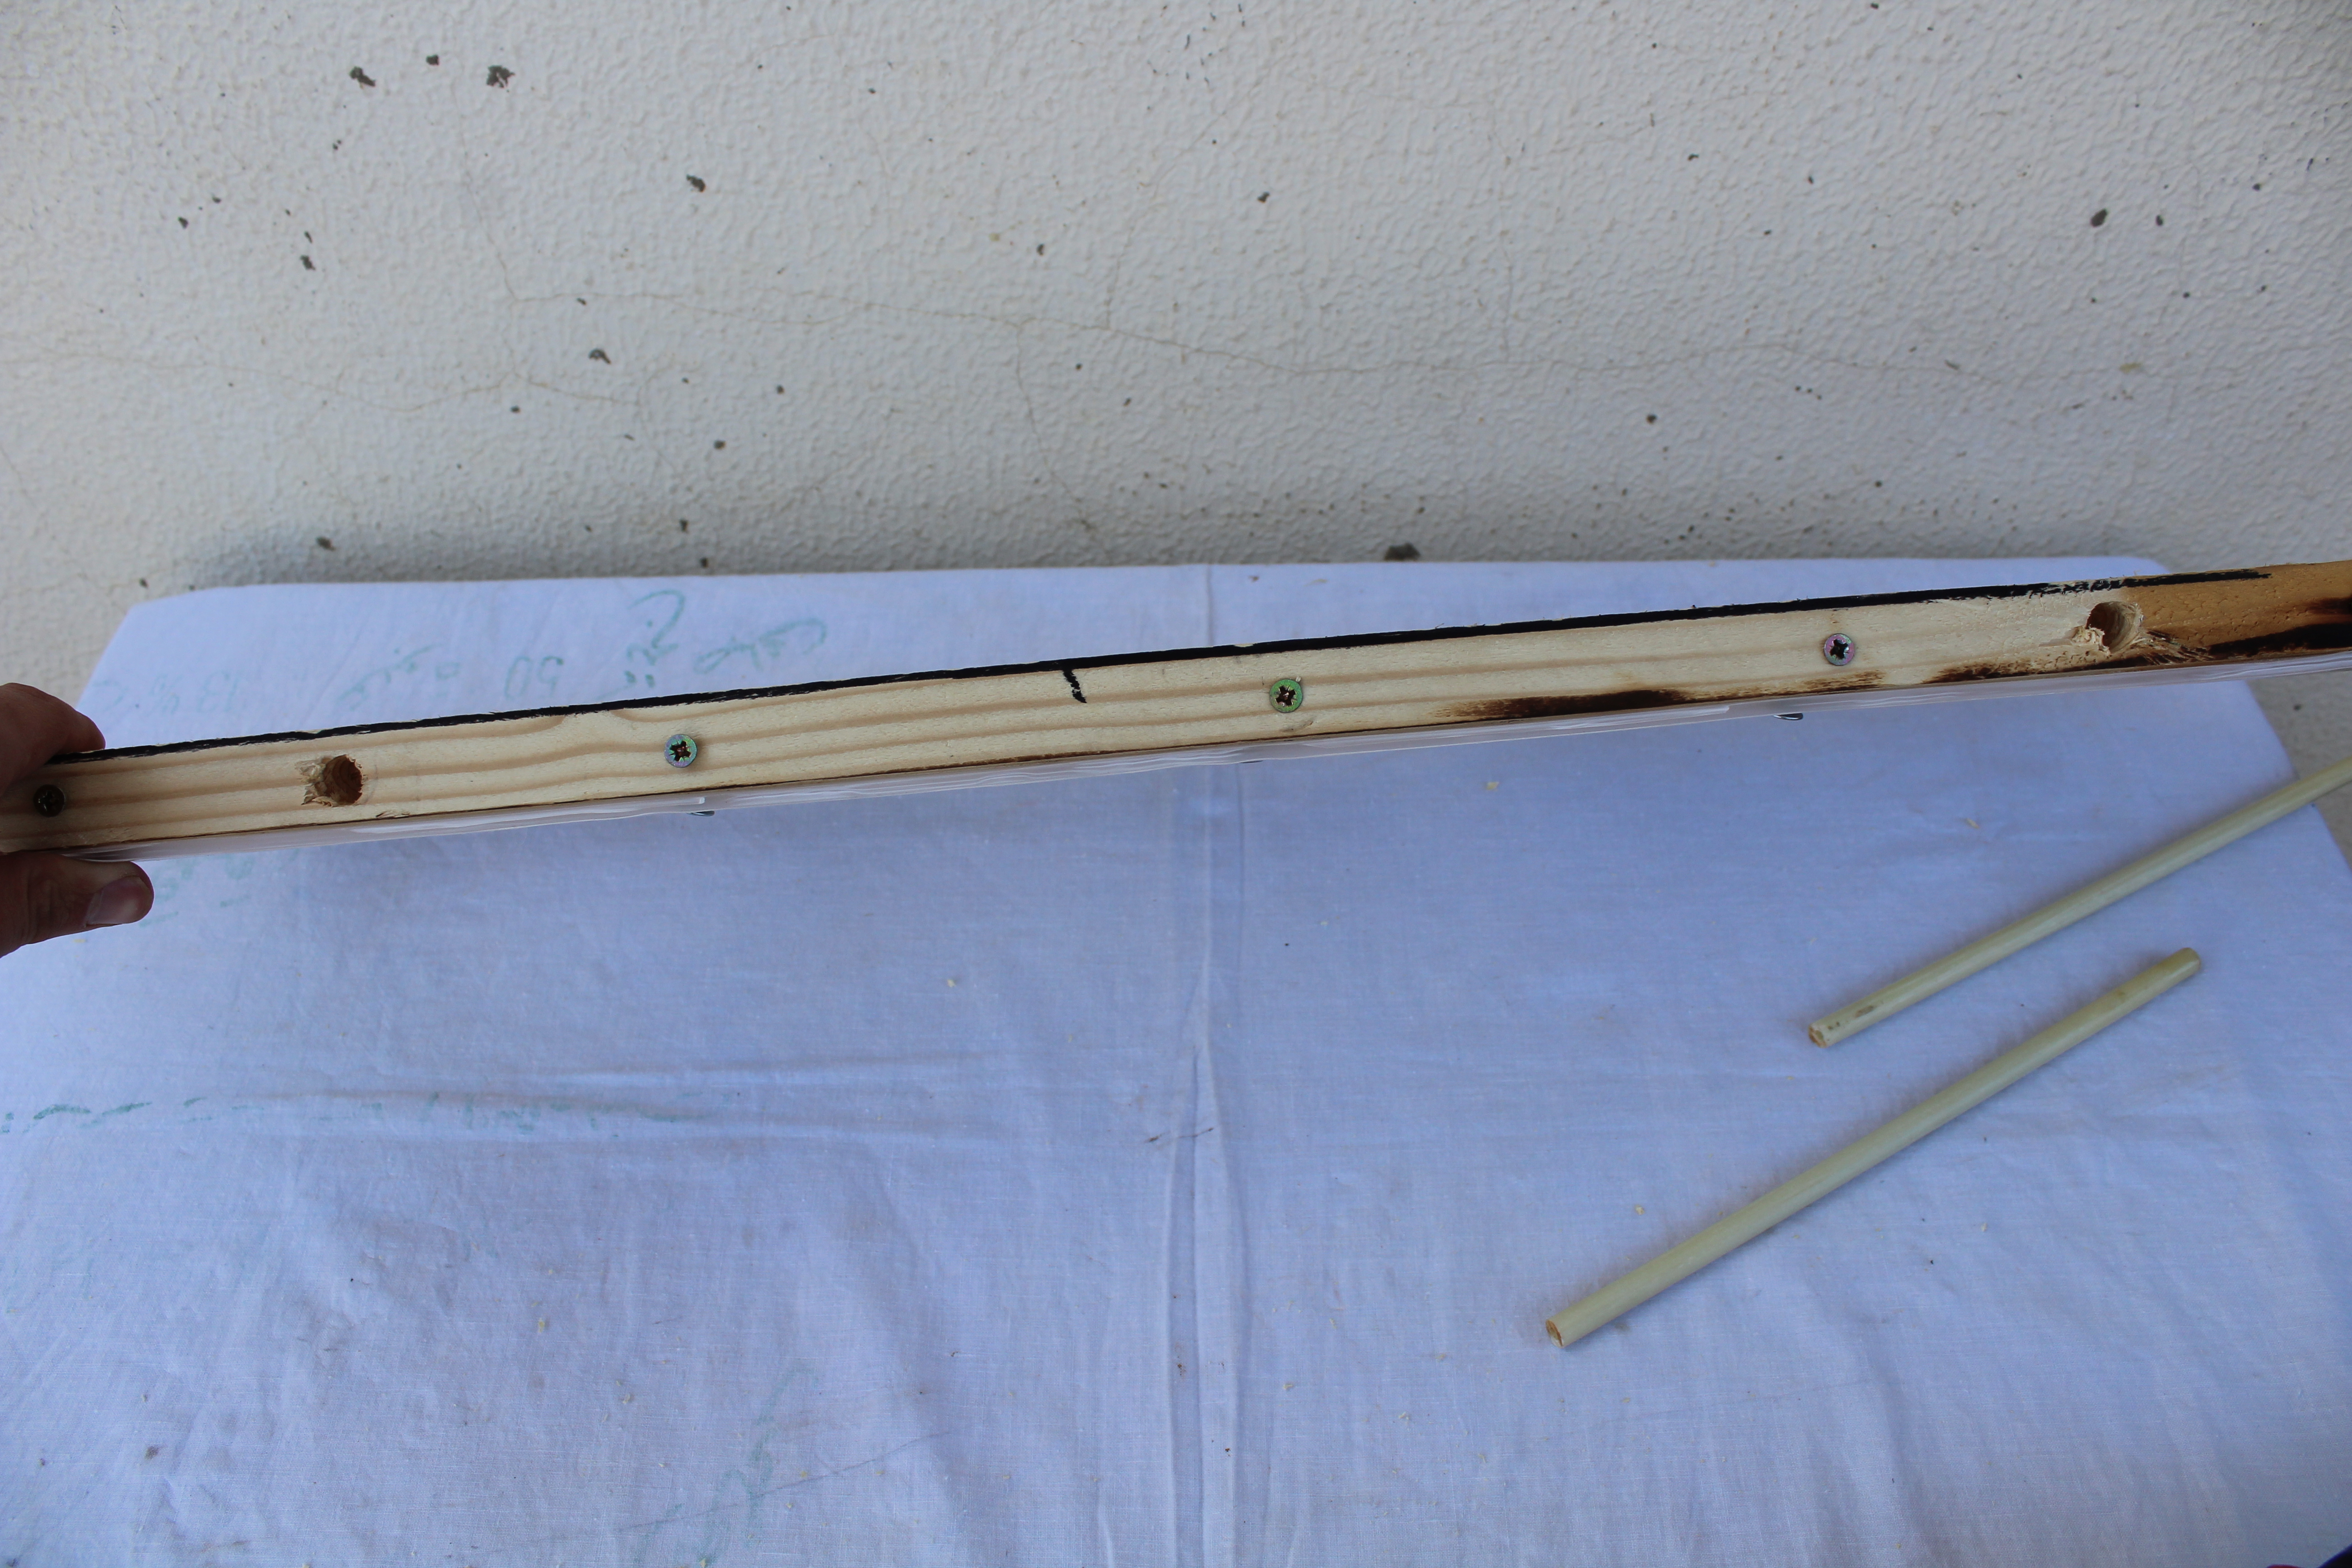
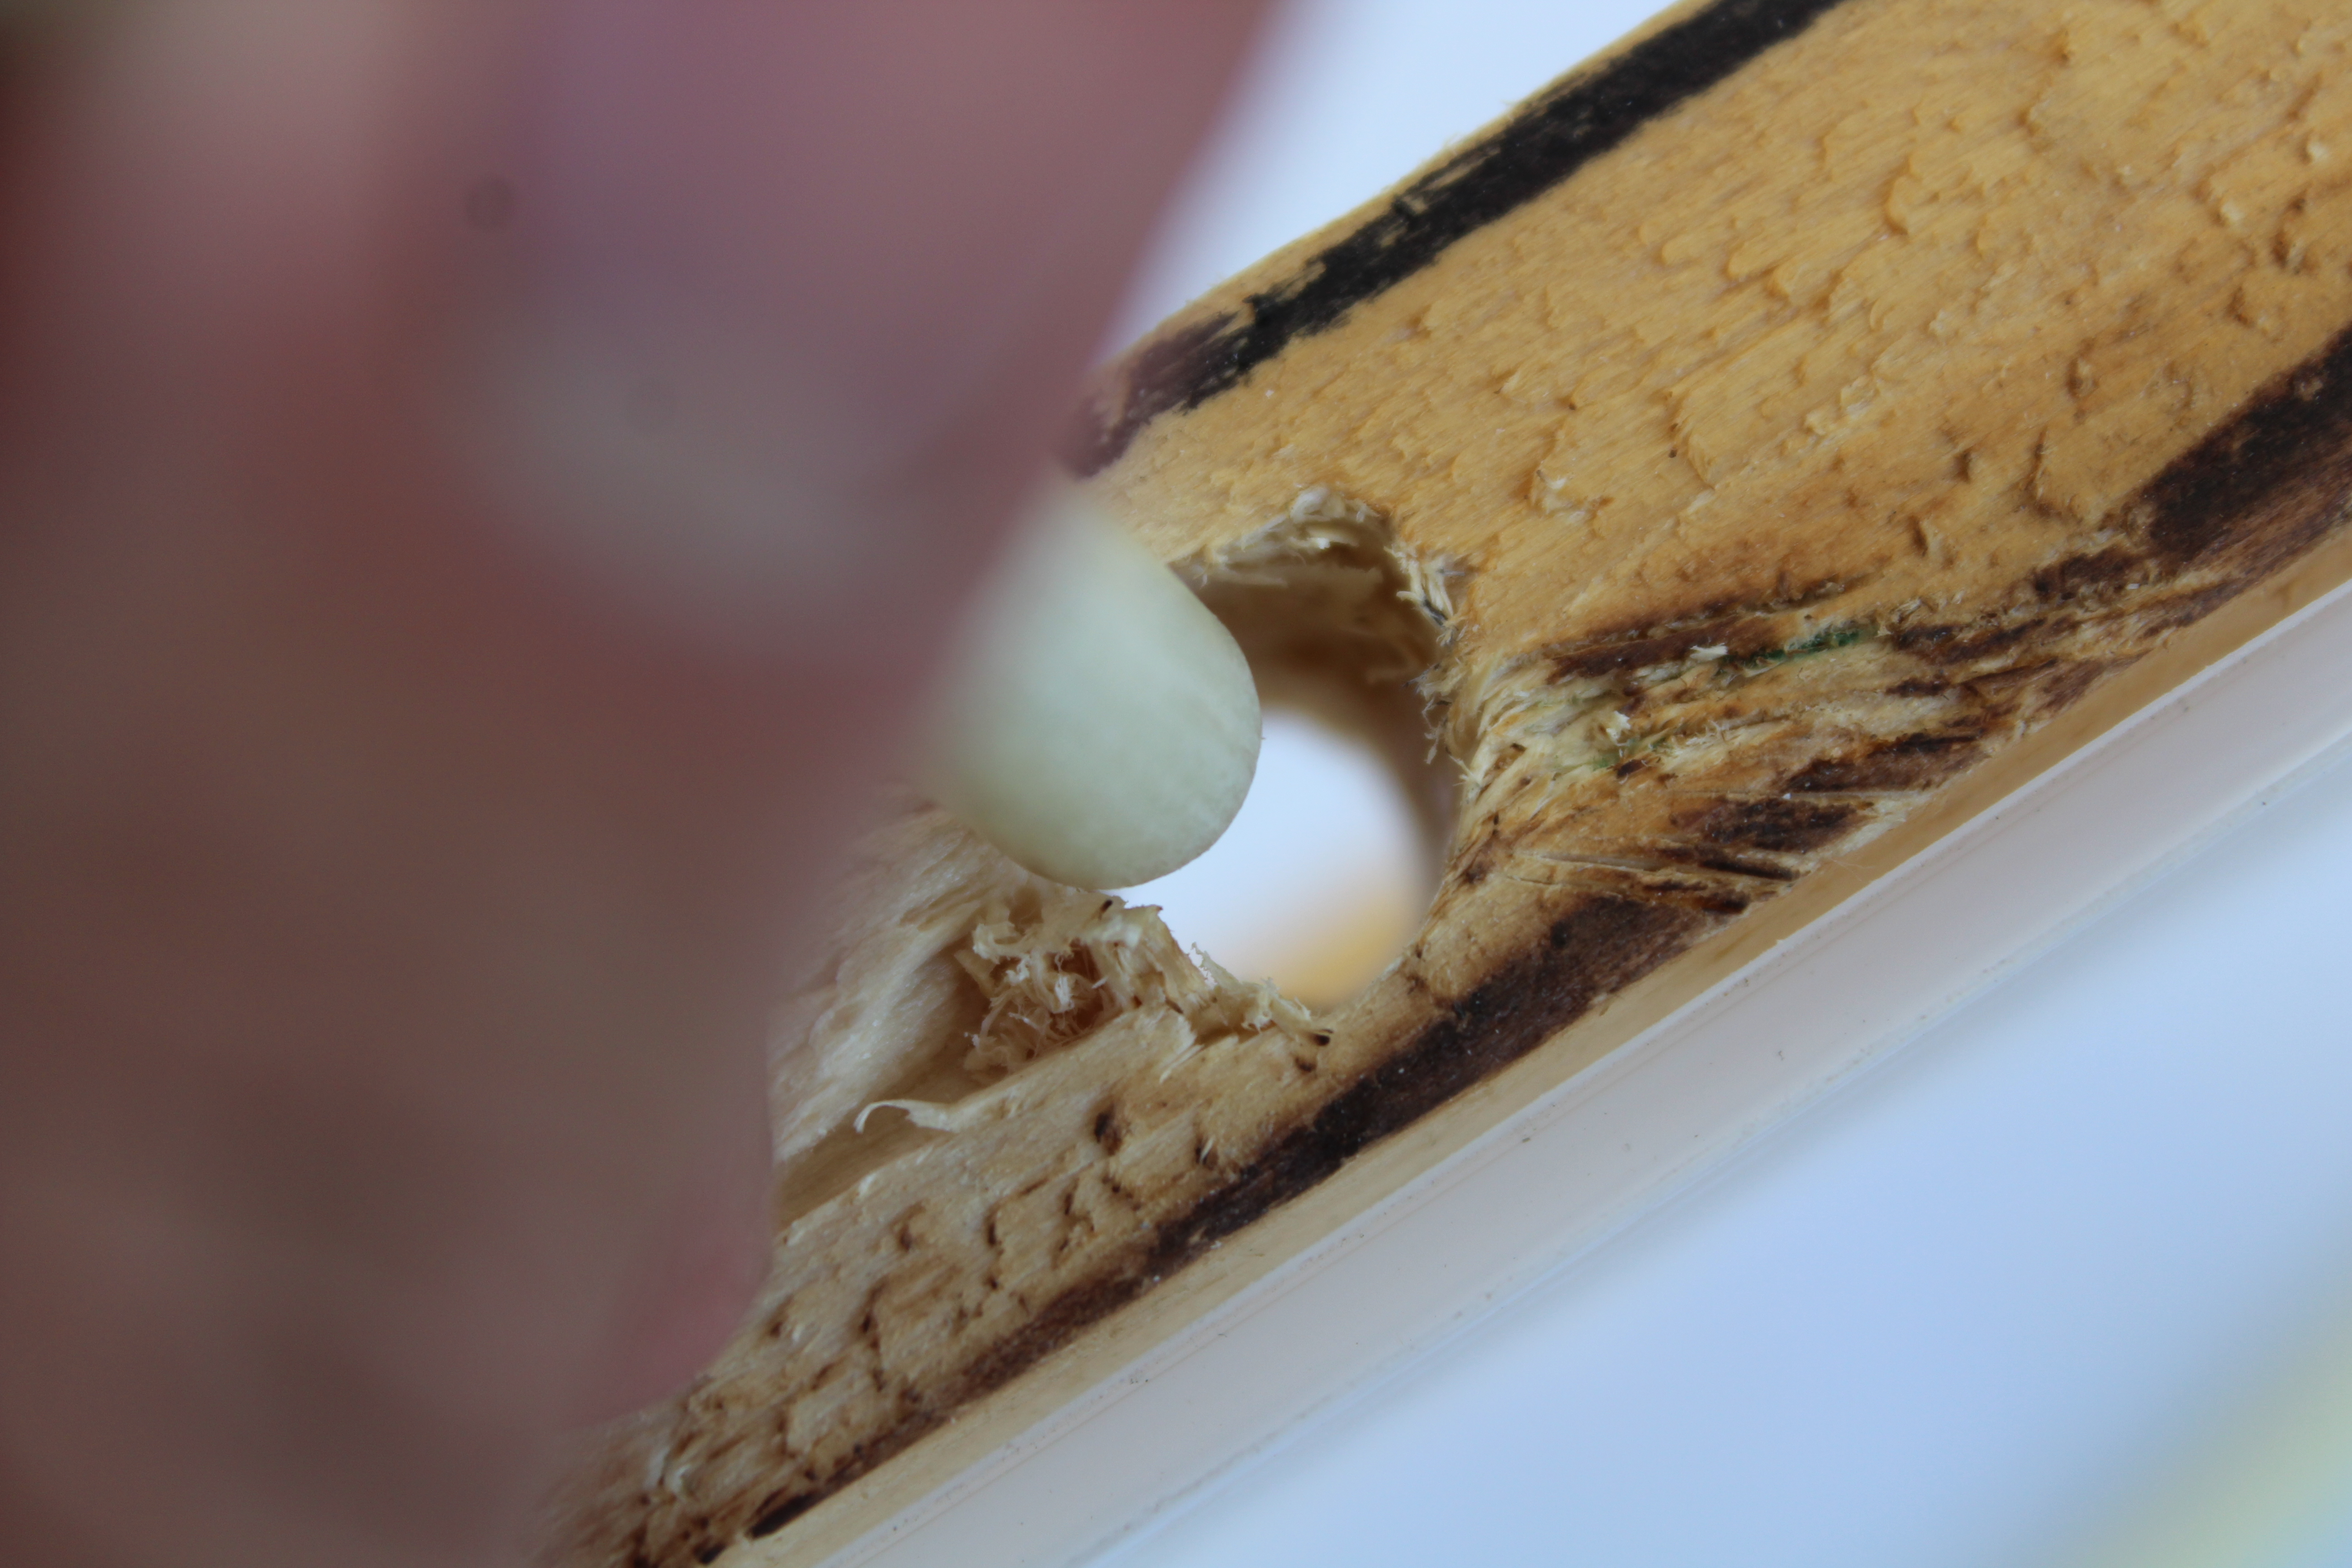
Drill four holes in the wooden base, drill the holes far from each peripheral part about 15cm on both long sides.
In this step, it's very important to make the holes fit the axises of the wheels and that to prevent the deviation of the wheels and it's destruction, then added to each axis an iron rod and fix it in the middle of it.
Fix the Wheels
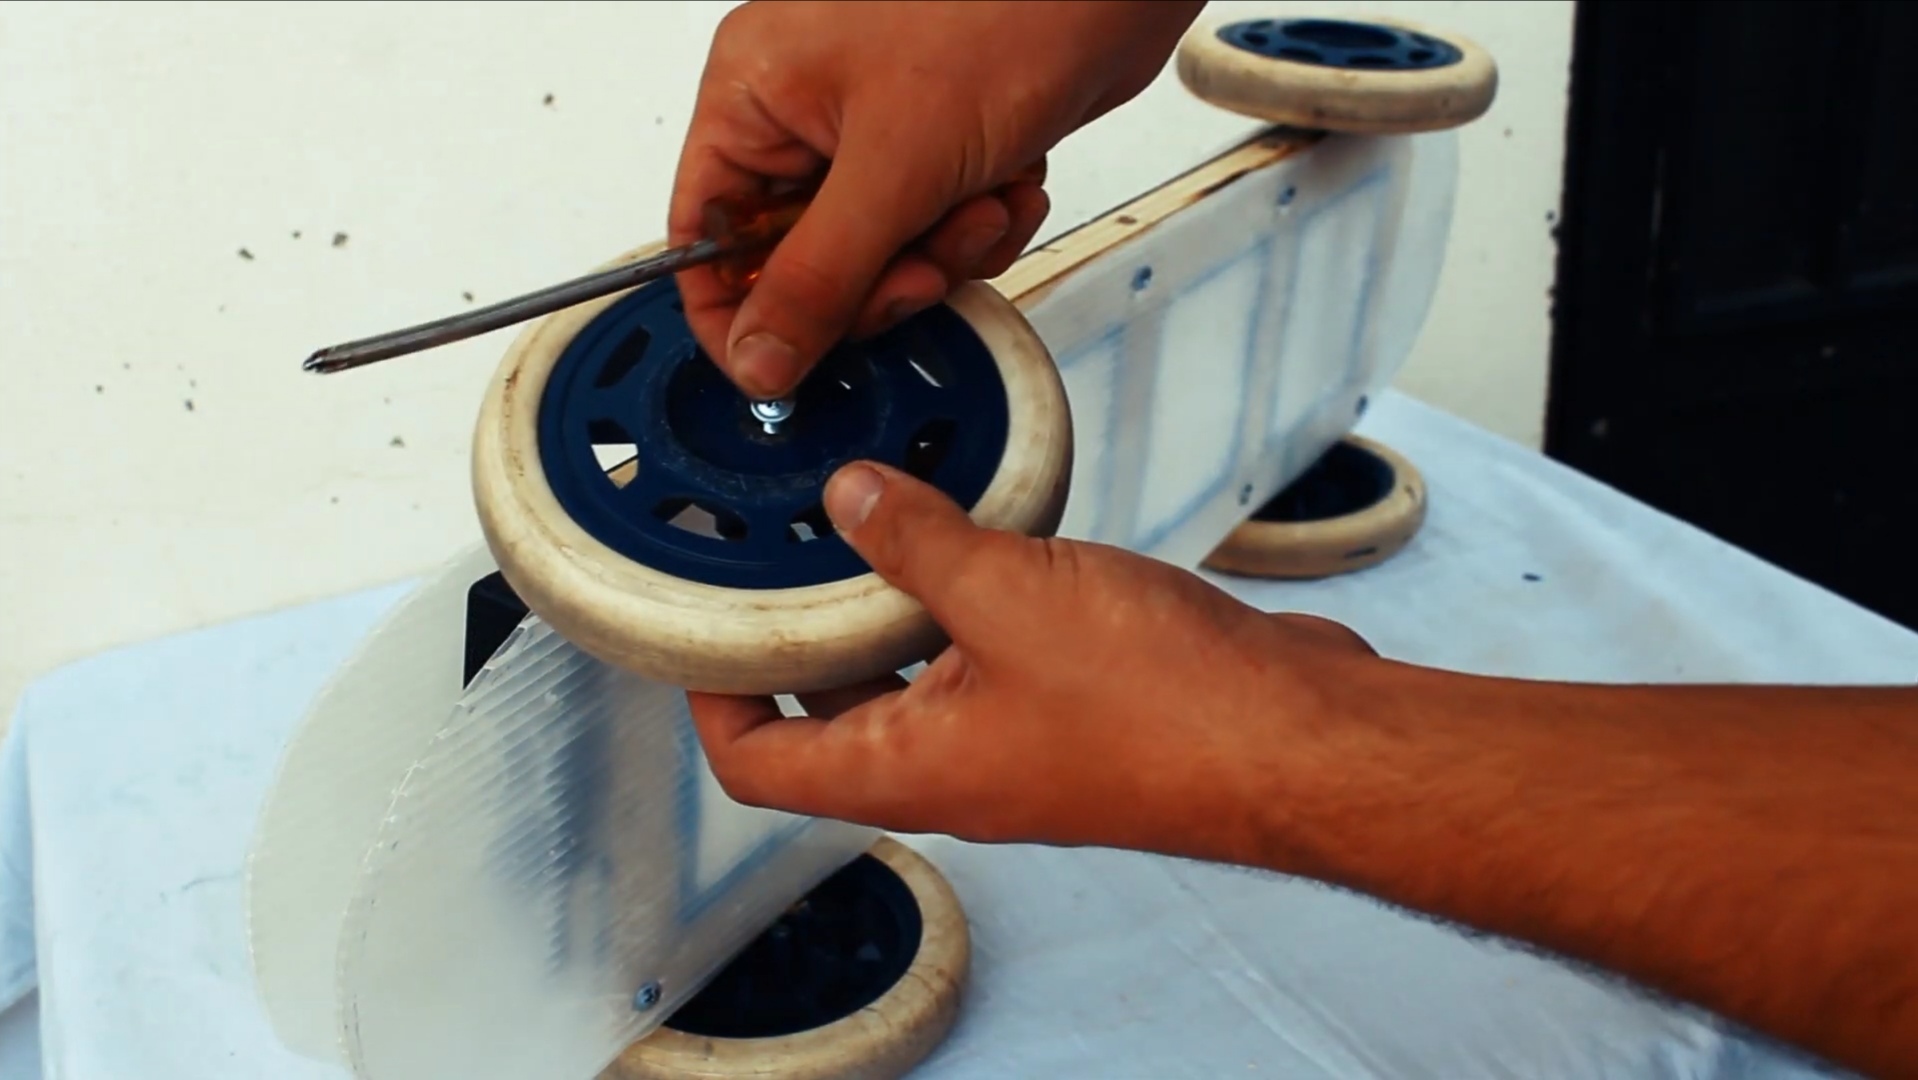
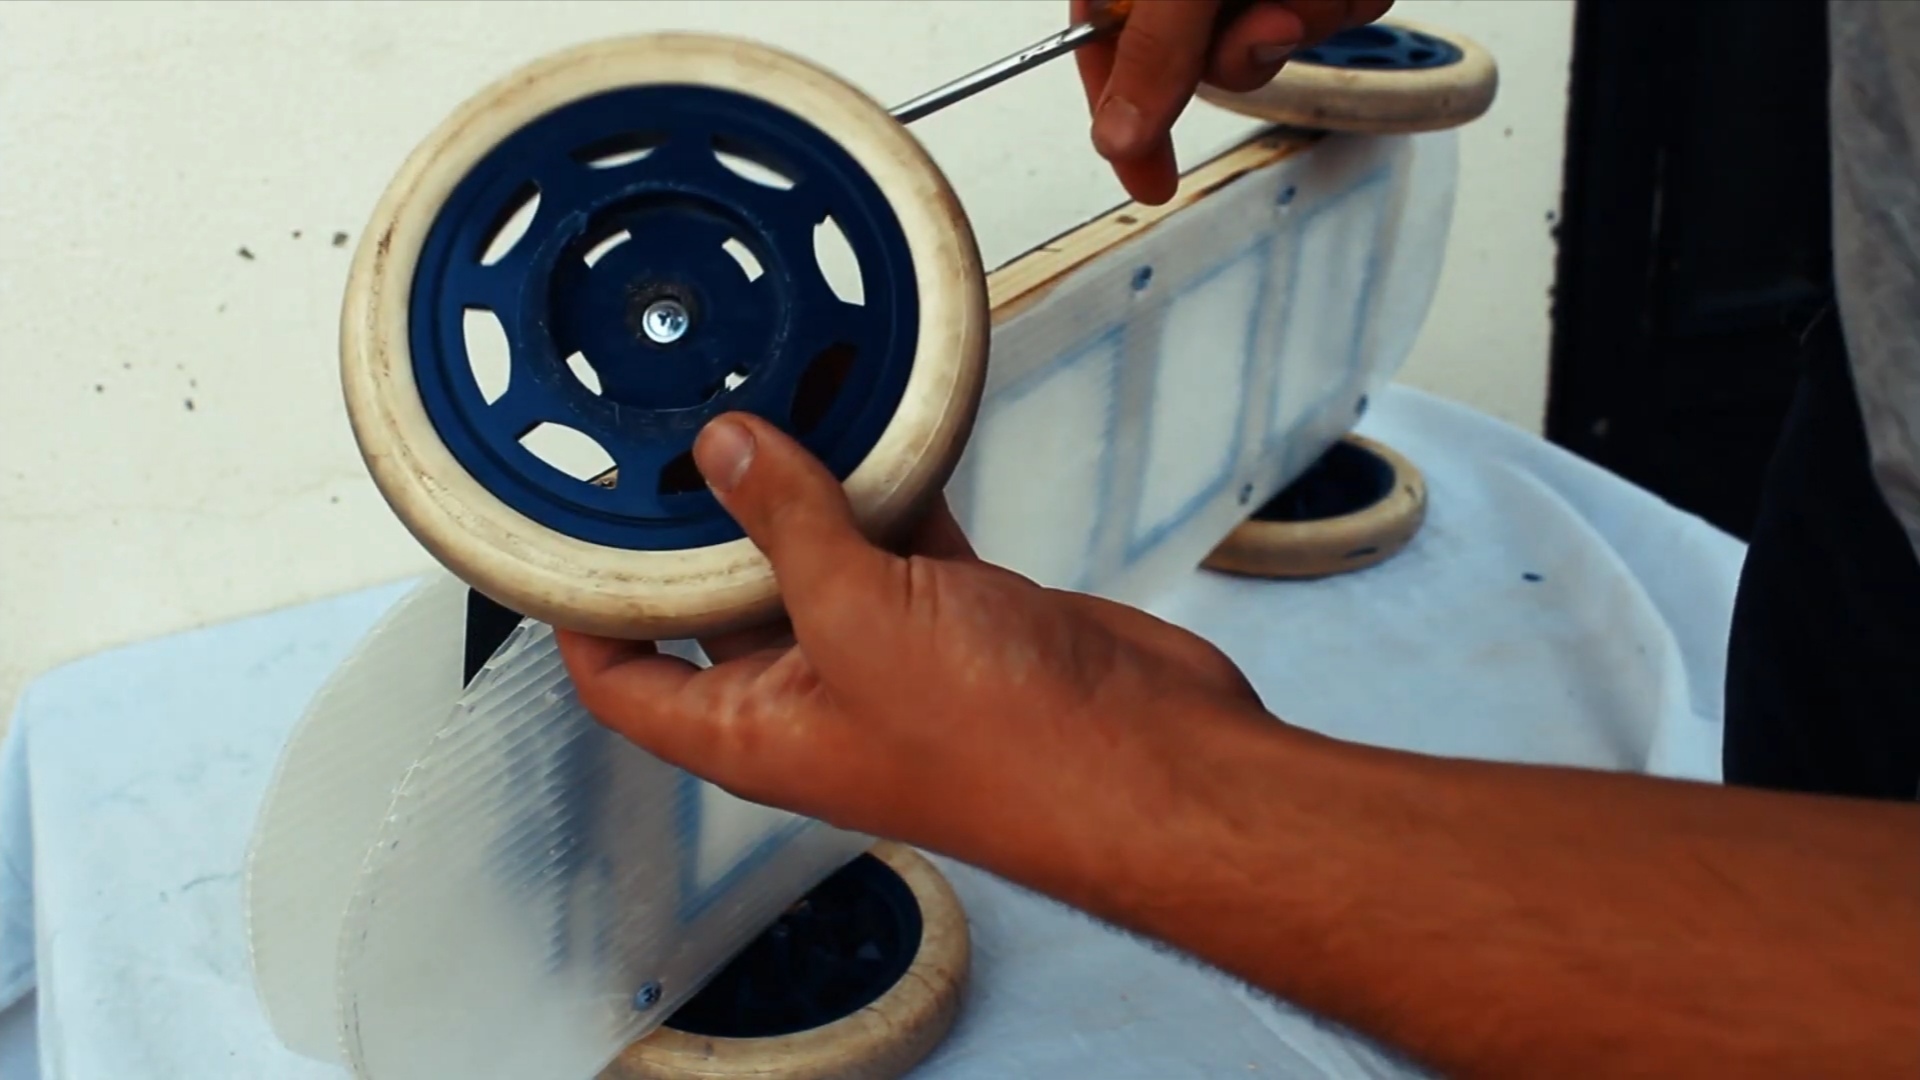
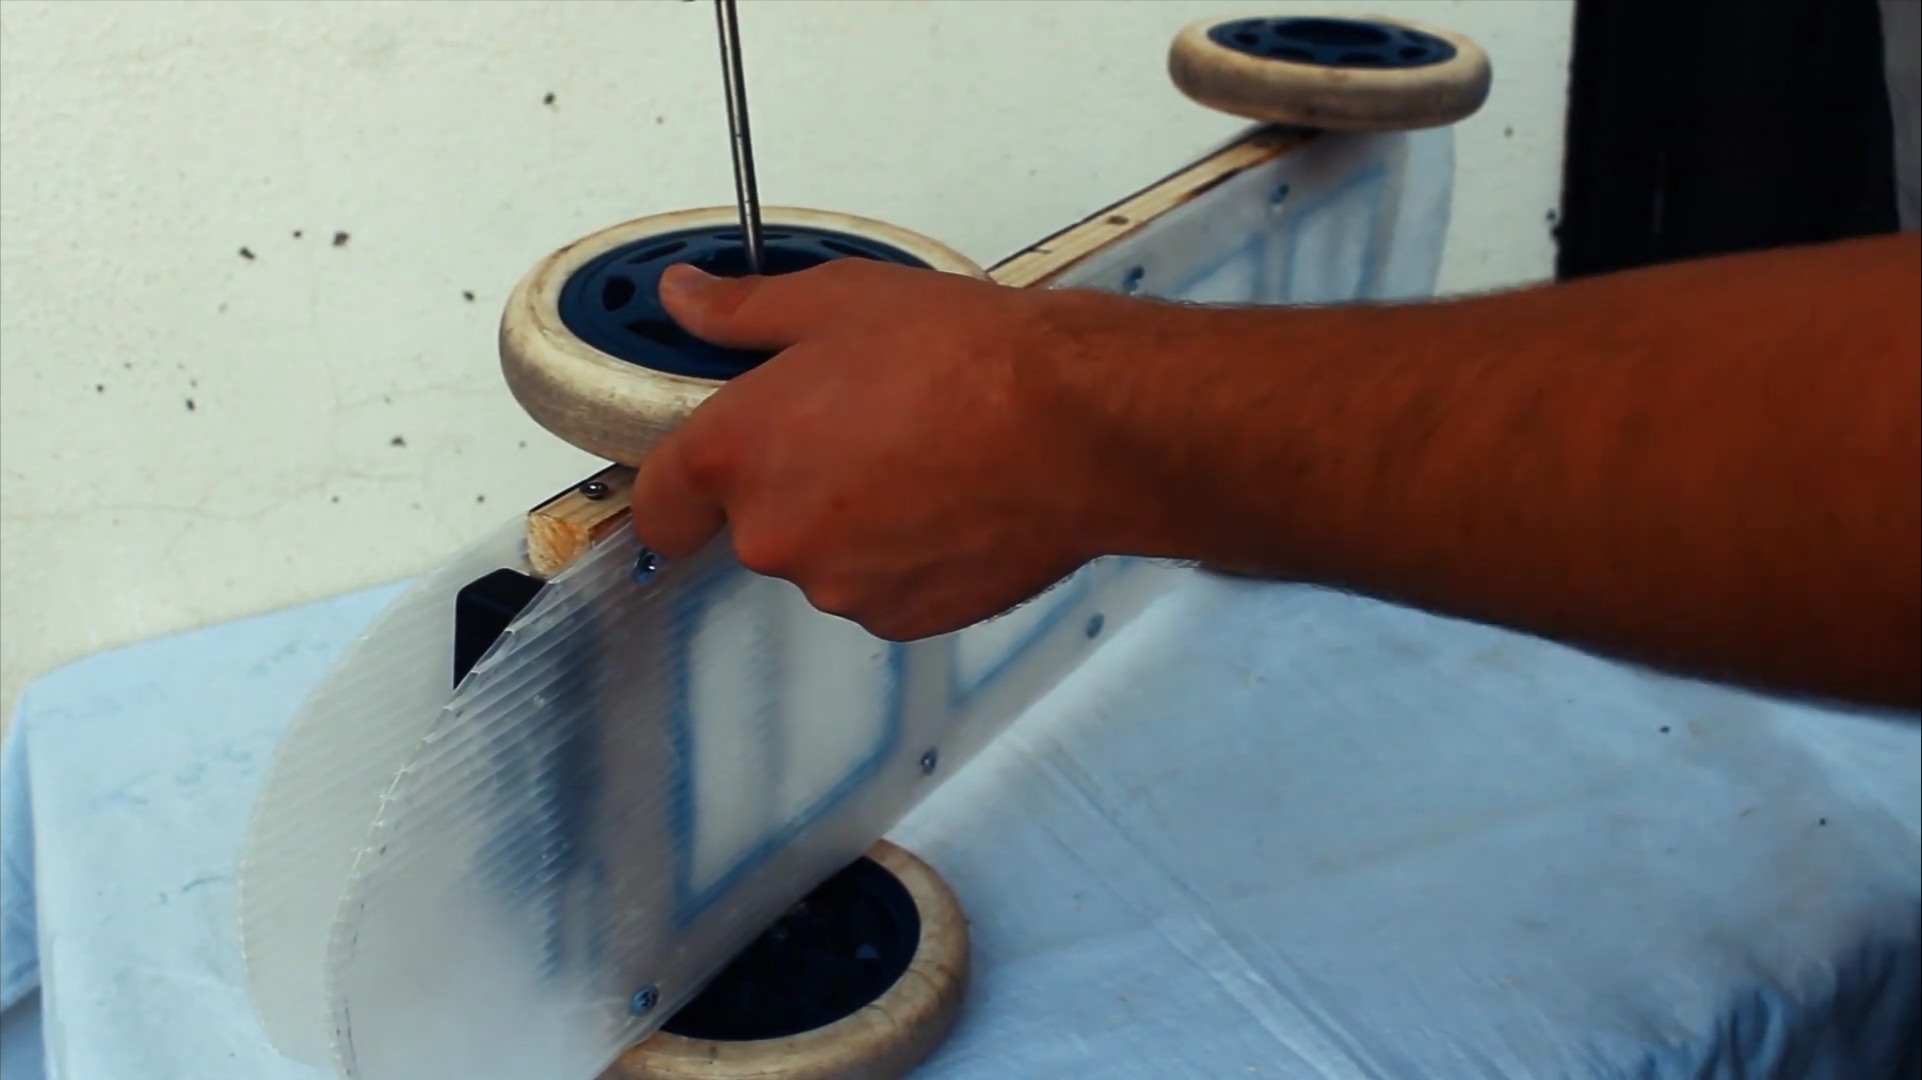
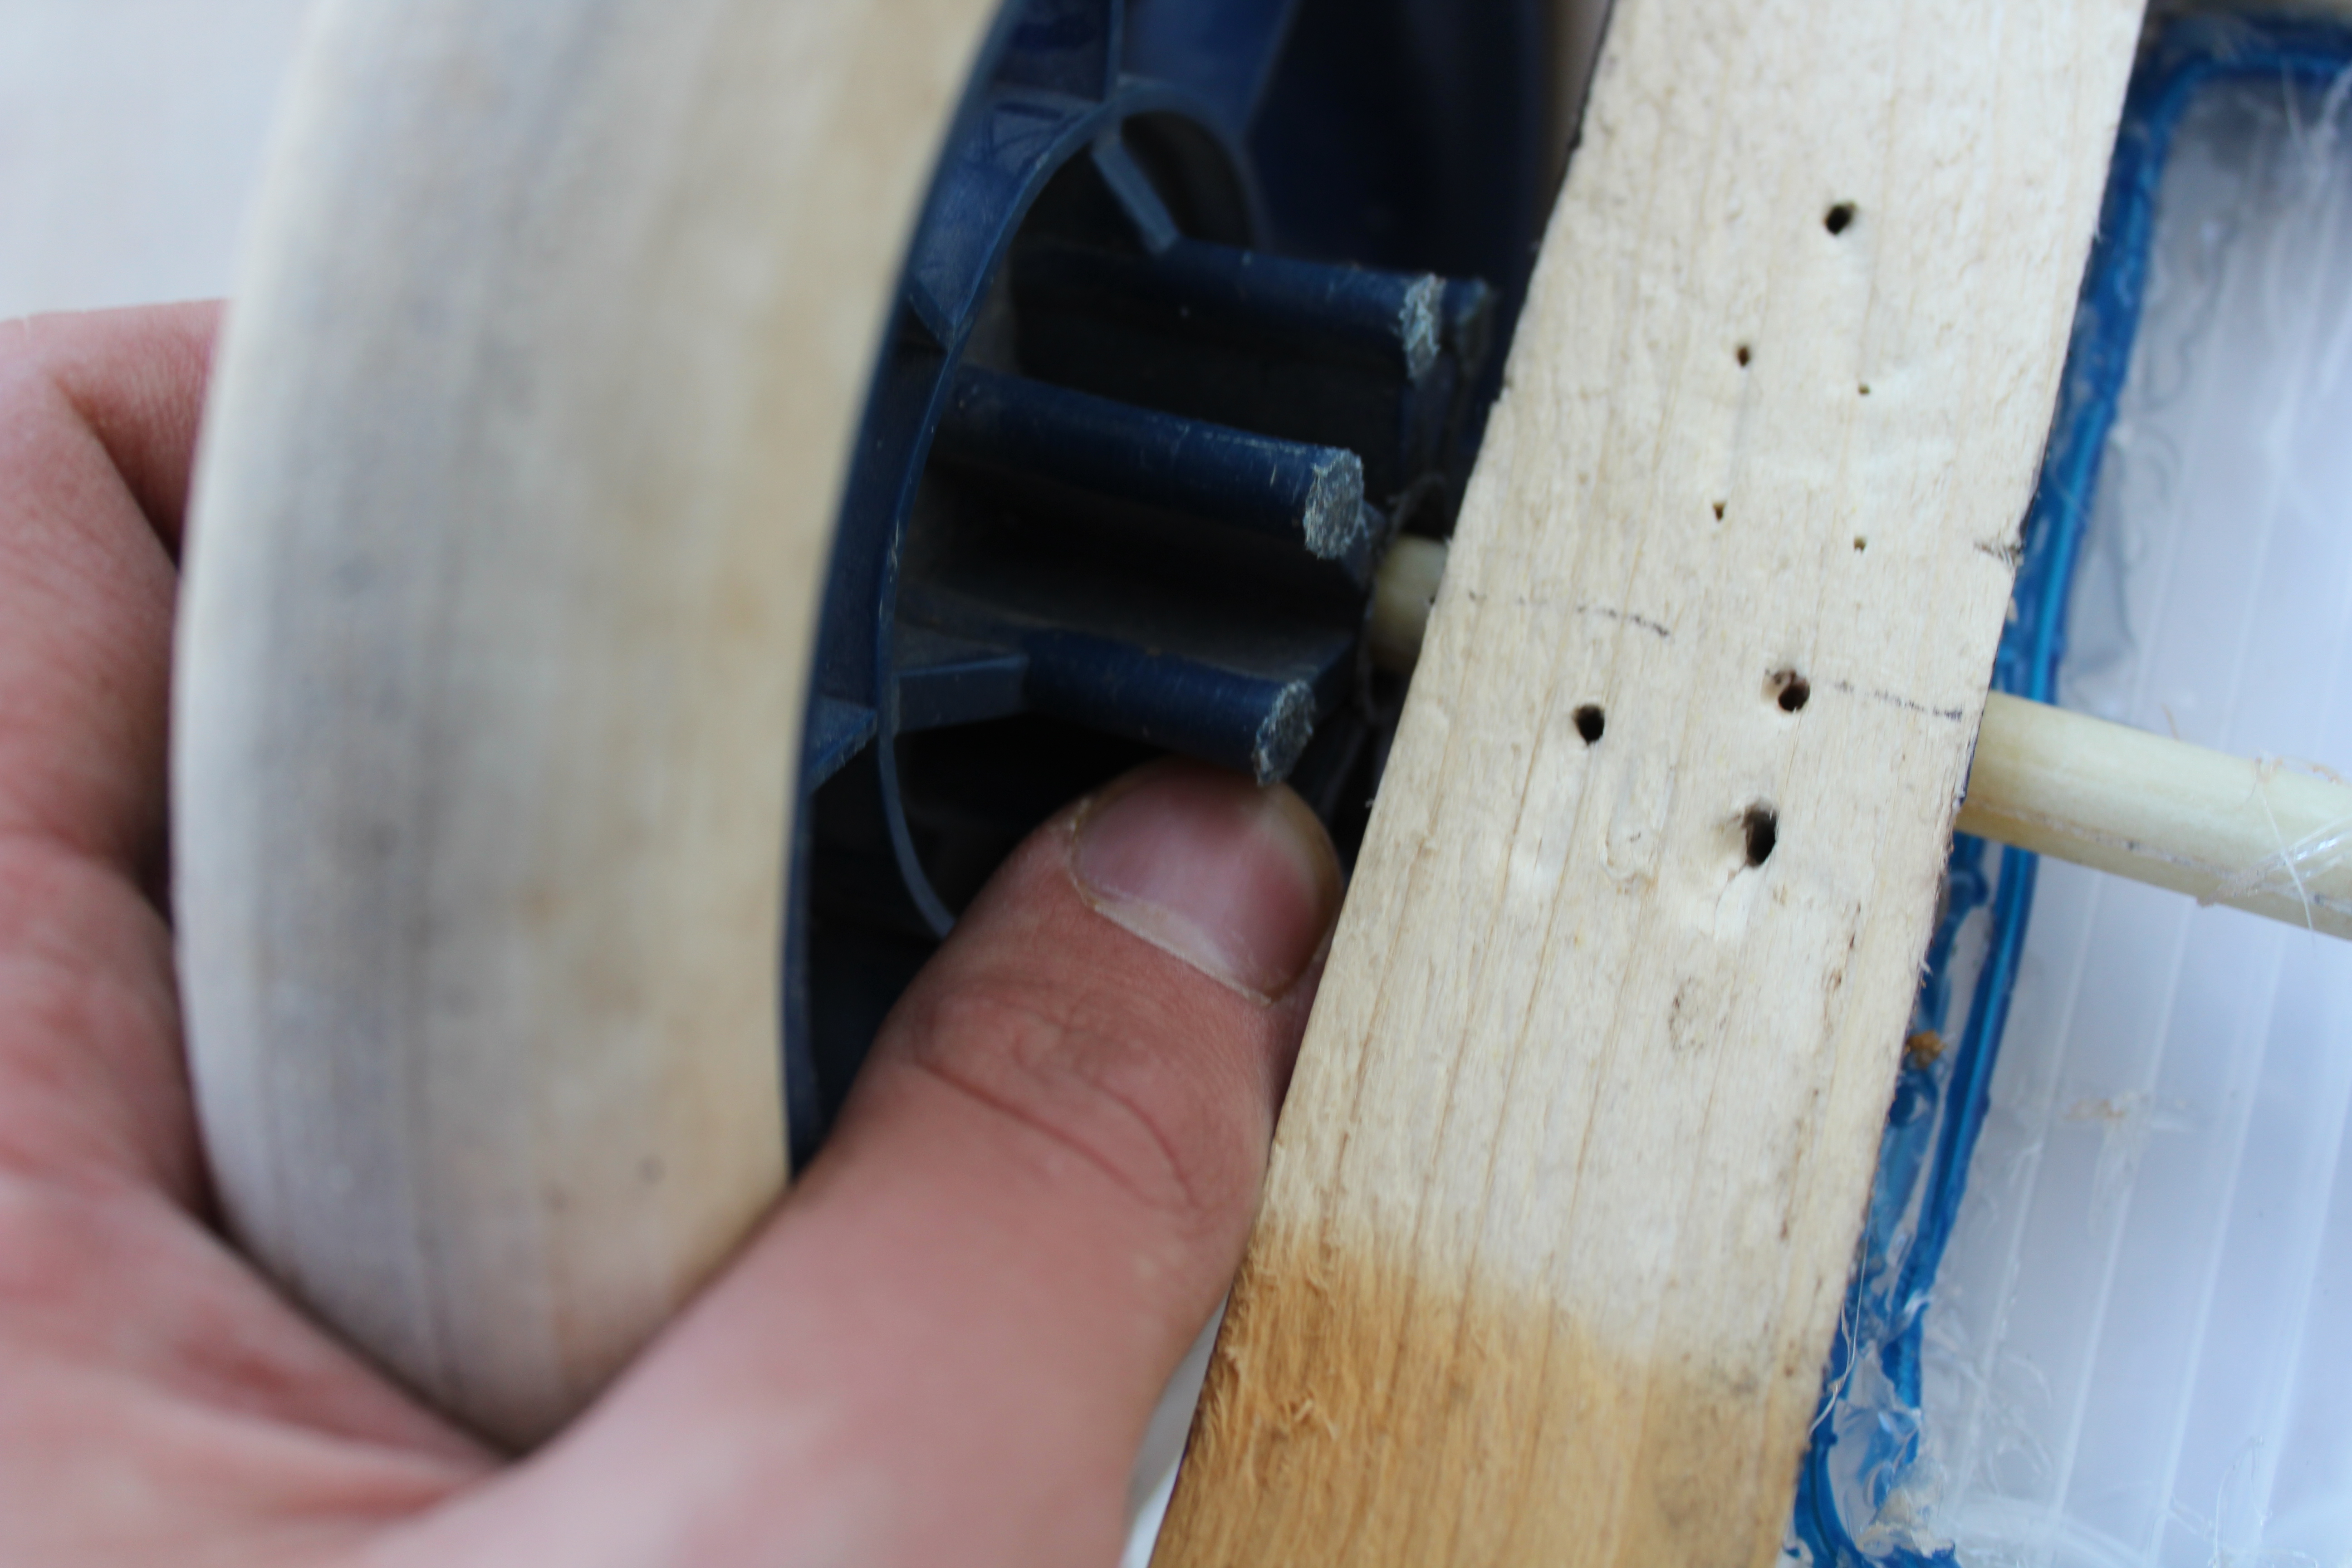
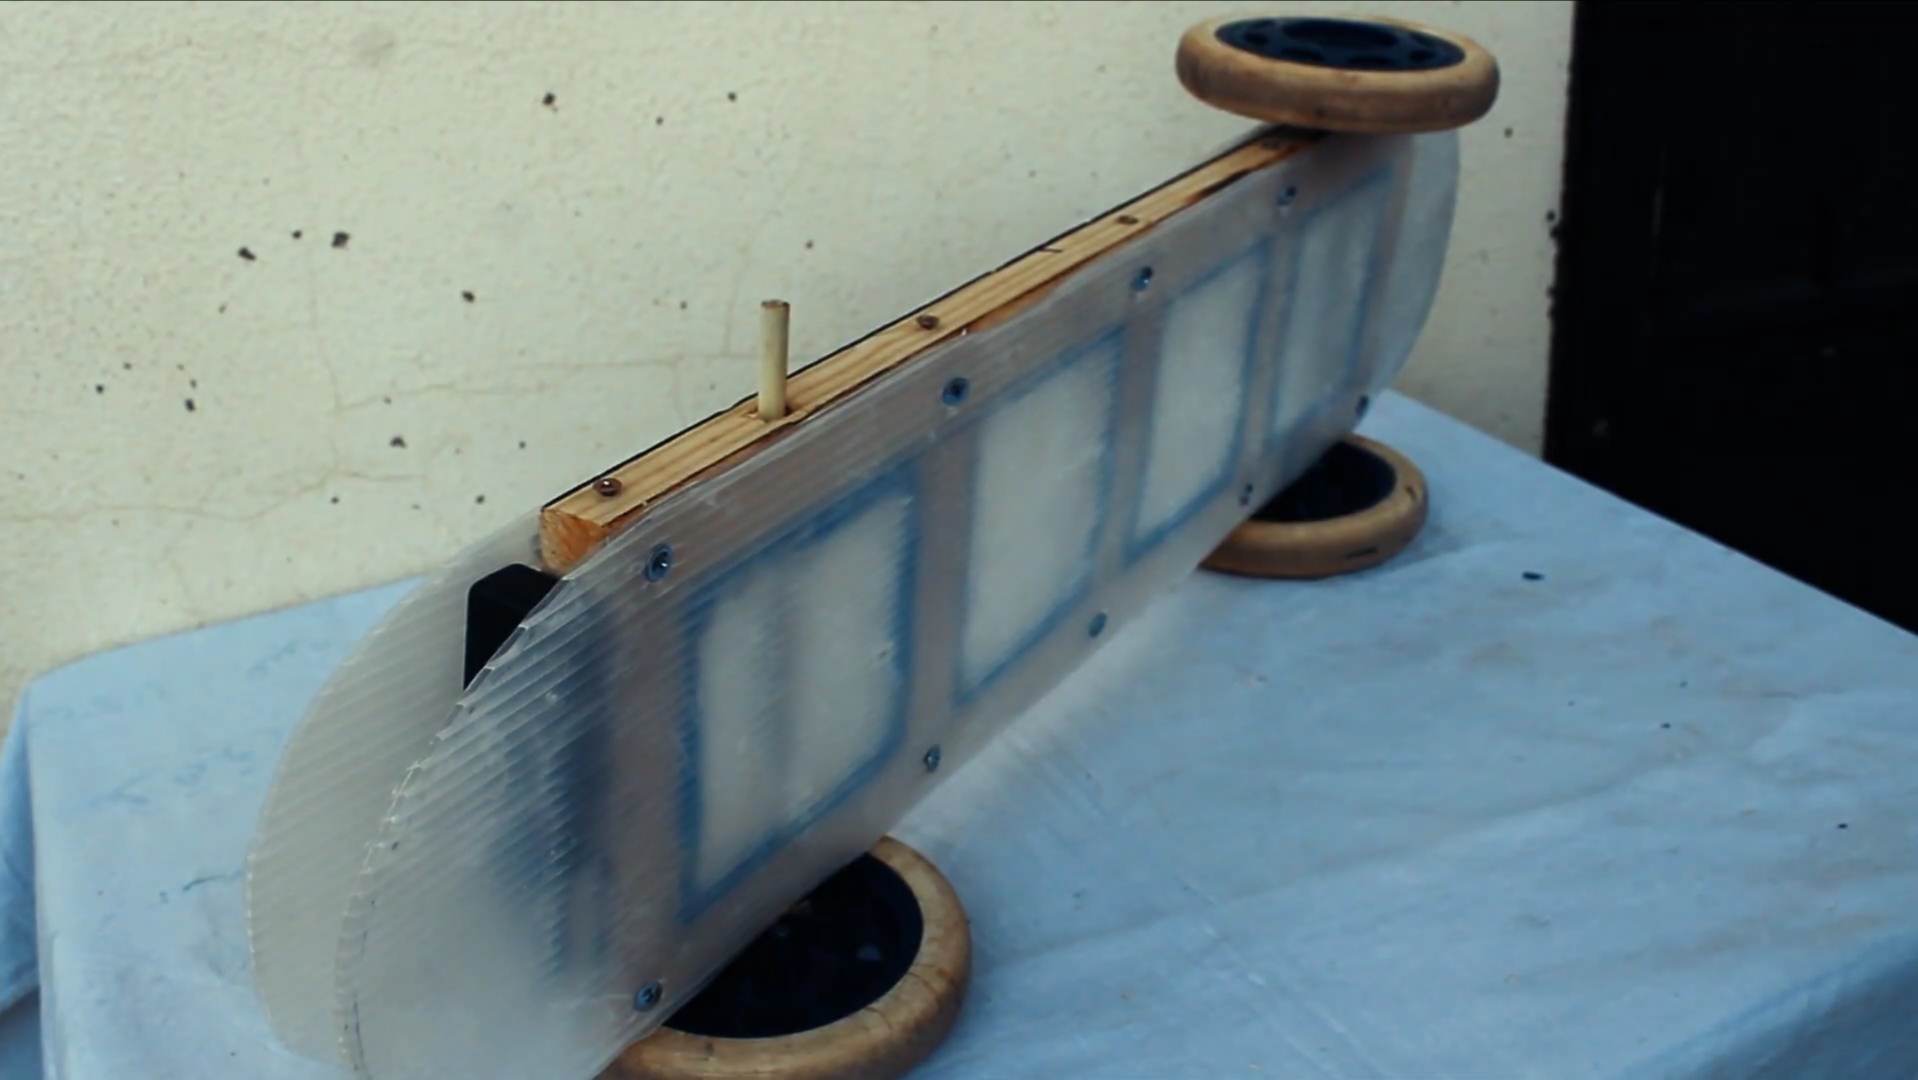
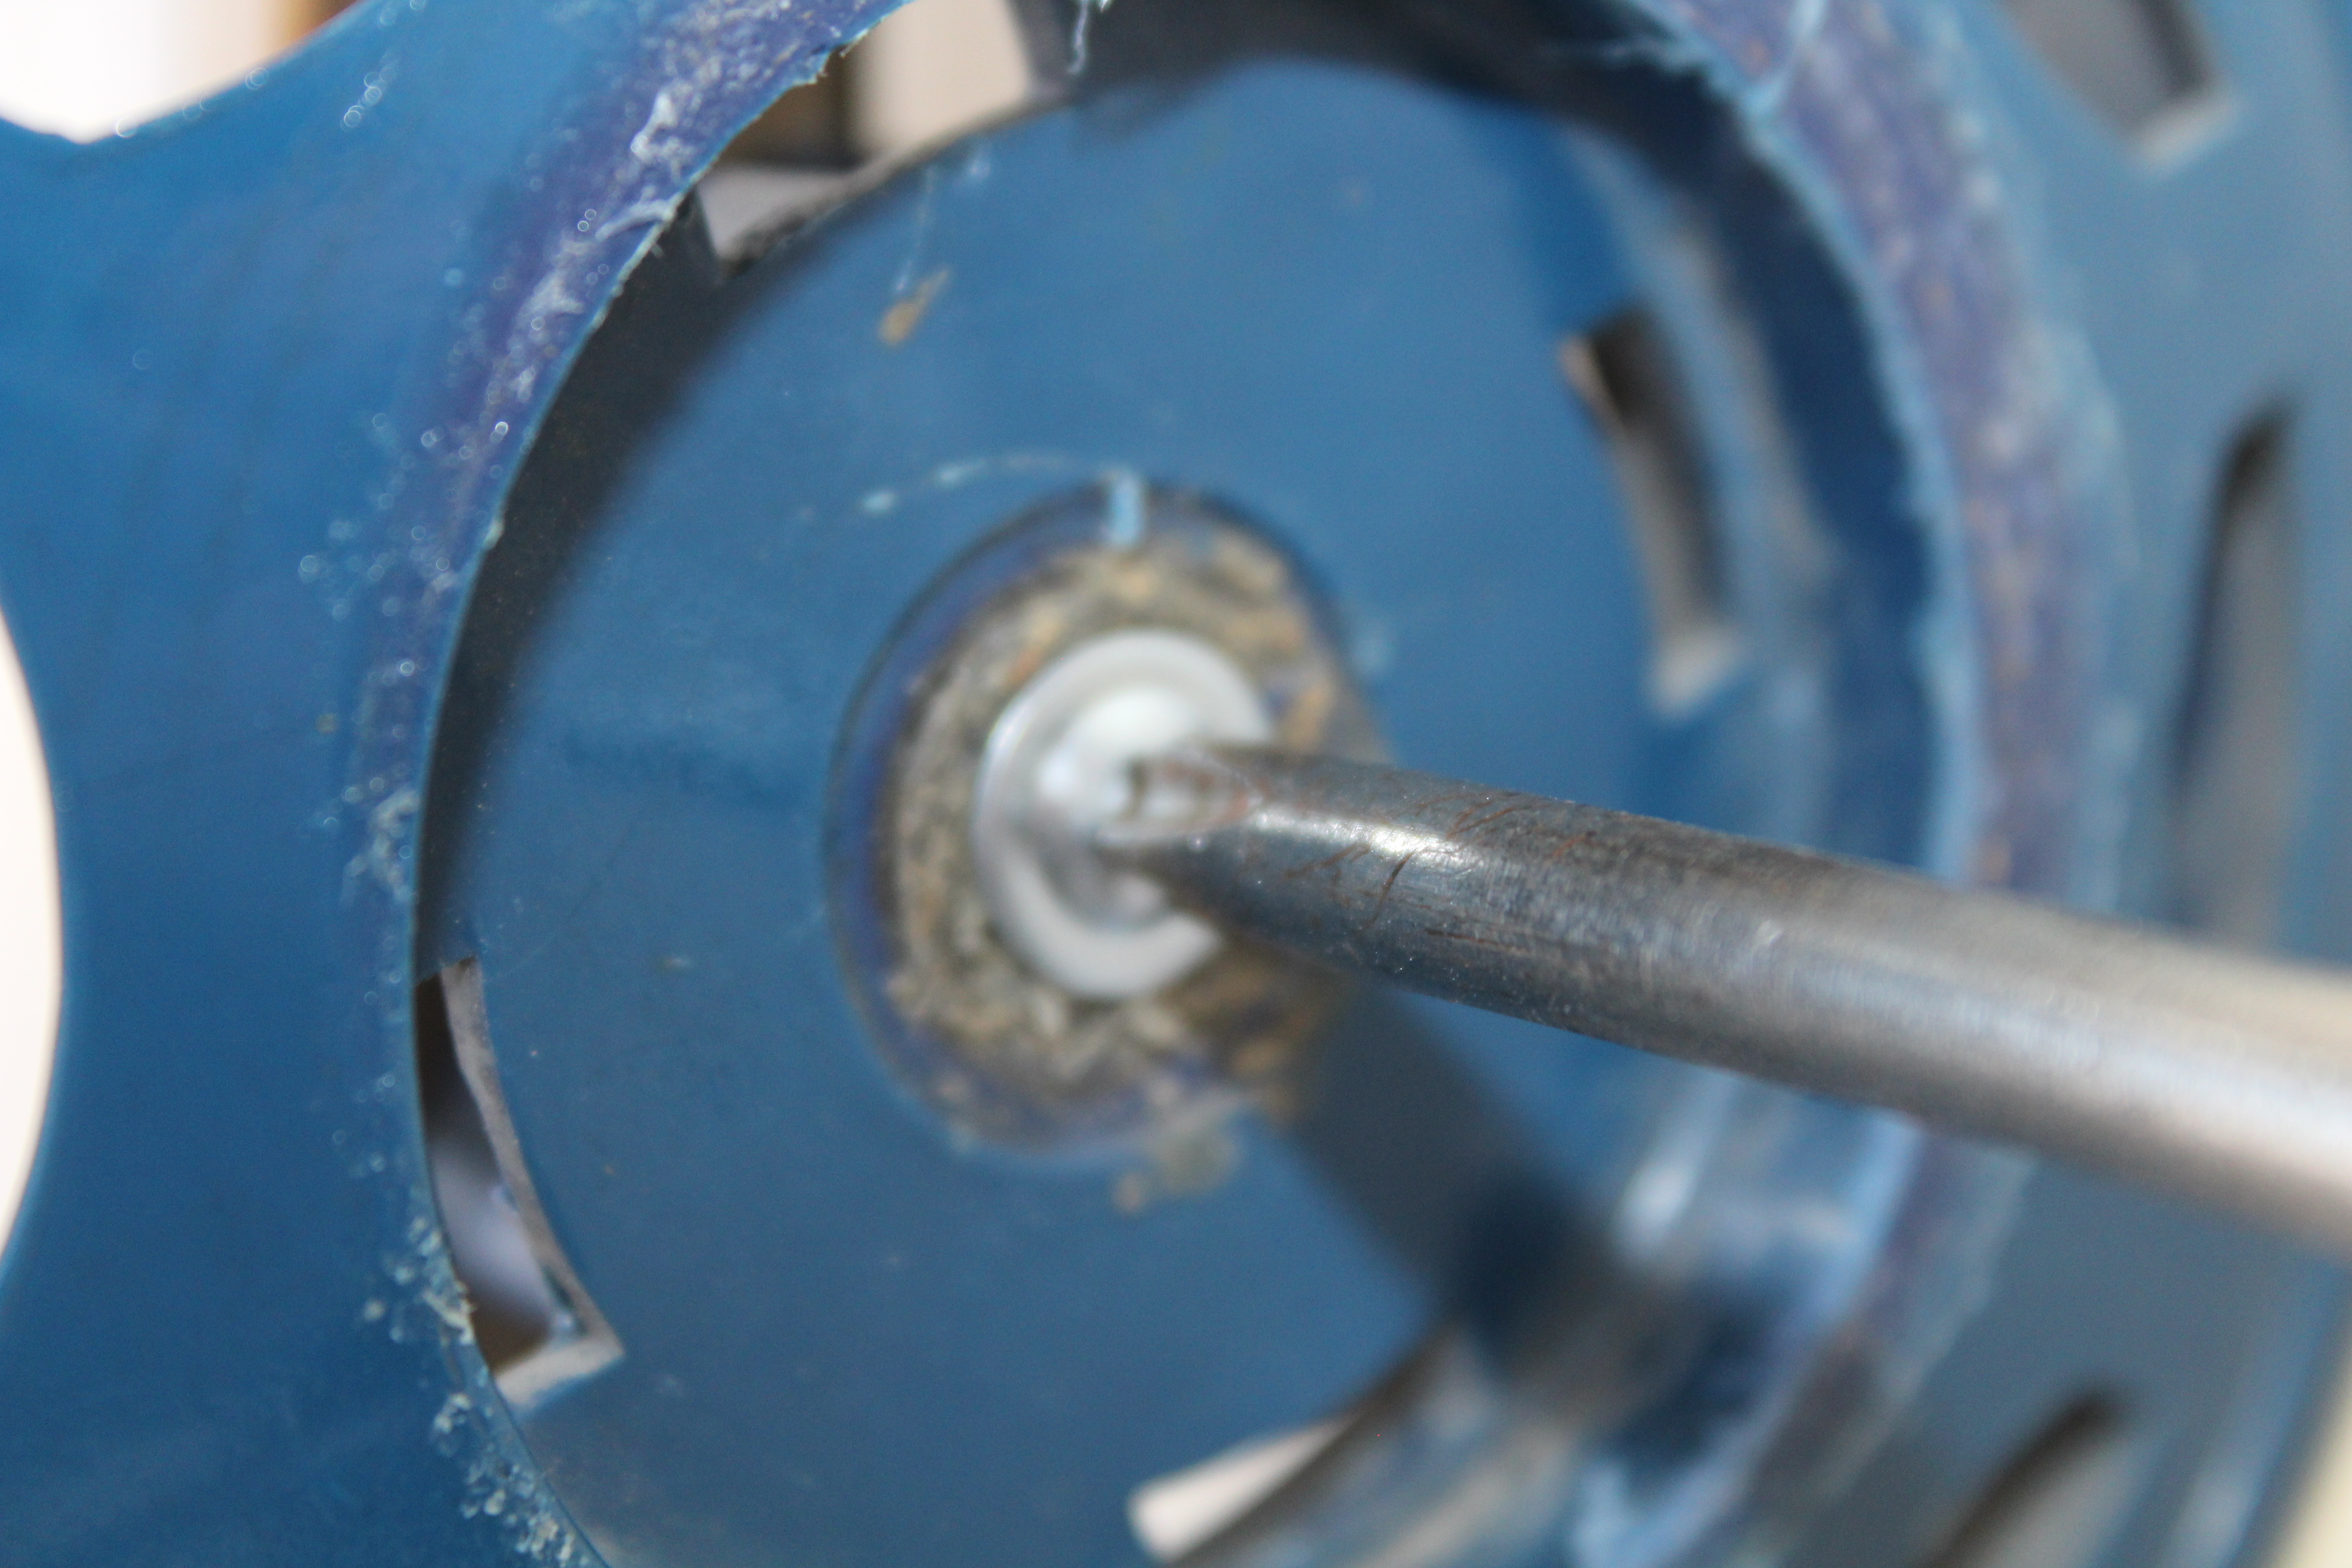
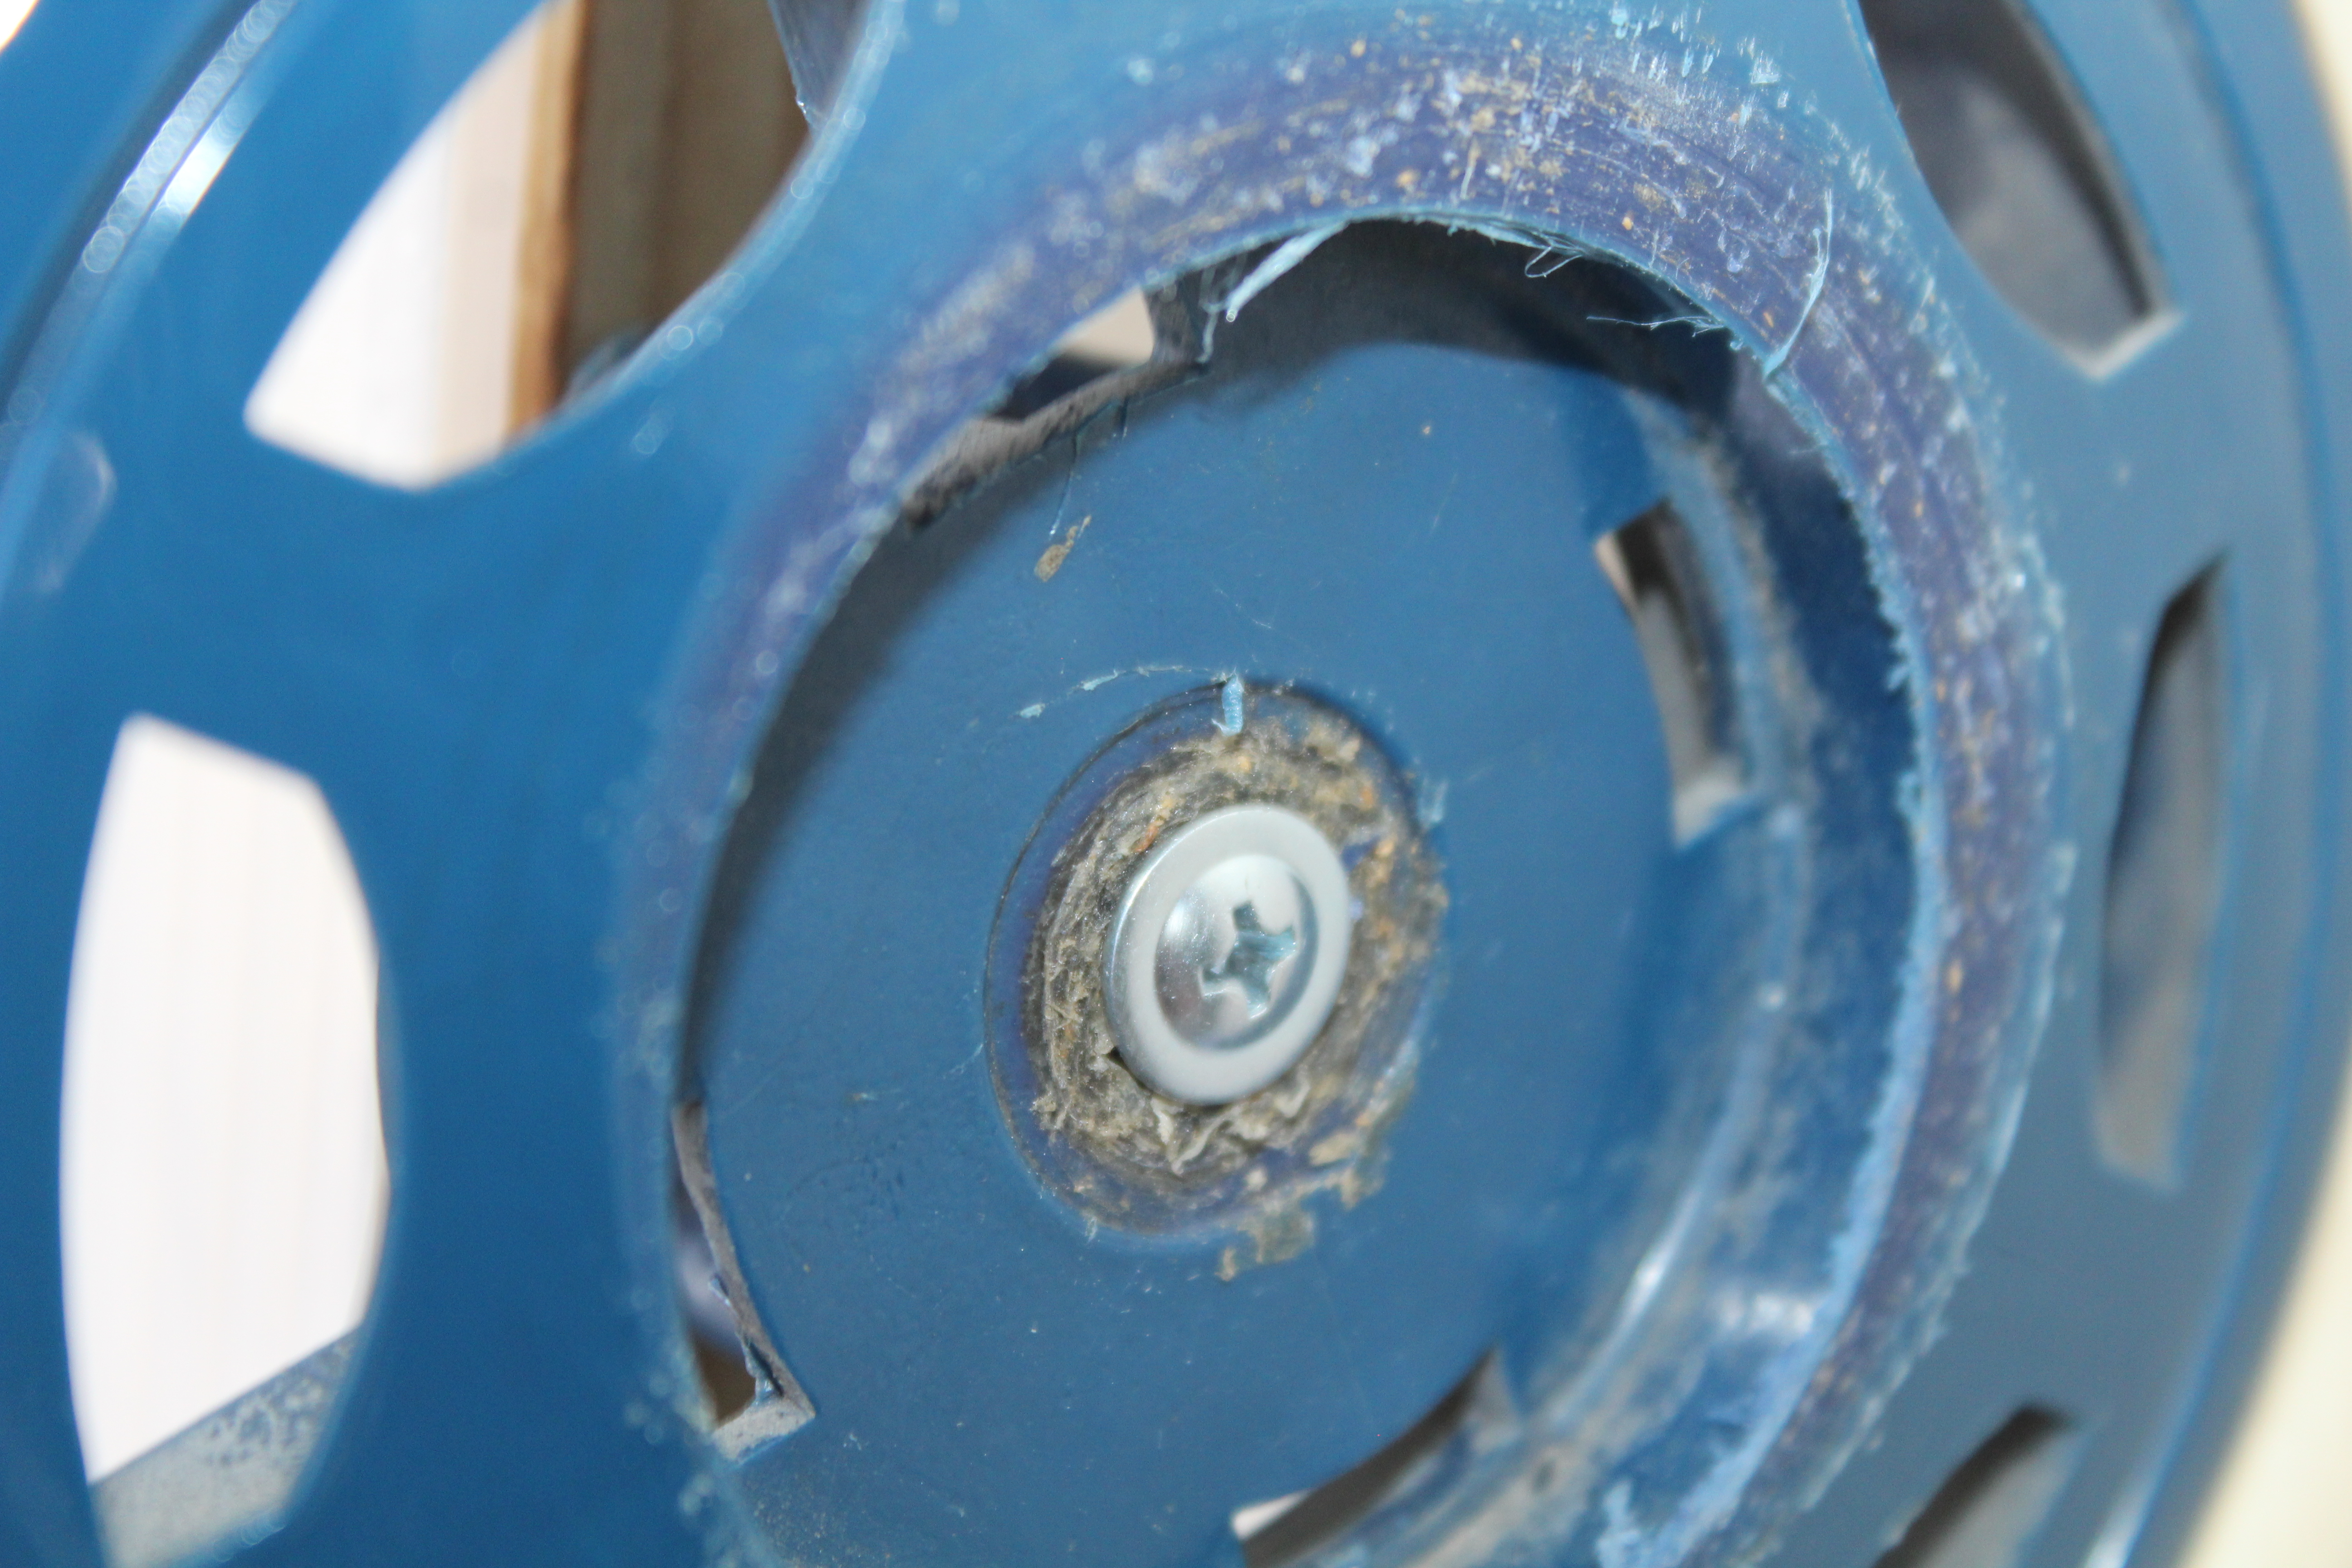
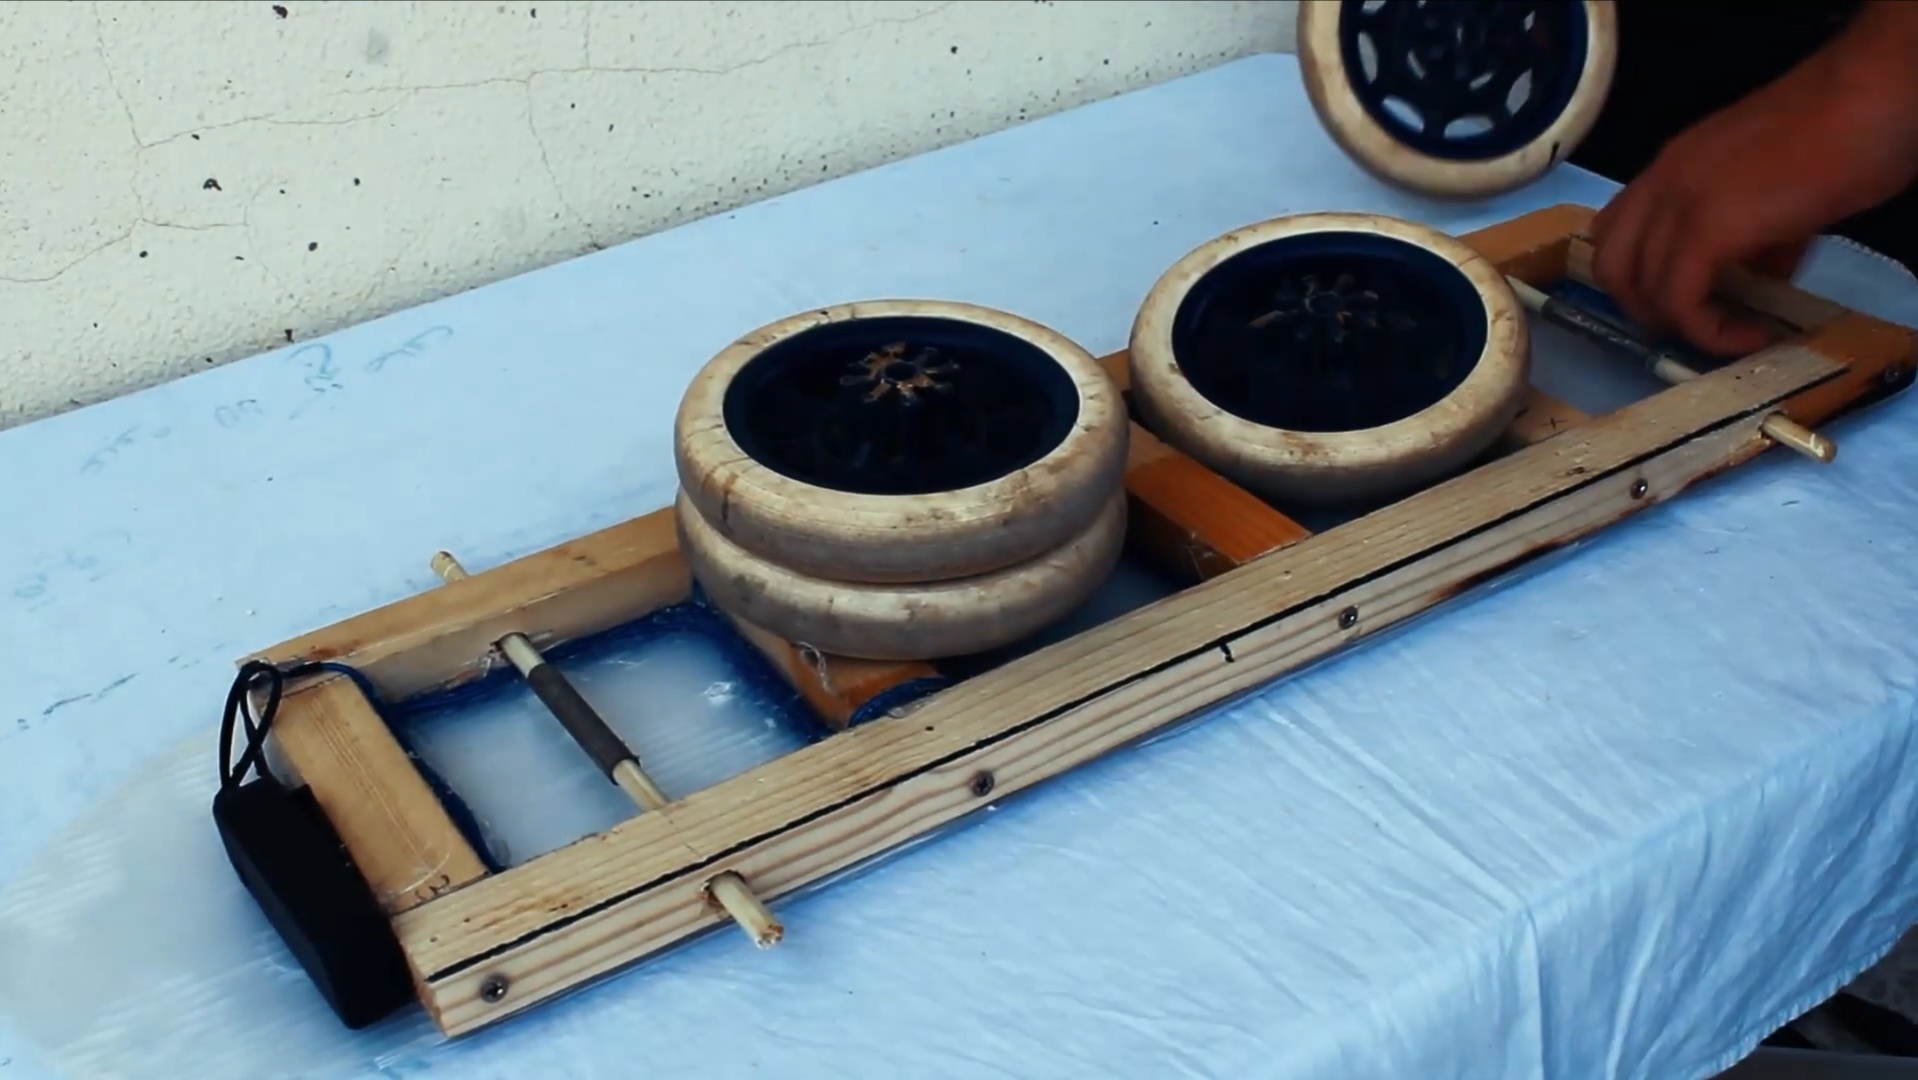
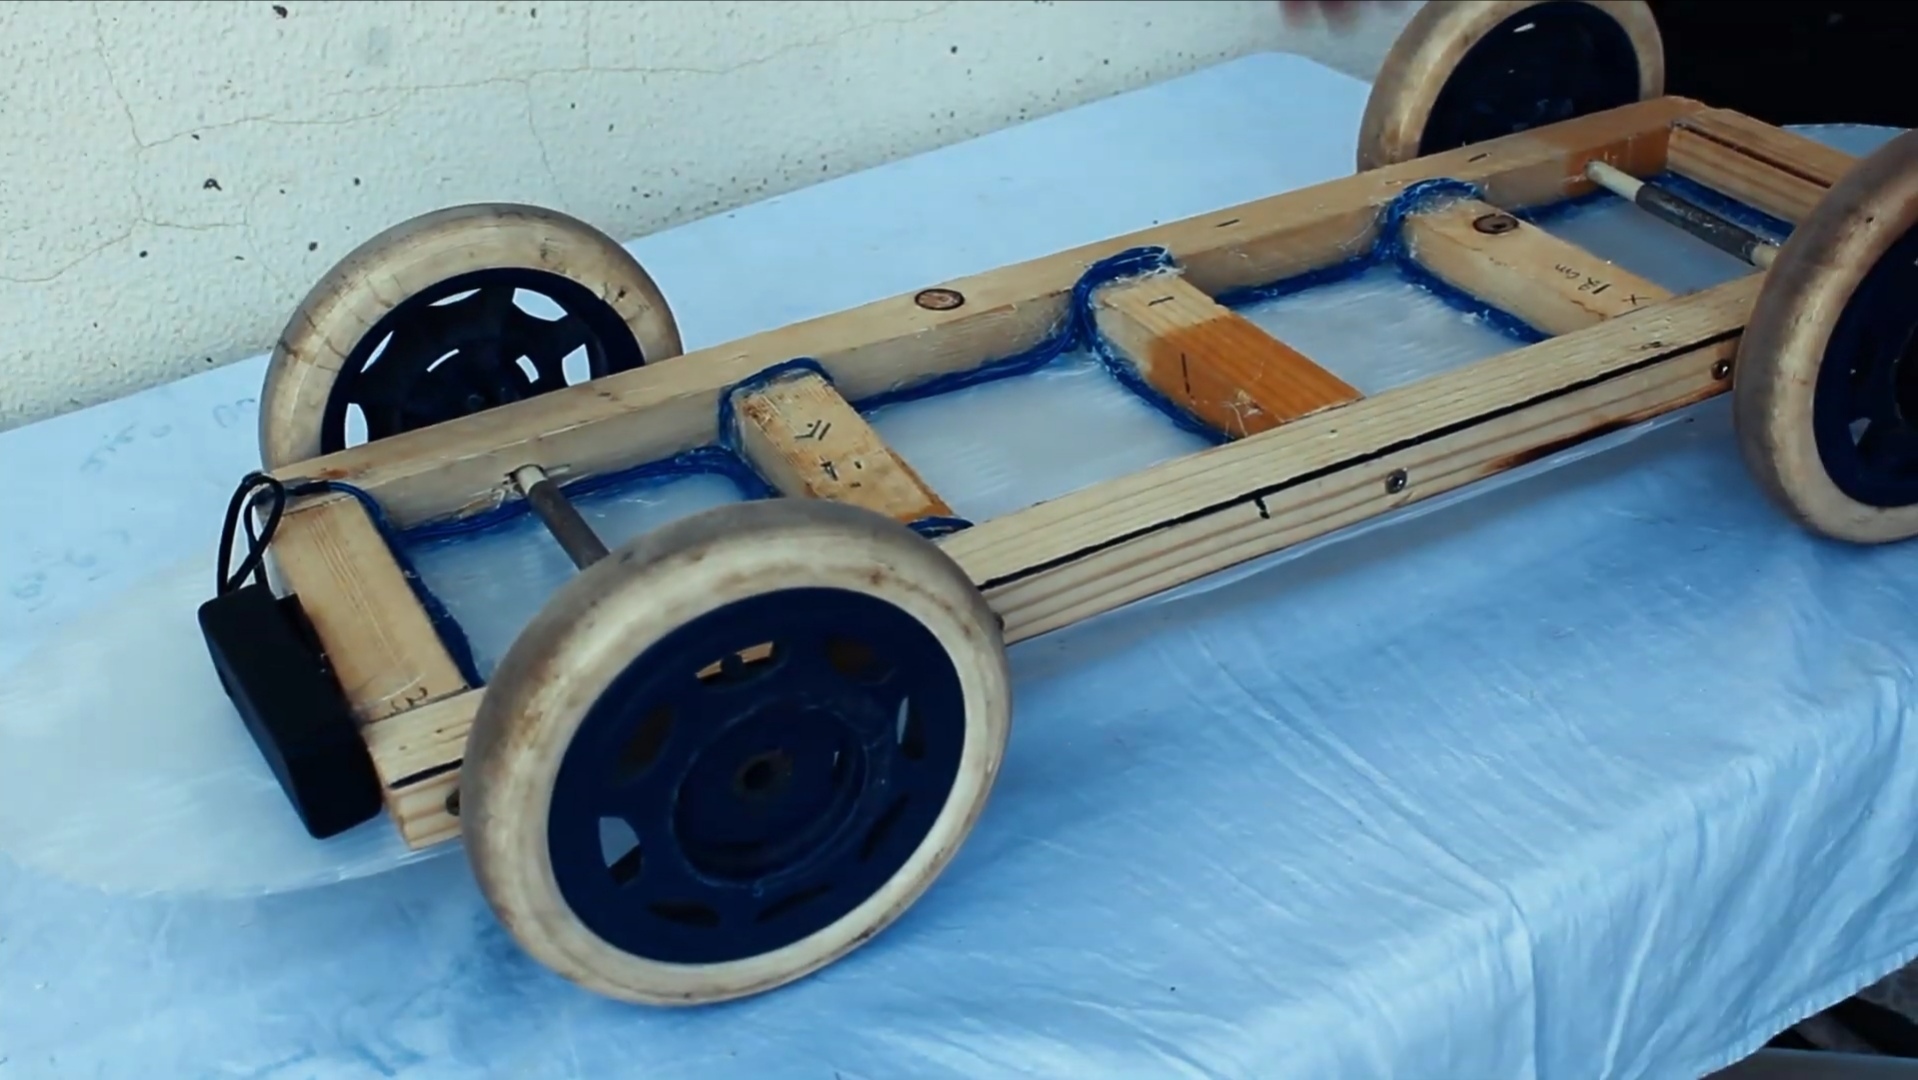
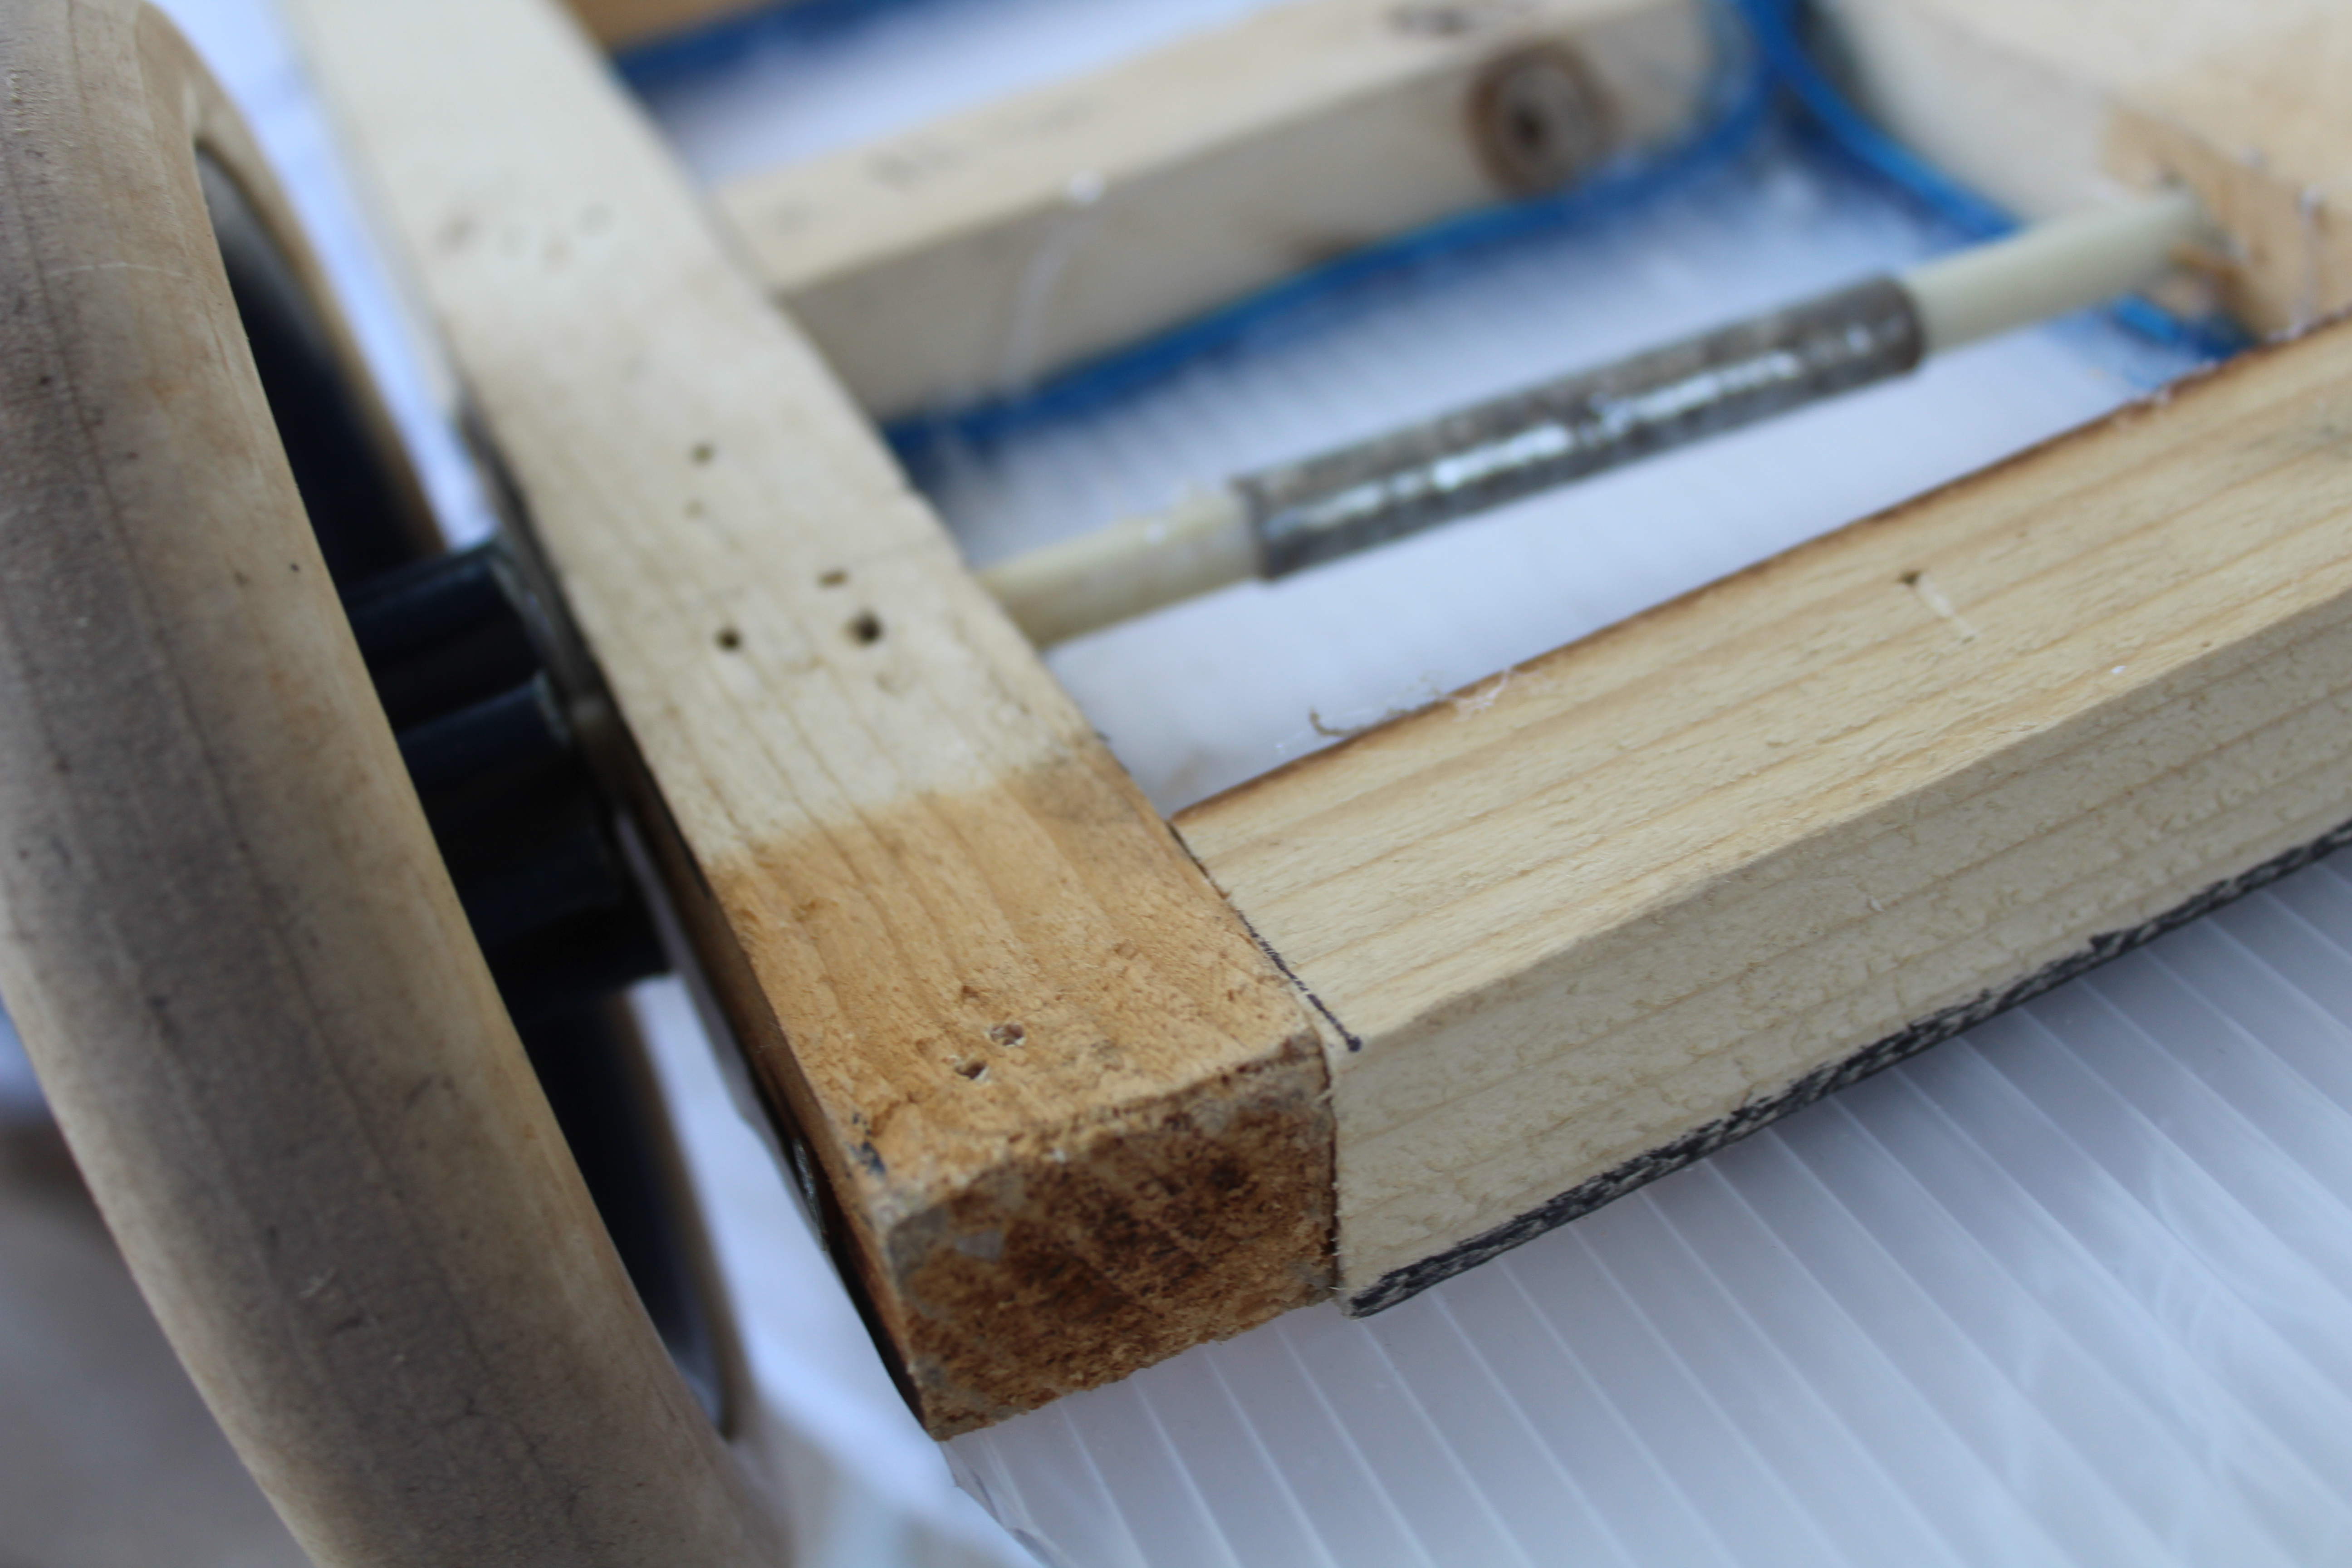
Choosing the wheels of the skateboard depends on what you prefer and on the surface you're riding on. For me, I prefer 80mm+ mountain wheels for my skateboard to ride on the rough surfaces, or you can add the classical wheels but you should change the axis.
Place the wheel in the axis and then fix it using a truss screw and you can add some strong glue to strengthen the wheels.
There are different size of the wheels that depends on their diameter and it's kind:
Diameter – All skateboard wheels are measured in millimeters (mm). The smaller the number, the smaller the wheel. Smaller wheels are slower; bigger wheels are faster.
- 50-53mm – Small slower wheels, stable for trick riding and smaller riders skating street, skate parks and bowls.
- 54-59mm – Average wheel size for beginners and bigger riders skating street, skate parks, bowls, and vert ramps.
- 60mm+ – Specialty riders skating longboards, old-school boards, downhill and dirt boards; made for speed and rougher surfaces.
Add Instructable Batch
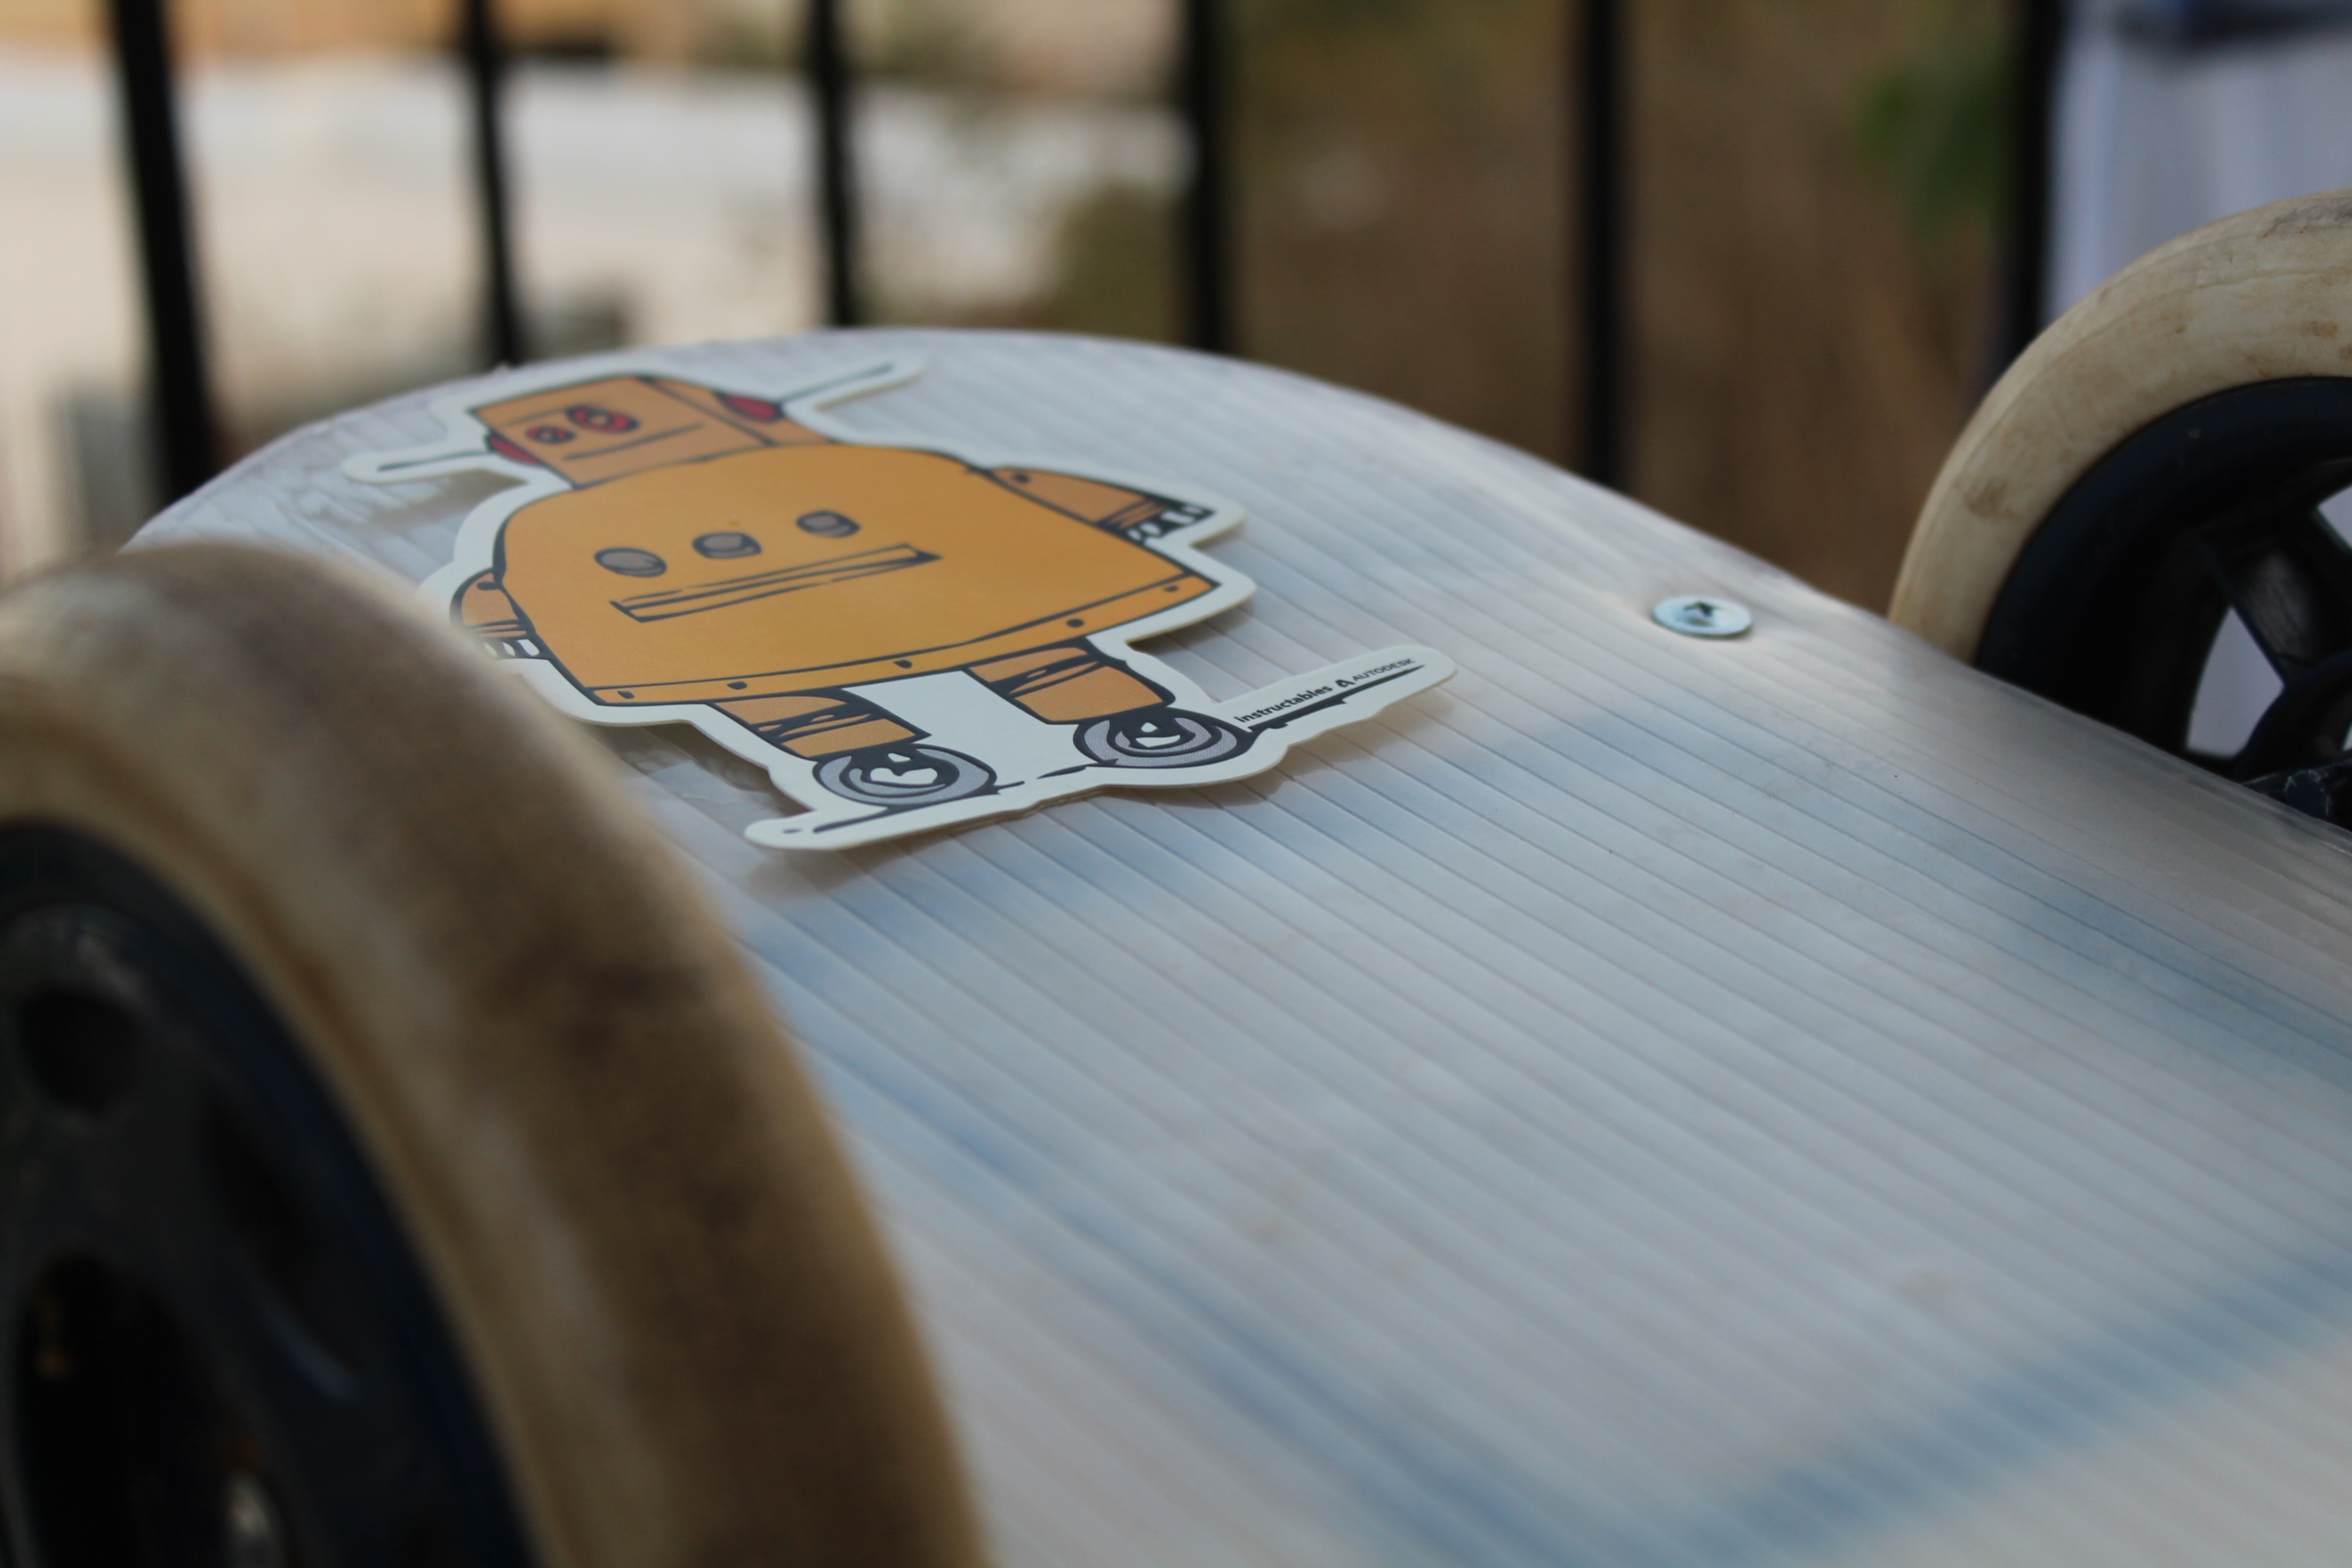
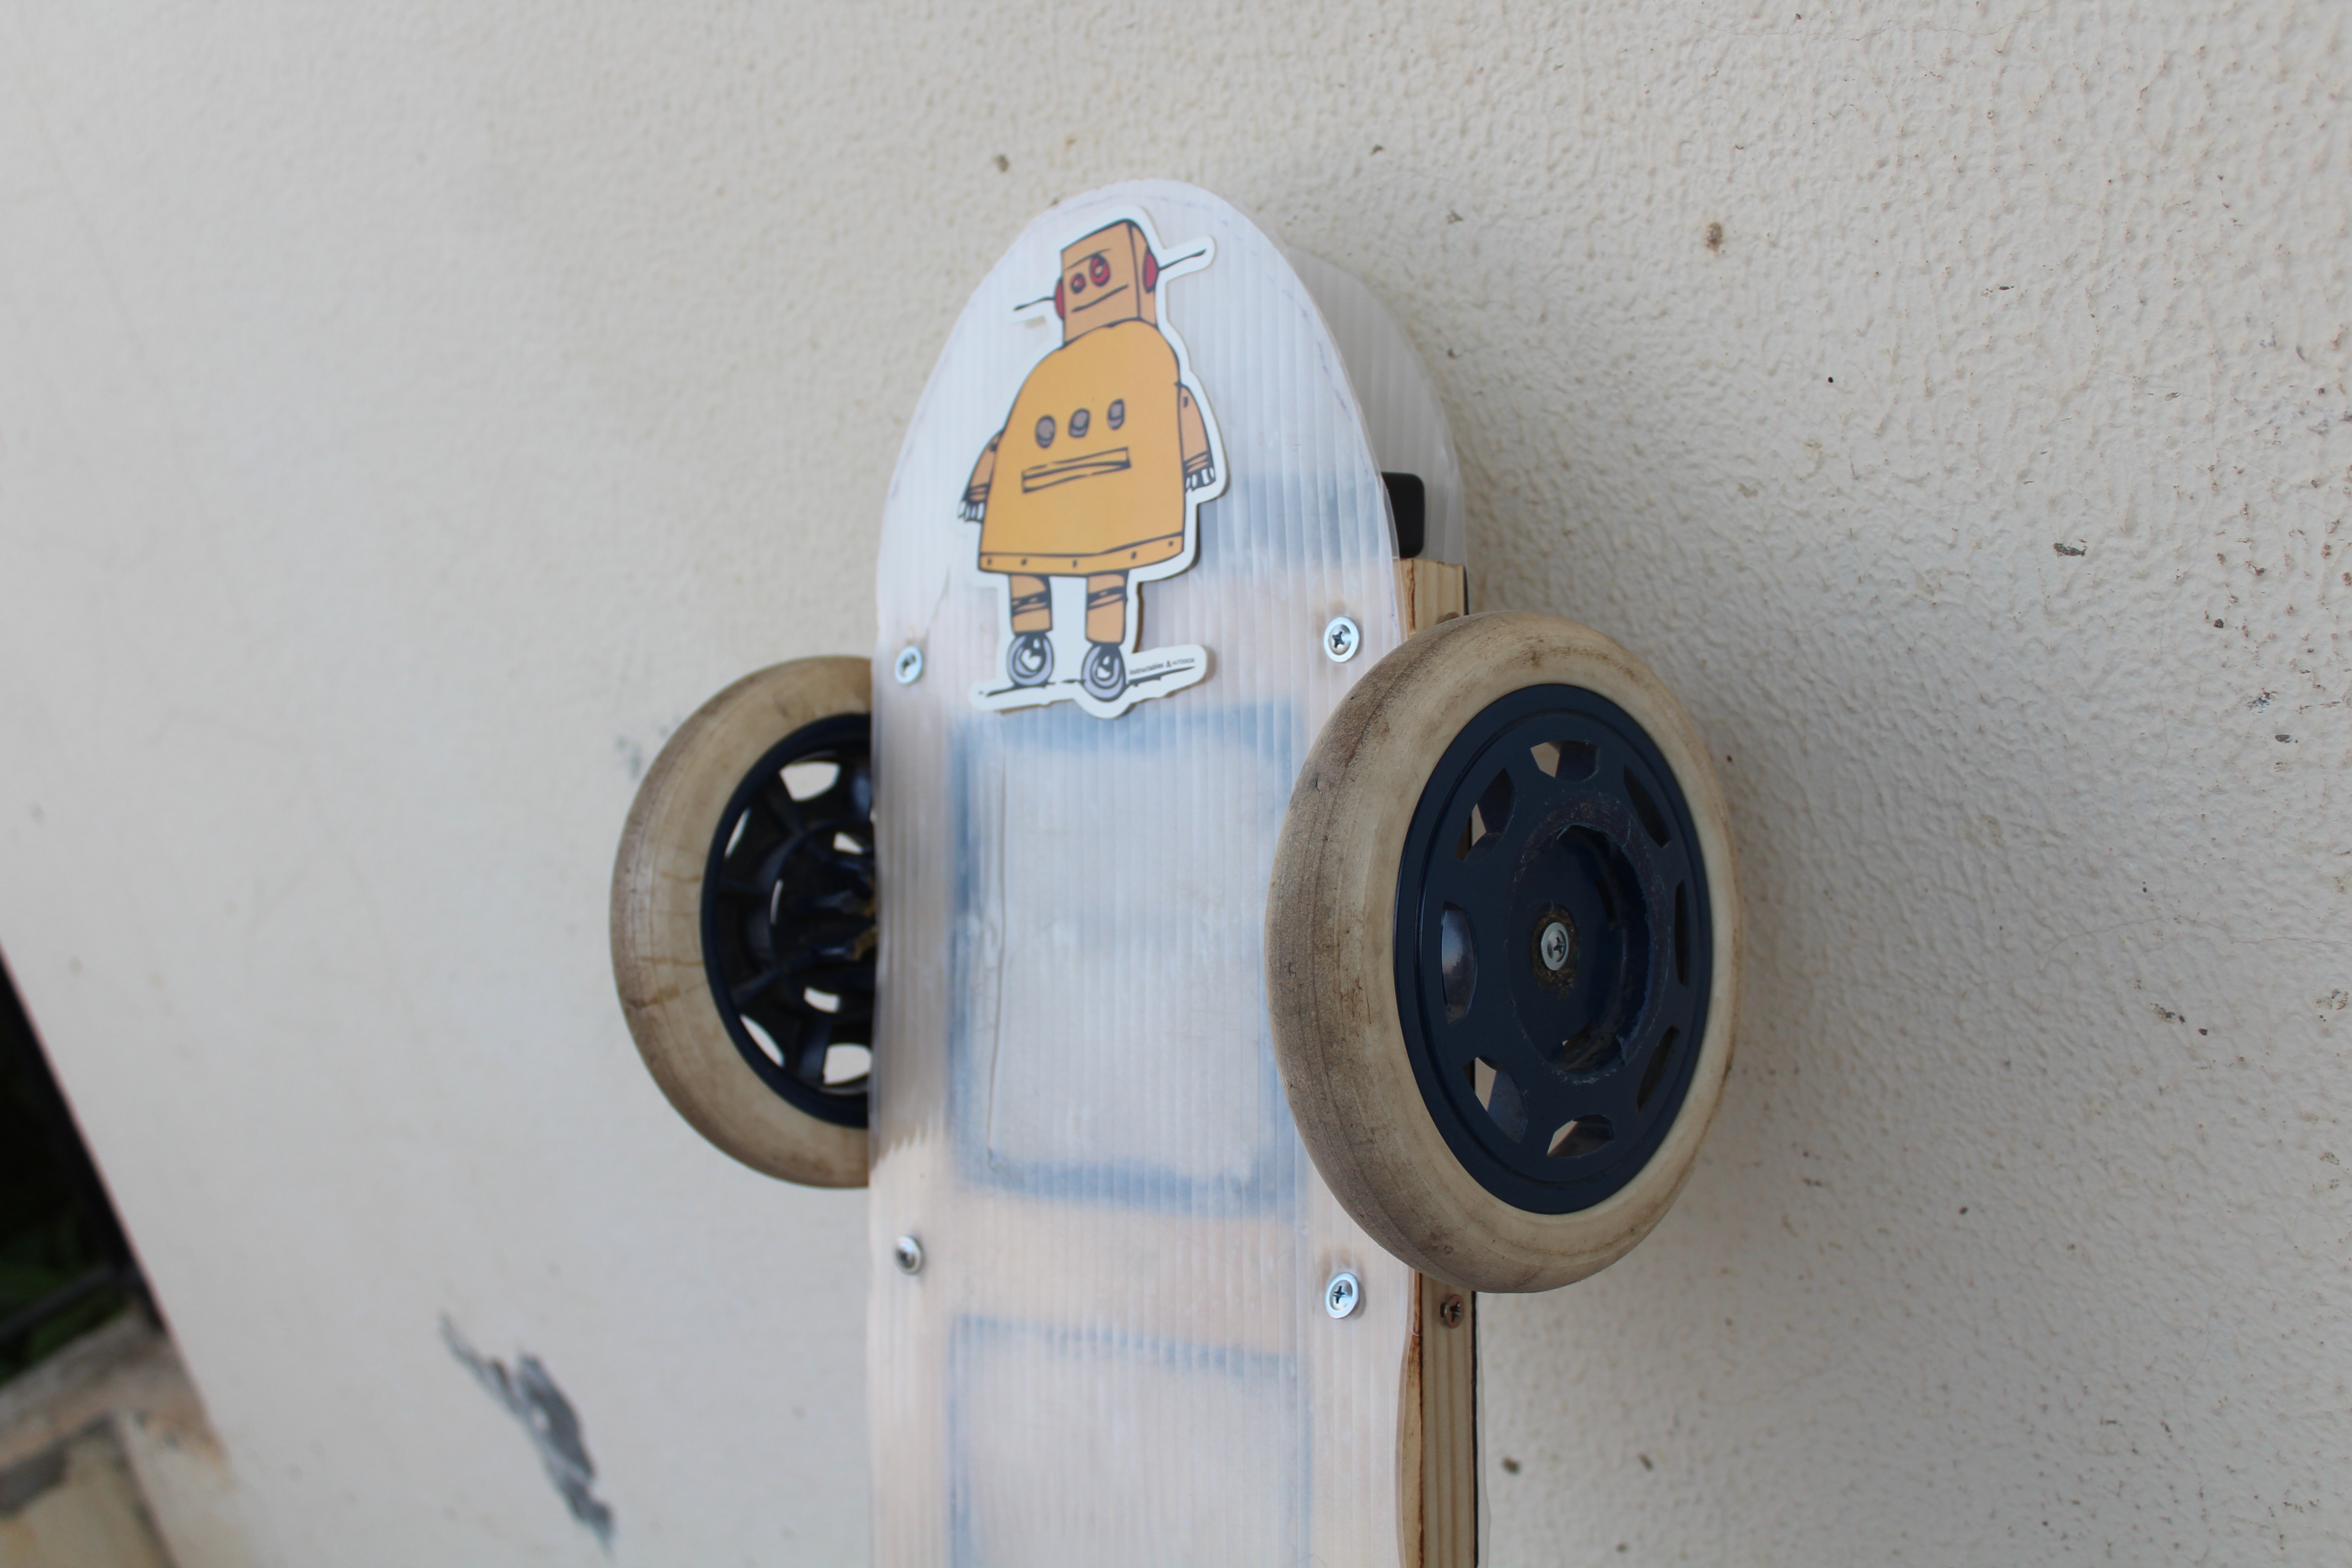
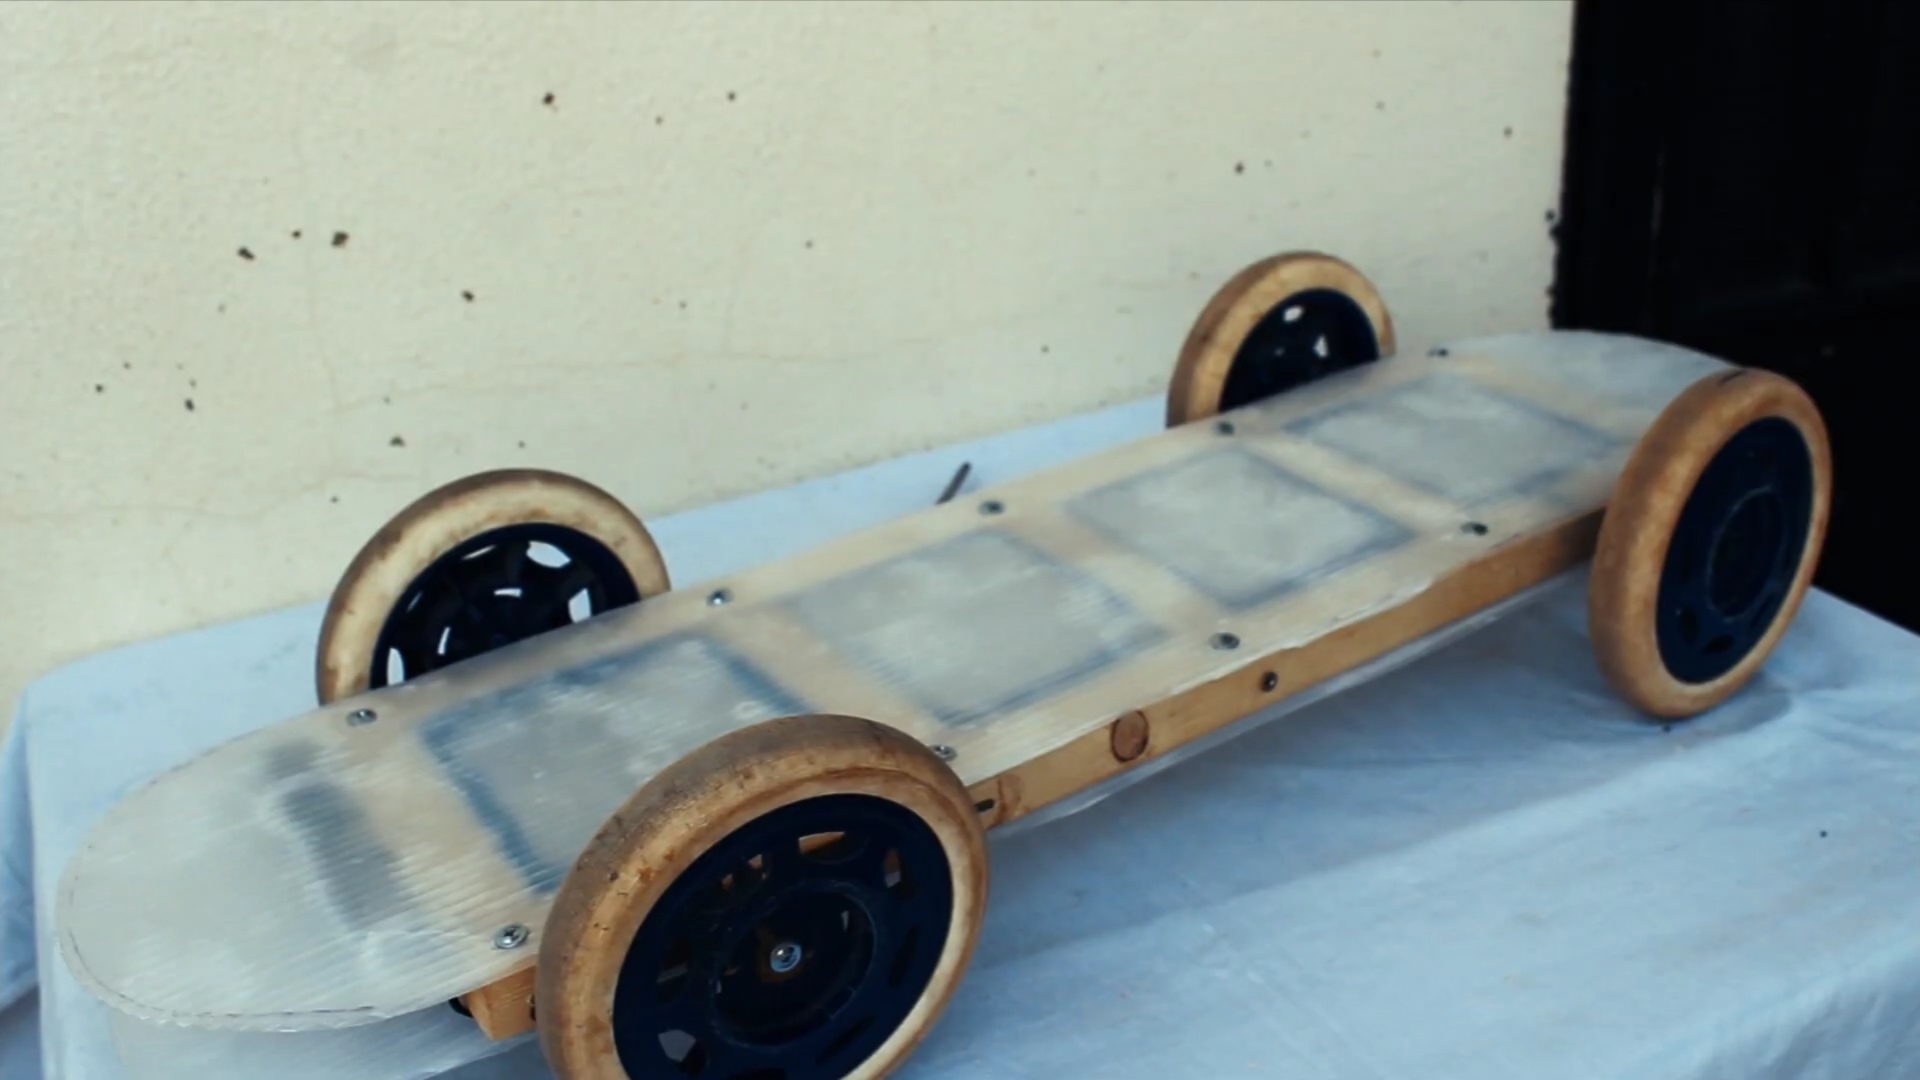
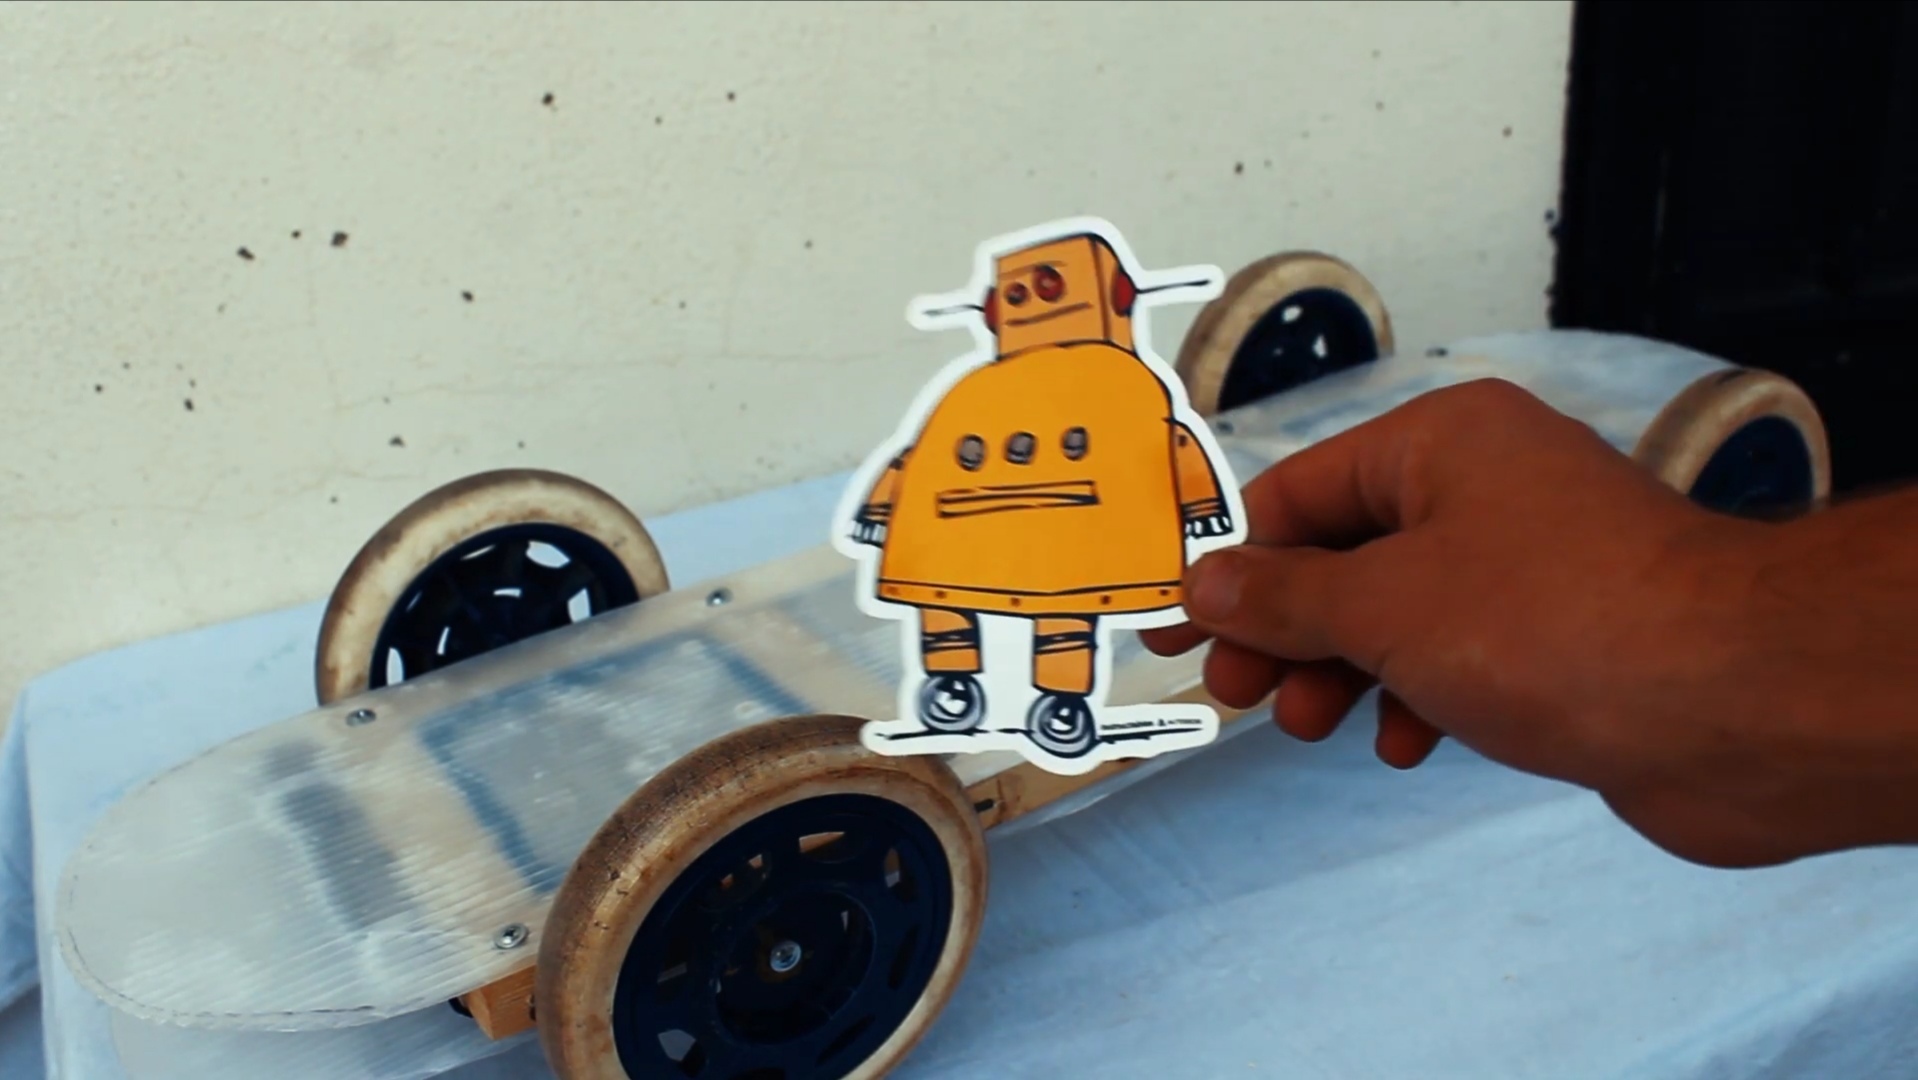
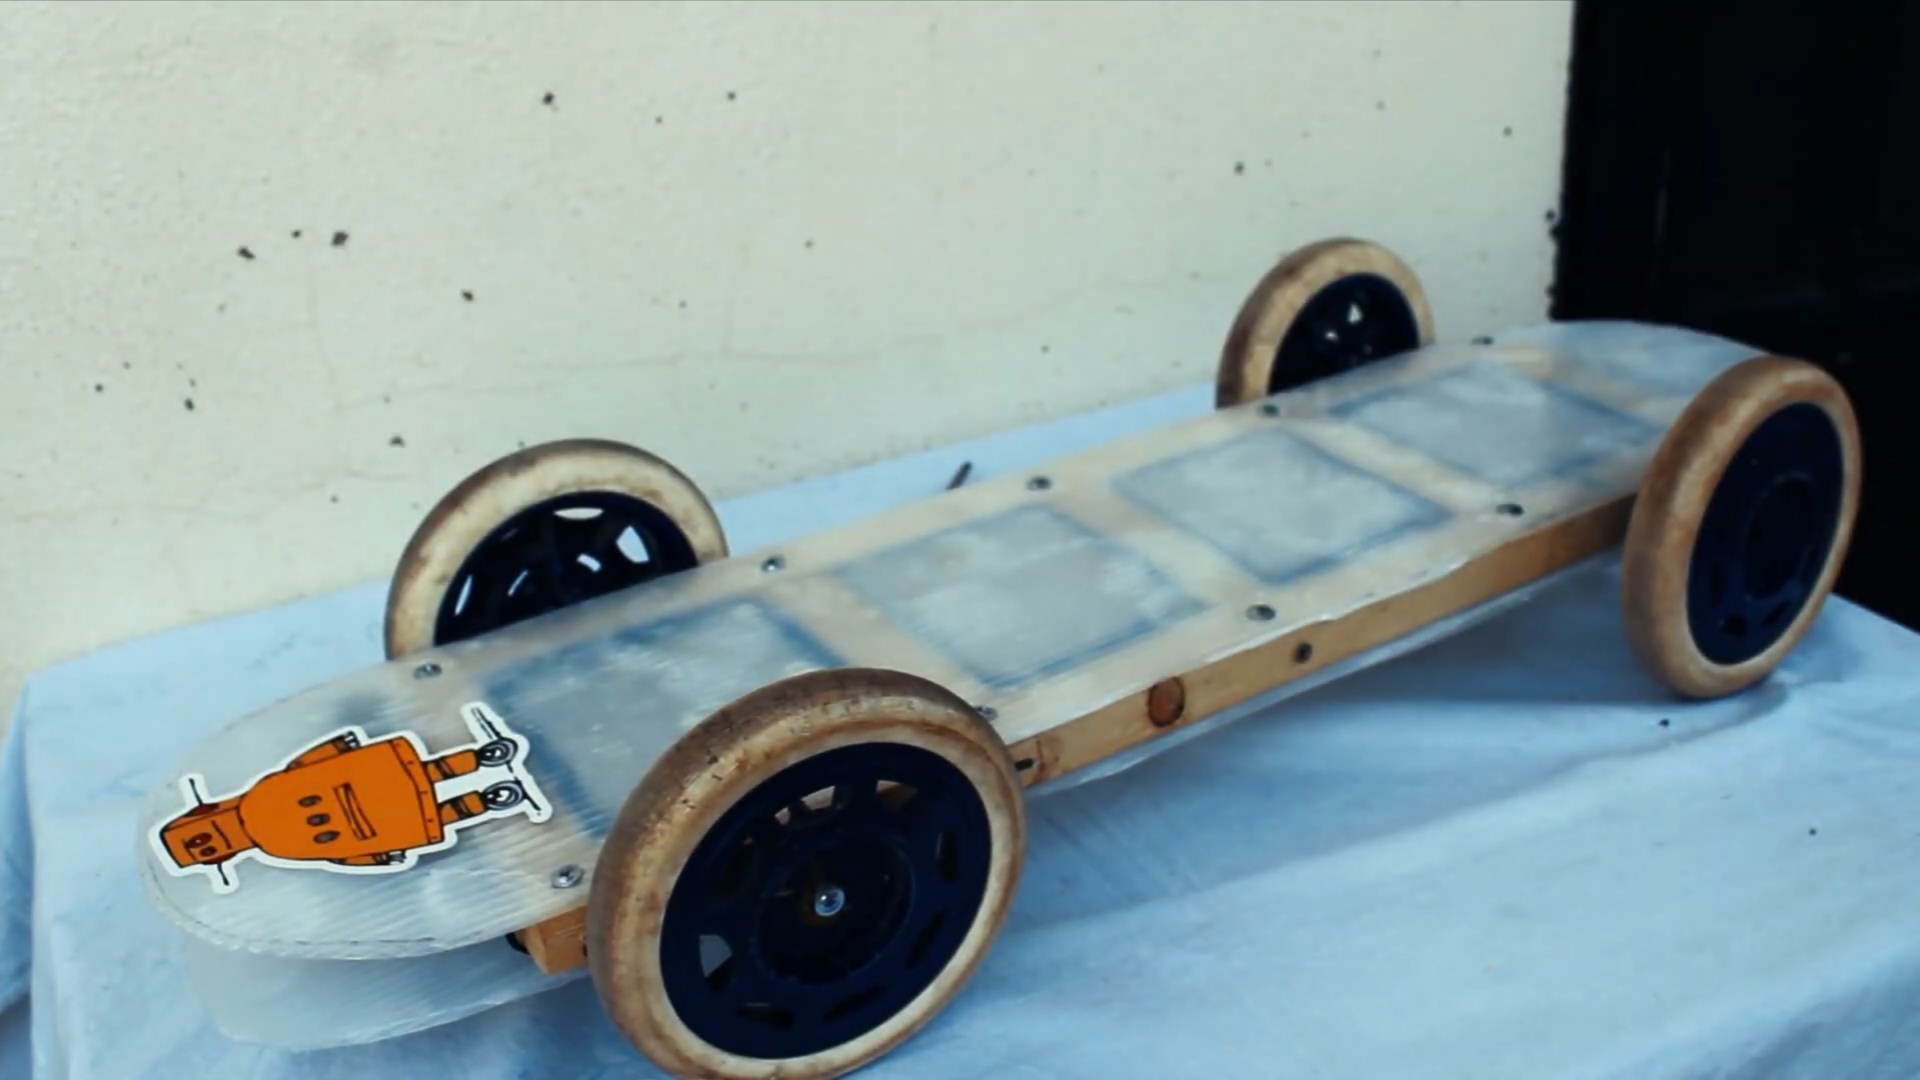
Fix the other board to the wooden base and then stick the Instructables batch on the upper part of the skateboard.
Protective Paint
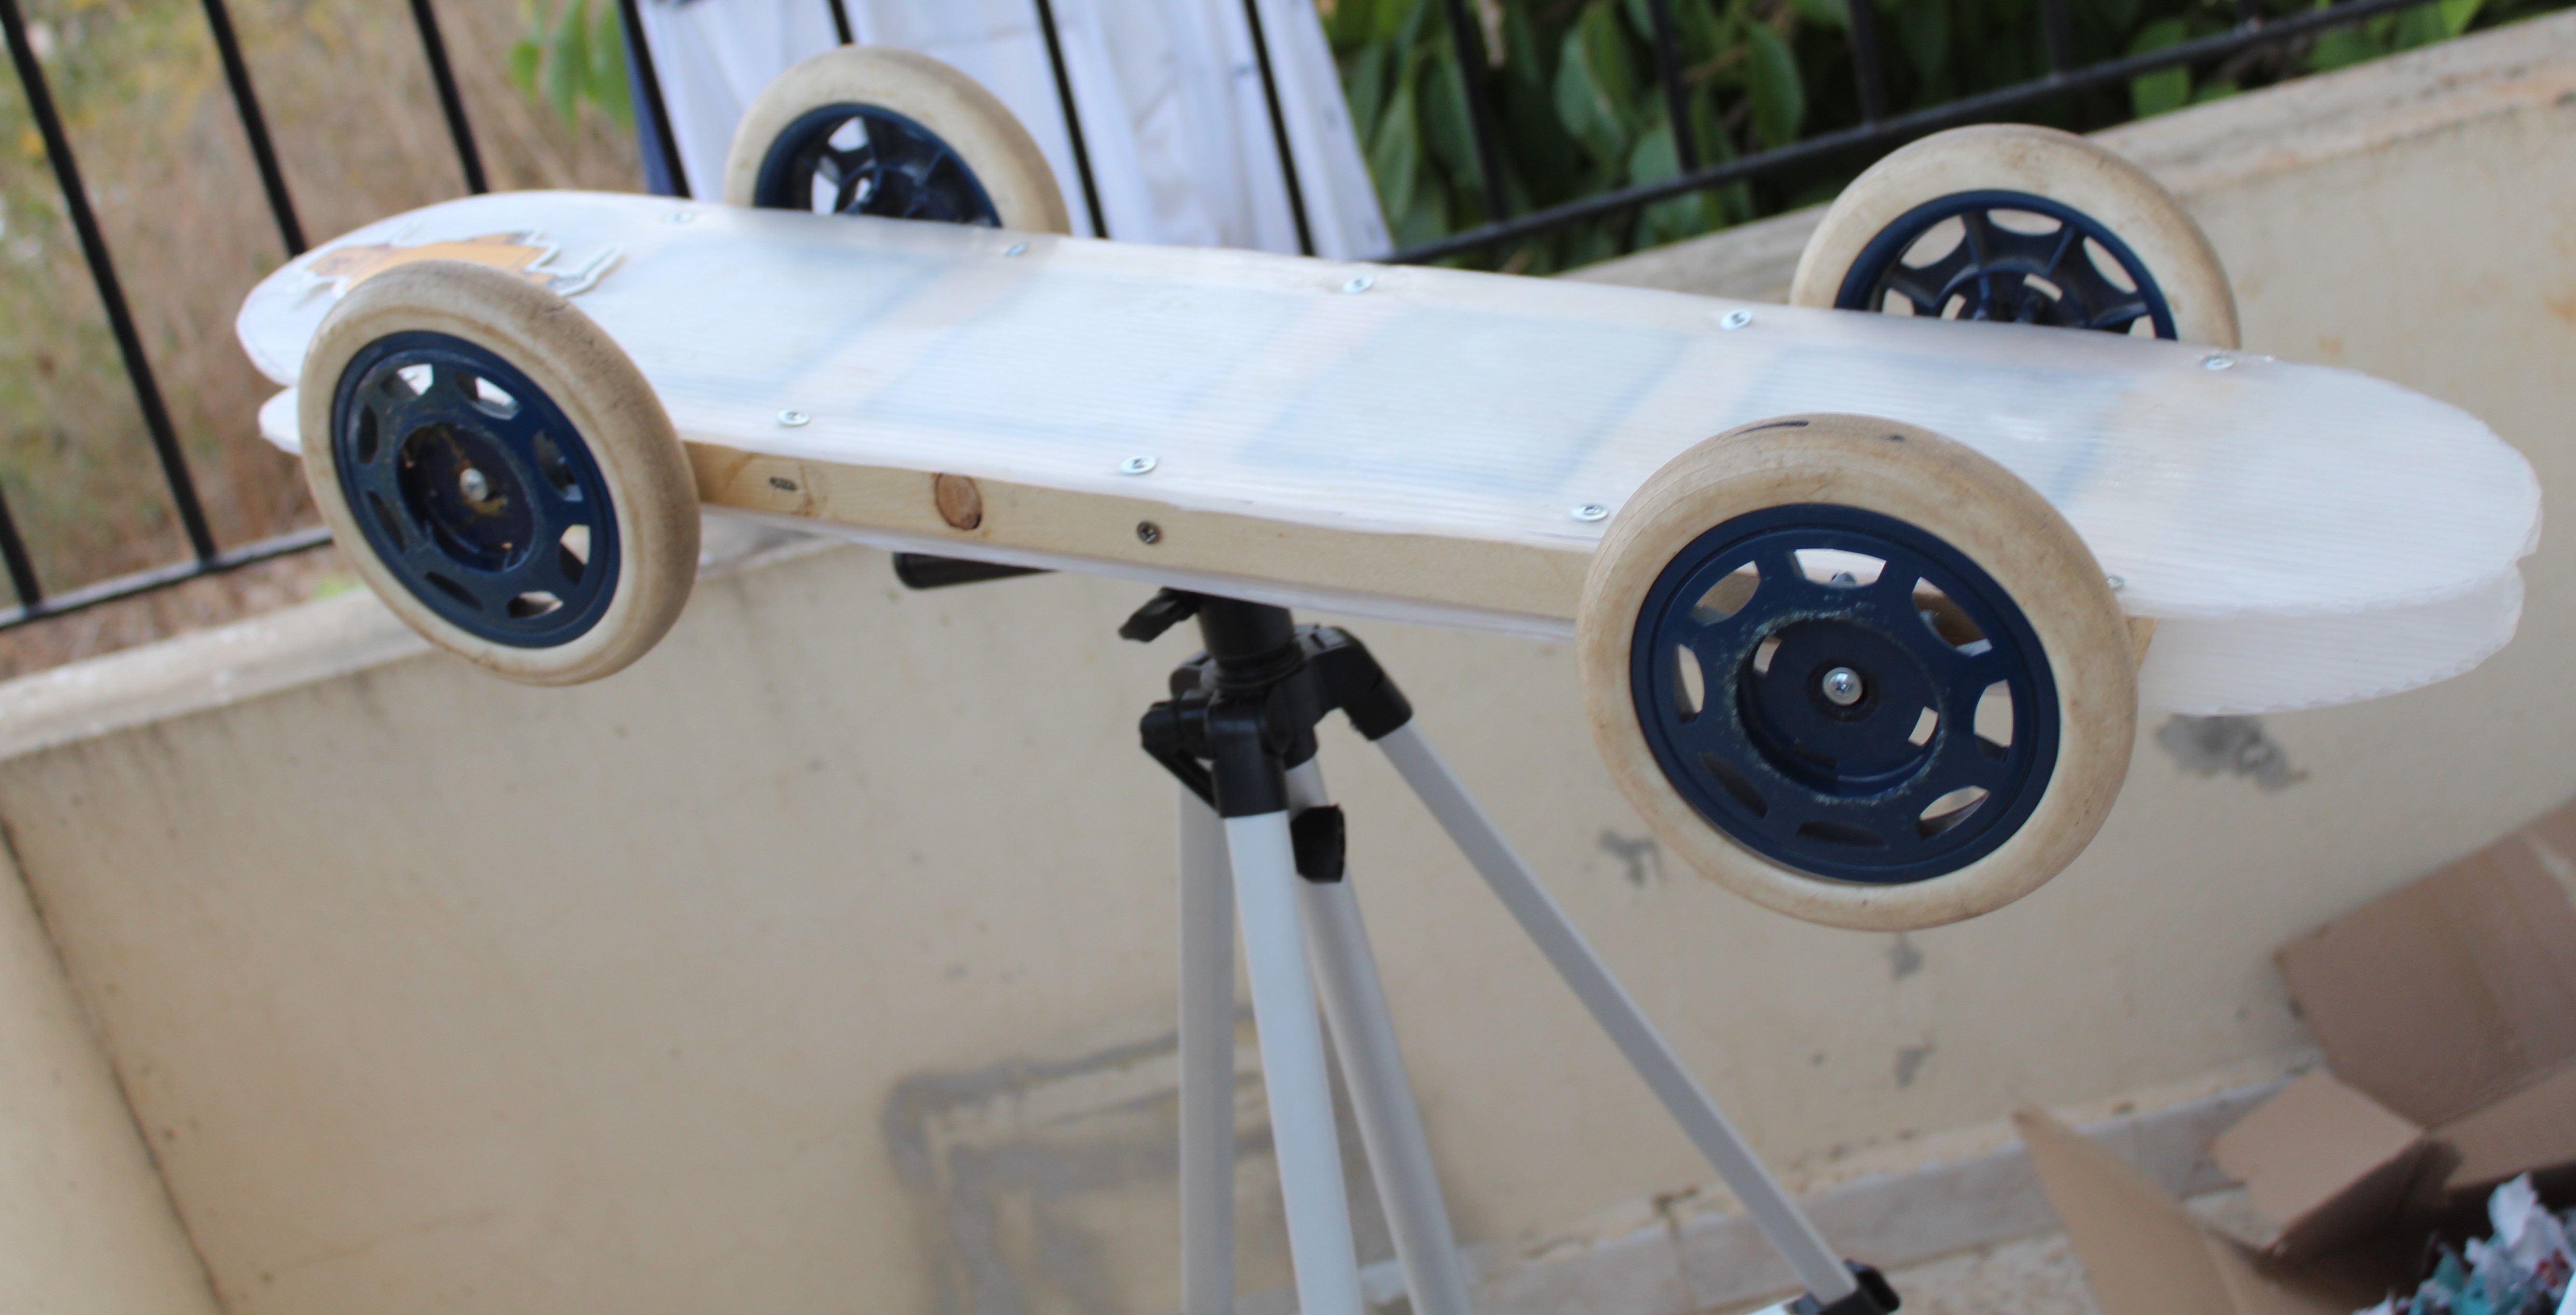
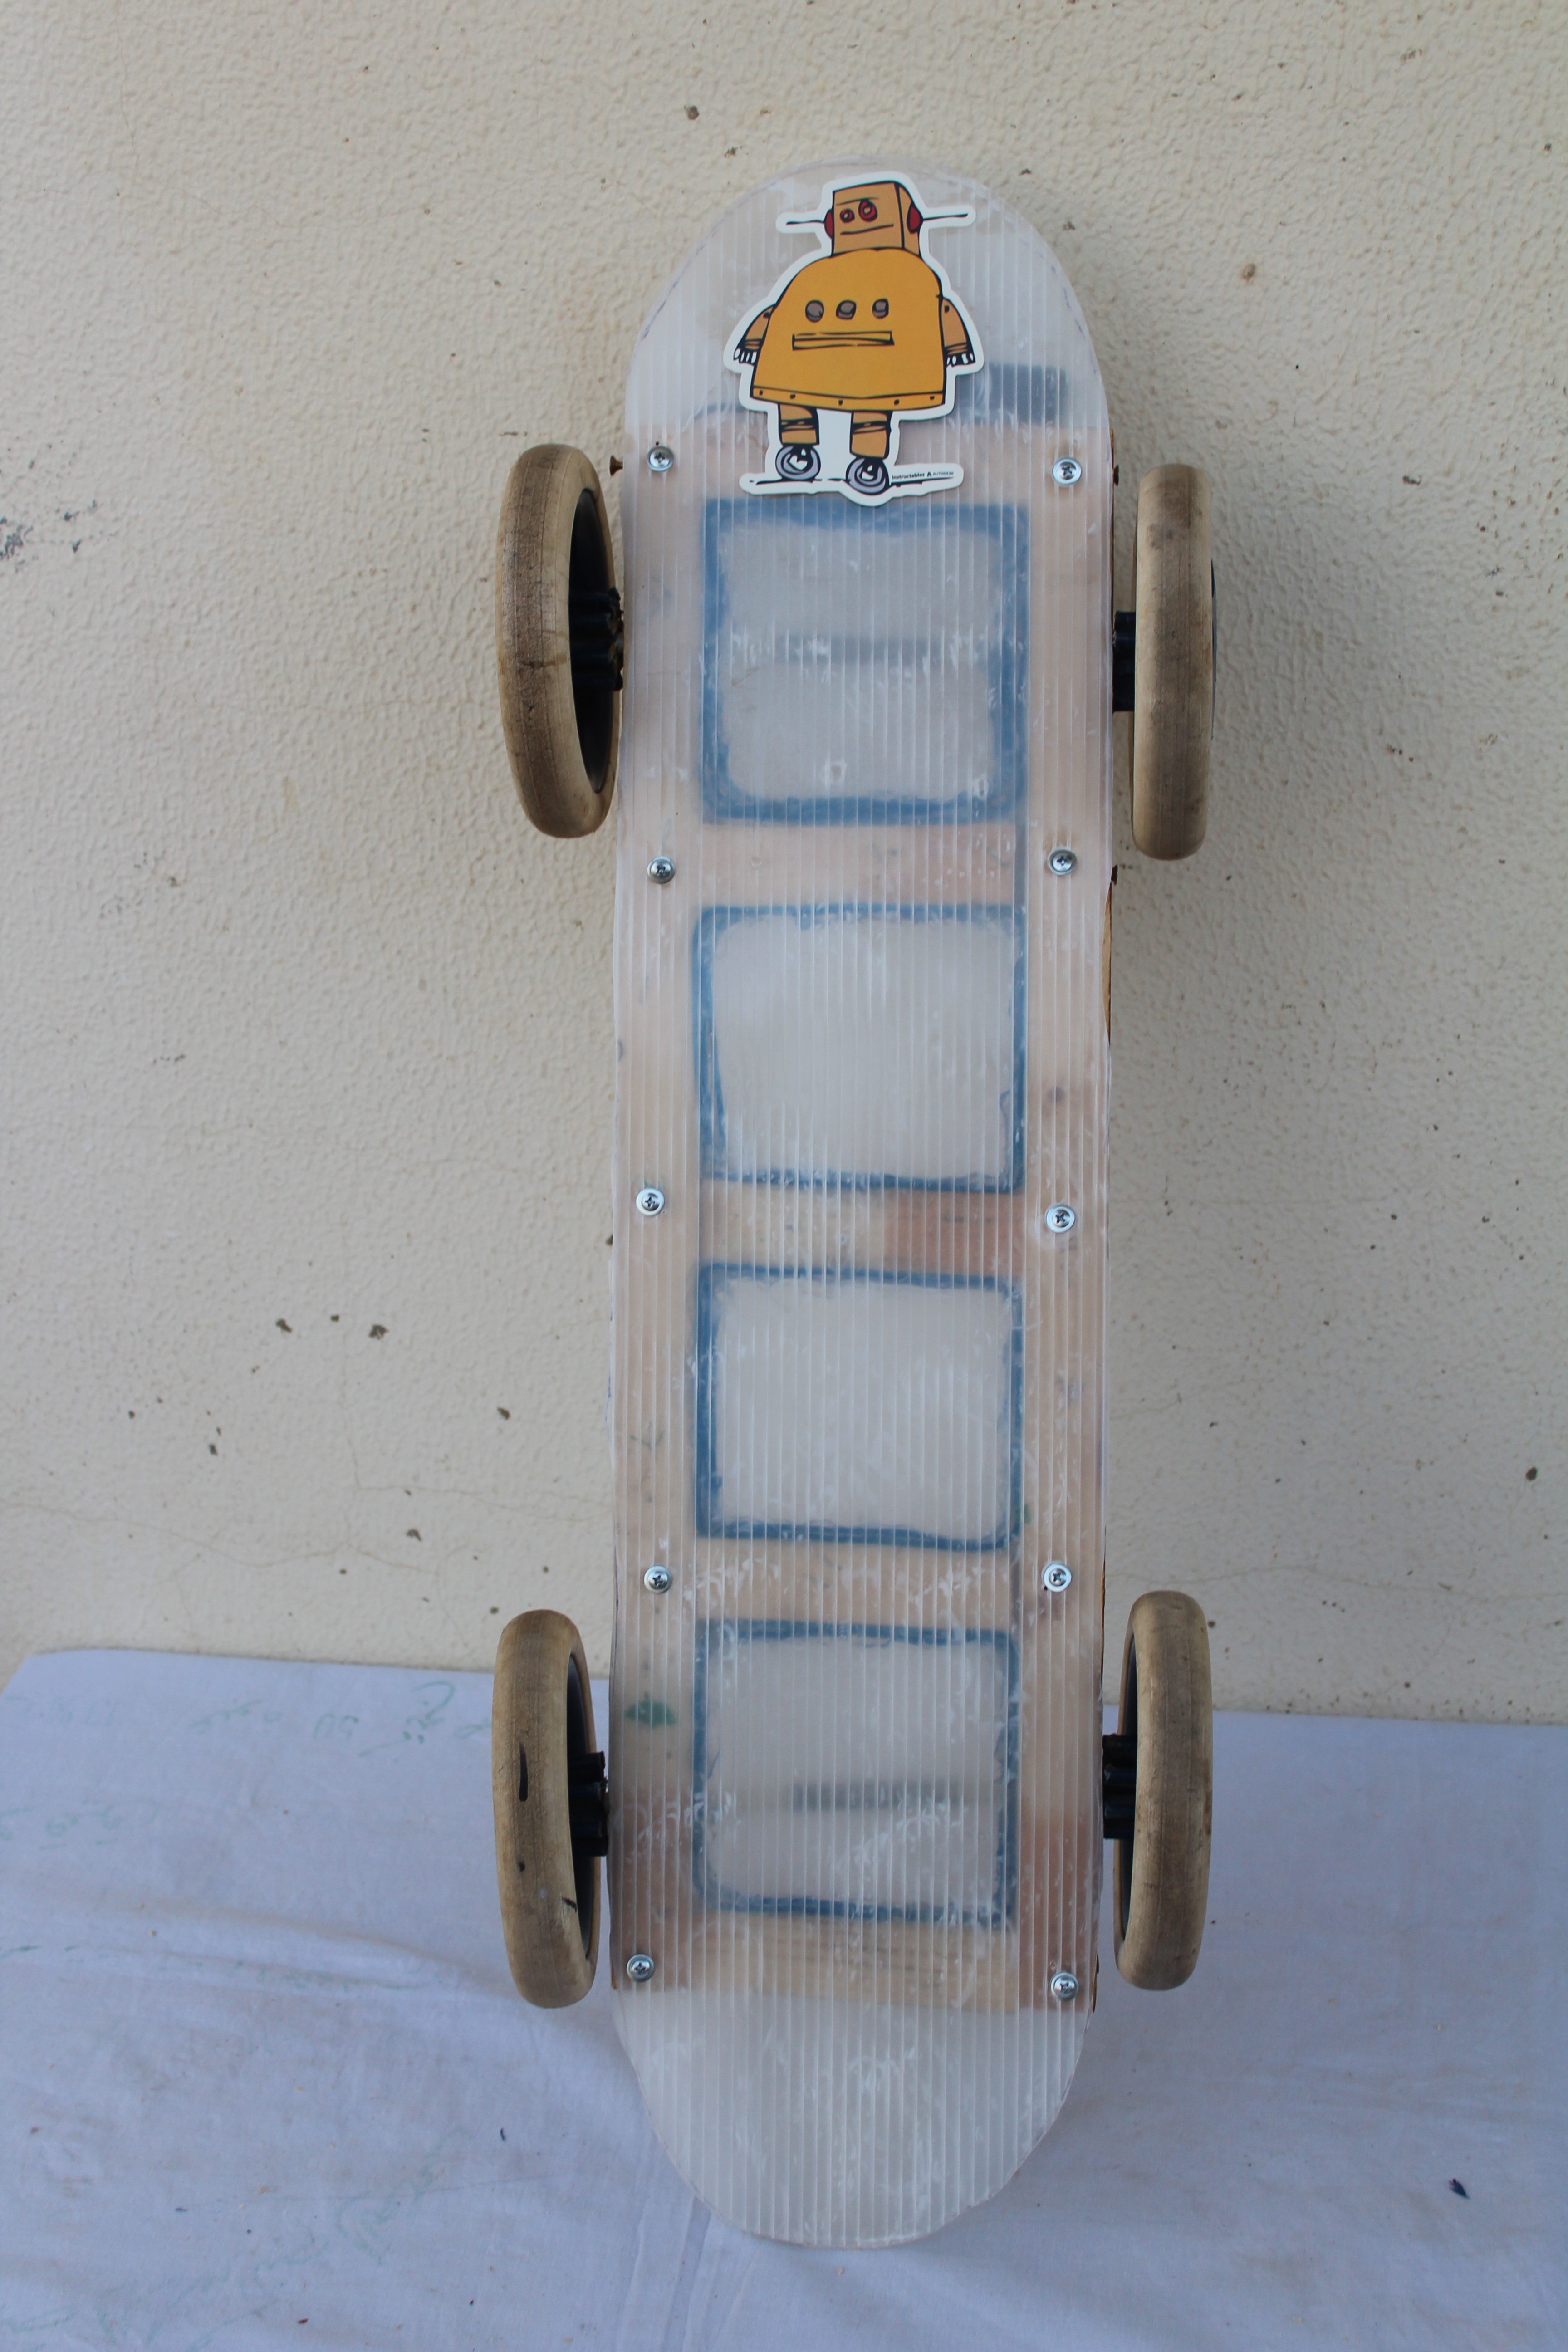
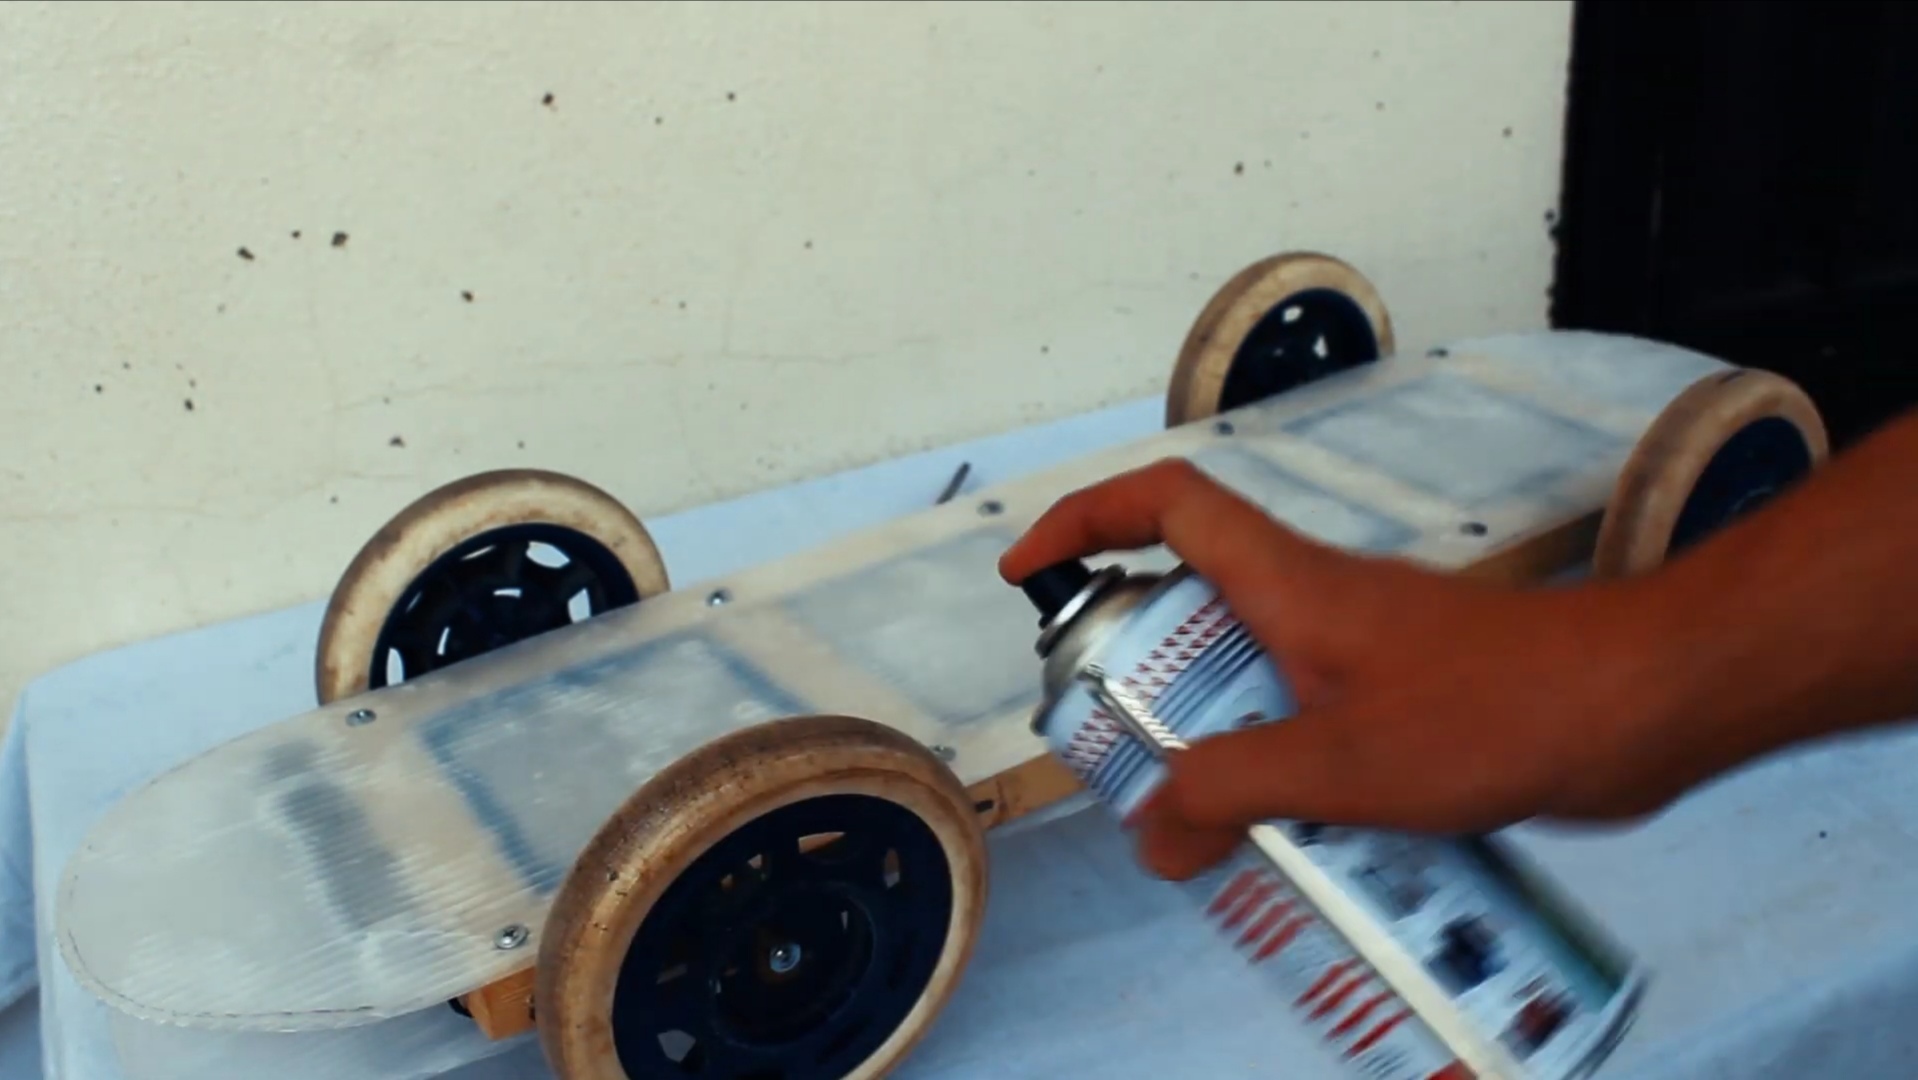
Finally, when you finish your skateboard, spray the whole body with transparent protective paint.
Enjoy Skating in the Darkness
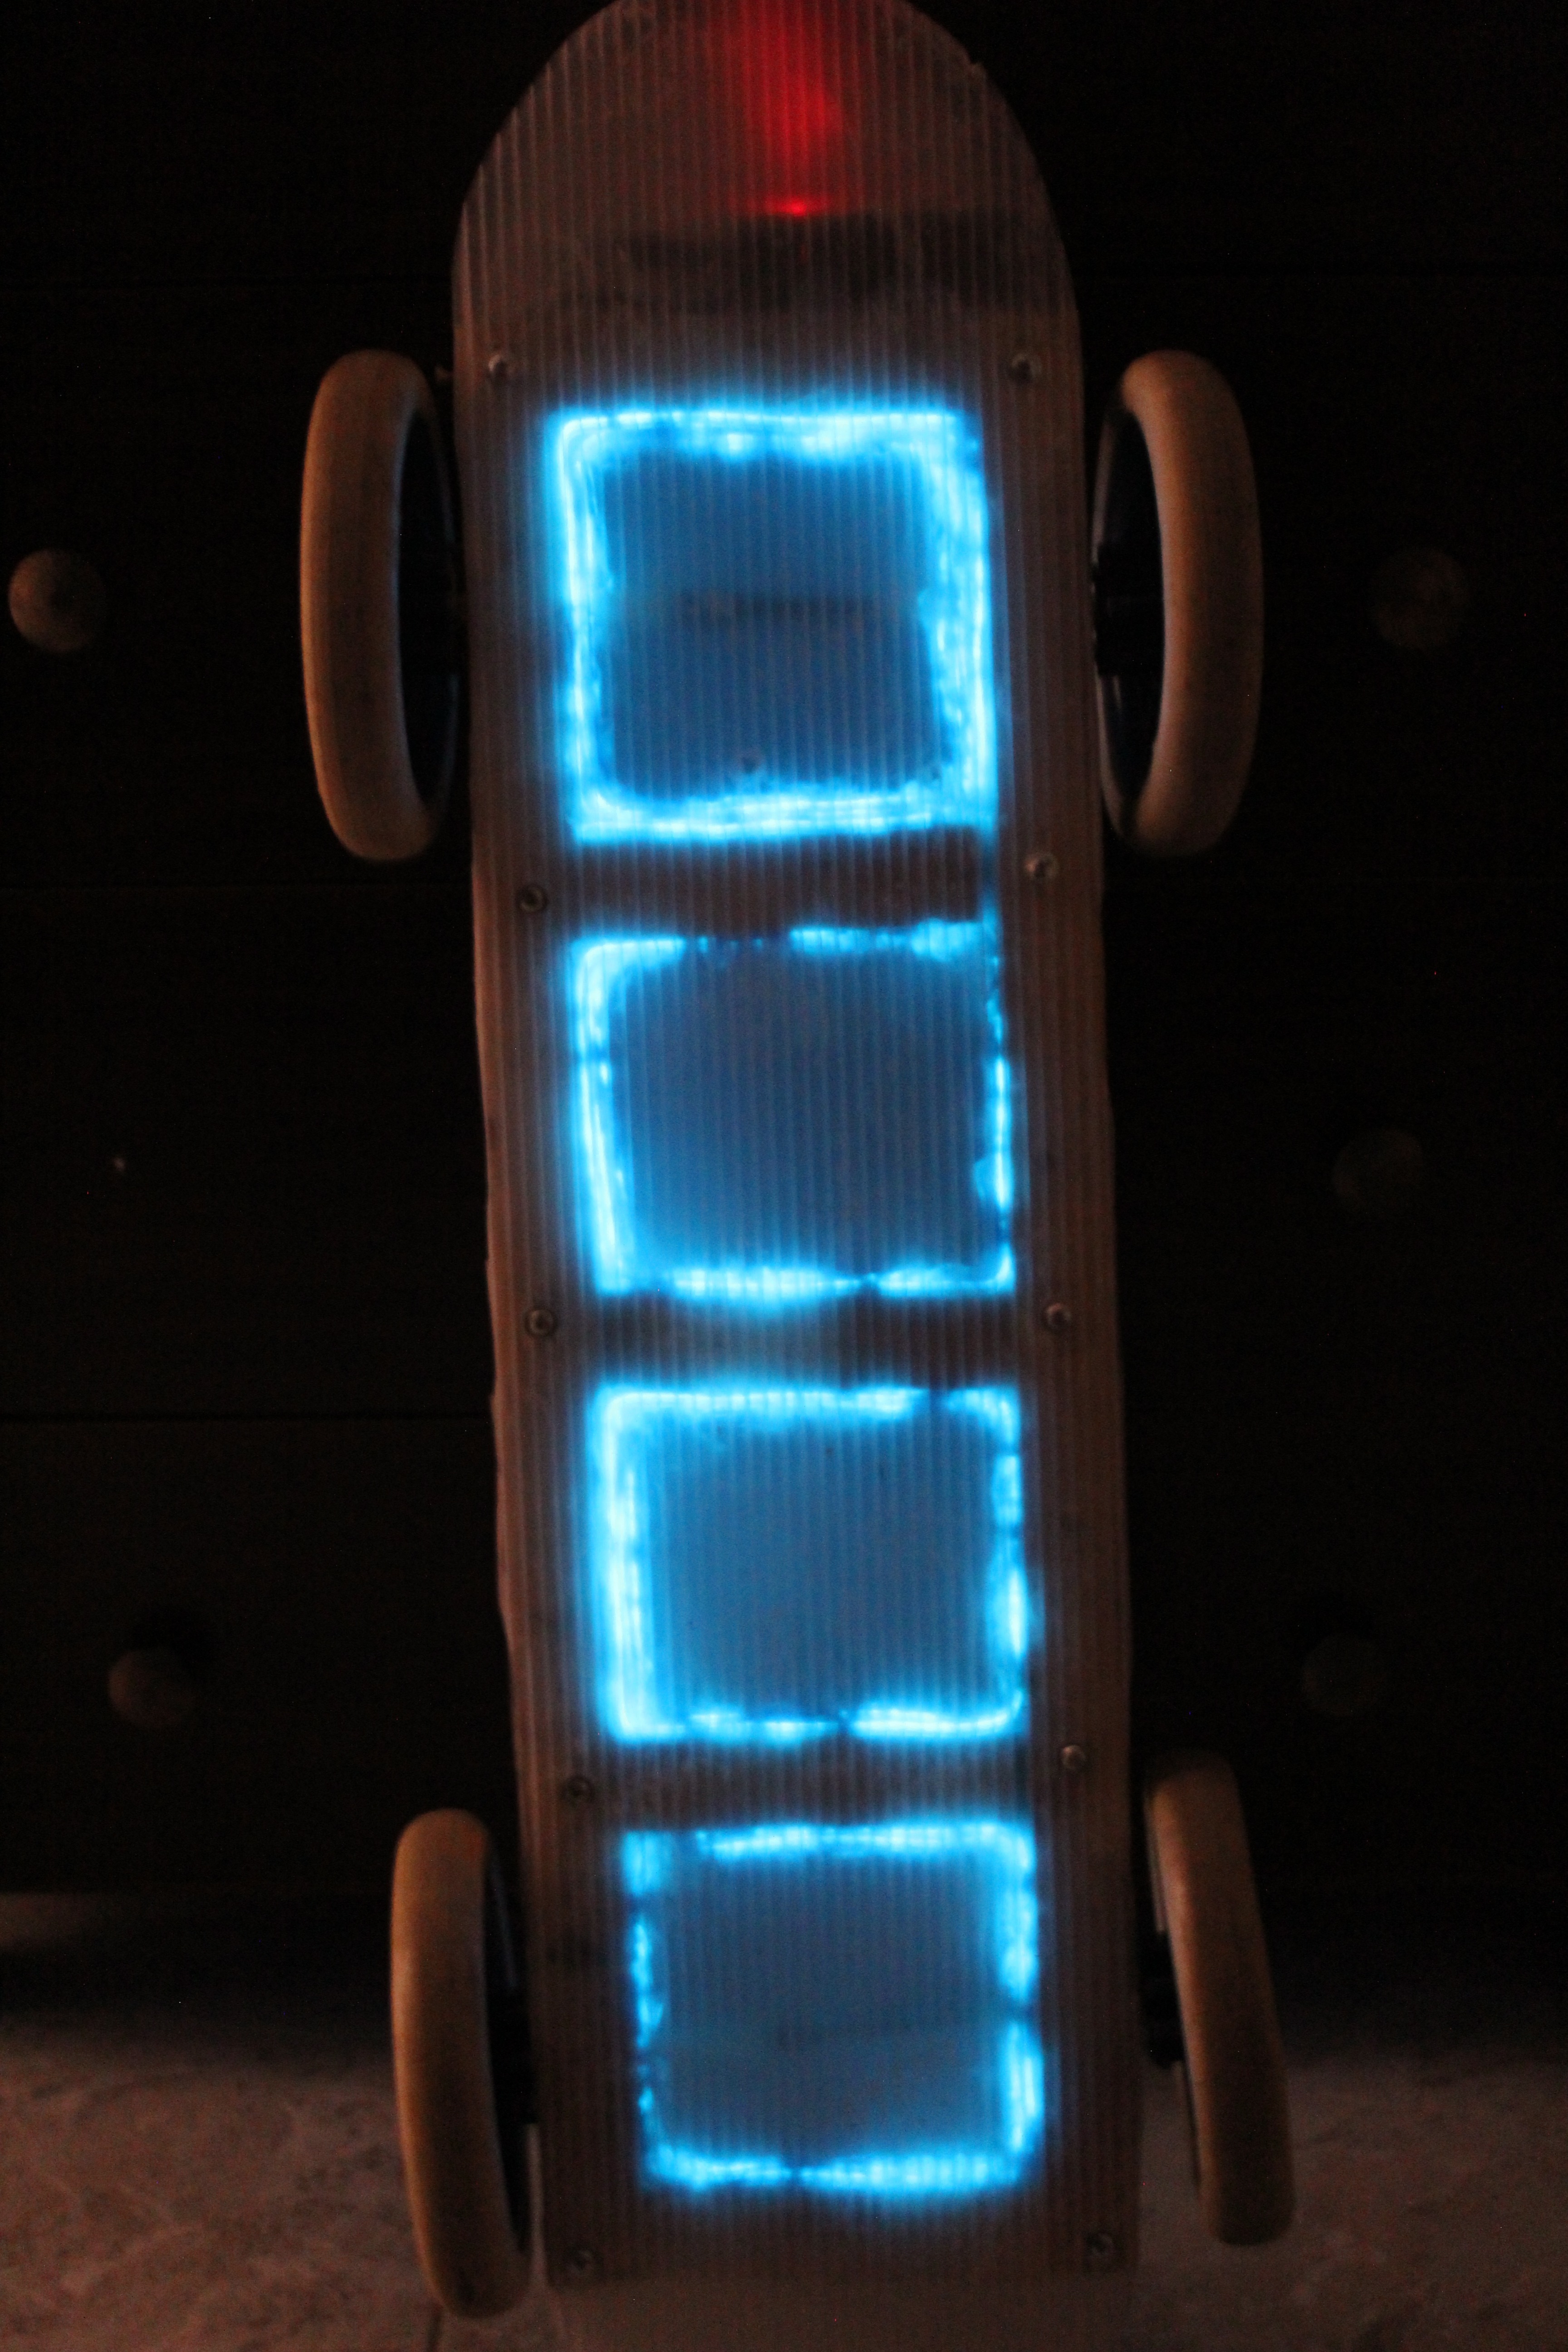
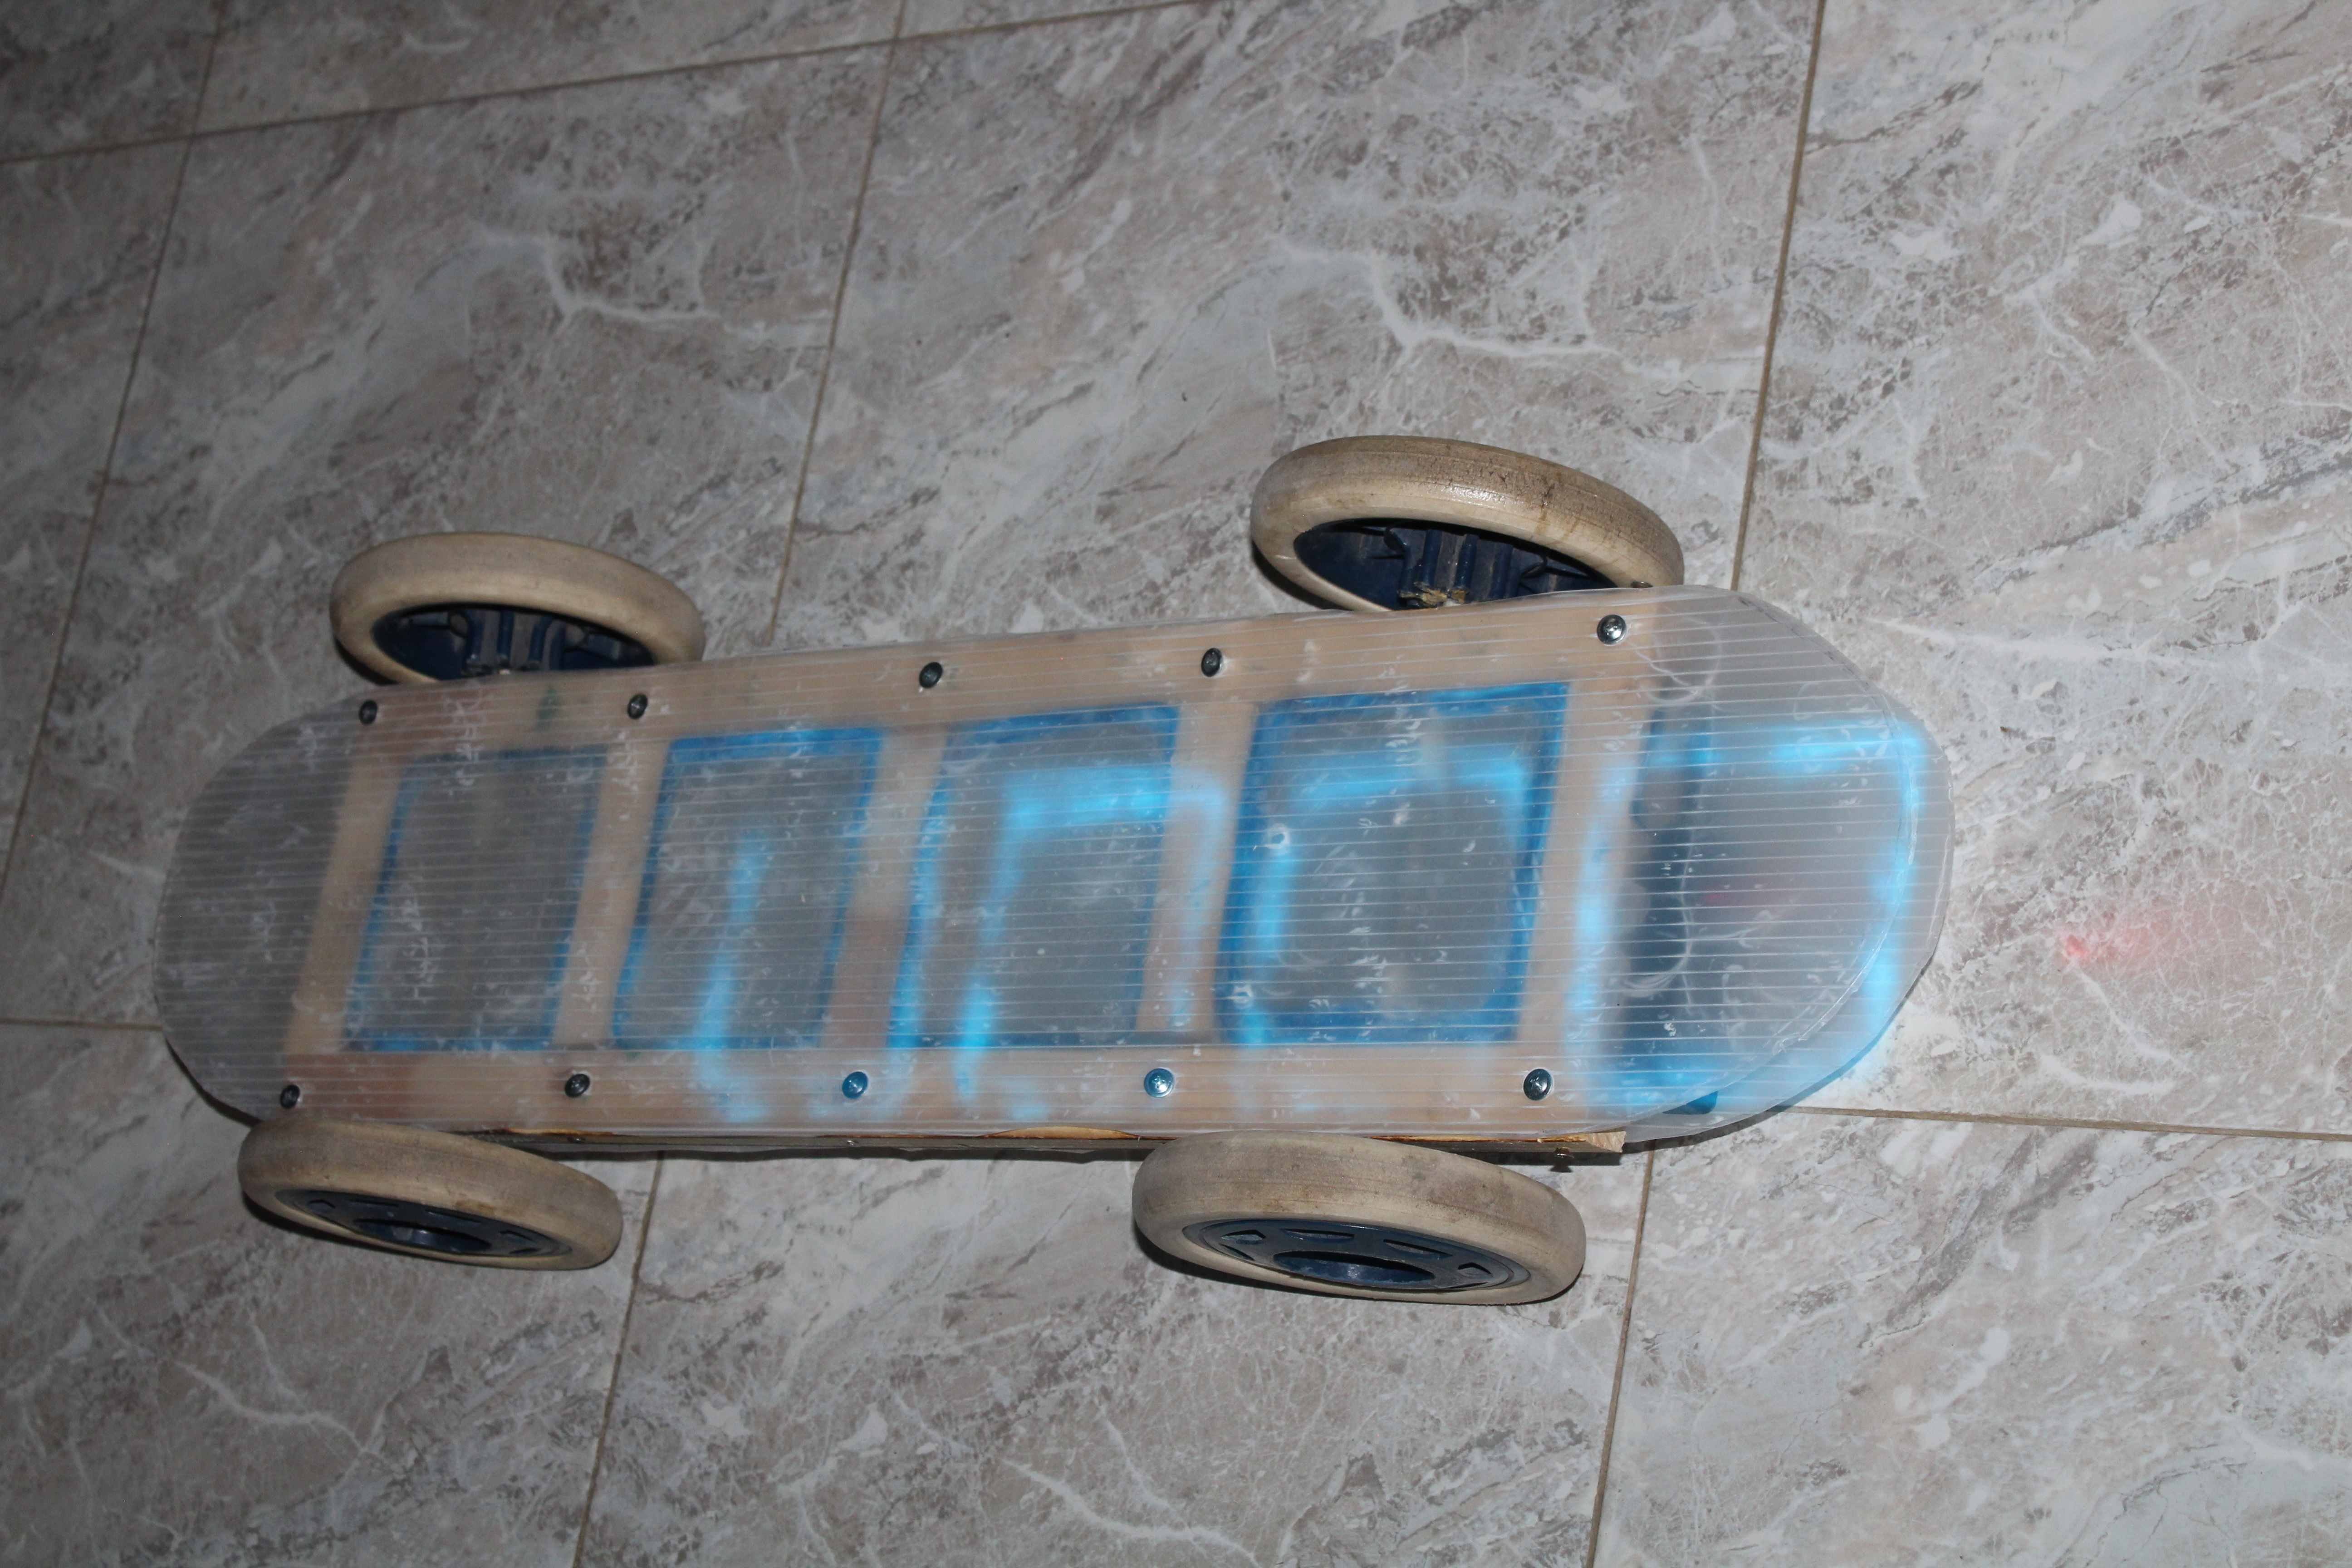
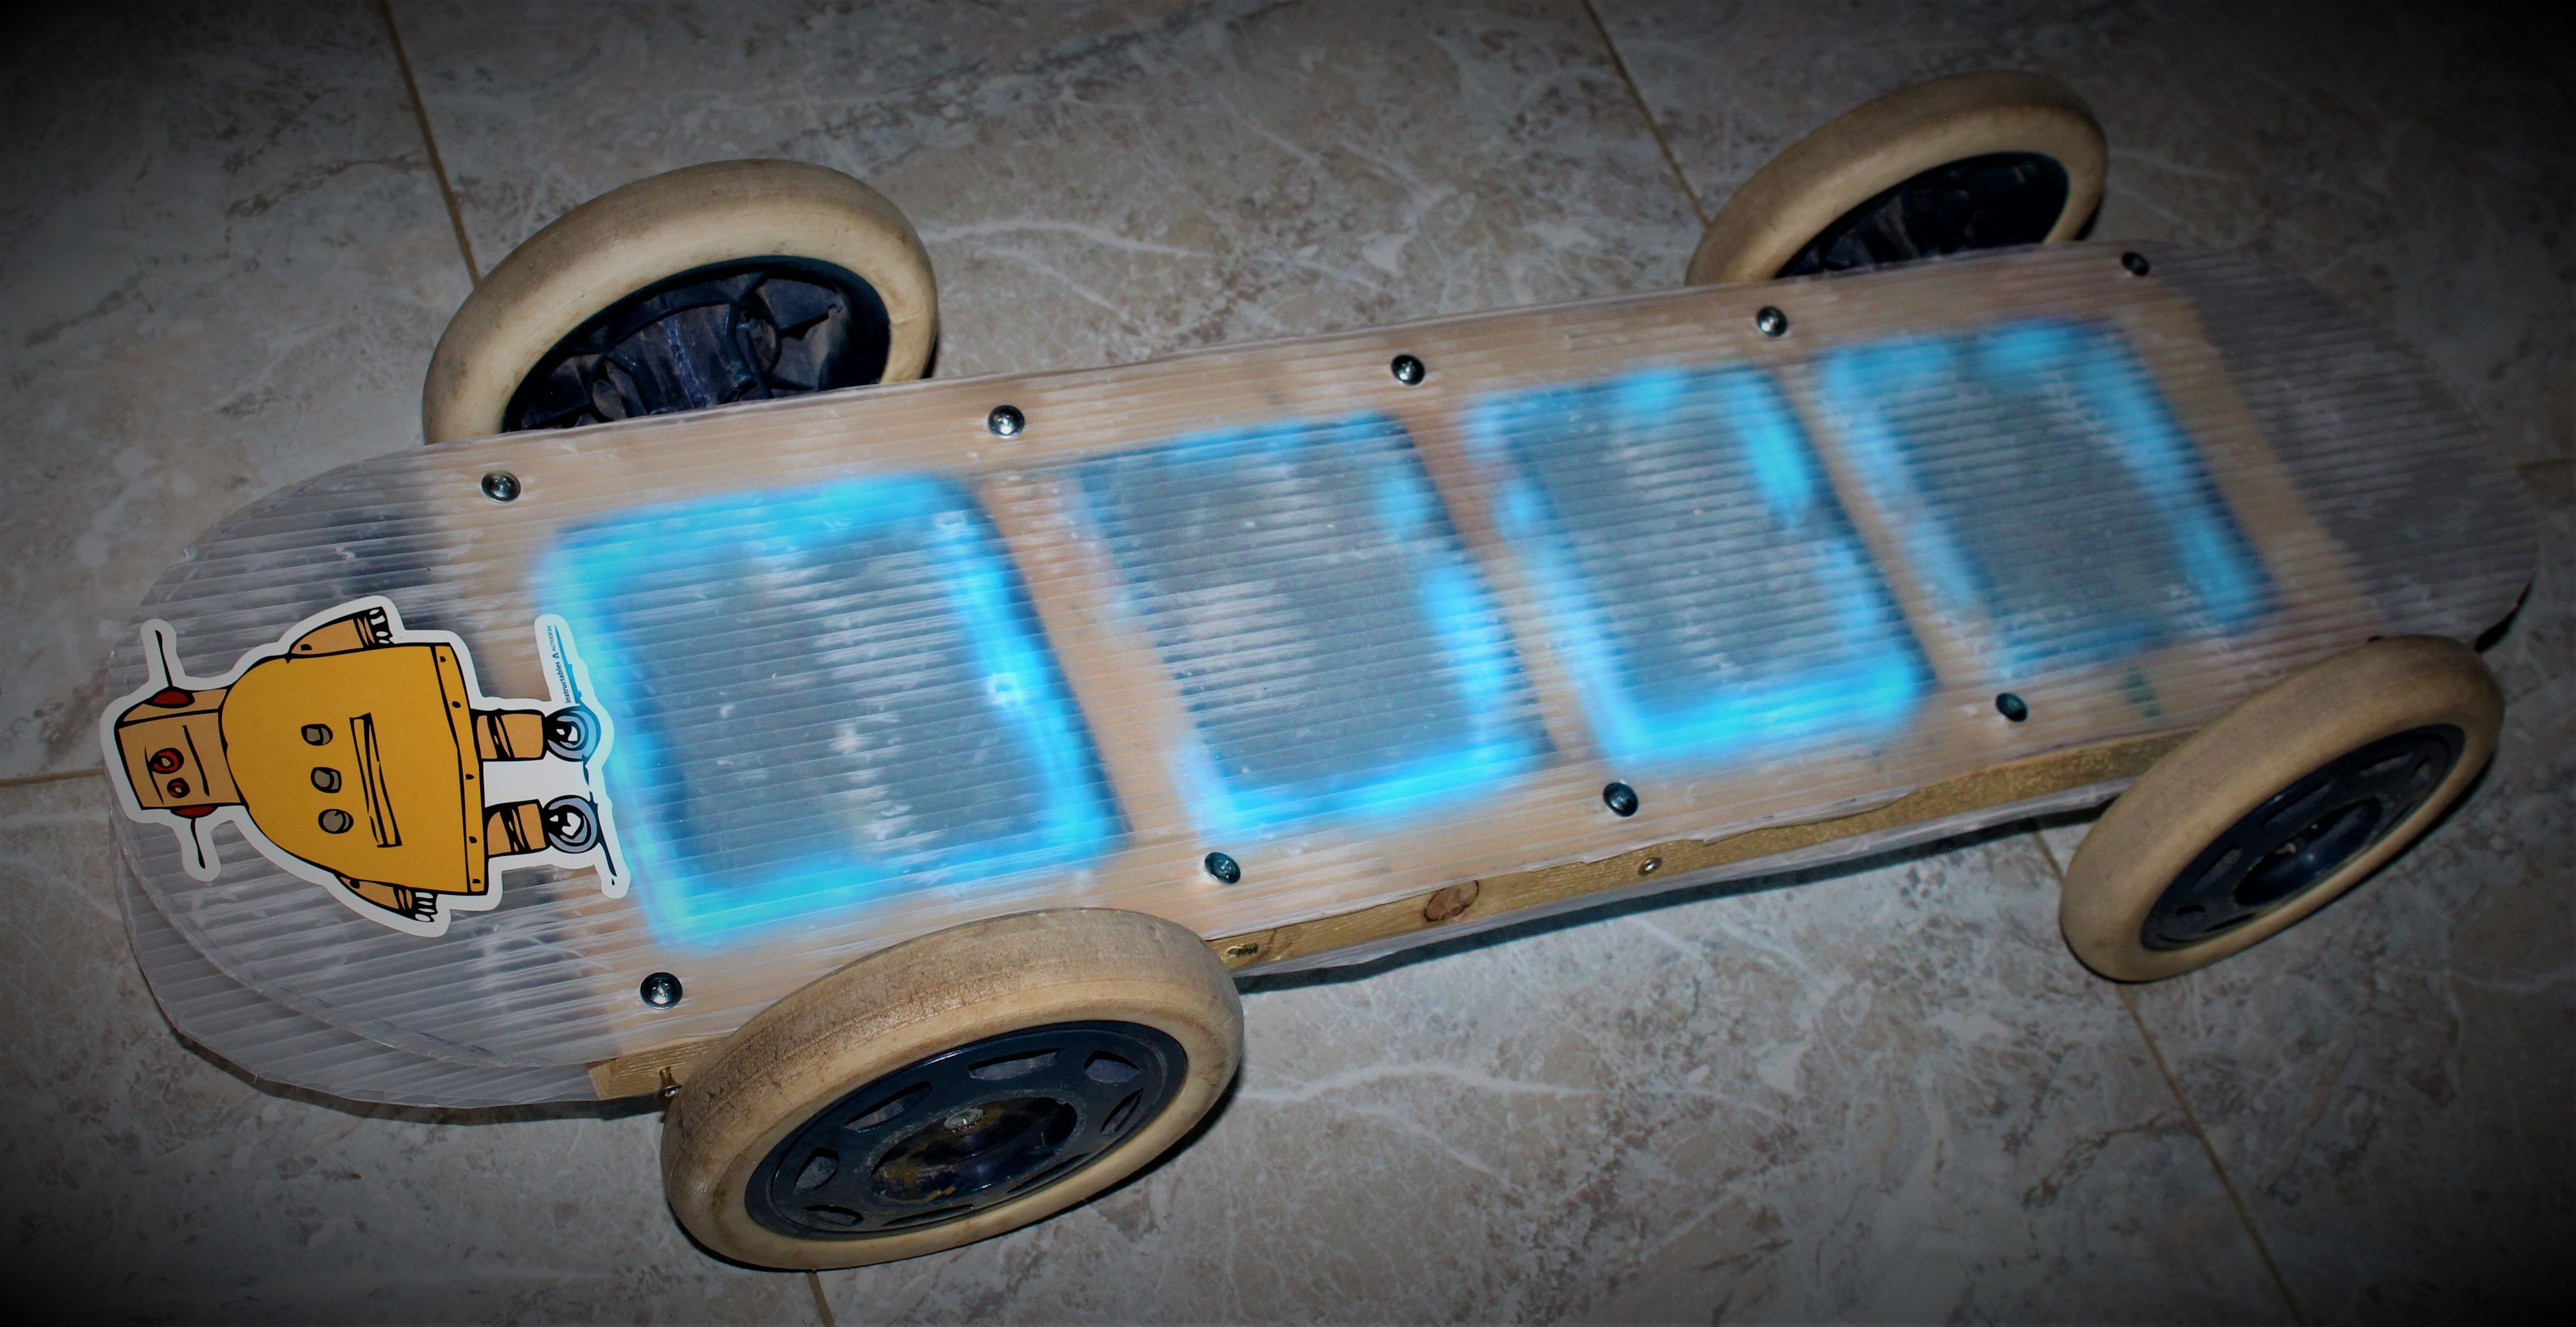
Watch the video that I post in the introduction and view how amazing it looks in the darkness.
Don't forget to vote for me in the Skateboard Contest.