3D Printed Rock Candy
by Aaron Porterfield in Workshop > 3D Printing
8877 Views, 71 Favorites, 0 Comments
3D Printed Rock Candy
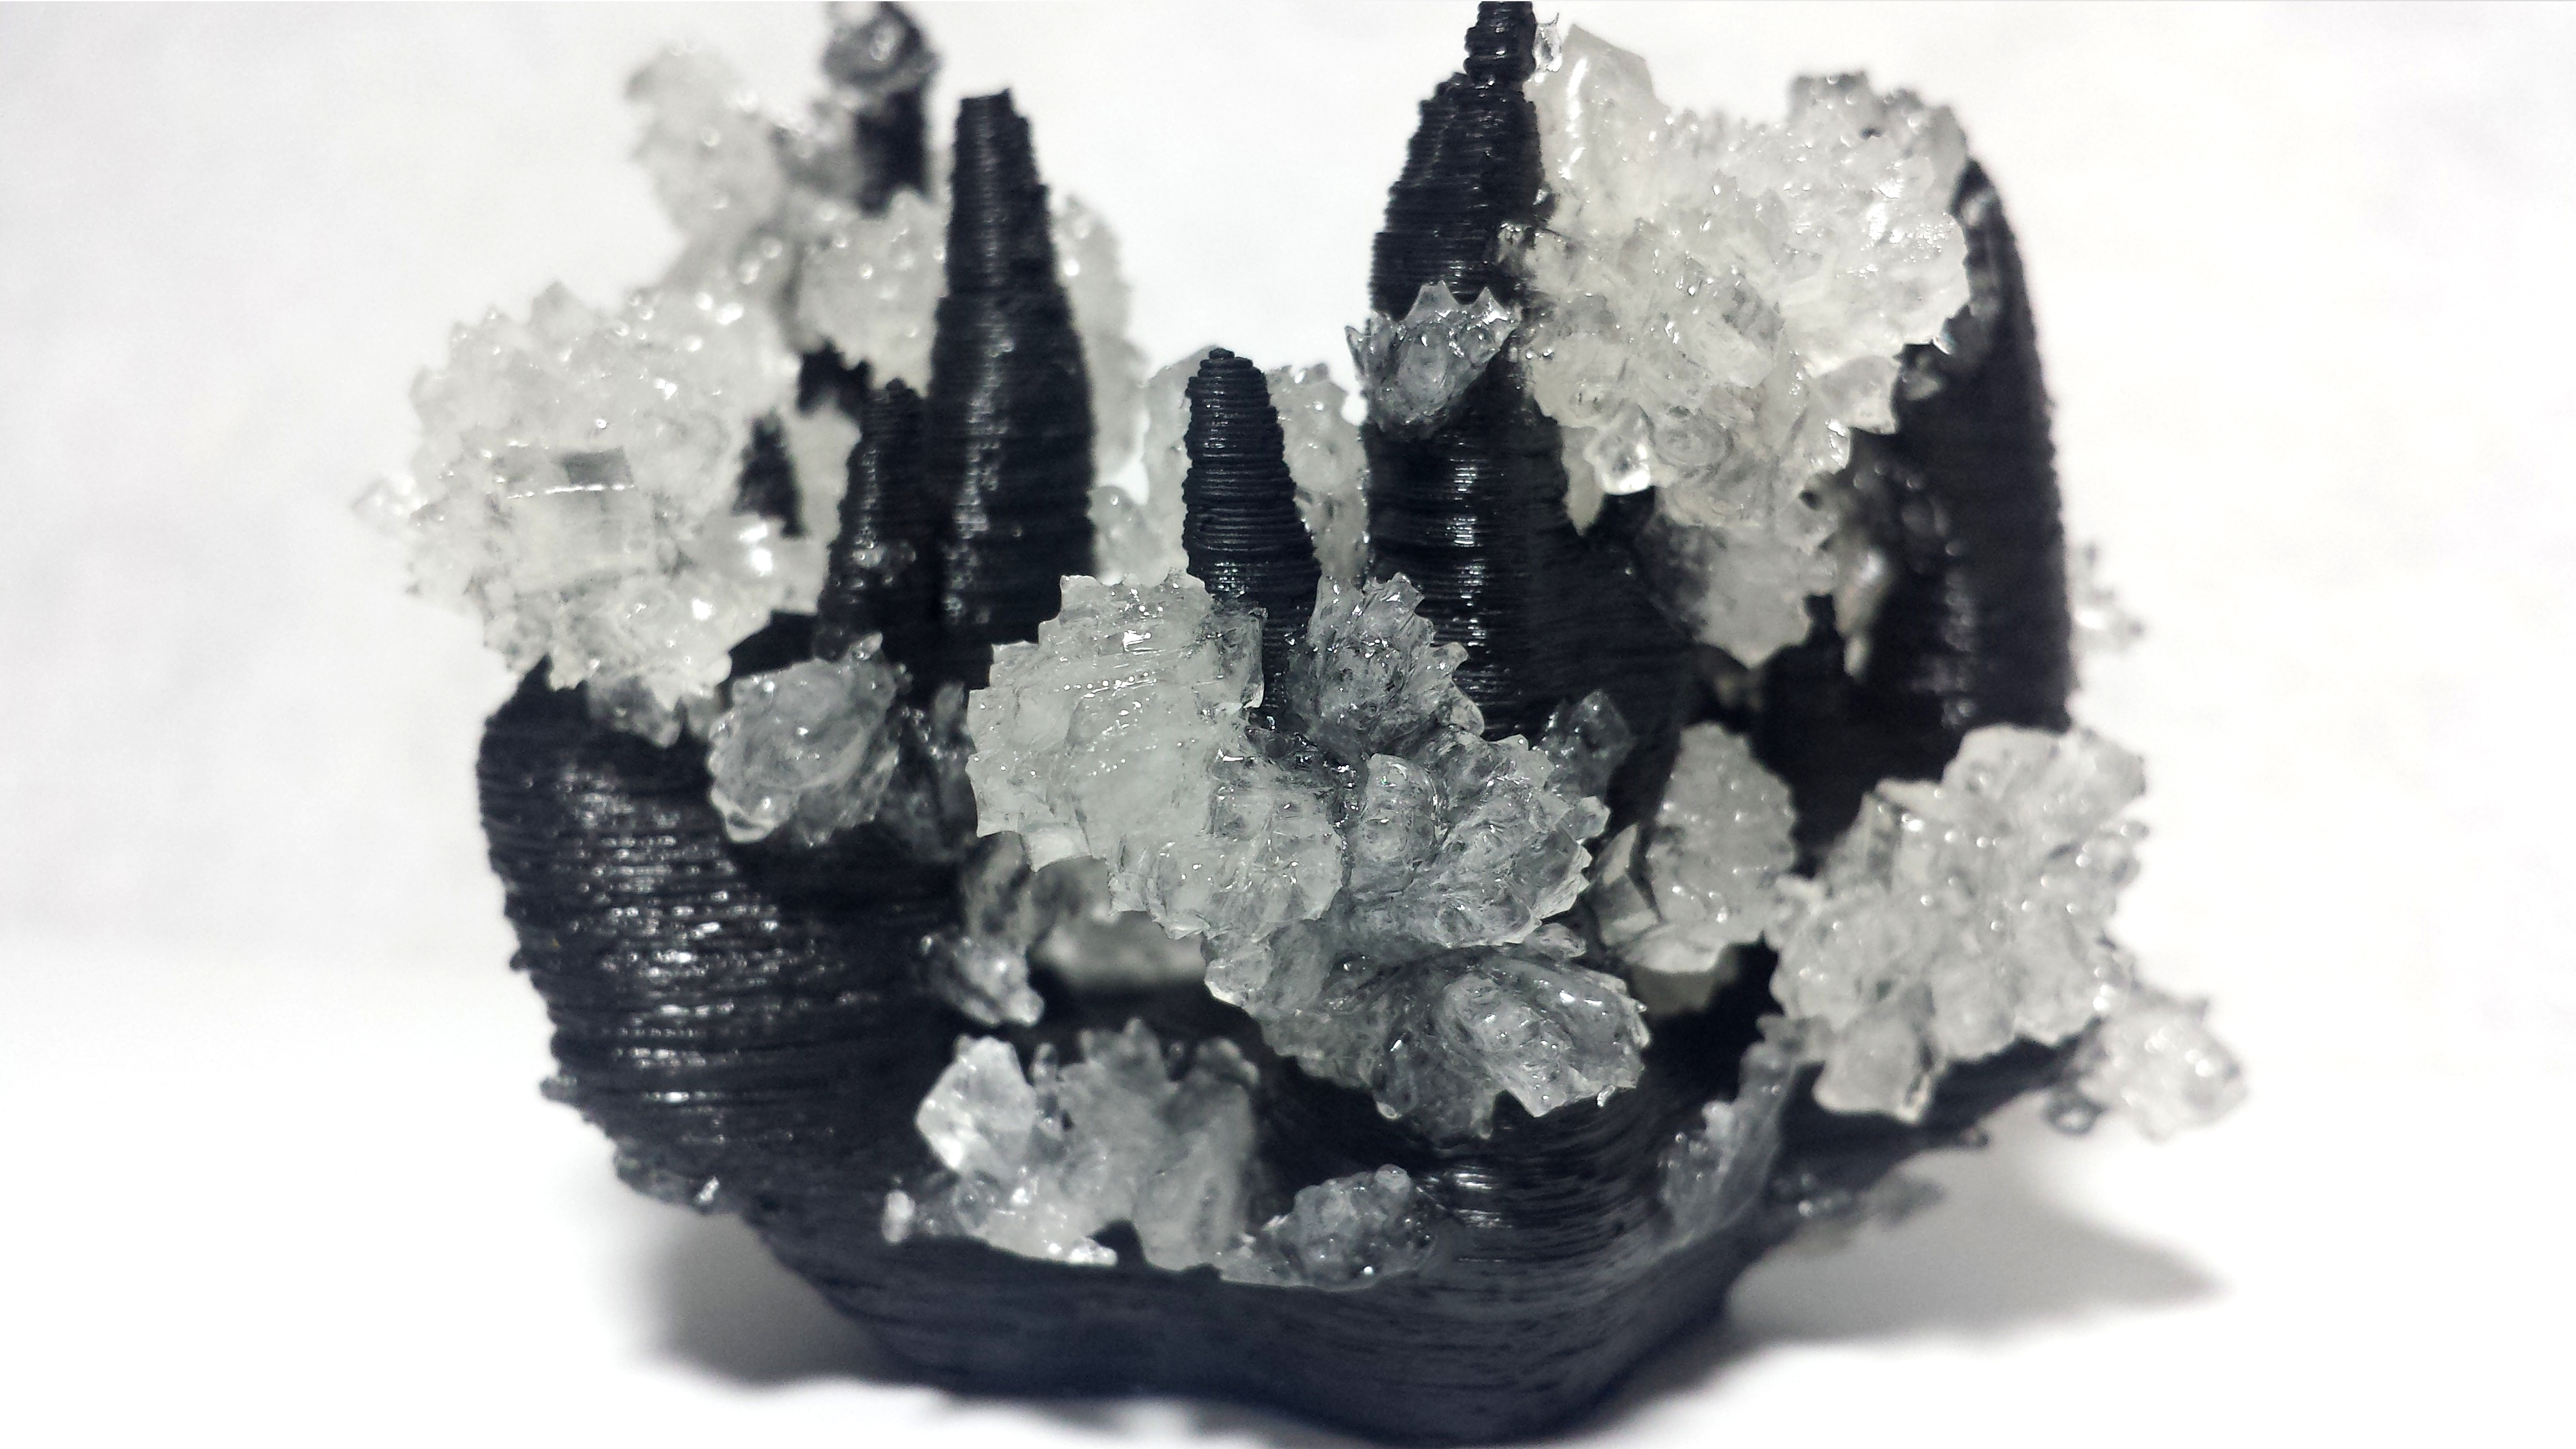
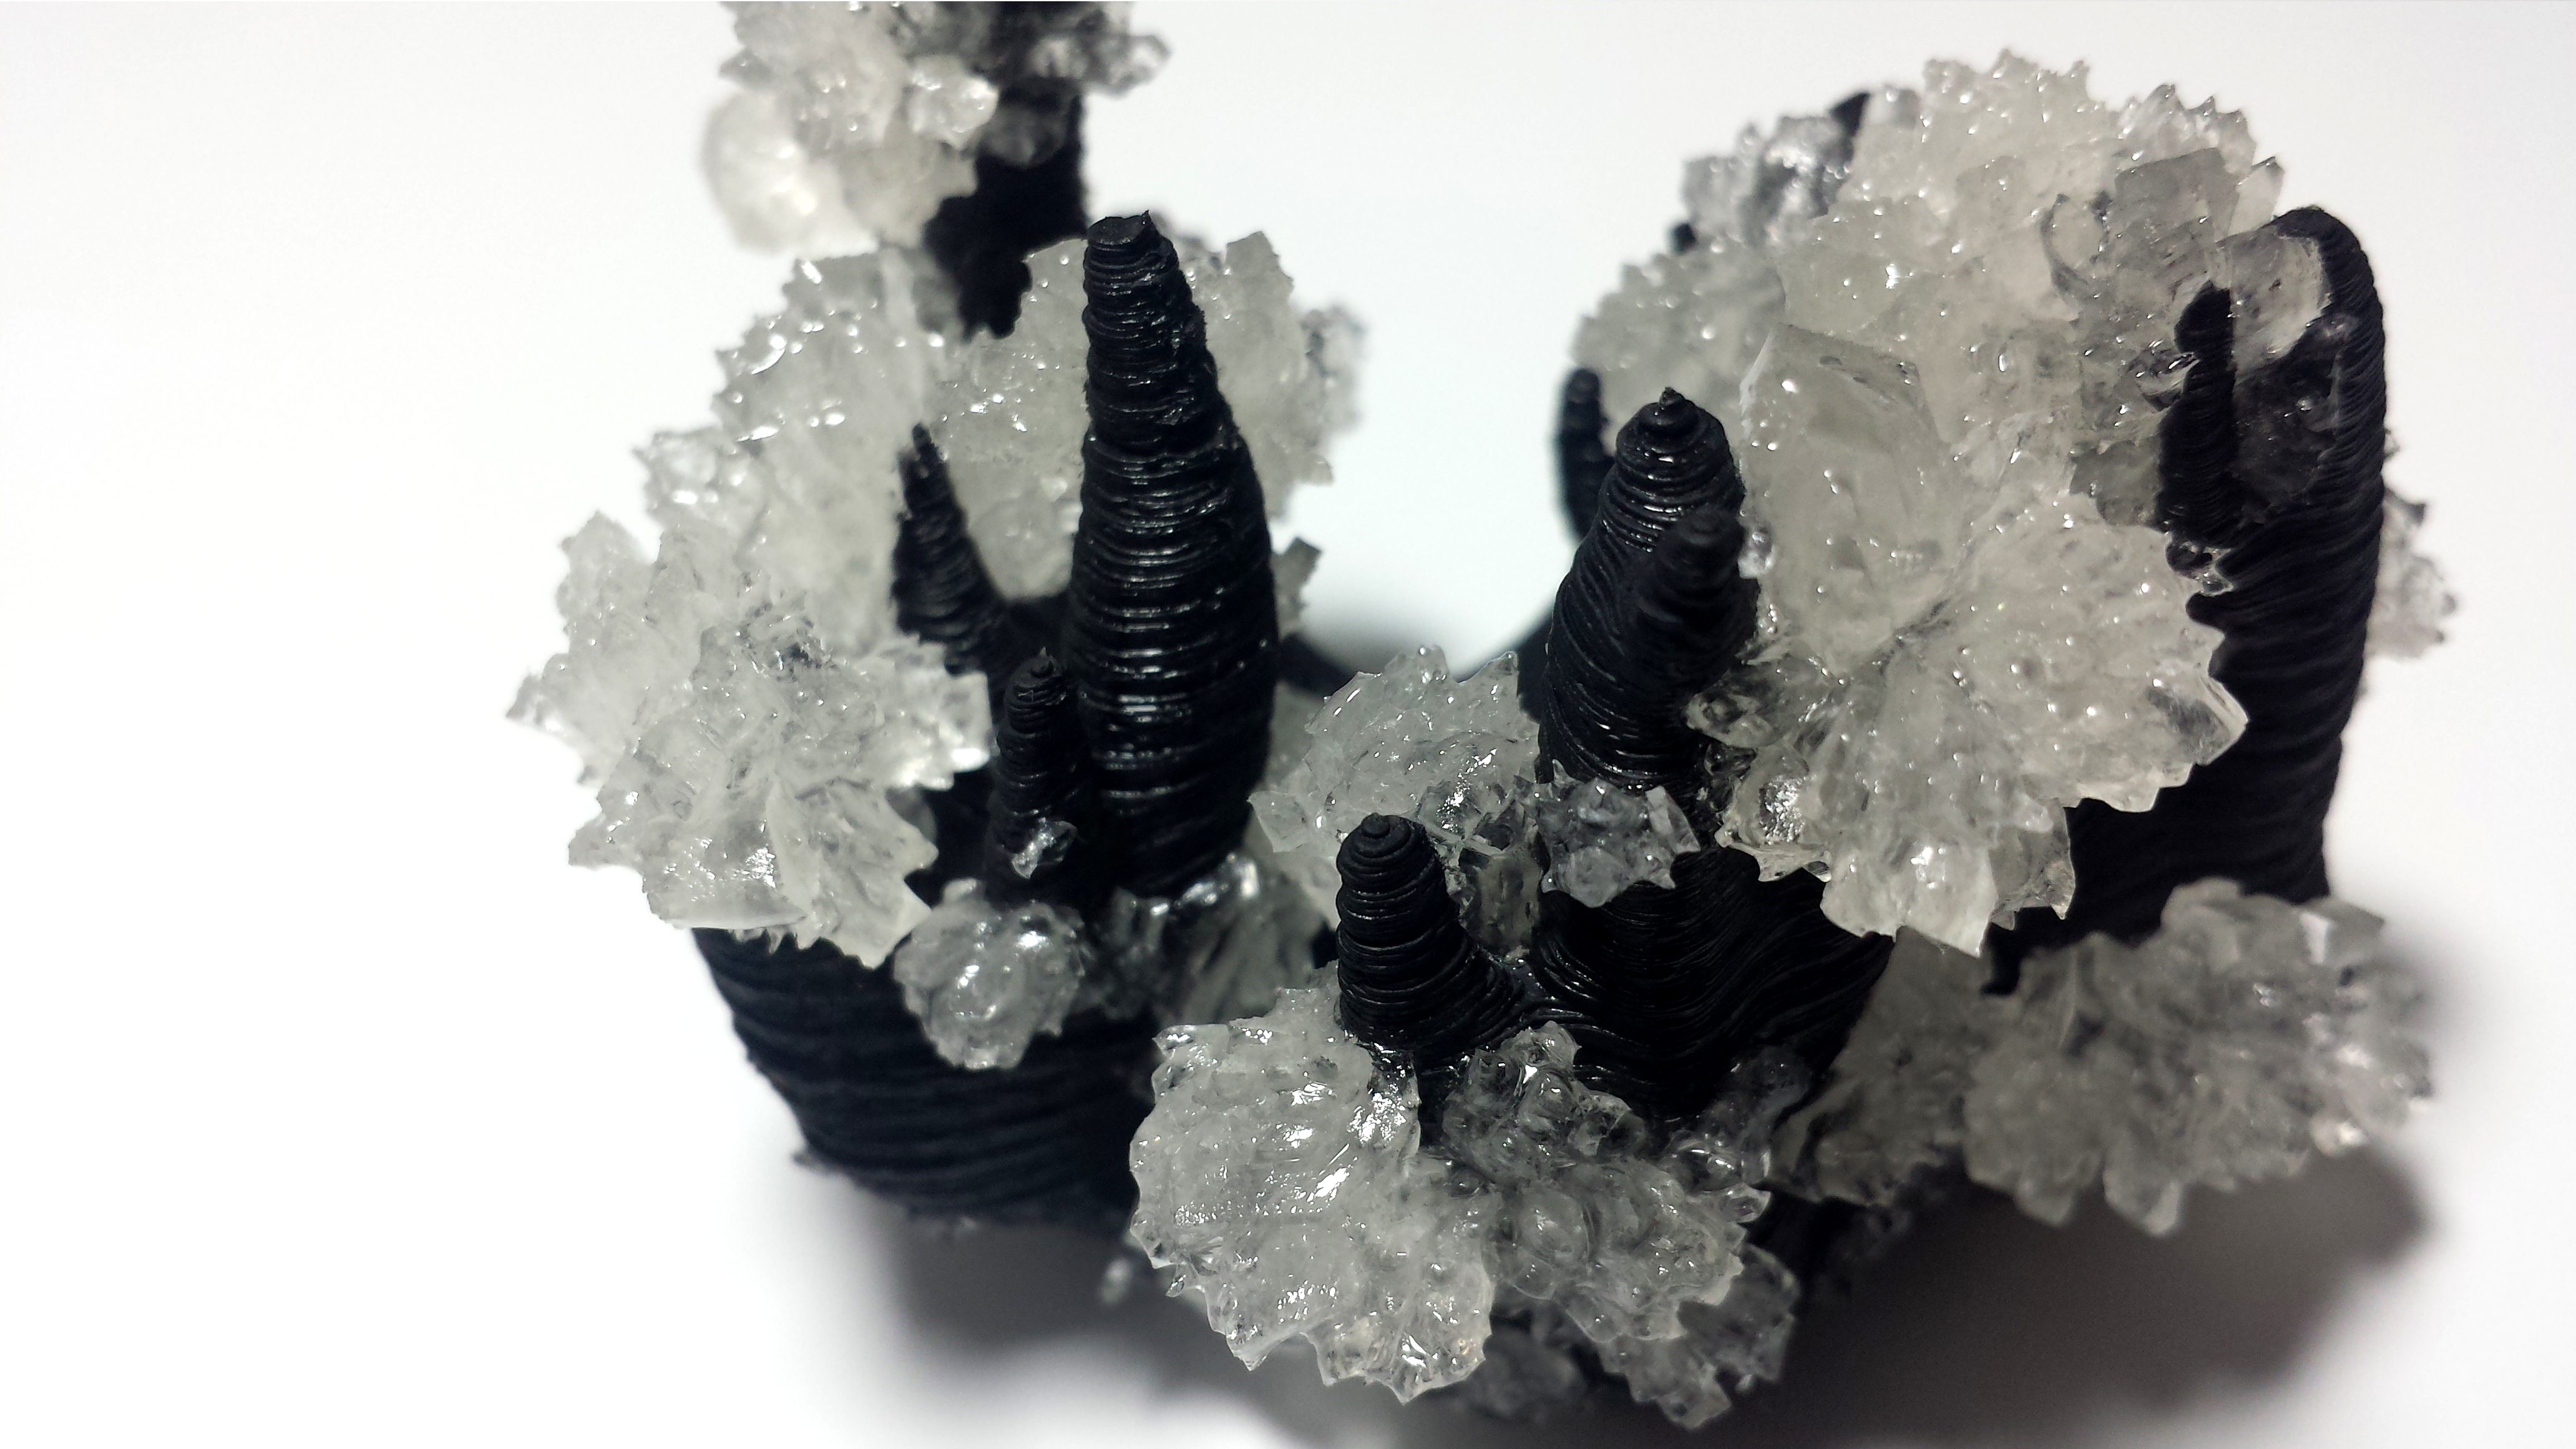
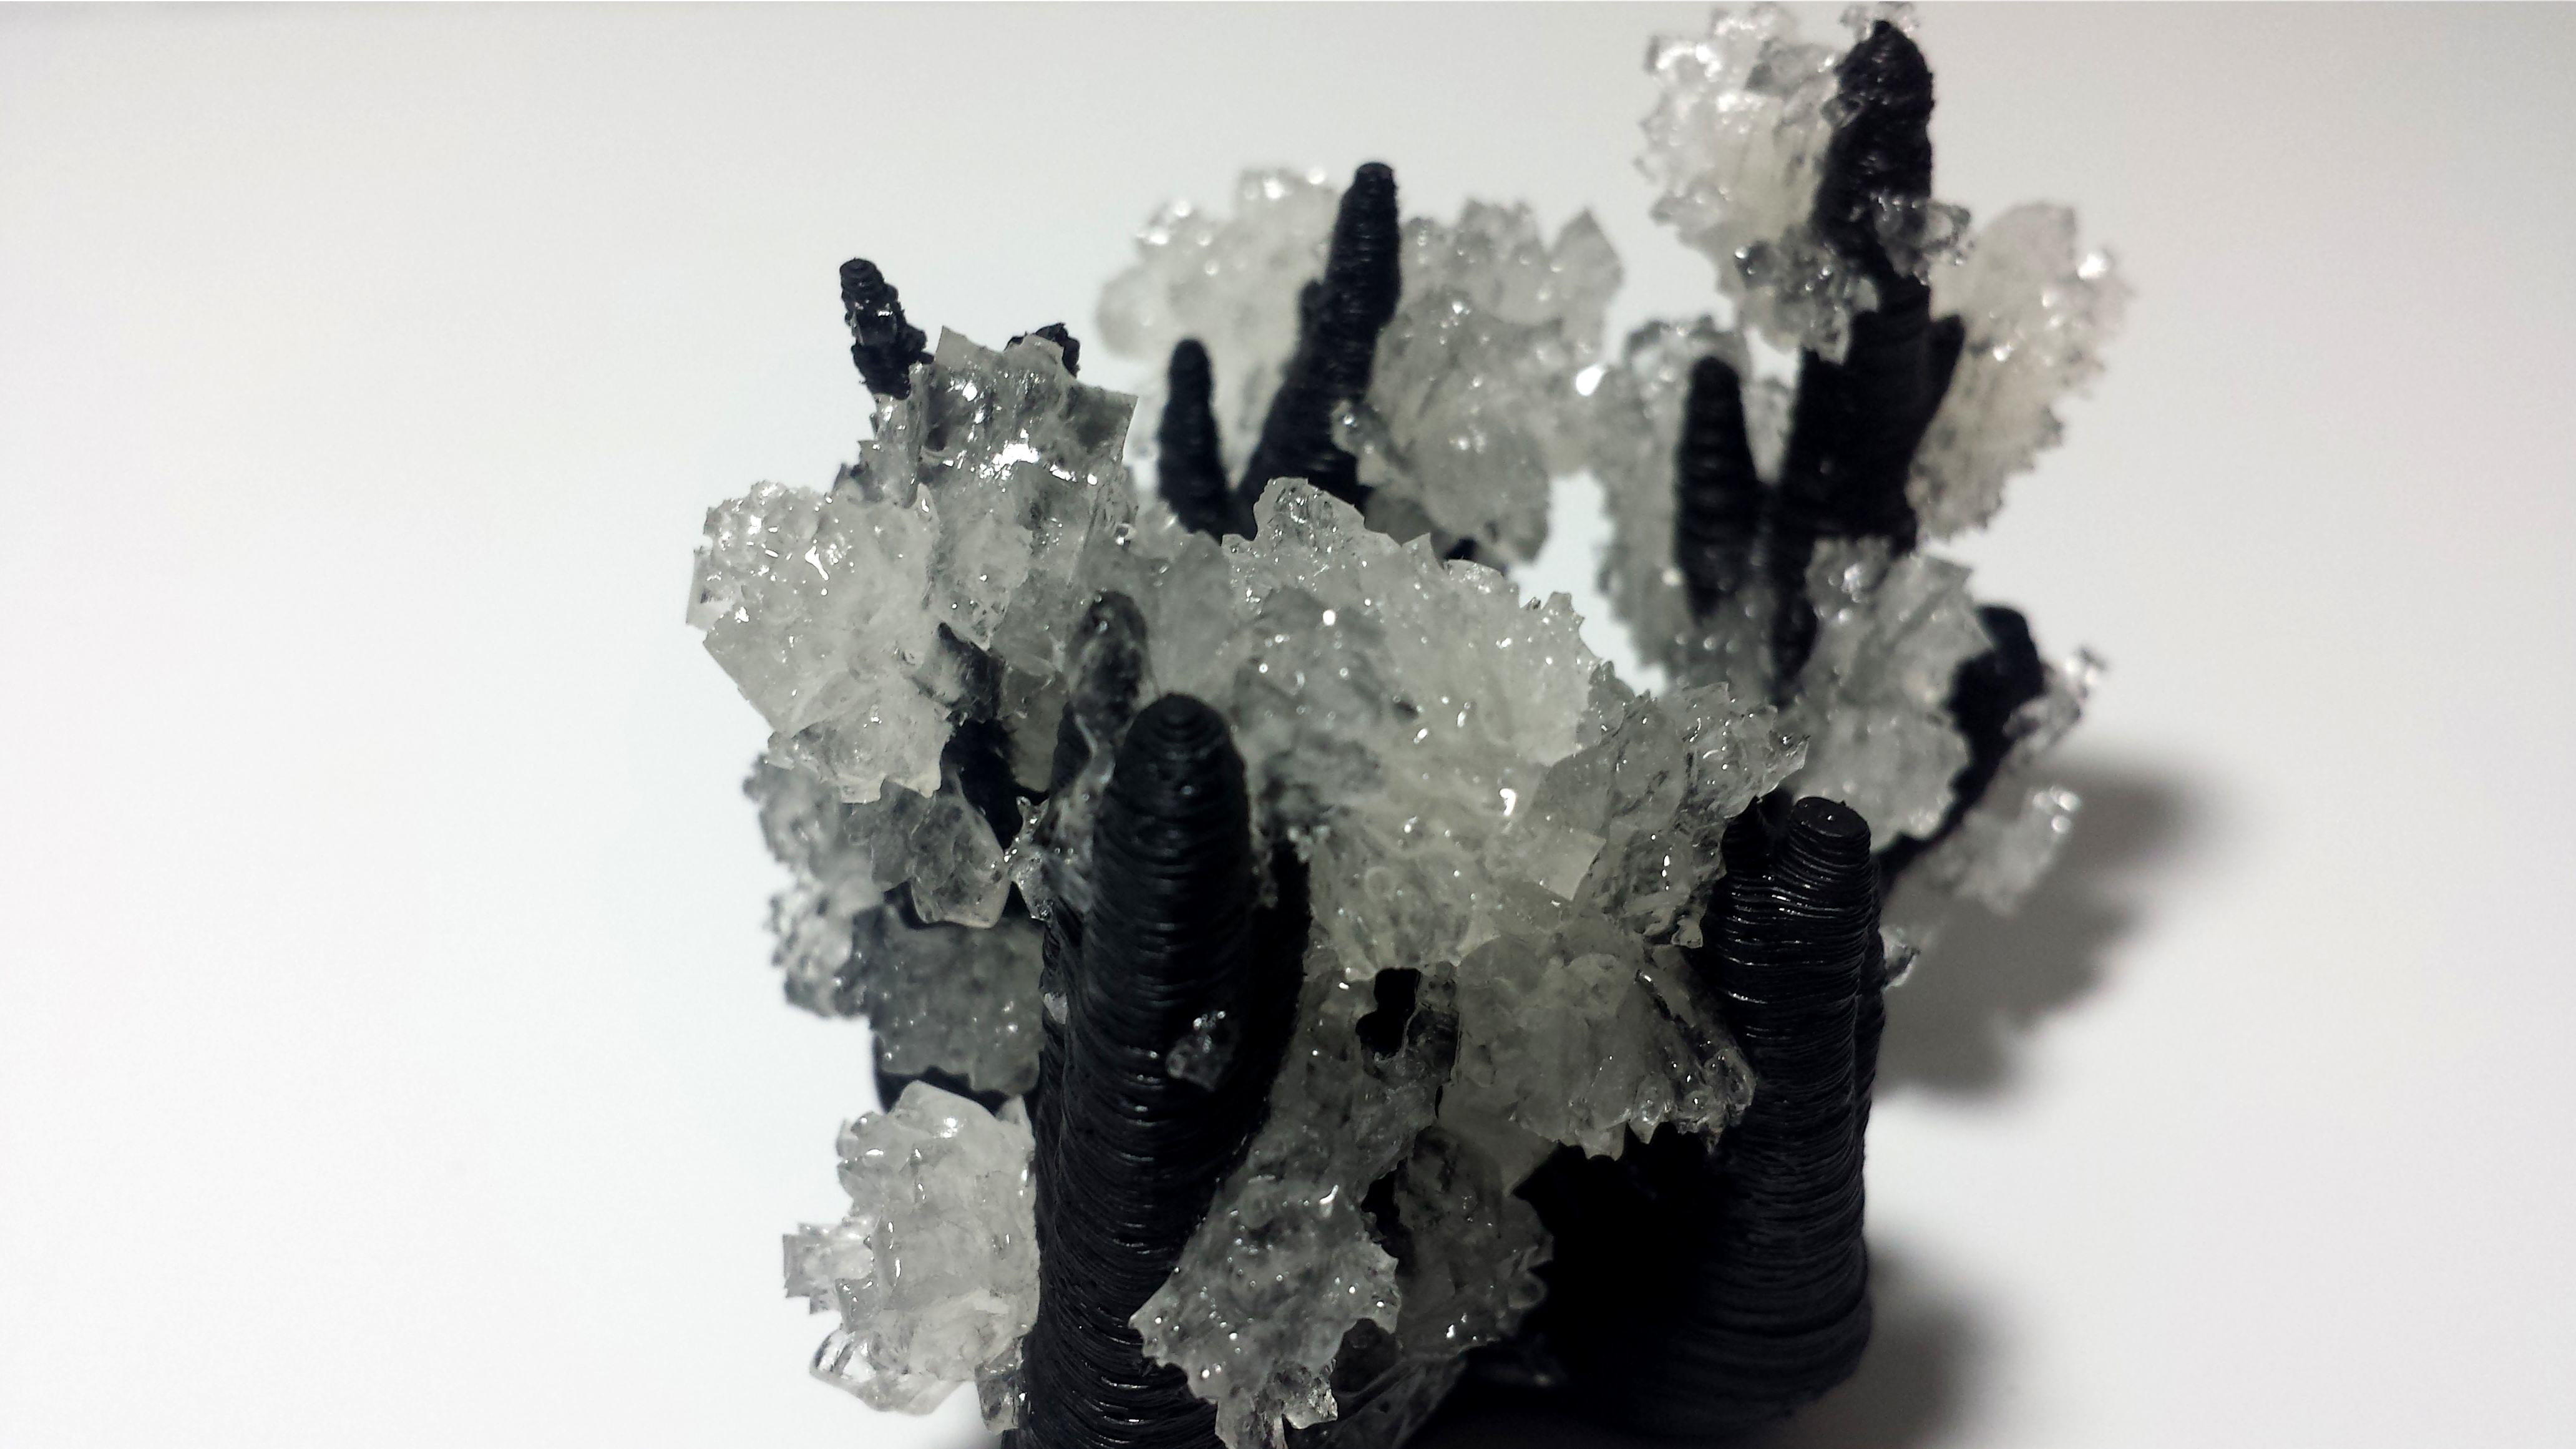
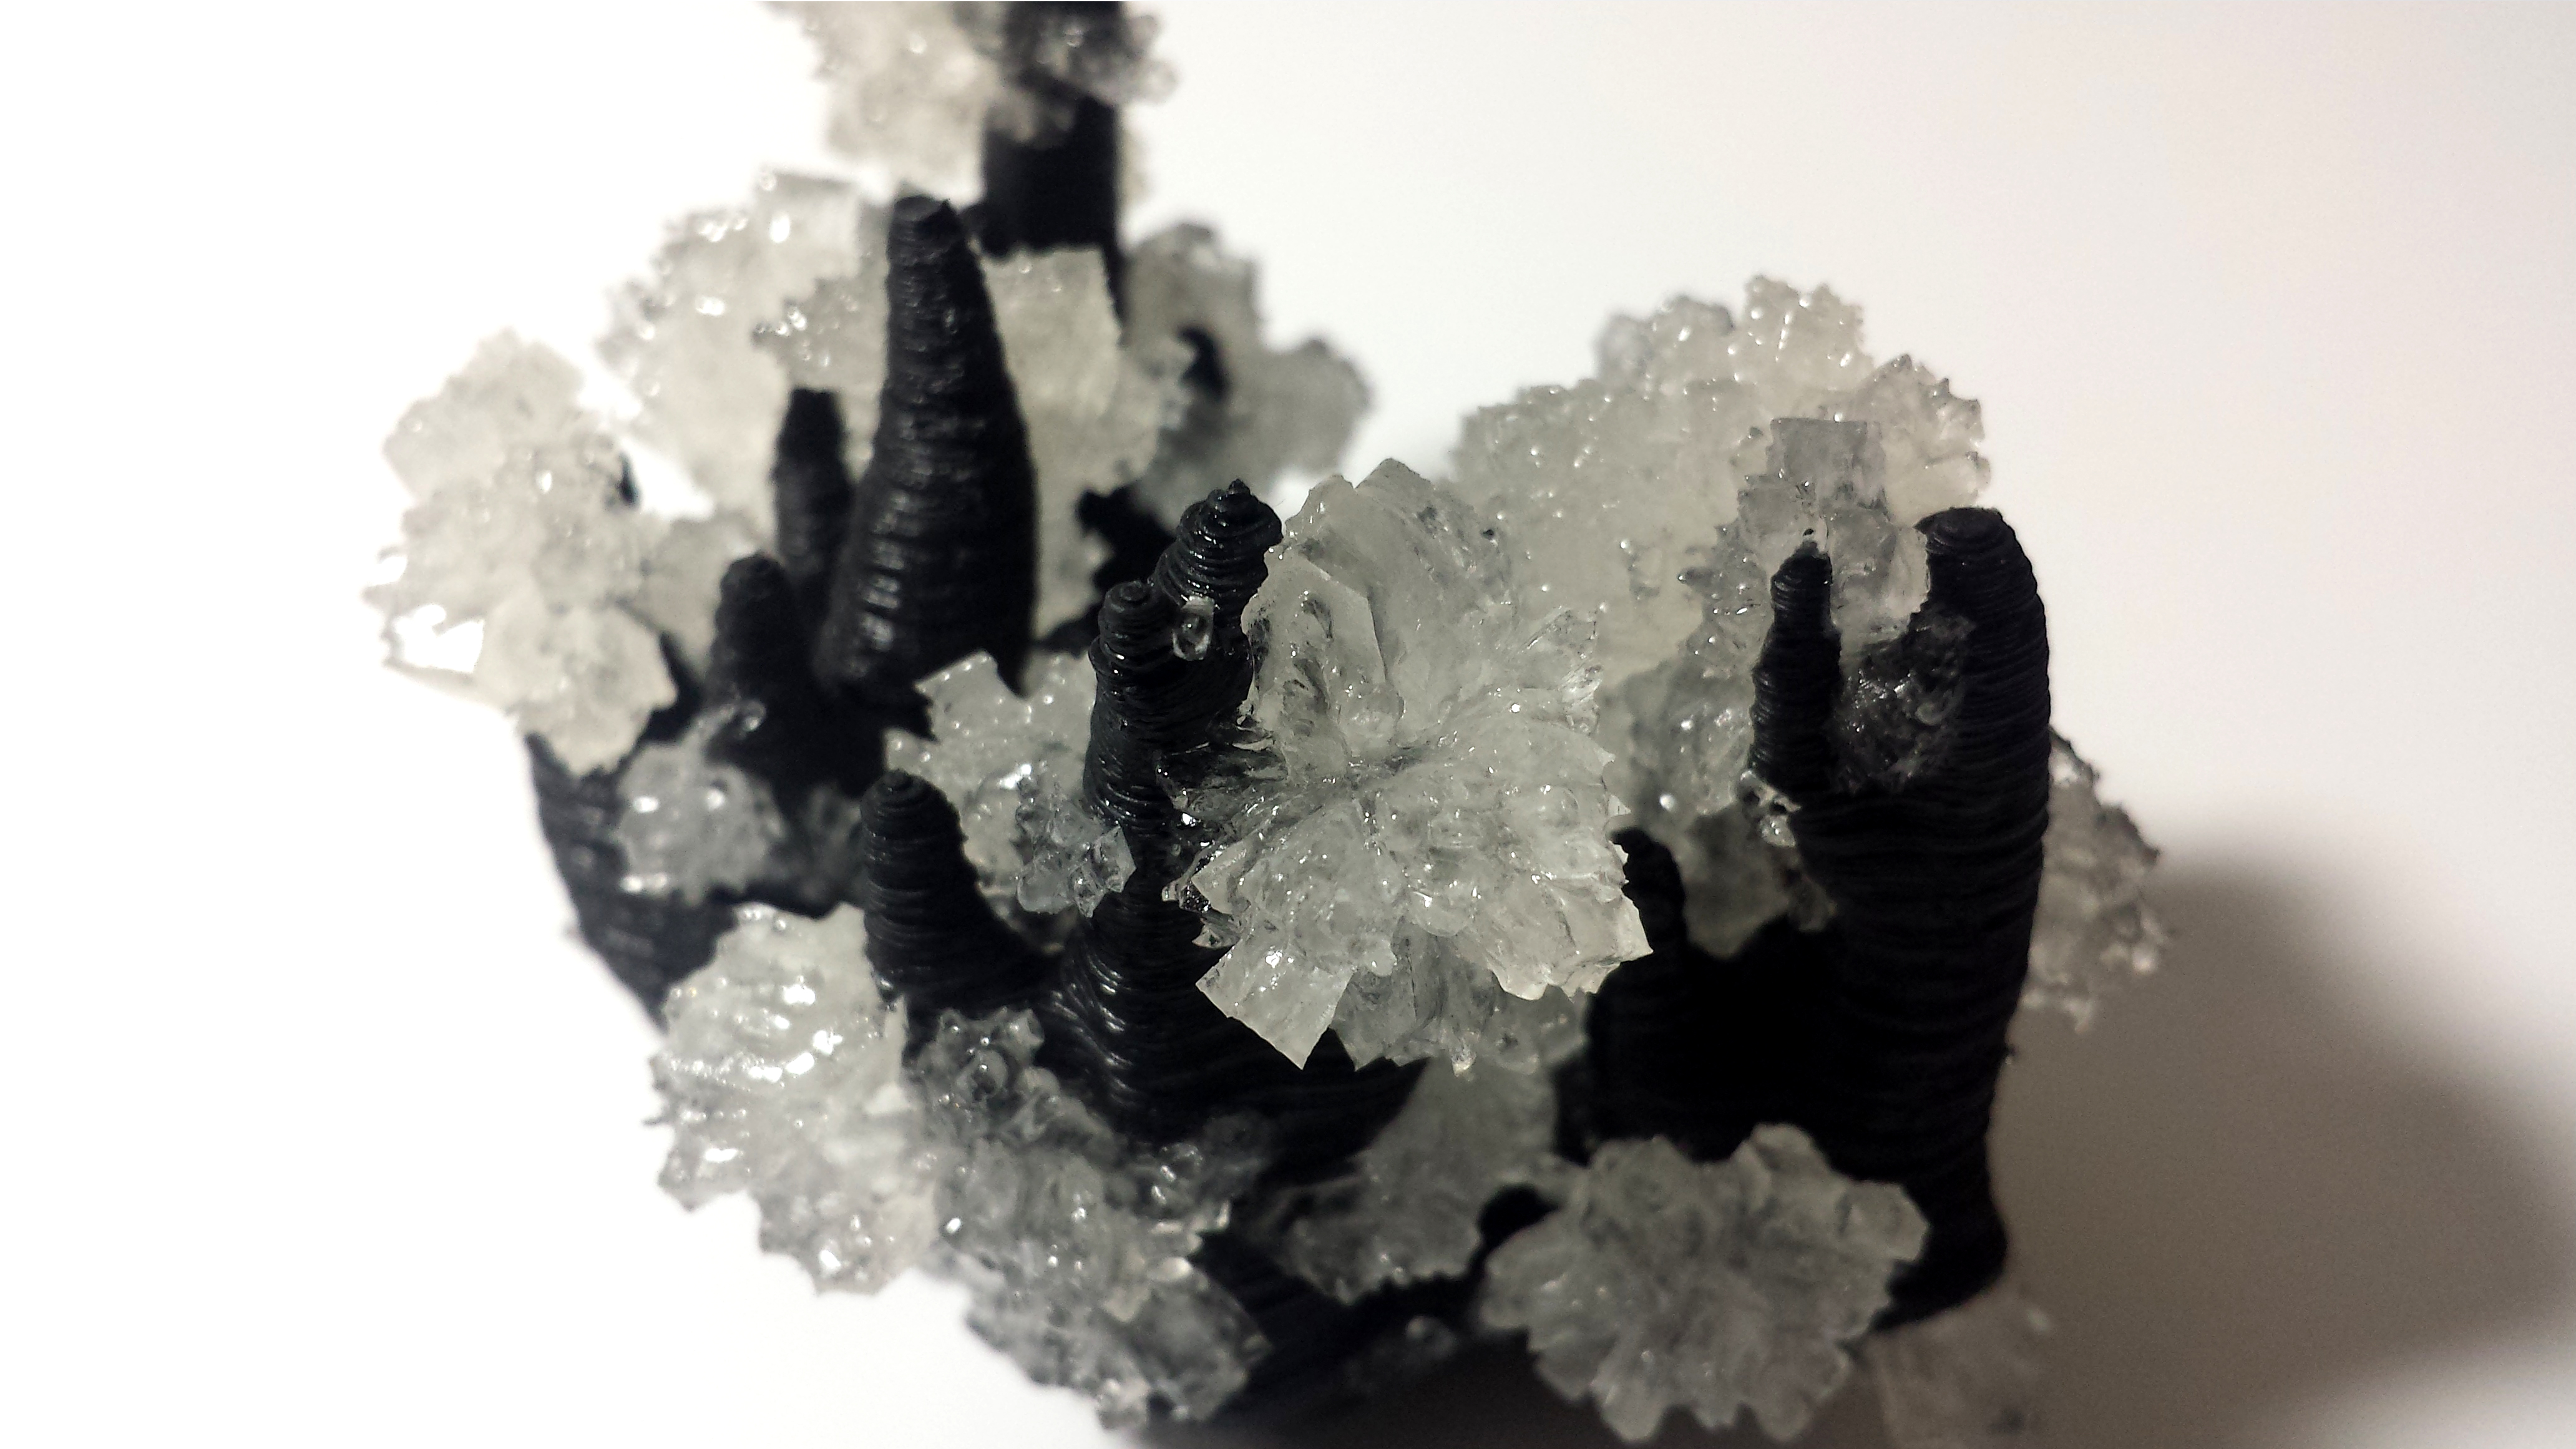
Do you have a sweet tooth? Like Breaking Bad? If you have free time and enjoy watching things grow, you might like growing sugar crystals.
I thought it would be interesting to see if / how sugar crystals would grow on a 3D printed surface, and if I could manipulate how they grow based on the structure.
I decided to try this with no prior knowledge of crystal growth, or even how to make rock candy. I followed this instructable on how to quickly grow rock candy and it worked surprisingly well. If there is anyone with an expert knowledge on sugar crystal growth and has ideas about structure, please feel free to add to this.
Making the Structure
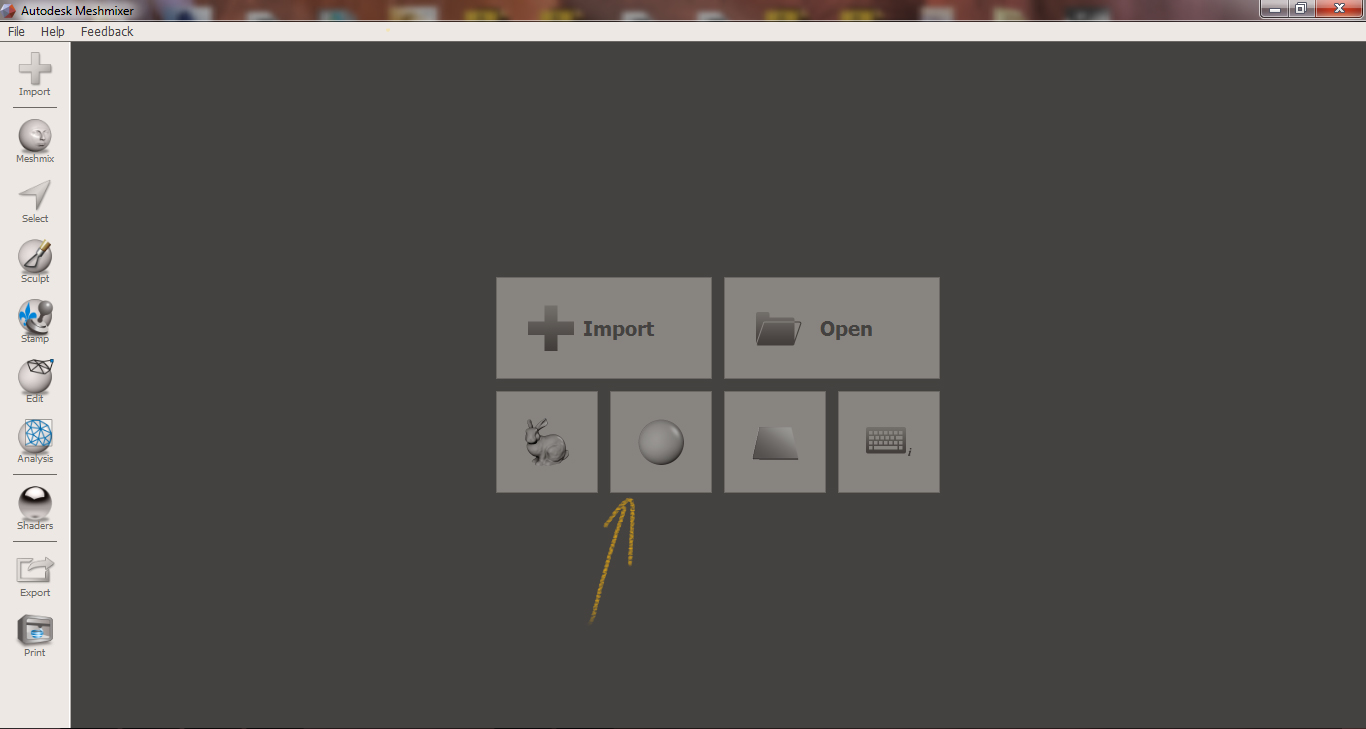
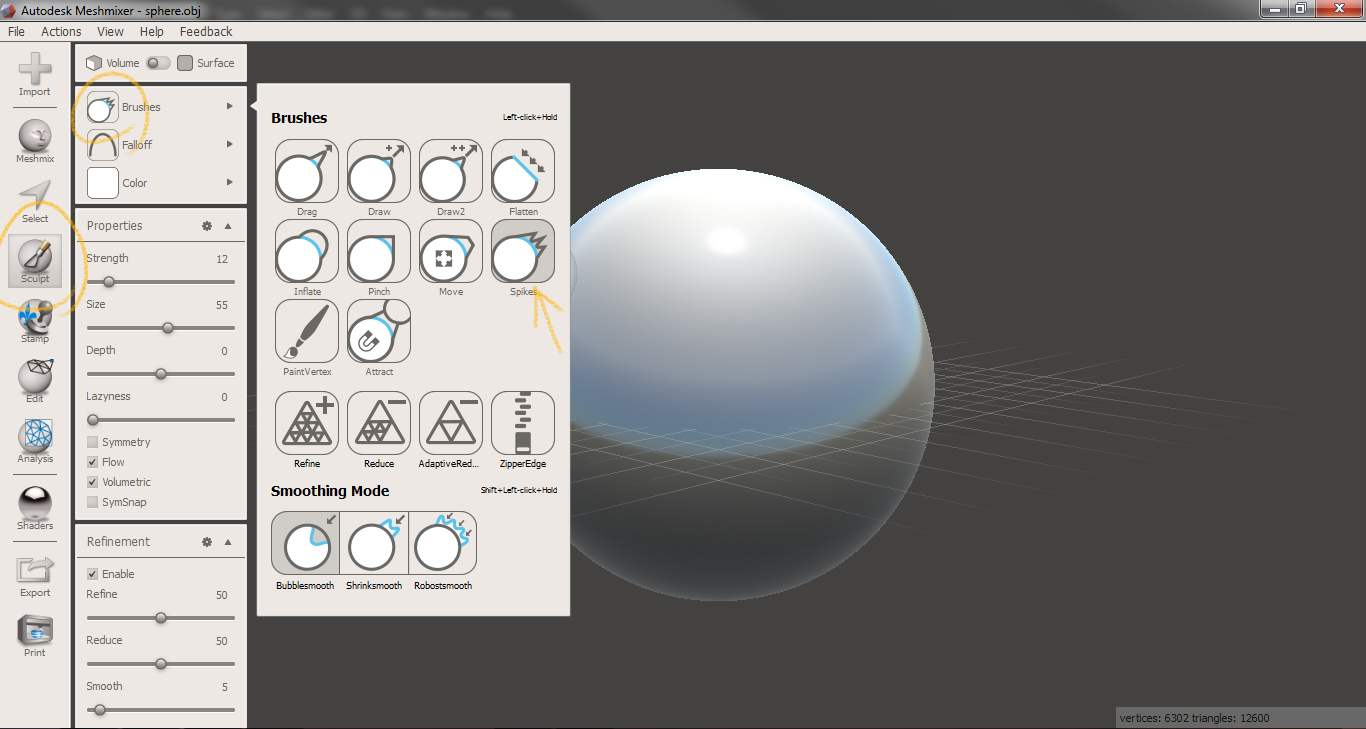
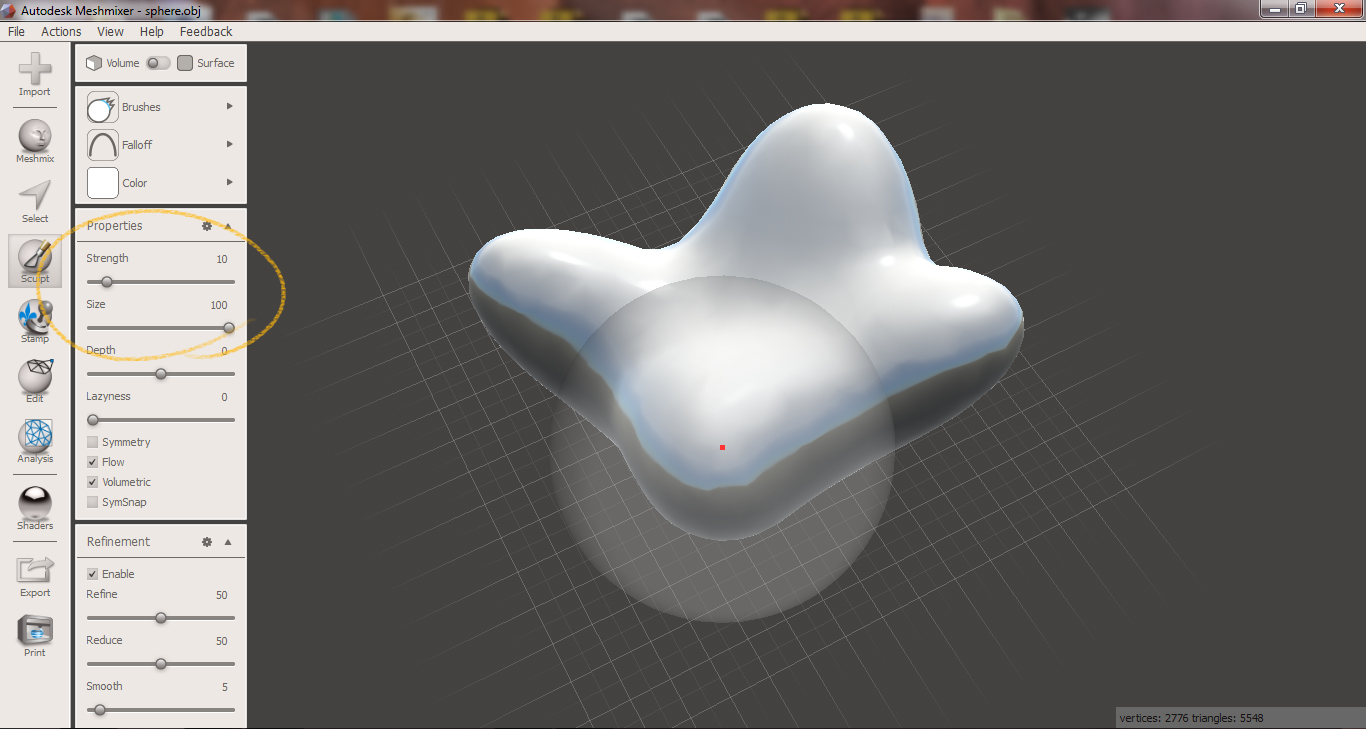
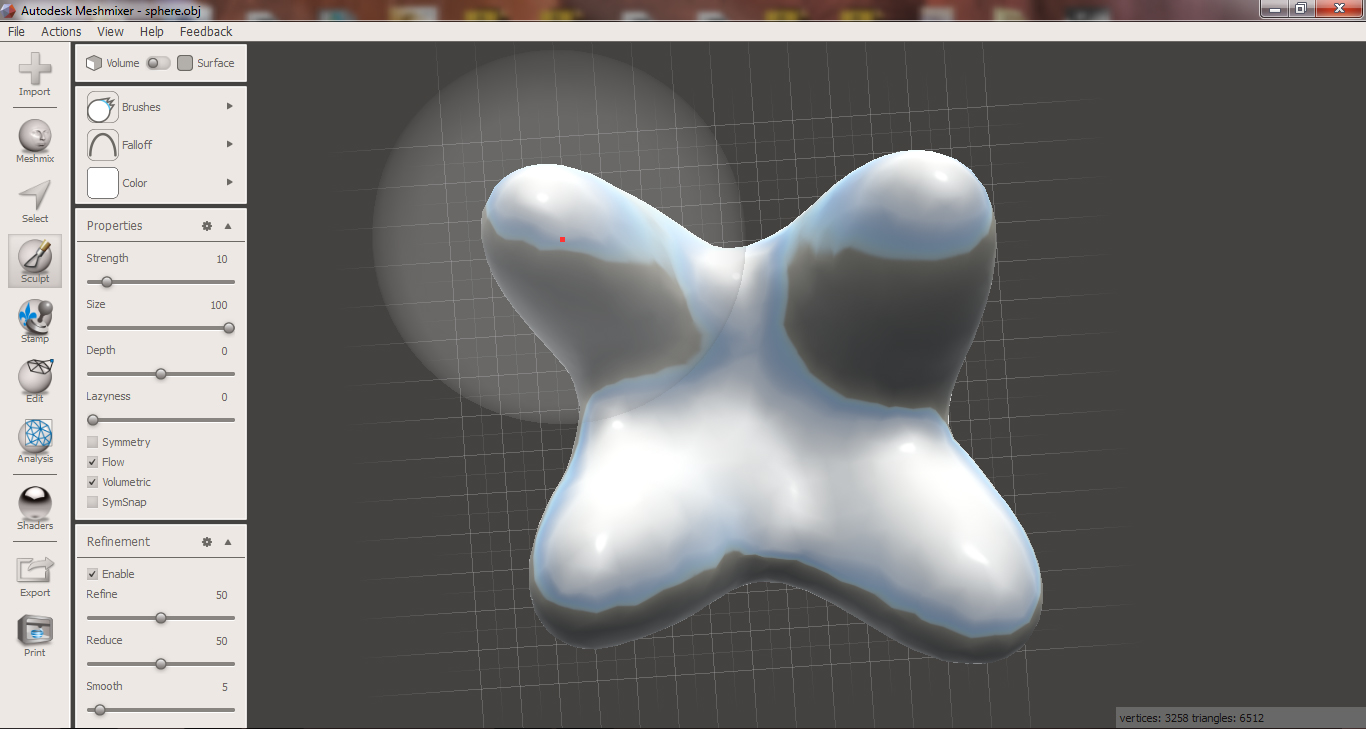
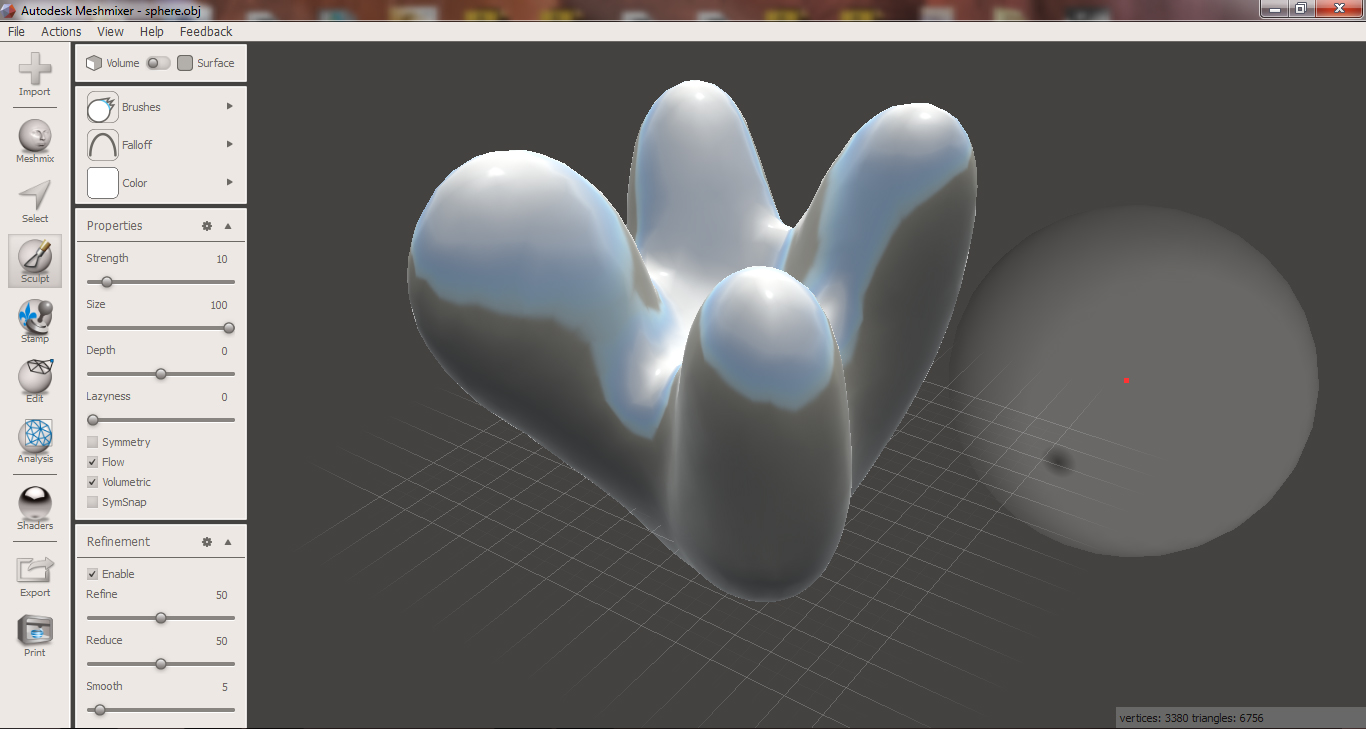
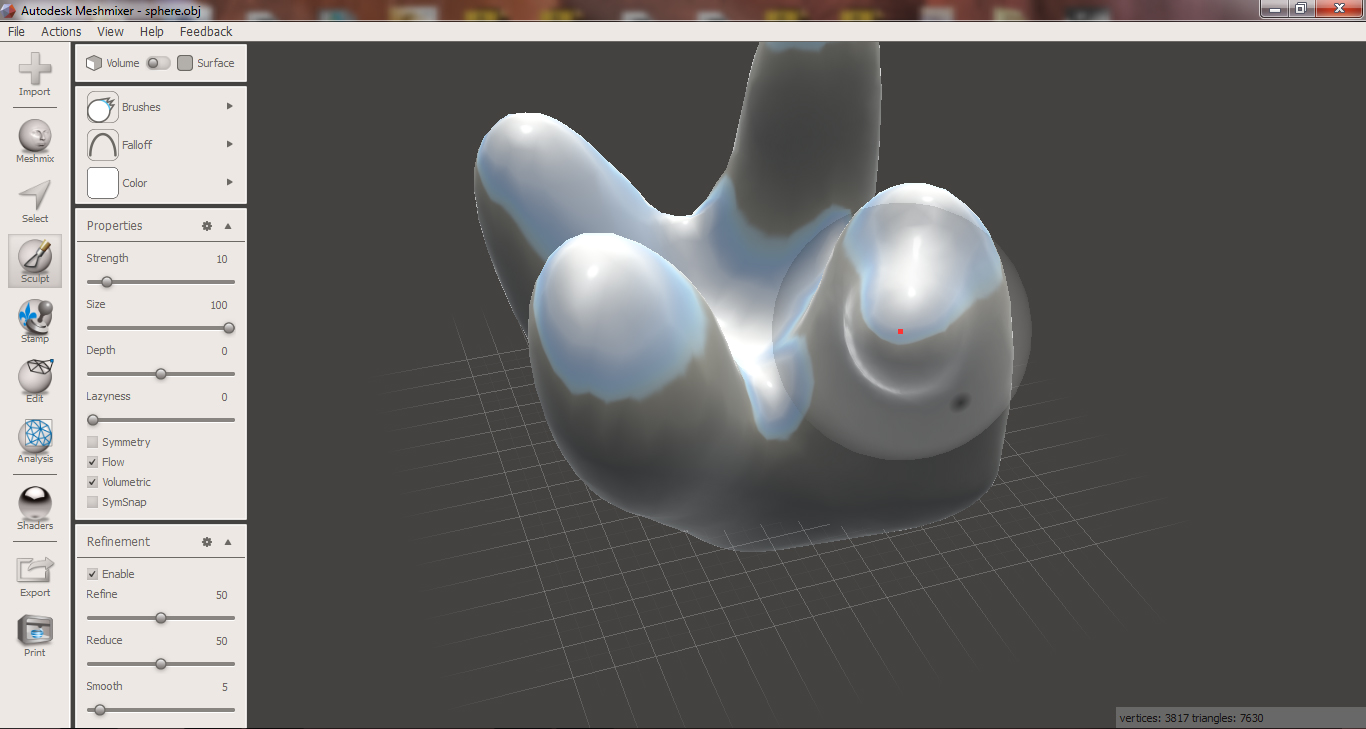
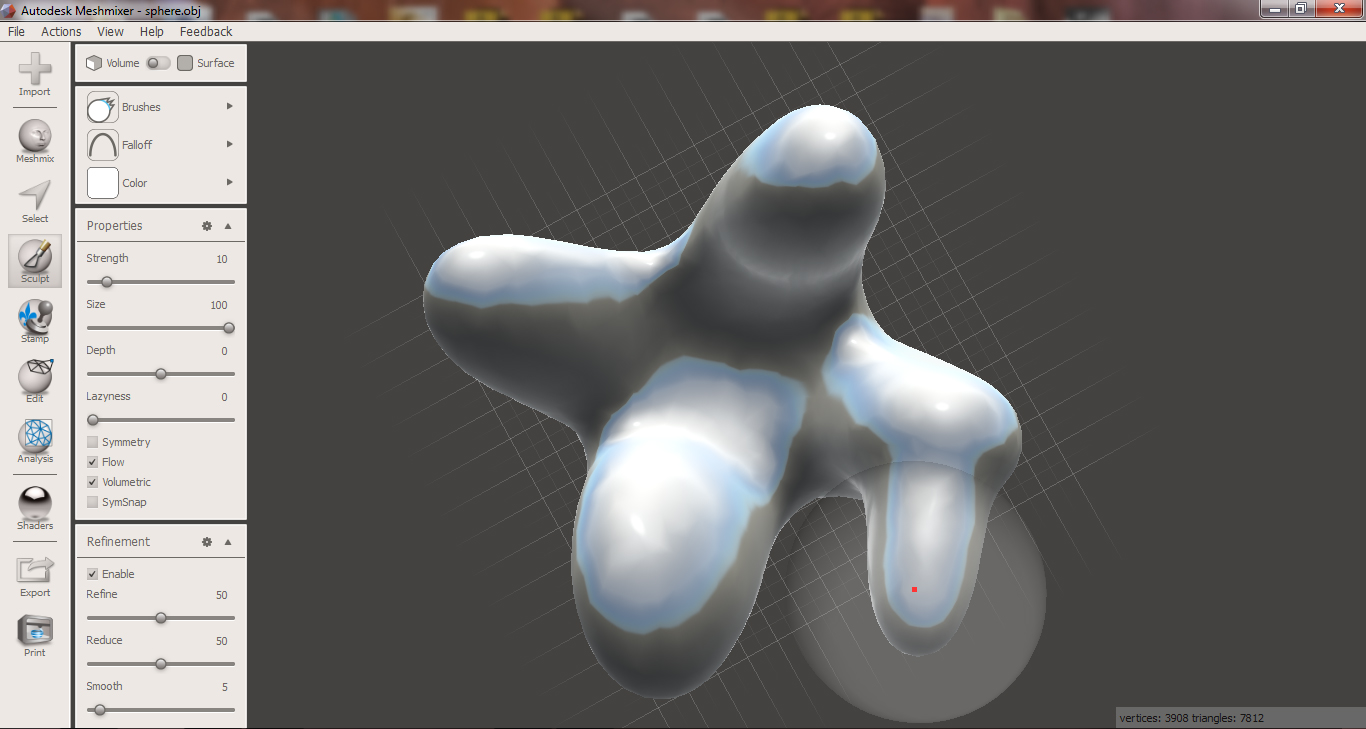
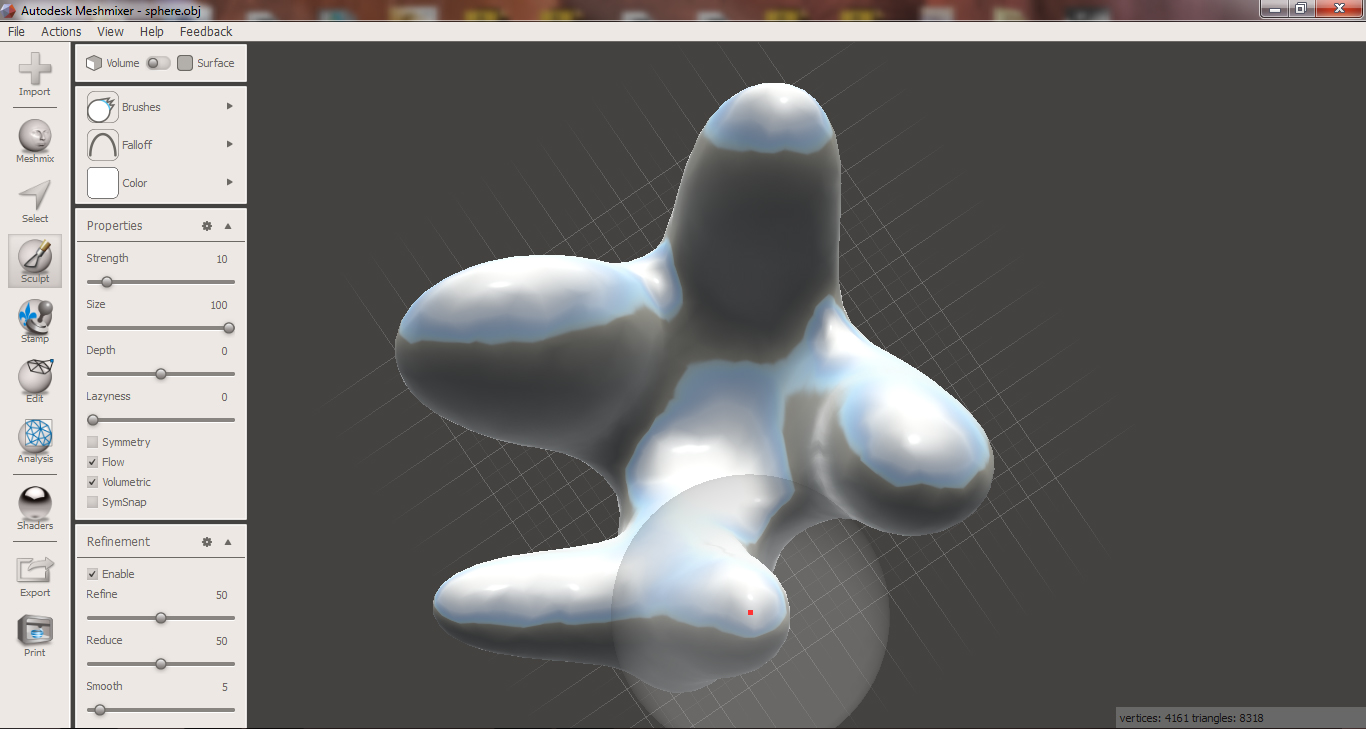
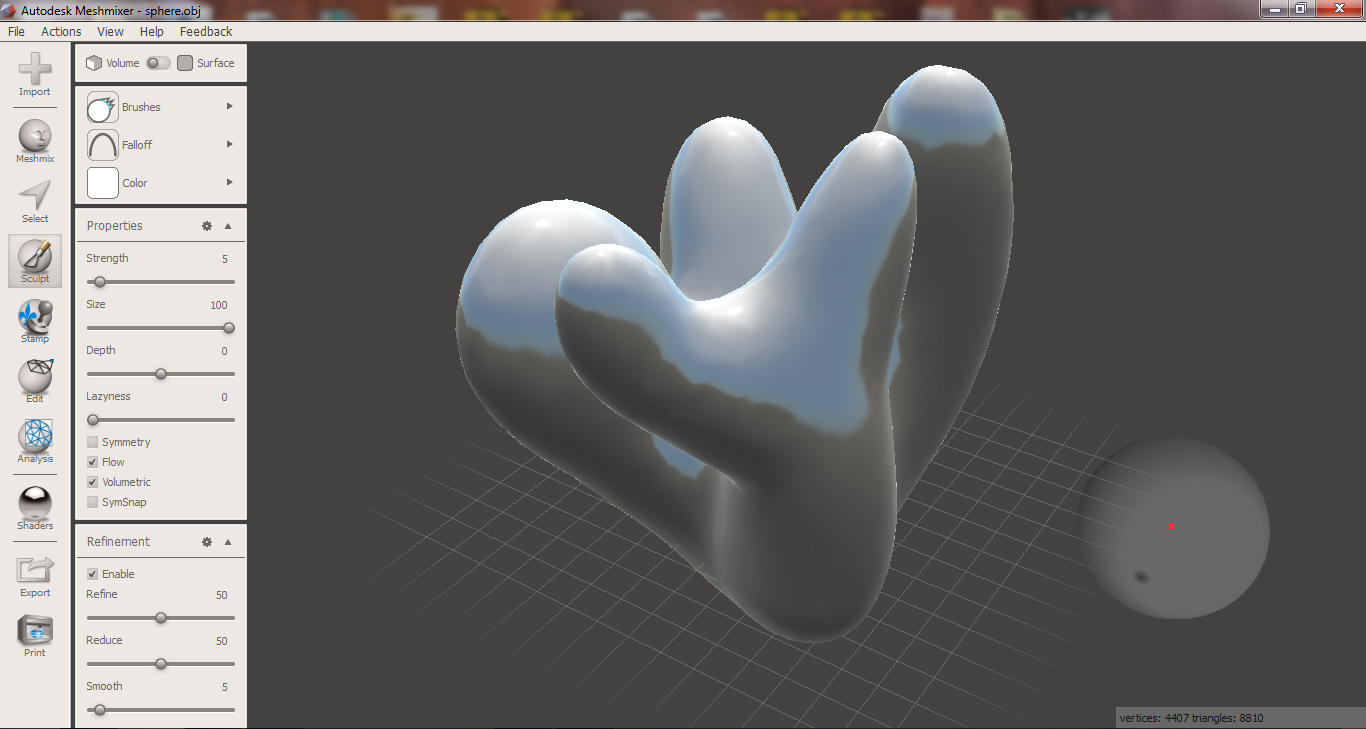
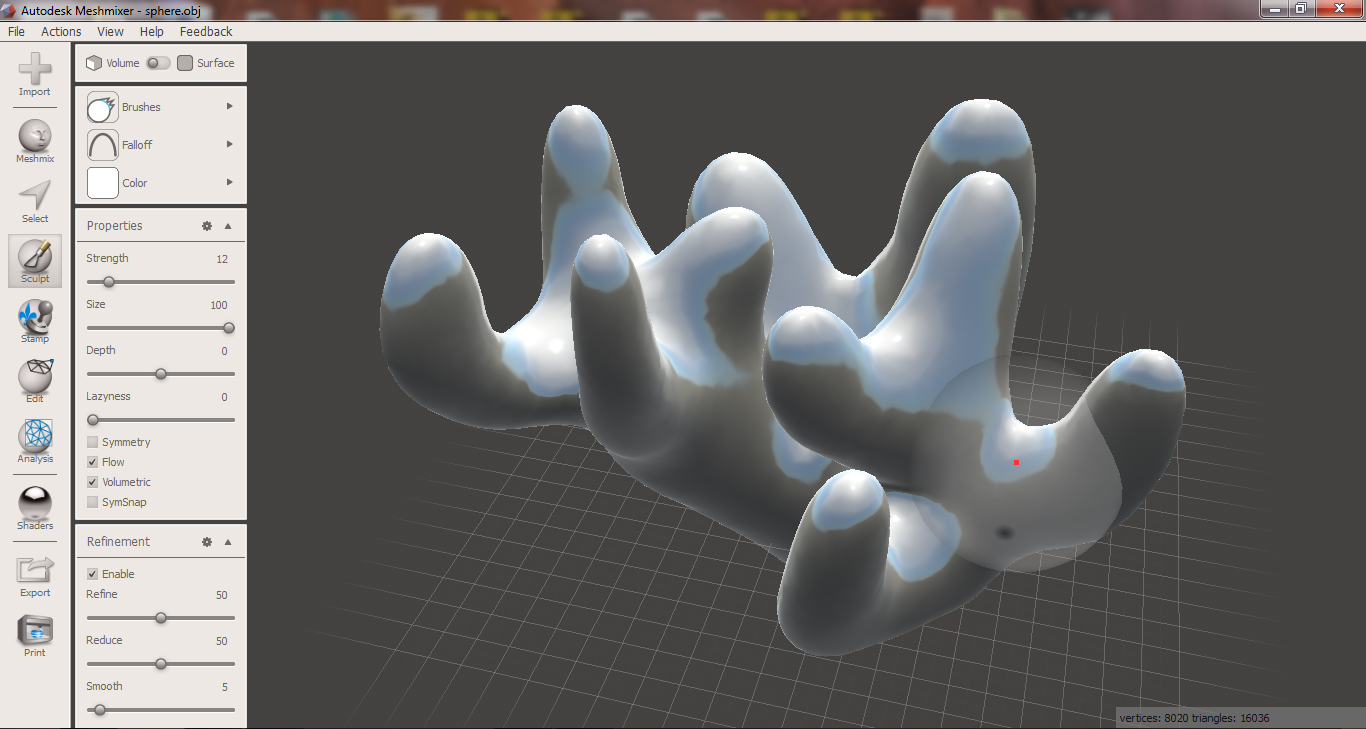
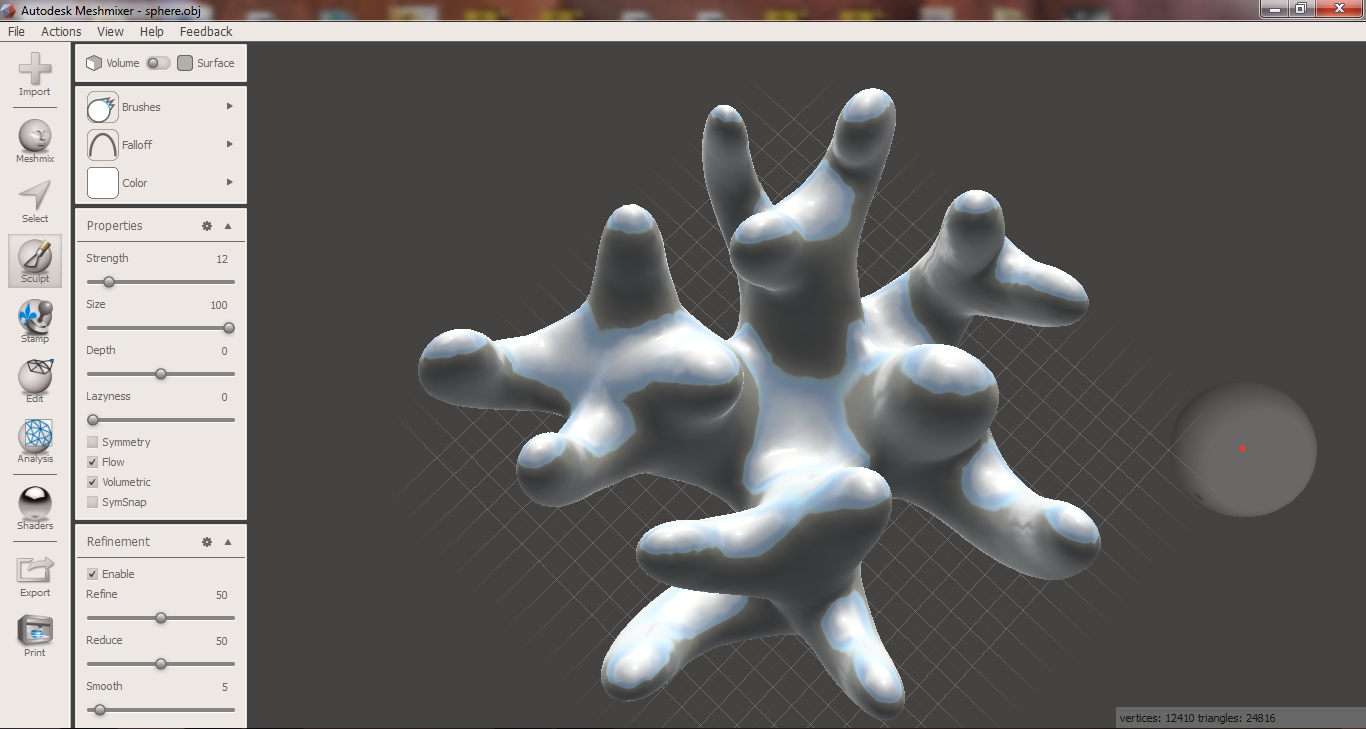
I modeled my crystal structure with Autodesk Meshmixer. It's a free app for 3D sculpting and is pretty powerful.
Start by opening Meshmixer and click import sphere. On the left menu, click sculpt > brushes and choose spikes. Start with a low strength and large size to start growing the bases of your spikes. The spikes grow towards the viewer, so rotate to the top view to grow the spikes upward. Once you have branch bases, you can start with a smaller size and grow new branches out of the sides.
Continue building your structure until you are happy with it. You should consider trying not to create overhangs too steep or anything difficult to 3D print, unless you are up for a challenge.
Slice the Model
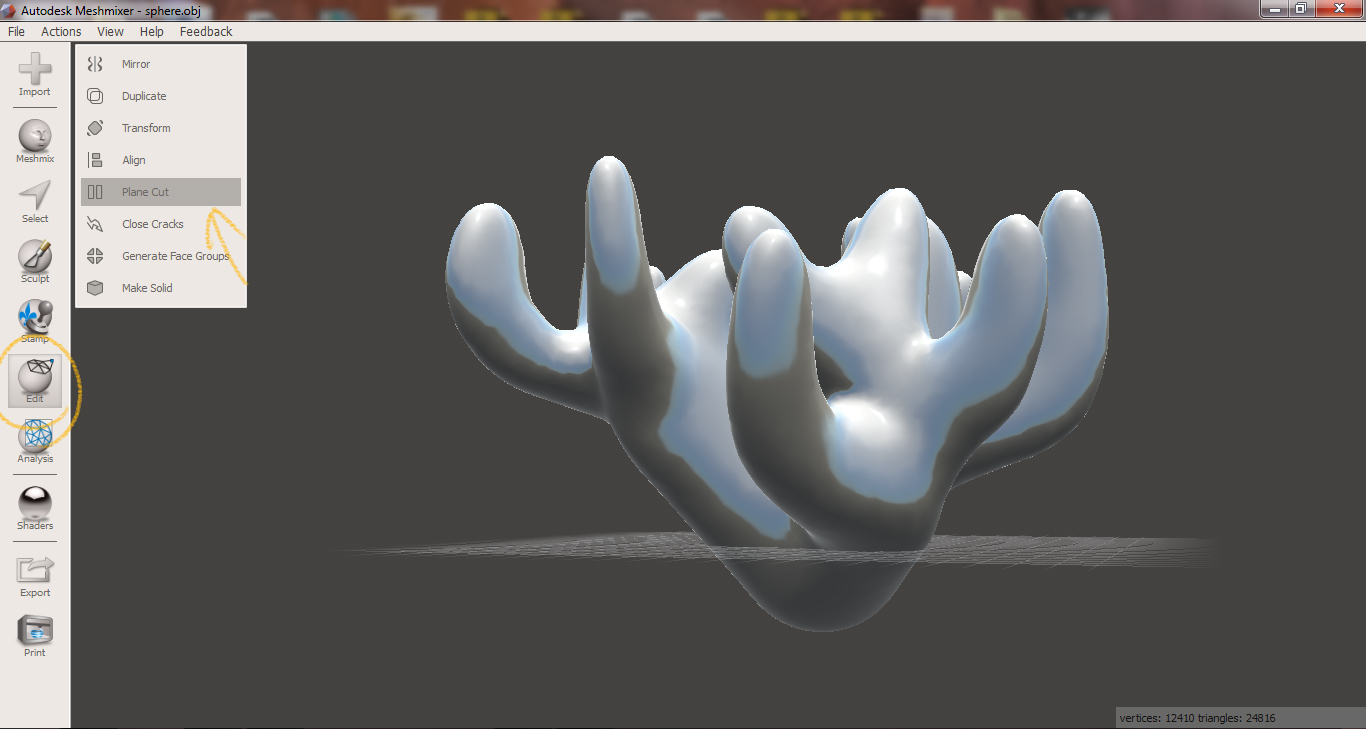
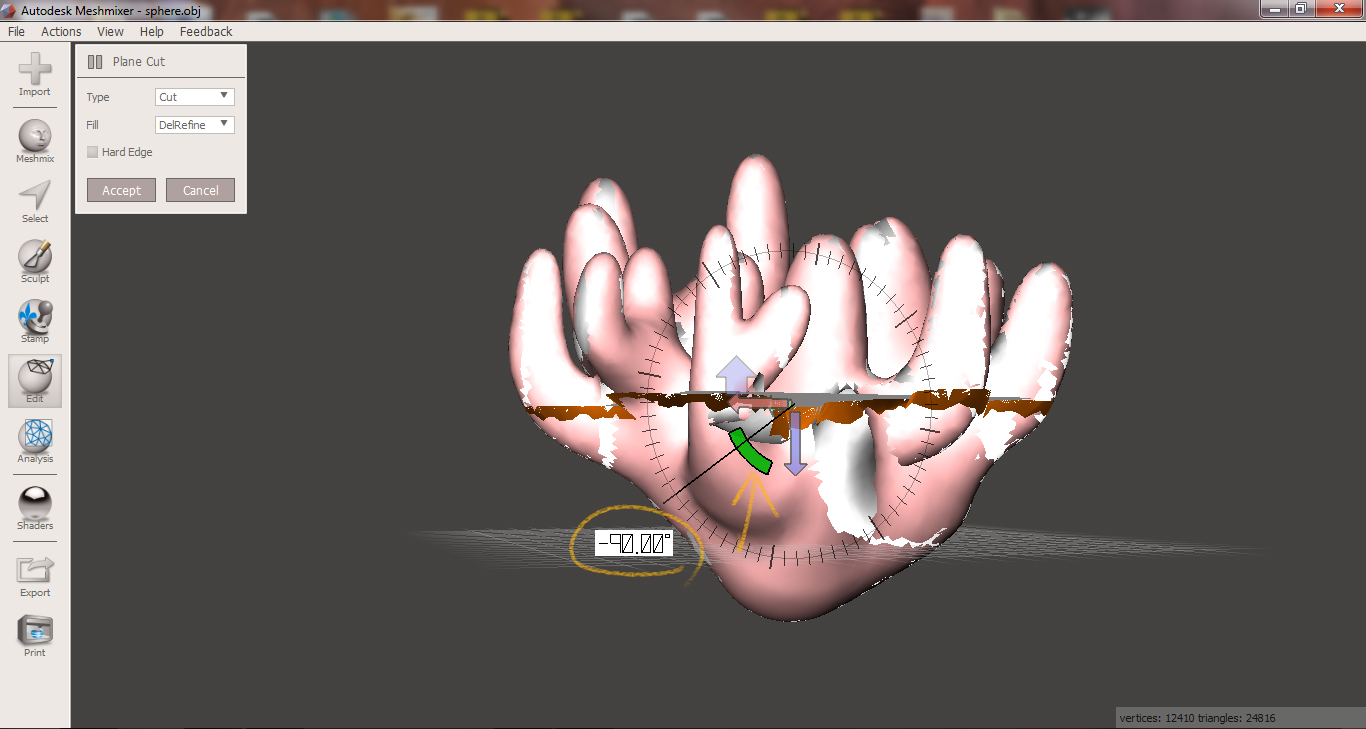
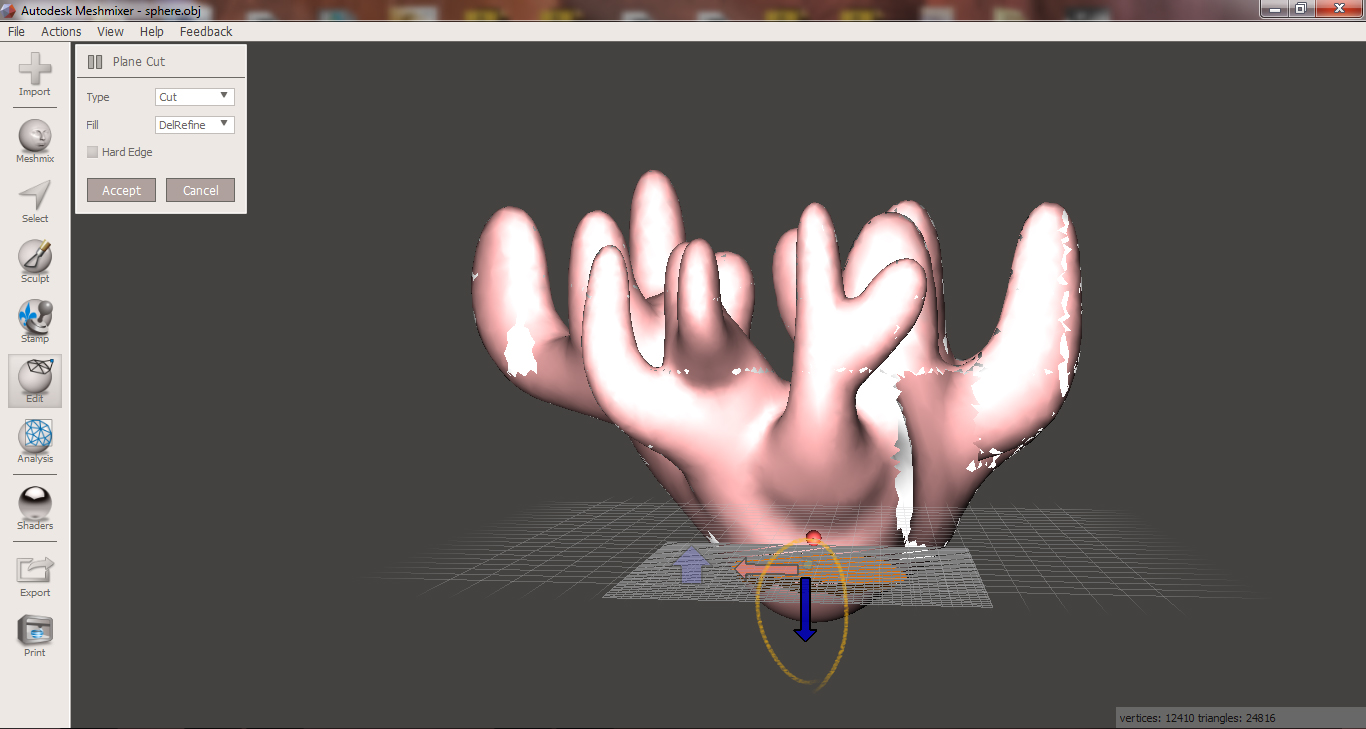
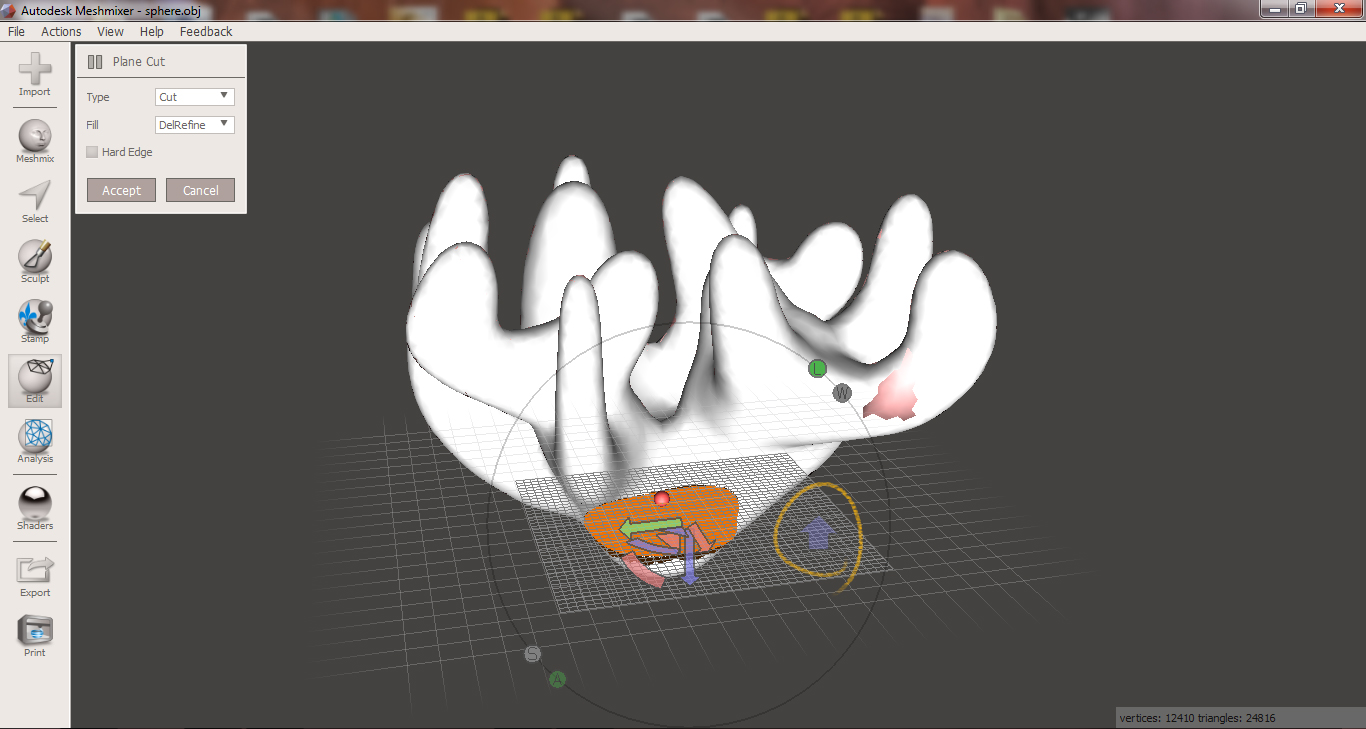
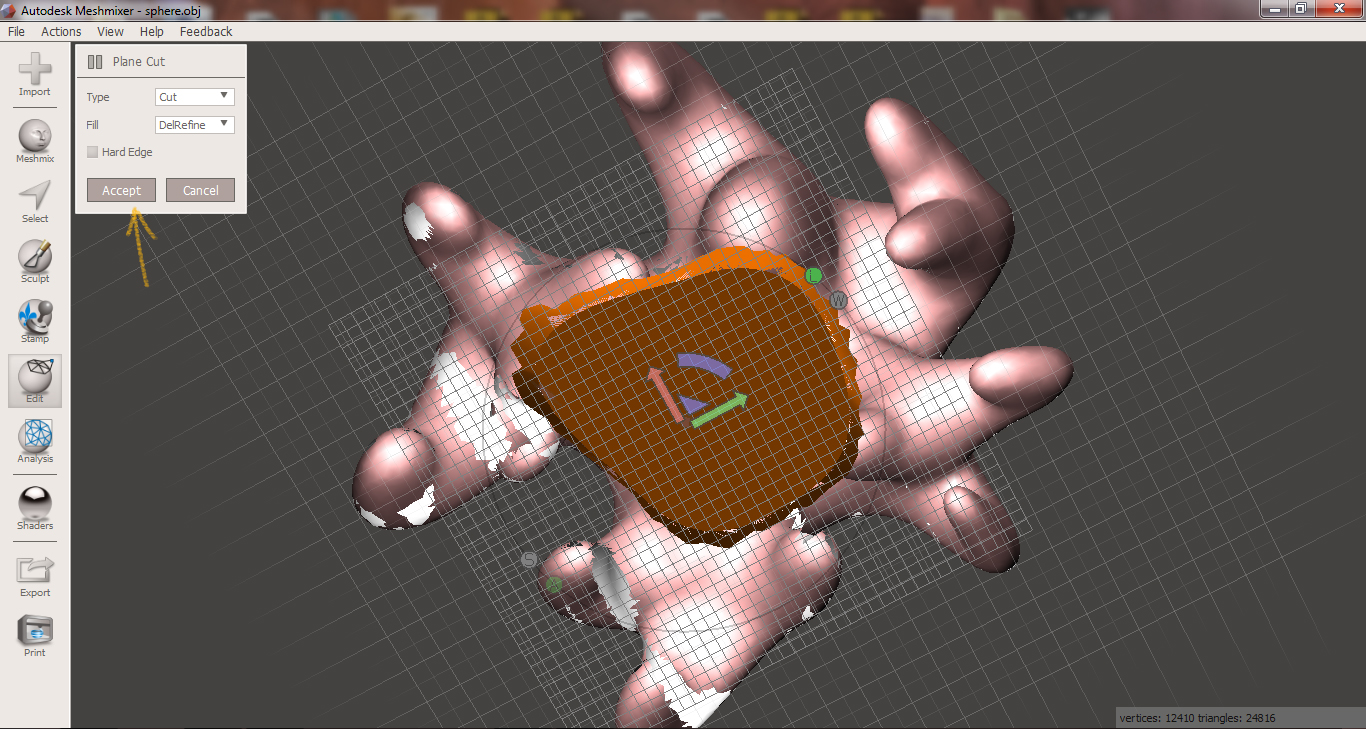
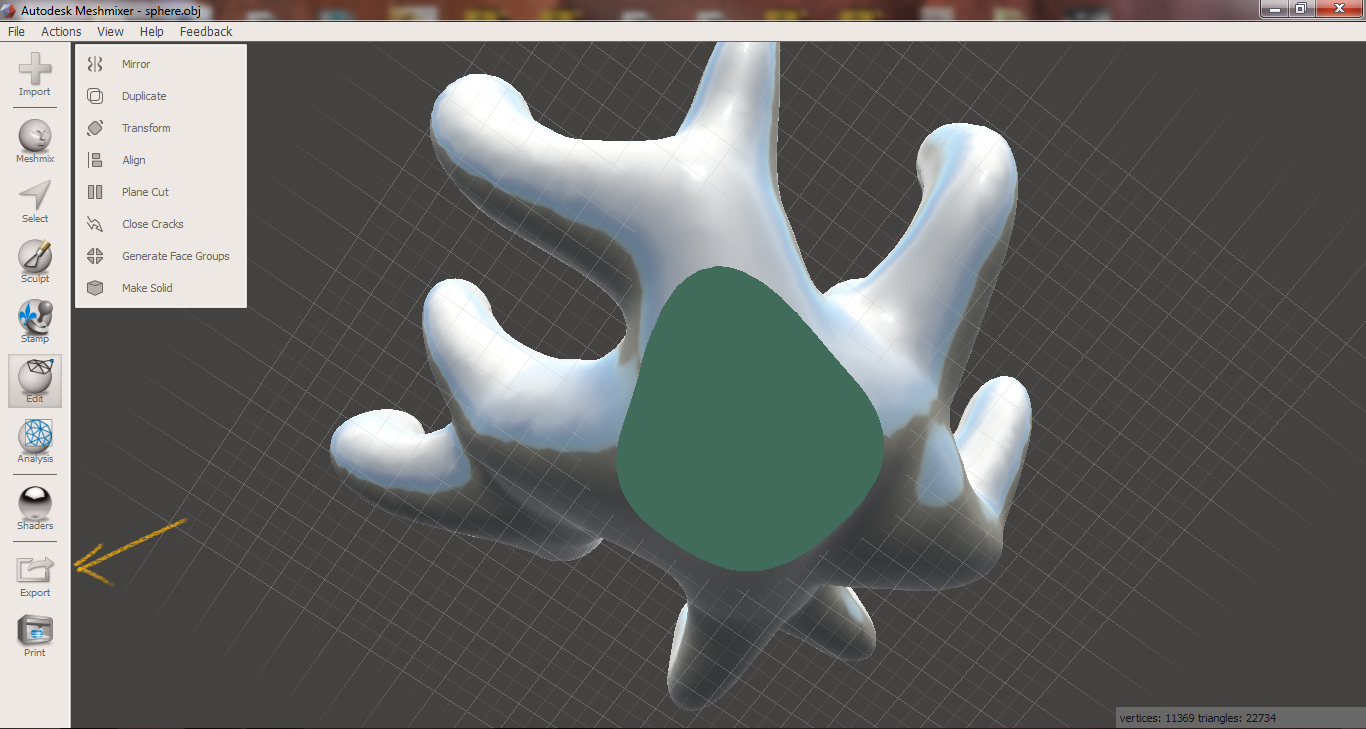
It's a good idea to have a flat base to 3D print. In Meshmixer menu, choose edit > plane cut. You will see a plane with arrows around it. Drag the small circle segment to rotate the plane until it is parallel with the ground. Then drag the bottom arrow to the point you would like to slice. If you see a solid surface through the top of your model, you are cutting the wrong side. Click the blue arrow to the side to flip the direction of the cut.
Watching Crystals Grow
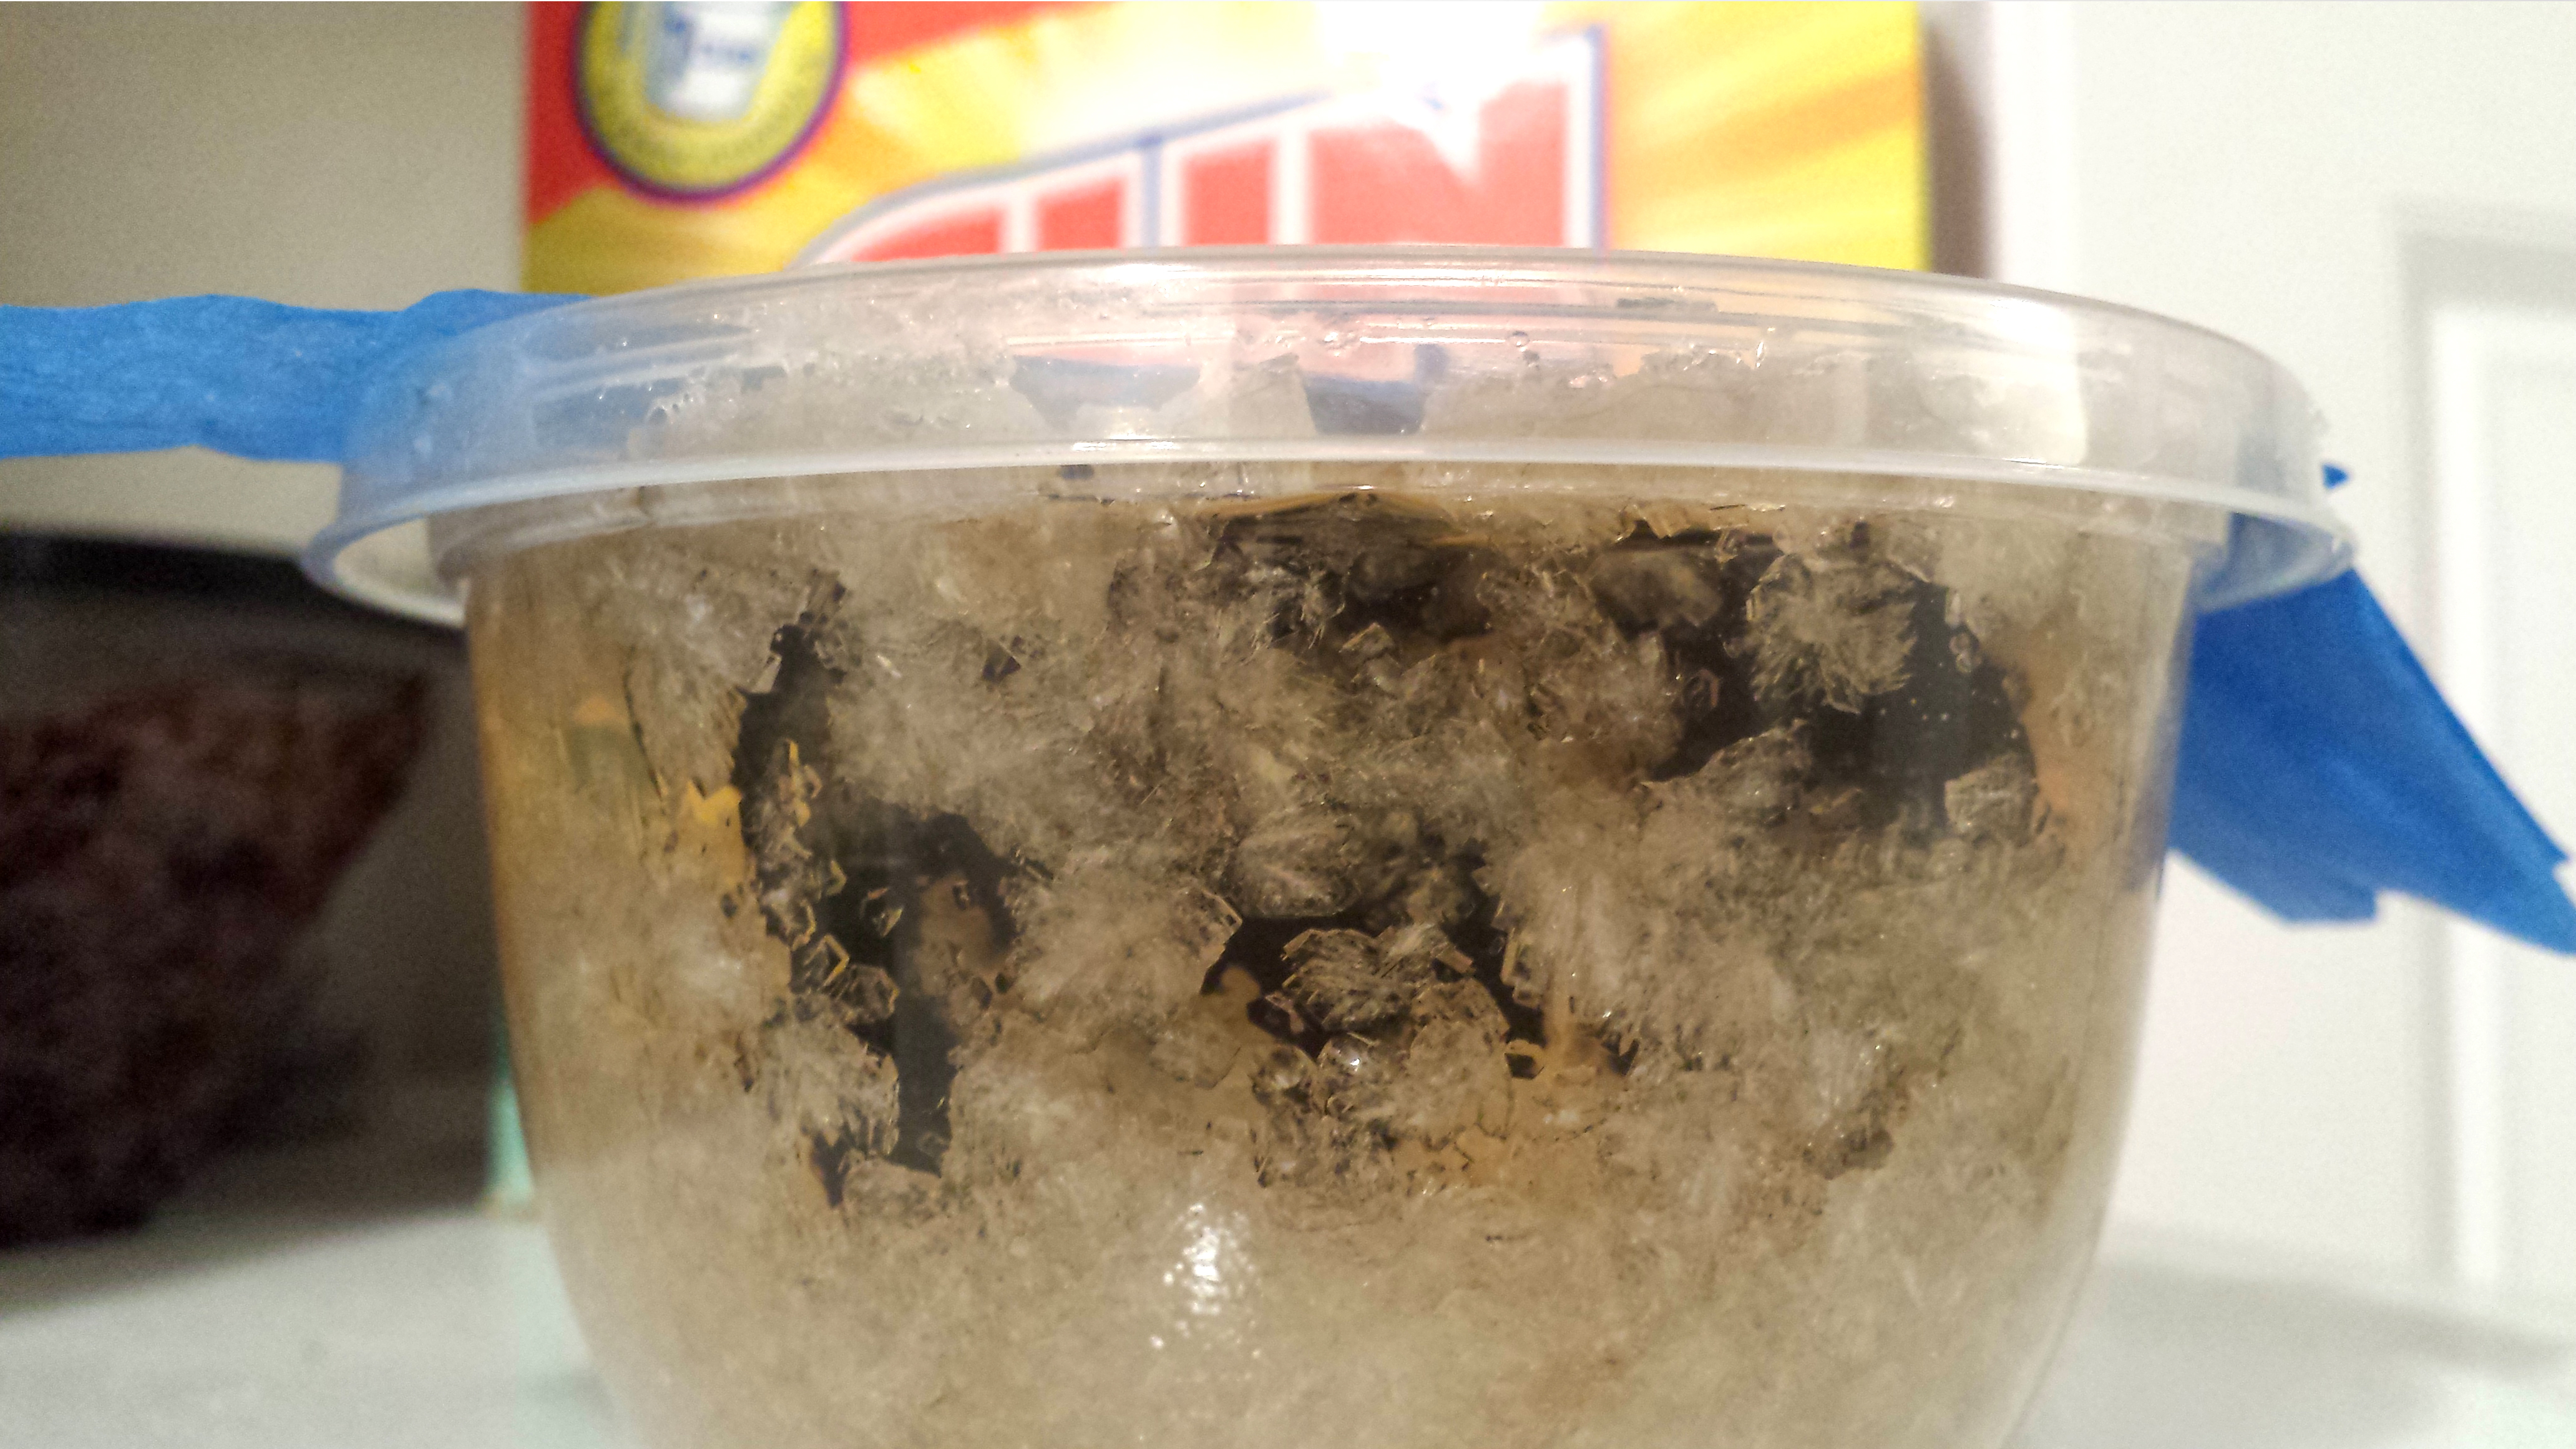
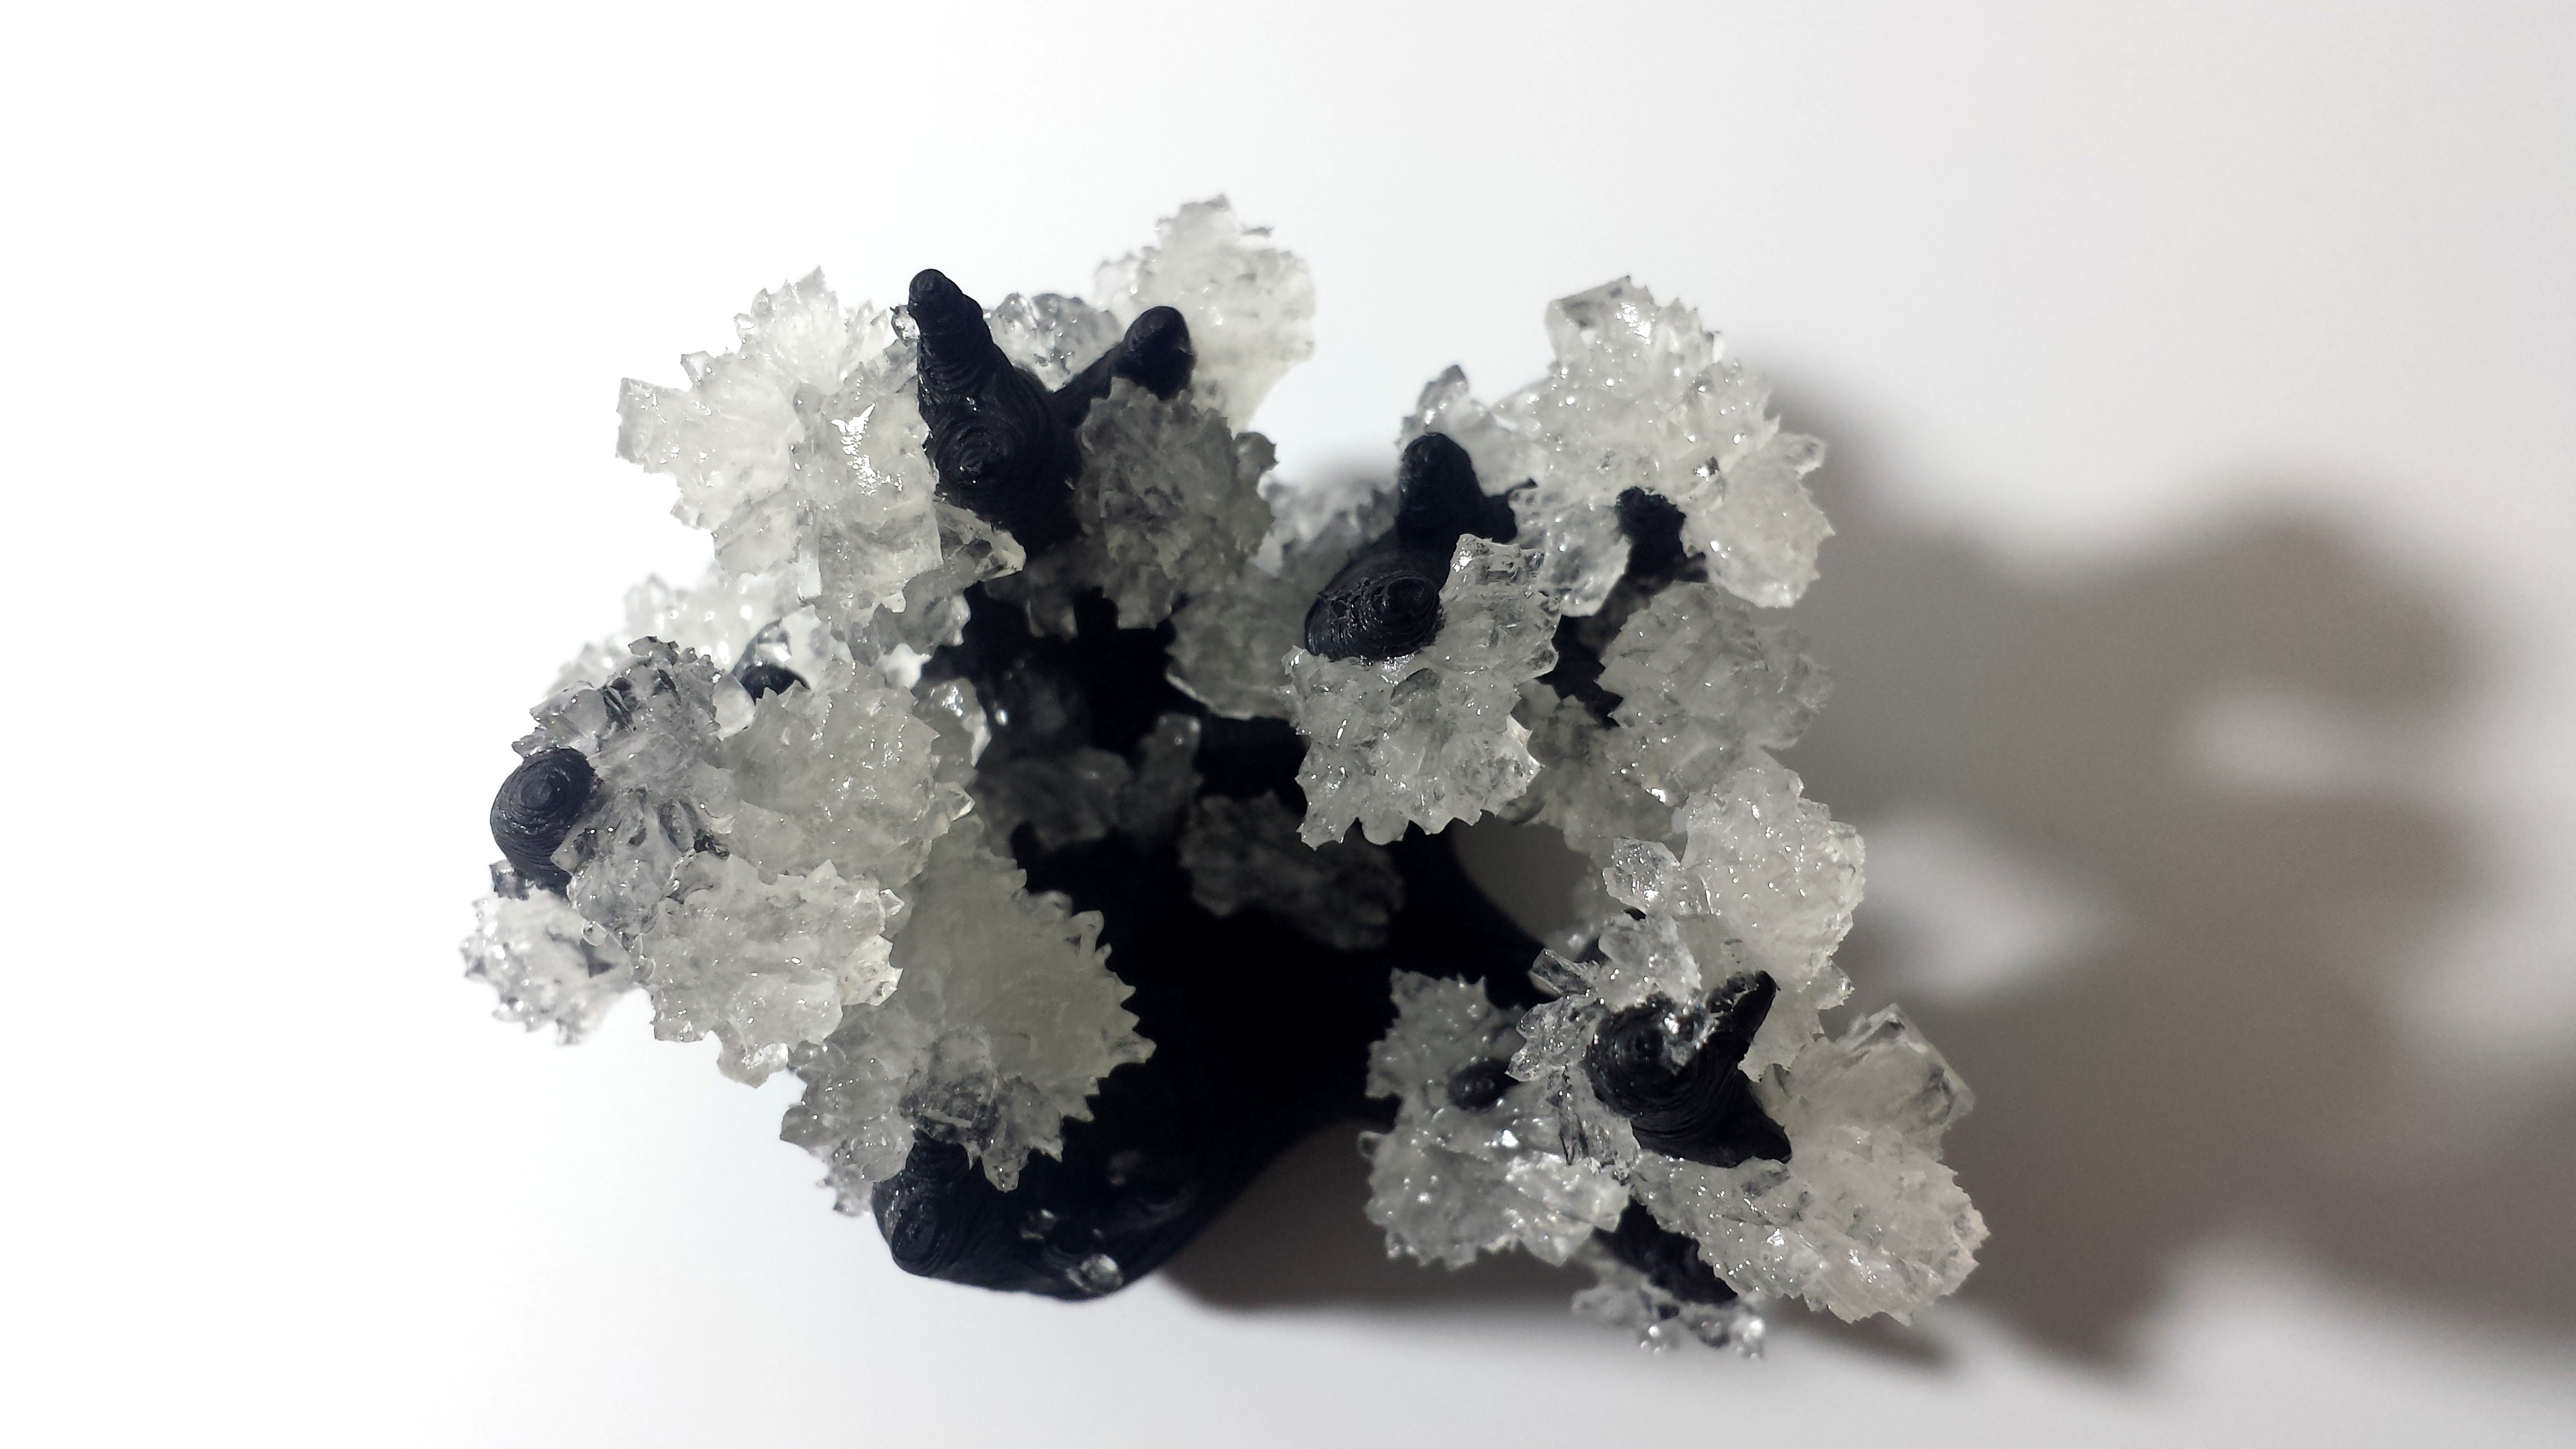
Follow the instructions in the link on the first step to cook your solution. I may not have added as much sugar, so it took about 3 days before I had crystals. I'm sure you could grow much bigger and beautiful crystals if you have the patience. I waited until I couldn't see through the container to pull my print out.
Enjoy, and please post pictures in the comments if you make any!
There are some files attached to try.