3D Printed Reindeer Ornament
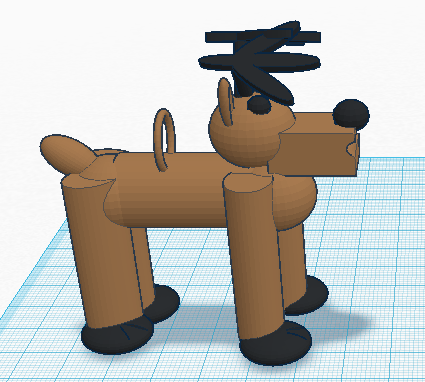
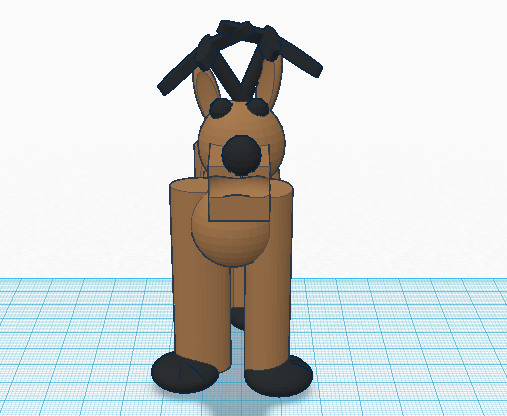
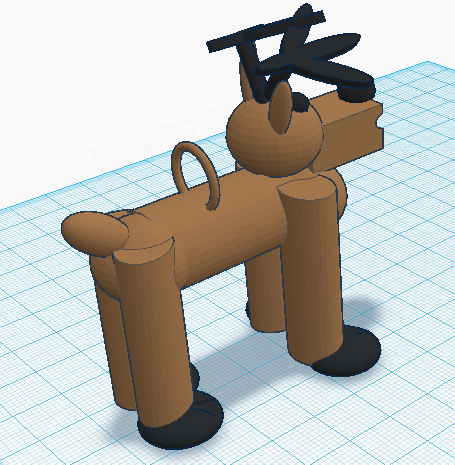
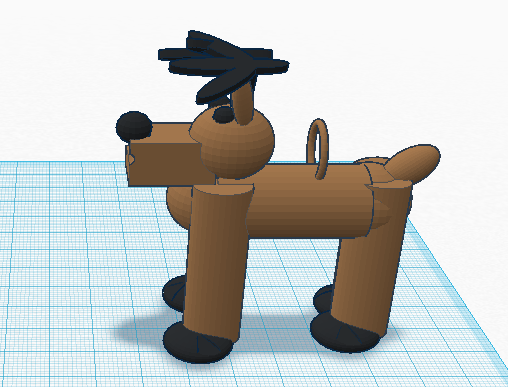
This is a reindeer ornament I designed in Tinkercad. It's very simple to design and print. I hope you enjoy creating this ornament on your own.
Tinkercad Basics
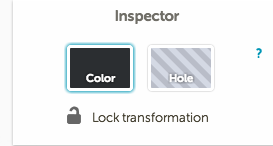
In case you are unfamiliar with Tinkercad, I will go over some Tinkercad basics. You can create a free account on Tinkercad with an email address and password. To create a new design, simply click "Create New Design" in a browser (such as Chrome) that supports Tinkercad. Drag images onto the workspace. From there, you can adjust the dimensions of shapes by clicking and dragging on their sides (you can also proportionally scale them by moving them while holding the "Shift" key), and the location of the shapes by selecting and then clicking and dragging the shapes. You can rotate shapes by holding the arrows shown around the shape and moving the shape. You can lift and lower shapes by dragging the arrow on top of the shape. You can group shapes by selecting separate shapes and clicking "Group" in the menu above the workspace. Selecting a single shape or group of shapes will make the "Inspector" menu appear (as shown in the included image), and this menu will allow you to turn a shape into a hole or vice versa, as well as adjusting the color of the shape. Tinkercad saves your progress automatically, and you can change properties (such as the name) of your design as well as download your design for 3D printing by clicking on the "Design" menu.
Arrange the Major Shapes You Will Be Working With
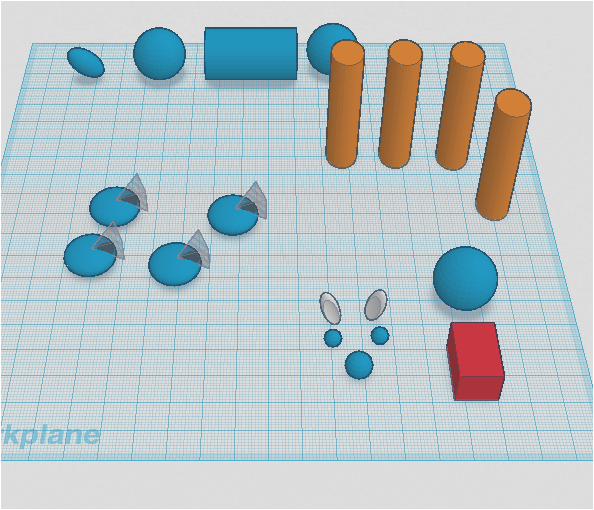
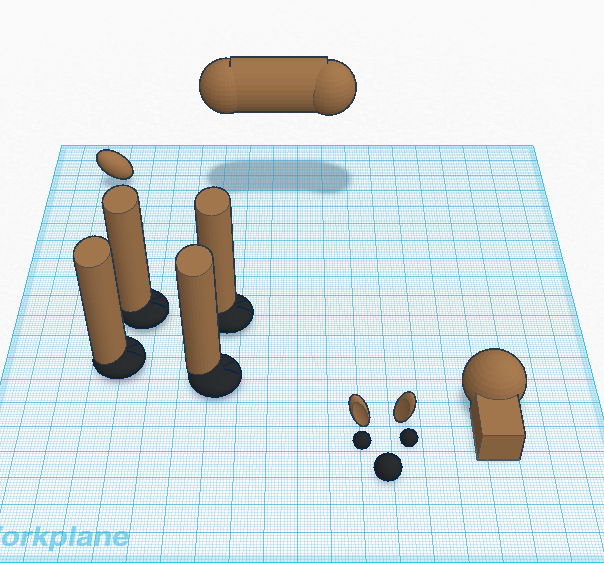
As you can see by the included image, I dragged and adjusted the major shapes for the reindeer body, legs, hooves, head, tail, ears (Tinkercad "bunny ears"), eyes, and nose (I added the antlers, mouth, and ornament hook later). The hooves are flattened spheres with pyramid holes inserted at the edges.
Group and Color Your Shapes
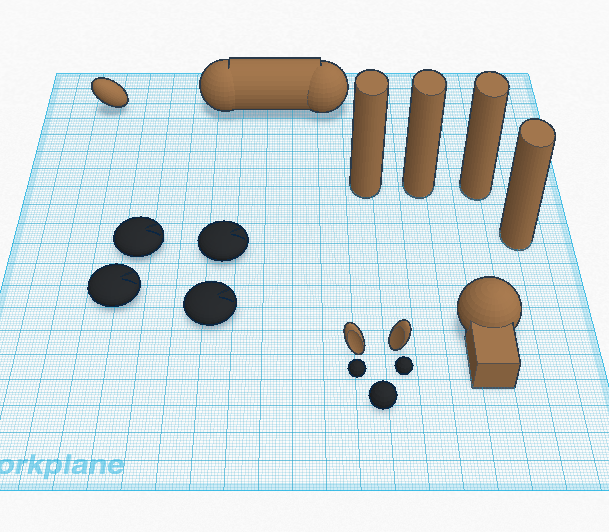
Group all of the basic shapes to form the body and head. Once the shapes are grouped, color them according to the image (or add your own colors).
Create the Legs
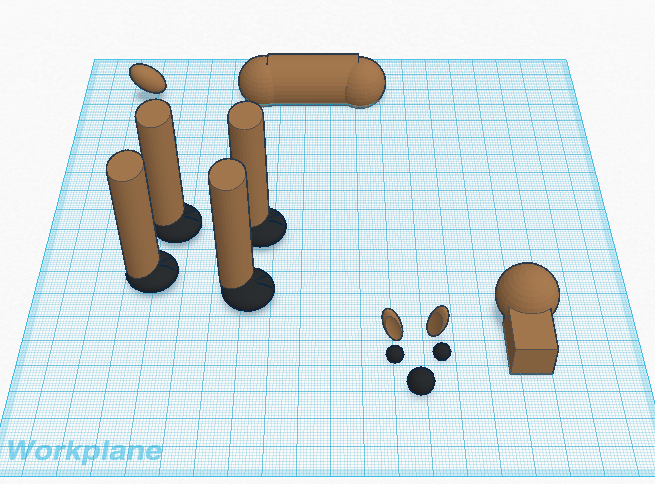
Attach the leg cylinders to the hooves and group. (Tip: to keep individual colors for different components of the grouped objects, select "Multicolor" in the "Inspector" window.)
Make the Body
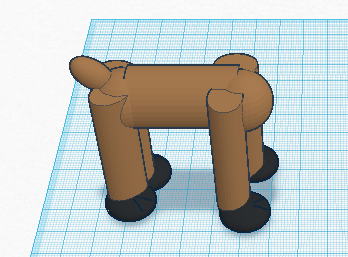
Lift the body and attach it (and the tail) to the legs and group all of the objects.
Create the Head
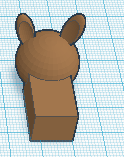
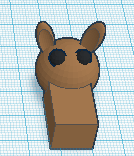
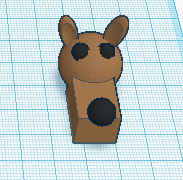
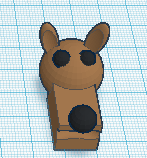
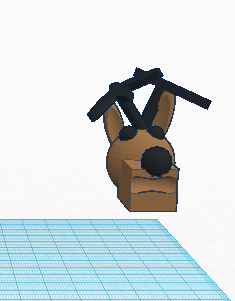
Attach the eyes, nose, antlers, and mouth (use a torus hole for the mouth and chicken feet shapes for the antlers). I attached and grouped them one-by-one, but you can attach them all at the same time if you want to.
Attach the Head and Body
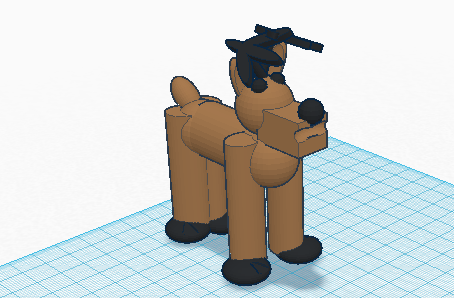
Lift the head (as shown previously) and attach it to the body. Group the objects.
Attach the Ornament Ring
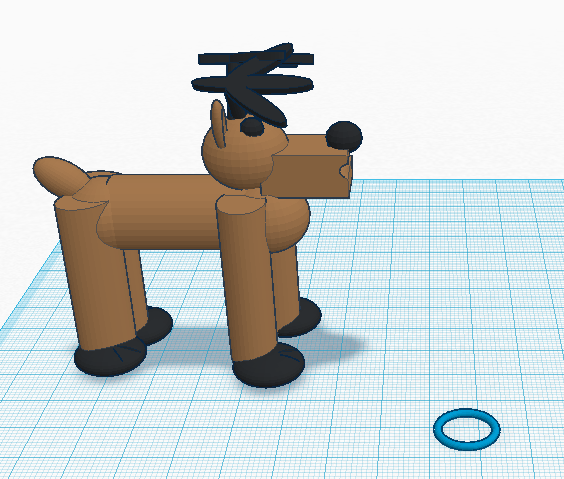
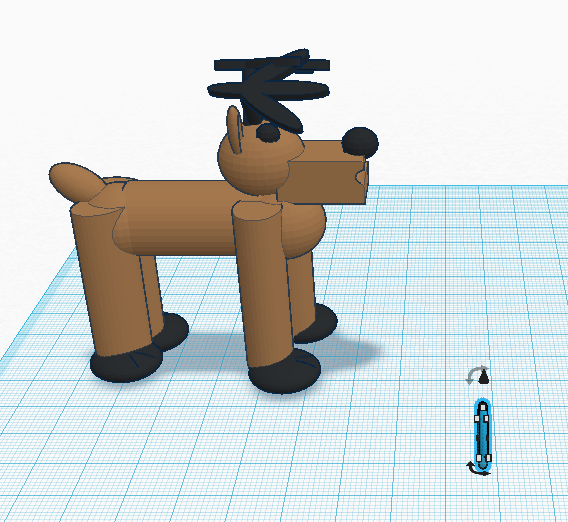
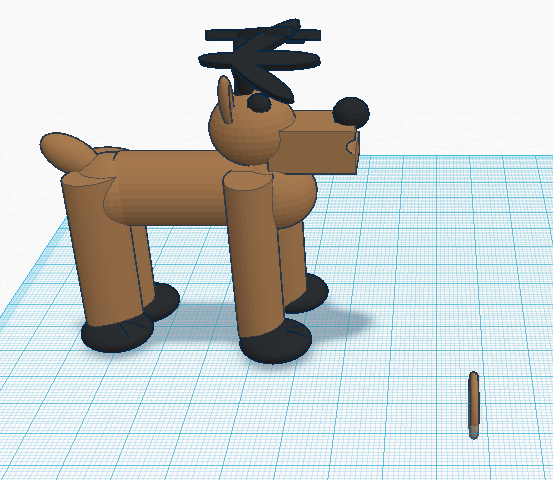
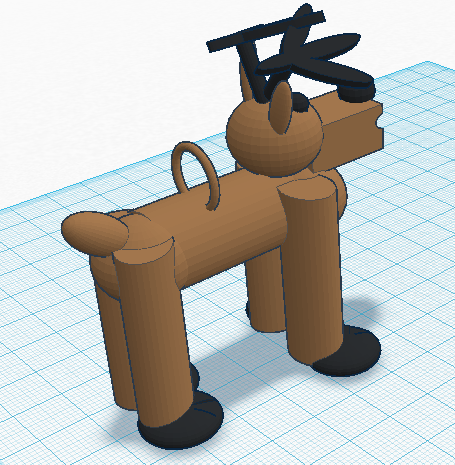
Make an ornament ring to attach it to the tree by rotating a torus shape and adding it to and grouping it with the reindeer. You can also fashion a more traditional ornament hook using shapes in Tinkercad, if you like.
You Are Finished!
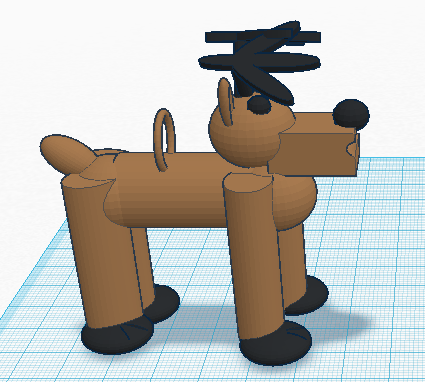
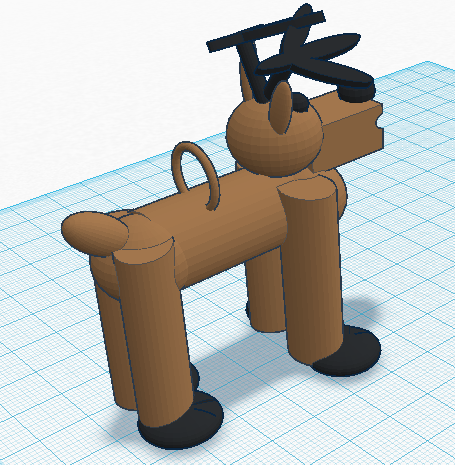
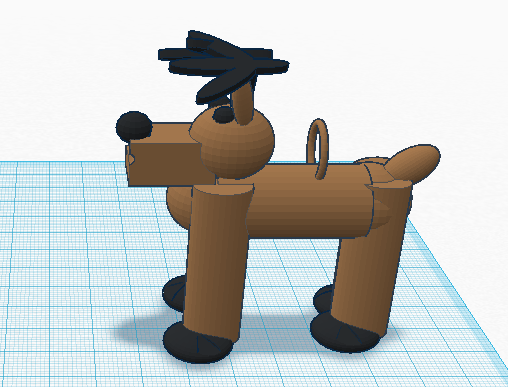
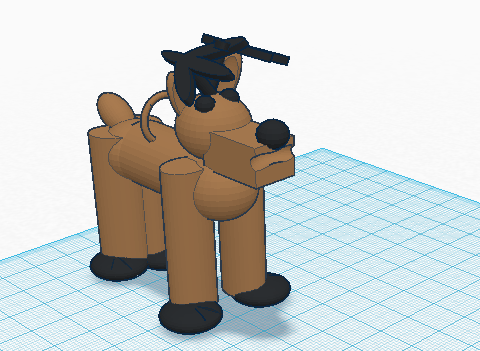
Have fun with your new ornament! You can create your own in Tinkercad as instructed, or print my version (I've included the .stl file in this step). Download your file under Design > Download for 3D Printing in Tinkercad. You can select to download from a number of file types, but I recommend .stl. Use 3D printing software (such as Cube or Makerbot) unique to your 3D printer to open and print your Tinkercad file. I recommend printing in one color despite the two colors used in the design- you have to change filaments for every color throughout the print if you want it to be multicolor. Good luck with printing your ornament, and happy holidays!