3D Printed Quilling .
by TanyaAkinora in Workshop > 3D Printing
4575 Views, 36 Favorites, 0 Comments
3D Printed Quilling .
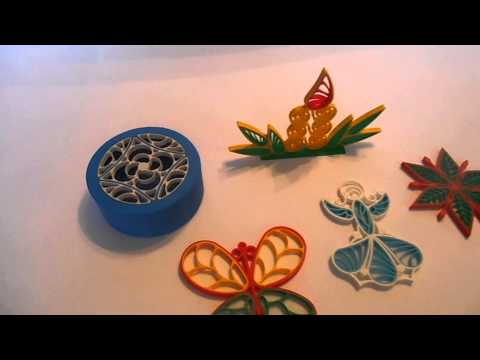
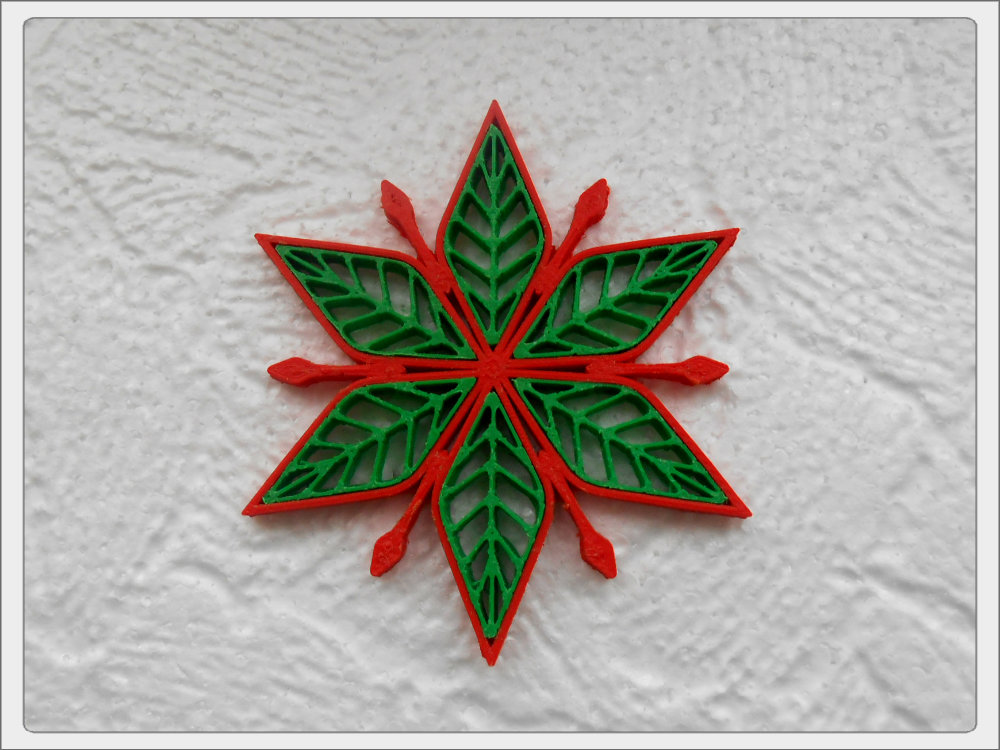
One of my hobbies is 3D printing. My work covers various areas of engineering to the decorative.
The most interesting finding in my simulation is 3d printing style "quilling".
The idea came before Christmas. I wanted to make souvenirs for friends. Quilling is a simple technique for creating volume, beautiful, bright patterns.
Quilling technique in 3D printing.
This model is easy to create and assemble.
I created this model in the program 123D Design.
Consider the process of the points.
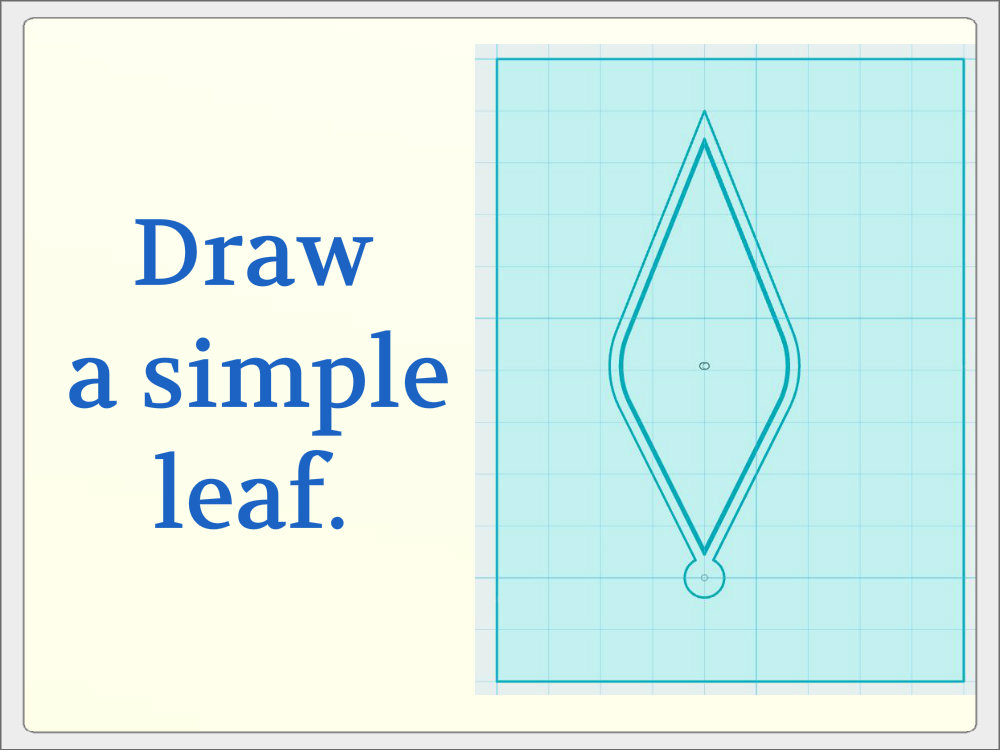
1. Draw a simple leaf.
Use the Offset tool.
The wall thickness is 1 mm.
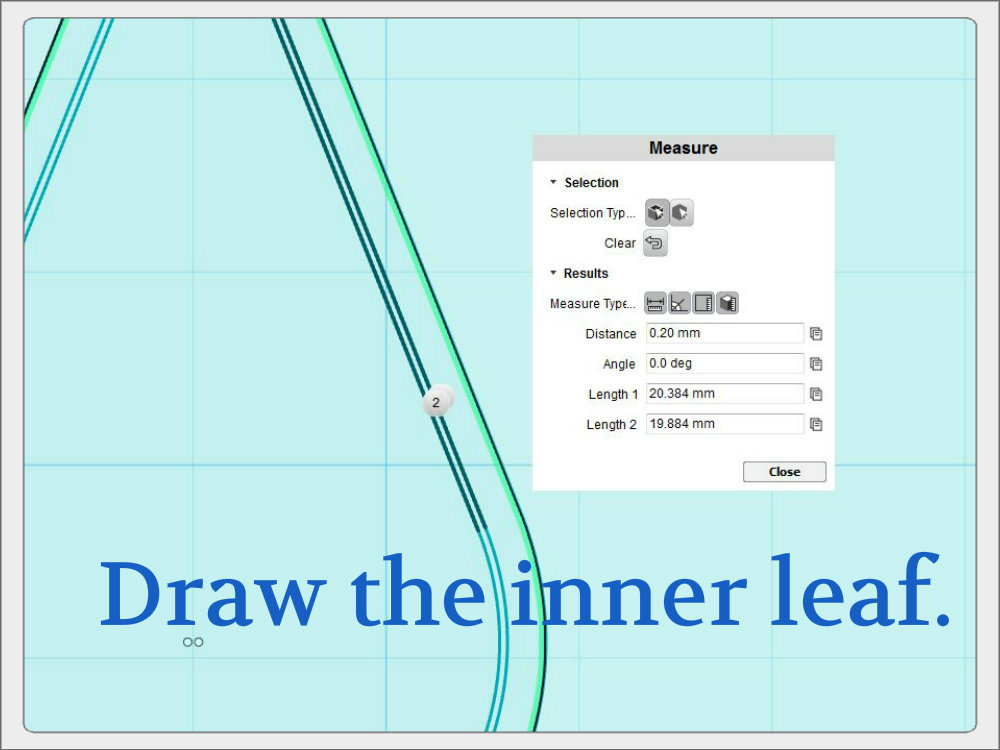
2. Draw the inner leaf.
Back down to 2 mm parts came together.
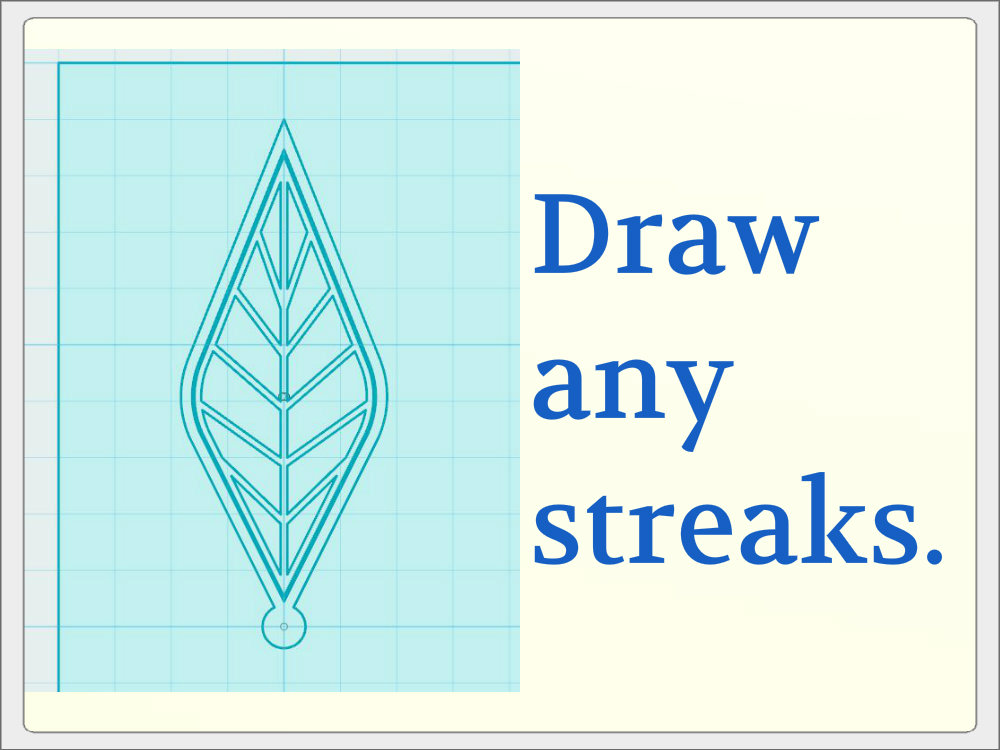
3. You can draw any streaks leaf.
The wall thickness is 0.6-0.8 mm.
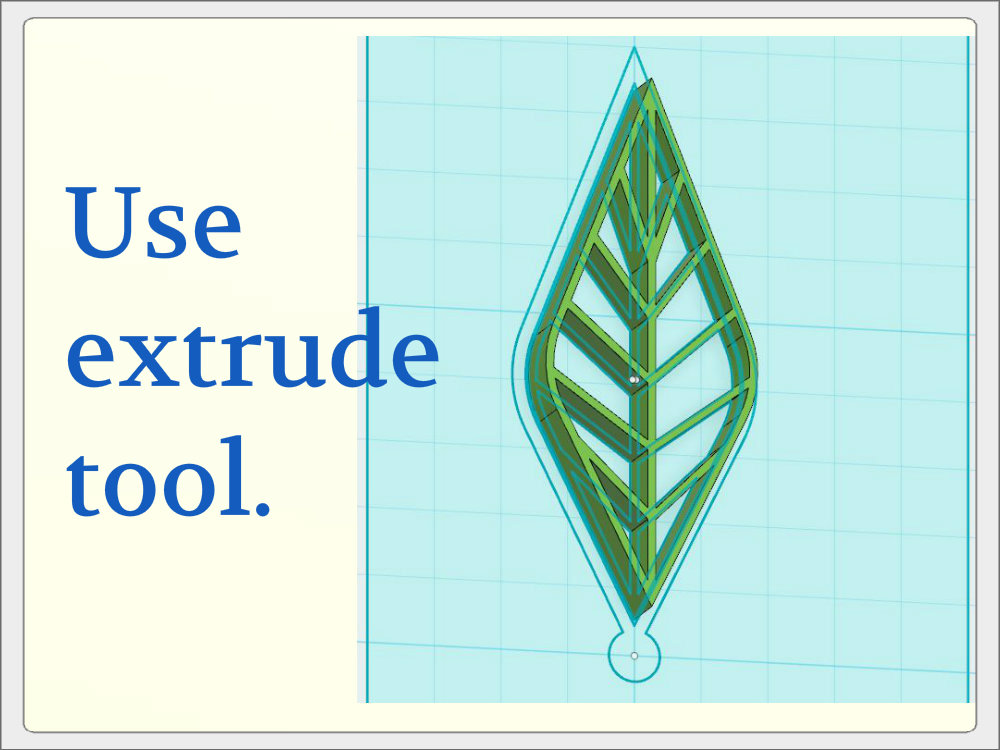
4. Use extrude tool for giving a volume of the inside part of the model.
The height is 5 mm.
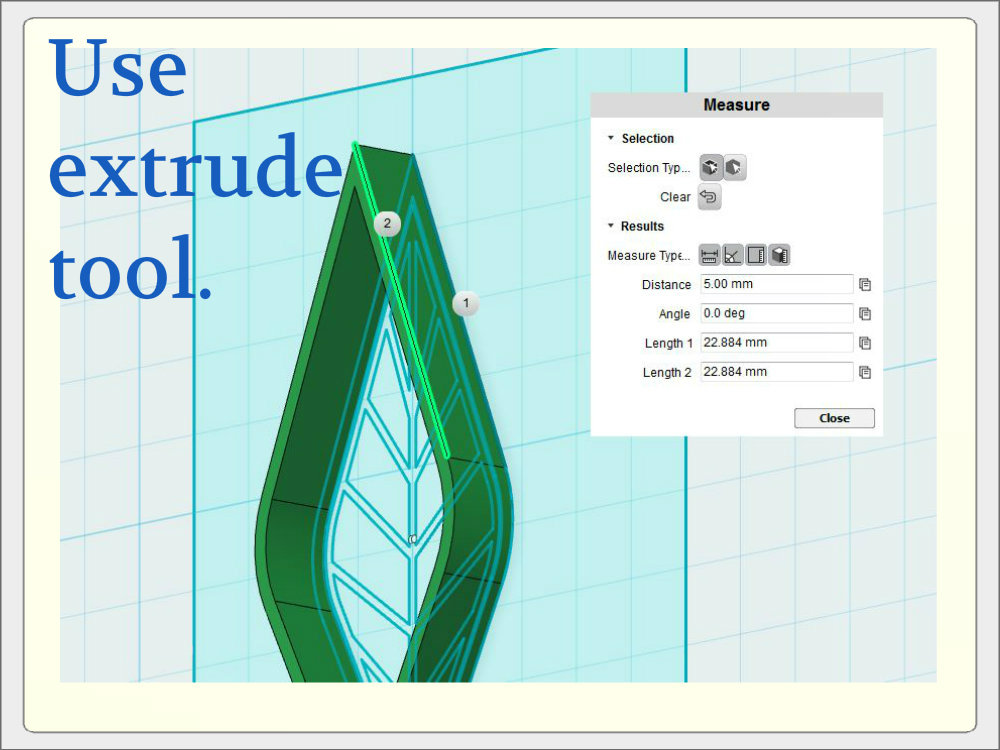
5. Use extrude tool for giving a volume of the outer of the model.
The height is 5 mm.
Make these models 6 pieces.
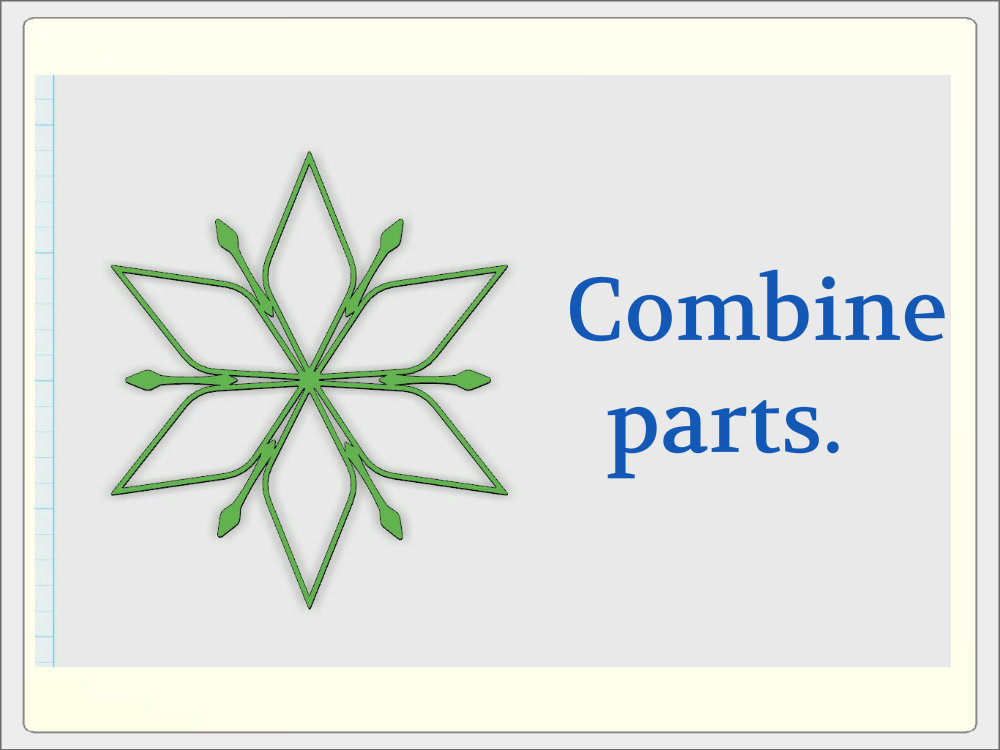
6. Use merge tool to combine the outer parts of the model in one.
Combine parts.
You can do any inserts between the leafs to strengthen the structure.
You now have the skeleton of a snowflake.
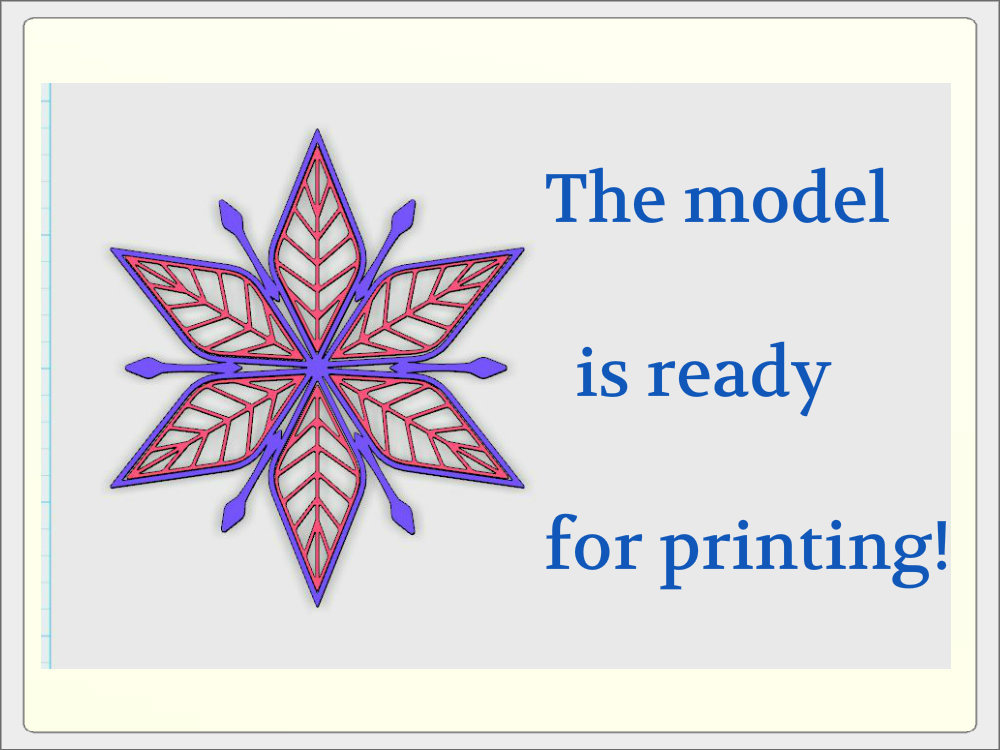
7.The model is ready for printing!
The internal portion of the leaf to fit the outer parts perfectly.
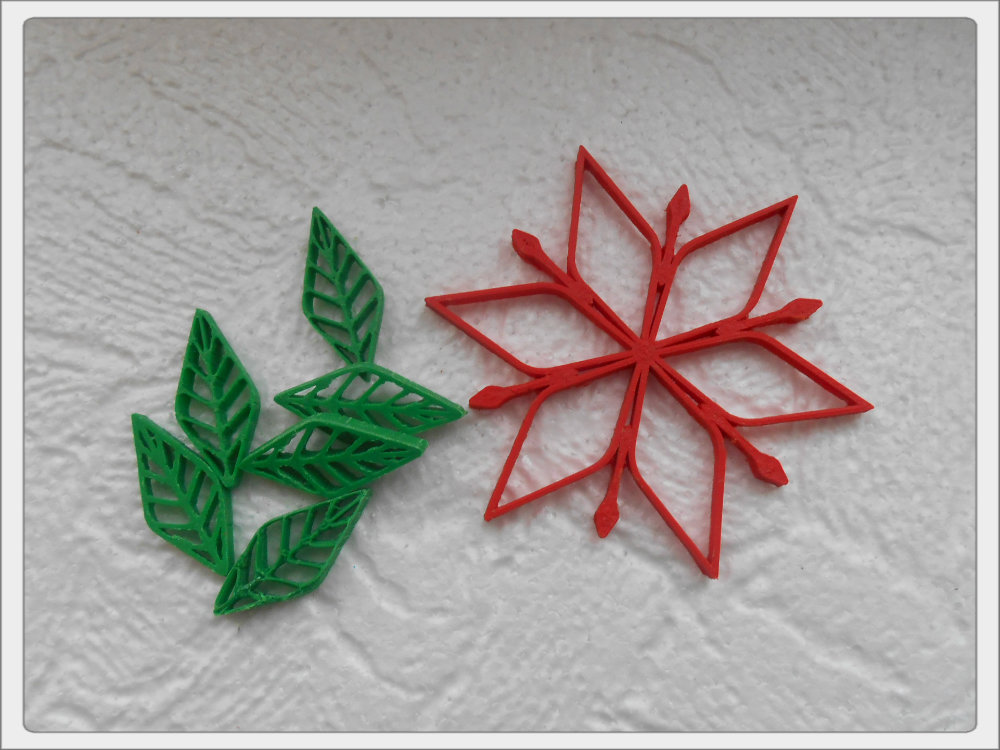
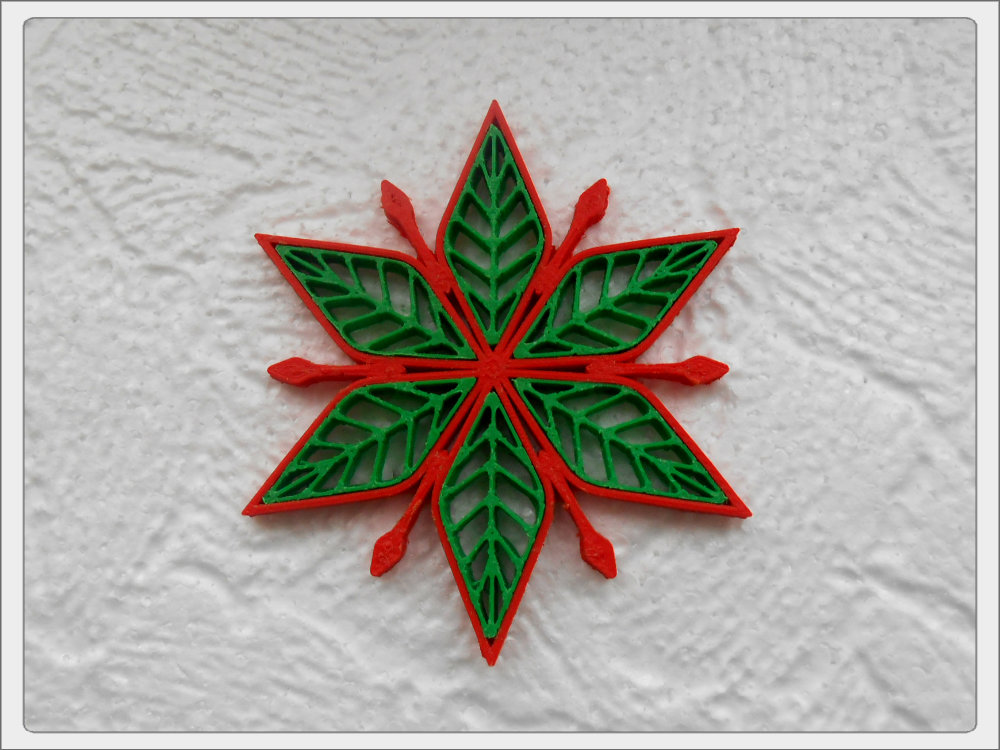
8. Print all the details.
Assemble them.
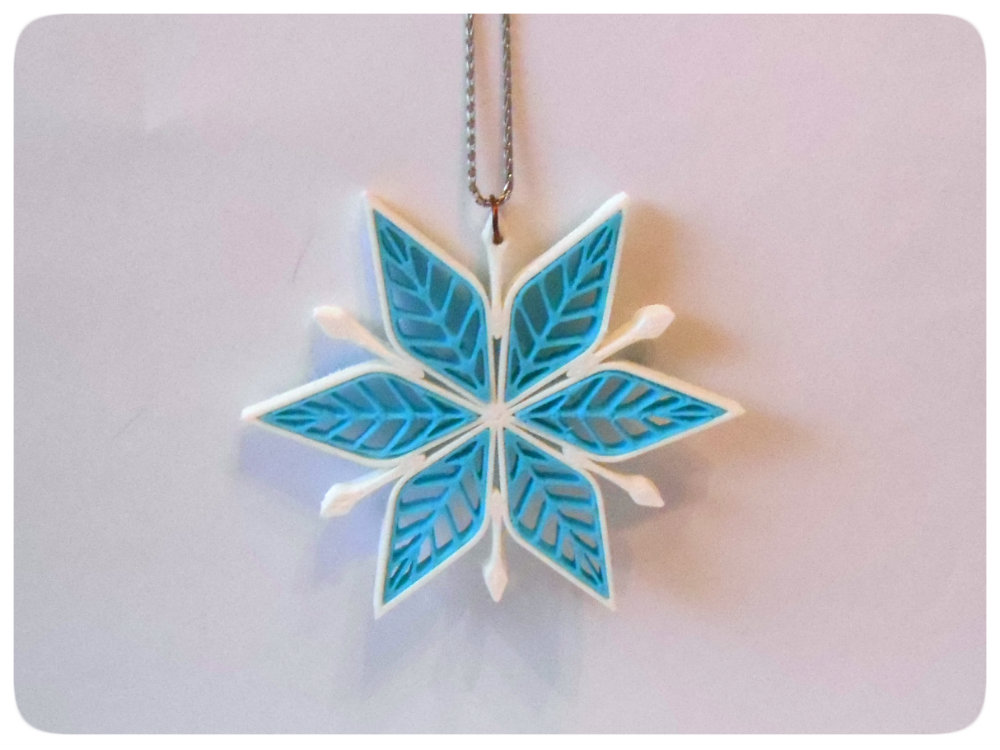
The color of your design depends on your imagination!
This is an example of simple snowflakes.
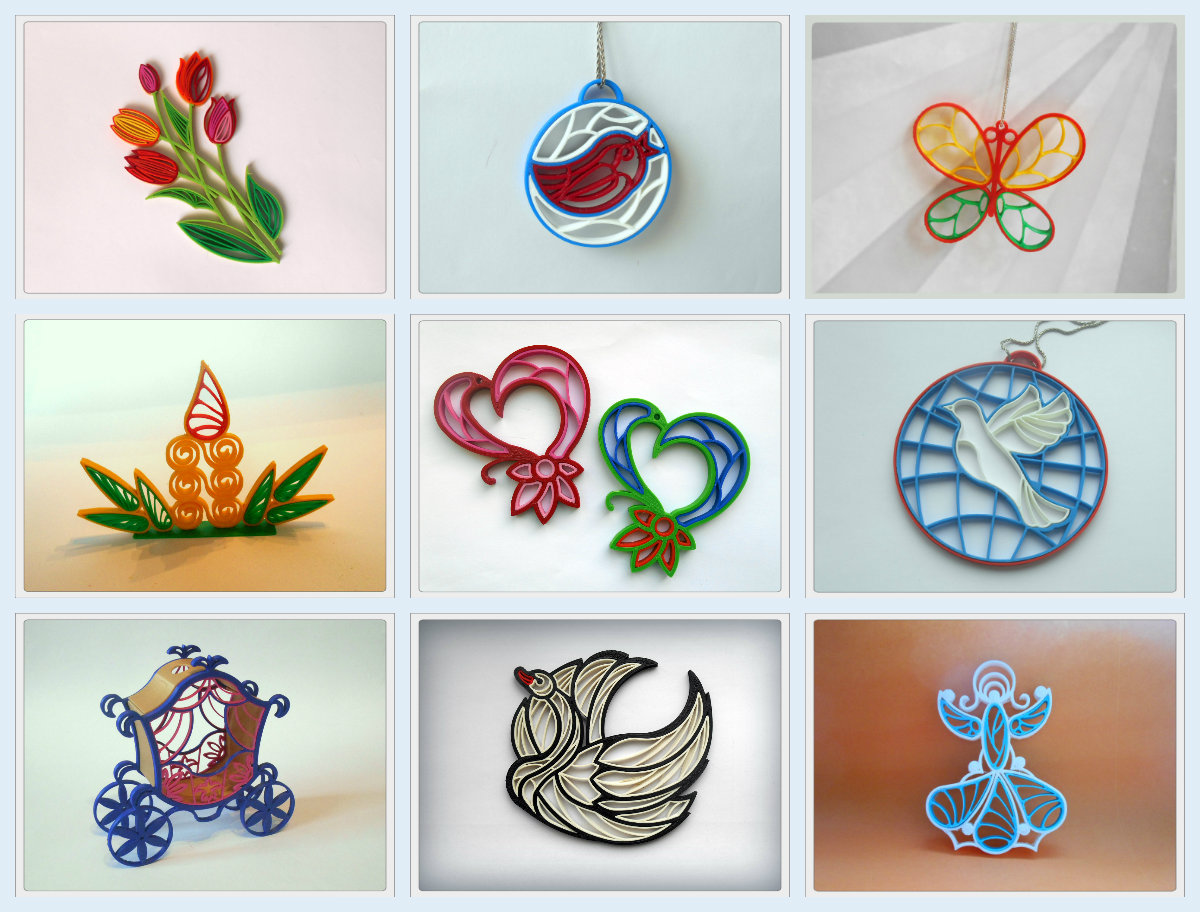
This is a complex designs in the style of 3D printing quilling.
You can see more of my designs on the site