3D Printed QuadCopter
by JonathanG106 in Circuits > Remote Control
2707 Views, 32 Favorites, 0 Comments
3D Printed QuadCopter
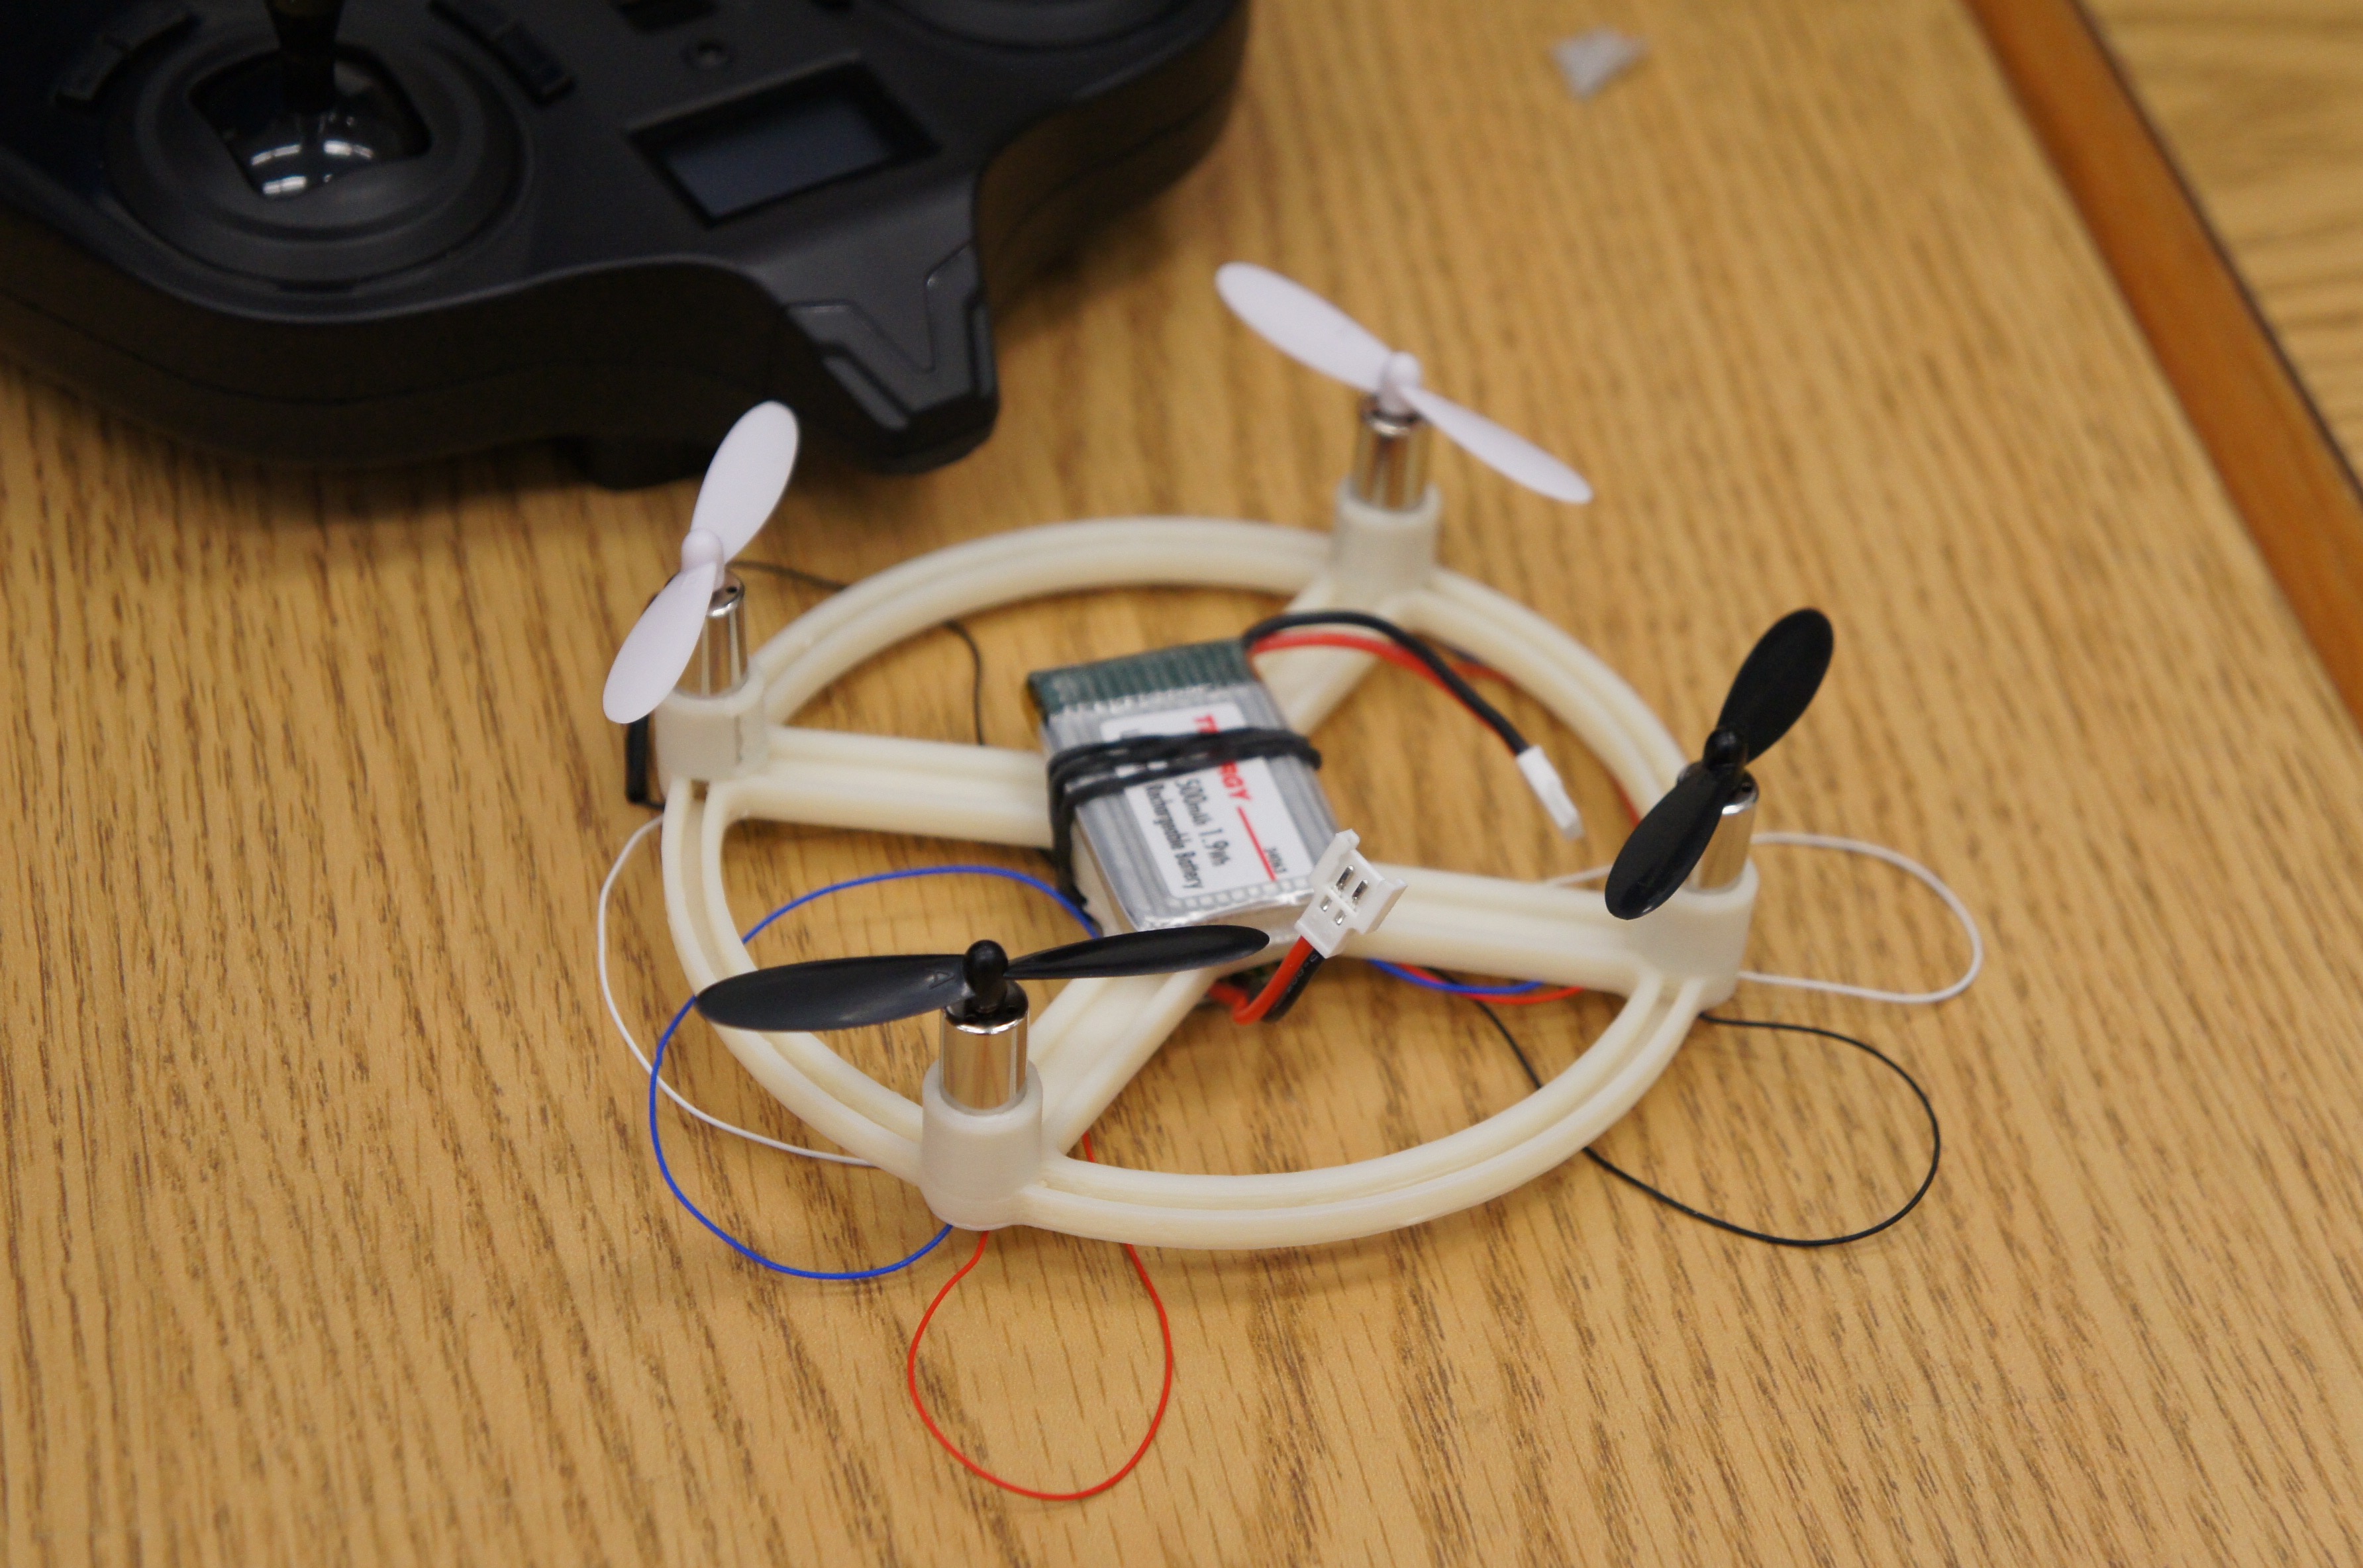
A quadcopter is an unmanned flying drone of varying sizes that features four equally-spaced arms, each with its own motor. Building and flying quadcopters can be a very fun hobby and can fit a wide range of budgets. With the ability to 3D print, a student can design a plethora of different body shapes to accommodate their motors. This tutorial will focus on creating a base design for a quadcopter, leaving room for students to tweak and make a design their own.
Materials
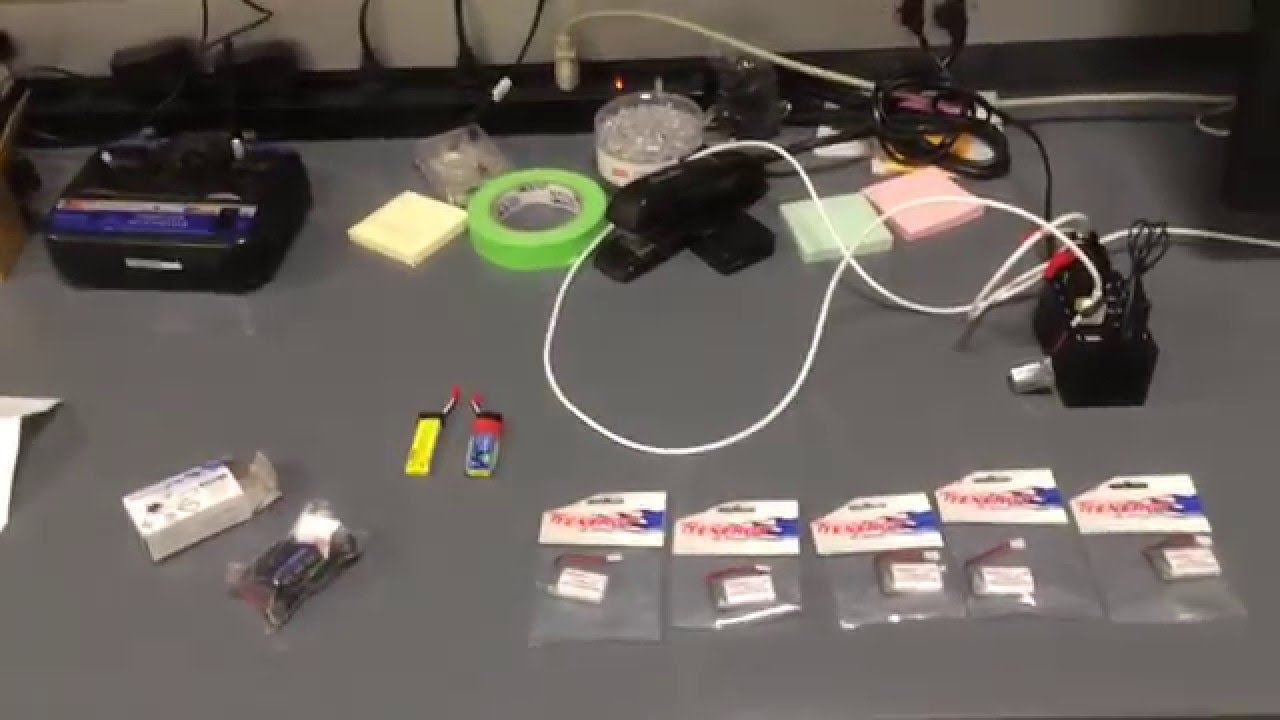
- Safety Glasses
- SolidWorks
- 3D Printer and Printing Filament
- Controller Hubsan Parts:
- Motors- H107-A02 Main Motor Set
- Blades- H107-A03 Main Blade Set
- Flight Control Board- H107-A34 Hubsan Receiver
- Battery- H107-A05 3.7v 240mAh LiPo
- Double Sided Foam Tape
- A Few Rubber Bands
- Soldering Kit
- 4 AA batteries
Flight Basics
Forces of Flight:
- Lift- Enables an aircraft to leave the ground and remain in flight.
- Thrust- Thrust is what propels an aircraft forward. Thrust must overcome drag so the aircraft is able to lift off the ground.
- Drag- Created by air resistance. Drag pushes back, or resists the aircraft’s motion.
- Weight- Weight includes mass and the Earth’s gravitational pull. Parts, materials, and other items can add to the aircraft’s weight.
Basic Flight Terms:
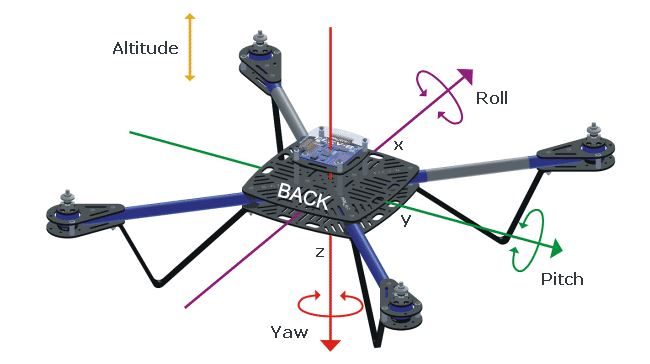
- Roll- Rotation along the X axis
- Pitch- Rotation along the Y axis
- Yaw- Rotation along the Z axis
Constraints/Brainstorming
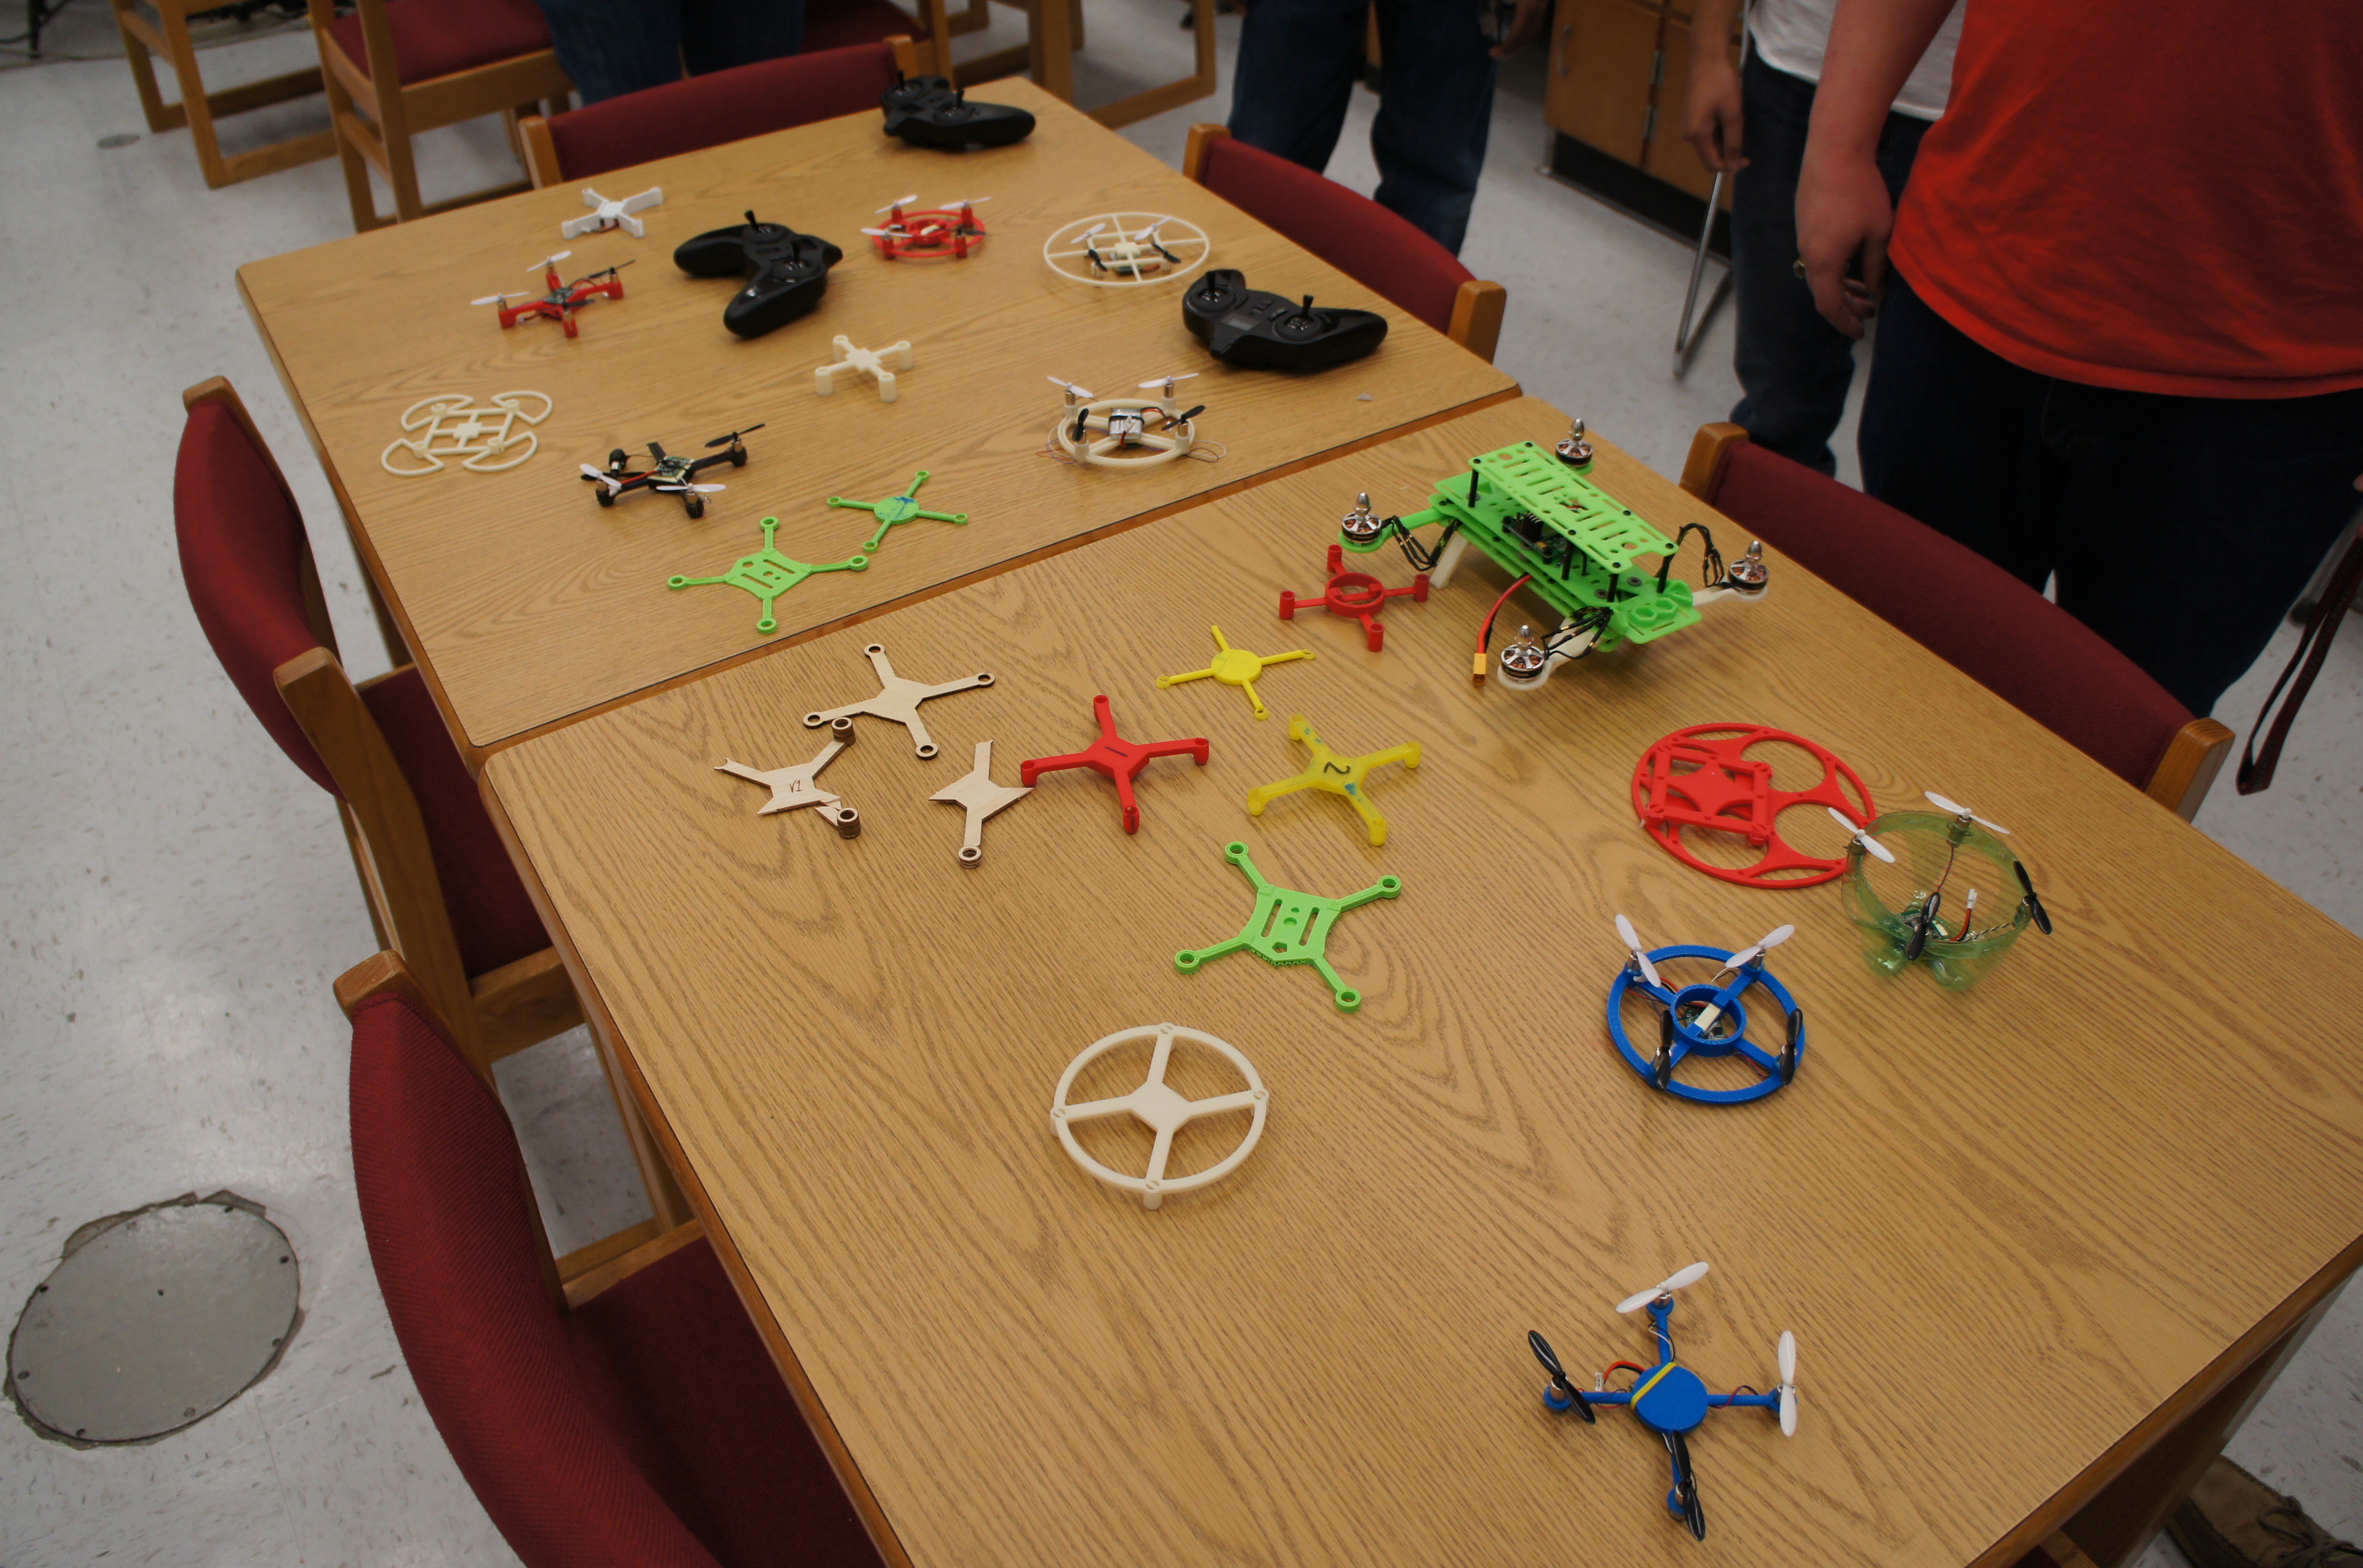
Constraints:
- The Motors must fit securely into place.
- The propellers must be able to spin uninhibited.
- The flight control board must sit level on the frame.
- The battery needs to be secured to the frame somehow.
Brainstorming:
Make sure that you have many different ideas when brainstorming because you will go through many iterations of a design once you actually start 3D Printing. You may integrate features from one design into your working prototype, or even change the direction you want to go with your frame completely after a test print.
Digital Modeling
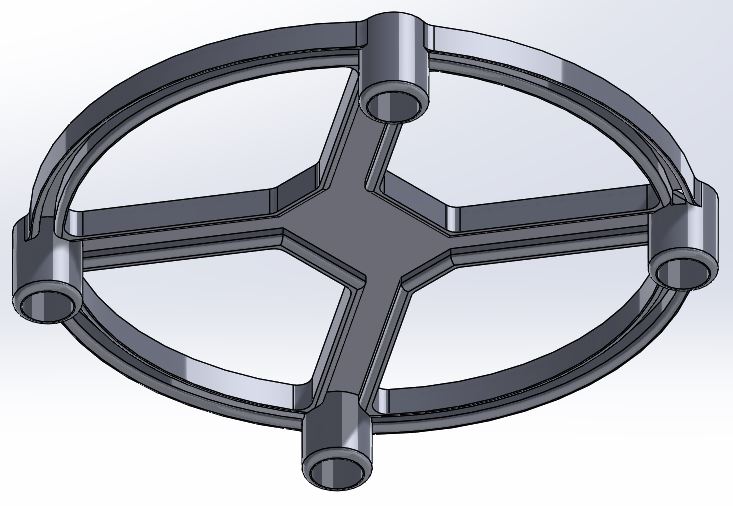
1. Start by creating a new document for a part in SolidWorks.
2. Starting at the origin, sketch a rectangle with a width of 0.91 in and a length of 1.26 in.
3. Starting again at the origin, sketch two concentric circles. Start with an outer circle with diameter 4.33 in. Sketch the second inner circle with a distance between it and the outer circle of 0.22 in. Sketch a third concentric circle equidistant between the first two circles.
4. Sketch lines from the corner of the rectangle to the second circle. At the end of these lines, create circles with diameters of 0.45 in. Delete the lines.
5. At the tangents of each circle, sketch parallel lines back to the rectangle.
6. Extrude everything that has been sketch so far 0.2 in.
7. On top of the four small circles, sketch circles of 0.45 in to match and extrude 0.39 in.
8. On top of these extrusions, sketch a concentric circle 0.06 in away from the edge. Within this circle, sketch lines to create two half circles that are 0.08 in apart. Extrude cut through all.
9. Offset an extruded cut from the inner rectangle frame 0.08 in from the edge. The extruded cut should be offset from the opposite surface 0.1 in.
10. In the outside circle formation, extrude a cut that is 0.08 in from the out edges. The extruded cut should be offset from the opposite surface 0.1 in.
11. Using the original circle to create the two half circles in step 8, extrude cut 0.04 in.
12. Add a fillet of 0.1 in to each joint and outside edge.
3D Printing
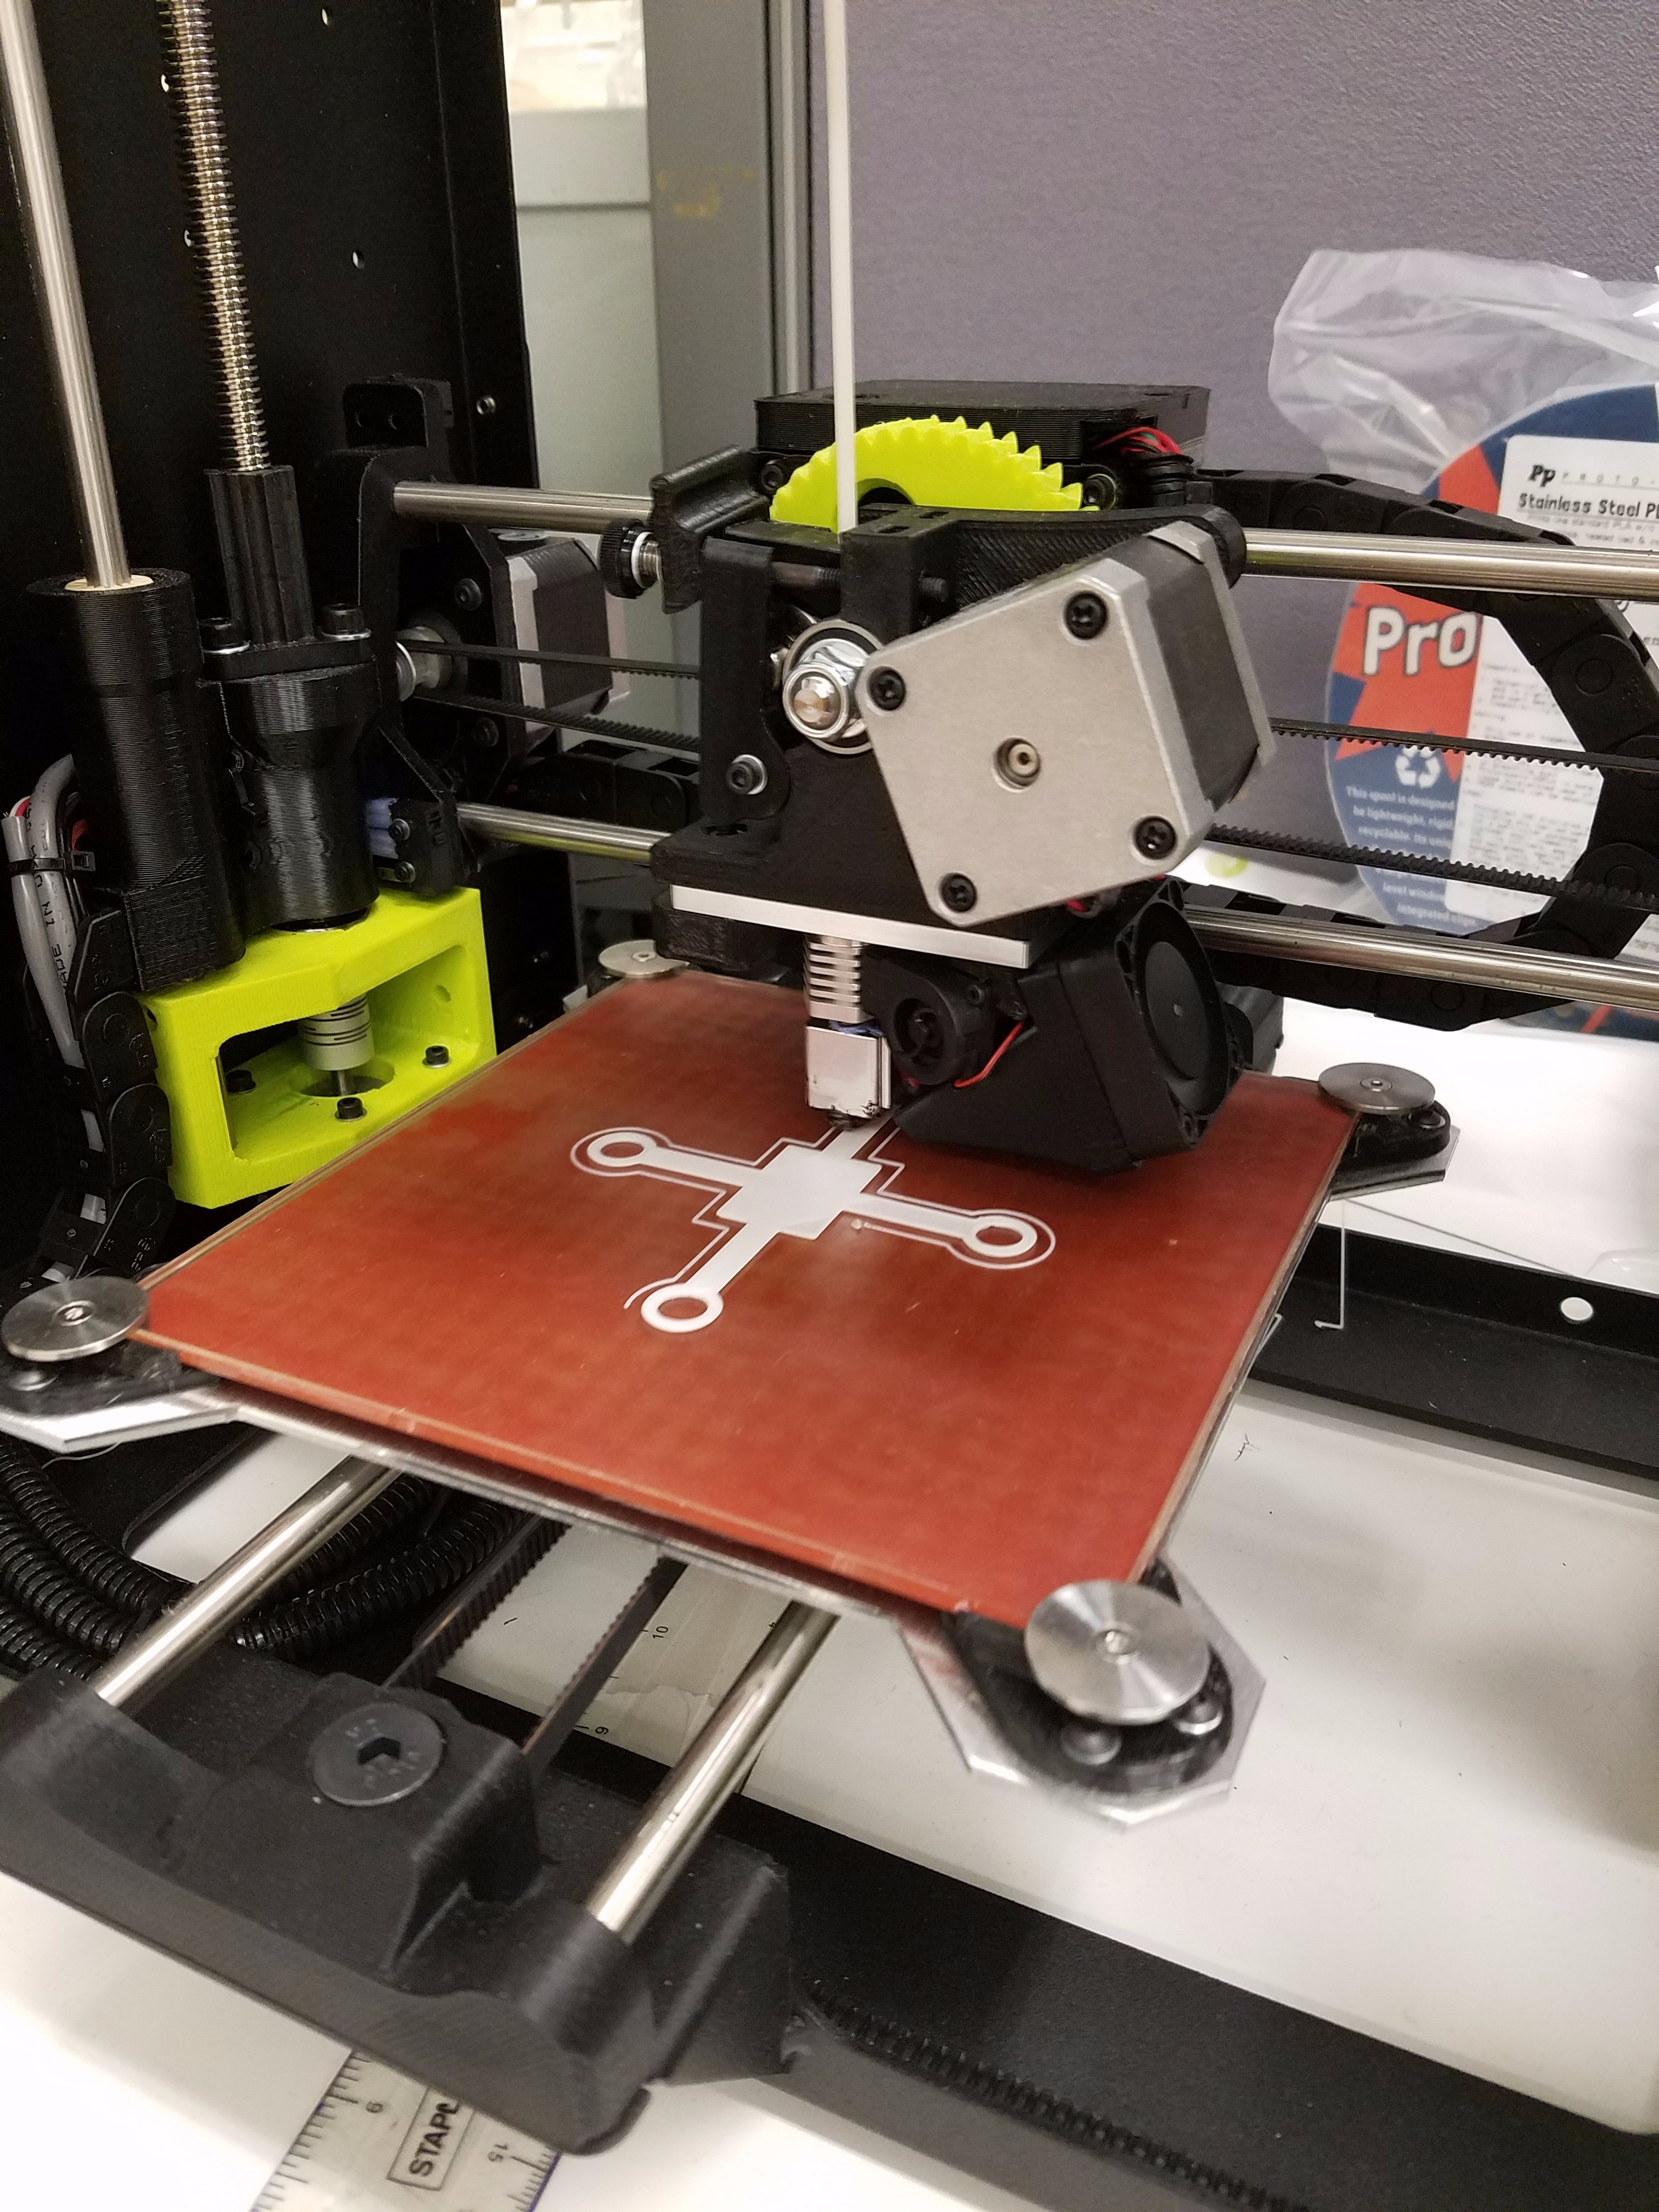
When 3D Printing you want to make sure that the frame is filled enough that it is sturdy, but light enough to still fly so you do not want it to be filled solid. So when we printed our frame we used a 20% fill setting because this actually filled the frame about 20-25% in actuality.
Assembly
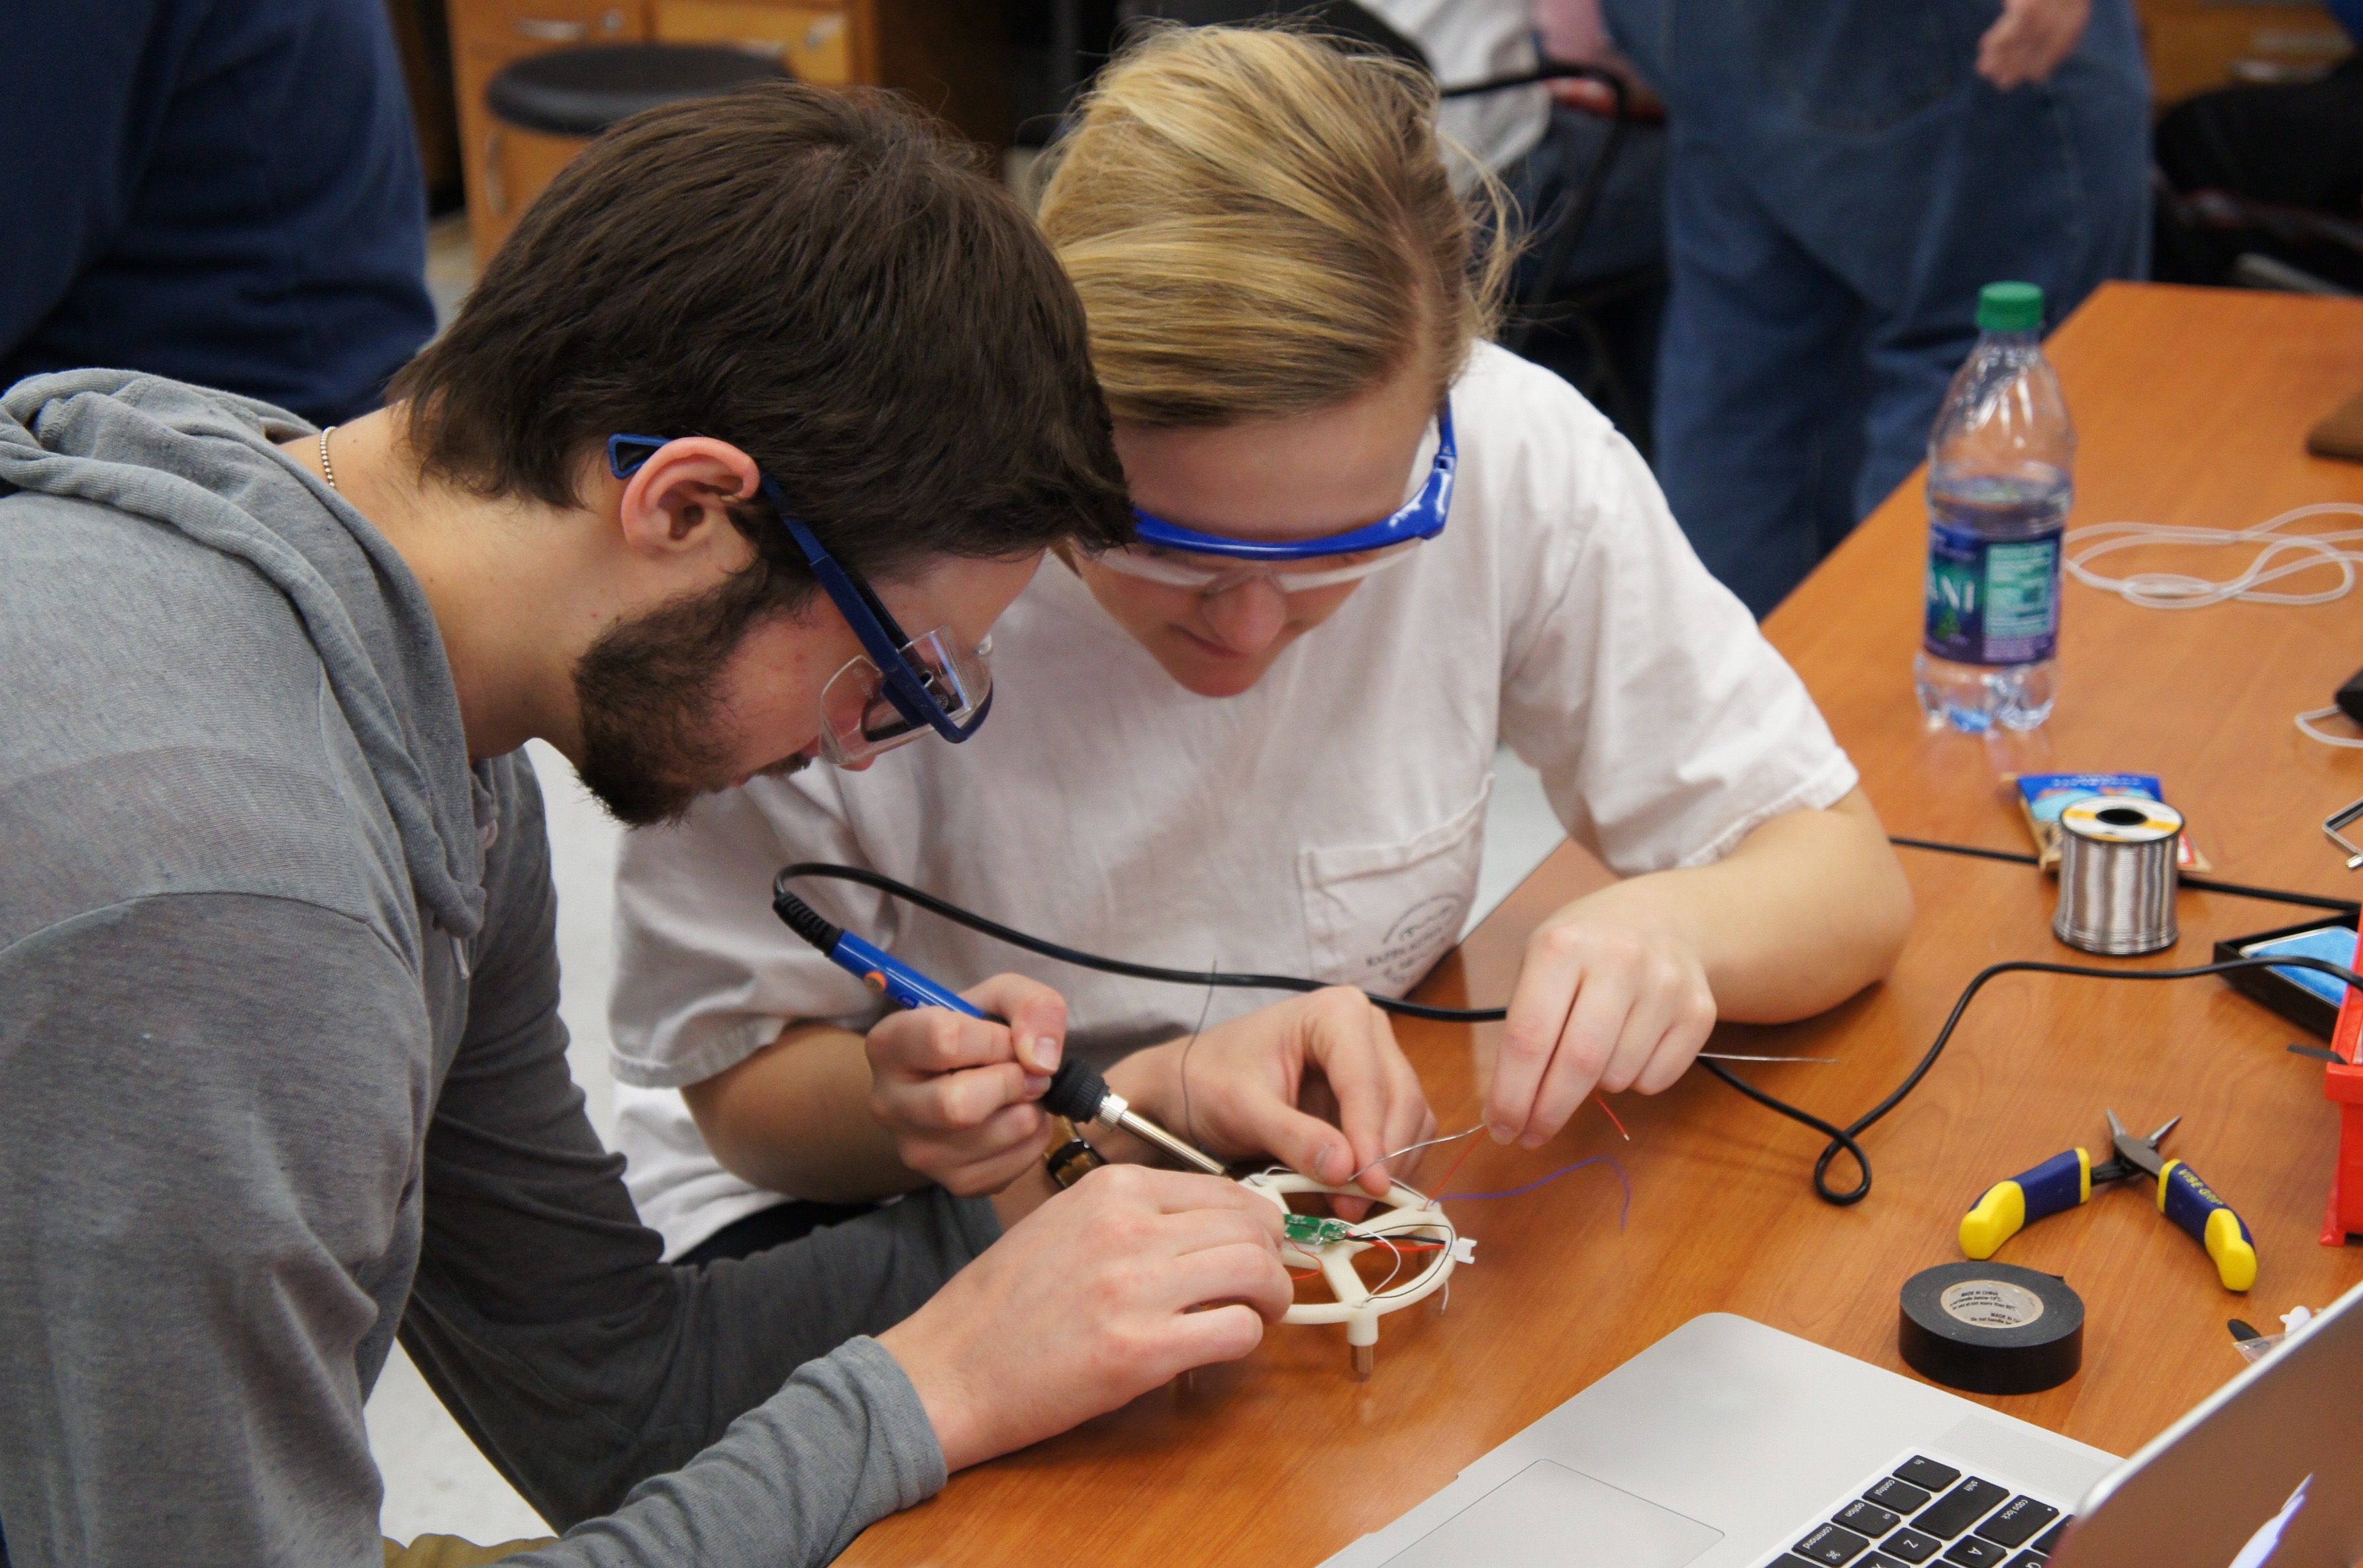
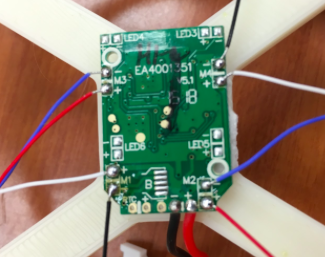
A soldering kit consists of a soldering iron, a sponge, and a soldering material. In this case, we are using a led and tin composite as the material. Before beginning to solder, it is important to record and know which wire will be soldered to each contact on the control board.
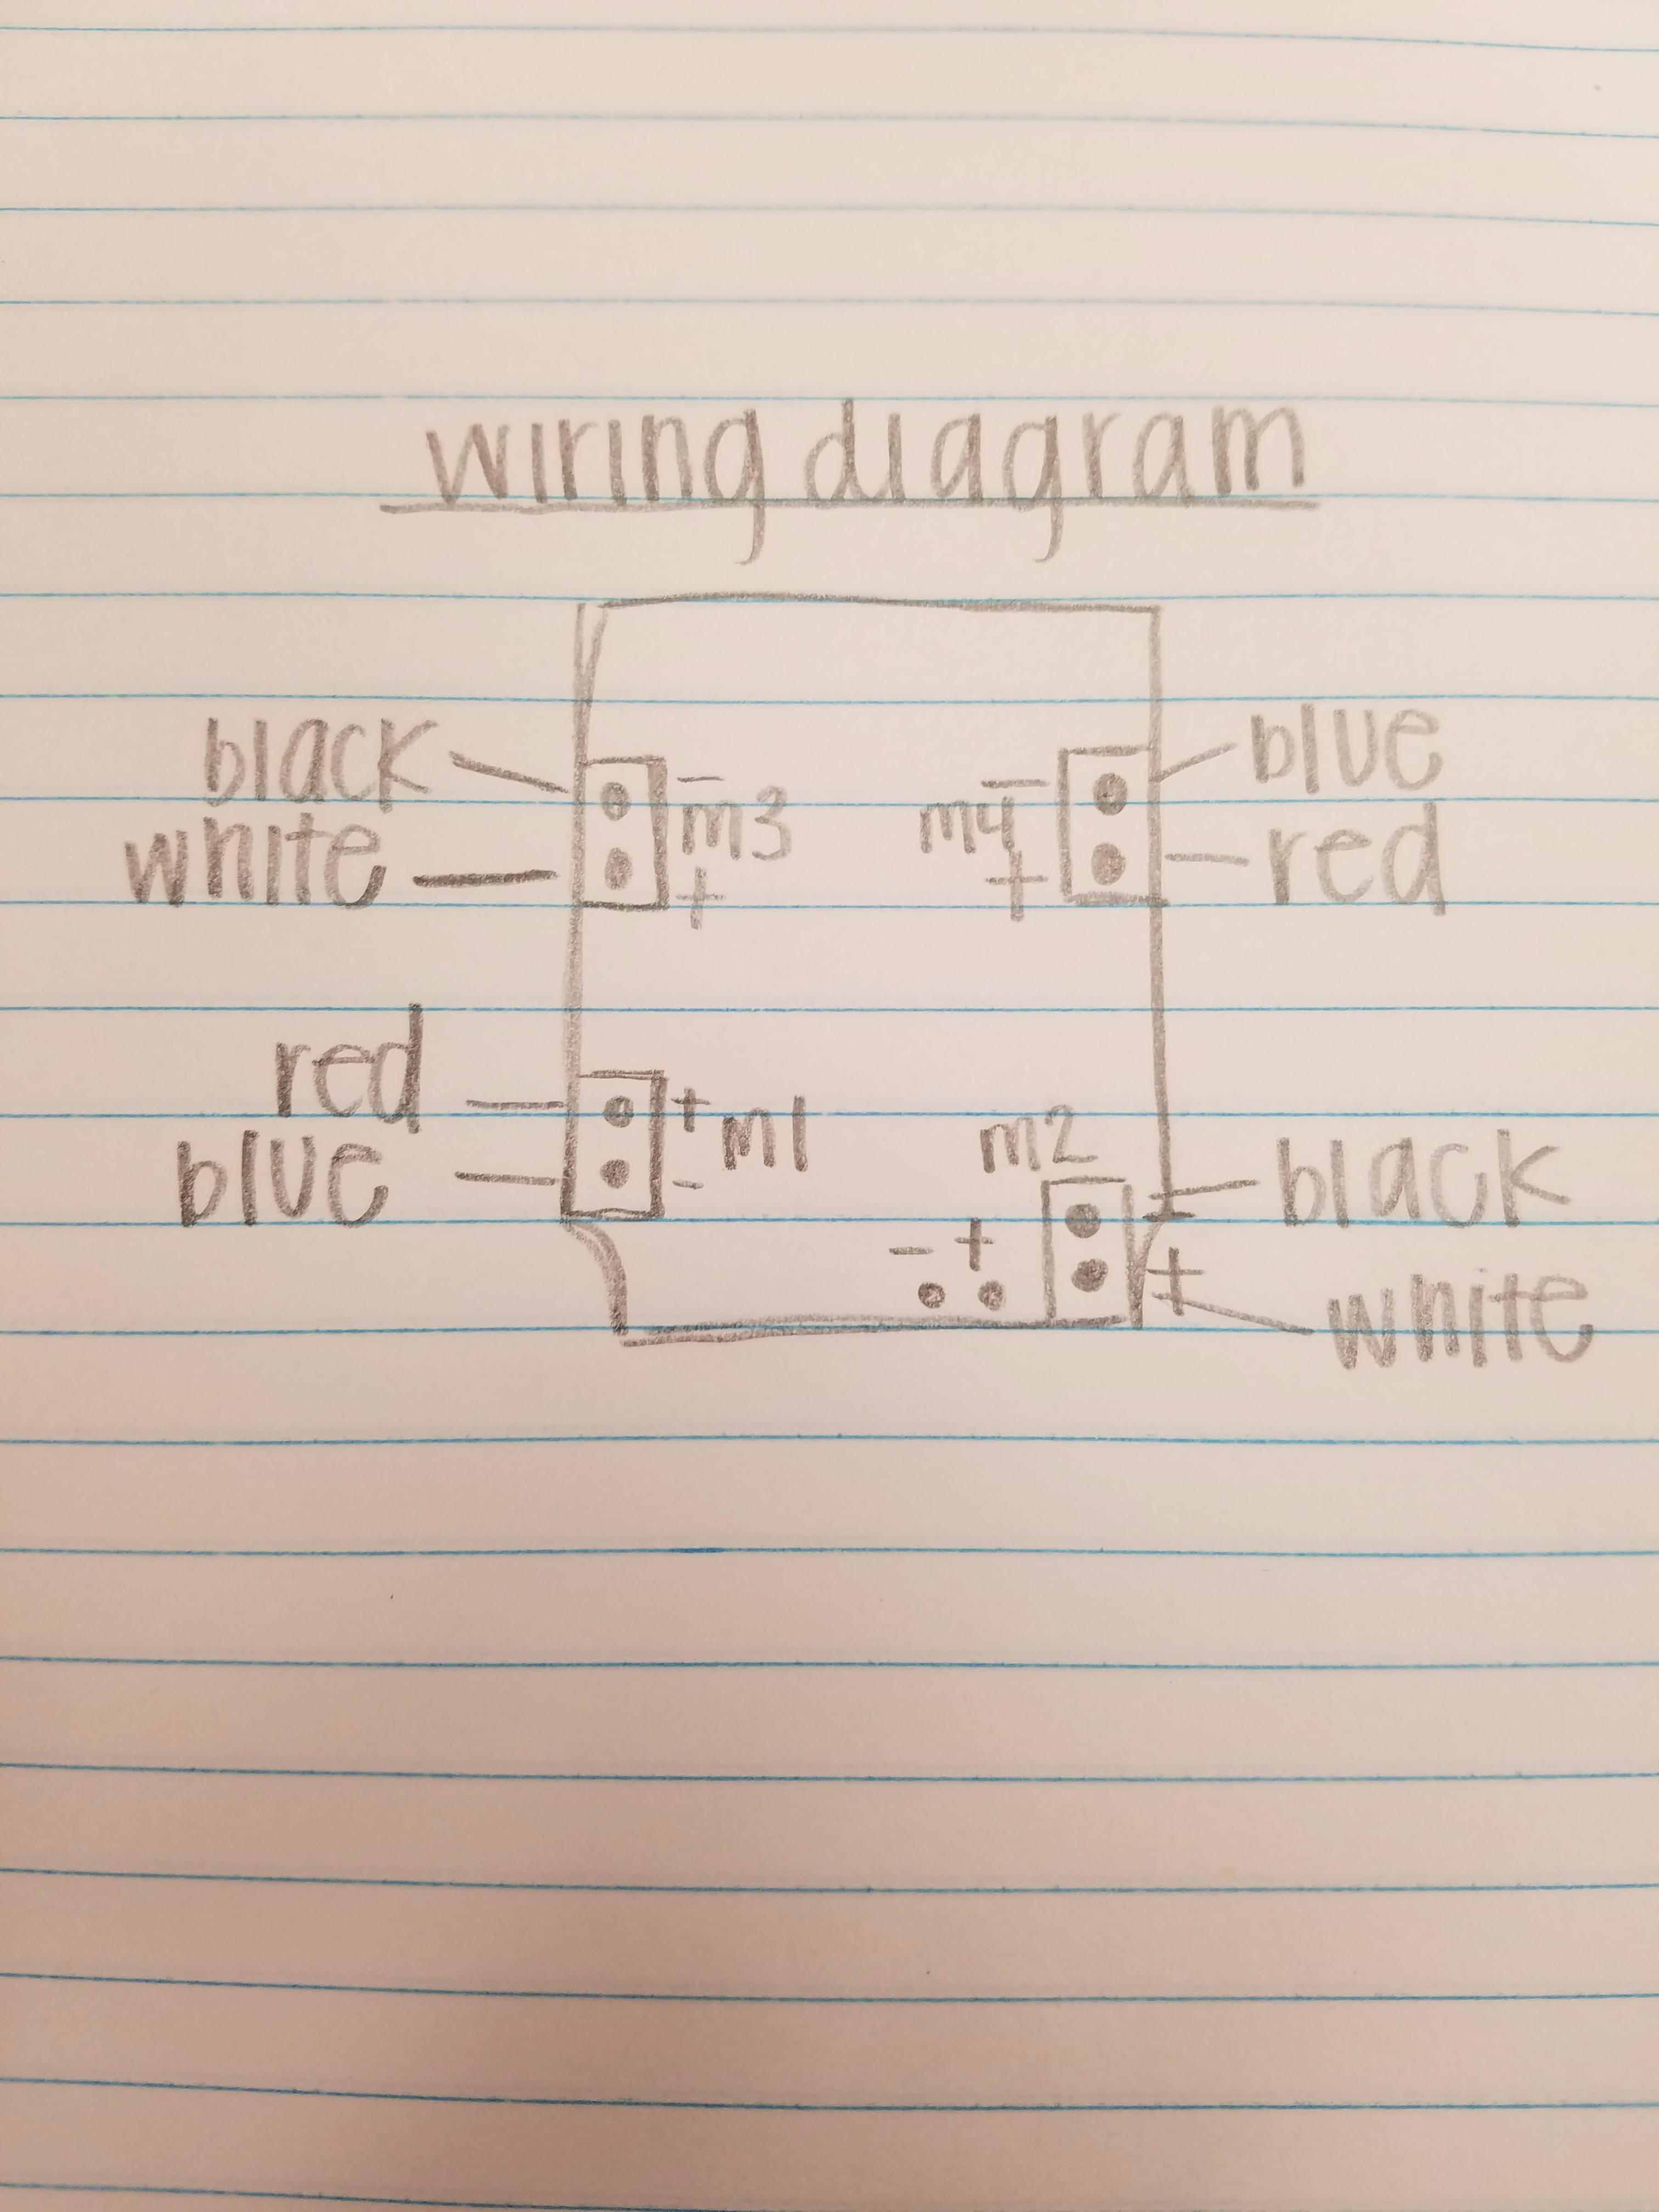
One of the most helpful things will be a wiring diagram for soldering the motors to the flight control board. Since red is always positive, and black is always negative with electronics, that means that the motors will be White+/Black- for the one set, and Red+/Blue- for the other. These motors should be diagonally opposite each other when they are soldered into place. Make sure that you have the motors secured into the correct places before you start soldering and that you have all of the wires easily exposed to the flight control board.
Testing
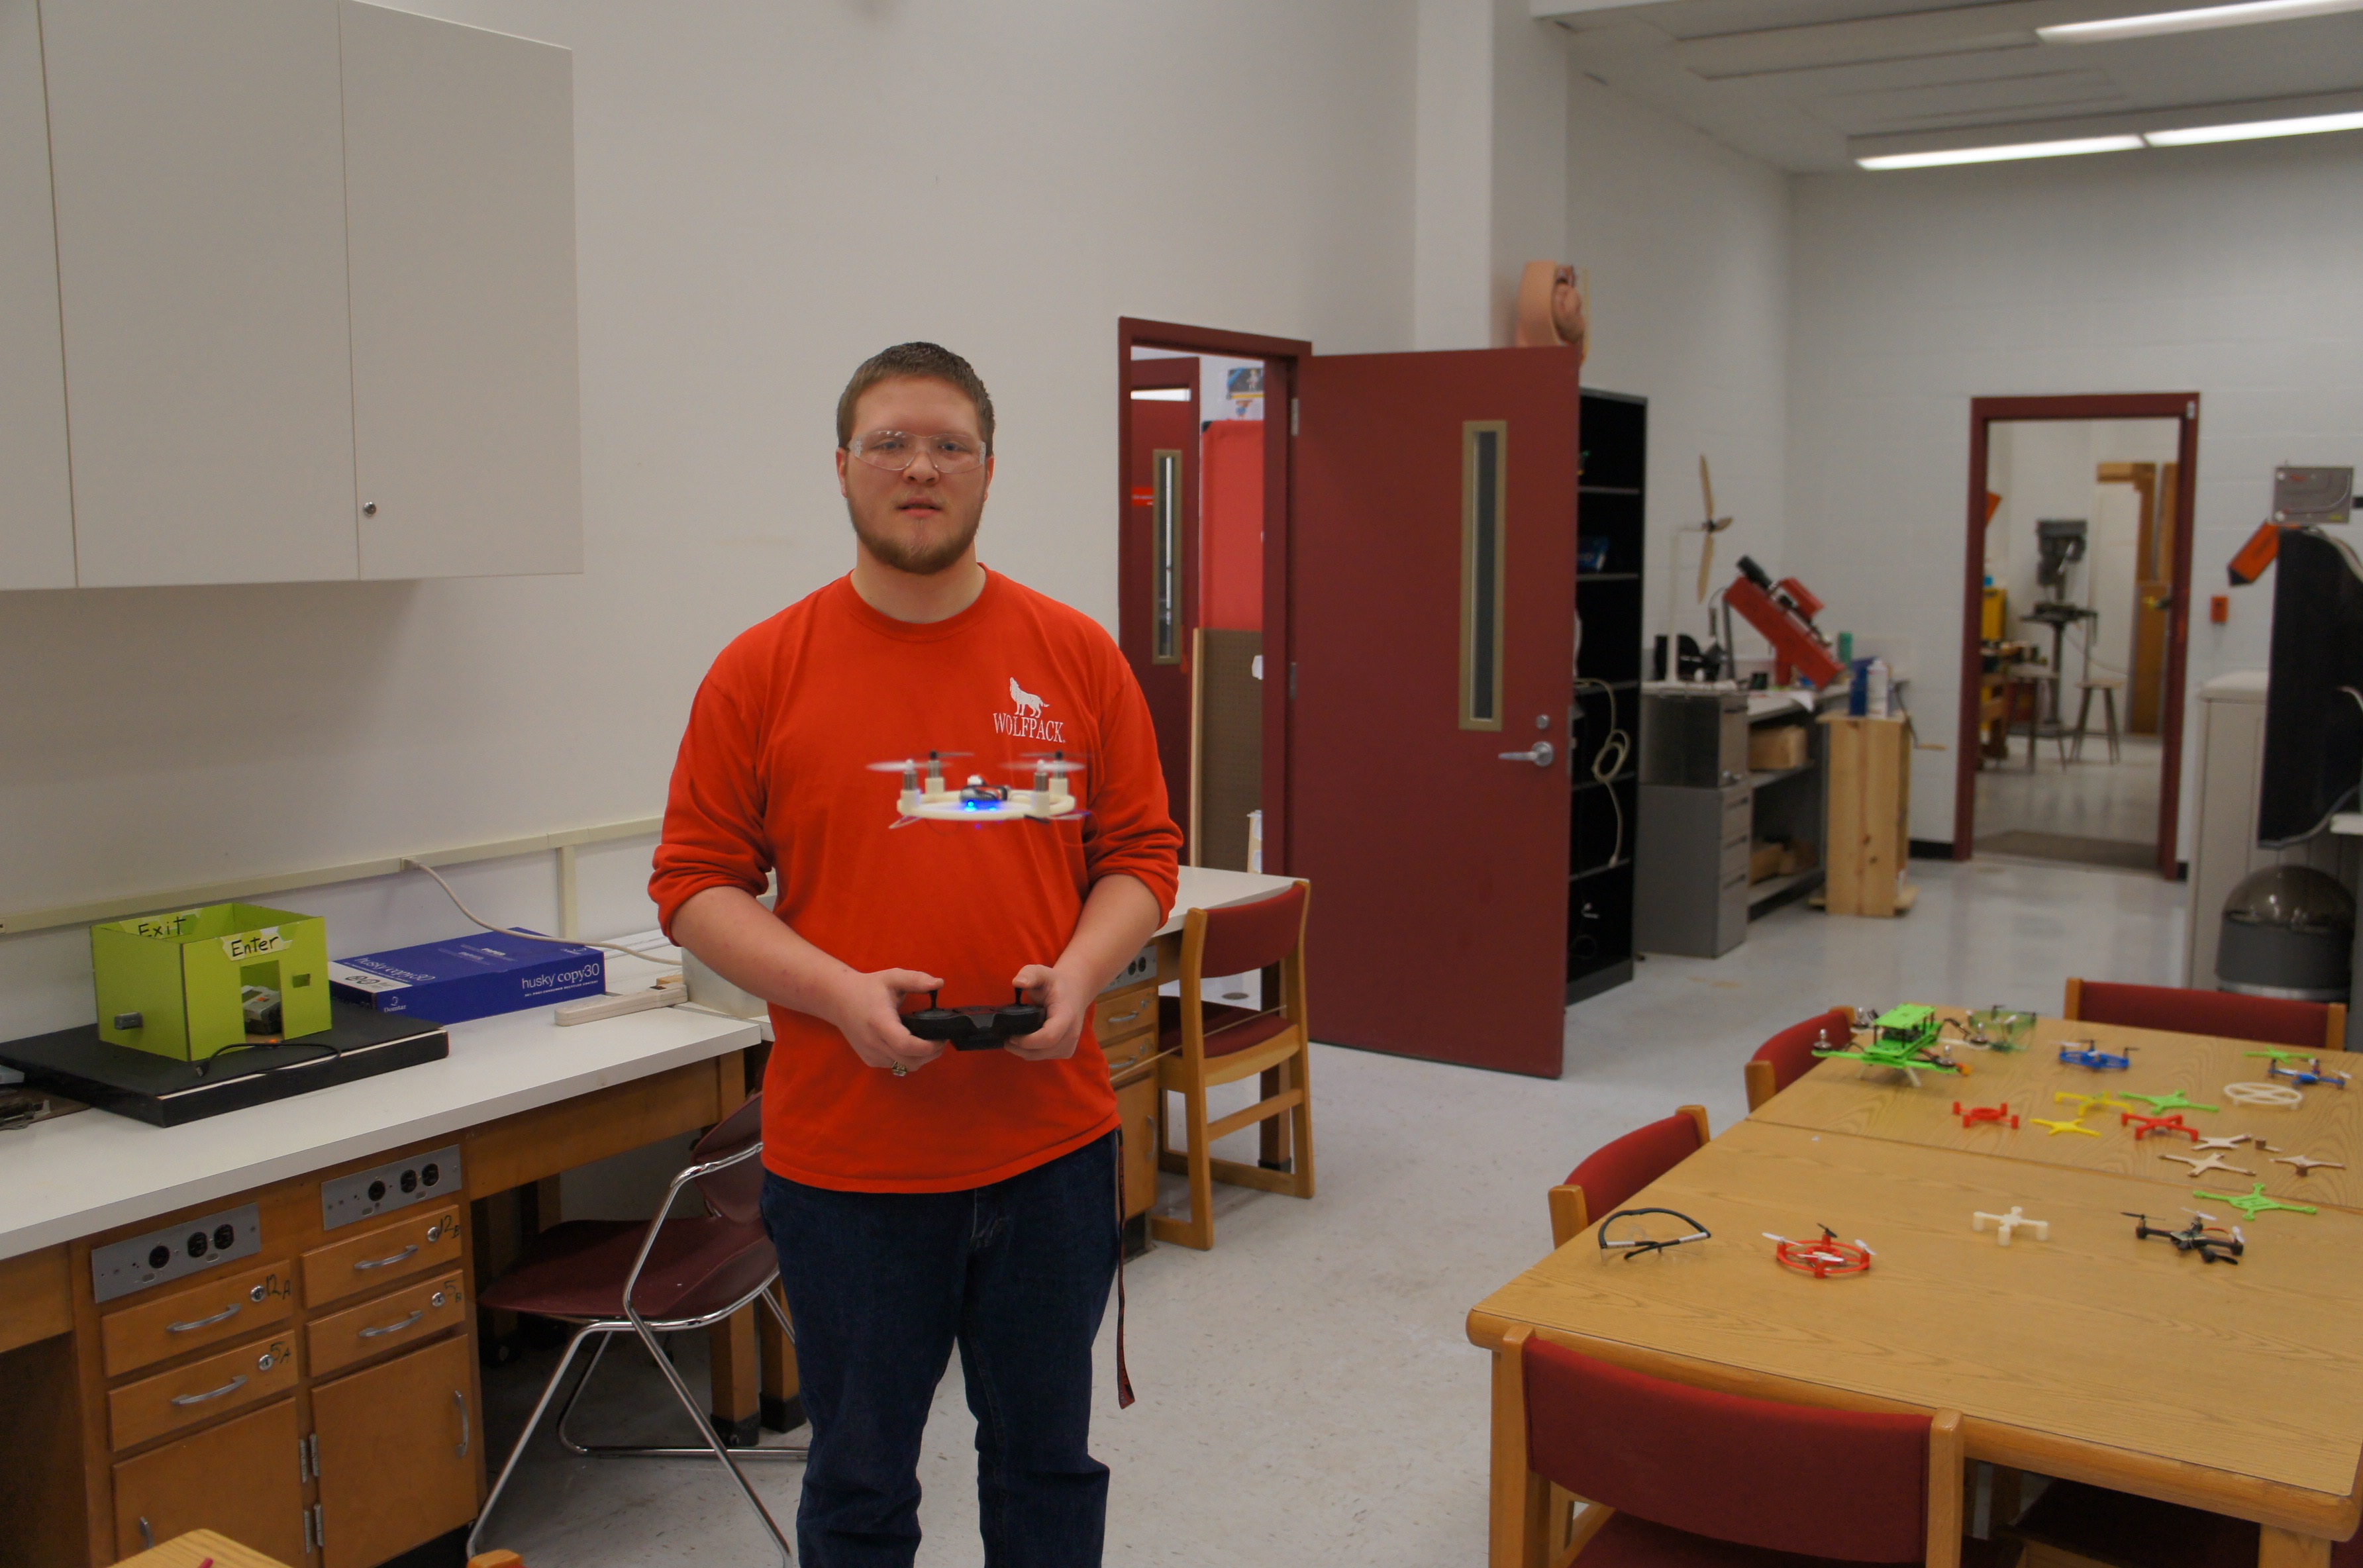
Whenever flight testing a quadcopter, especially a newly assembled quadcopter, the most important point is safety. Many things can go wrong with a quadcopter in testing, so it is important to remember these key points:
- Always wear safety glasses
- Test in a large, open area, free from bystanders
- Be sure there is a proper pairing between your quadcopter and controller
Before attempting to fly, test that your connections are solid with a multimeter. This will allow you to confirm that electricity is going to flow before you start adding power to the motors, and can prevent frustration about why the motors are not turning. When testing, there are a few specific things to look out for. First, testing will confirm that the wires are soldered to the correct contacts. If the quadcopter does not fly properly, it’s possible that the wires are not connected to the matching contact. Also, testing will ensure that the blades are placed in the correct order so that the quadcopter generates lift below itself. Finally, testing will ensure that all of your parts and pieces are firmly placed so that nothing flies or falls off. Once your quadcopter has passed all of these tests, you’re ready to fly!