3D Printed Prosthetic Hand(work in Progress)
by Inventeroftheawsome in Workshop > 3D Printing
966 Views, 7 Favorites, 0 Comments
3D Printed Prosthetic Hand(work in Progress)
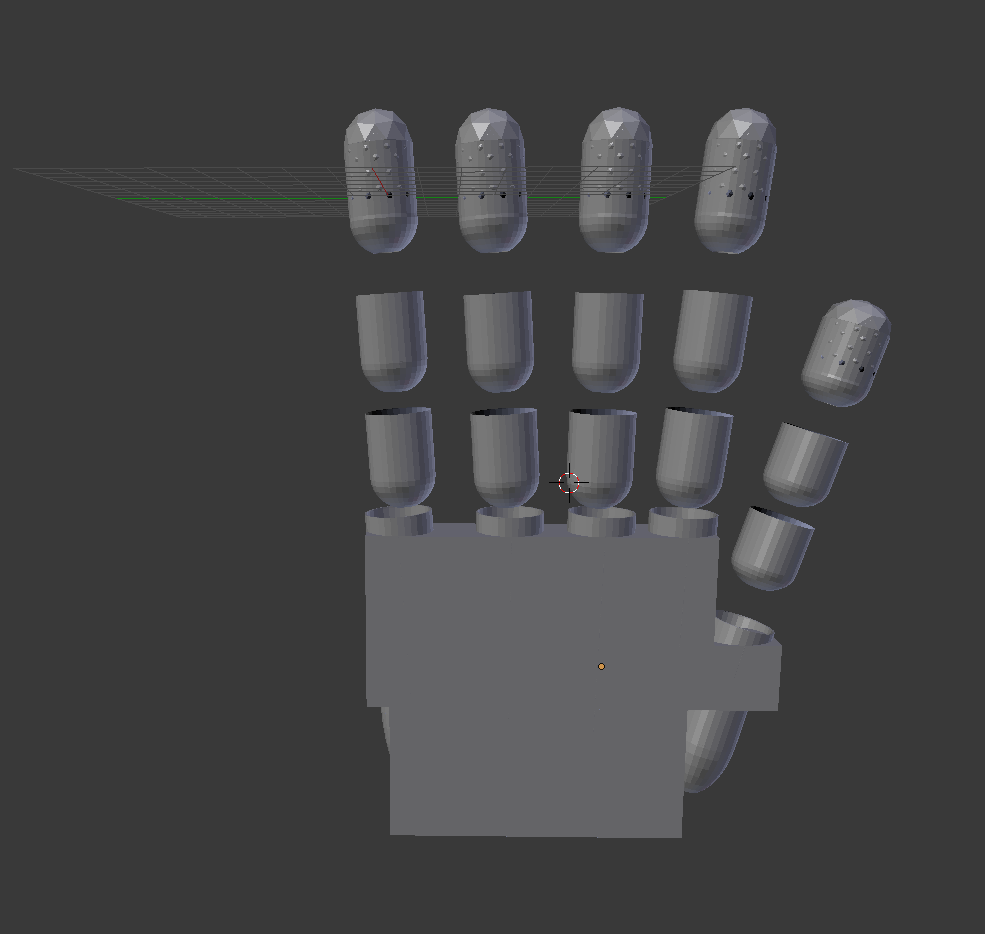
(Please keep in mind that this instructable is not finished because my access to a 3d printer was cut off once school ended for me so that is another reason why I want to win a printer so I can continue this project and start more projects to help people) In the World there are many people that are disabled due to amputations or Birth defects these people struggle with ordinary things such as picking up a bag. Most prosthetic limbs are very pricey and weigh a ton. But With new modern 3D printers we have the ability to print cheap but high quality Prosthetic limbs. So in the Instructable I will show you how to get started how to design it and how to print it!
Getting Software to Design Your Hand

Most high end software cost a lot of money to buy, but the software i'll be using in this instructable is easy, completely free and can be downloaded on Mac, Windows and Linux computers.
The Software is called Blender and if you just click that hyperlink it will take you to the home page of the website where you will see a blue button that has a cloud and says Blender 2.77a. which means that's the most latest version. Click it. it will take you to a page that has a list of different operating systems in different colors. Find your operating system( what brand your computer is) and scroll your mouse over it, it will say chose a mirror with an arrow go over to the right side of the colored box and click your country and if it doesn't show your country just choose U.S.A and it will automatically download it for you. it will come in a .Zip format on most computers all you have to do it's double click it and it will unzip it giving you a folder double click the folder and it will open a window that has a few other folders but there should be a application that says blender and looks like the logo just double click it and it will open up the application.
Getting Started
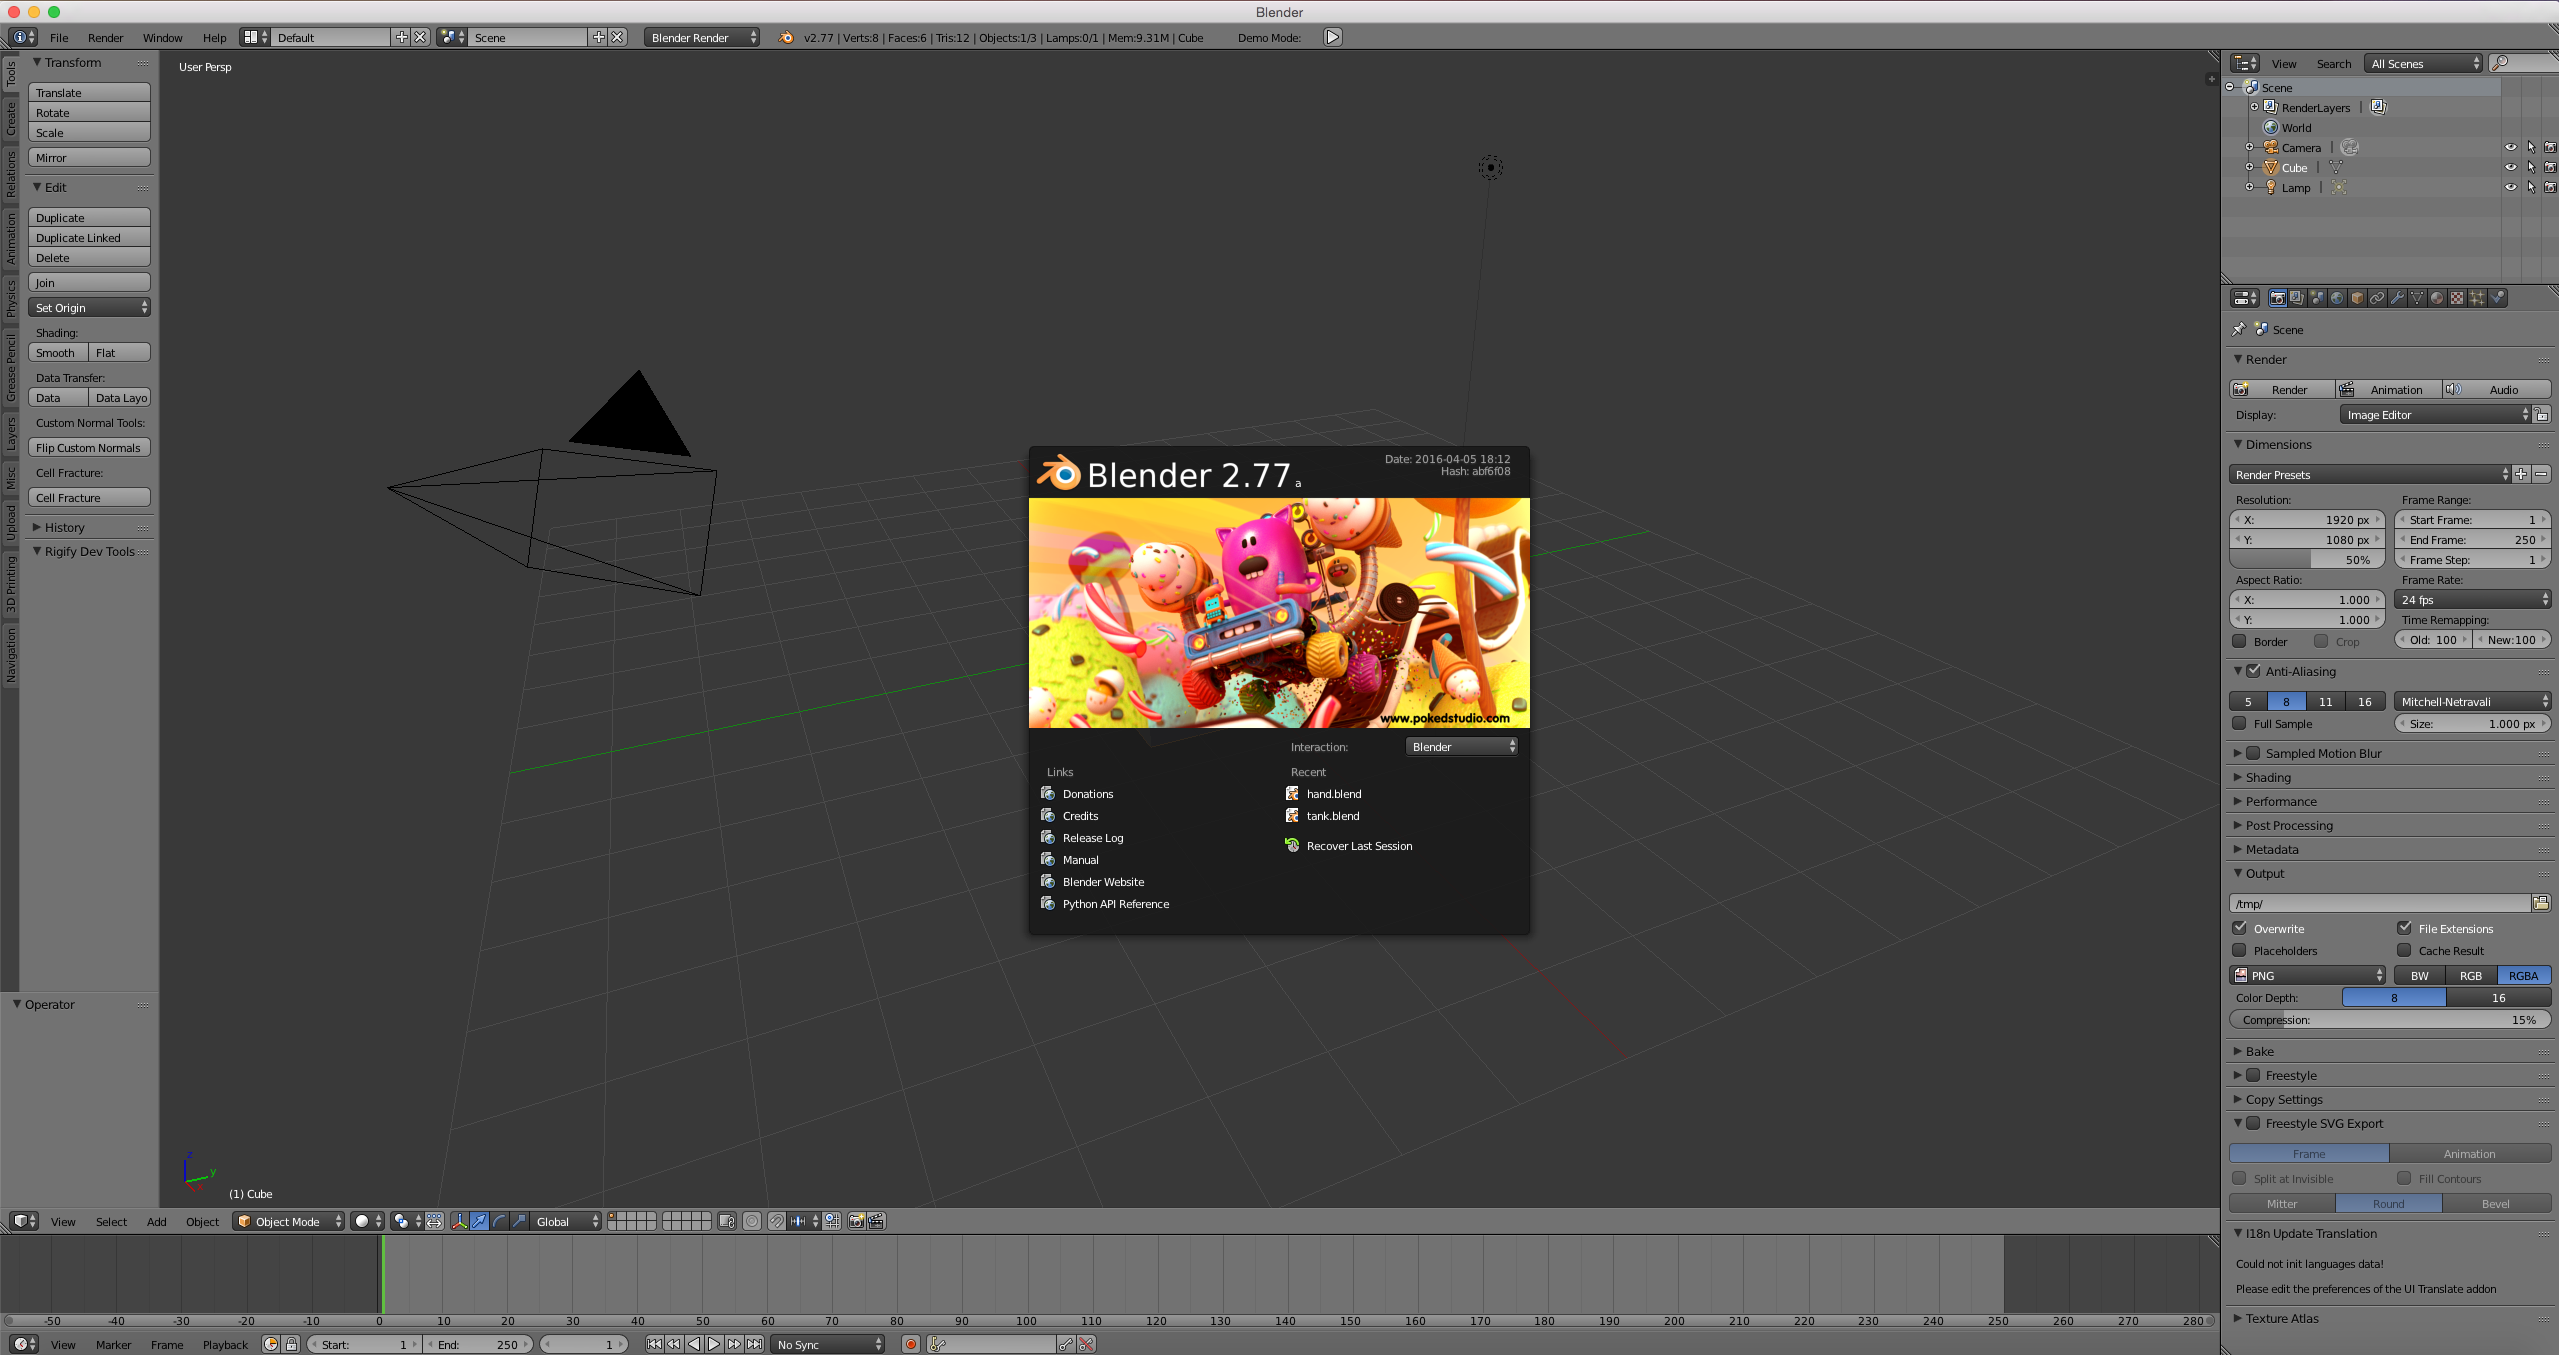
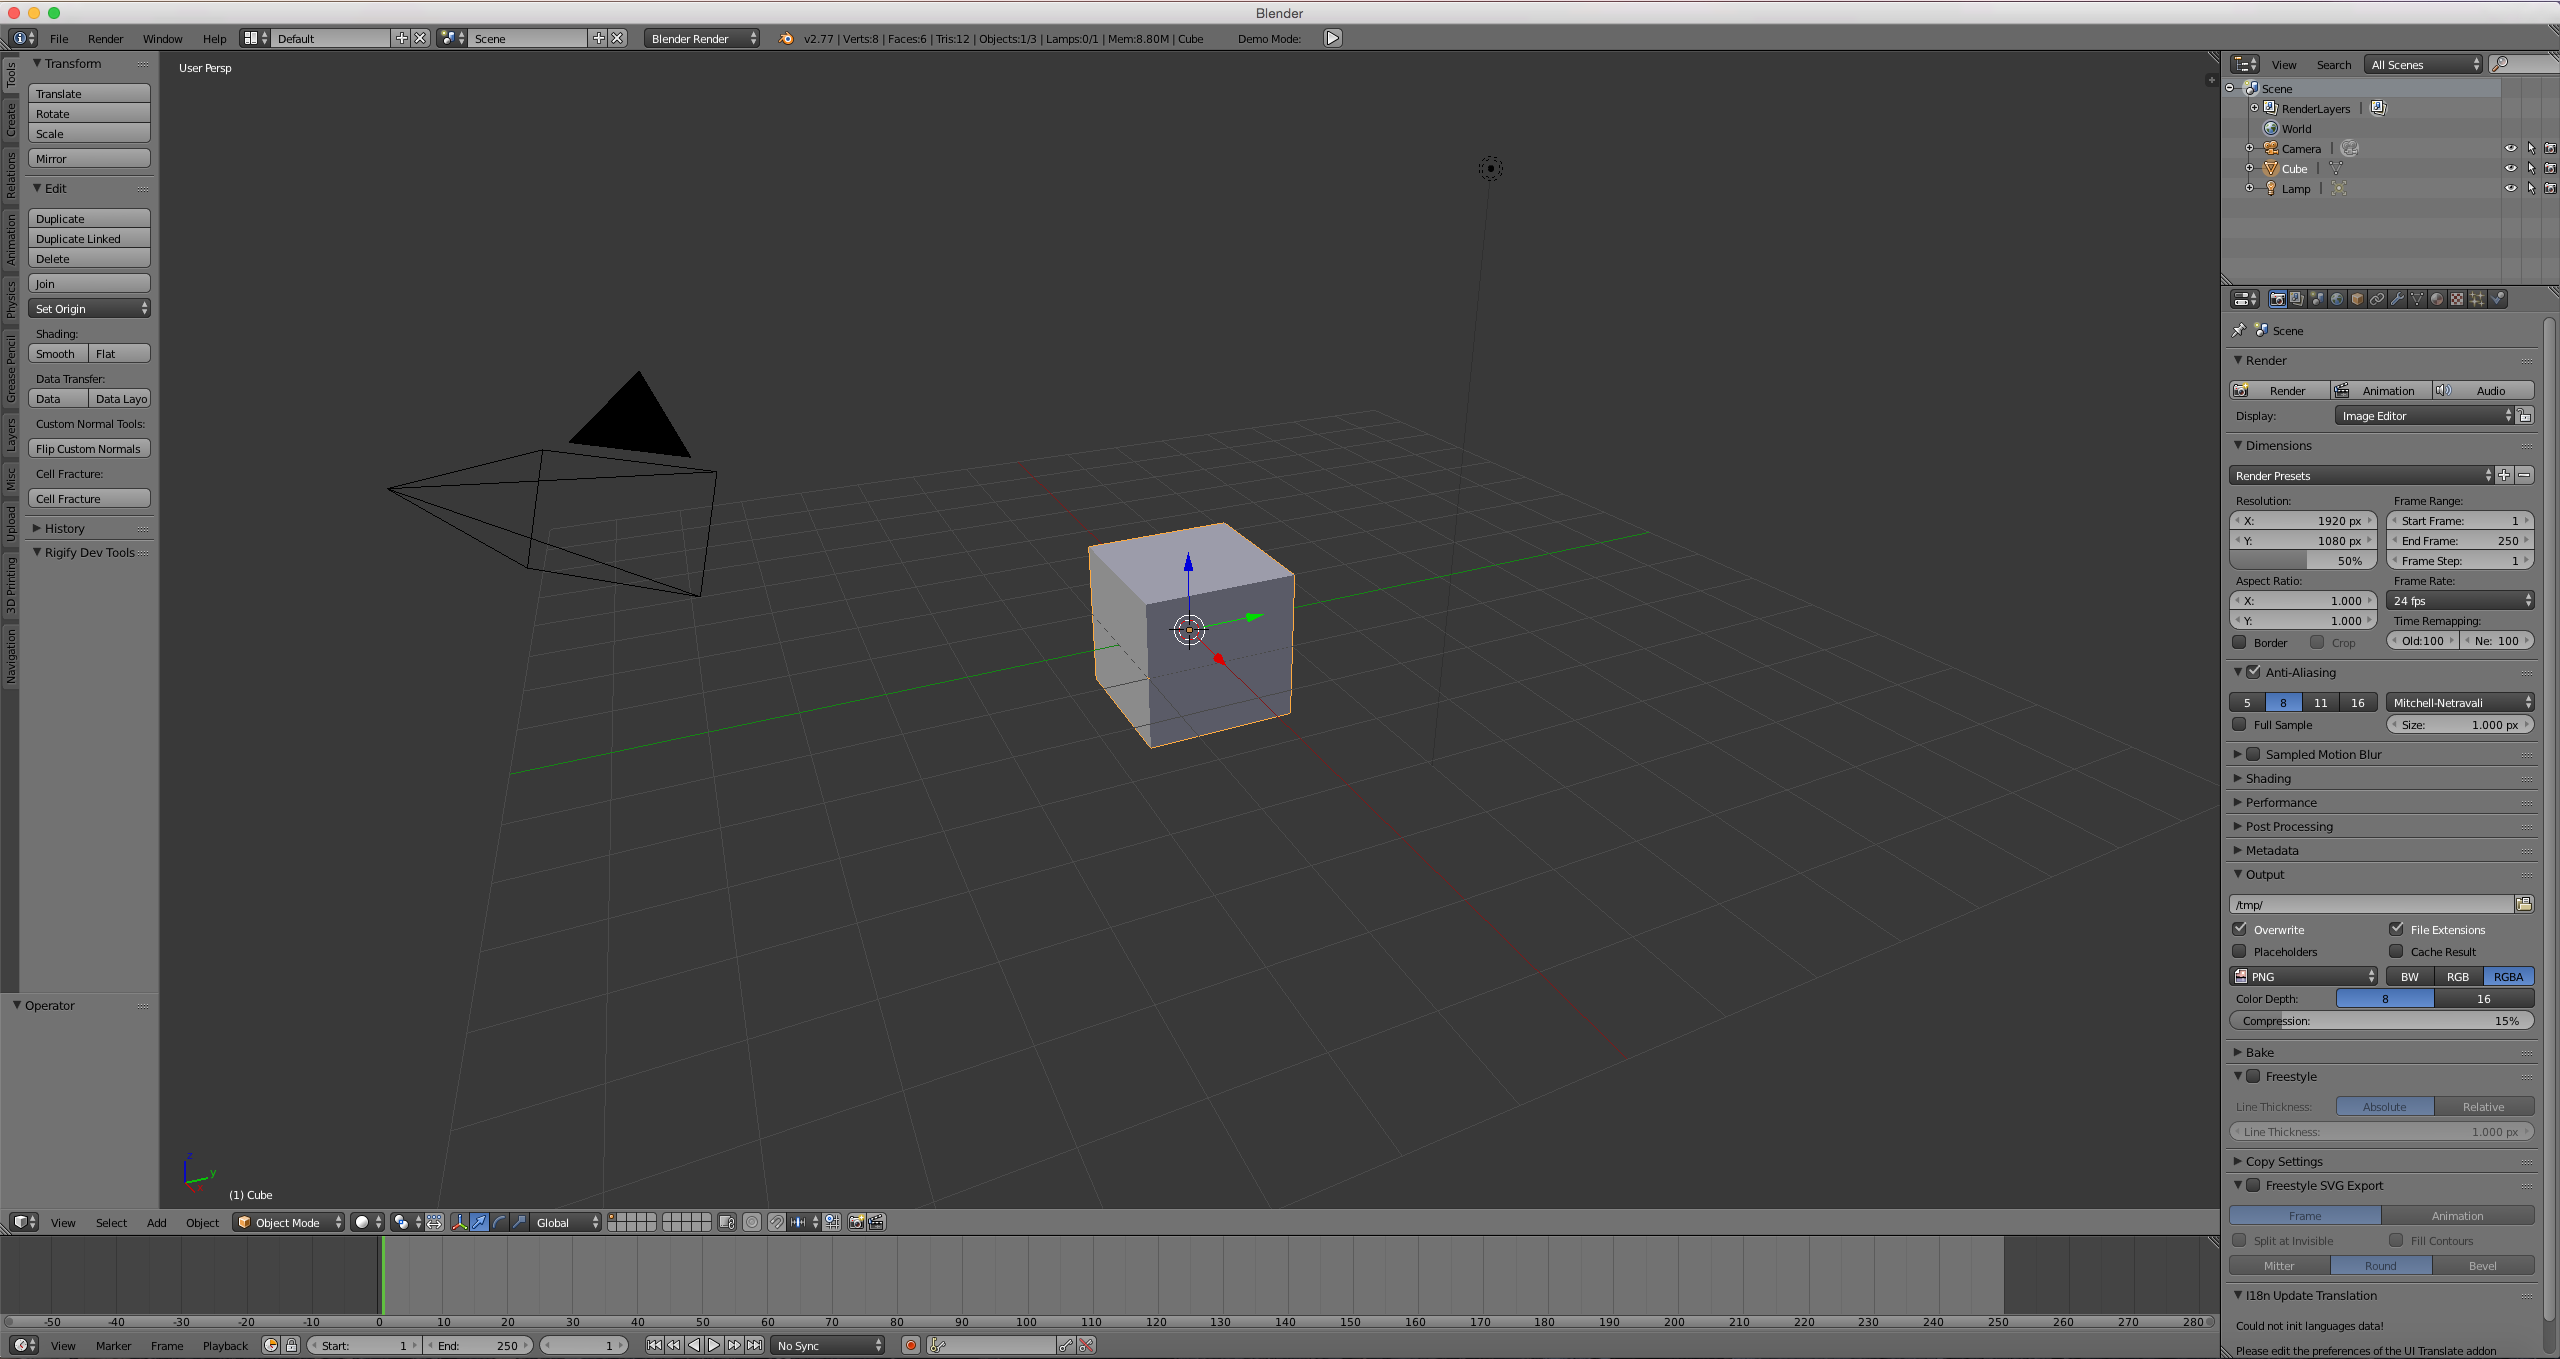
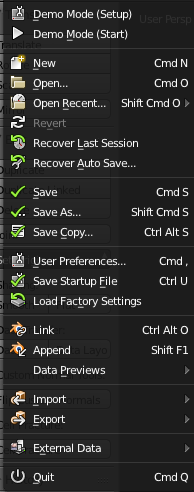
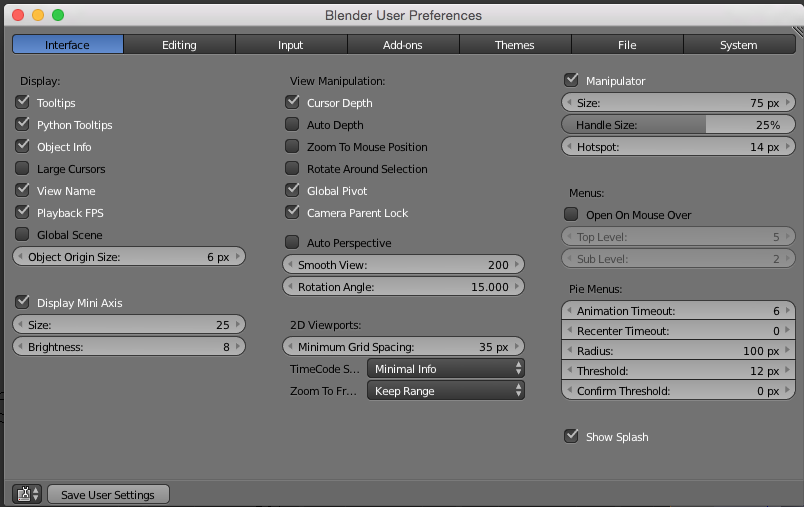
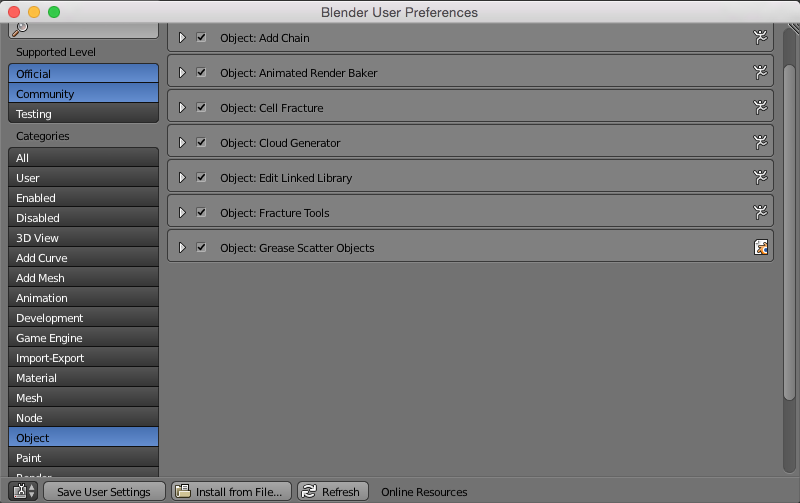
you should see a screen that looks like the photo above just click anywhere around the pop up in the middle and it will go away to reveal a screen that looks like the second photo. what you should do now is move your mouse to the top left of the window and you should see something that says (file) click that and it will open up a menu that looks like the third Photo (a drop down menu) scroll down to where it says (user preferences) a window should show up (picture 4) move to the tab that says "Add-ons" and a big list will show up but on the left there will be categories select the category that says "Objects" (photo 5) (you will most likely have to scroll down) and check mark every thing in that section then at the bottom of that window click save user settings and close that window.
Start Designing the Hand
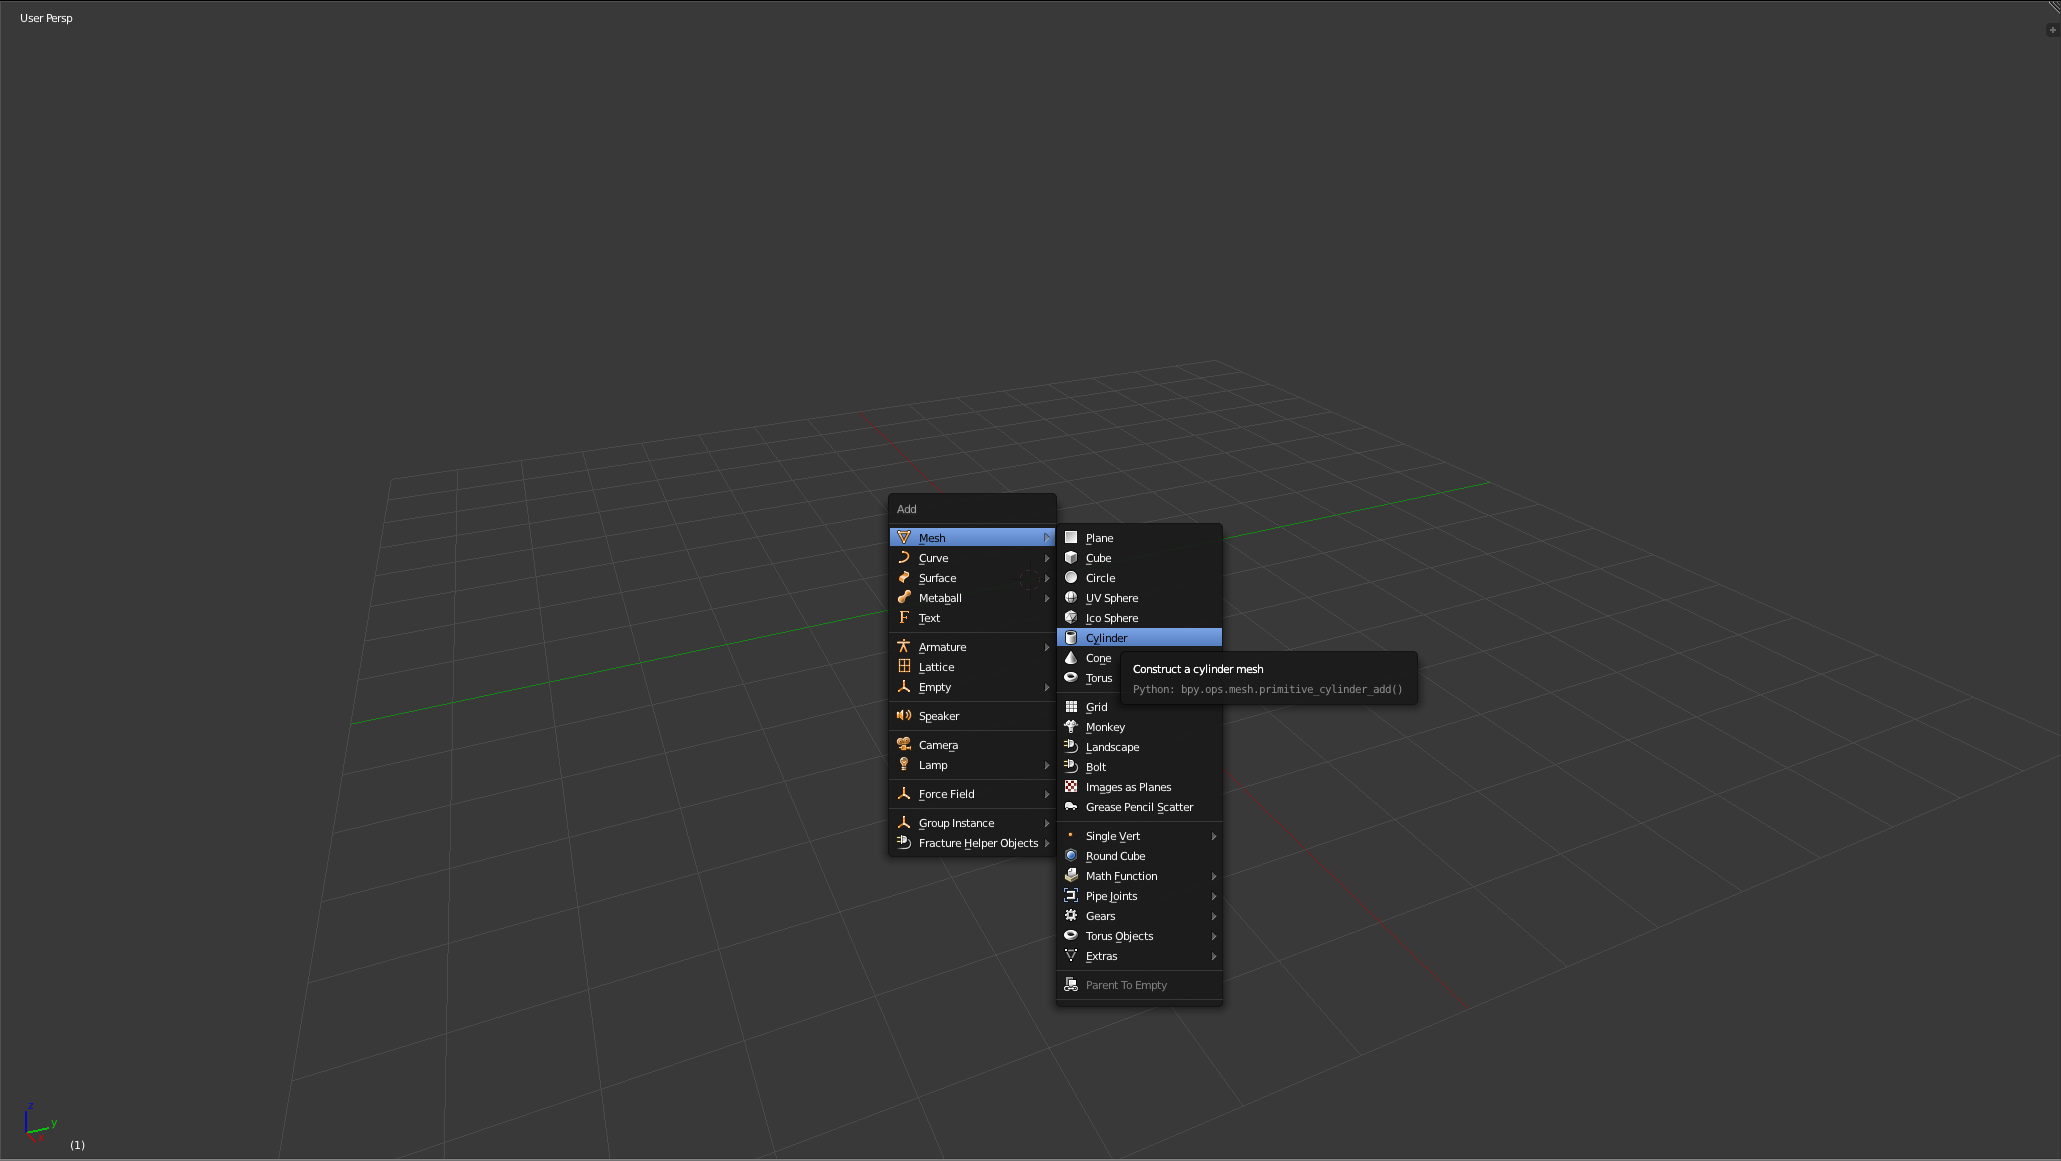
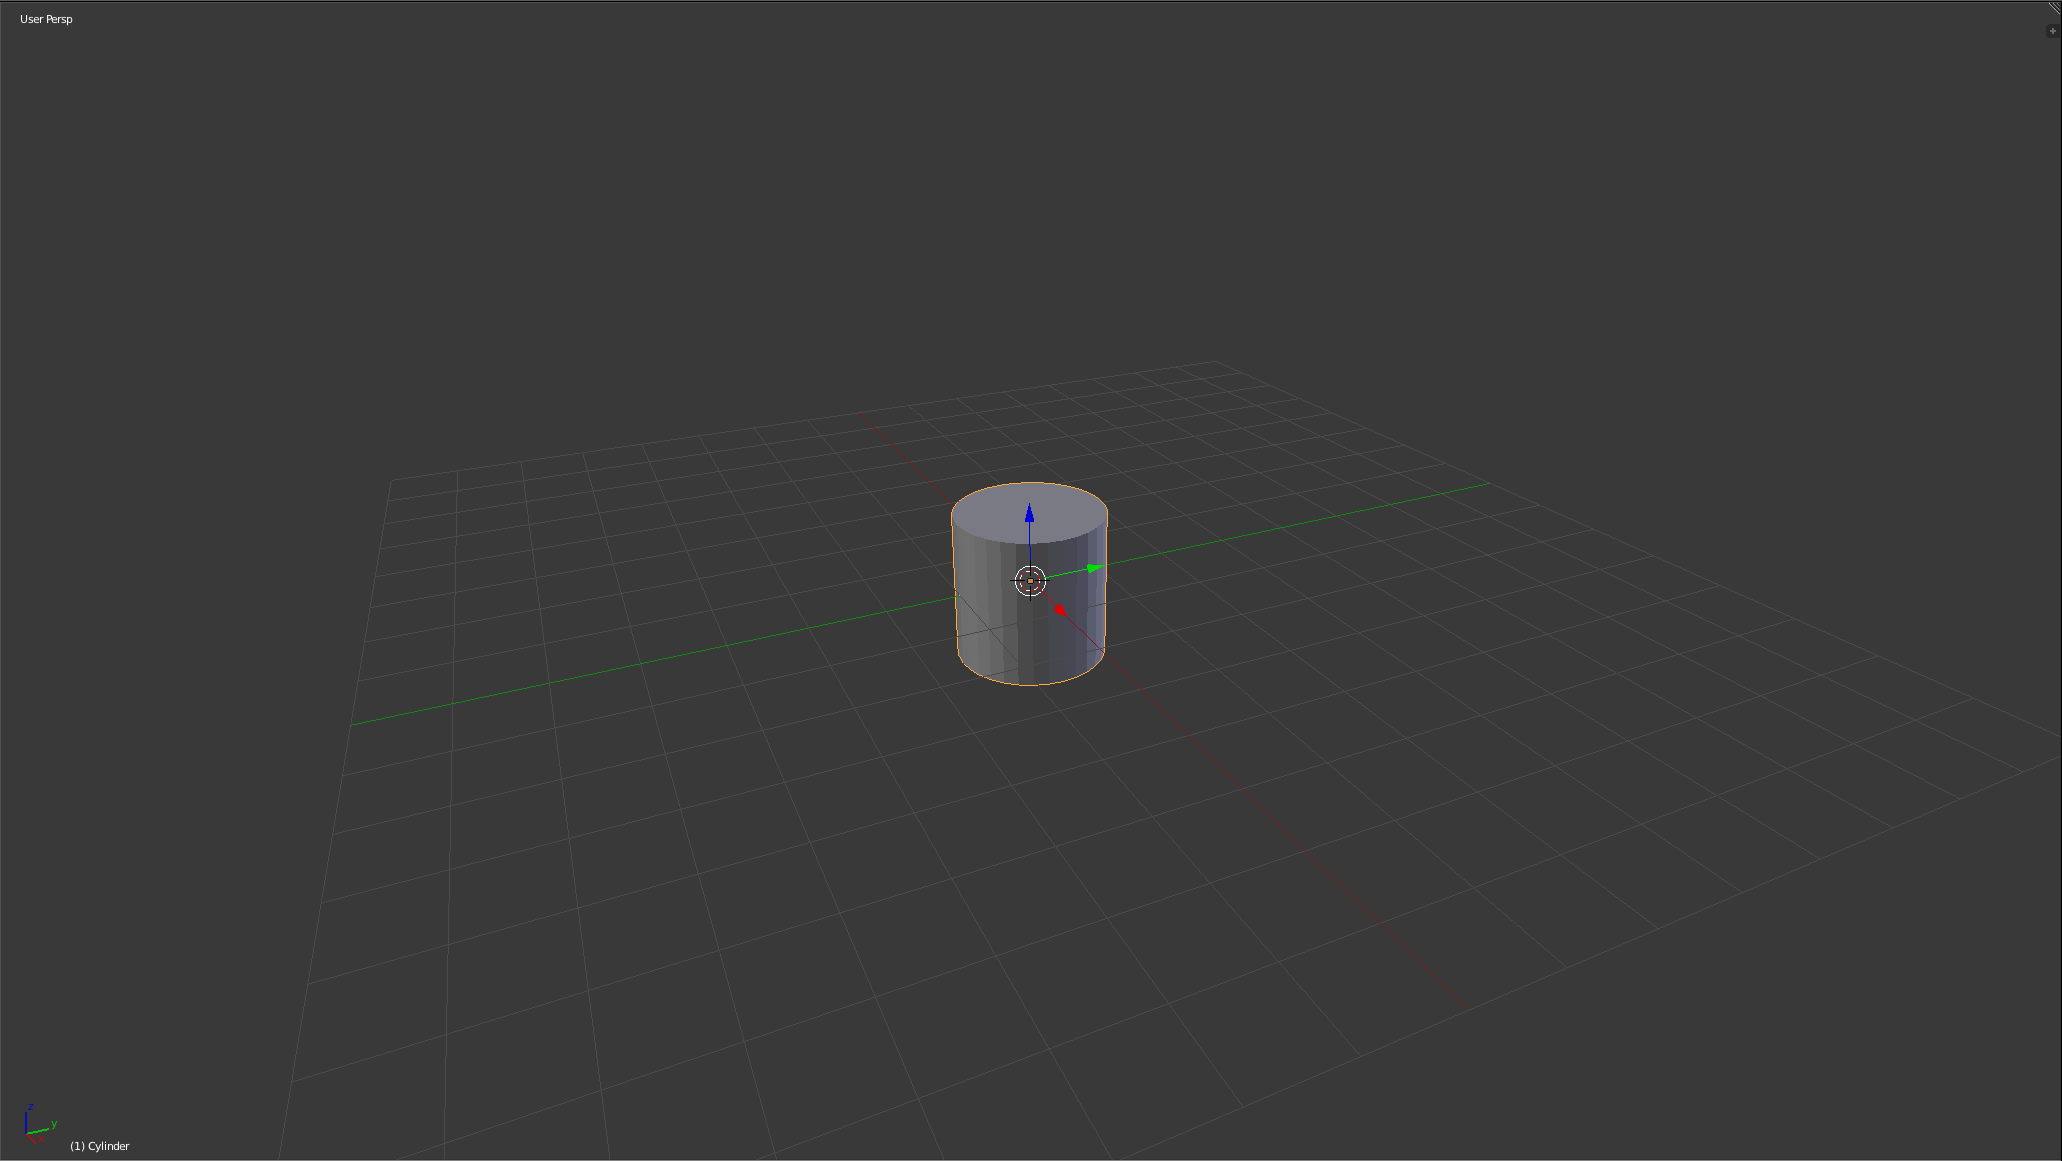
double tap the "A" key to select everything then tap "X" then left click. everything's gone, a blank work space.
Then press "Shift"+"A" keys and it will bring up a menu at your cursor click "Mesh" and then cylinder and that you will see will add a Cylinder
Making the Finger Joints
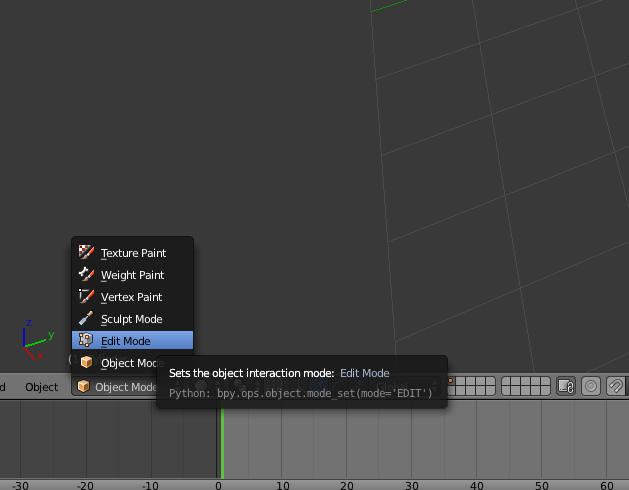
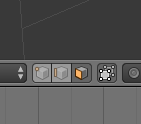
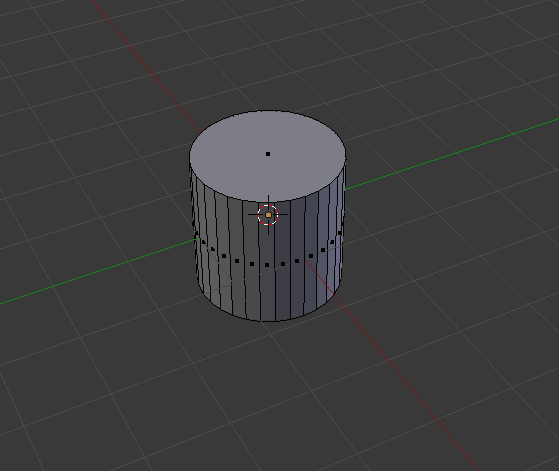
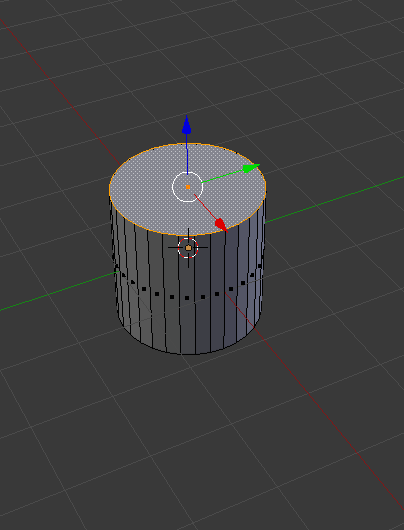
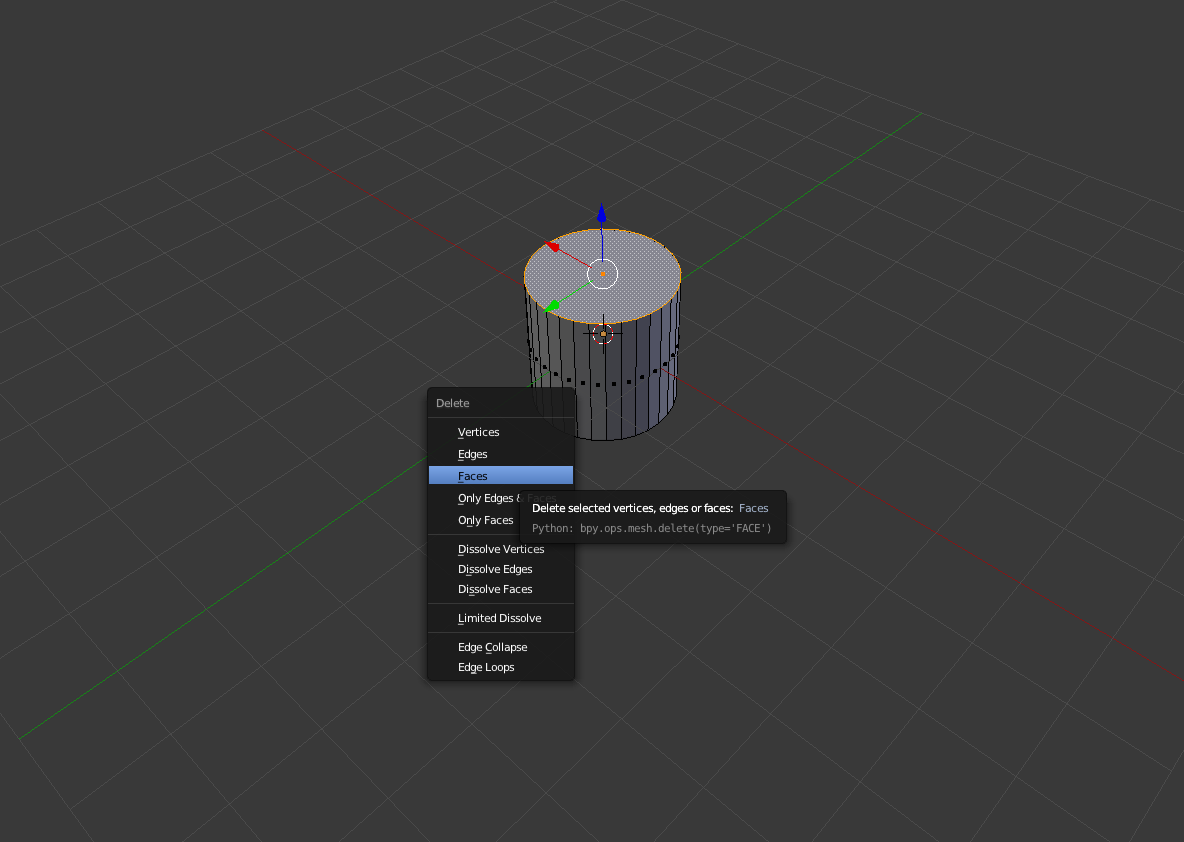
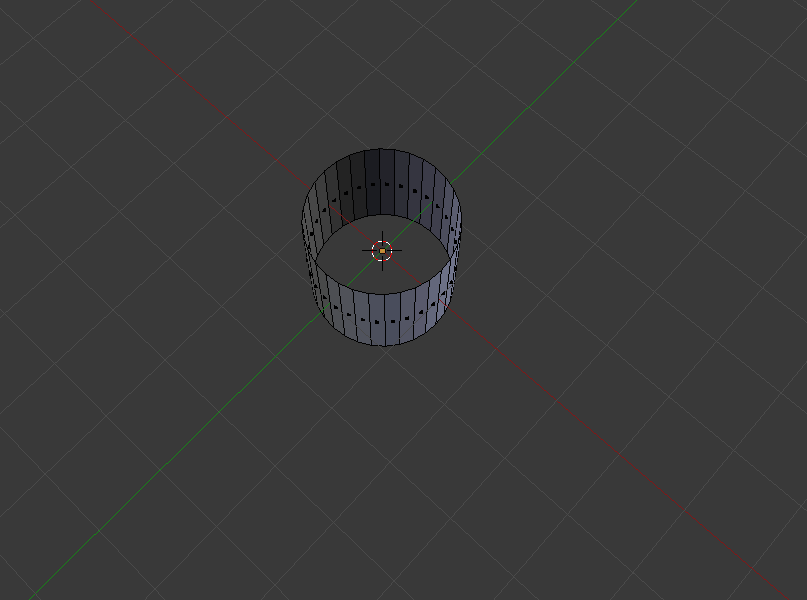
Now that you have a cylinder go into edit mode by pressing the "TAB" key or using the menu shown in the first photo now press "A" to deselect everything and then click a button on the bottom of the page that is shown in photo 2 (the one with the orange face) it will put you in face select mode which should look like photo 3 then right click the top face of the cylinder which will make it orange like in photo 4 then press "X" to delete the face like in photo 5 then do the same to the bottom face at the end it should look like photo 6
Finishing the Finger Joints
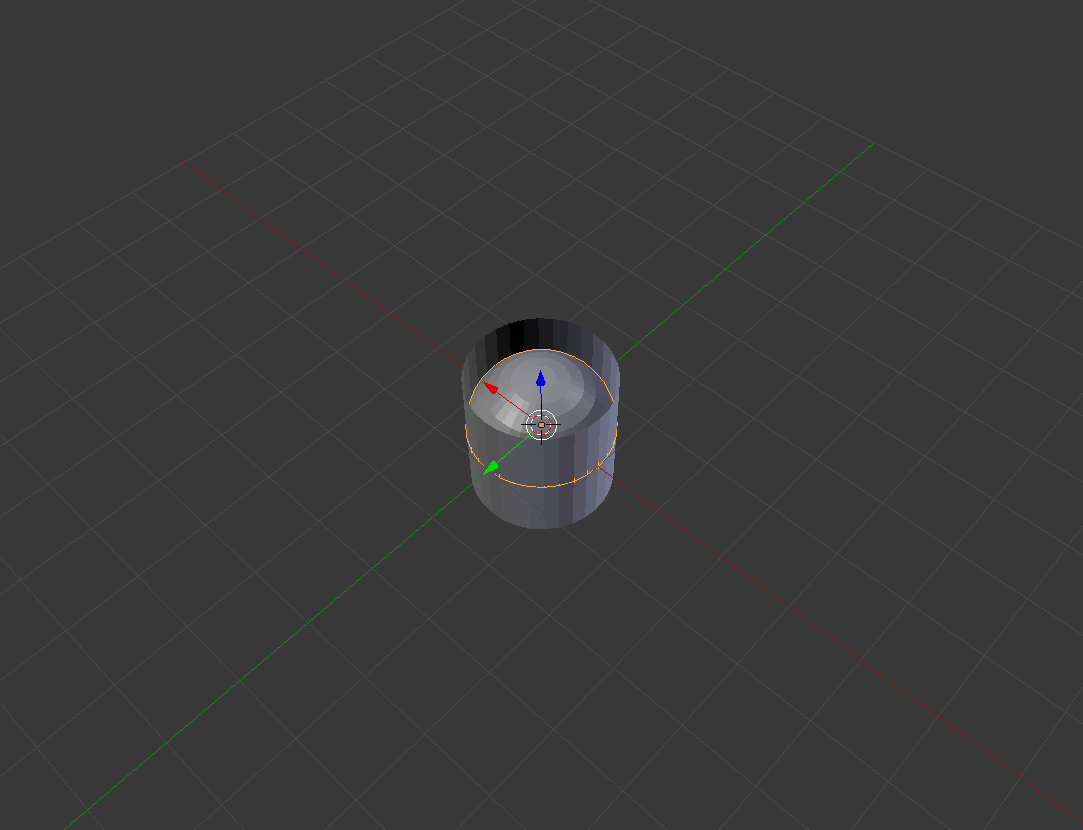
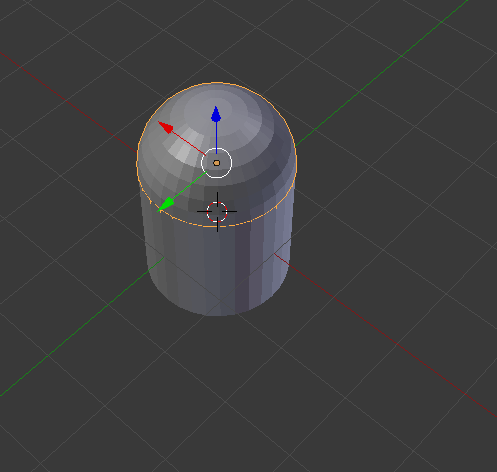
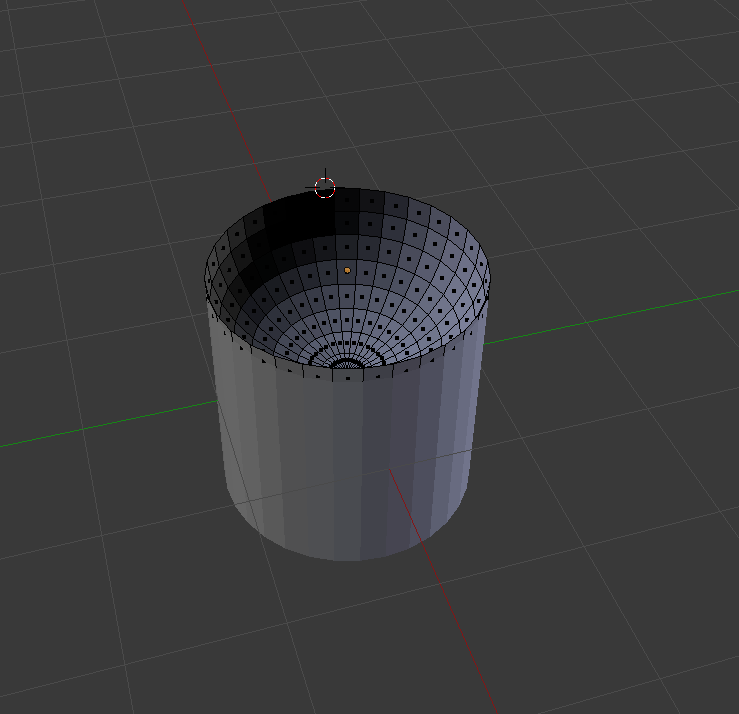
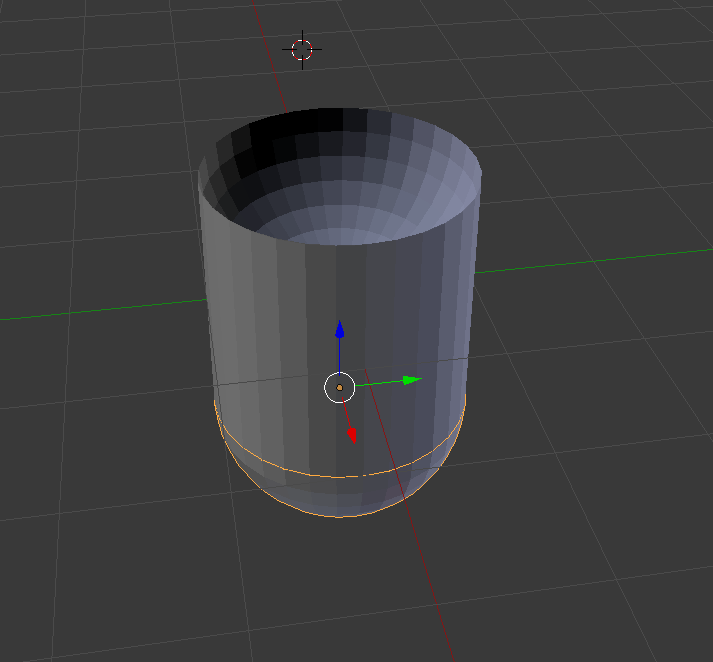

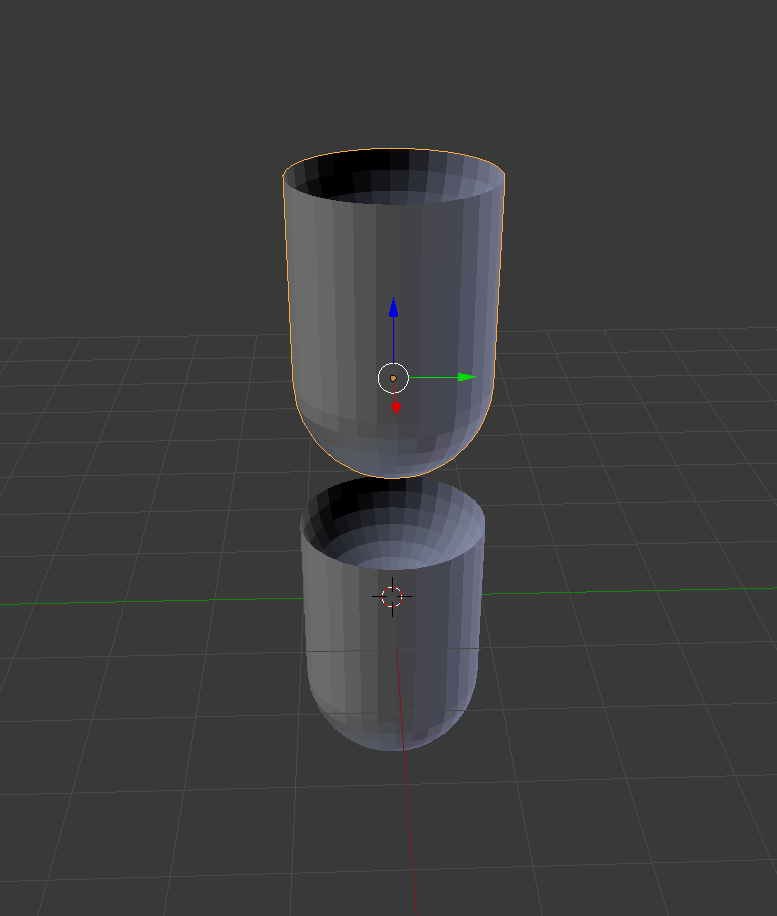
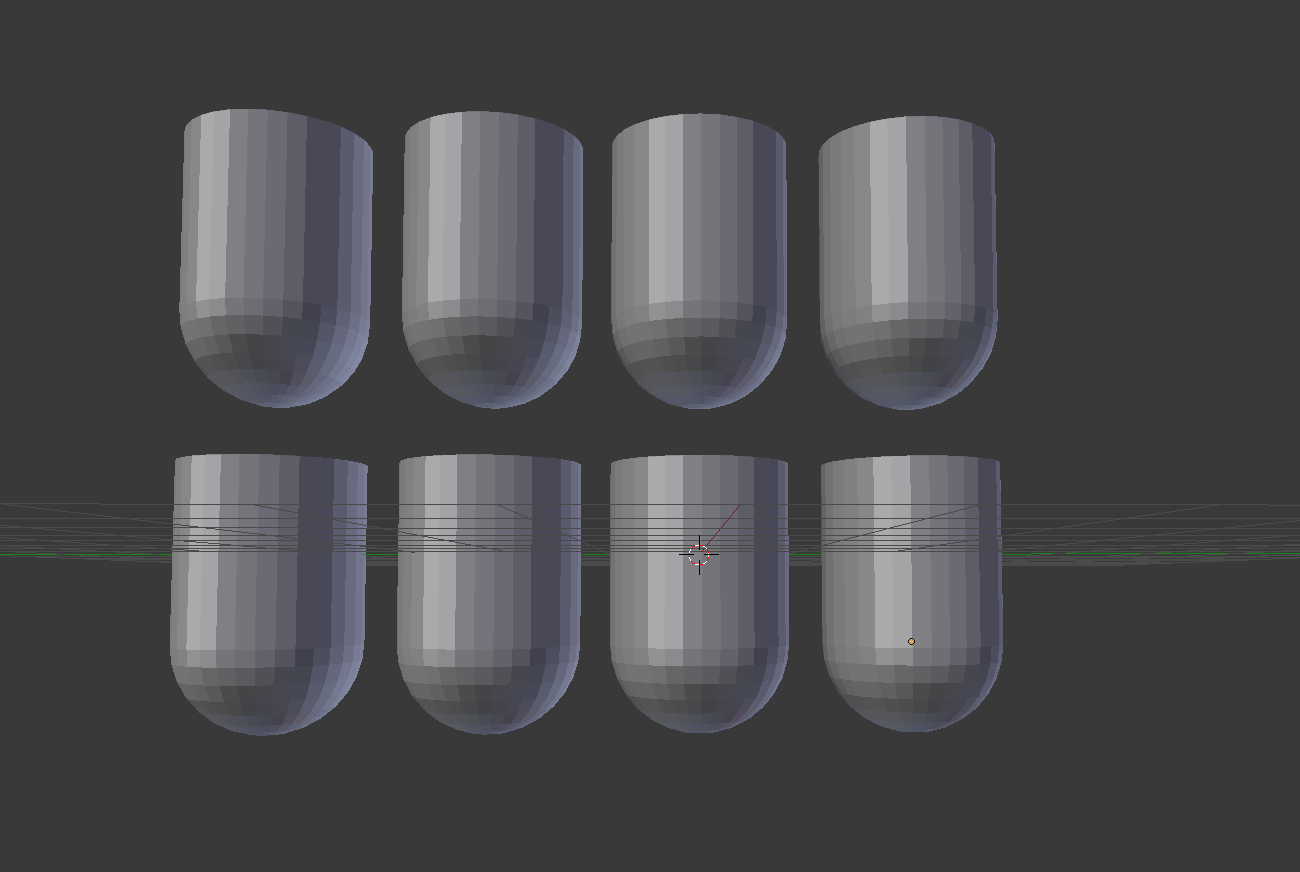
after you have finished press tab again to exit edit mode and press "A"+"SHIFT" to open the menu to add shapes and go to "Mesh" and add sphere so it will look like photo 1 then take the sphere by clicking on the blue arrow pointing up until half the sphere is is out and half is still covered like photo 2 then press tab again to re-enter edit mode then press "A" to deselect everything then press "B" to open a boxing selection your cursor should look like a "+" click and drag a select the top half of the sphere and press "X" to delete it so you are left with a bowl like shape like picture 3 then press tab to get out of edit mode and press SHIFT + D to duplicate the half sphere like in photo 4 then hold SHIFT and right click both half spheres and the cylinder then go over to the left and press "join" like in photo 5 then that will join it all together and then press SHIFT + D again to duplicate it and drag the duplication down like photo 6 then shift click select the two and duplicate them three more times like photo 7.
Making the Palm of Hand
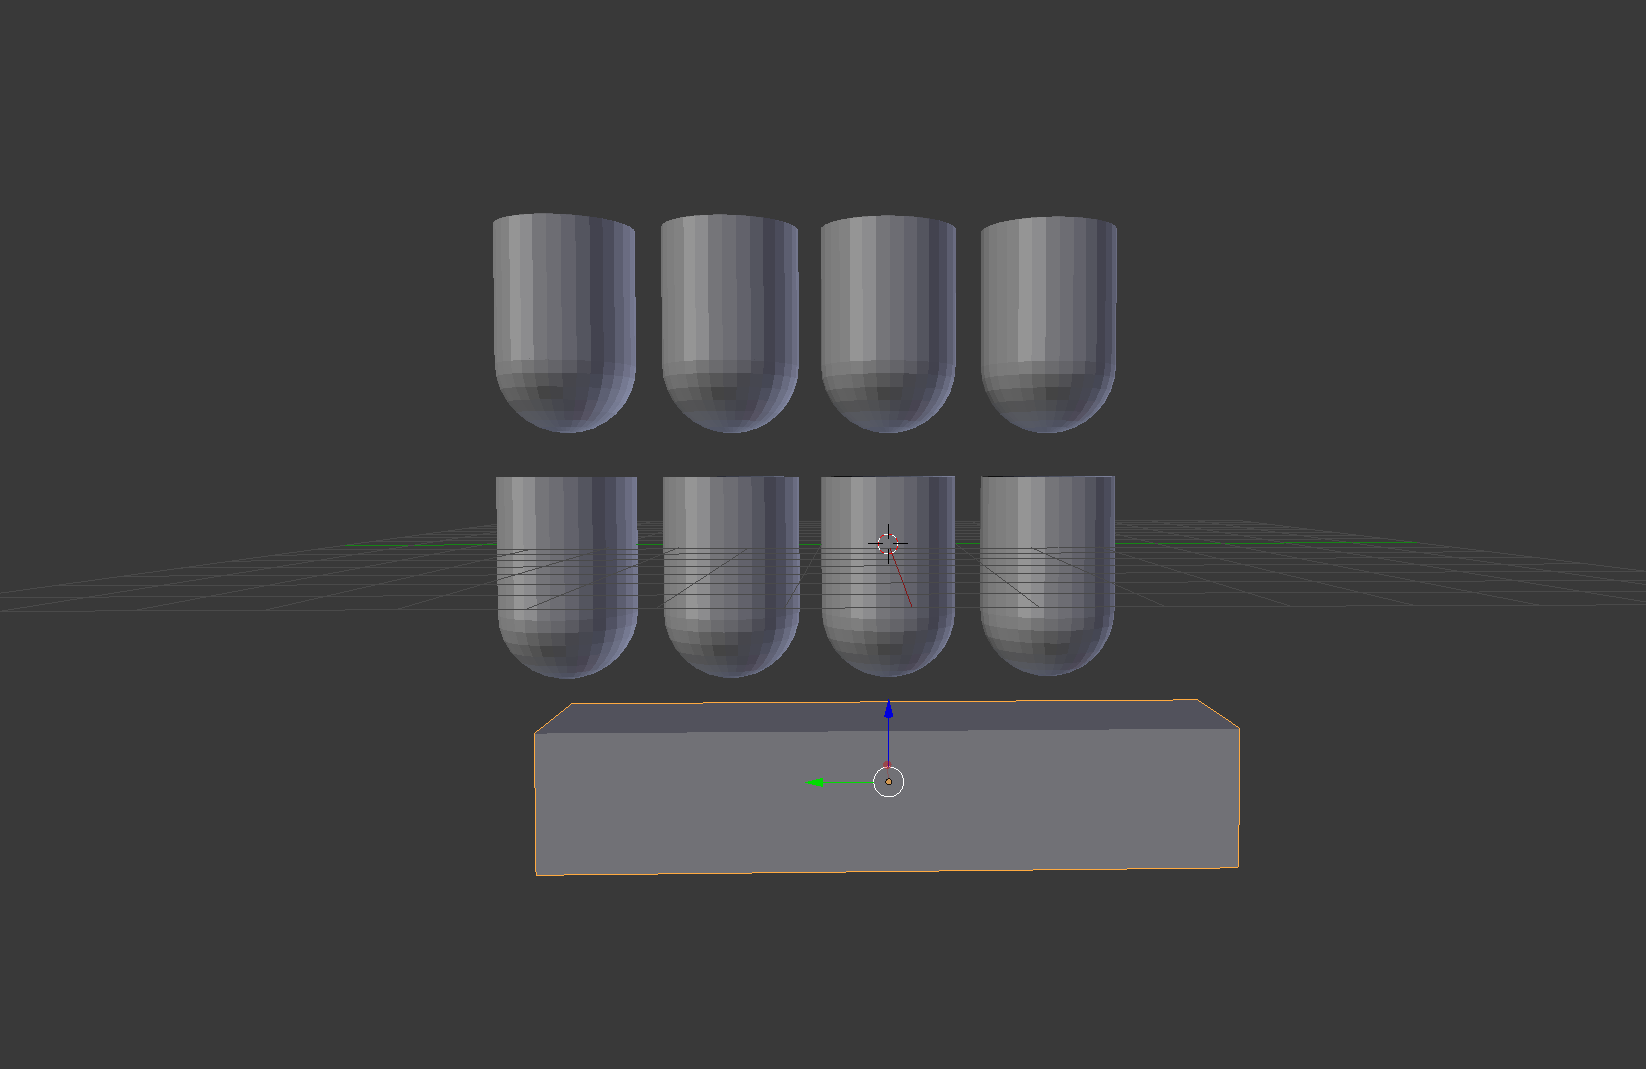
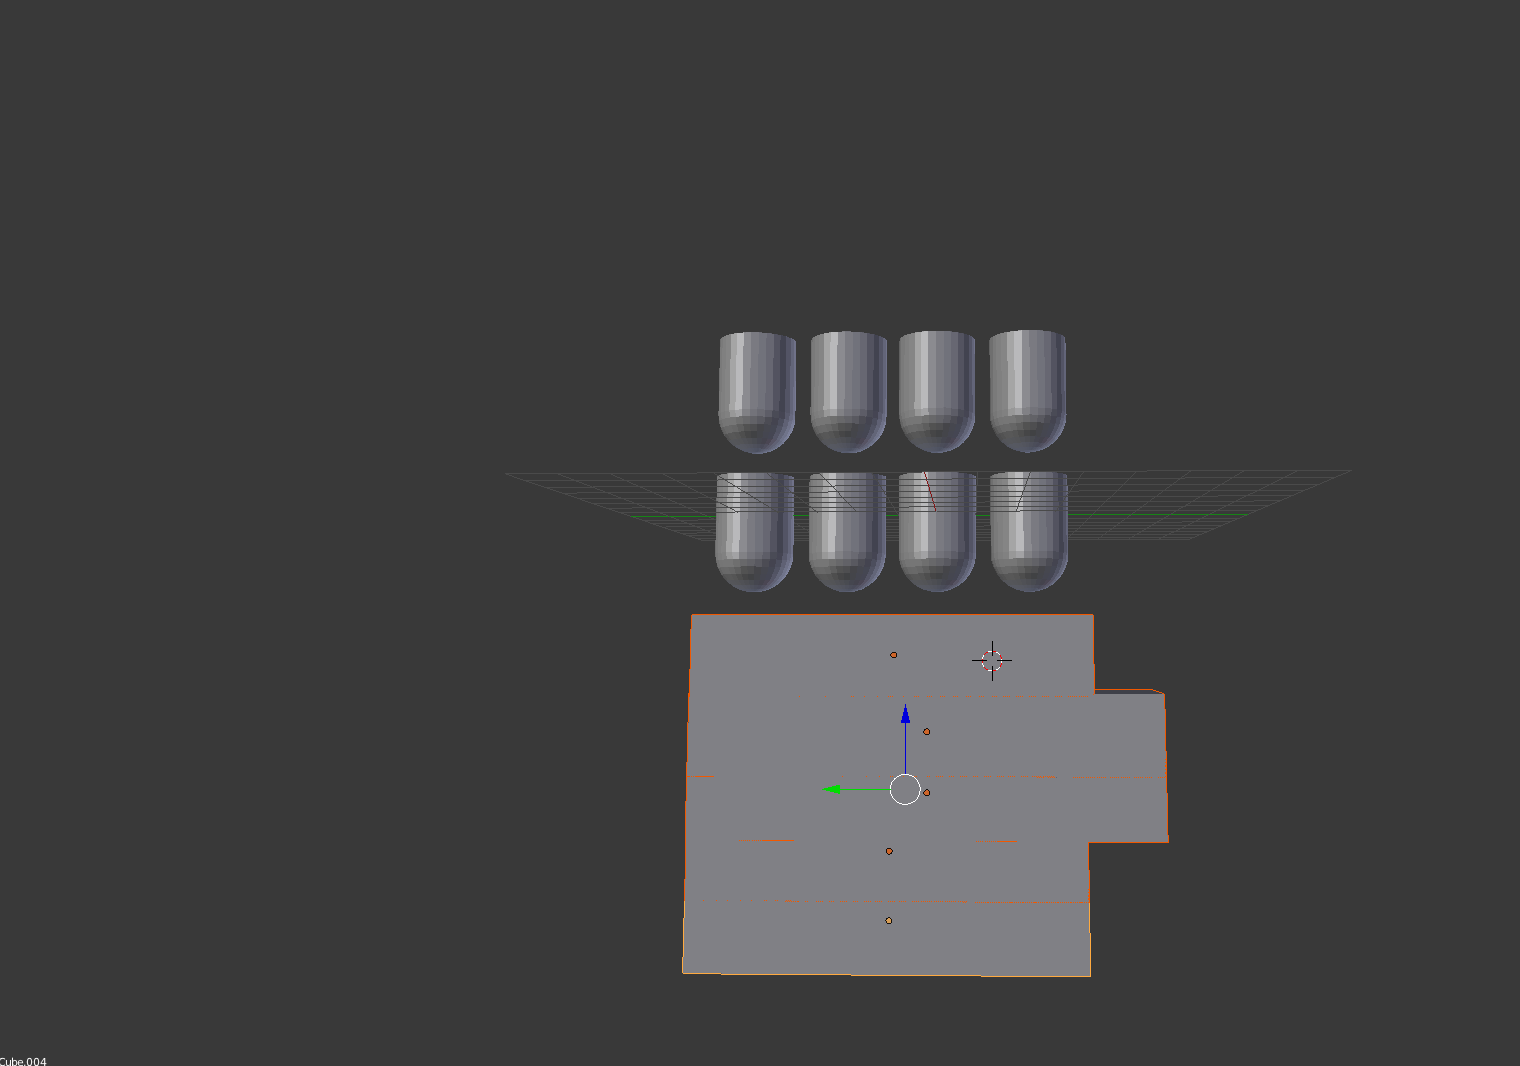
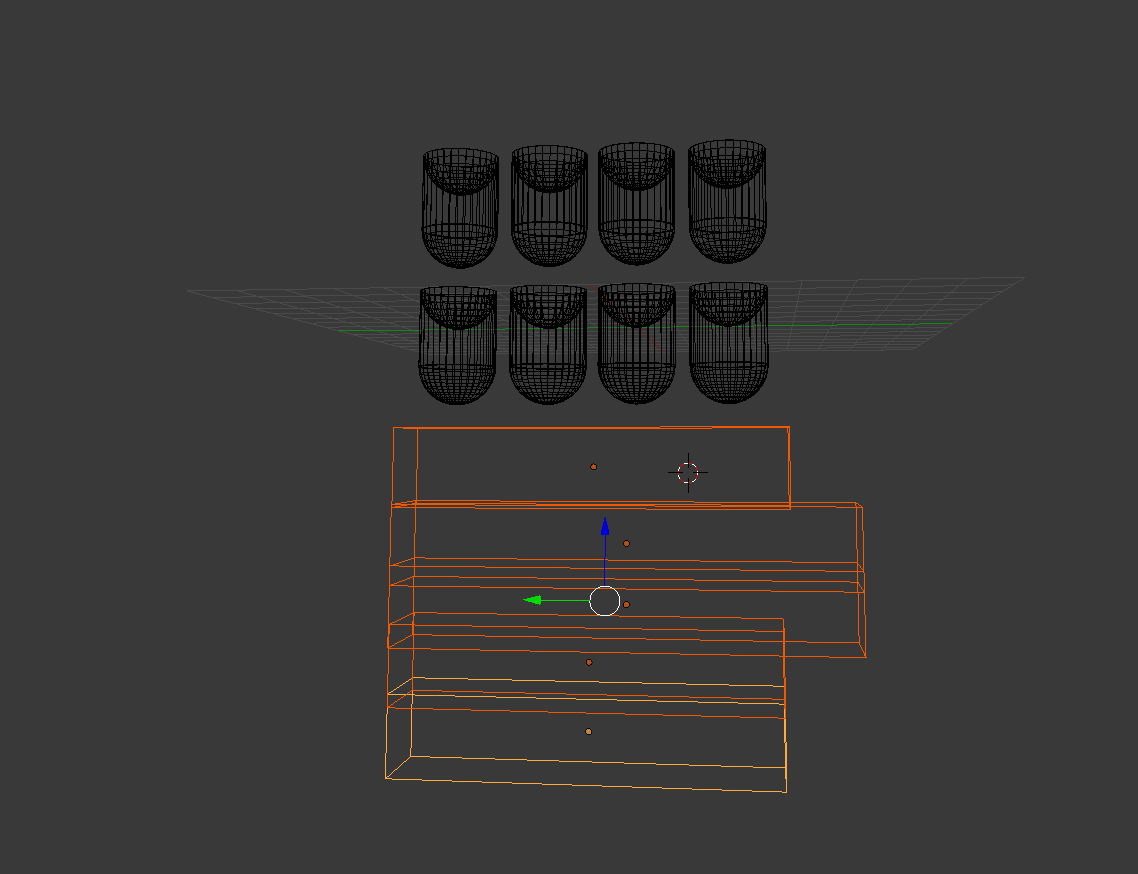

first add a square and press "S" then "X" to restrict the movement to the x-axis and move it out until it looks like photo 1 and then press "SHIFT + "D" to duplicate it and move it down little bit until it touches the bottom of the first block and slightly expand it the same way as before and duplicate the first one a second time and drag it down below the second one and repeat that one more time so in the end it will have five pieces like in 3rd photo. and shift right click all 5 pieces and click the join button like in photo 4
Make the Thumb
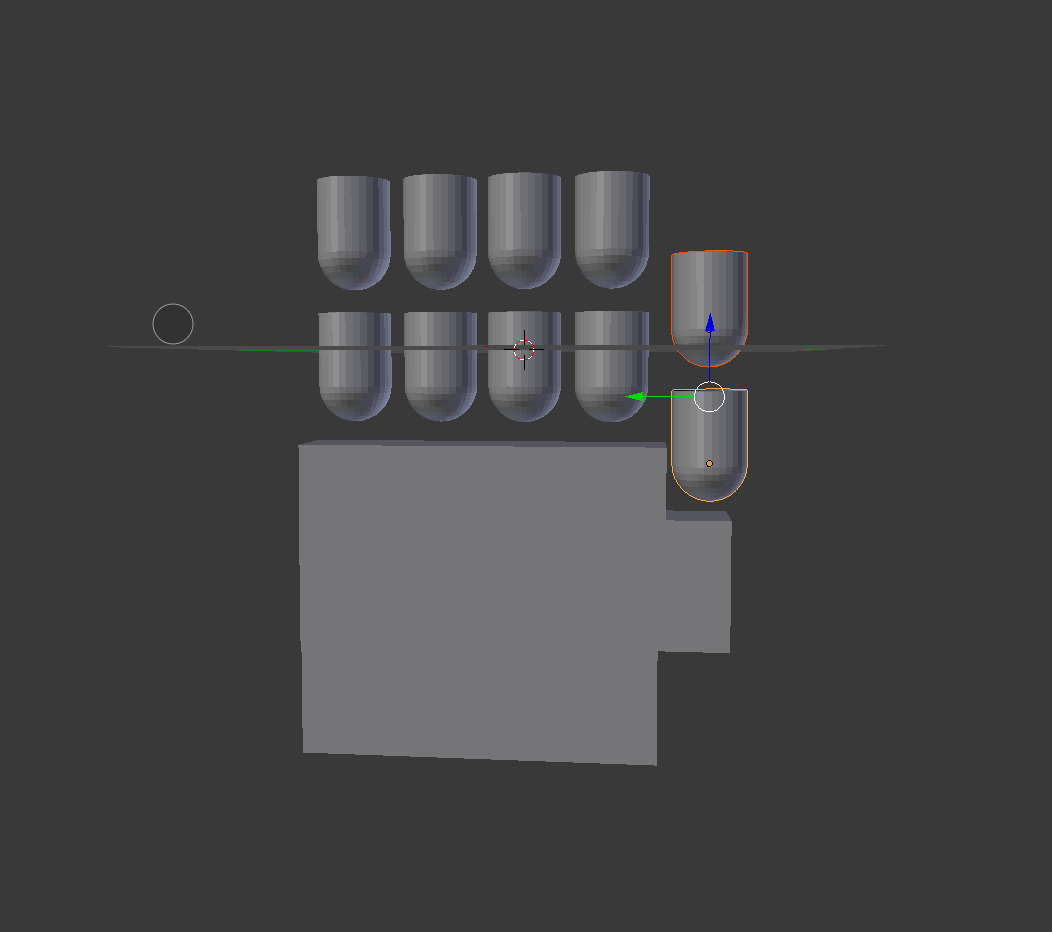
We all need thumbs so time to add them select the two pieces we made for the other fingers and duplicate them (shift + d) then move it over to the thumb area so it looks like photo 1
Making Finger Sockets in the Palm to Hold the Joints
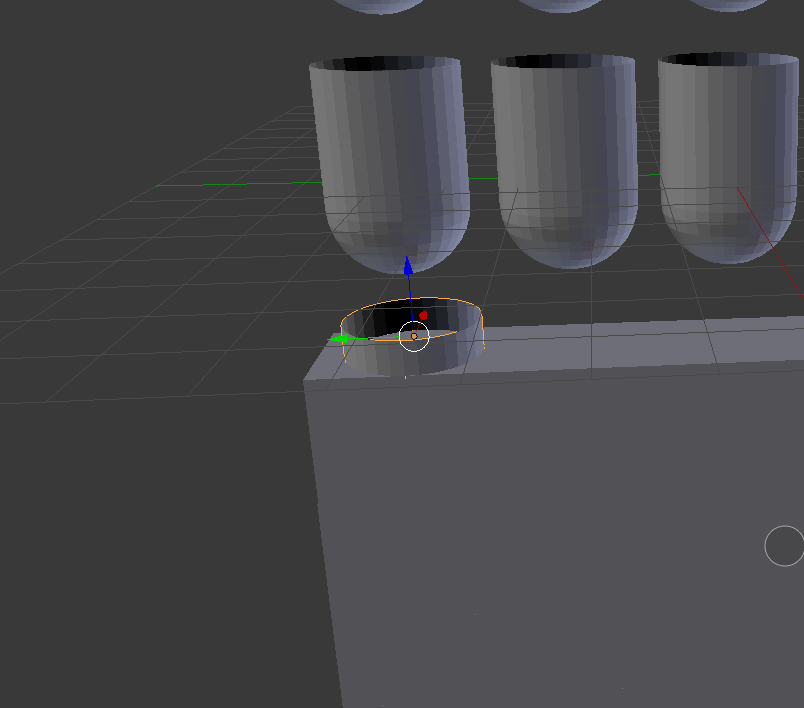
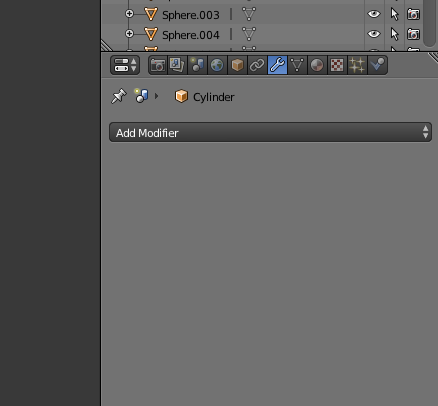

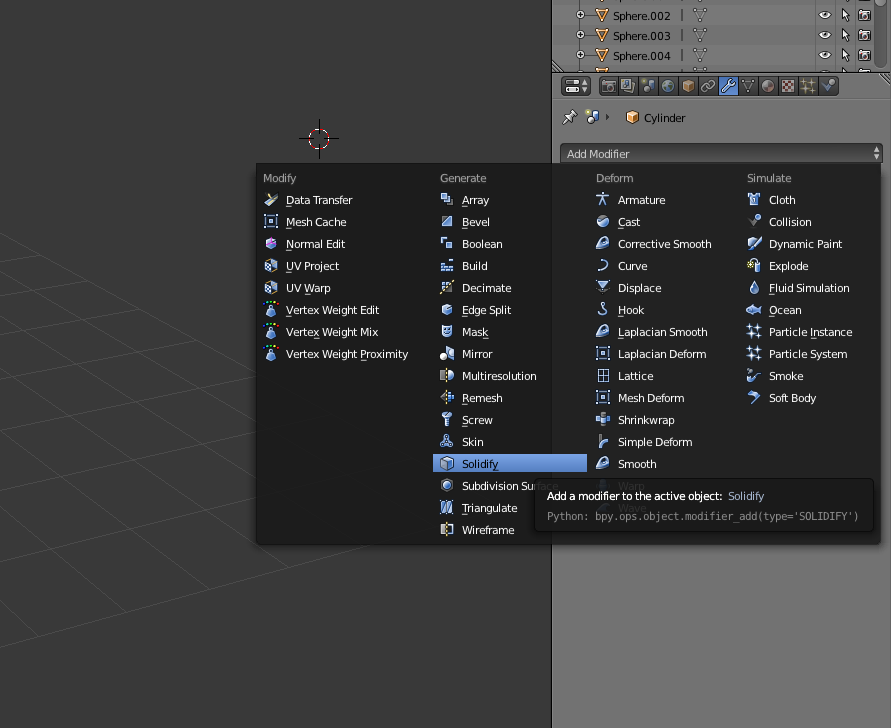
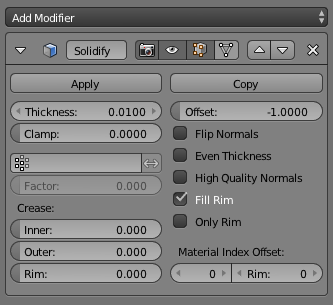
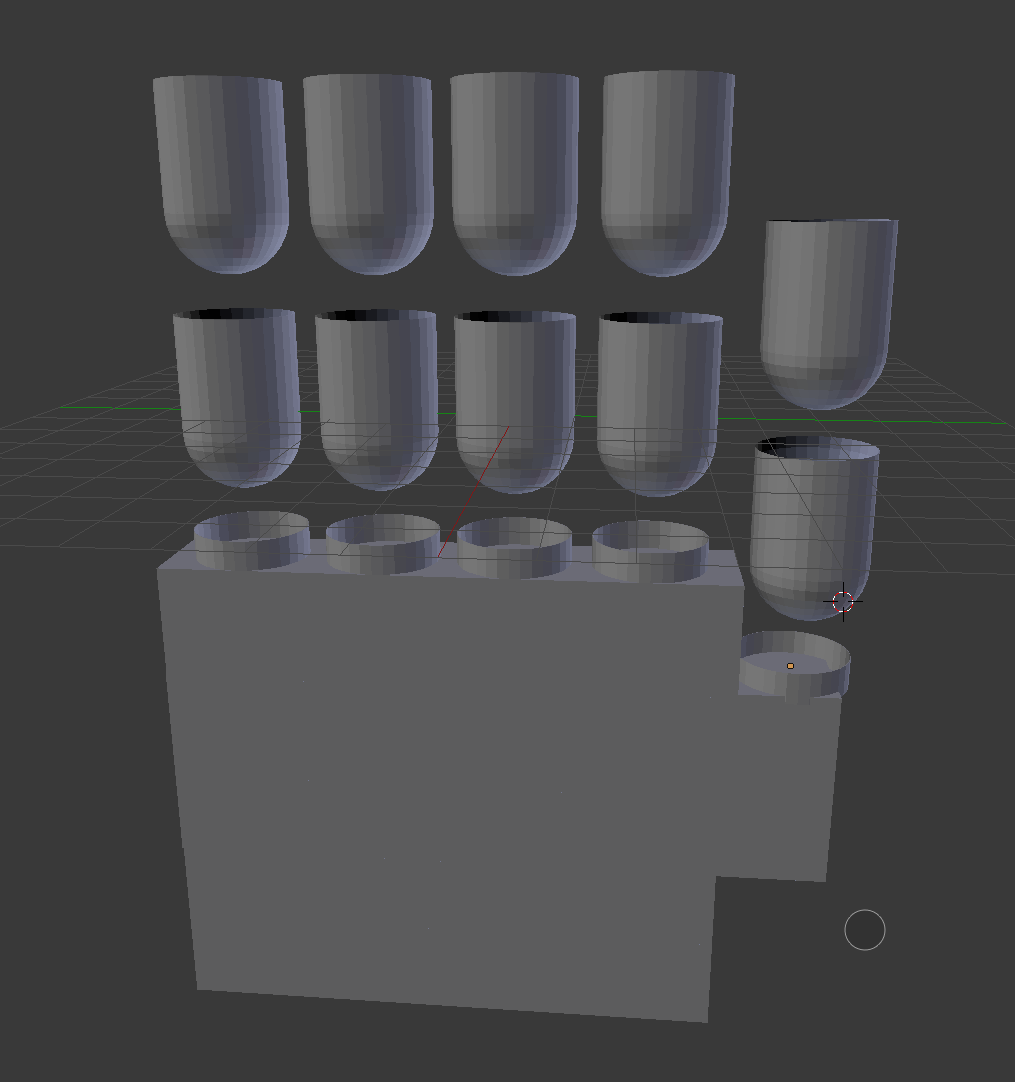
first so Shift + A to bring up the add menu and go to the mesh tab and add a cylinder now press S then Z to scale it on the Z axis smaller like photo one. then go over to the right window and find the icon that looks like photo 3 then click on "add modifier" and go down to where it says solidify like in photo 4 and it will bring up a window like in photo 5 just press apply. duplicate it 4 more times and move them under each of the joints like in photo 6
Making the Tips of the Fingers
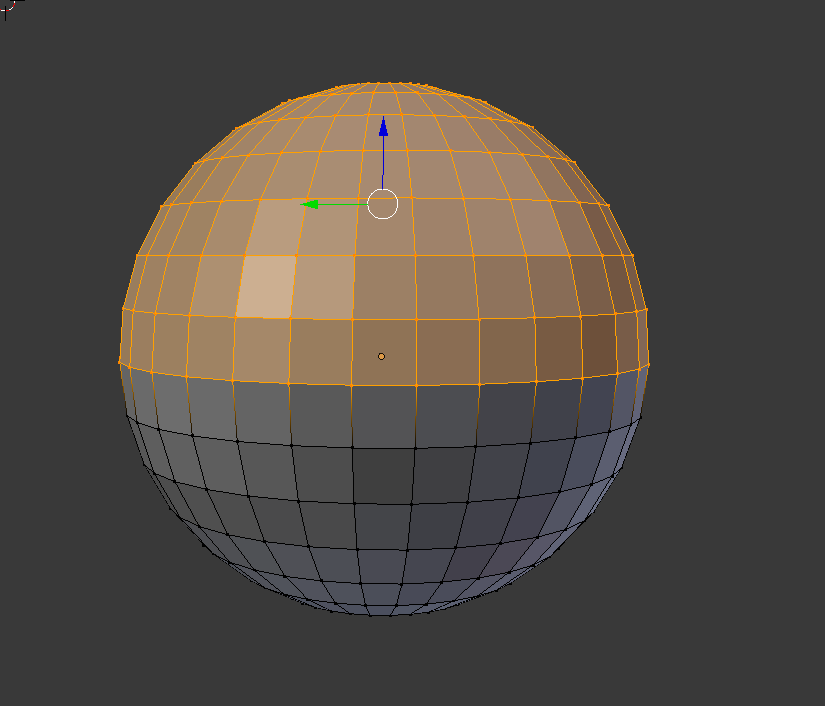
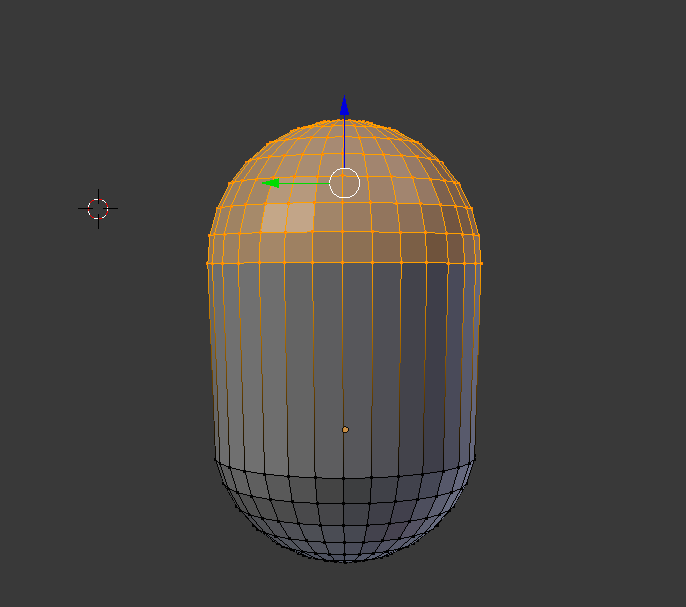
Do shift + a and add a sphere then press TAB to enter edit mode while in edit mode press a to deselect everything then only select the top half like photo 1 then click and drag the blue arrow up until it looks like photo 2 then exit edit mode by pressing tab and duplicate it and move it over every finger so the end result will look like photo 3
Welcome to the Beginning of the End
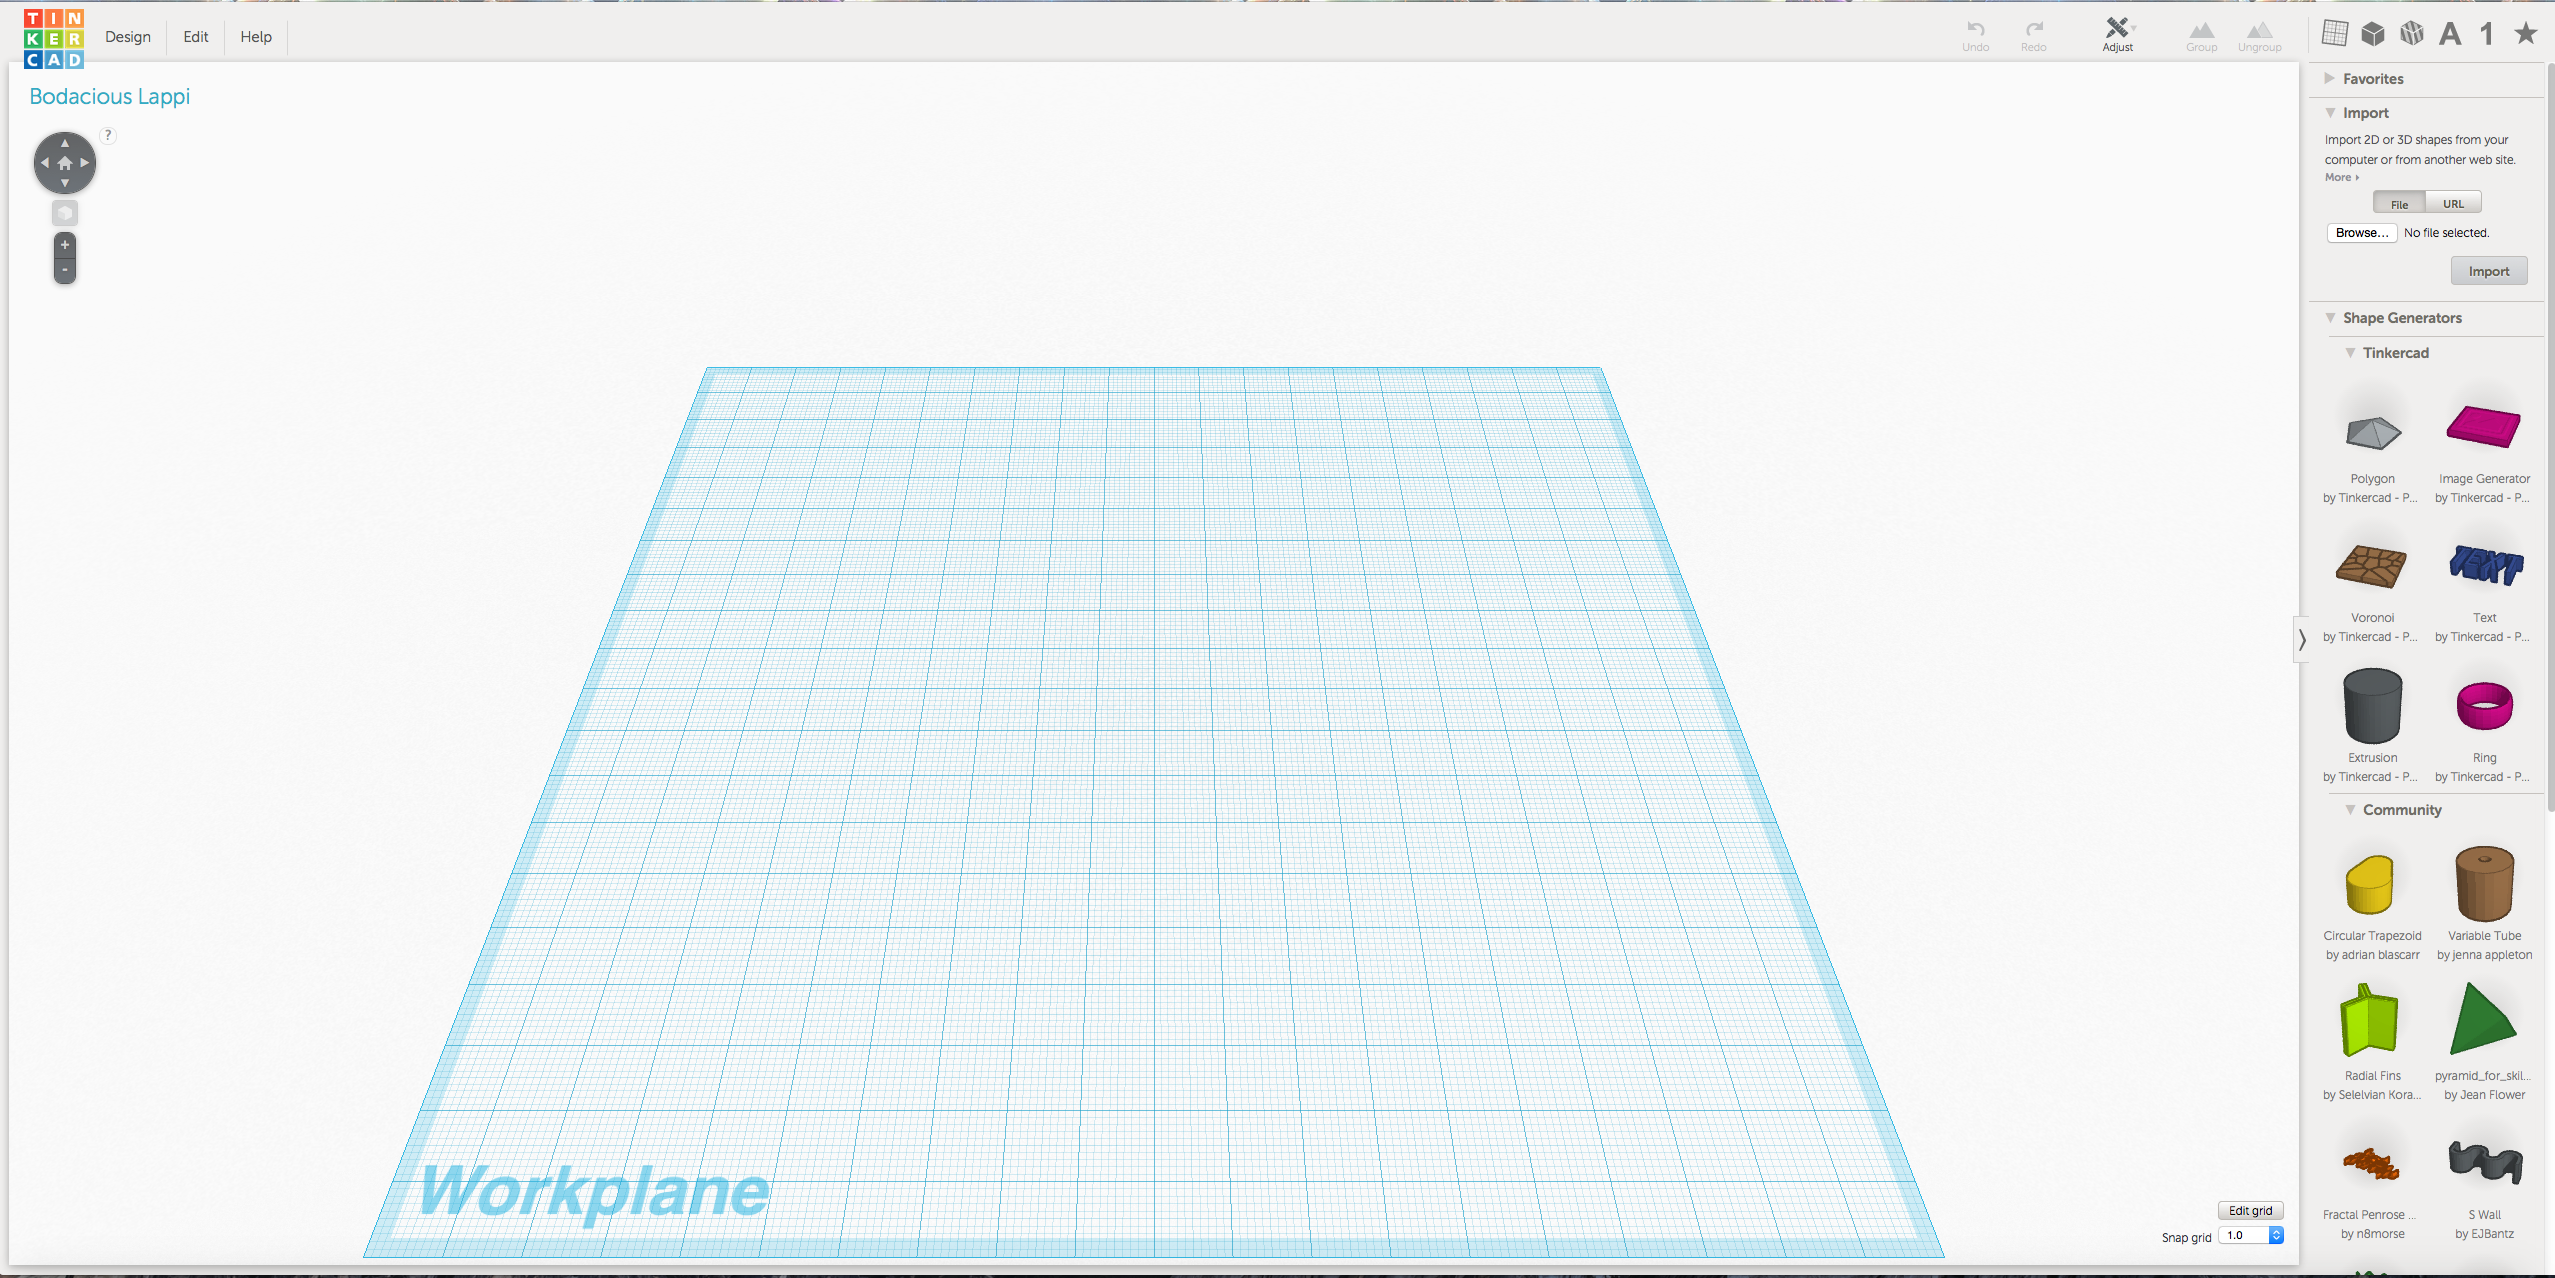
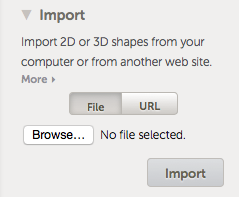
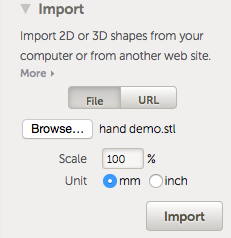
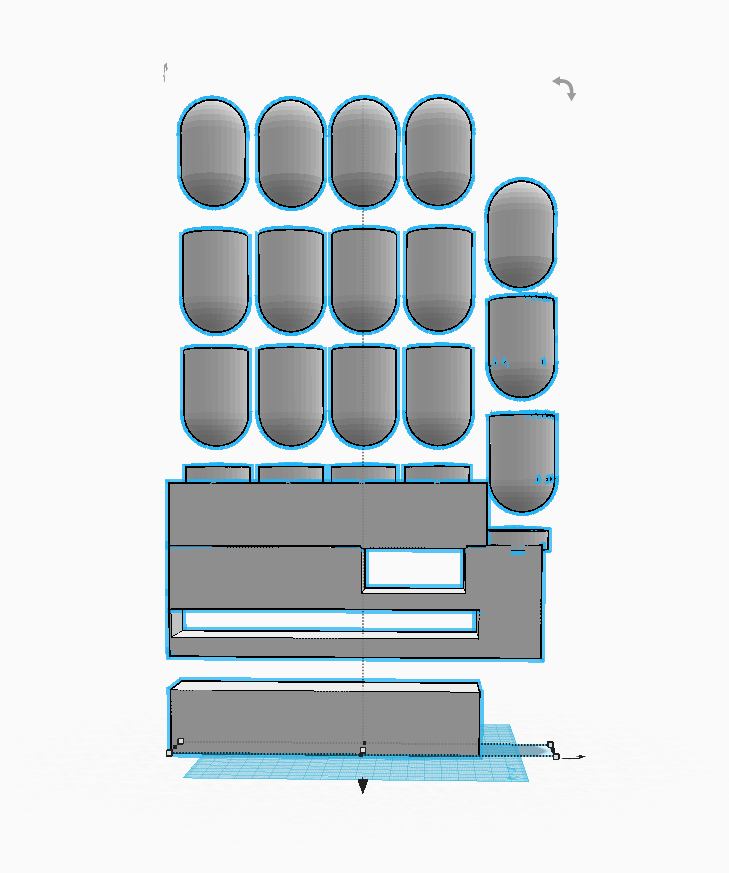
now we have the base model you must go to file export and export it as an .stl file or a .obj but try your best to get it as an stl which might require you enabling that in the addons section of the user preferences but after it is exported you must go to TinkerCad and sign up for free once you've done that and finished the tutorial make a new design and go to import on the side of the page it should look like photo 1 and 2 choose browse and select your file from where you saved it like in photo 3 but make sure you import it as 2000% scale. but it will most likely look like this when you import it (photo 4) but no worries We can fix it
Fixing the Mess Ups
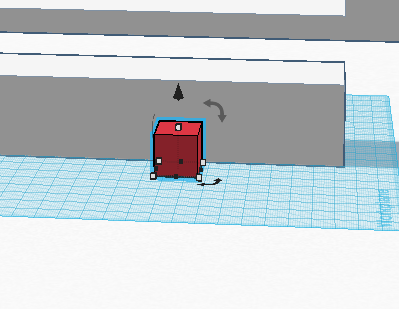
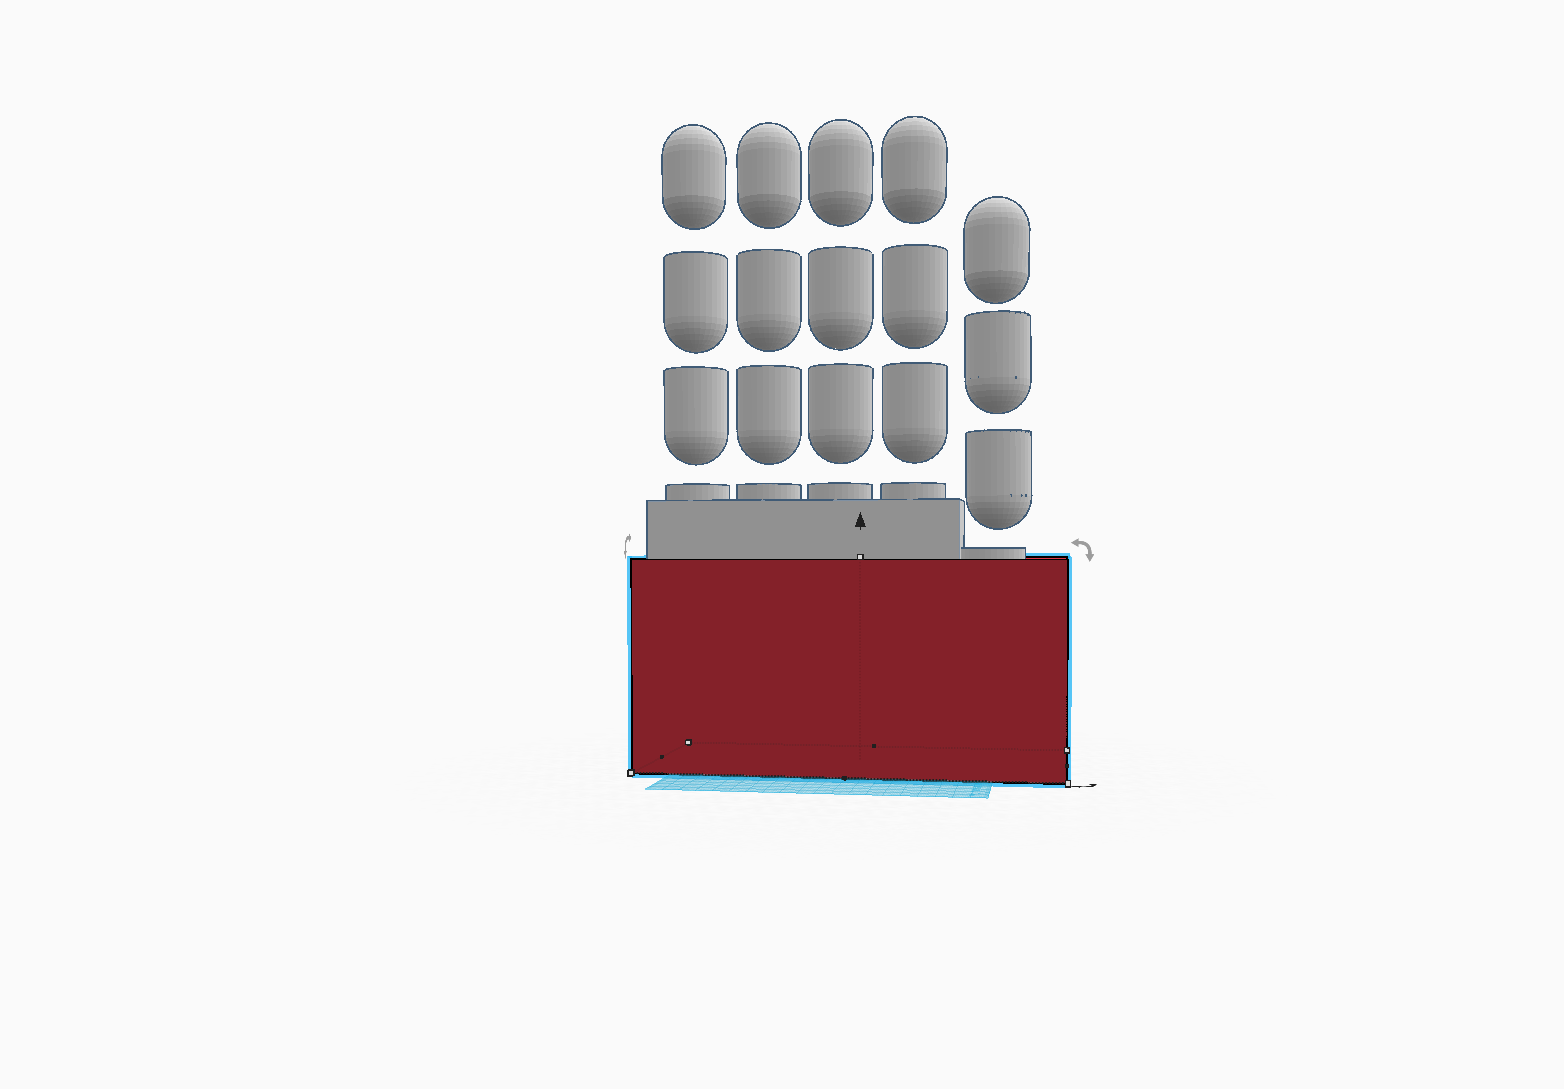
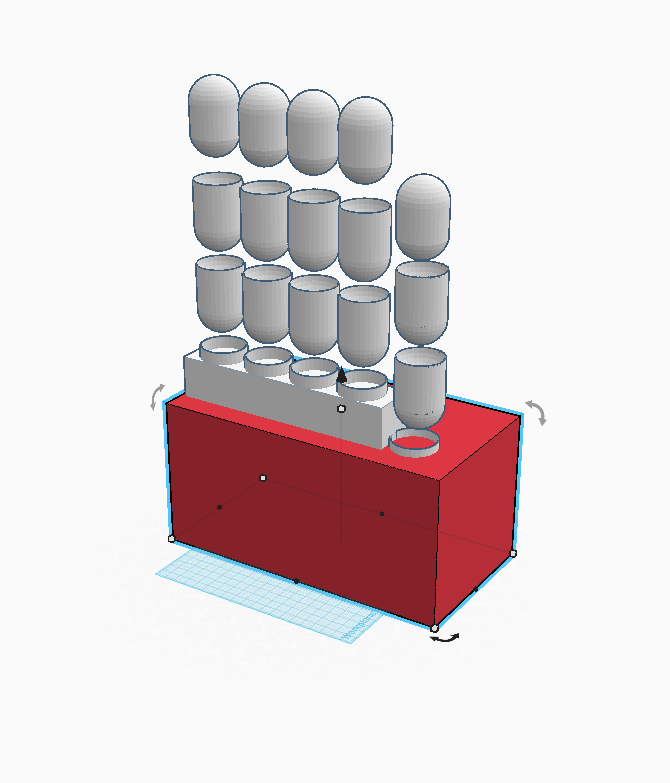
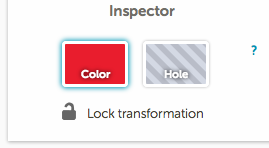
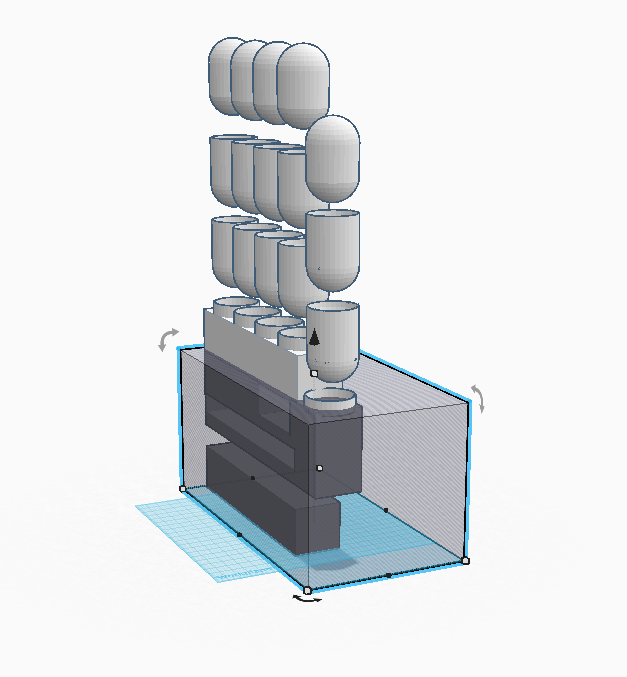
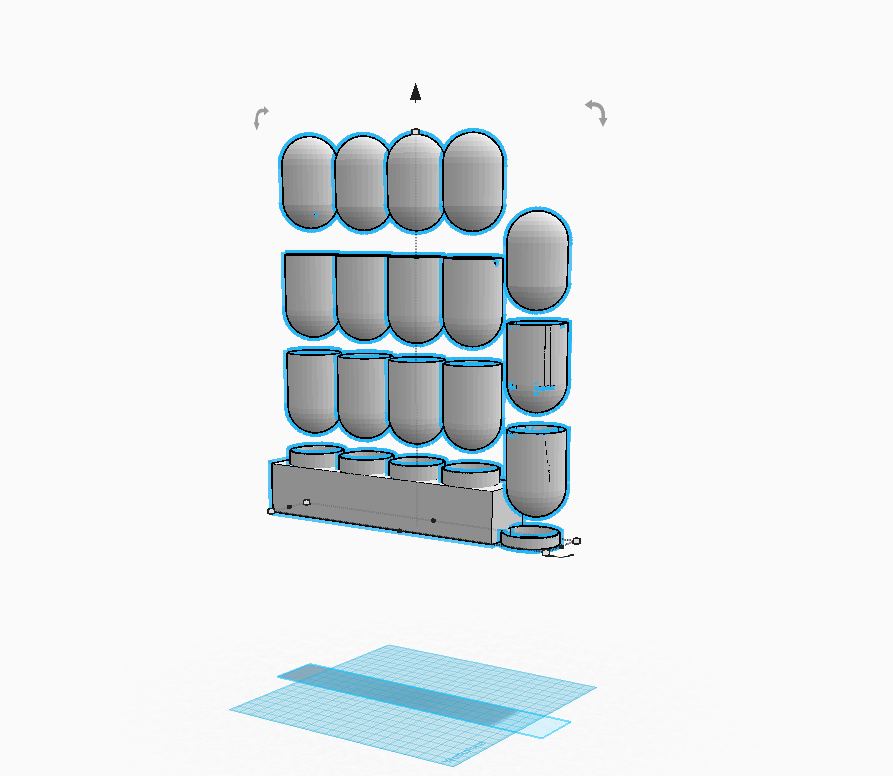
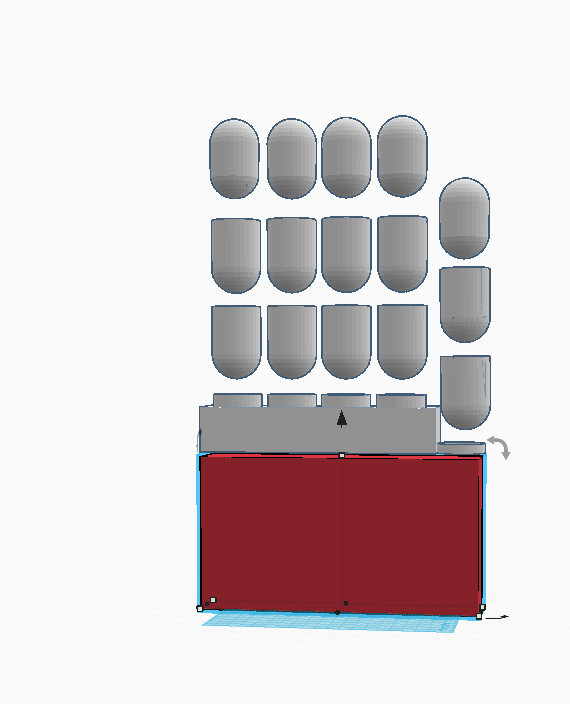
now that you have it imported add a cube under geometric like in photo 1 and then scale it up by dragging the little boxes until it looks like photo 2 and 3 then at the top right the should be a little box that looks like picture 4 click on make hole then you will see it changed and now looks like photo 5 now shift left click the box and the hand and click group at the top and it should now look like photo 6 now add a another box and scale it up like in photo 7. but make sure the new box is the same width as the original hand.
Now You Must 3D Print It
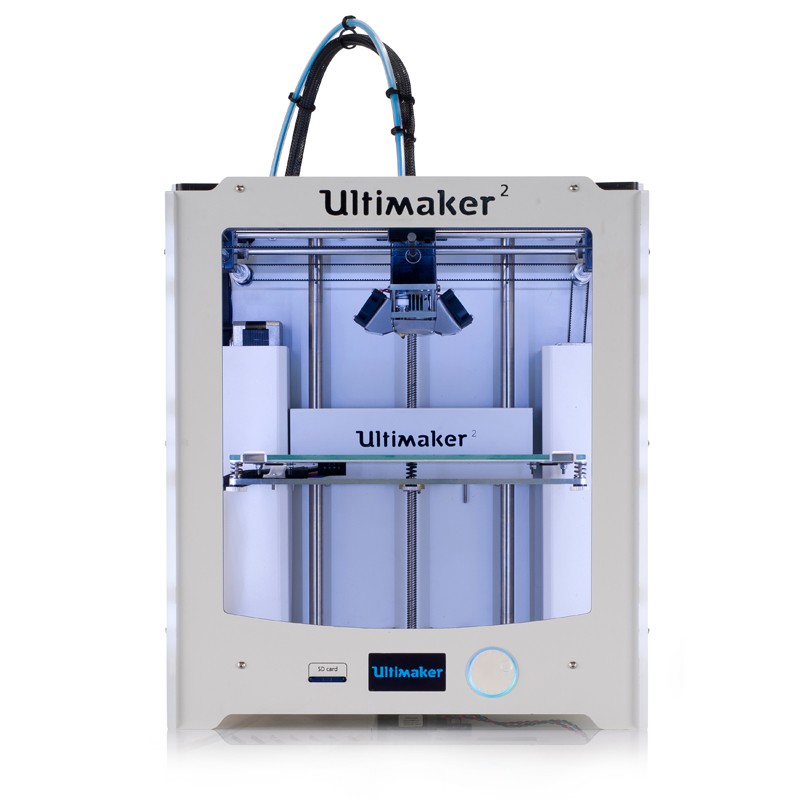
for most people it will be different because of different printer or printing companies but for the printer i'm using which is the ultimaker it is very easy because you just insert the SD card and select the model you want to print and press print
Printing the Joints
in order to make it work correctly you must print the joints between the fingers so go to tinkercad start a new file and add a cylinder and two rectangles on opposite ends of the cylinder also make sure to shorten how tall the cylinder is to be at most a millimeter thick and make sure the diameter of the cylinder is the same as the joints. now for the holes make another cylinder in the center of the other one and choose the option to make it a hole but make sure you atleast have half a millimeter and the outside cylinder the do the same method but turn the hole 90 degrees and drag up also make the diameter smaller than the rectangle that will act like a place to put a pin / joint it should look like the photo above(coming soon)