Custumizable 3D Printed Pendant
by Joshua_Singh in Craft > Jewelry
413 Views, 9 Favorites, 0 Comments
Custumizable 3D Printed Pendant
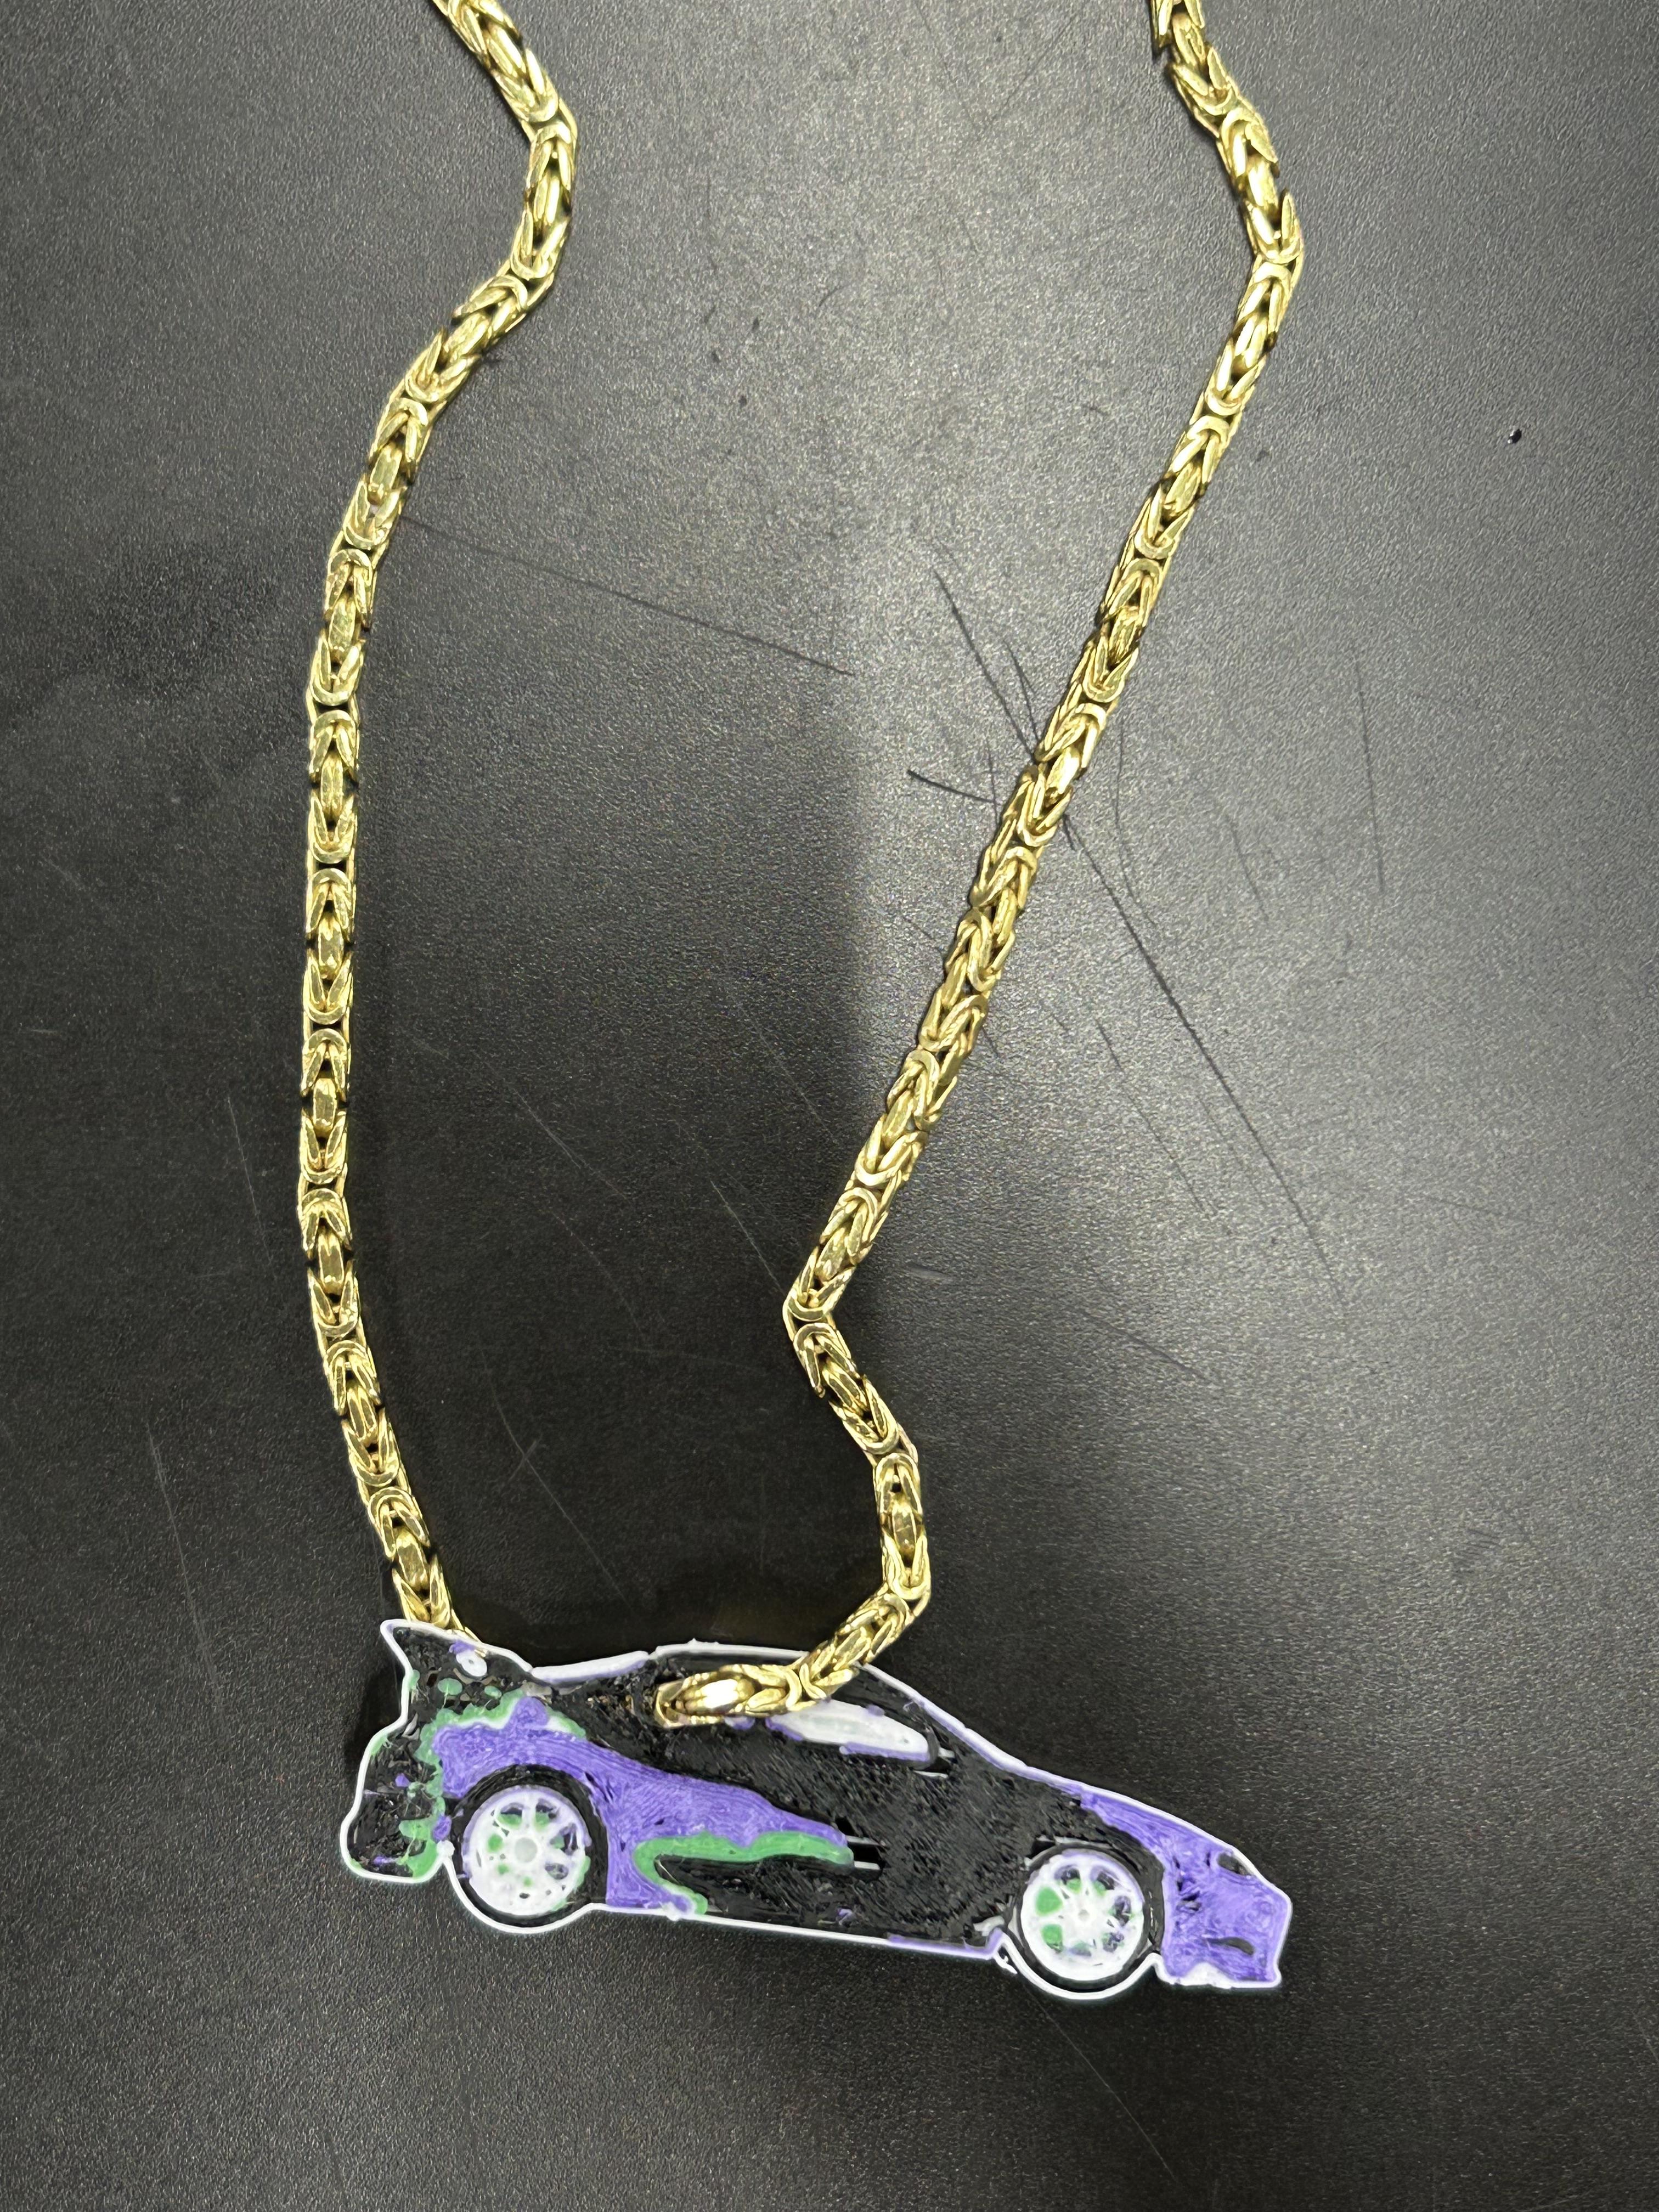
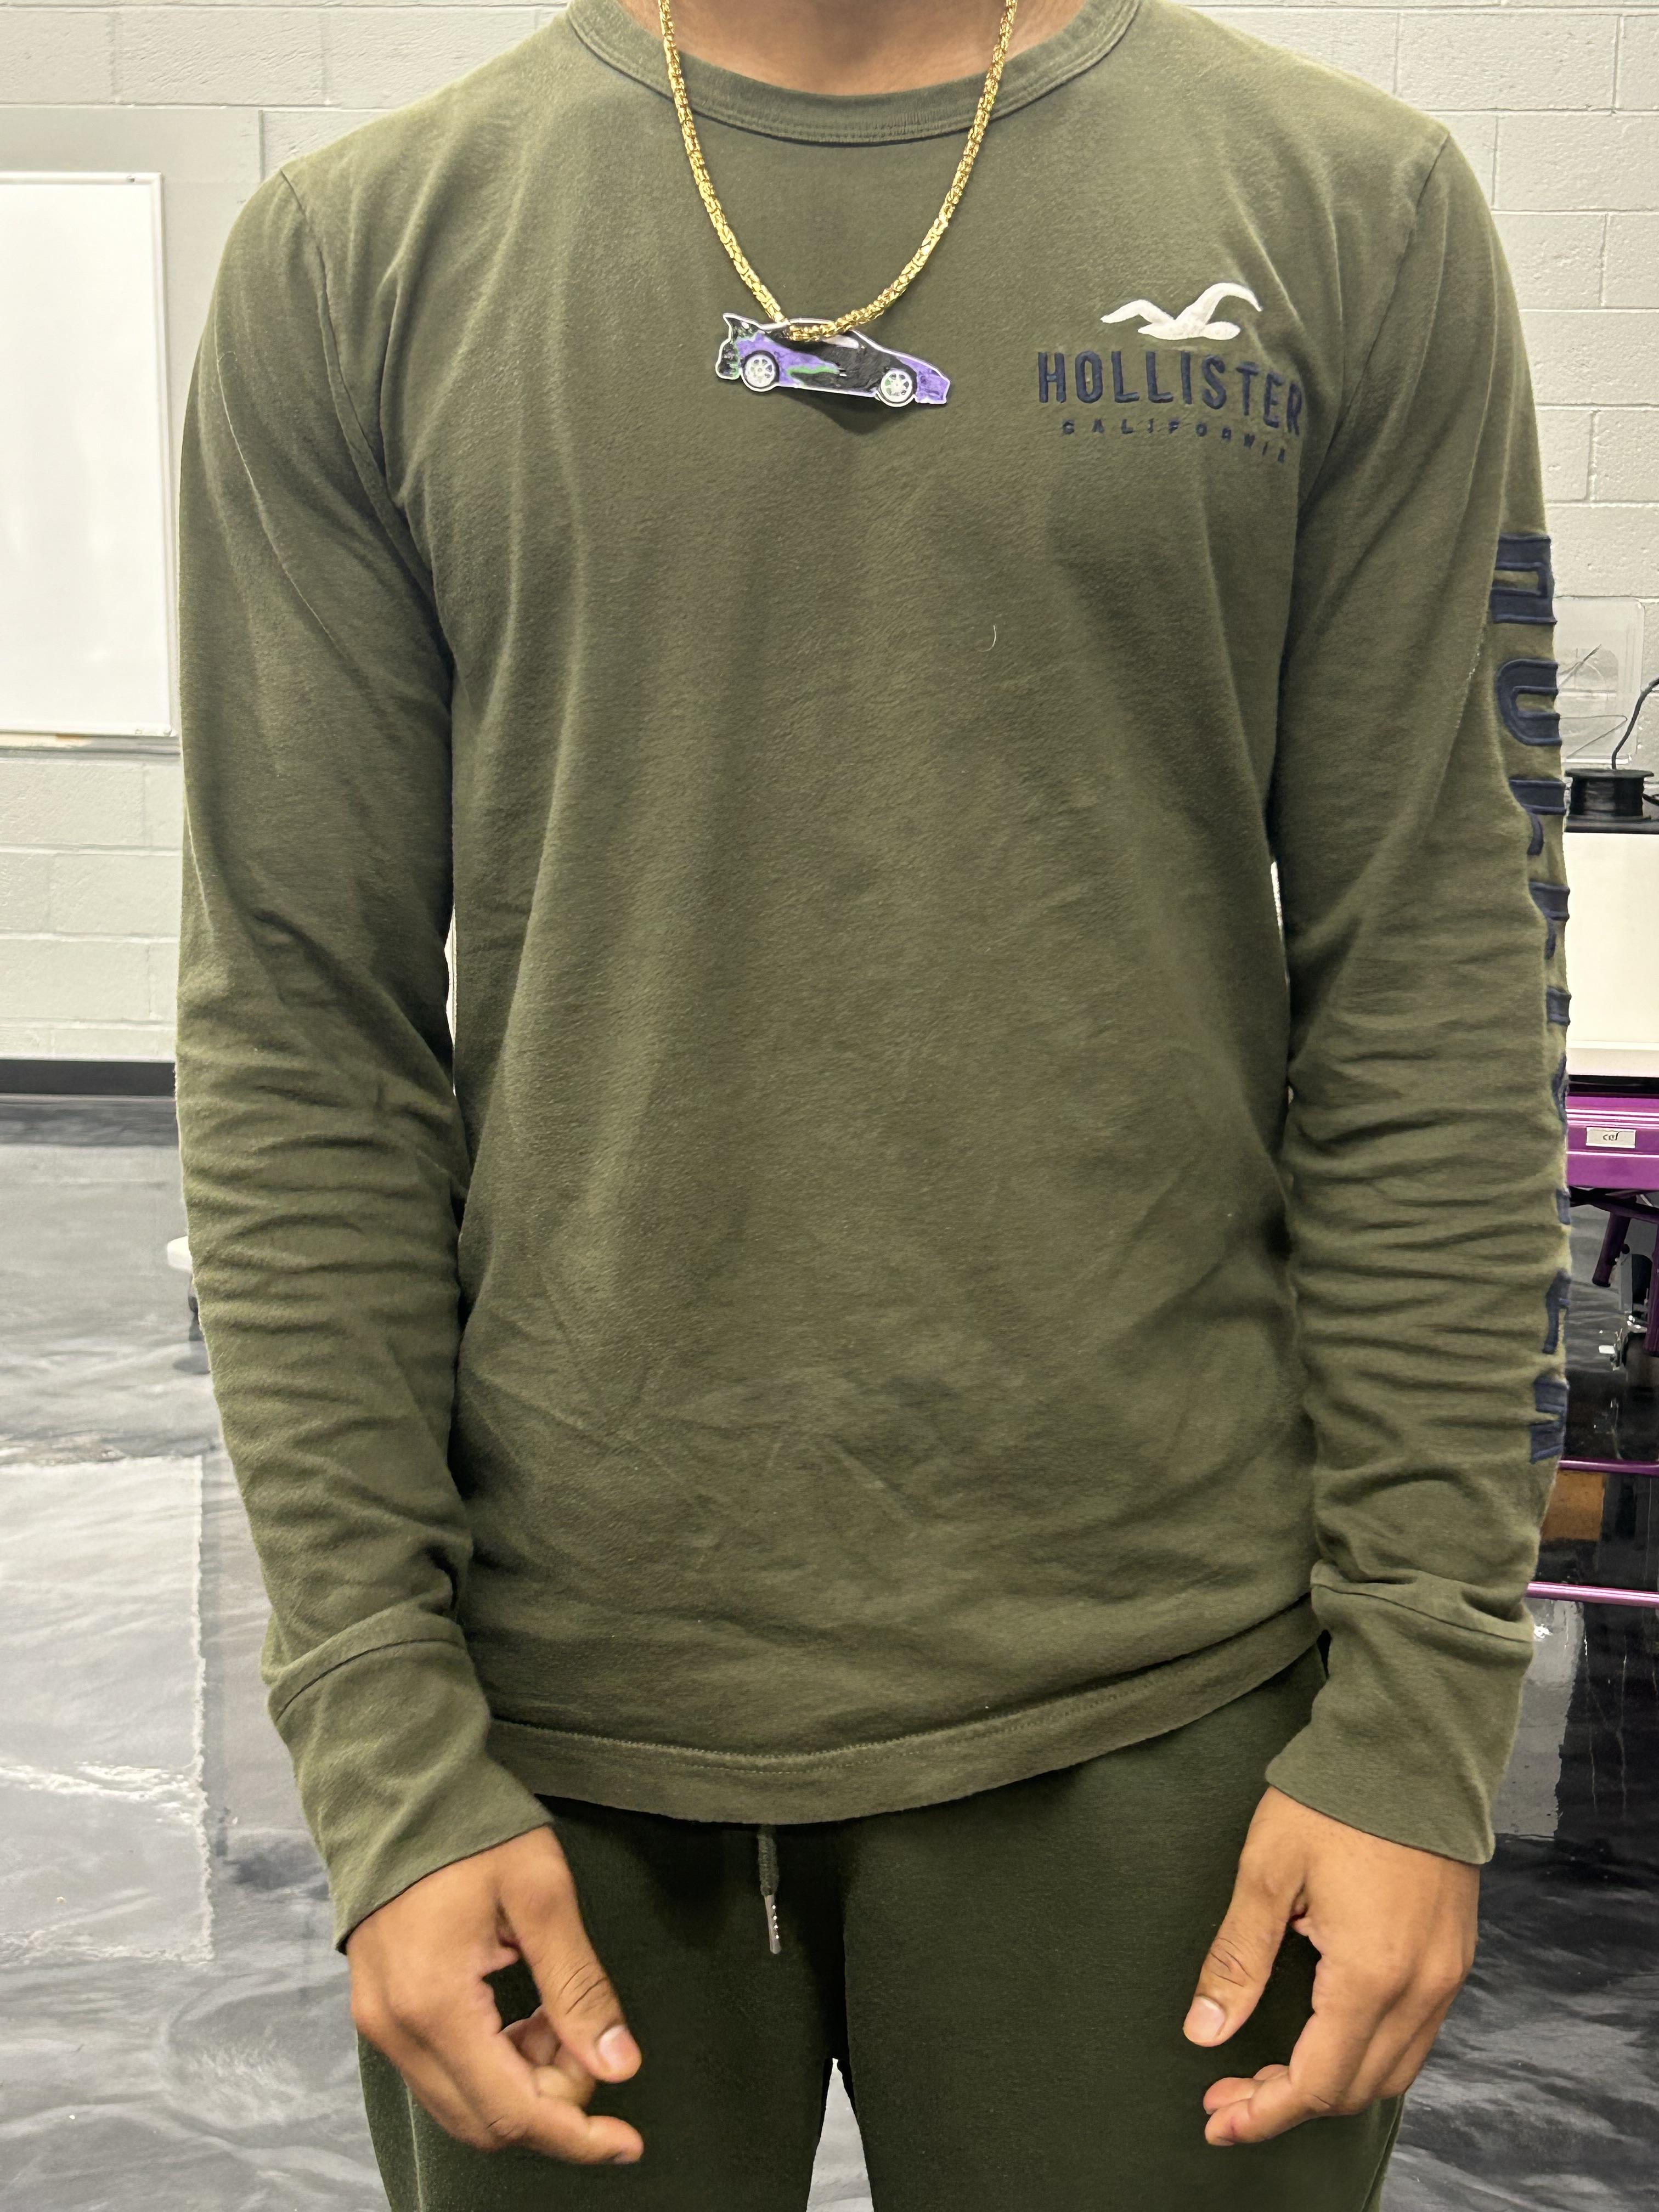
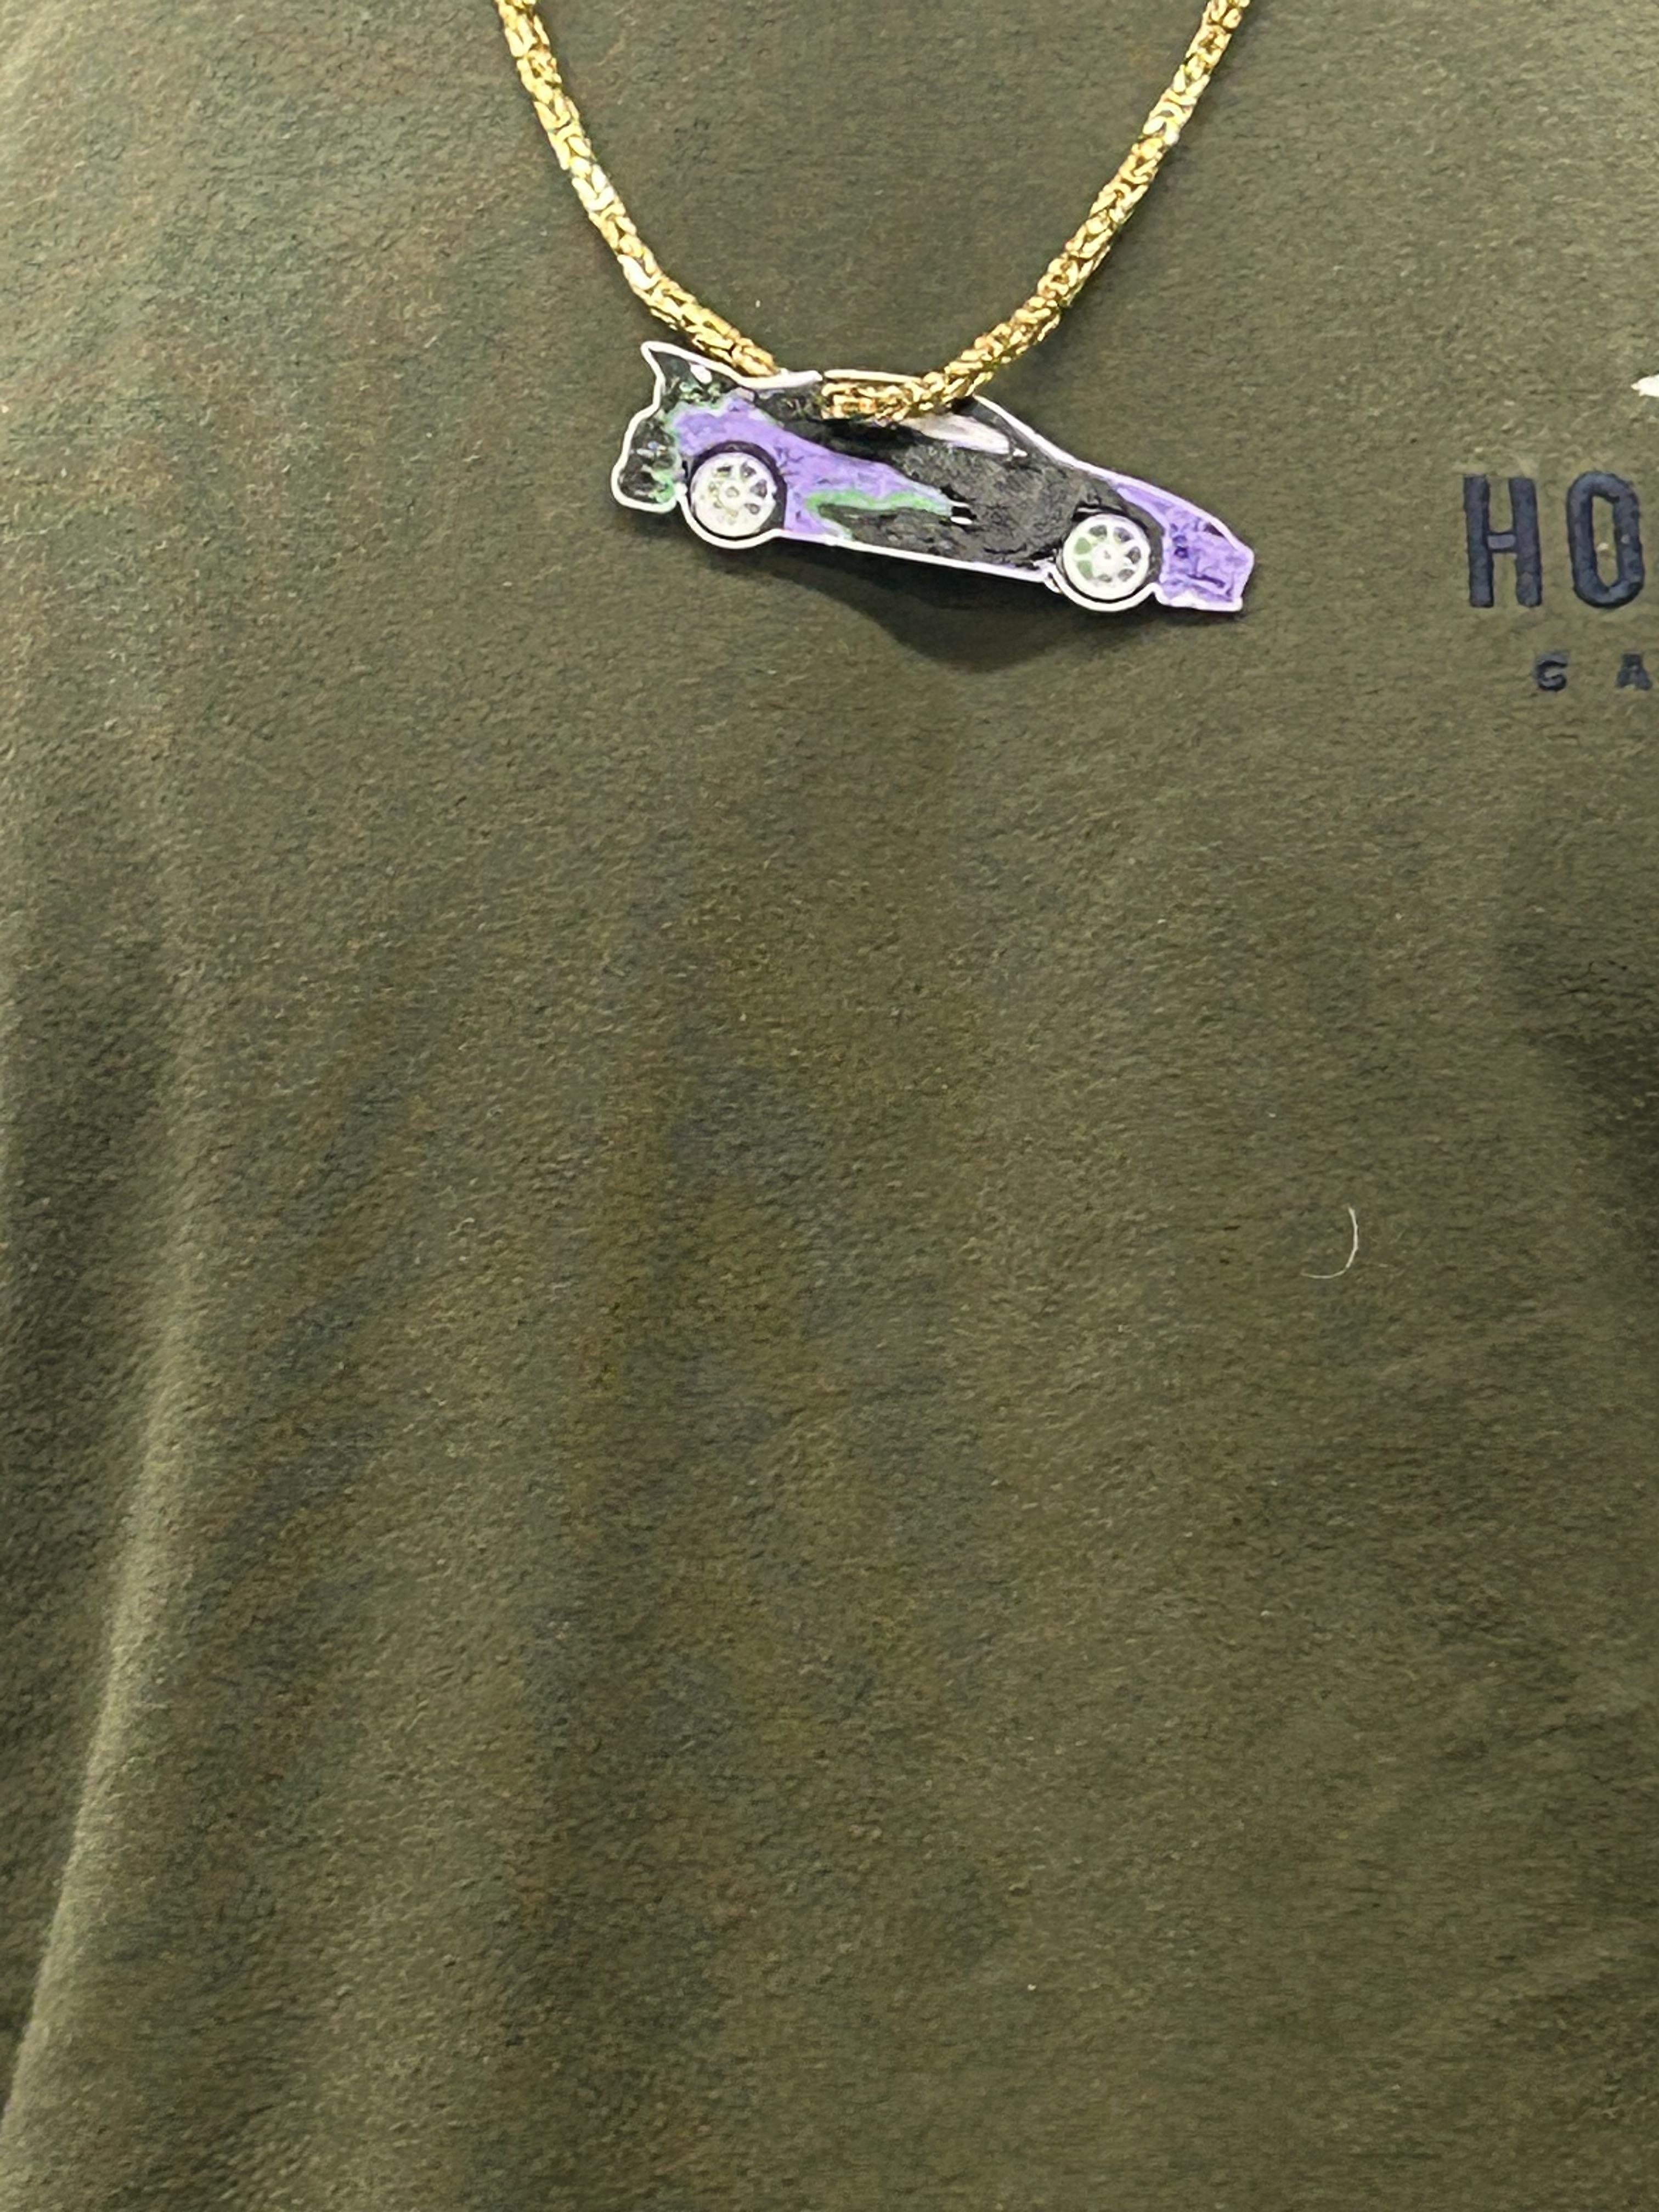
In this project, I am going to show you how to make a 2D digital image and convert it into a 3D image onto tinkerCAD and print it out into jewelry. In this project, I wanted to make a car pendant for myself because I wanted to make my necklace more unique and add style to my appearance.
Supplies
-Computer
-TinkerCad
Downloading
Find any jewelry item on Google to download onto your computer make sure it is a PNG or JPG and title it something you will remember to get the best results.
Importing #1
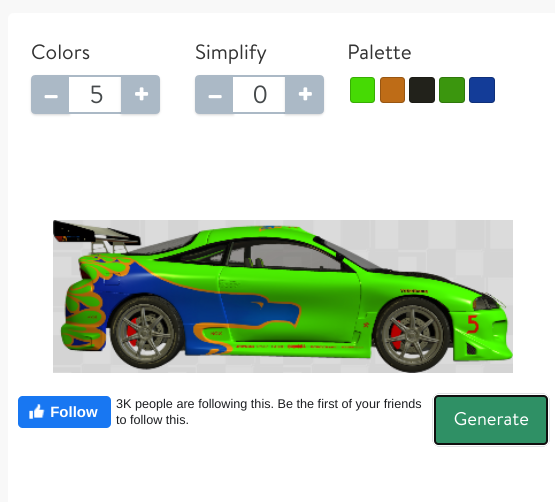
Go to this website: pngtosvg.com then scroll down until you see [Choose a file] and upload your PNG or JPG into an SVG to import it into TinkerCad.
Setting the Image
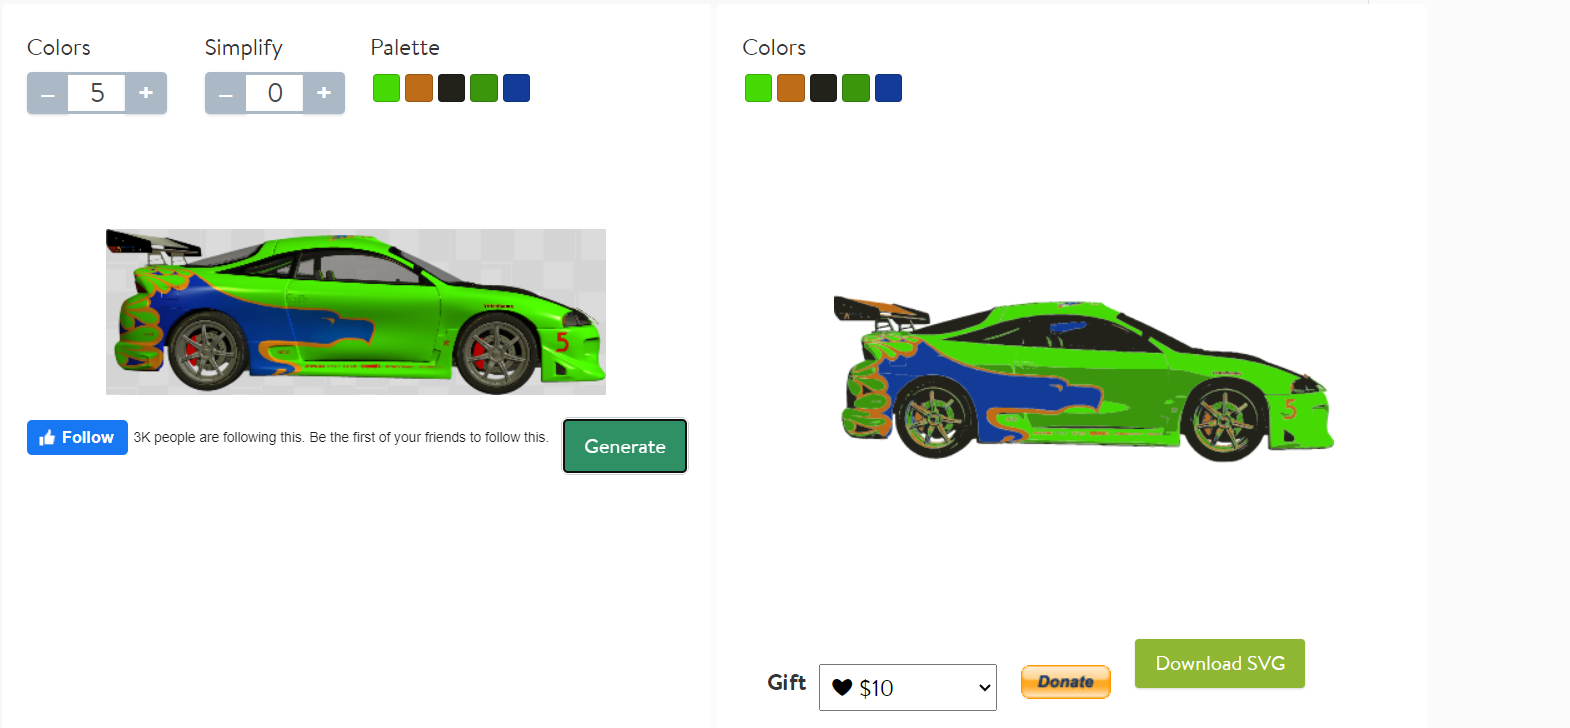

Now that you have imported your image to the website you must set the image, count how many colors your image has then import how many colors onto the [-]color[+] because you don't want to have a complicated image with many colors and to give you extra work to do. Some images take up lots of memory the [-]Simplify[+] setting takes images with a lot of edges and smoothing it out. Try this if TinkerCAD.com is having an issue with your file scroll to the bottom of the website it will show you each color in the image you provided click the [Generate] button and wait for your converted image to load.
Importing #2
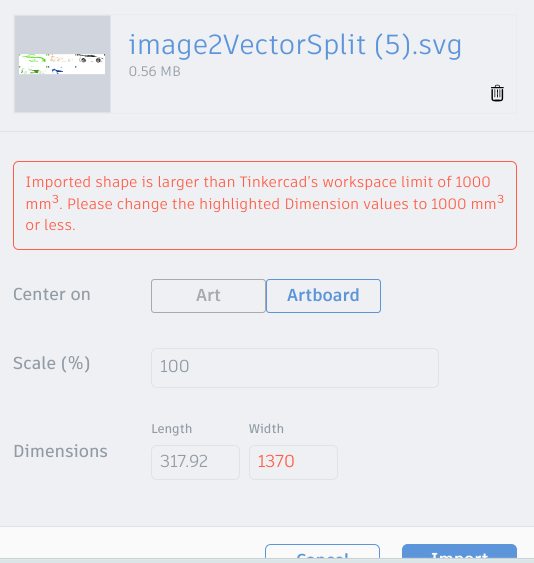
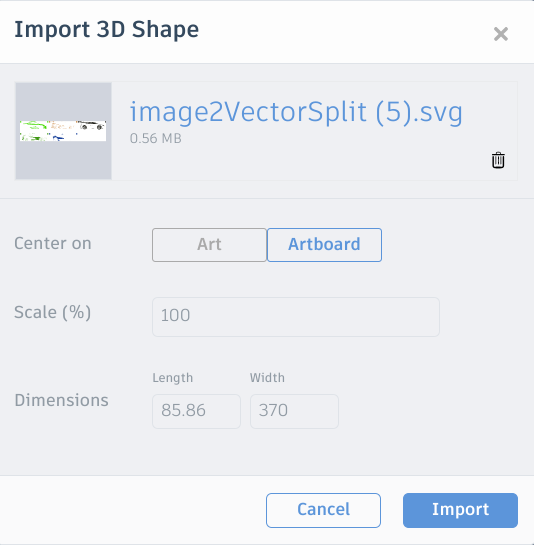
Import that .svg file to TinkerCAD.com it might say the image is too big so make it smaller to make it fit onto the platform.
Cutting
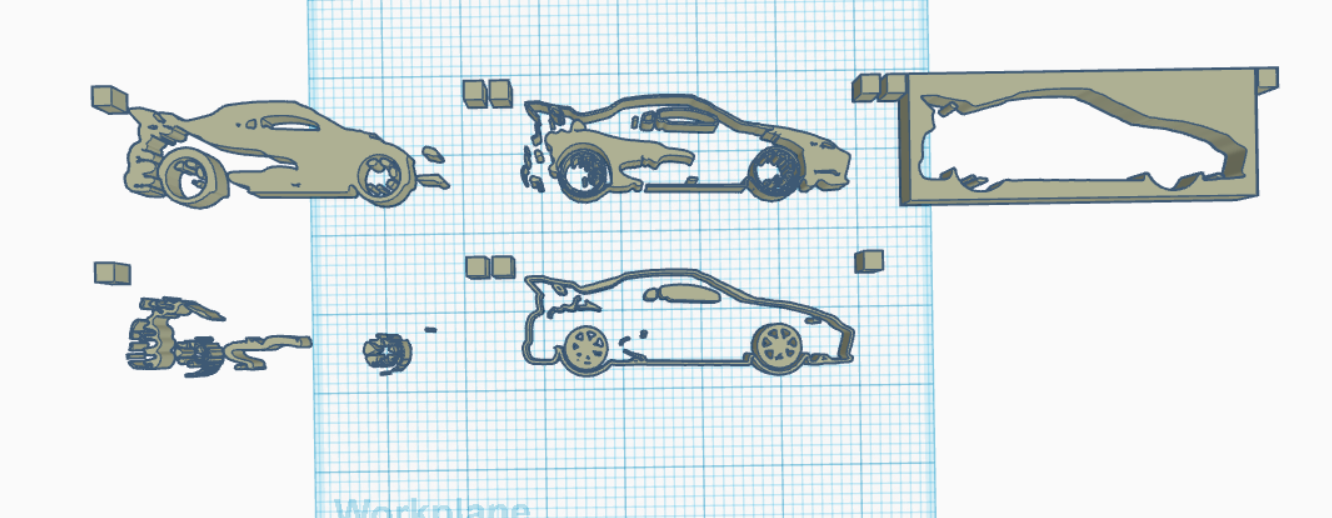
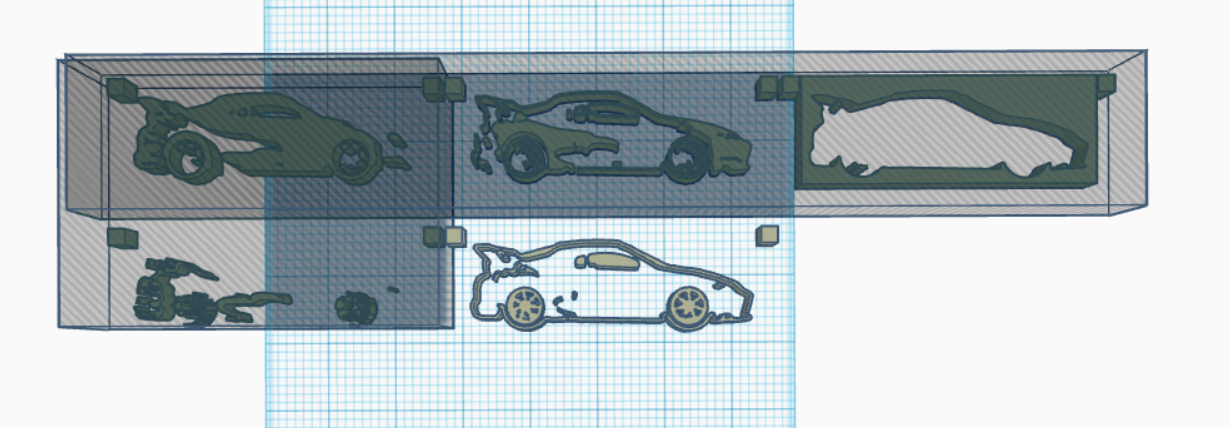

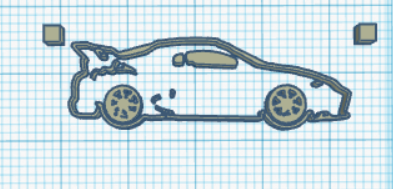
Now that you have imported the image you would need to duplicate as many small images as you have then you would want to isolate each image by adding a rectangle covering each other small images make the rectangle HOLE in the top right screen where you can edit the rectangle then group everything together with Shift and click on all the images making sure there is on two thin short rectangles on the image you want to keep after this the image you wanted to keep should be isolated. You would now need to repeat this step over until you have everything isolated.
Setting It Up
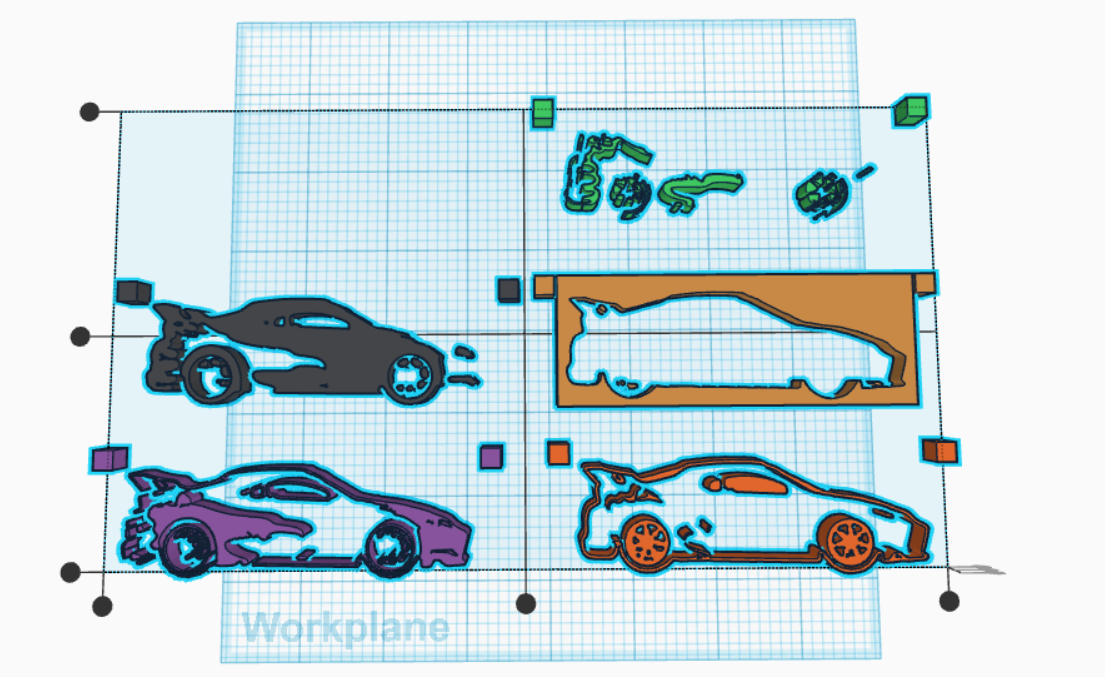

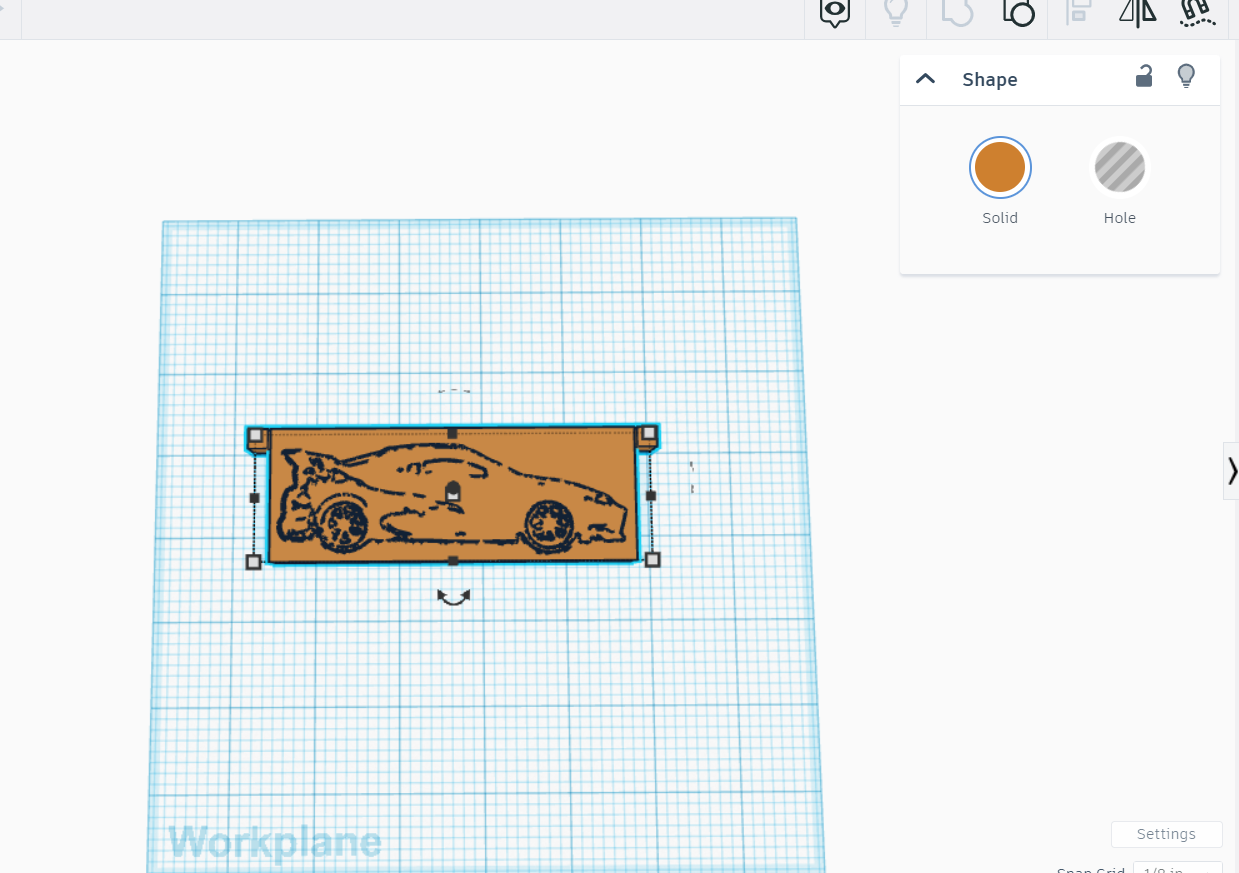
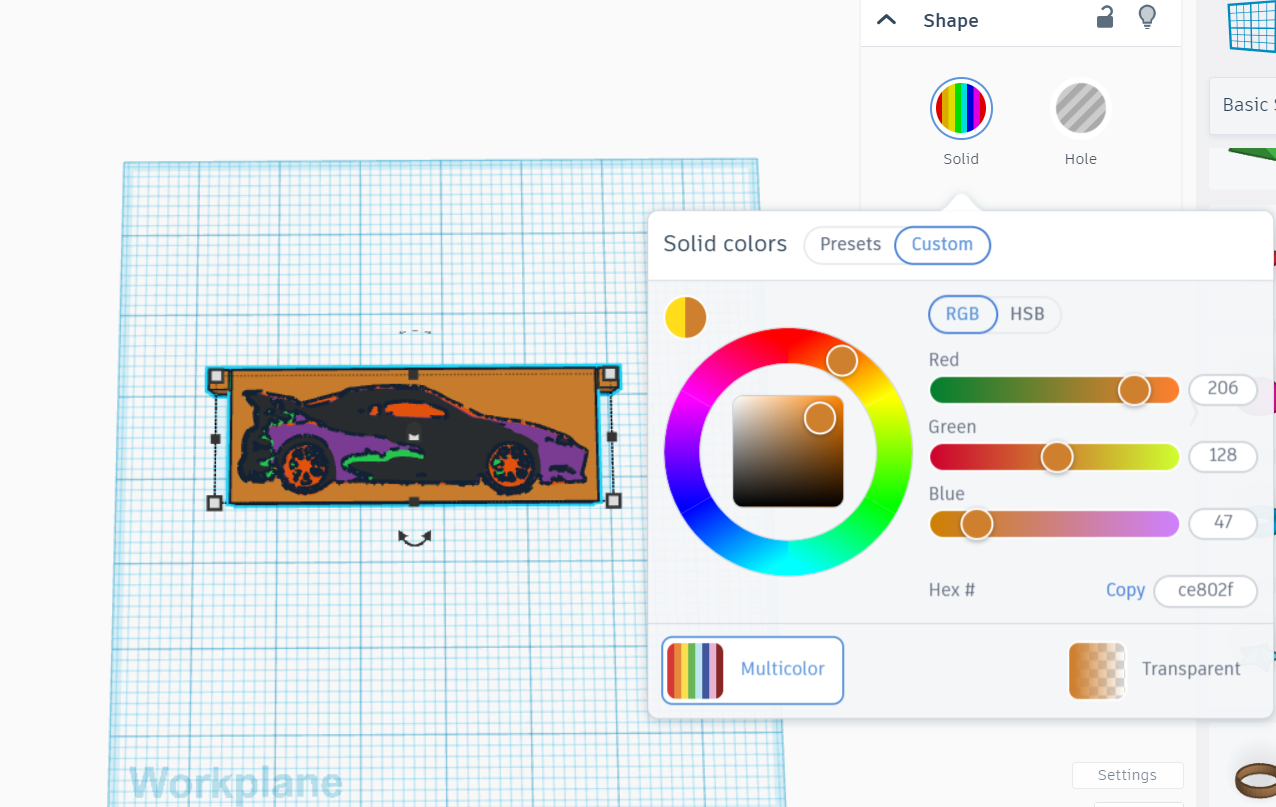
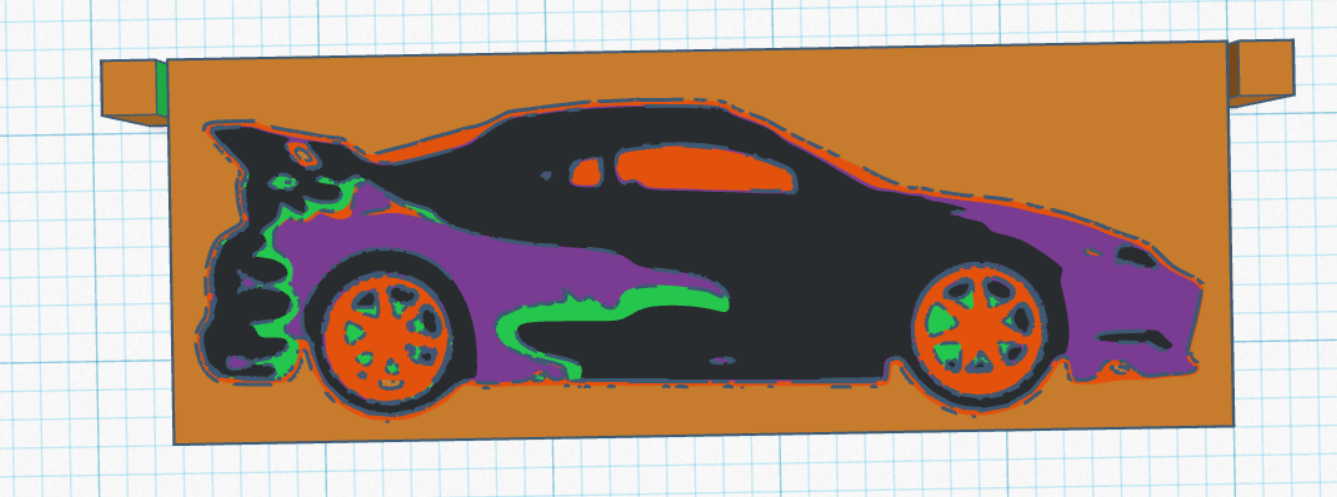
The final step you need to do is click on all the images you have created then click on the Align tool all the rectangles will be together to form the original image you wanted. After you have Align your image you would want to group it into one image, TinkerCAD might set your final images into one color if this happens click on the image then select multicolor and you have your finished product.
Pendant
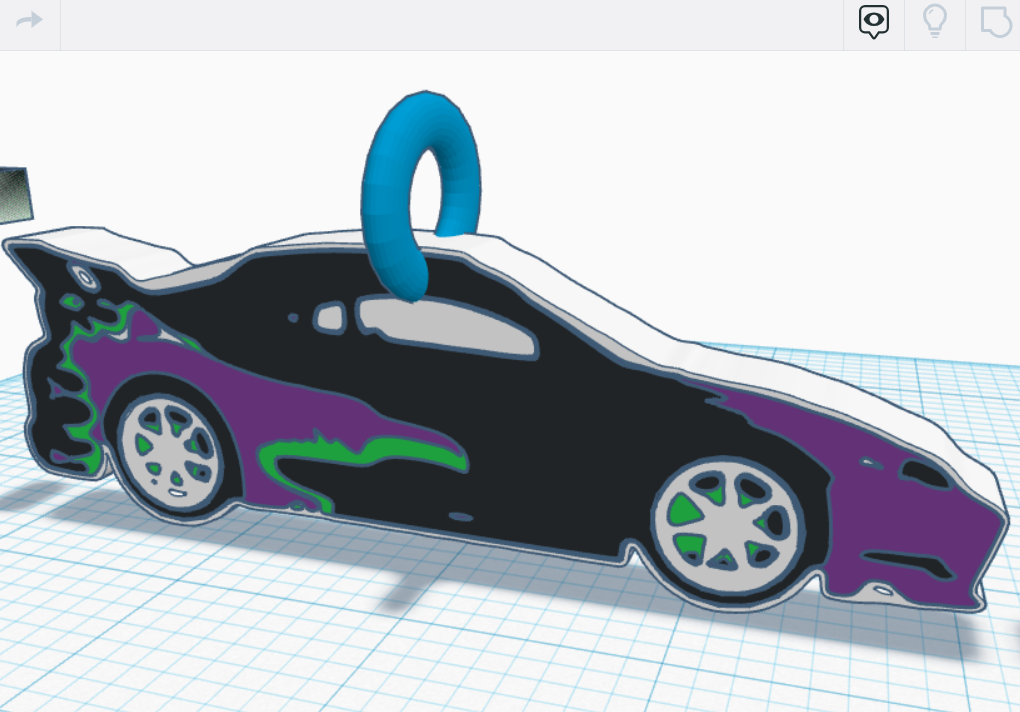
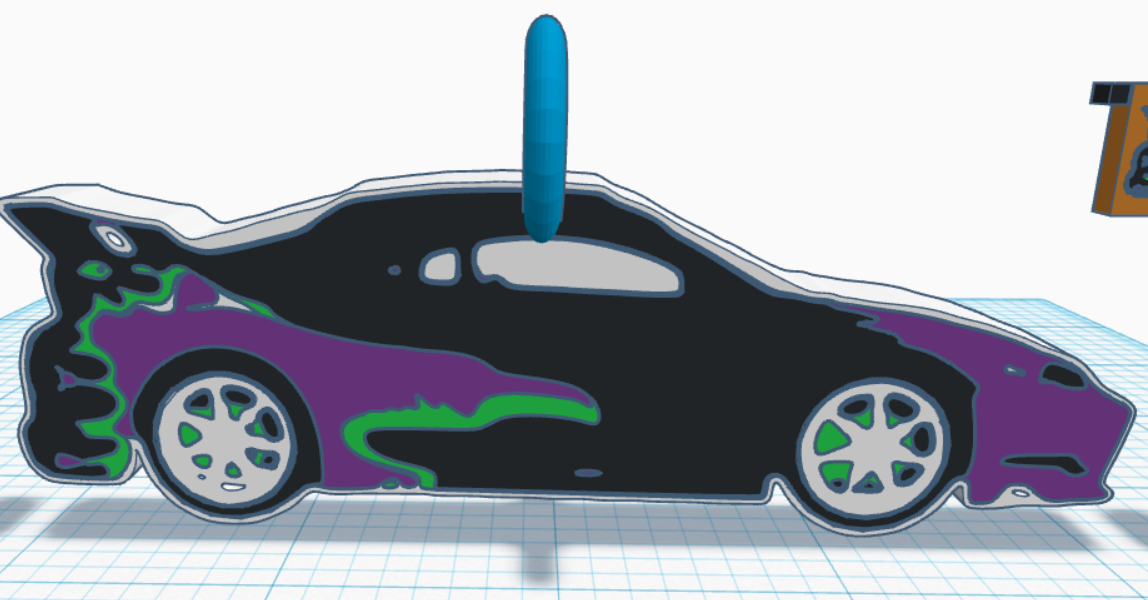
If you wanted to you could now set a key holder onto the pendant so you could put it onto your necklace.
Pendant #2
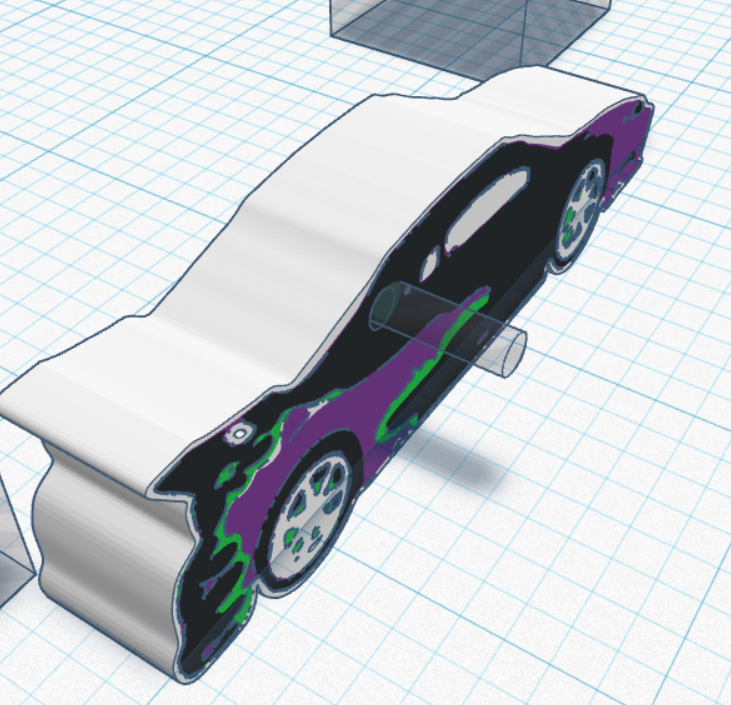
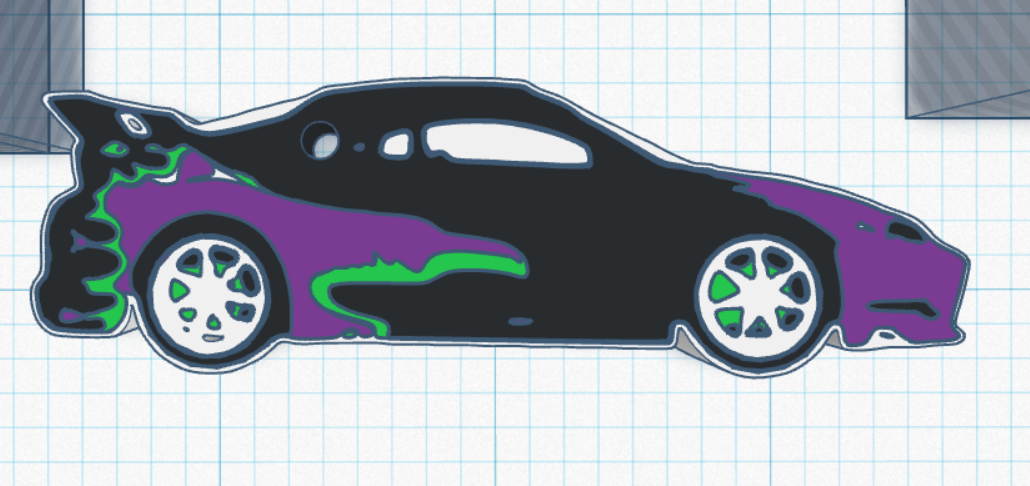
You could also add a hole in you pendant to have a perfect fit for your chain to attach it to. You could do this by adding a cylinder and customize it to you liking for the width and height then you would make it through the pendant and group it then it will be ready to print out.