3D Printed Nested Dolls
by masynmachien in Workshop > 3D Printing
6707 Views, 73 Favorites, 0 Comments
3D Printed Nested Dolls
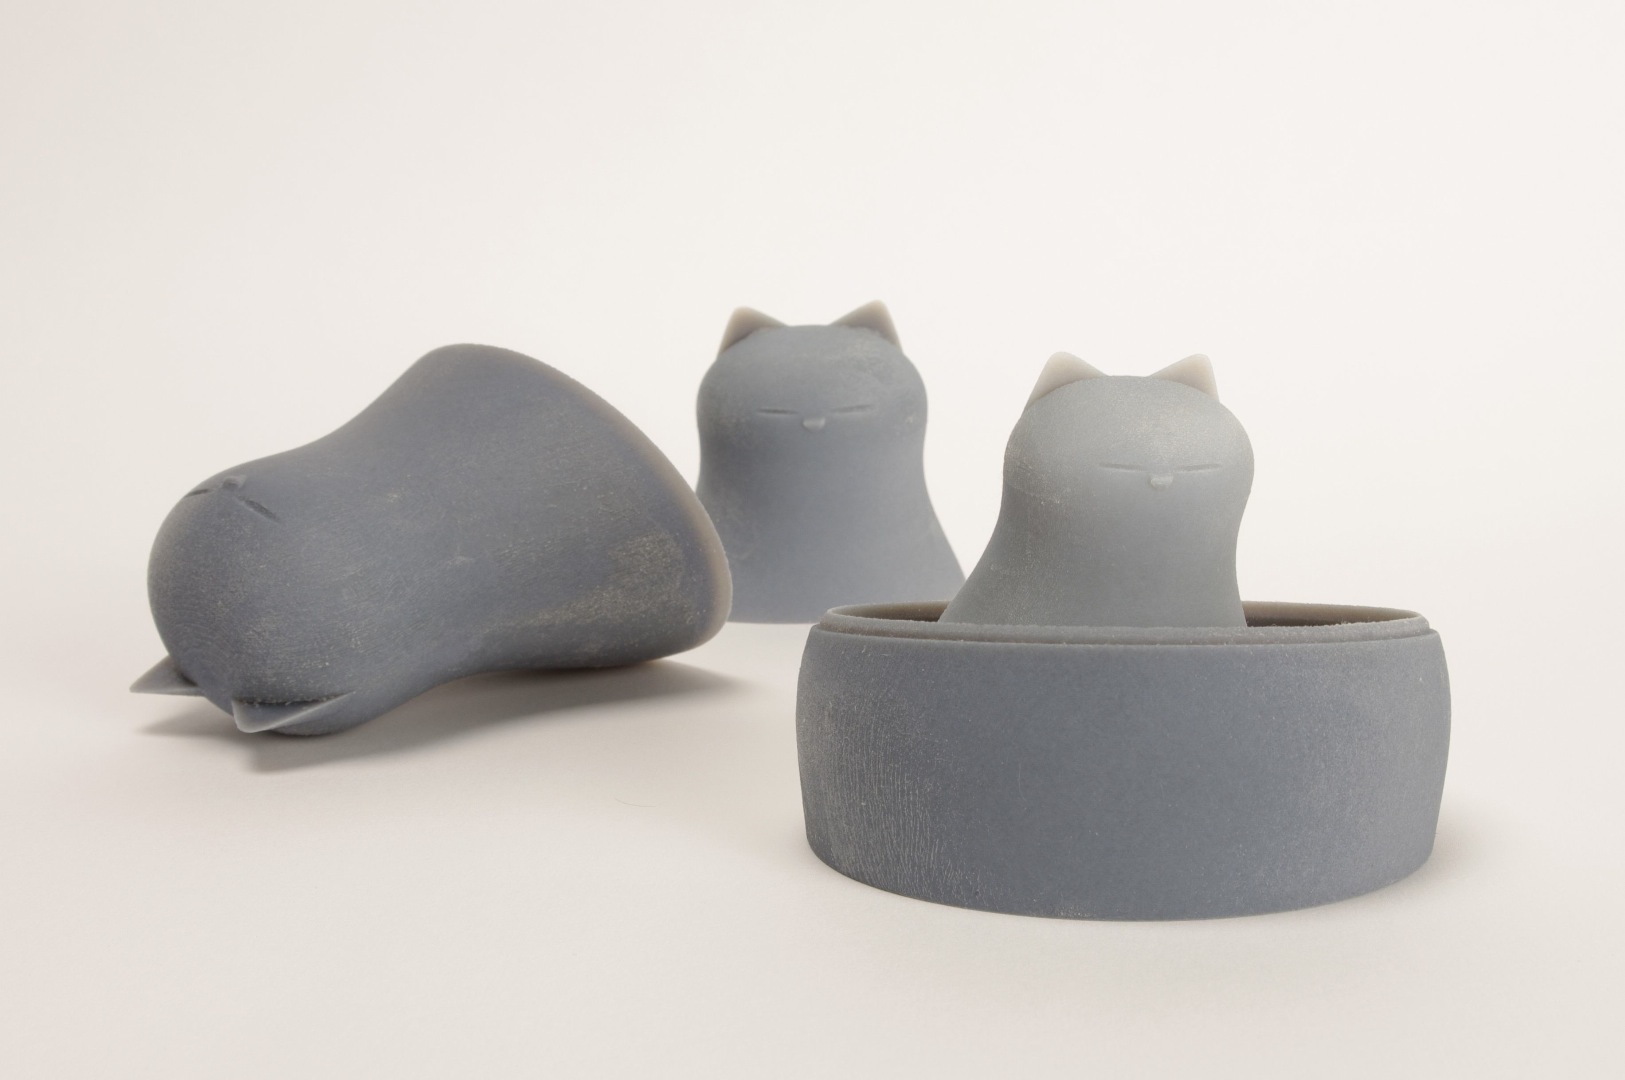
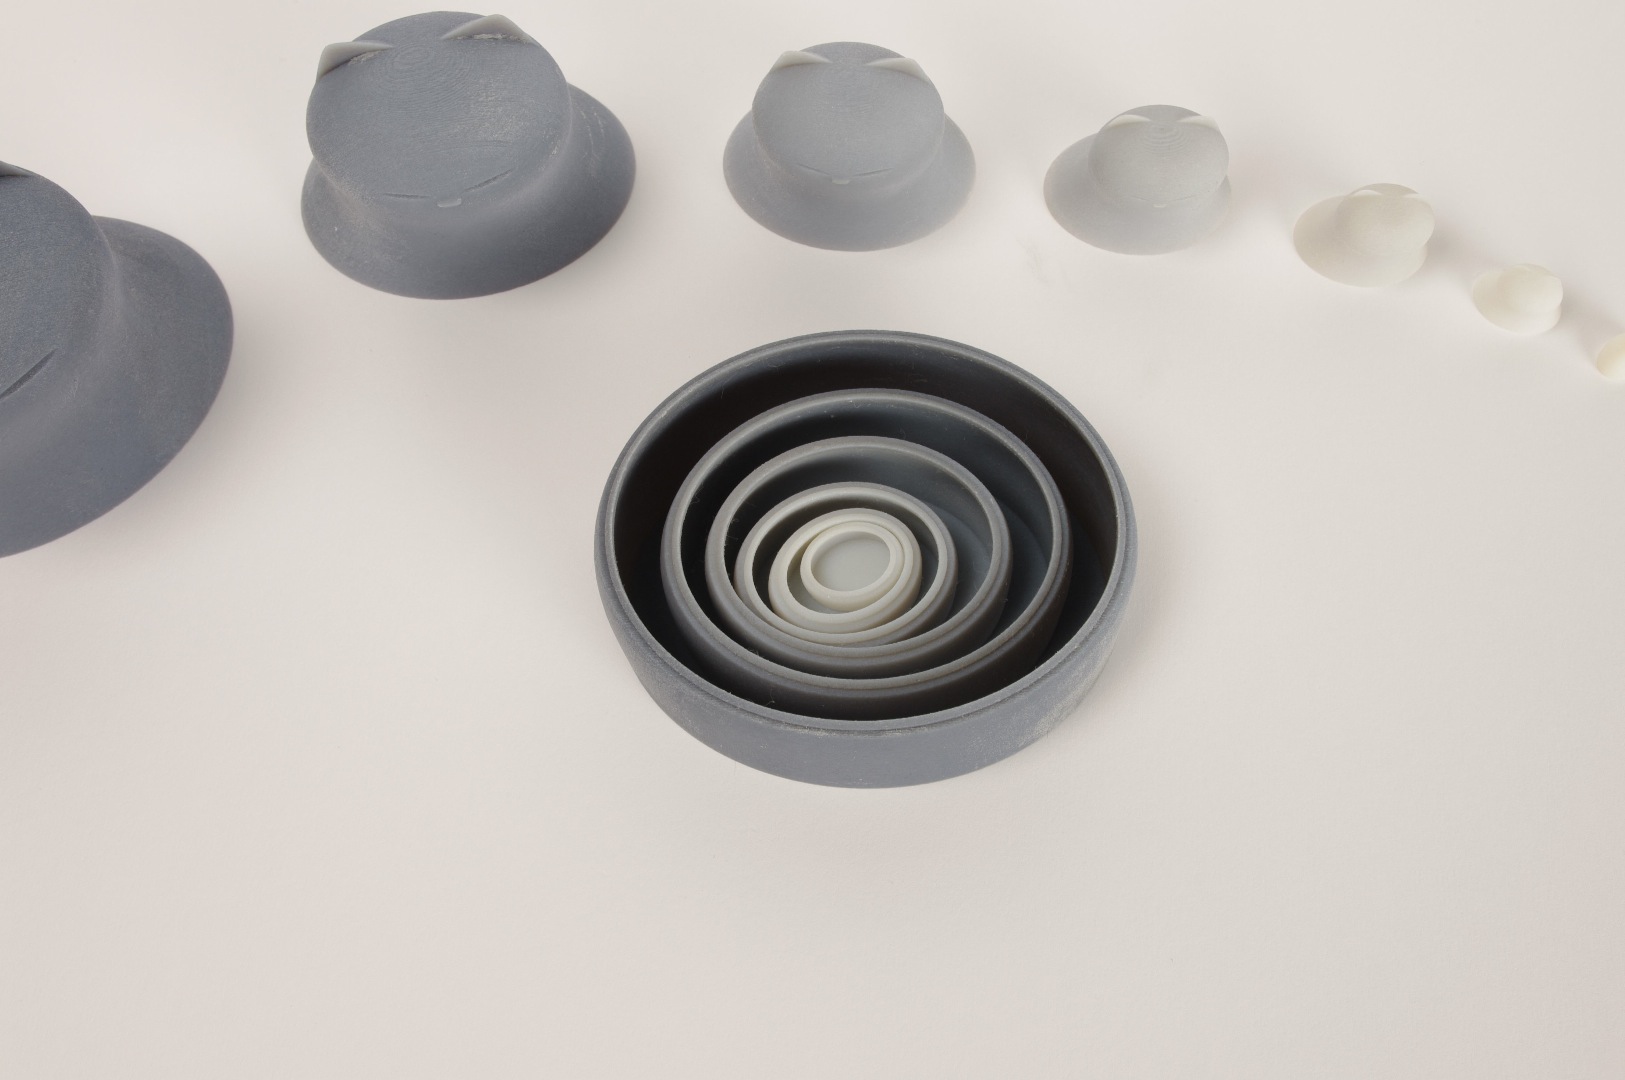
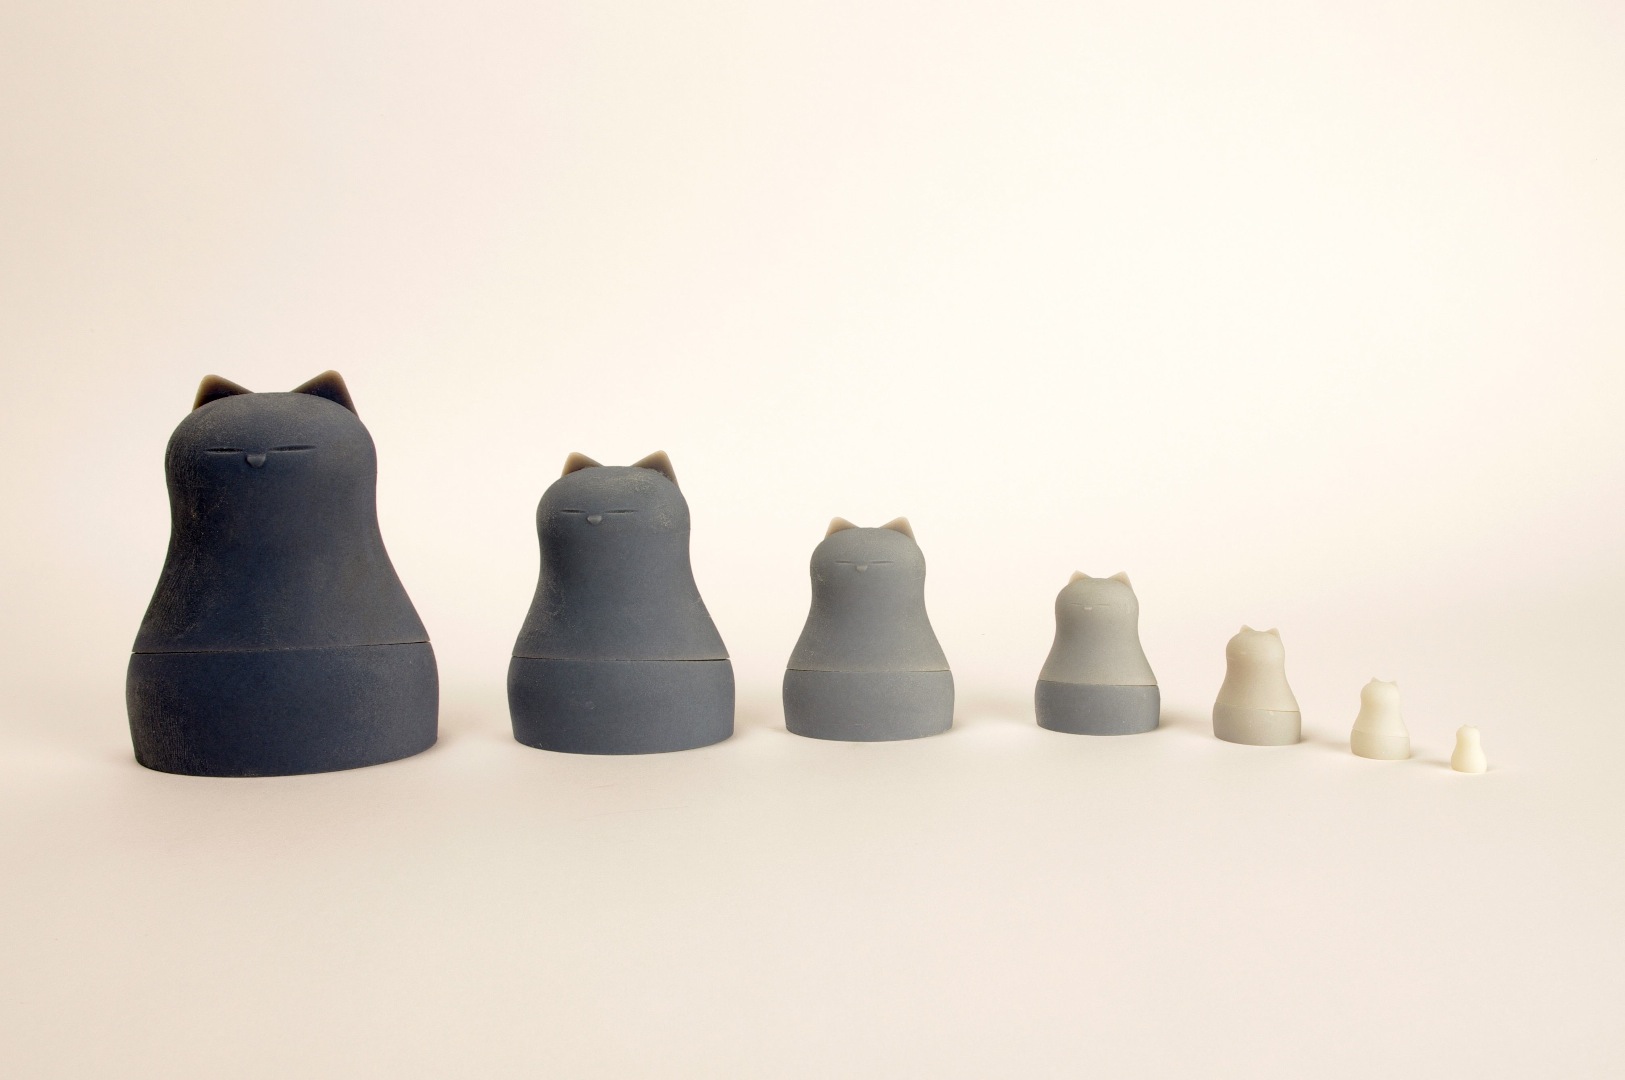
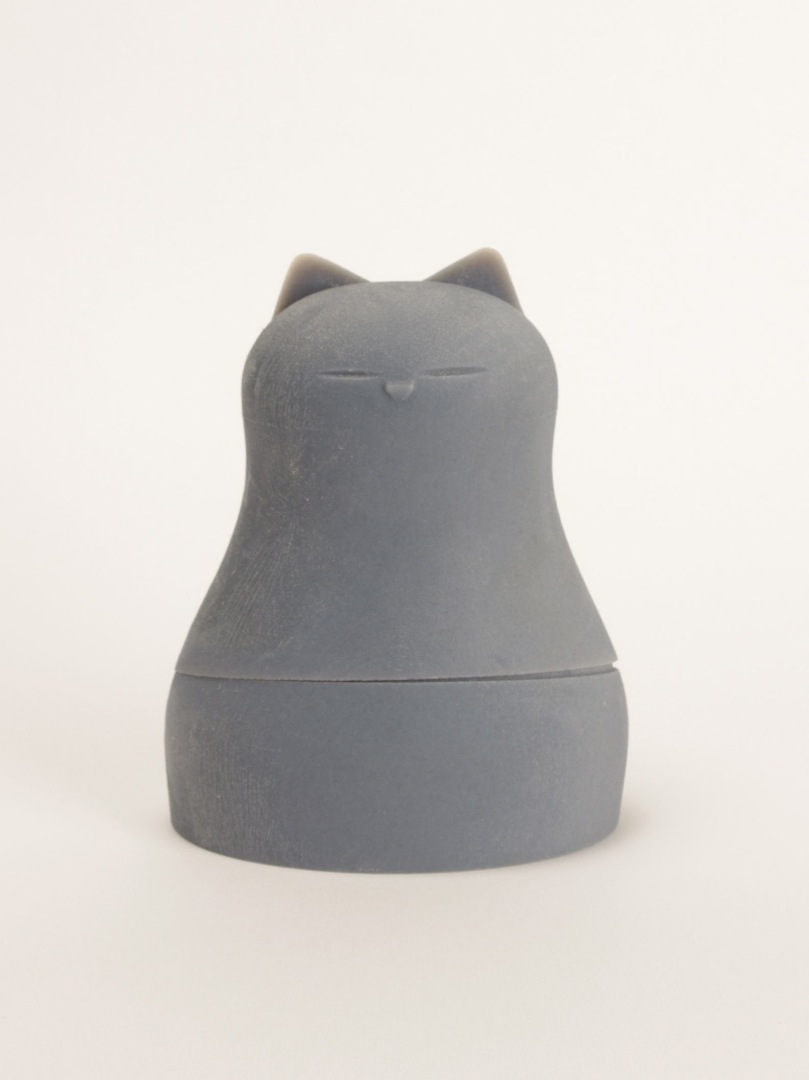
In this Ible I show how I designed and 3D printed a set of nested dolls. It is a rather simple project, but there are some lessons to share, mainly on the best working order making the design.
At the time I was just starting in designing in 3D and exploring the possibilities of Autodesk 123D Design. The power full “Shell” function in 123D design inspired me to make nested dolls. The “Shell” function allows to transform a solid shape into a hollow shape with a set wall thickness.
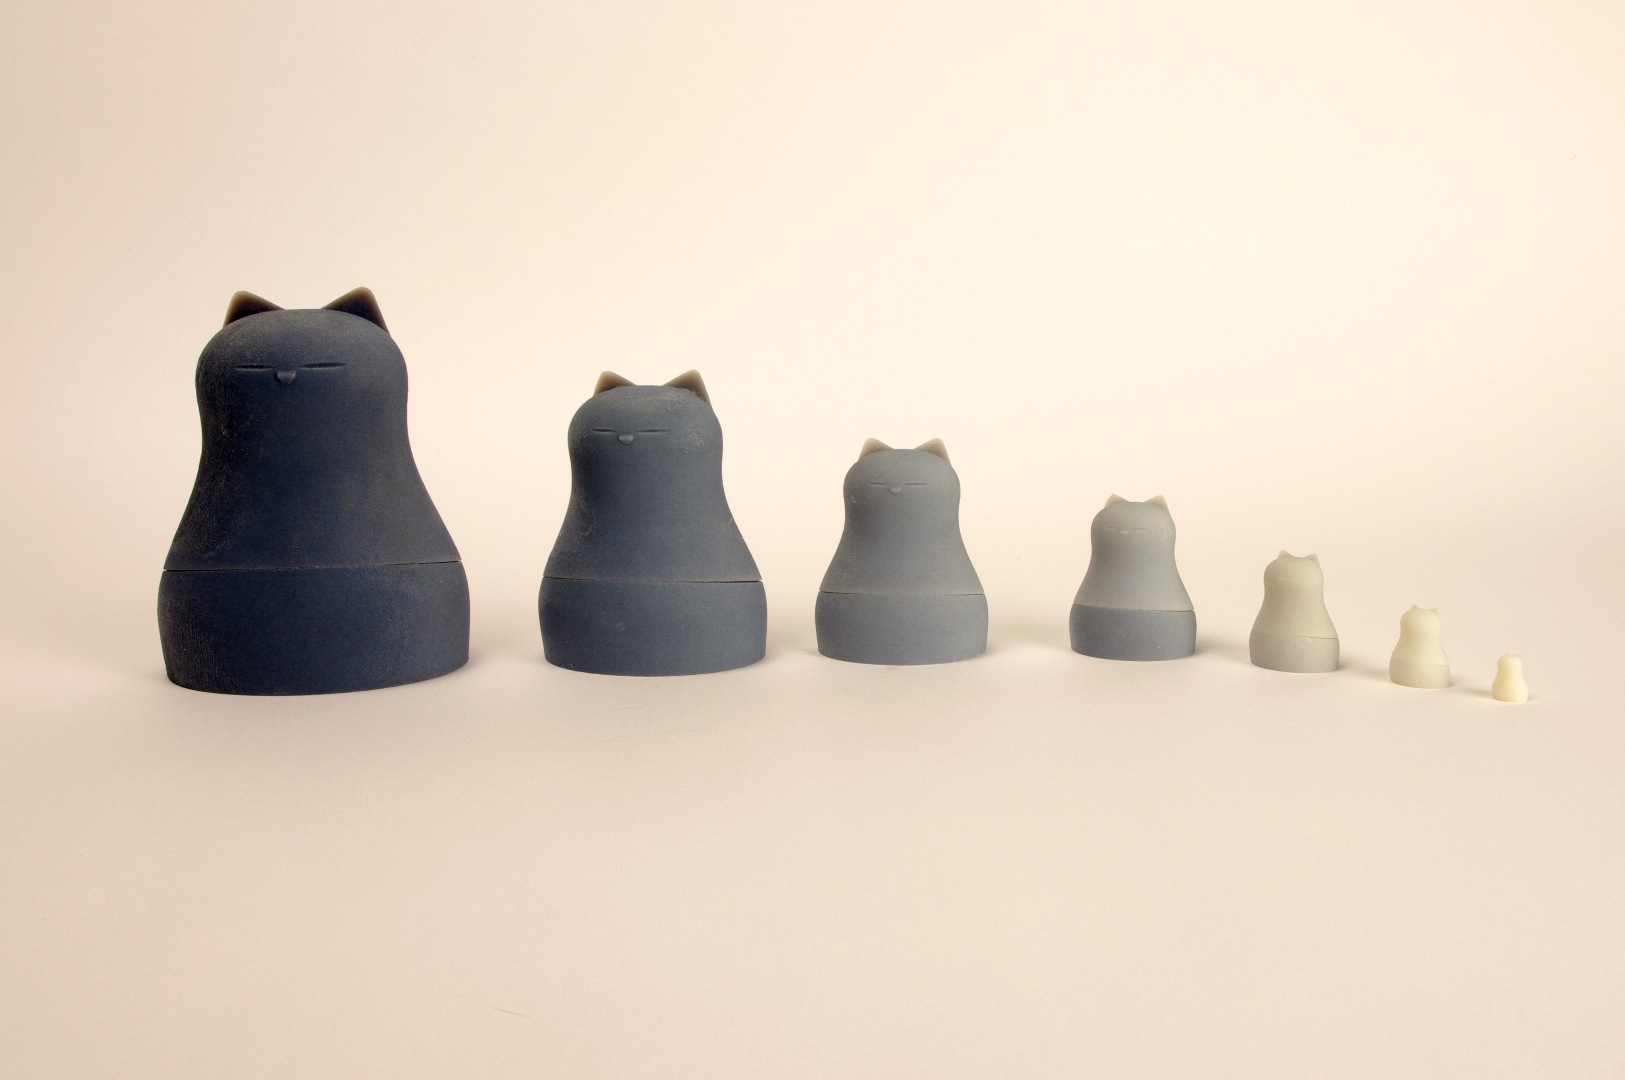
The dolls represent some kind of stylized cats. Actually it would have been easier when keeping to the classic Russian doll shape or another simple shape, but deviating from the perfect symmetry and going for a more concave area's and adding details made it more of a learning experience.
I made this project when I was Artist in Residence at Pier 9, Instructables HQ, July 2013. I’ve had a terribly busy year and I’ve been neglecting writing up the Instructables on a number of projects, but as I’m doing another month as AIR this April (2015), I felt I really had to finish documenting it.
Special thanks go to Randofo for taking the pictures of the final result.
Needed:
.jpg)
I used the desktop version of Autodesk 123D Design on a Macbook pro. There is a also a version for PC and iPad. It's free and you can find it here.
Obviiously you ail need access to a 3D printer or 3 printing service. The ability to print the dolls as nested will depend on the type of printer. At the Instructables HQ, in the Pier 9 workshop I had the opportunity to use the Objet Connex 500 printers. These printers work with a support material that is different of the parts material and is easily removed with a water jet in a special cabinet. I was really impressed by the reproducability of these machines. I made sets in different materials, on different machines, at different times, and can interchange them freely. Any top and bottom half of a particular size perfectly fits any other.
This Ible does suppose some basic experience in Autodesk 123D design. If you do not have any yet, don’t worry, it is really easy to get started with. Just follow the tutorials that already exist. For a good intro on both 123D Design and on printing with the Objet Connex printers see this Ible of my good friend MCLanger.
Determine the Dimensions of the Dolls.
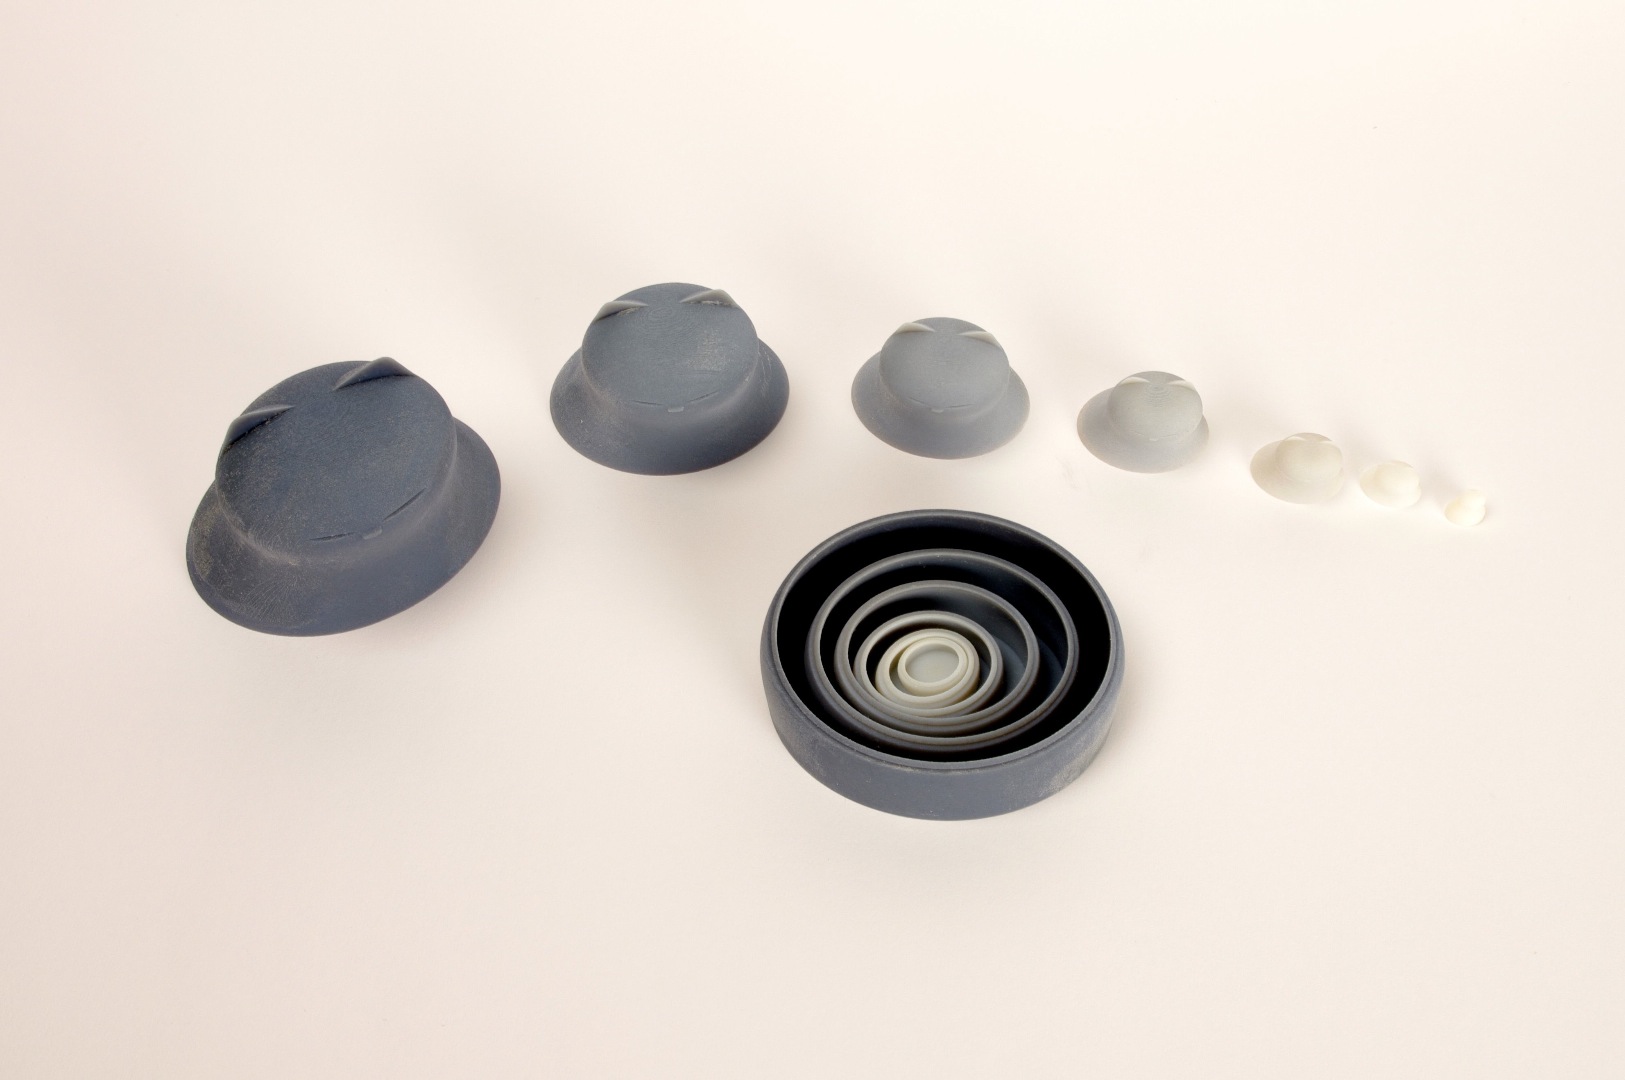
Determining the dimensions of the series did require math ☺
One approach would be to increase (or decrease) the the size of each member of the set with the same absolute step. But then the steps become relatively smaller and smaller. The curve made by the top of figures standing next to each other becomes flatter and flatter, which doesn’t look OK. Also, in the case of the cat, I ran into a problem of not enough room for the ears. You could look at this approach as increasing the inner ceiling with constant increments. As the ears keep “growing”, at a certain time the gap becomes to small for them.
The basic aproach of scaling each next figure with the same factor makes them literally grow exponentially, making the larger dolls to big quickly. So you should keep the factor as small as possible. And the line made curve made by the top of figures standing next to each other still doesn't look right.
To make that a straight line, you have to take in account that the distance between the dolls does not change. So I used this formula to calculate the size of each cat:
width member I+1 = (width member I + constant distance in between)*factor – constant distance in between
Then the resizing factor used in 123D Design is calculated as follows: width member I+1 / width member I
The maximum number of the set is determined by the wall thickness allowing room for the next smaller one. Scaling the wall with the same factor is a waste of material and makes the end result heavy. The cut-out to be made for a rim, to make the half parts fit on each other, is what determined the thickness. E.g. a wall thickness of 1.5 mm allows for a 0.8 mm rim on the bottom half and about 0.7 mm left after making the cut-out in the top half. Actually, because of the convex shape a little less than 0.7 mm is left. In theory you can change the wall thickness after making the shell with the “Press-Pull” function, but that proved to be limited. At a certain time this no longer worked, in particular when the rim fitting top to bottom was already added.
For more regular shapes, like the typical Russian doll shape, you can make the dolls very close to each other and fit a large number into a certain size. When printing them all at once and as nested you should obviously keep a gap for the parts not to be printed attached to each other. For the Objet Connex 500 that gap should be larger than 0.2 mm. But apart from the parts not being printed attached to each other, it is also important that the support material can be removed. I couldn’t tell what value to take into account for that, but I can confirm that with the gap varying from a couple of mm, down to 0.5 mm at some places, removing the support material and separating the parts actually worked quite well.
Designing the Master Doll Shape
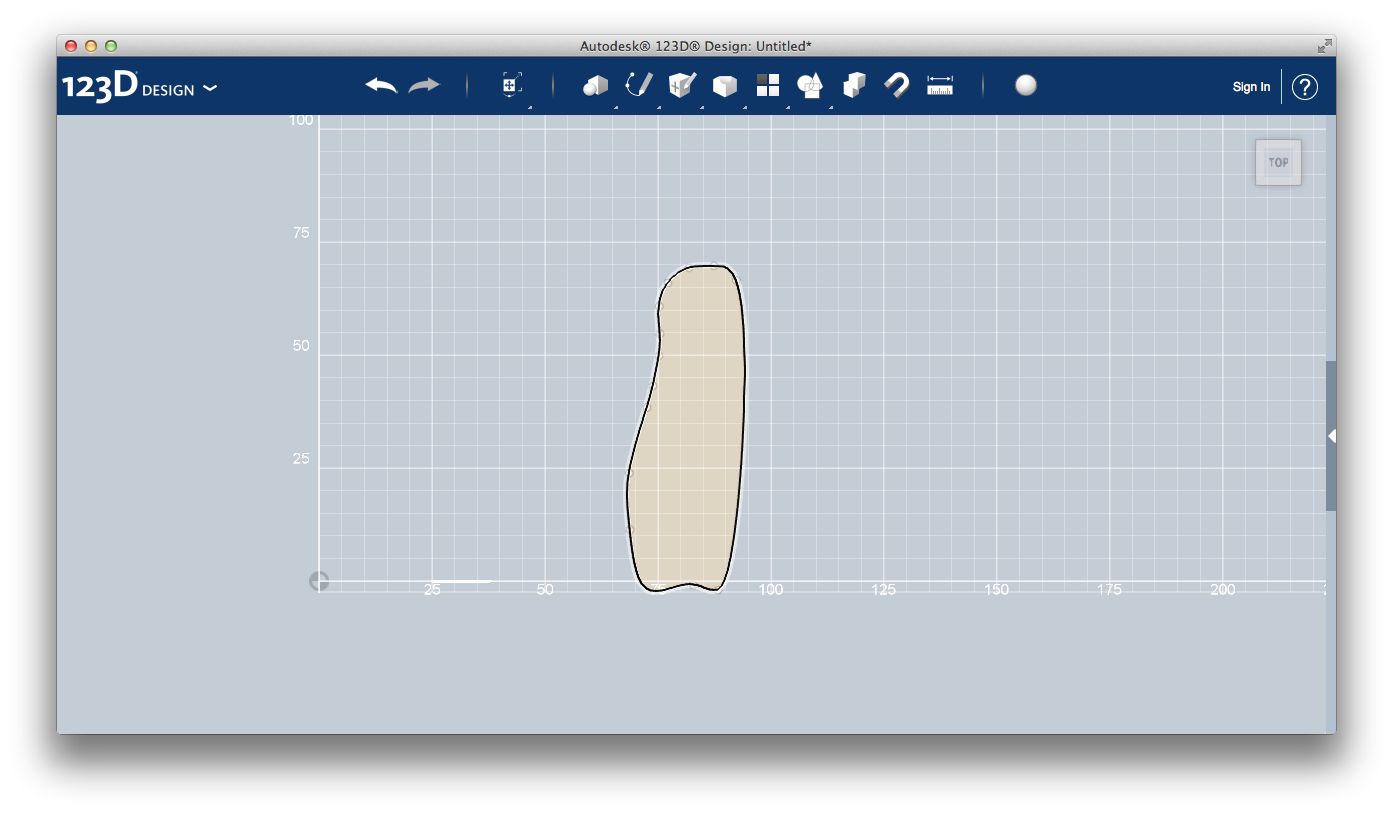
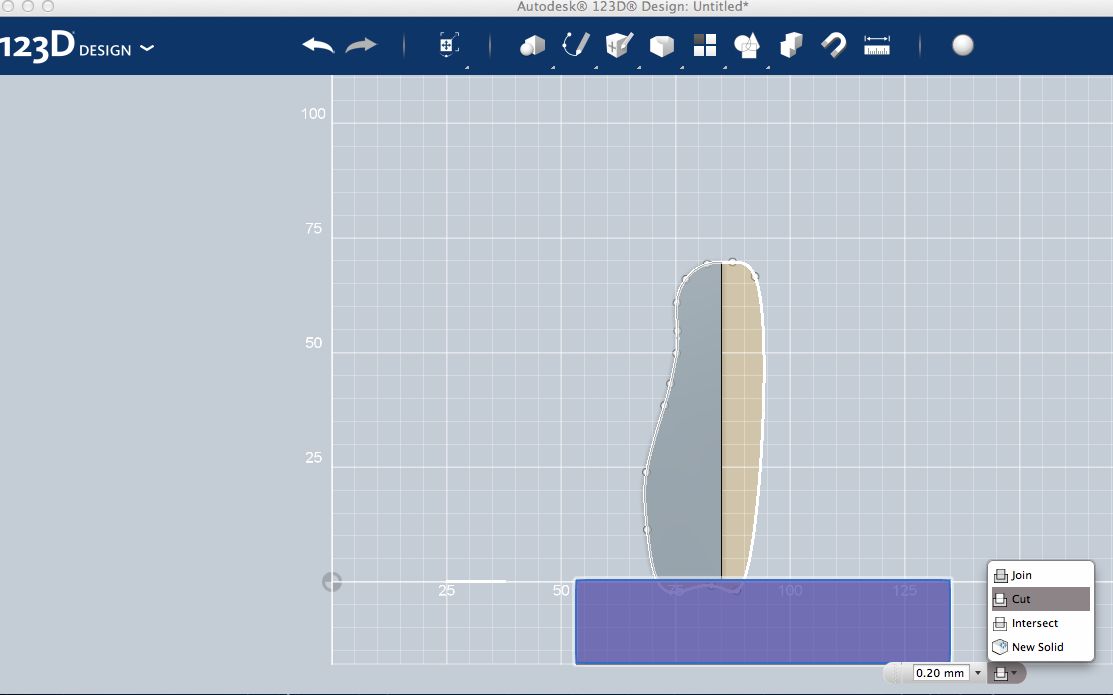
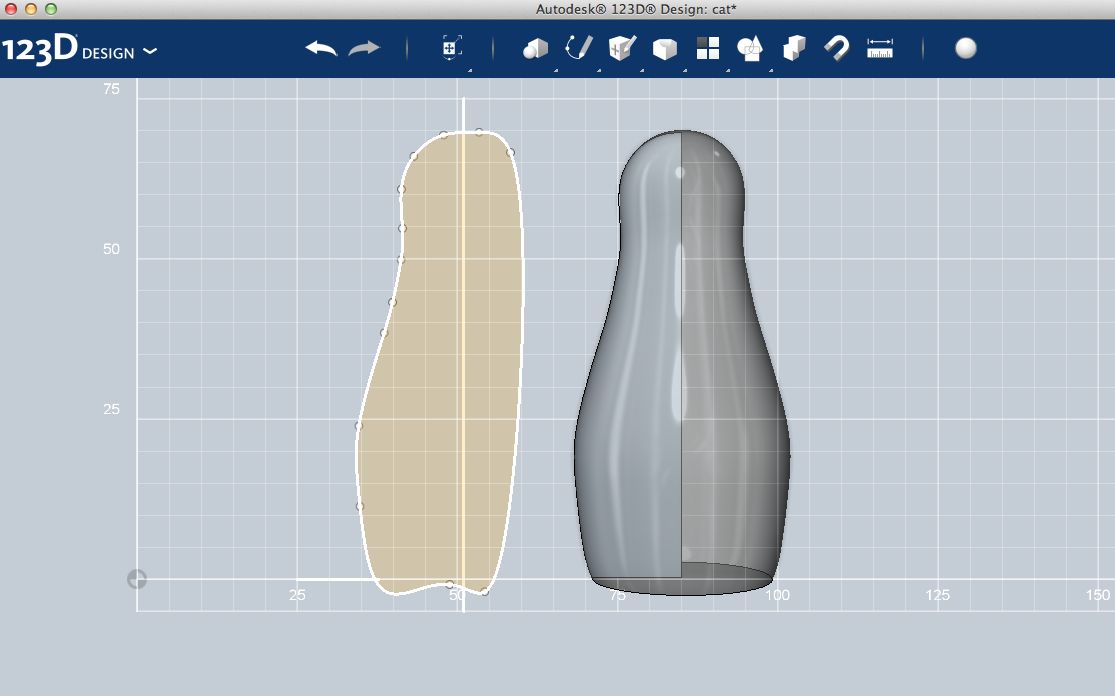
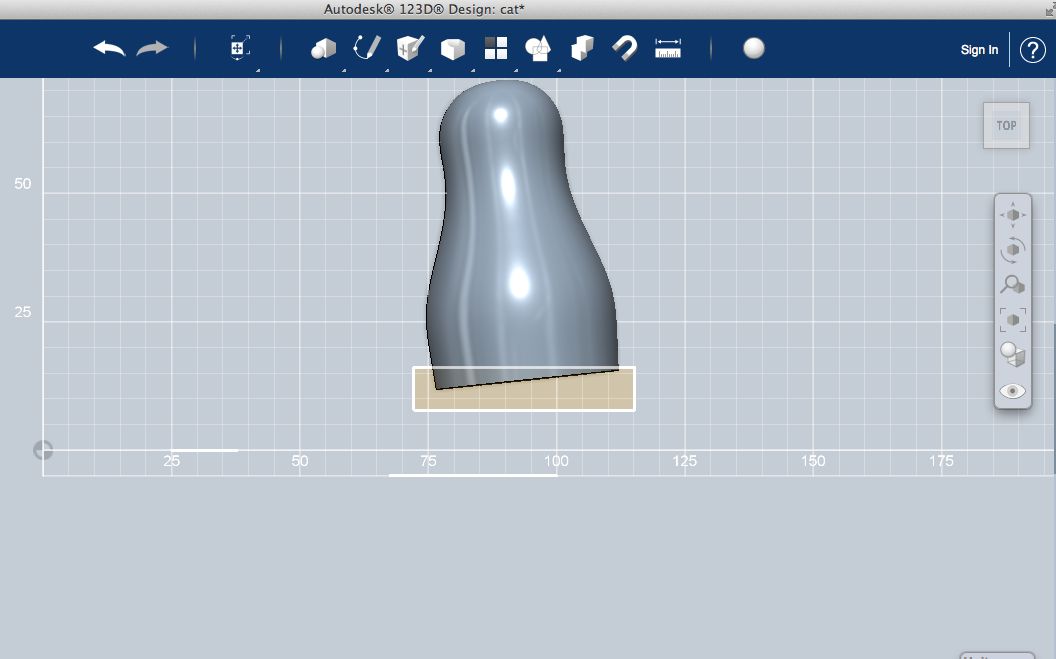
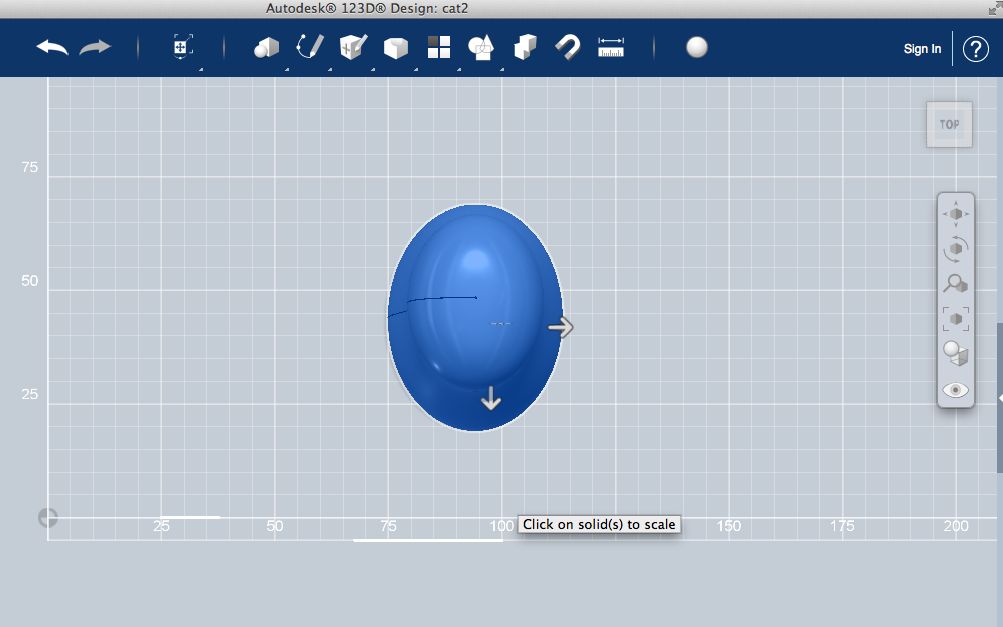
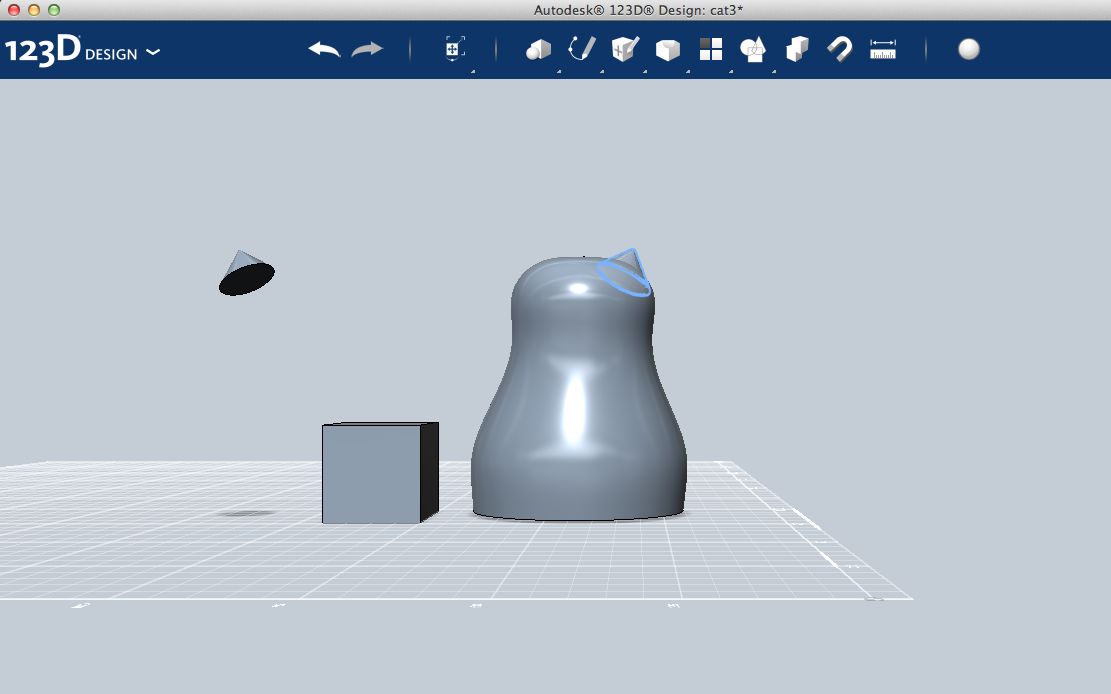
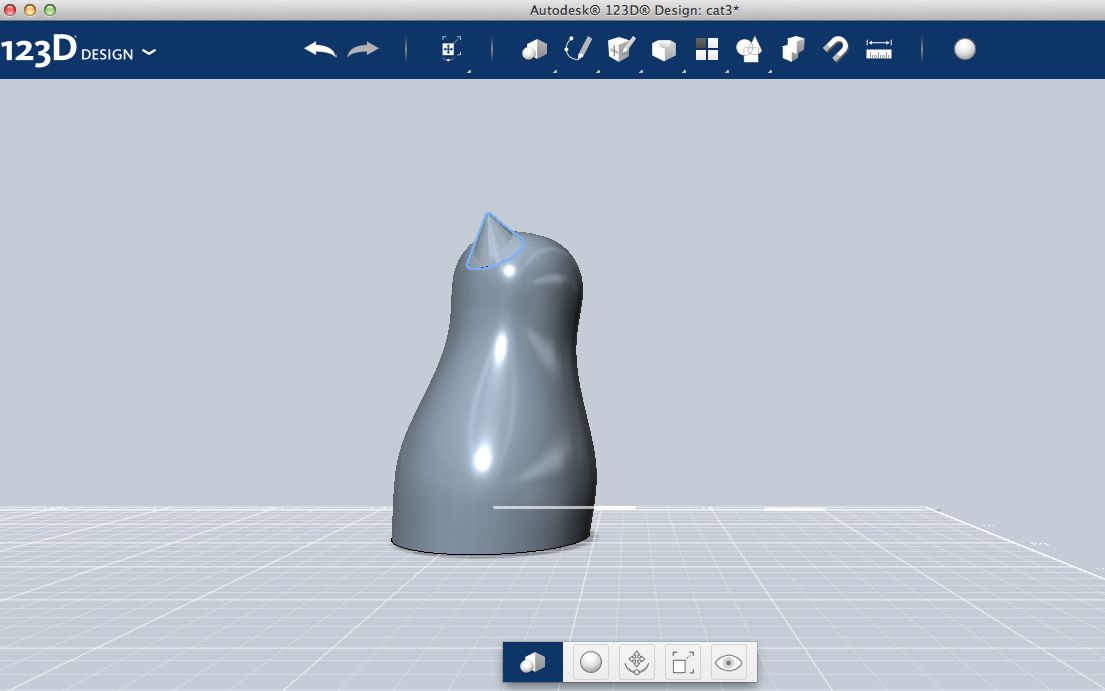
As said before I learned I needed to keep to a certain working order
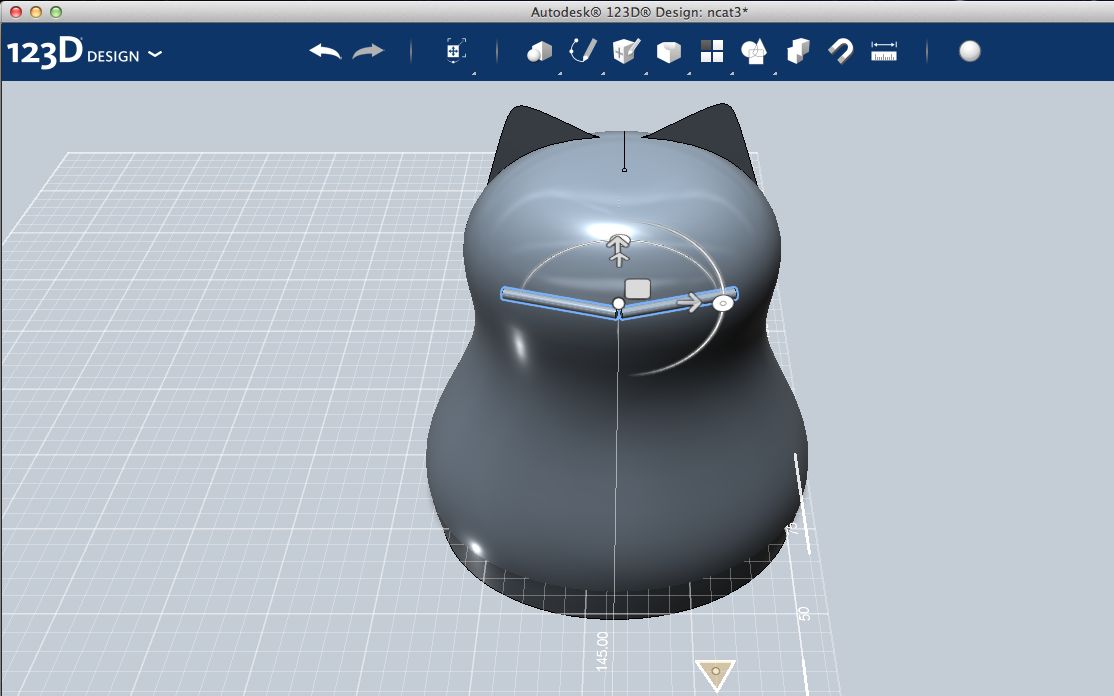
in the screen shots you will noticeI started making the basic shape by revolving a curved sketch along an axis. In my case the axis and the shape were slightly off, so I ended up with small holes in top and bottoms, which I had to fill with small cylinders.
To move away off the shapes typically made on a lathe and use the possibilities of 3D printing, I tilted the shape a little, gave it a horizontal flat bottom by subtracting a box and scaled it in a non-uniform way and.
I added the ears, but learned it was best not to join them to the main shape as yet.
The “Shell” function in 123D design is a powerful function to make the kind of hollow shapes needed here, but there are limits to the complexity of the shape it can handle, which you should take in account. So it is important to do the Shell operation before joining the detail solids to the main one. Actually, If you do not need to make fillets to the seams between the main shape and details, there is no need to join the solids at all. This can be done when exporting to stl at the end. In this project you will notice a kind of “dome” on the cat’s head. This was a work around, separating the details from the main shape after I combined them too early.
Preparing the Set of Dolls.
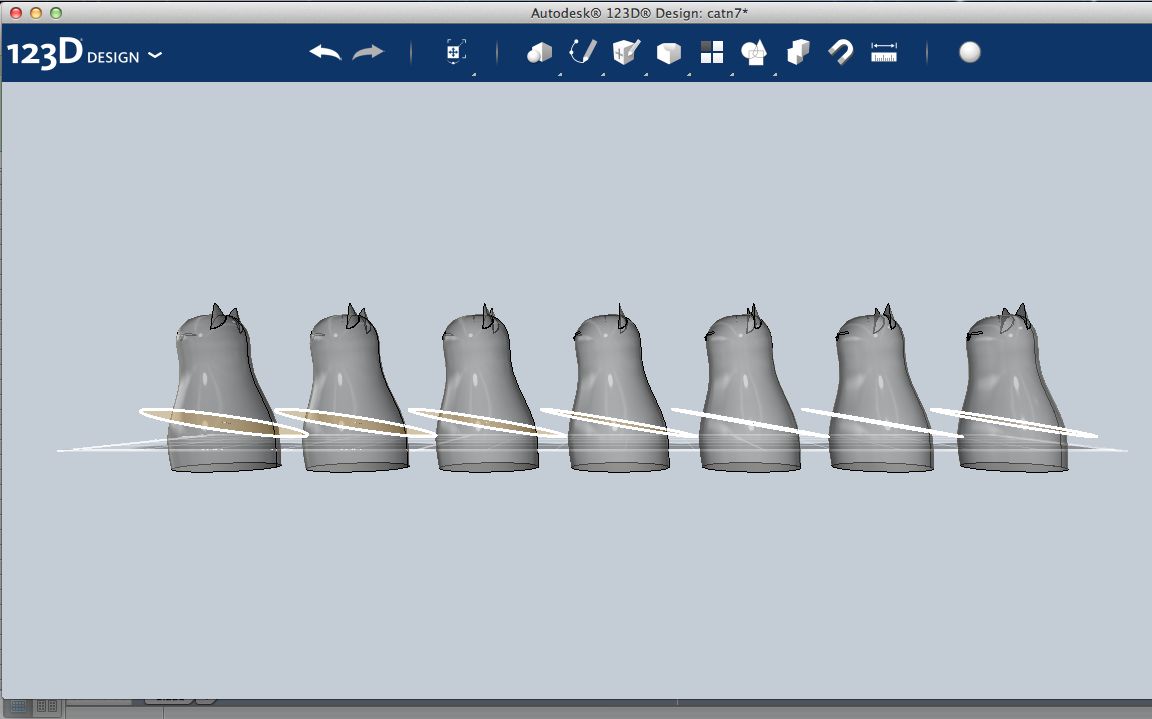
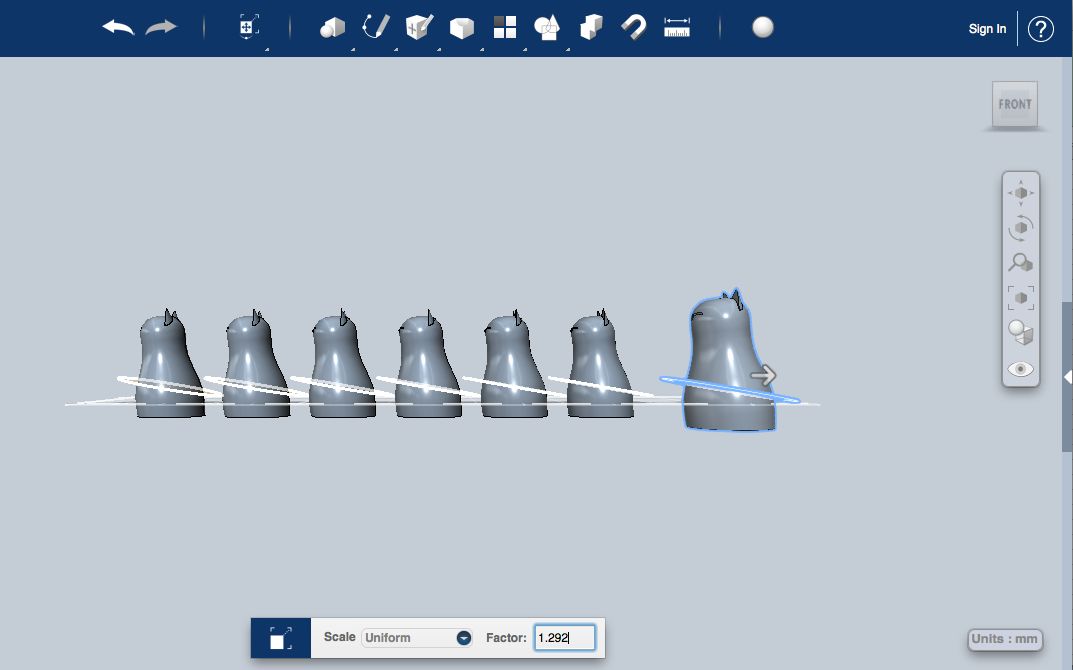
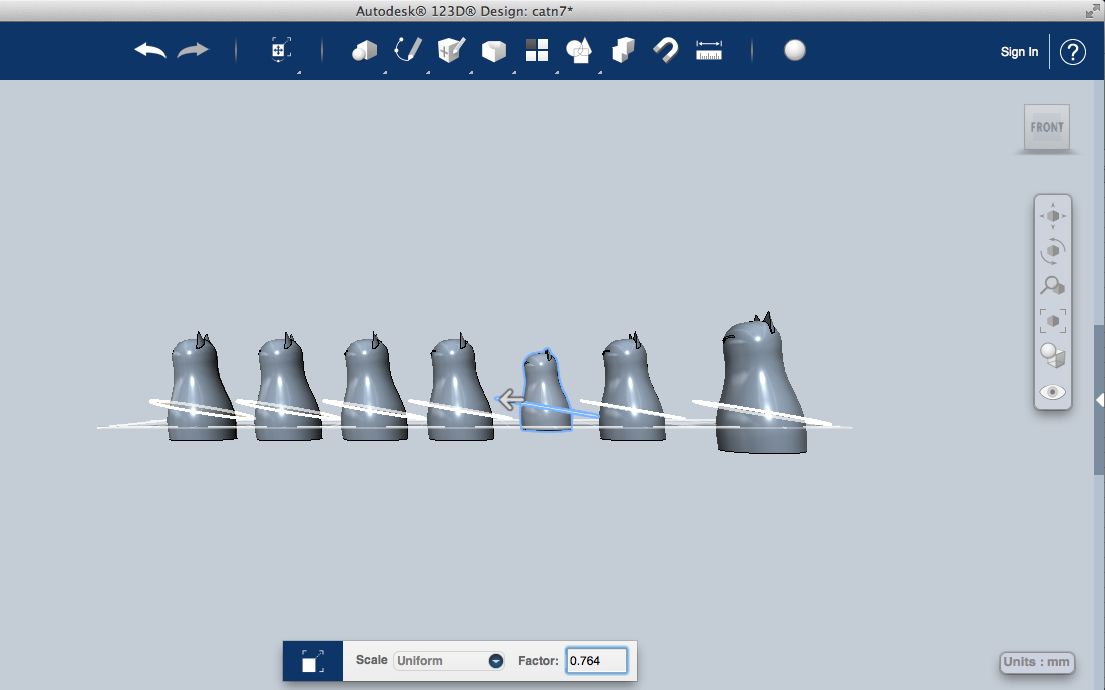
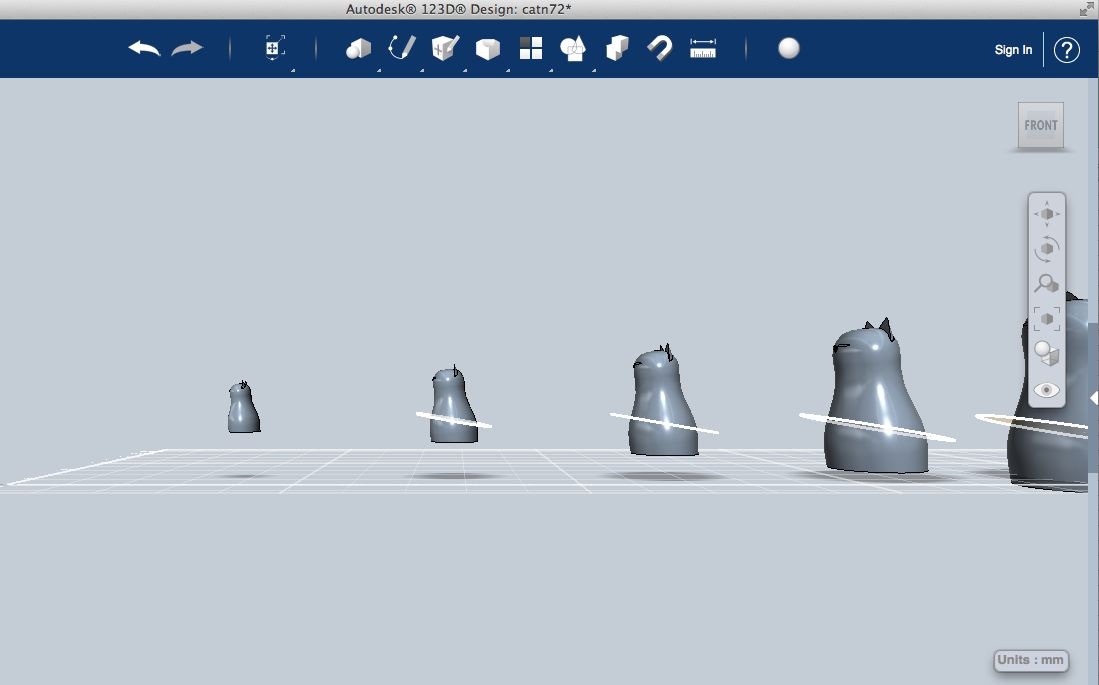
Start with the desired shape without “Combining” the details (like the ears) added.
Draw the cutting plane. I tilted it somewhat to exploit the possibilities of 3D printing (on a lathe it needs to be at a right angle to the shape rotational axis)
Make the desired number of copies and move them apart for a fixed distance. Make a note of that distance for when you move them back into the nested position.
Scale each member to the calculated factor.
Making the Shape Into a Hollow Doll That Can Open and Close
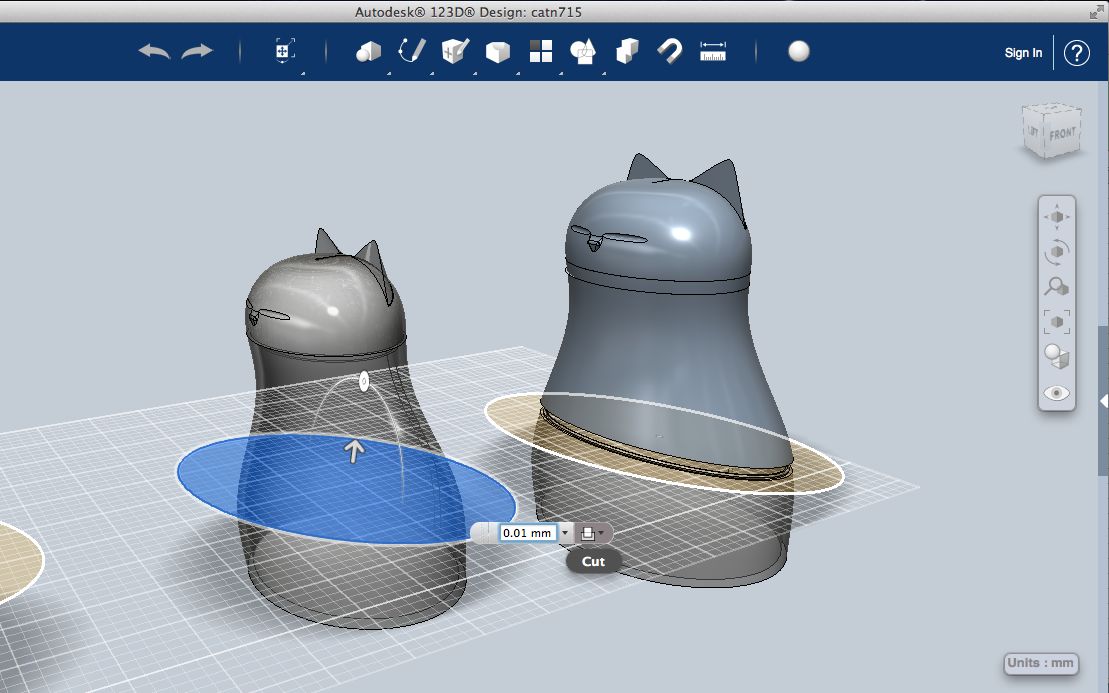
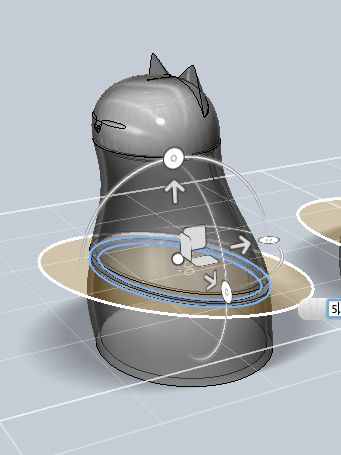
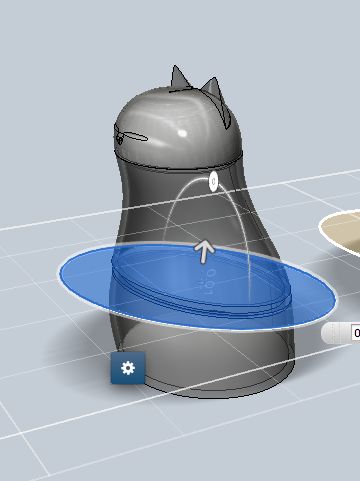
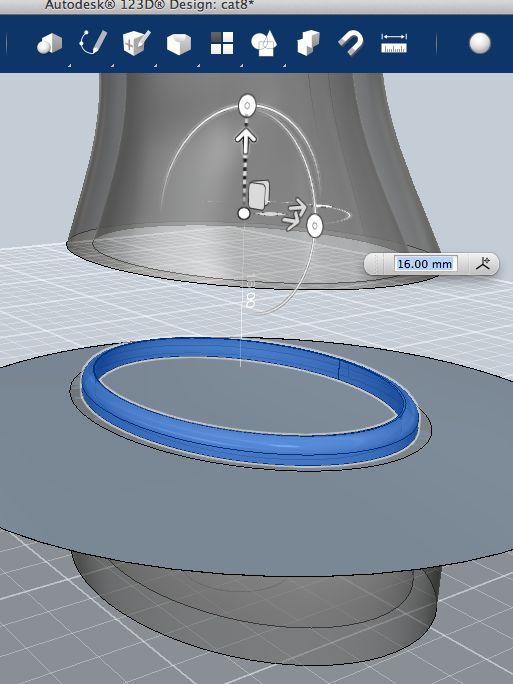
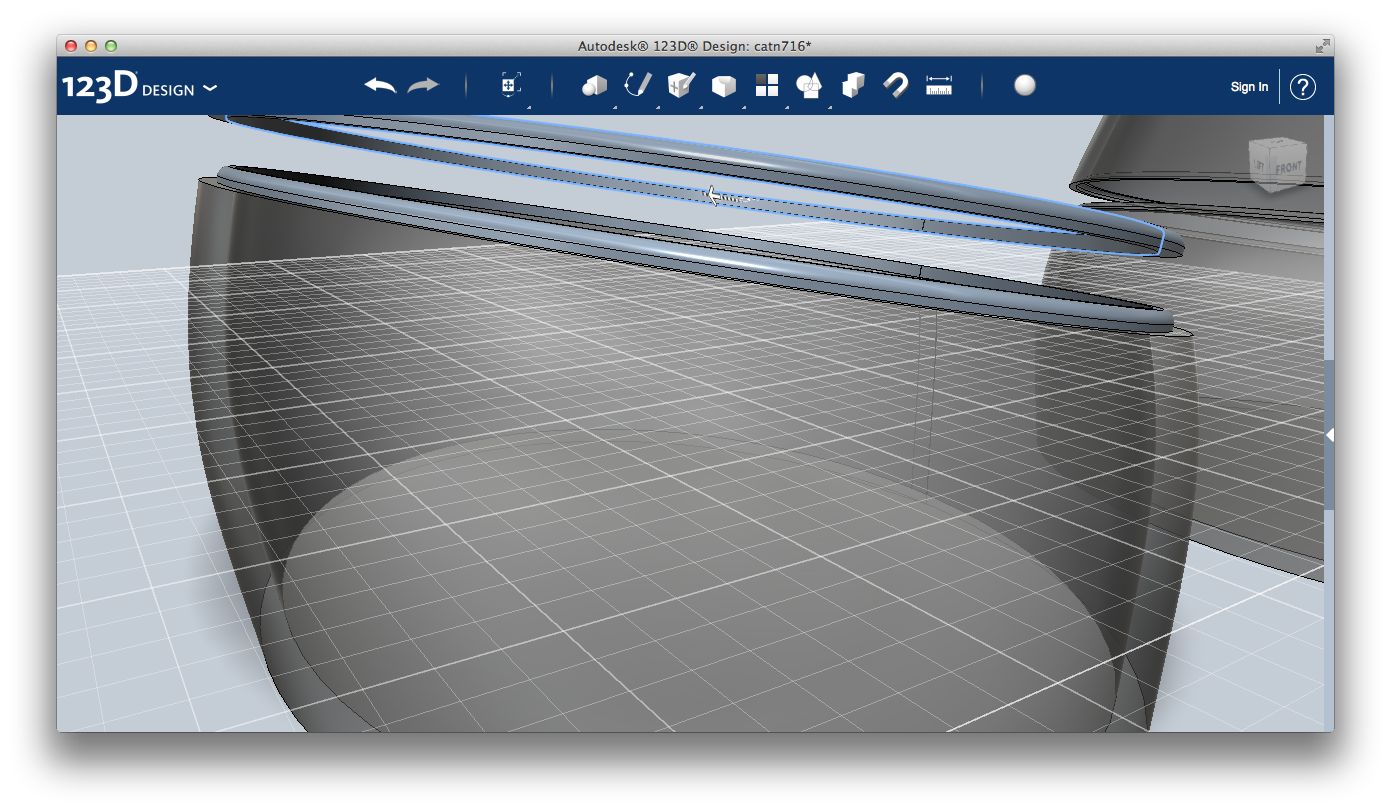
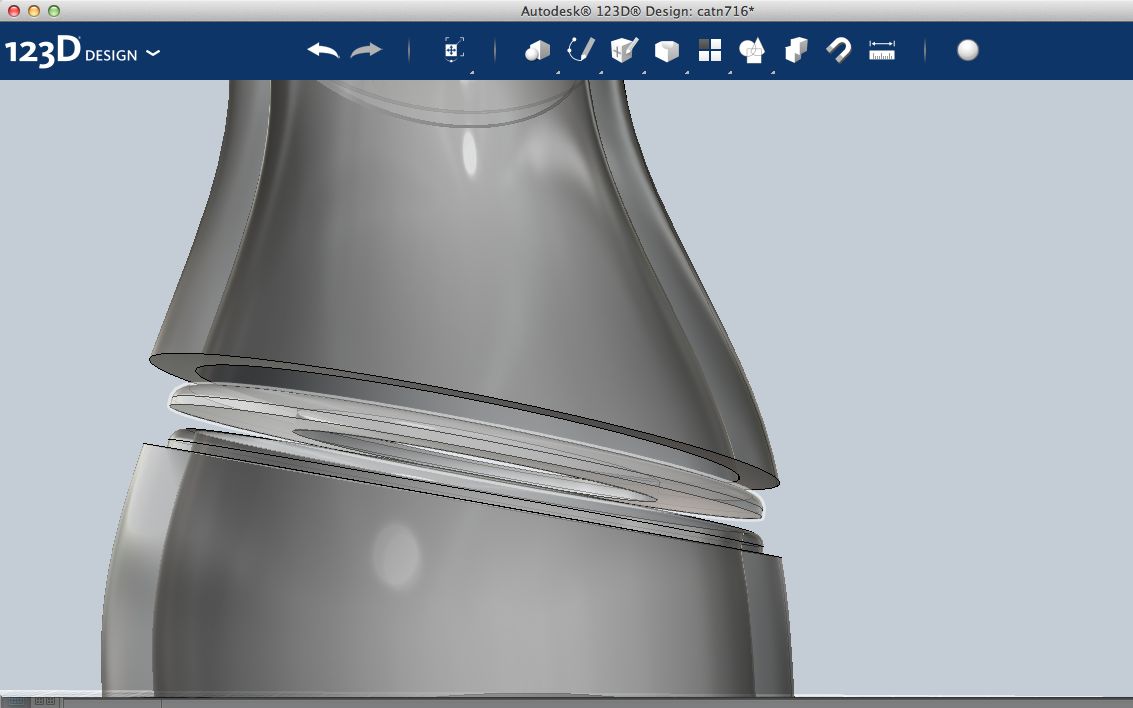
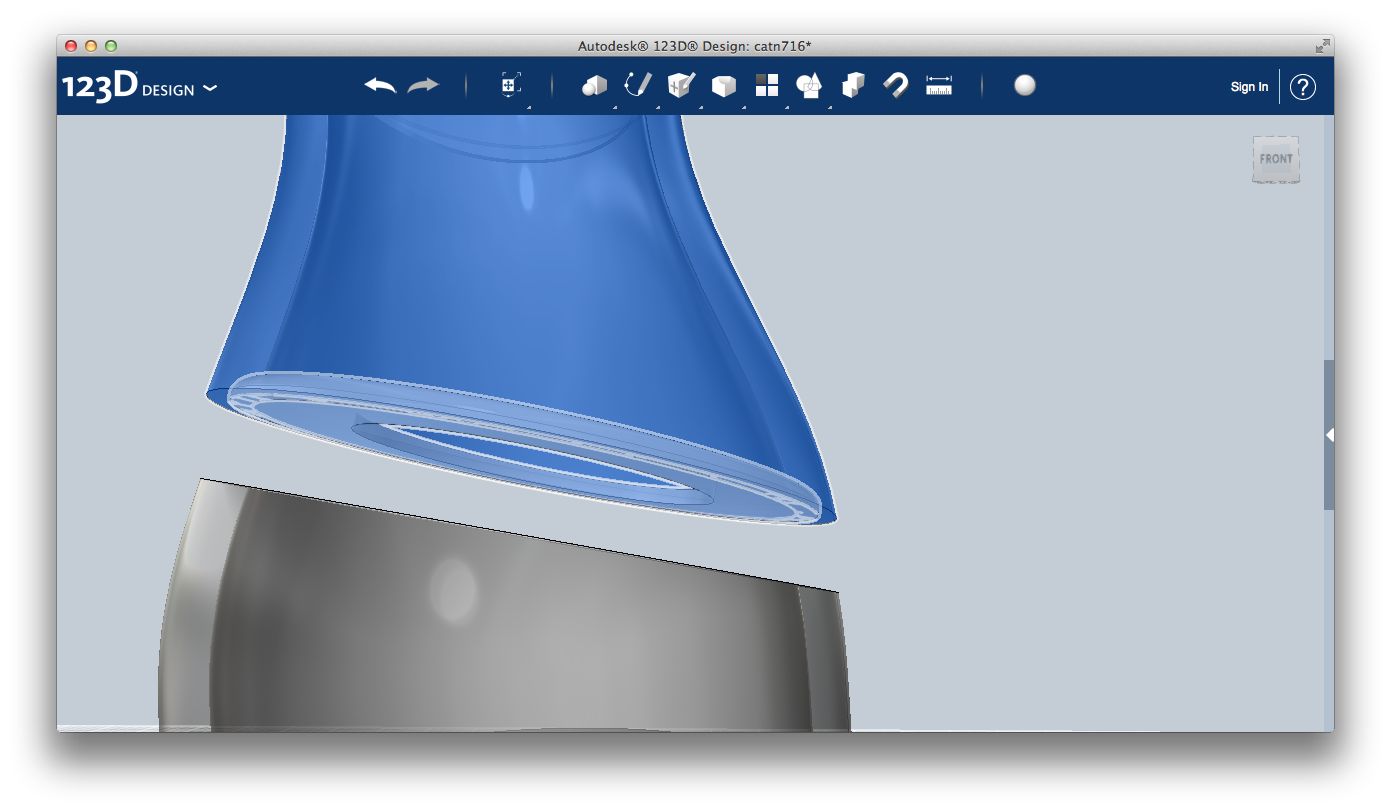
Make the main shape hollow with the “Shell” function, setting the designed wall thickness, allowing for a rim to be added/subtracted.
Set the material to clear glass. You can hide and unhide parts, or only show lines to check your work, but setting things to clear glass will decrease the need to do so.
Check if the details do not protrude into the hollow, beyond the inside of the wall (if so it is best to go back to step 1 and edit them first.
Combine the hollow shape with the details if you want to give fillets to the seams.
With the cutting plane, cut the doll into two parts.
Move up the top part and note how many mm you moved ( I cal it x mm later).
On the bottom part extrude the cut face upwards as a new solid.
Push the outer face of this new ring inwards for half the shell wall thickness.
Apply a fillet to the top outer edge of the ring.
Copy the ring.
Pull the inner face of the copy inwards for a couple of mm.
Move this copy of the ring up x mm.
Subtract the copy of the ring from the bottom half. Because the inner face was pulled inwards, you avoid any small ridges remaining from the inner wall reclining.
Repeat and Check.
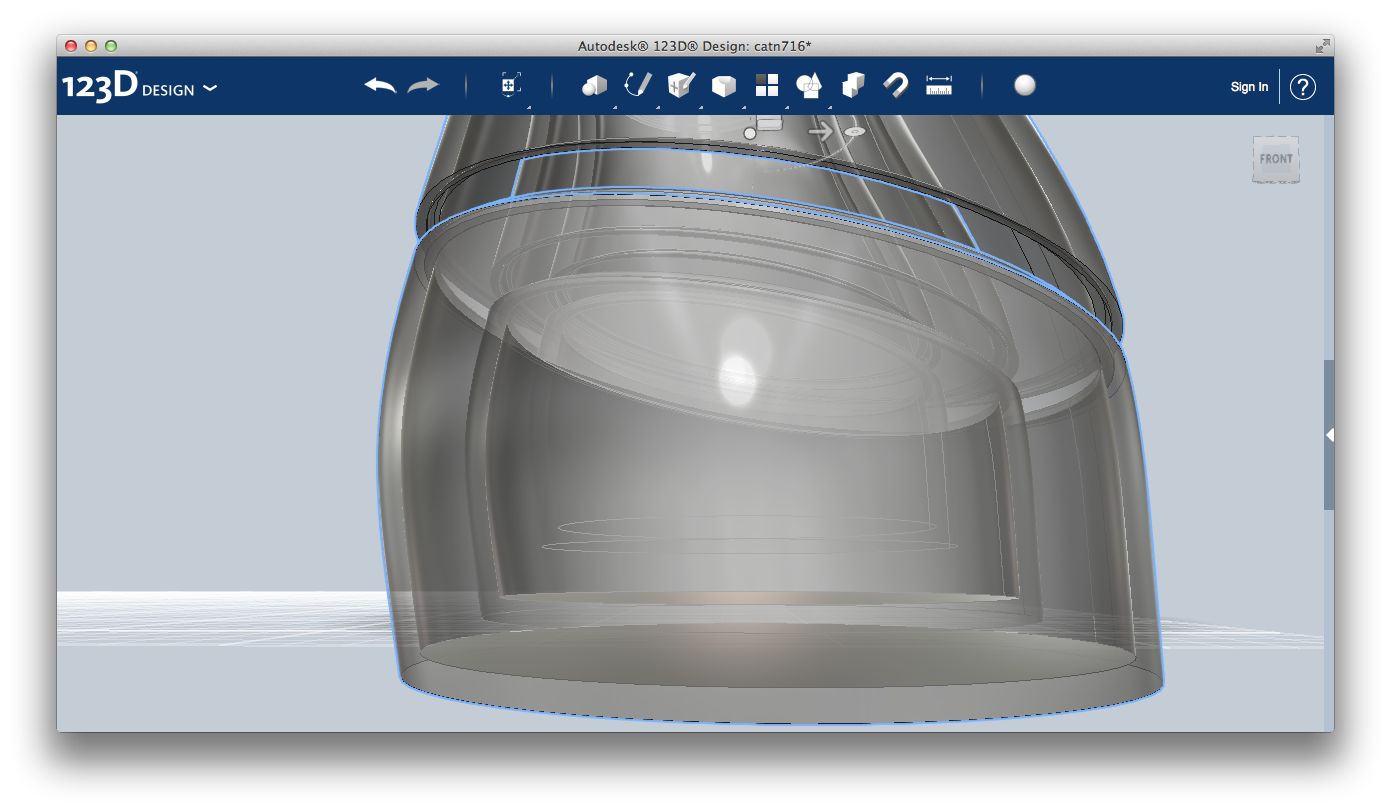
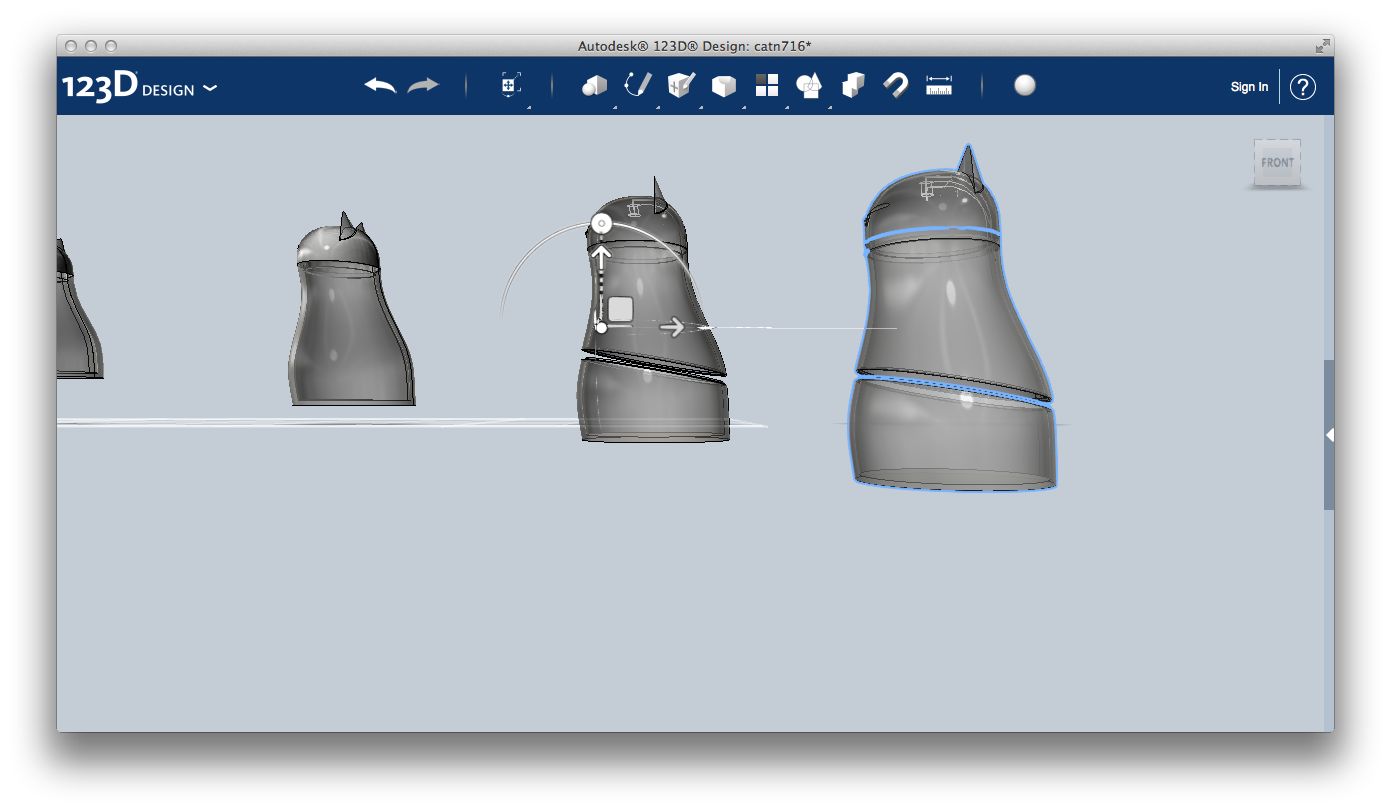
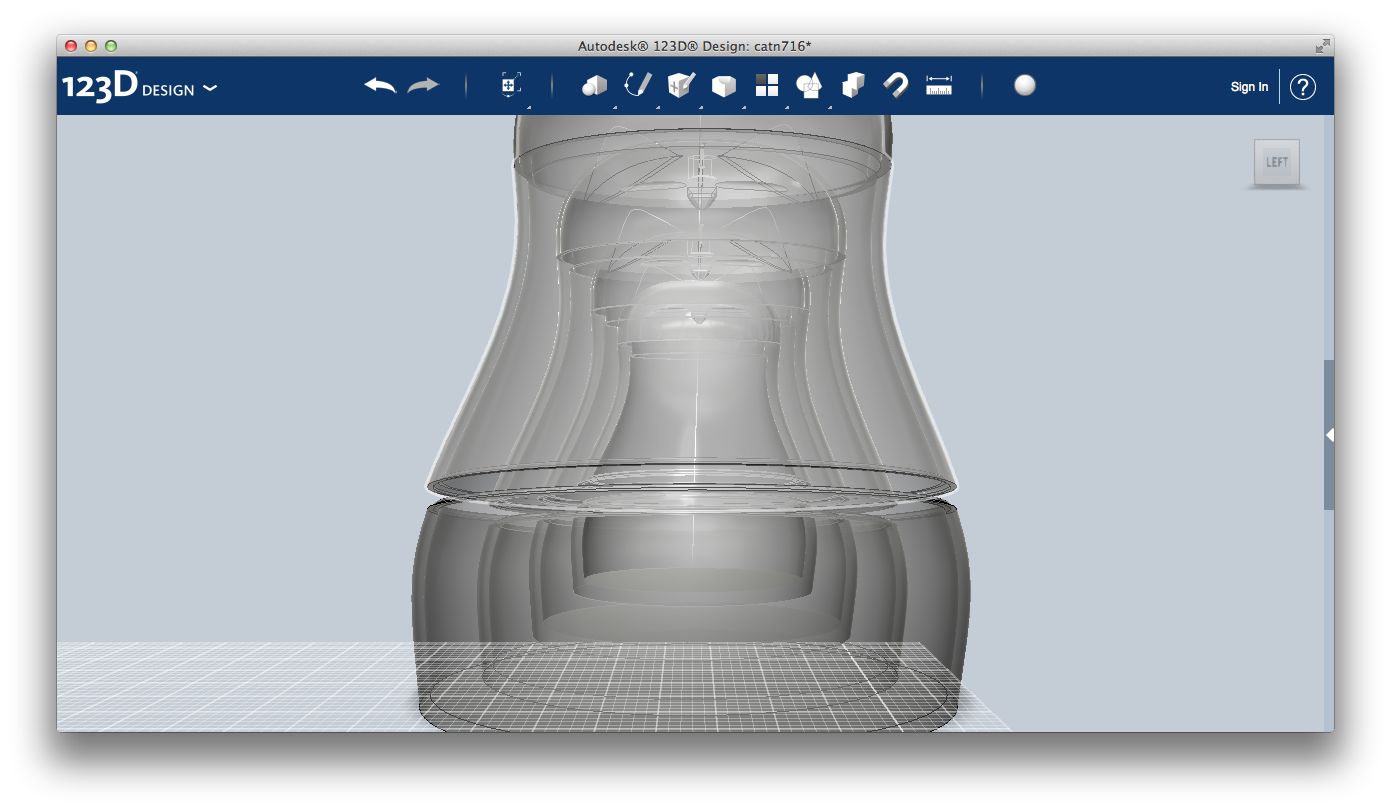
Repeat the previous step for each member of the set, but the smallest one. That one remains solid.
Moving them back the distance you noted down before, nest the dolls. Check the fit of each member of the set into the next, by moving around the view and hiding the larger members when needed. Take in account you moved up the top half. Actually if you move up the top halves the same x mm each time, you do not need to take that in account but for the smallest one.
For the smallest, solid member, you do need to take in account the one but the smallest will be x mm lower when closed.
Actually I had reduce the wall thickness for one but the smallest doll, to squeeze in the smallest one.
Printing
.jpg)
.jpg)
You can find my final design in 123D format and as stl attached to this step as a zip file.
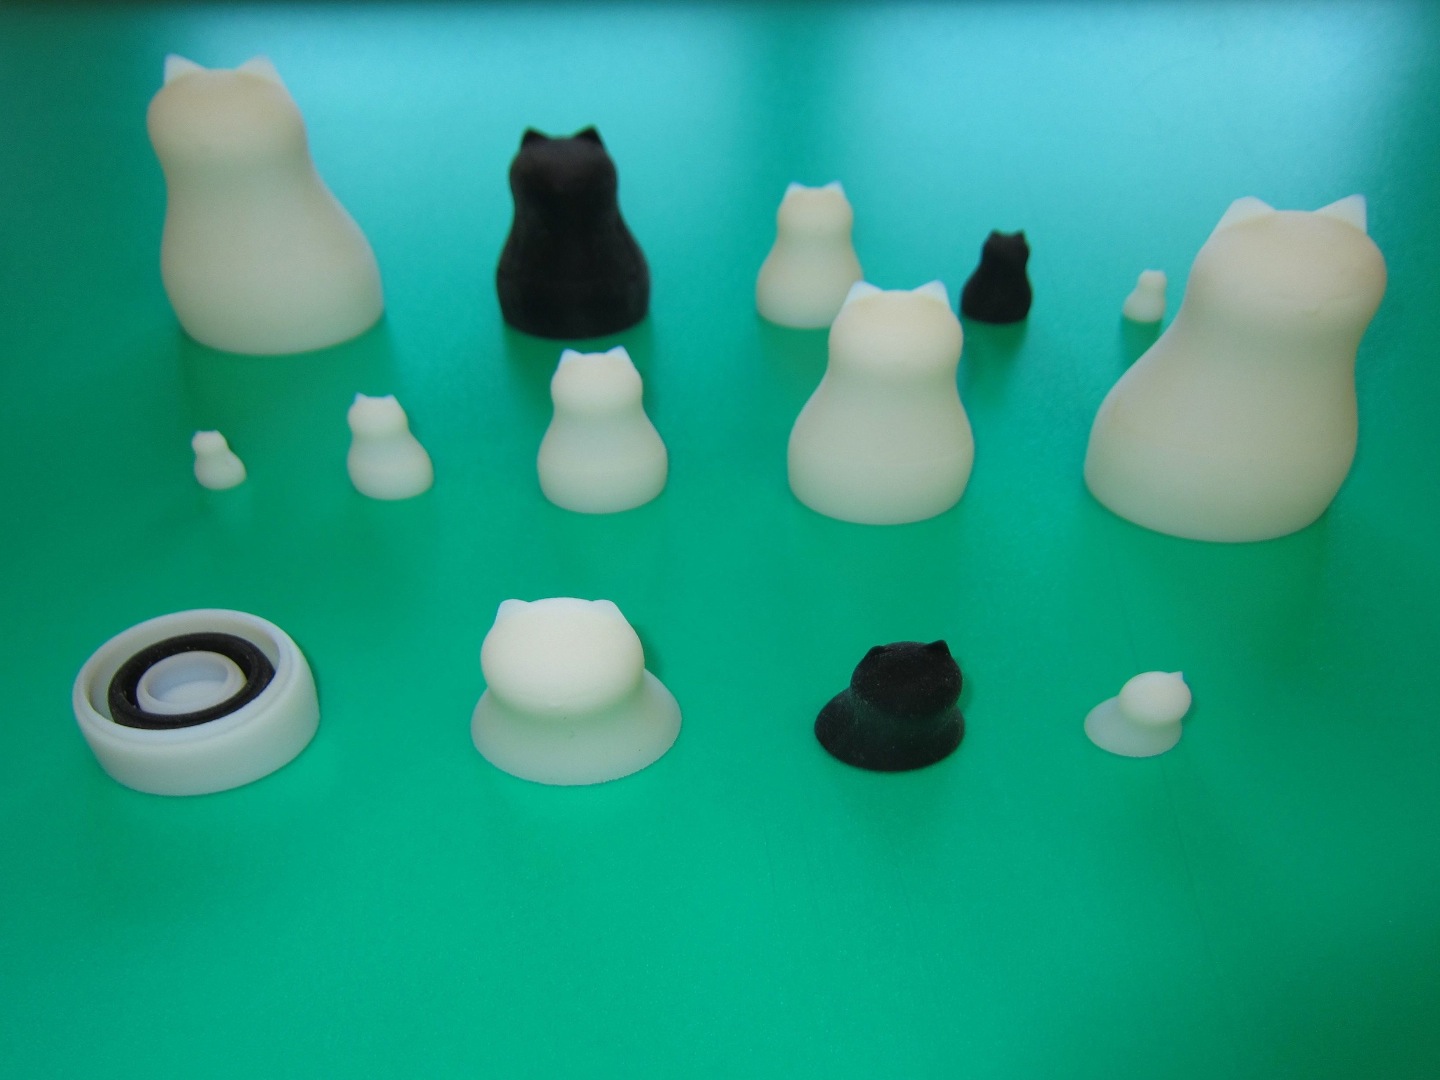
With the halves kept apart x mm, export the complete set to stl. X equal to about 10 mm showed to be sufficient to be able to separate the parts after printing on the Objet Connex 500 printers.
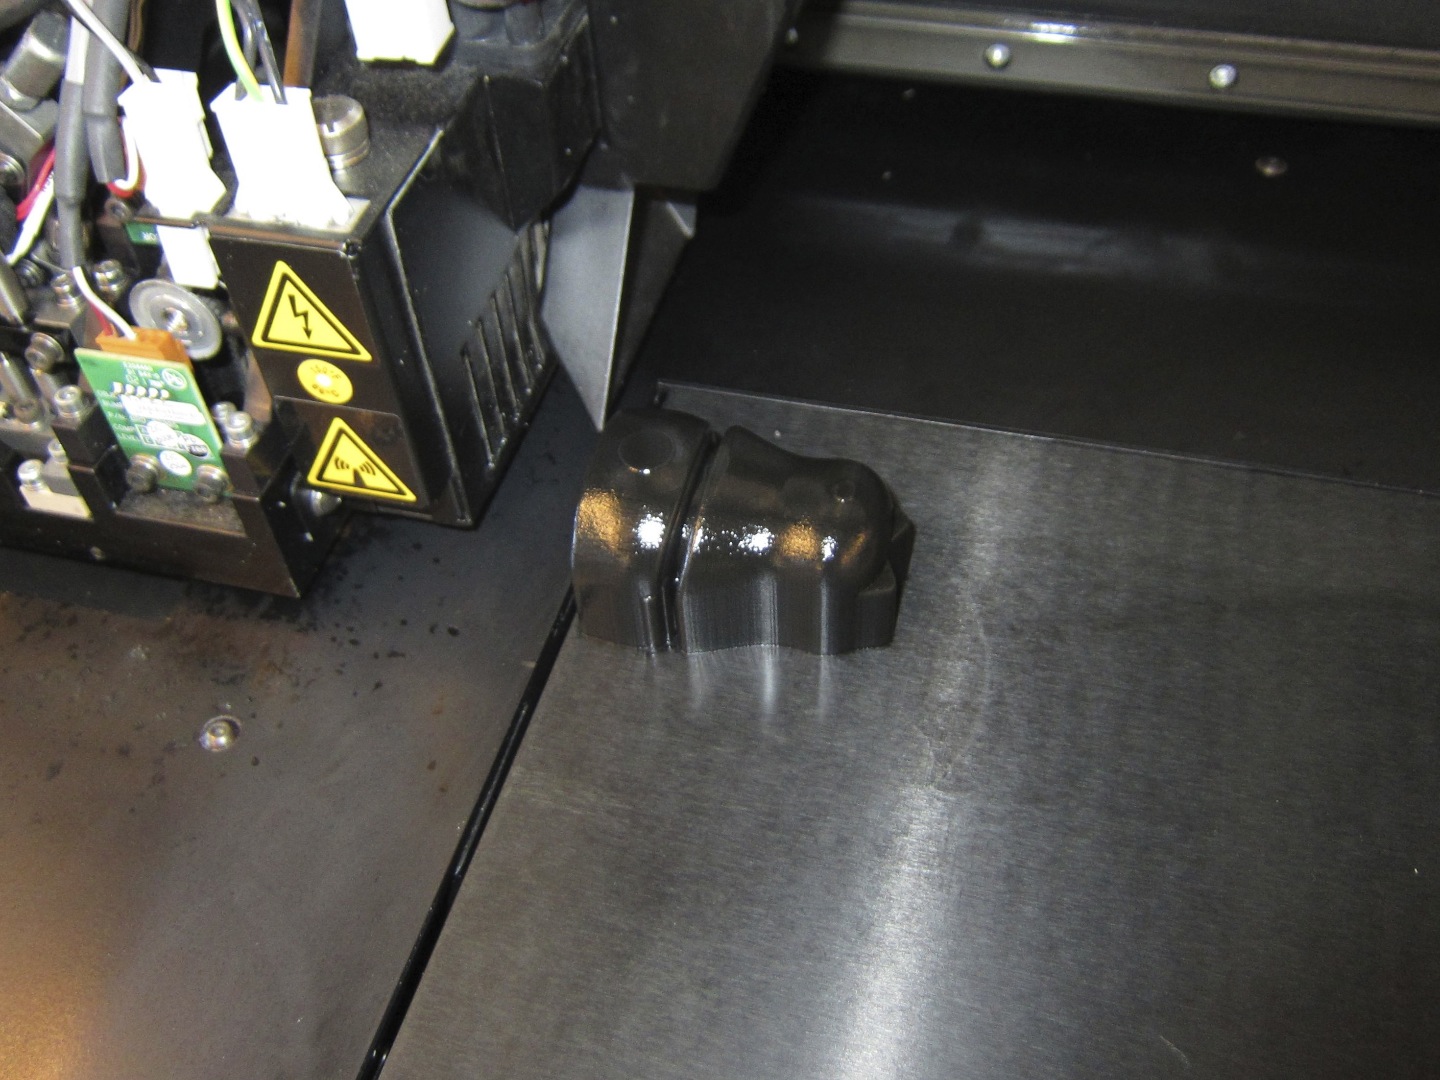
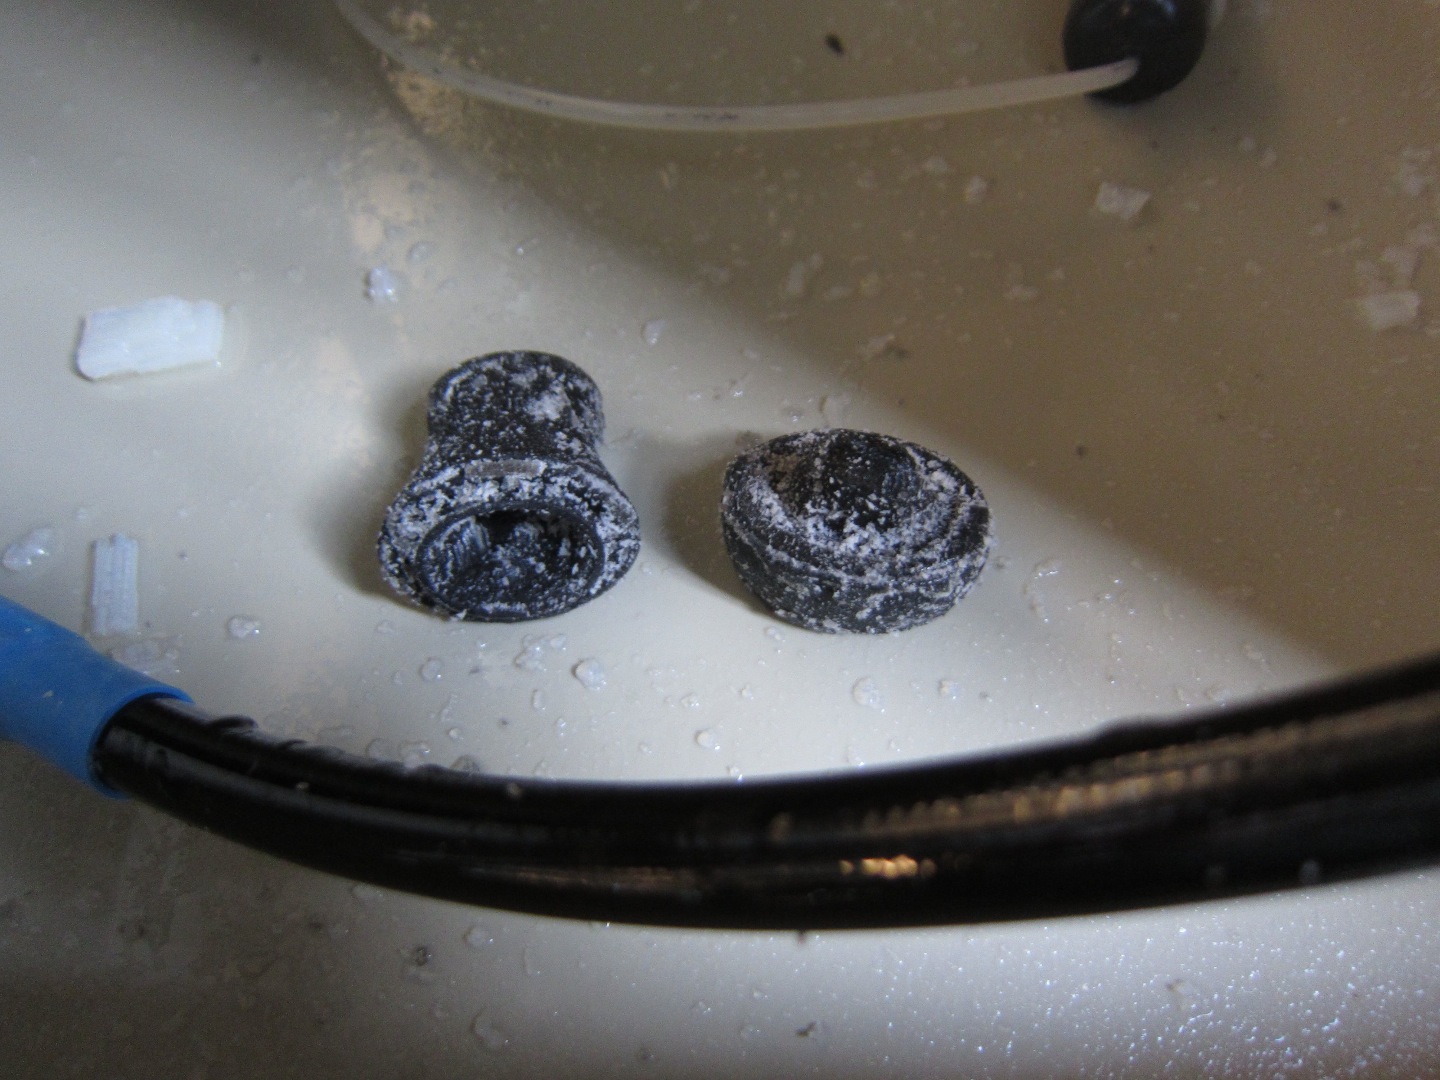
For this project my main worry was if it would work to separate the parts with the water jet used to clean the parts. Actually that worked fine. You should take some time to carefully separate the combined top halves, from the combined bottom halves. The smallest member, the solid one will take some extra time and will end up in either the top of the bottom. You need to take care to hold down the parts when they pop out with quite some speed. They could get damaged when flung against the water jet cabinet.
You could consider printing the parts not nested in each other, but the printing would take a lot longer and you would waste a lot of support material filling each member of the set.
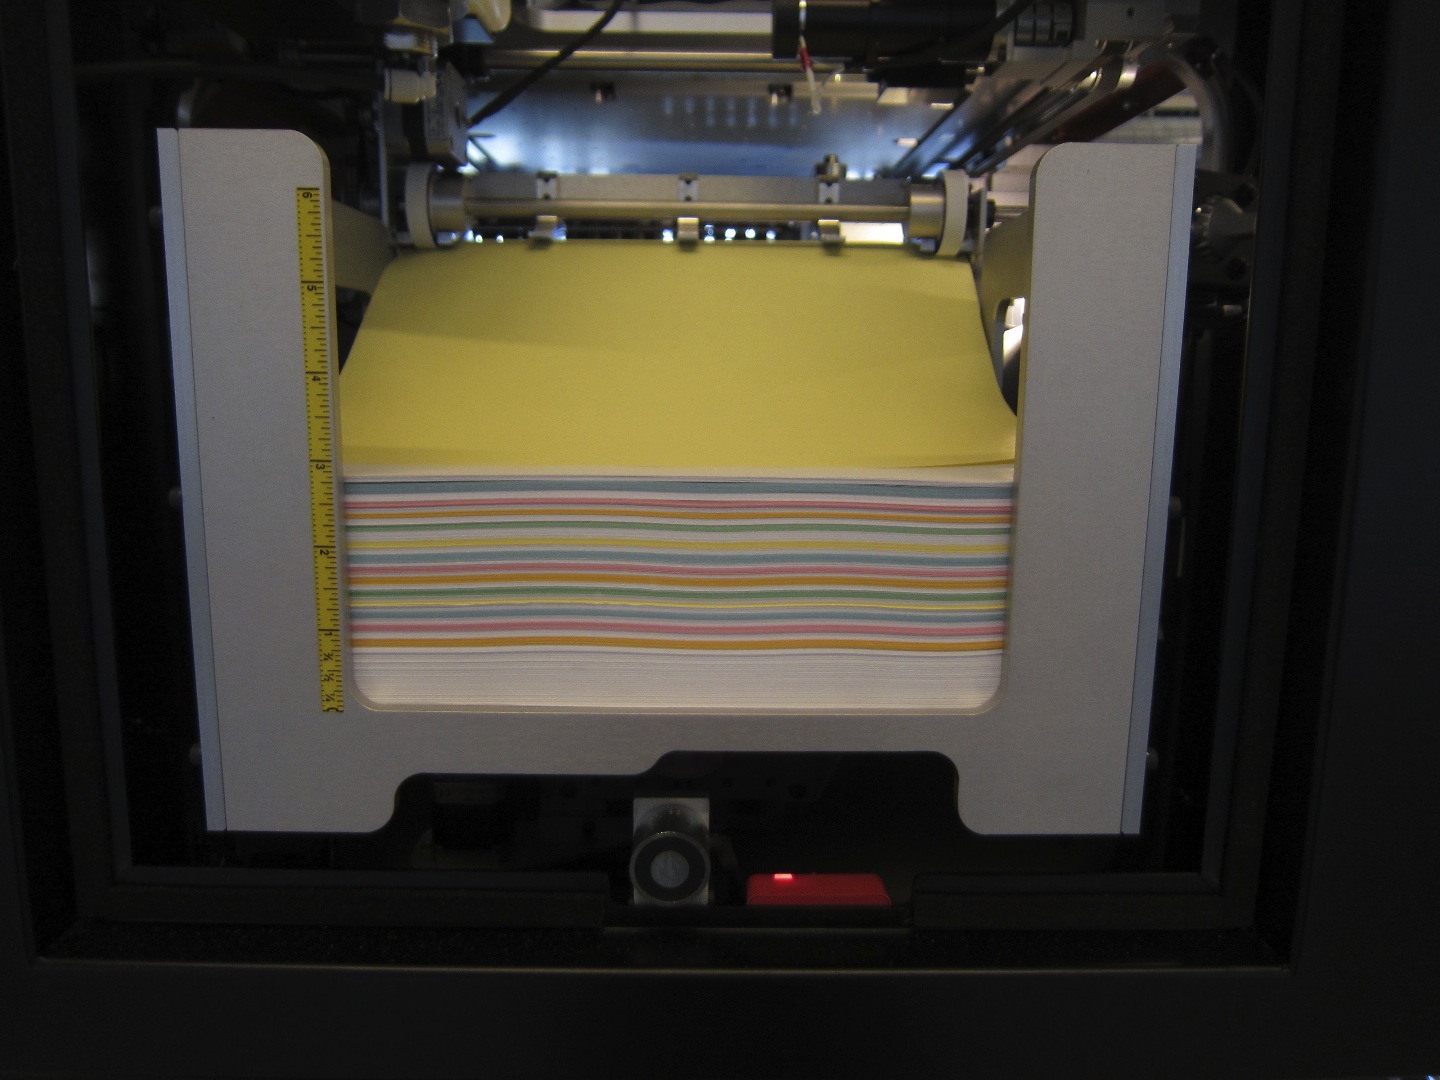
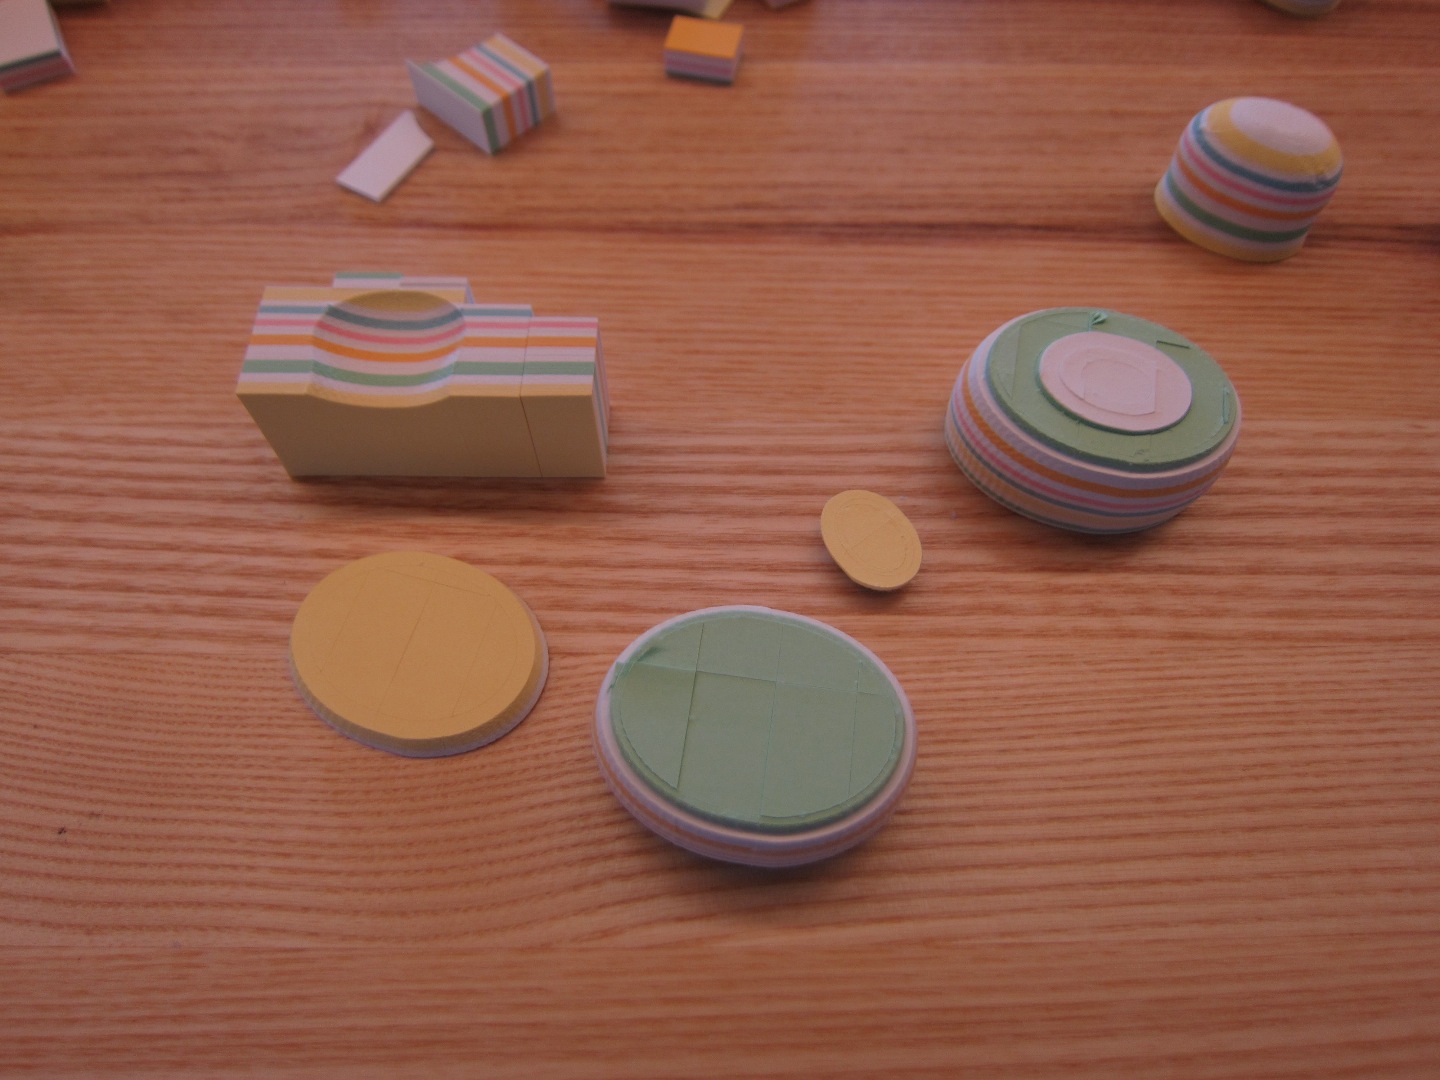
I also tried to print a set on a MCOR IRIS paper 3D printer, but that didn't work out. I didn't get the loaded paper to be perfectly flat and the machine jammed. I also learned from the partial print that for this type of printer it was a bad idea to print the parts in a nested position as the paper in between the desired parts is too hard to remove.
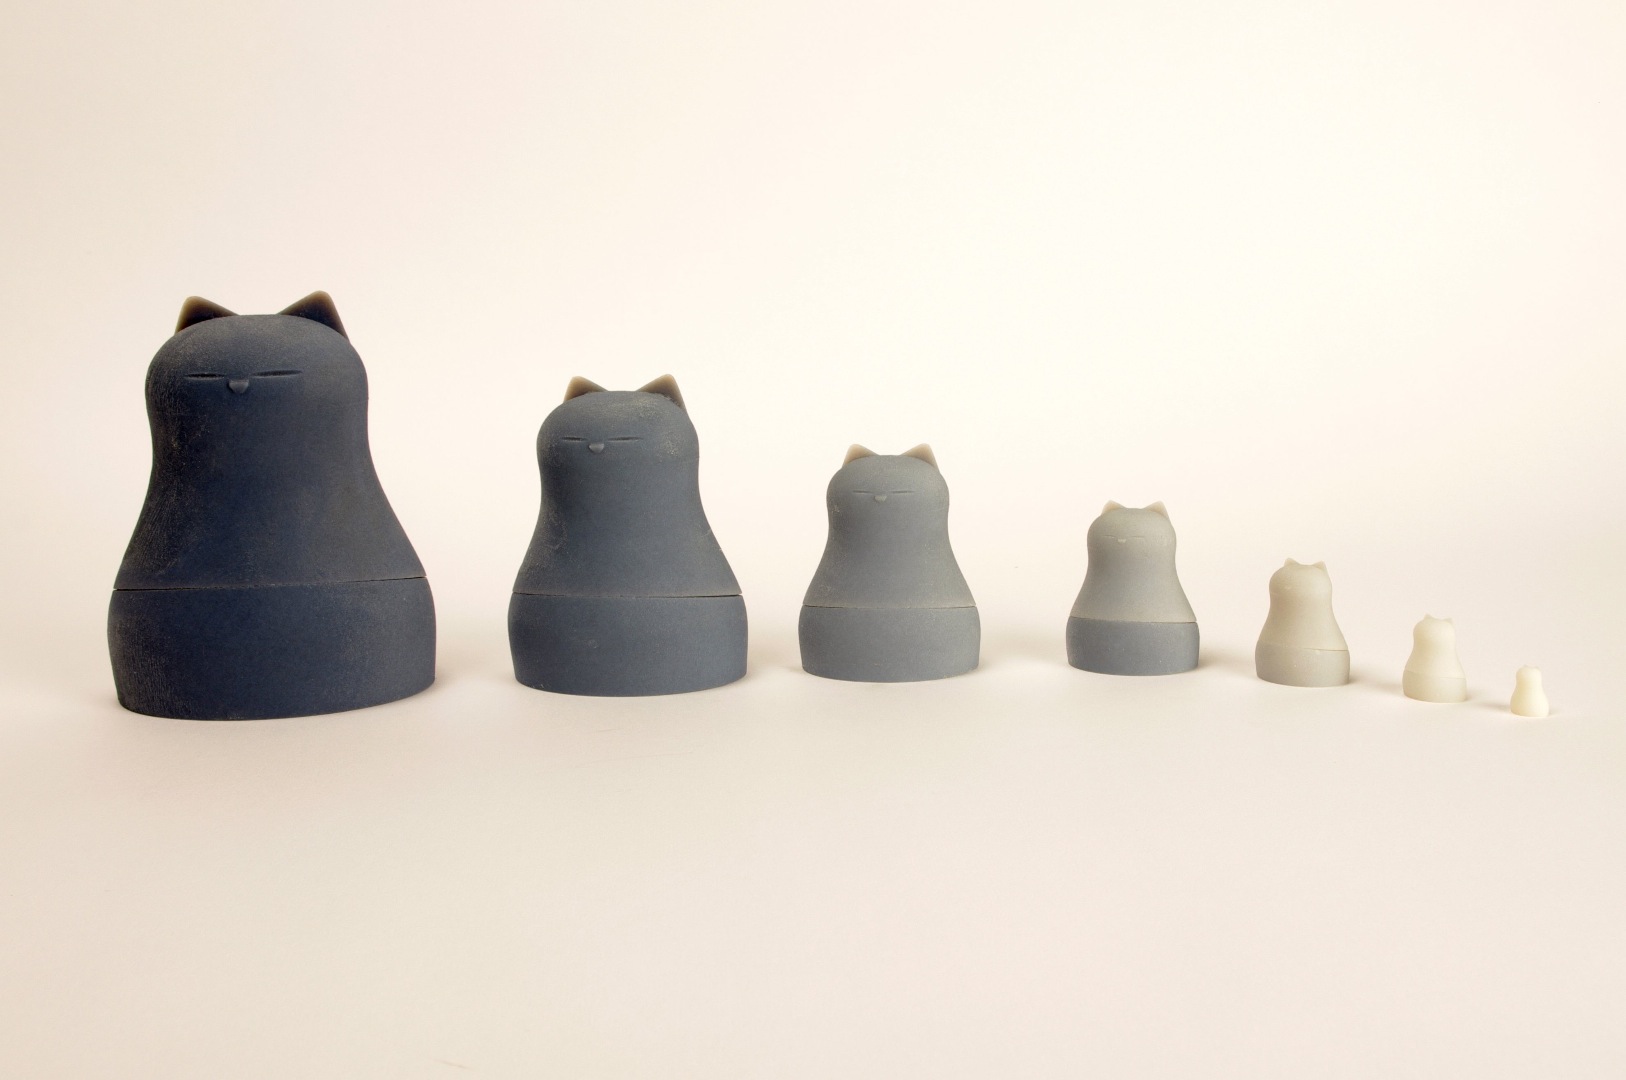
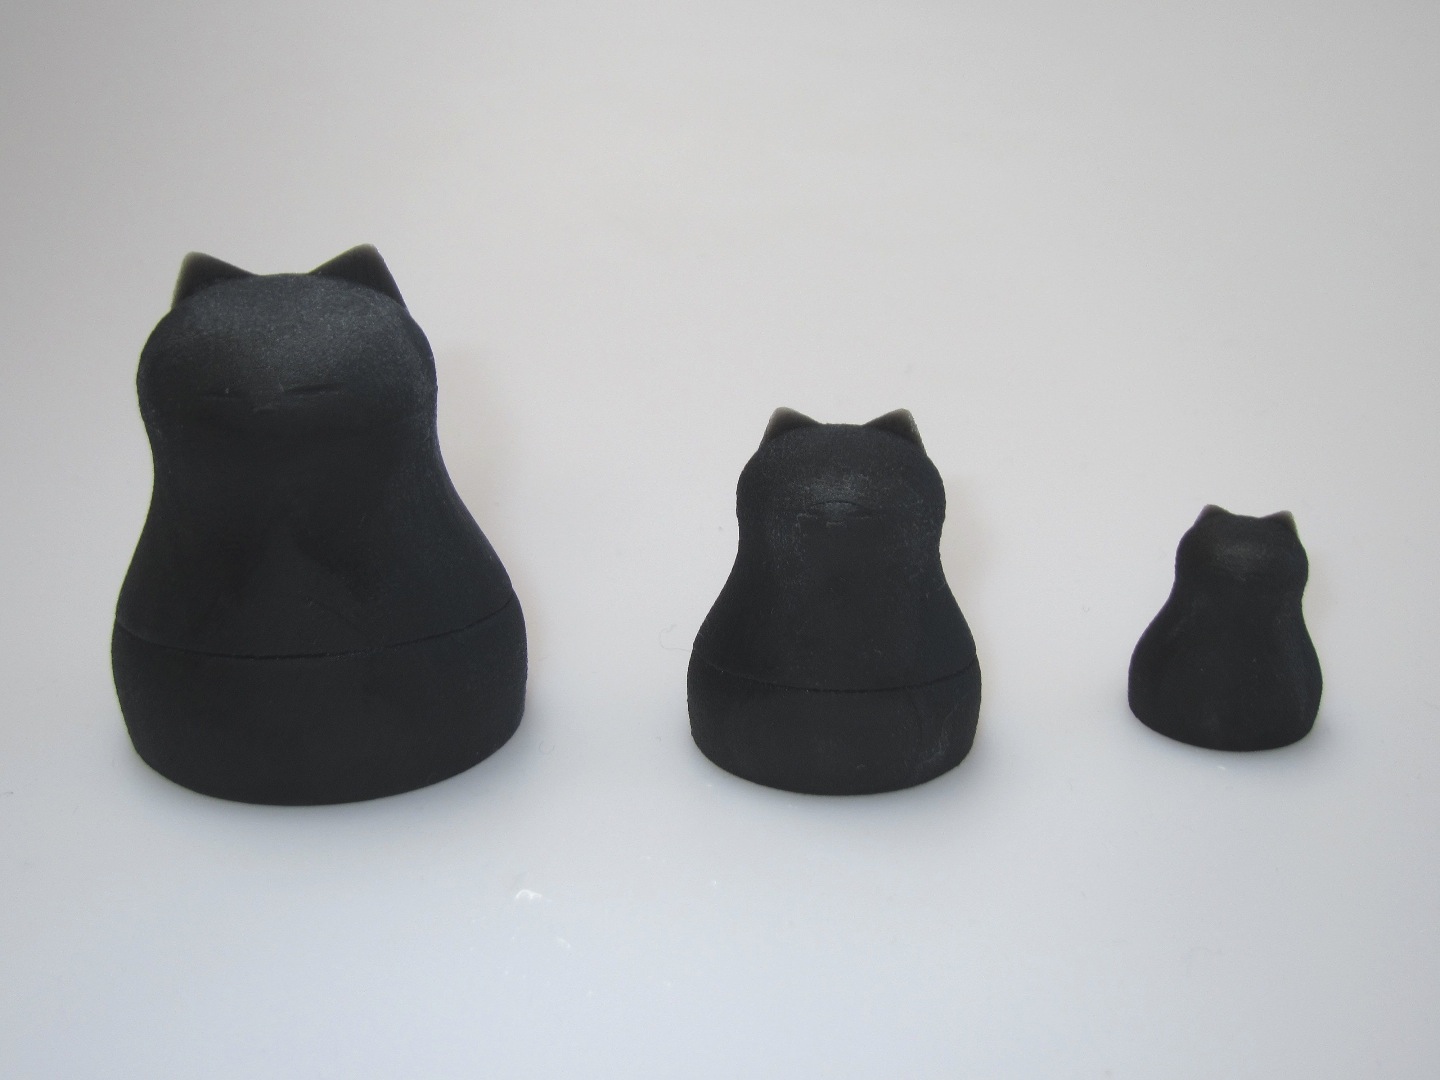
I made a couple of small test sets and one complete set of 7. For the final set I took advantage of the possibility of the Objet Connex printers to print “digital materials”, i.e. materials mixed from two materials with a ratio set digitally. This mixing of materials is normally done for tuning the material stiffness. The Vero White is stiff and the Tango black is flexible. In this project, I kept to the stiff side of the mixture range as I was only interested in the shading effect. A small test set printed in flexible Tango Black showed it unsuitable for these design. The rims wouldn’t hold.
Actually both a black and white stiff material where available, but at the time the software does not allow to mix those on a micro scale into a digital material, only into some meso scale grating. The printers are of course aimed at technical applications were the materials characteristics are important and the shades only serve as a visual indication of those.
In the printer software both halves of each member was set to another shade of grey by setting another rato of Vero White and Tango Black material. I only got to 7 shades and not 50, but still ... ;-