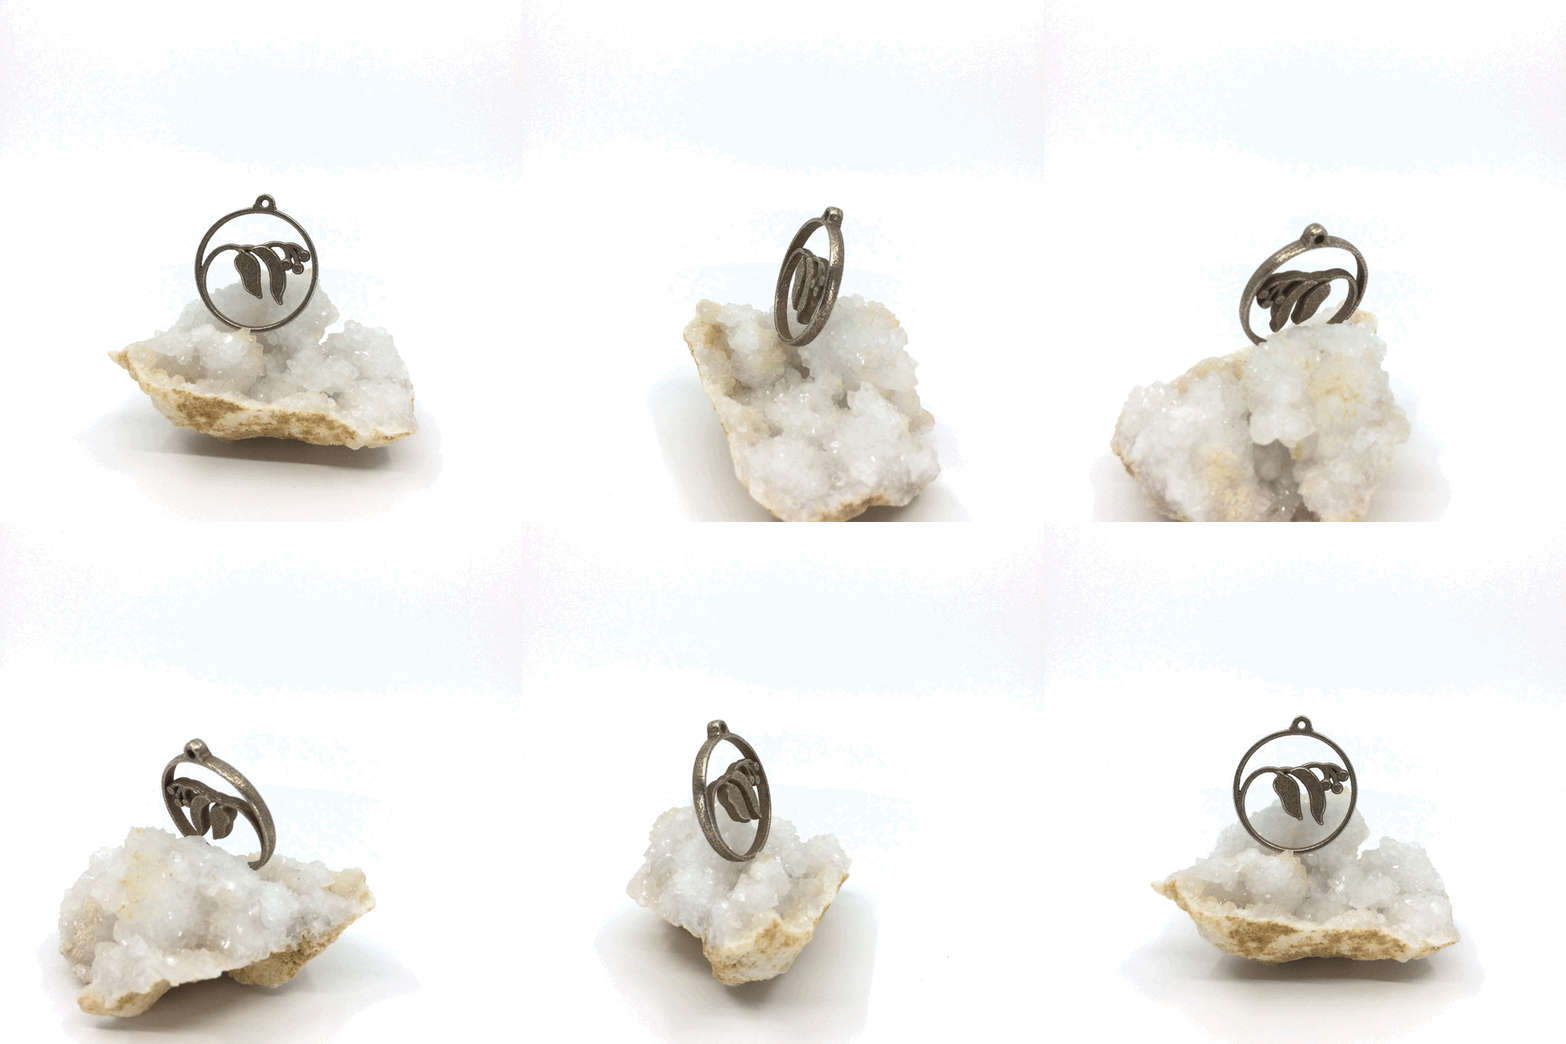
3D Printed Necklace
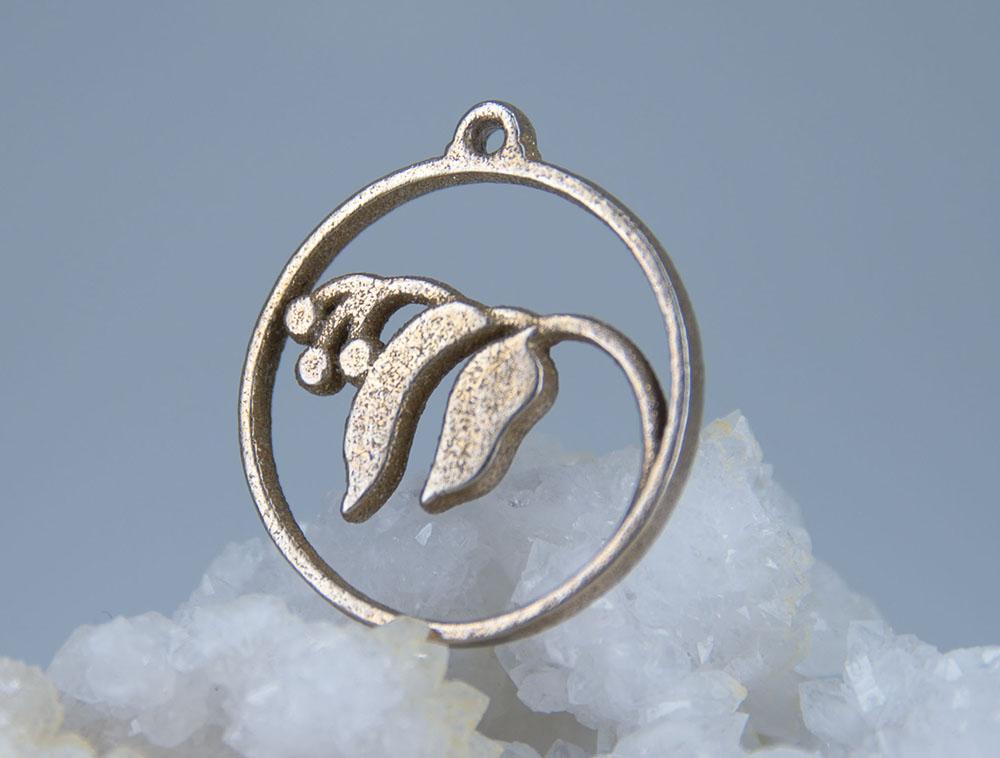
In this lesson you will learn how to make a 3D printed necklace. If you would like a simple project you could pick out a Woodland Path 3D printed Pendant or this design and assemble it with the below supplies for yourself or as a gift. If you are looking for a bit more of an adventure, this lesson will also go over taking a 2D designs & turn it into a 3D printed necklace. This will be a great project for someone that is interested in 3D printing, but is not familiar with 3D layout software or 3D printers.
Supplies
Anatomy of Your Necklace
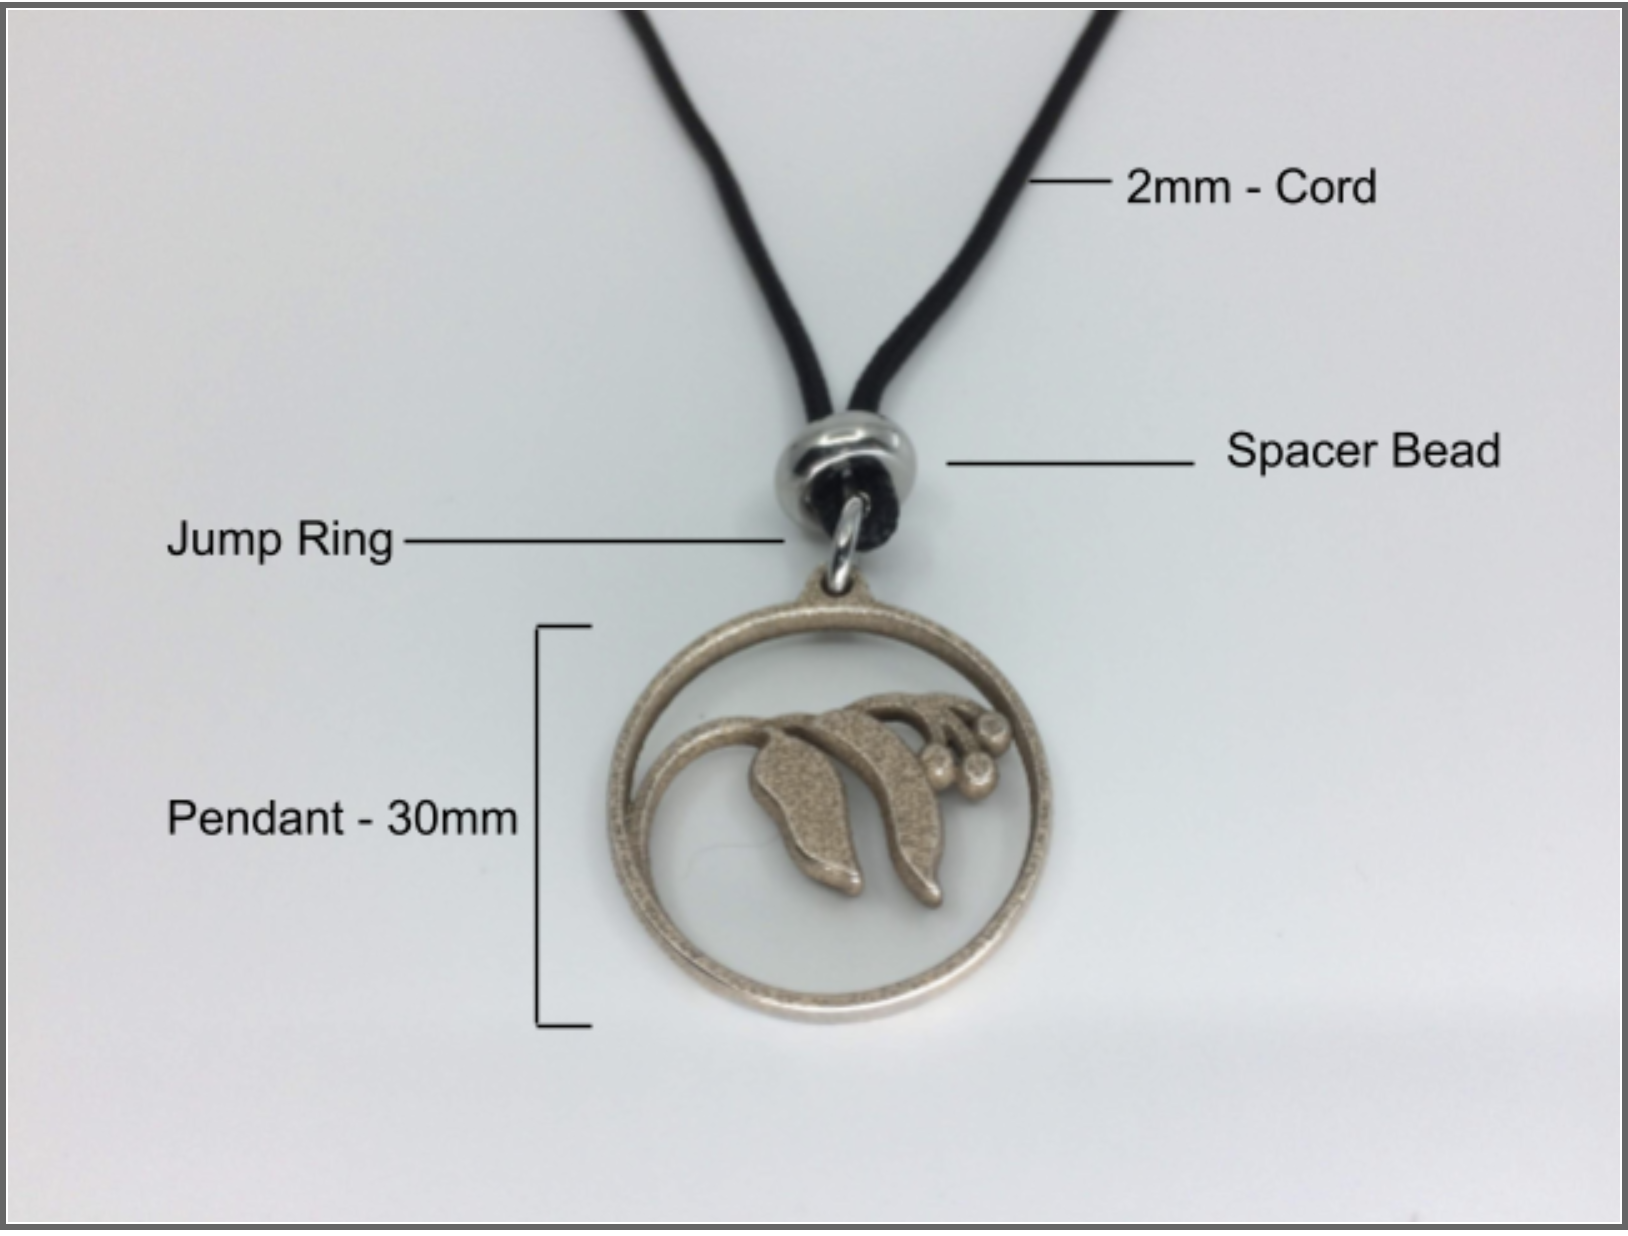
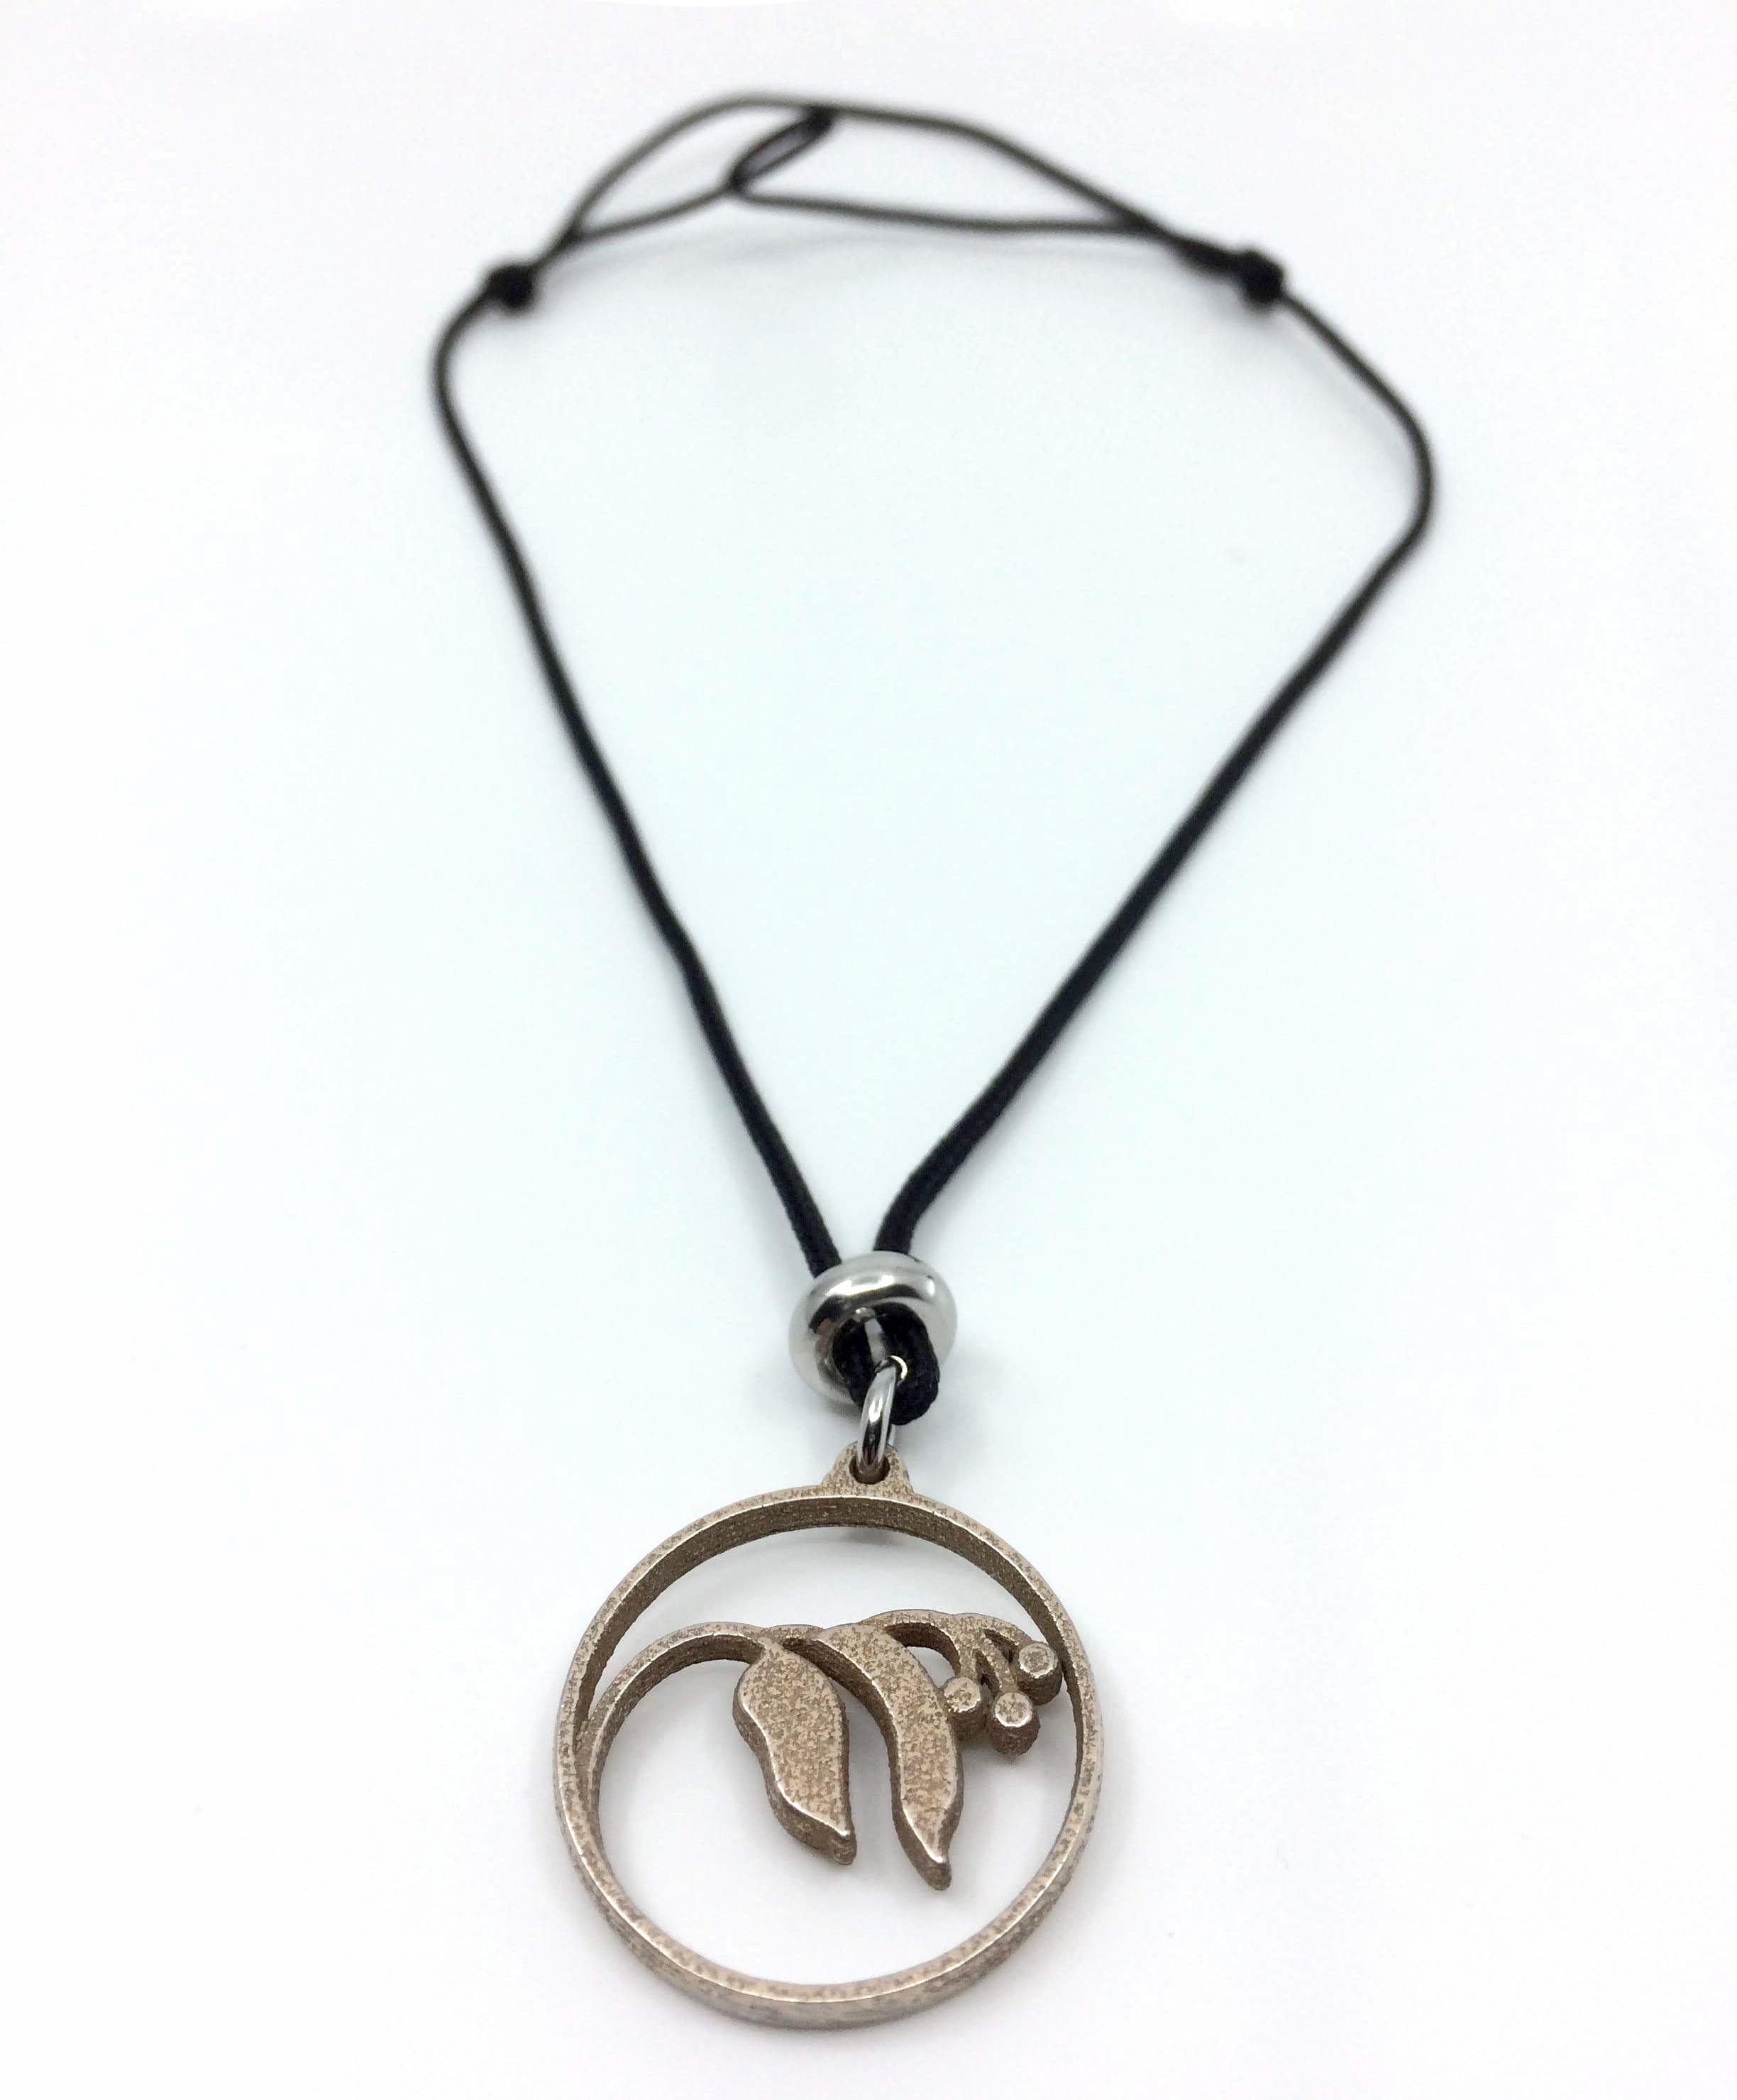
The Woodland Path Pendants are designed to accept a Stainless Steel Open Jump Ring, on a Black Braided Nylon Cord with a Stainless Steel Spacer Bead.
Skills Needed to Finish a Necklace
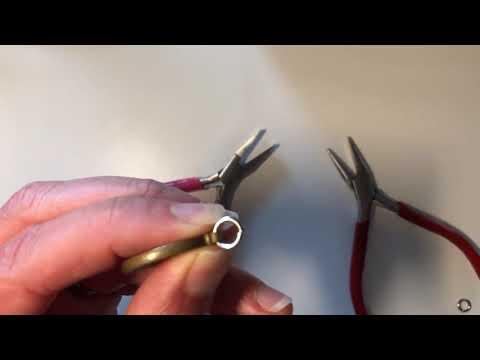
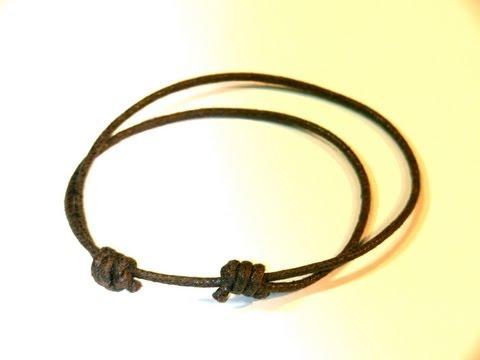

These videos will help you understand the skills that you will need to assemble your necklace.
- Cut a 2 Feet 6 Inches length of Black Braided Nylon Cord, melt the ends of the cord so that they don't fray
- Open the Stainless Steel Open Jump Ring using the technique in the 1st video & place the jump ring on the pendant then close the jump ring
- Thread the nylon cord through the jump ring & add a Stainless Steel Spacer Bead, look at Step 1: Anatomy of Your Necklace to see what this should look like
- Finish the necklace with the Overhand Sliding Knot in the 2nd video or a bit easier knot in the 3rd video
Create Your Own Design
If you are interested in making your own designs here are instructions on how to do it! To make my 3D pendants I use a website called ShapeWays.com. I am a 2D designer and don’t have lots of experience with 3D software. ShapeWays has a program called 3D Printed Pendant Creator that they say “Turns a 2D Design into a custom 3D Printed Pendant.” I have had tons of fun taking my designs into this app and watching them come to life as 3-dimensional pieces of art. Below I will show the basic steps.
Sketch Out Your Designs
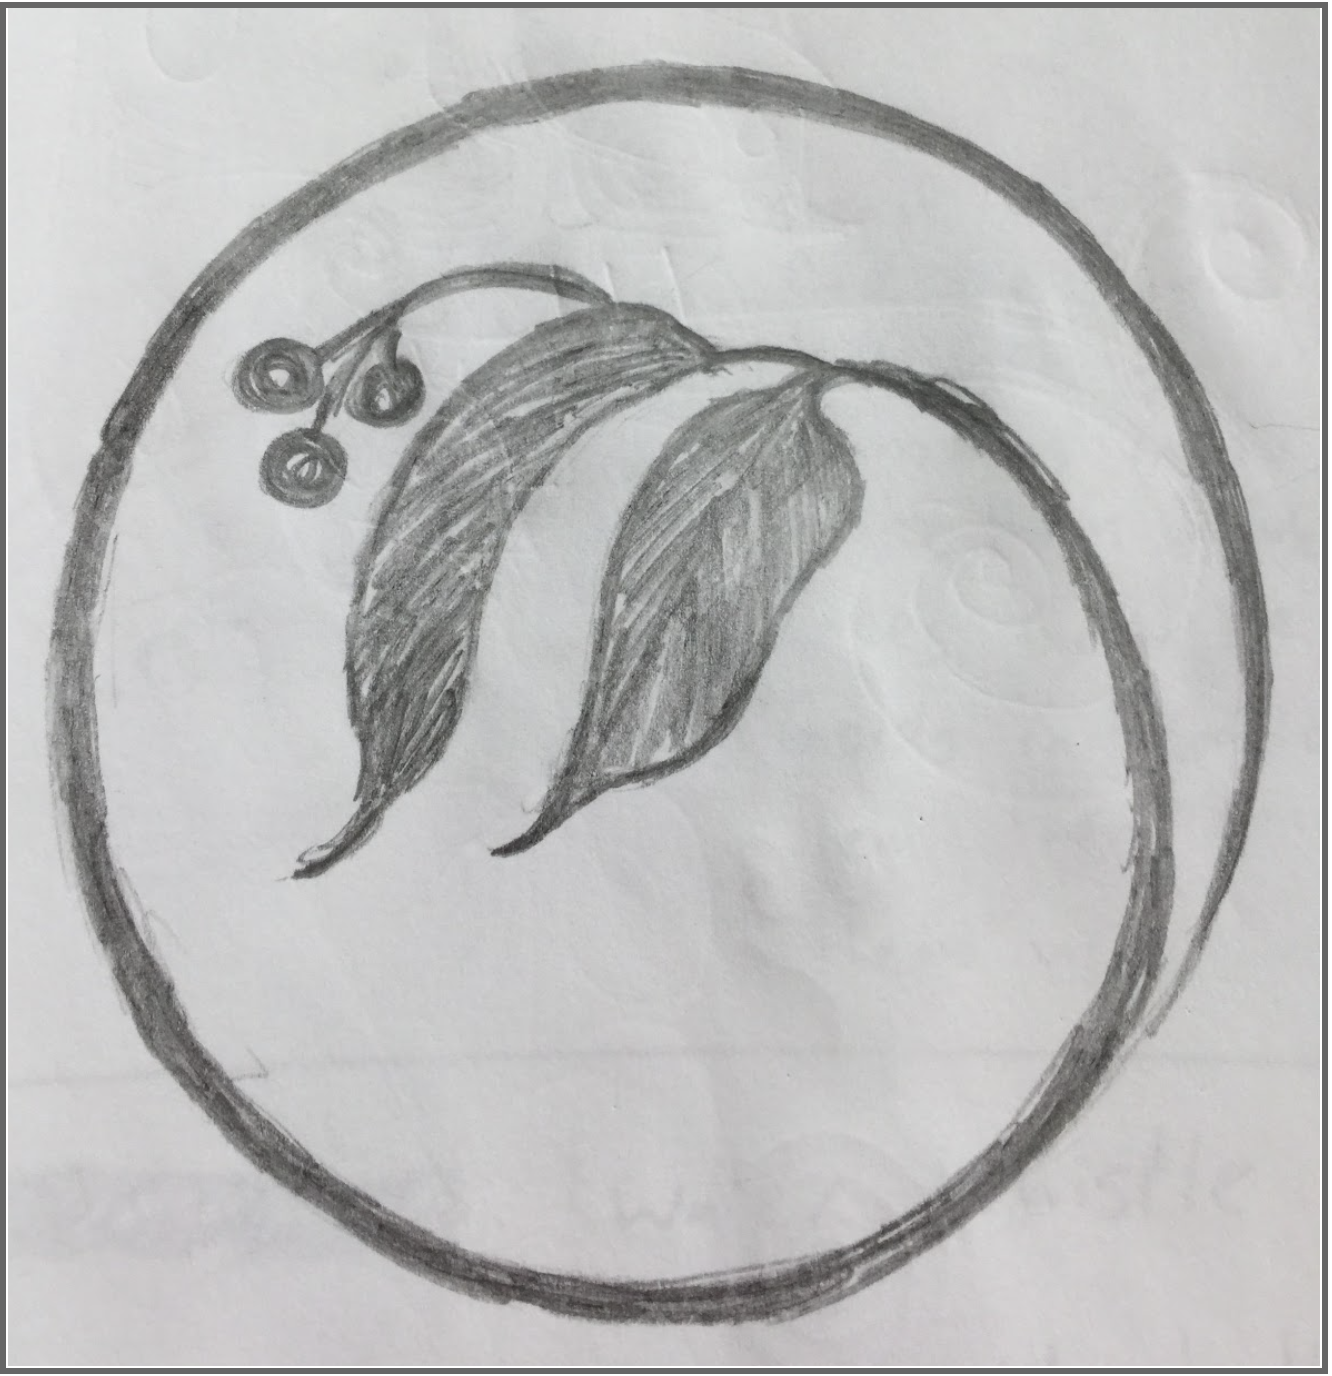
I usually start a design with a sketch in my sketchbook. This sketch was inspired by the crabapple tree outside my window.
Vector Program
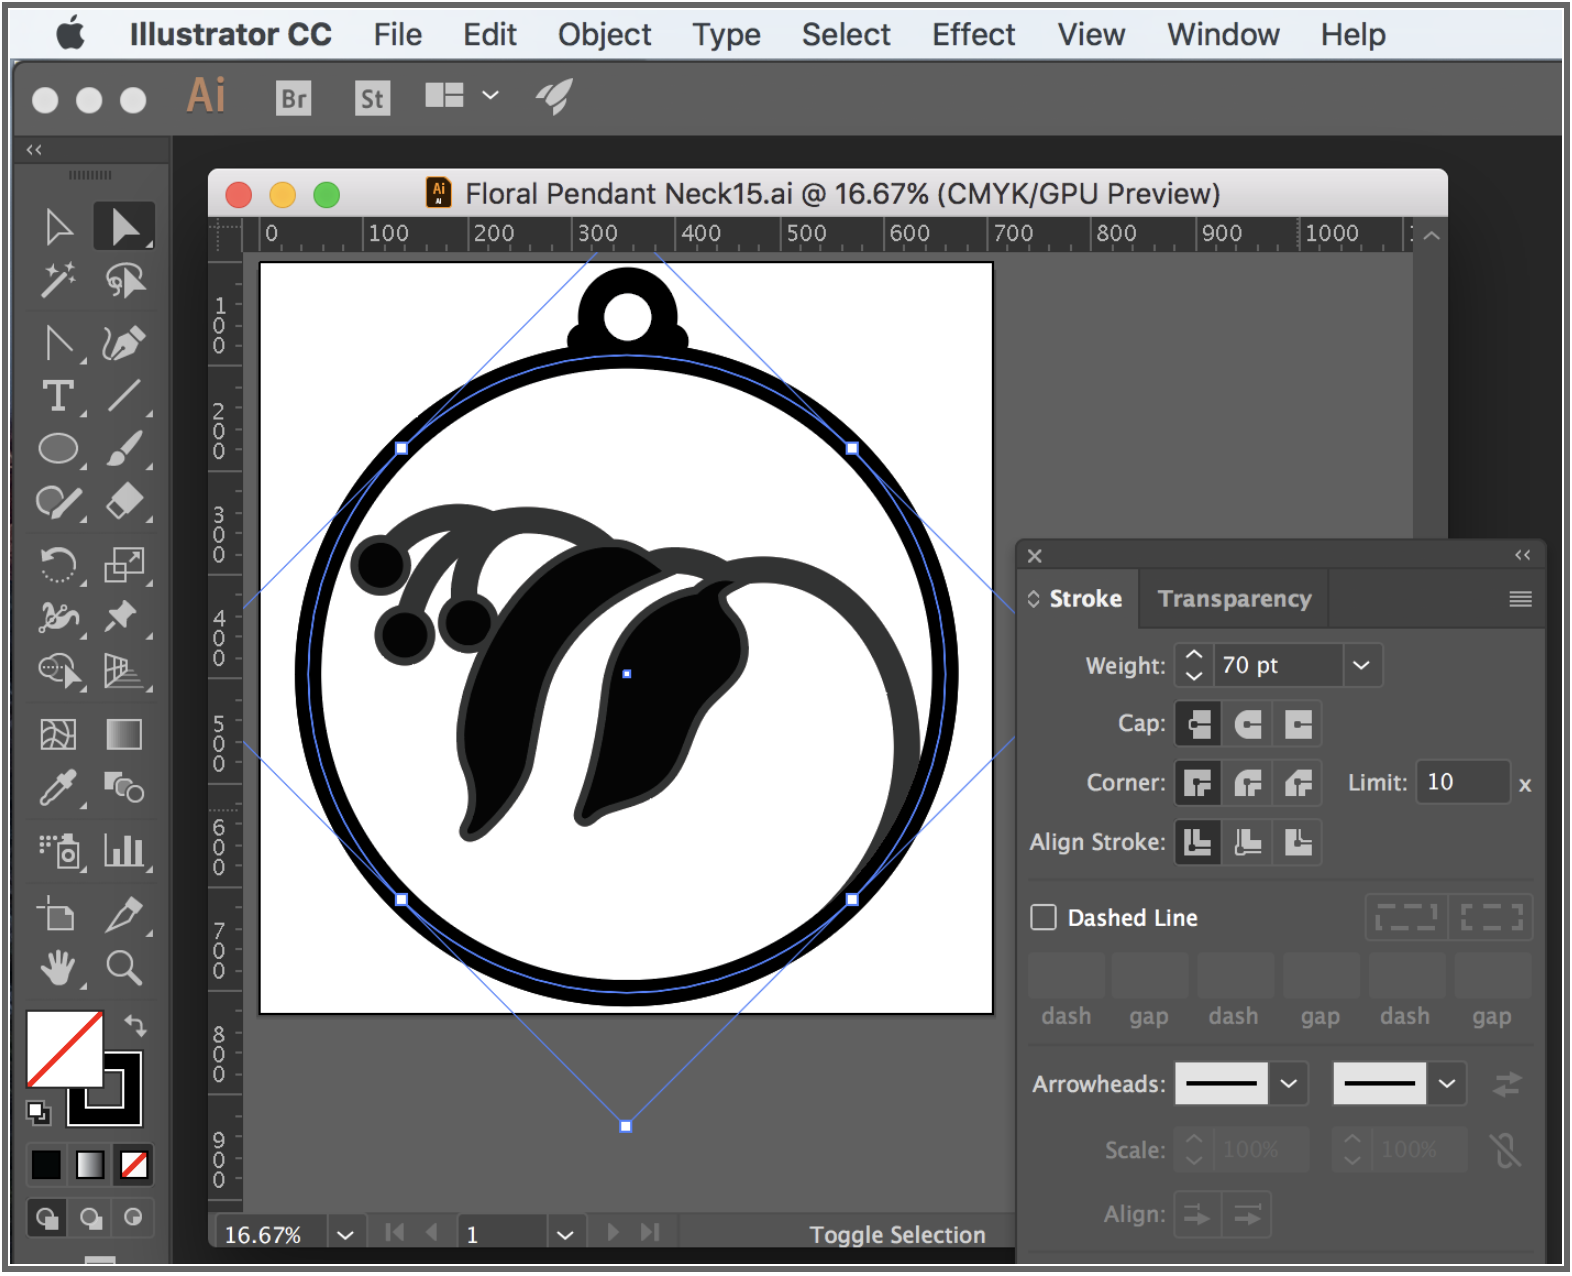
Then I place the design into Adobe Illustrator. If you don’t have access to Illustrator you could use a free vector program like Inkscape, that will also work. When the sketch is in the vector program I lock it and start to trace over it.
I have found that the stroke weight needs to be 70 pt or larger to be thick enough to print. In these designs black is the full thickness of the design, white represents empty space & different shades of grey will be different thickness. For more information on how to design for the 3D Printed Pendant Creator take a look at this article.
After the sketch has been traced I export the art as a .png.
Note: These template can be used for sizing and you can put your own designs on top.
Make It 3D
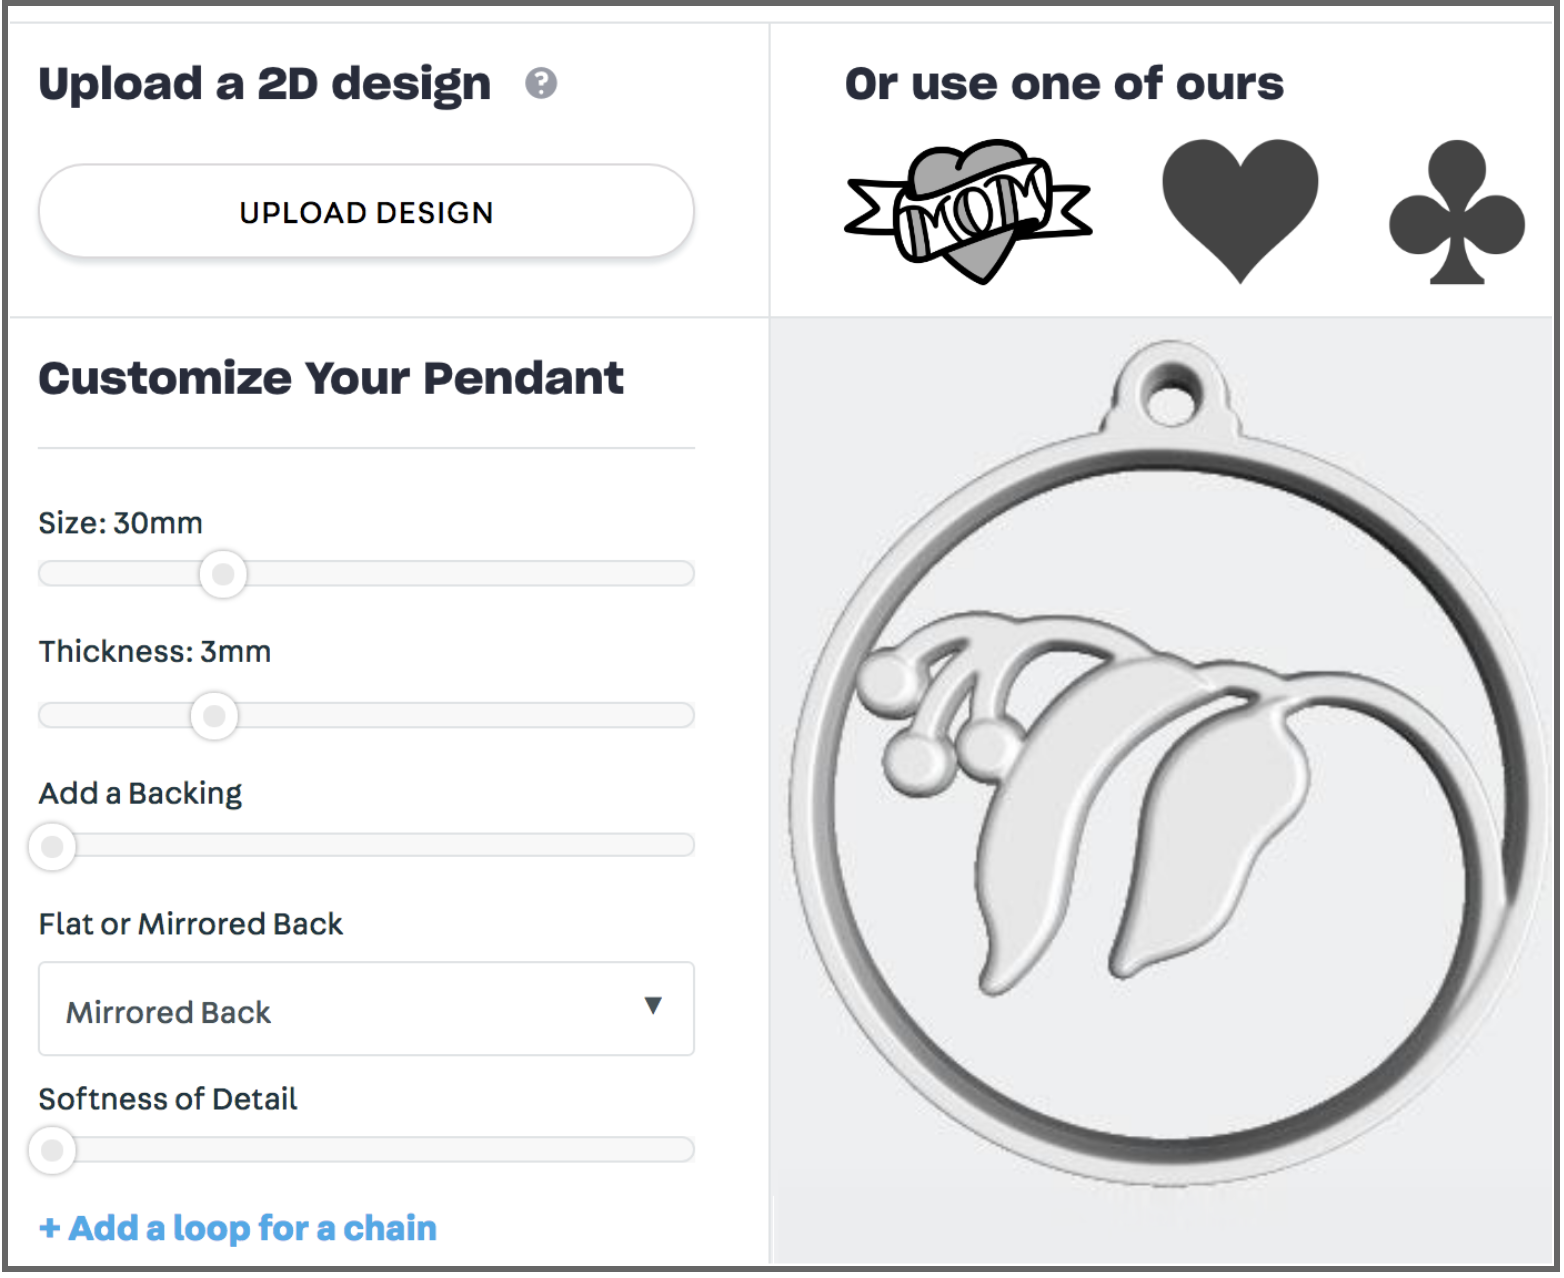
After you have a .png design jump over to ShapeWays 3D Printed Pendant Creator and upload the design with the below size specifications.
- Size: 30mm
- Thickness: 3mm
- Mirrored Back
These are the options that I use, but depending on your design you might want to try something else.
Check for Printability
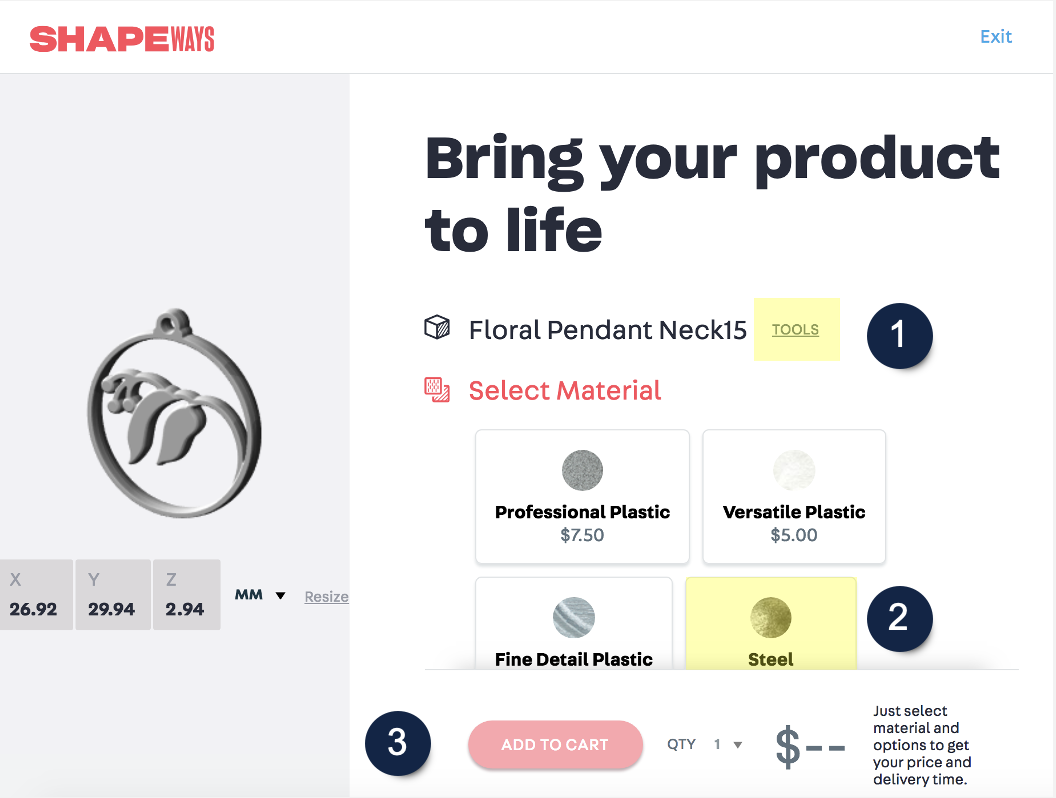
After ShapeWays makes the 3D model from your 2D artwork you will need to check that it is printable using the 3D tools that check for wall thickness.
- Tools / 3D Tools
- Materials
- Purchasing
Those are the options that I use, but depending on your design you might want to try something else.
Check for Printability - Continued
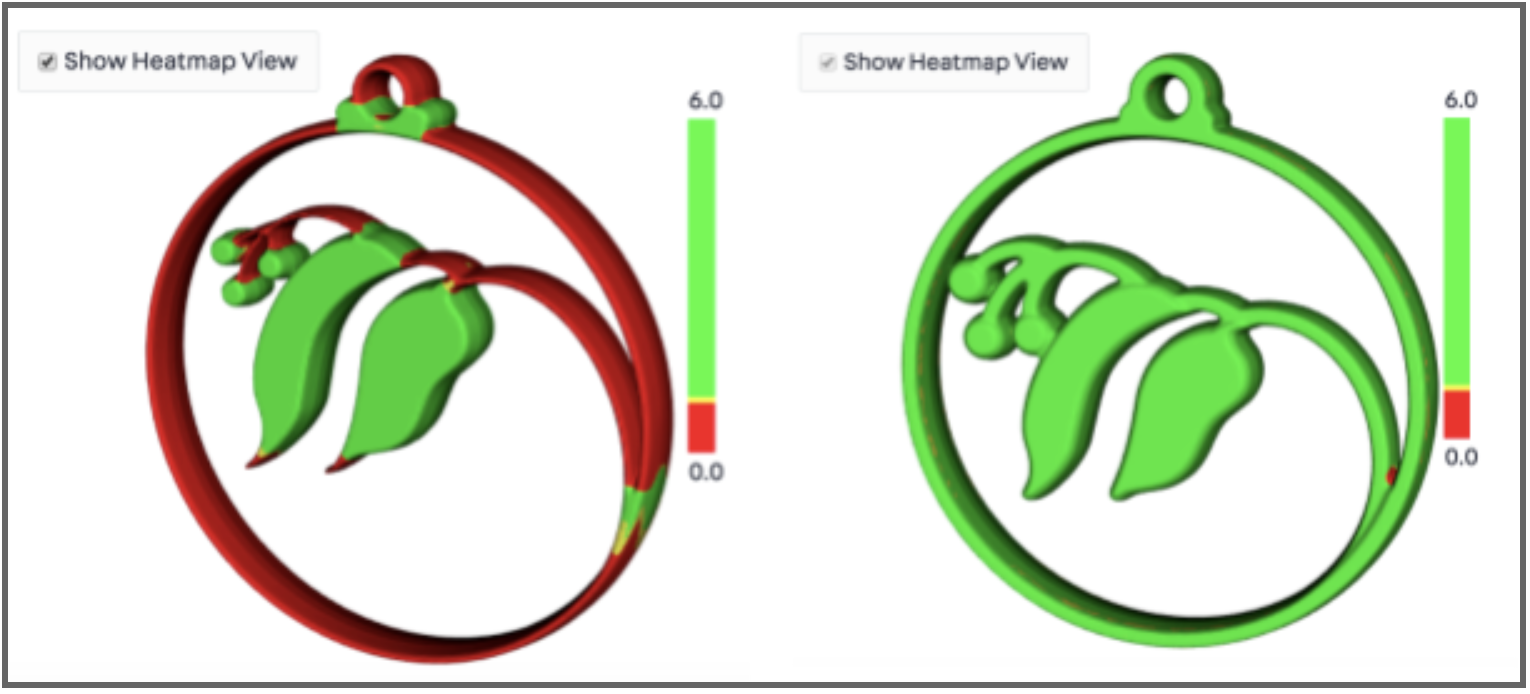
After I upload my artwork I need to check if it is printable using the 3D tools to check for wall thickness. Above you can see the red parts of the design are too thin and will not be printable vs. the design in green where the lines are thick enough to print. Also, the tips of the leaves needed to be rounded in the design to make the model printable.
Now you have enough knowledge to go and make your own 3D printed necklace!
