3D Printed Museum Diorama - the Great Depression (ELA)
by jaclyn_smochek in Teachers > 7
1275 Views, 3 Favorites, 0 Comments
3D Printed Museum Diorama - the Great Depression (ELA)
.jpeg)
.jpeg)
.jpeg)
.jpeg)

![Image[4].jpeg](/proxy/?url=https://content.instructables.com/FJR/2VUA/L8IS5W9Q/FJR2VUAL8IS5W9Q.jpg&filename=Image[4].jpeg)
![Image[5].jpeg](/proxy/?url=https://content.instructables.com/FGJ/CSRK/L8IS5W9R/FGJCSRKL8IS5W9R.jpg&filename=Image[5].jpeg)
![Image[6].jpeg](/proxy/?url=https://content.instructables.com/FWR/14WH/L8IS5W9S/FWR14WHL8IS5W9S.jpg&filename=Image[6].jpeg)
![Image[7].jpeg](/proxy/?url=https://content.instructables.com/FDD/V6B4/L8IS5W9T/FDDV6B4L8IS5W9T.jpg&filename=Image[7].jpeg)
![Image[8].jpeg](/proxy/?url=https://content.instructables.com/FY5/VUTS/L8IS5W9U/FY5VUTSL8IS5W9U.jpg&filename=Image[8].jpeg)
![Image[9].jpeg](/proxy/?url=https://content.instructables.com/FR1/T66W/L8IS5W9V/FR1T66WL8IS5W9V.jpg&filename=Image[9].jpeg)
![Image[10].jpeg](/proxy/?url=https://content.instructables.com/FVR/N5U7/L8IS5W9W/FVRN5U7L8IS5W9W.jpg&filename=Image[10].jpeg)
![Image[11].jpeg](/proxy/?url=https://content.instructables.com/FZG/D7K9/L8IS5W9X/FZGD7K9L8IS5W9X.jpg&filename=Image[11].jpeg)
![Image[1].jpeg](/proxy/?url=https://content.instructables.com/FEO/31C8/L8IS5W9Z/FEO31C8L8IS5W9Z.jpg&filename=Image[1].jpeg)
![Image[2].jpeg](/proxy/?url=https://content.instructables.com/FGS/C9EM/L8IS5WA0/FGSC9EML8IS5WA0.jpg&filename=Image[2].jpeg)
![Image[3].jpeg](/proxy/?url=https://content.instructables.com/FLD/YI3N/L8IS5WA1/FLDYI3NL8IS5WA1.jpg&filename=Image[3].jpeg)
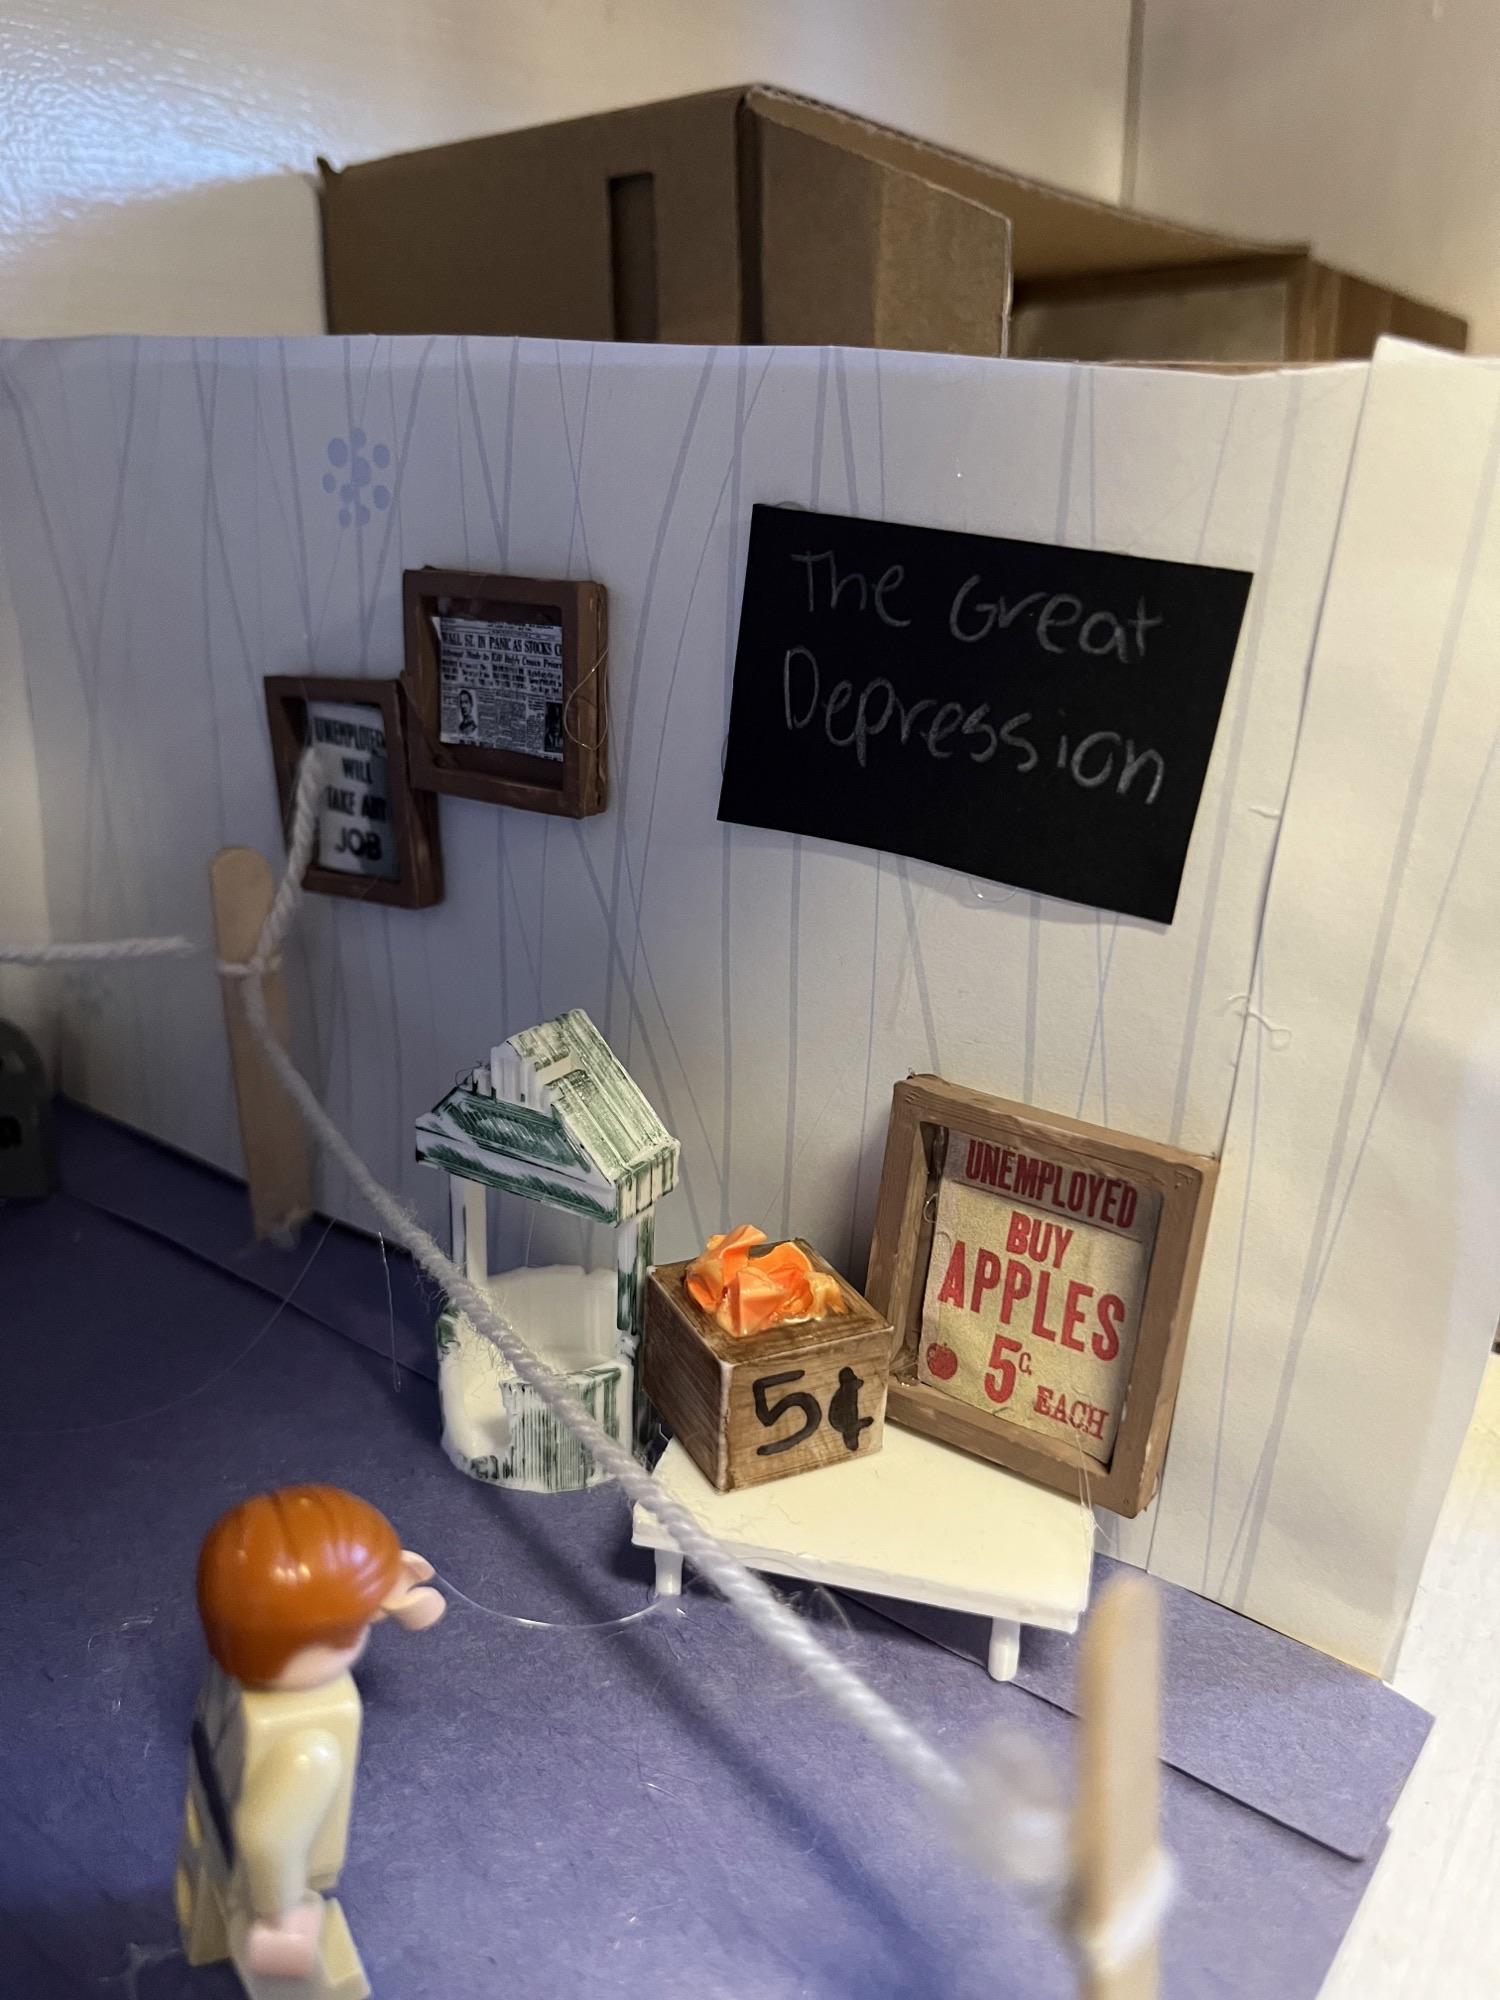
This project combines elements of literary analysis with STEM activities. After researching and studying elements of The Dust Bowl, the Great Depression, and "The Grapes of Wrath", students will use 3D printing technology to create a museum exhibit diorama to show mastery in the elements of theme, plot, setting and imagery.
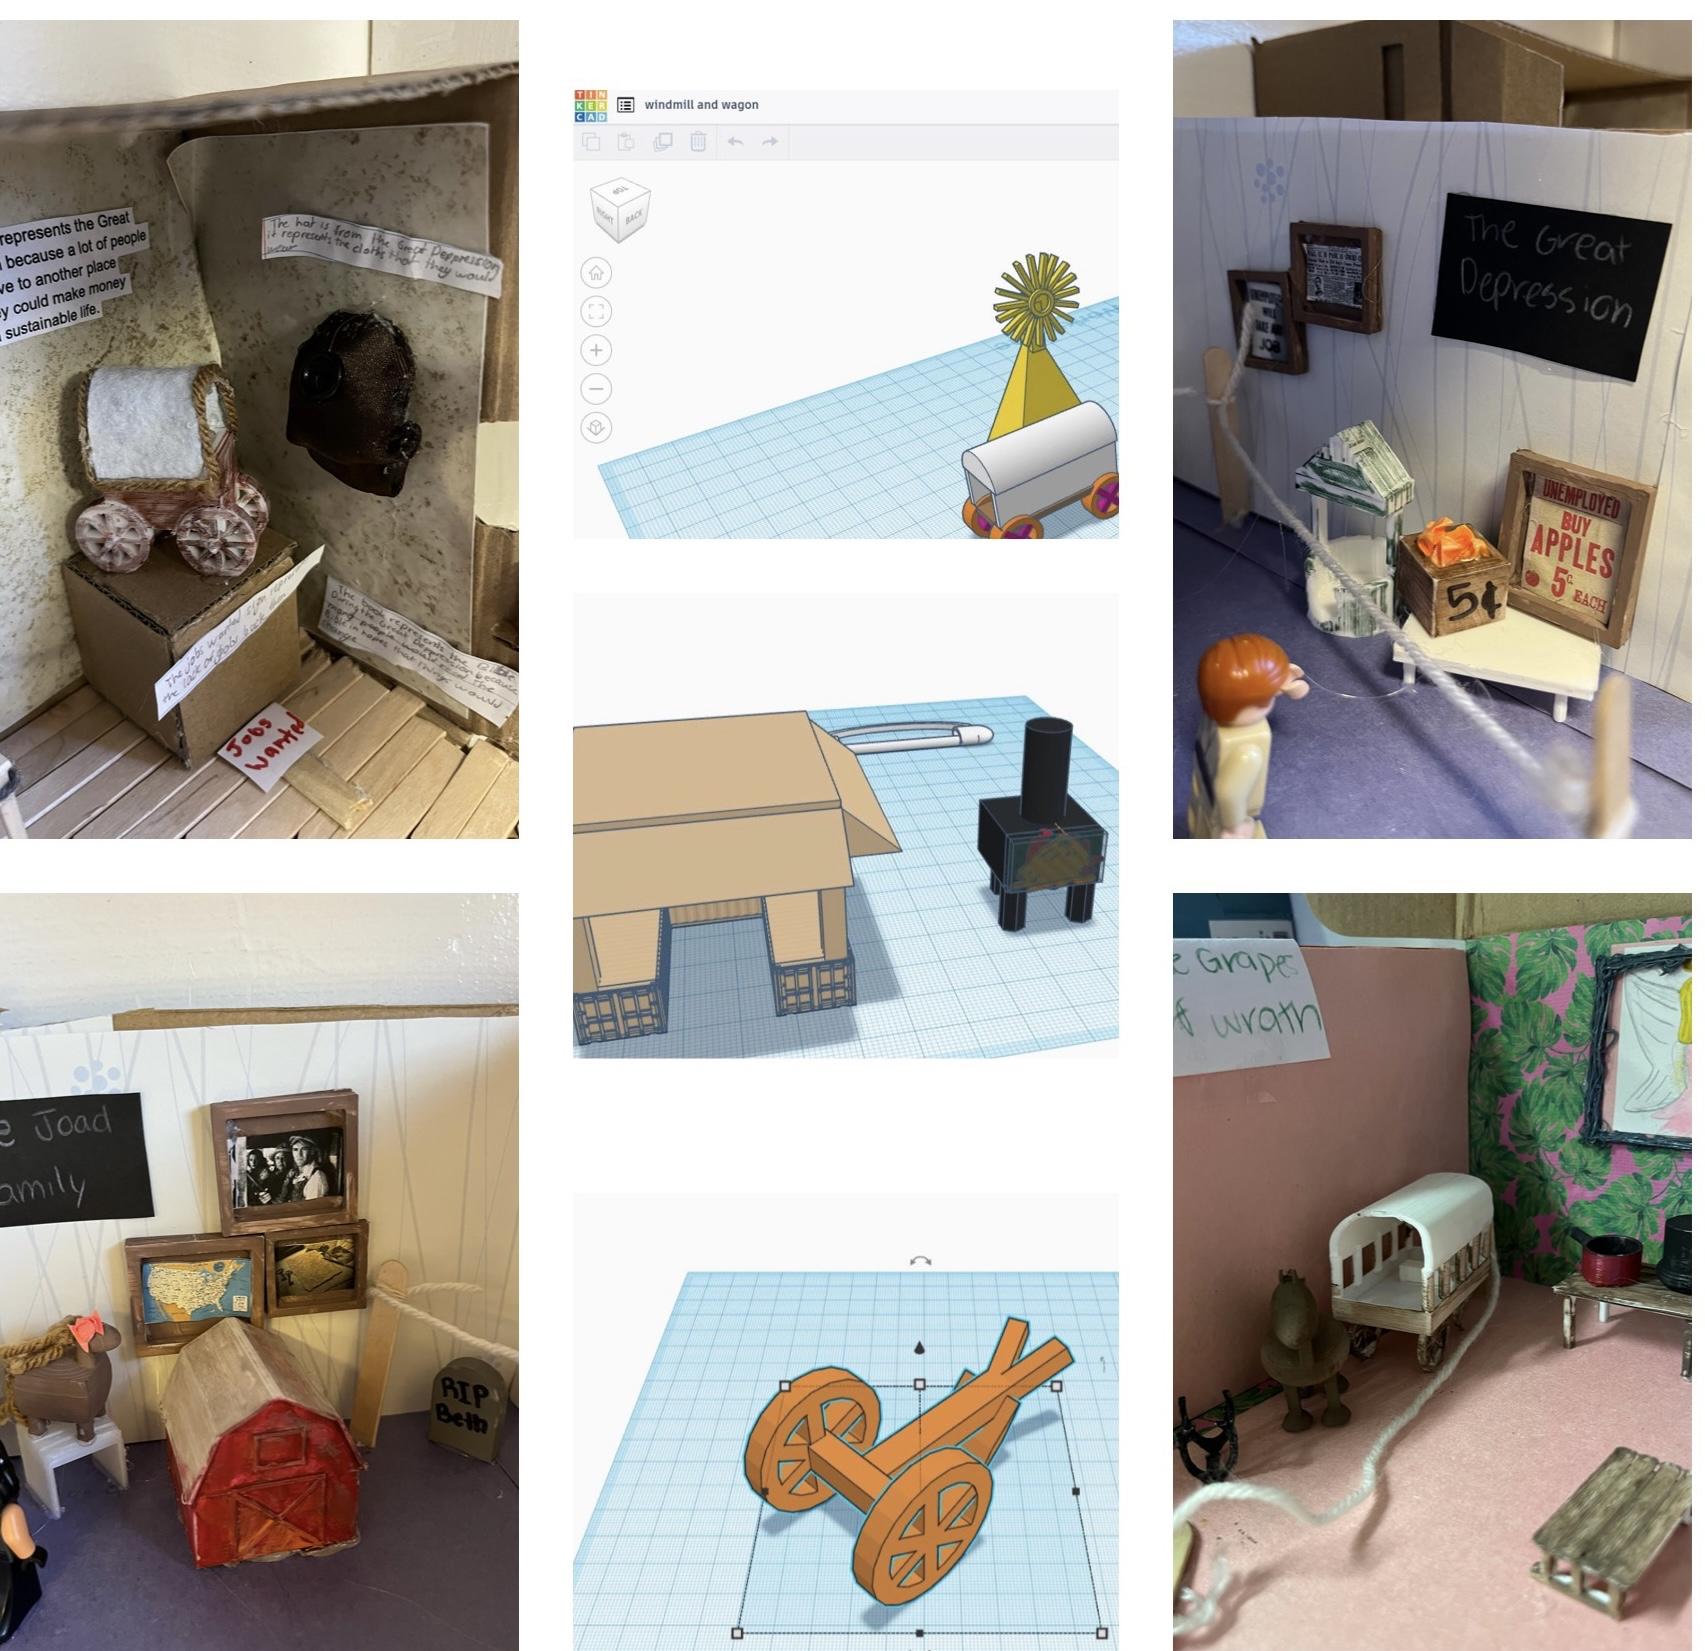
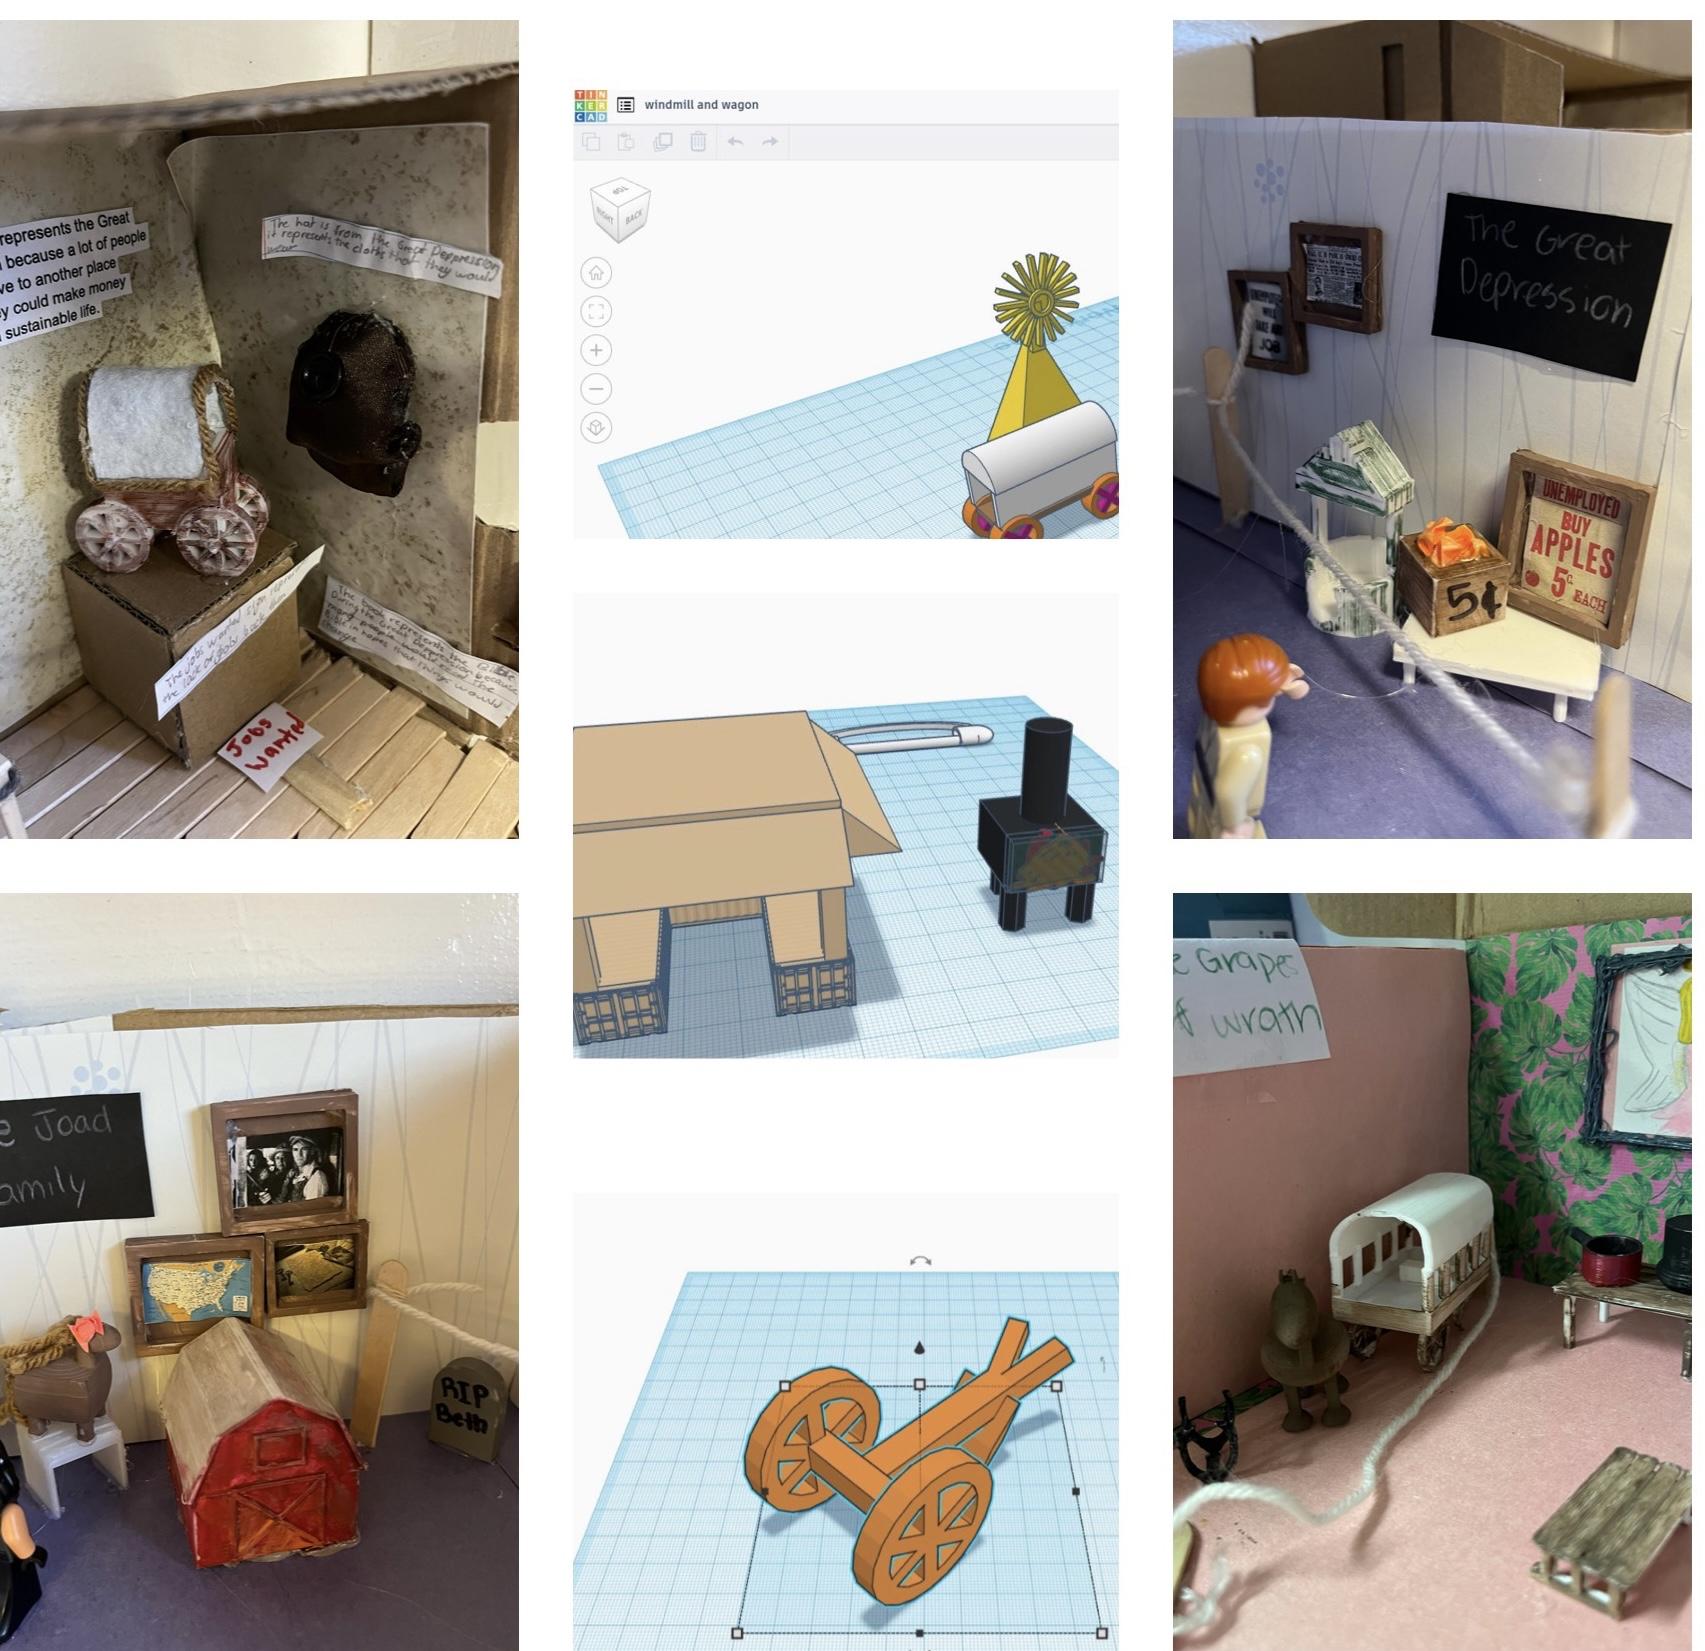
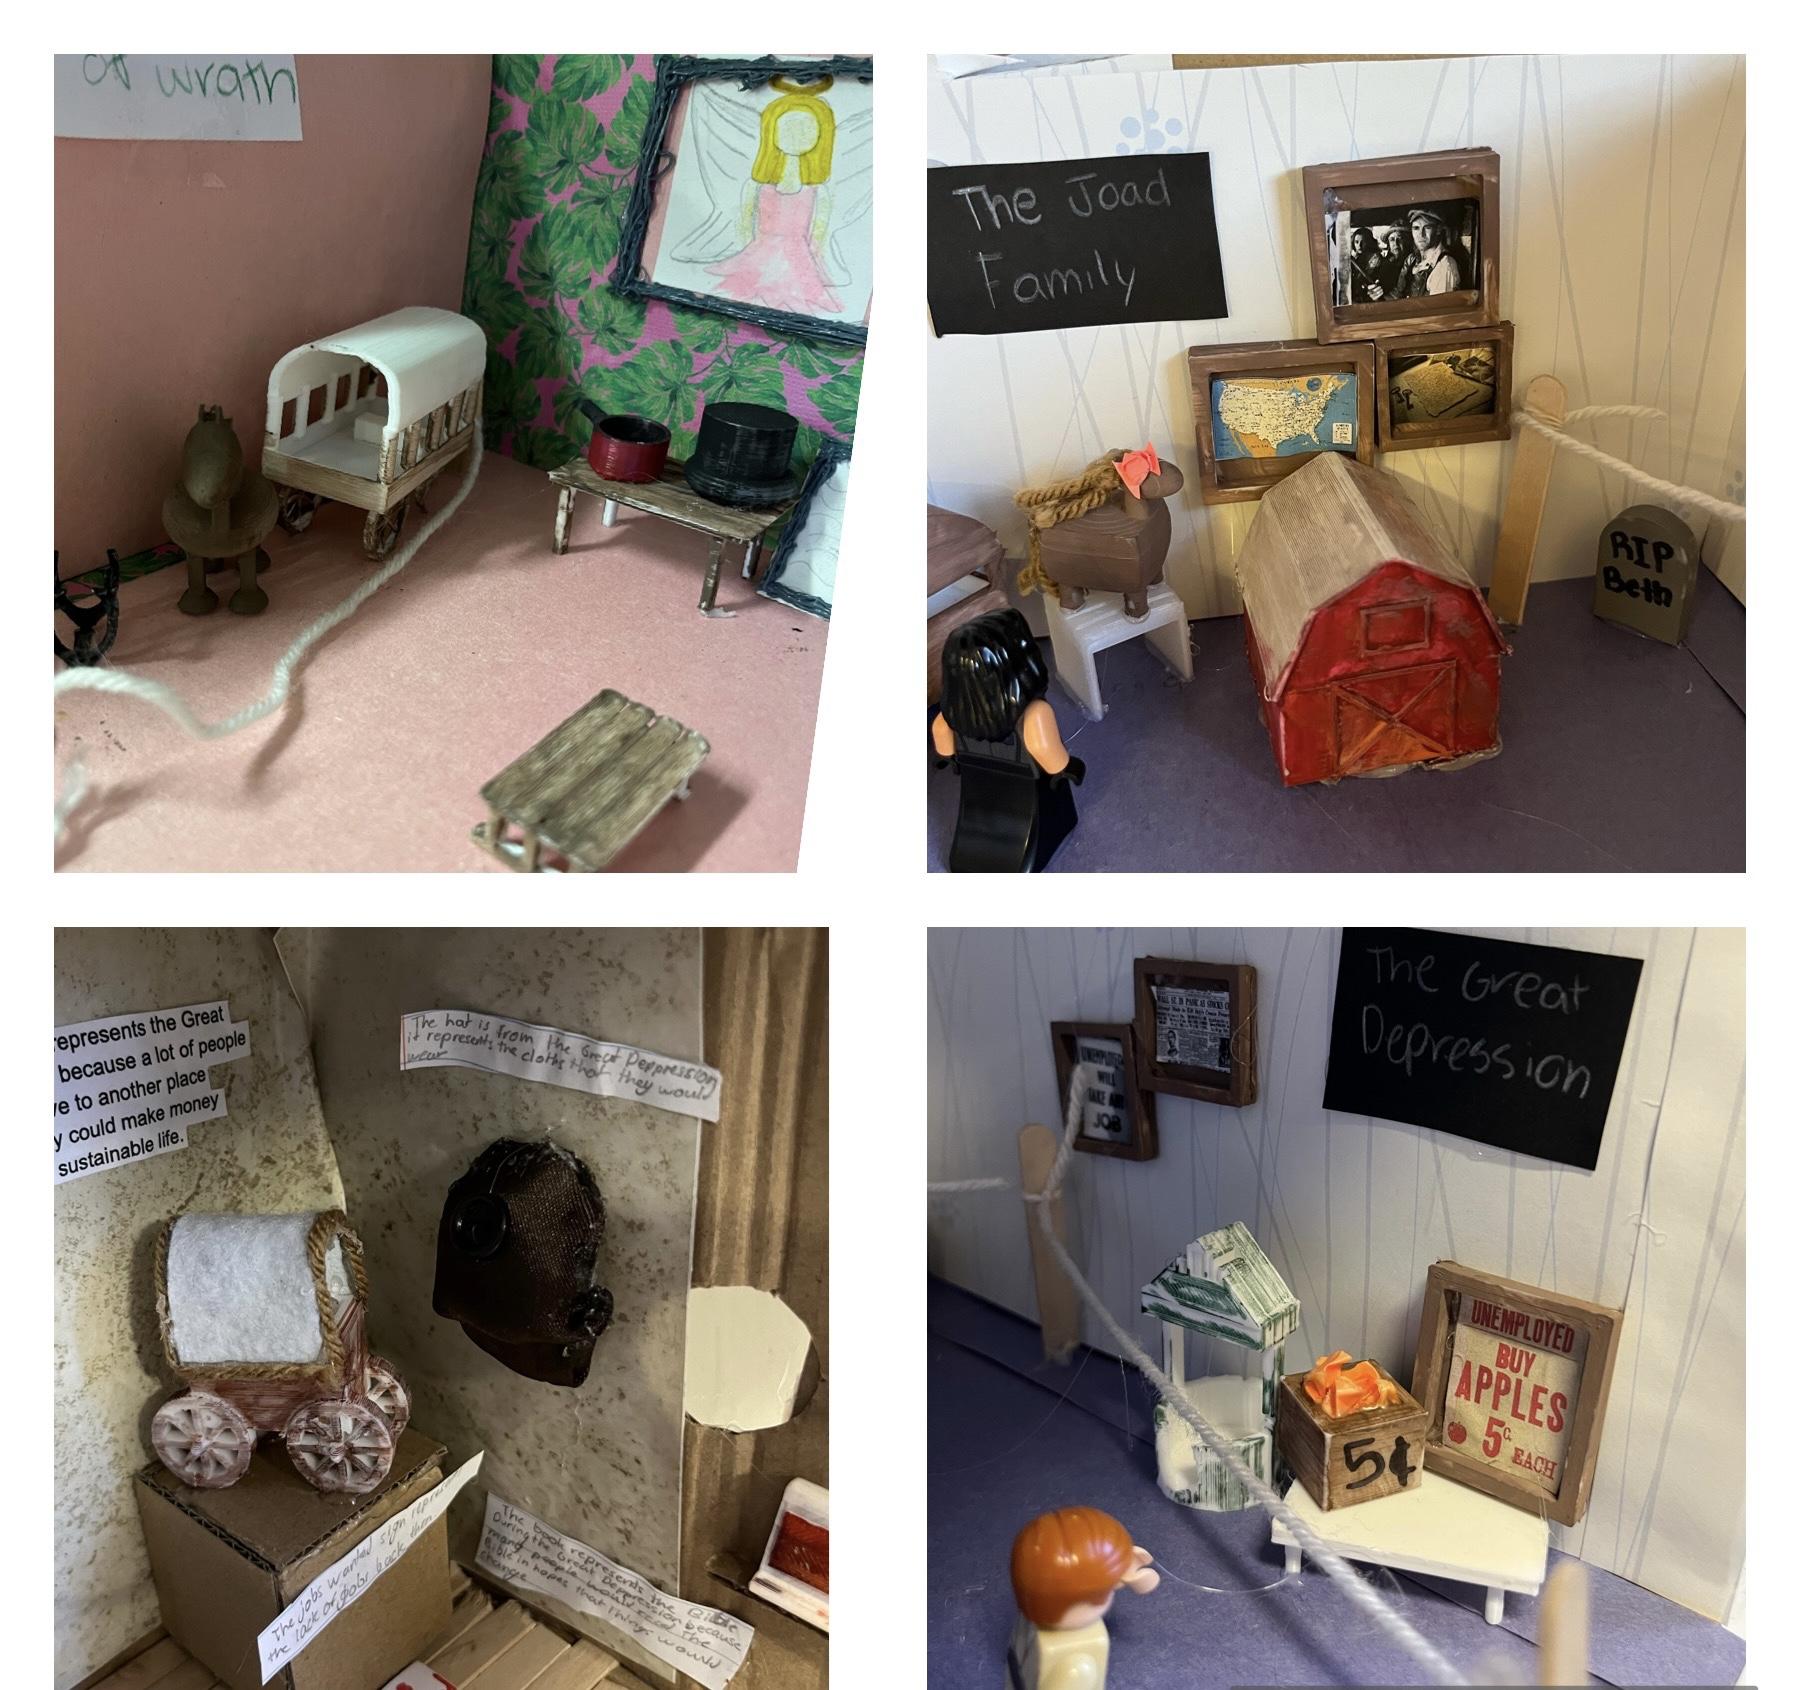
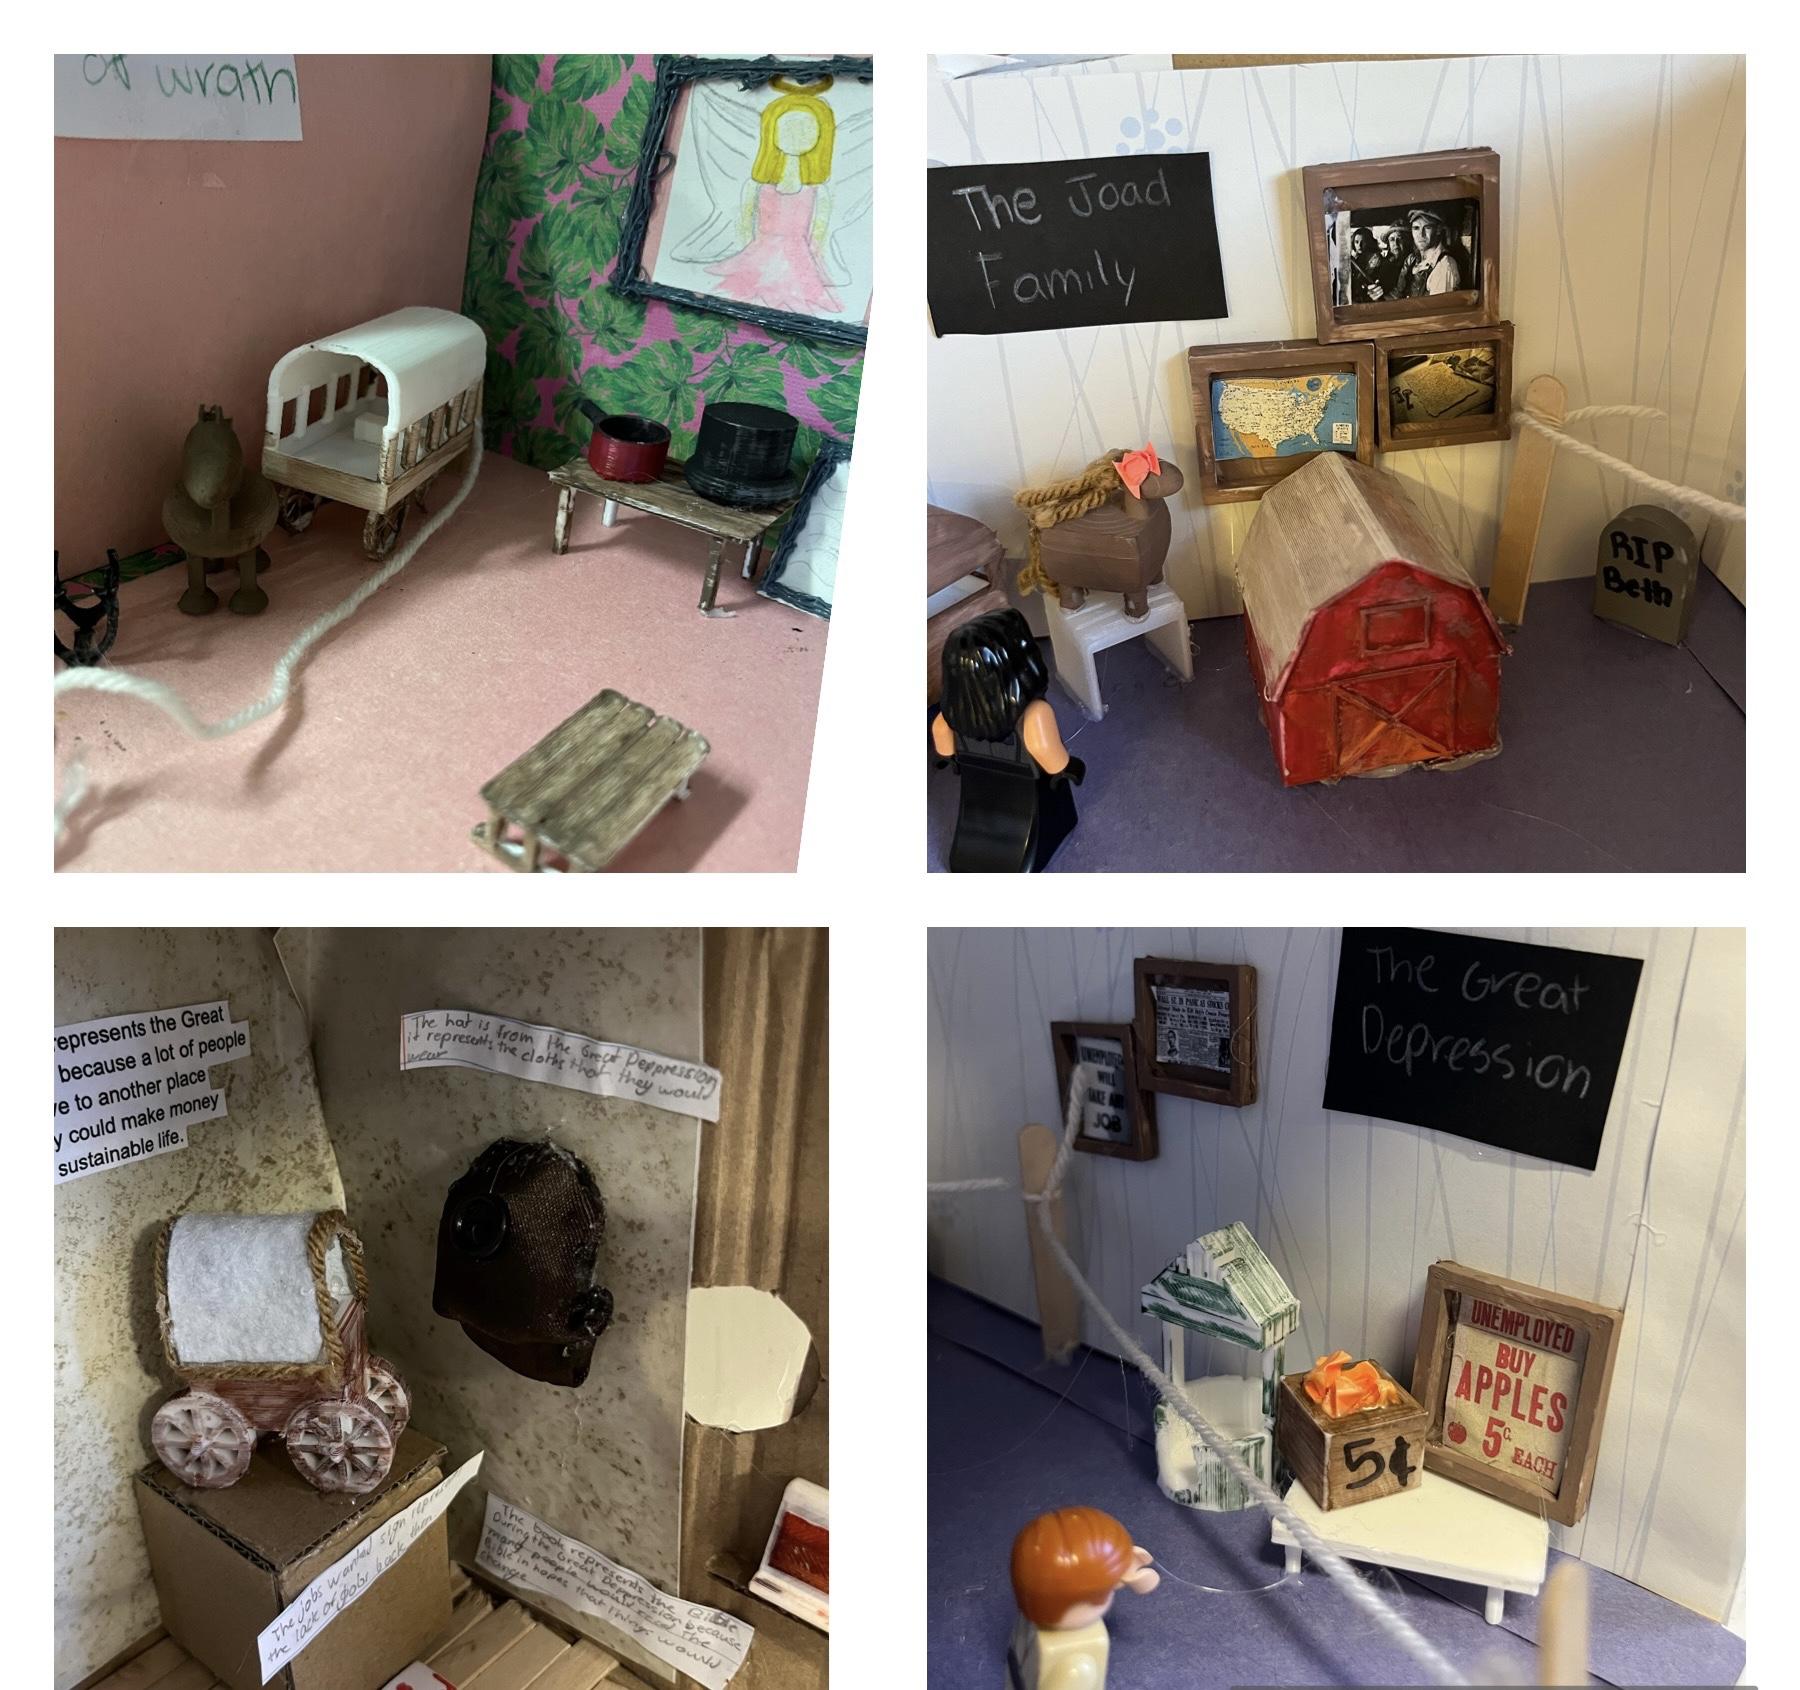
See the pictures above to look at some of the finished products!
Supplies
Student computer access
Tinkercad (student and teacher will have this)
3D Printers
White filament
A 3D Printing Slicing Program (I use Prusaslicer)
Additional design items
- A shoe box
- Scrapbook paper
- Yarn
- Popsicle sticks
- Hot glue guns
- Hot glue sticks
- Paint
- Paint Brushes
Becoming a Curator - Understanding the Assignment
Attachment: The attachment provided includes the specific directions for the whole project.
Each group are "curators" at a museum that will feature a room with exhibits on the Great Depression, The Dust Bowl, and the main events in chapter 9 of “The Grapes of Wrath”, and the Joad Family. Students will work together to assemble a diorama of the museum room they envision for this exhibit.
Students will design and create 12 artifacts using TINKERCAD (4 for each exhibit). They will then save their designs and send the STL files to the teacher to have them printed for painting and display.
All artifacts and information/resources provided MUST capture the elements from The Great Depression, The Dust Bowl and “The Grapes of Wrath”, and the Joad family for the visitors of the museum.
Getting Students Set Up on Tinkercad

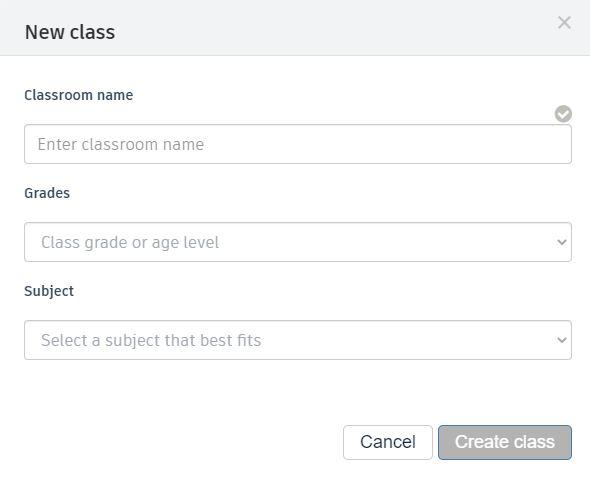
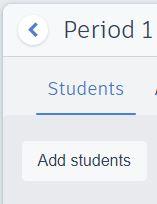

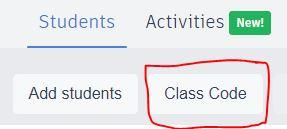
Teacher: Create an educator account on www.tinkercad.com
Set up classes and add students (See images above)
Click on the CLASS CODE icon
- Follow the directions on the next screen that will pop open to have your students join the class
Once students are in the class, they can complete the tutorial videos that will automatically show up on their screen.
Teachers will now have the ability to see their students designs AND also go in to their designs on their end to help/fix designs
Creating the Diorama
Creating the Diorama
- Using a shoe box as the base, students will build their museum room.
- Make sure all elements of design are included, such as
- Wall paper and a floor
- Sectioned off areas for each exhibit
- Tables
- How to attach any items to walls
- People
- Paint for artifacts
More on Artifacts
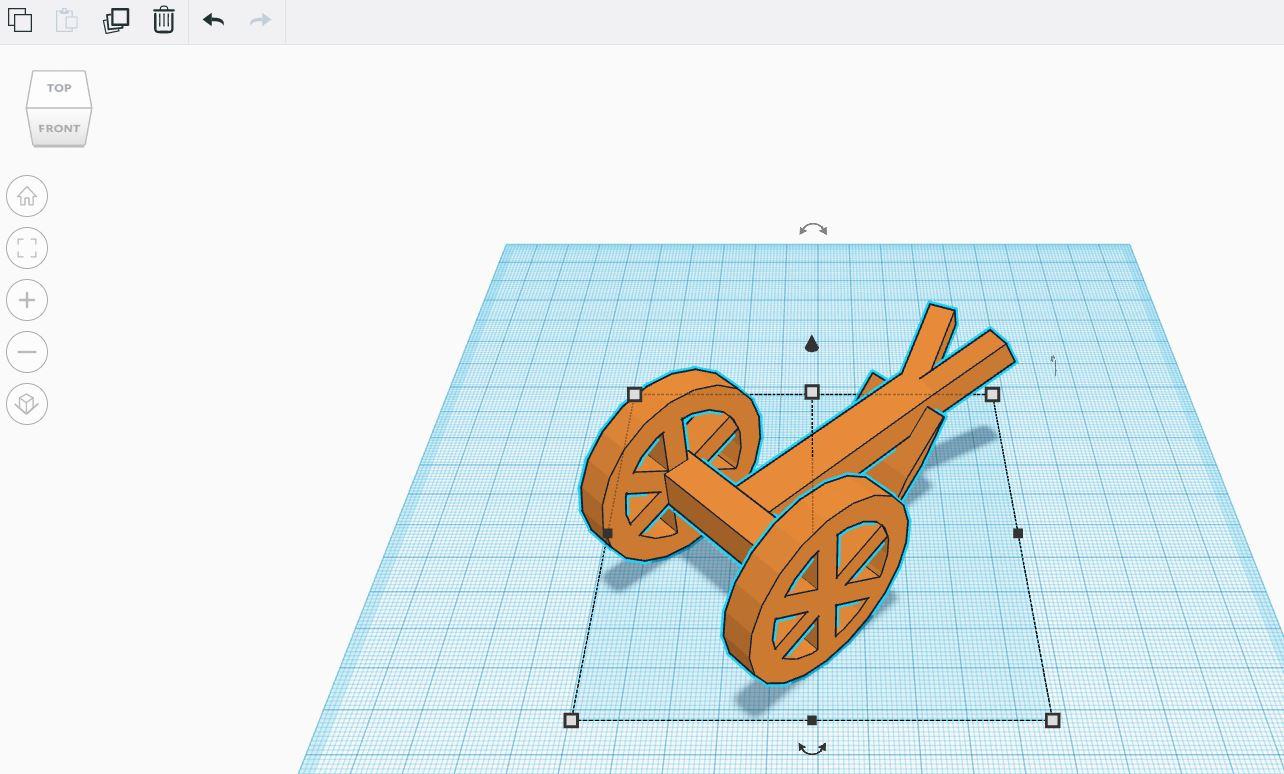
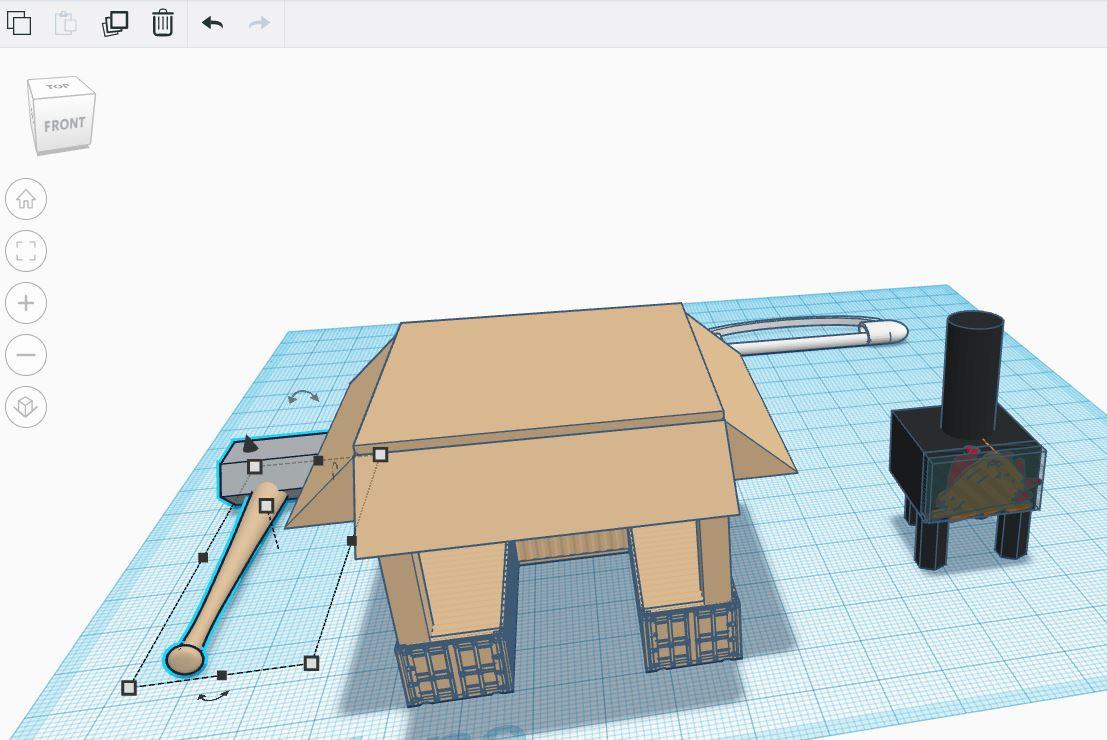
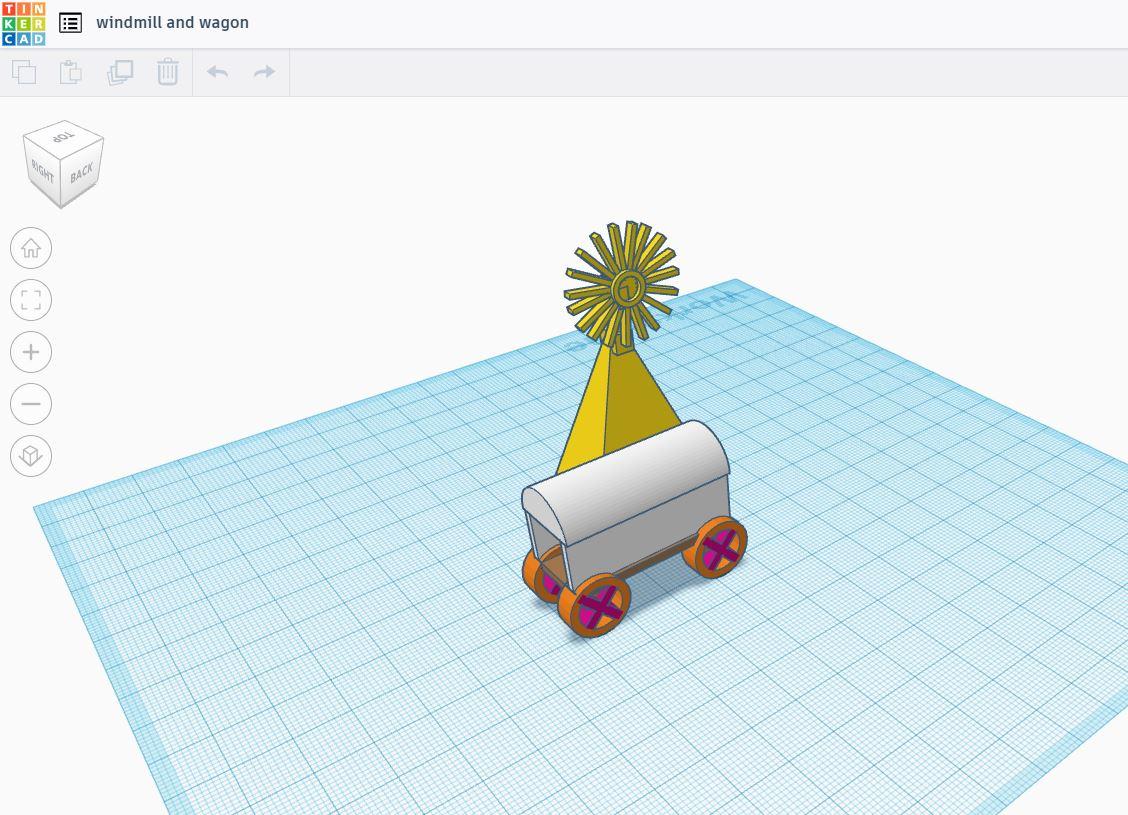
More on Artifacts
- As mentioned, students will have 4 exhibits in their diorama.
- Students will need to do additional research to discover which artifacts are the most important for each exhibit.
- Research: Meaning, in addition to the excerpts and videos covered in class, they may do outside research to enhance the details of their exhibits and get inspiration of how to design their artifacts.
Students will fill out a planning guide to ensure all artifacts are appropriate to the task.
Creating Artifacts:
Once students' artifacts are approved, they will go into Tinkercad to create their items. Students will create a separate file for each item. This will allow the teacher to resize individual items as needed.
Students will begin exporting their designs as STL files as they are completed so the printing process can begin.
The attached file is a how to on how to export files from Tinkercad.
Downloads
Teacher/Moderator File Printing
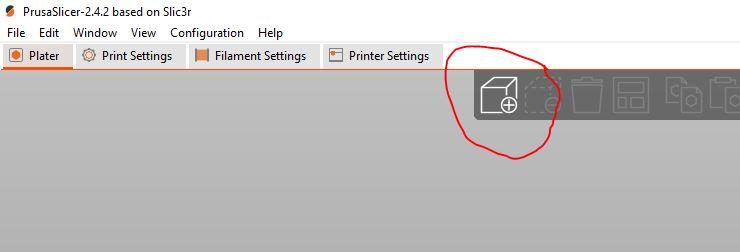
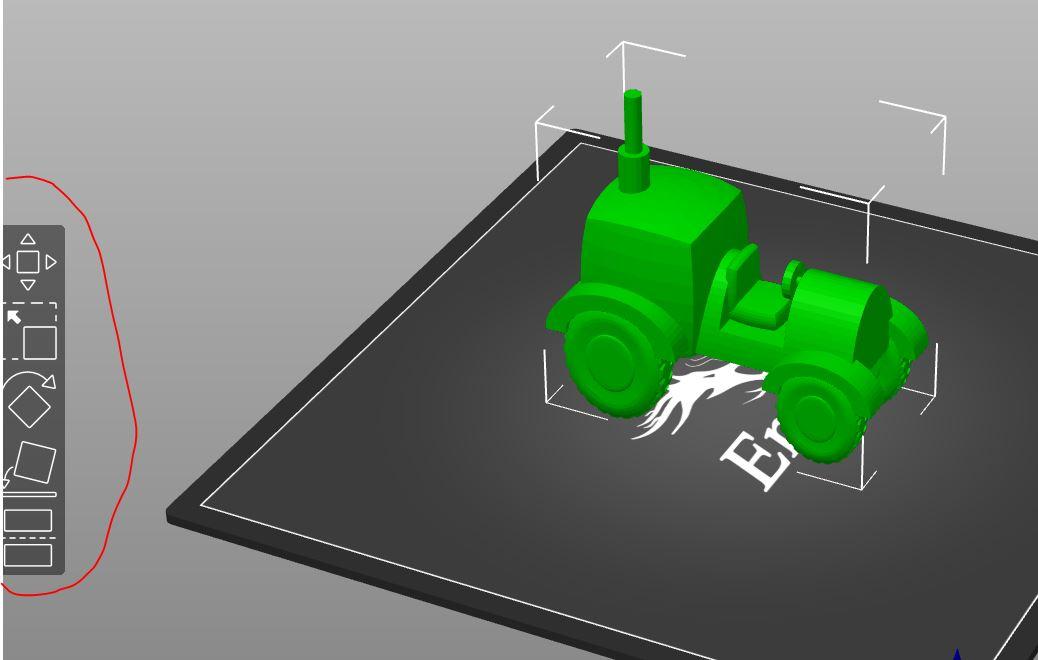
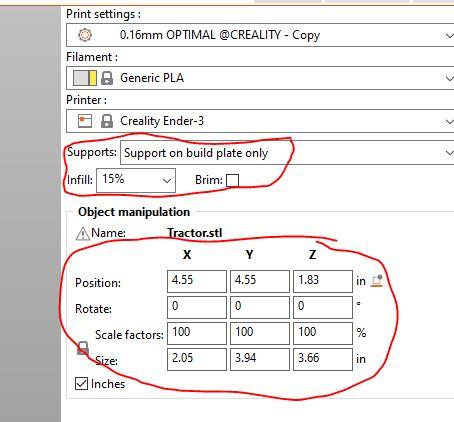
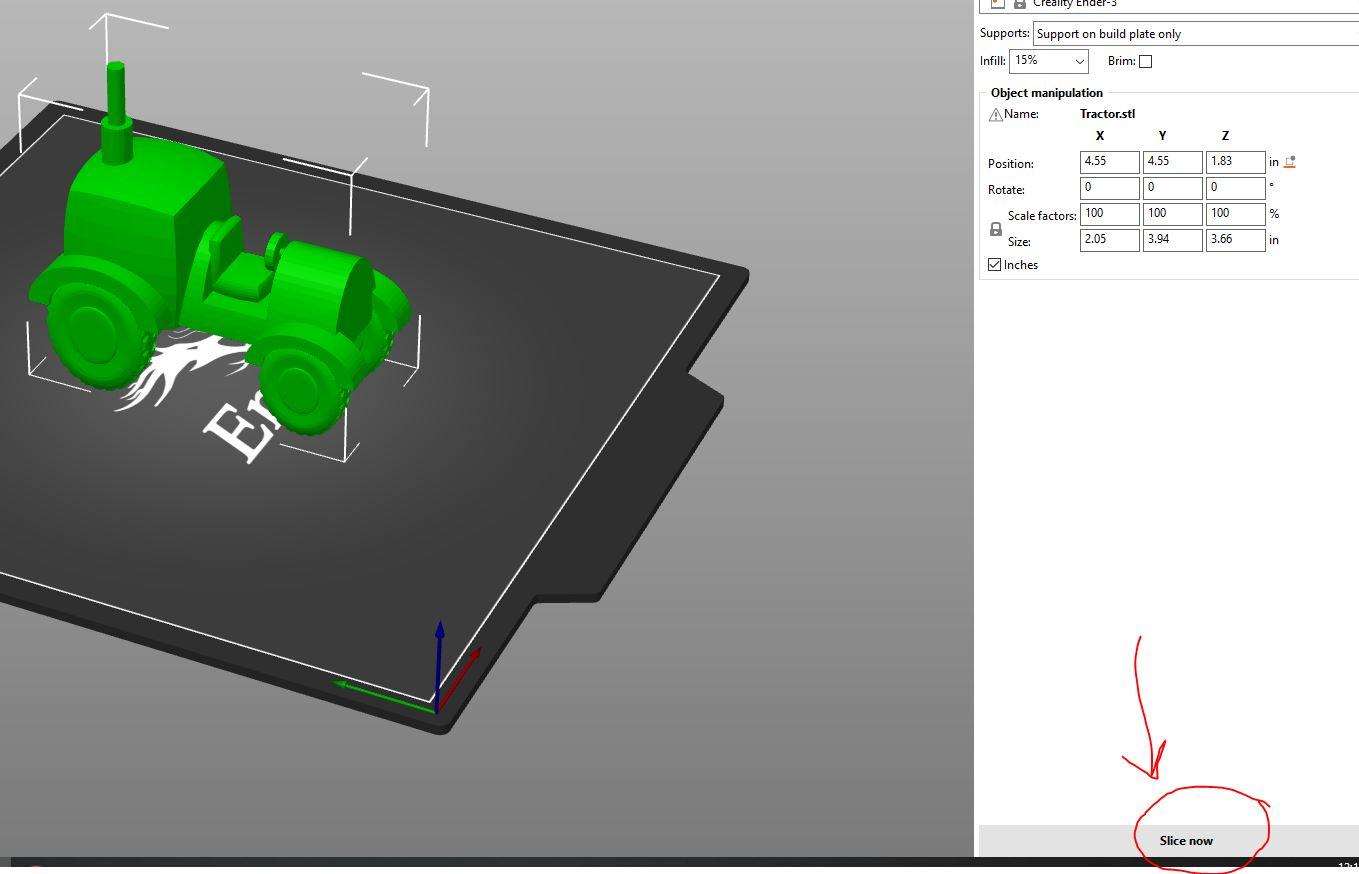
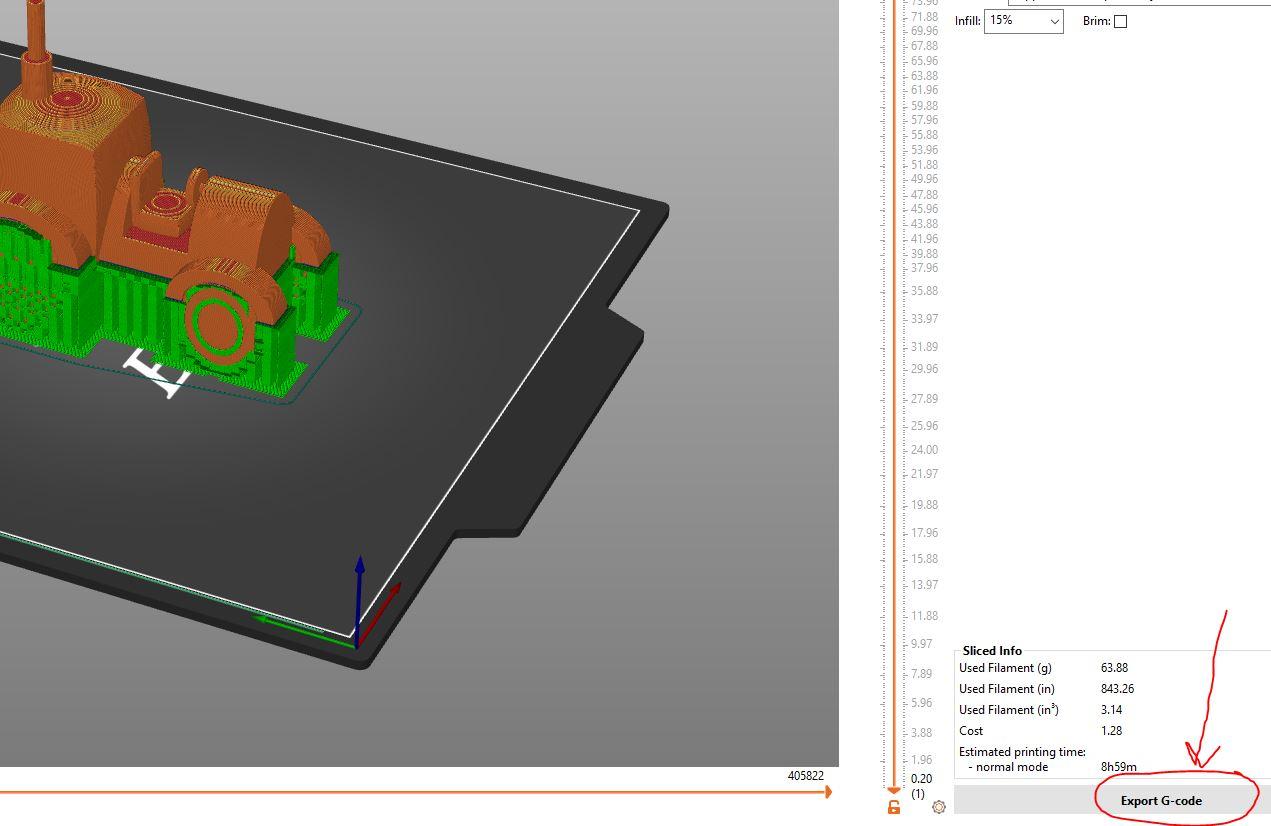
Once students send the teacher/moderator their STL file, the teacher/moderator will have to slice the file into a gcode and send that gcode to the printer for creation unless the students have the ability to download a slicing program onto their computers. (My students did not have that ability, so I sliced them all.)
I use Prusaslicer for all my file slicing. This is a free, downloadable program.
Once I download the STL file from the students, I import it into Prusaslicer, add support material if needed, resize as needed, and create the gcode.
Next, I export the gcode to my SD card and take it to the 3D printer for printing. (I have Ender 3 3D Printers).
The images above show the step by step process in Prusaslicer.
- Importing an STL file
- Imported image and additional tools
- Move
- Scale
- Rotate
- Place on face
- Cut
- Slice setting options
- Optional support addition
- Scale
- I made artifacts generally around 1.5x1.5 to fit in the shoe box and also cut down on printing time.
- Slice
- Export
Making the Museum Come to Life
Once student items are printed, they should paint them to look like the actual artifacts of that time.
Next, they will glue their artifacts down in the proper locations of the their diorama.
Finally, they can add any other additional elements to finish the museum and make it as realistic as possible. This can include
- Roped off areas
- Display stands
- People
- Exhibit Titles
Curator Notes
- Curator Notes:
- For the exhibit artifacts, students will have an explanation on the background of the artifact (where it came from, uses, and its significance to the time period and exhibit). Each artifact in the exhibit needs to have explanations. This can set this up one of two ways:
- On the walls next to the exhibit
- Attached to the front of the diorama
Bringing It All Together
Bringing it all Together
- The final project should be submitted as one final piece.
- Students will need to figure out rules and expectations of their group to figure out how to make the final project appear as if it is a room within a museum using the directions above.