3D-Printed Mini Lamp
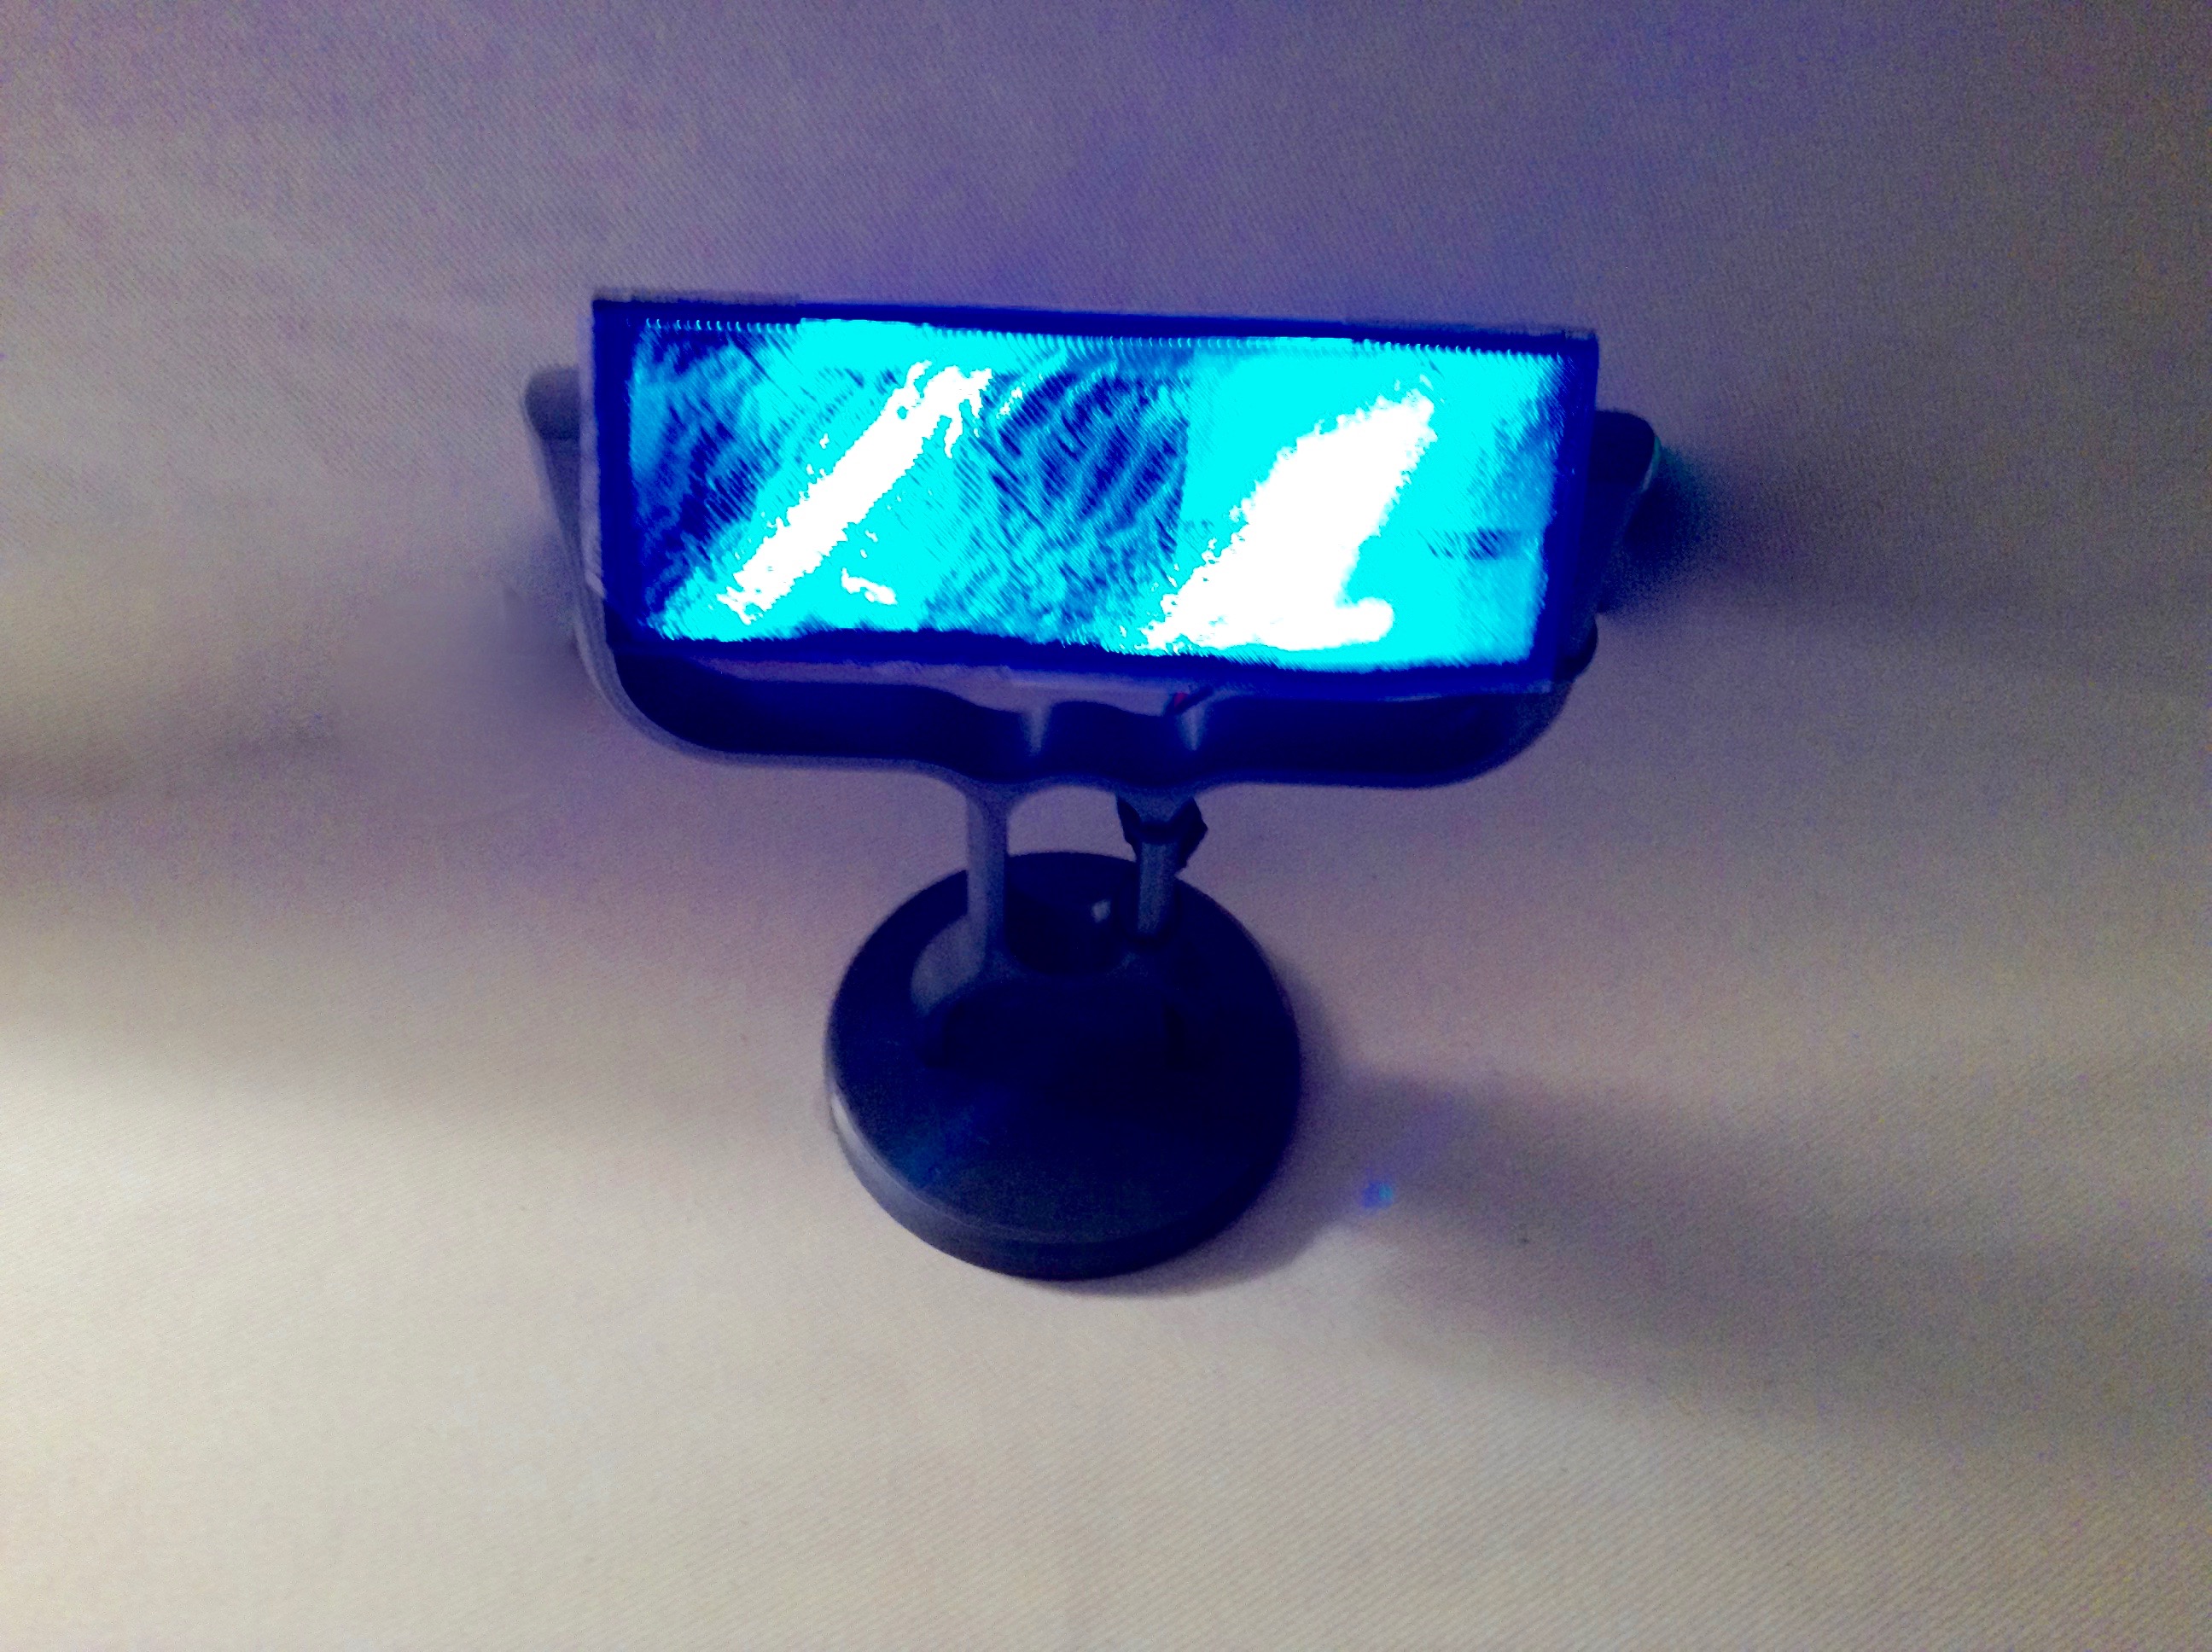.jpg)
Hello Everybody! Today, I'm going to show you how to 3D-print a small LED lamp.
Parts
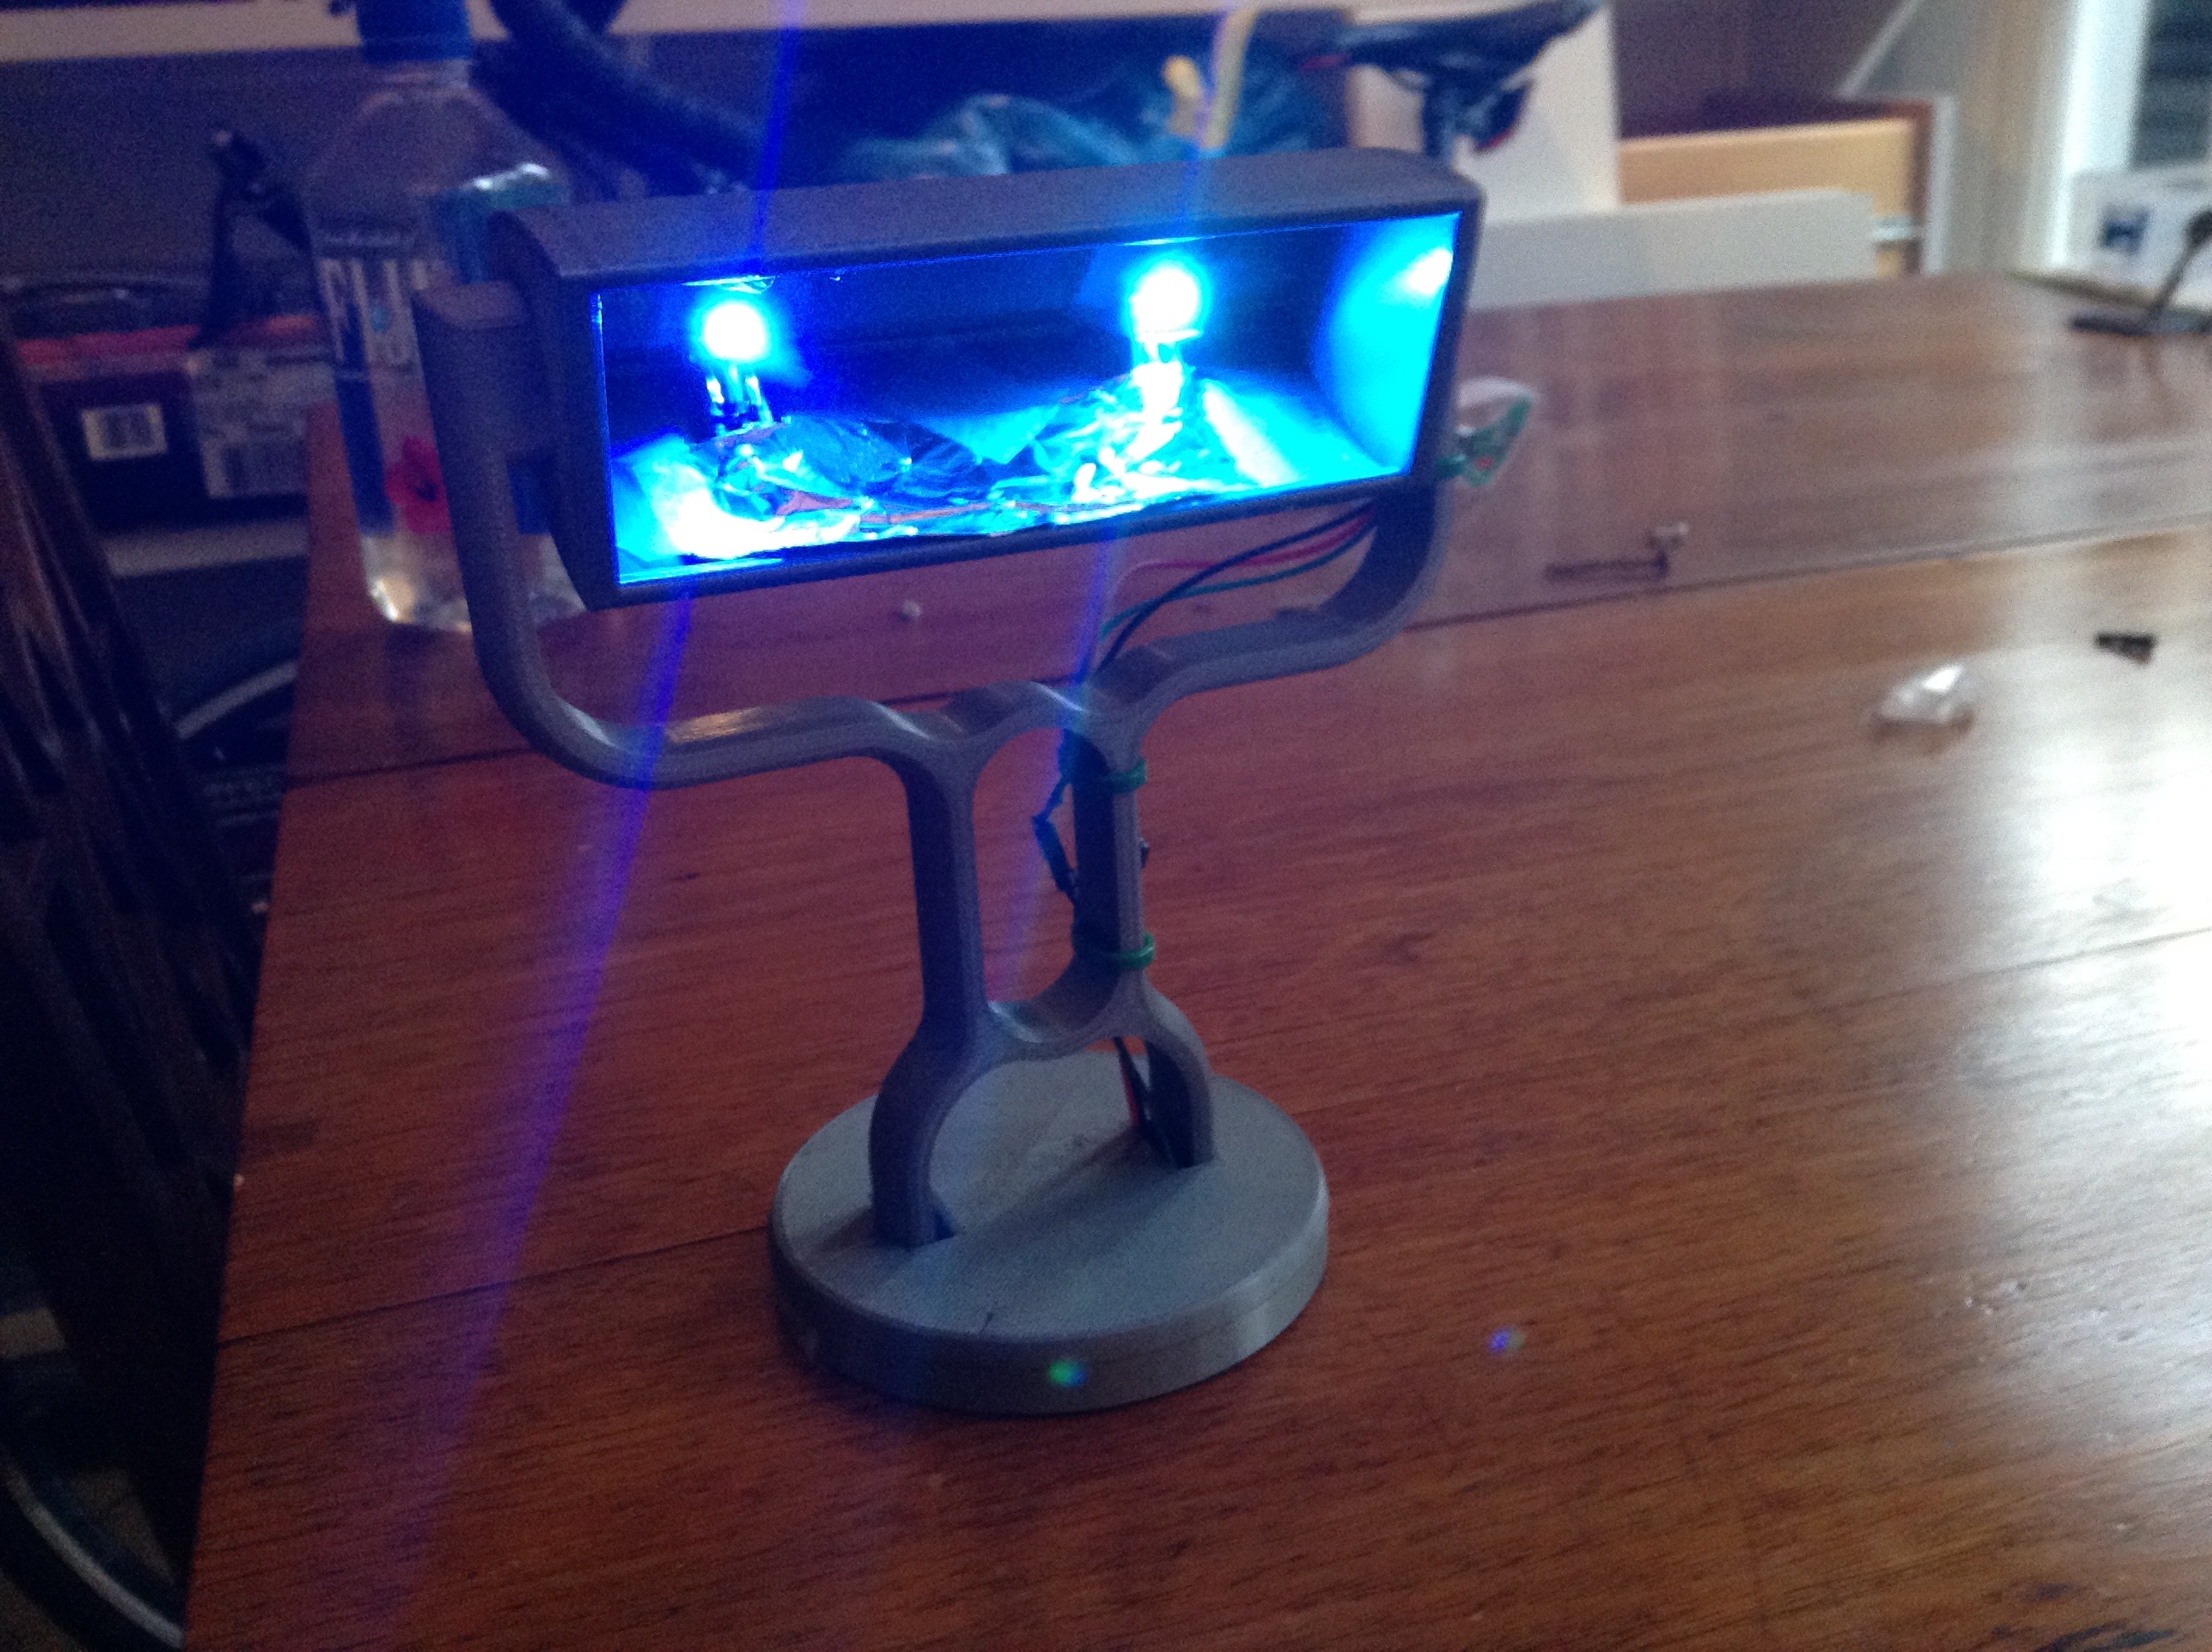
For the Lamp, you will need:
- A 3D printer w/ PLA filament
- Individual; Neopixels (2)
- Adafruit Trinket 3.3v
- Pushbutton
- 470 ohm resistor
- Jumpers
- 3.7 volt 380mah battery (2)
- Aluminum Foil
- Zip-ties
I got a quick youtube video about this project if you want to check it out:
Print the Parts
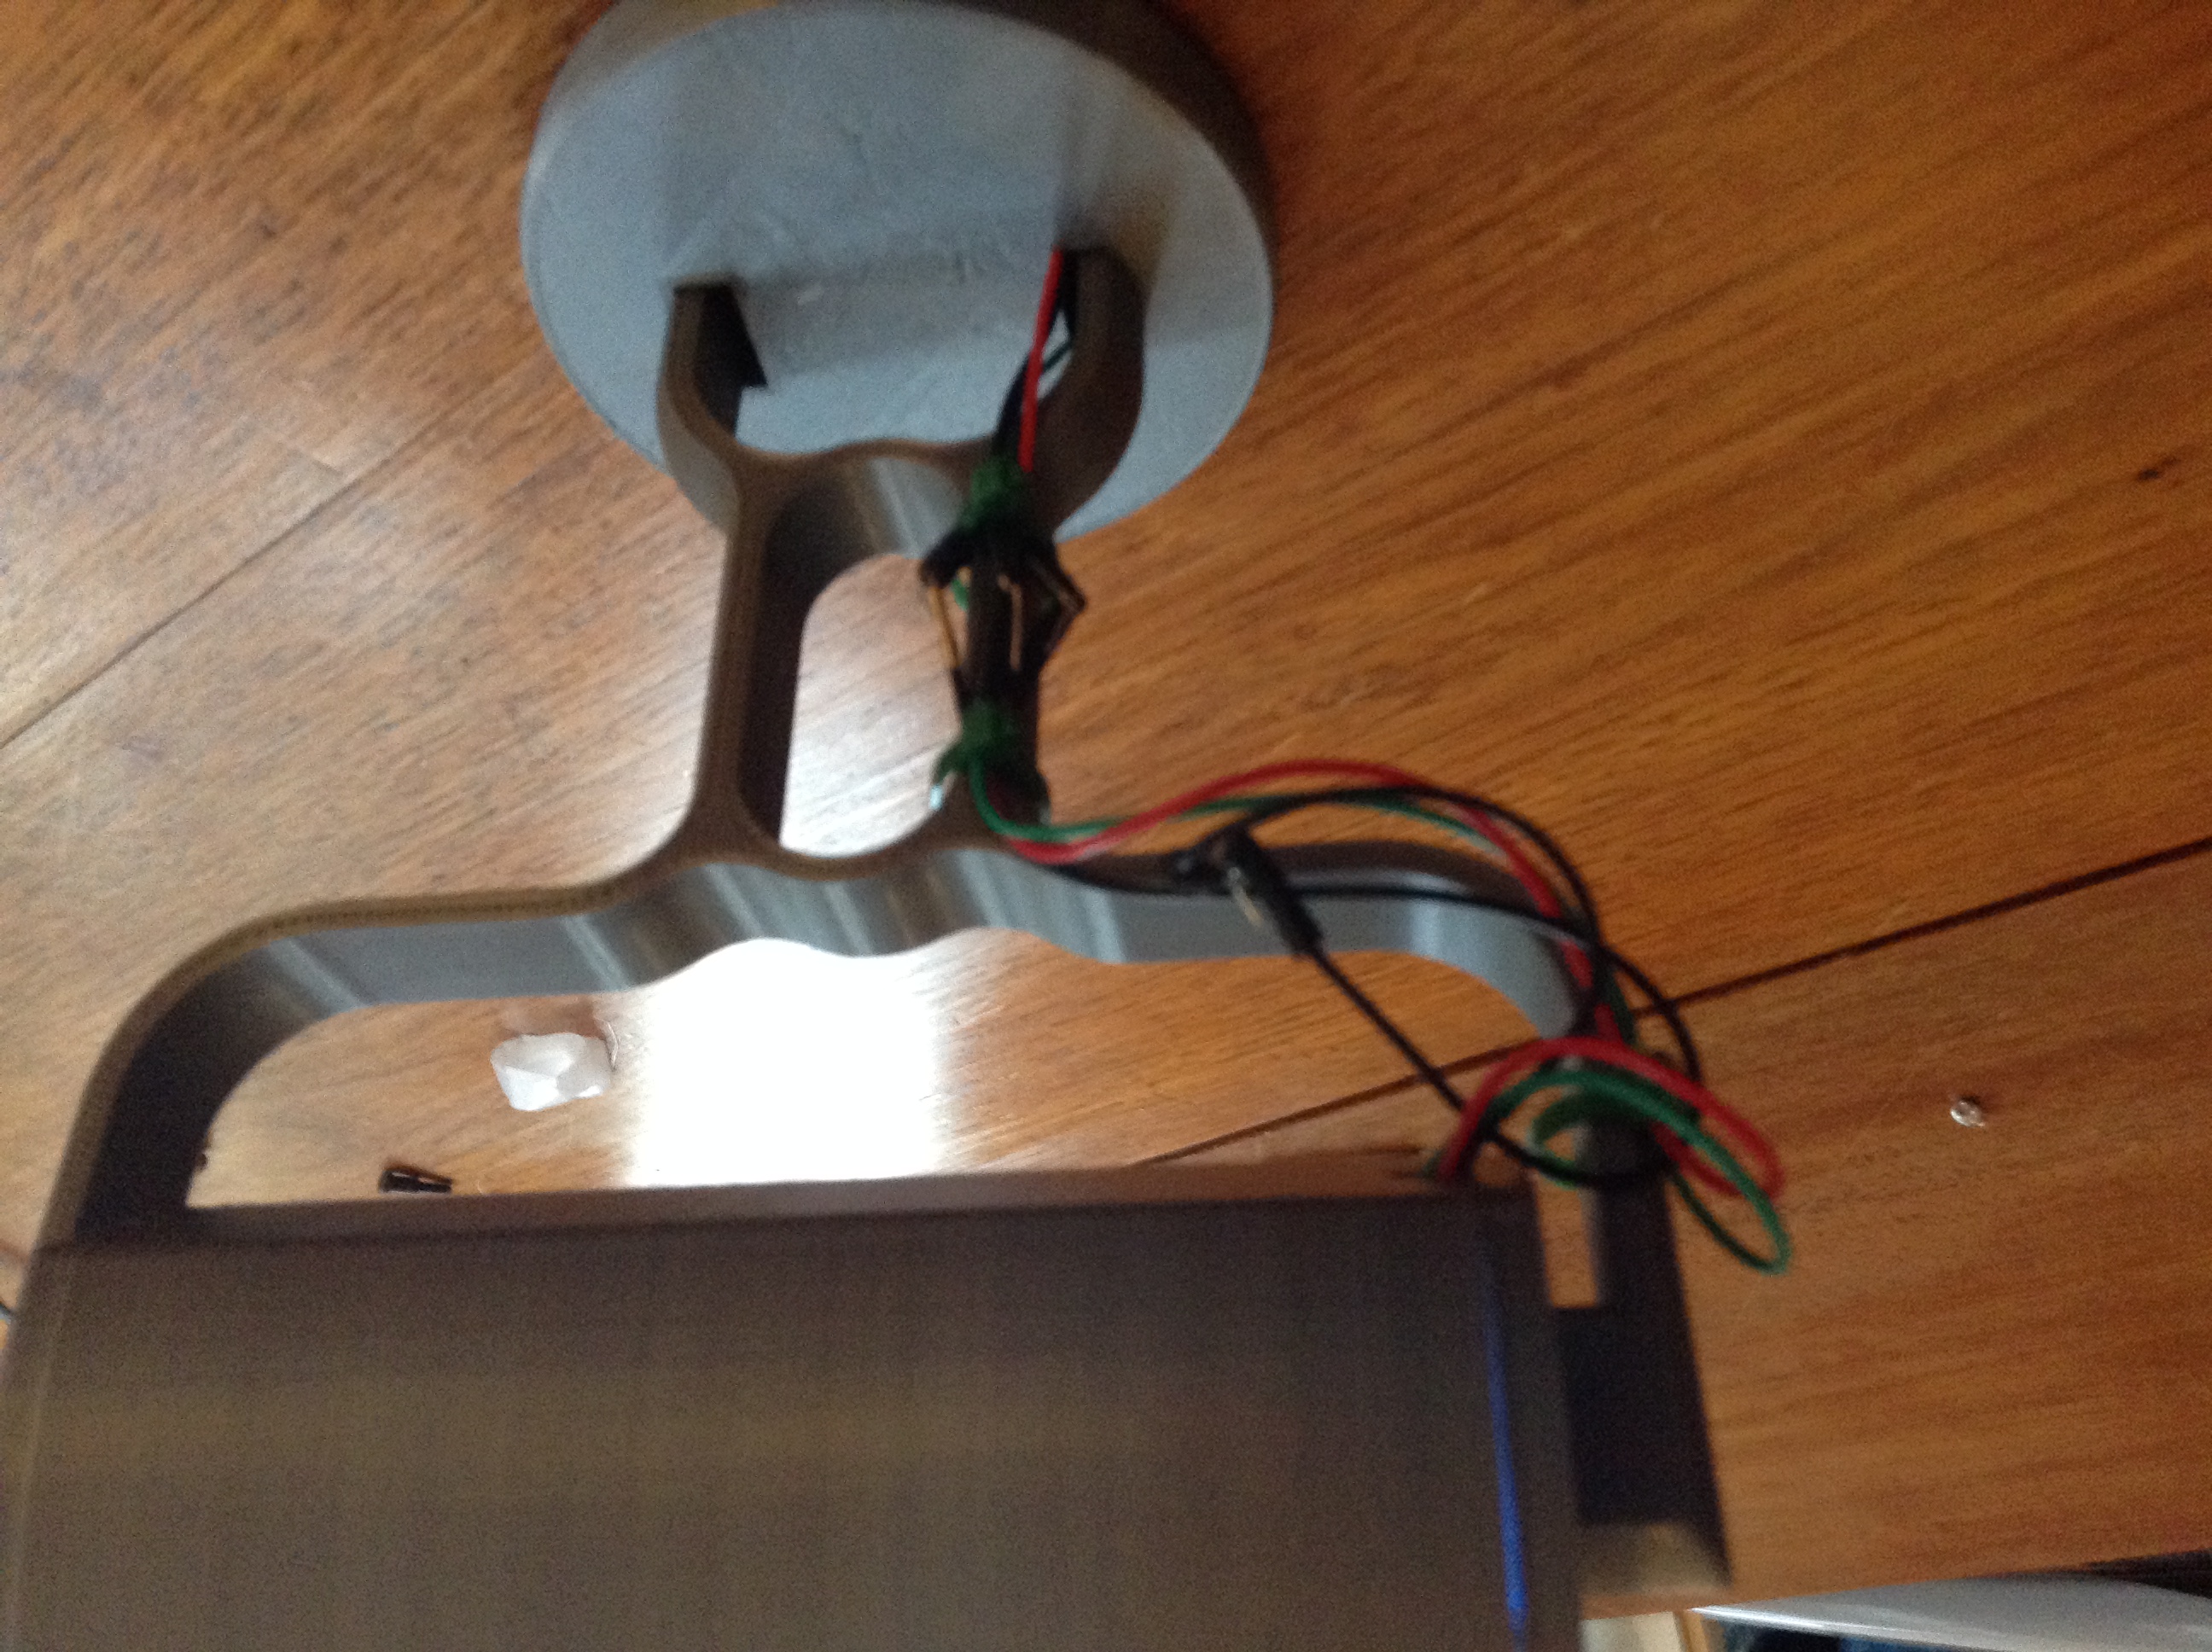
The files for the lamp were made by Thingiverse user Borchei. He's got a couple of other cool projects on his use page, so check him out. Alright, download the files above and follow the steps below. If you want a screen to obscure the LEDs a little bit or to blend colors, just print a paper-thin rectangle of transparent filament.
***STEPS IF YOU HAVE A 3D PRINTER
Upload these files into your SD card or upload them to your printer. Keep that print time in mind when scaling the files up or down. Load the new g code files into your 3D printer (I use a PRUSA is MK2, so I just put the files onto a SD card, but if you have a wireless printer, just upload the files wirelessly). Start the print and you are done.
***STEPS FOR SOMEONE WHO DOES NOT HAVE A 3D PRINTER
First, Choose the printing service you want to use. I recommend that you use 3D hubs, since their file sharing system is very easy to use. Upload the files and chose the hub you want to use. The hubs also give you the option of filament you want to use. Most filaments would be fine for this project, just use common sense when choosing. For example, printing this crossbow in a super flexible filament would not be that great of an idea, since the functionality of a crossbow is based on having a tense frame. The site will guide you through payment and the hub will give you an estimated delivery date as well
The Circuitry
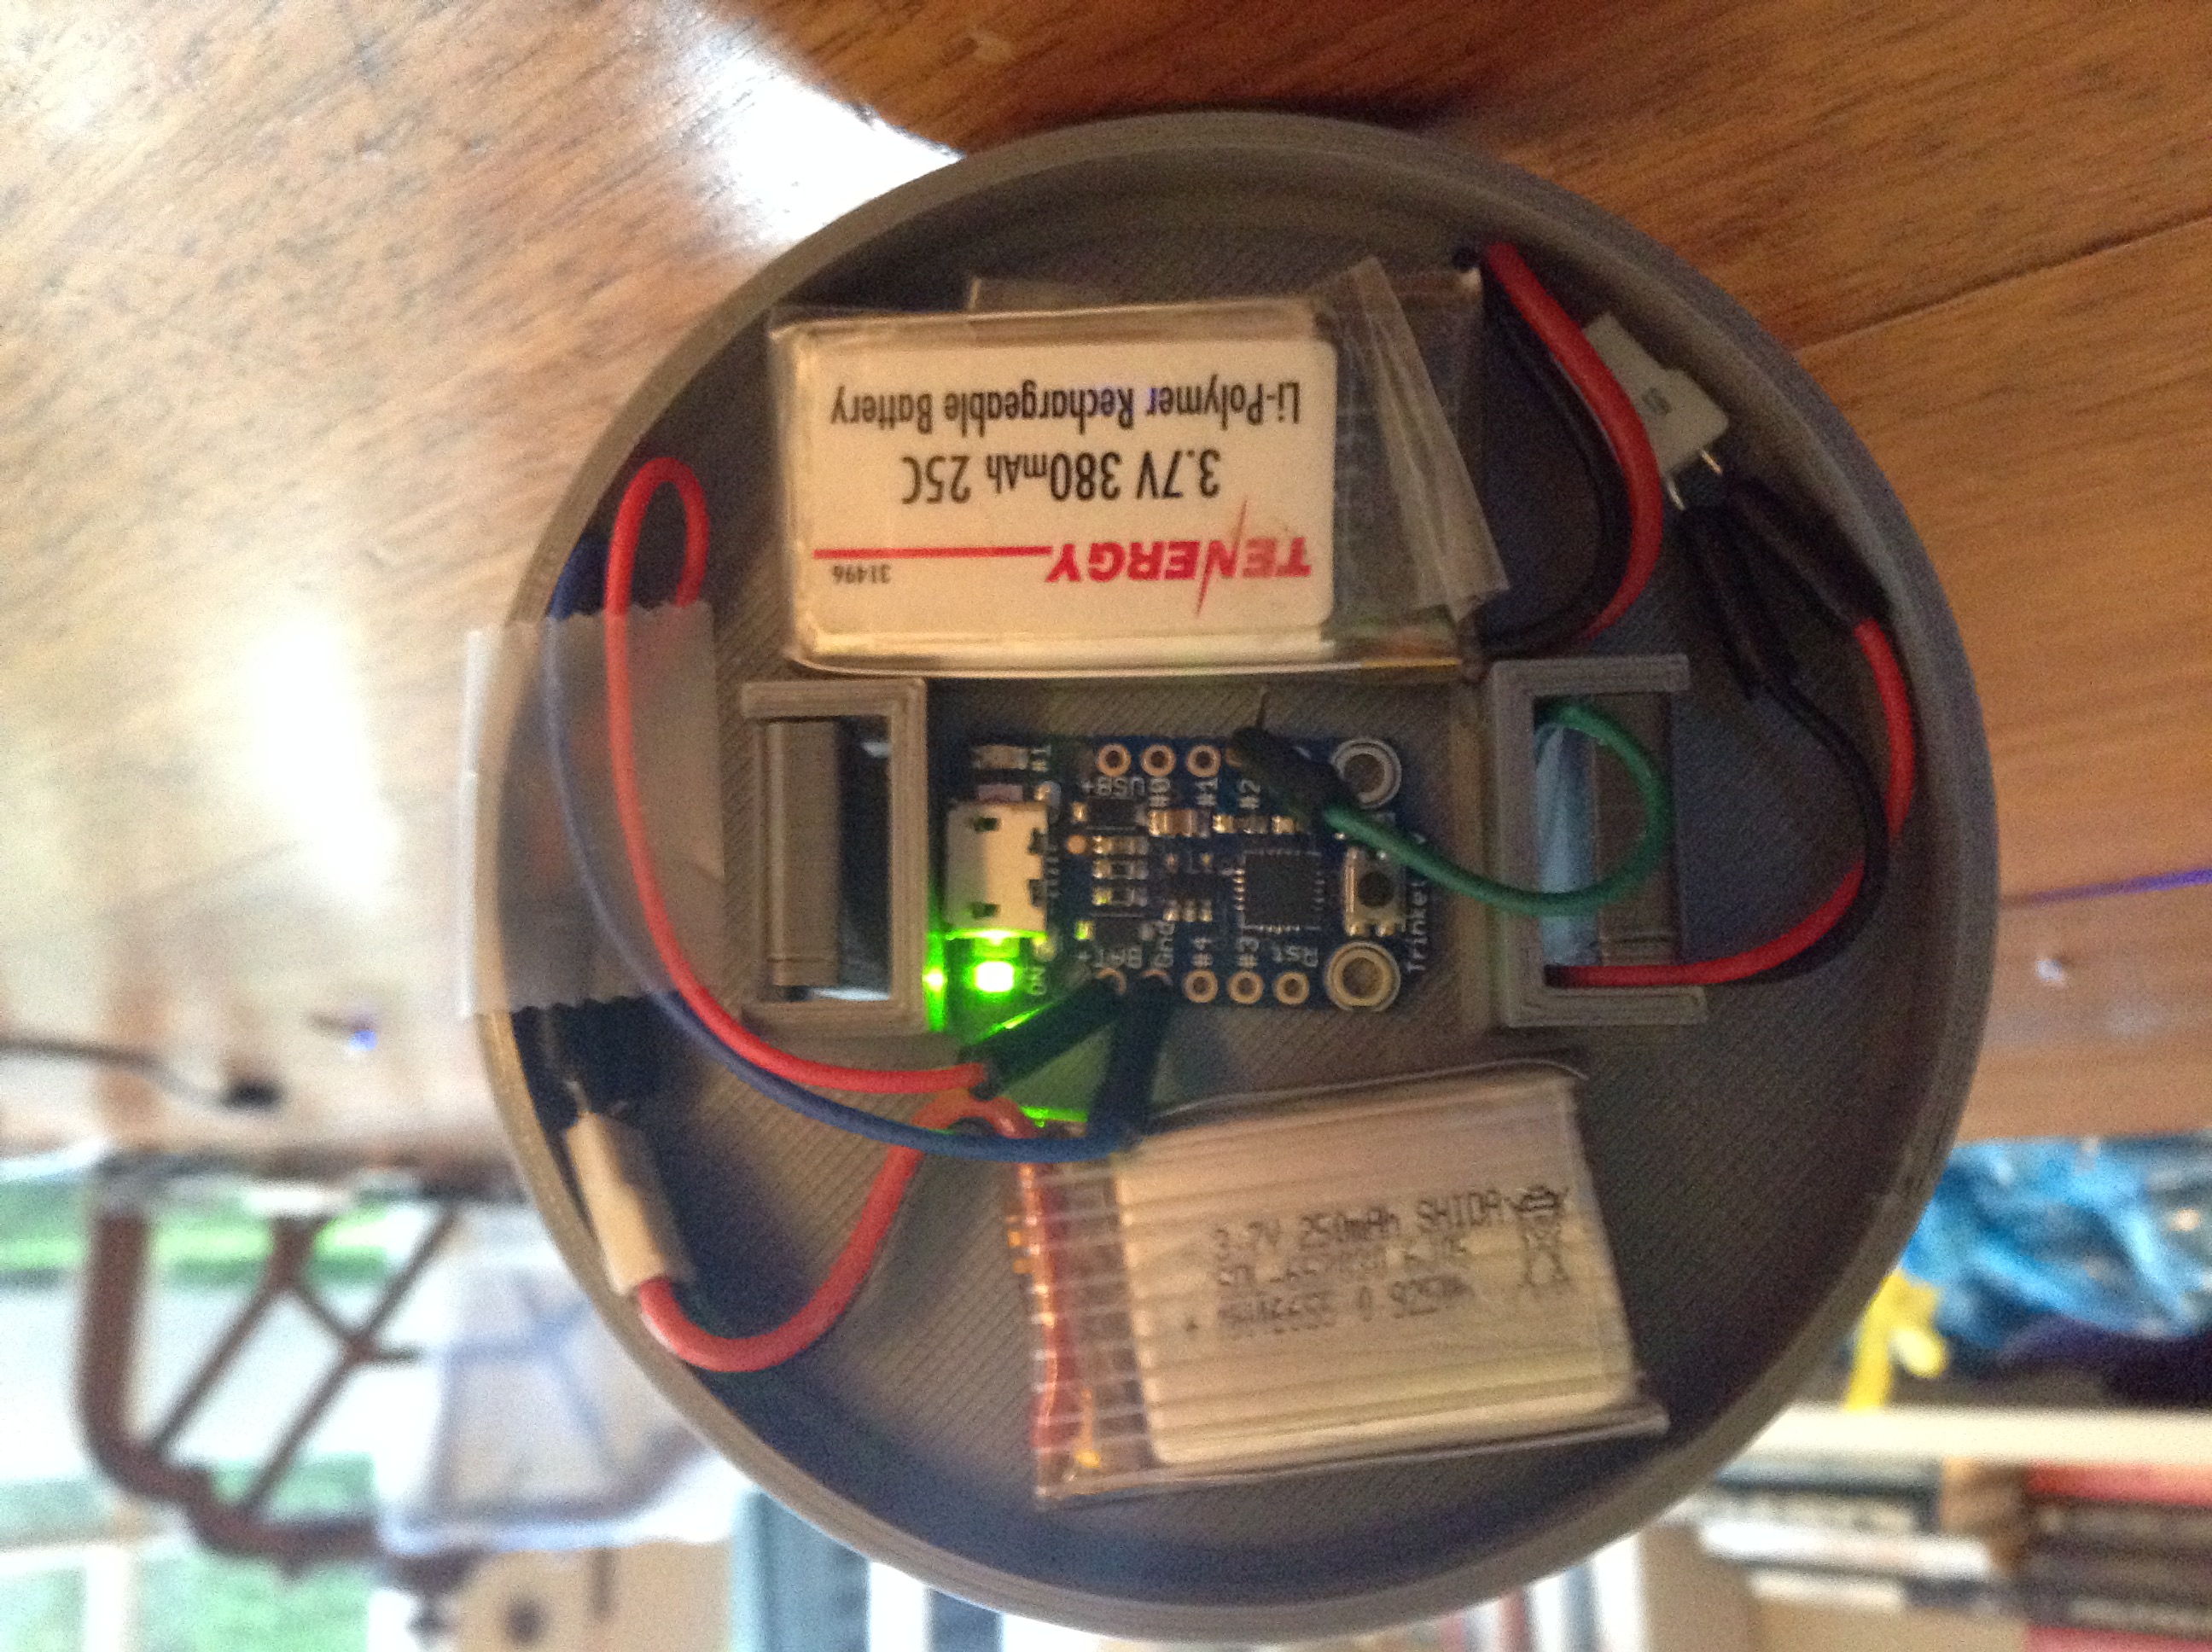
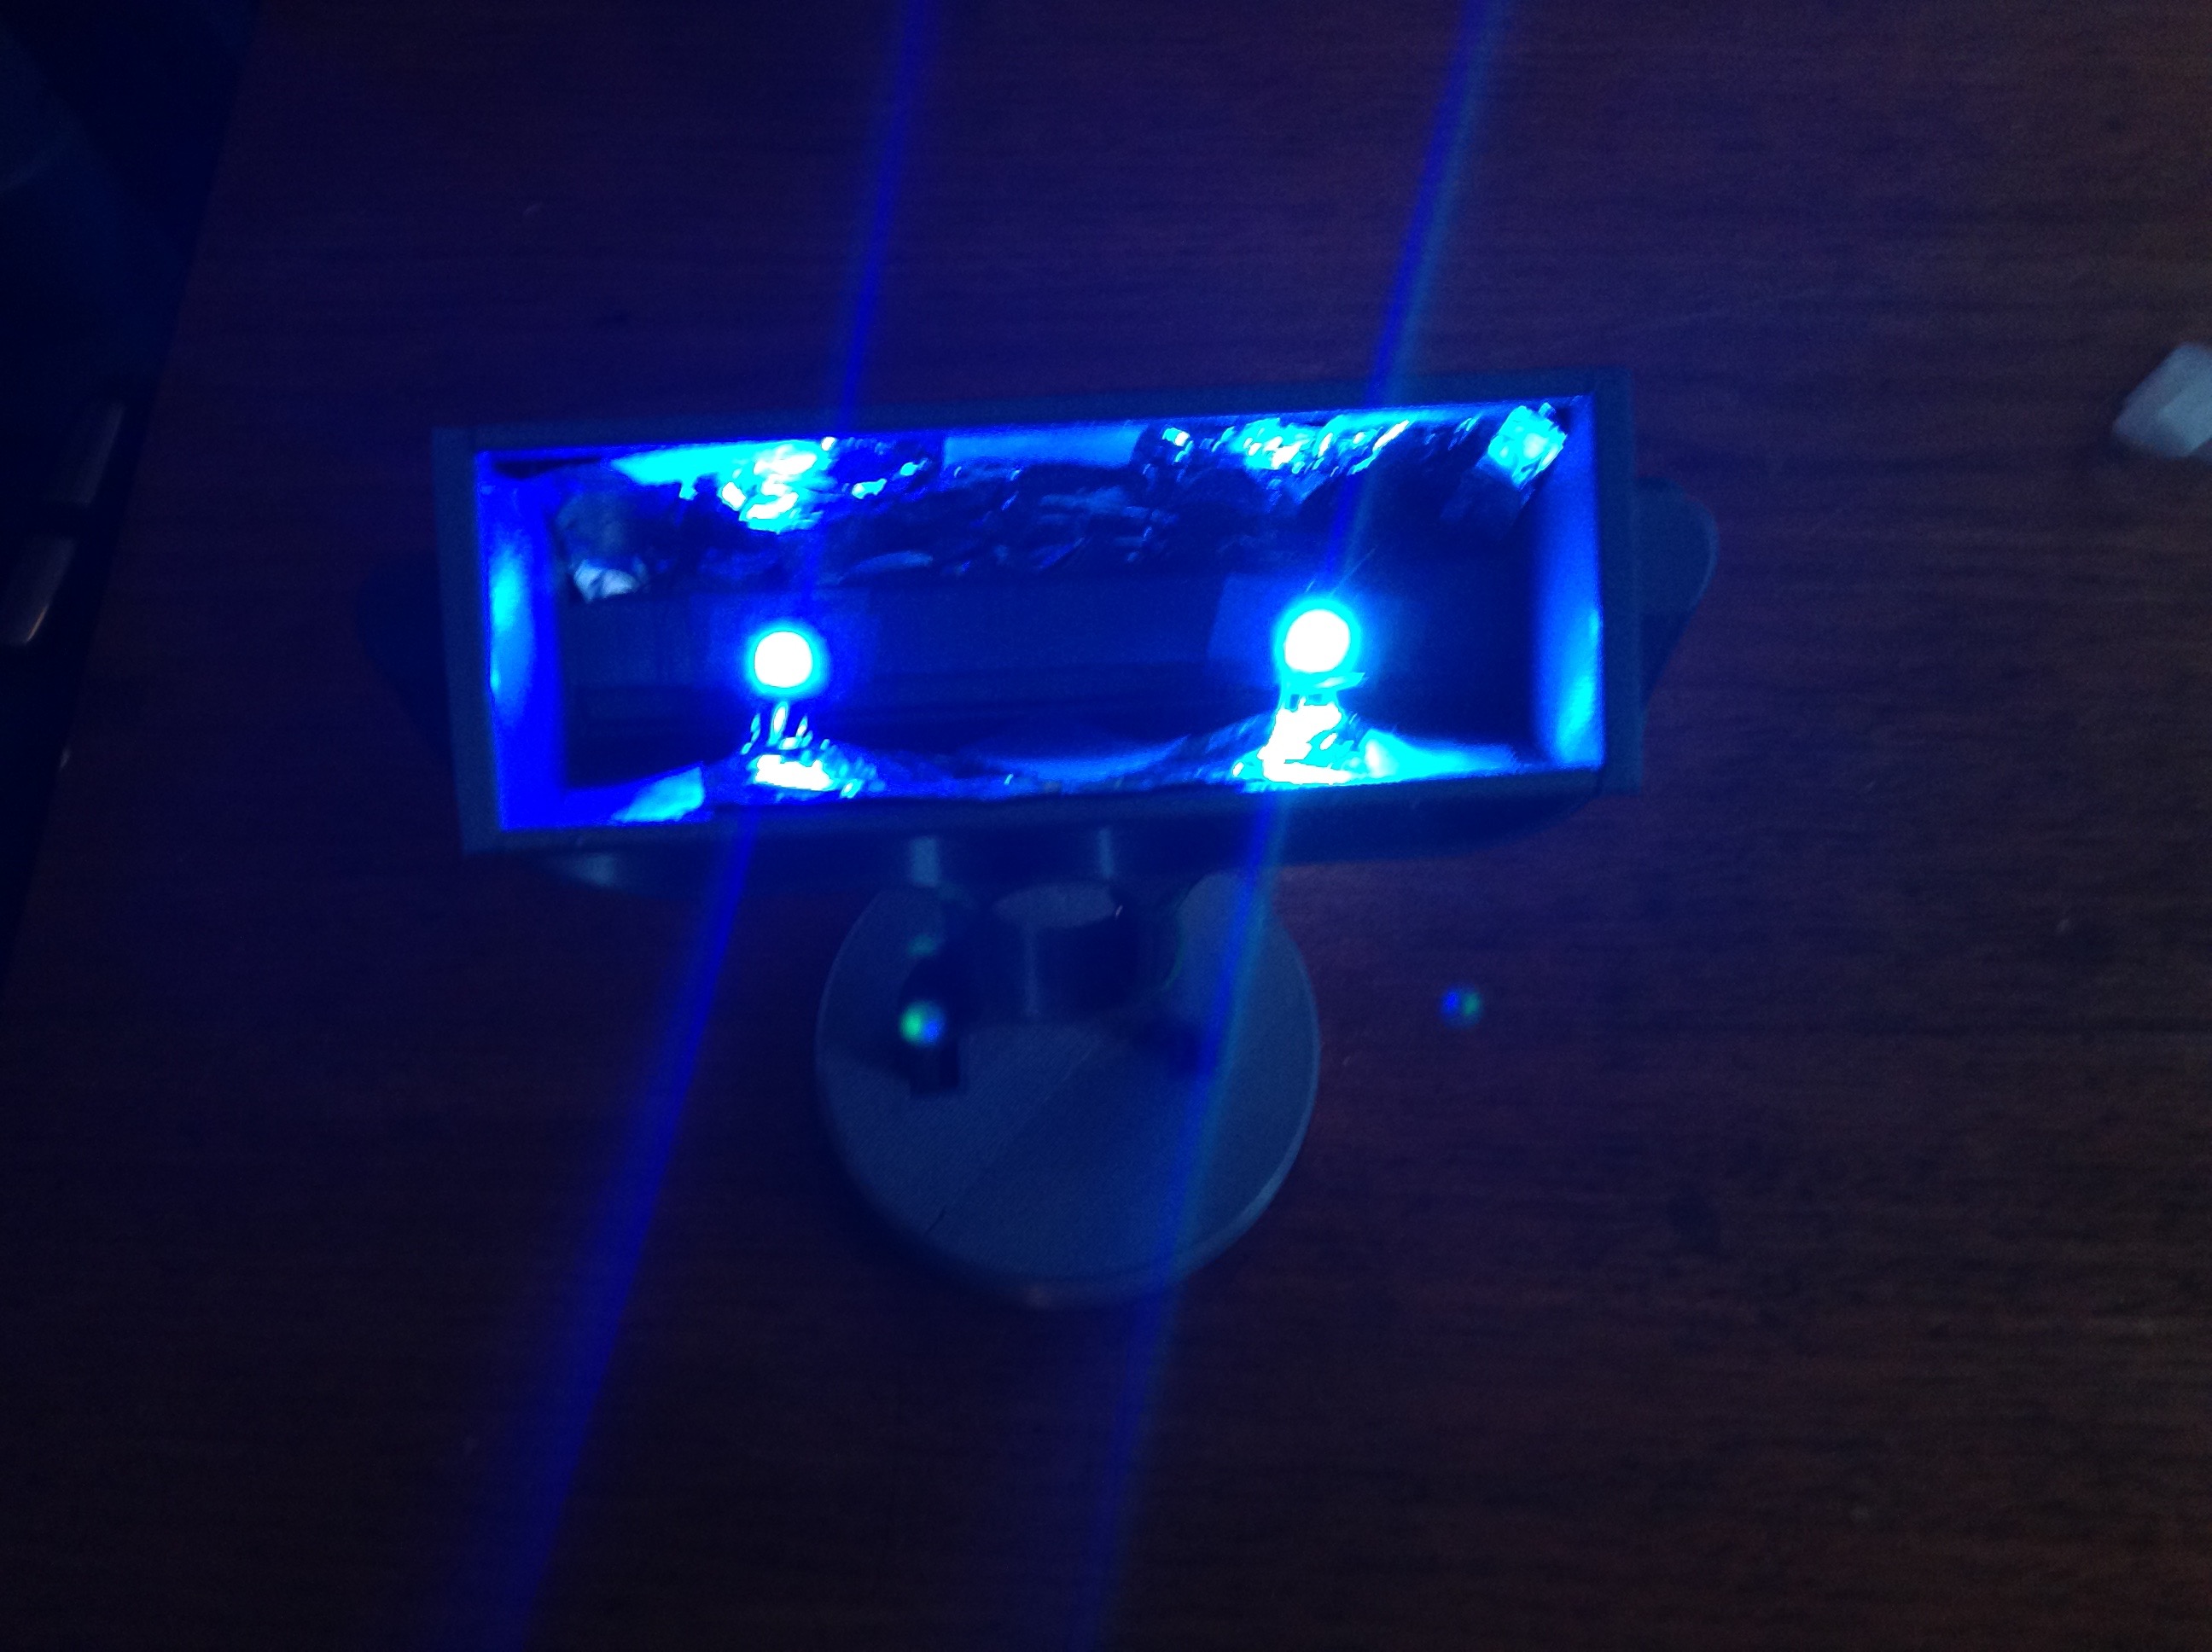
Let's get right into the circuit (keep in mind this whole build is solderless).
- First, wire up the Neopixels. You will need 6 jumpers for chaining the two LEDs. Make sure to bend the leads of the jumpers to firmly attach the jumpers to the LEDs. Make sure to attach the longest jumpers to the last LED, so that you can properly connect the Neopixels to the Trinket microcontroller.
- Identify which jumpers correspond to GND, V+, and Input for your Neopixels. Wire the GNF and V+ leads tone of your batteries and wire the Input jumper to pin 2 of your trinket.
- Now you need to power your trinket. Insert two jumpers into your other battery. Now wire the positive jumper to the Bat + port of the trinket and the GND wire to the Gnd port.
That's it for circuitry, now for the code.
Code
Upload the following code to your trinket microcontroller. If you don't know how to upload to the trinket, refer to Adafruit's tutorial page for some help.
Downloads
Lamp Head Assembly
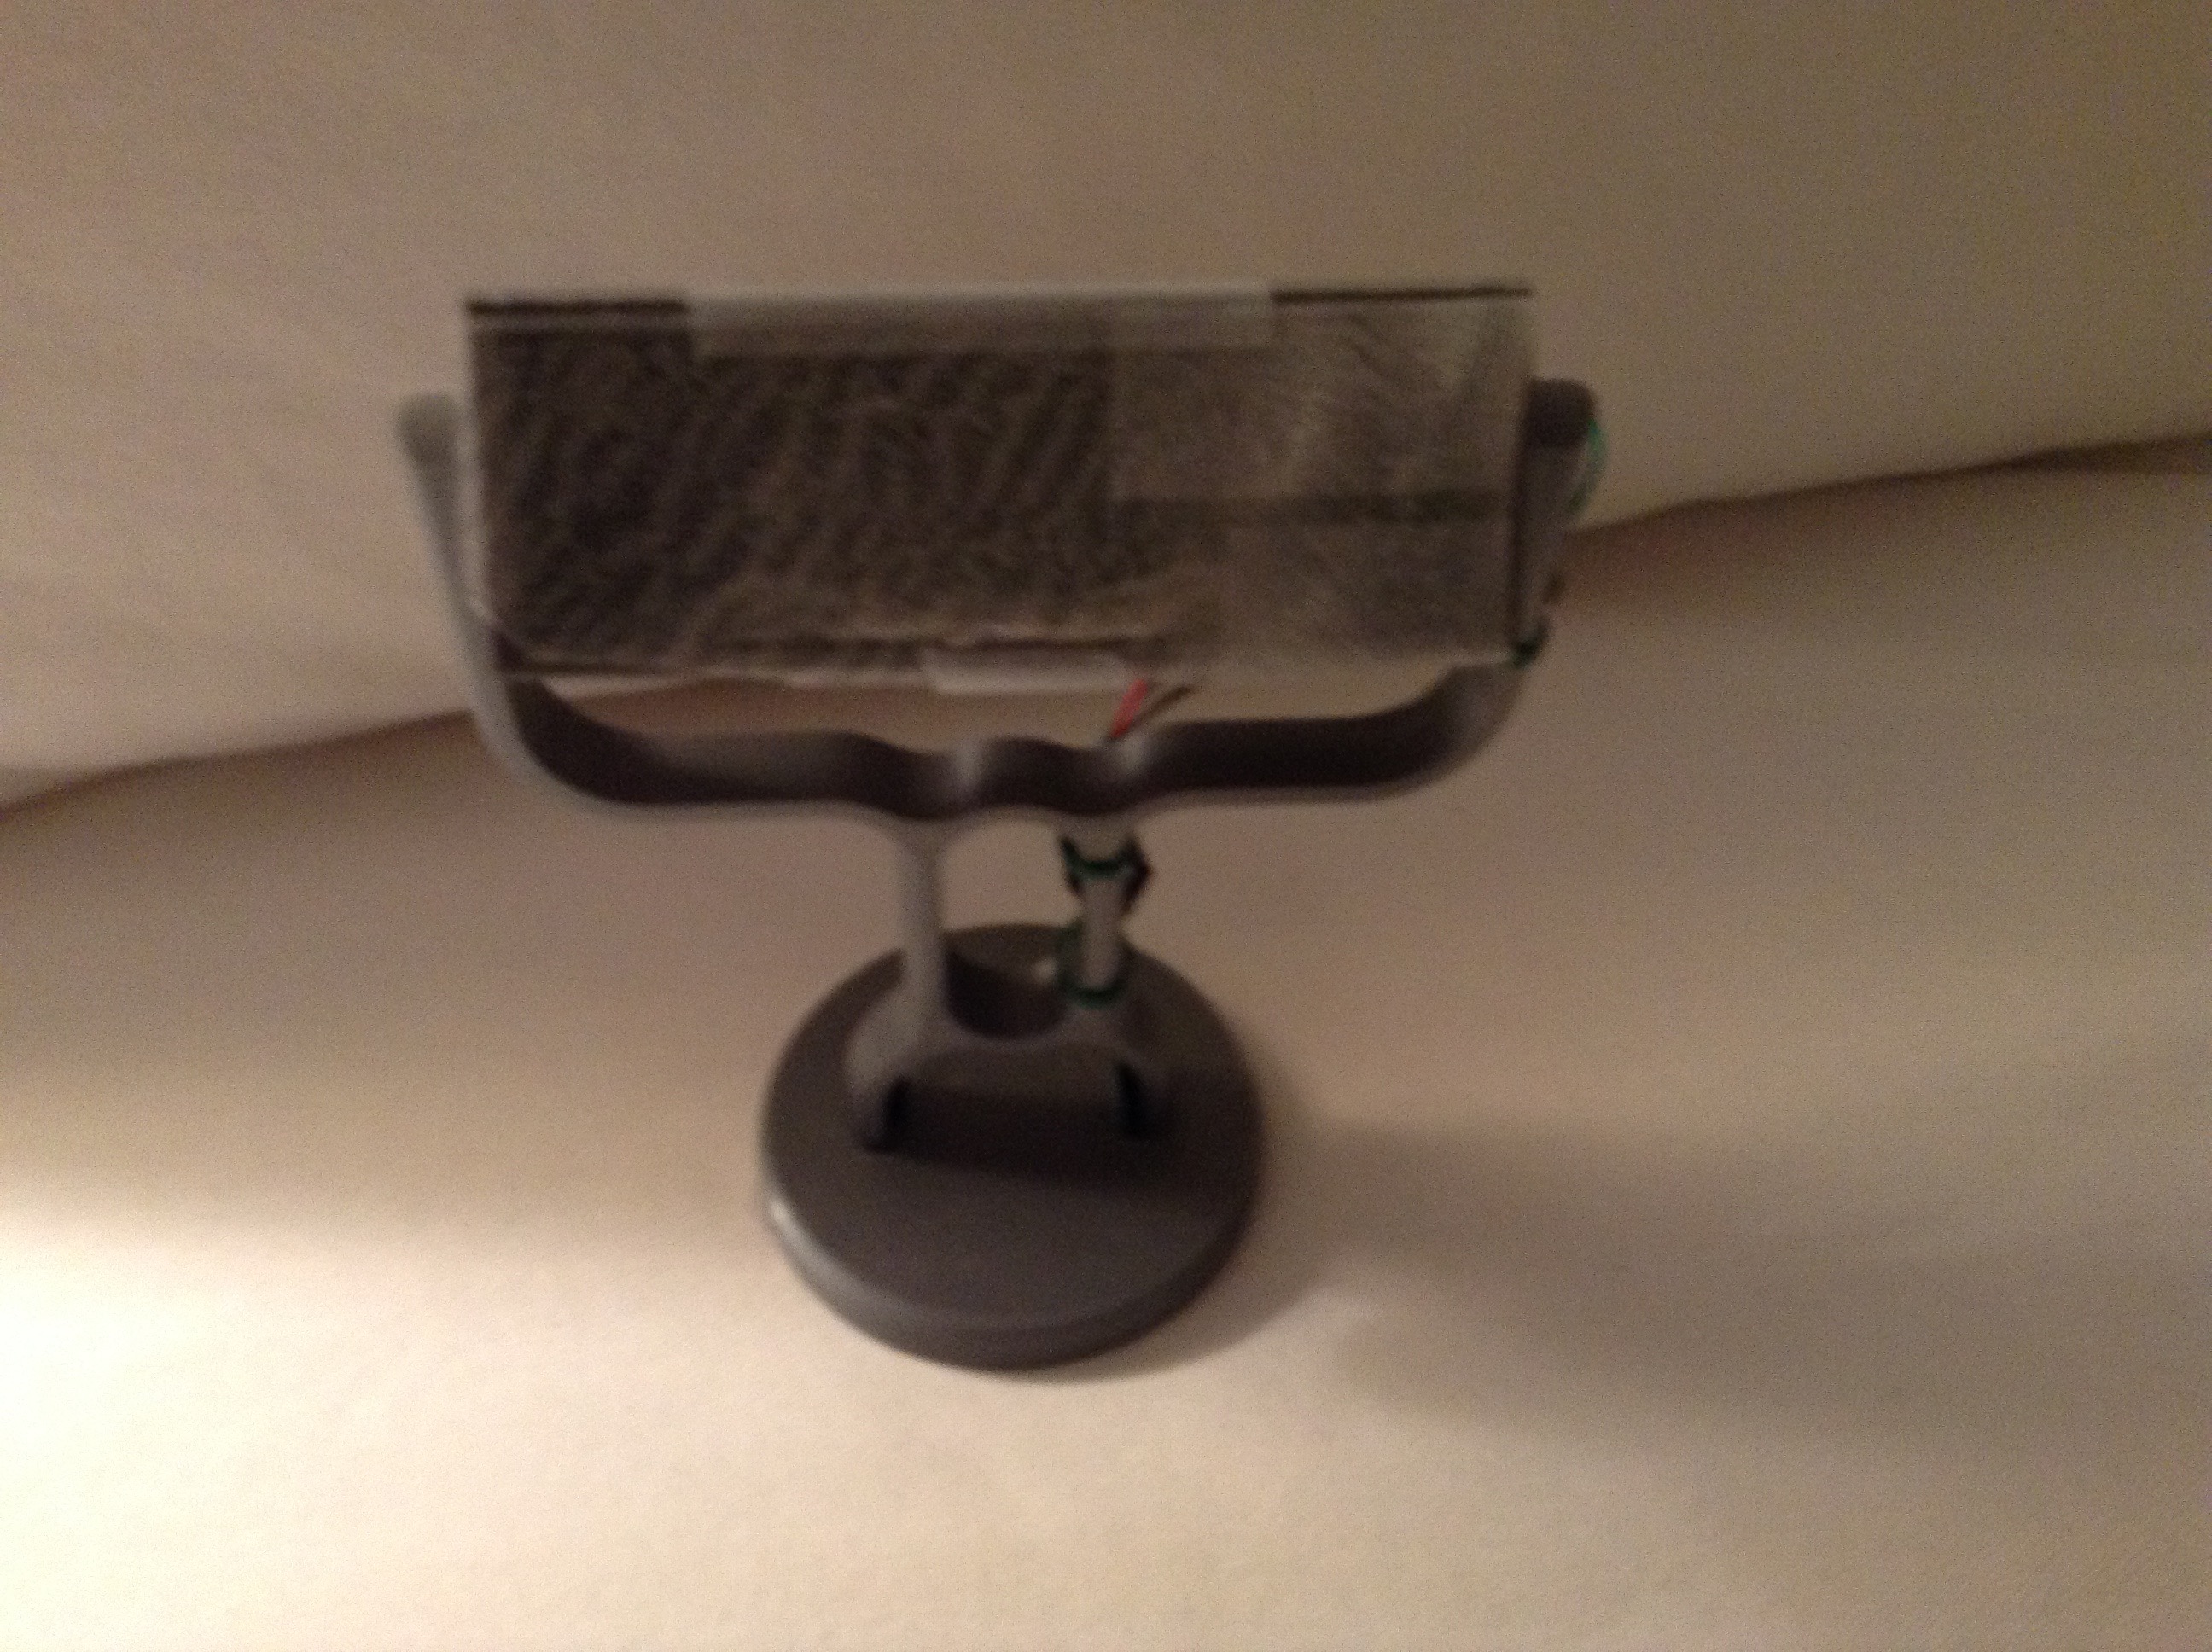
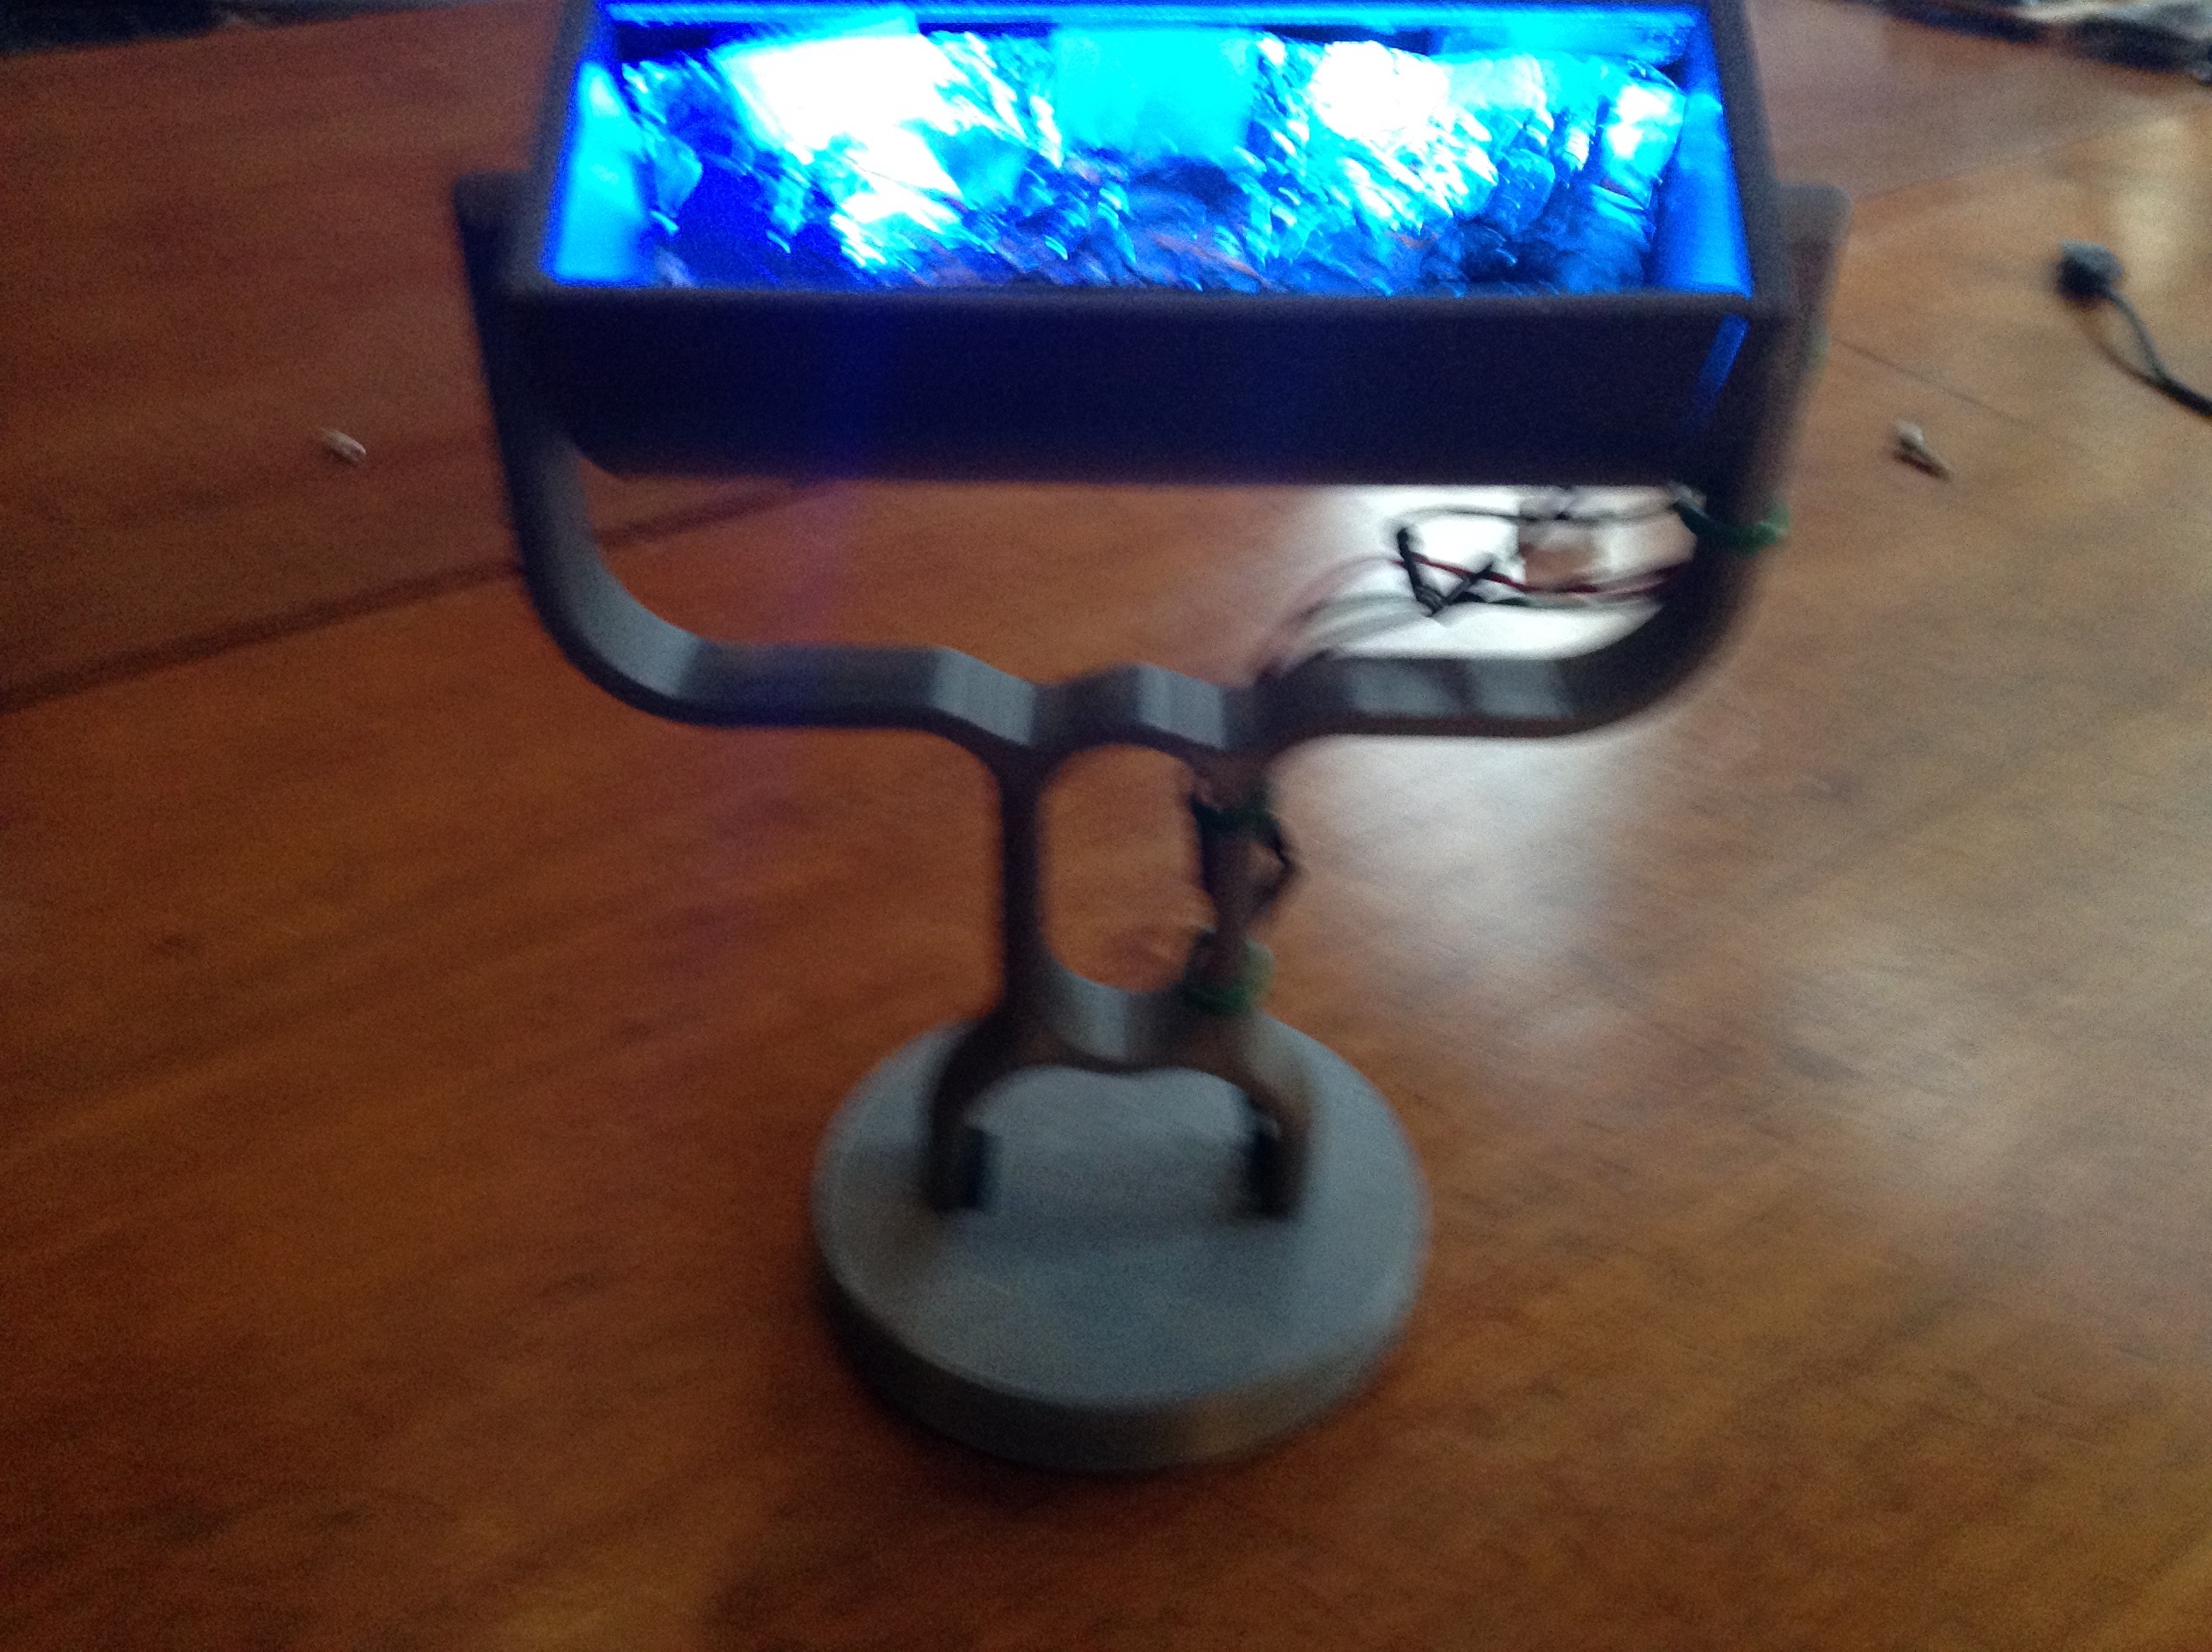
For the final build, let's start with the lamp's head.
- First thing you need to do is secure your Neopixels to the back of the lamp. You should attach them to the bar on the piece called Head_B. Run the jumpers for the LEDs through the small hole in the back of the lamp's head.
- Now that you have done that, cut some rectangels of aluminum foil and tape them to the inside of the lamp head. Make sure the foil does not touch any of the exposed metal on the Neopixels, because that could short the circuit and fry the LEDs.
- (Optional) Take out your transparent screen. Tape it over the lamp head and cut the screen to fit.
Lamp Body Assembly
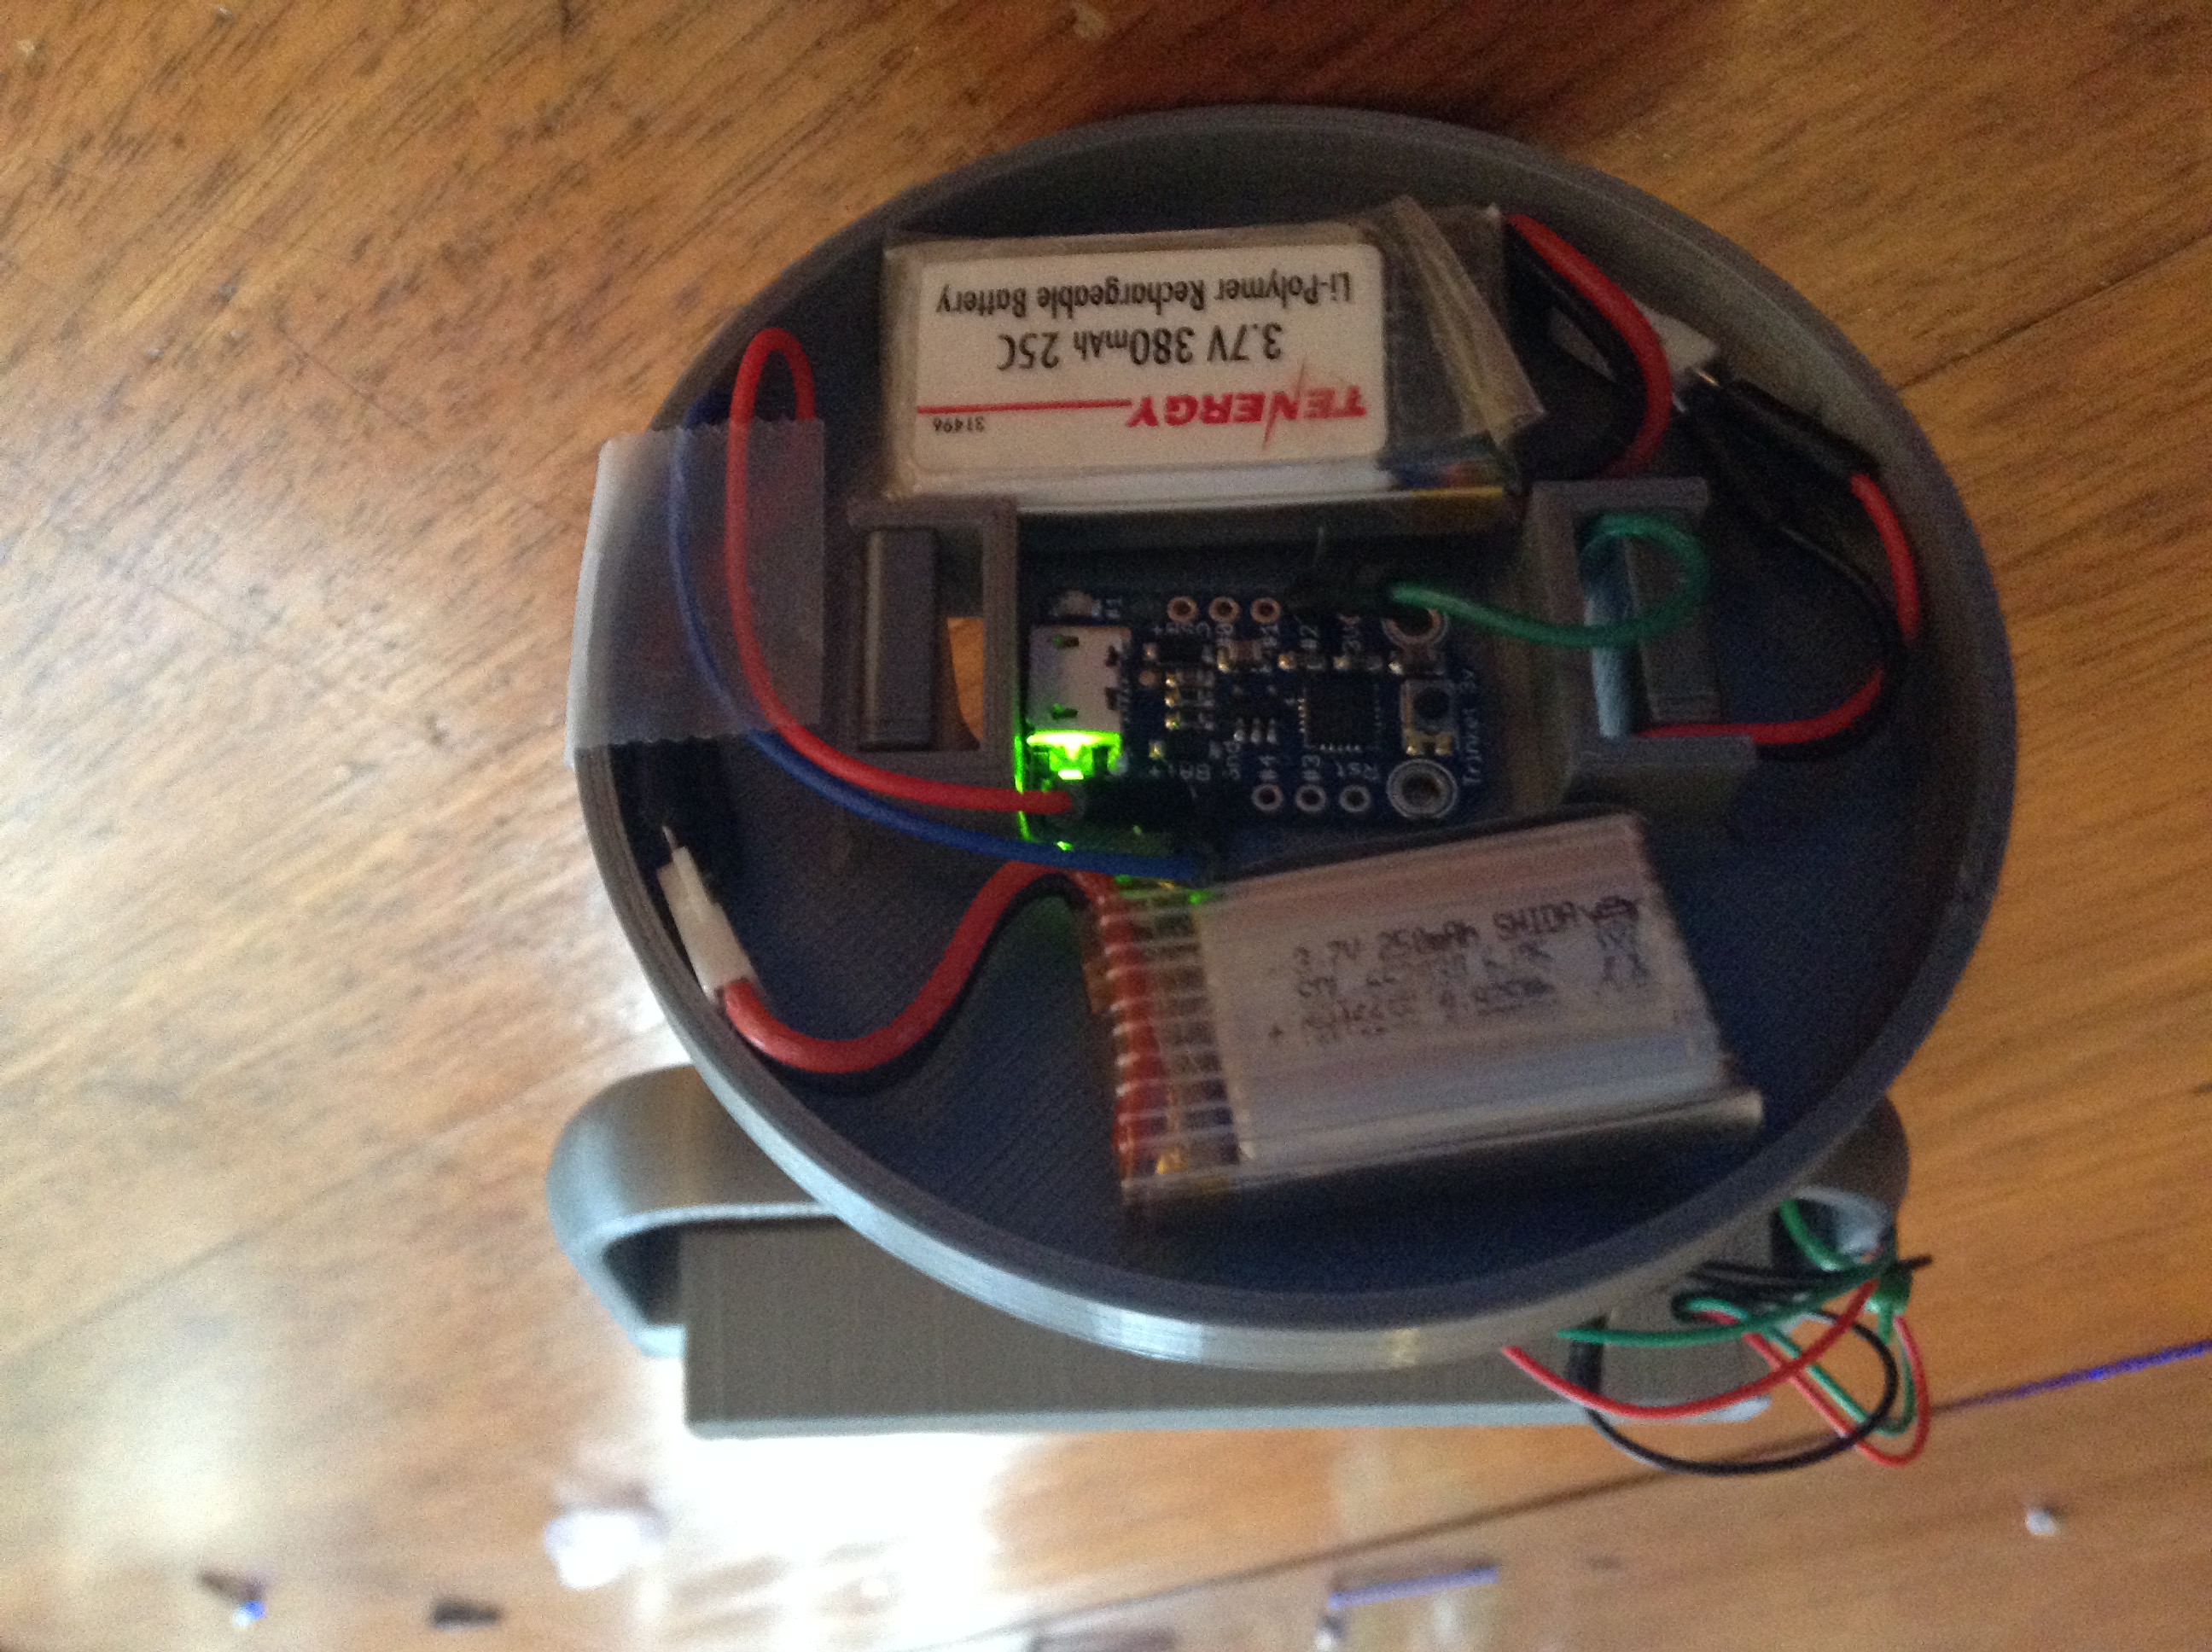
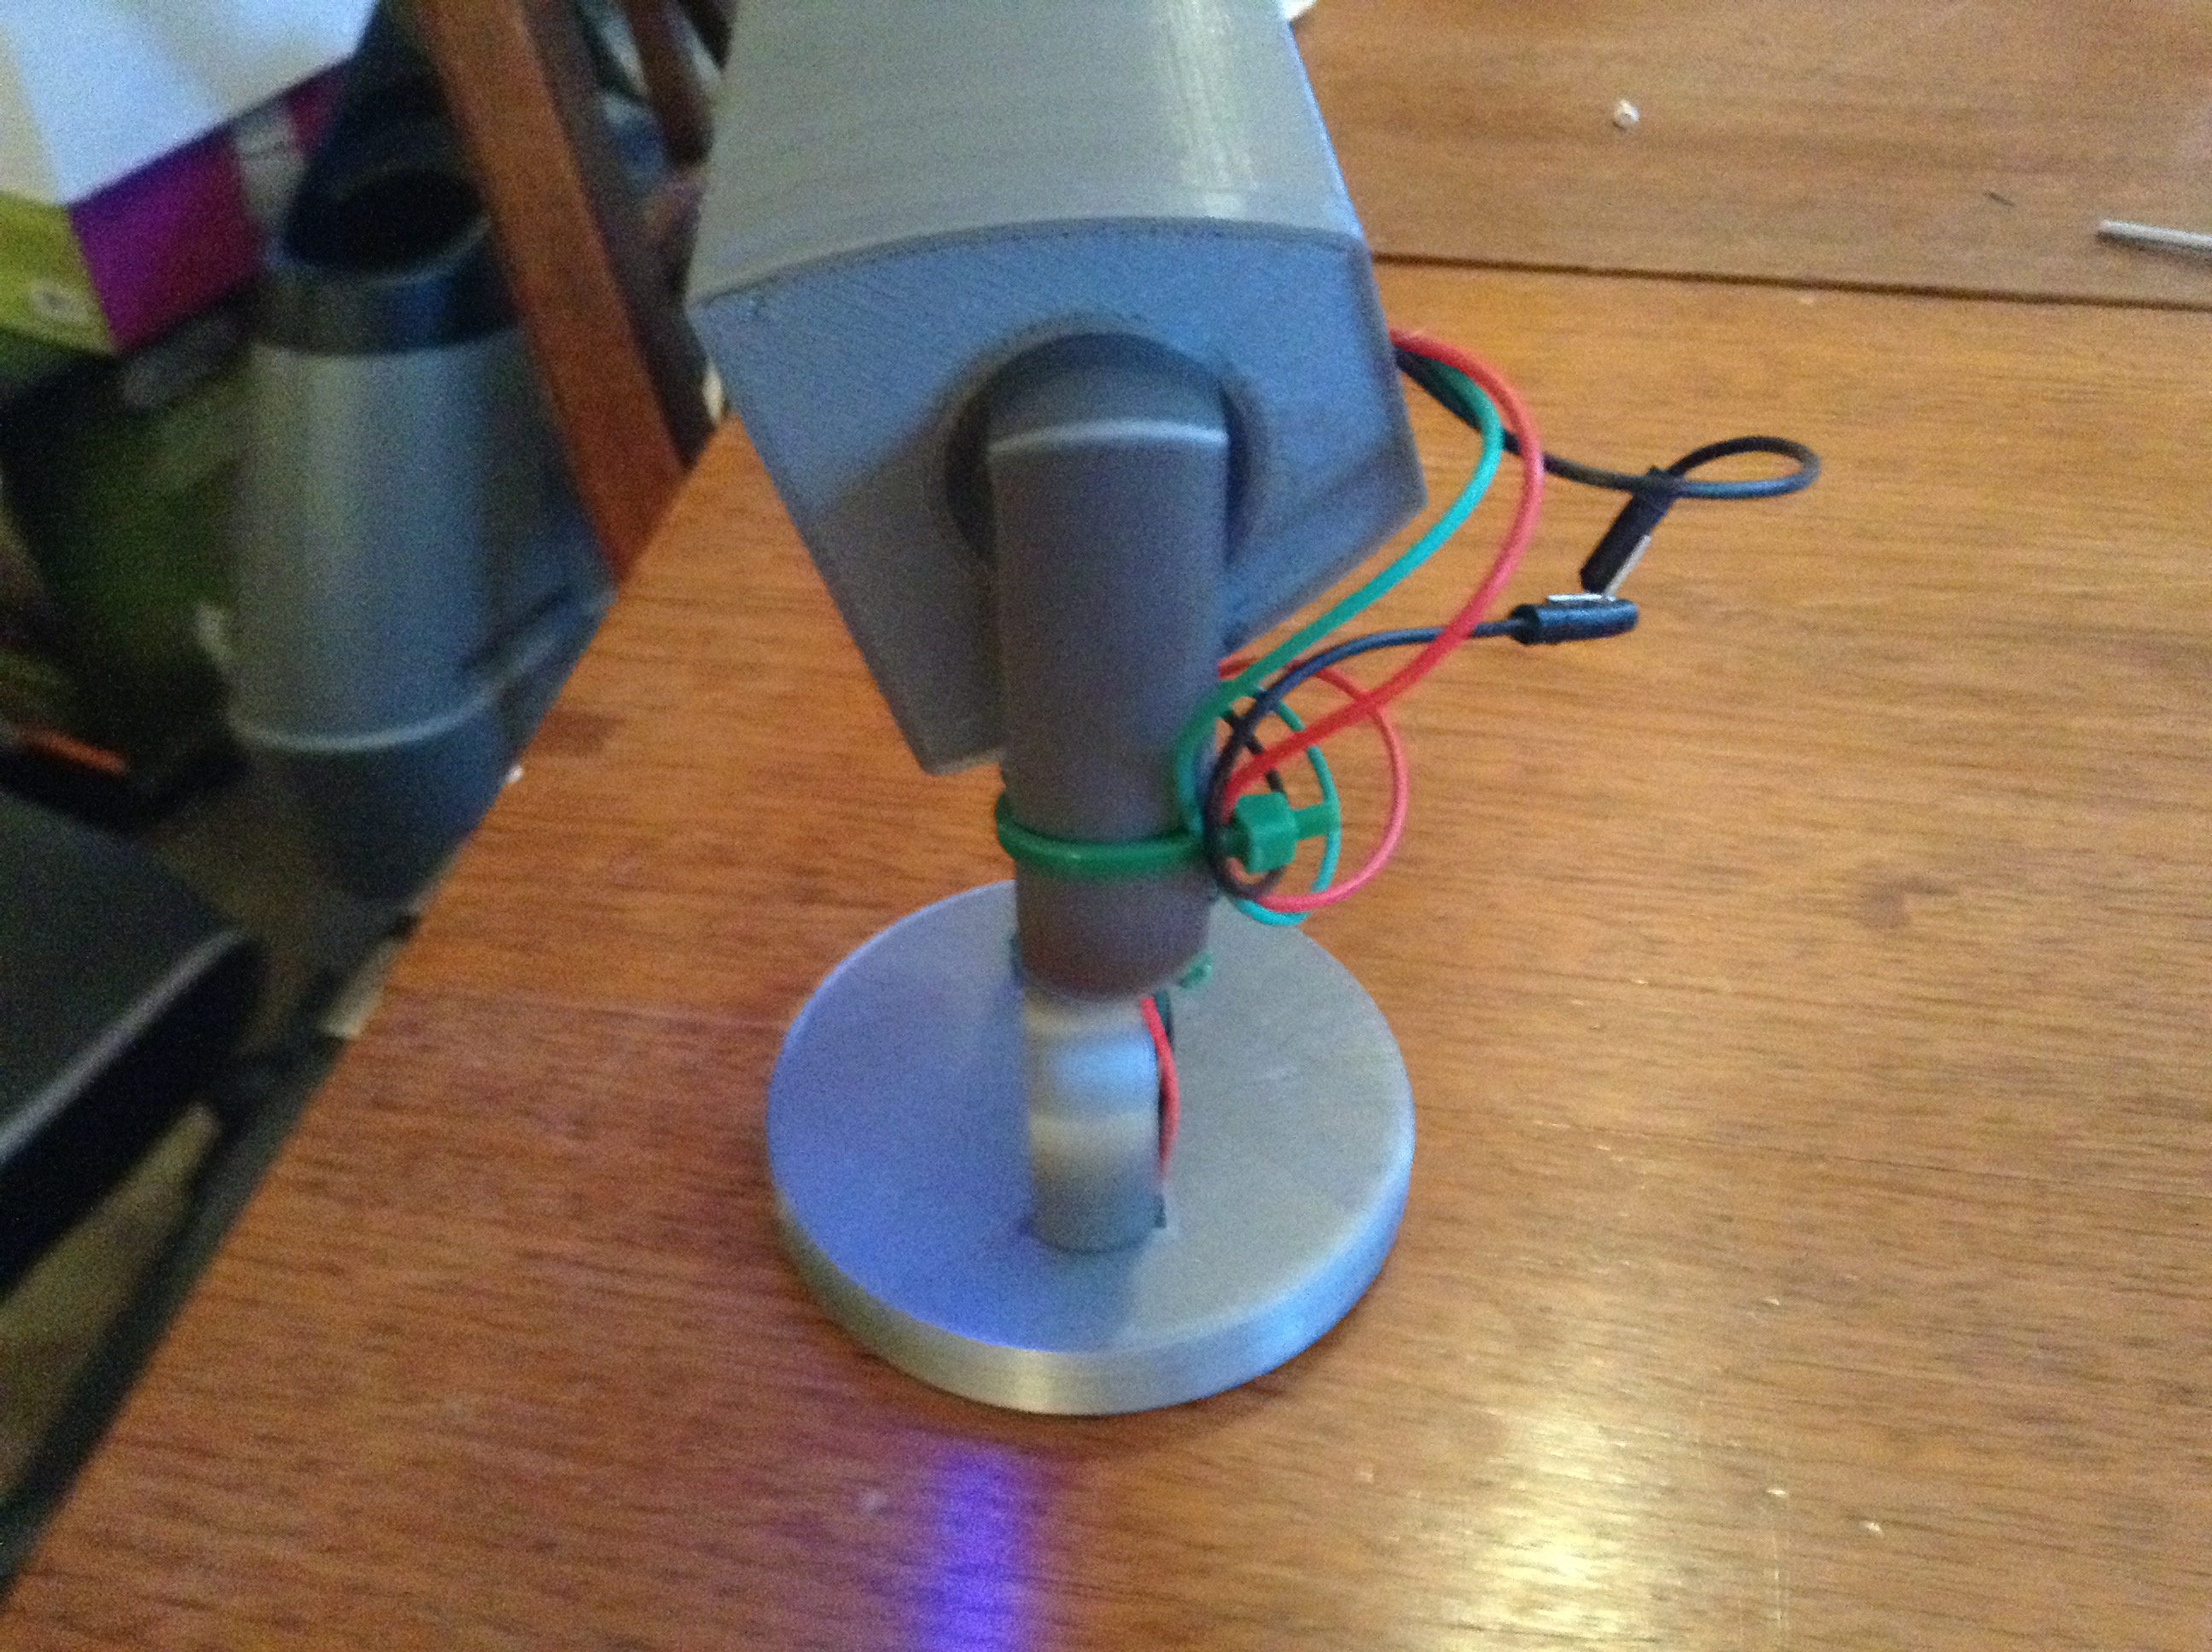
- Clip the lamp head in to the brackets on the stem.
- Run the LED jumpers through the holes on the lamp base. Now attach the stem to the base.
- Alright now for the final touches. Tape the two batteries to the bottom of the lamp base. Make sure there is enough space for the Trinket. Tape all of the loose jumpers down so that the lamp base is flush (or just about flush) with whatever surface the lamp is on.
This guide isn't perfect, so the images should supplement the directions a lot.