3D Printed Marble Run Parts
by macymauch in Workshop > 3D Printing
560 Views, 2 Favorites, 0 Comments
3D Printed Marble Run Parts
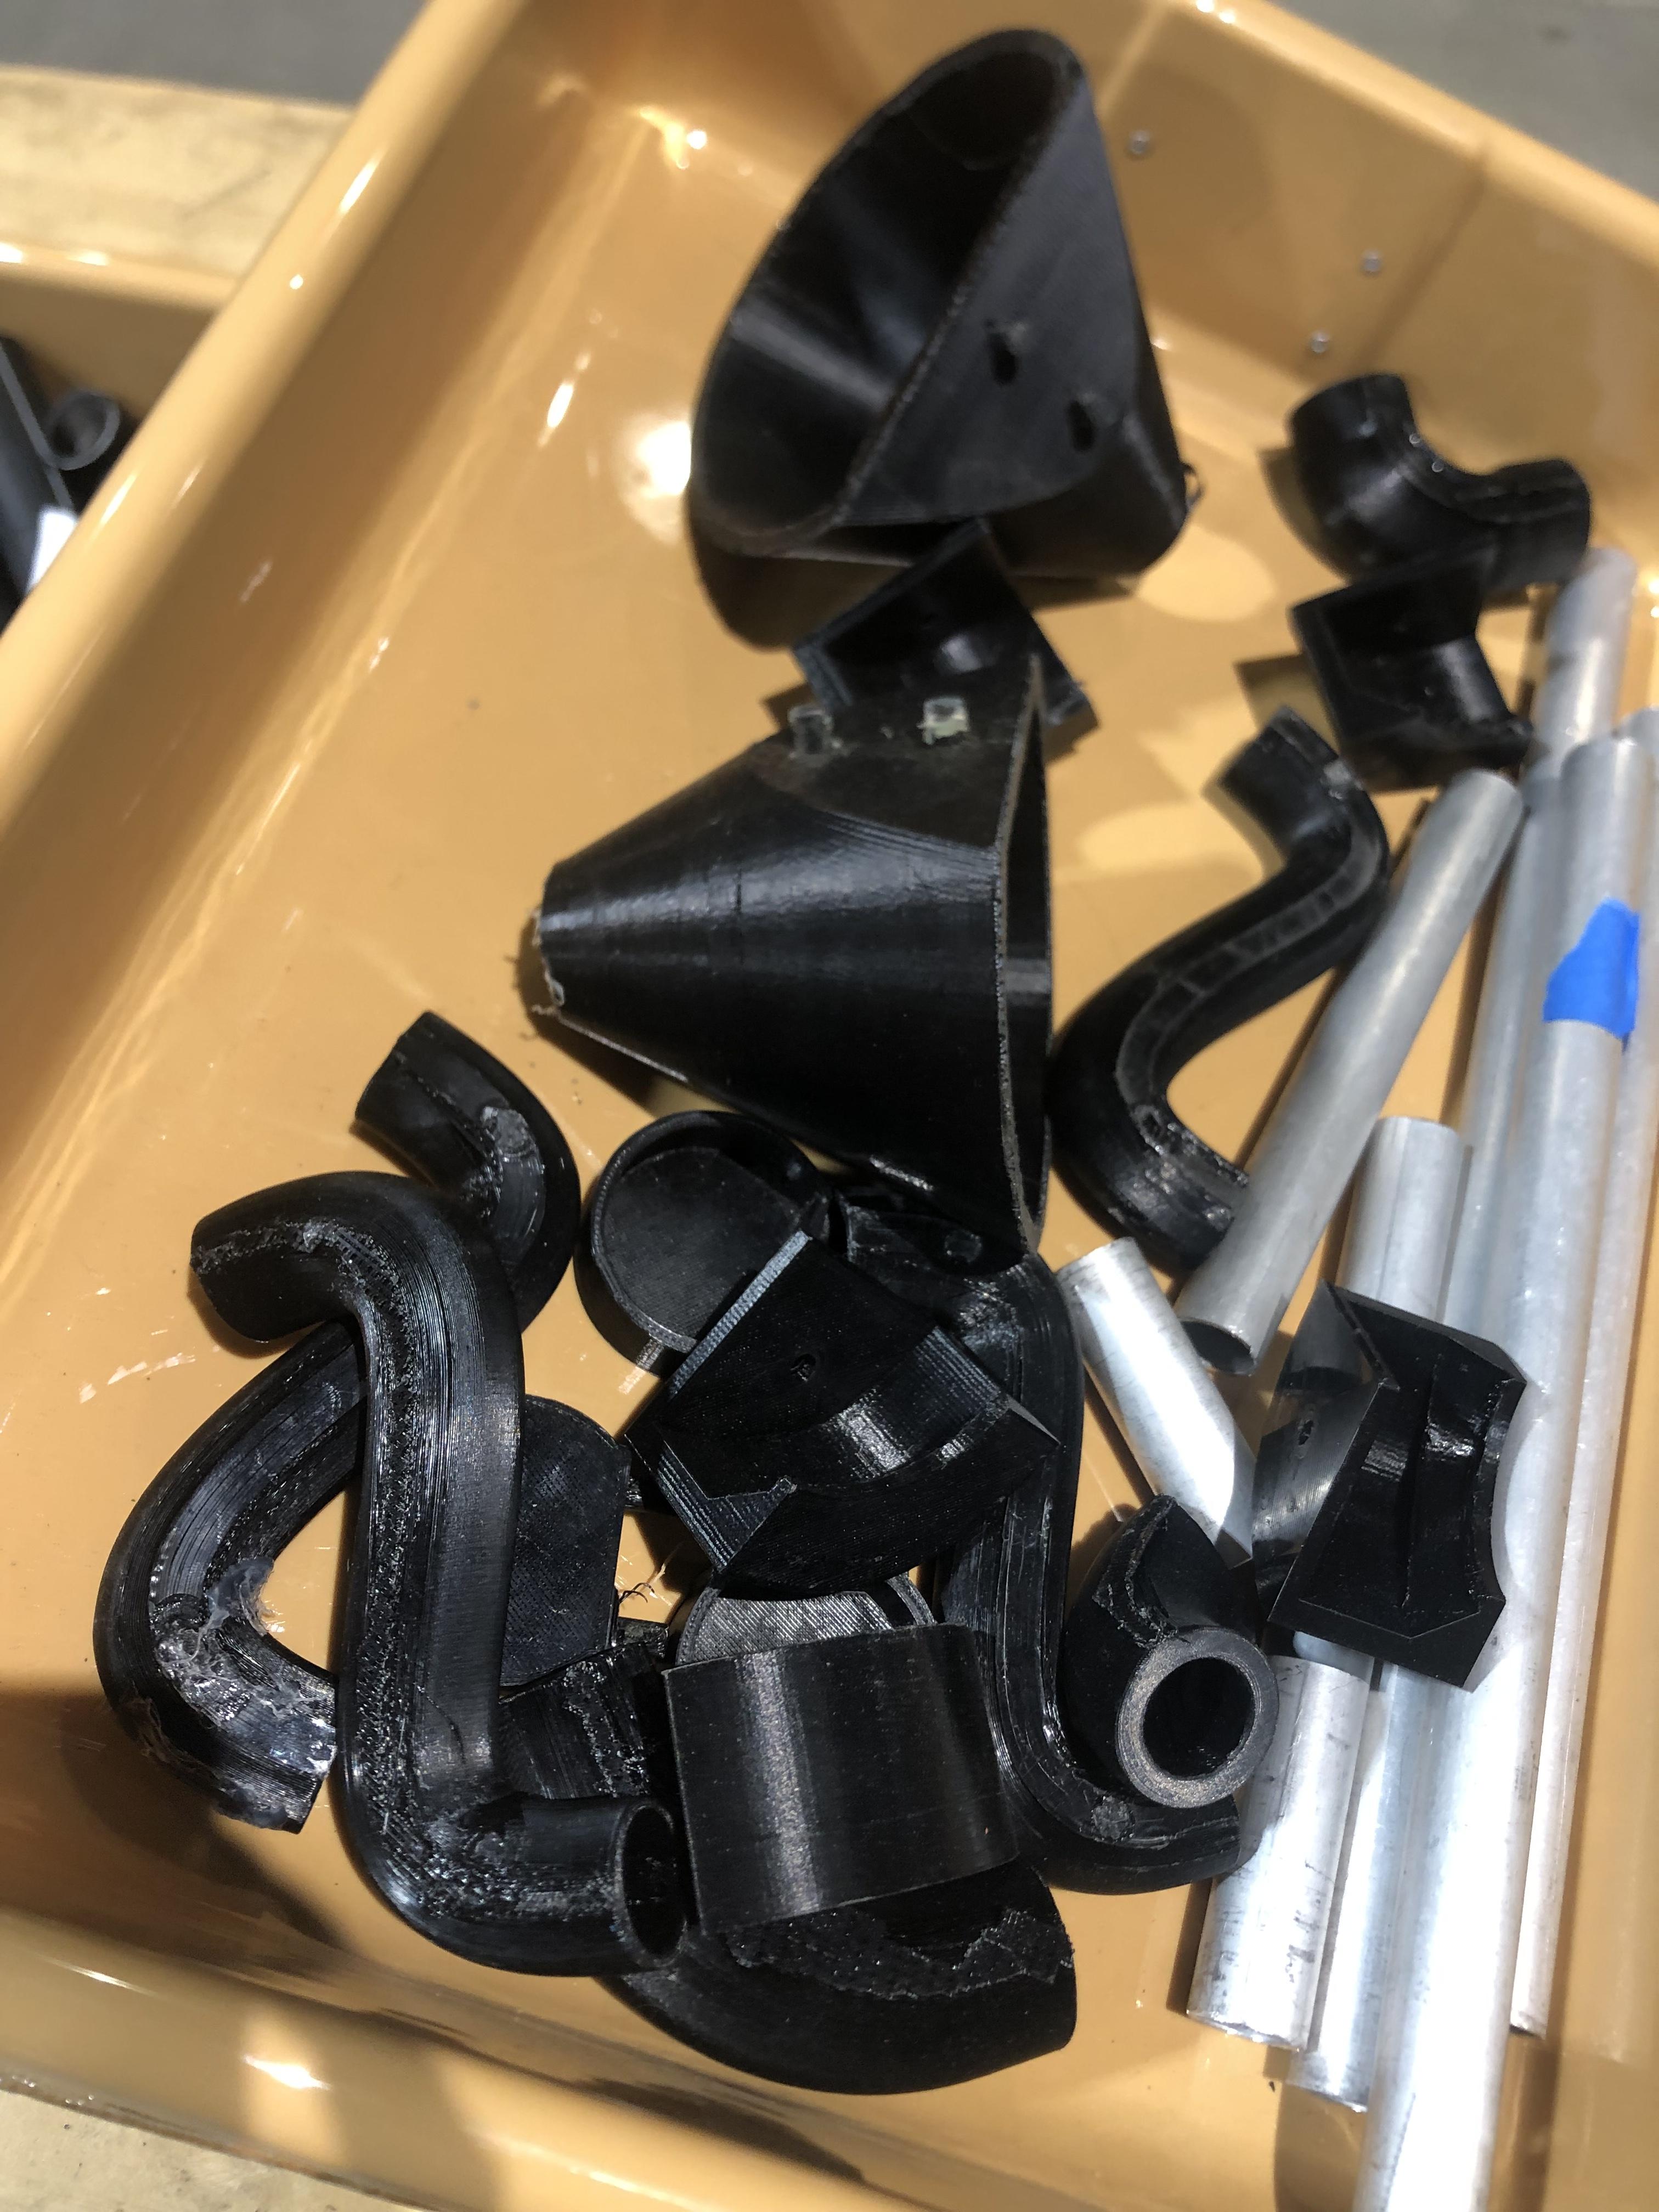
The 3D printed parts were used to create a marble run. The parts could be attached to a peg board along with other materials to create a course for a marble.
Supplies


- Autodesk Fusion 360
- Ultimaker Cura
- Ultimaker 3D Printer
Arc Piece
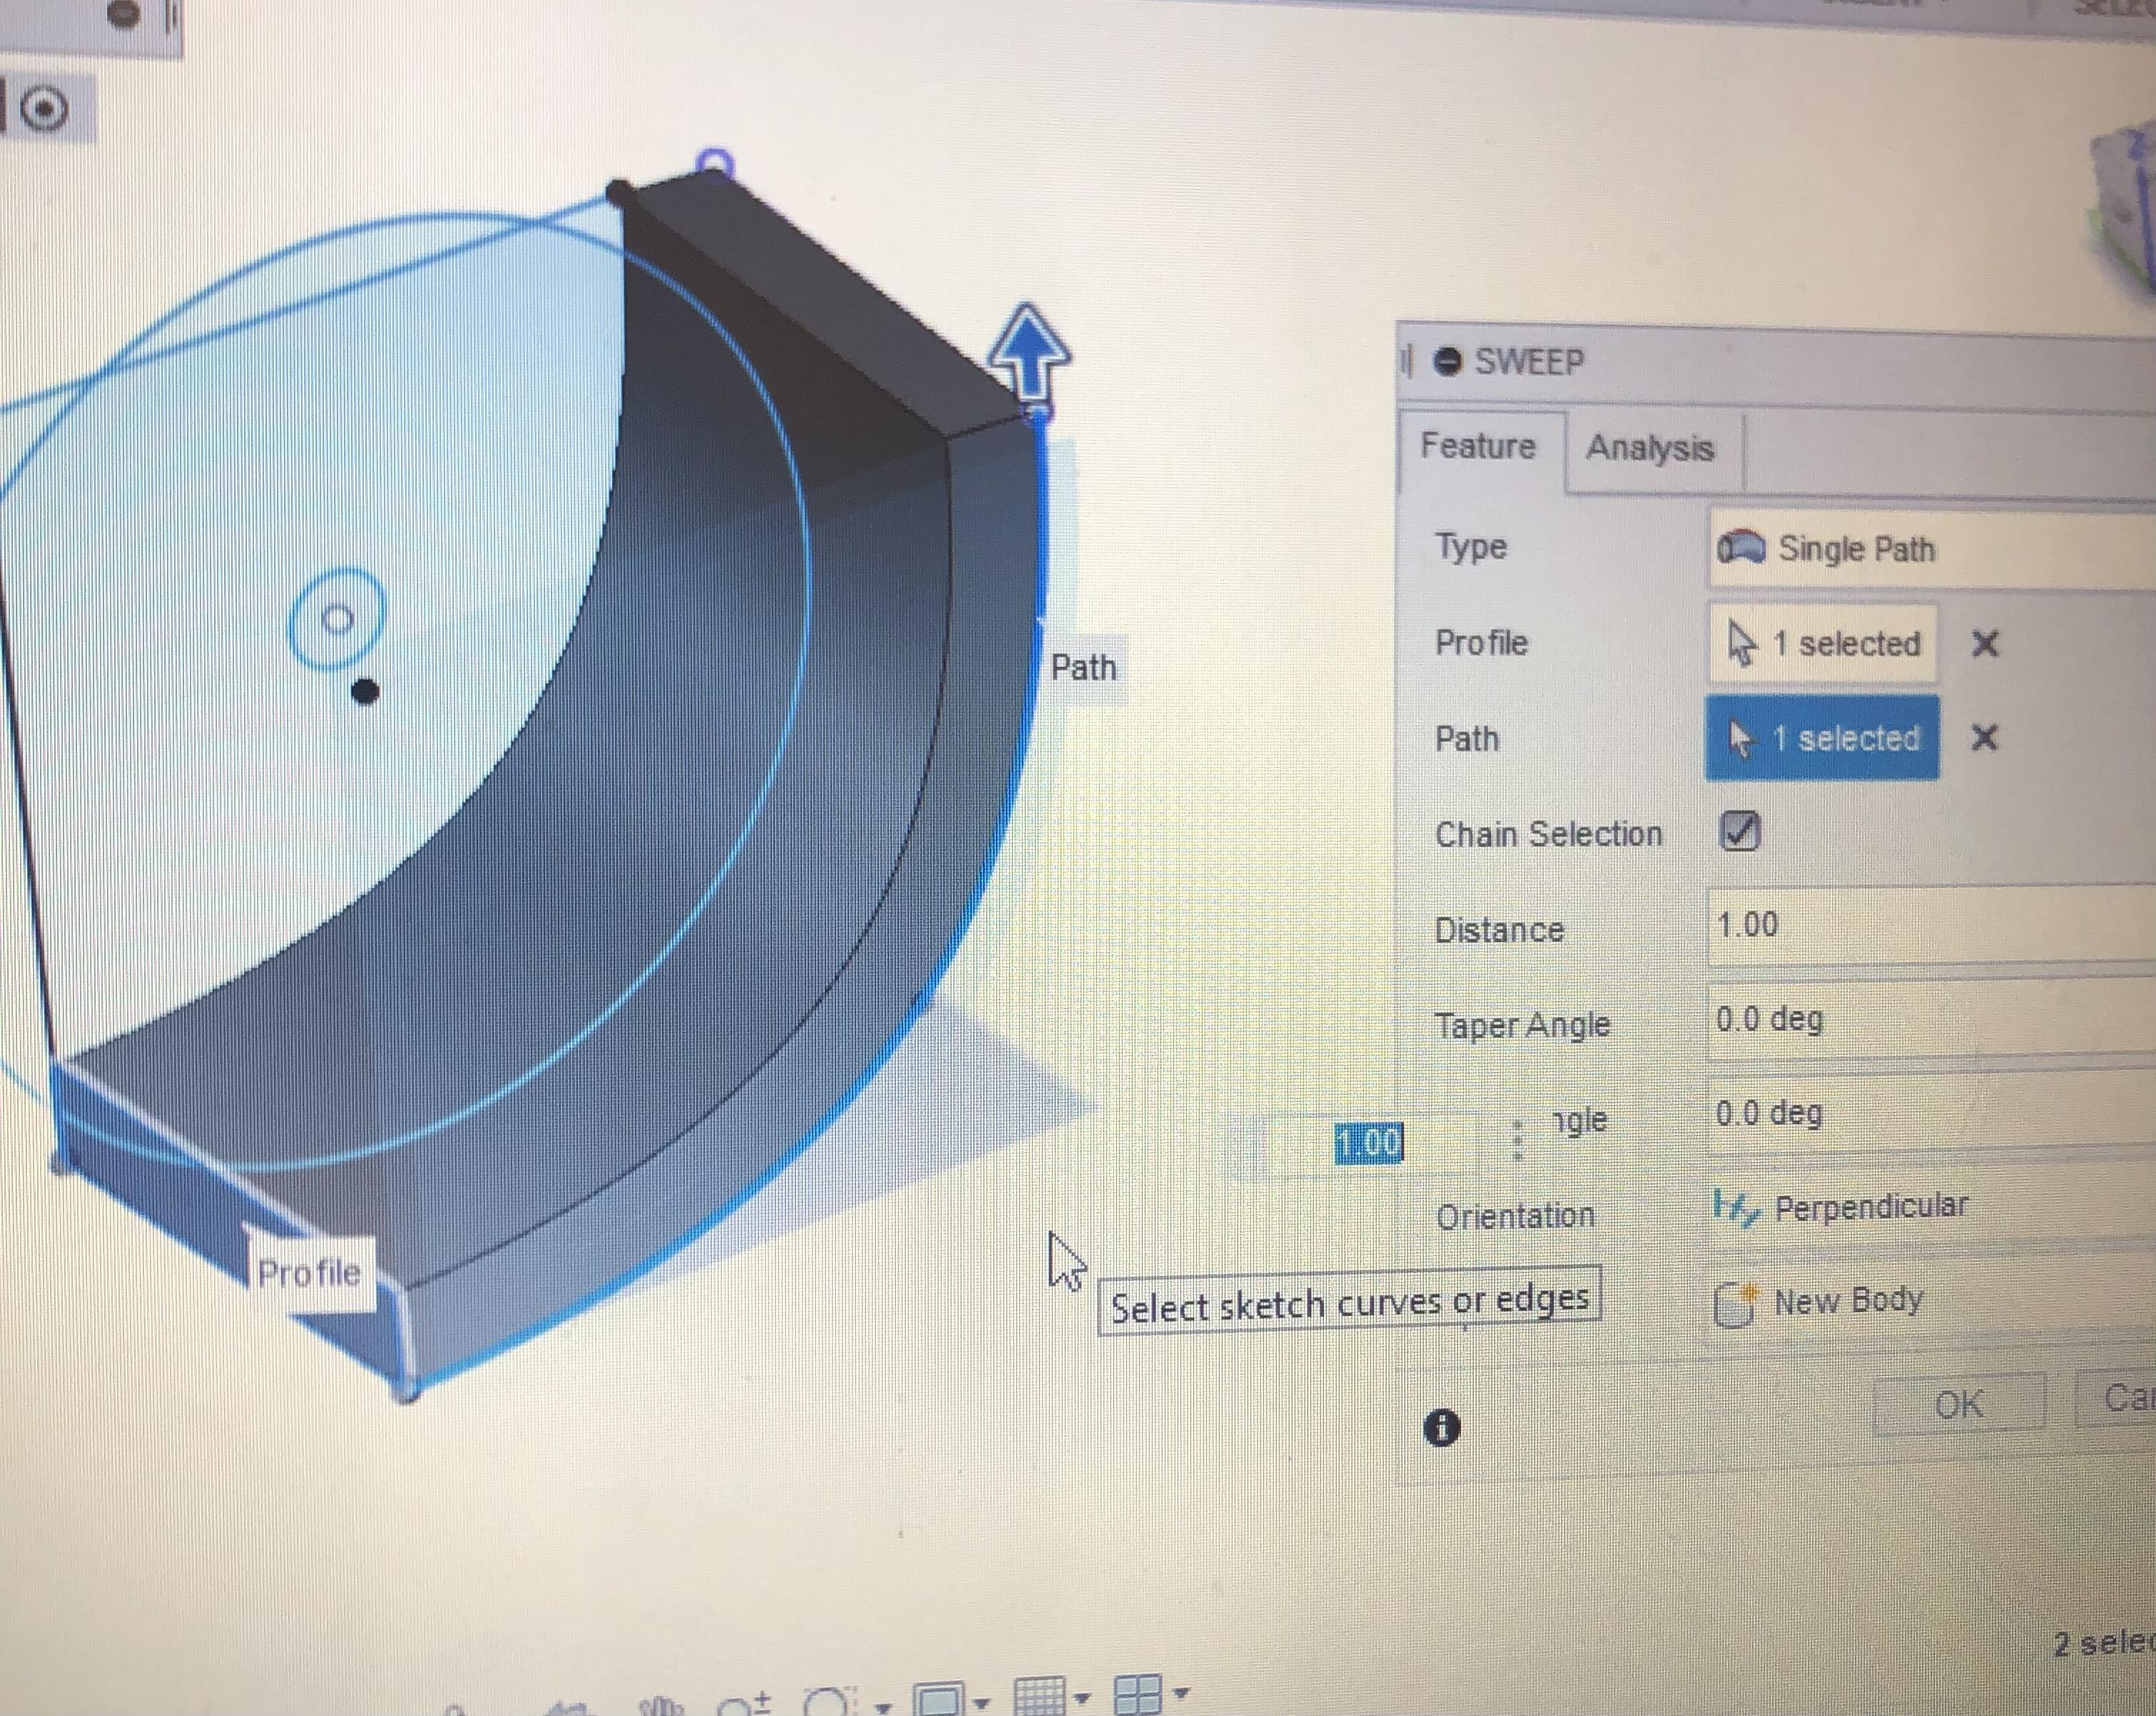
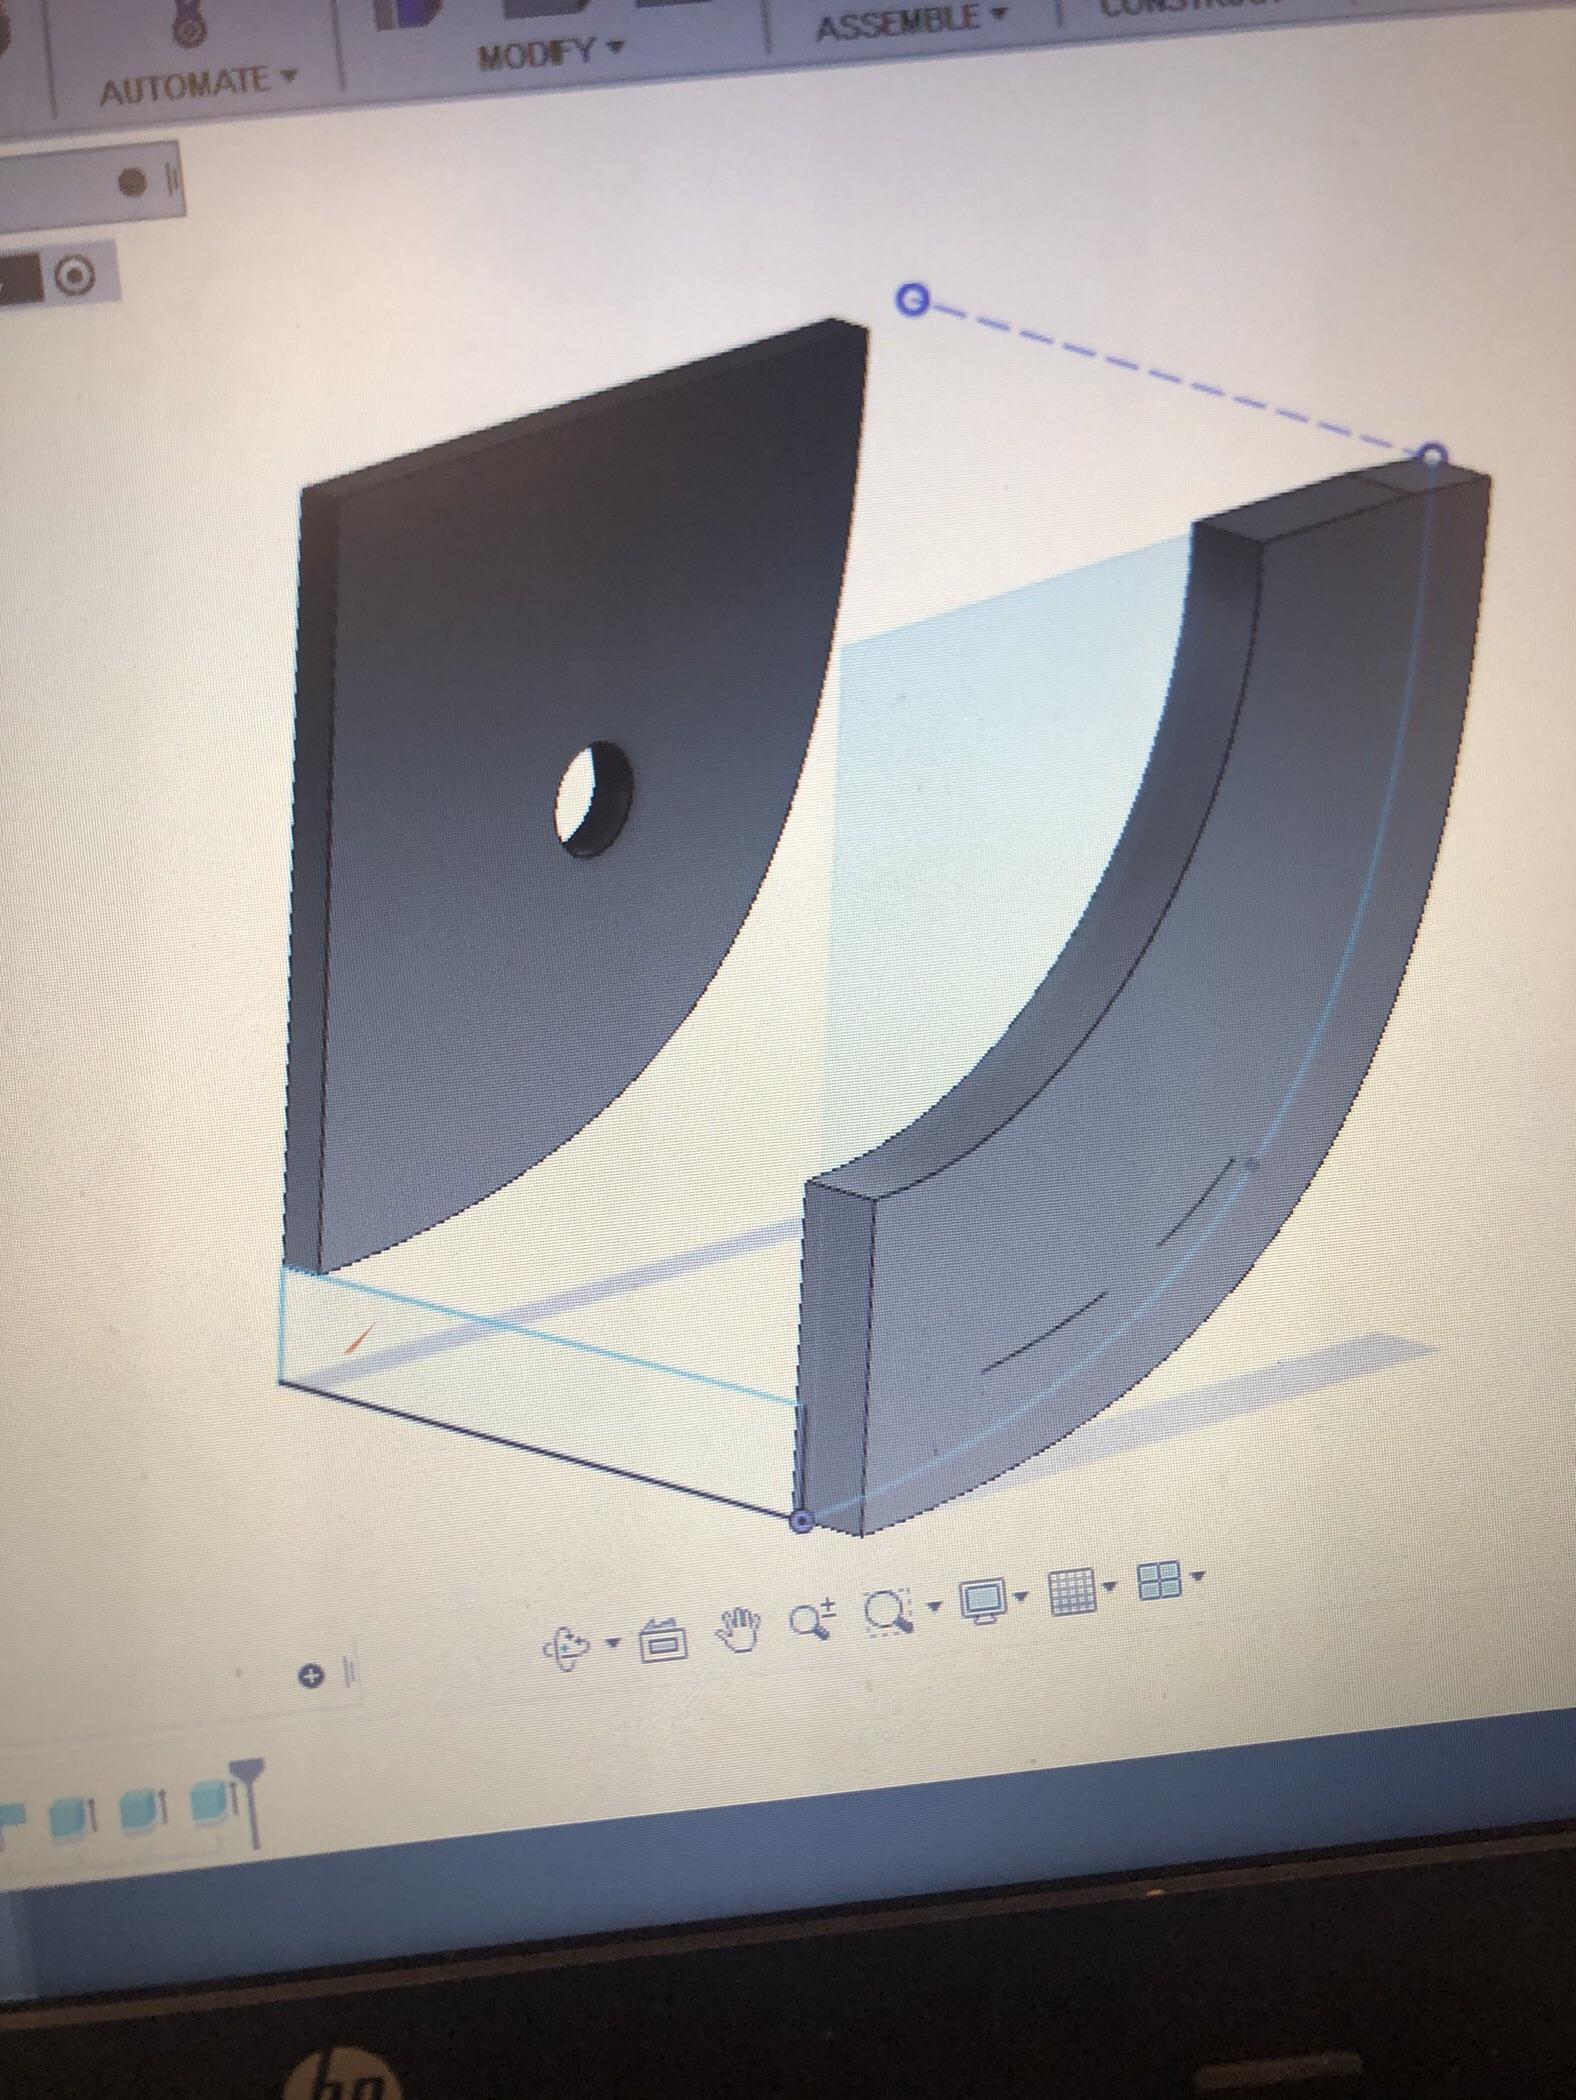
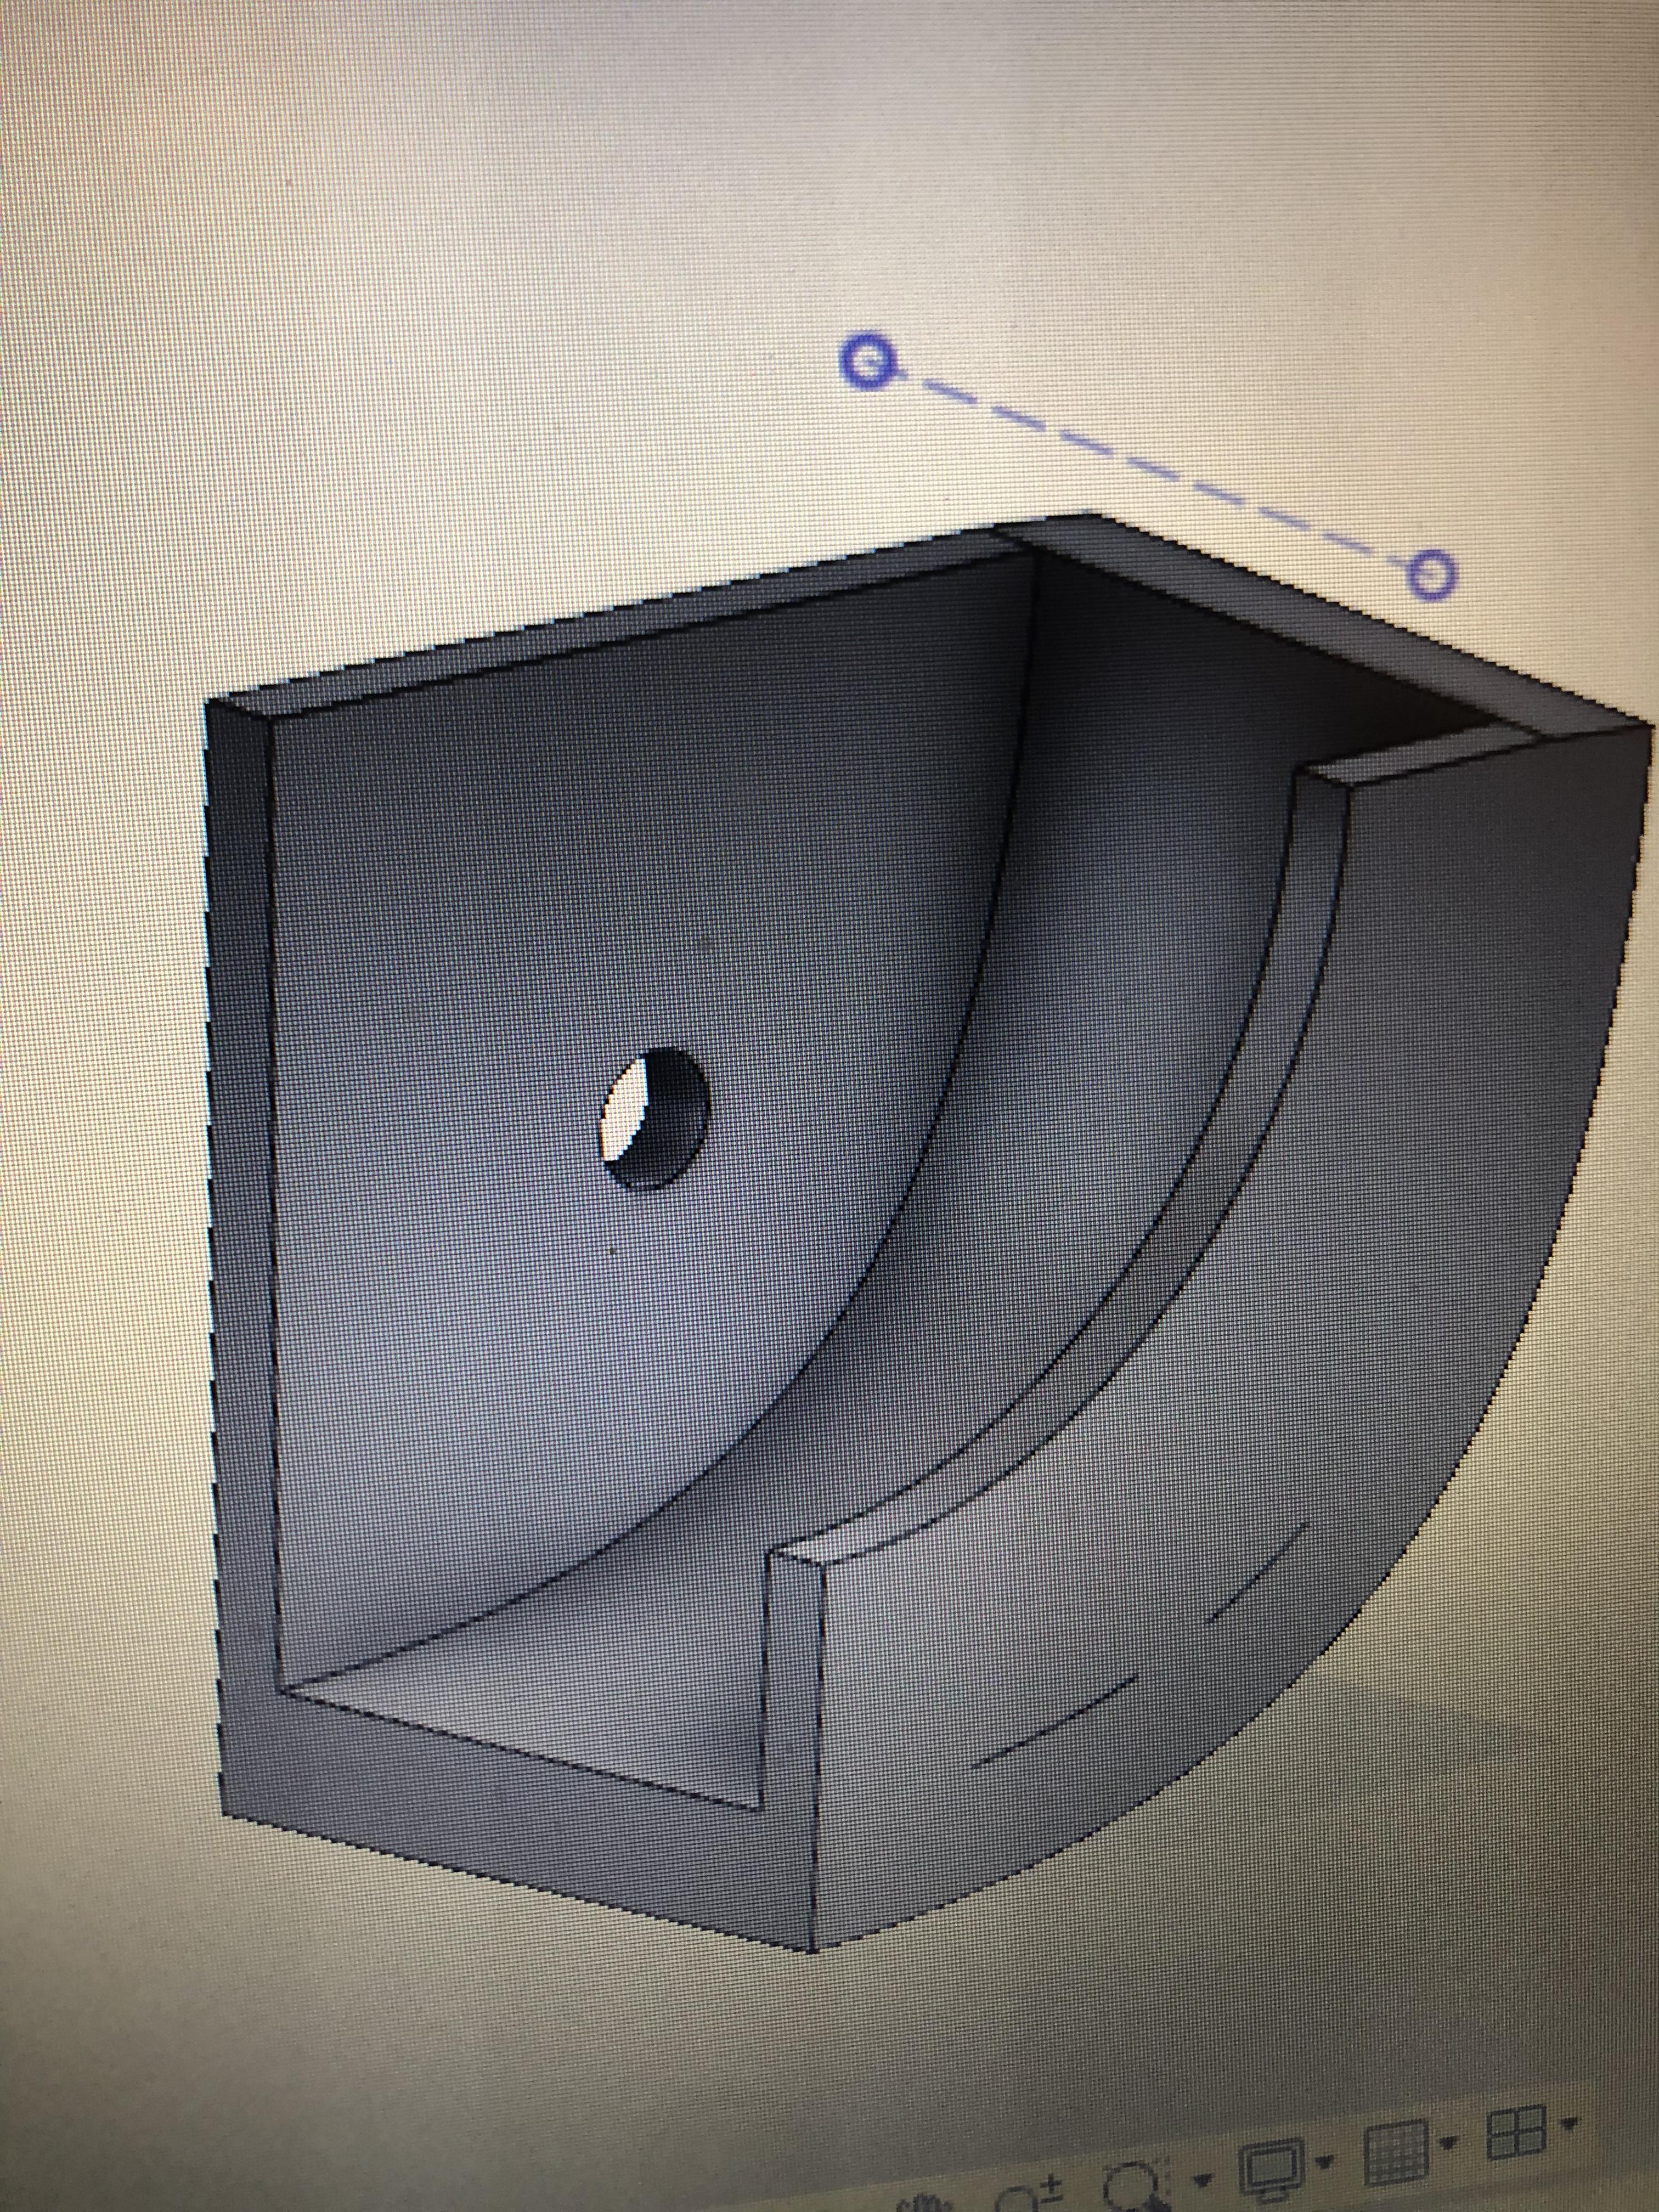
Fusion 360:
- Create the sketch of the arc piece
- Use the sweep tool to create the back edge of the part
- Use the extrude tool to make the two sides and the hole (where a dowel can go)
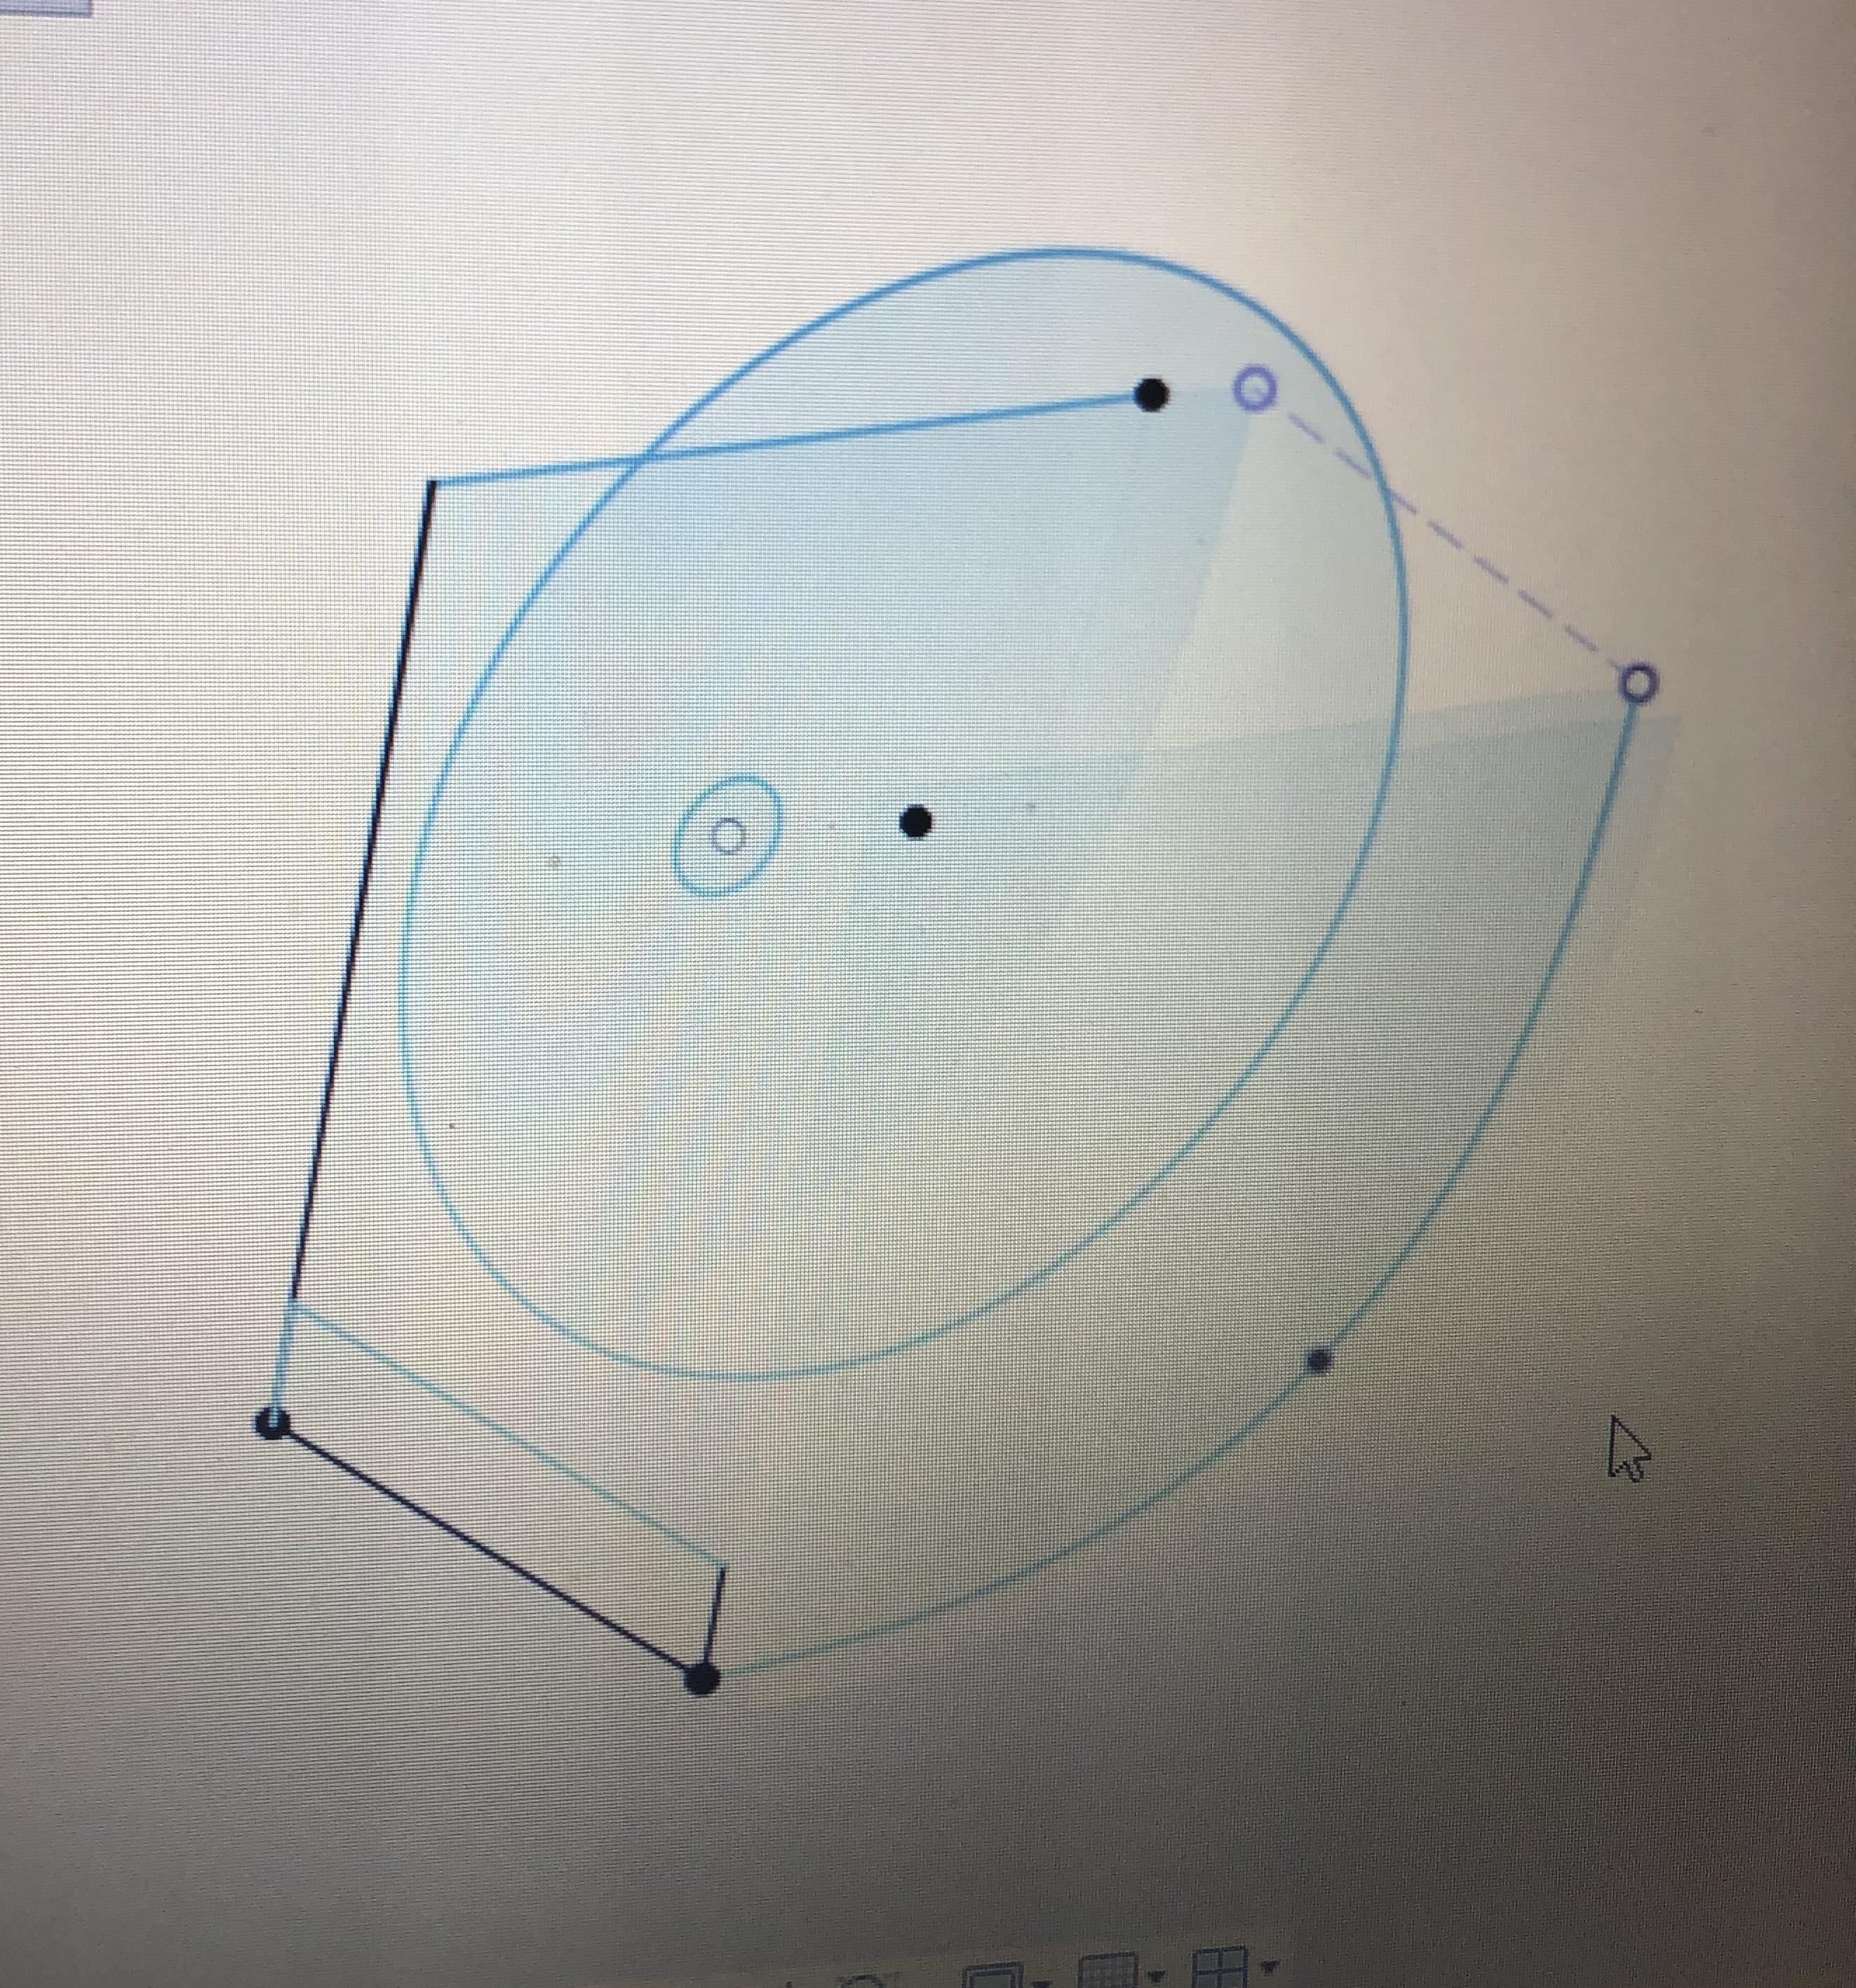
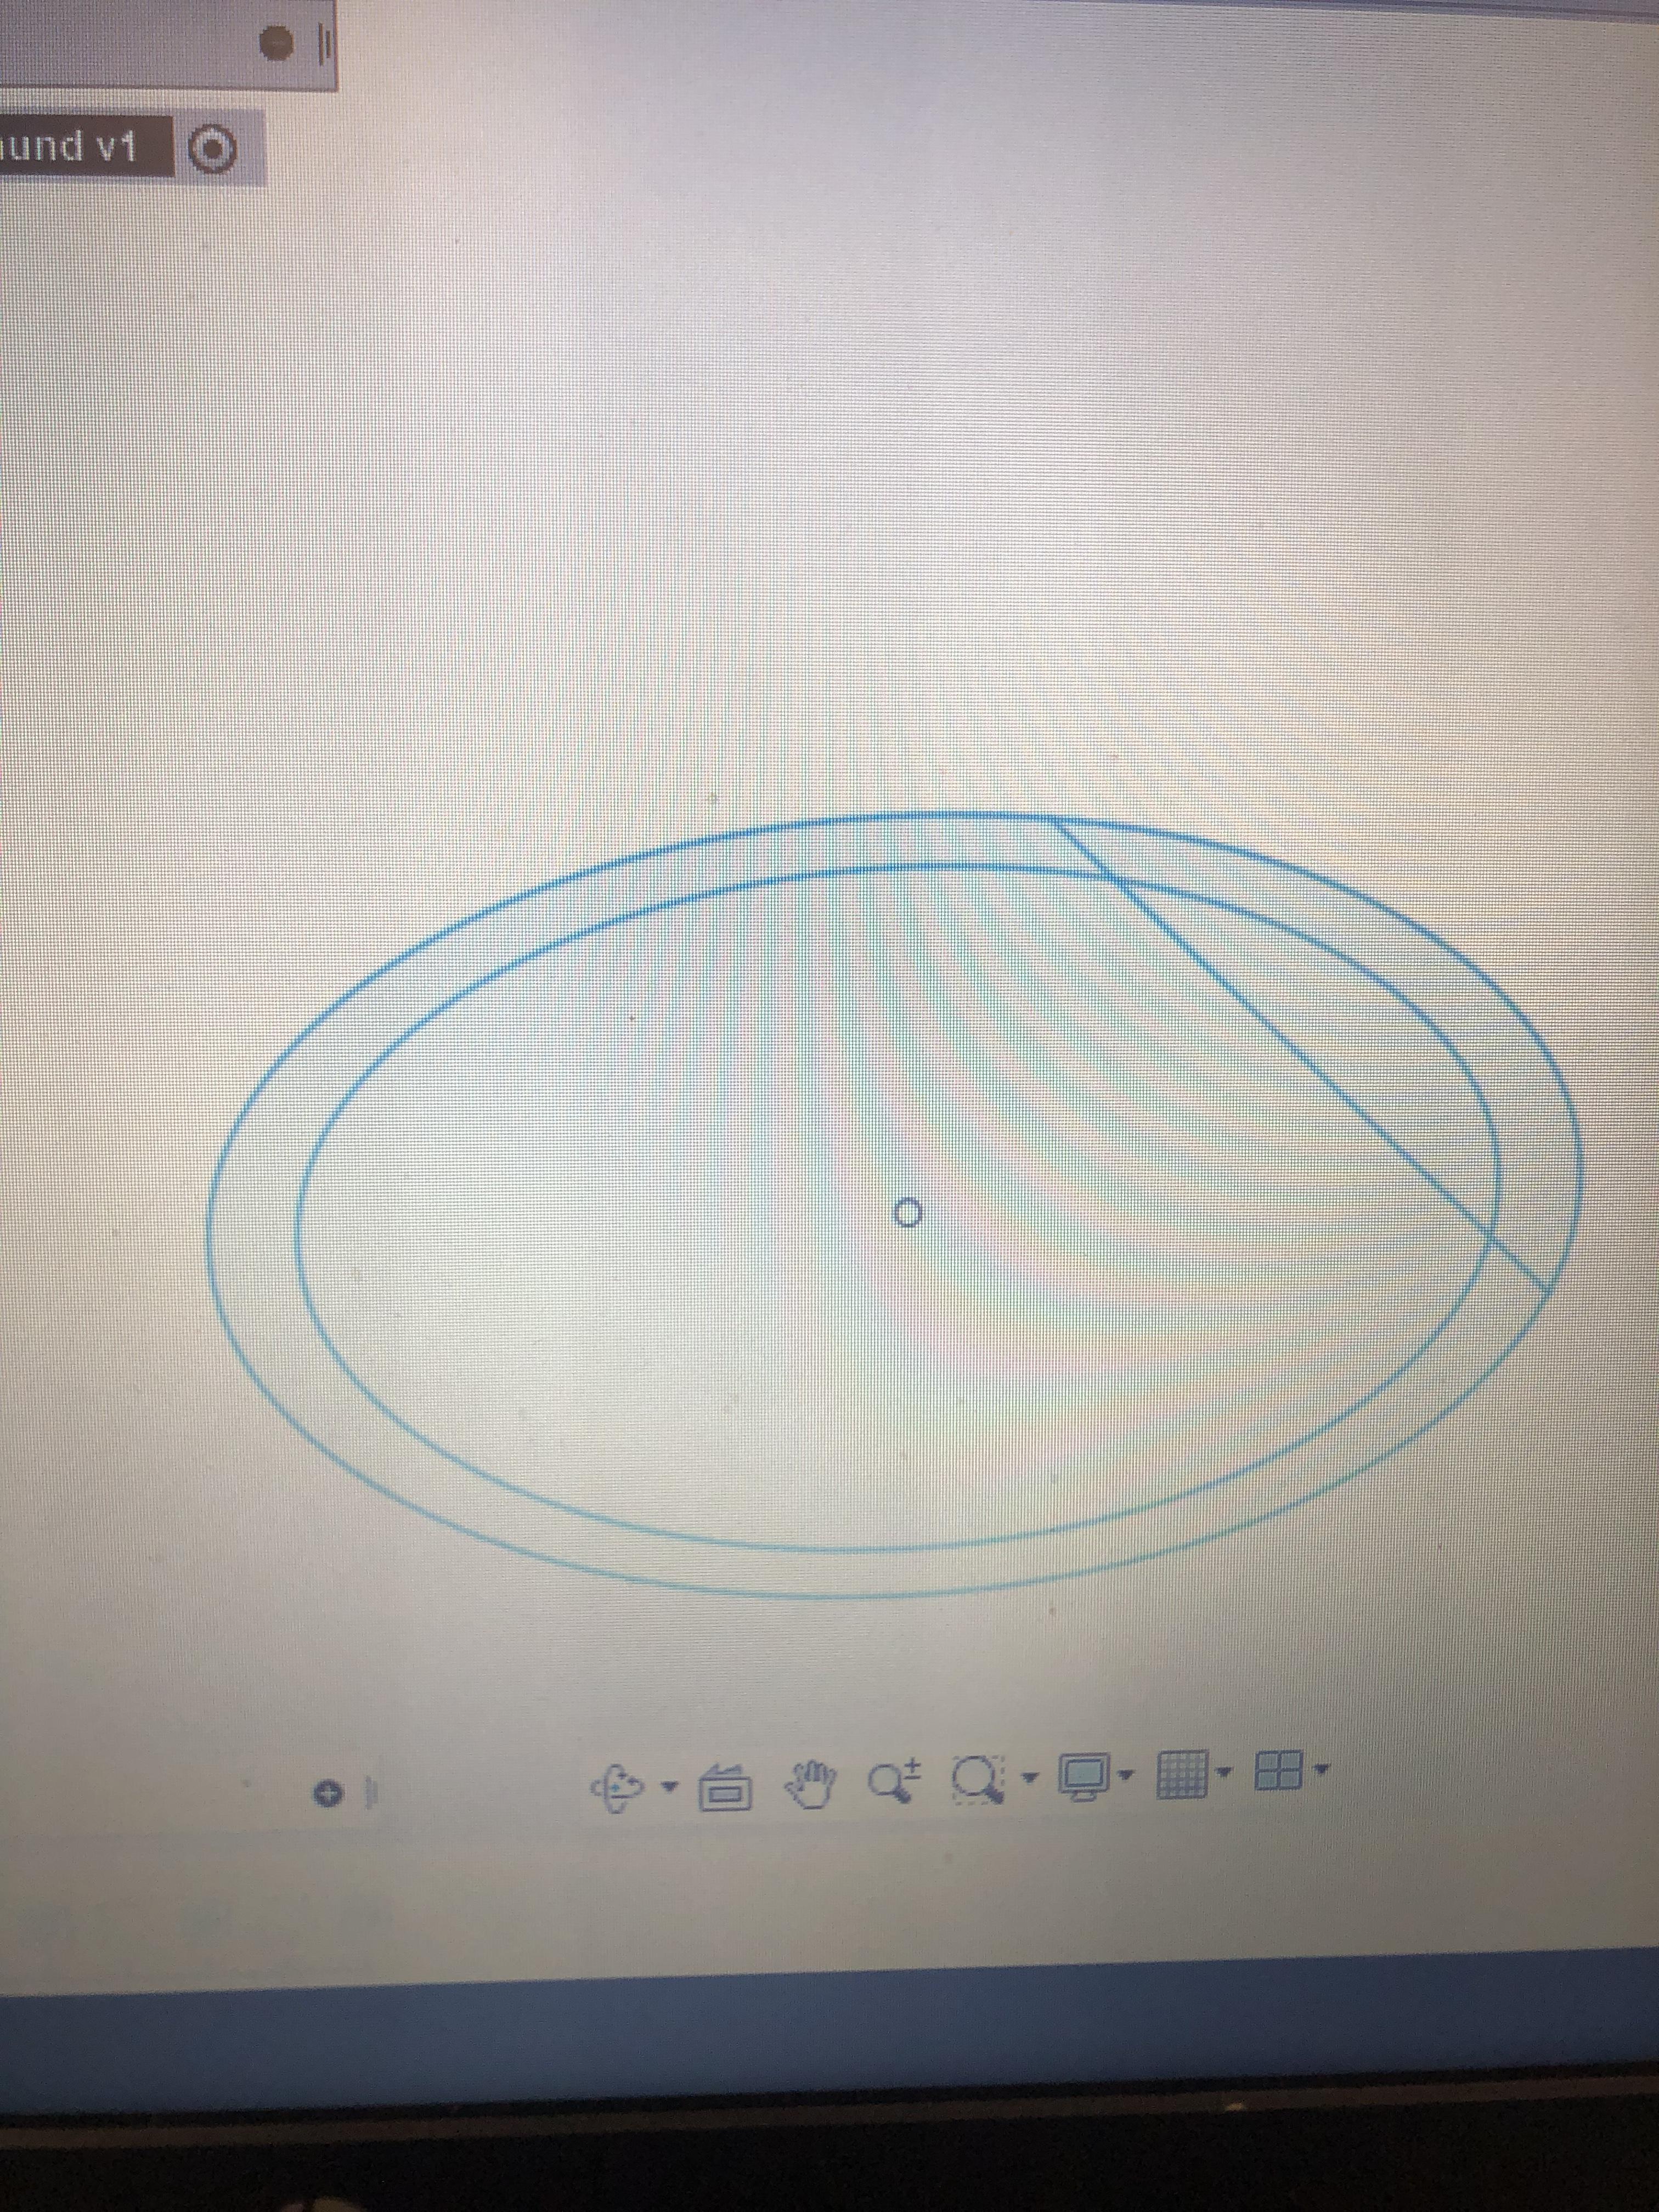
Funnel Piece
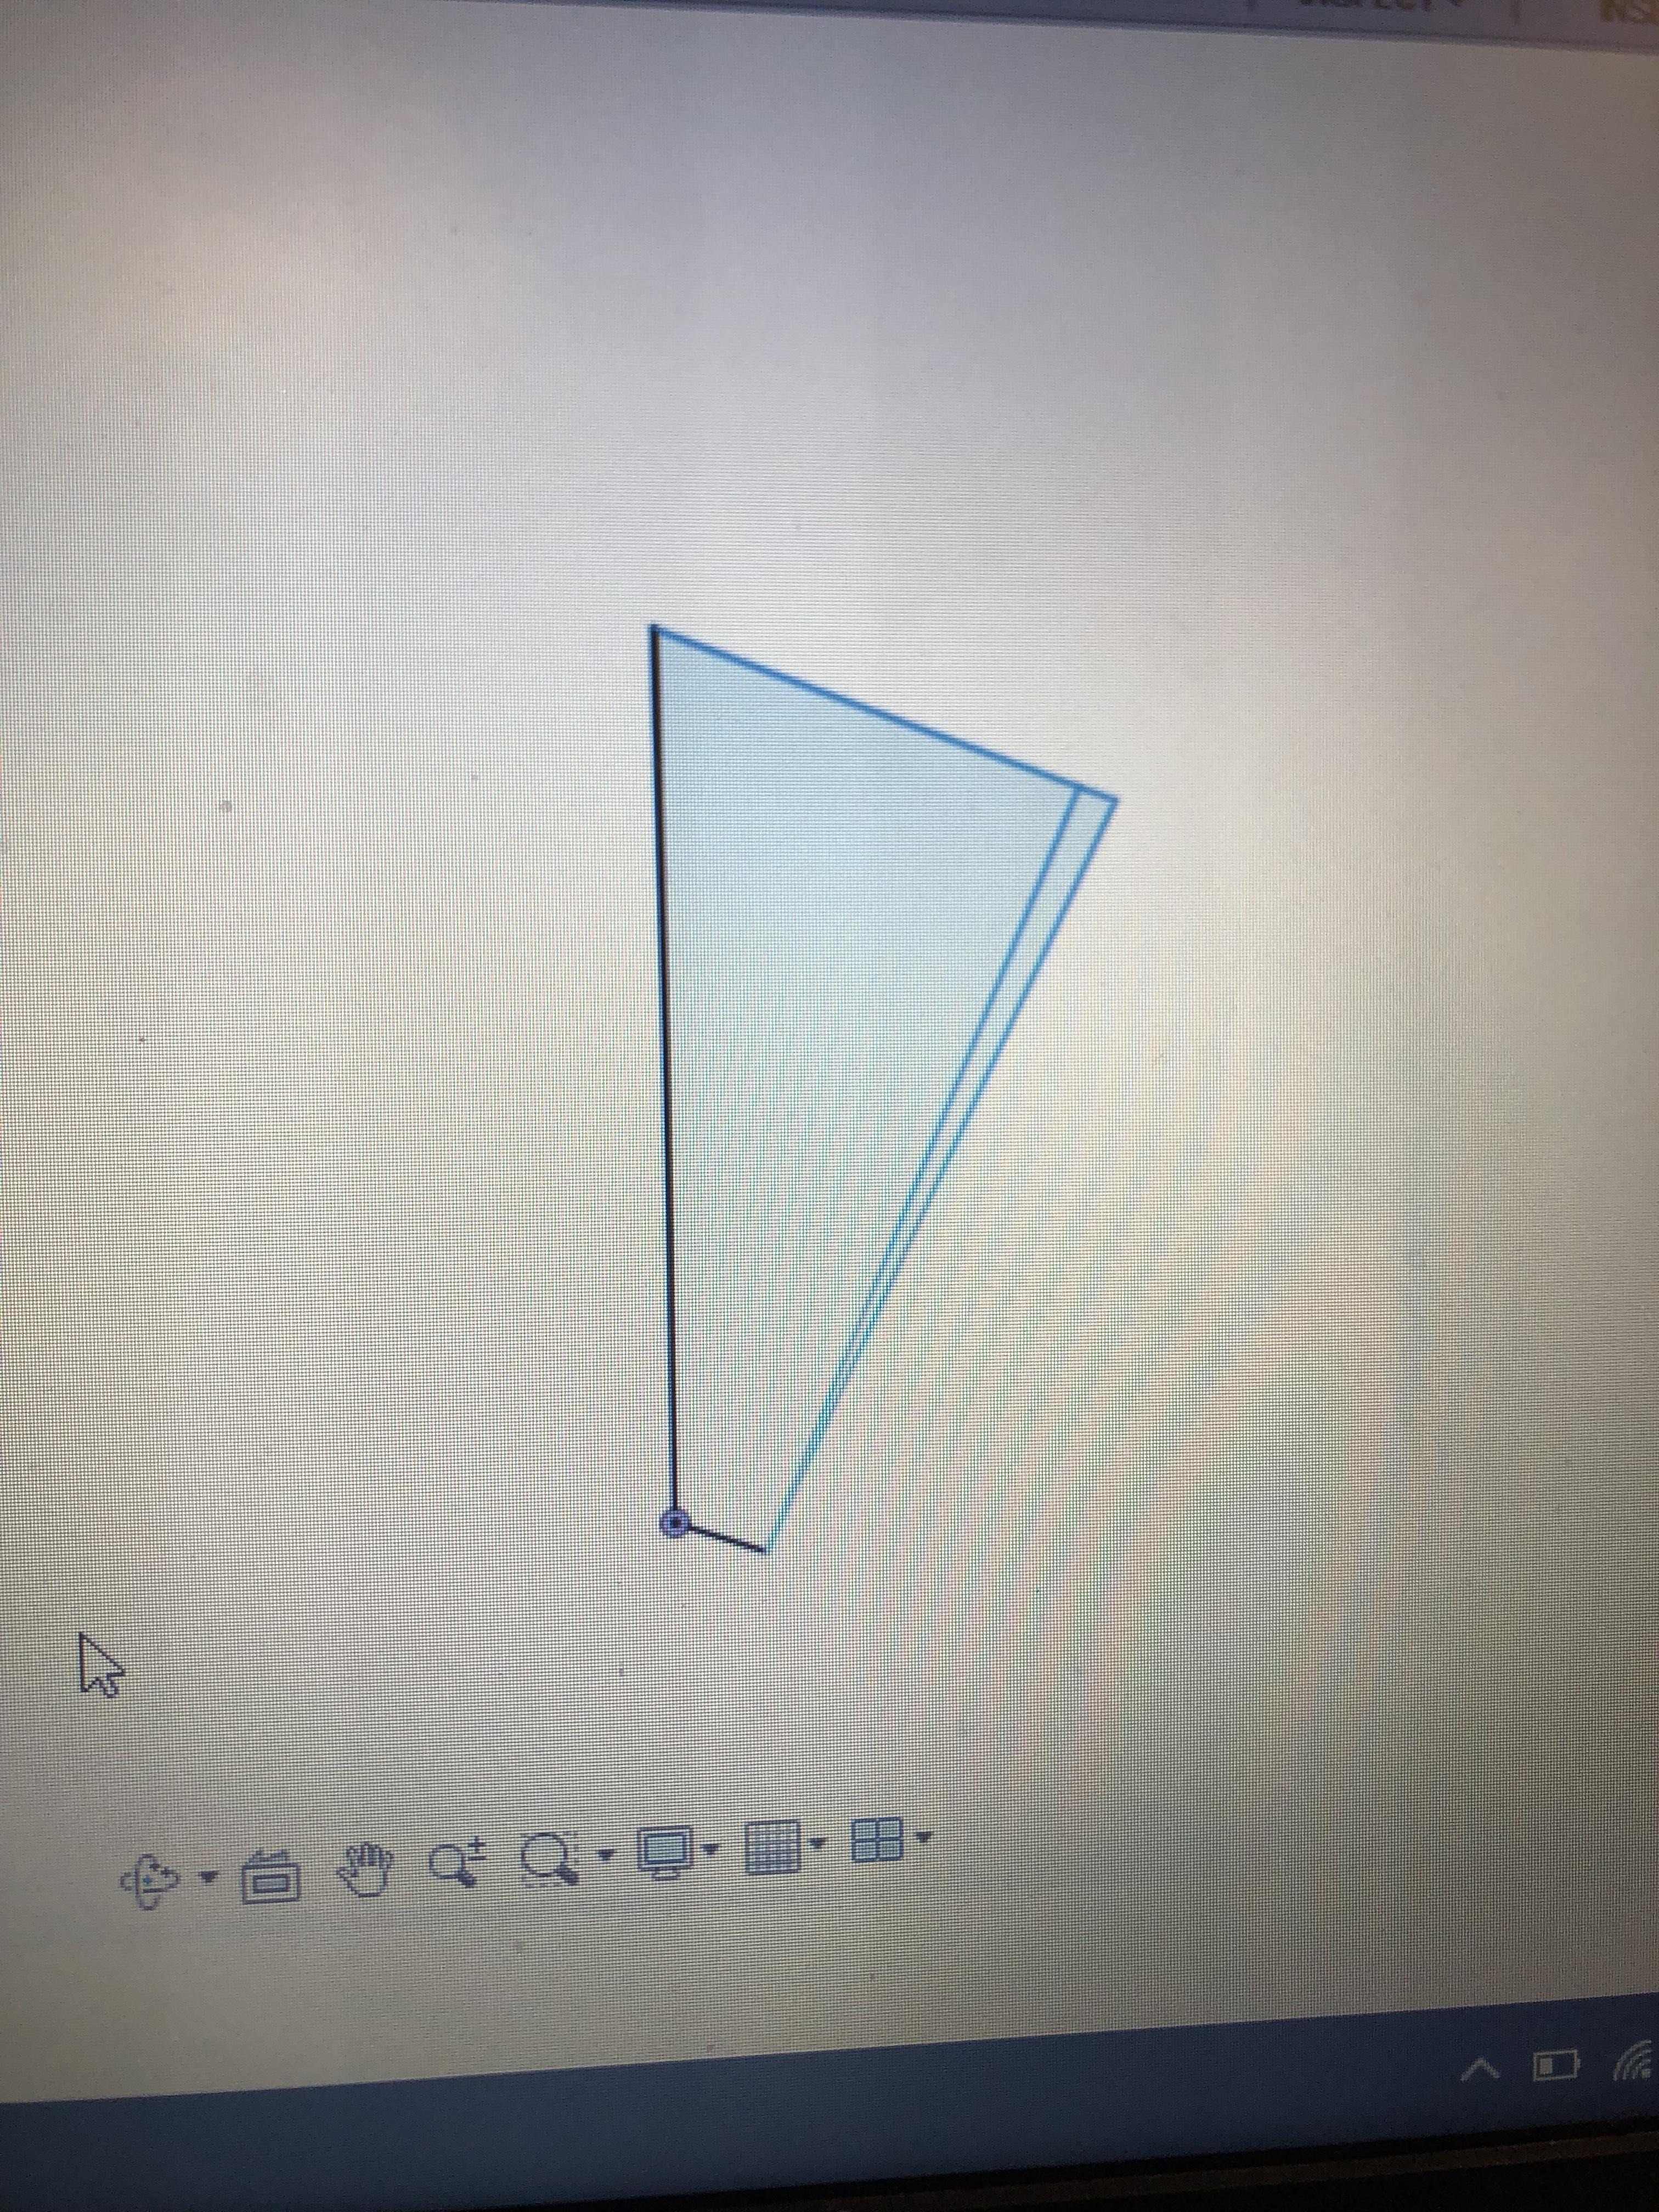
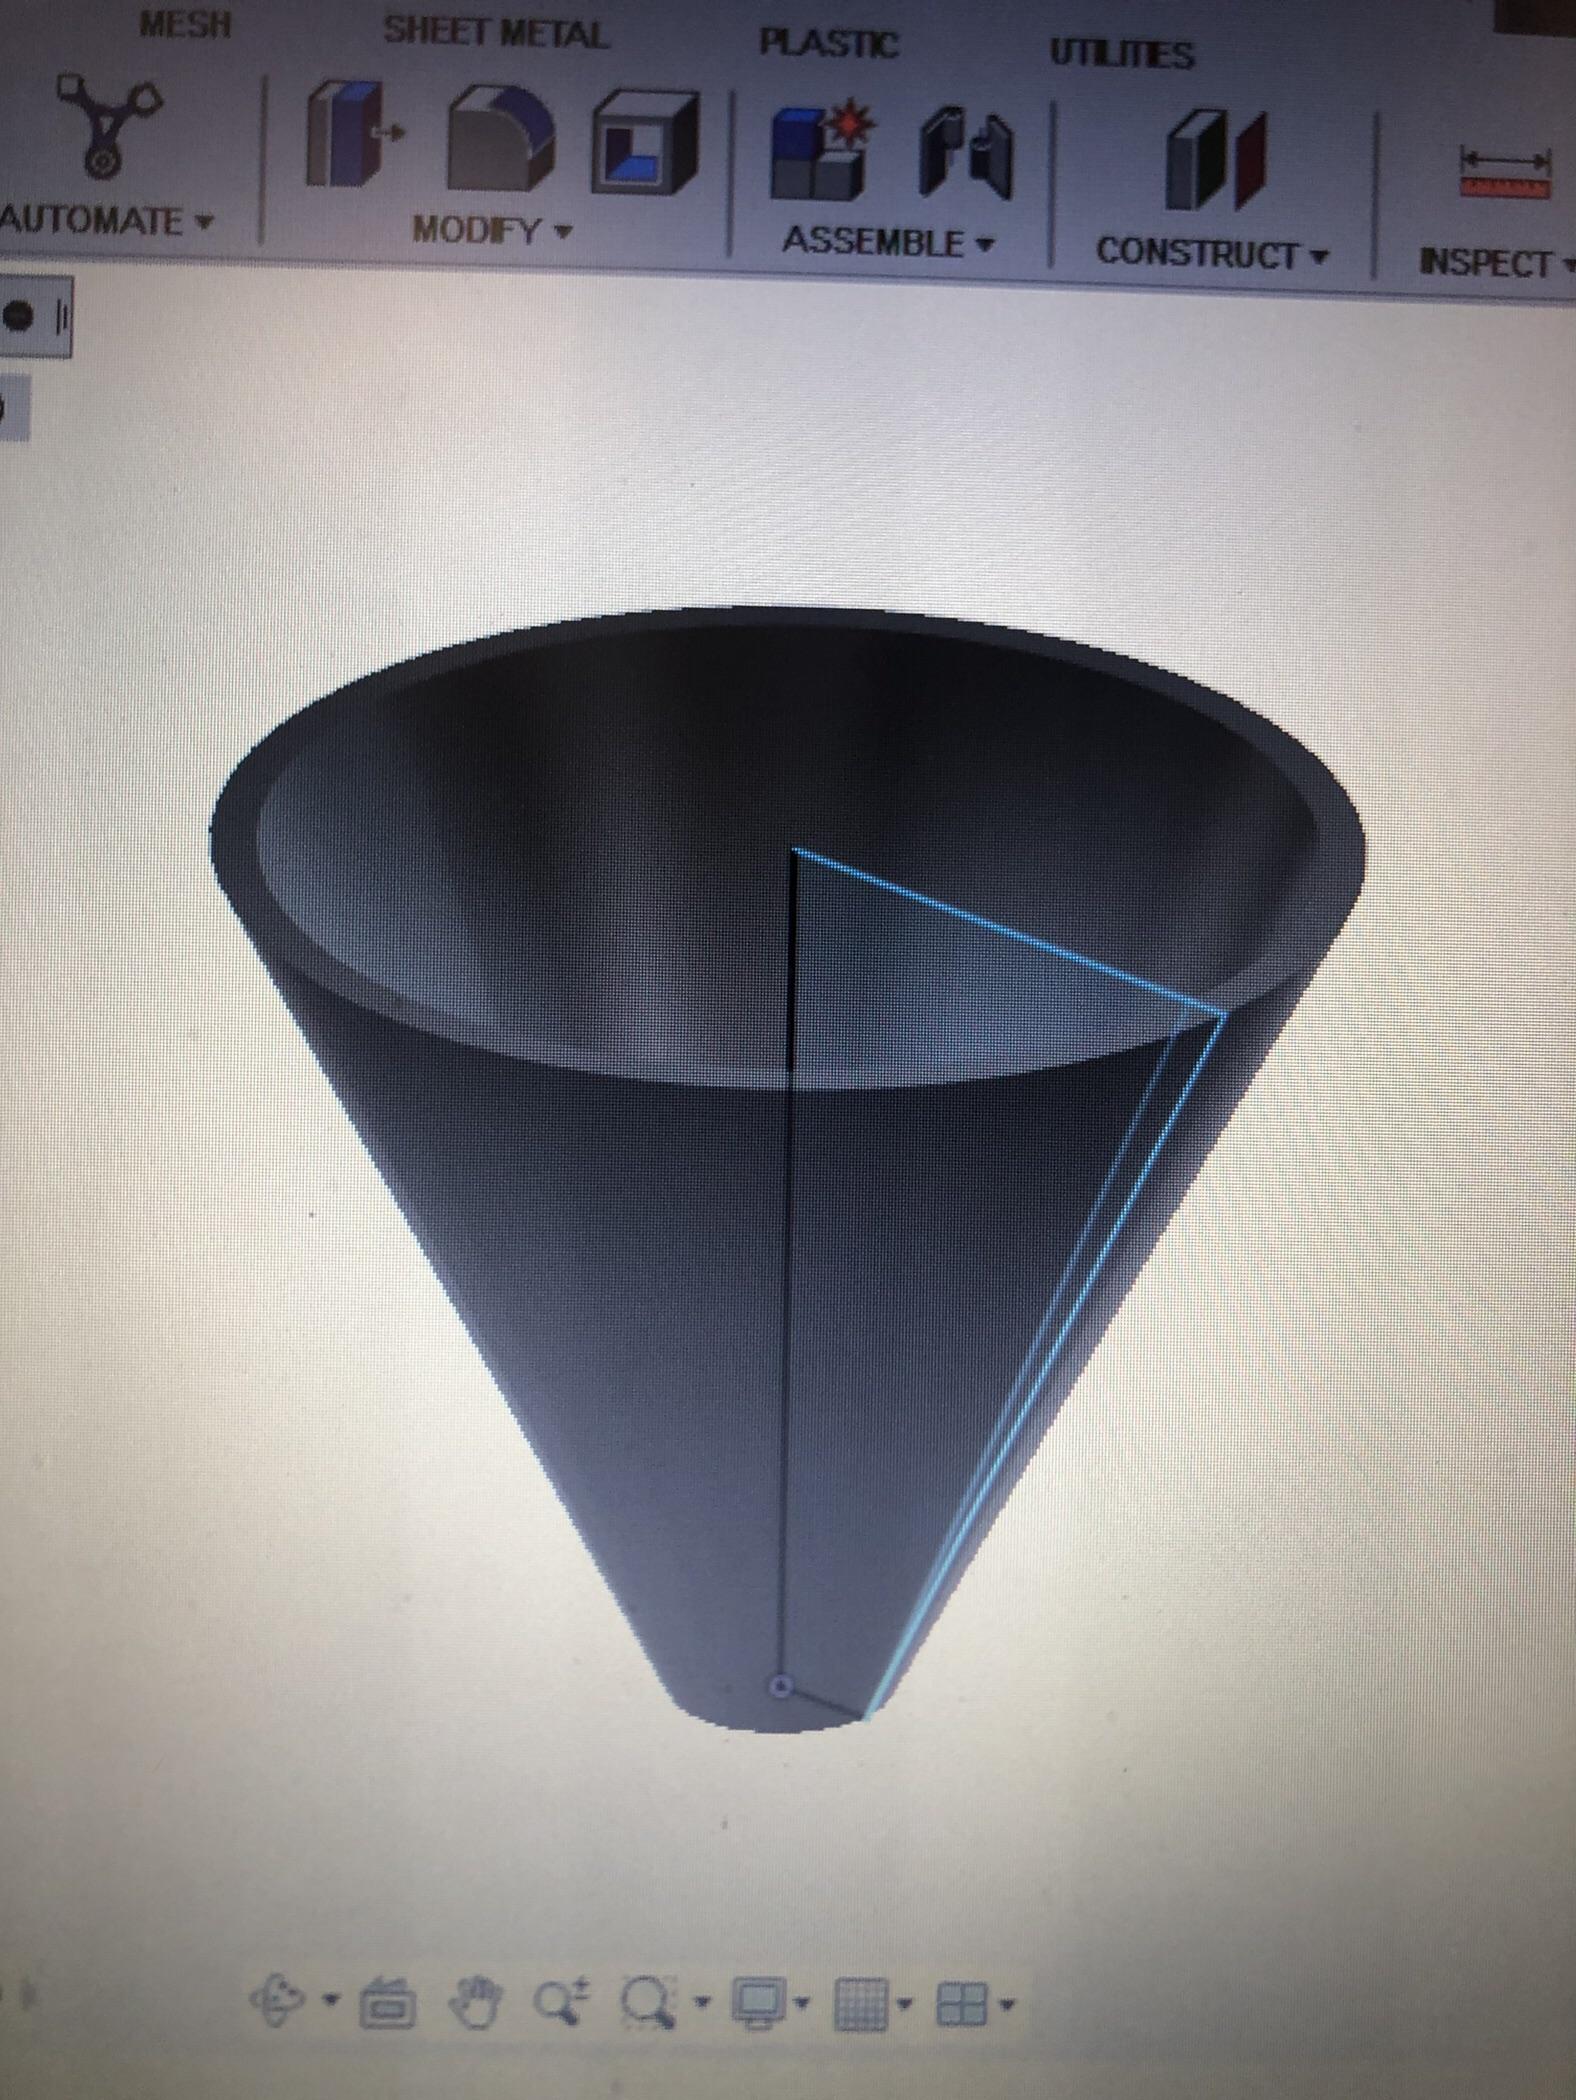
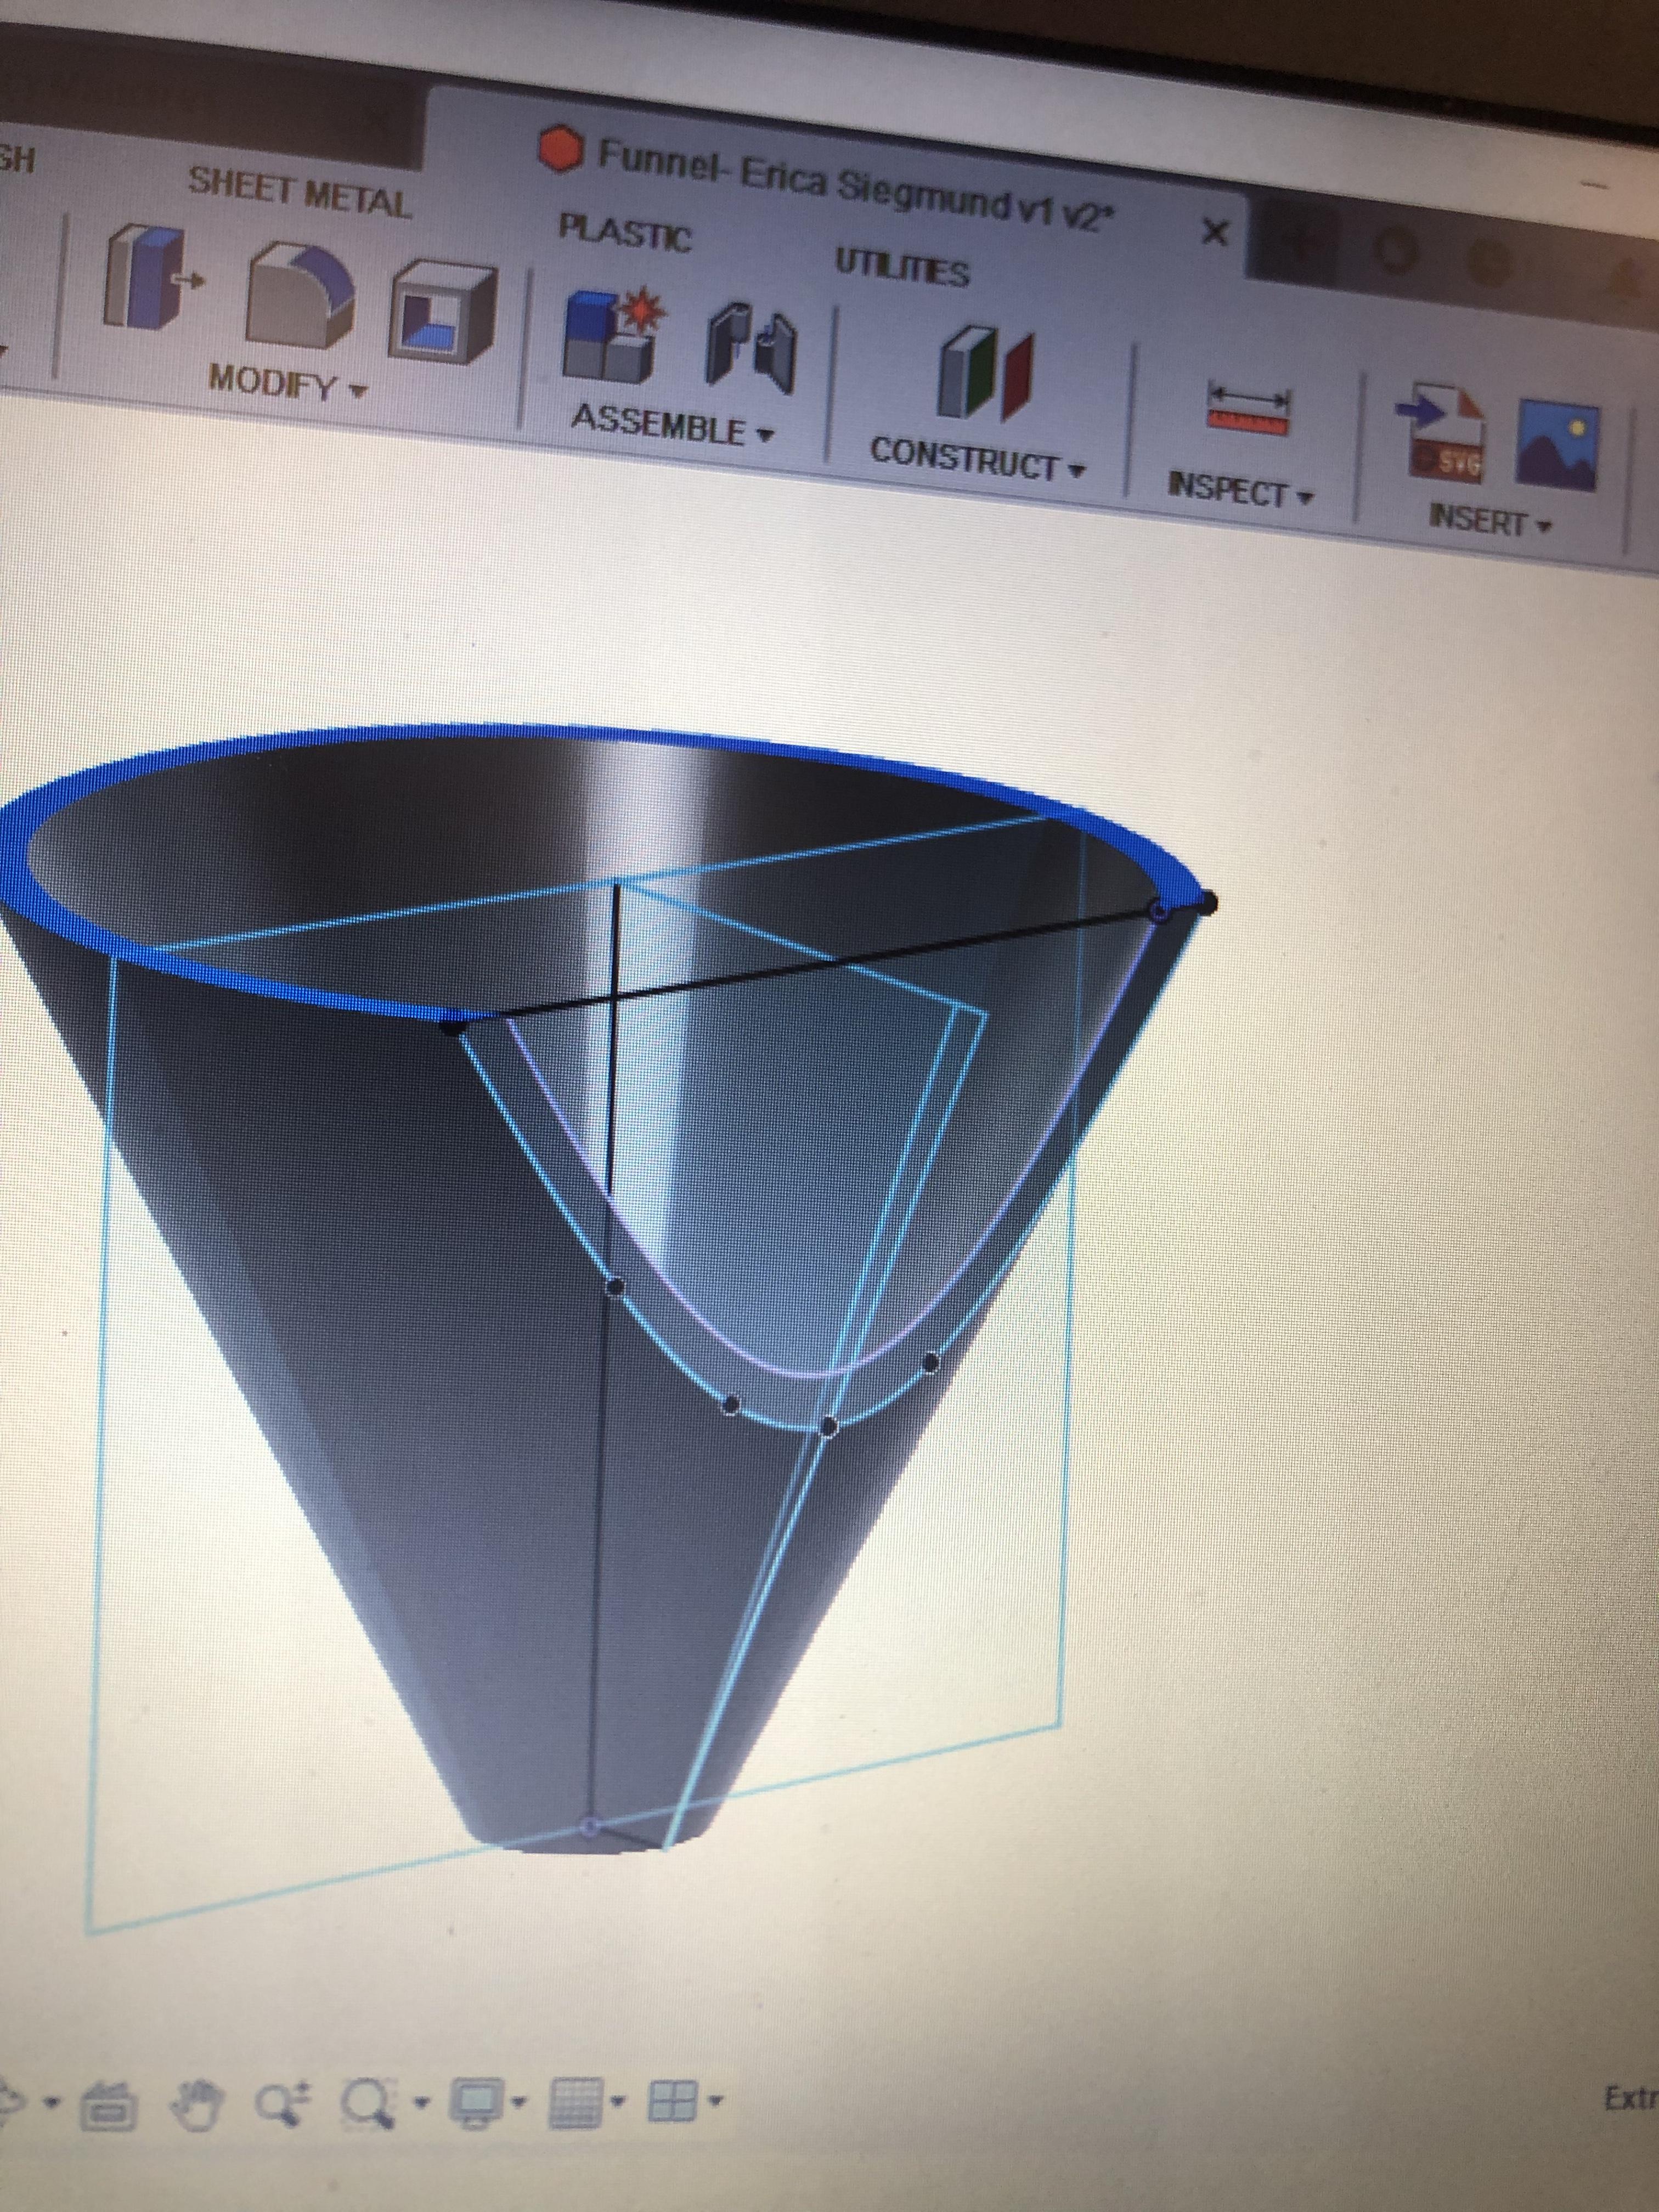
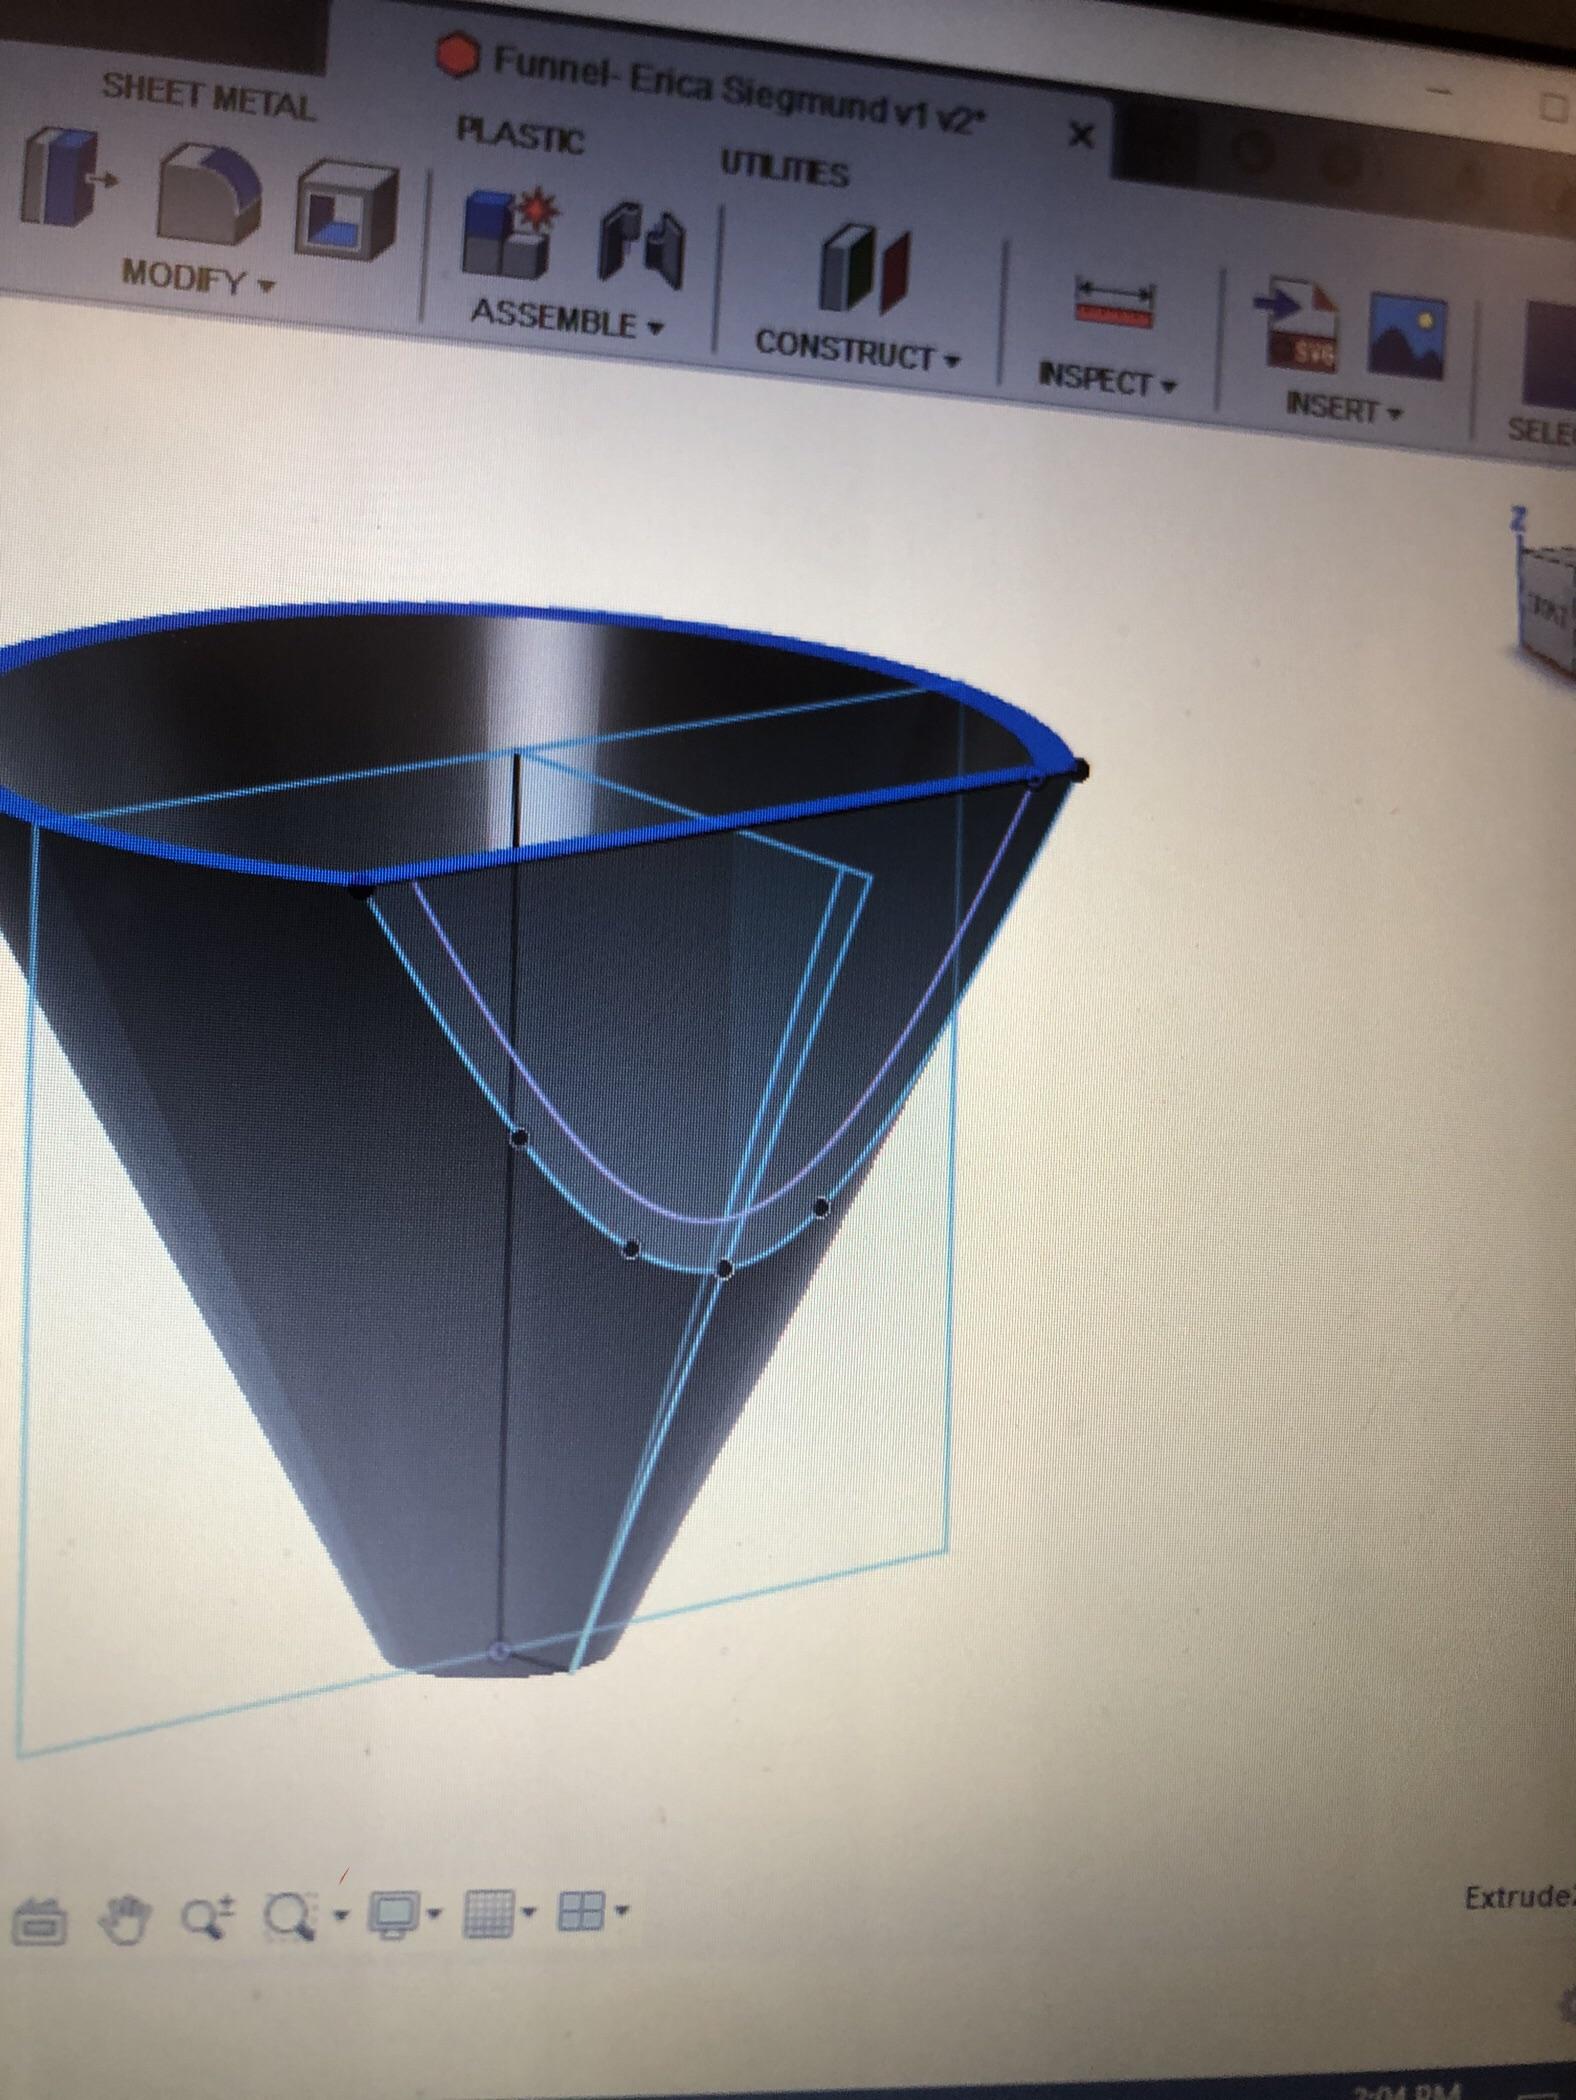
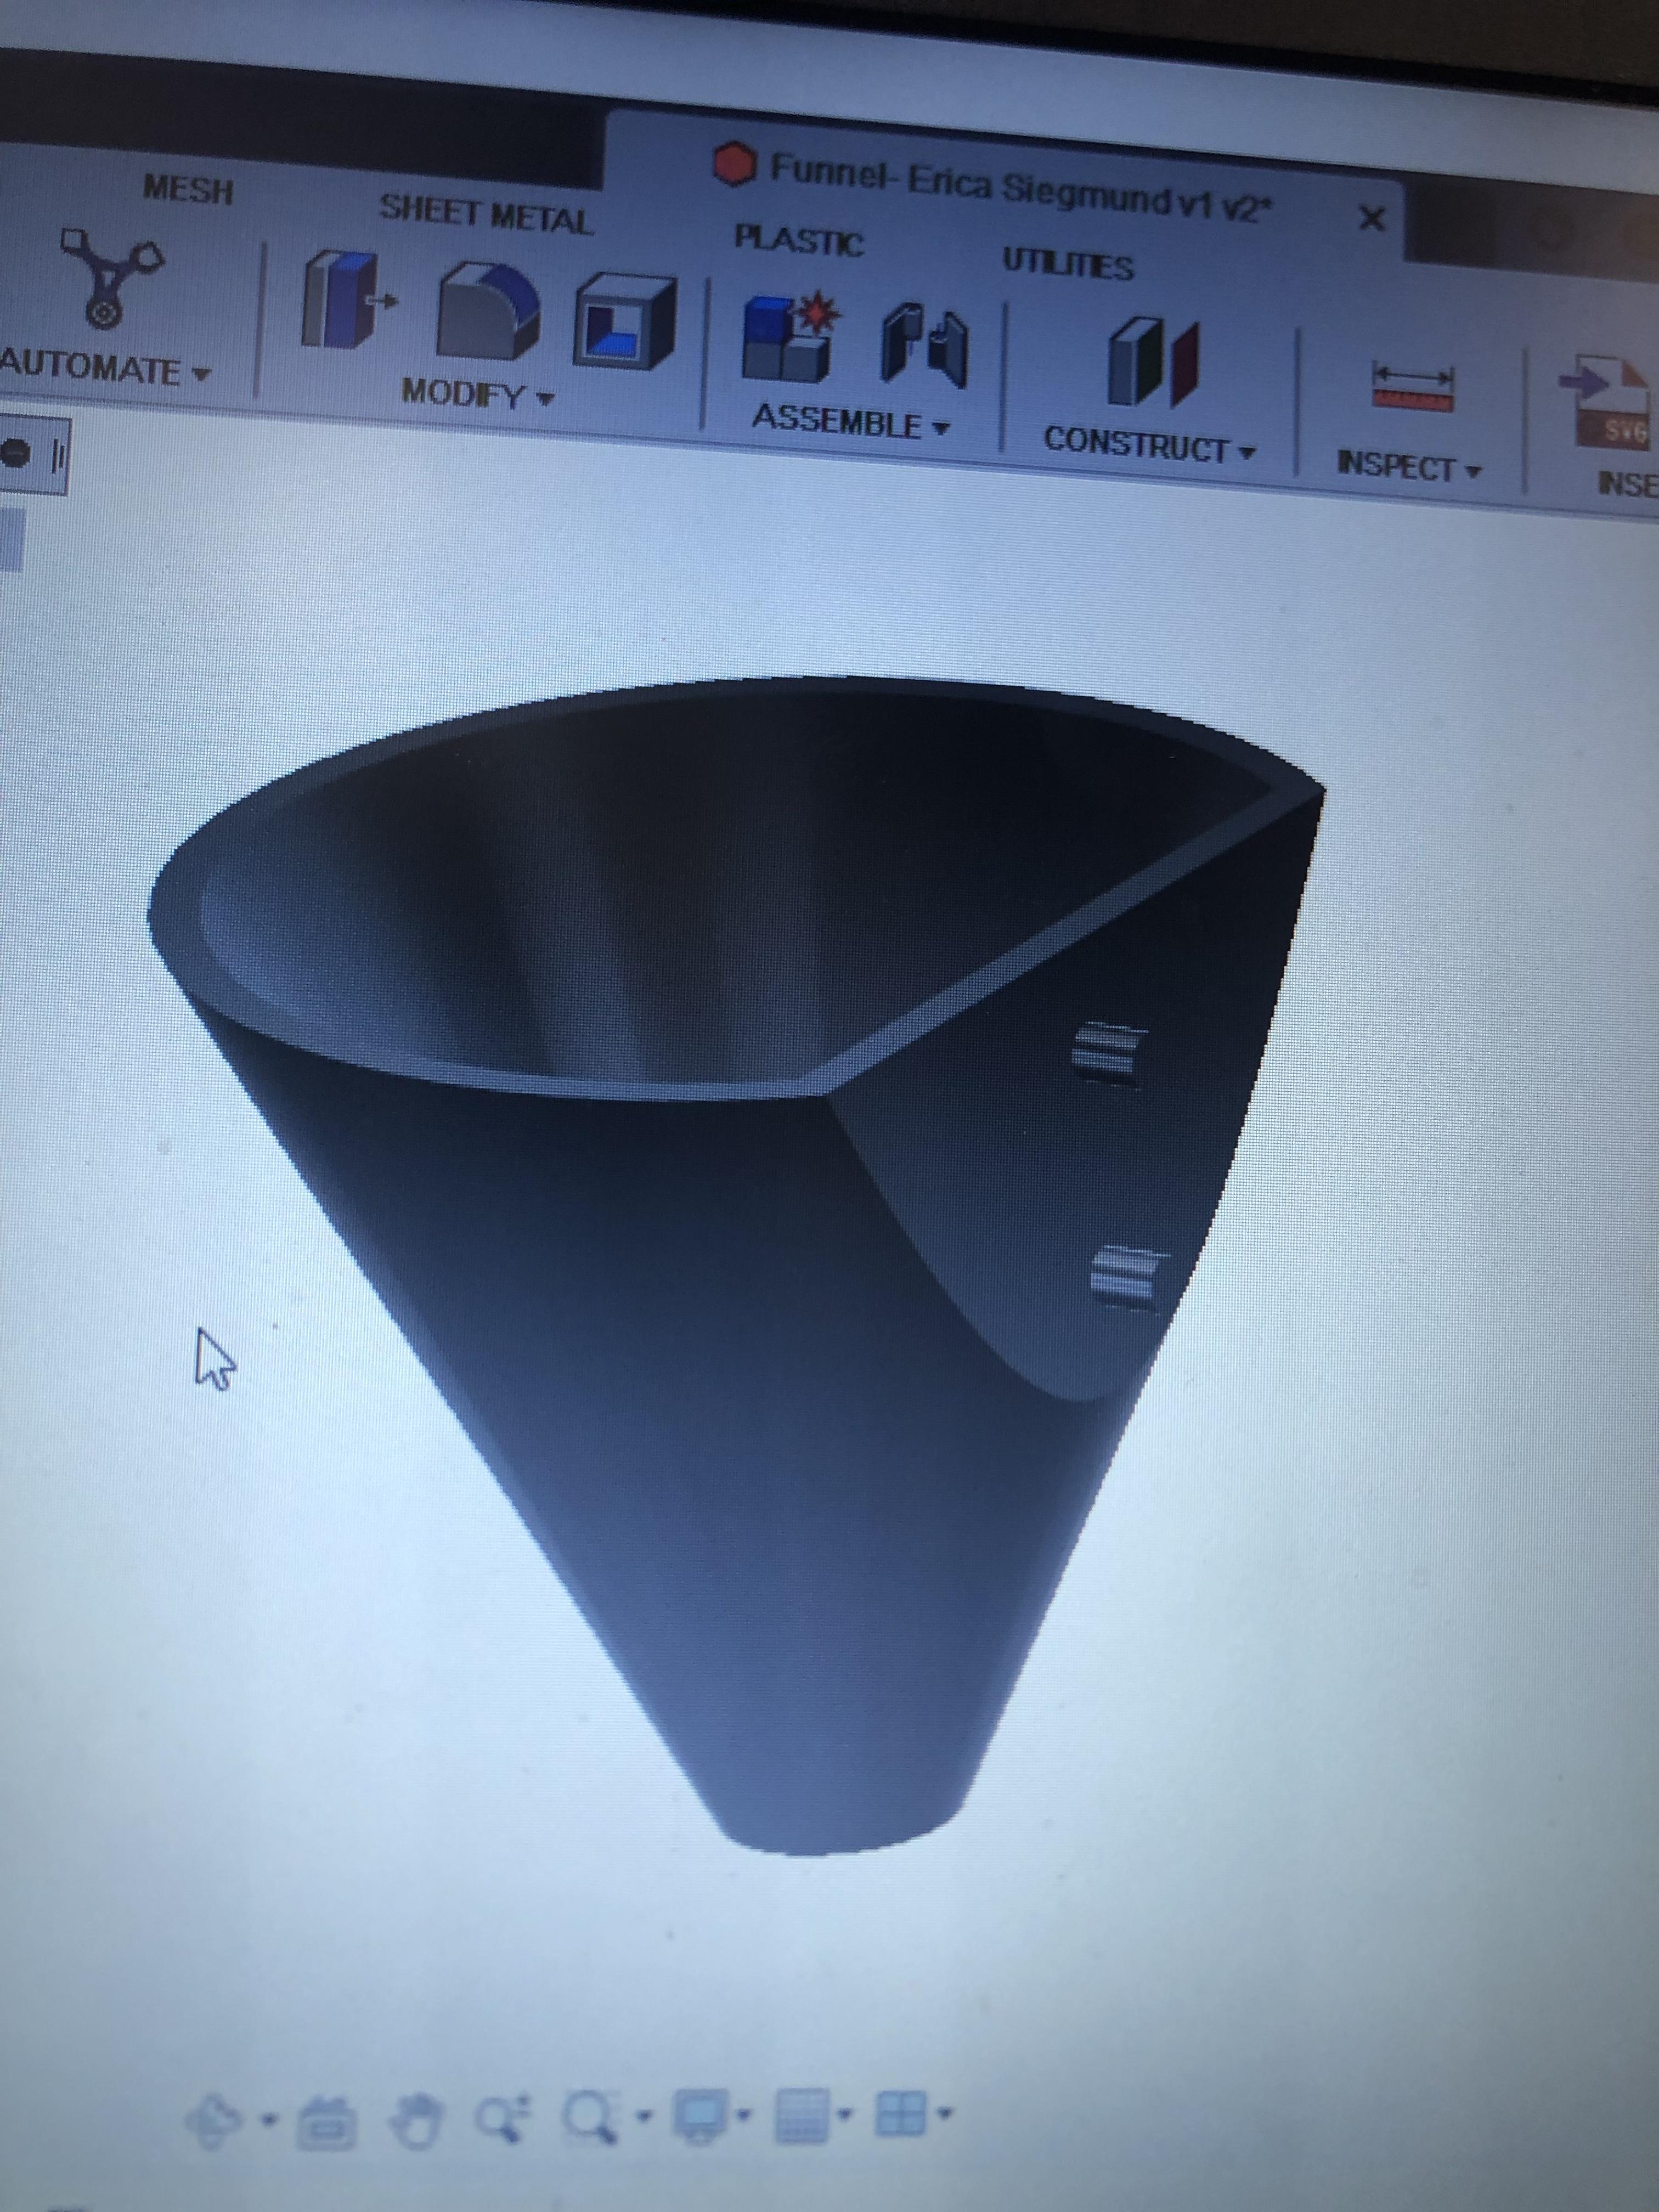
Fusion 360:
- Create sketch as shown in the picture
- Revolve the sketch
- Use sketches and the extrude tool to create a flat part on the funnel
- Sketch and extrude two cylinders to fit into the holes of the peg board
End Cup for Marble
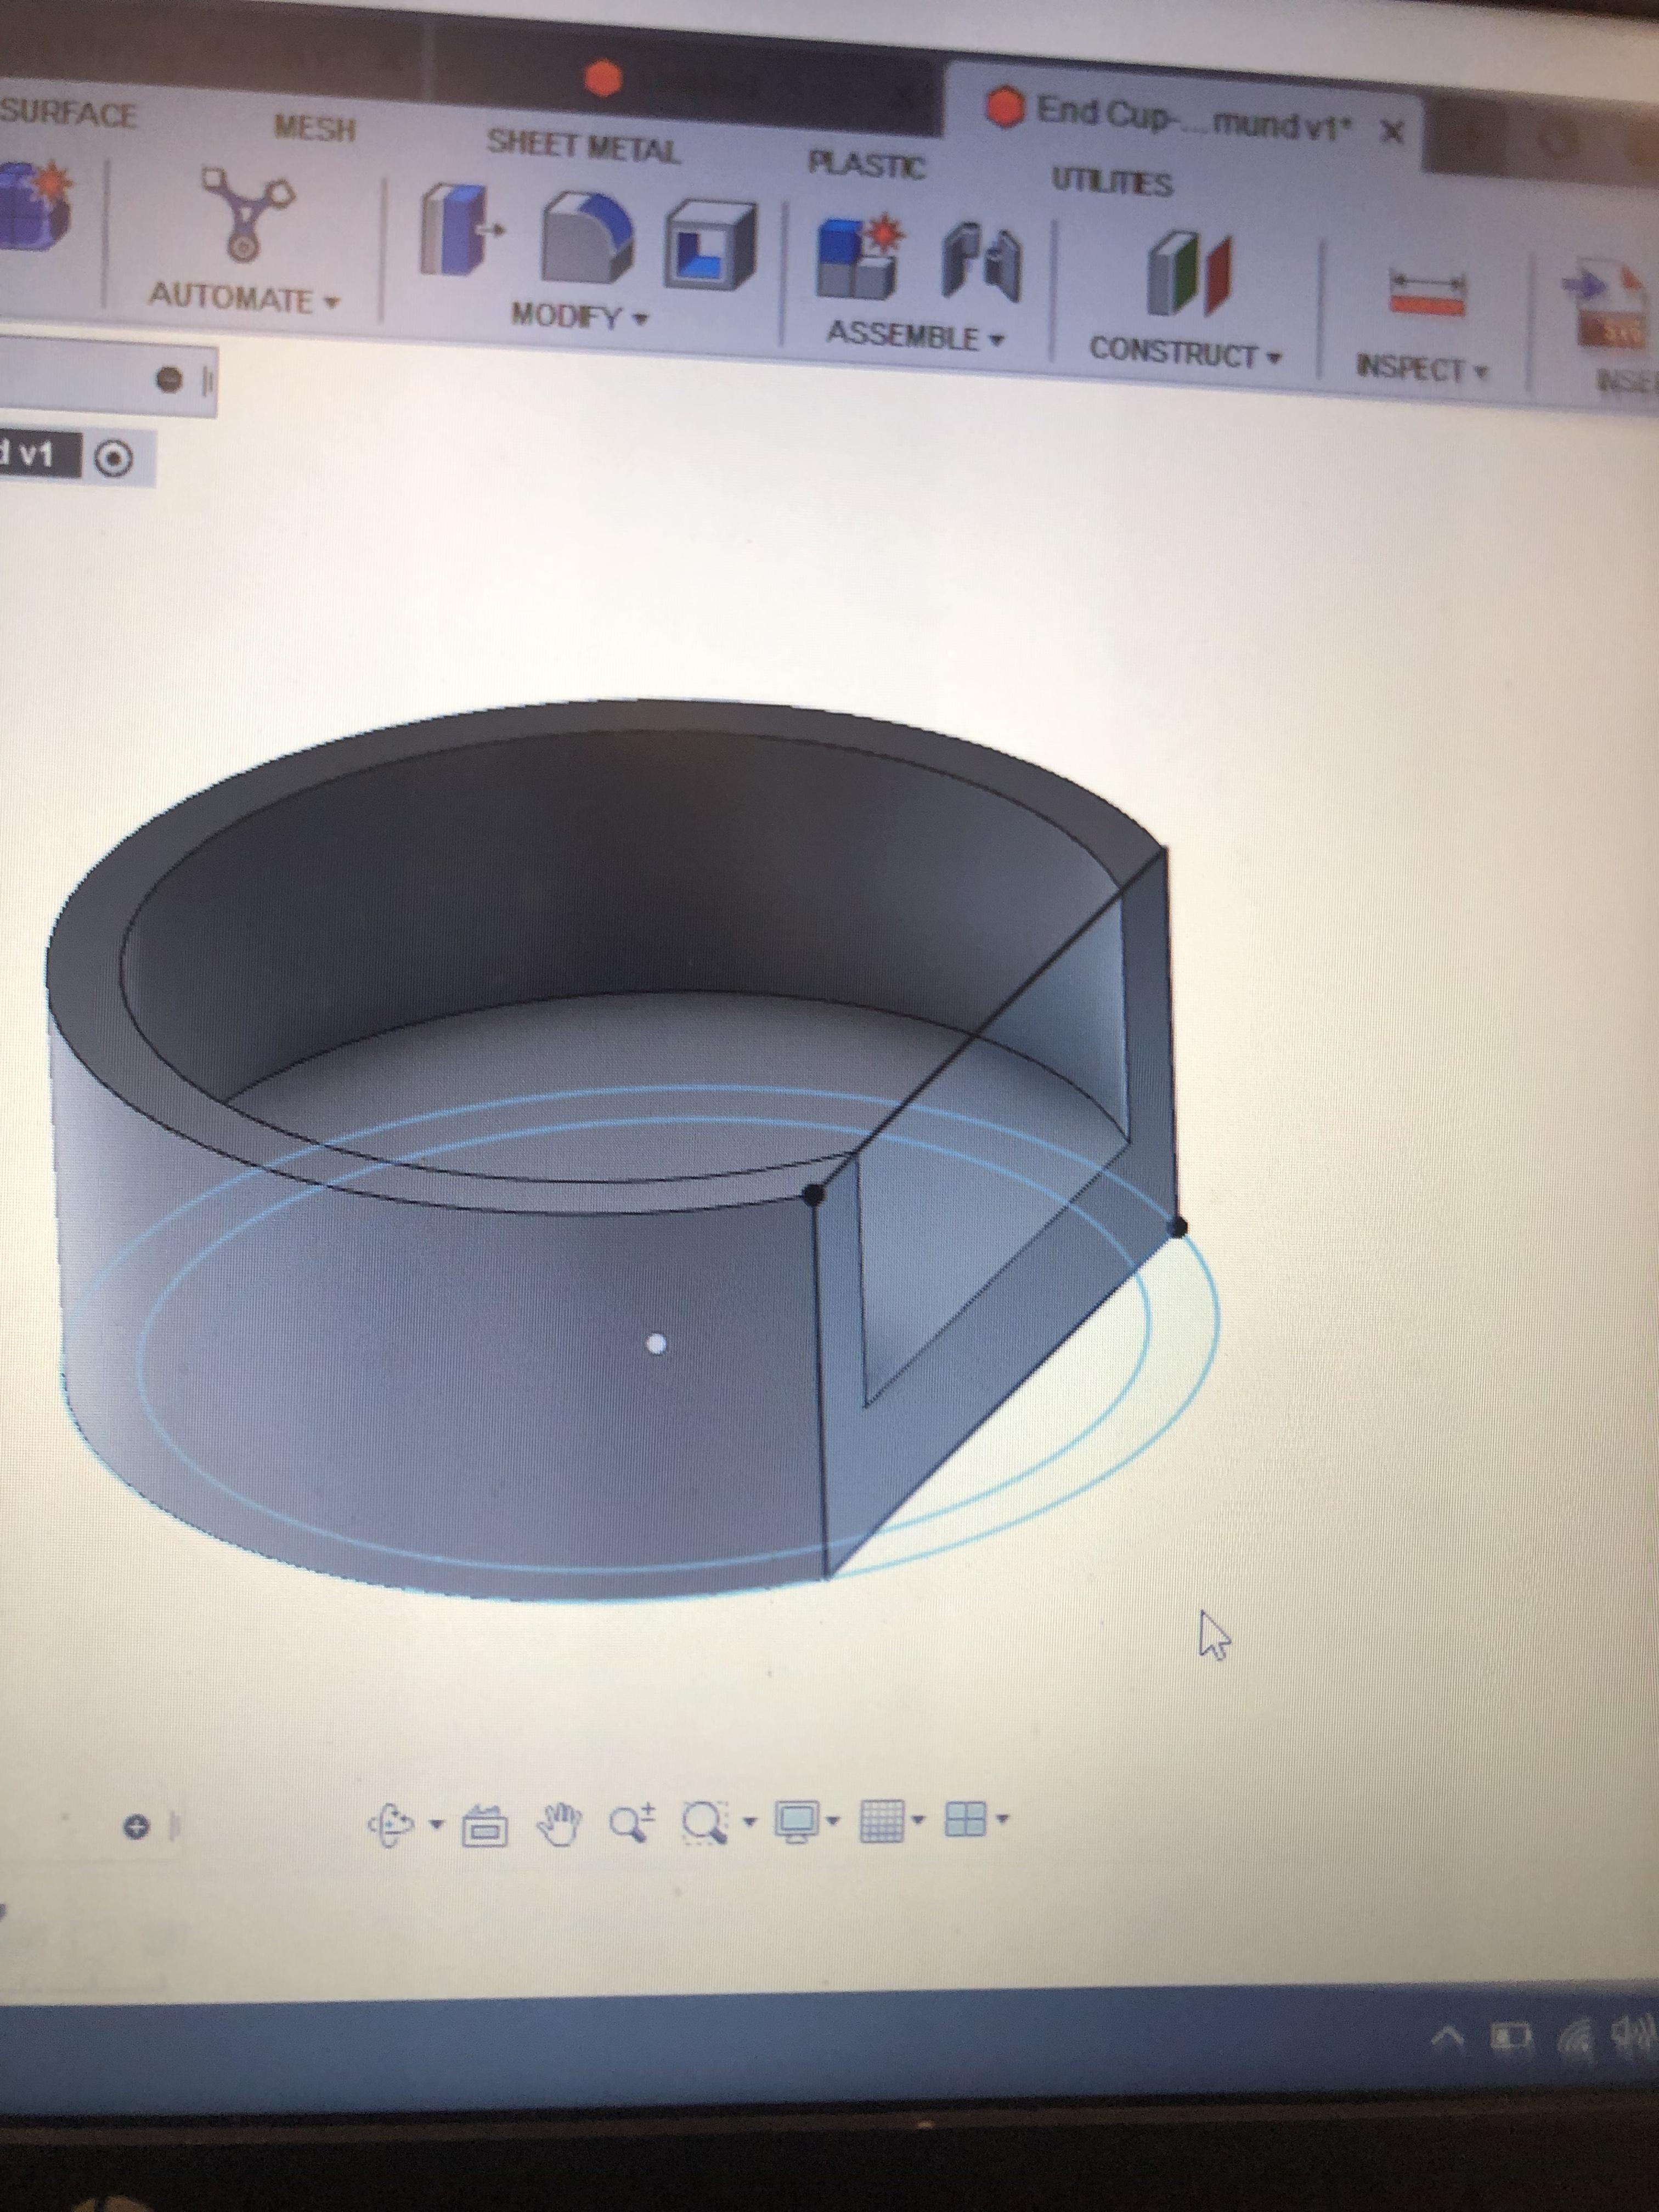

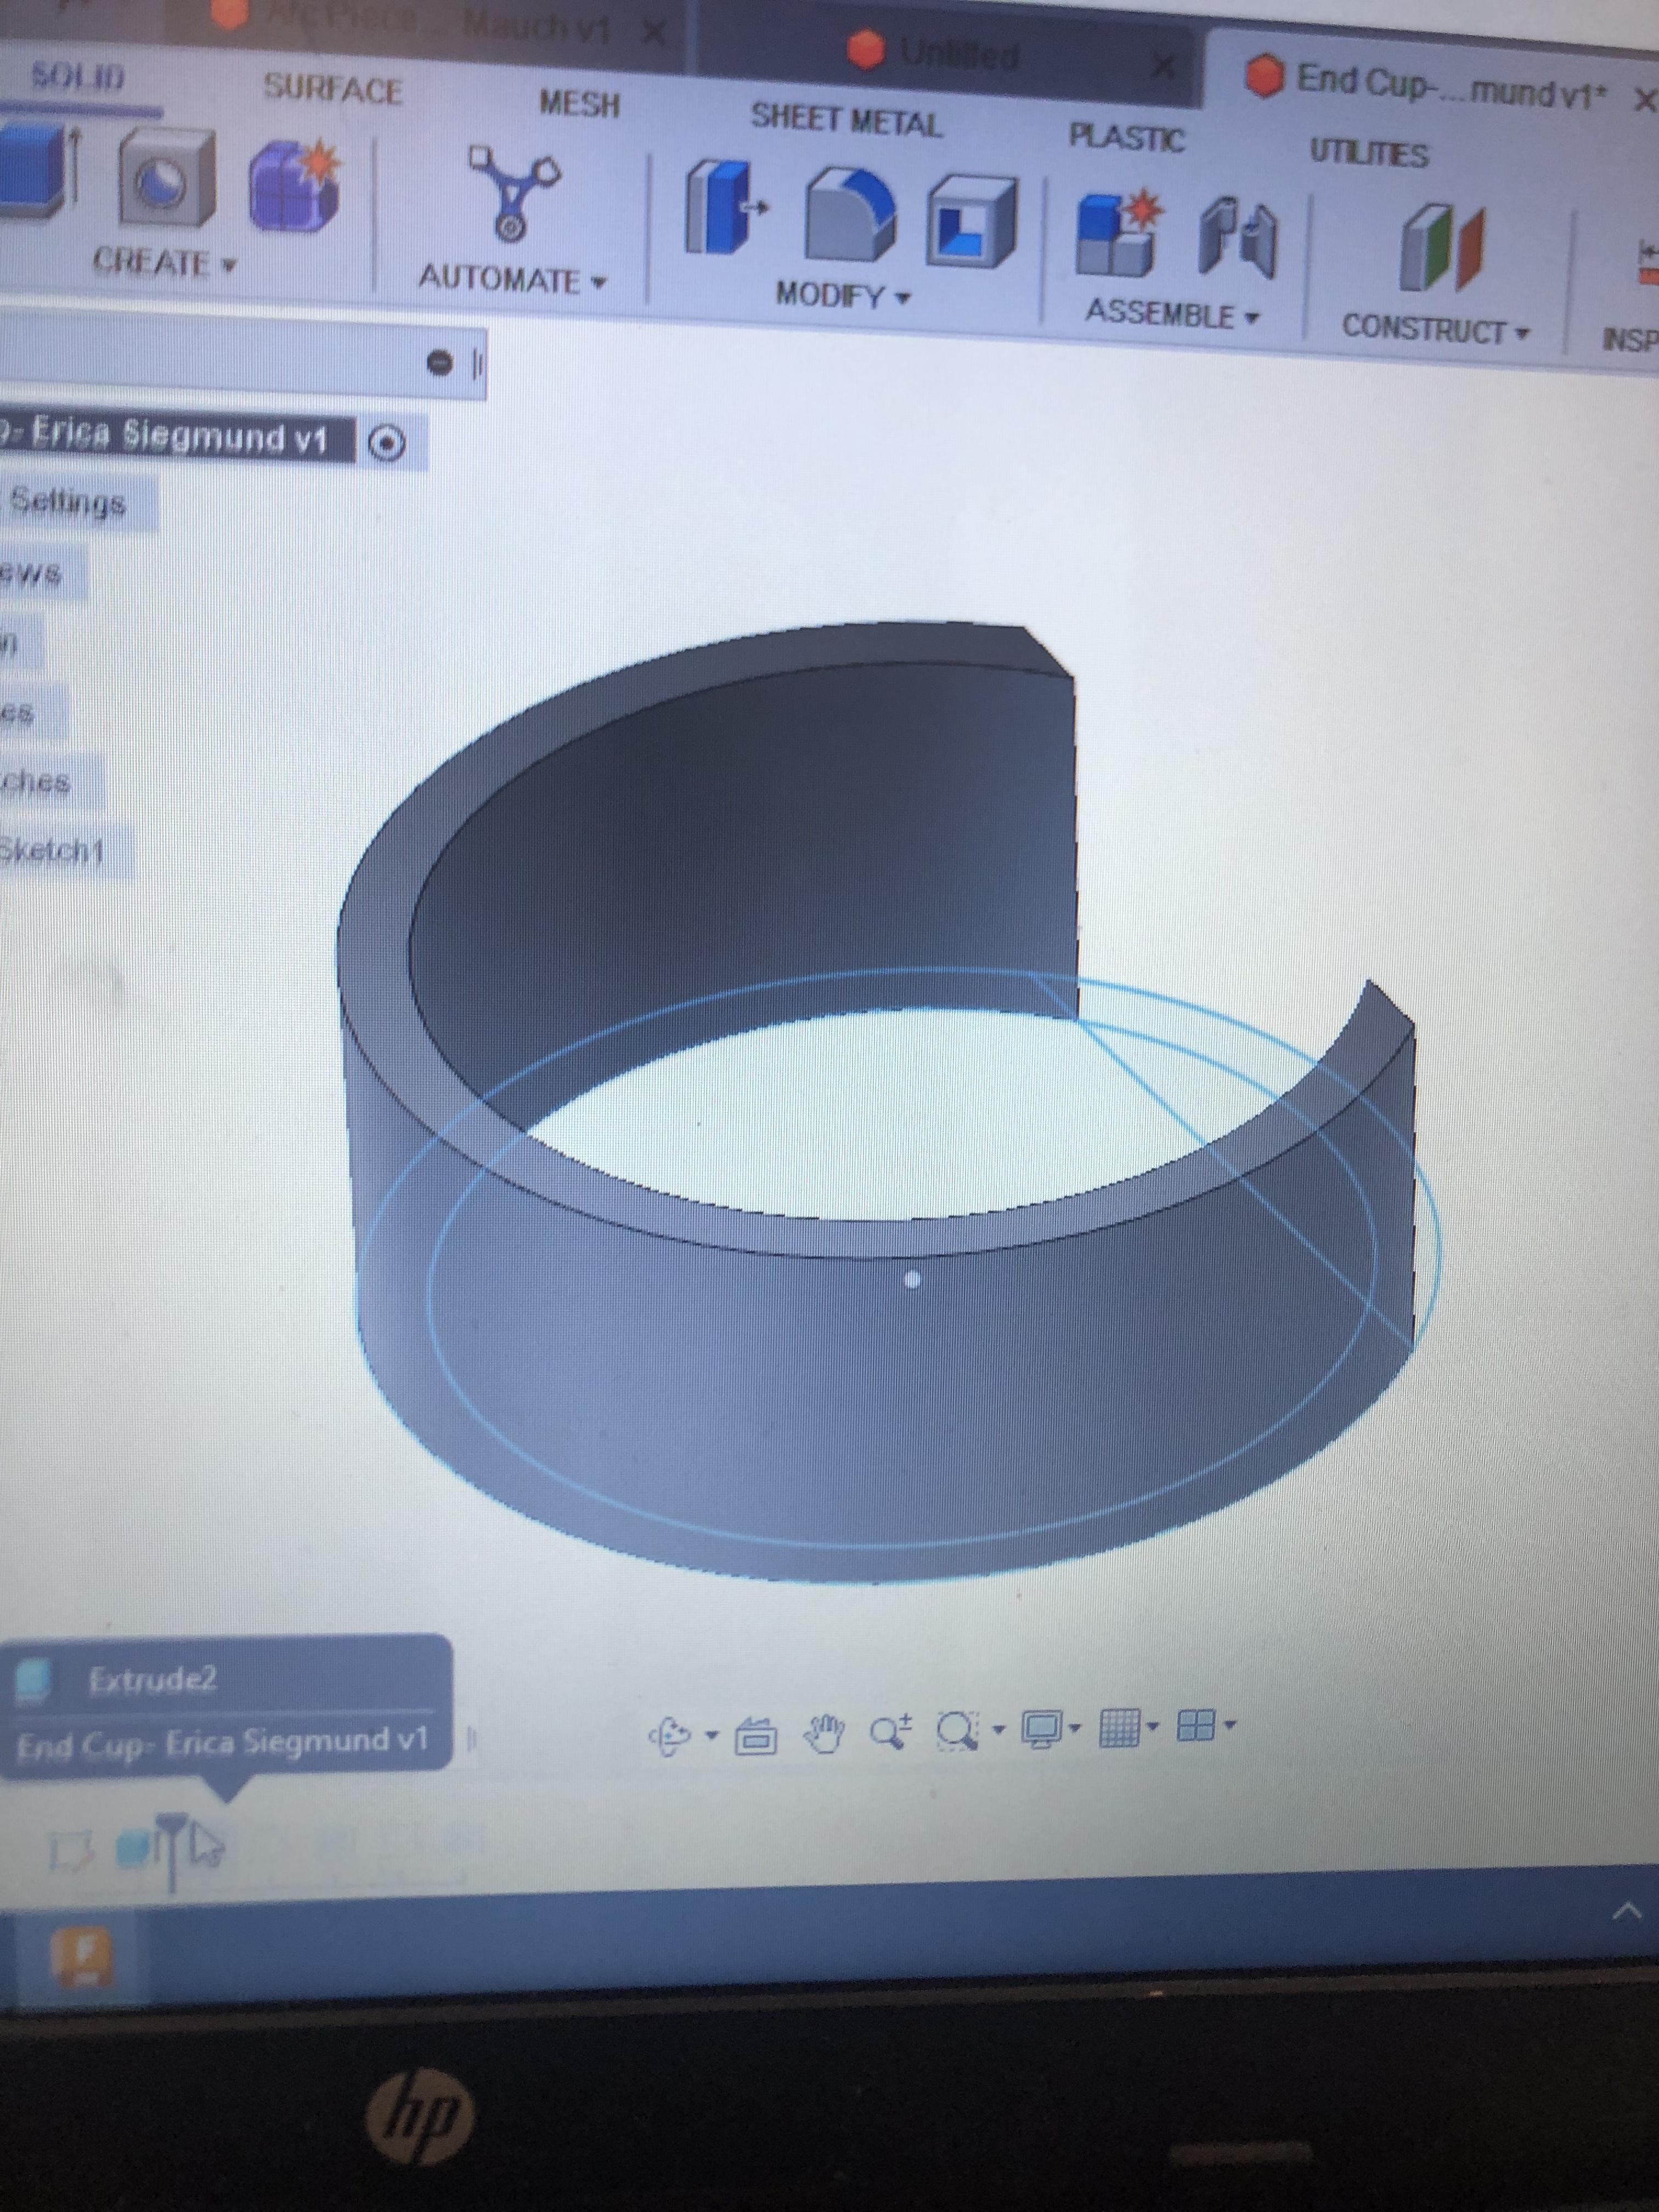
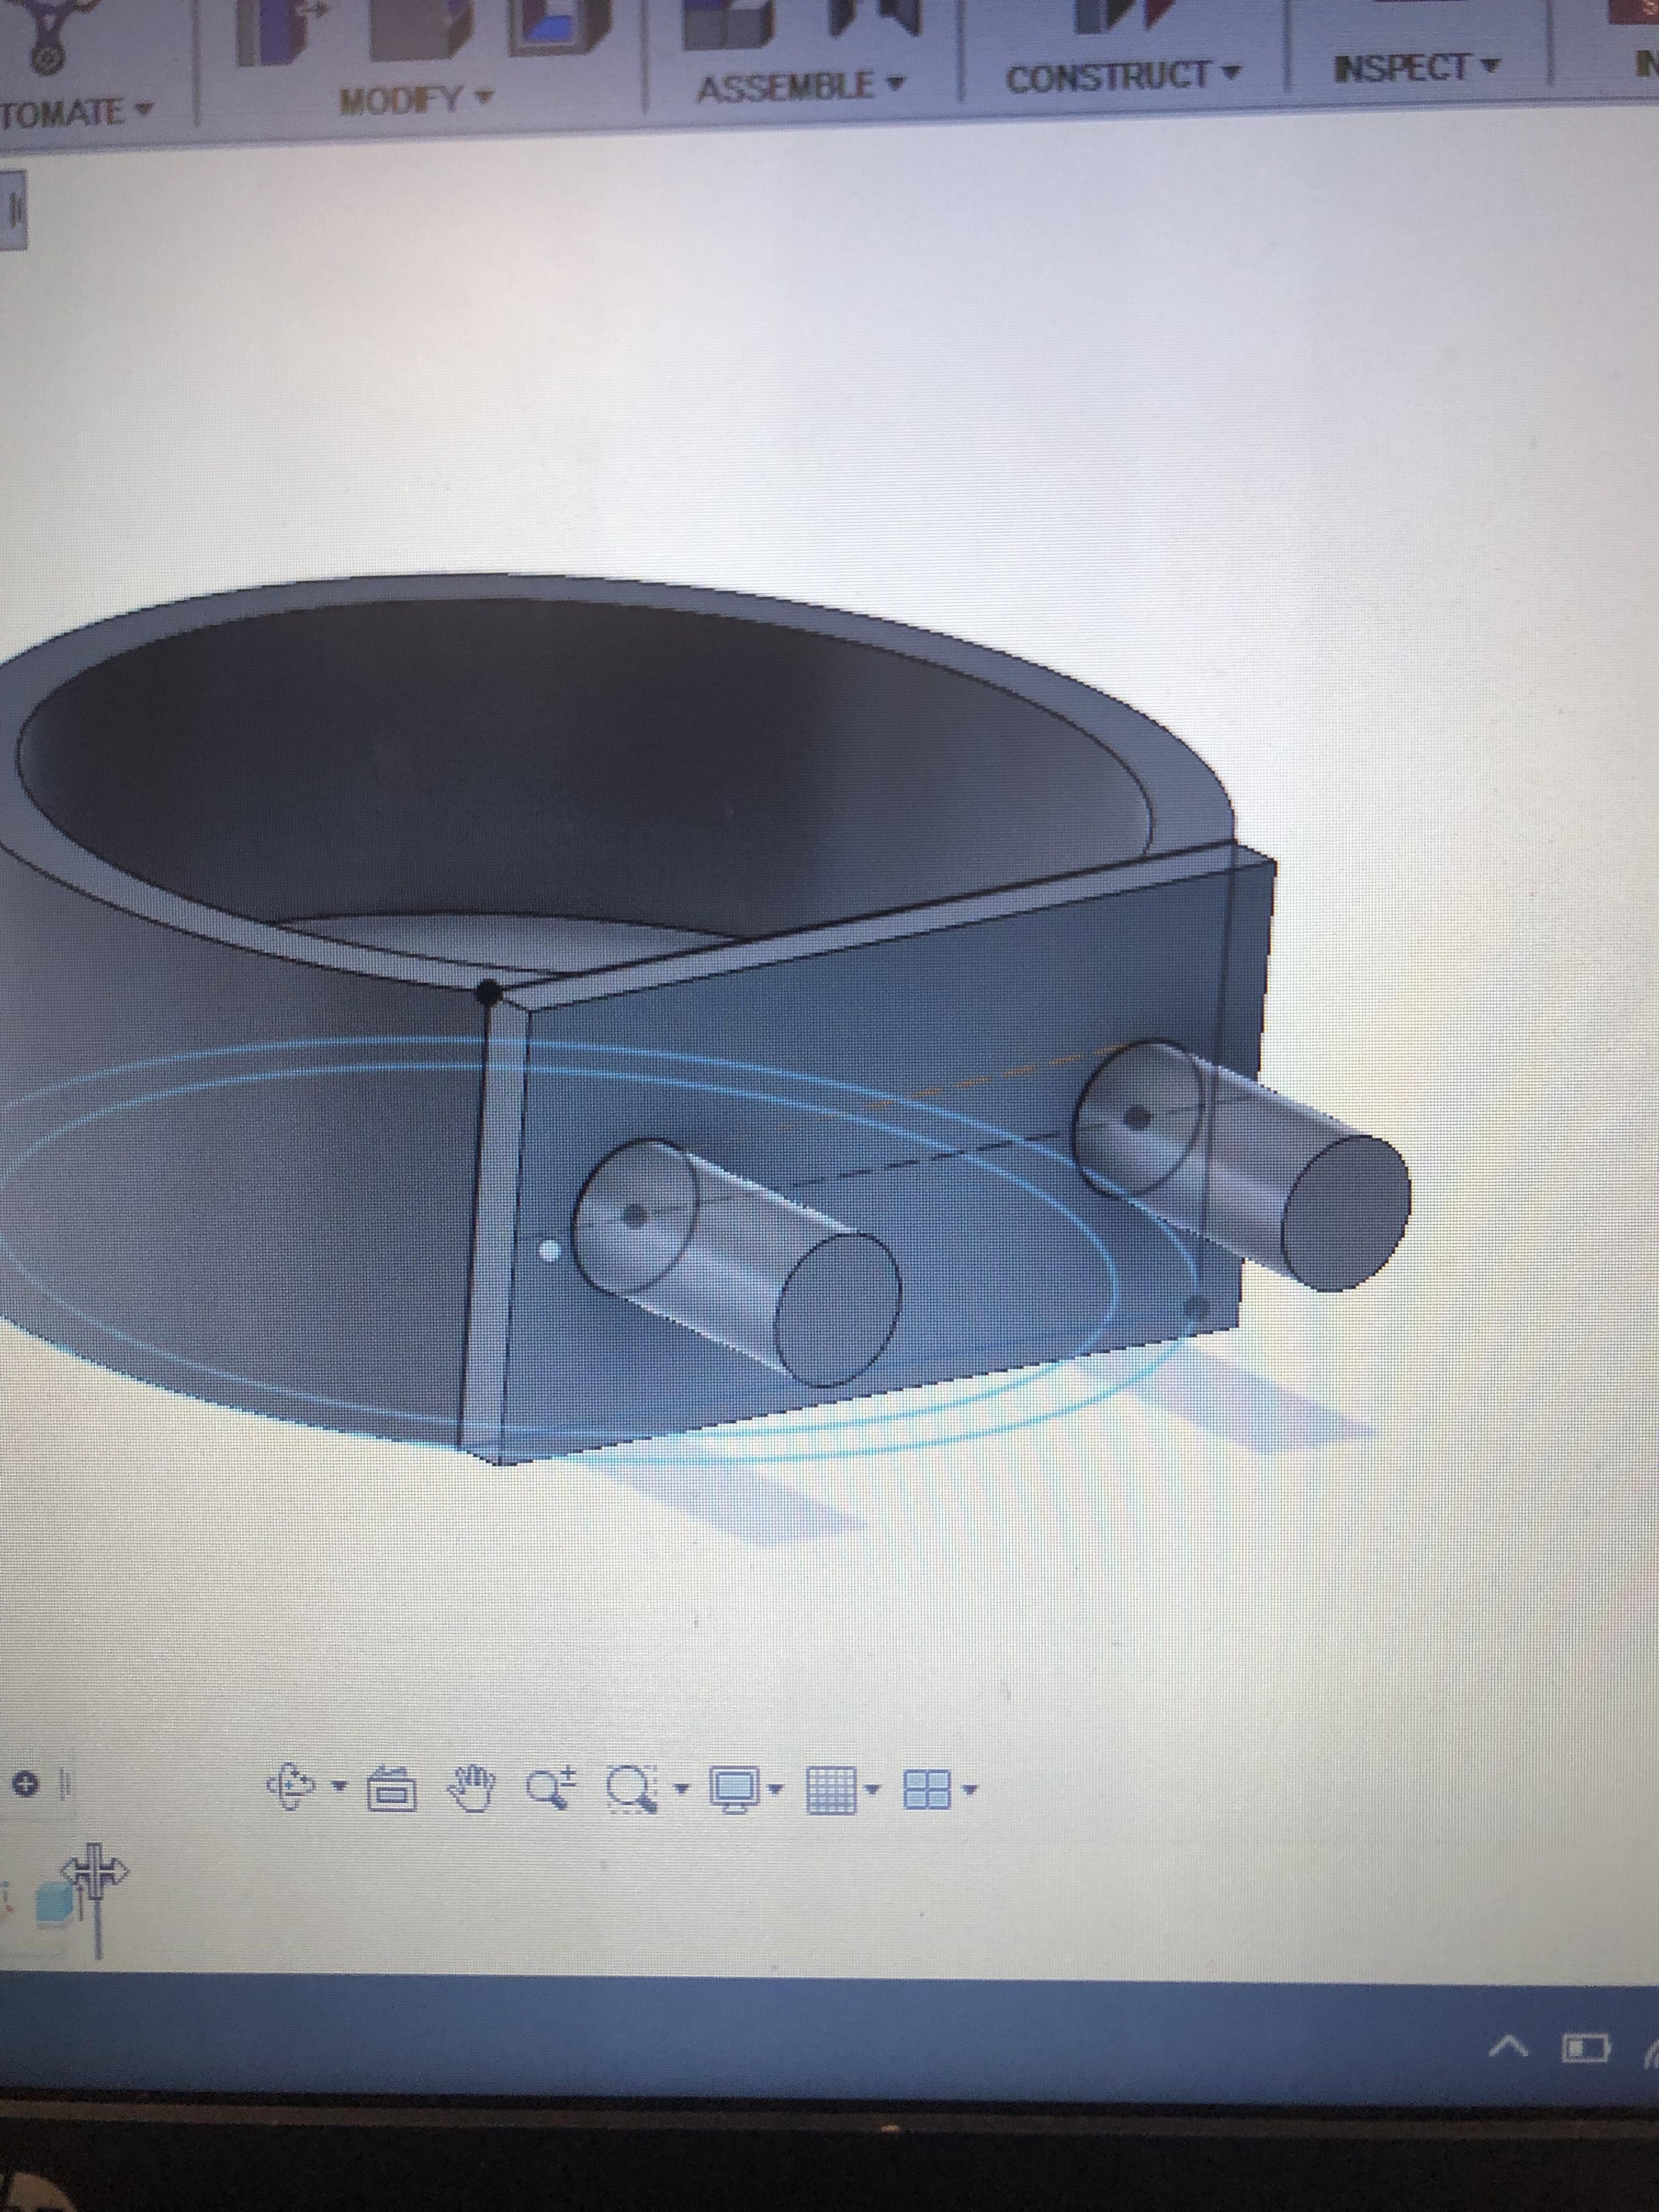
Fusion 360:
- Create sketch as shown in the picture
- Extrude the rounded section of the wall
- Extrude a flat wall on the back
- Extrude two cylinders on the back to fit into the holes of the peg board.
Connecting Piece
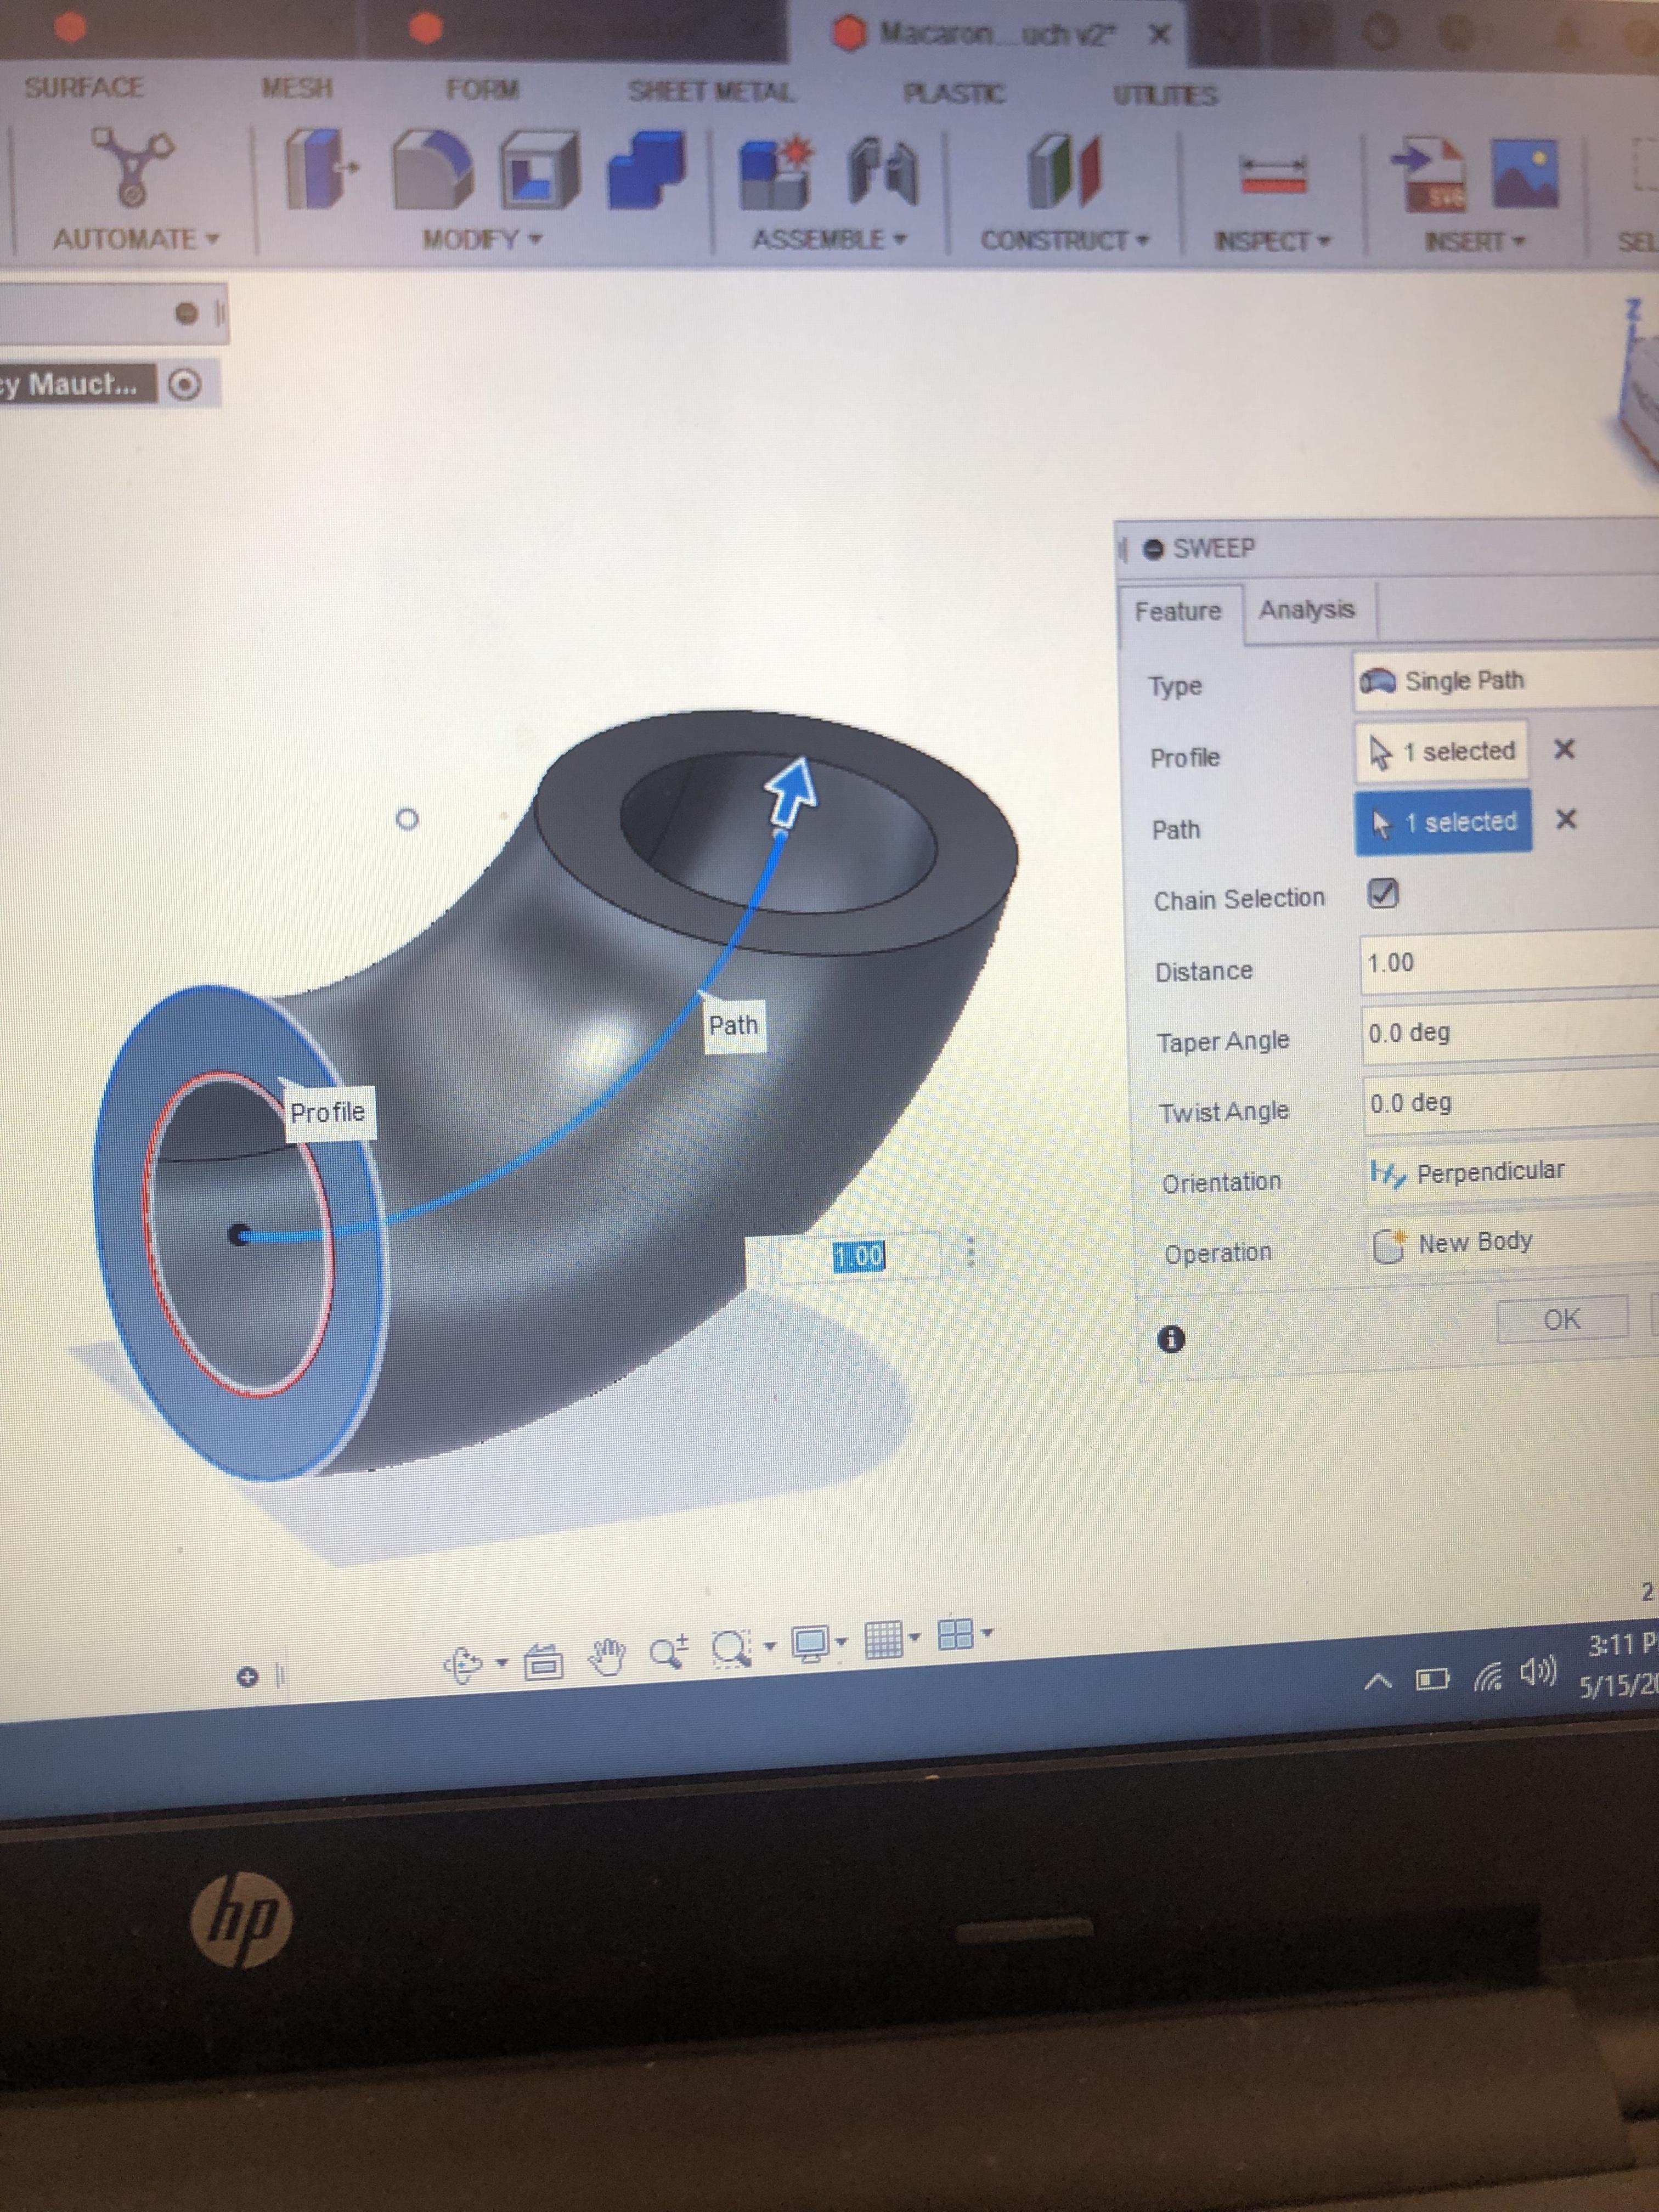
Fusion 360:
- Create a sketch
- Two circles and a curved line (make the smaller circle the size of the pipe you want the piece to fit on)
- Use the sweep tool
- Extrude a section off of both sides of the piece so that the pipe will easily fit
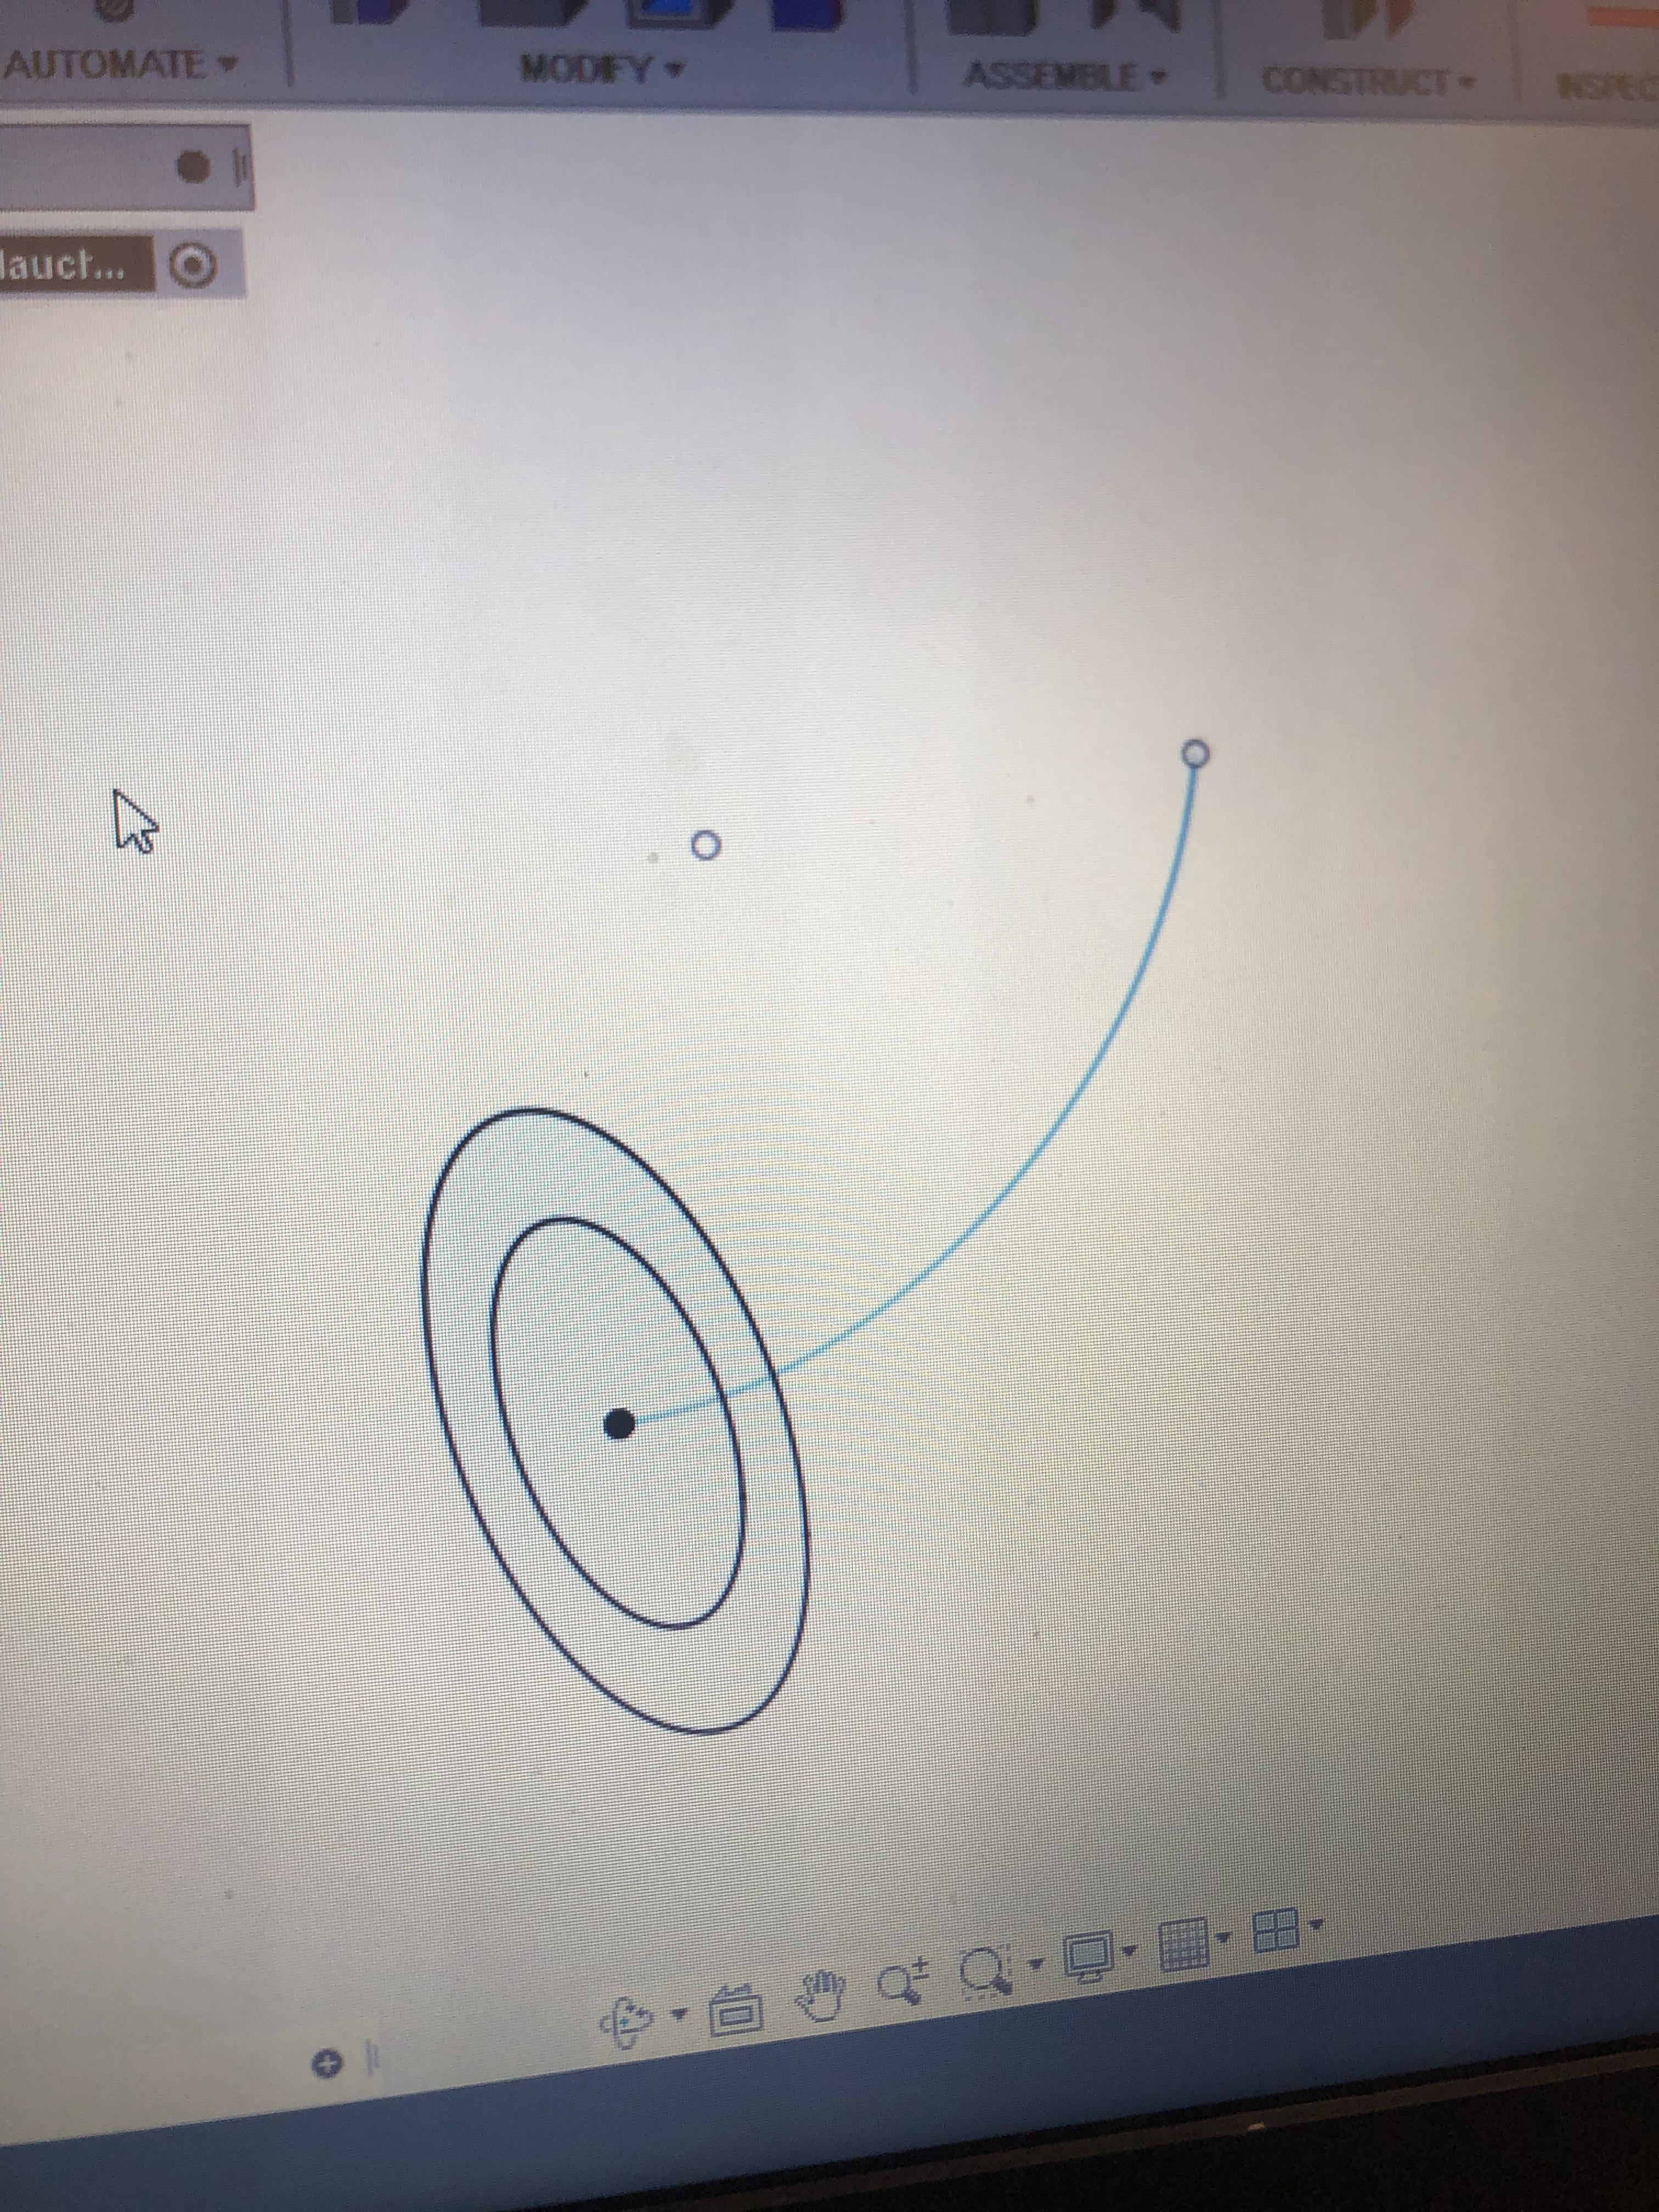
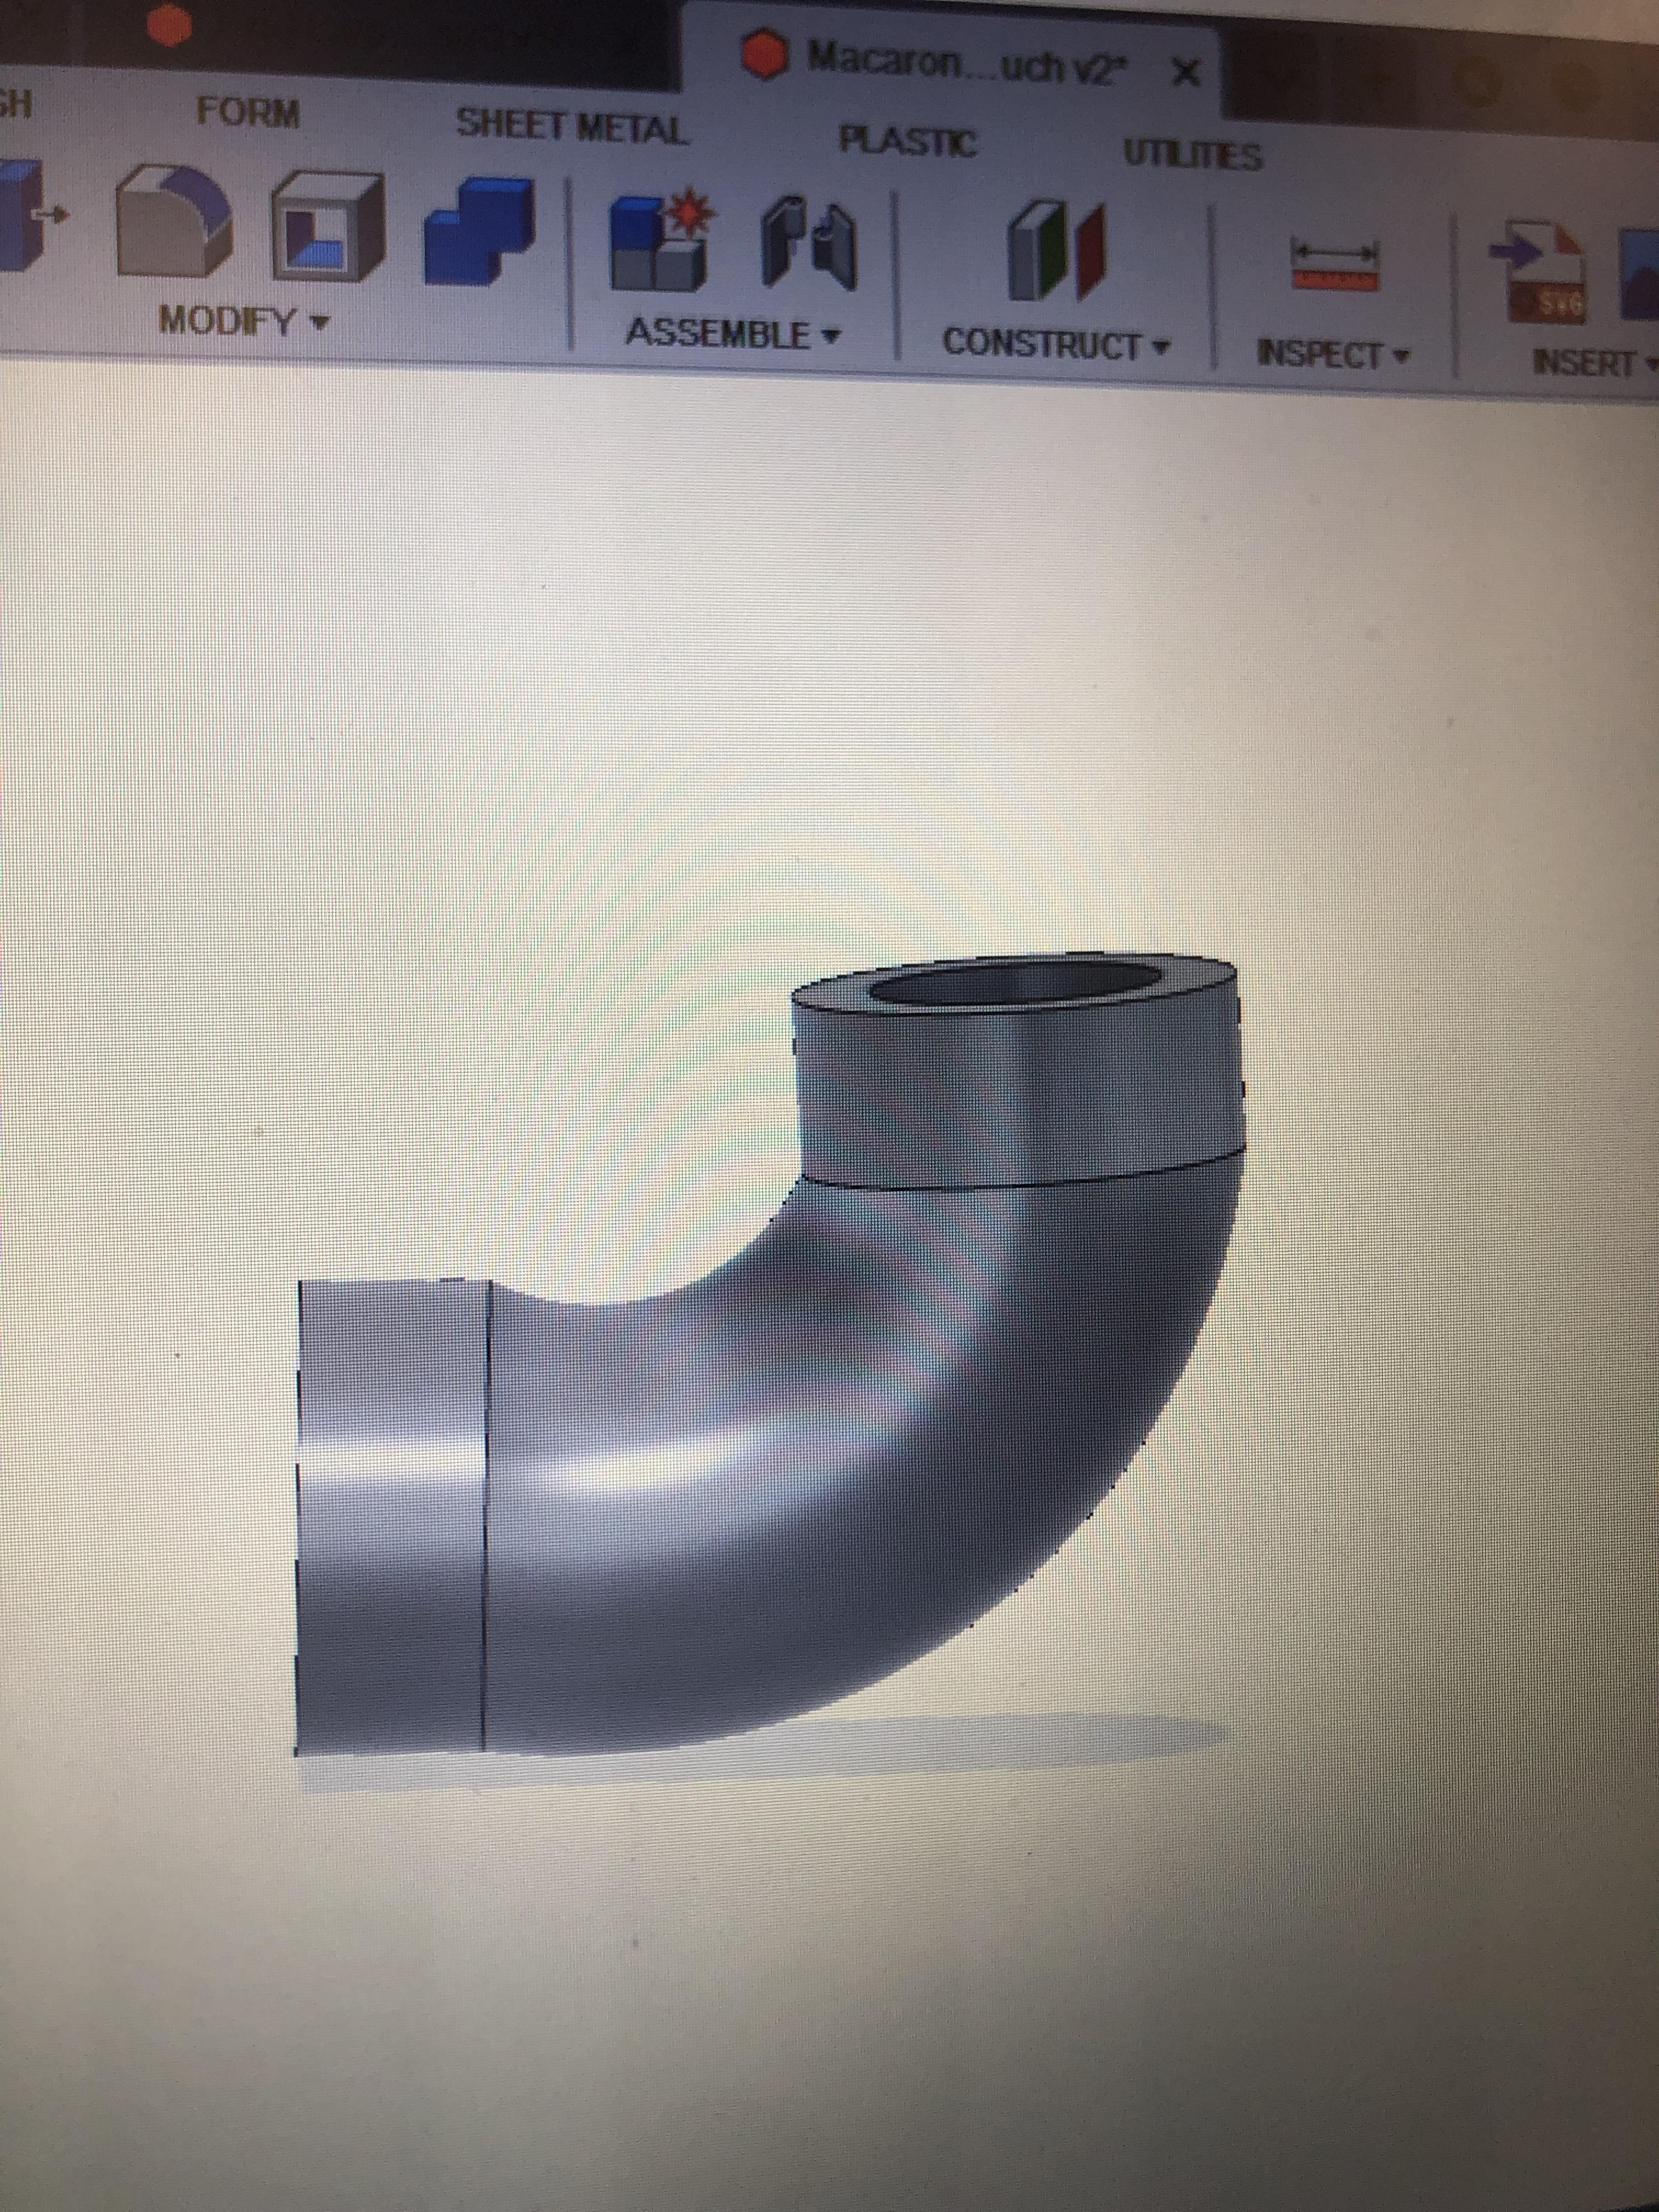
Curvy Pipe Piece


Fusion 360:
- Create a sketch of a curvy line
- Use the pipe tool to turn the line into a pipe-like piece
Download Pieces
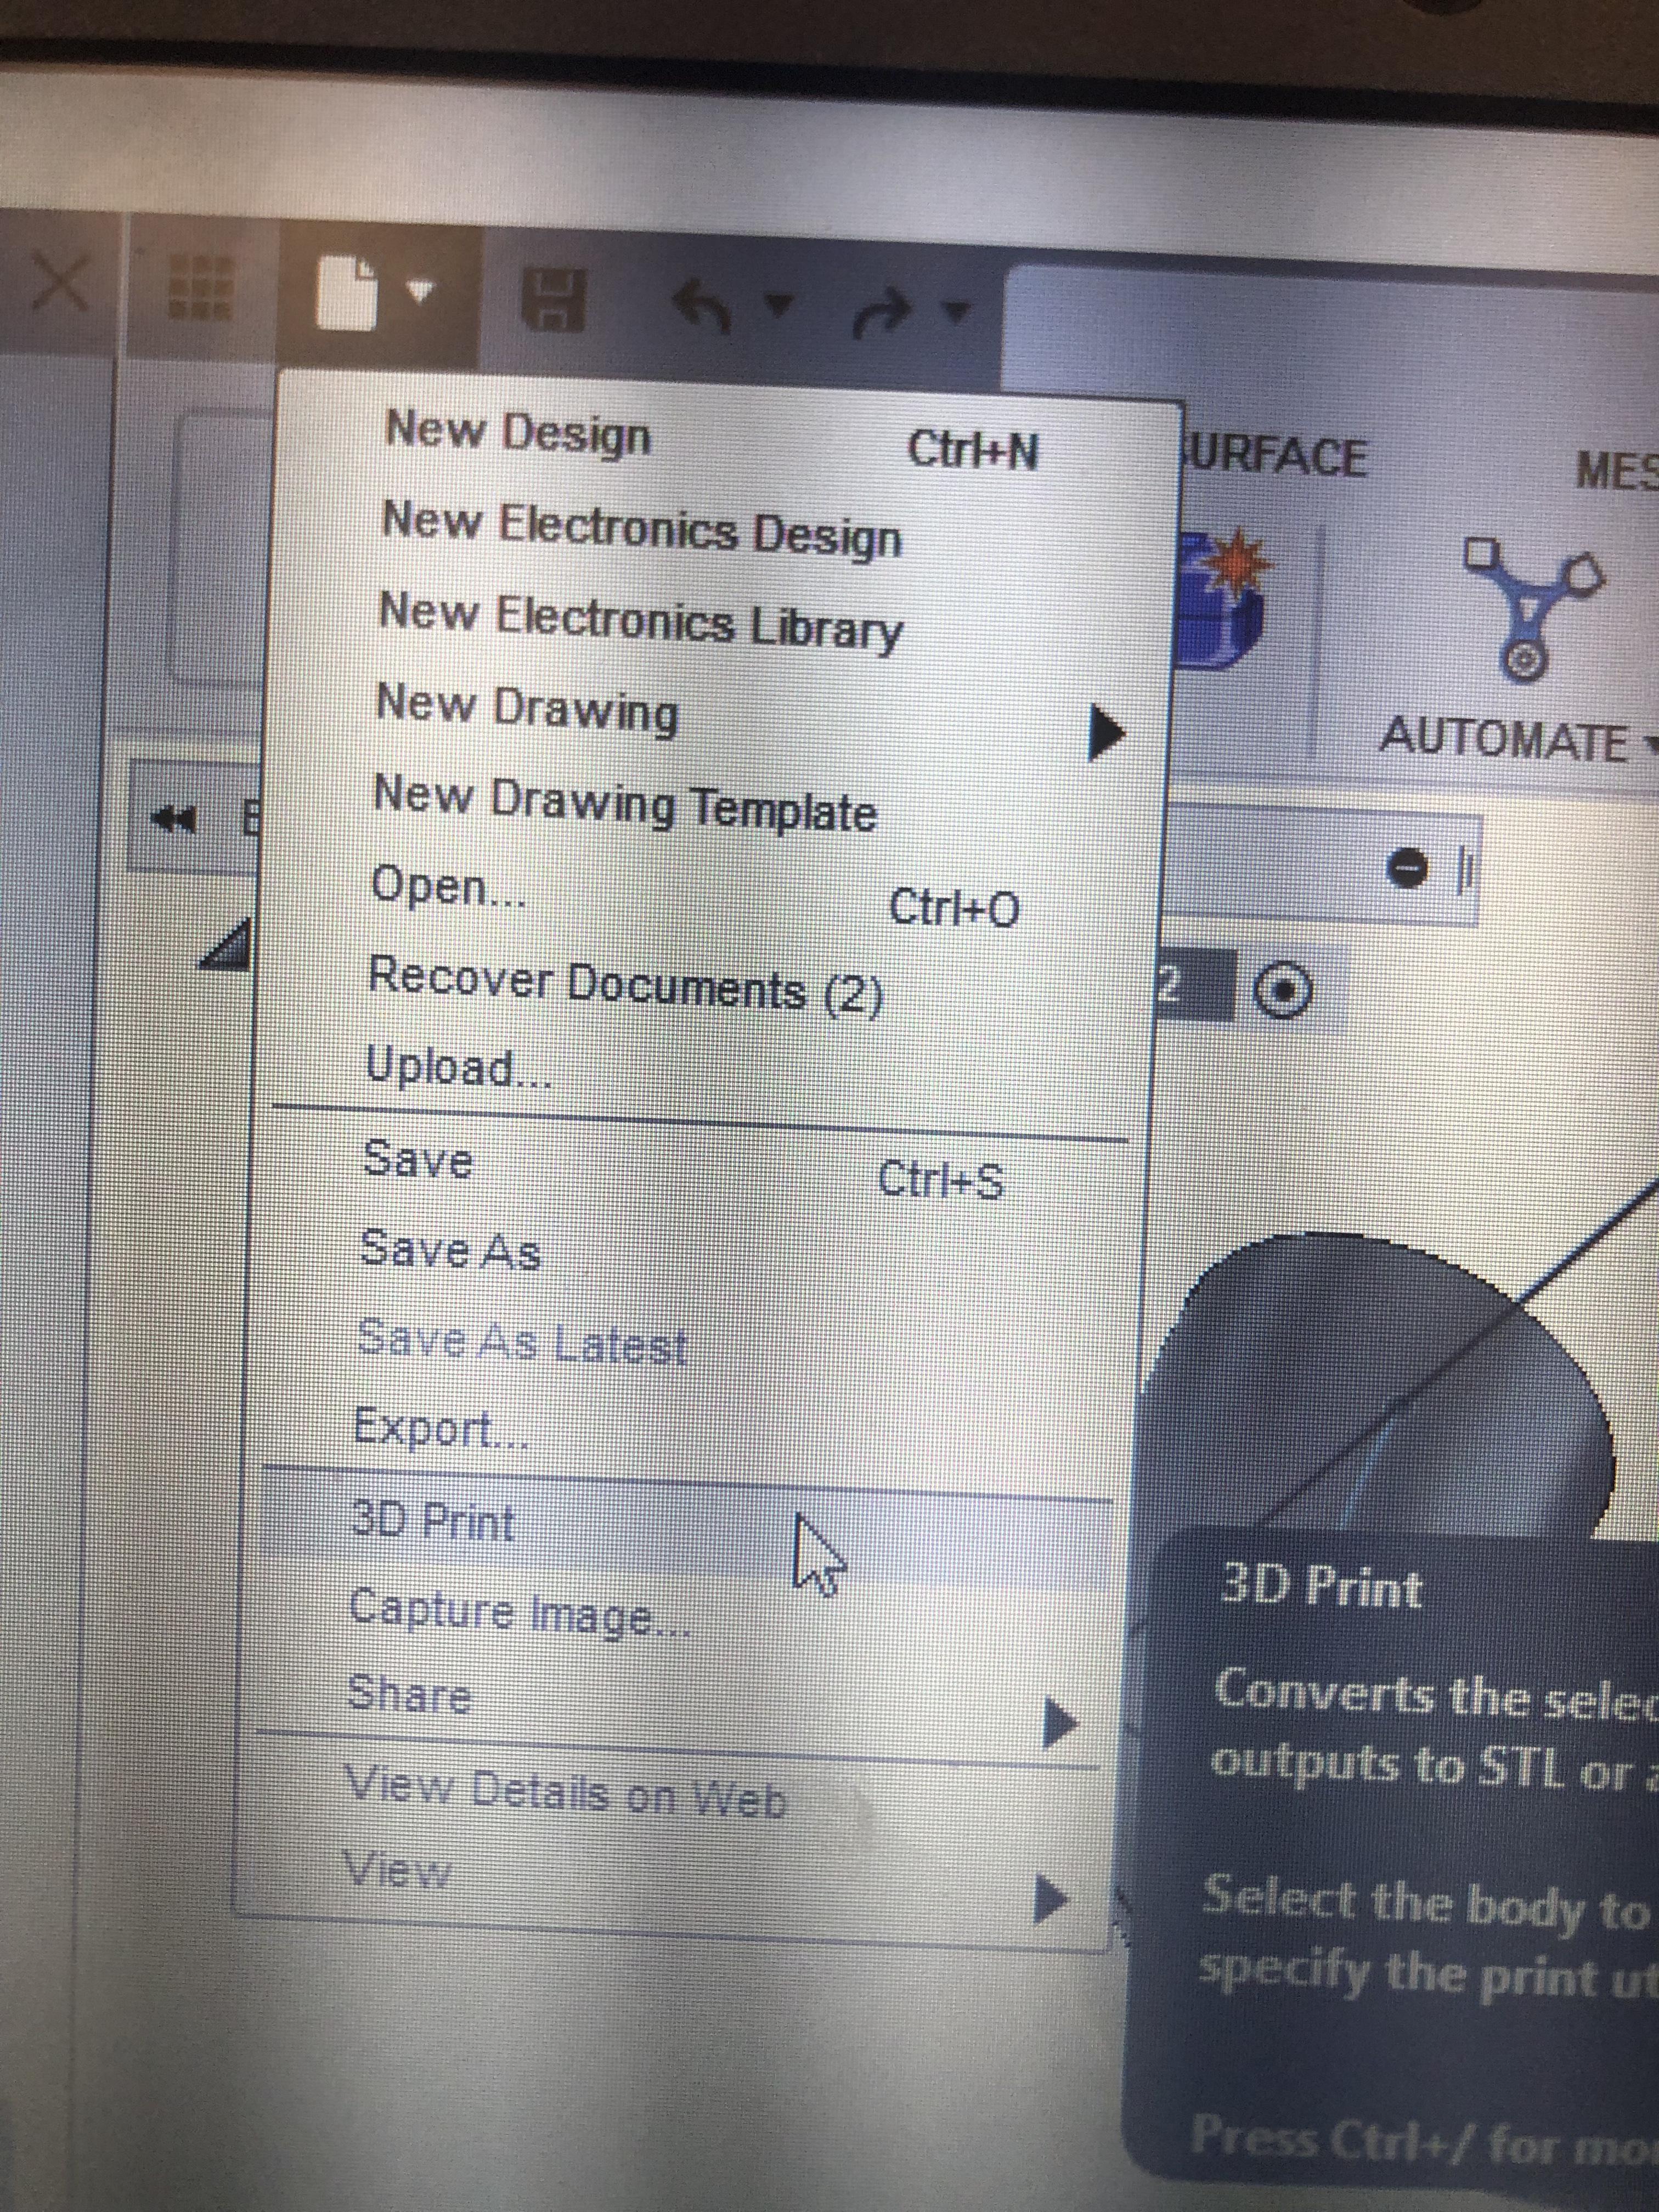
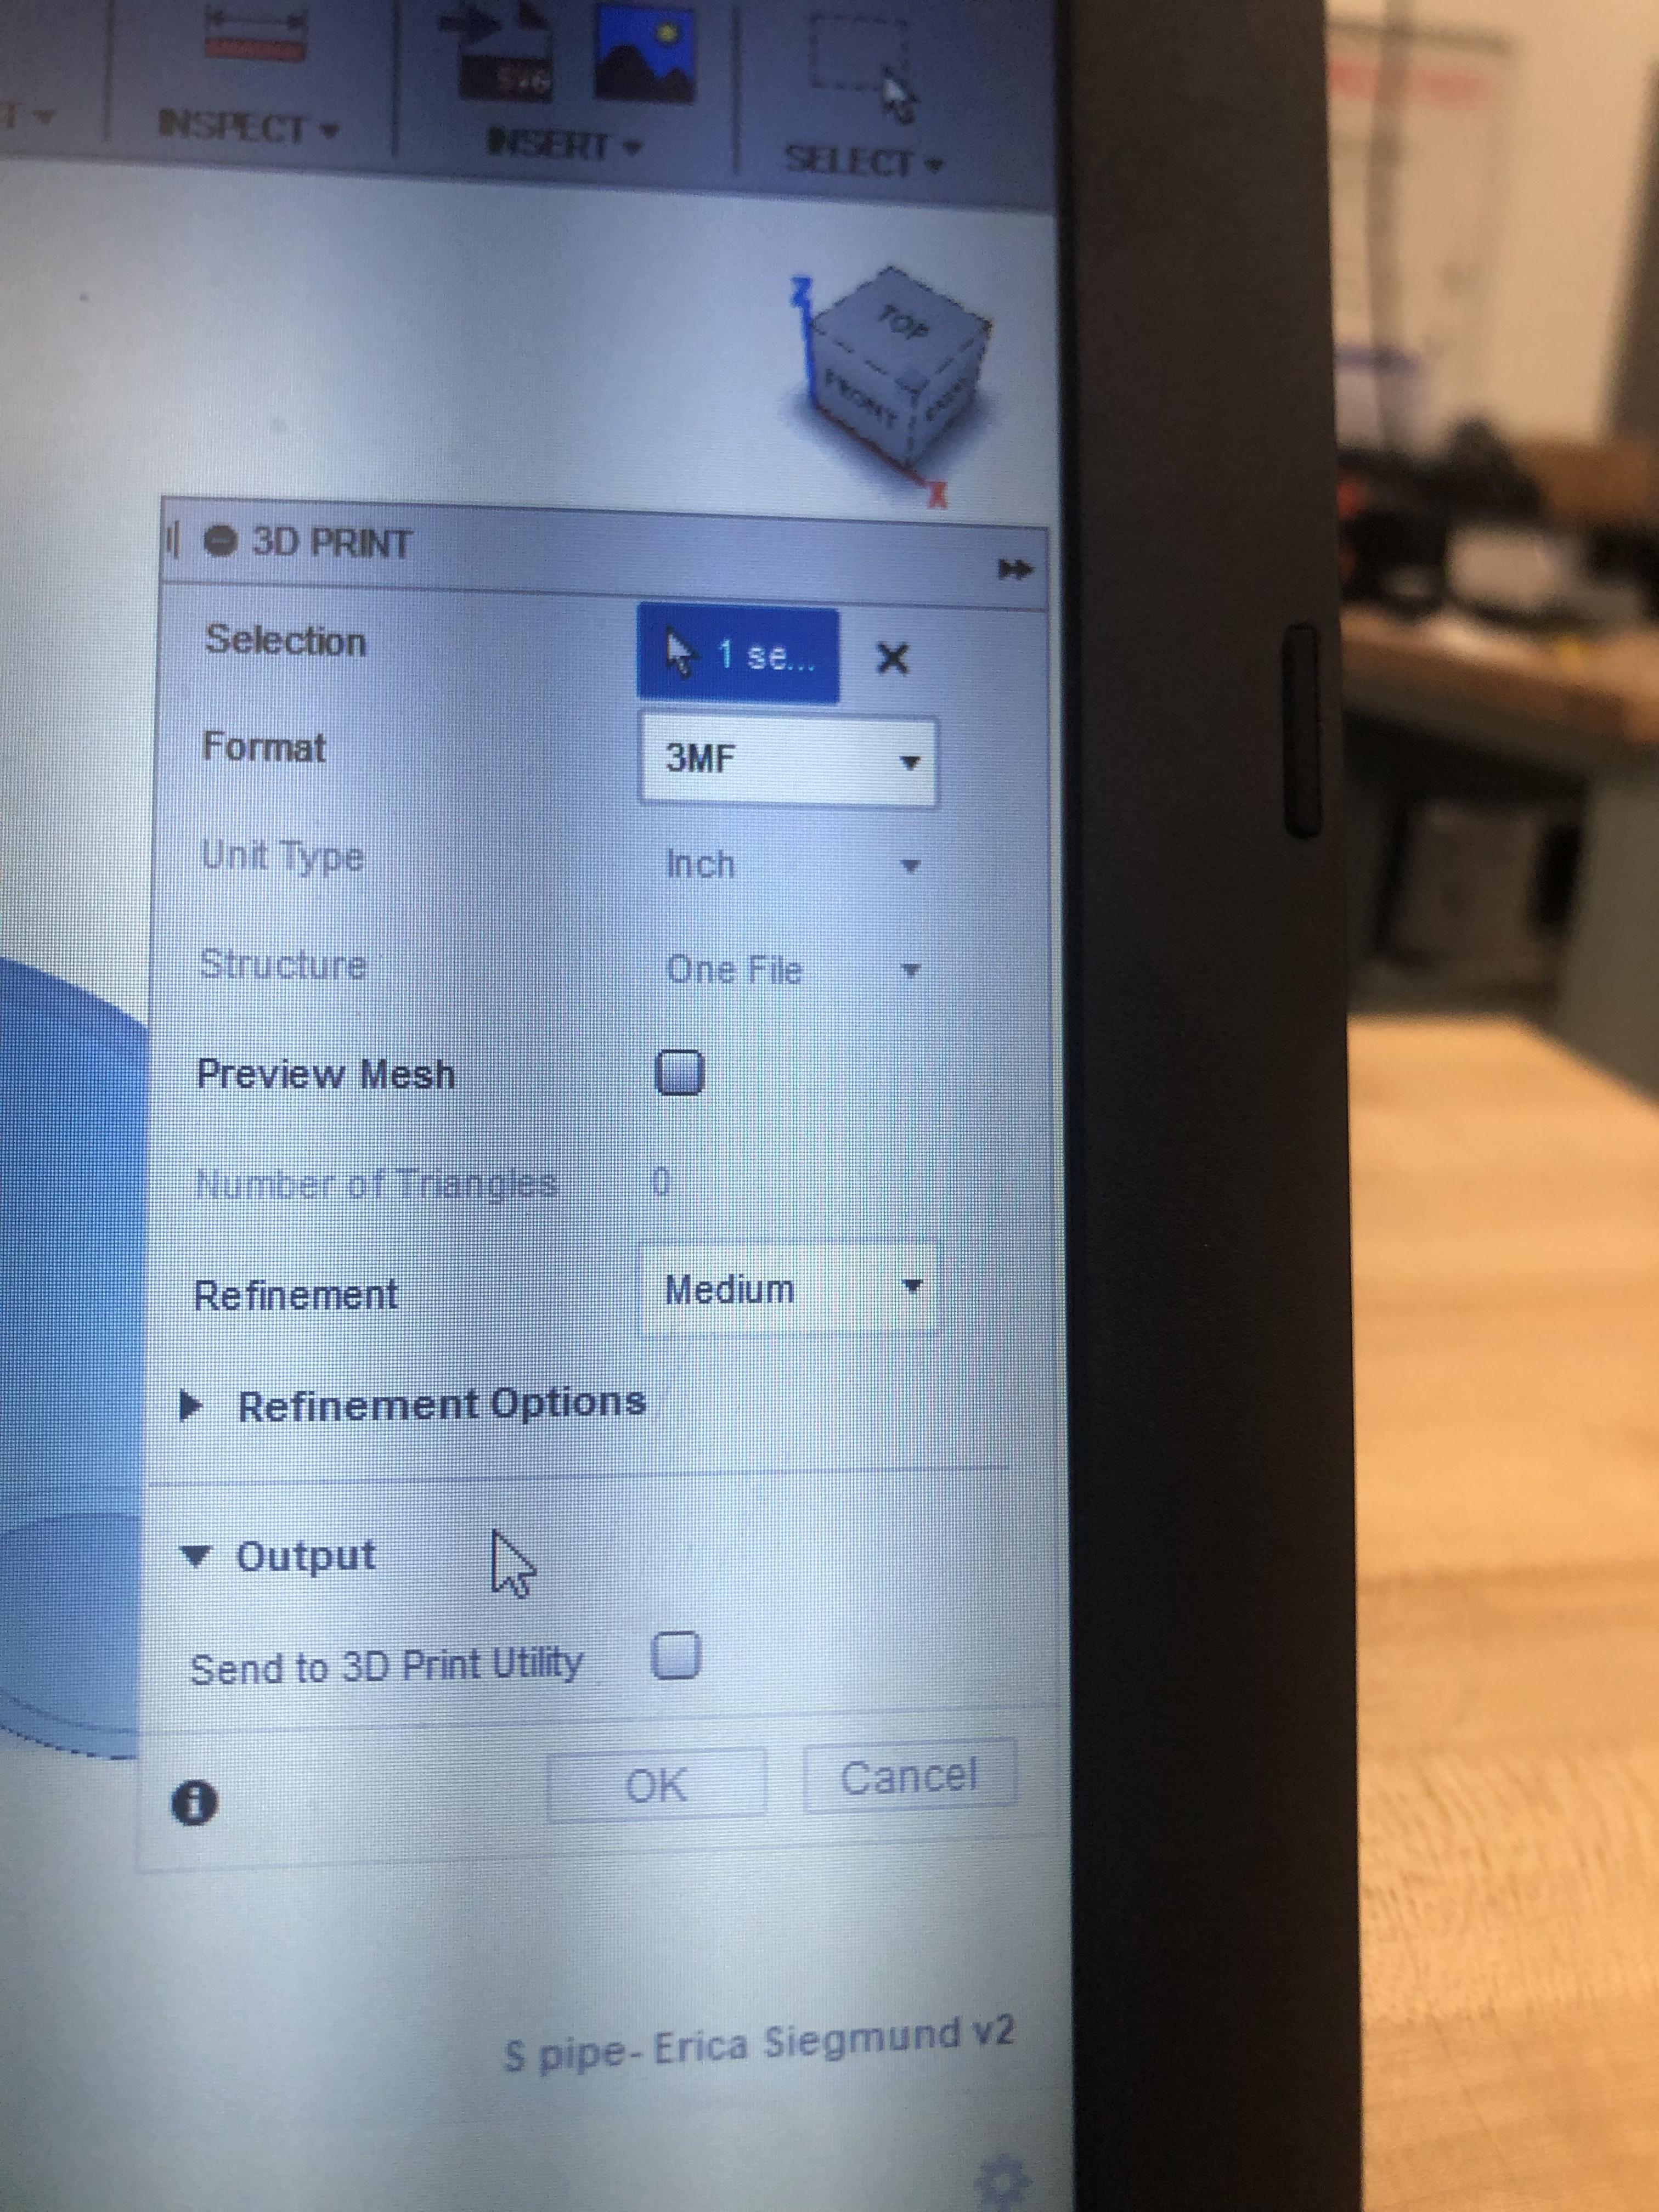
Fusion 360:
- Click file, then 3D Print
- Select your piece or pieces
- Use the 3MF format
- Download your piece
3D Print

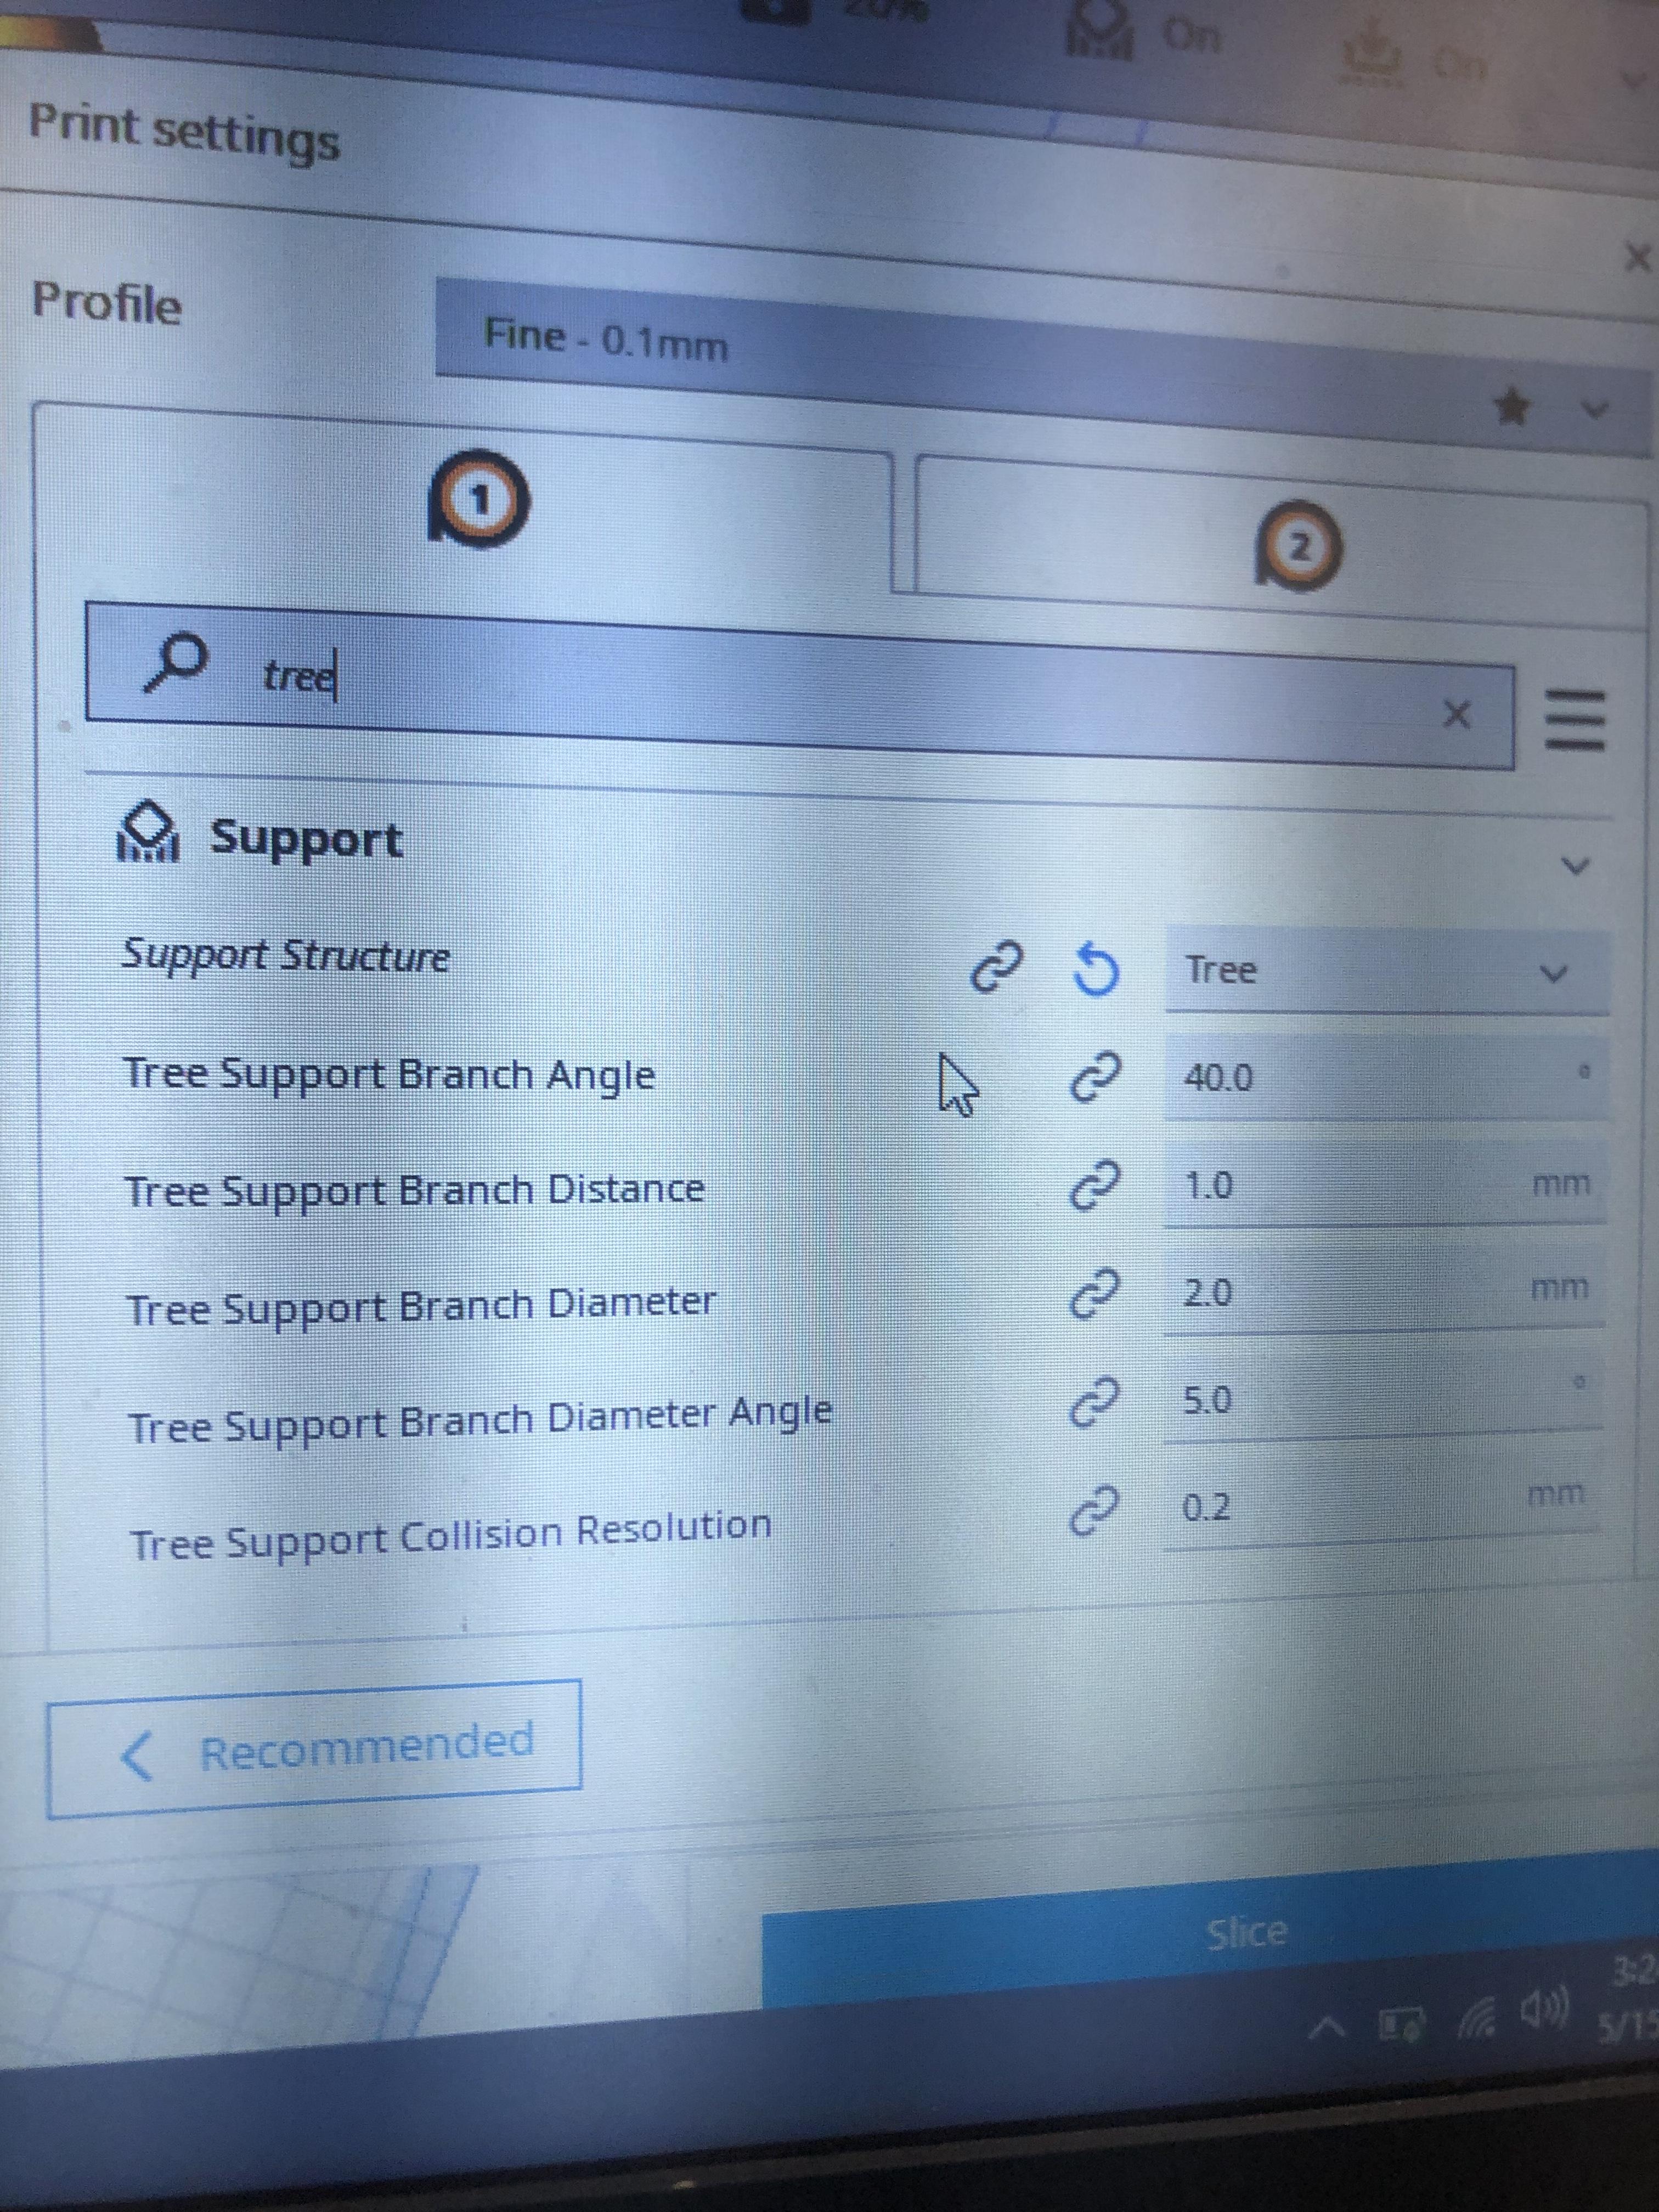
Cura:
- Place your pieces from the download folder
- Format them in a way that uses limited supports (see picture)
- Change printing speeds
- Change support structure to tree
- Slice it and 3D print!
Marble Run
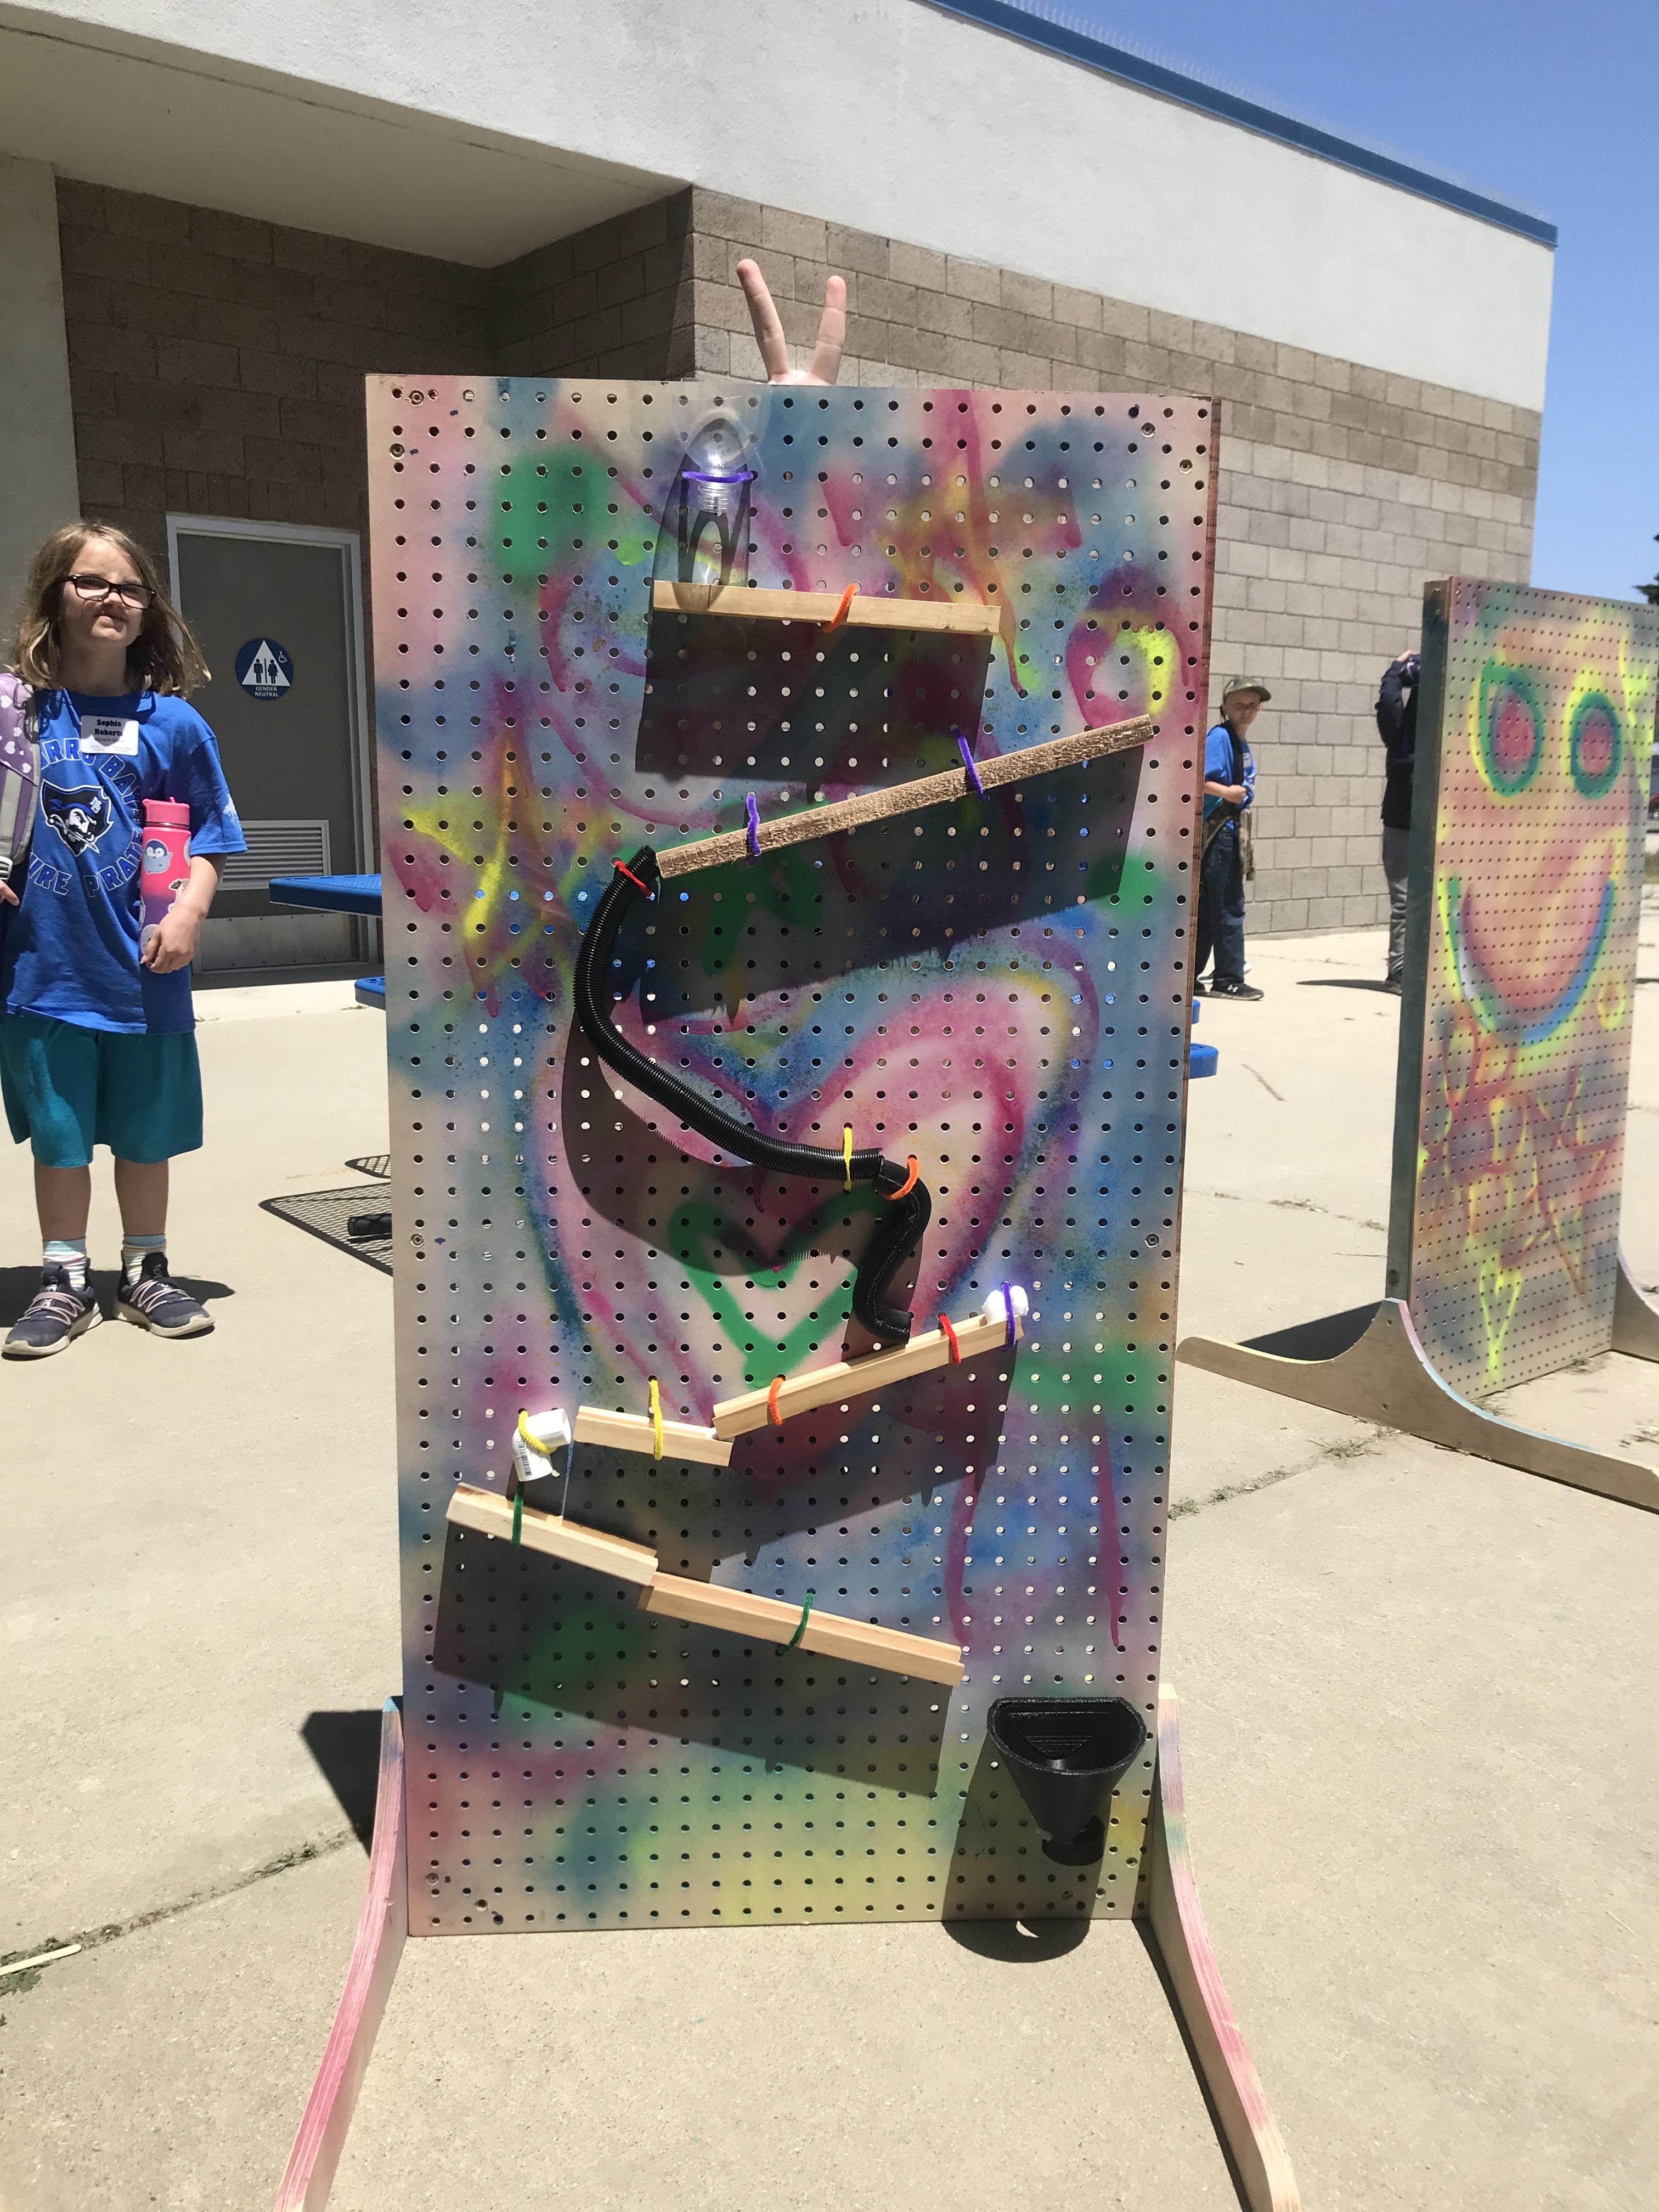
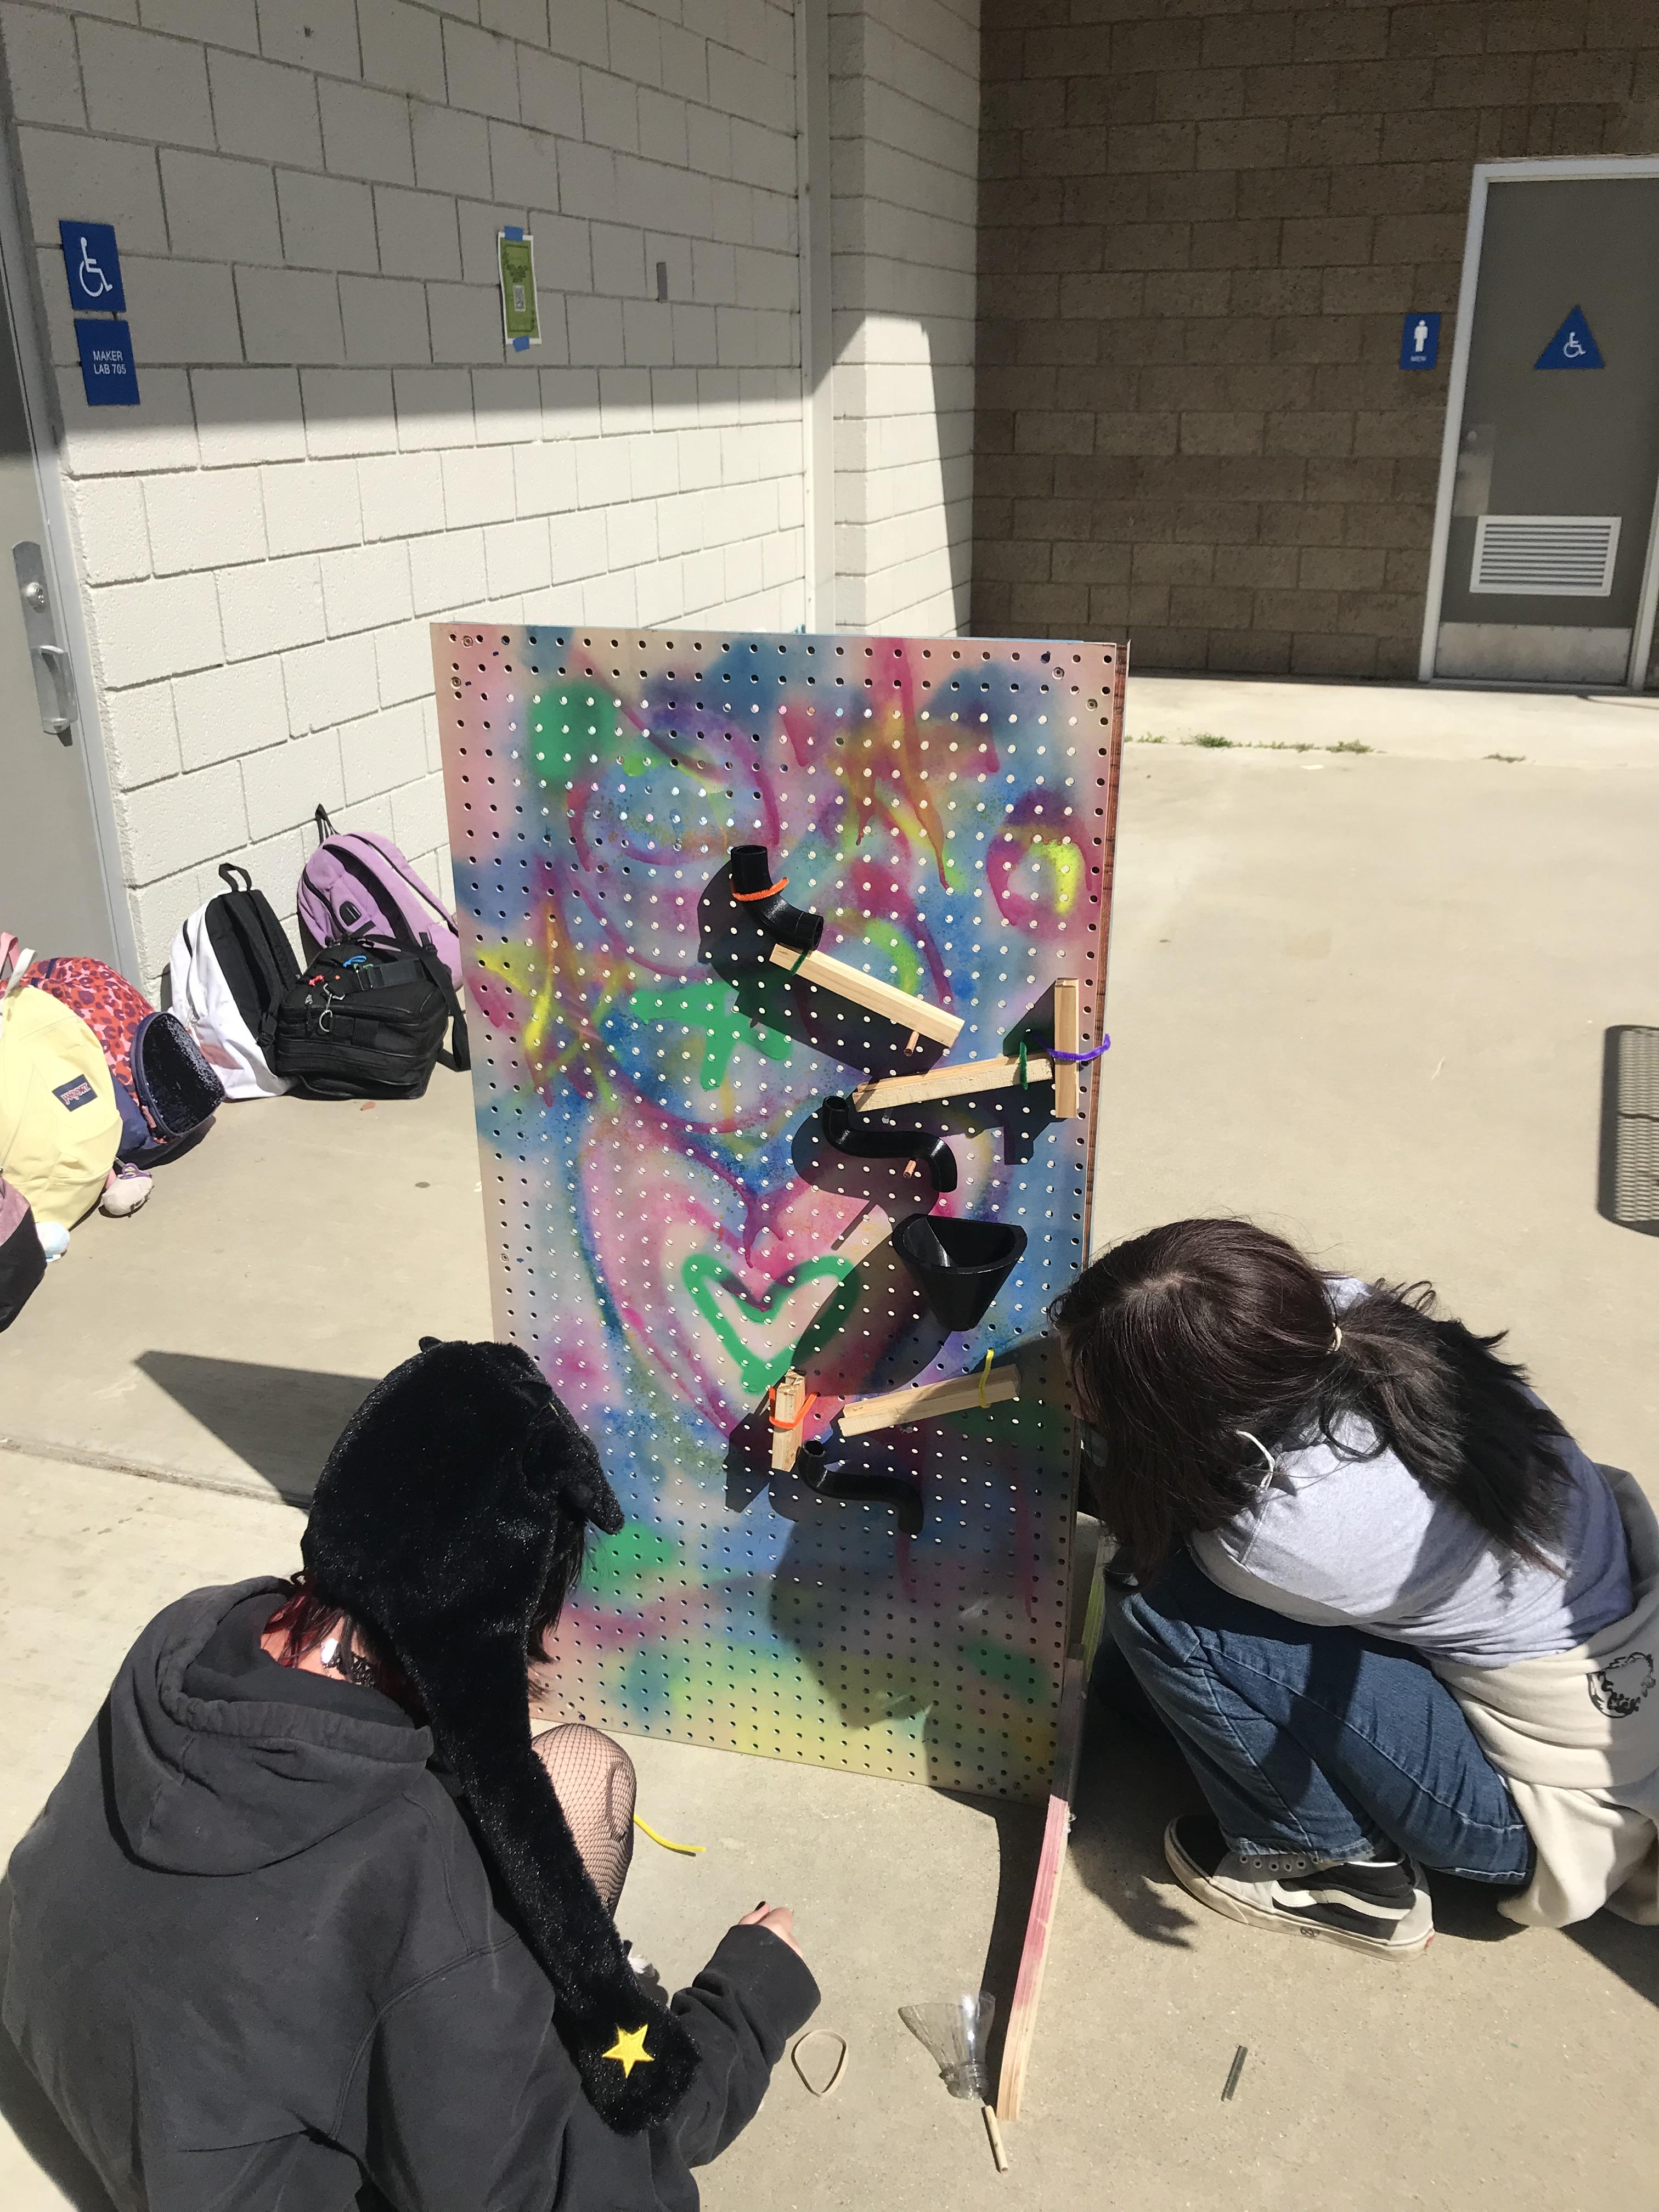
Put your 3D printed parts on a board to create a marble run! The pictures show some examples of what people made with the parts.