3D Printed Mandolorian Helmet
by Arnov Sharma in Workshop > 3D Printing
15016 Views, 21 Favorites, 0 Comments
3D Printed Mandolorian Helmet
.gif)


Hey guys how you doing!
So Here's a fun little project, a Mandalorian helmet that I 3d printed on my ender 3.
It's completely 3D Printed and made out of generic PLA. Now you be thinking that it's made out of PLA so it's not exactly strong and sturdy, now, you're not completely wrong, if I dropped this helmet from a height of 5-6 meters, it will break but it can withstand few meter drop.
Oh also, I made this helmet in parts, let me explain why.
SO making this helmet in a single PC was not an issue at all, we can just print it with support material and it would take roughly 3-4 days of continuous print and one and a half spool of filament.
Each Individual parts are strong as they have a thickness of at least 5mm with infill inside.
I'm an ender 3 user so I couldn't just print such a prop on a single PC.
This Instructables is about how I made this helmet so let's get started!
Supplies
- Super Glue
- Fiber Tape
- 3D Printer
- Body files
- PLA filament
- Spray Paint Silver
- Primer Red Oxide metal one
- Patience
3D Model
.gif)

As for the 3D Model, I used this helmet model which was posted by wolfhagendesign on Thingiverse.
I choose an existing model as it would be quite a hassle to model Mando Helmet from scratch.
It's an open-source Model so it's okay to modify it in any way, here's the link for the original Helmet's page.
Downloads
Mesh Mixer Editing
.gif)
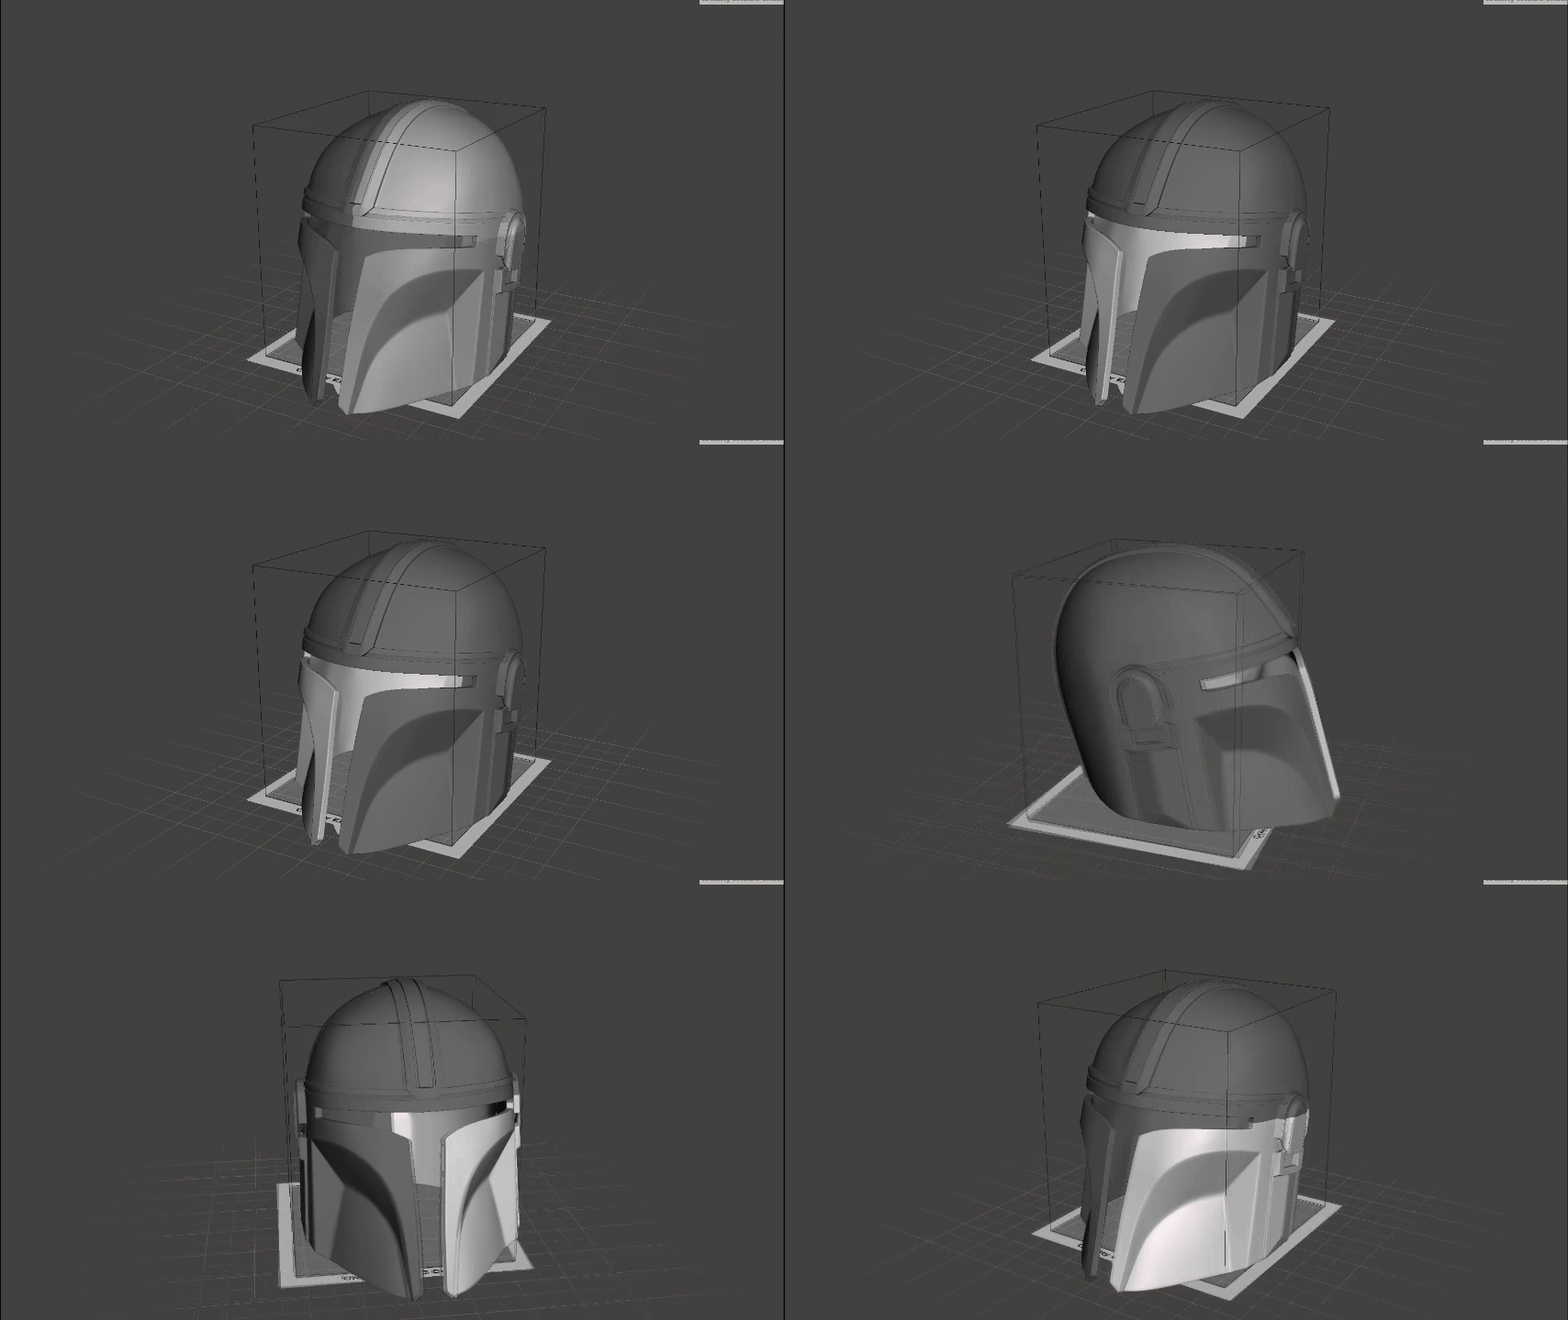
To make this helmet printable on a regular 230x230mm BED, I split the model into 8 different pcs by using the mesh mixer.
Mesh mixer is an Autodesk tool that you guys can use to cut or edit any mesh file in an easy way.
no, I'm not paid for saying that, it's a great tool that really deserves appreciation. I Previously have made a similar helmet by doing this same exact trick of dividing a model into parts and then printing them separately.
- We first open the Model in Mesh mixer and then first divide the model into Two separate parts horizontally from the middle section.
- Then we redo this process of dividing parts but this time we cut the model vertically from the middle section.
- After dividing all the parts, we get a total of 8 Pcs that we can export by giving them a different name.
- I named each exported part alphabetically so I can print them without getting confused and it would be easy to assemble as well.
3D Printing All Parts
.gif)
.gif)
As for 3D Printing all the parts, I printed each part individually which roughly took a week.
For giving each part structural strength, I used 0.8mm Nozzle with 0.32mm Layer height which significantly decreased the print time.
usually, each part would take 13-15 Hours with an average 0.3mm Nozzle but these parts took 7-9 Hours which was crazy fast.
I used the following Print settings
- Nozzle- 0.8mm
- Print Speed- 50mm/s
- Infill- 30%
- Layer Height- 0.32mm
- Support- YES!
Combining All Individual Parts
.gif)
.gif)
.gif)
.gif)
.gif)
.gif)
.gif)
.gif)
.gif)
.gif)
.gif)
The main tools that I used were glue and fiber tape
- I first added glue to one side of the print first and then attach the other part.
- To Hold two parts in place so the glue will solidify, I added fiber tape that holds two-part together (added it from both inside and outside)
- I glued two pcs together, I added all the parts which were grouped together.
- then I left them for half a day so the adhesive dries and we get a whole new part which was made by combining two separate parts.
- I redo this whole process until I get a complete helmet.
Result


Here's the result so far.
Filling Gap Between Two Joints With Epoxy
.gif)

.gif)
Between the two parts, there's a gap that can be observed if we see this helmet closely.
To fill this Gap completely and make two joints disappear completely, I added Epoxy Putty which is a two-part harder and epoxy putty activated when we mix both of them together.
I applied it in each Gap between two parts directly in joints and then try to smooth the surface.
After applying it inside the gap between the two parts, I let it dry for a few hours.
SANDING
.gif)

I then used sandpaper to scrape off excess epoxy and smoothen the surface.
Primer & Paint
.gif)
.gif)
.gif)
.gif)
.gif)
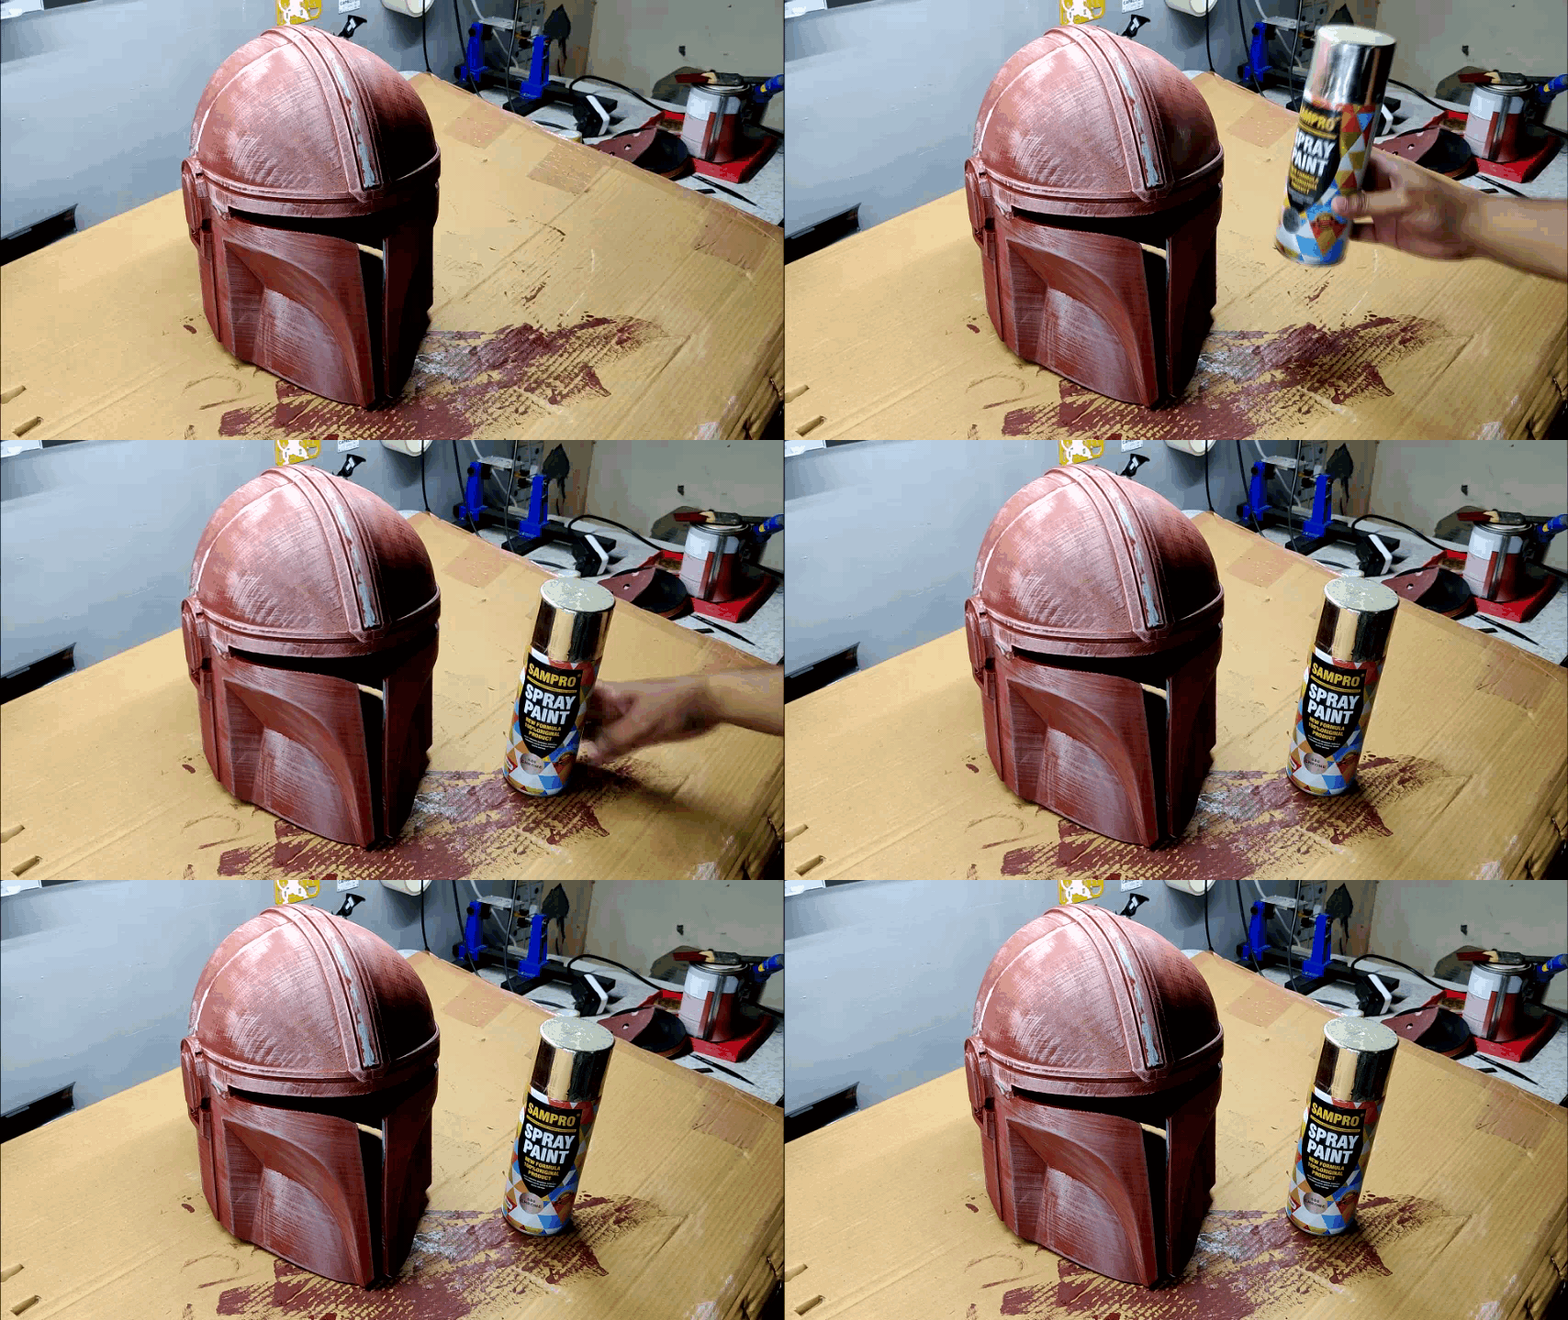
Because this is a multi-colored part (grey and white) we can not directly paint it with silver spray, if we do that there will be a significant color mismatch between the grey and white parts.
To avoid this issue, I first added a clear coat of Red Metal Oxide primer which is usually used to coat metal parts.
After it dried, I sanded the helmet again with finer sandpaper and applied another coat of primer.
Paint Job
.gif)
.gif)
.gif)
I added a total of 3 coats of Primer and then used a Silver Spray Can give it the final color coat.
END RESULT
.gif)
.gif)
.gif)
This was the END RESULT.
There are a lot of things missing in this helmet including the black glass inner cushions, etc.
My plan is to add them along with a few electronics parts that will include a voice manipulation device that modulates user sound into a deep output sound.
Will do that in separate Instructables. This is it for today folks, feel free to message me if you need any help regarding this built!
Peace out