3D Printed Lithophane Lantern
by flalabs2021 in Workshop > 3D Printing
3004 Views, 36 Favorites, 0 Comments
3D Printed Lithophane Lantern
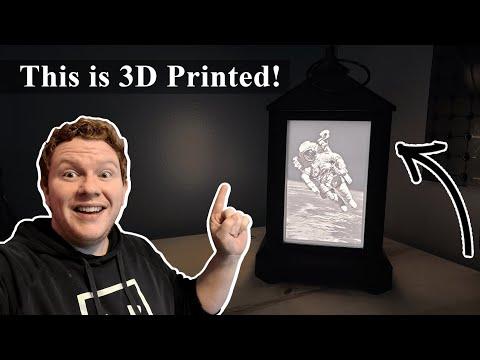
The Lithophane Lantern is designed to display 4 3D printed lithophanes (100x150mm) and runs on battery power so it can be carried as a light source or displayed.
Supplies
Purchased Parts:
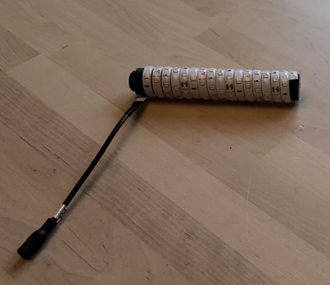
- LED Strip: https://a.co/d/6RMyemb
- Battery Box: https://a.co/d/iZDi6kF
- M4 Threaded Insert: https://a.co/d/0o1zLzP
- M4 Bolt: https://a.co/d/ijiEiE7
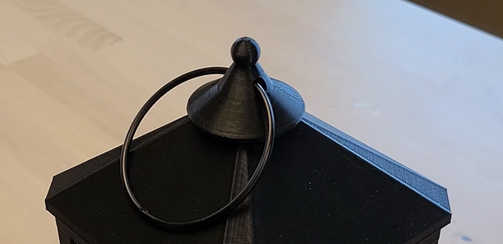
- Top Ring/Handle: https://a.co/d/gkiZQXM
- Joining Dowel: 1/4 x 1-1/4"
- Build PLA: https://www.matterhackers.com/store/c/mh-build-series?aff=7604
Download STLs From Thingiverse
There are 6 STL files you will need to complete this project. They are available here:
https://www.thingiverse.com/thing:5666695/files
https://social.thangs.com/m/520761
Tips for printing:
- Print all models without supports EXCEPT the "Lamp2" file. It will need supports
- Print the "CapThreads" file upside down without supports
Create Lithophane STLs
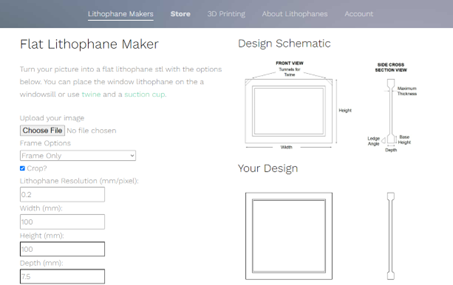
I recommend using LithophaneMaker.com to create your STLs so that you can be sure the finished prints will fit in the Lithophane Lantern!
Lithophane settings:
- Frame Only
- Lithophane Resolution: 0.2
- Width: 100
- Height: 150
- Depth: 7.5
- Base Height: 7.5
- Overhang Angle: 45
- Maximum Thickness: 6
- Minimum Thickness: 0.6
Printing Lithophanes
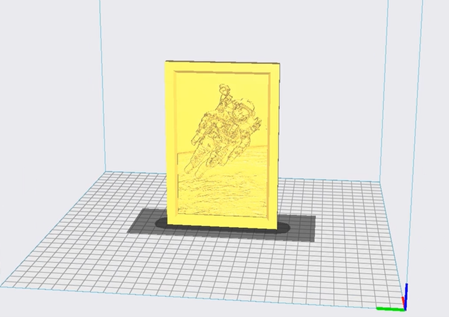
For success when slicing/printing lithophanes, follow these simple steps:
1) Use the smallest nozzle you have available
2) Print with the smallest layer height for the highest resolution
3) Print the Lithophane upright and perpendicular to the movement of the build plate
4) Print with a brim to prevent the lithophane from falling over
5) Print using MatterHackers build series white and 100% infill
Final Assembly
To assemble the Lithophane Lantern you need to follow these steps in order (or follow along with the build video above):
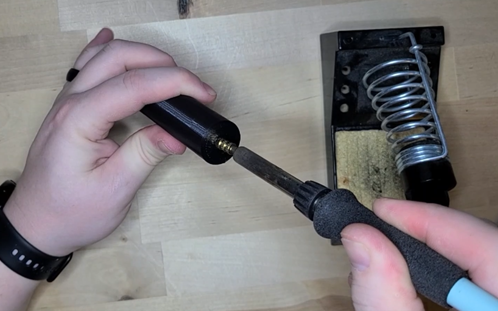
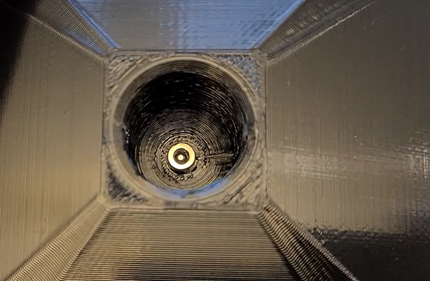
1) Use a soldering iron to install the M4 threaded insert into the light post.
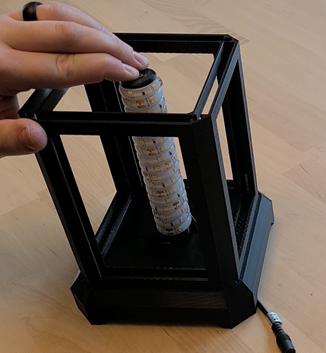
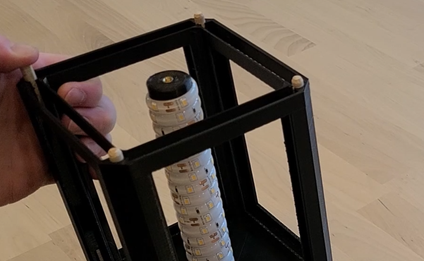
2) Wrap the Light Post with the led strip leaving enough wire to go through the base to the battery pack mounted to the underside of the base.
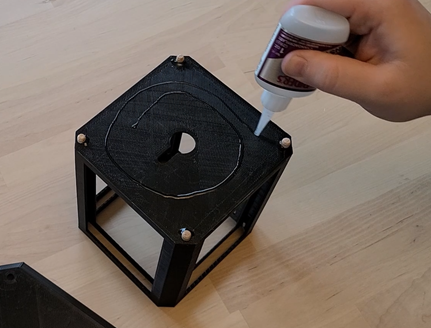
3) Attach the Base to the Lamp using joining dowels and super glue.
4) Attach the Light Post to the Base assembly
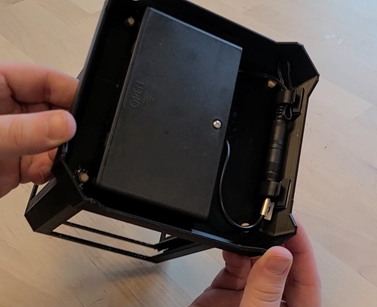
5) Mount the battery using super glue, connect the wires, and secure them with clips
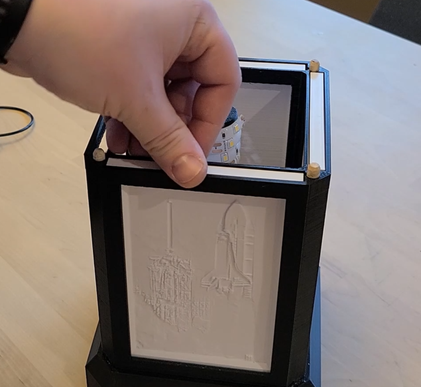
6) Install joining dowels on the top of the lamp. DO NOT USE GLUE HERE if you want your lithophanes to be replaceable.
7) Insert the 4 lithophanes into the lamp facing outward
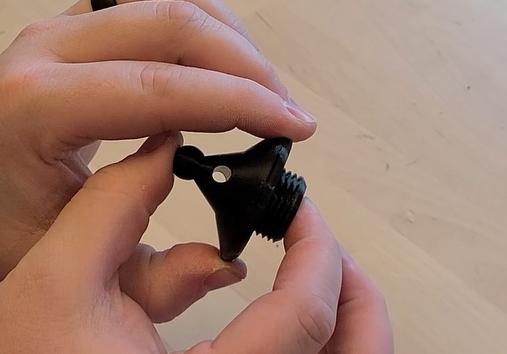
8) Install the top using an M4 screw
9) Assemble the top cap by gluing the two pieces together and installing the handle (binder clip)
10) Screw in the top cap
11) Turn on the lamp and enjoy!