3D Printed Lithophane Decoration
by snowbiscuit in Workshop > 3D Printing
777 Views, 4 Favorites, 0 Comments
3D Printed Lithophane Decoration
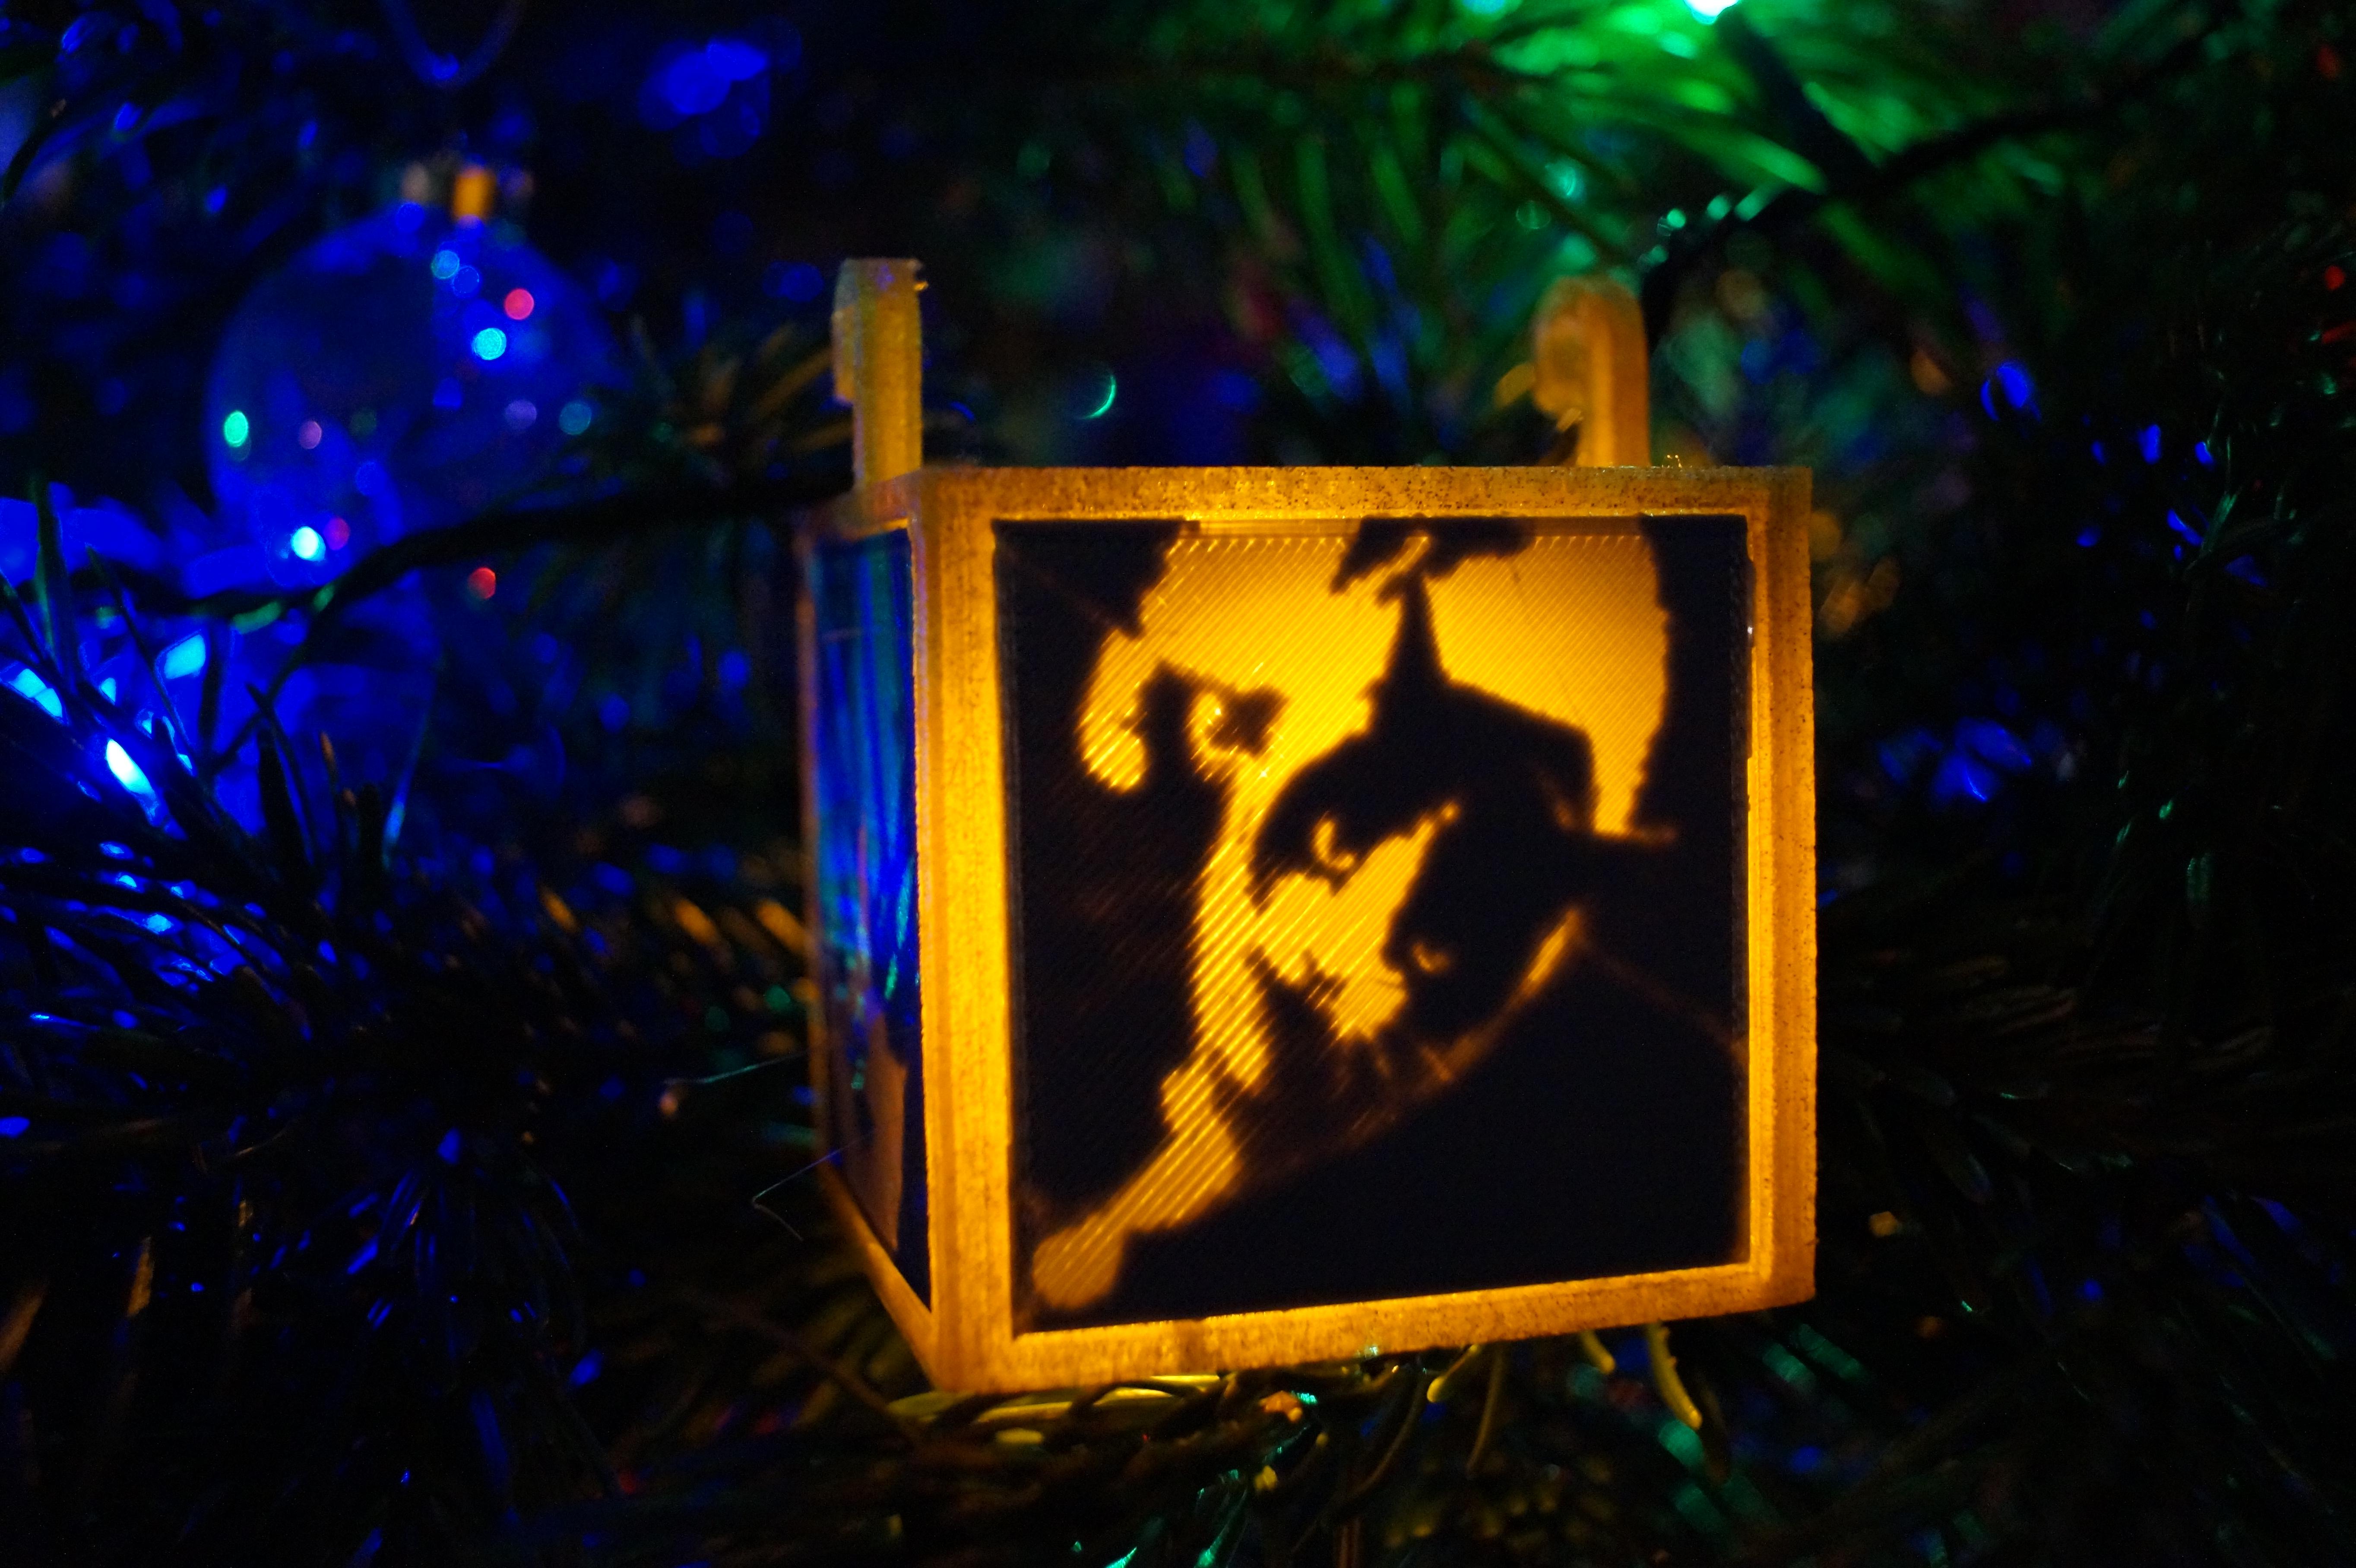
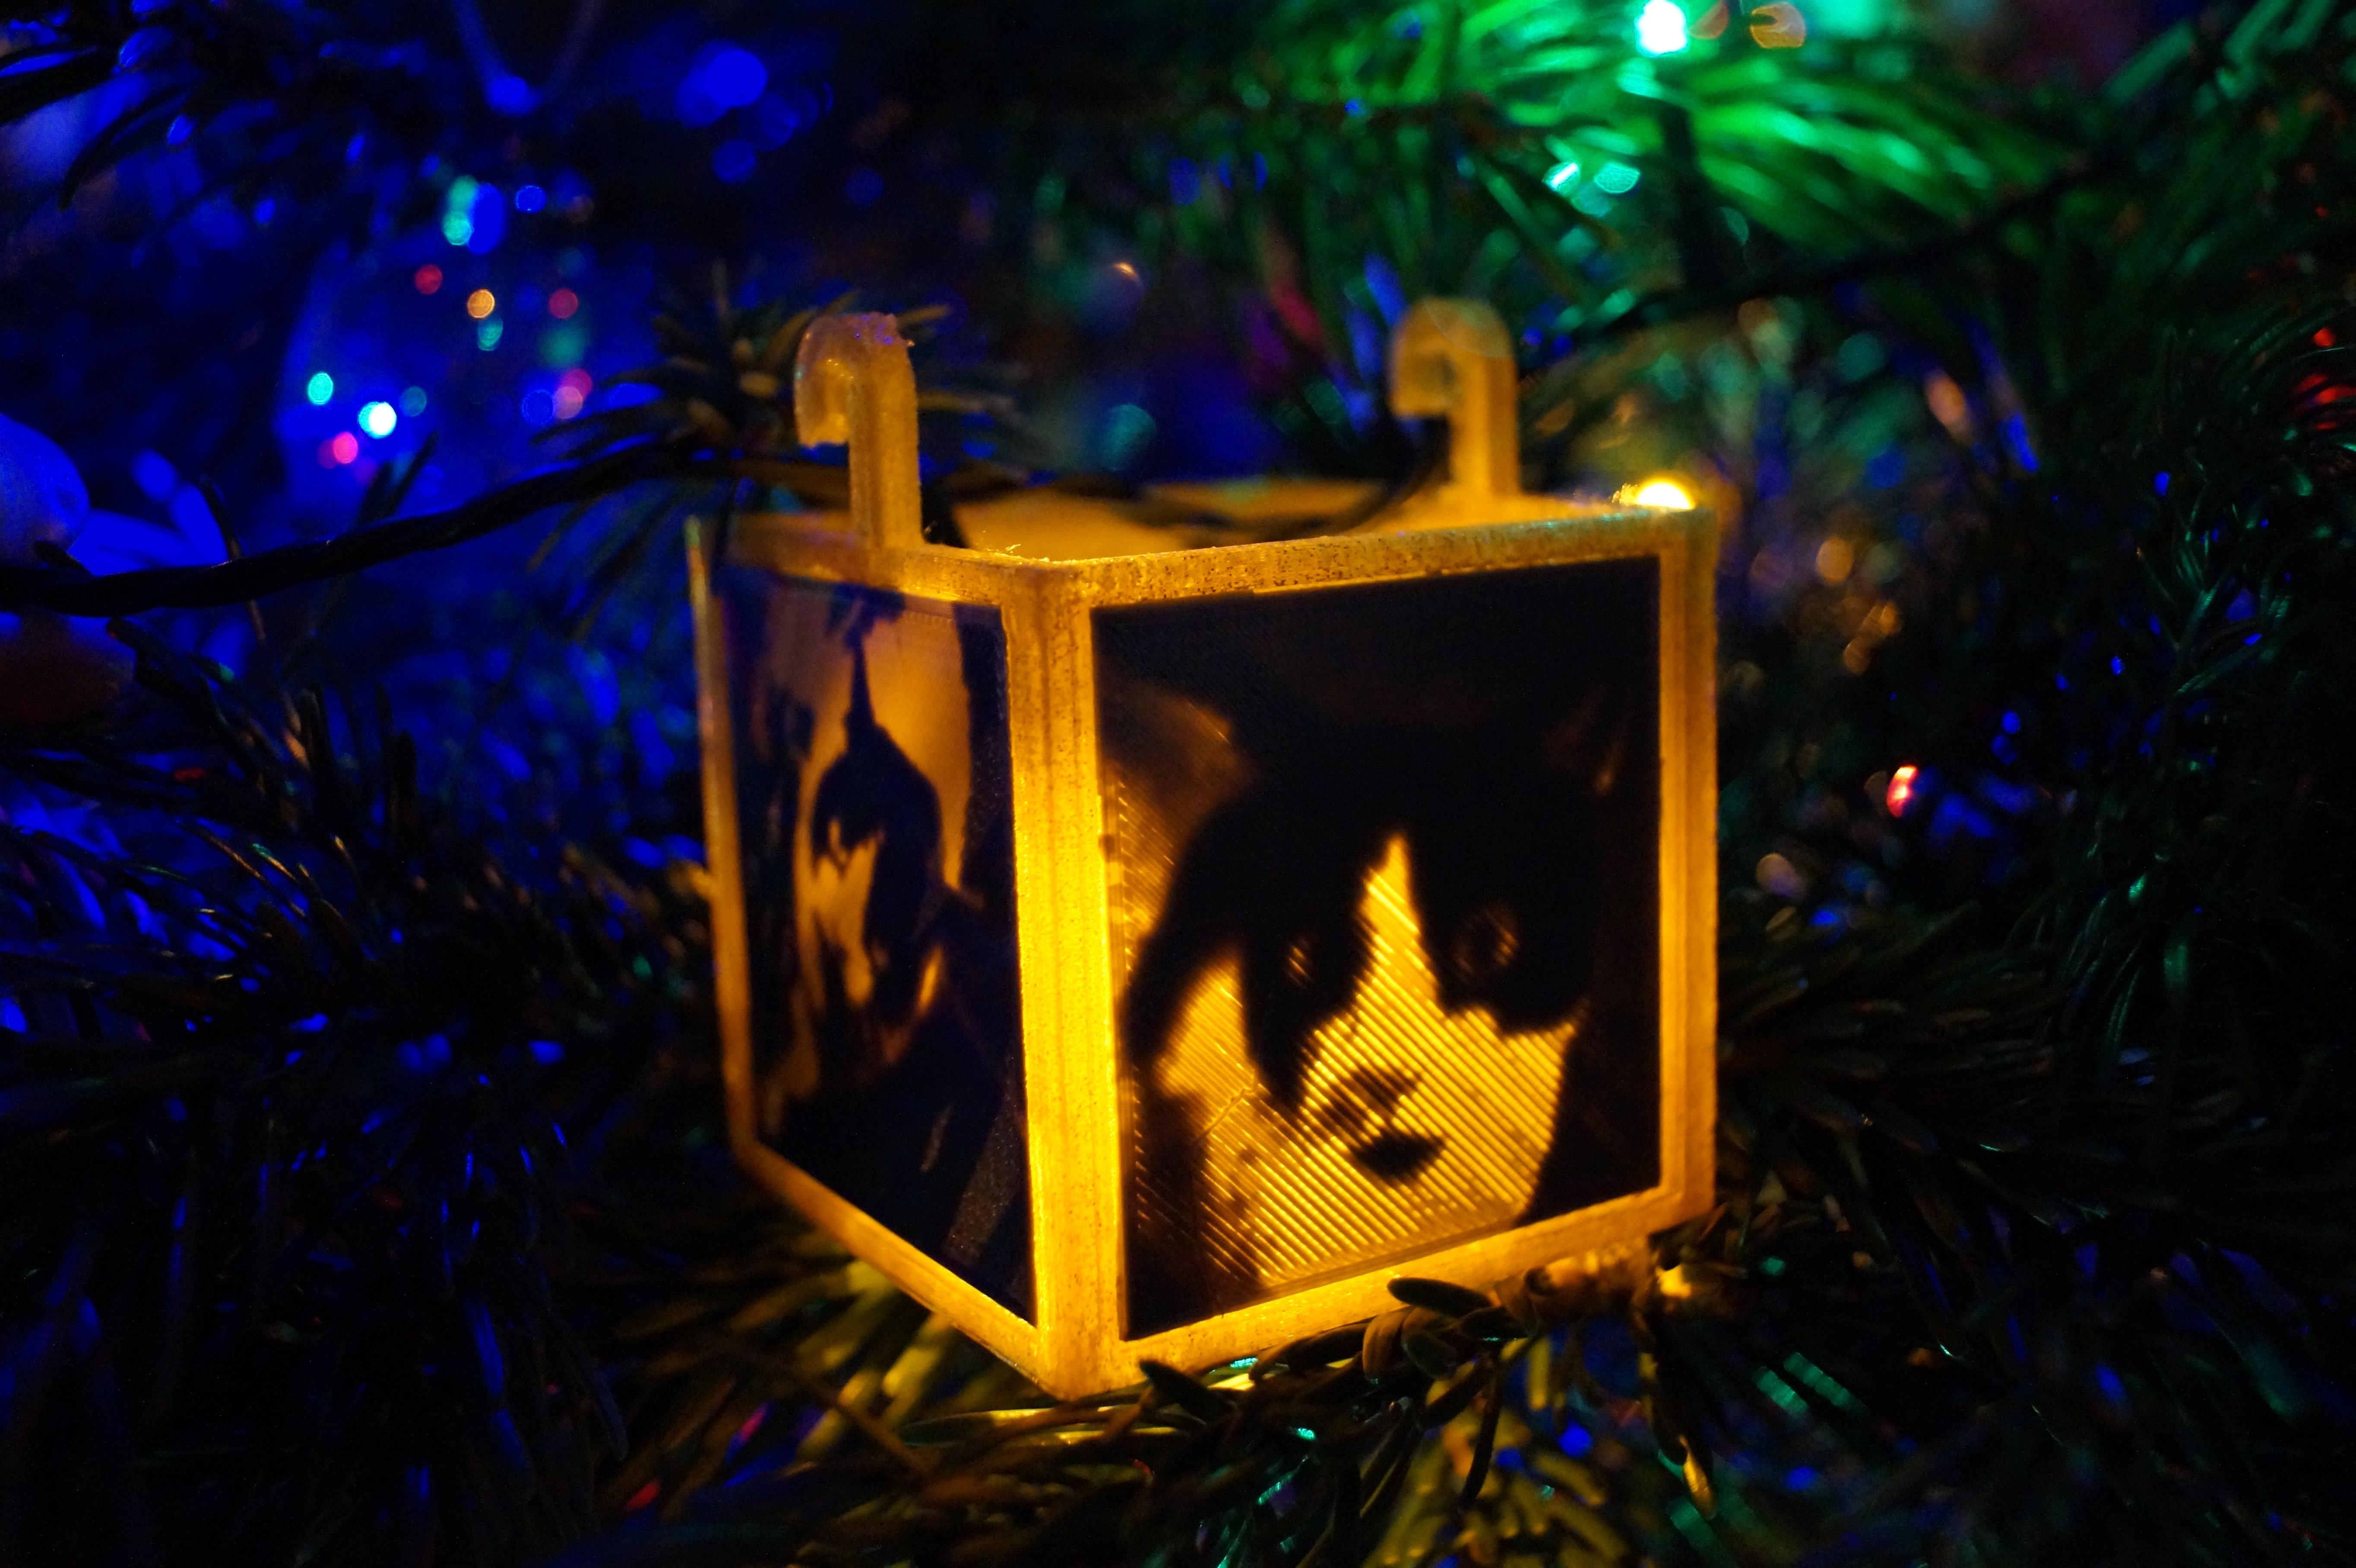
I wanted to make personalised Christmas tree decorations for family and friends this year but I didn't think I could get away with sneaking full body scans of them all for 3D models.
Instead I turned to Lithophanes - 3D images where the dark parts are thicker than the light parts and can only be viewed when lit from behind.
Traditionally these are etched in porcelain, but with 3D printing we can build up an image this way easily.
Prepare a Photo
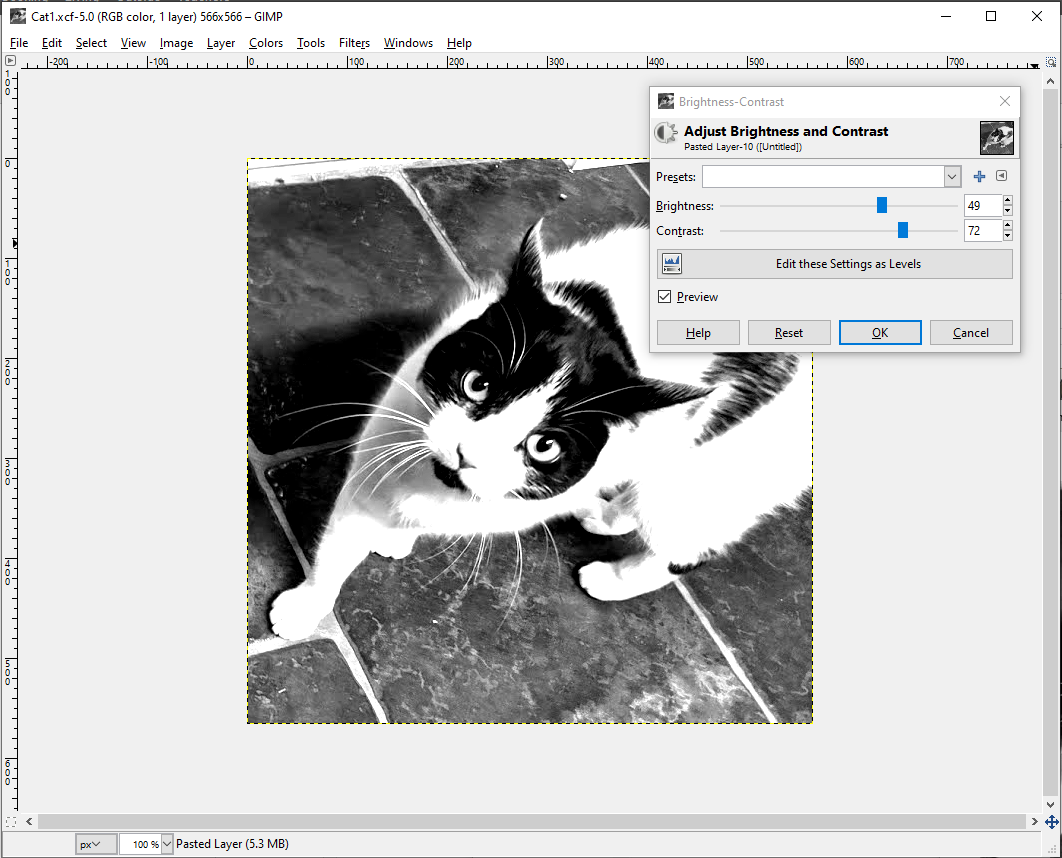
Before we can turn it into a Lithophane, the image we want to use has to be prepared.
Try to choose an image with strong contrast, the final lithophane will appear monochrome and subtle changes in brightness are not always picked up well.
To enhance the photo I use GIMP to edit the image. I desaturate it so I can get a better idea of what the lithophane will look like and increase the brightness and contrast until I am happy that the details I want to be picked up are clear.
Finally, for this particular project, the image must be cropped into a square.
Using Cura to Prepare Lithophanes
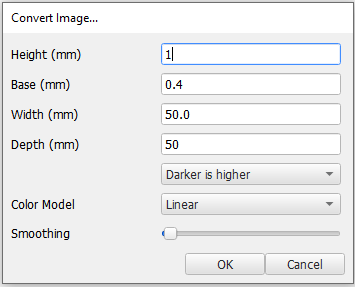
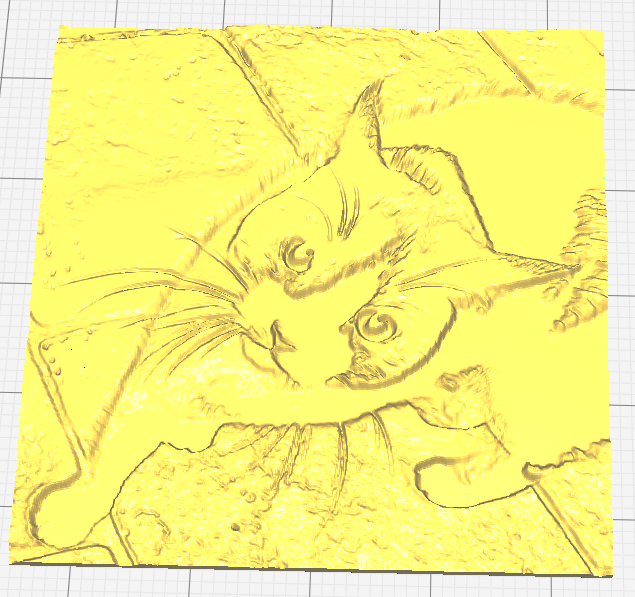
Using Cura, a slicing software for 3D printing, select 'open file' and select your prepared image.
A dialog will pop up with options to convert the image into a 3D file. For lithophanes we want to keep the option 'Darker is higher', Color model should be 'linear' and no smoothing.
For this project set the width and depth to 50mm and the height to 1mm.
Clicking OK should show you a 3D version of your image. In the print settings, make sure you set infill to 100% or you will see the infill pattern in the dark sections of the print.
3D Printing
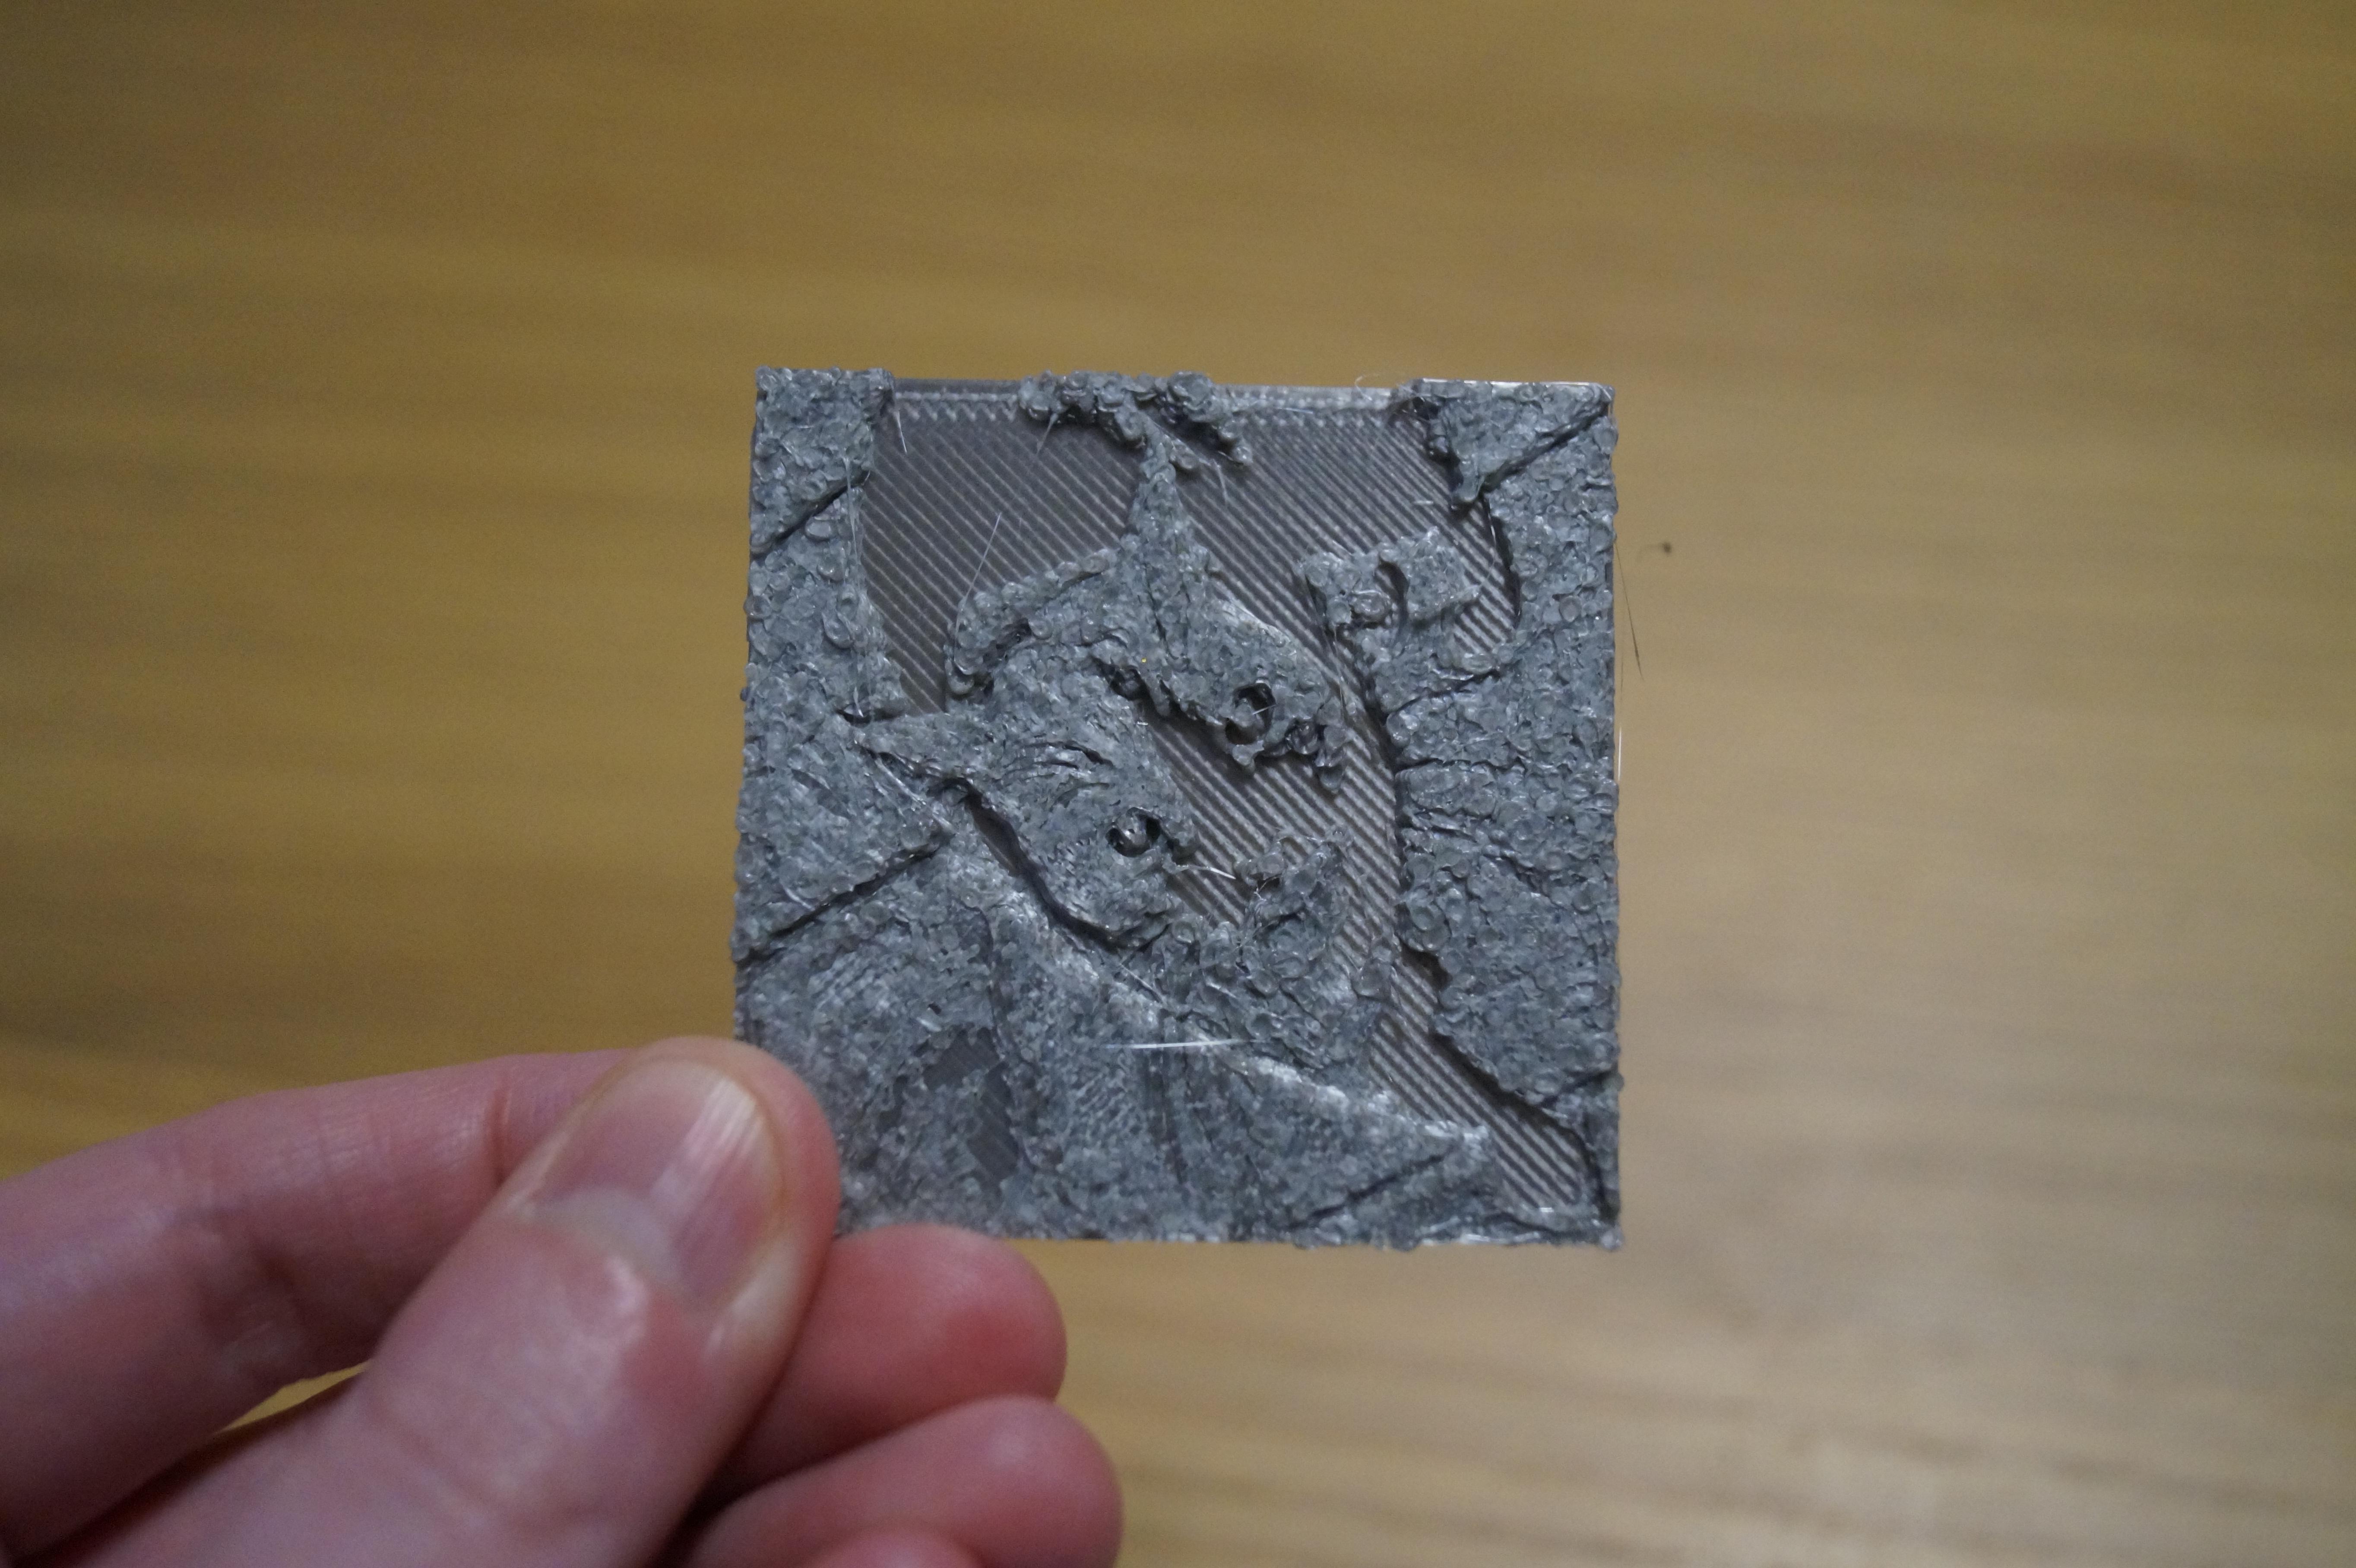
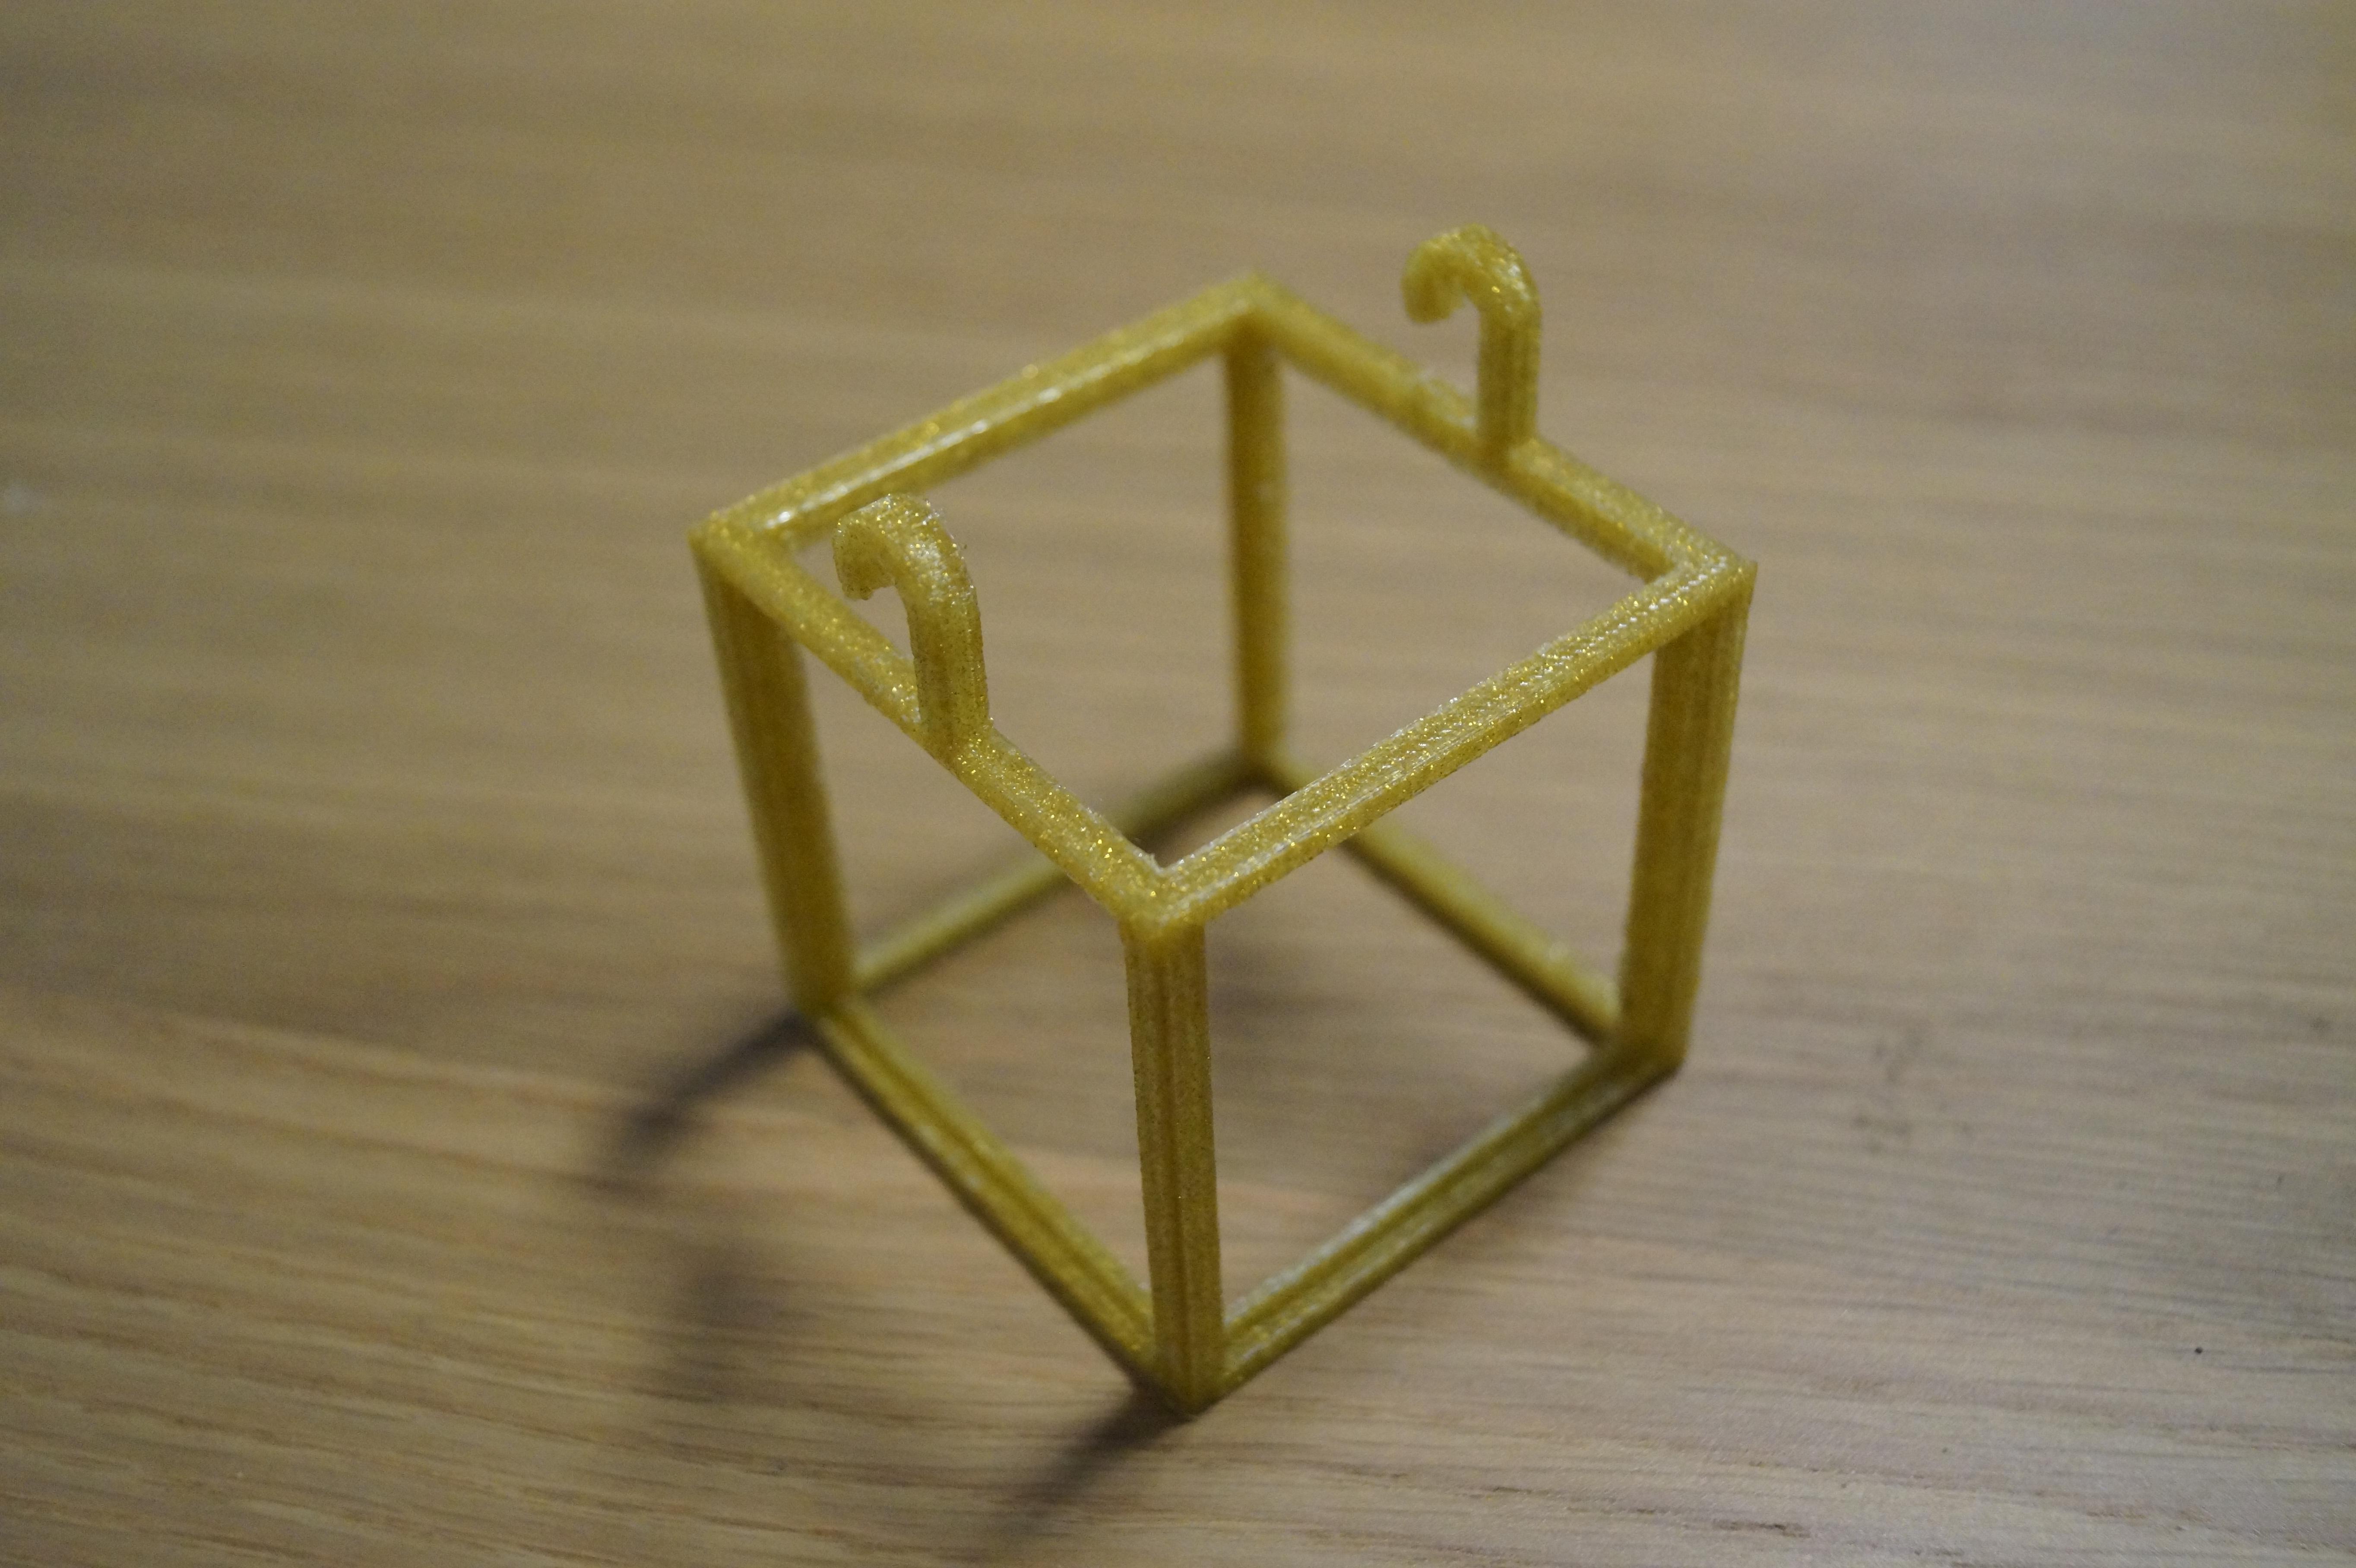
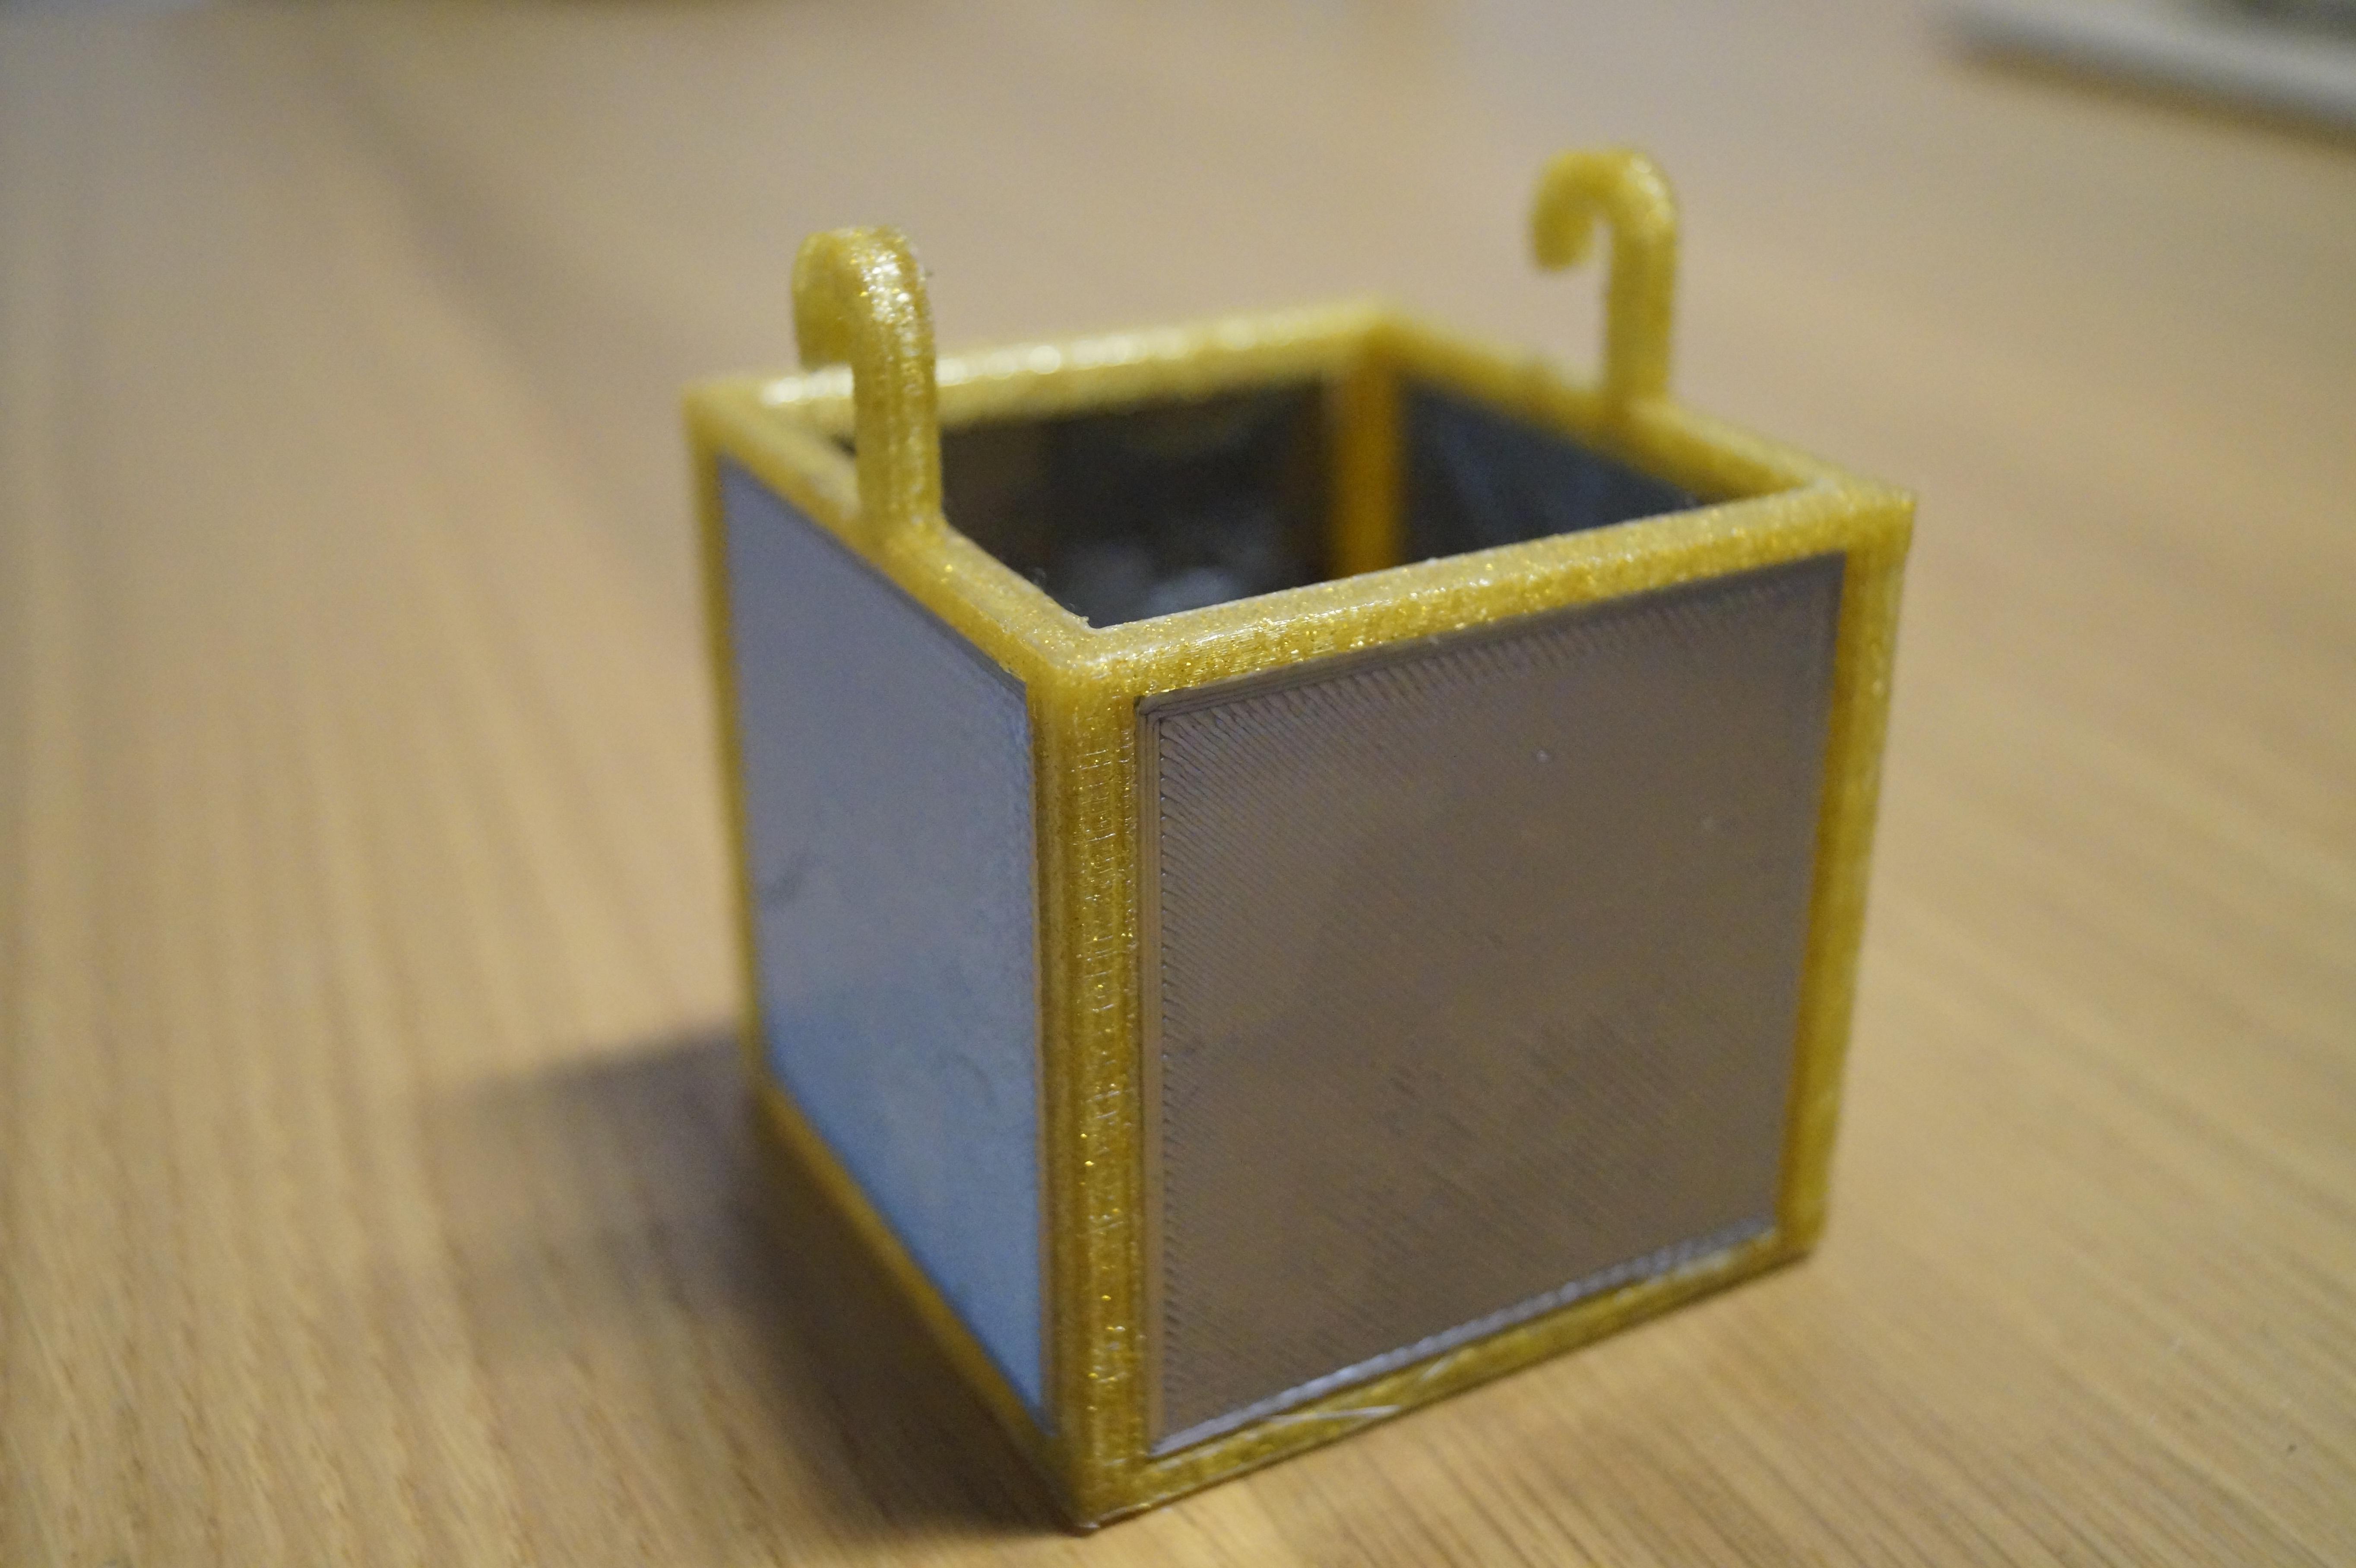
The lithophanes should only take around 1 hour each to print and you can check how they will look on the tree by holding a torch up behind them.
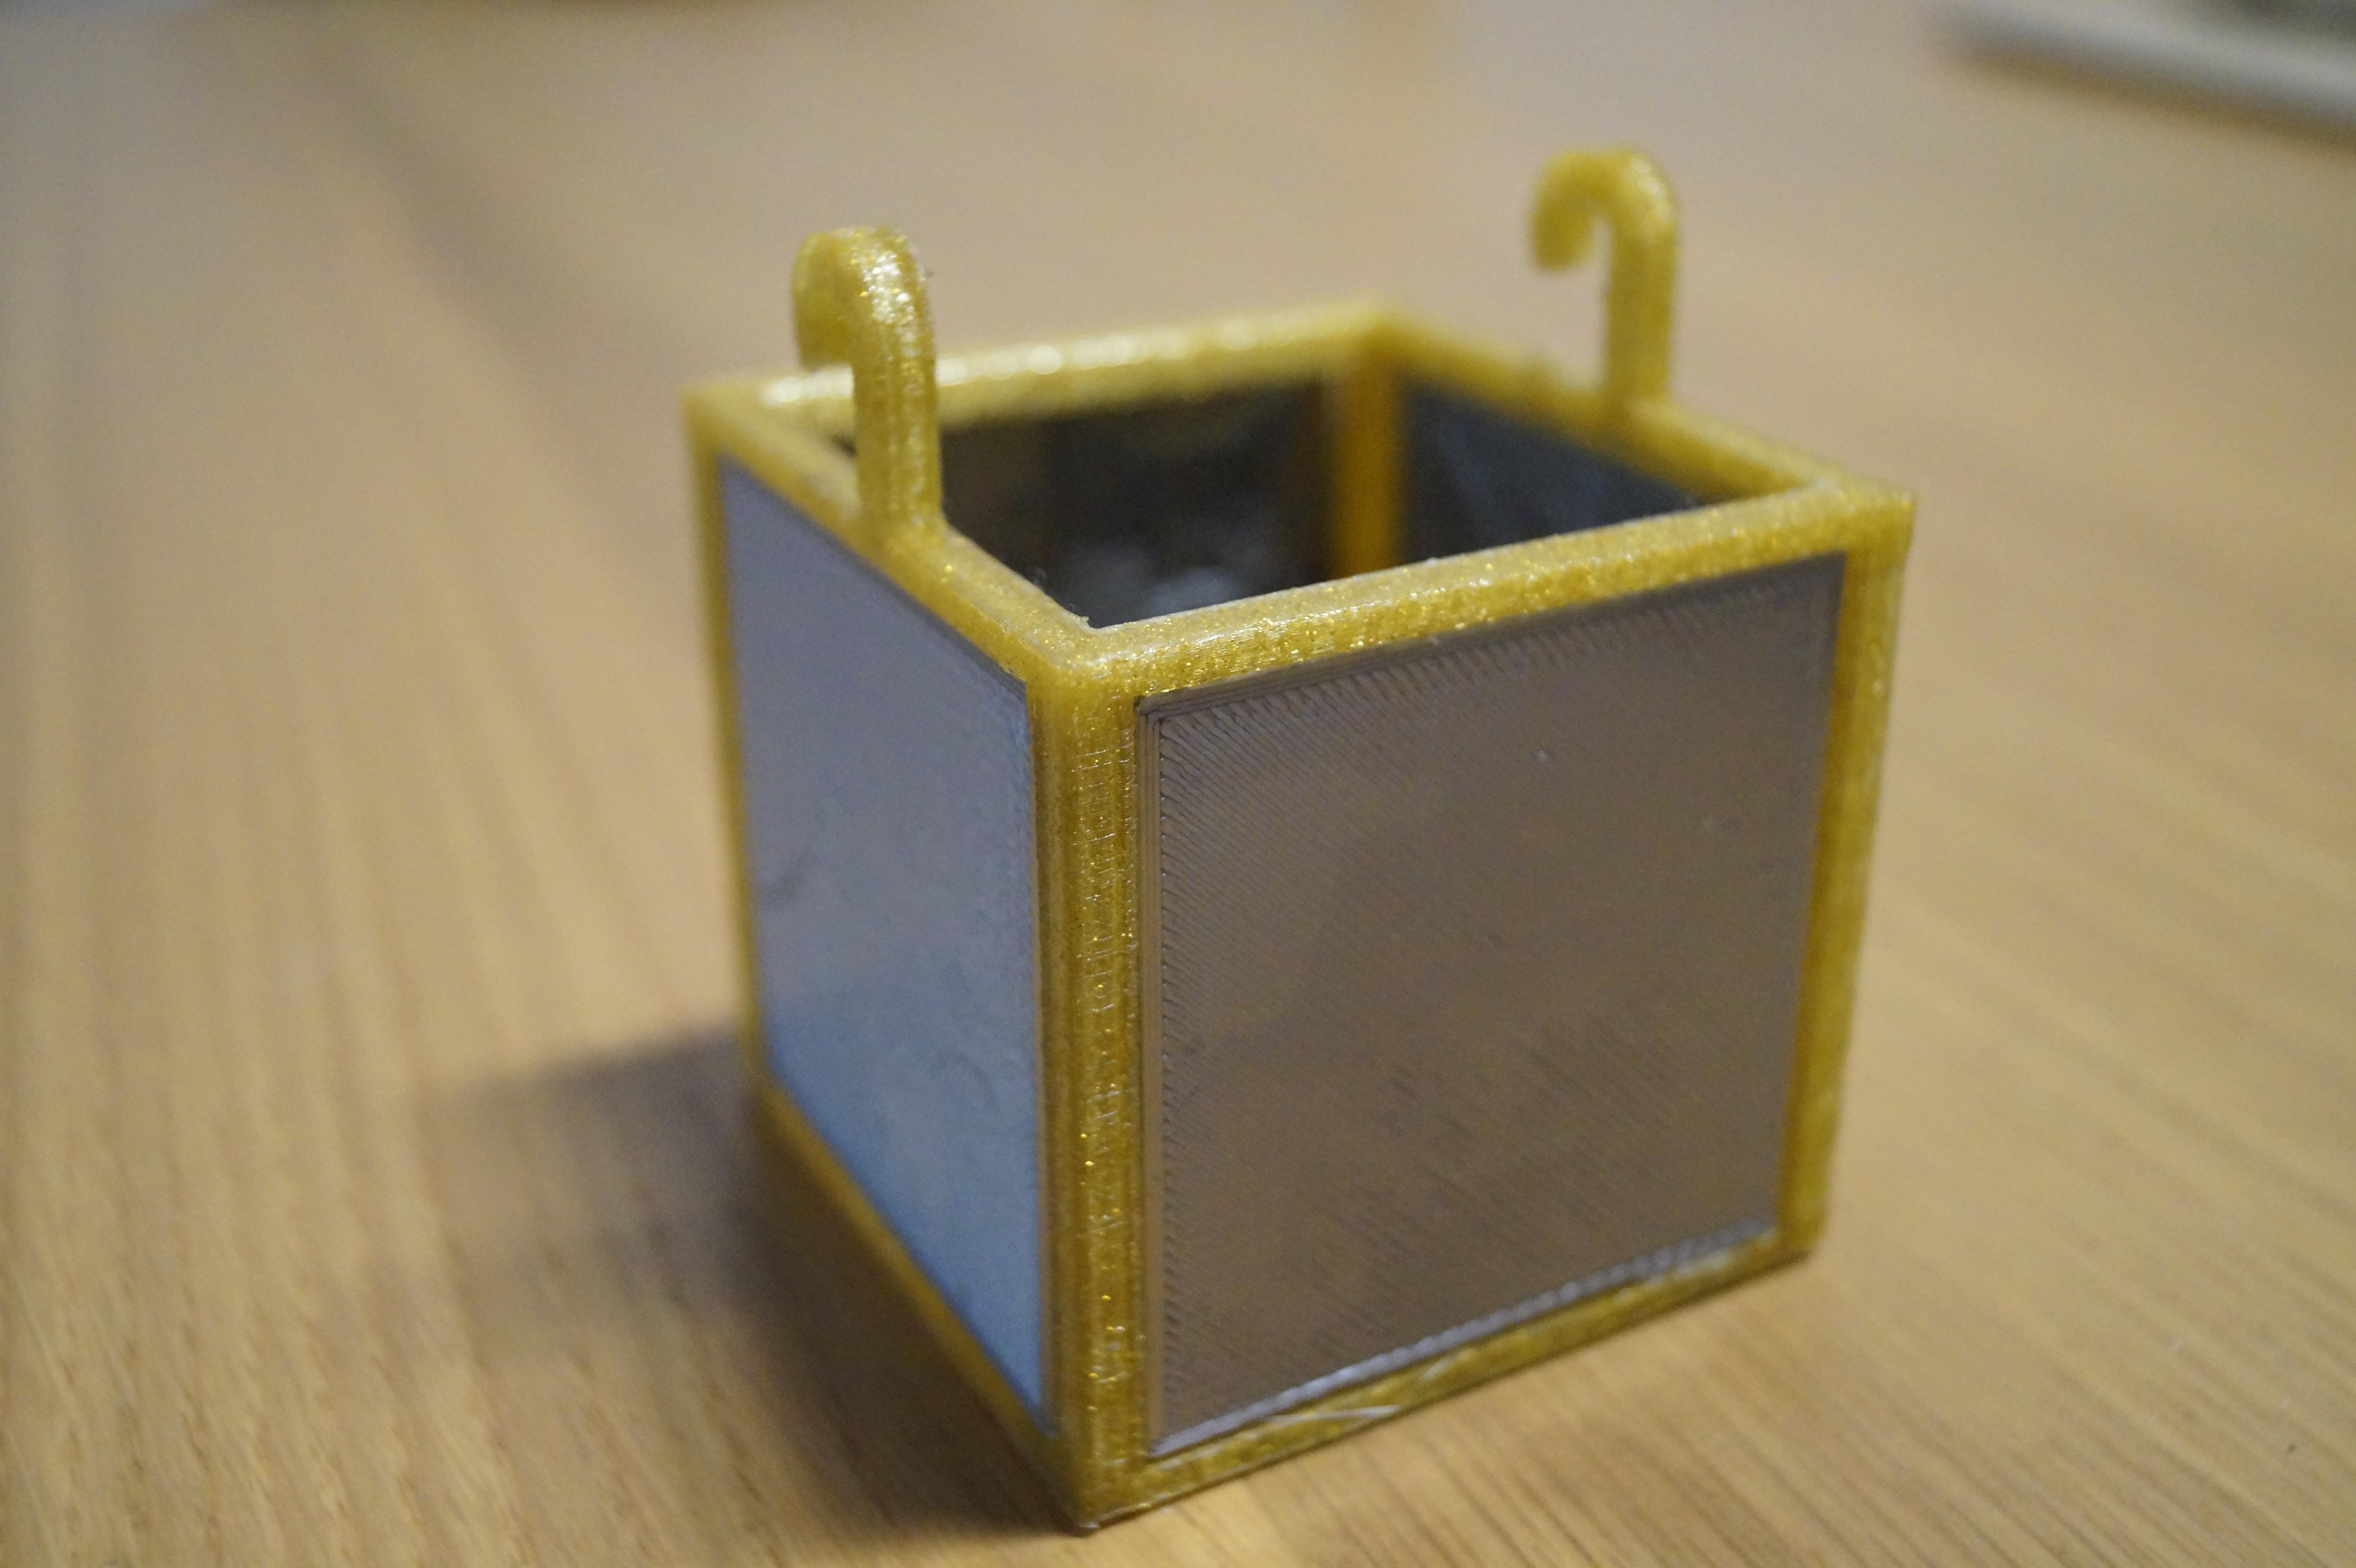
To print the cage which holds the lithophanes, I have included stl files to either print it in one go or split it into two parts to save on support material.
The lithophanes should be able to push-fit into the holder, but when you're happy with the final look you can glue them in place.
You can choose to have the flat side facing out or in, I personally like the mystery of not knowing what the image is until the lights are on :)
Lithofantastic!
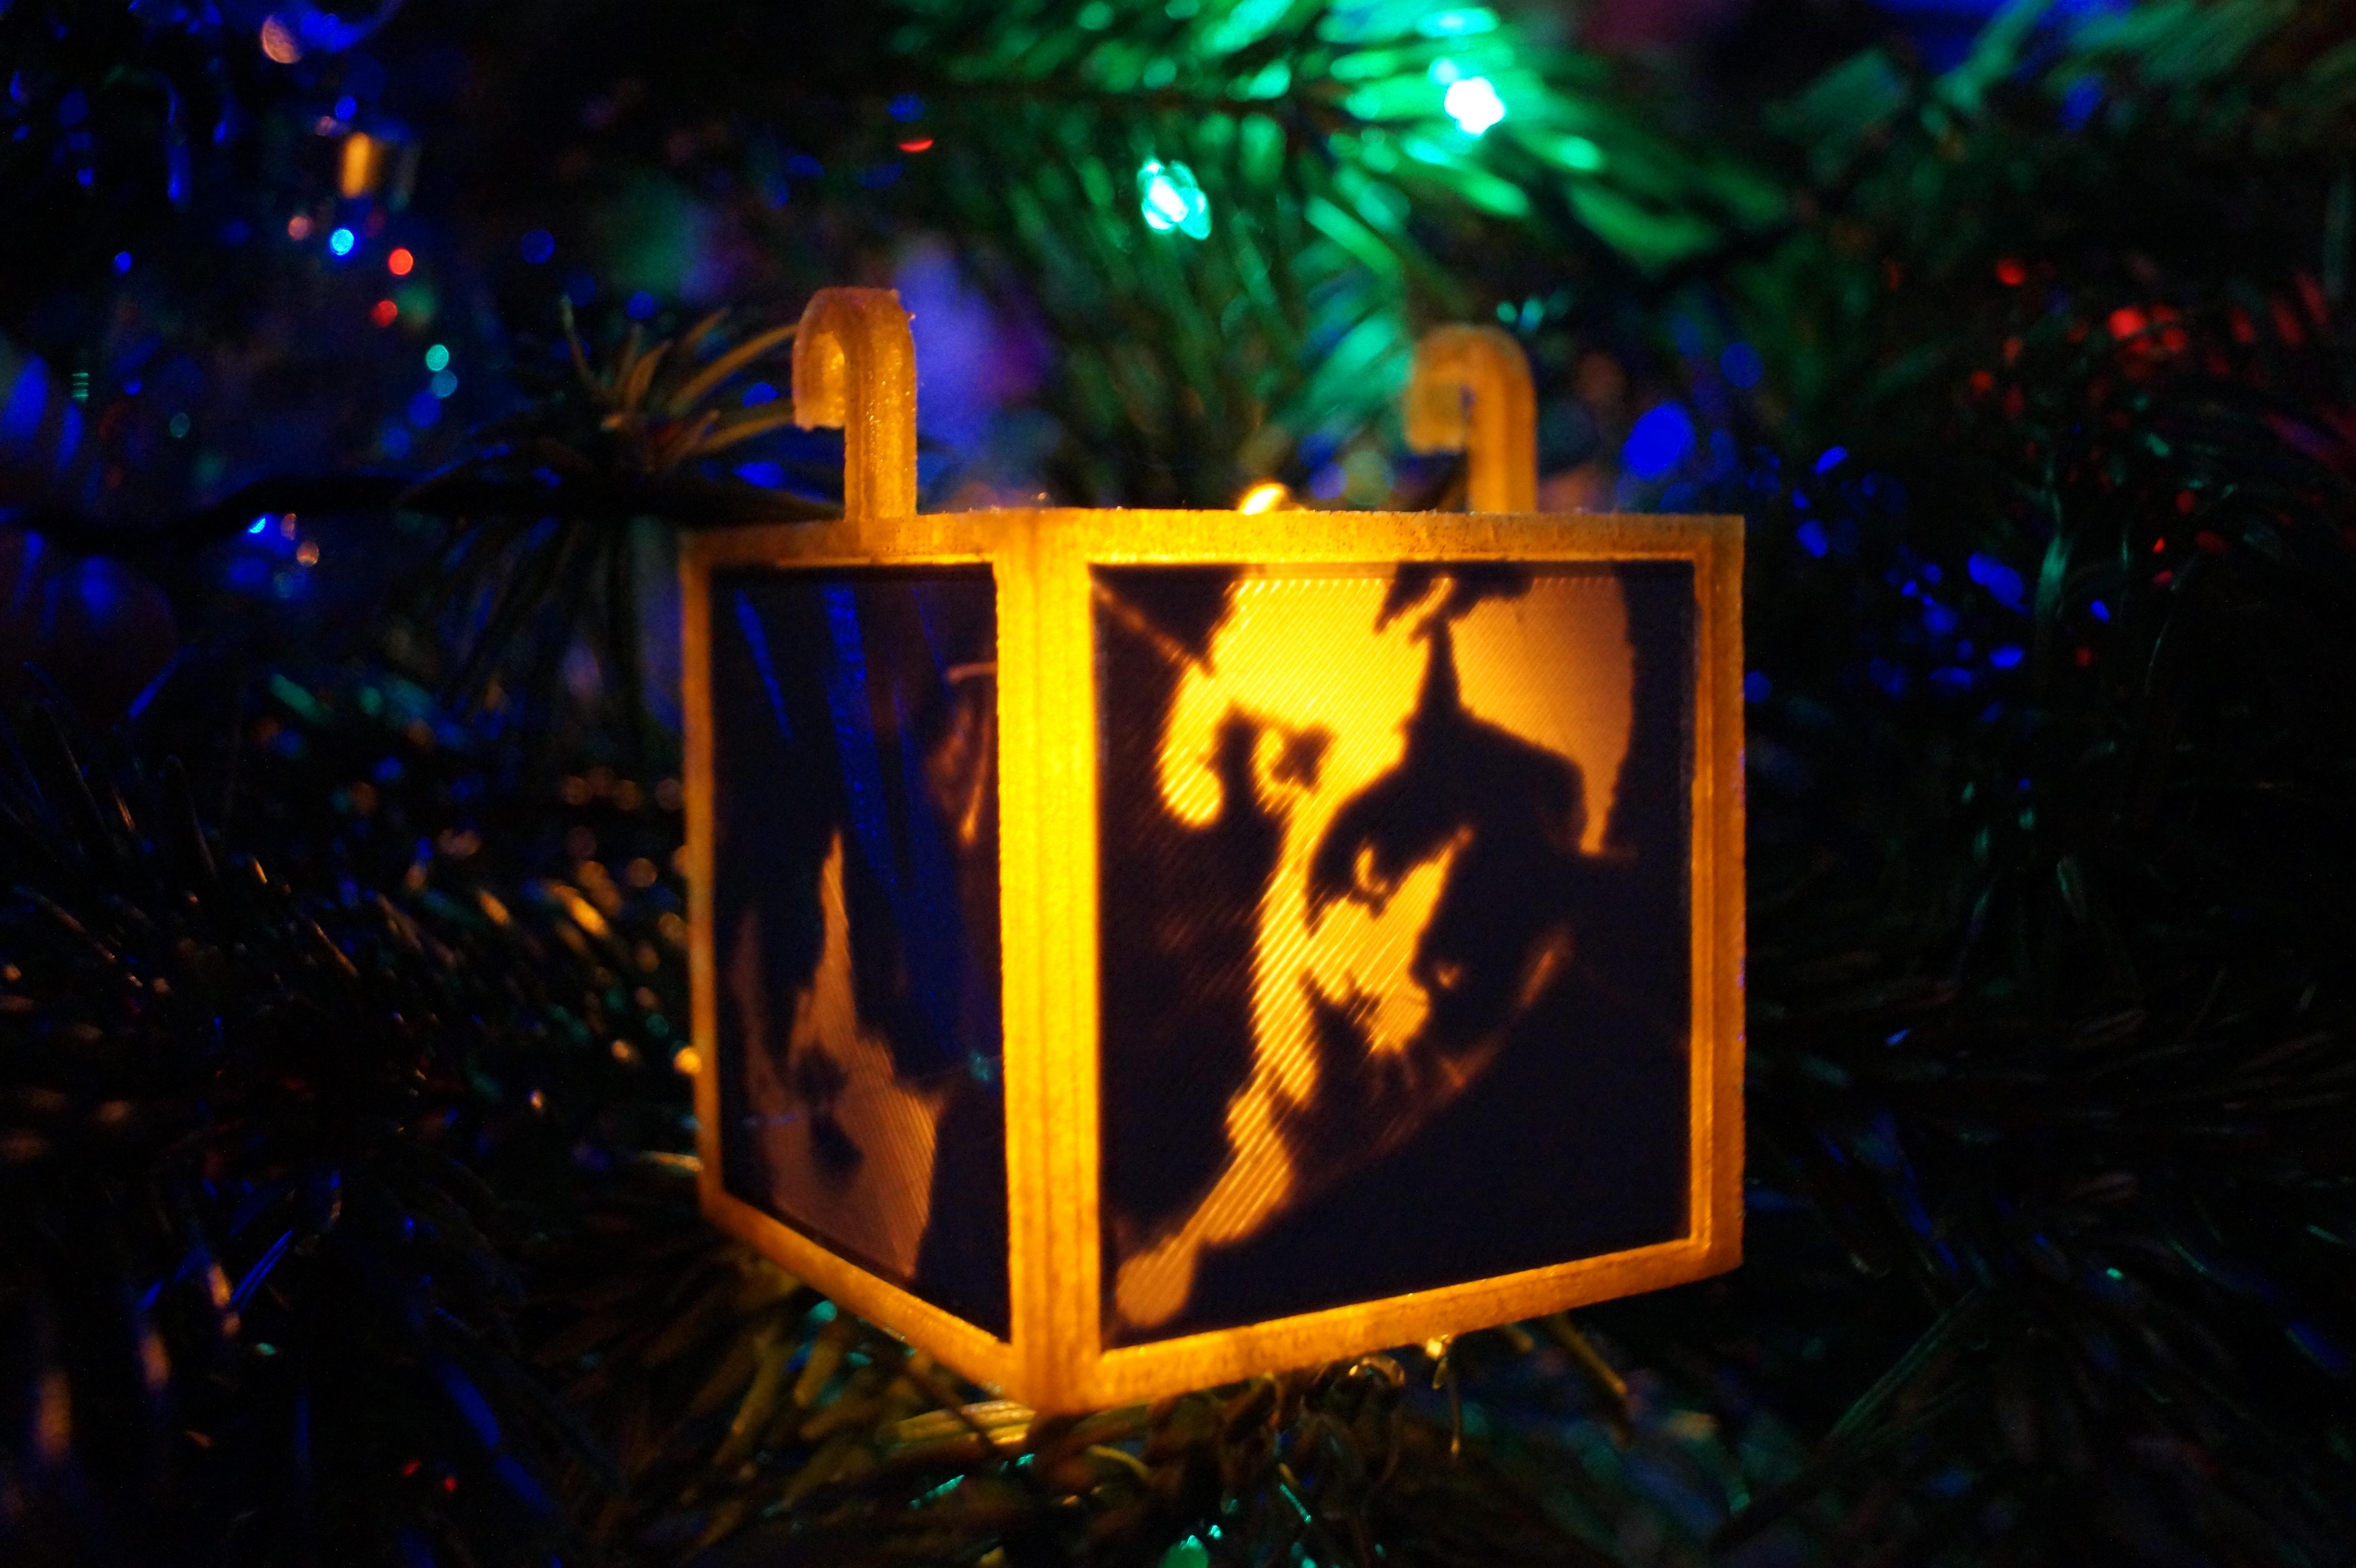
That's it!
Hang them in your tree or give them to your loved ones for a personal touch this year.
Happy holidays!