3D Printed Lantern
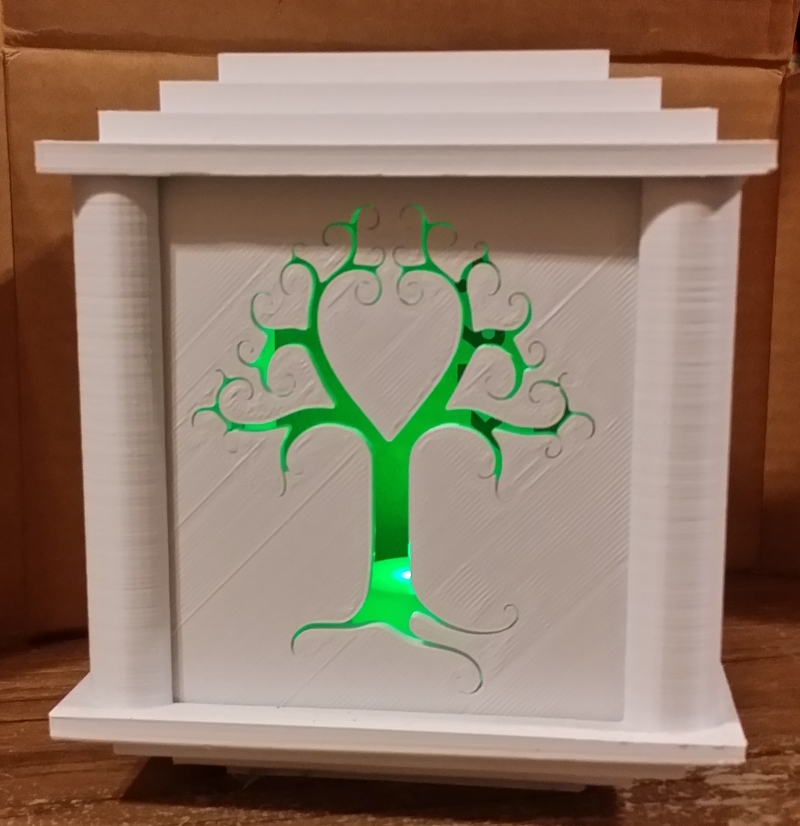
This is an Instructable for making an LED Candle Lantern. This lantern is made so that the panels are interchangeable.
This is my first 3D project and I am very happy with how it came out.
What you will need:
A computer
A TinkerCad Account (or other 3D creation software)
A 3D Printer
3D Filament (how much depends on how big you make your lantern)
LED Candle (from a dollar store or big box store)
Time
Start at Tinkercad
Tinkercad is the website I used to create my 3D model. It's pretty easy to use and I did everything I needed to for free (I am sure they have some kind of premium account, but I didn't sign up for it).
Don't have a Tinkercad account? Go to https://www.tinkercad.com/ and sign up for free.
Your Tinkercad Dashboard
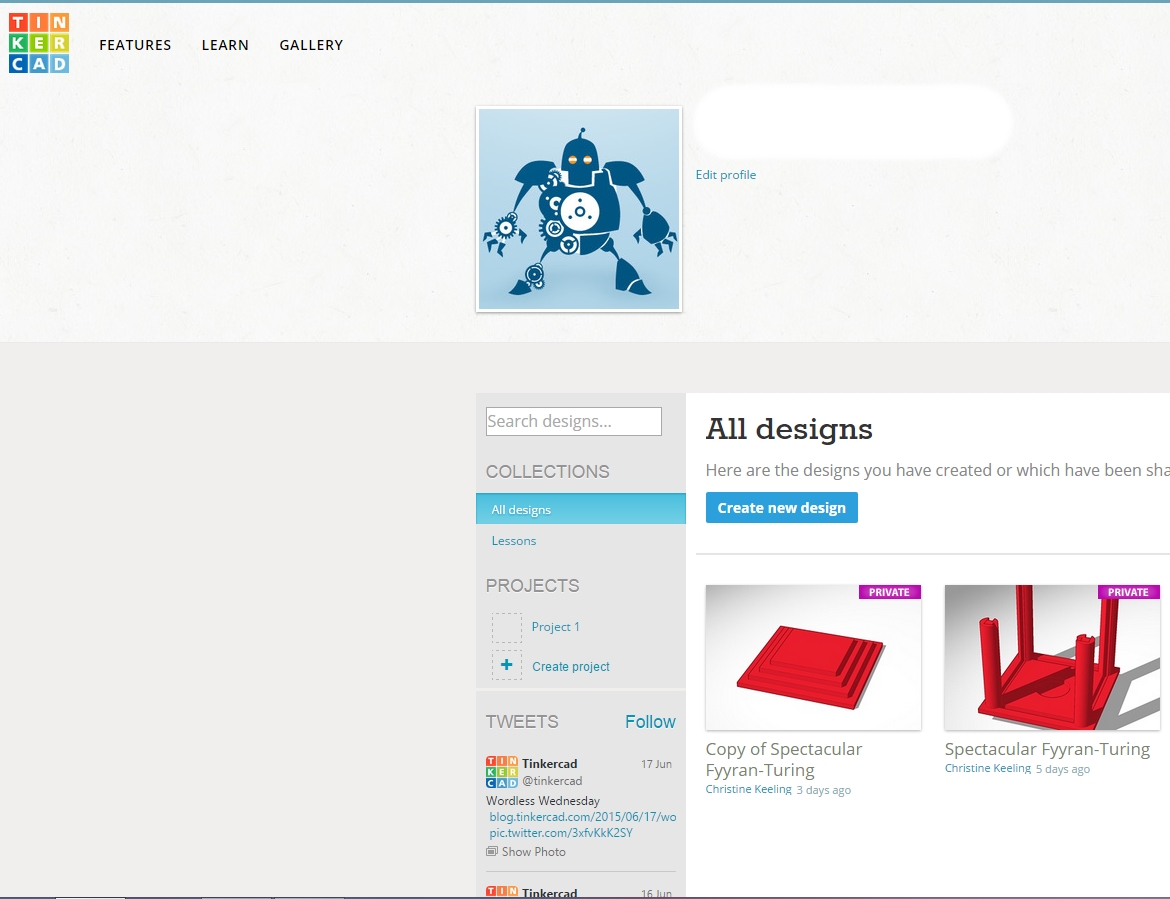
After you've created your account you'll see a dashboard similar to this. To get started press the button that says "Create New Design"
Your Blank Canvas
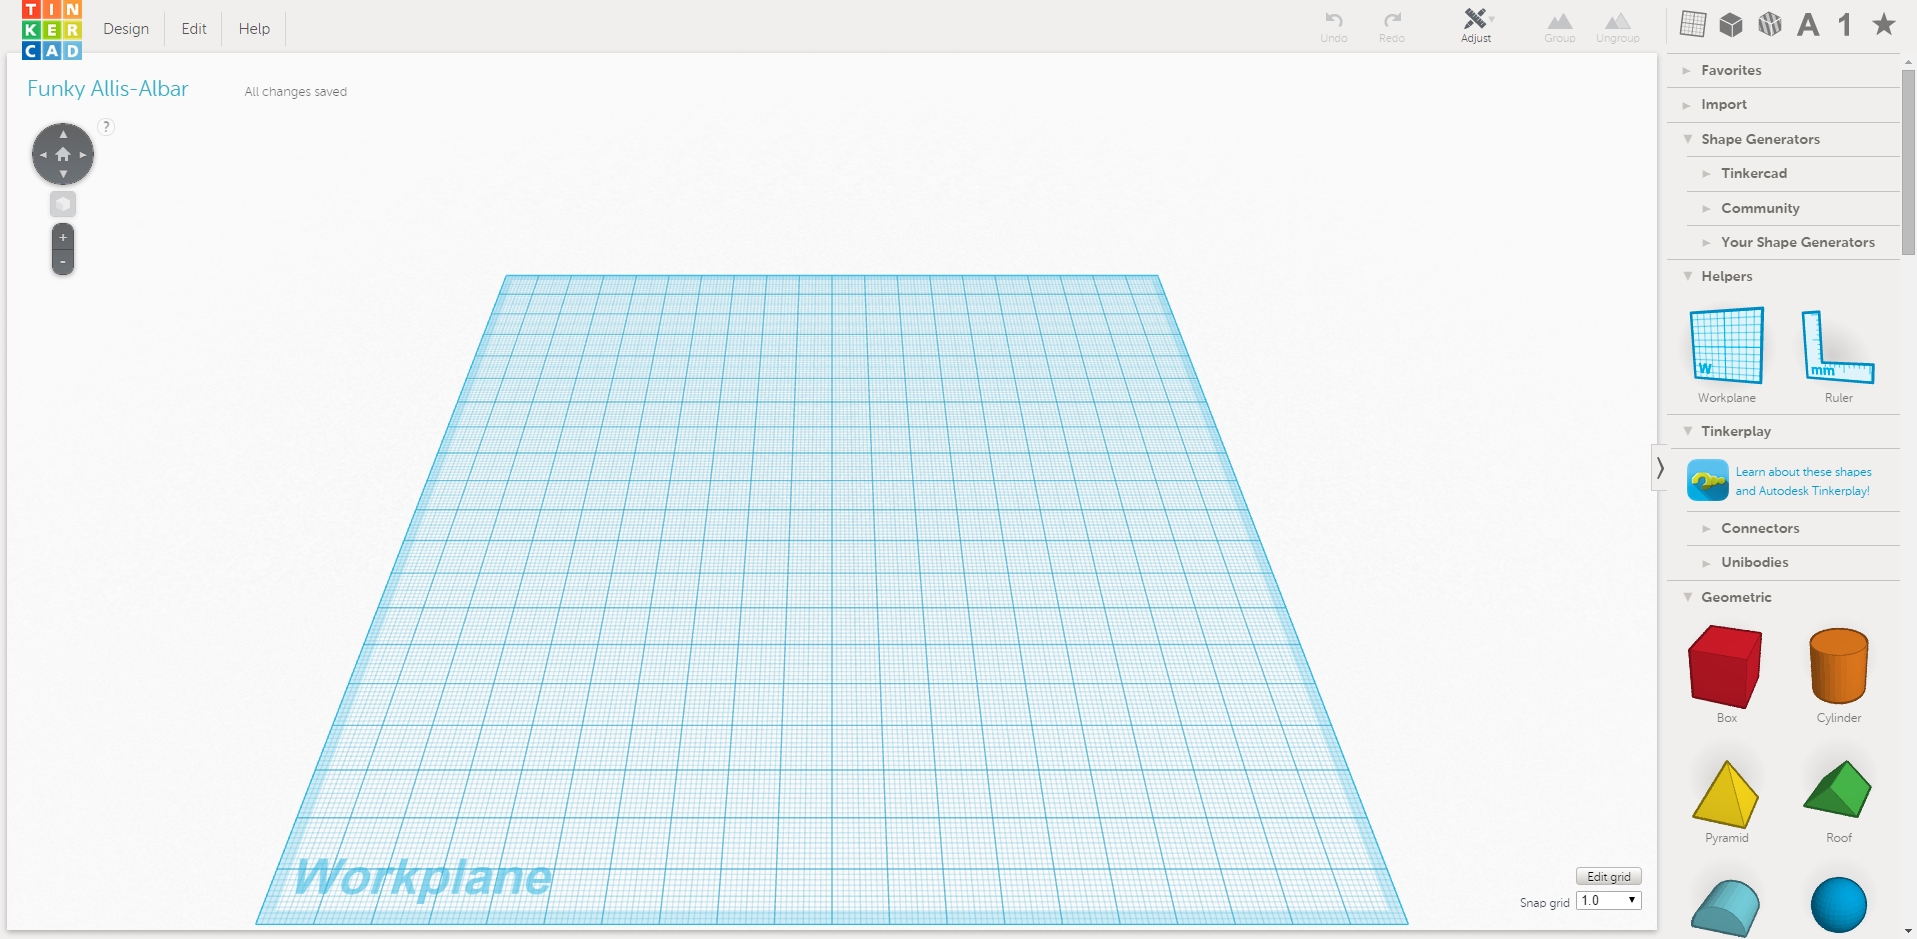
Once you have started your new design you will see a blank field. This is your work area. On the right locate the "Shapes" menu. It will look like a cube and is located at the top right of the screen.
Create a Box
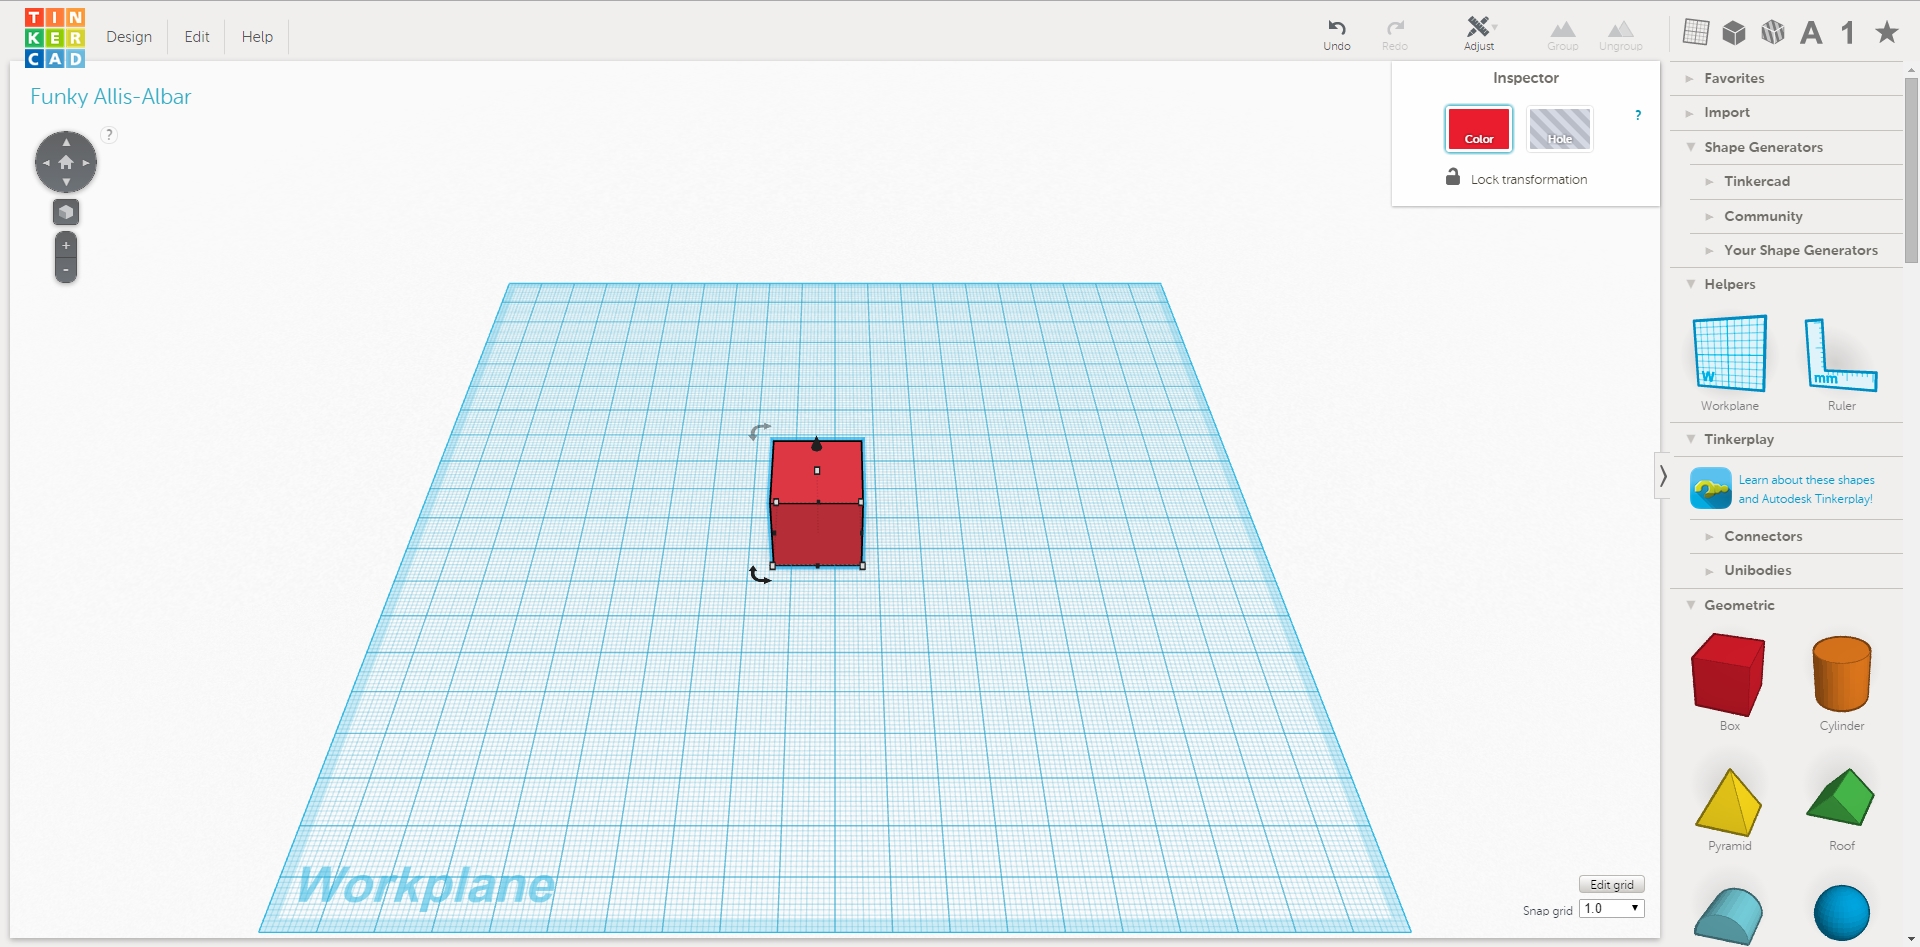
After you press the box you should see a lot of different shapes come up in a menu on the right. Click and Drag the box to your work space. When you let go of your mouse you should then have a box on your work space.
Resize Your Box
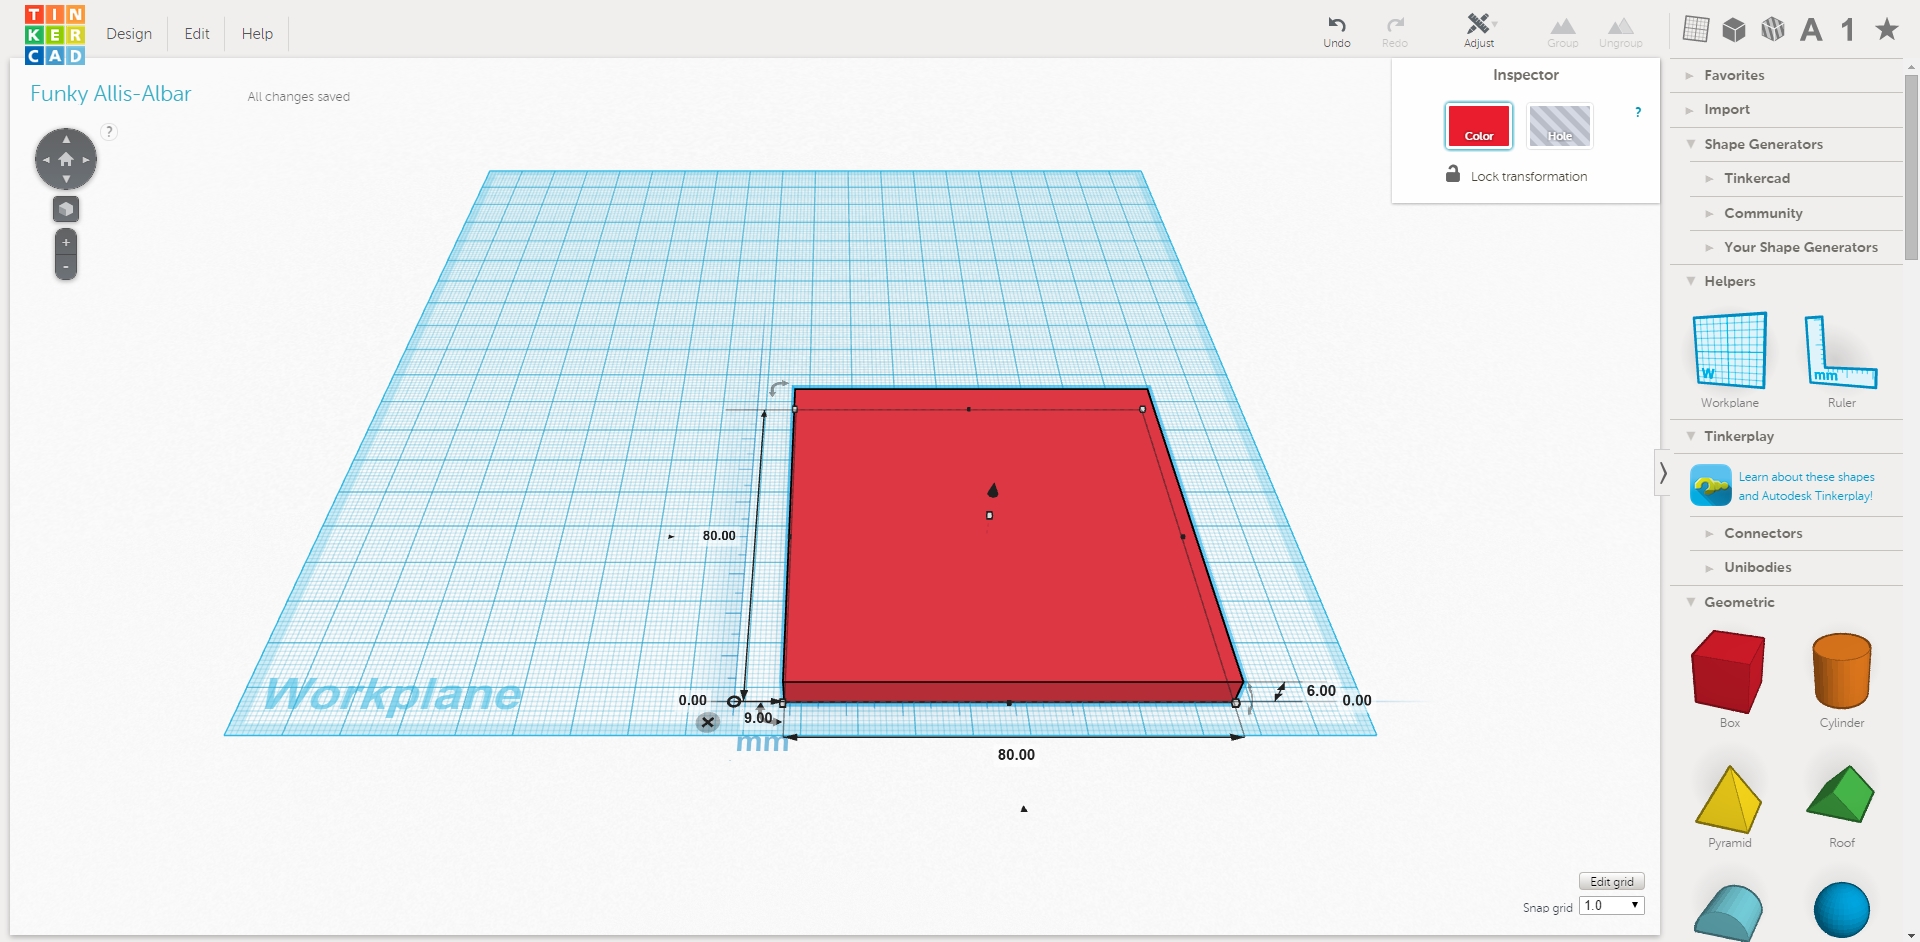
Now that you have a box on your work space you can start playing with it.
Grab it and move it around.
When the box is selected you should see little while boxes on the corners and on the top. These are your resizers.
Grab each one and drag them away and towards the box. You will see the size changing of your box. When you've got it the size you want simply release your mouse button :).
Remember - if you mess something up CRL+Z will undo your last step - or you can look for the back and forward arrows at the top right of the screen.
Give Your Box a Buddy
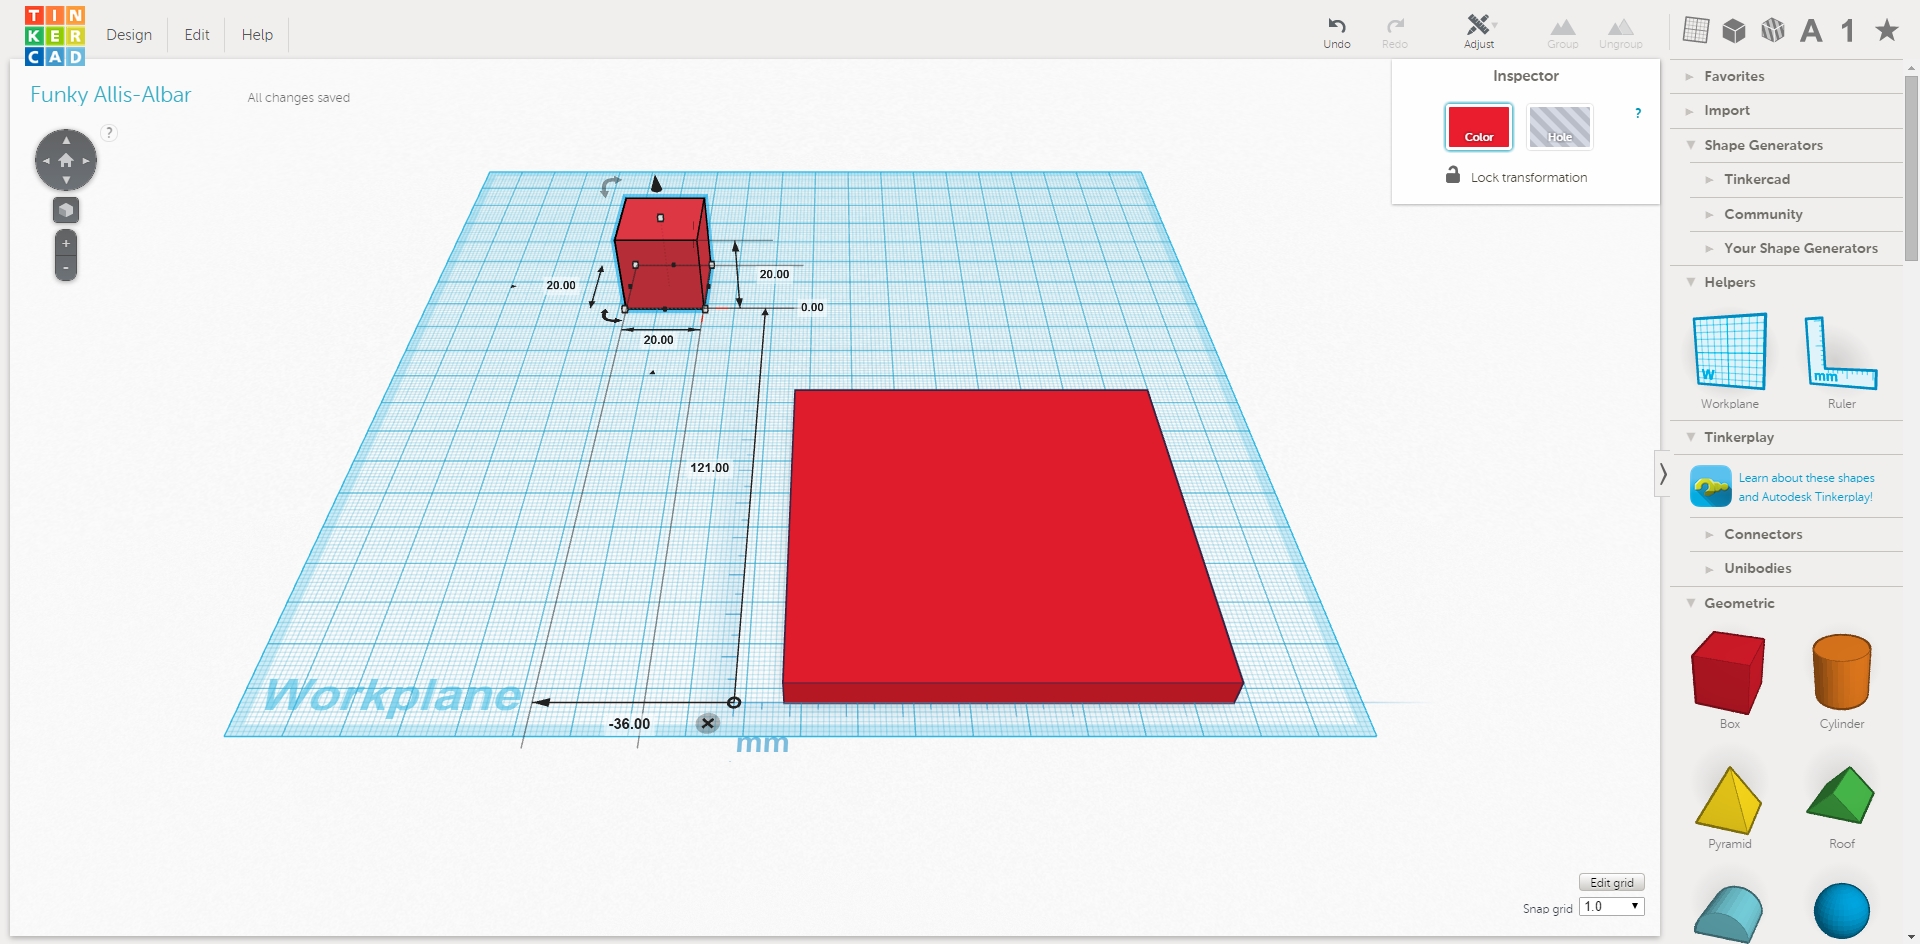
You wouldn't want your box to get lonely.. give him a friend to play with.
You can do this by dragging another box (or some other shape) over onto your work space. You now have two items on your work space and that opens up all the fun stuff you can do. In this very short tutorial I won't cover much, but this will at least get you started.
The Ruler - a Little More Control
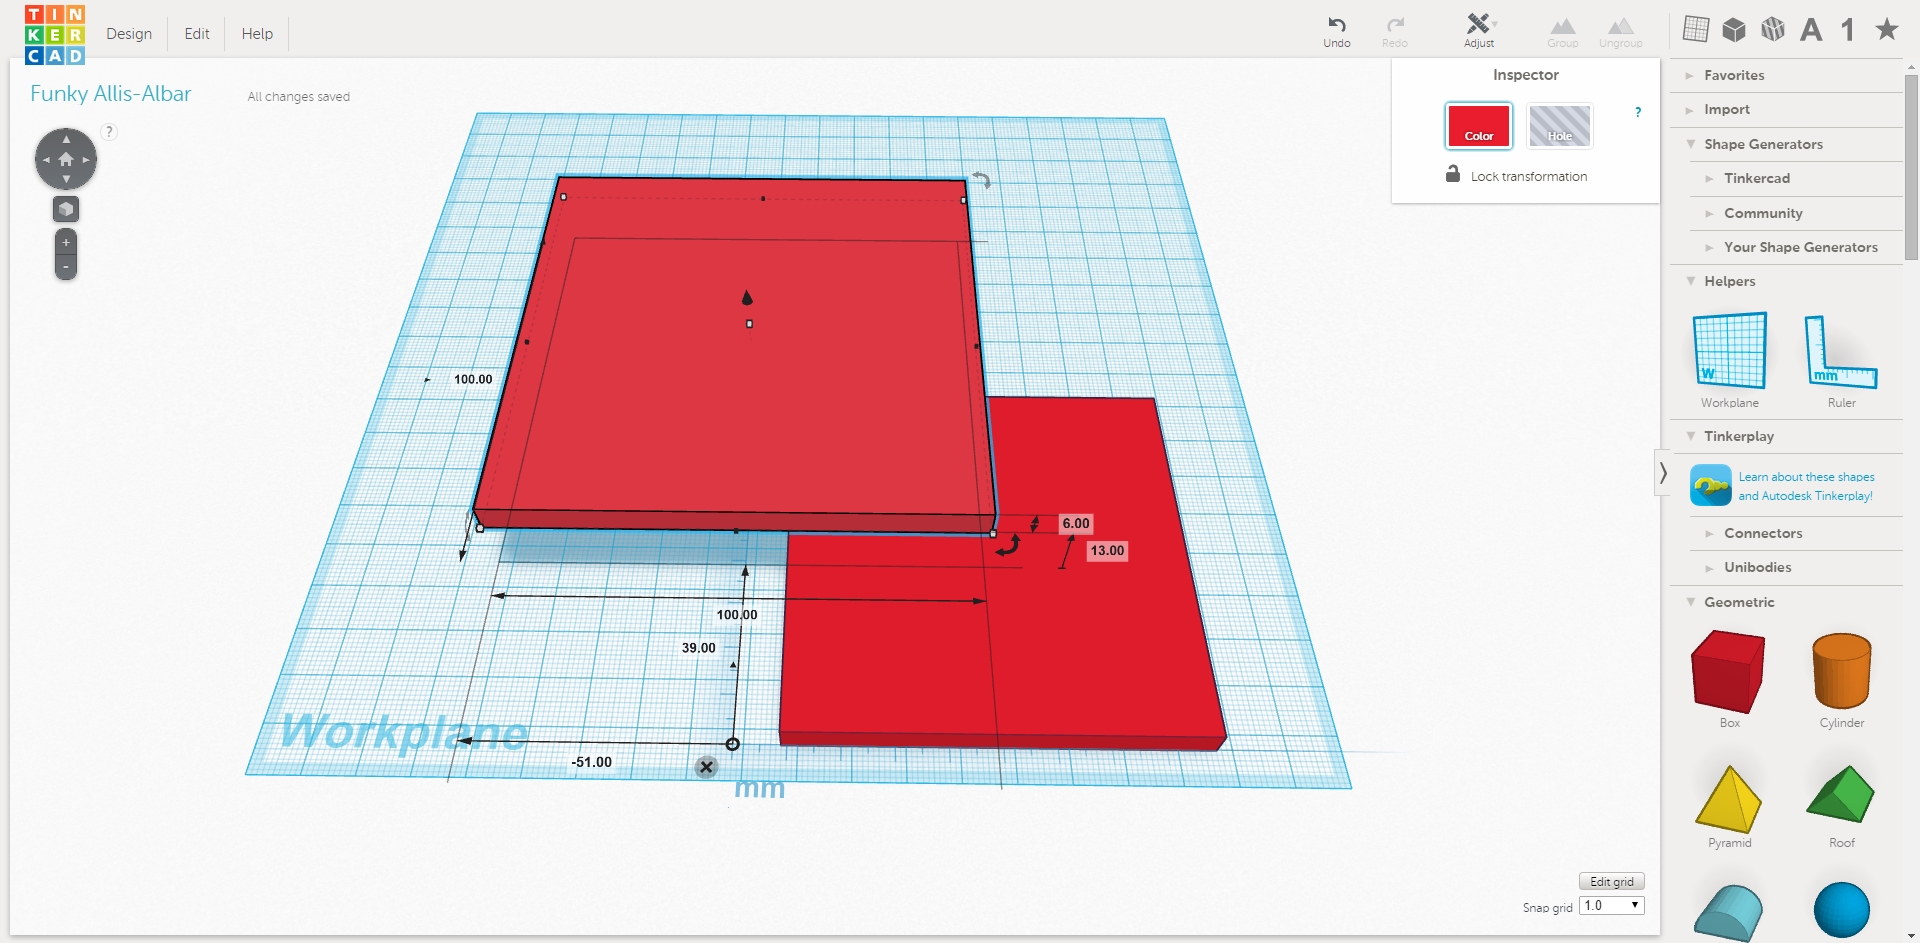
If you're trying to get a specific size and your shapes are not cooperating you can grab the ruler (right above the shapes menu on the right hand size - scroll up if you need to).
Place the ruler down on your work space. Once your ruler is on the work space you can then click on one of your items and you'll see all kinds of data come up. These numbers are editable.
If you want to change a size of one of the sides (or height) just click on the number and type in the number you want.
When you're done with the ruler just click the little "X" at the corner that says "Dismiss Ruler".
The ruler does take some getting used to. Don't get discouraged you'll get it soon enough.
All Your Shapes in a Row
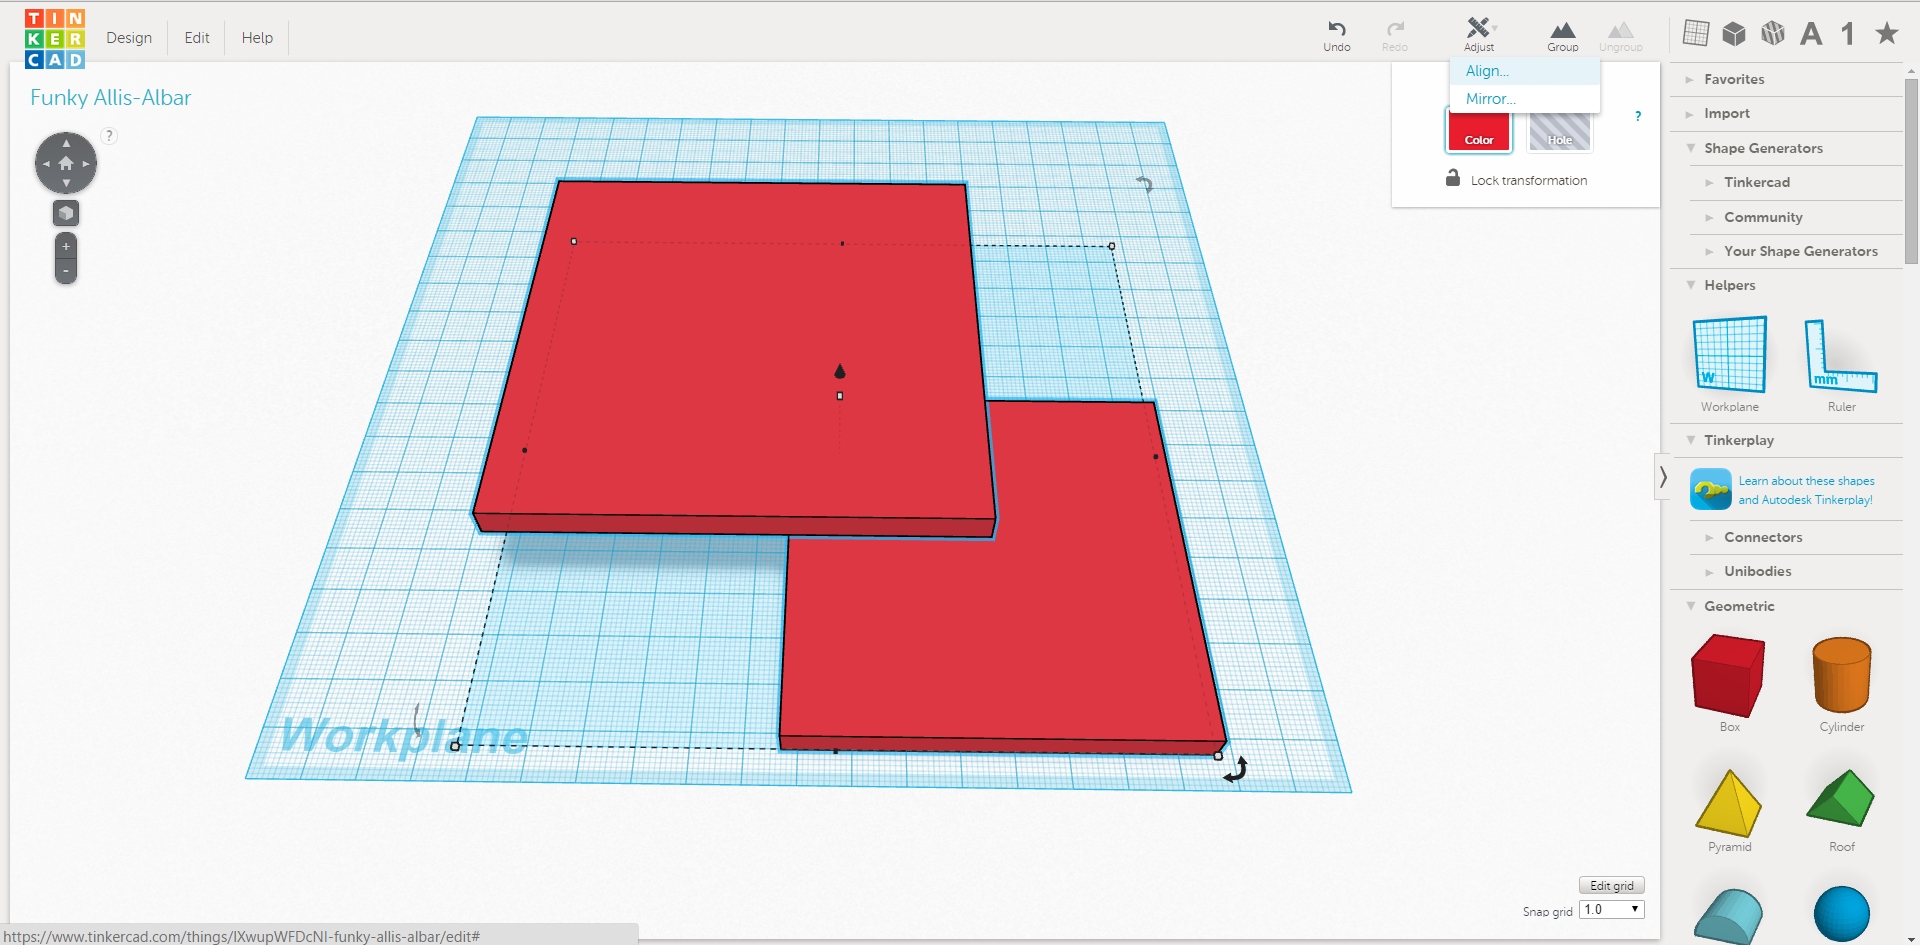
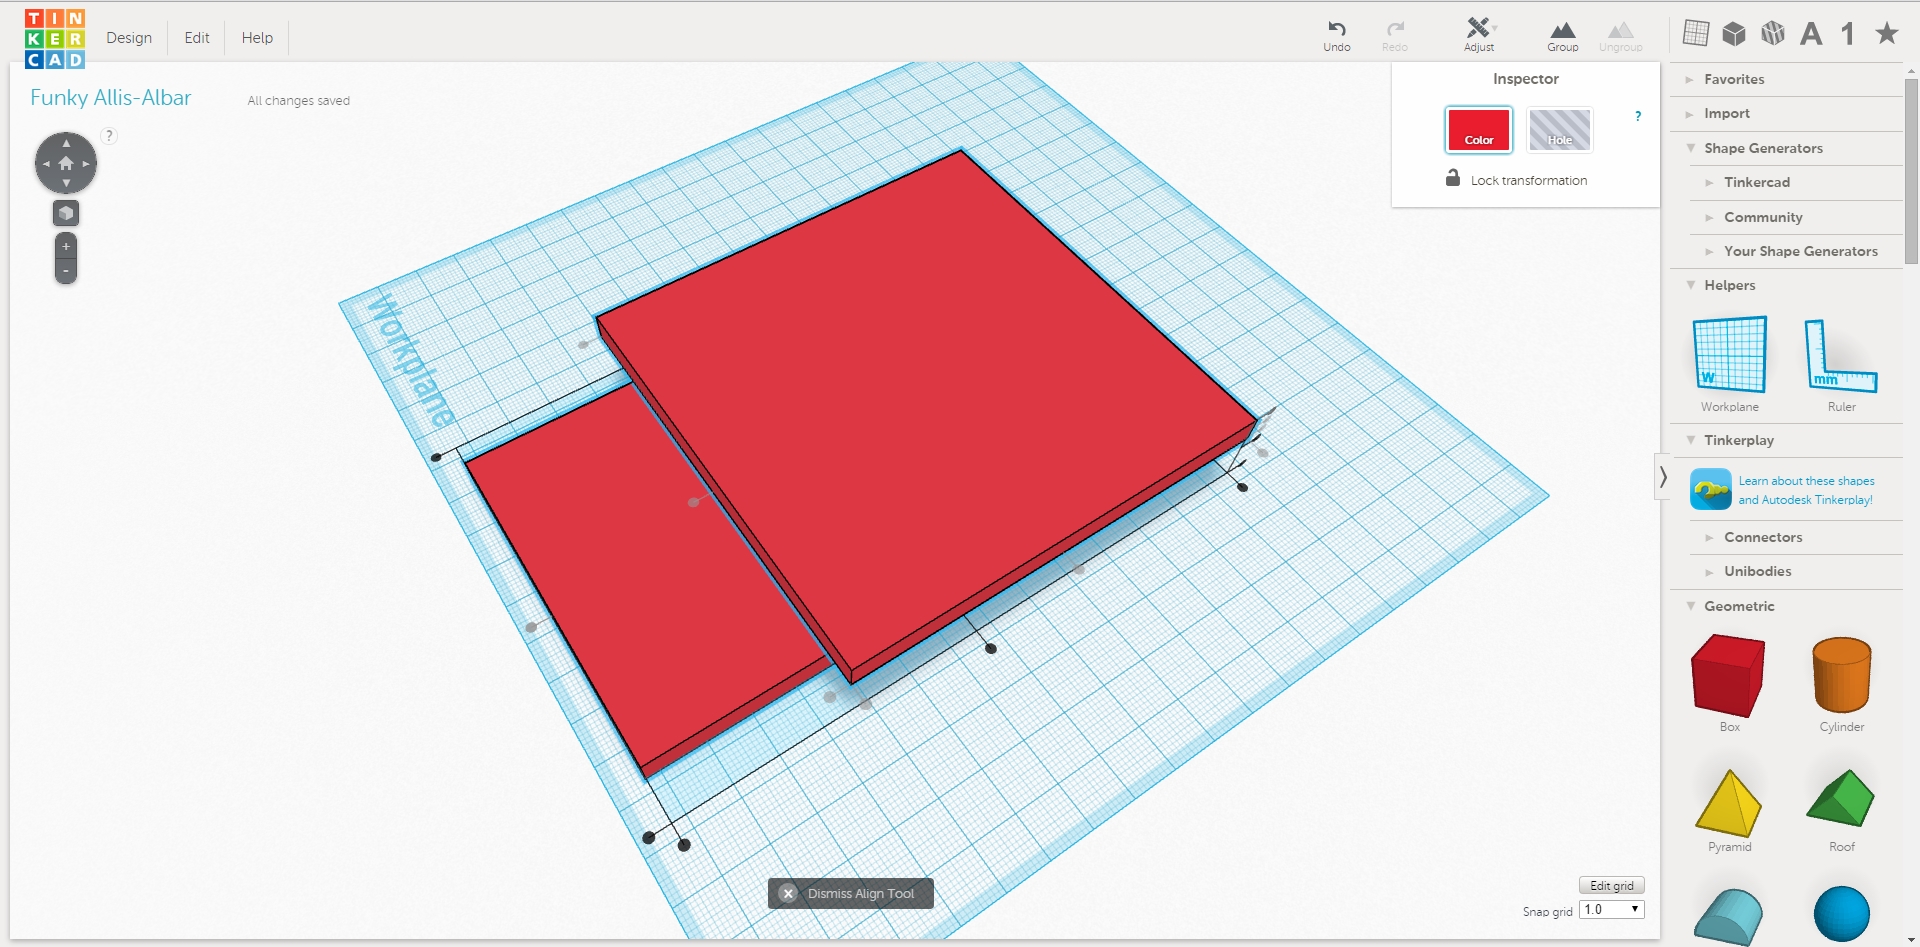
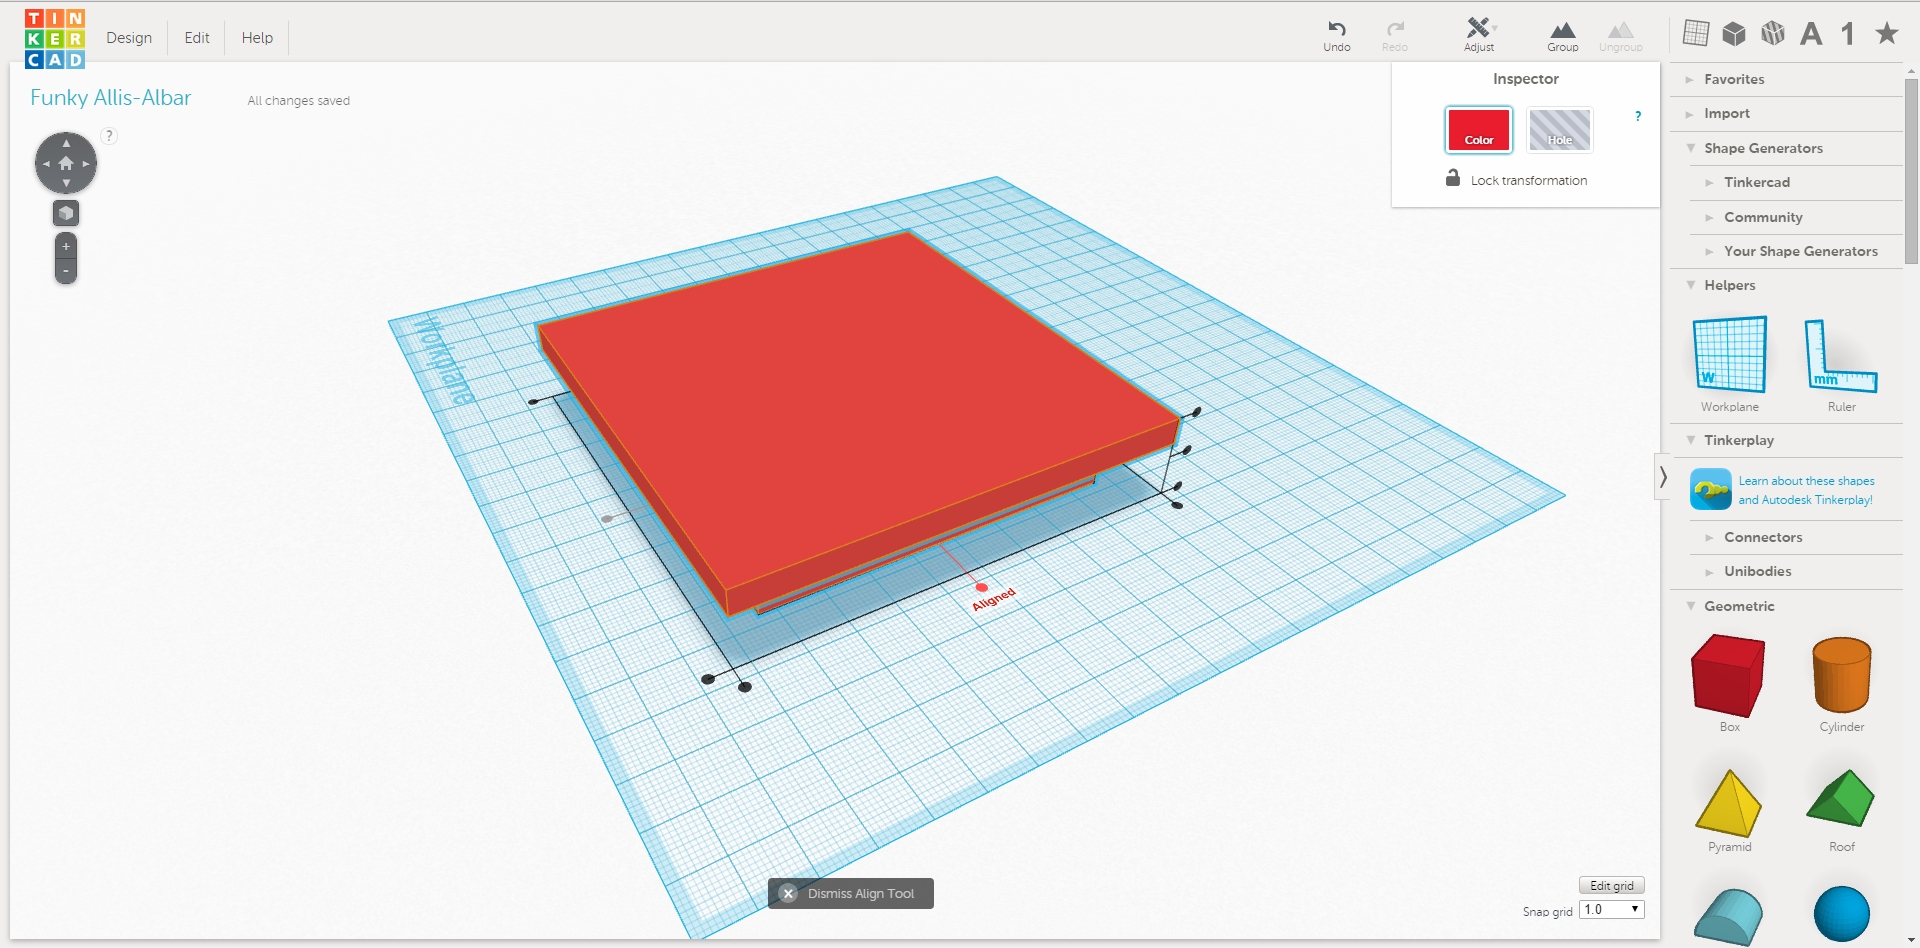
Okay.. you now have two separate shapes, but you want them on top of each other? Easy Peasy.
Click on of the items and then hold down CRTL and select the other item(s) you want to align (if you want to select everything click on one and then press CRTL+A).
Once you have everything selected then find the box that says "Adjust" at the top right of the screen. You should see a little box drop down that says "Align" or "Mirror".
Select "Align"
If you look at your work space you will now see little dots on the screen. These are your aligners. You can line up your shapes by corners or sides. Simply click on the different dots to bring everything into line.
When you're done with the alignment press the "Dismiss Align Tool" at the bottom center of the screen and click anywhere on your blank work space to un-select all the pieces.
Stack 'em Up
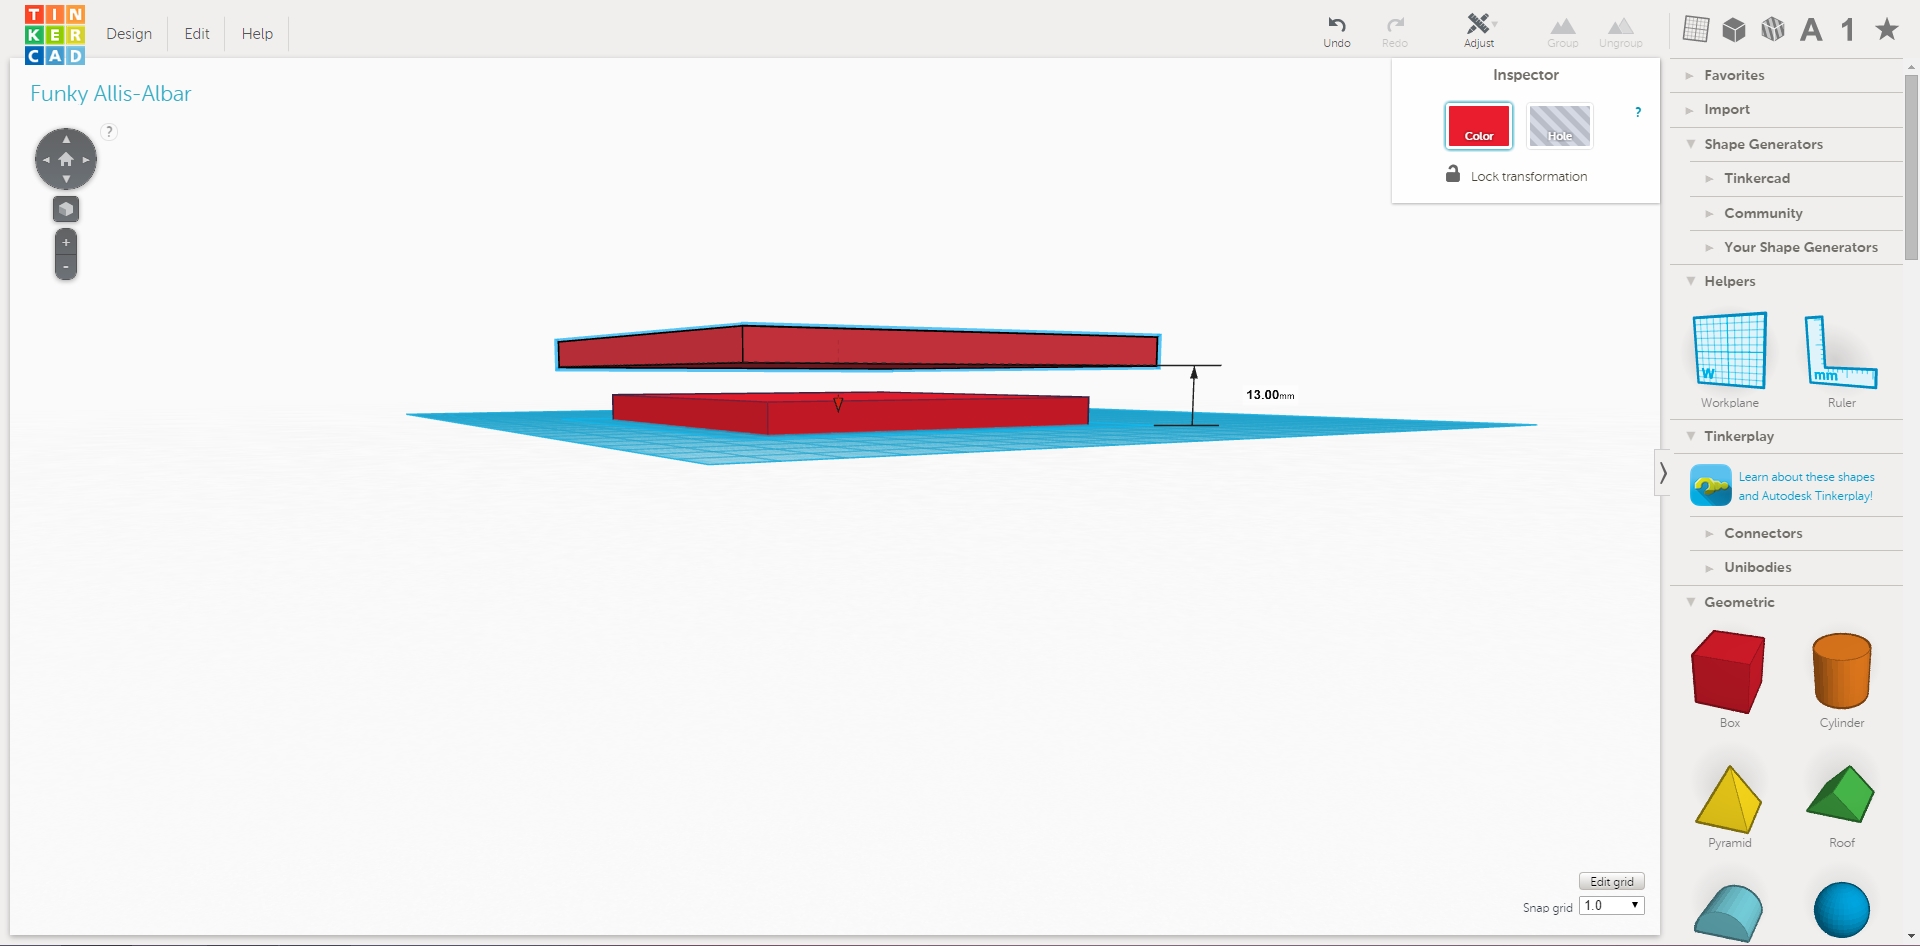
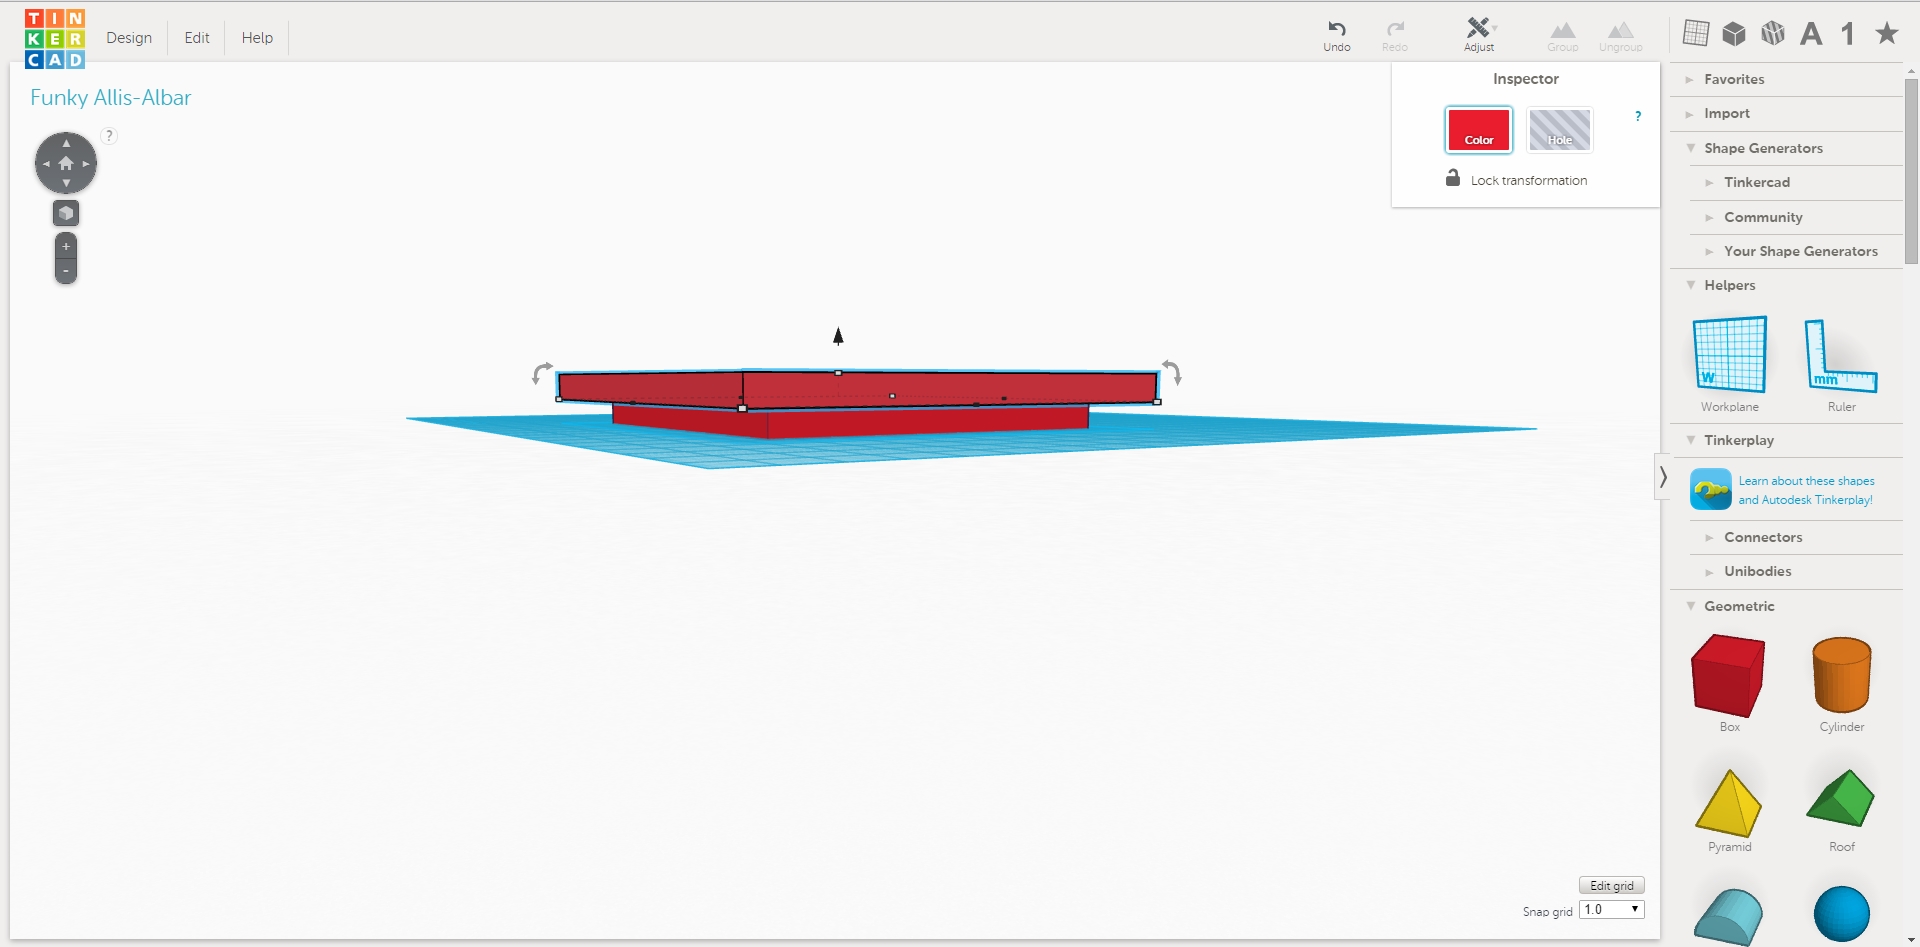
Now that you have your pieces all resized and aligned it's time to stack them on top of each other. This is a little more of a manual process.
When you click on one of your boxes you will see a little black triangle/arrow on either the top or bottom of your piece(s).
To move your box(es) up or down you simply click on this triangle/arrow and move your mouse up or down.
You can zoom into your work space and visually see if there is any gap between the two objects (not suggested) or you can use some simple math to make sure they're connected.
Example: If you know your bottom box is 6mm tall you will want to drag your top box down until the height number say '6'.
Also note: You can put one item 'into' another one by dragging one item into each other. This becomes important when creating odd and new designs.
Shapes IN Shapes?
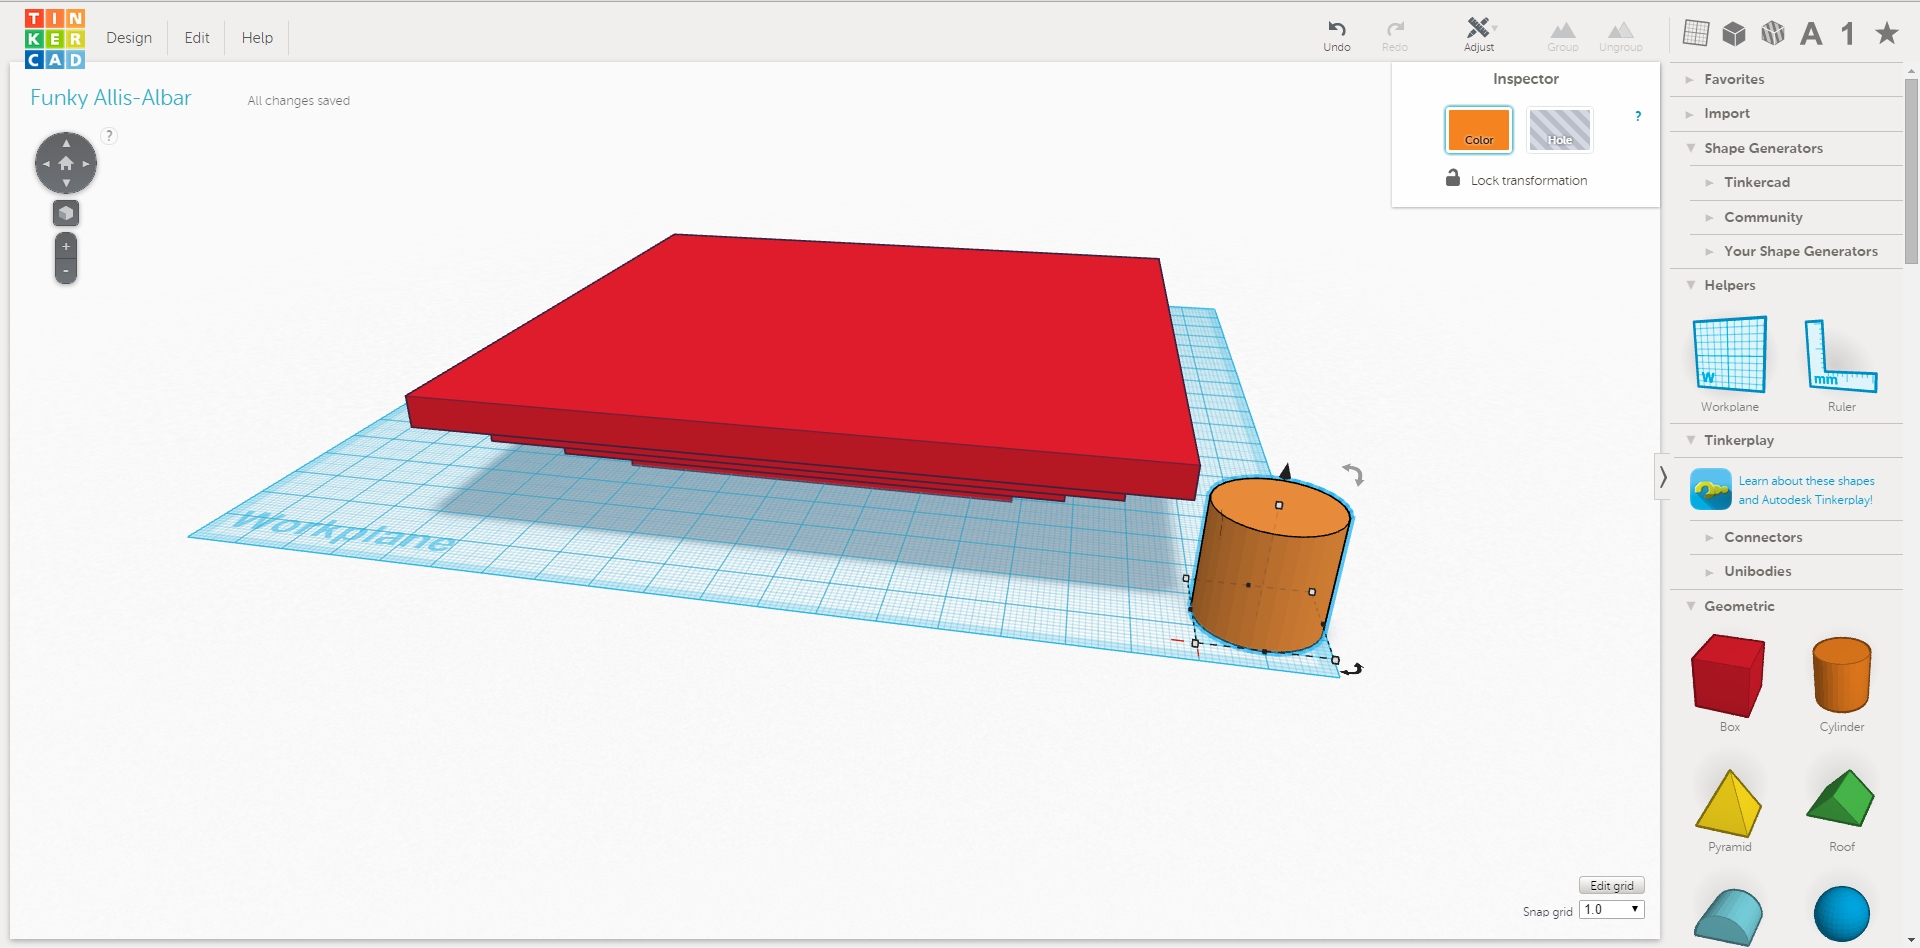
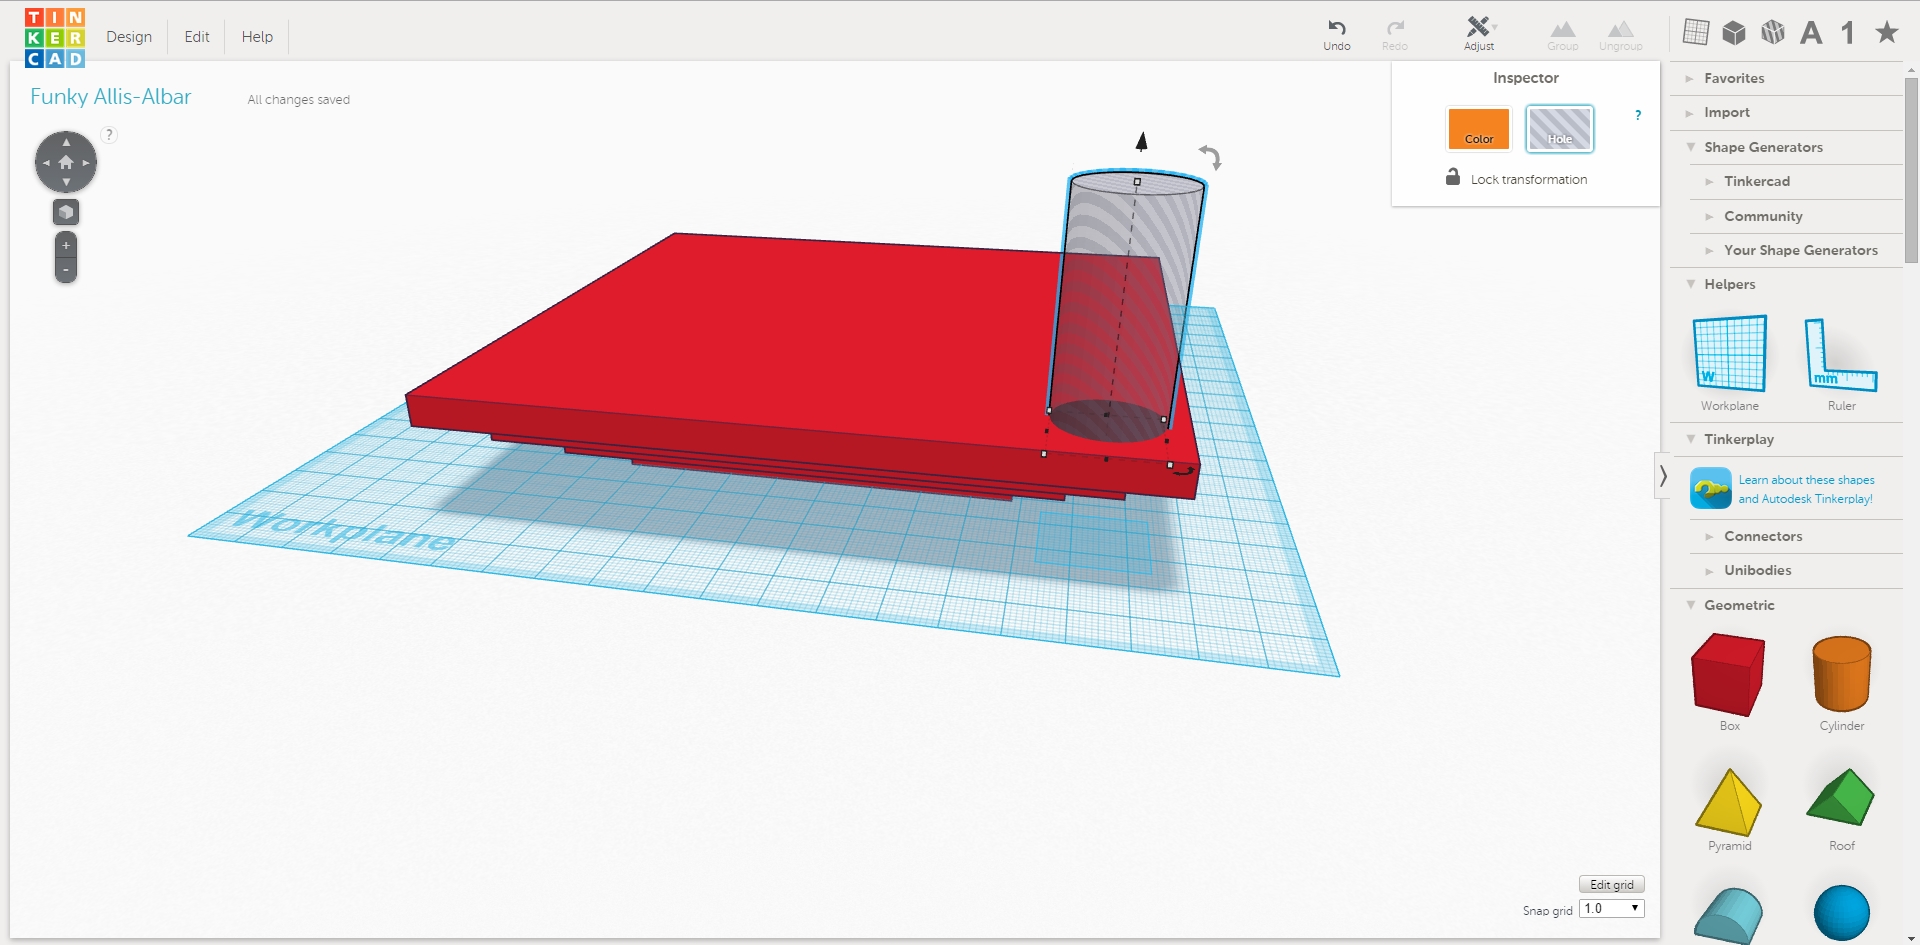
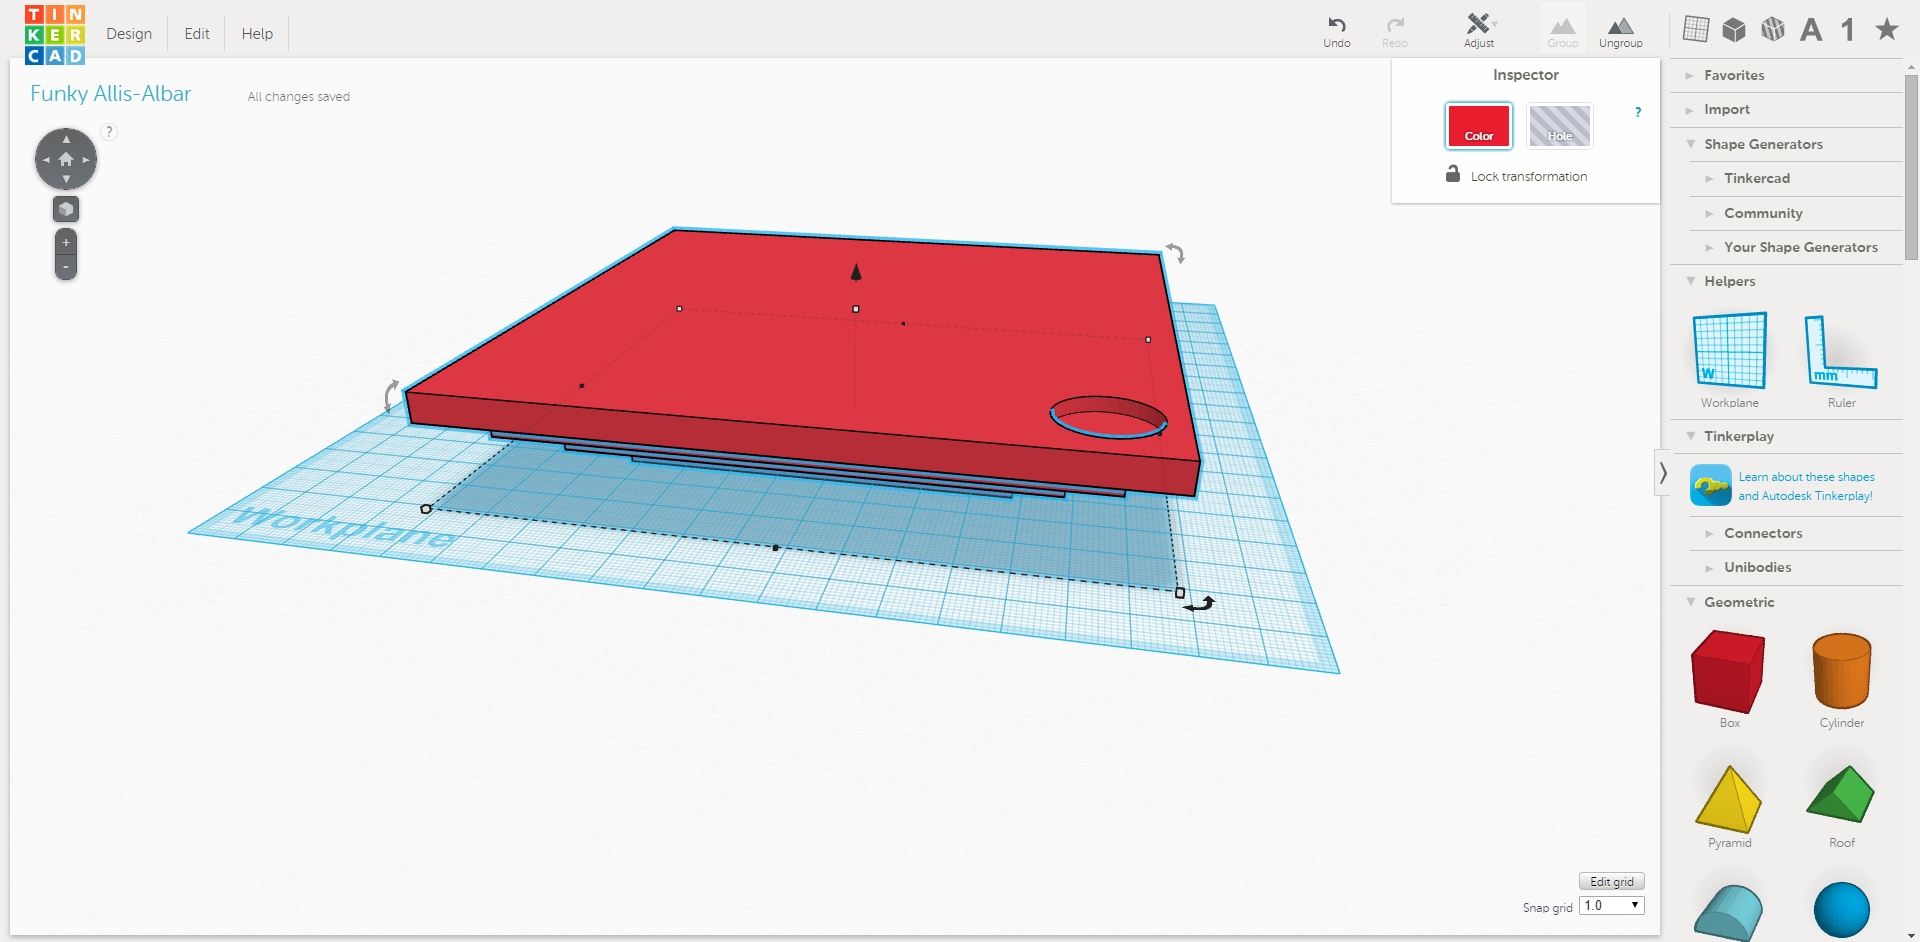
Now you have a very nice stack of boxes - what to do now?
How about drill digital holes in them (I mean - why not)?
To indent a shape into another shape it's pretty easy.
Pick the shape you want to drill out (I used a cylinder in mine to get a circle indention).
Drag your shape onto your work space.
Re-size your new shape (you already know how to do this now).
Drag your shape to where you want the hole drilled (you can do this now too).
Once you are happy with your placement then highlight your new piece and press the "Hole" button in the upper right of the screen (I know.. I know - everything is in the upper right of the screen, but don't blame me - I didn't design the Tinkercad website).
Now you have a hole in the shape that you chose. You're not quiet done yet (but almost).
Now select your hole and your piece you want drilled into (using that CRTL button you used earlier) and then press the "GROUP" button (I am not going to tell you where it is - you already know everything is in the upper right hand of the screen).
You now have drilled a digital hole in your perfectly good square - are you happy with yourself?
Make Your 3D Lantern Pattern
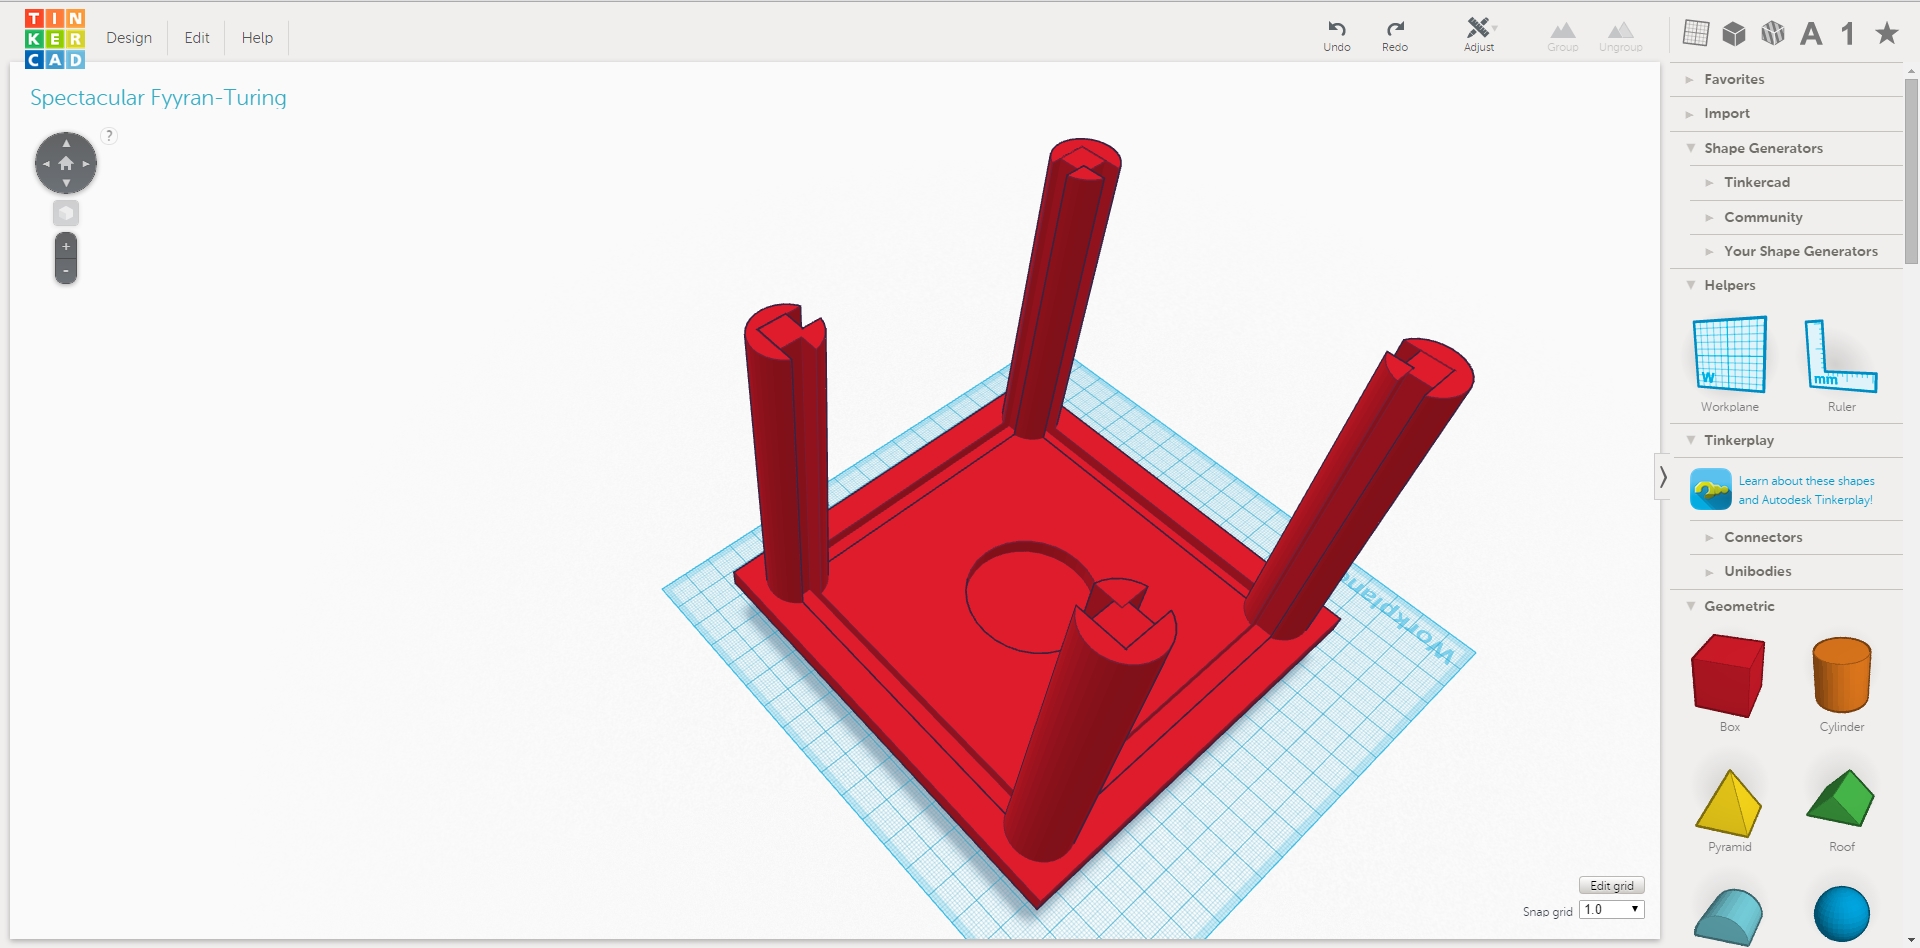
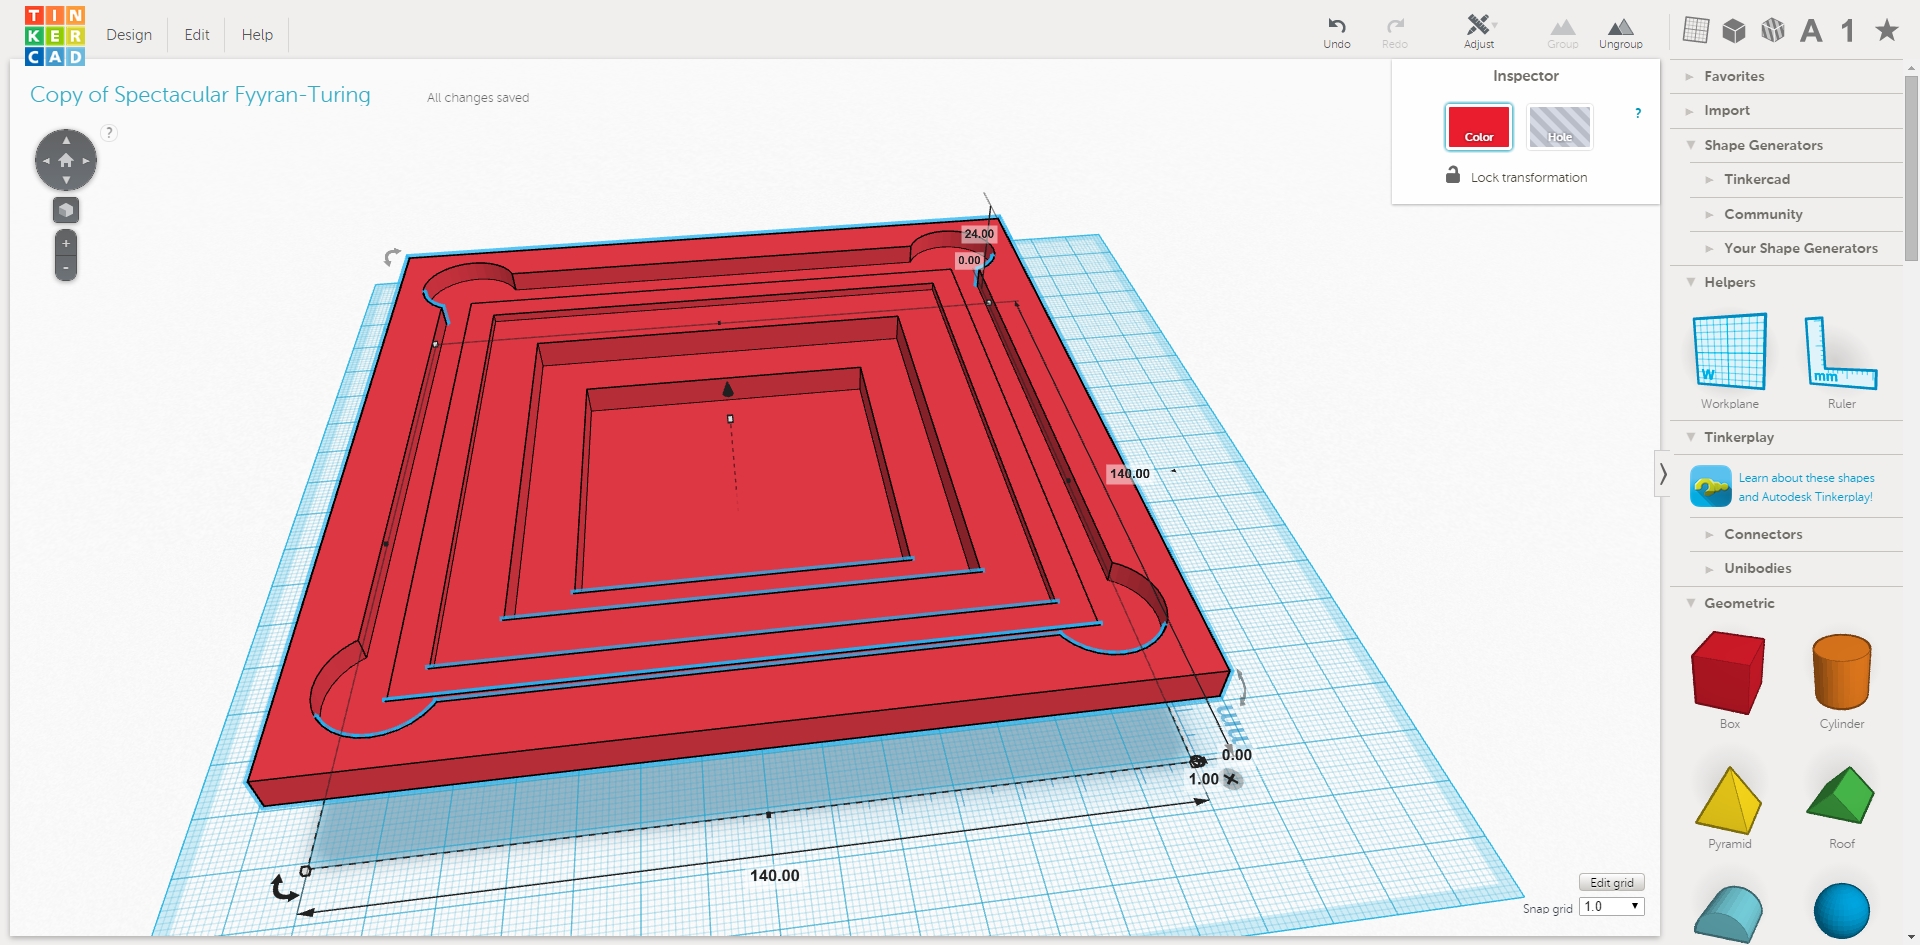
Now you have all the tools you need to make your pattern. You can do this - I promise. If you get completely flustered - start over. I know it sound counter-intuitive, but sometimes the way forward is the way back (brownie points for those of you who get the movie reference).
The pictures here are from my model. I hollowed out the top some just to save on 3D filament.
I did have one major design flaw that I will fix before I print this item again, but I am not going to tell you what that was just yet. If you want to know how I goofed up you'll just have to keep reading.
Print Your Baby
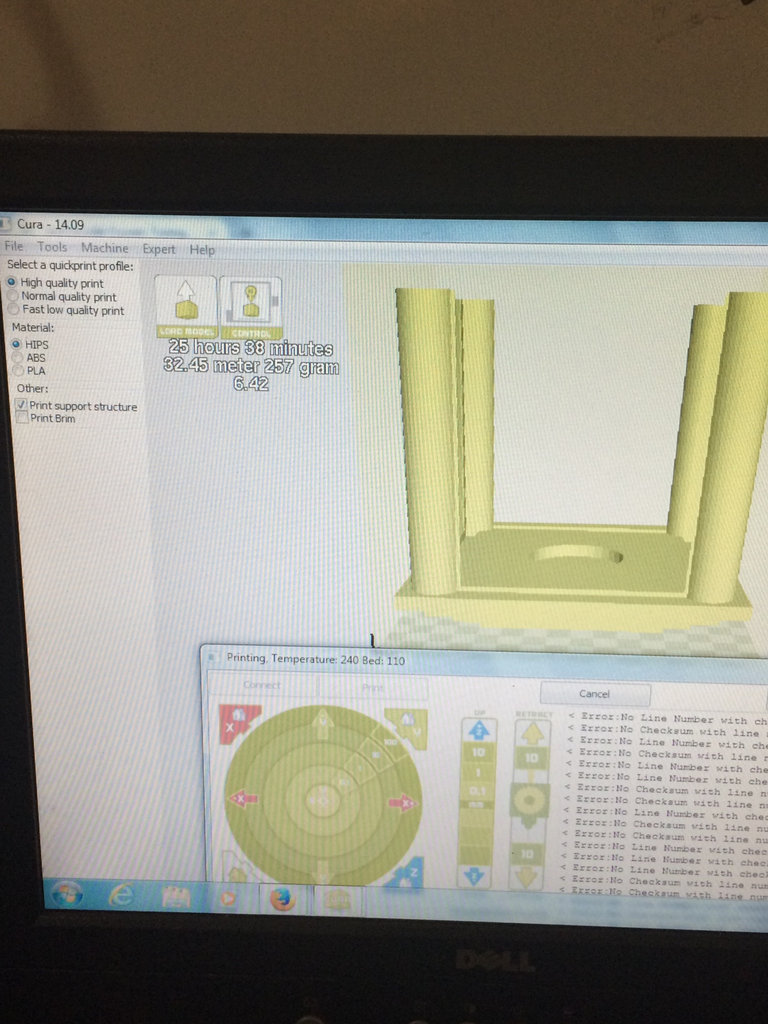
Now it's time to get your lantern from concept to reality. Load up your 3D software.
Our Maker Space uses Cura for our Lulzbot Mini Printer. Cura is pretty simple to use (if you need help with it check it's user manual online - I won't be providing a step by step instructions here).
As you can see from above this is a very large job and took quiet some time.
Check on It
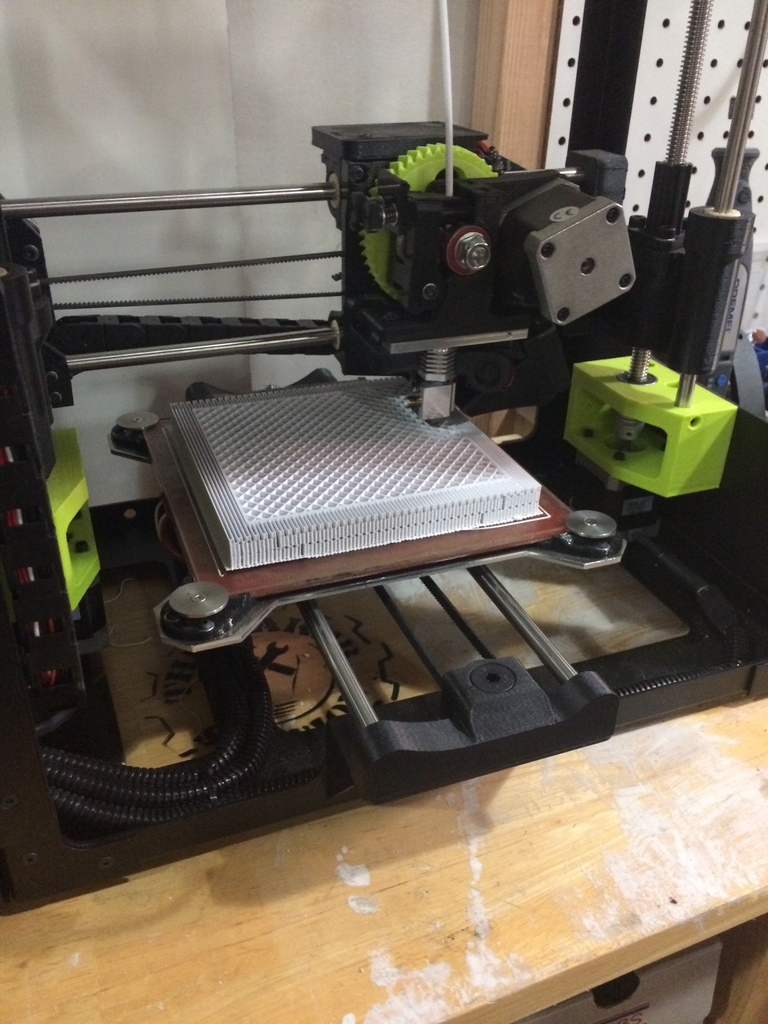
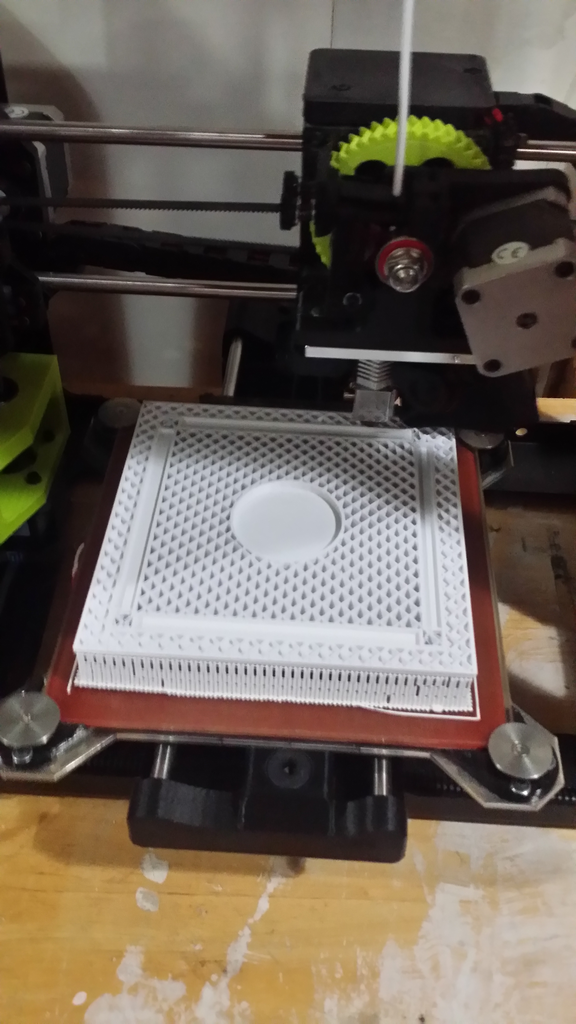
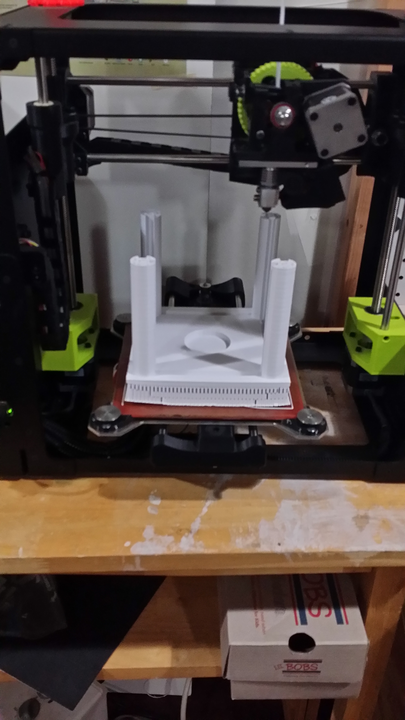
If you make yours as big as I did mine it will take FOREVER to print. Make sure you check on it often.
If you're like me and printing it on a community printer you'll most likely draw a lot of buzz.
I had people sending me progress reports on it as the day went on. It became a rather hot topic of conversation for the afternoon. Be ready to explain several times what you're printing :-).
Clean Up Time
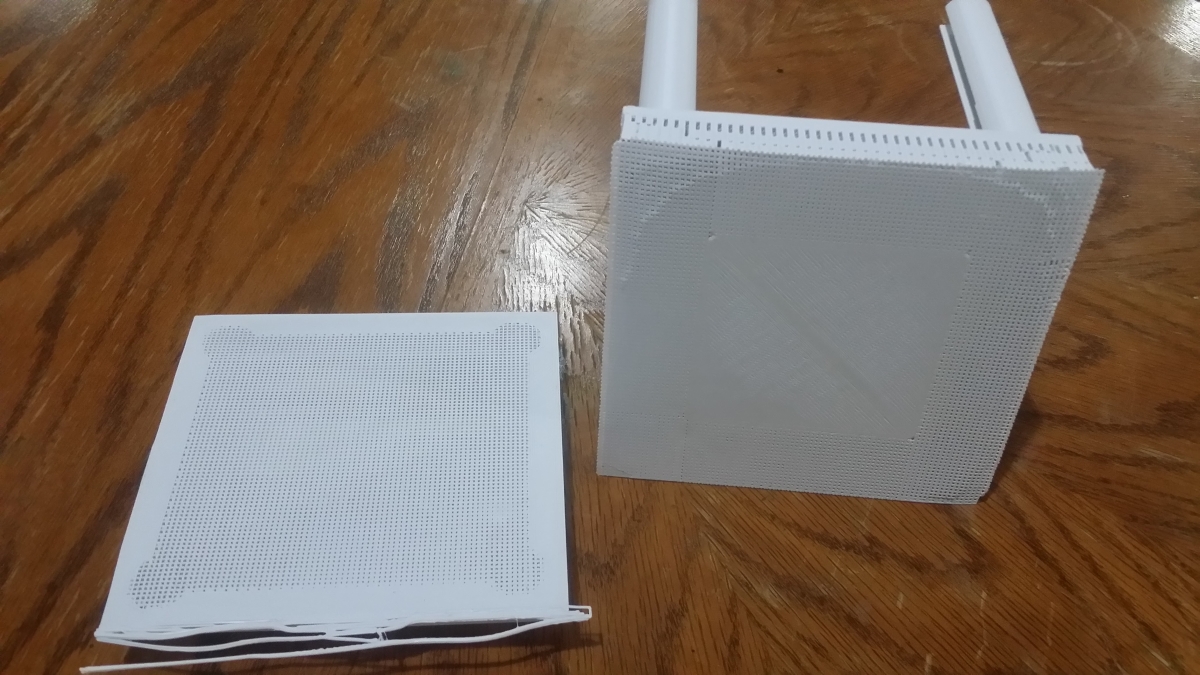
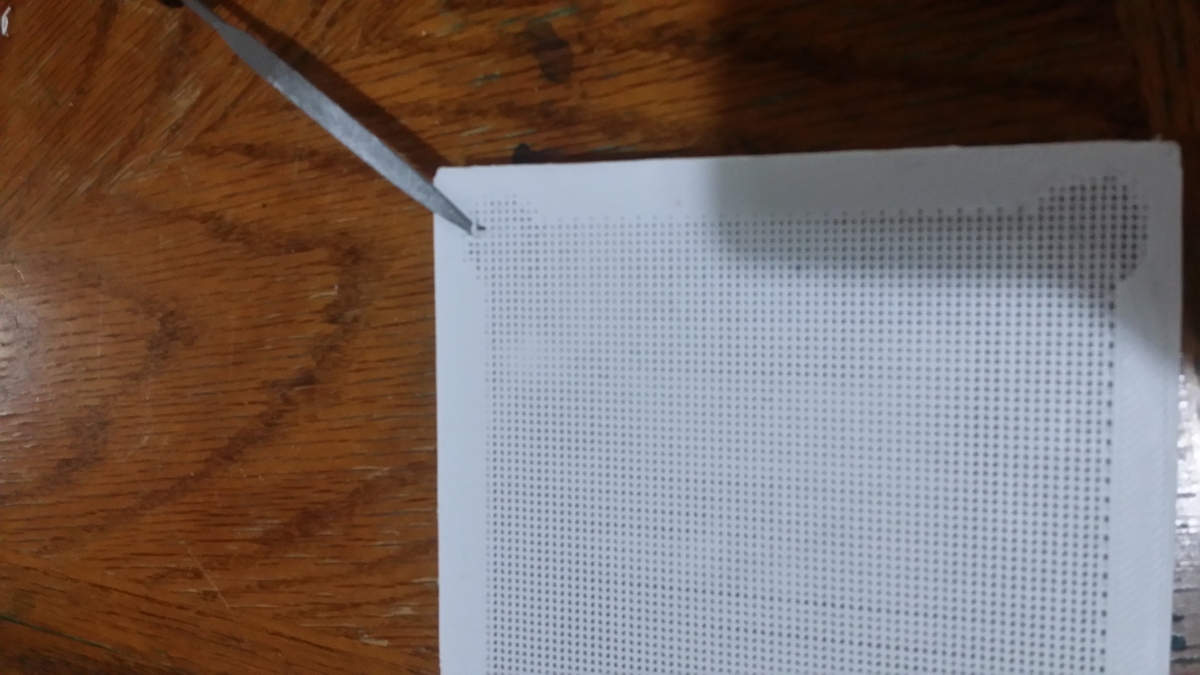
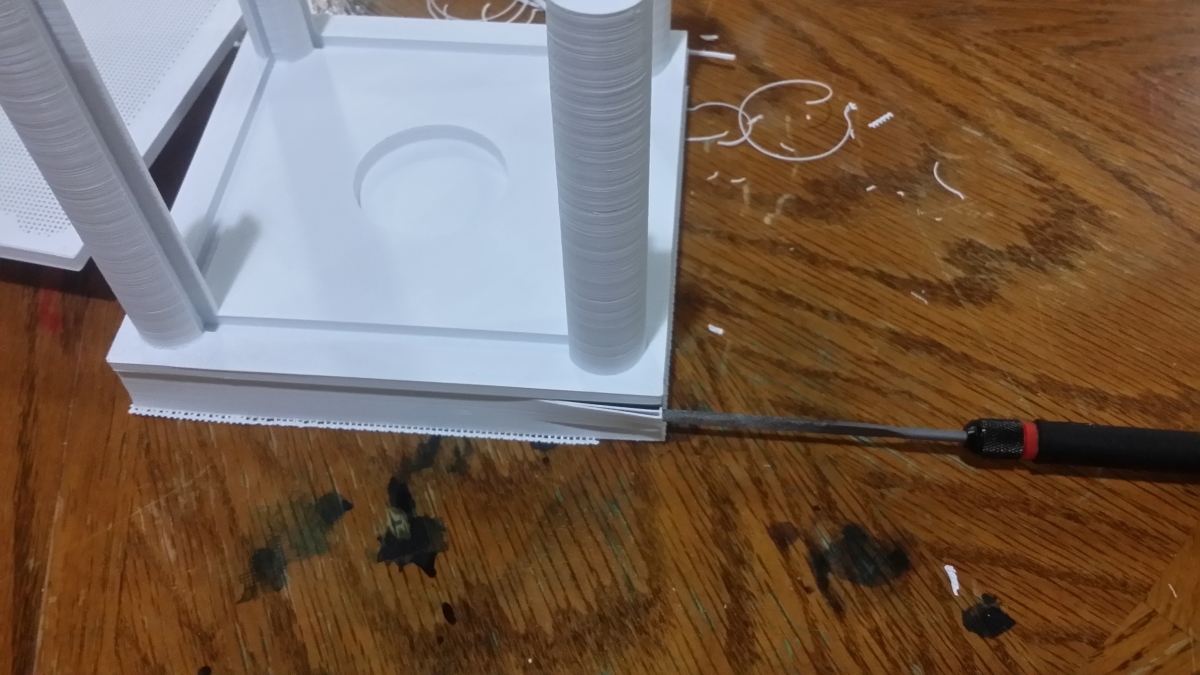
Your 3D print will most likely have LOTS of extra material. This is support material the printer had to put in to make sure everything stays nice and pretty. This is made to come out easy and it almost does.
Taking out the support material can be a time consuming task, but eh, you gotta do it.
Enlist Help
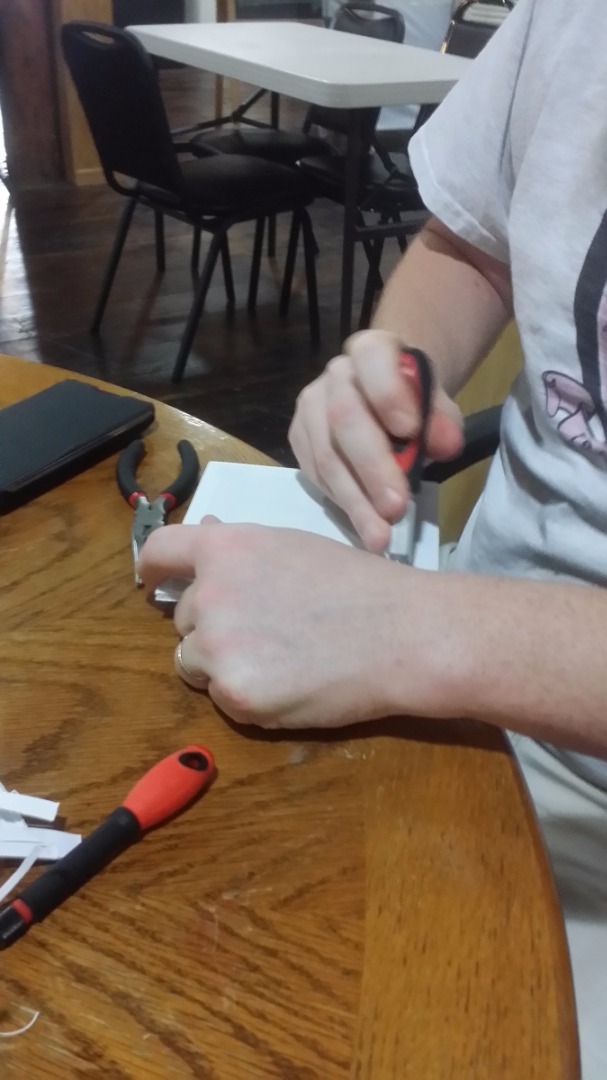
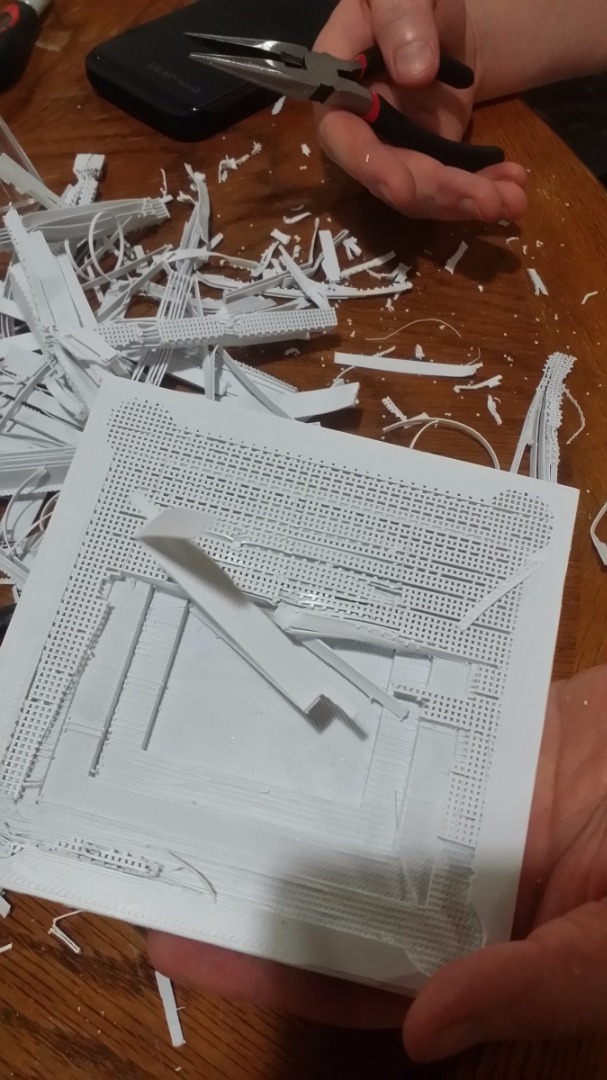
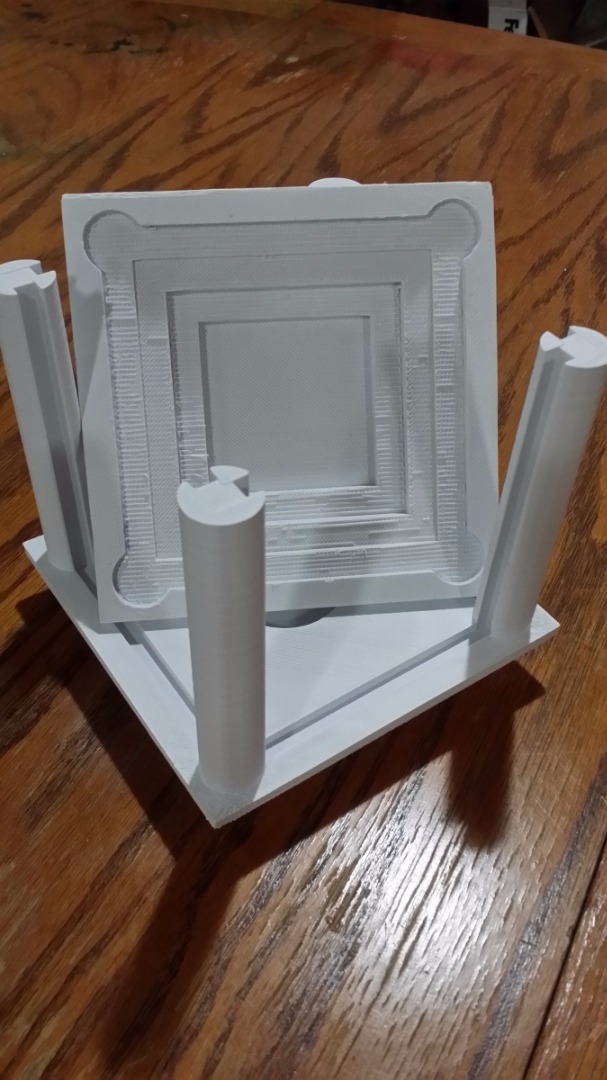
If you can - grab a buddy to help you clean up your pieces.
Buddies make things go much faster (and also makes the work more enjoyable).
Once you get all the support material off you should have a pretty lantern skeleton :D.
Do a Dry Fit
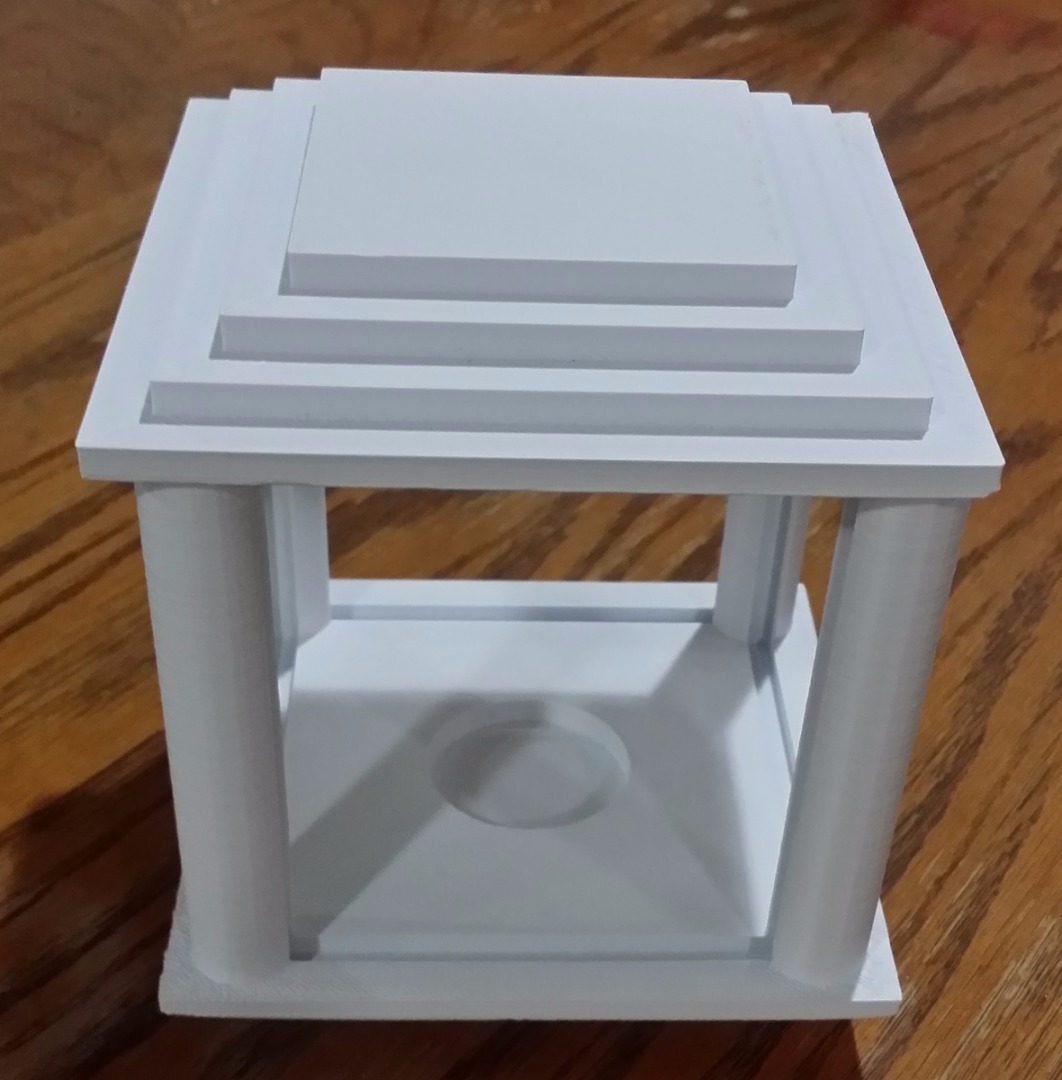
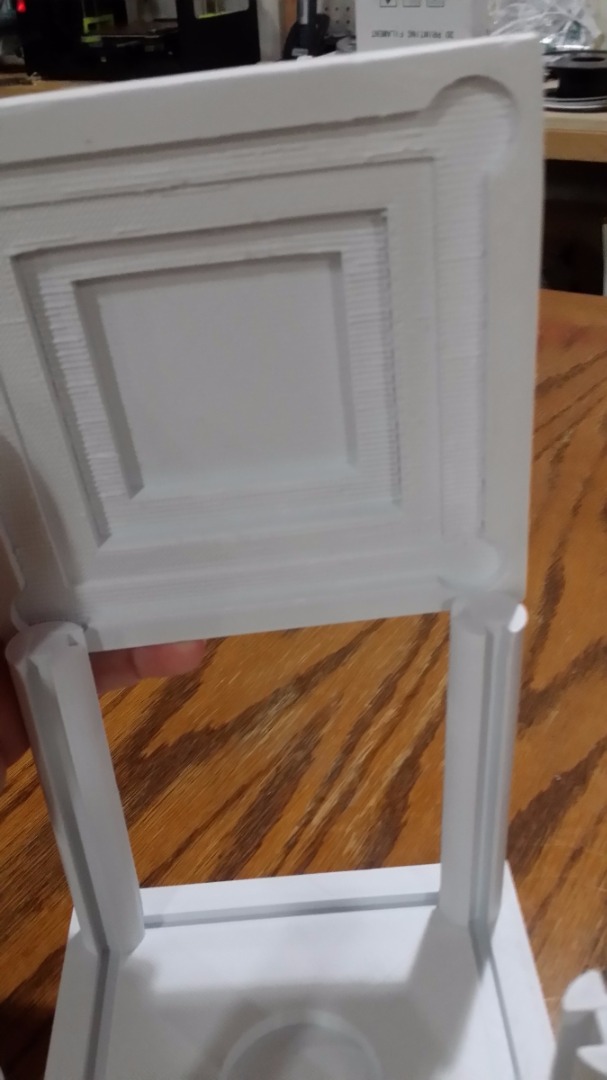
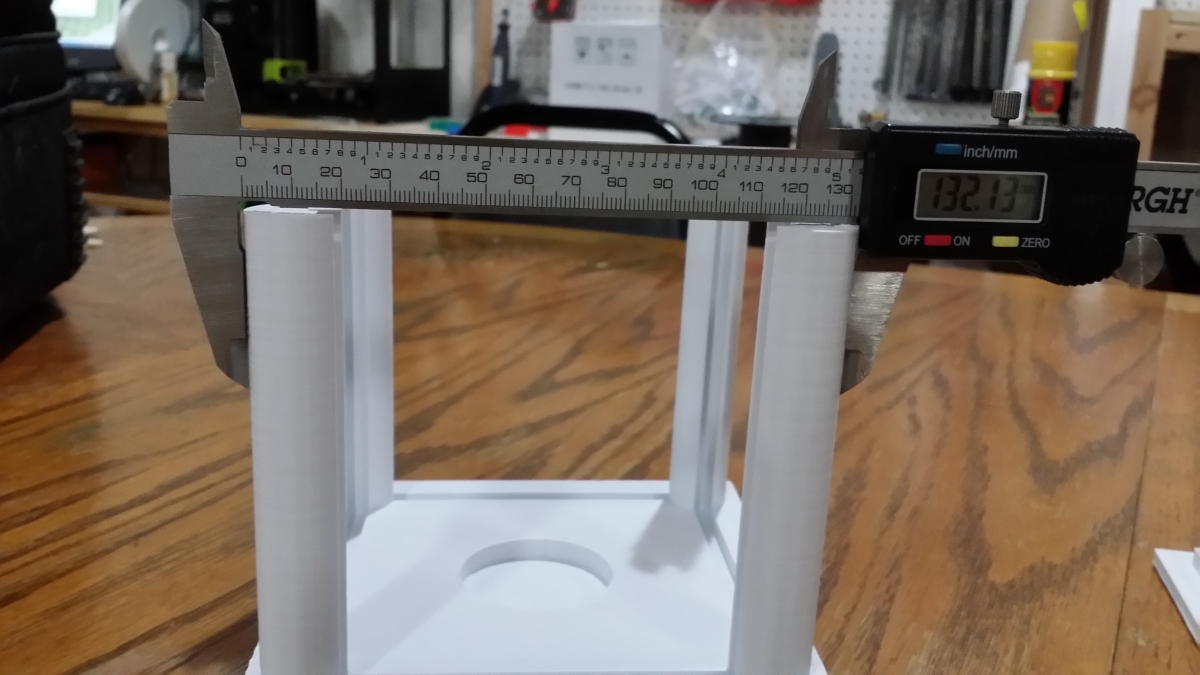
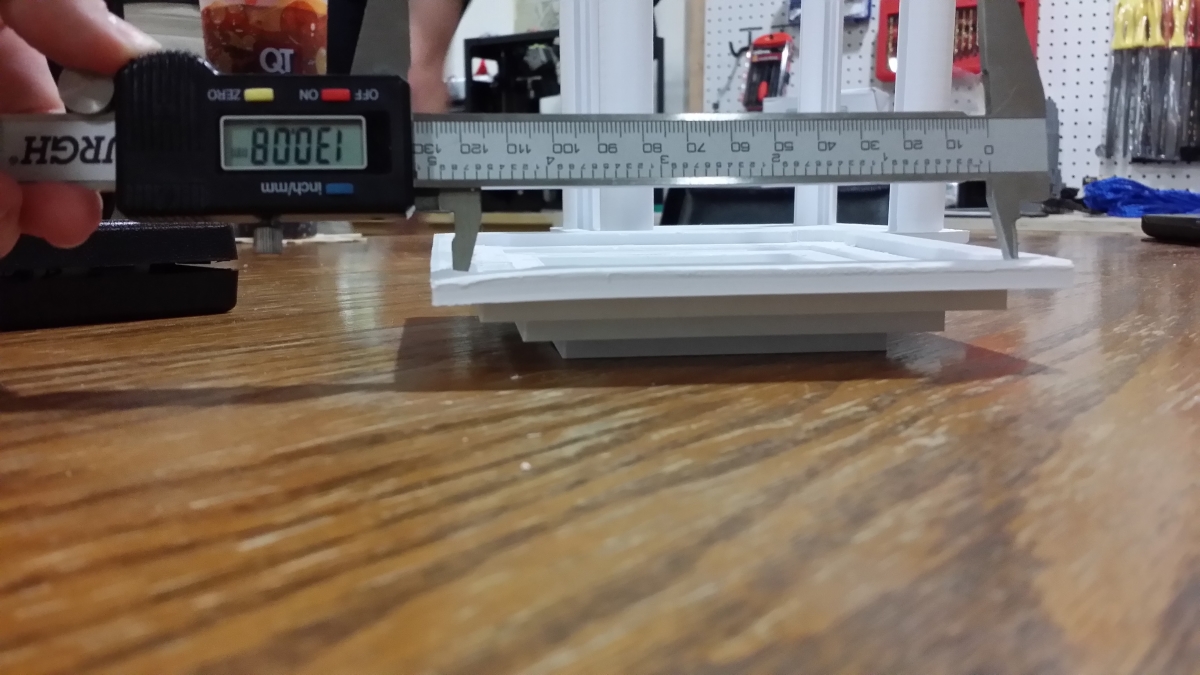
Now it's time to do a dry fit and if you're like me this is where you found you COMPLETELY goofed.
When I designed my lantern I made the top and bottom to the same measurements - not taking into consideration that the top holes would need to be slightly larger than the bottom posts.
Also, I missed taking out a fine line of support material around the perimeter of the inside lid. This made my inside diameter actually smaller than my posts. You can see from the measurements in this picture I was close, but not close enough.
Fix Any Mistakes
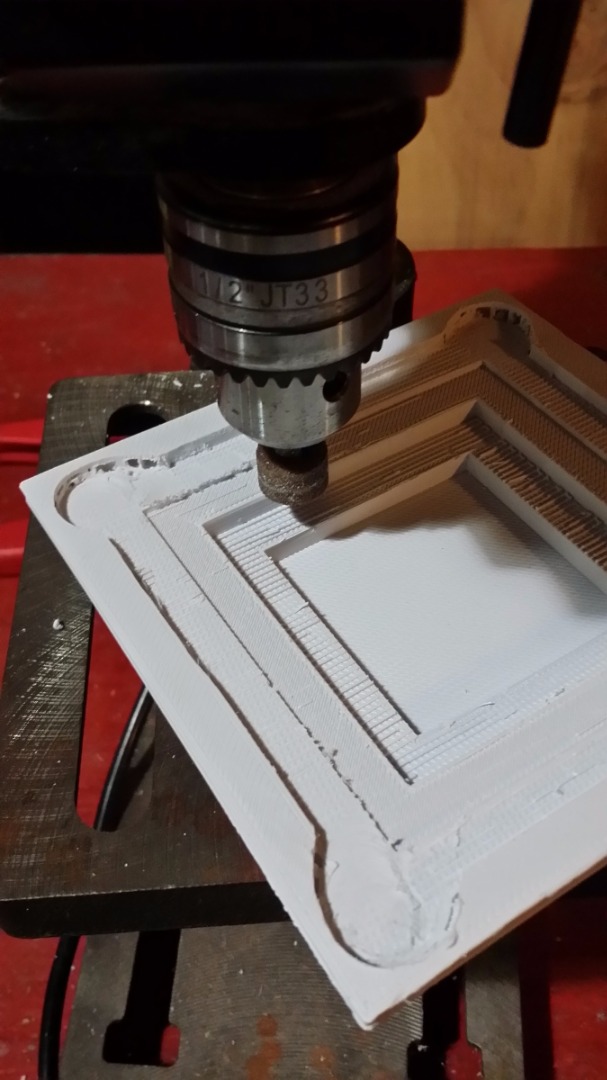
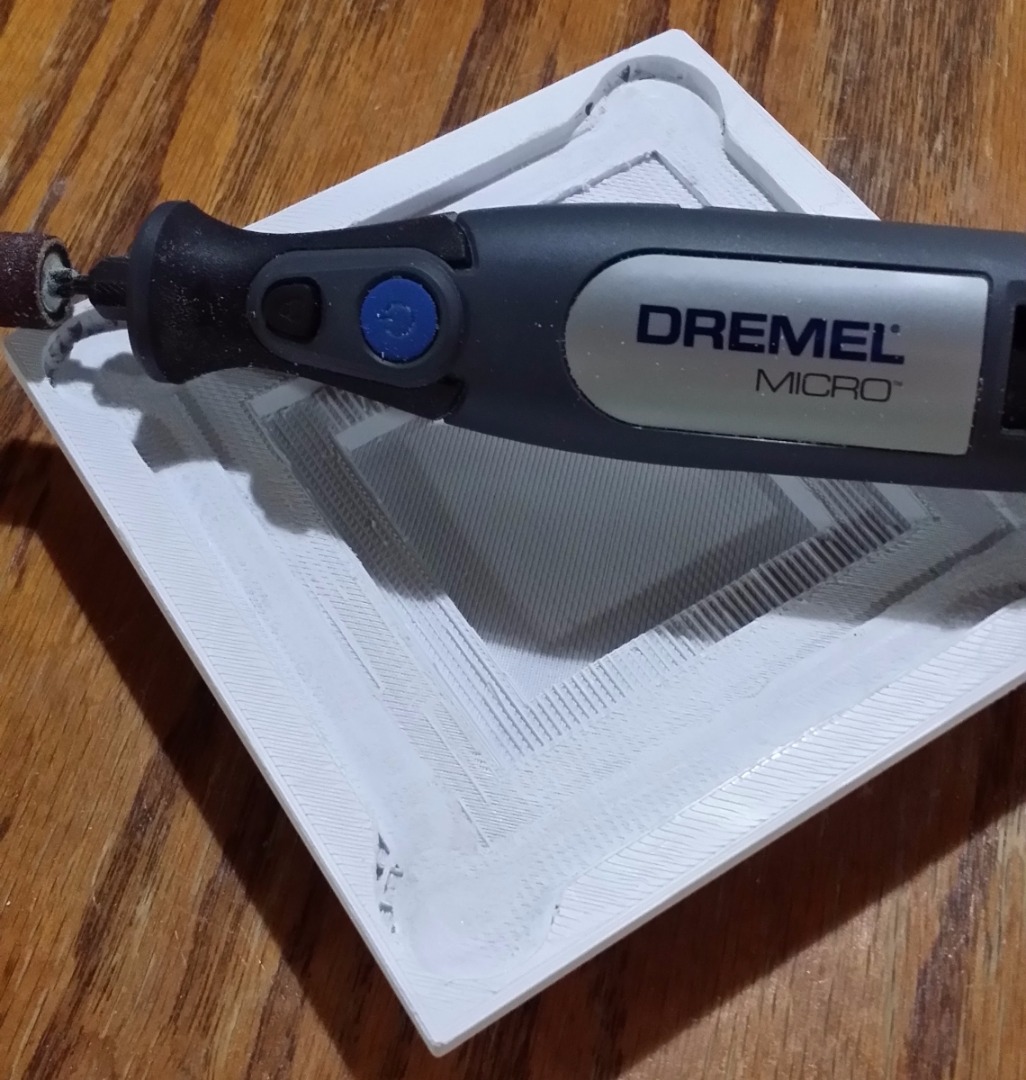
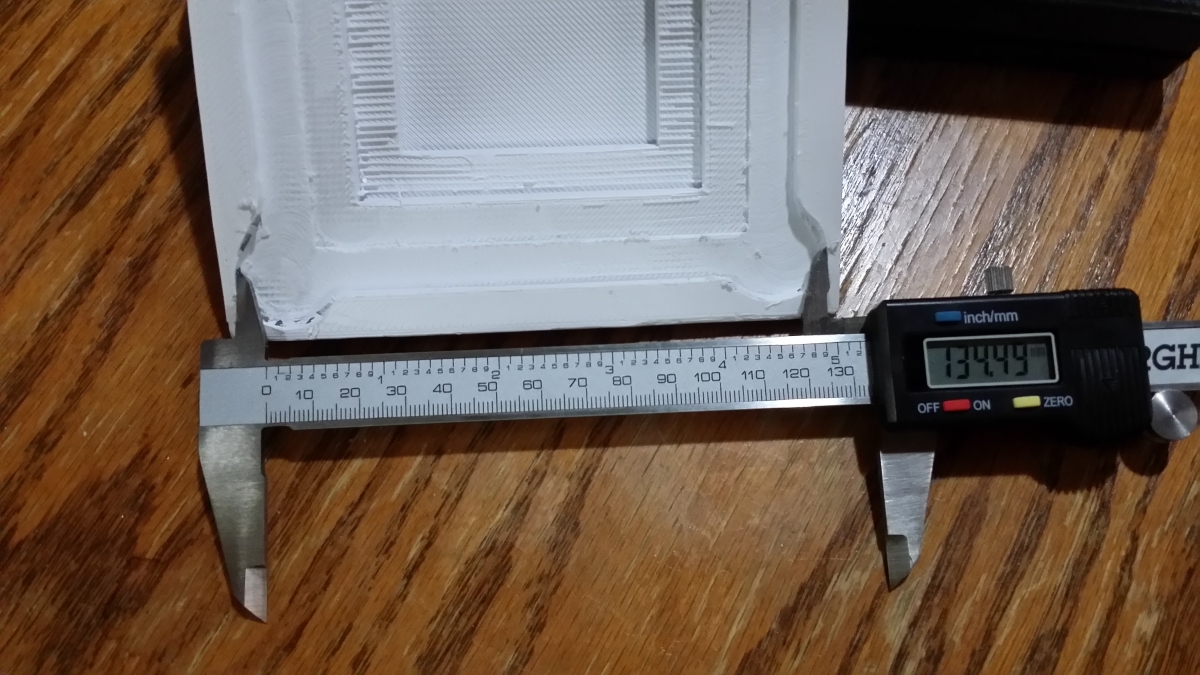
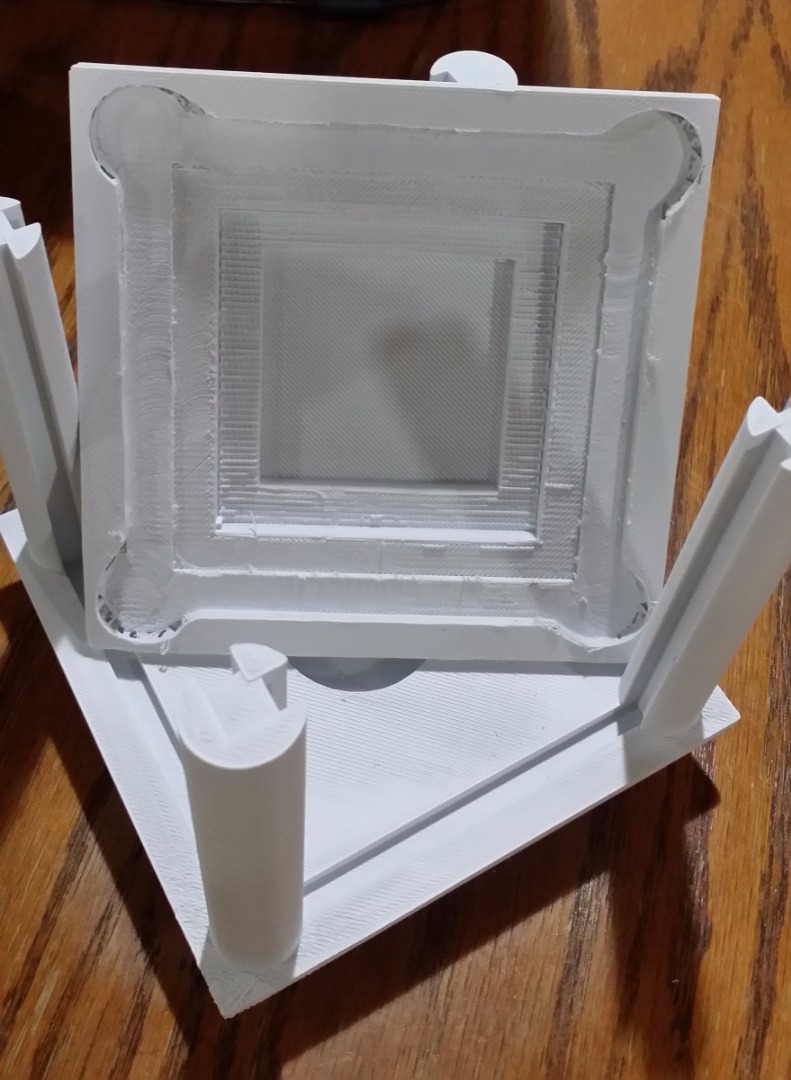
I could of just redesigned the lid and reprinted it, but I decided that waste not / want not was a better route. I first started with my drill press. Using a grinding bit I ran it around the edge of the print and roughly widened out the spaces.
That wasn't working too great because the bottom of the bit was rounded so I couldn't get all the way to the bottom of the grooves.
Next, I grabbed a variable speed Dremel with sanding bit and THIS WAS THE TICKET! This worked GREAT. I dropped the speed as low as it would go and I was completely pleased with it's outcome.
Once I finished up with the Dremel the lantern fit together like it was made to (well as it was intended to - it was actually designed a little too small).
Measuring the Panels
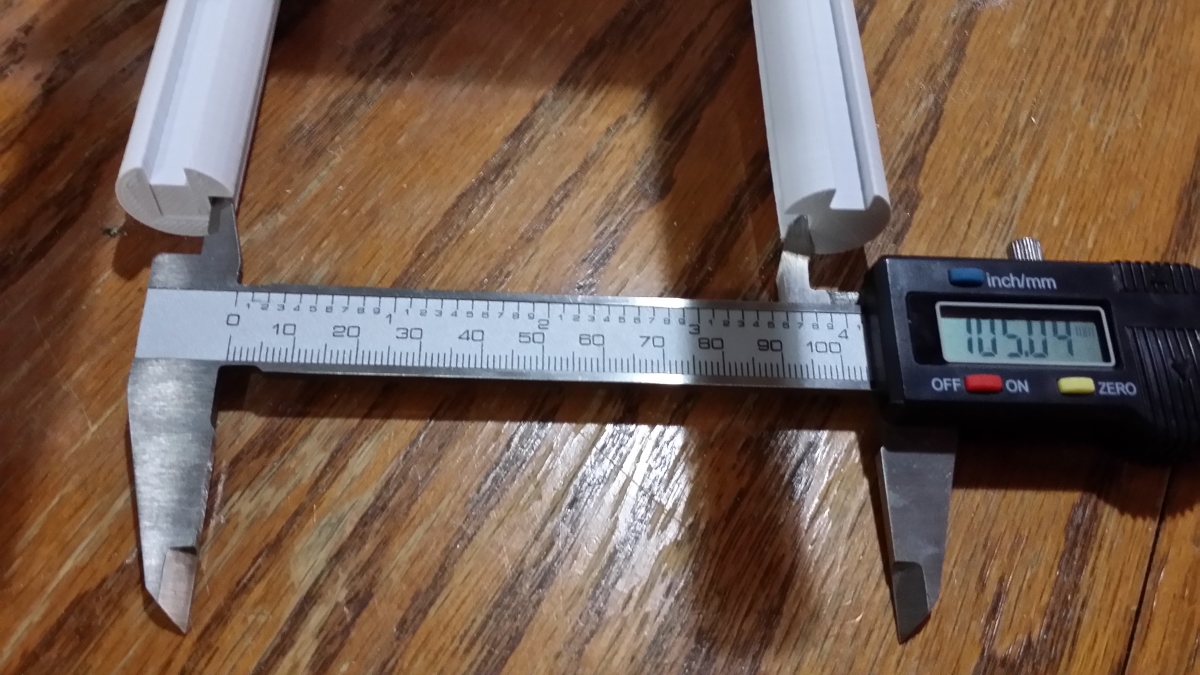
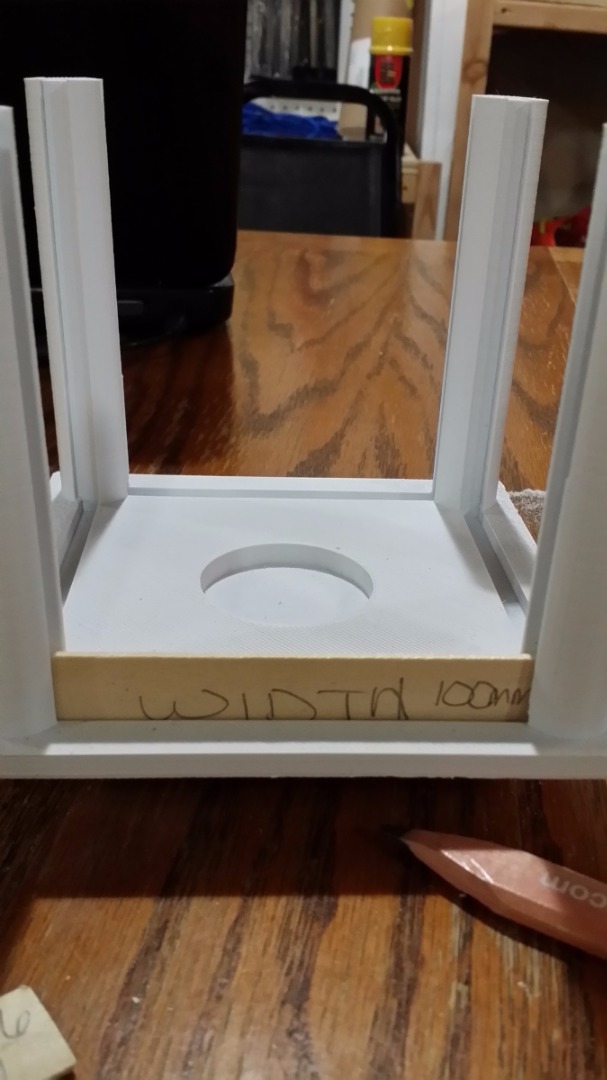
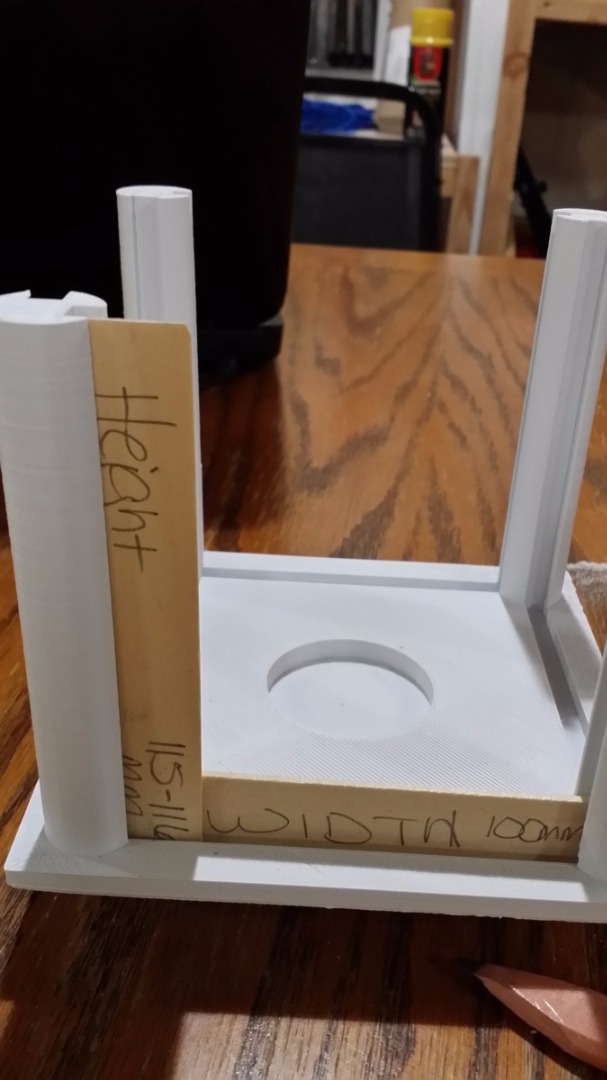
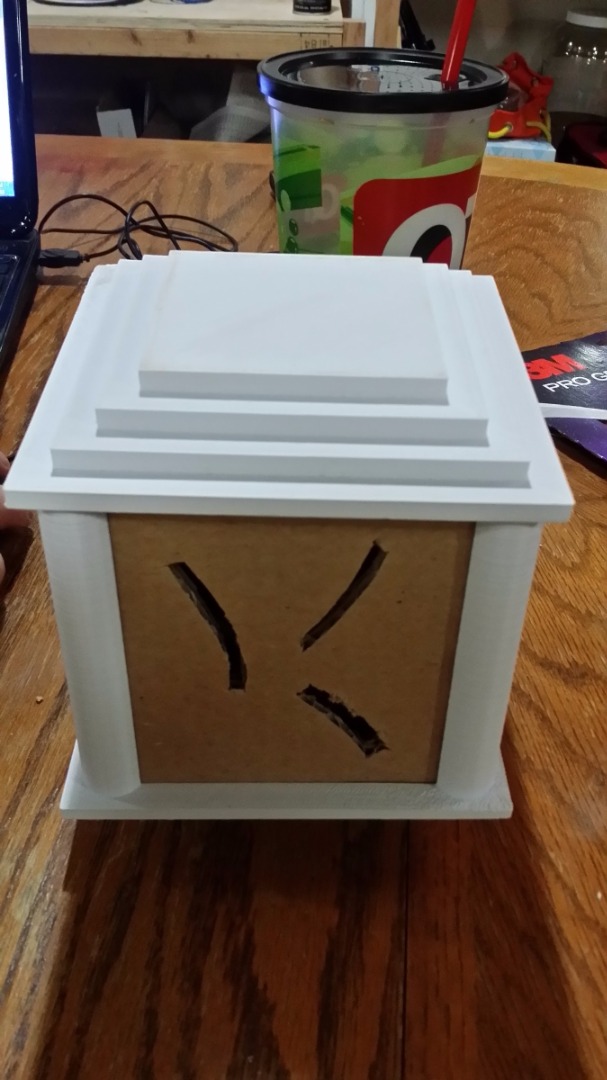
Since I had already goofed up once I wanted to make sure I did it correct from here on out.
For the panels I took measurements and then did a pop-cycle template and then followed that by a cardboard template. I was being extra special careful. I had already looked pretty goofy to my fellow makers by not remembering that the hole for something to slide through need to be bigger than the object going through the hole.
Figuring in a little wiggle room I decided my panels should be 100mm wide by 116mm tall and 4mm thick.I cut cardboard out this size and did a trial run - IT WORKED!
Time for Pretty
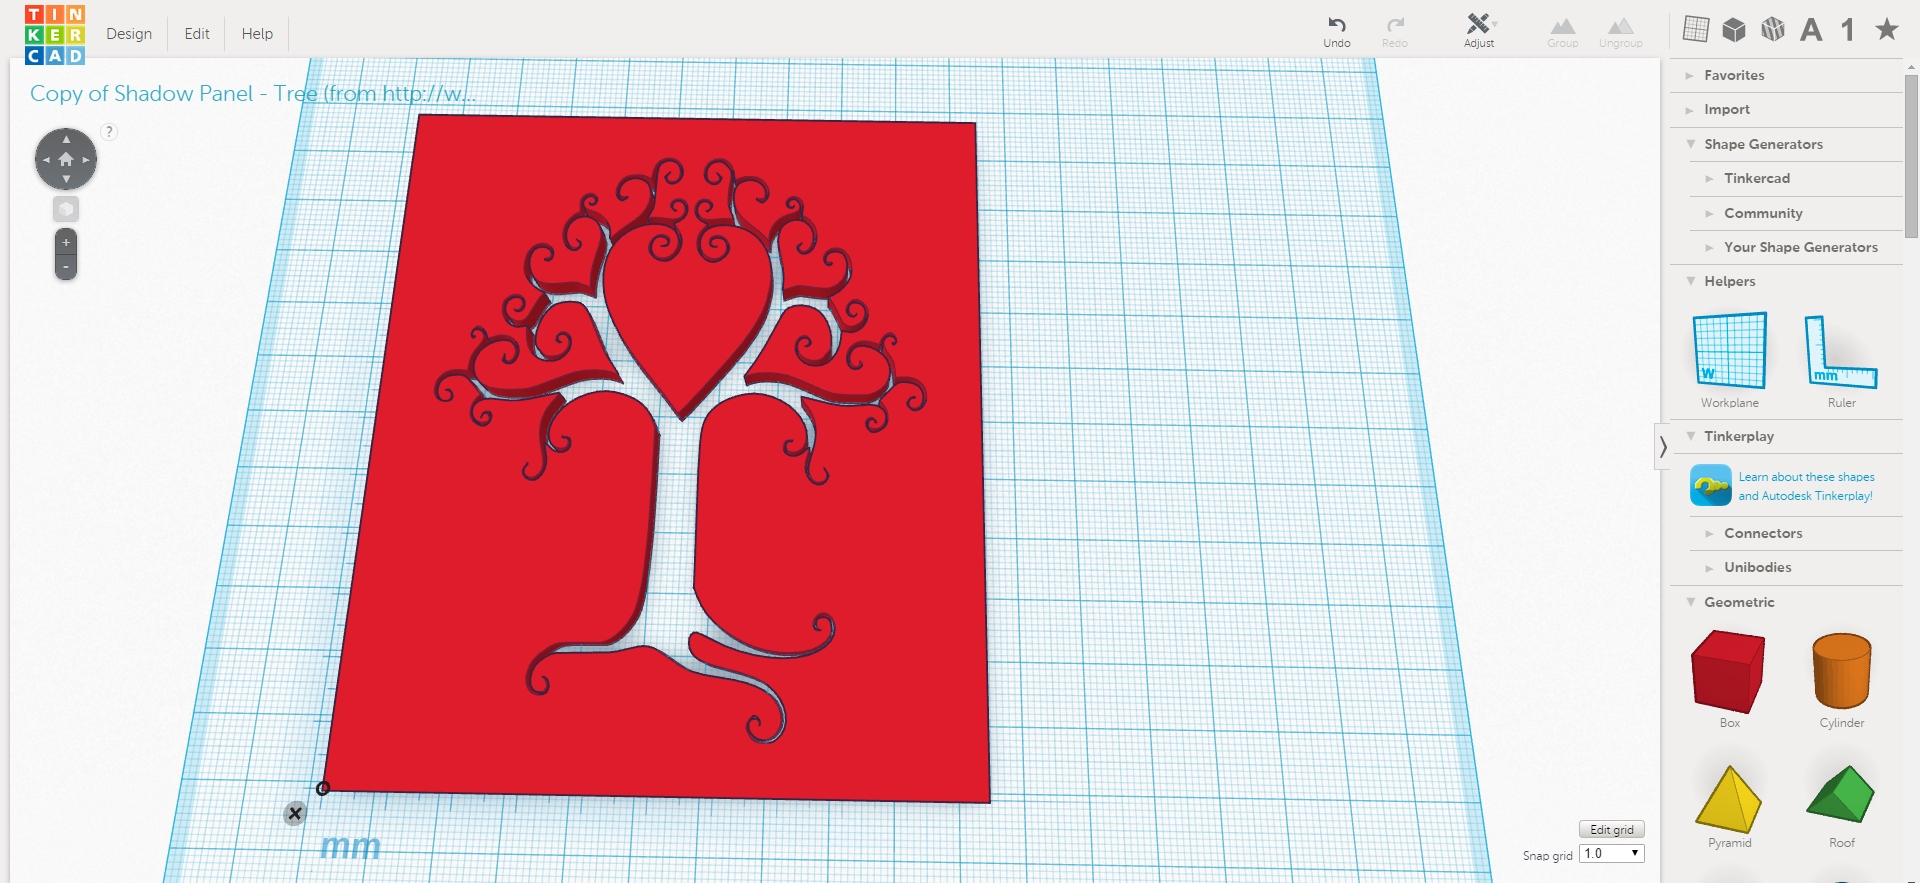
Now that I had my measurements it was time to make the pretty panel(s).
For this go back to Tinkercad and get creative. My beloved husband made this tree one for me (I was busy making dinner).
You already know how to make a box the right size and to make a design in the box you just keep cutting out shapes. Don't be afraid to try a bunch of different things. You might come up with some really cool stuff.
You can also import an image into Tinkercad and use that image to 'cut out' your picture. That is a different tutorial that I should be writing up soon.
Once you have designed your panel(s) it's time to print them. Mine took 4 hours each to print. I went with solid pieces for the sides and back to 'force' more light out the front panel. Later I might make the front and 2 sides images to see how that looks too.
Finish It Up
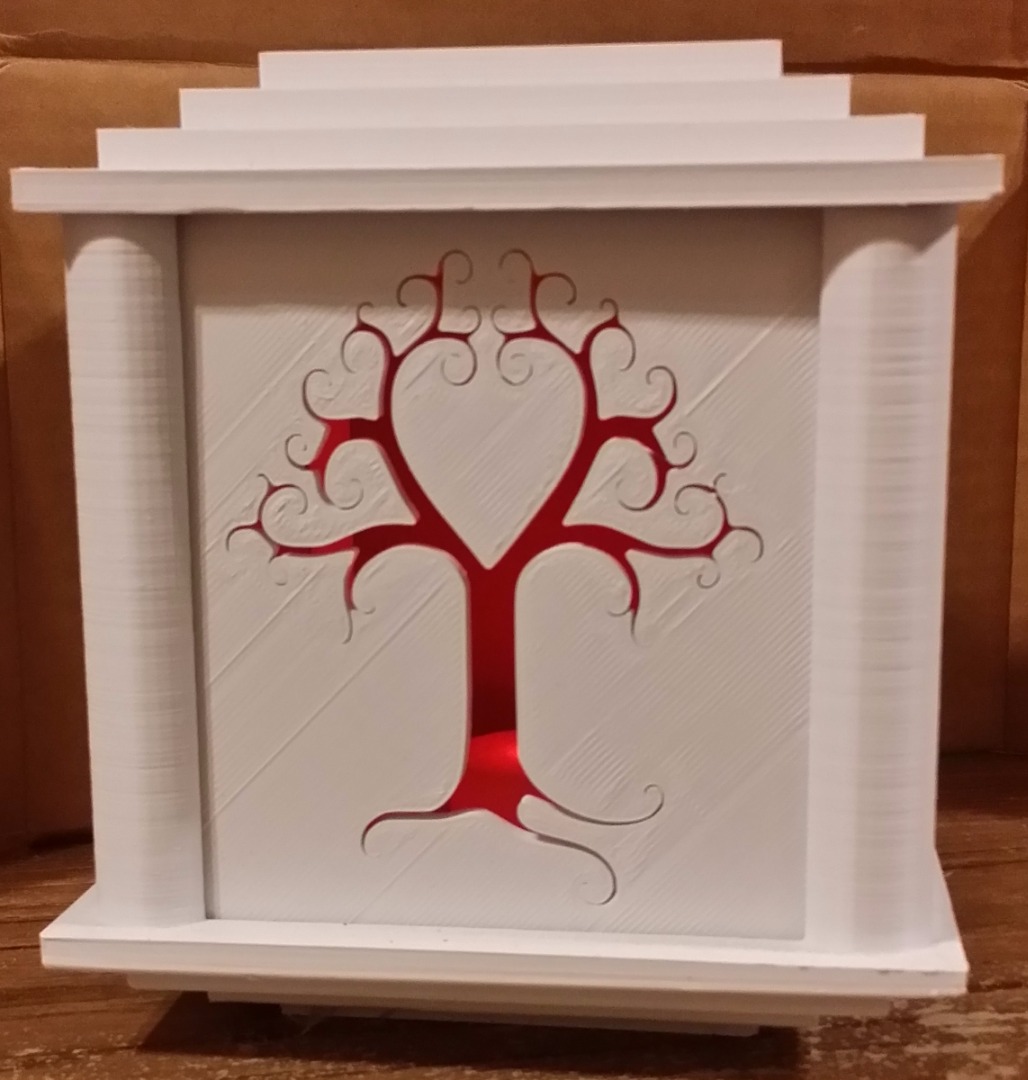
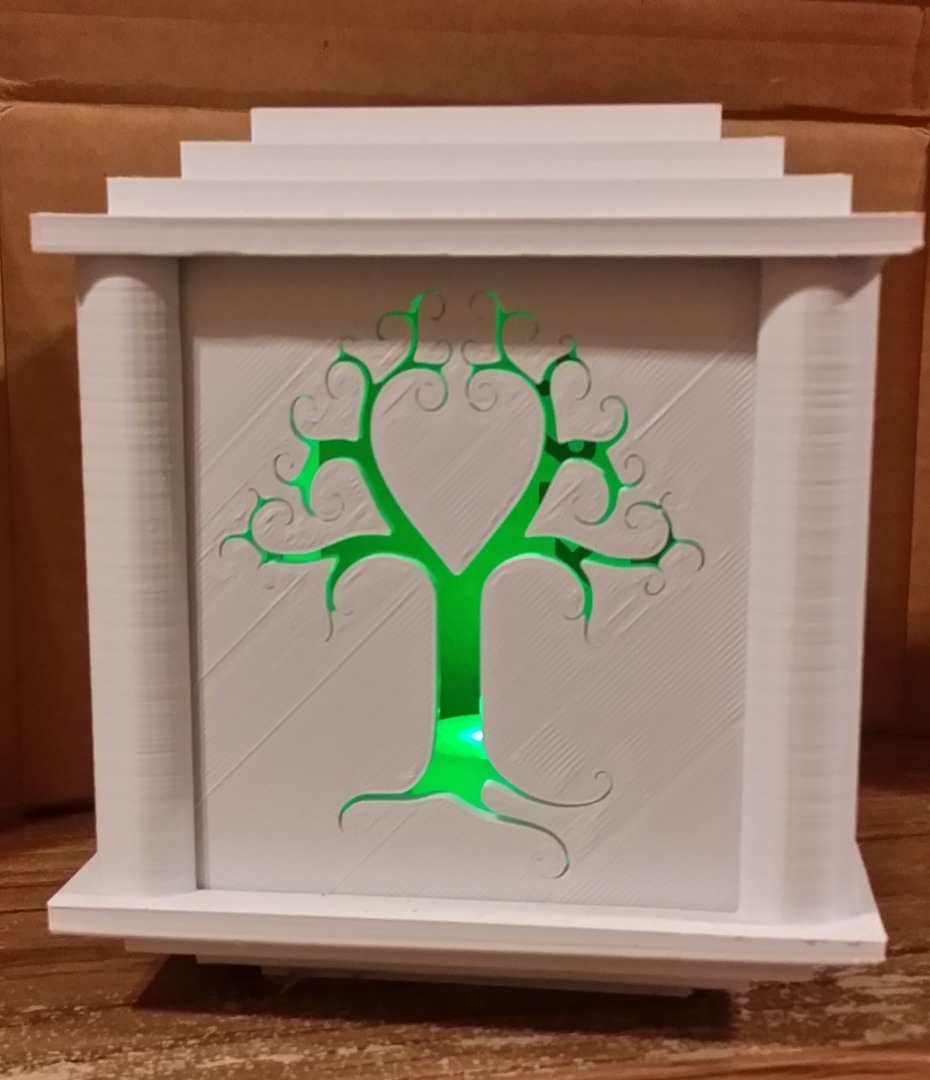
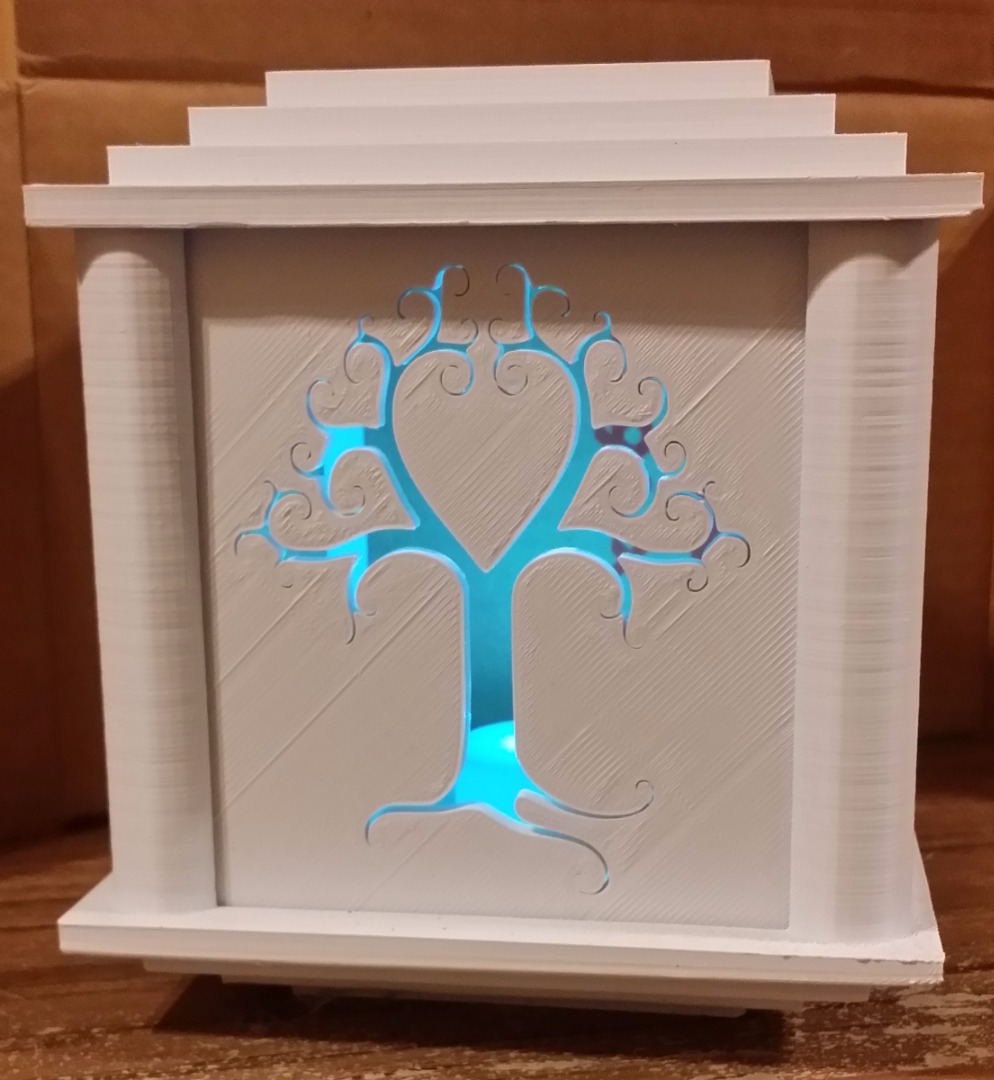
Insert your panels into your lantern.
Turn on the LED candle
Place and LED candle inside (I used a cool color changing one)
Put your lid on
Enjoy,
When you're ready sand and paint your lantern to make your decor and YOU'RE DONE!
Now you have a beautiful lantern that you made from design through creation and it looks AWESOME!
Have Fun!