3D Printed LED Sword
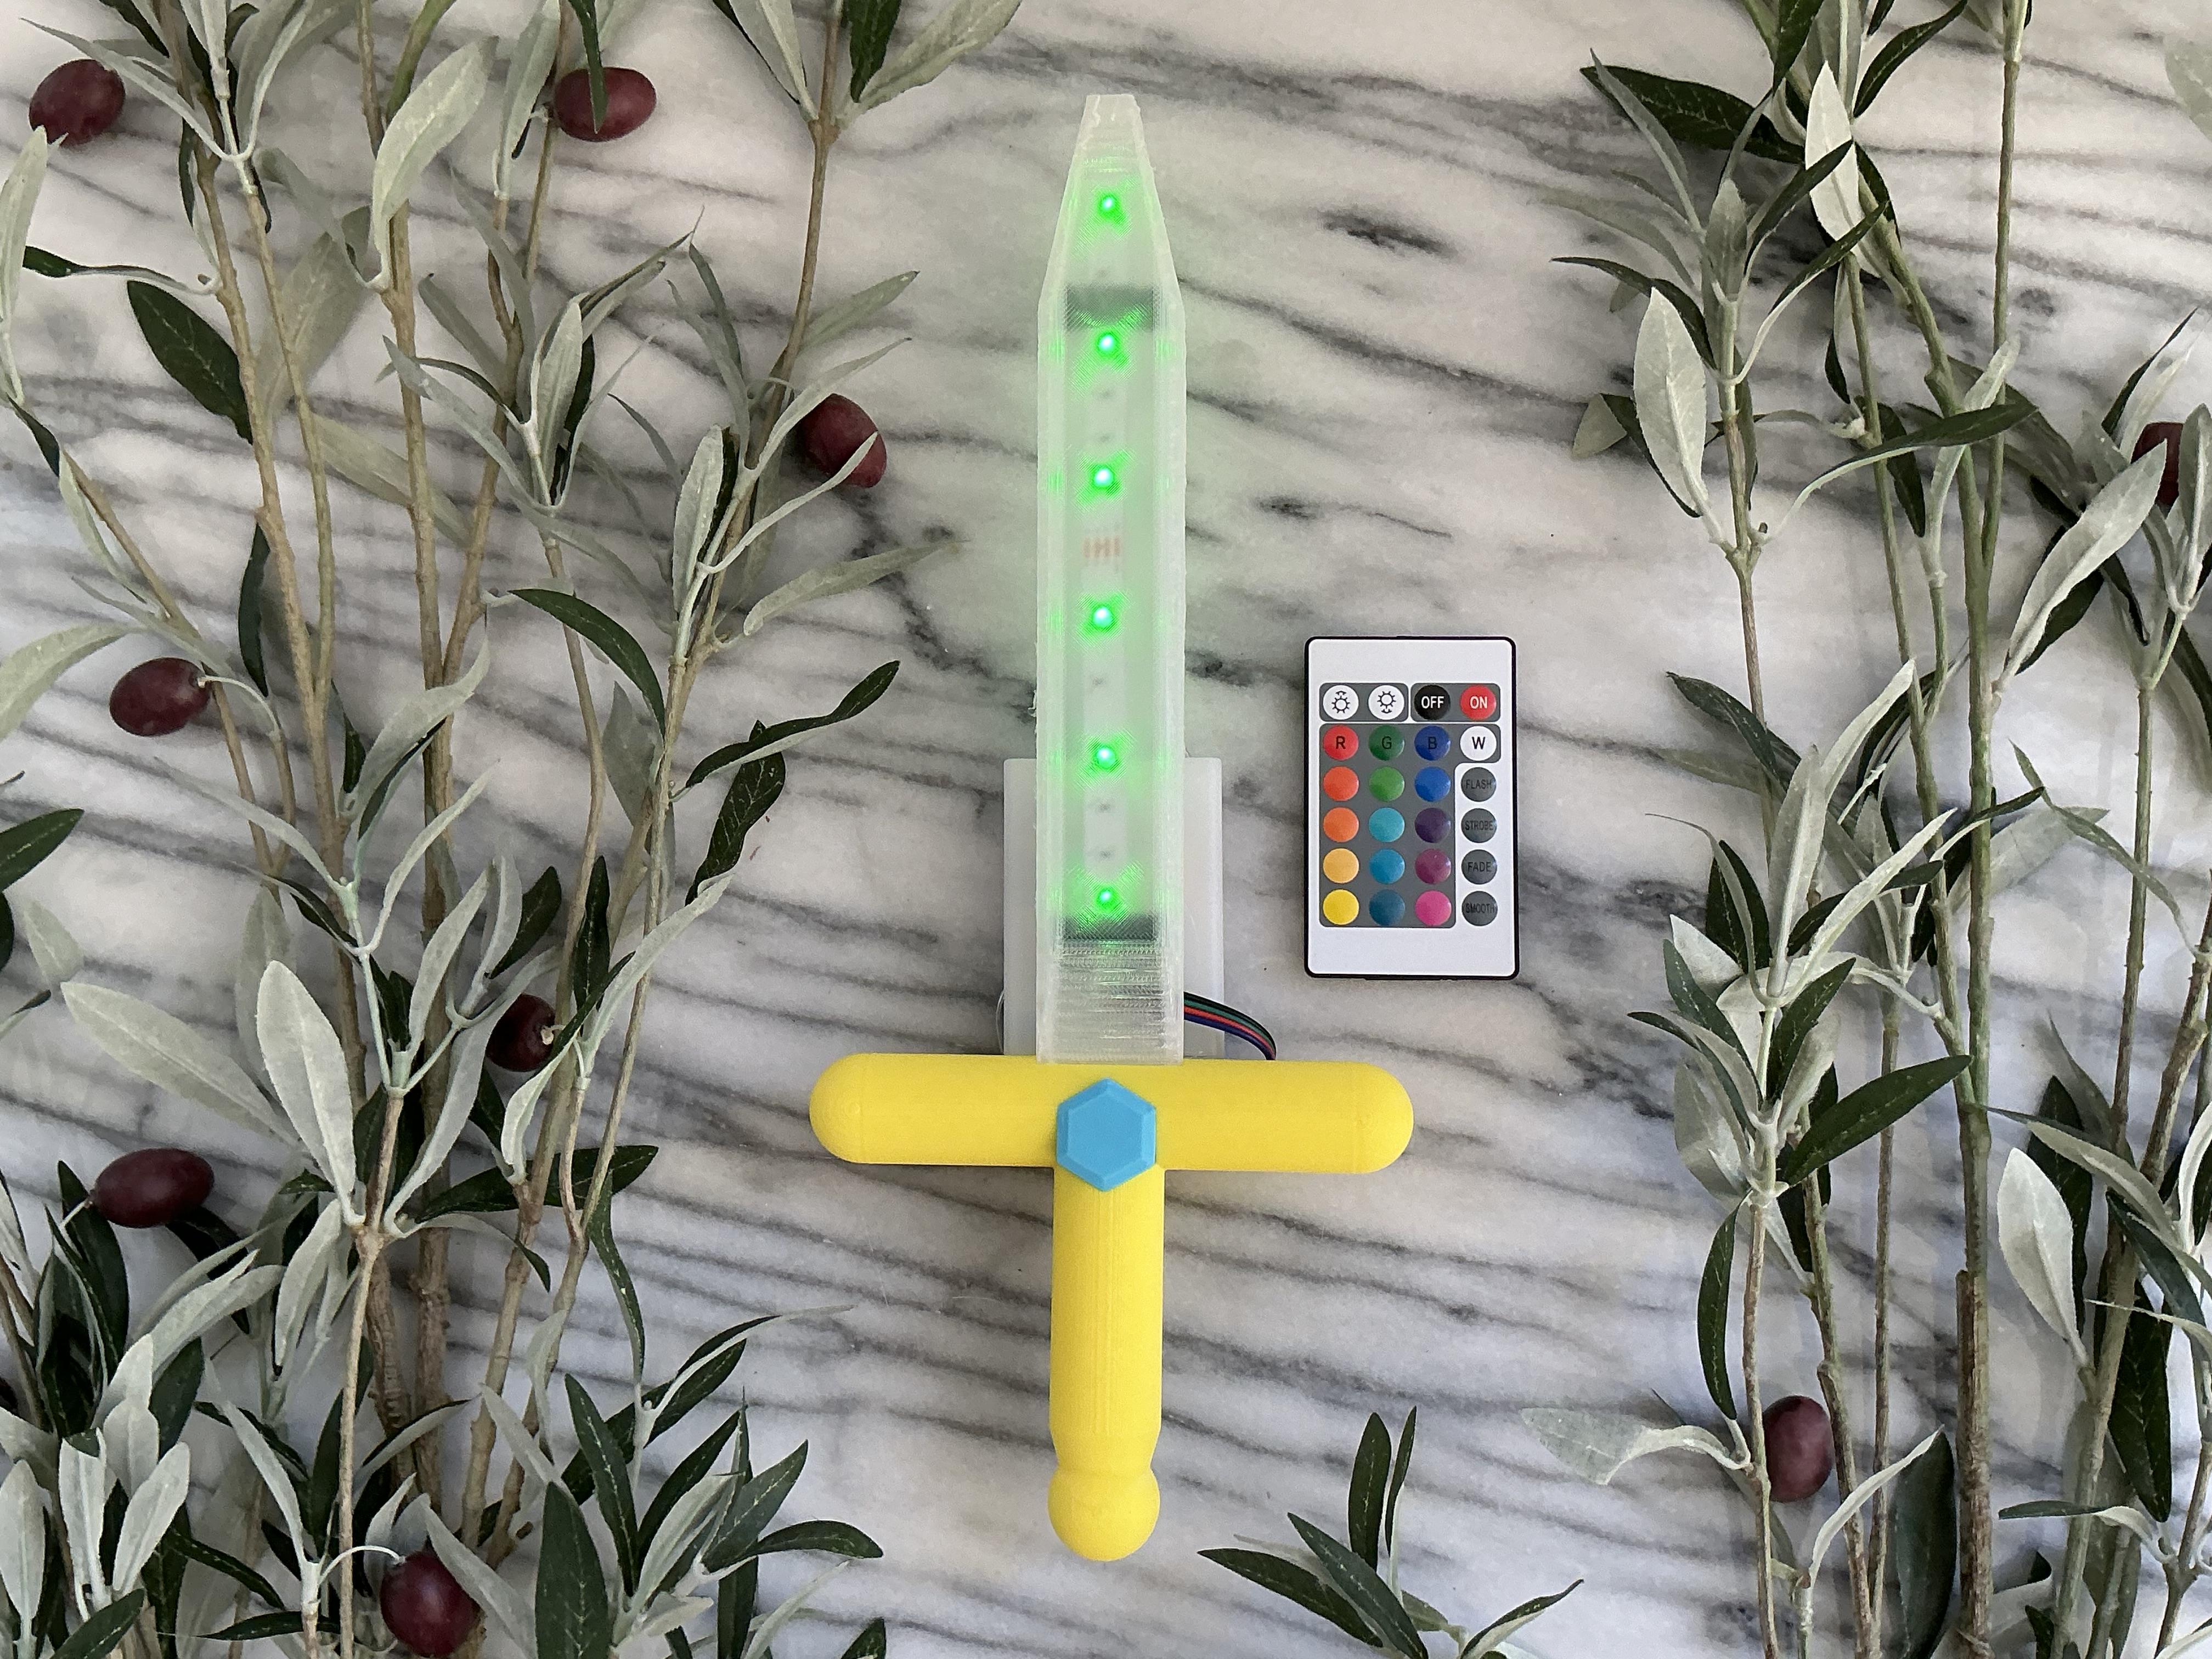
Welcome to this exciting Instructable where we’ll guide you through the process of creating your very own 3D printed LED sword! Whether you’re a cosplay enthusiast, a maker, or just someone who loves cool gadgets, this project is perfect for you. Imagine wielding a glowing sword that you made yourself – sounds awesome, right?
In this Instructables, I’ll cover everything you need to know to bring your LED sword from concept to reality. I’ll walk you through designing the sword using Tinkercad software, printing the components on a 3D printer, and assembling it with LED lights to create a spectacular glowing effect. If you do not want to design the sword in Tinkercad yourself, I have all of the STL files ready for you to download in step #4.
Supplies
Software:
- Tinkercad
- 3D Printing Slicer
Materials:
- Blue PLA Filament
- Yellow PLA Filament
- Clear PLA Filament
- Duct Tape
- RGB LED strip with remote (Click Here)
- Hot Glue Sticks
- AAA batteries (3)
Tools:
- 3D Printer
- Hot Glue Gun
Designing the Hilt in Tinkercad
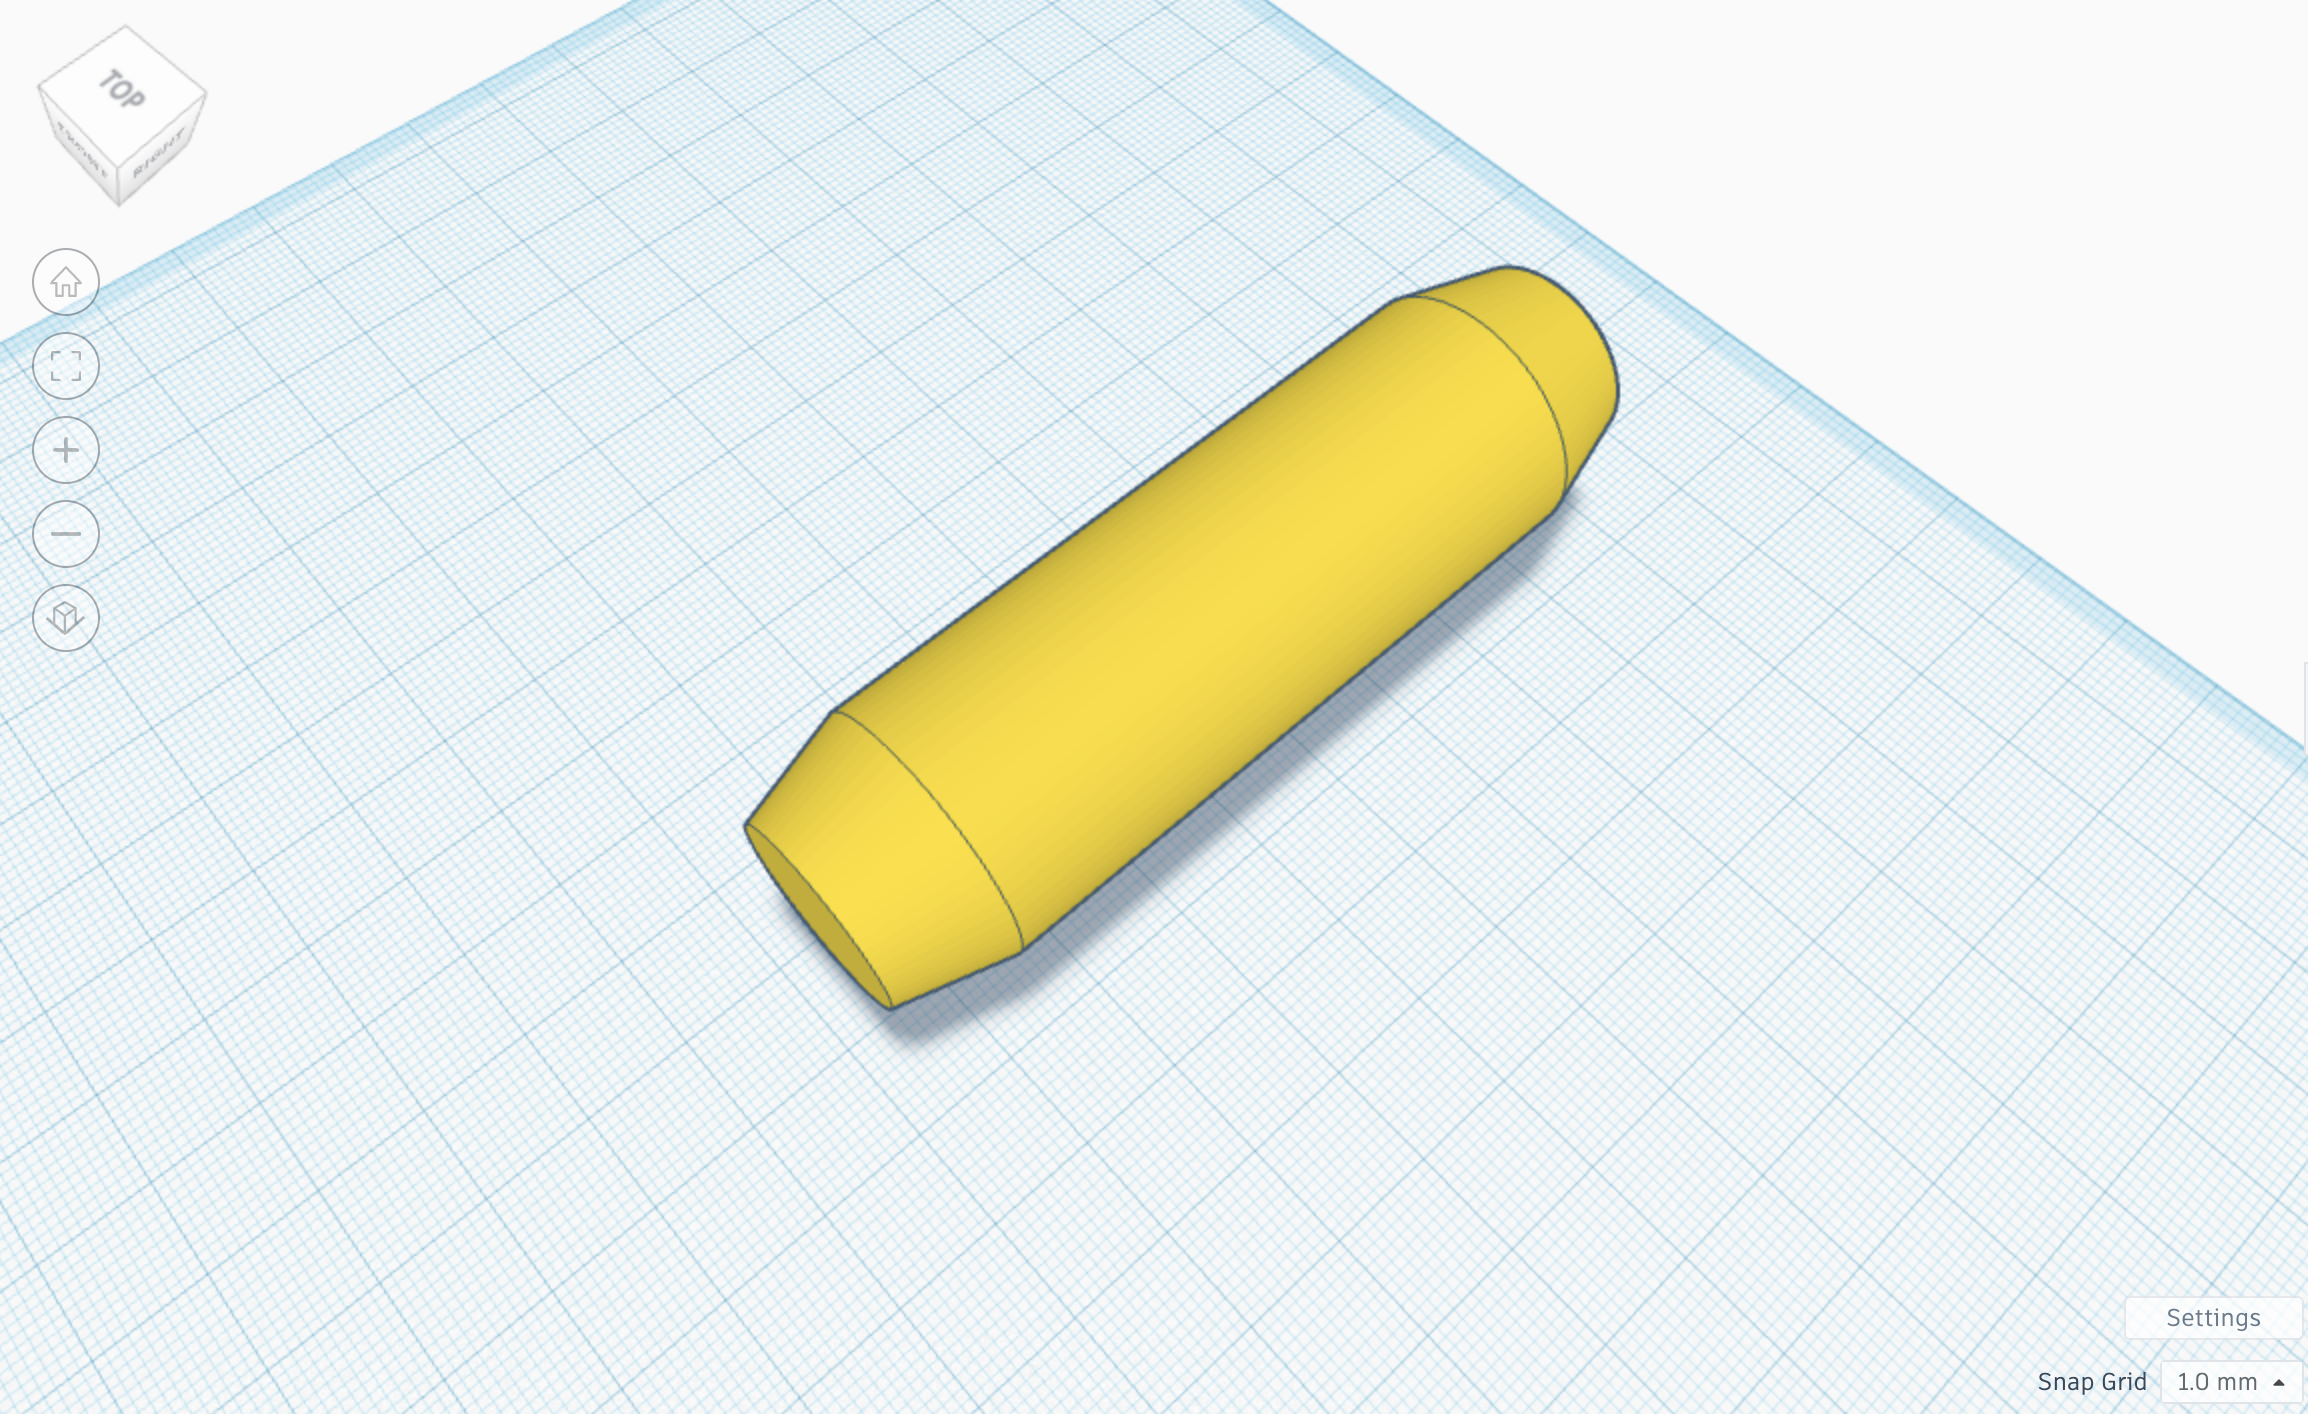
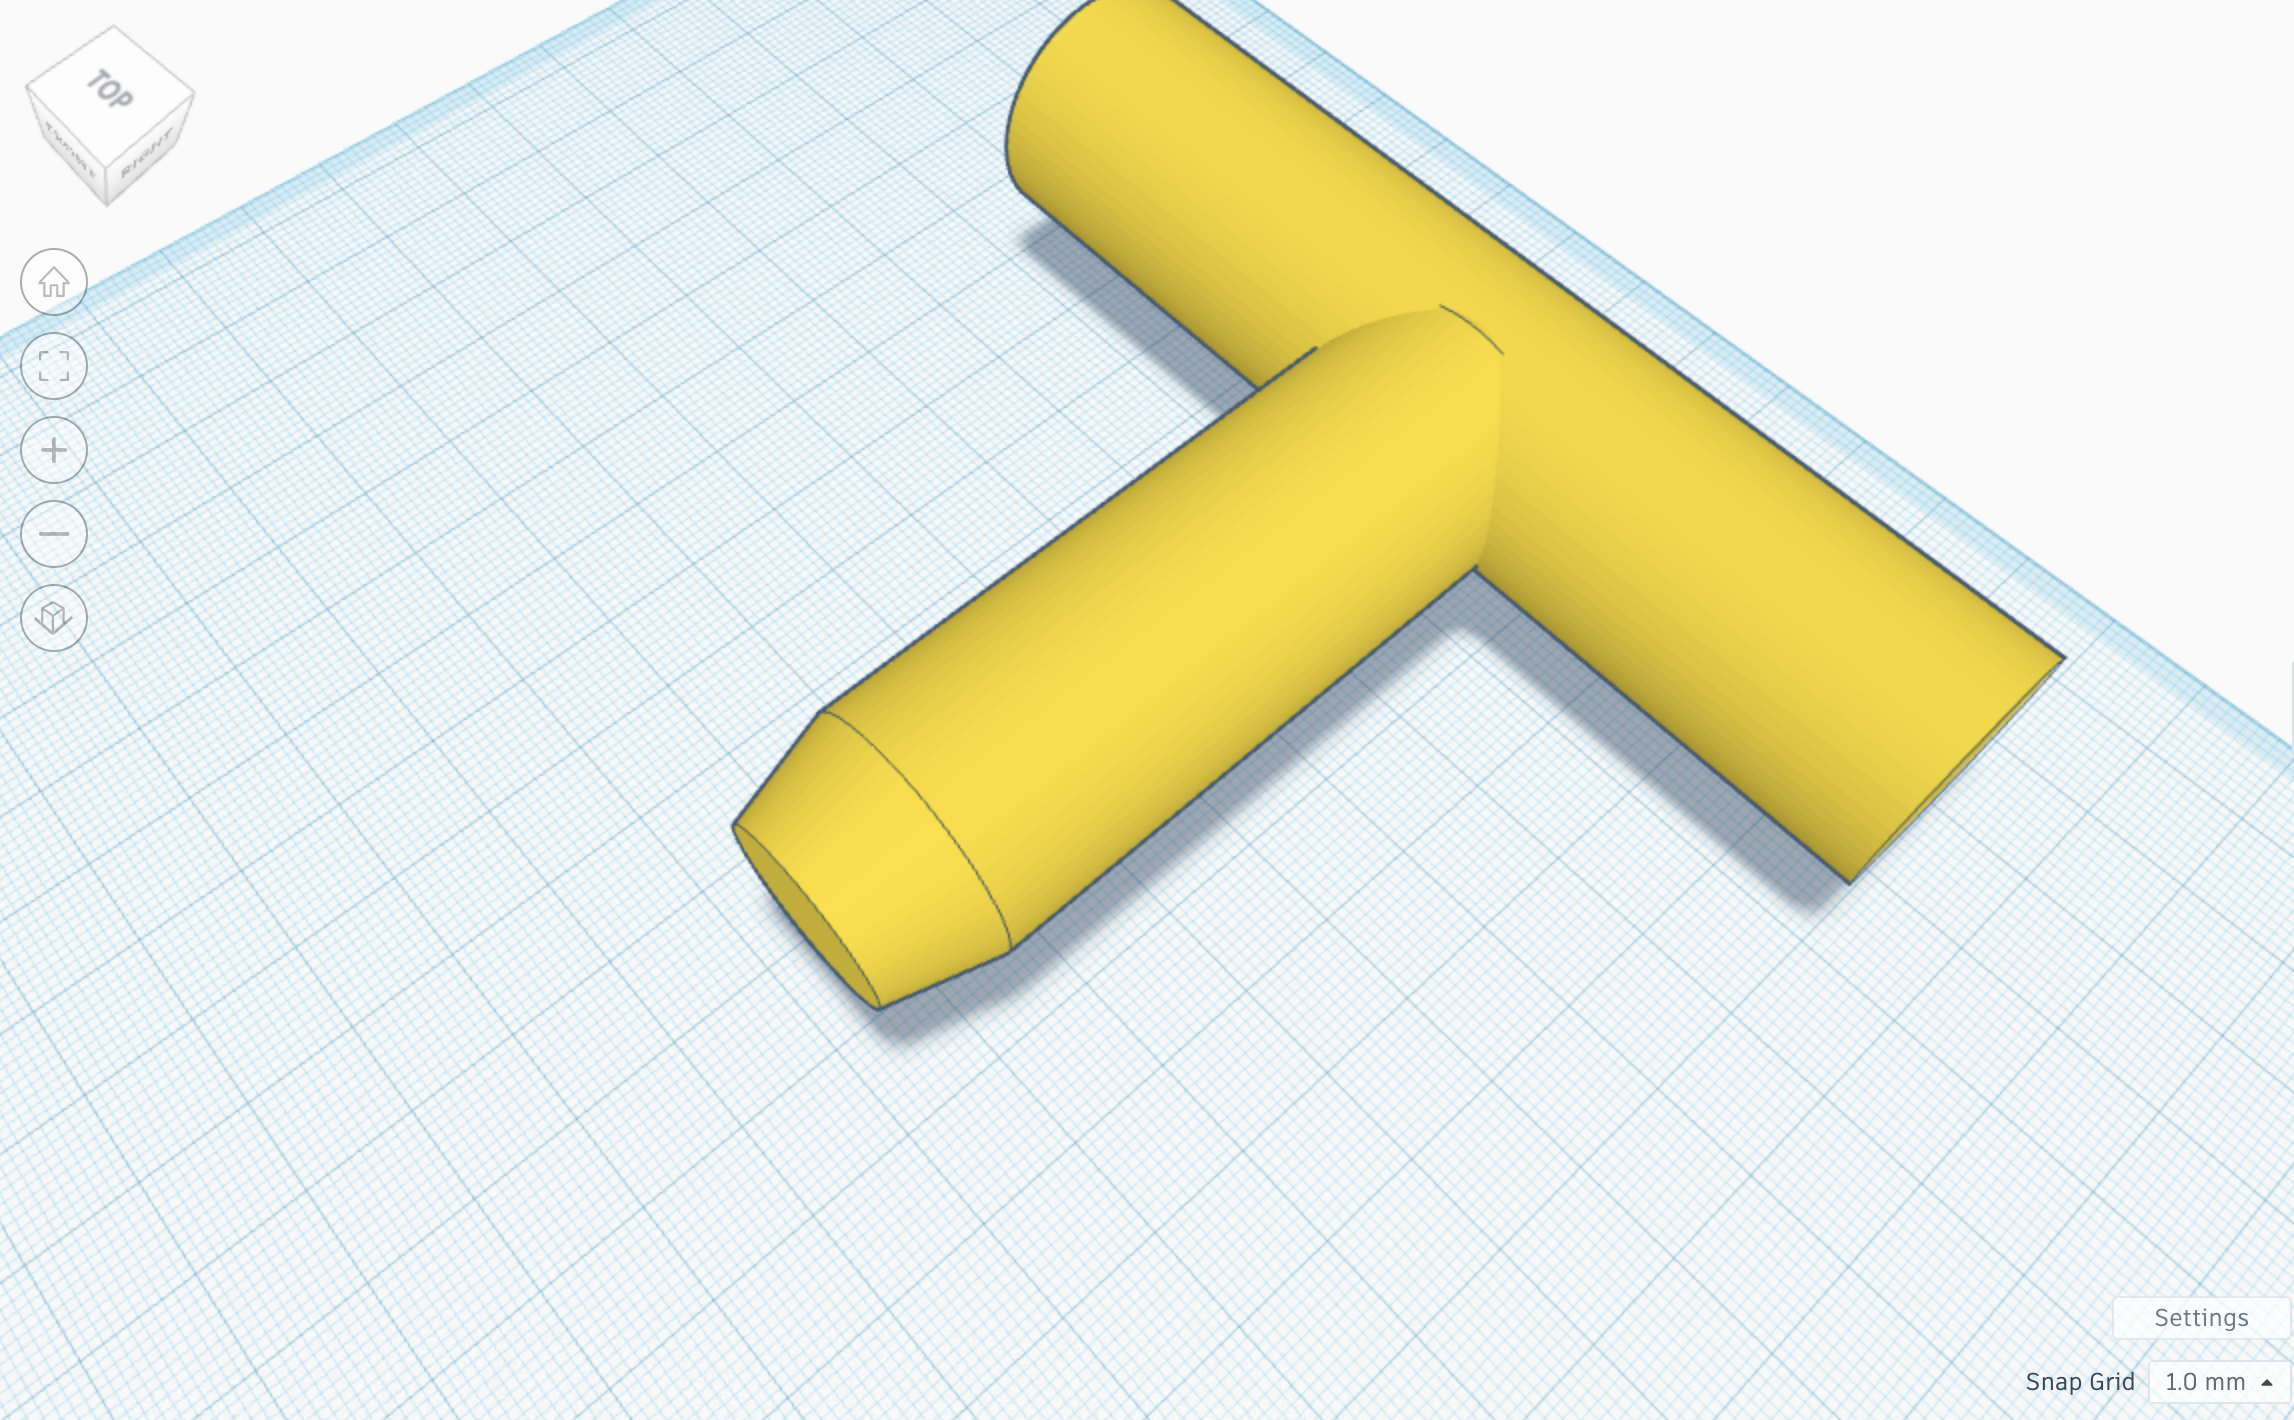
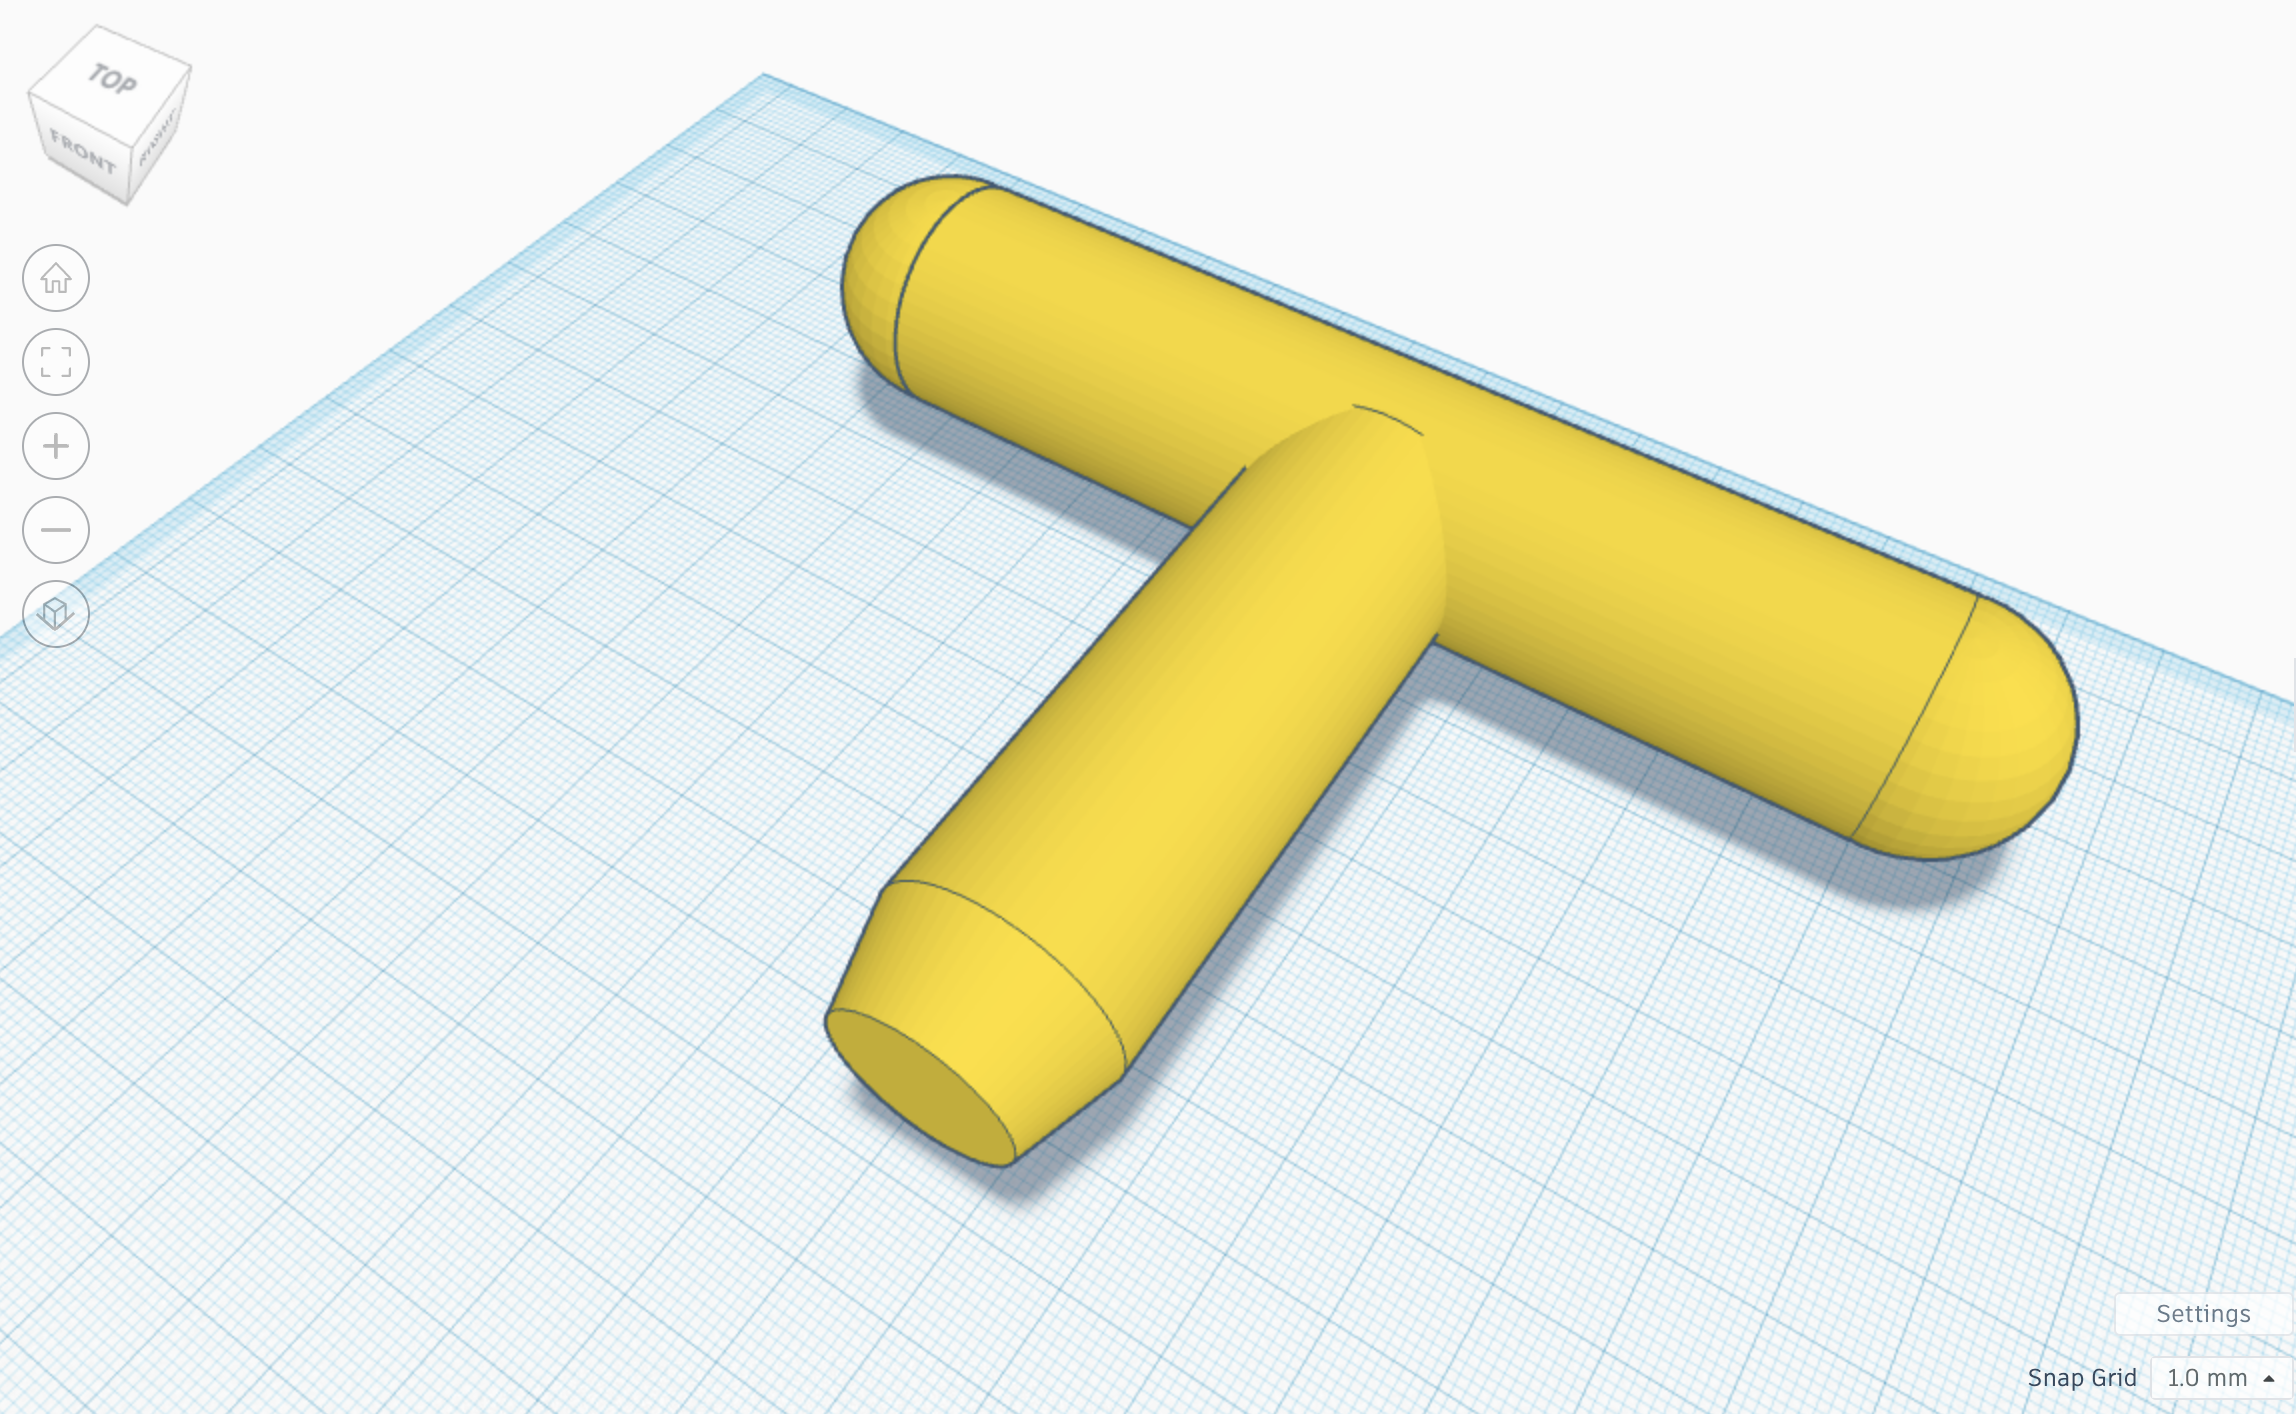
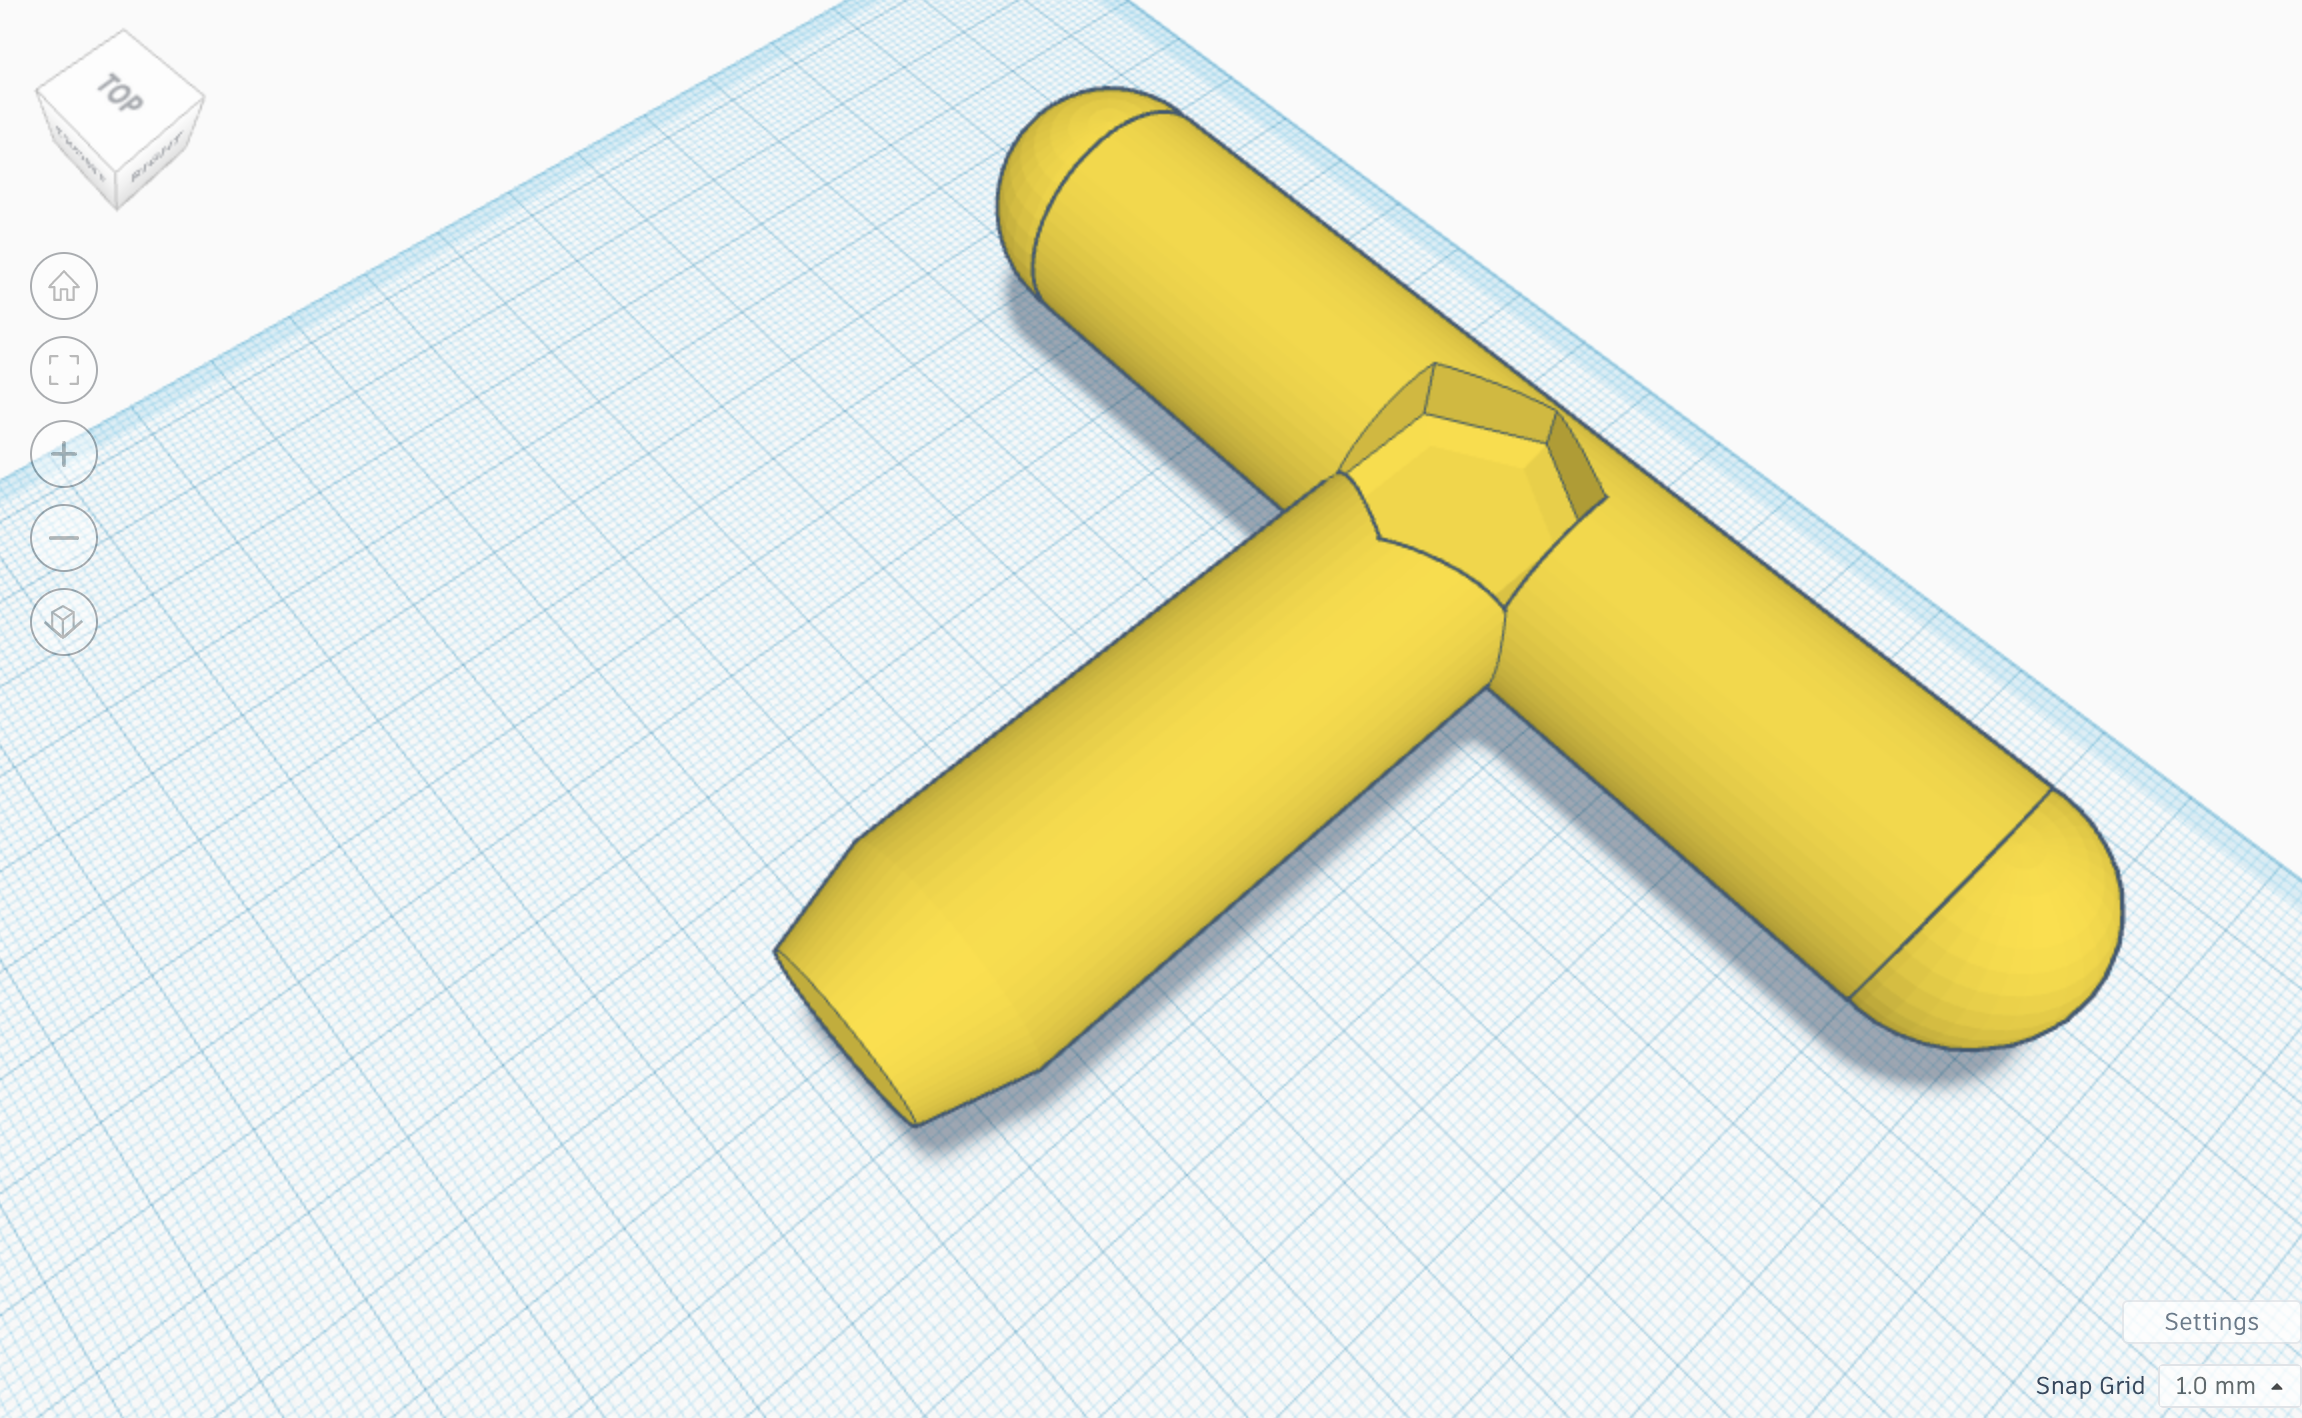
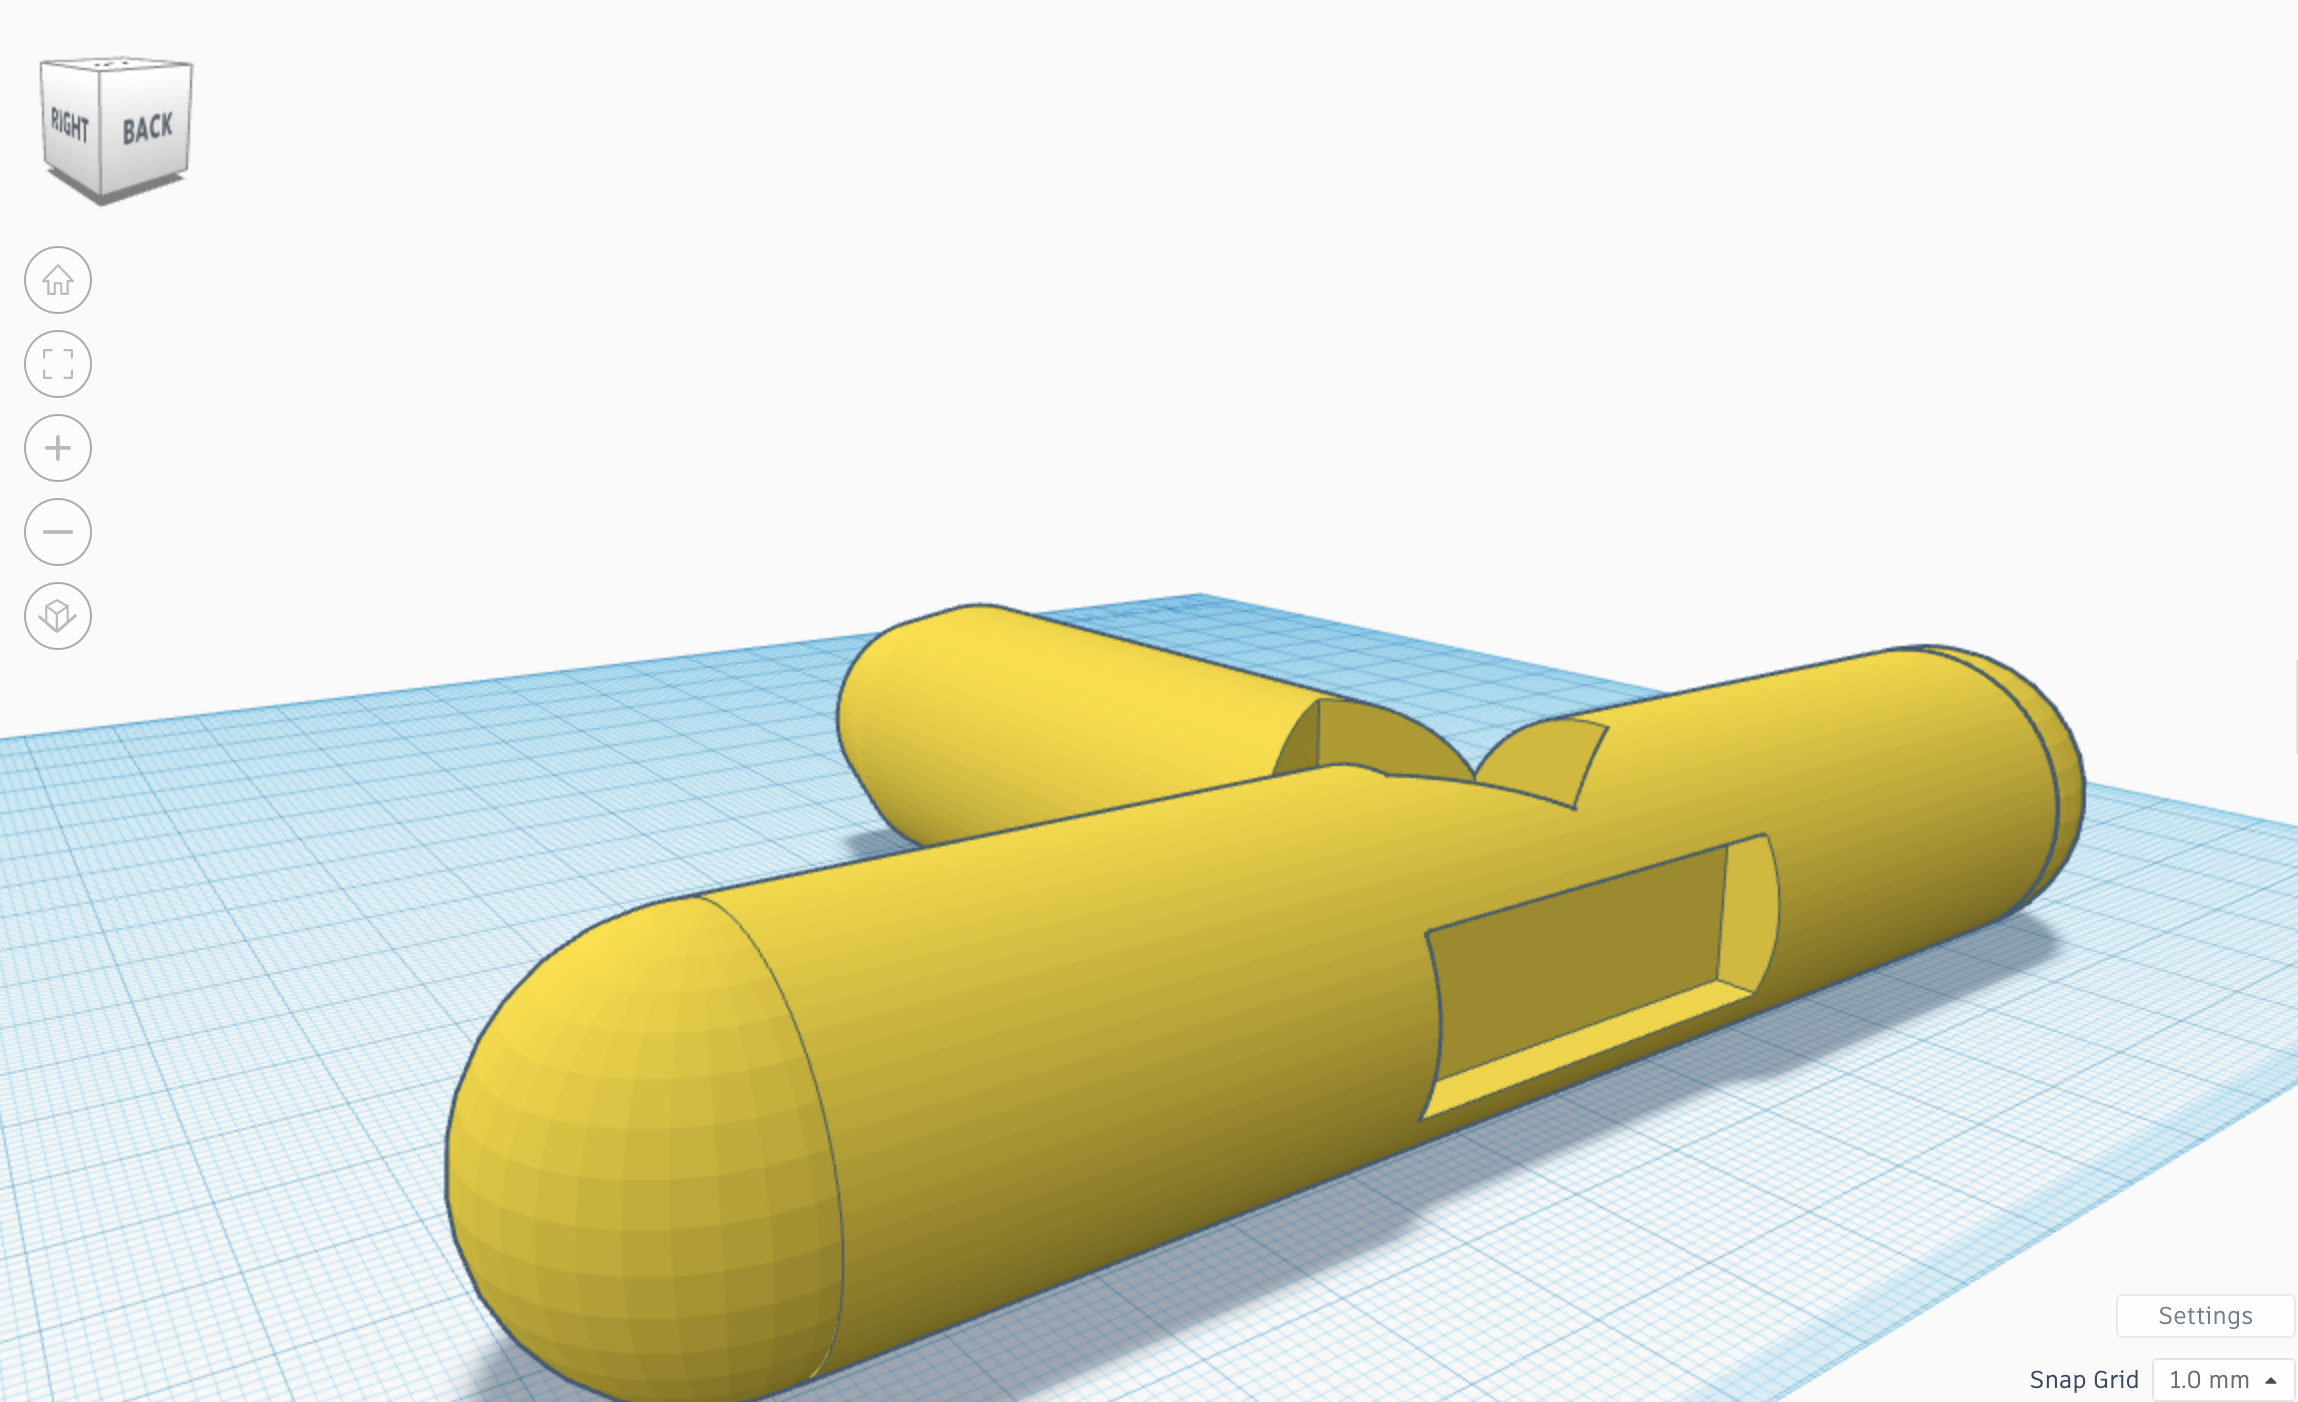
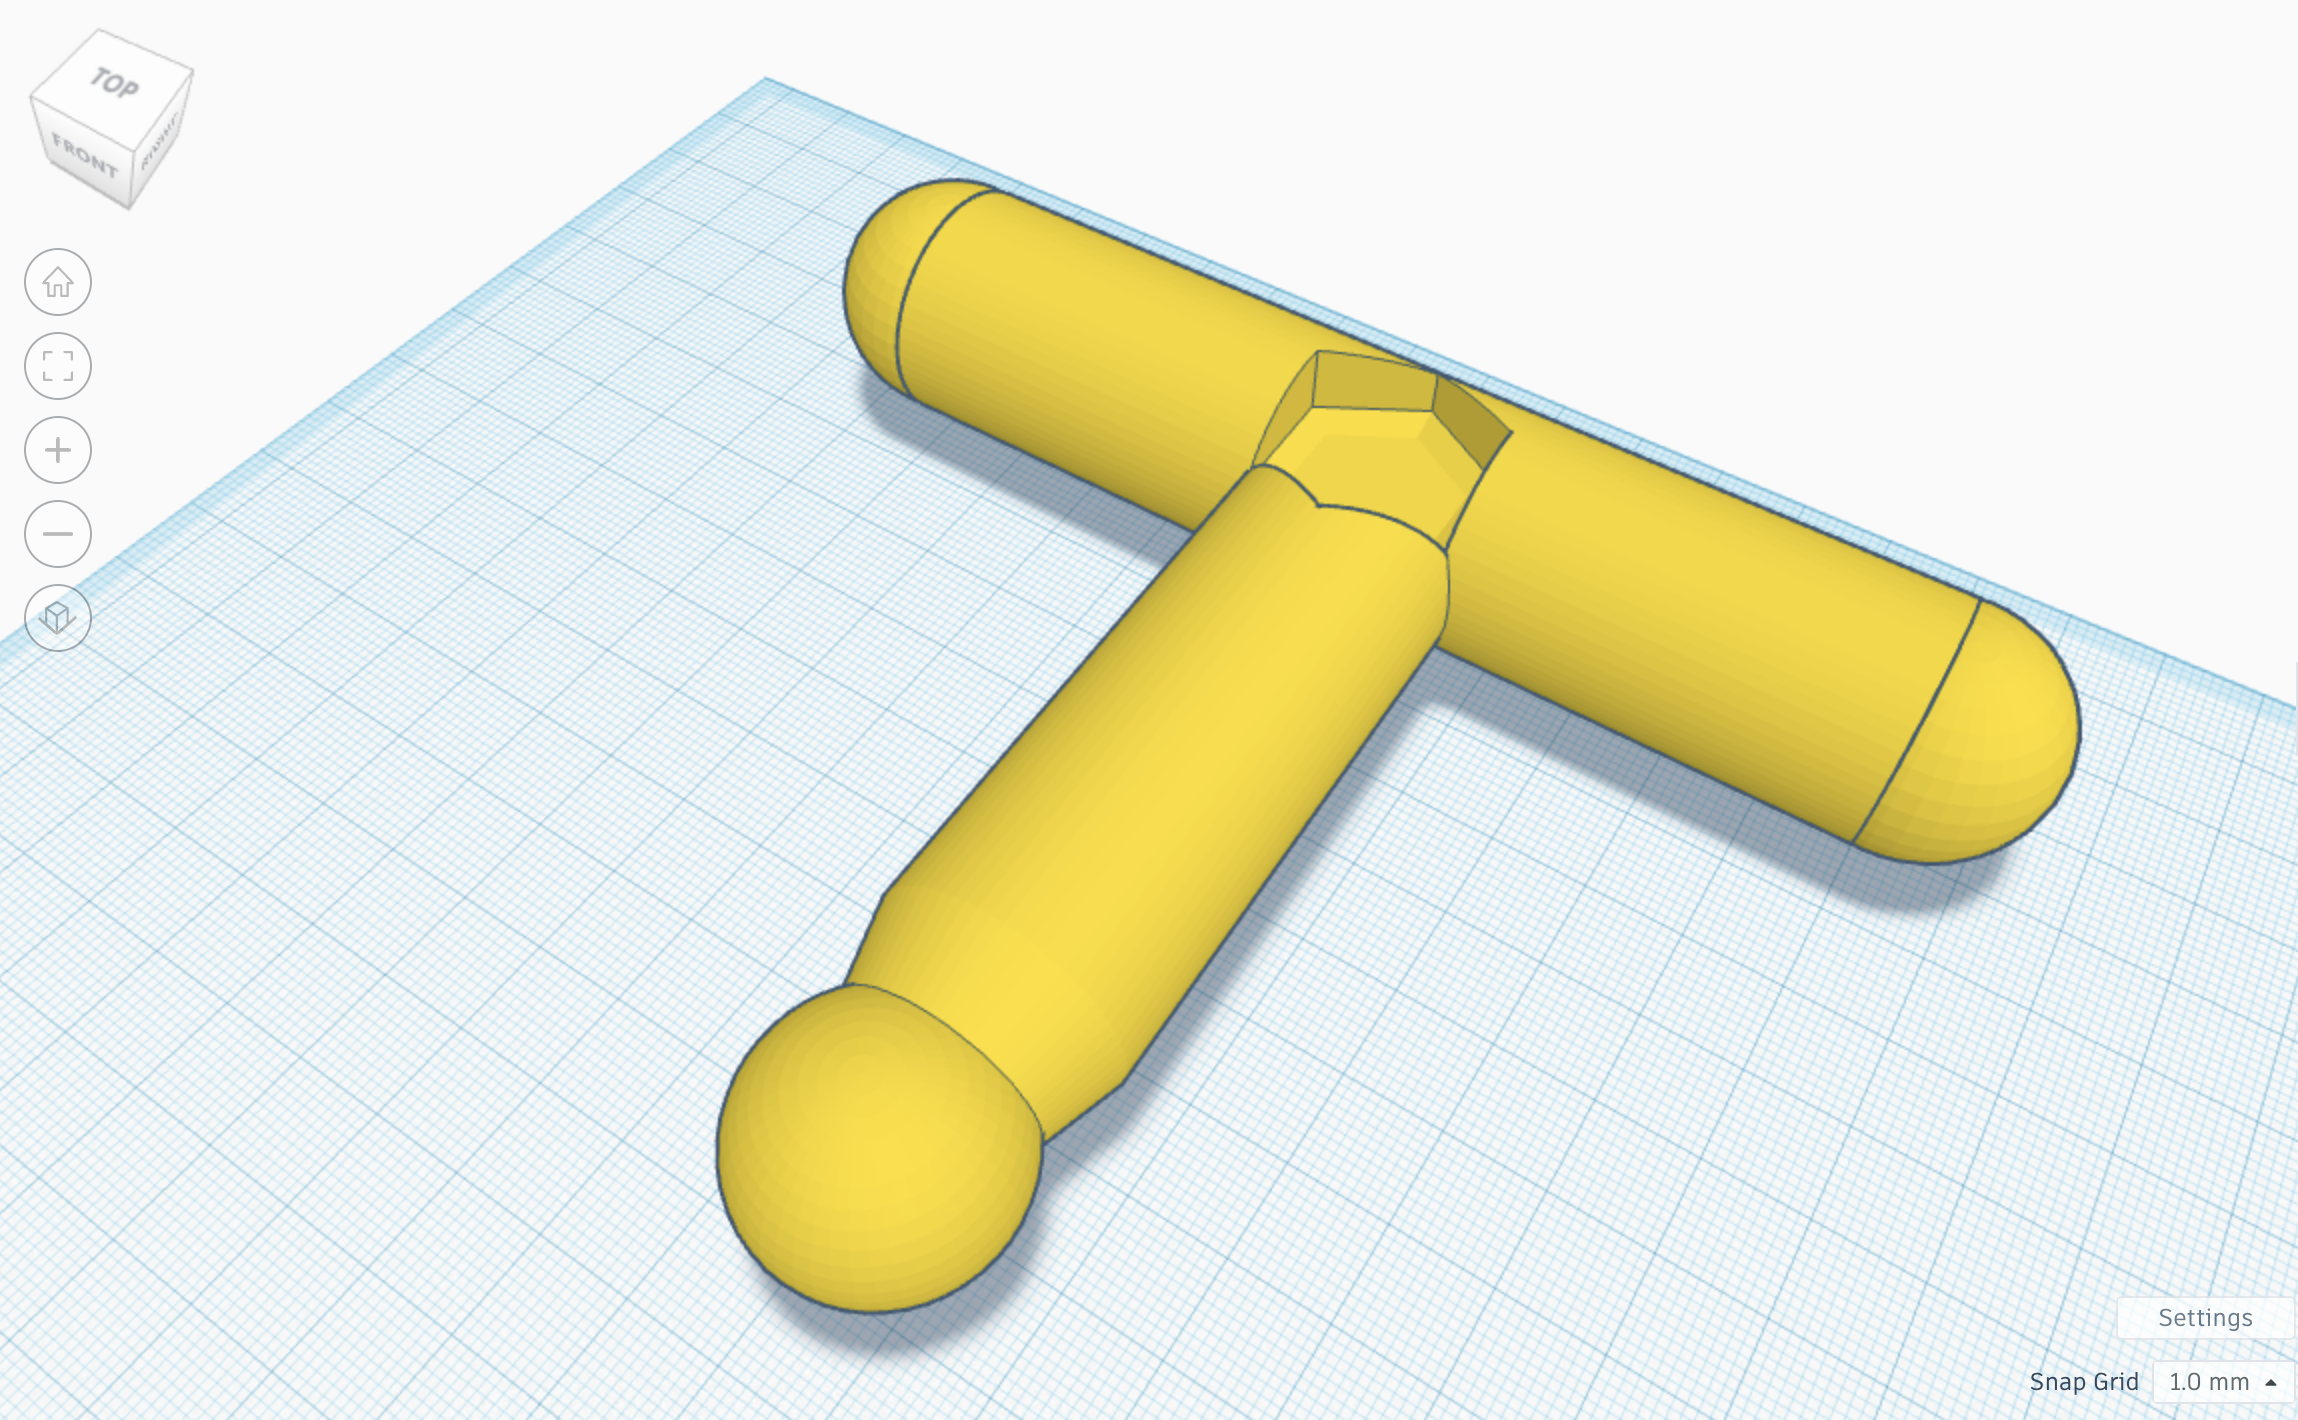
To design the hilt, I started by beveling a cylinder. I then took another cylinder, rotated it 90˚, and put it on top of the first one to create a T shape. After that, I created an indent in the hilt where the two cylinders intersect so that the gemstone could fit into the hilt. Next, I created a slot so that the blade could be secured to the hilt. After that, I added two semi spheres to either side of the guard to create a more elegant look. For the final step, I added a sphere to the bottom of the hilt to create a pommel.
Designing the Gemstone in Tinkercad
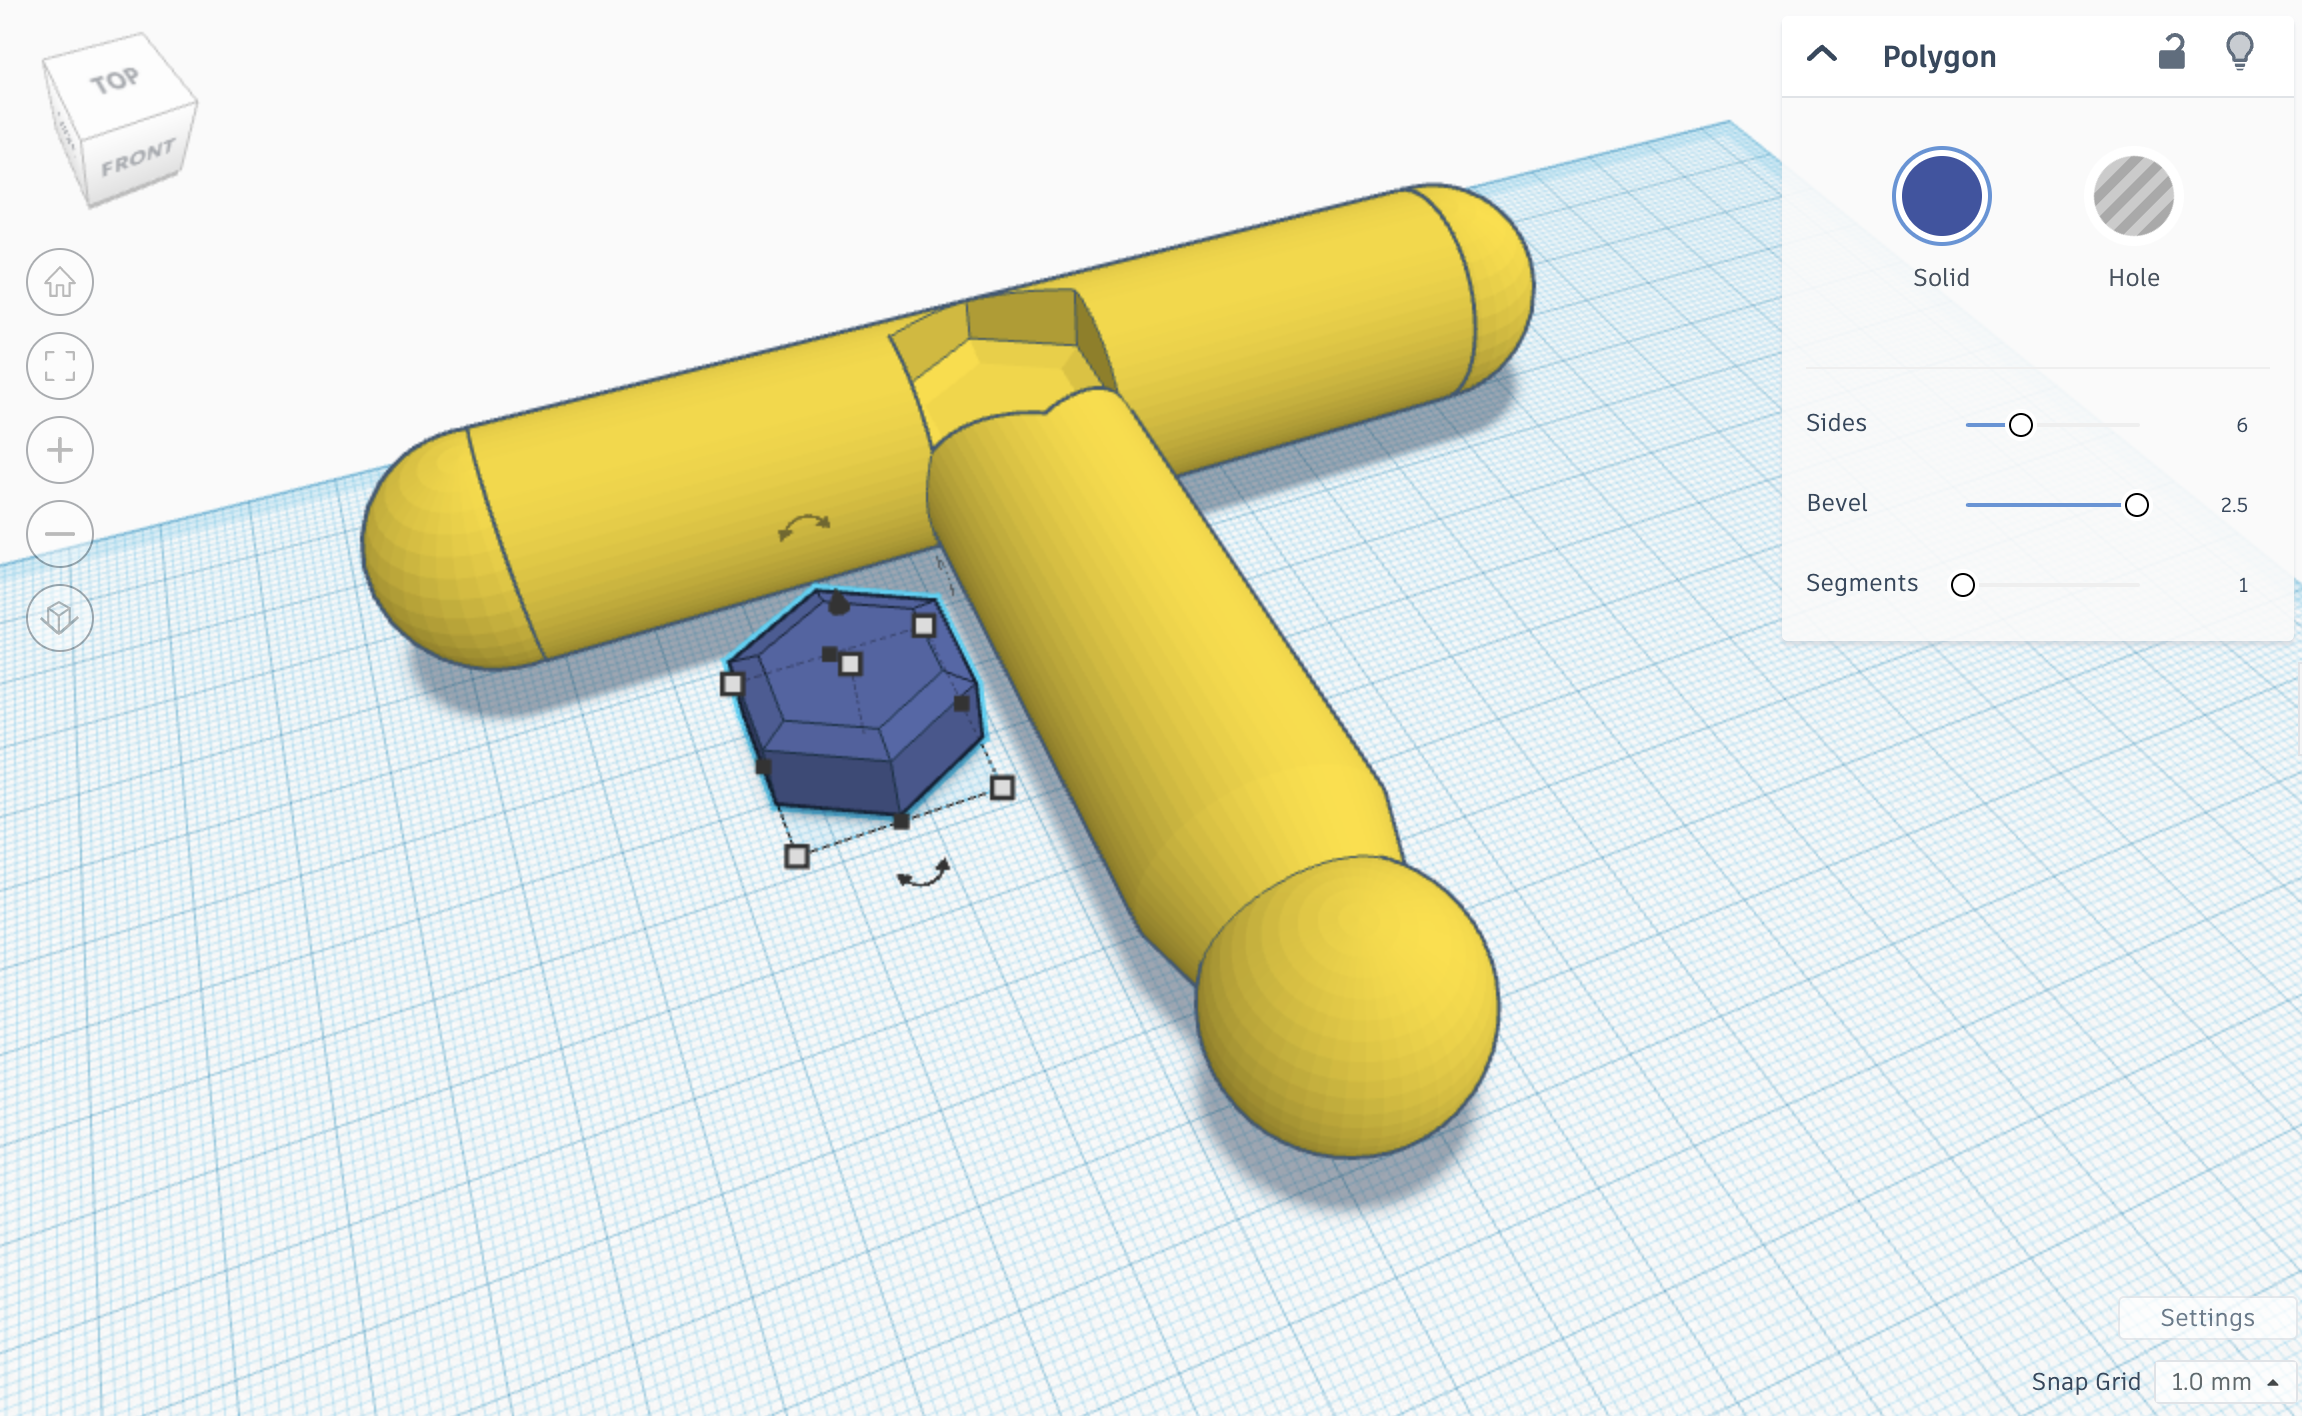
I then beveled a 6 sided polygon to 2.5, and sized it so that it could fit into the part of the hilt where it would got into. This is a relatively easy step of designing the sword, but the added effect that the gemstone adds once 3D printed is really cool.
Designing the Blade in Tinkercad
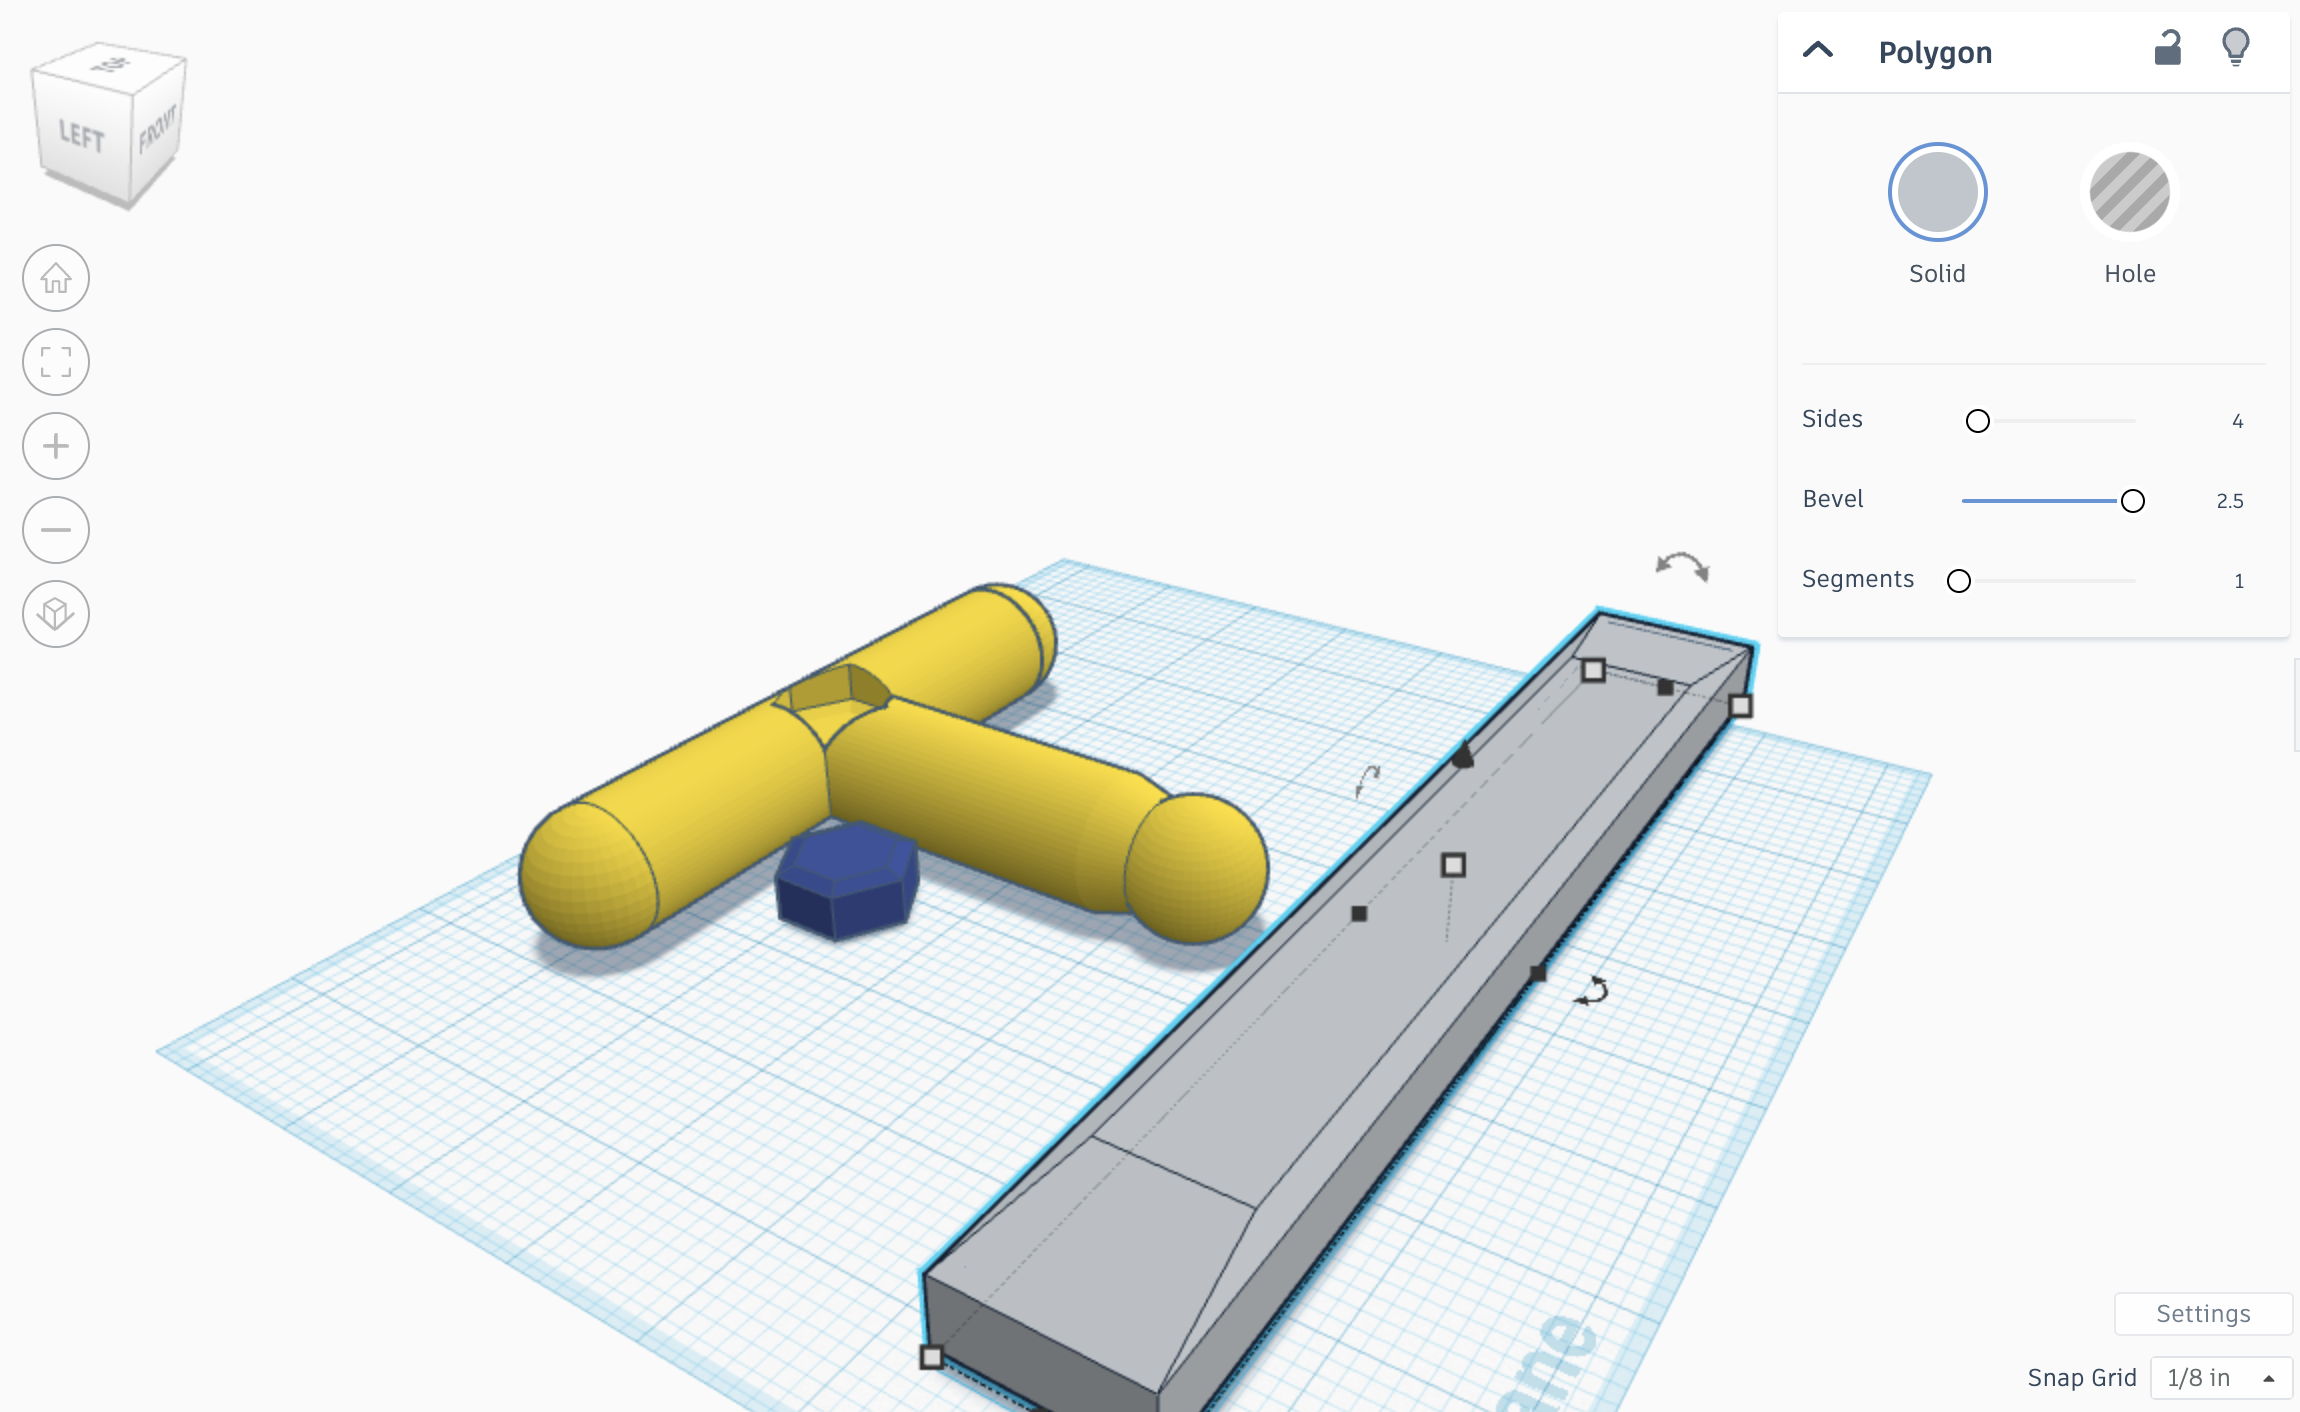
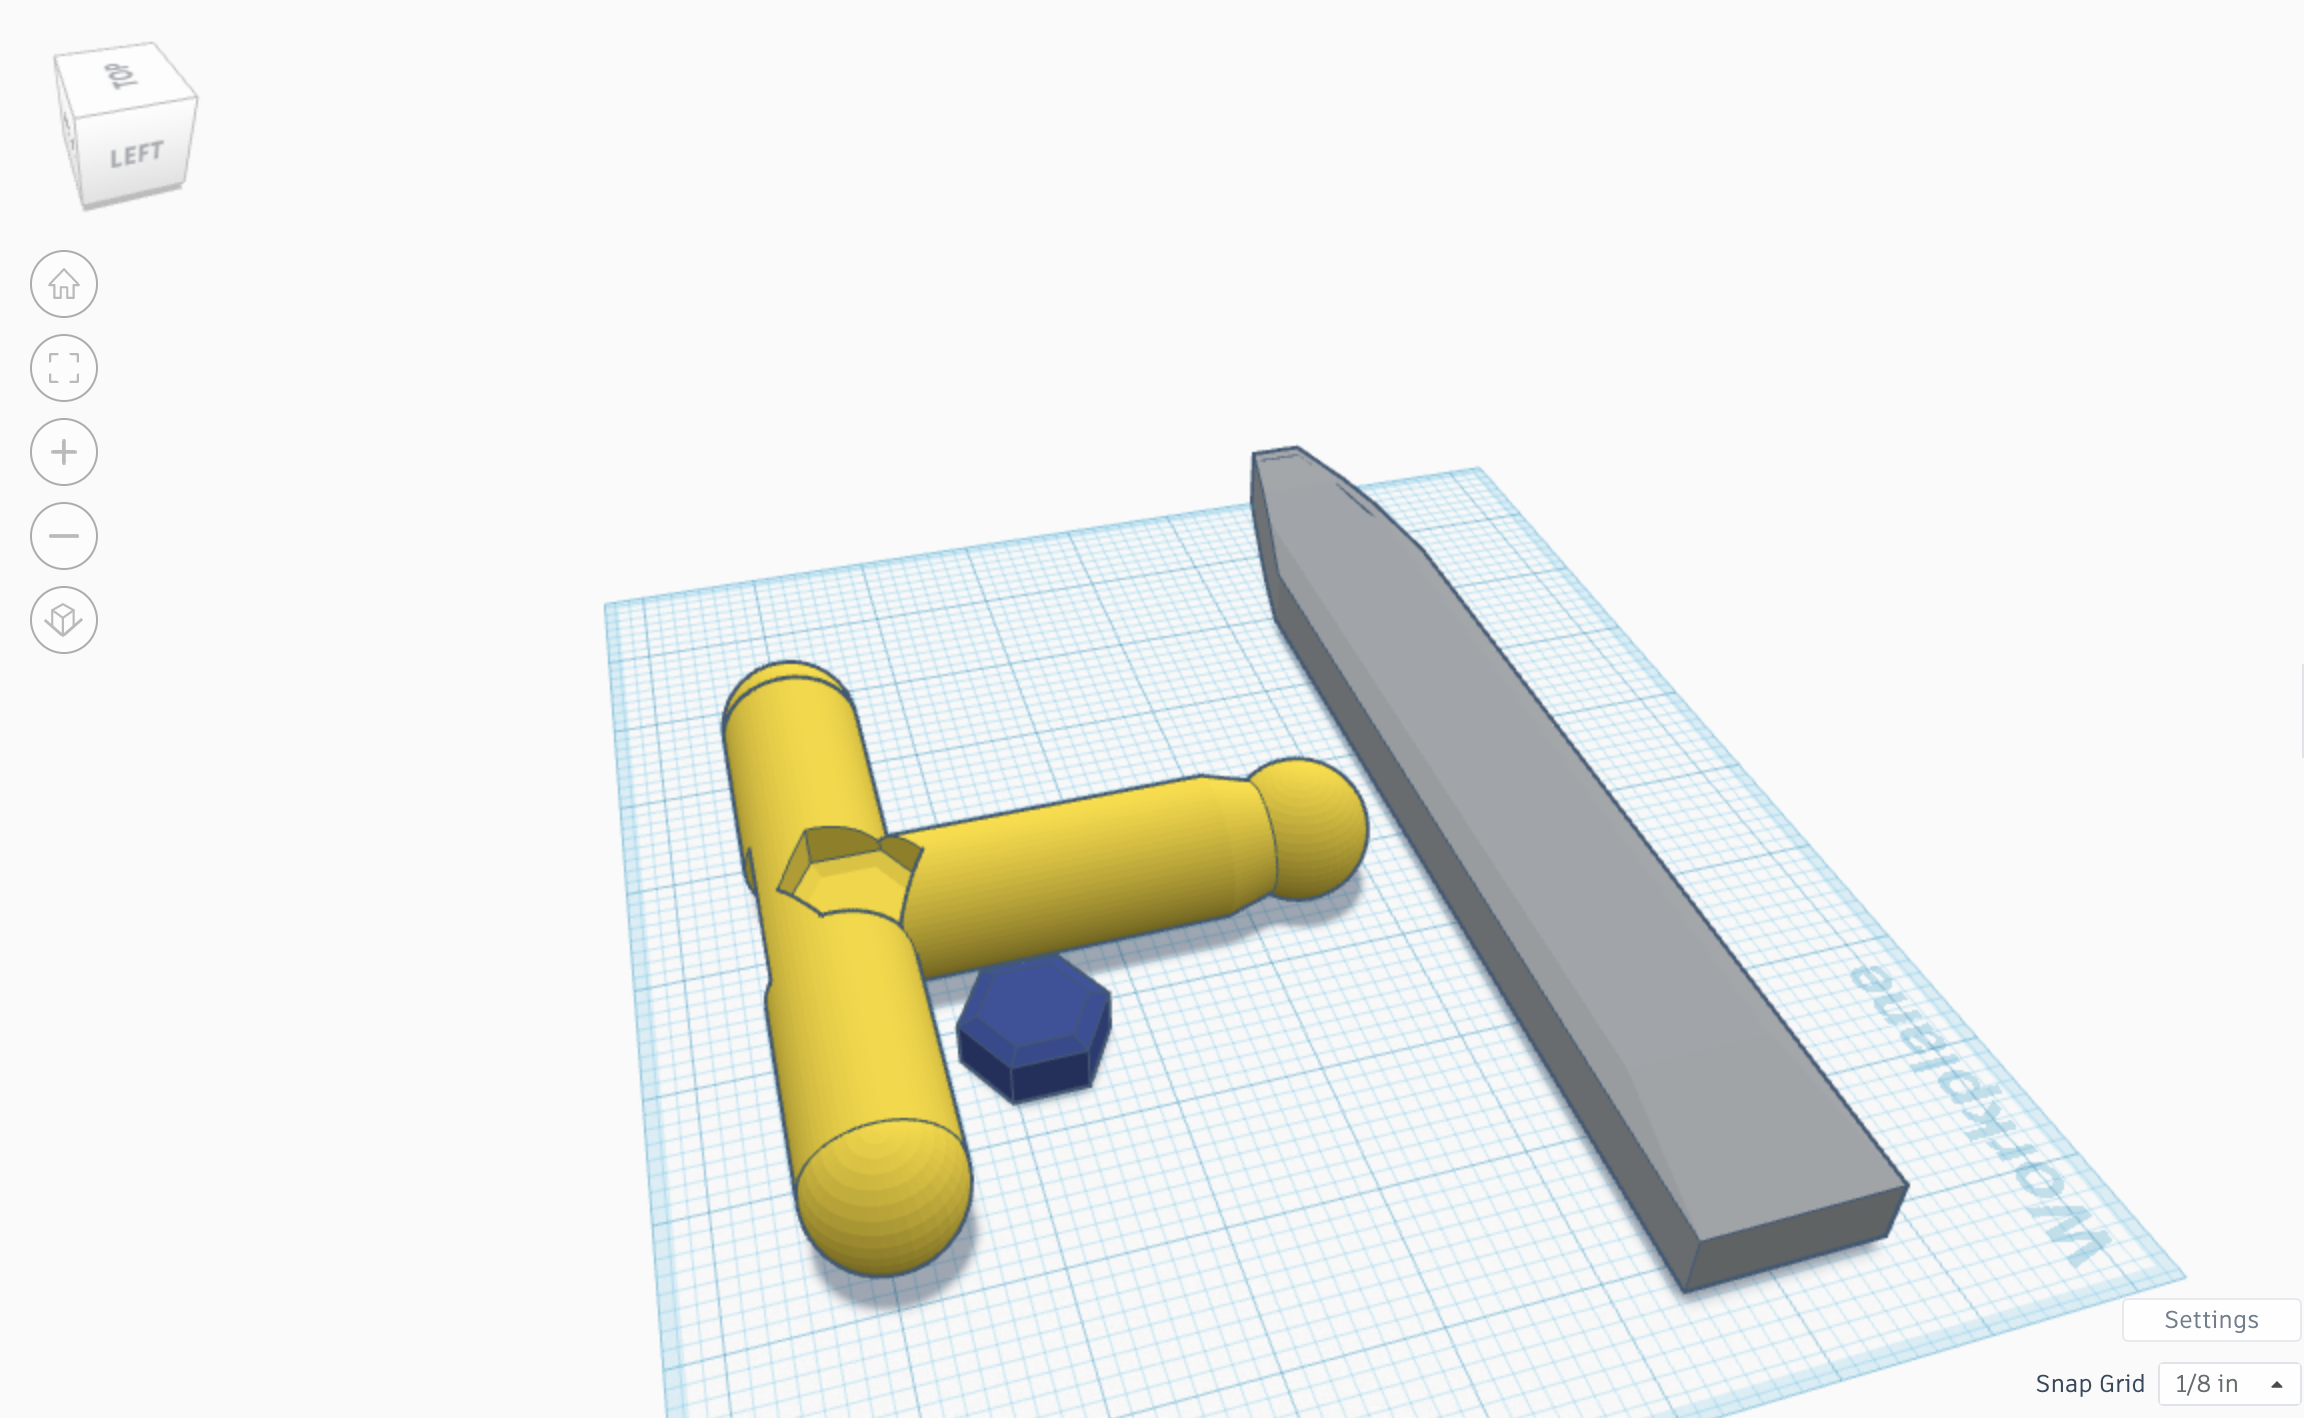
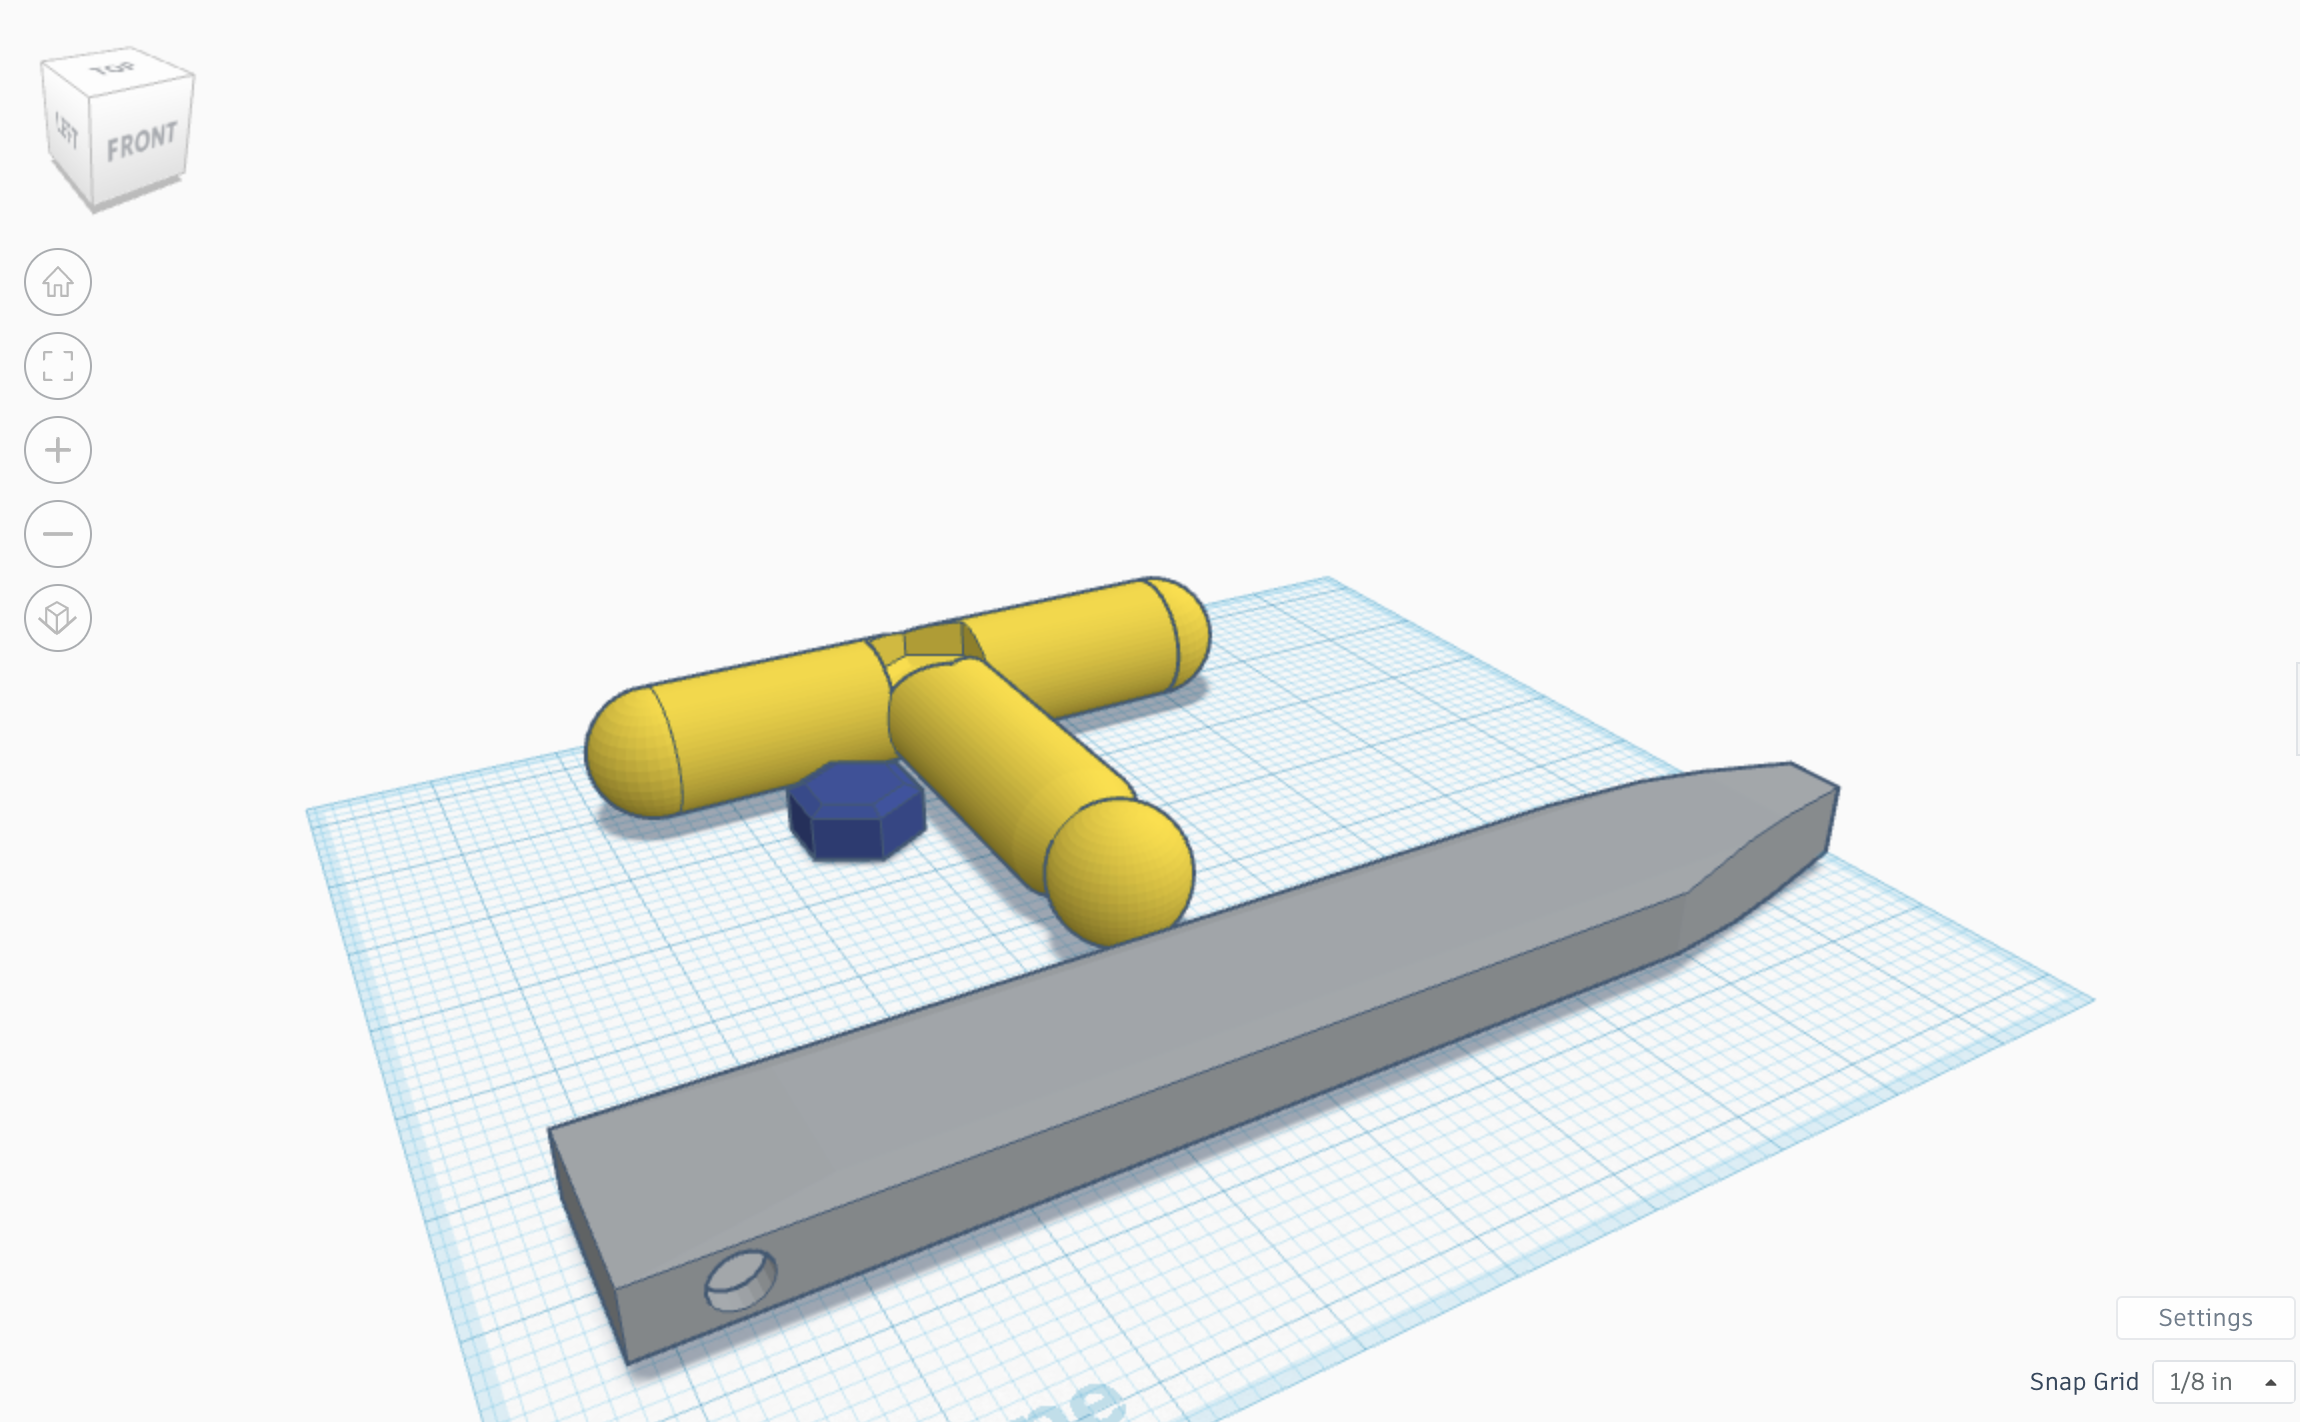
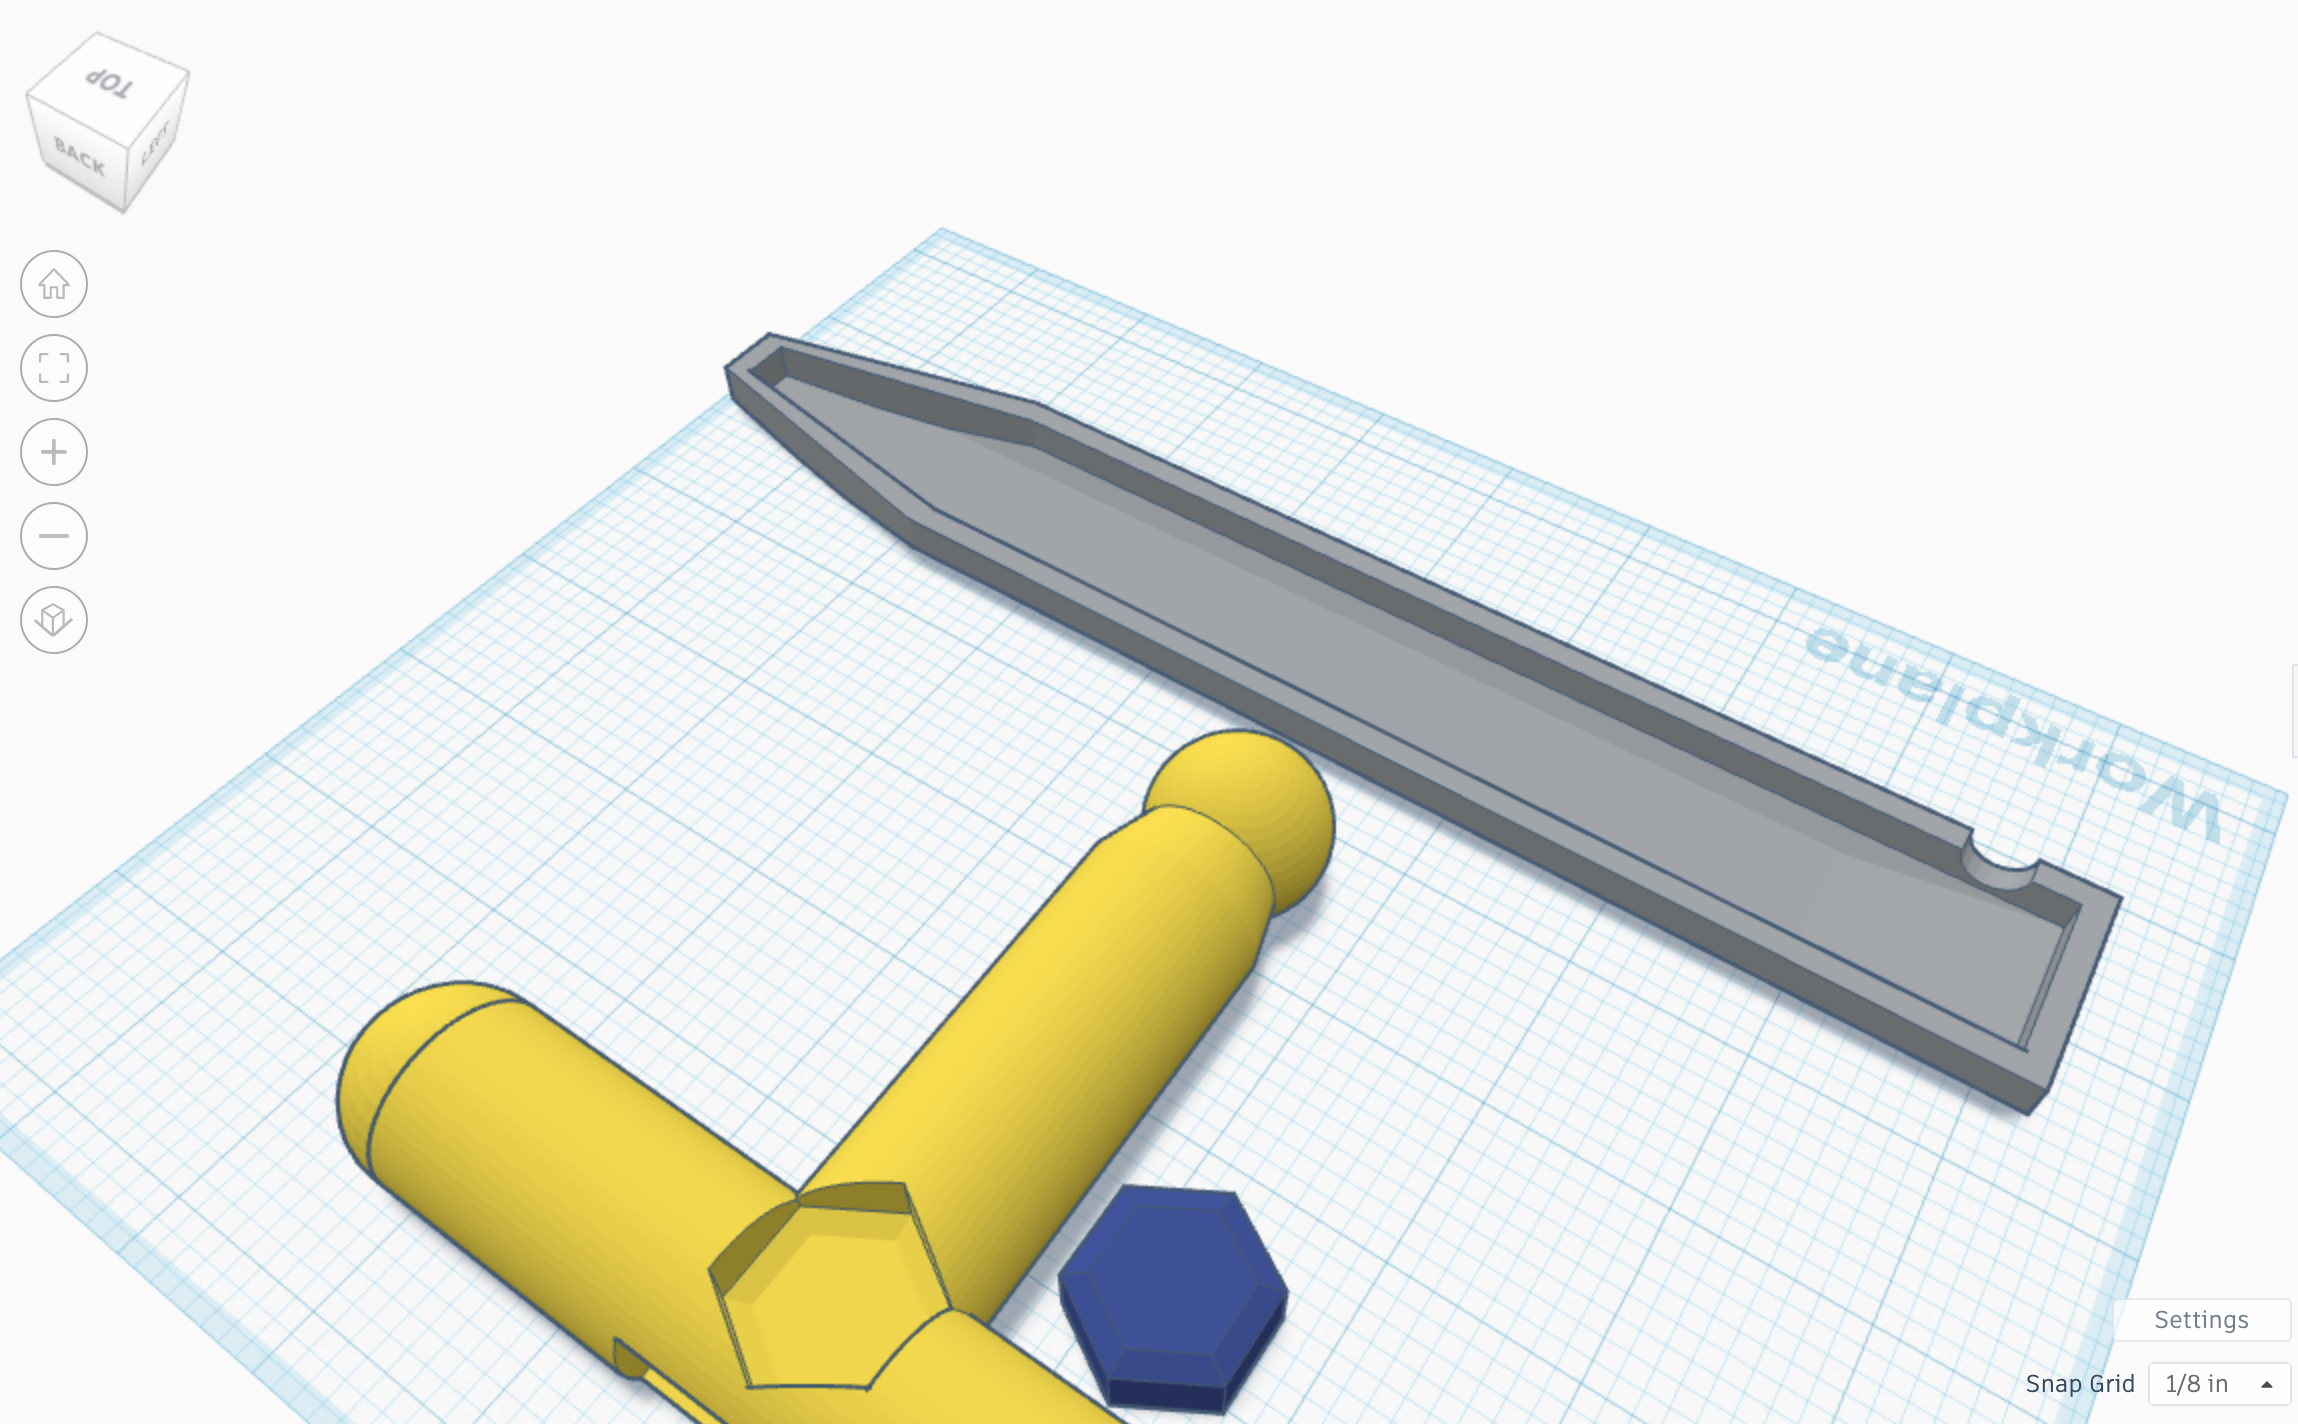
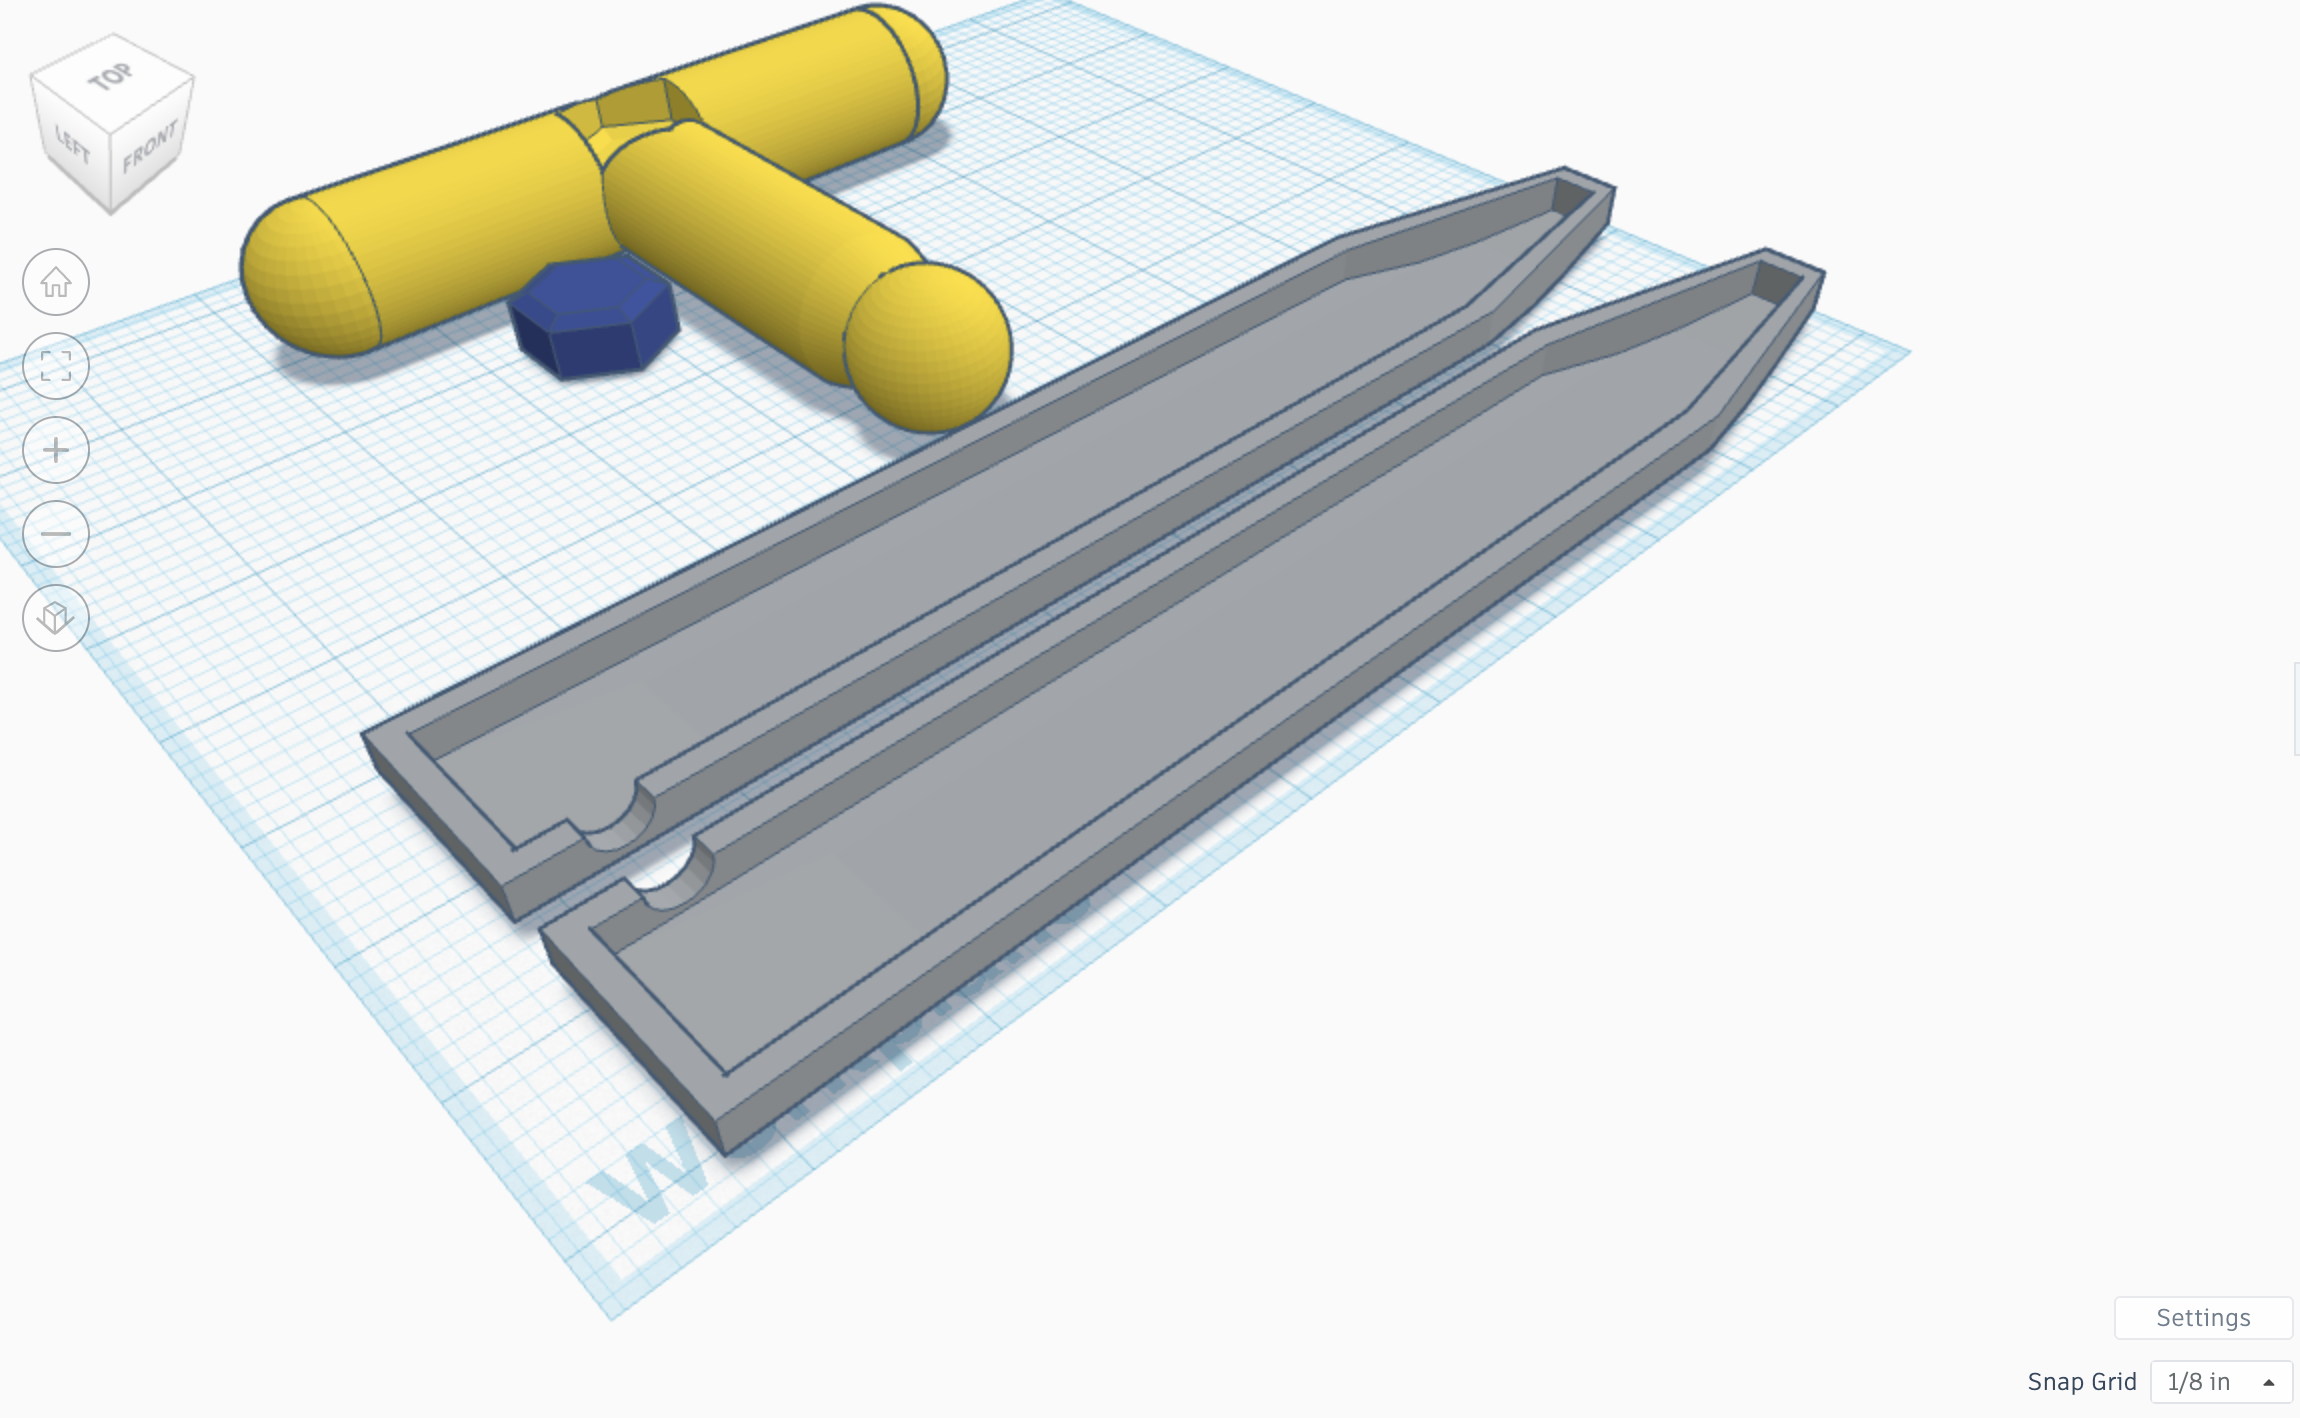
The blade was definitely the most challenging component of the sword to design. I started by taking the polygon shape and then elongated it. I then set the number of sides to 4, and the bevel amount to 2.5. After that, I made the end come to a blunt point at the tip to make it more recognizable as a sword blade. Next, I hollowed out the inside of it and punched a small hole through it's side to allow wires to come through. I then ran into a problem: How would I get the LED strips inside the blade? My solution was to make the blade in two pieces. To do this, I removed the top half off the blade and duplicated the bottom half. I made sure to mirror the second half so that the two halves of the hole for the wires would match up when assembled. Now that we have designed everything in Tinkercad, let's move on to creating the physical object.
3D Printing
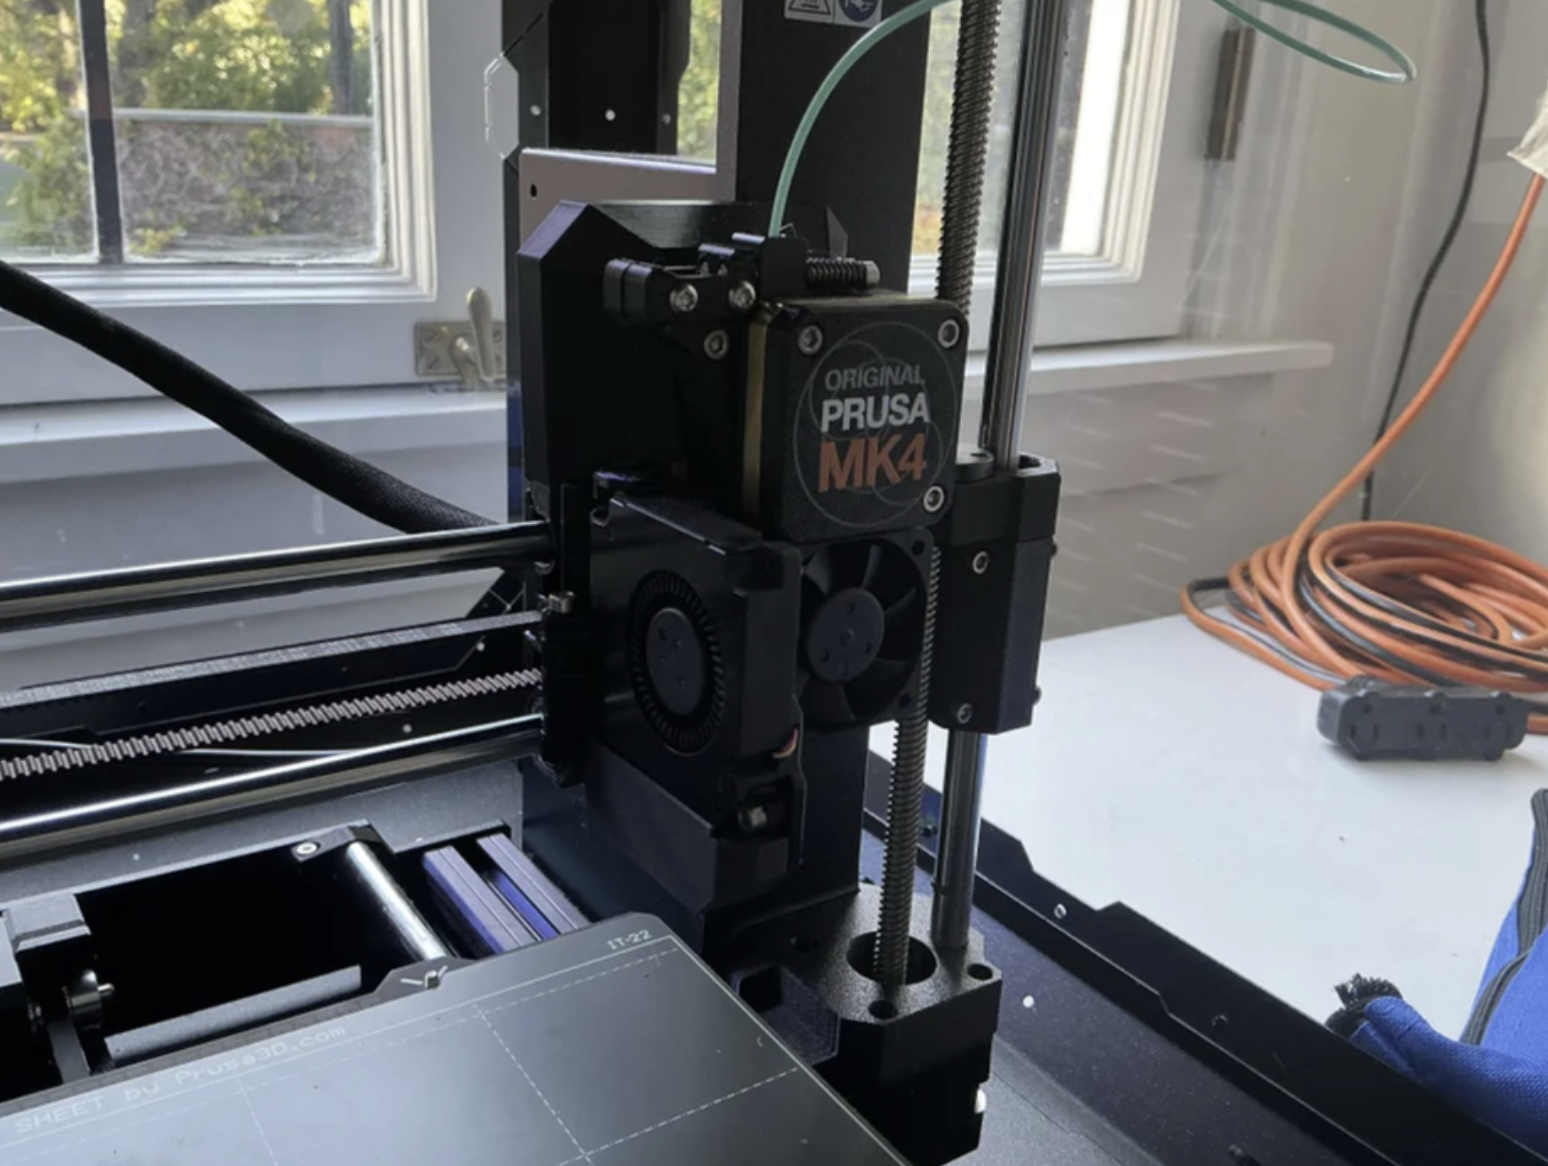
To 3D print all of the parts, I downloaded all of the files below and uploaded them into my 3D printers slicing software. After that, a exported all of the sliced files and uploaded them to my 3D printer. I made sure to print the hilt with yellow PLA, the gemstone with blue PLA, and the blade with clear PLA to allow light to show through. The blade took 1 hour 57 minutes, the gemstone took 11 minutes, and the hilt took 2 hours 19 minutes. Although that is how long it took my printer took to print each of the pieces, print times make vary depending on the printer itself, as well as the speed and quality setting that the printer is set to.
Inserting the Gemstone
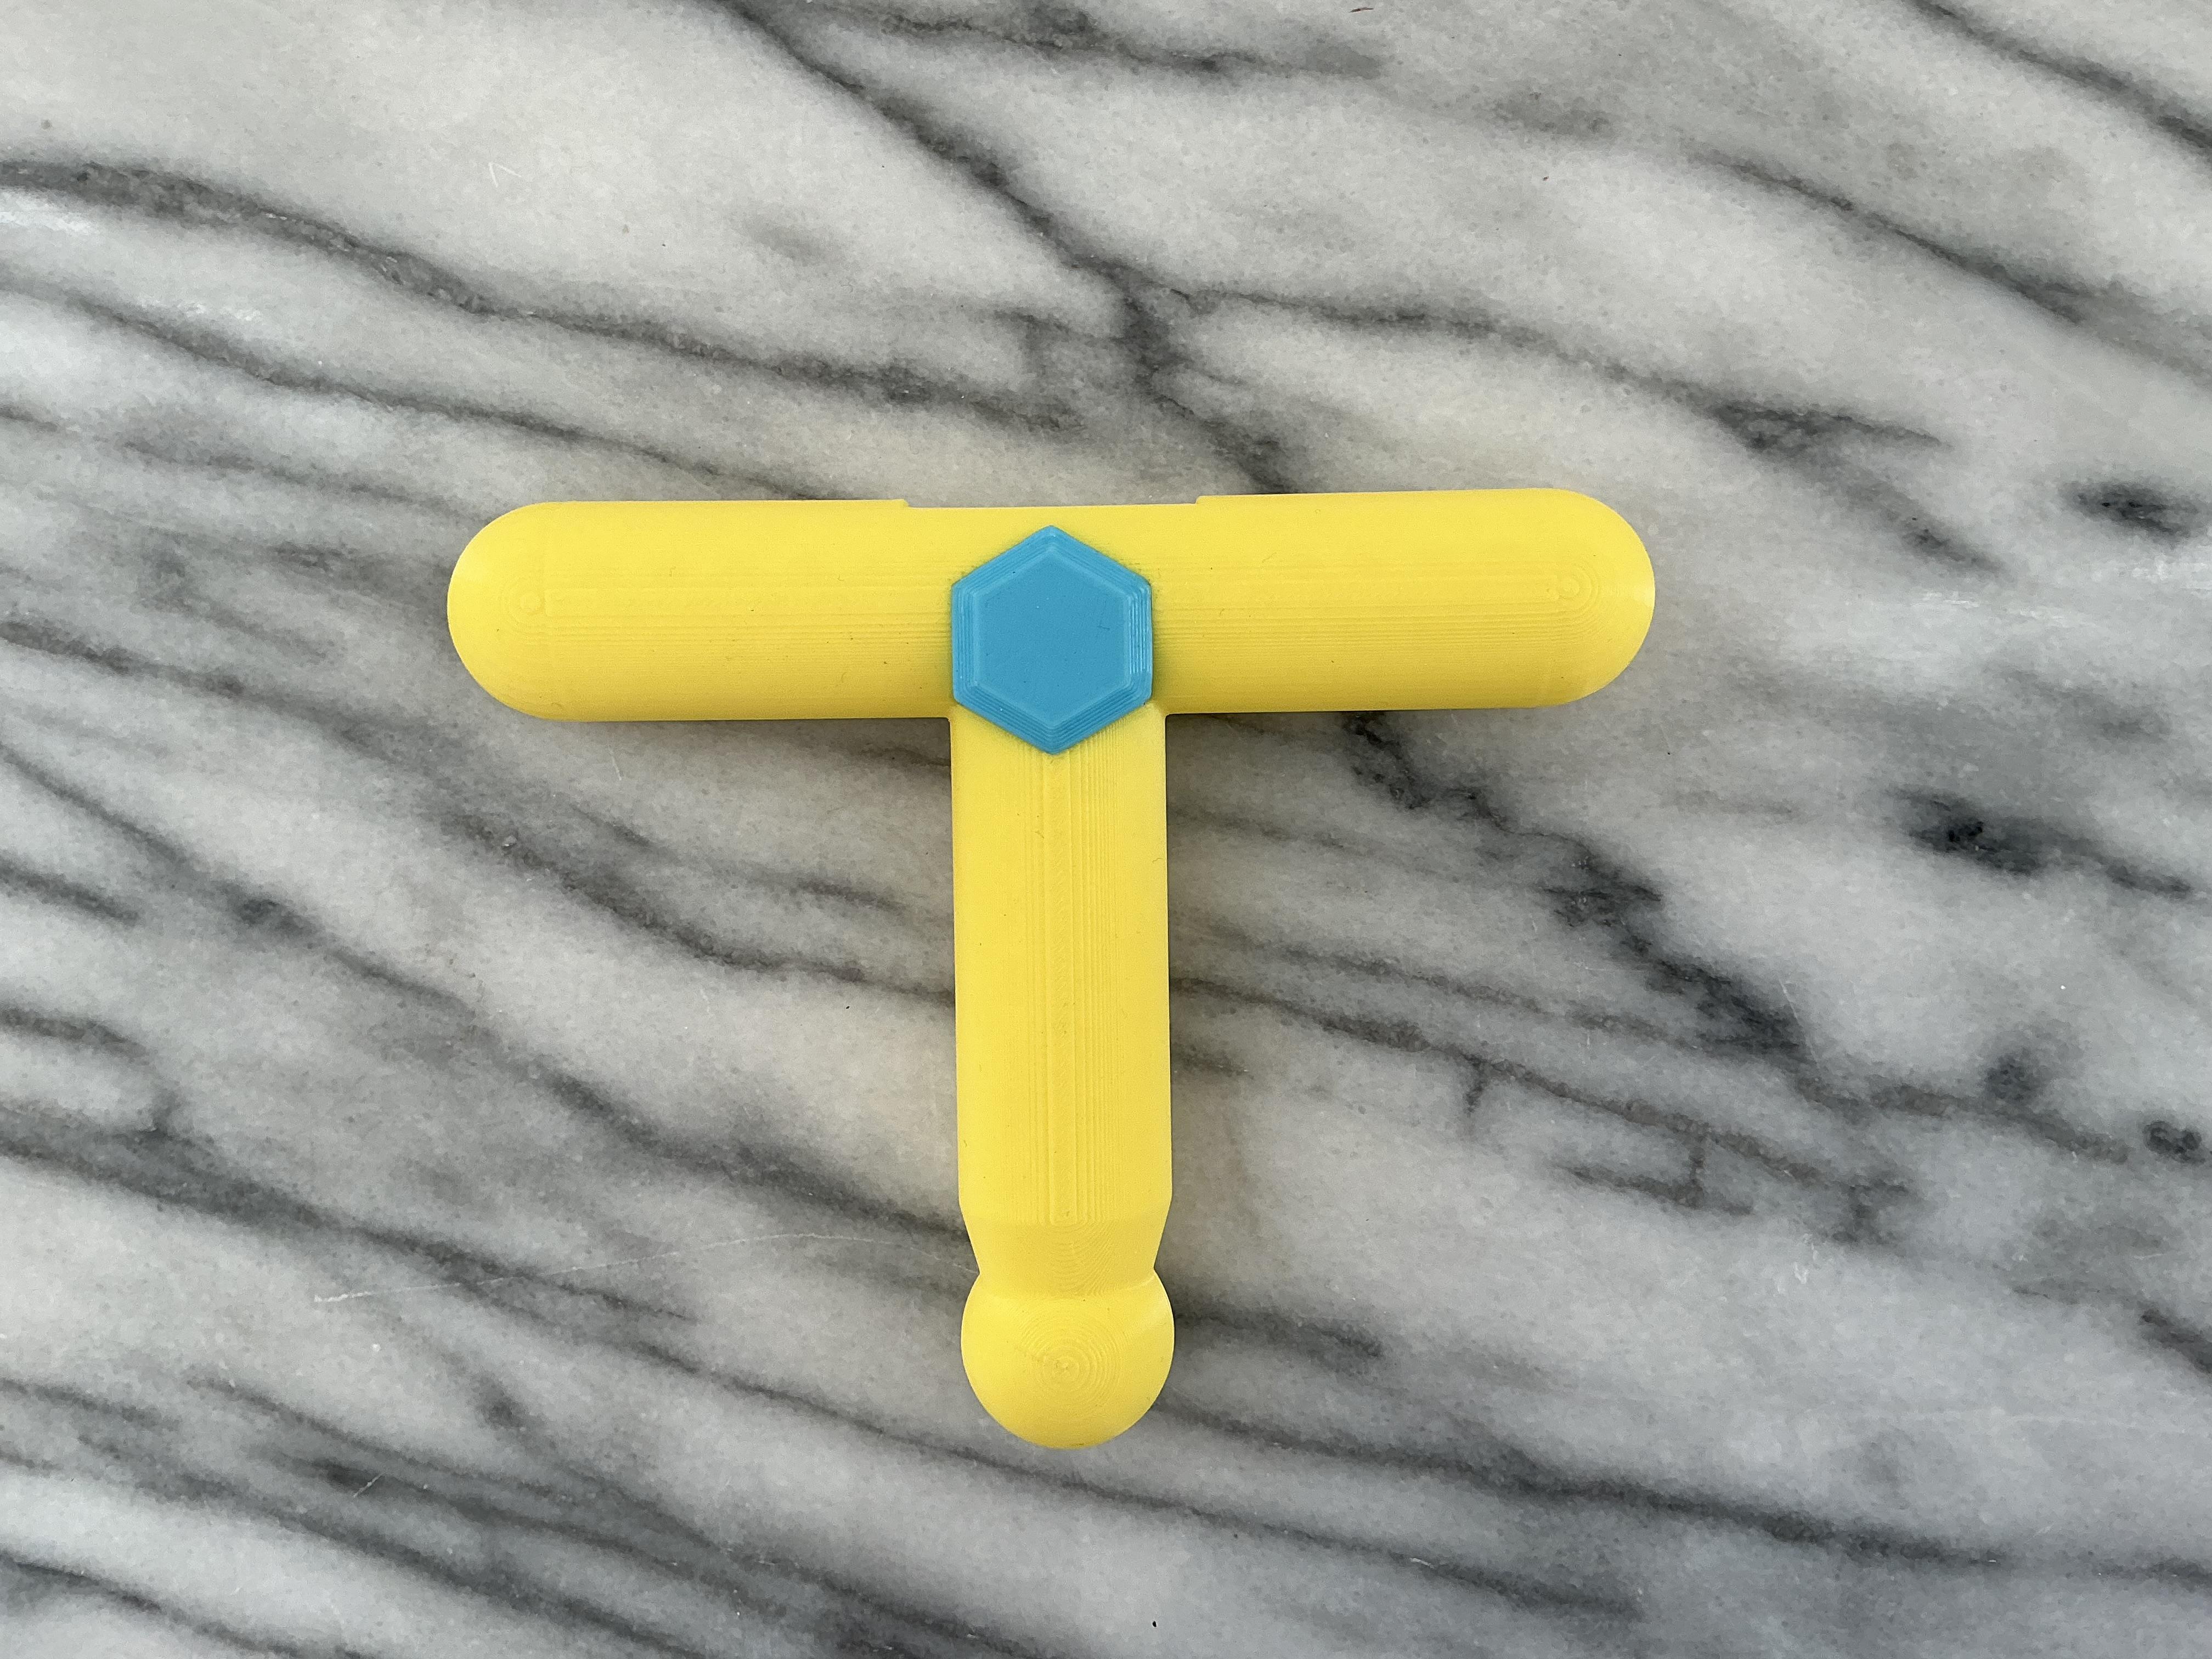
After 3D printing all of the parts, I inserted the gemstone into the hilt. To do this, all I did was firmly push the gemstone into the hilt.
The LEDs
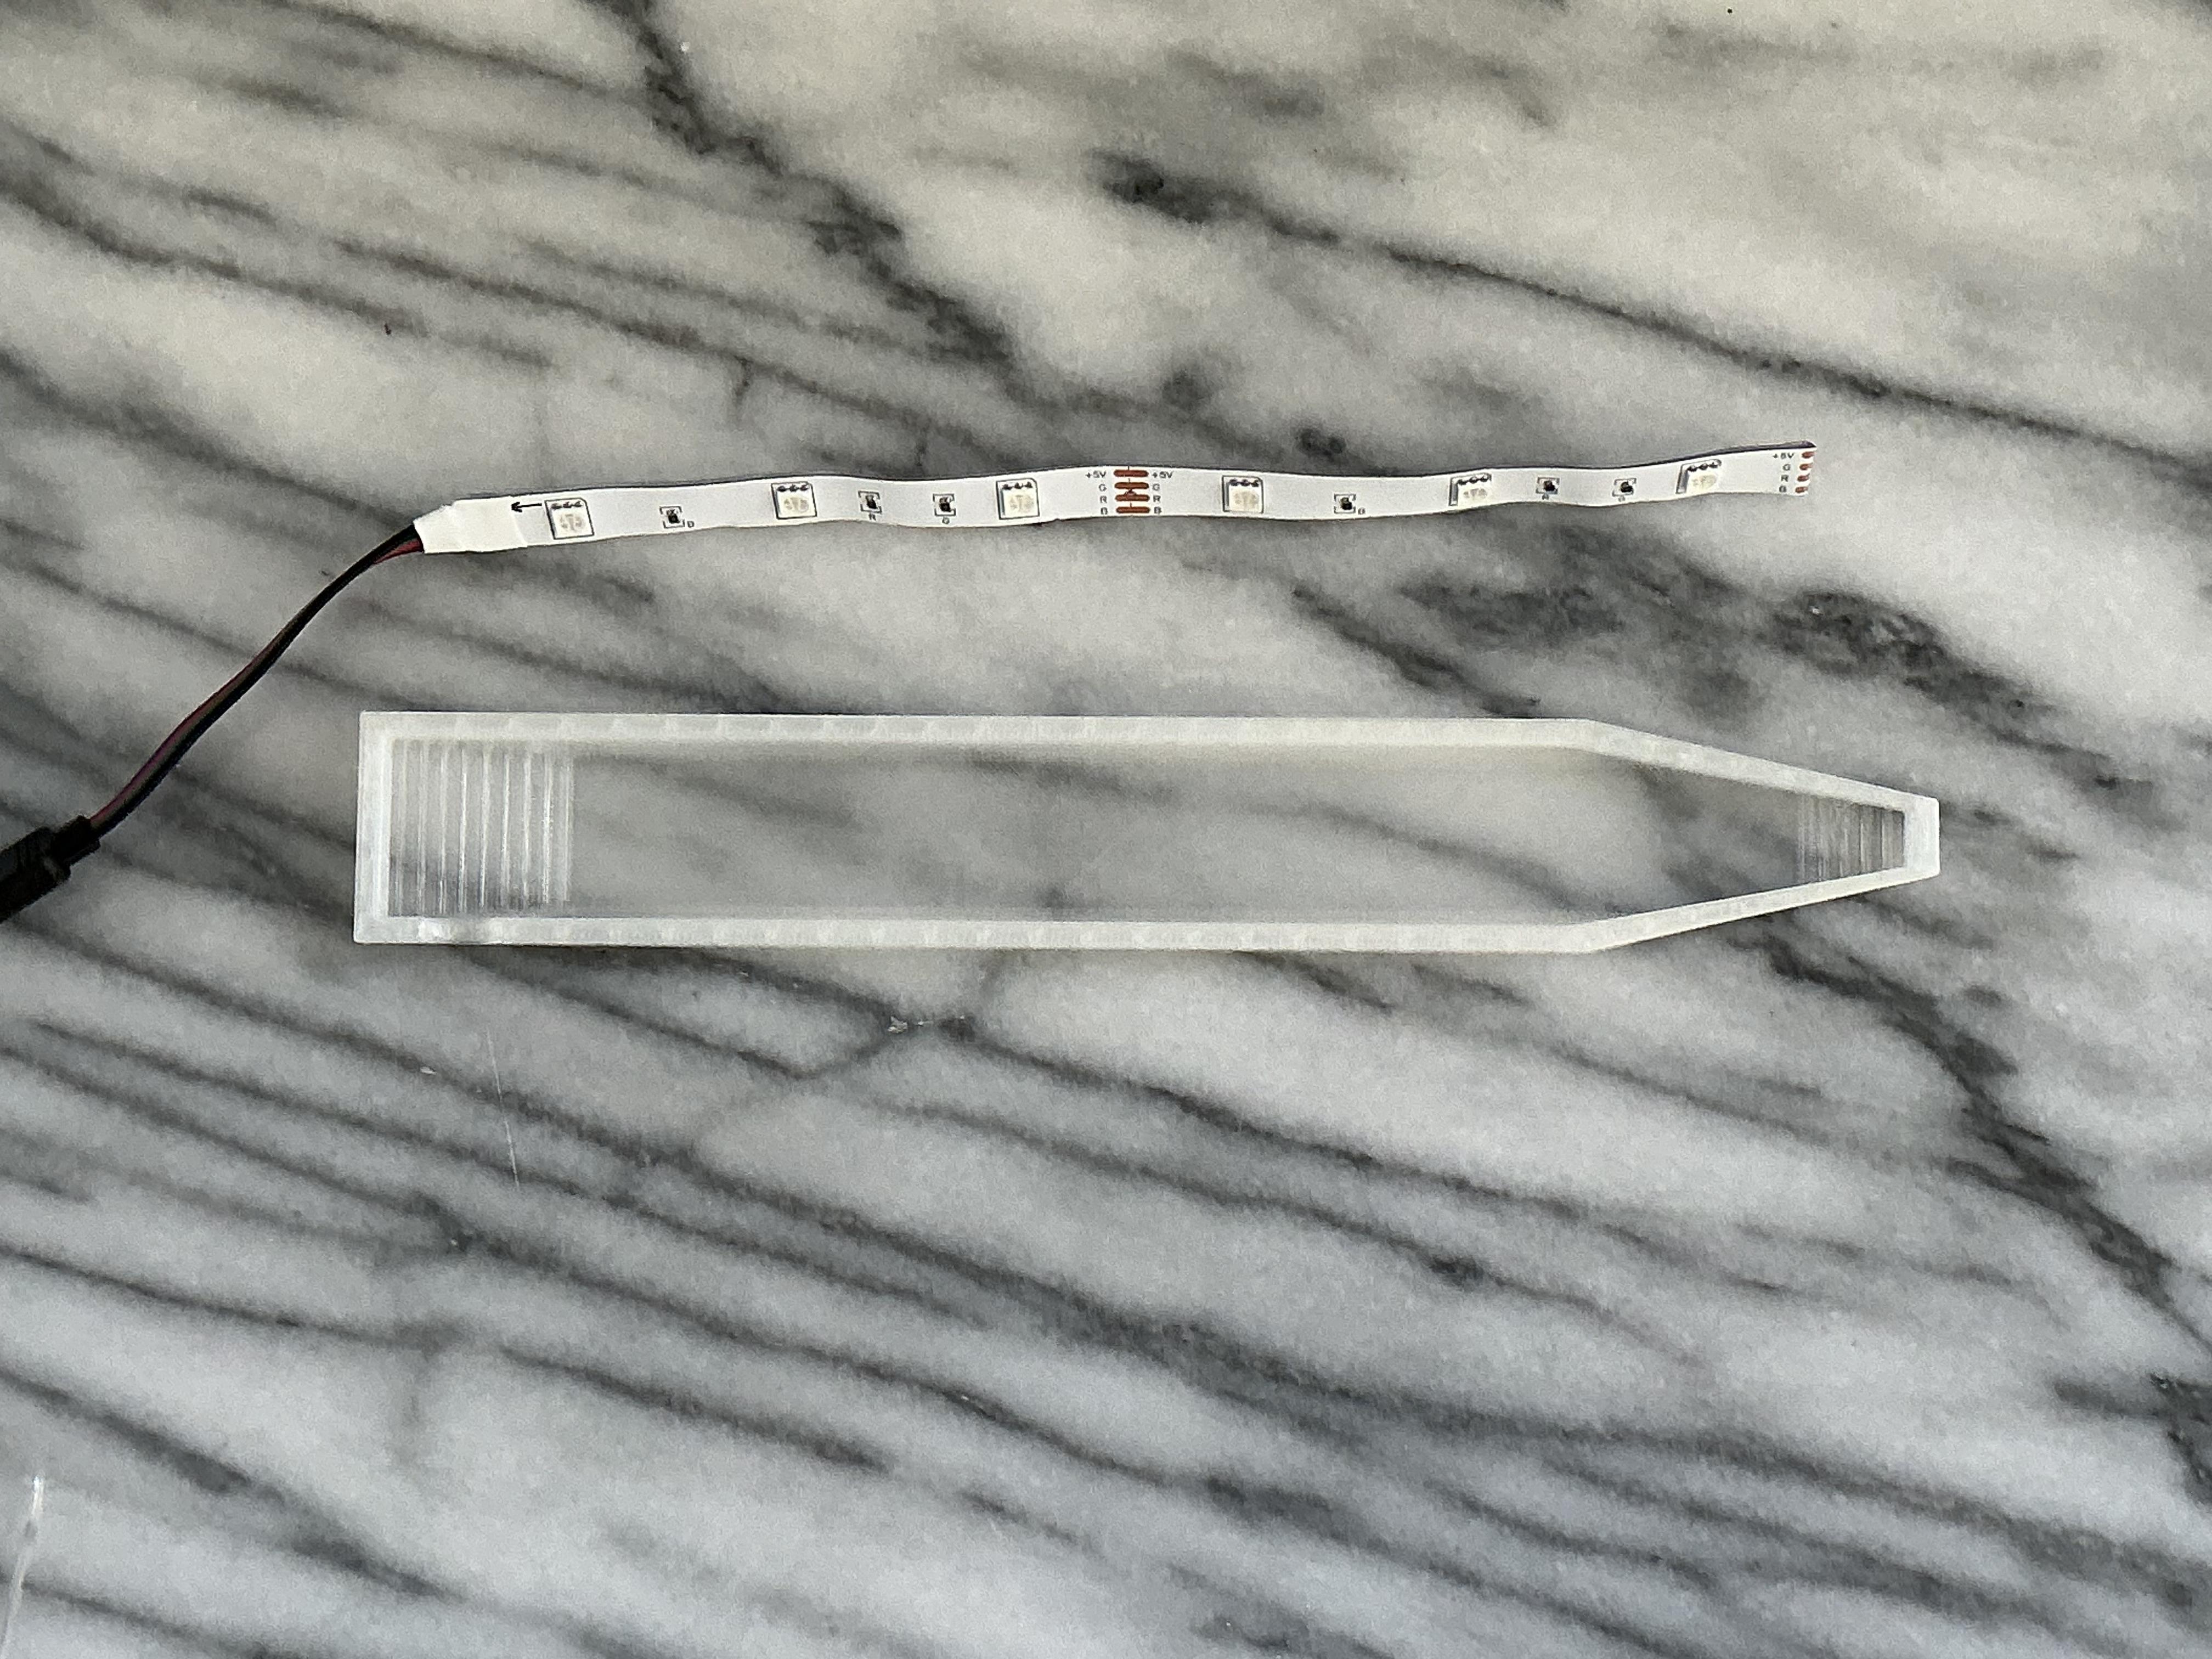
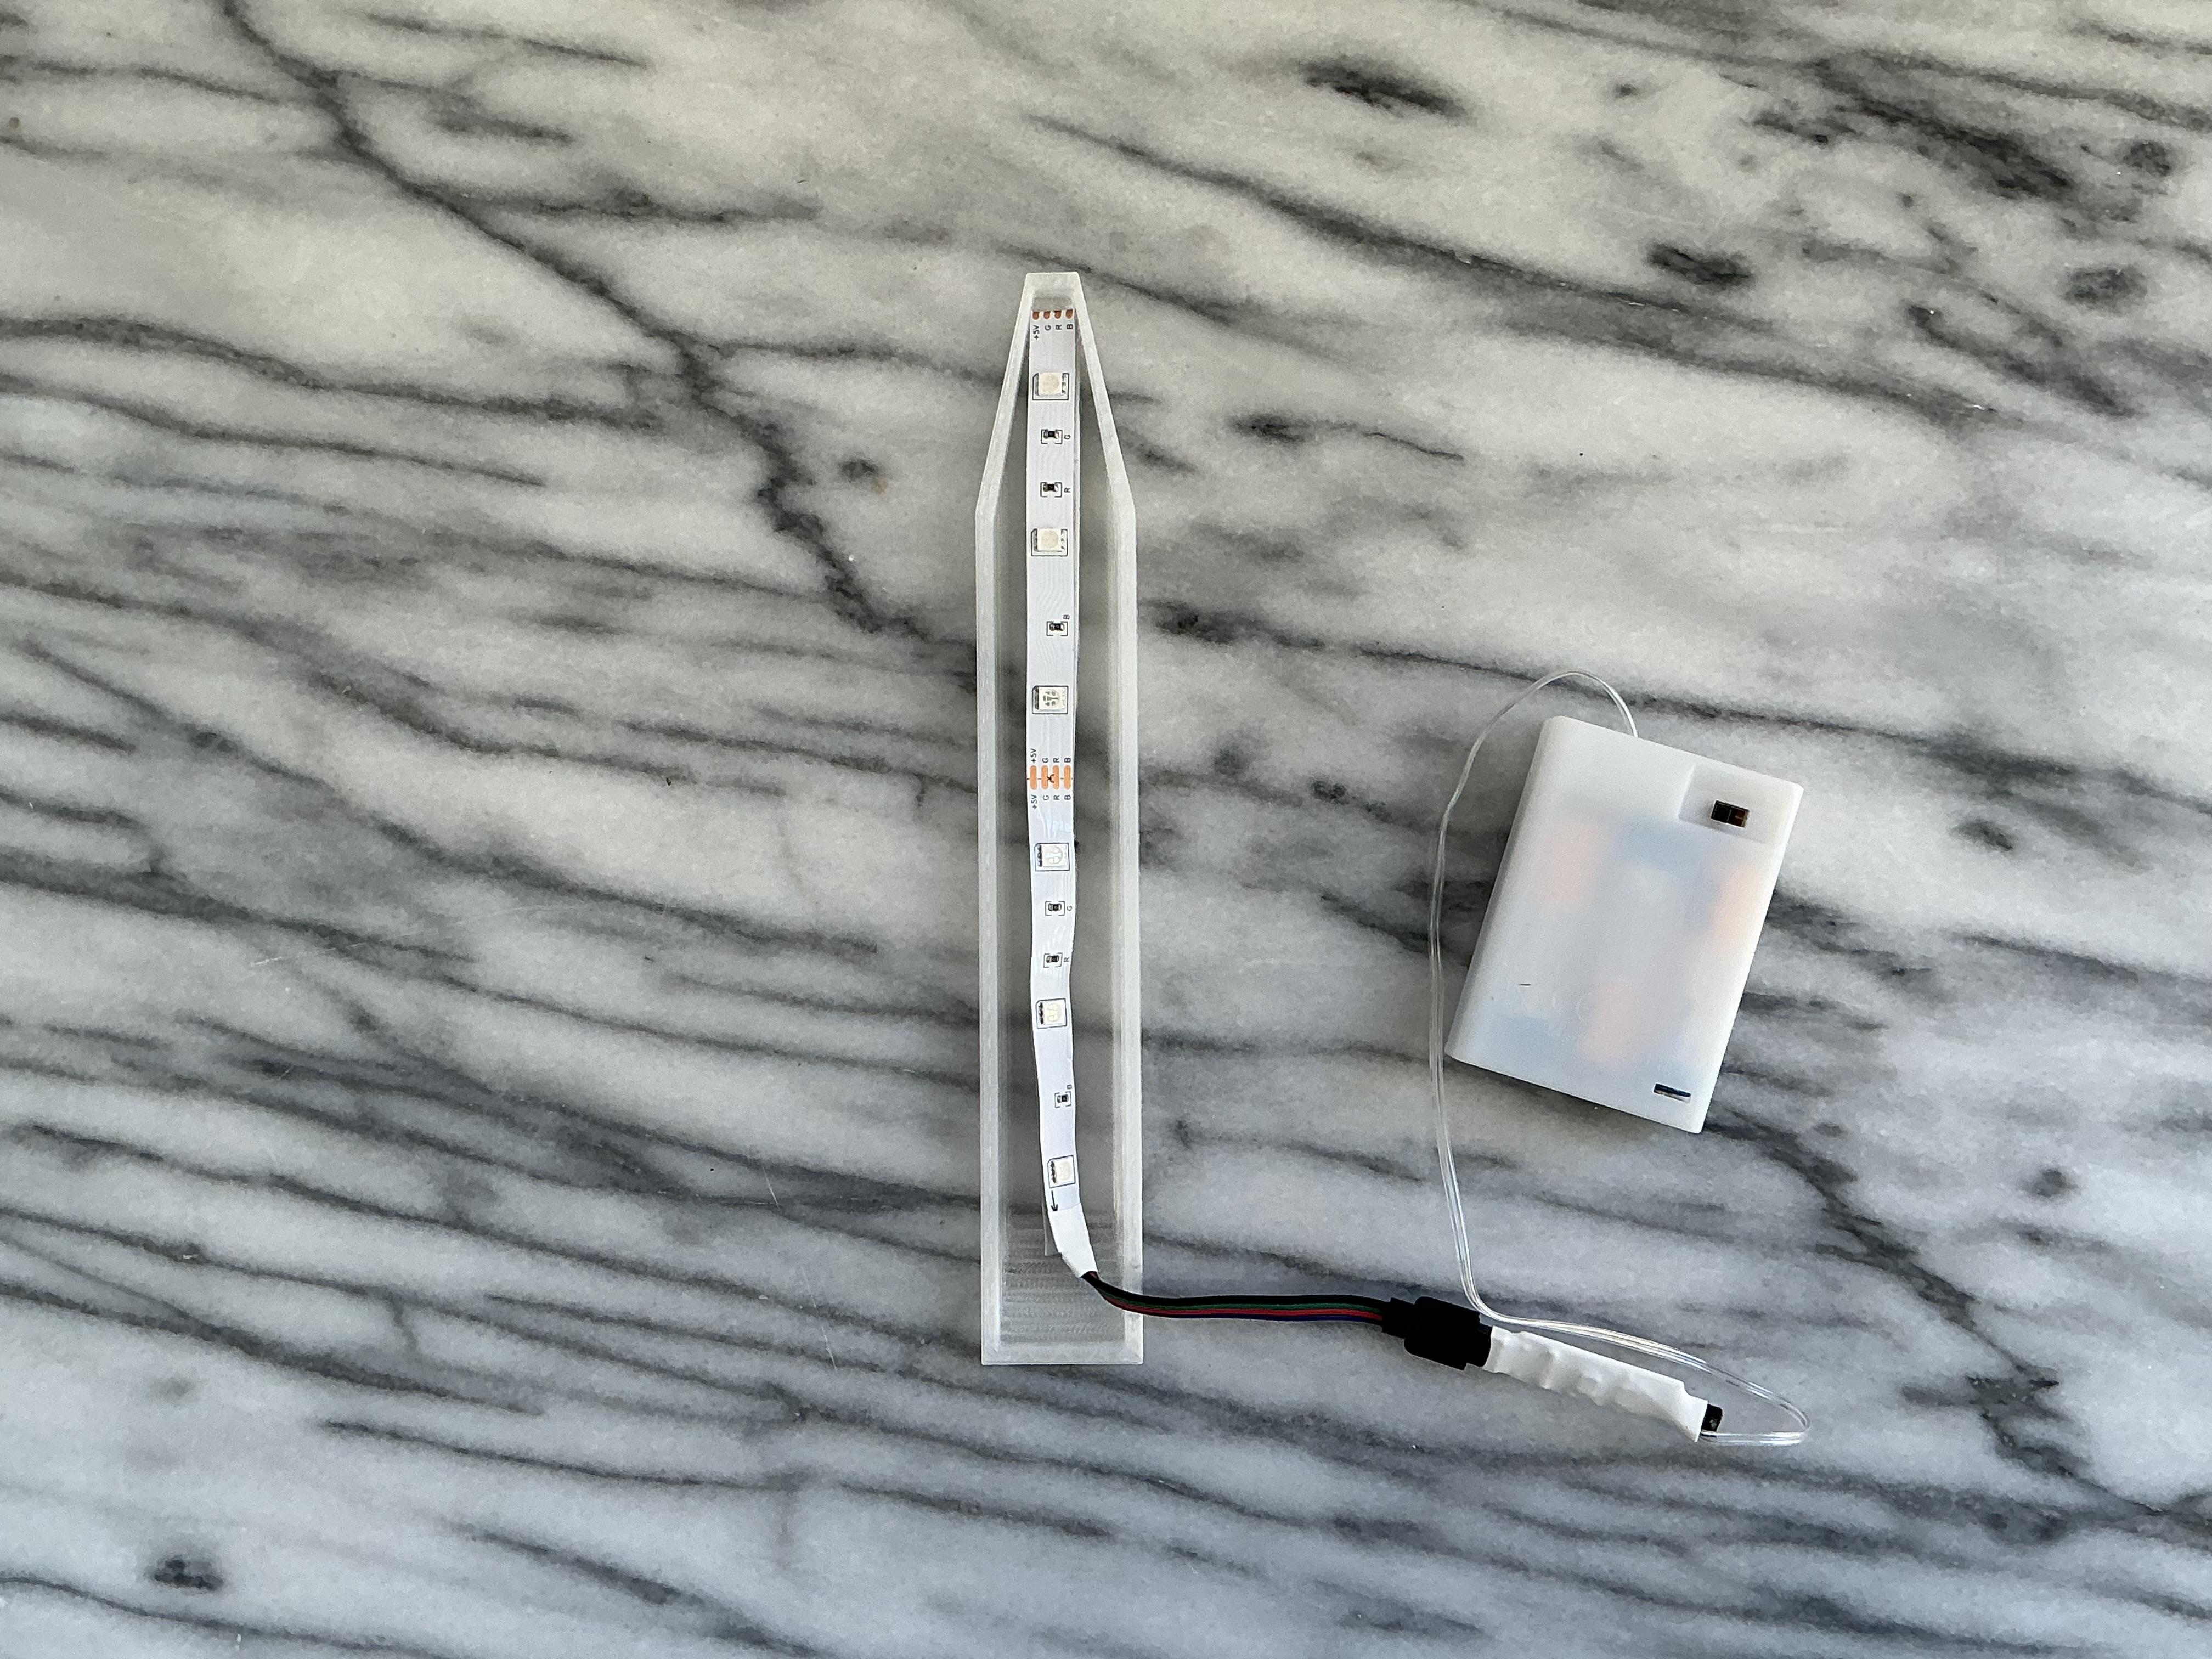
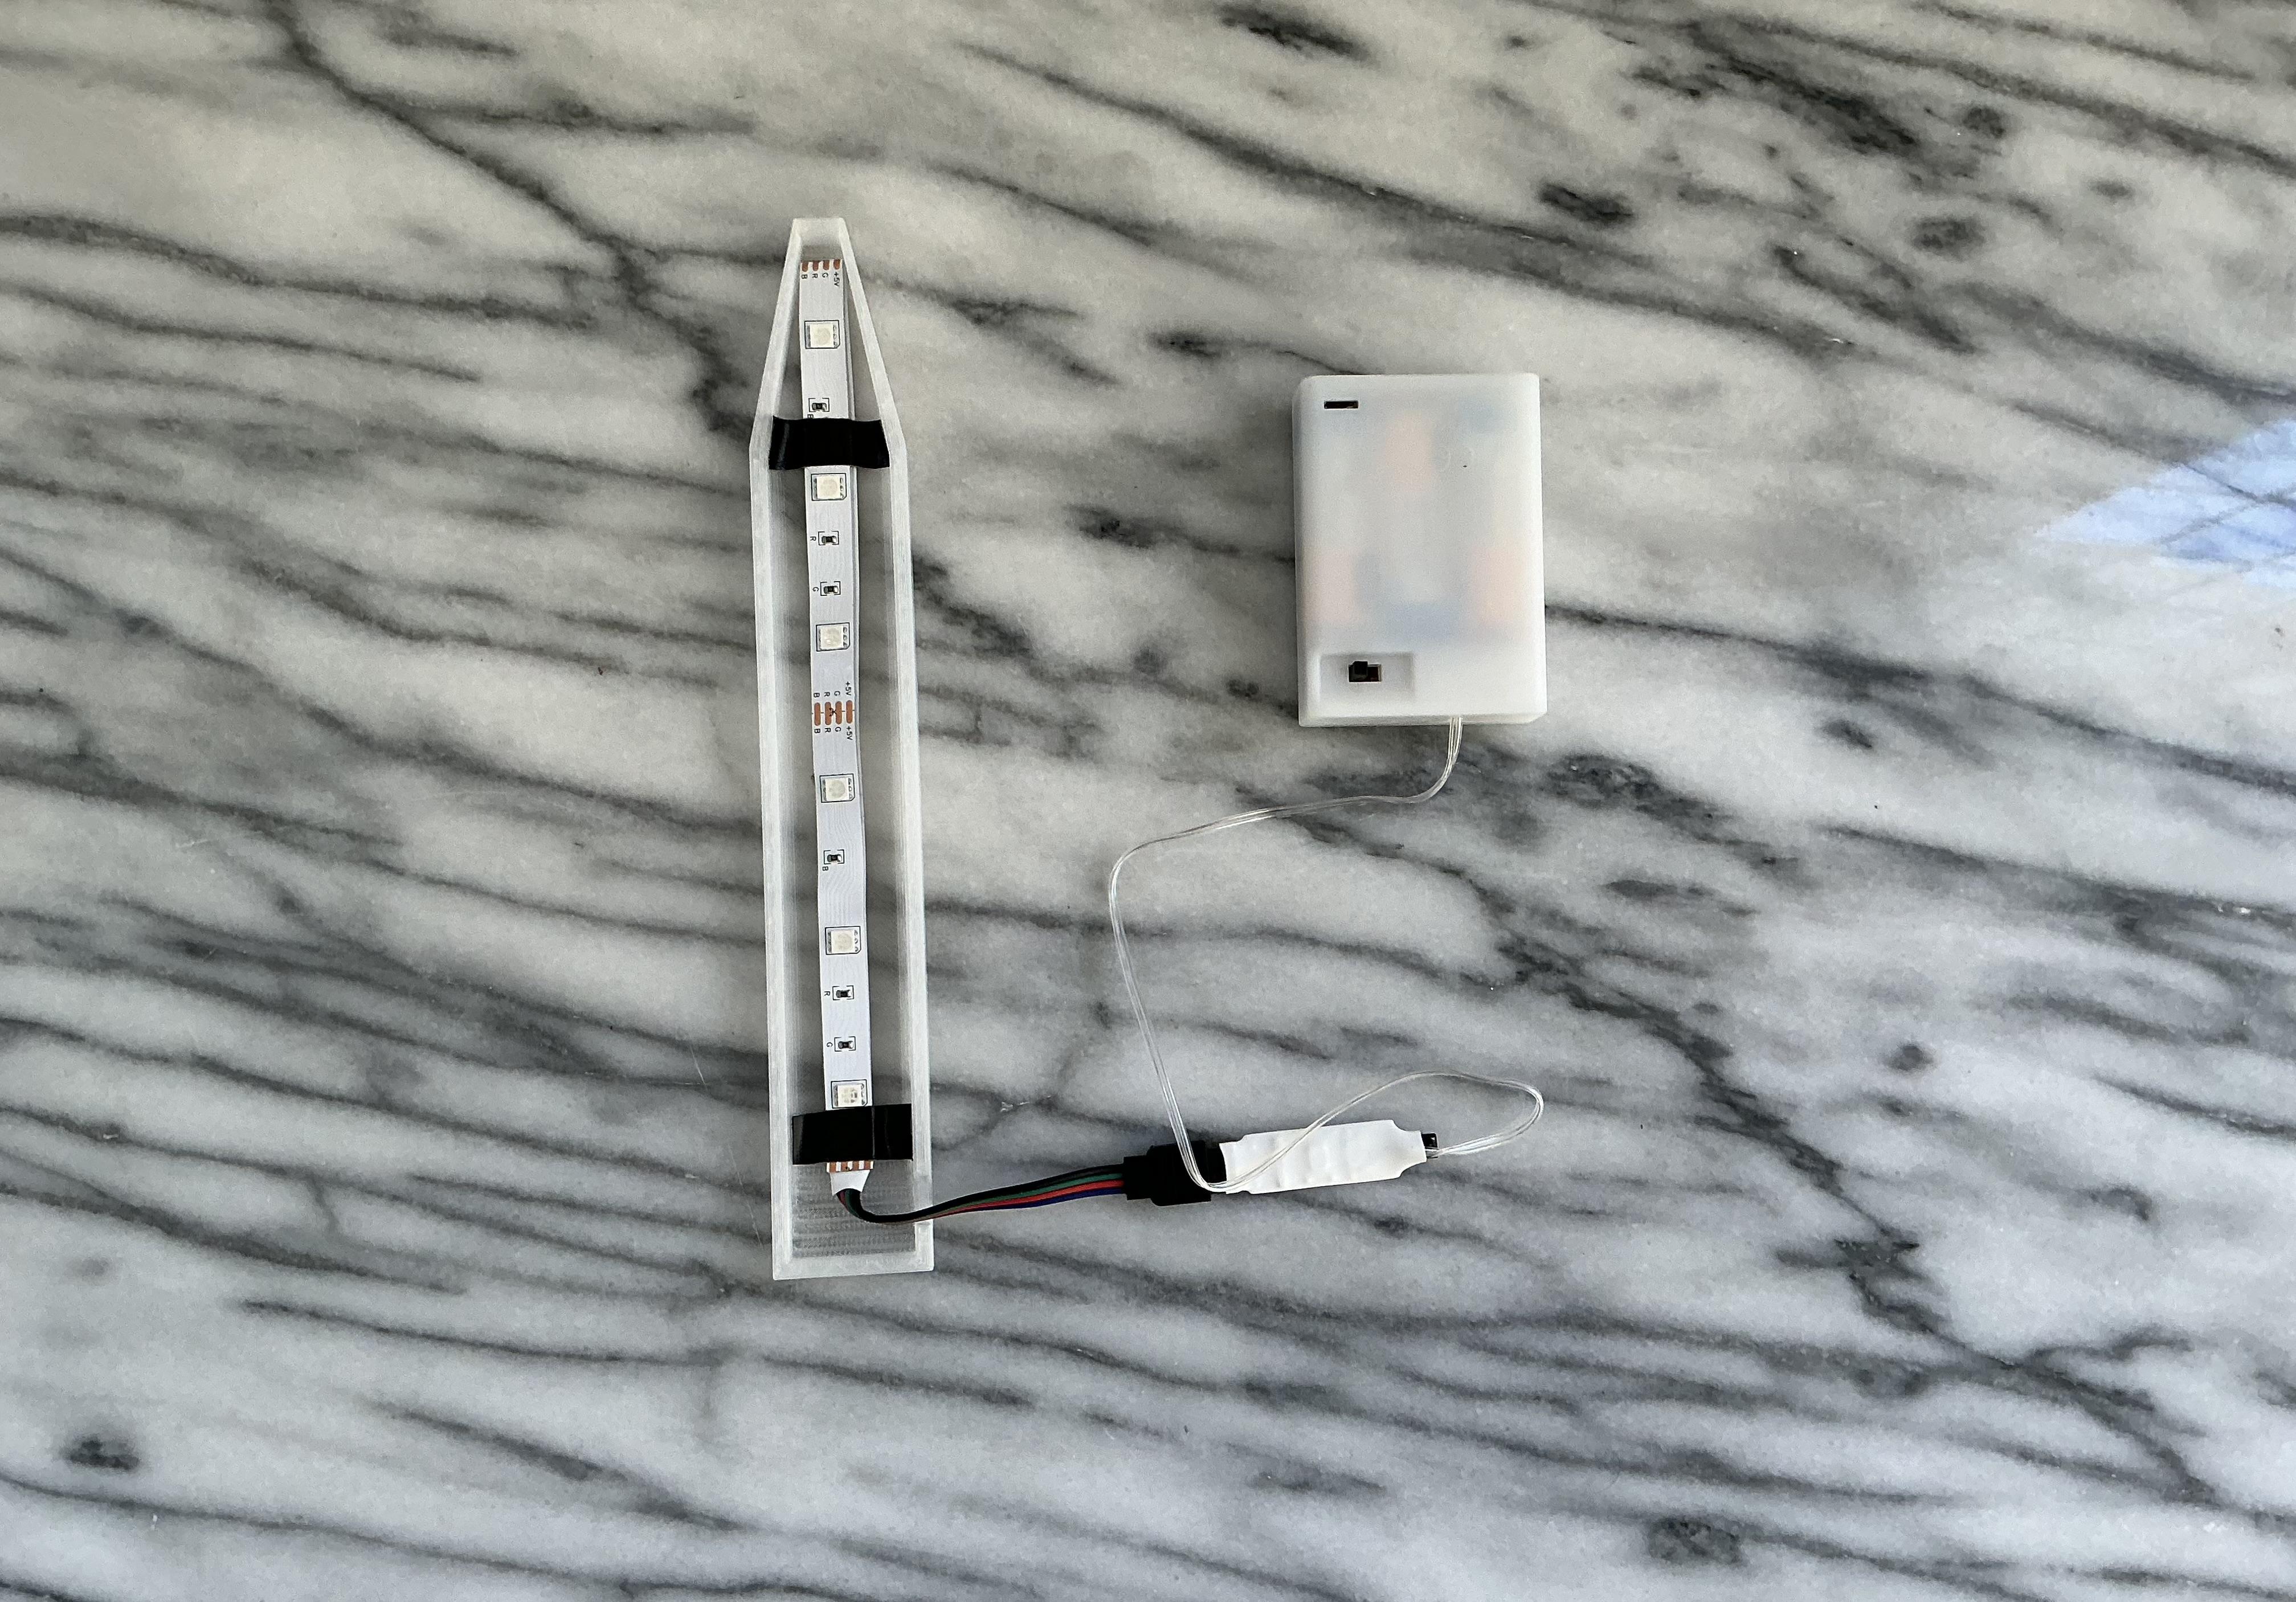
Preparing and installing the LEDs is relatively simple. Since the LED strip comes with an IR remote, an IR receiver, and a battery pack, this means that preparing the LED strip is very easy. I started by the putting batteries into the battery pack. Next, I cut the LED strip to about twice the length of the blade. I made sure to cut along the copper cut marks to ensure that the LED strip continued to work after cutting it. Next, I exposed the sticky side of the LED strip and fold the strip in half. After that, I placed the LED strip inside the blade and used small pieces of duct tape to secure it.
The Blade
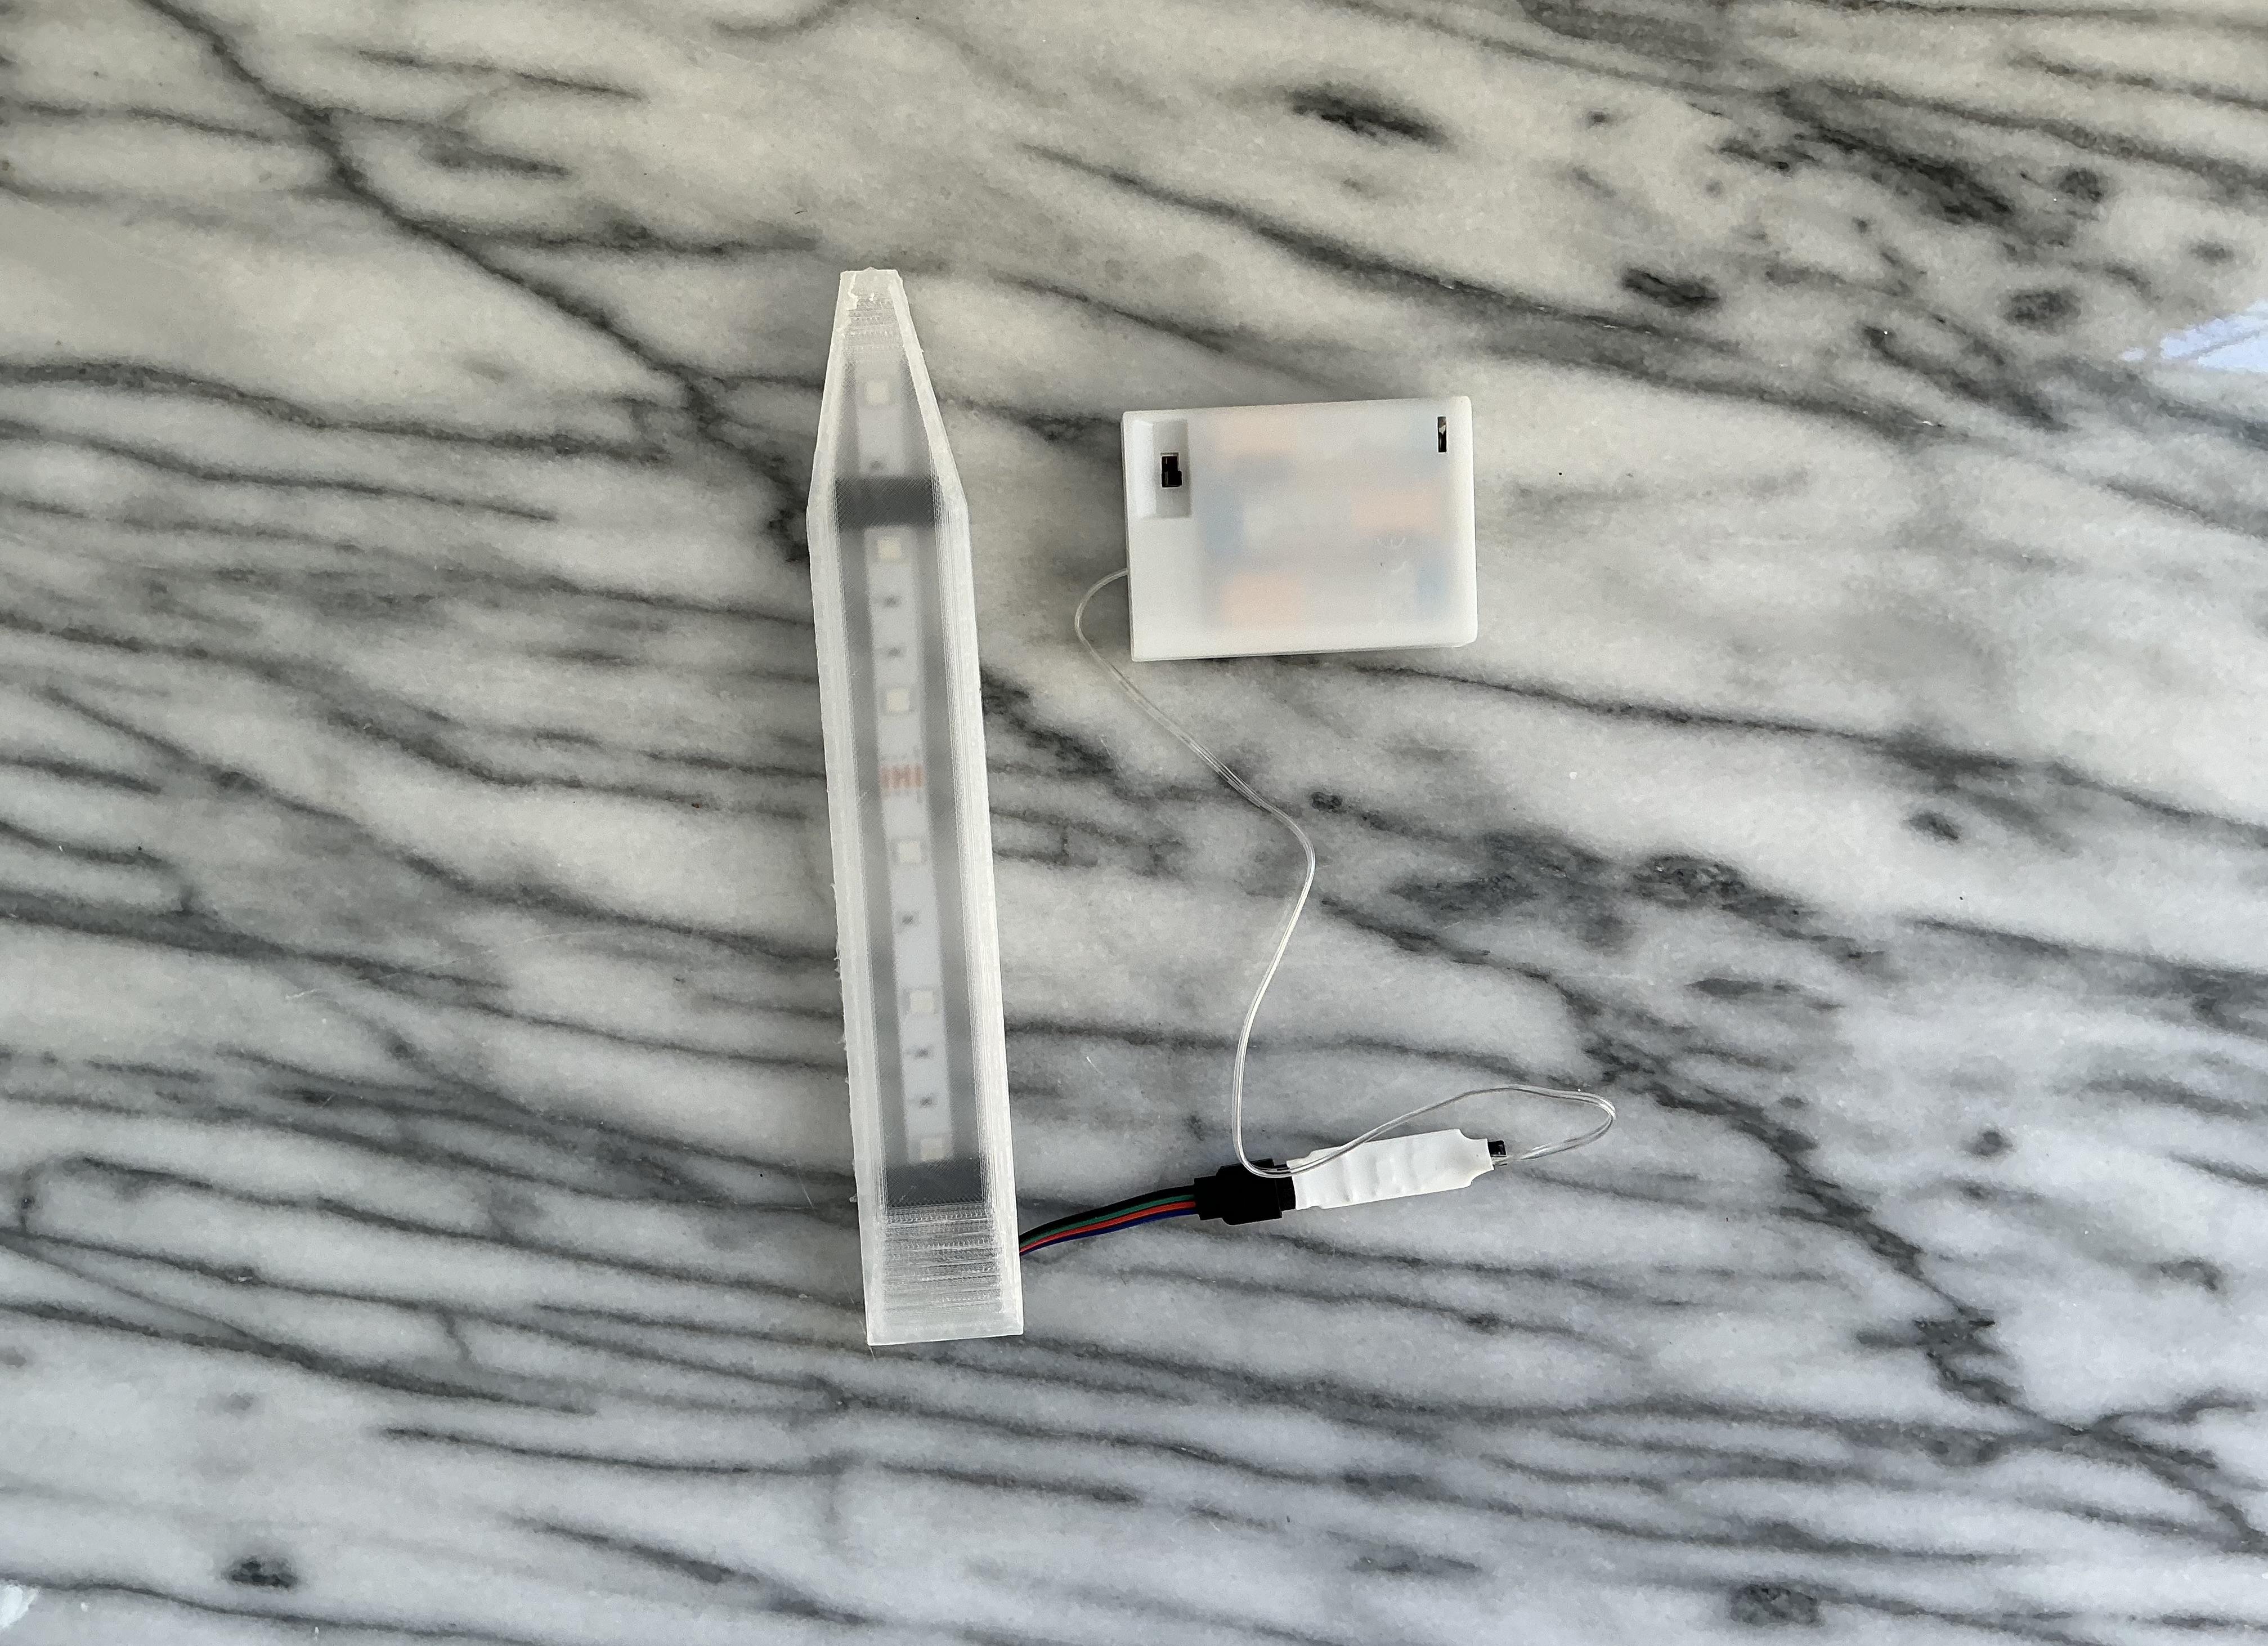
Next, I used hot glue to attach the top half of the blade to the bottom half. I made sure to thread the wires through the small hole in the side of the blade.
Attaching the Blade
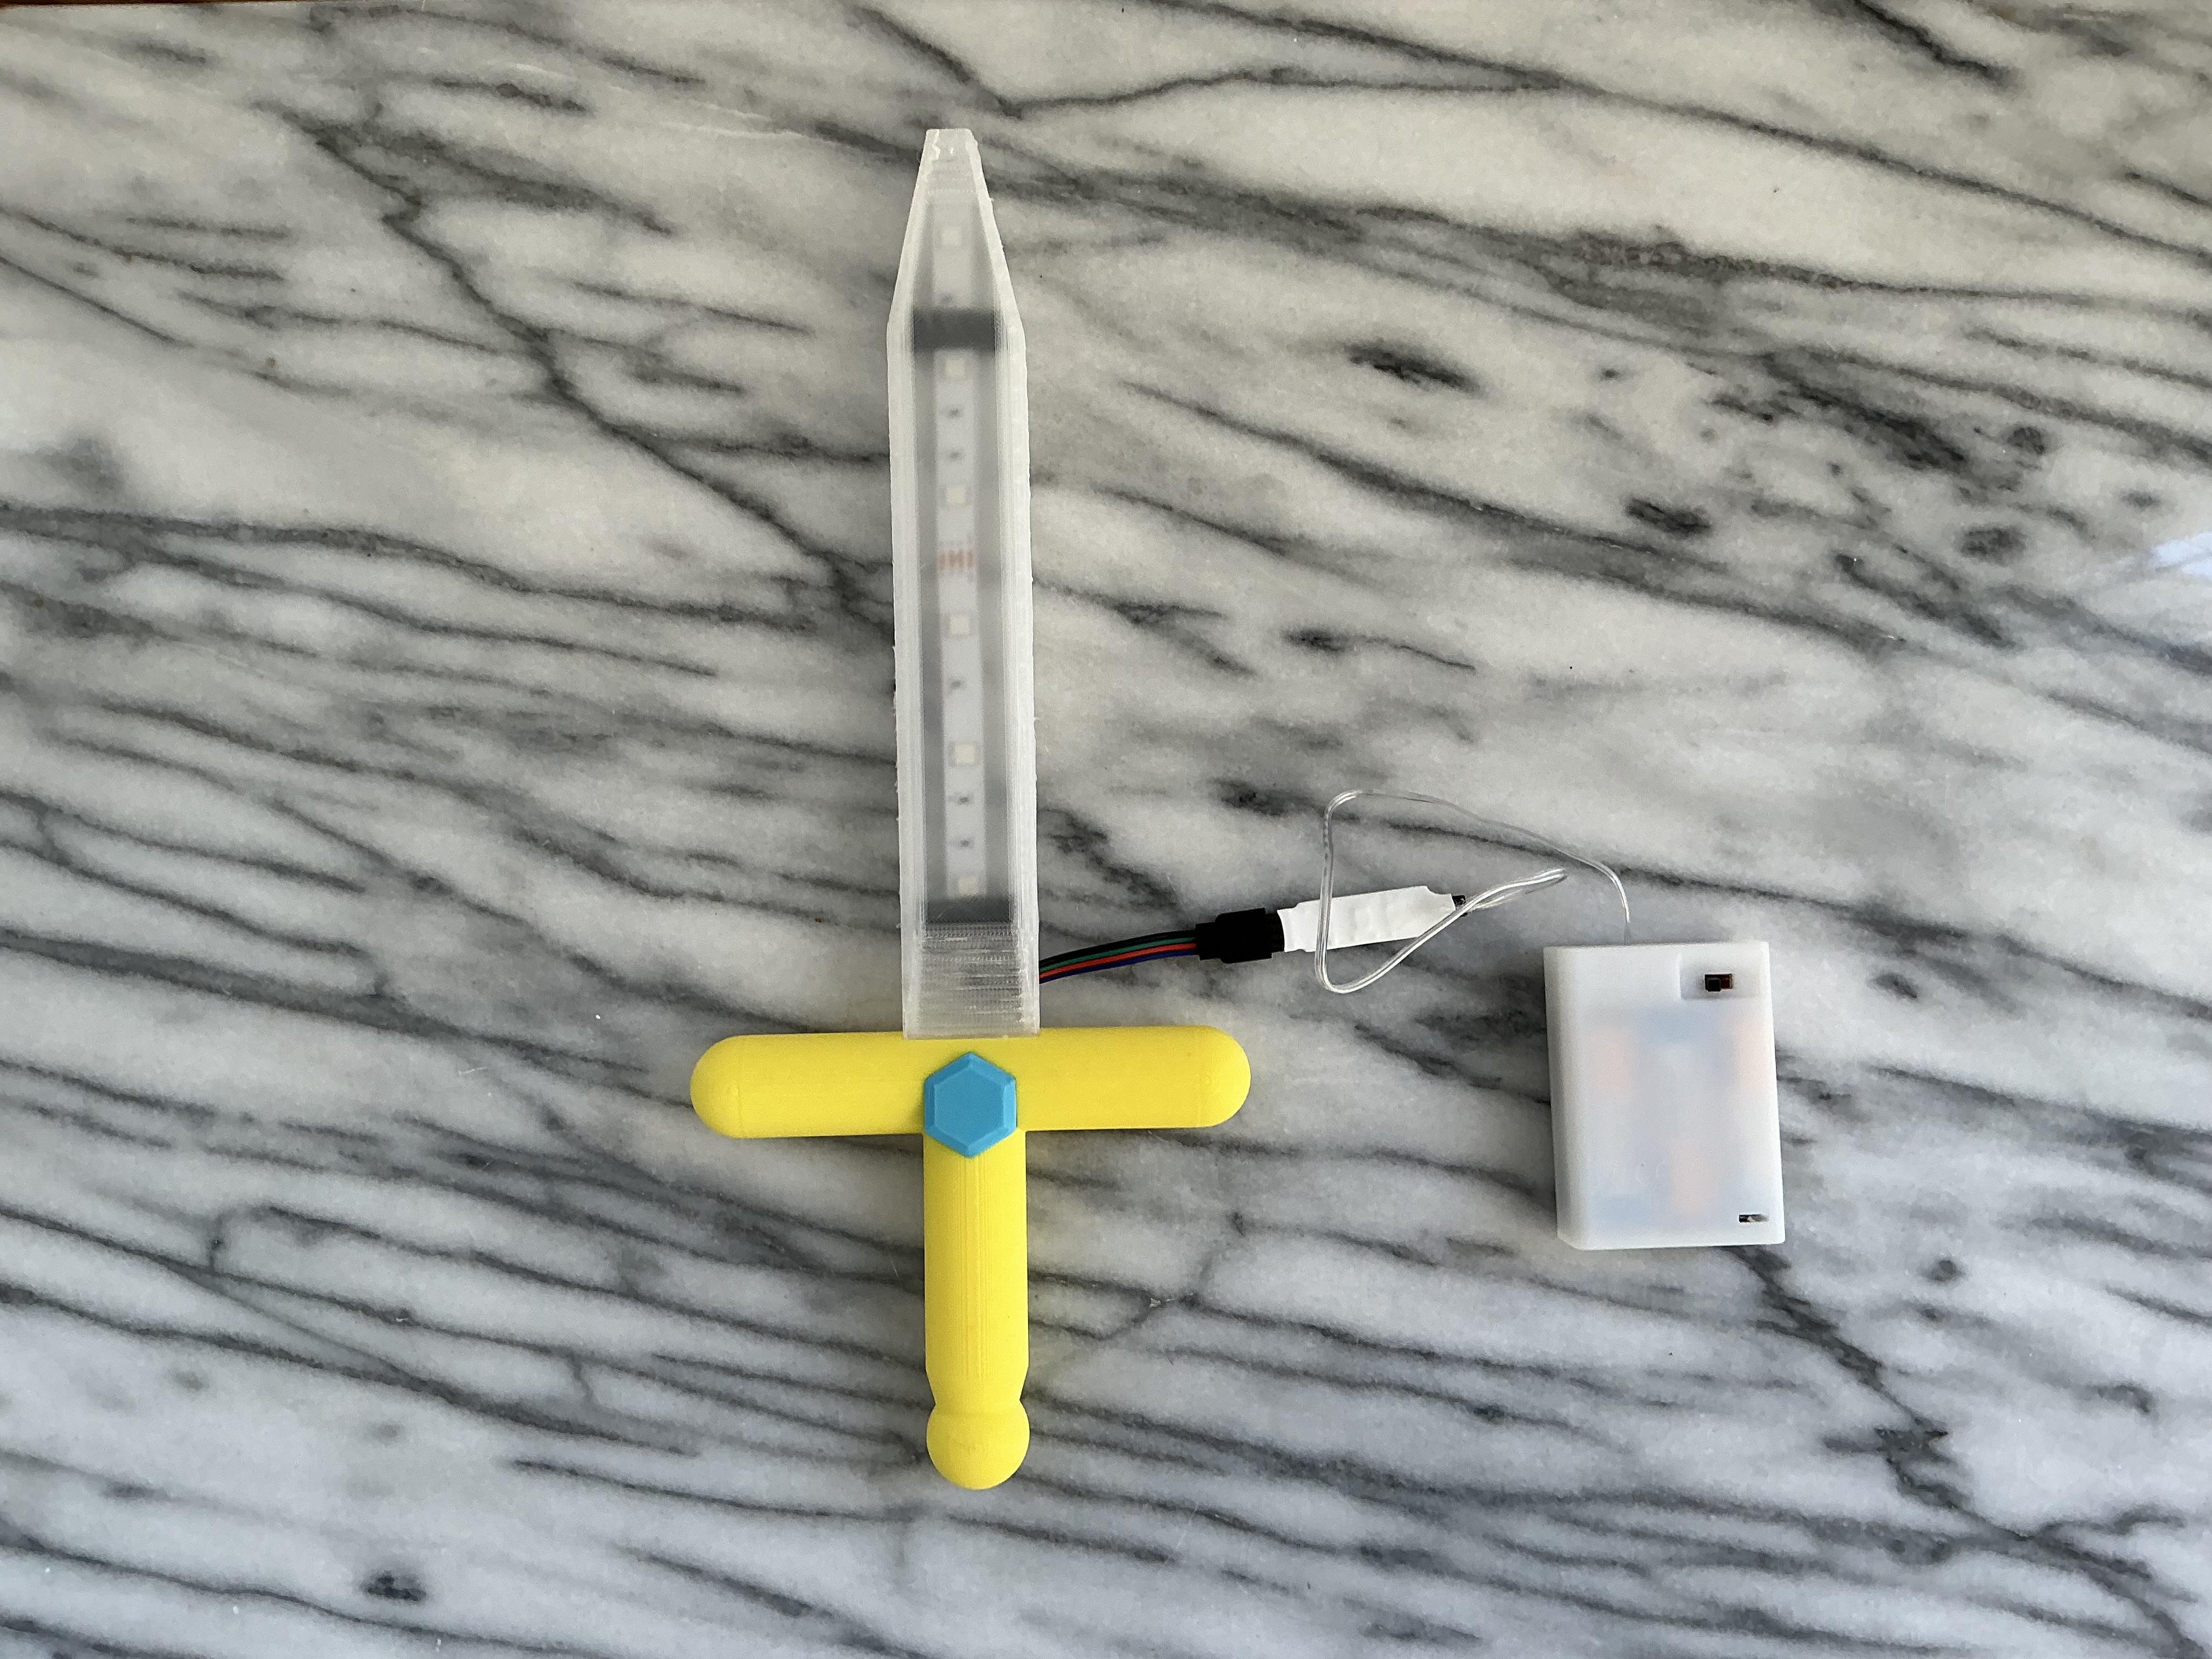
After that, I took the blade and slotted it into the cutout in the handle to secure it. I added a little hot glue to make sure the blade was well attached and to prevent the blade from breaking in the future.
Mounting the Battery and IR Reciever
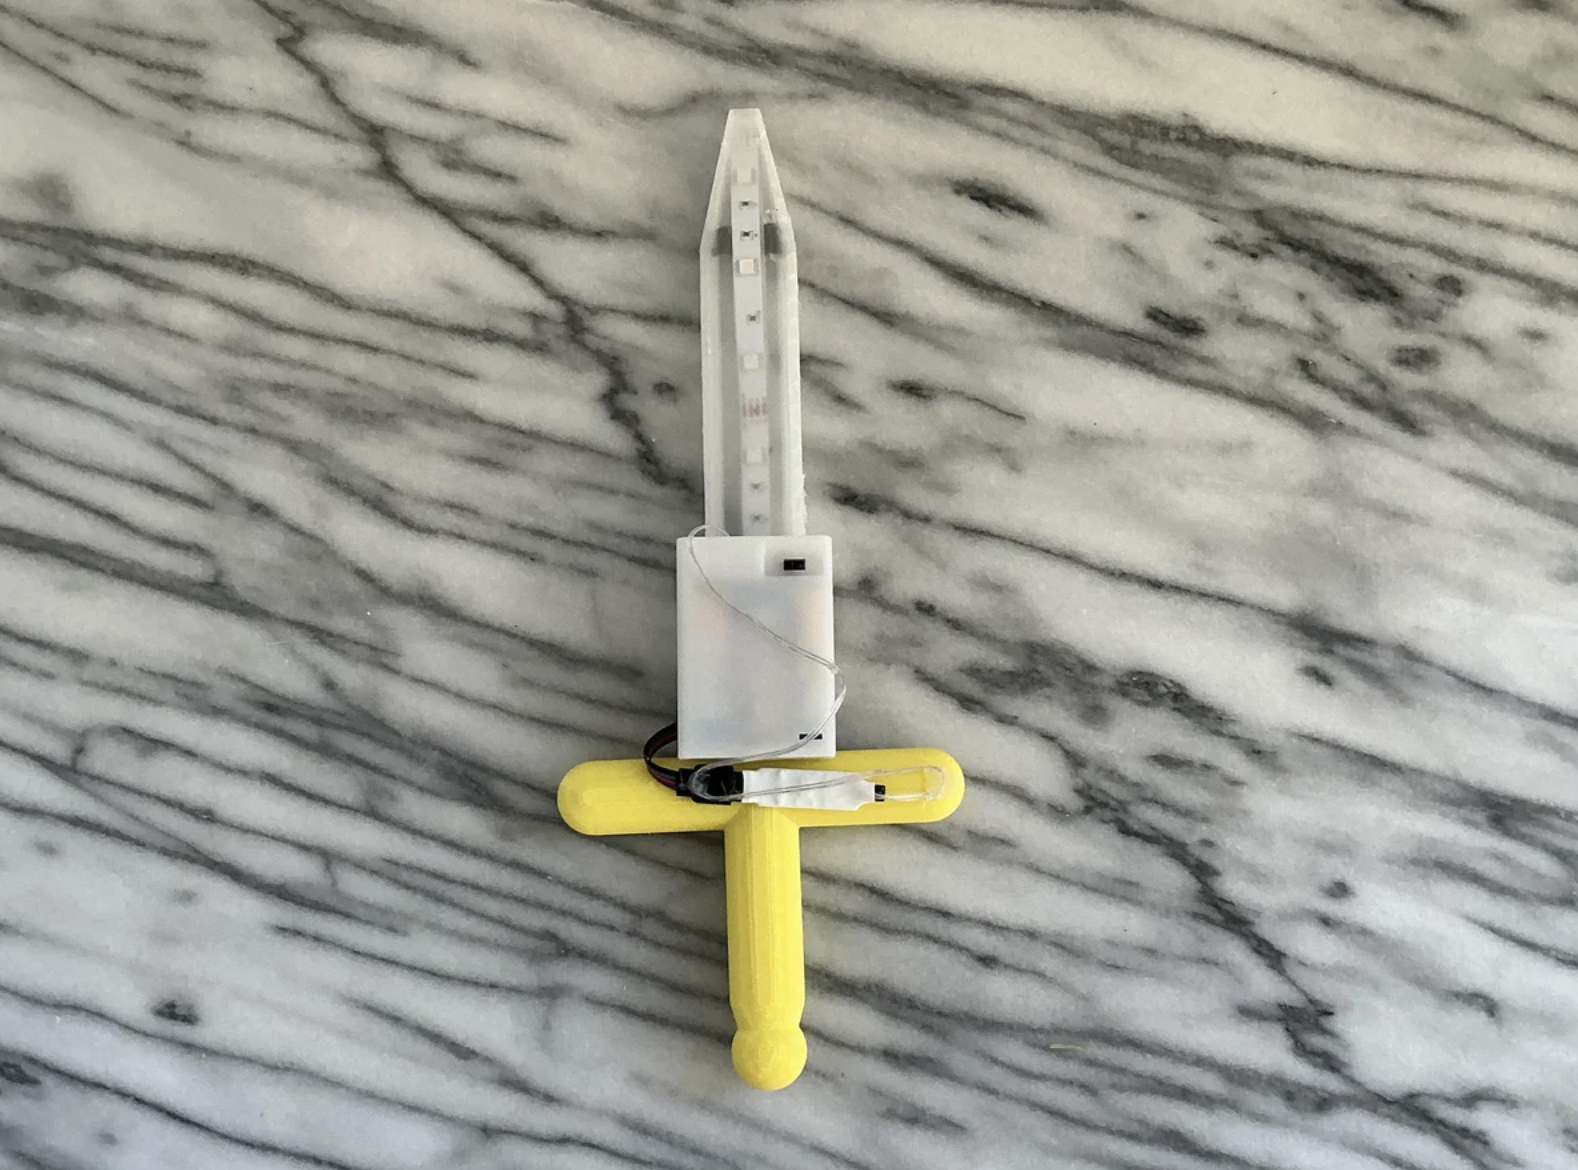
Next, I flipped the sword over and used a little hot glue to secure the battery to the bottom end of the blade. I made sure to add a decent amount of glue so that it wouldn't fall off. I then glued the wires and the IR receiver to the hilt for a cleaner look. To do this, I took the IR receiver and glued it to the guard, and then I used smaller dots of hot glue to glue the wires down and make it so that the wires could not be seen from the other side.
The Final Product
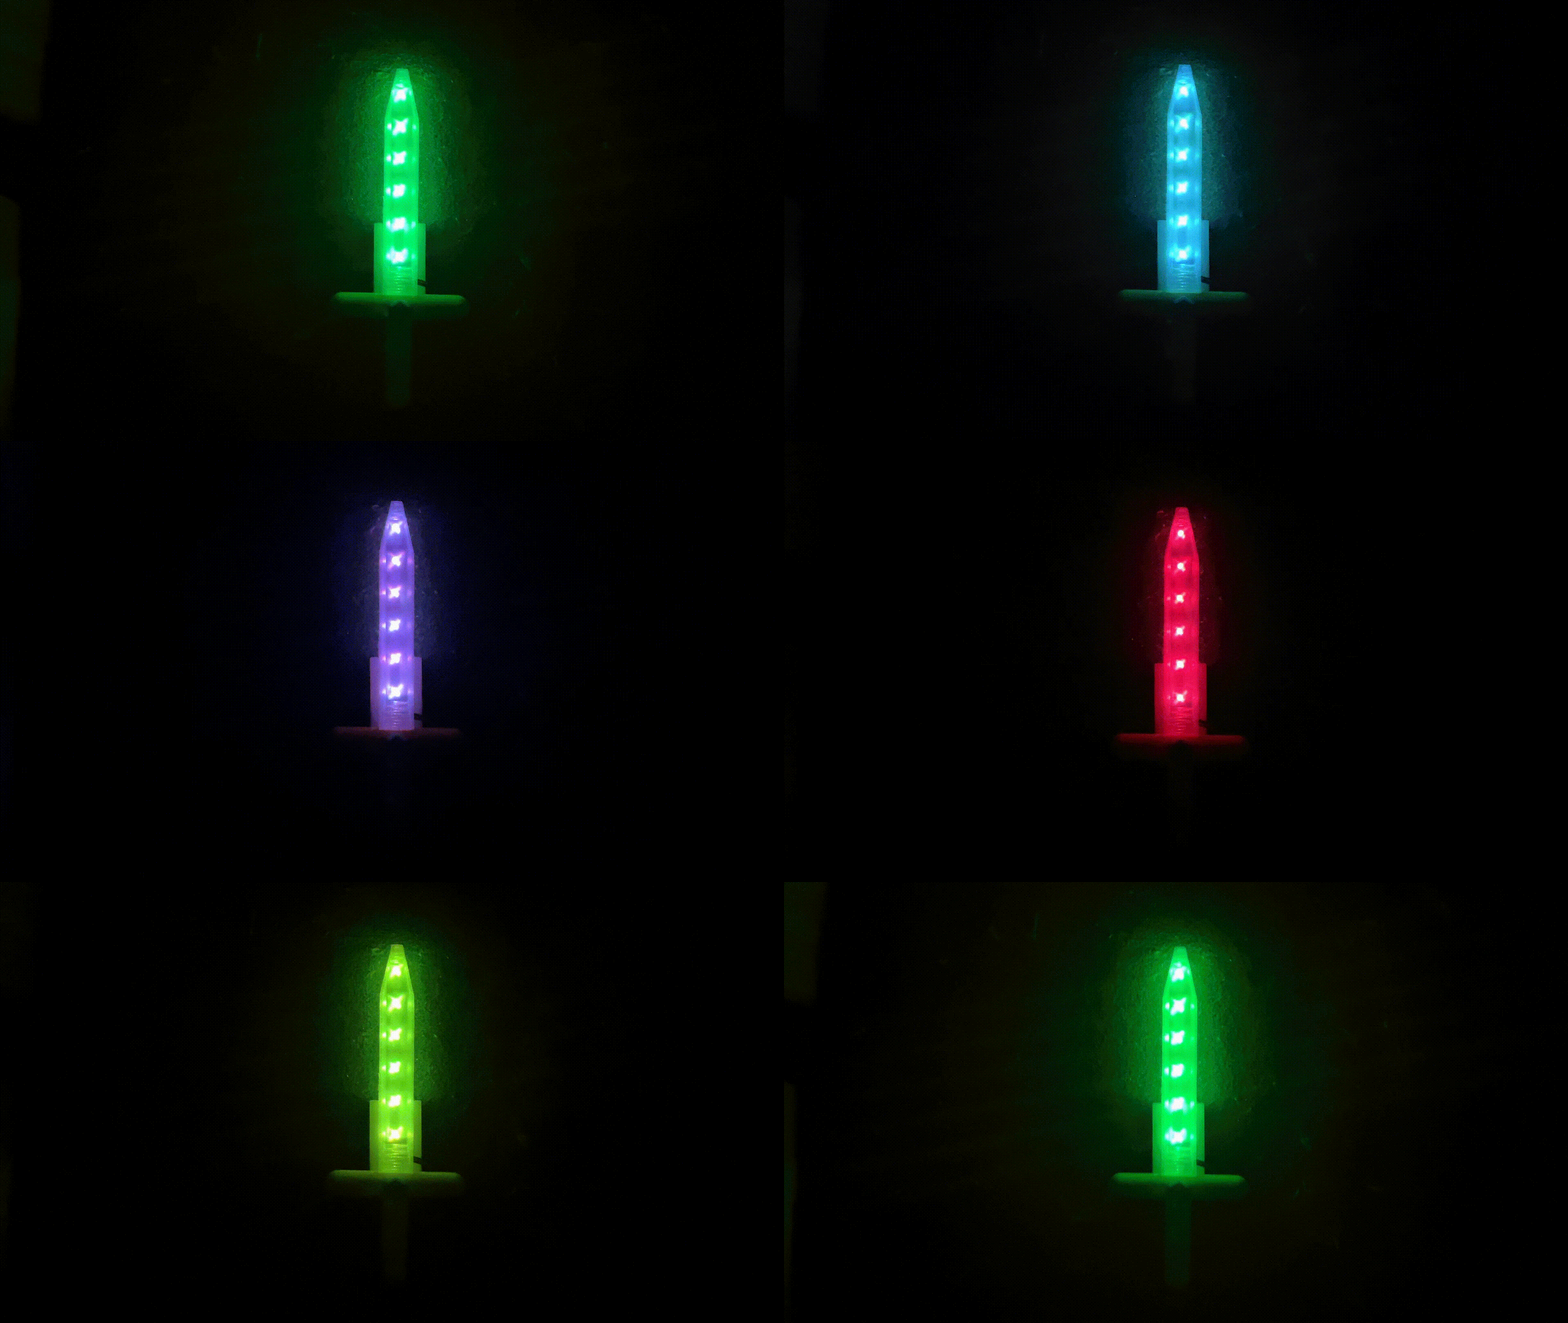.gif)
Congratulations on completing your 3D-printed LED sword with IR color control! By following this Instructables, you’ve not only created a stunning piece, but also gained hands-on experience with 3D printing and electronics.
The combination of a 3D-printed hilt and blade, coupled with the dynamic color control via the IR remote, makes this project a fantastic example of how technology can enhance both functionality and aesthetics. Whether you're a fan of cosplay, a gadget enthusiast, or simply enjoy creating unique projects, this LED sword is sure to impress.