3D Printed Keychain

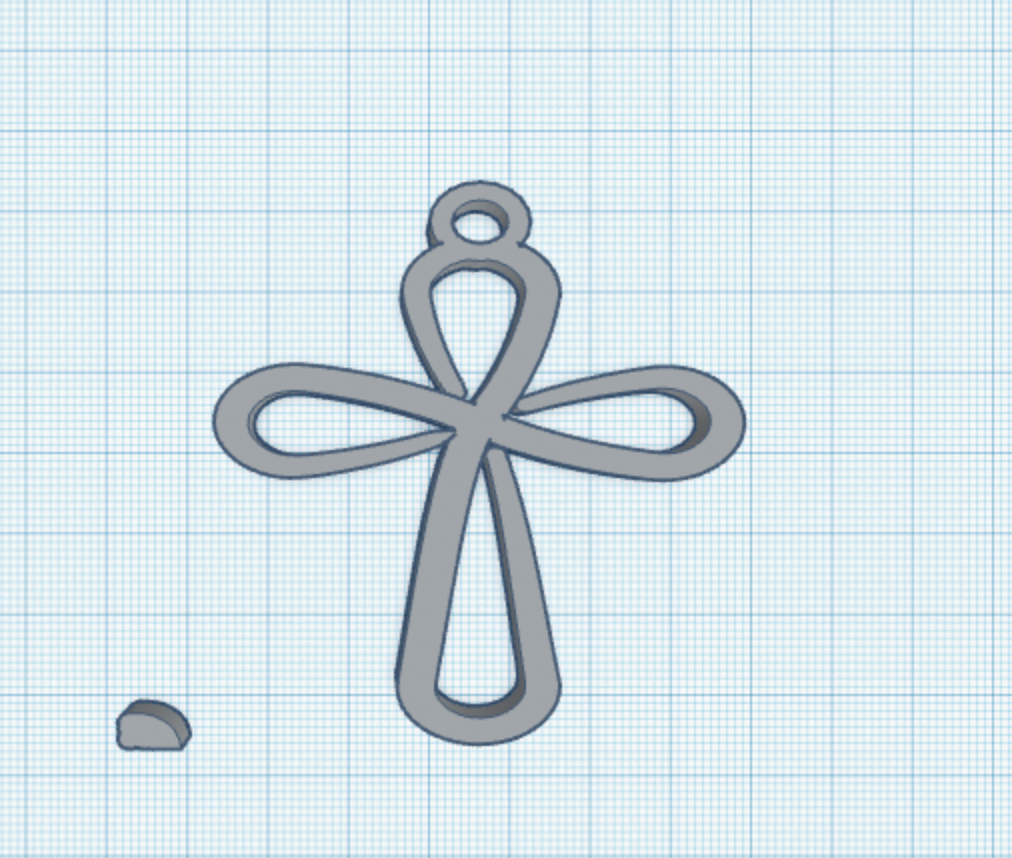
I made a keychain for my mom Kari. I made her a keychain because she told me she recently lost hers and she liked the idea of me being able to make her a new one for my school project.
Supplies
-Inkscape
-Tinkercad
-PrusaSlicer
-3D printmaker
Making Prototypes
Find the design you would like to print. Take a screenshot or draw out prototypes.
Inkscape

- Open up a new Inkscape document
- Click on File → Import and find the image that you would like to modify.
- Select the image and click on Path → Trace Bitmap.
- In the box that appears on the right, select “Brightness Cutoff” and click the Update button.
- A smaller image should appear to the right, if it looks good, click the Apply button.
- Drag the new image away from the original image.
- Delete the original image.
- Click on Object → Fill and Stroke
- In the box on the right, click the Fill tab and then the “x” just below it, this will hide the filled in portion of your vector image.
- Click the Stroke paint tab.
- Click the blue box (next to the “x”) just below it, this will show the traced outline.
- Click File → Save As and make sure the .svg file type is selected.
Tinkercad

- Import file to tinkercad
- Adjust the size (to the size you want it to be)
- Add extra shapes (only if needed)
- Save file
PrusaSlicer

- Export file
- Save as STL.
- Click the link and it will take you to PrusaSlicer
- Adjust how you will like your product
- Press "Slice now" once satisfied
Send Project to Teacher/person
Send your project to a teacher or someone who has access to a 3D printer