3D Printed Hourglass
by Josaphat_Prime in Workshop > 3D Printing
1349 Views, 17 Favorites, 0 Comments
3D Printed Hourglass
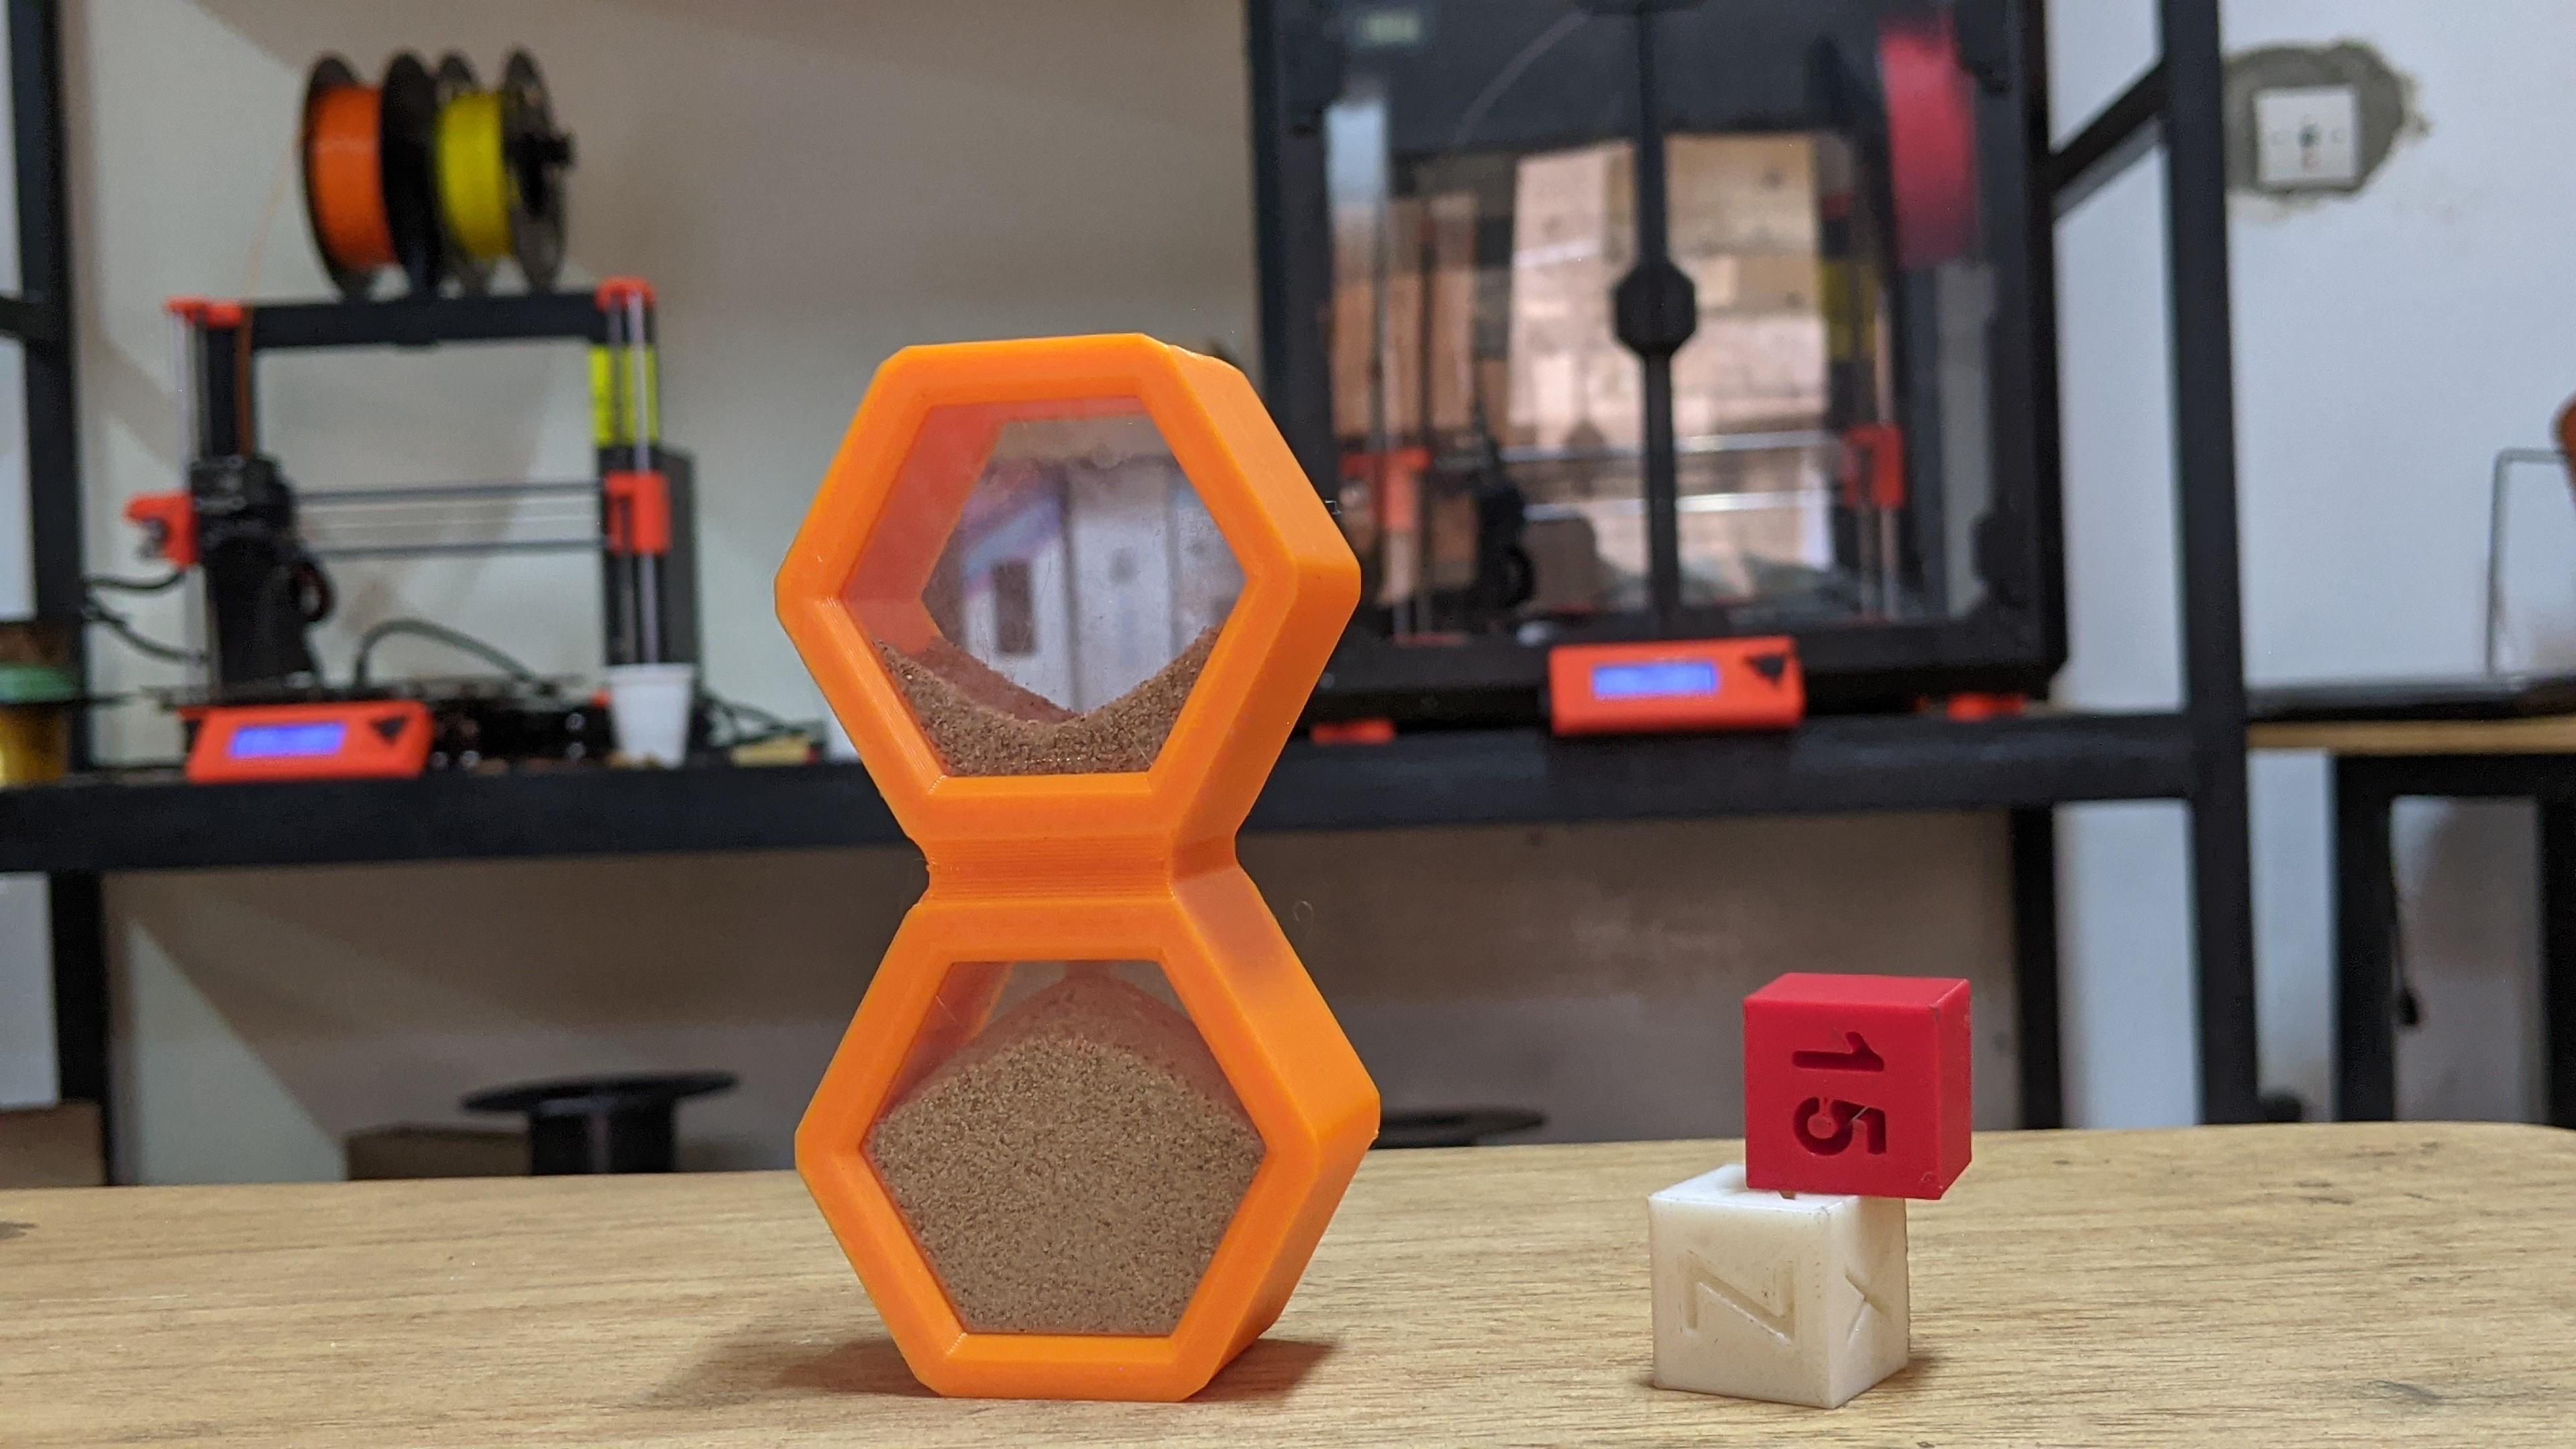

For many people, going back in "time" is an impossible thing ;). But yet, with 3D printing, we can go beyond and even print time (no, I'm kidding). In the world of 3D printing, even the most familiar objects can be transformed into something new and surprising. Today I invite you to dive into the mysterious world of the 3D printed hourglass.
For this project knowing how to use a 3D printer, a laser engraver or a "CNC" would be a great asset but not necessarily necessary :).
Supplies
for supplies we need :
- 1 small cup of sand
- a sieve
- filament of your choice (PLA for me)
- a 2mm thick acrylic sheet of 150x100 mm
- tweezers
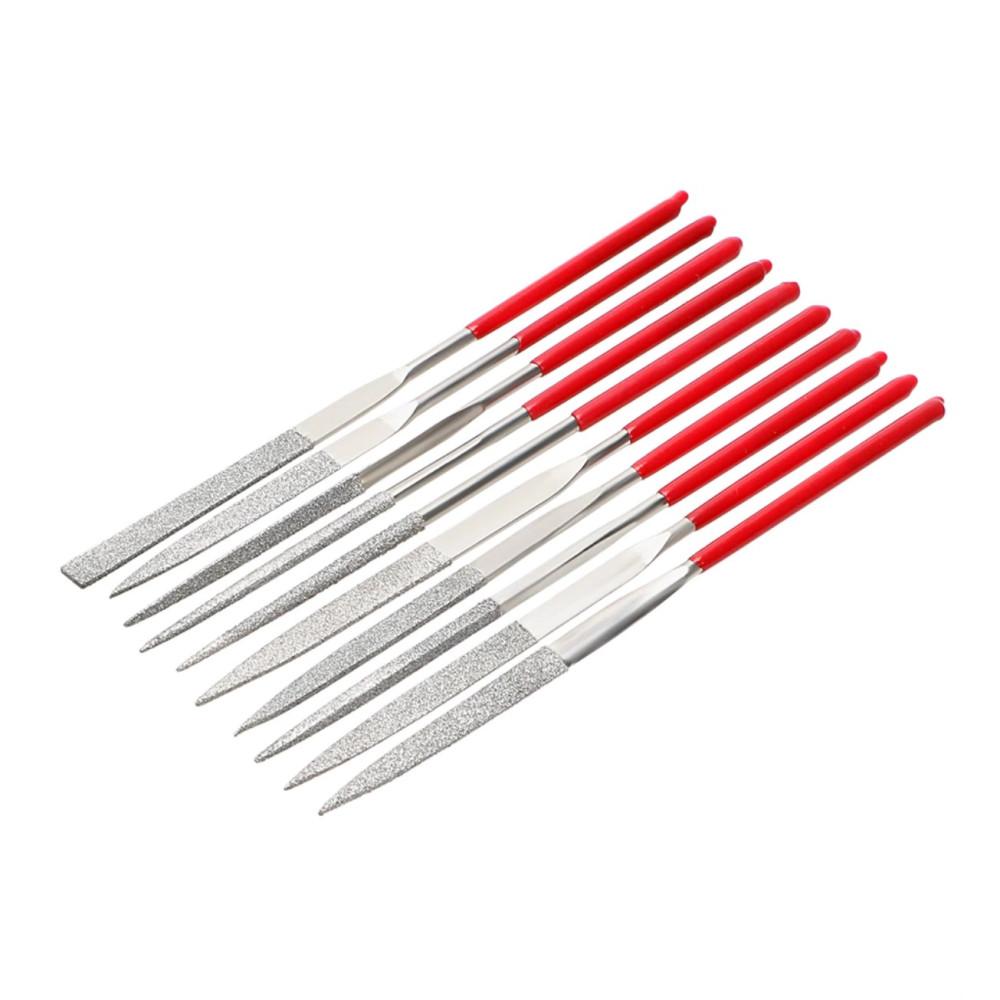
- files for grinding
for machines we need :
- 3D printer
- laser engraver cutter or cnc machines
Understand How It Works
Before continuing, it is important to understand how this hourglass works.
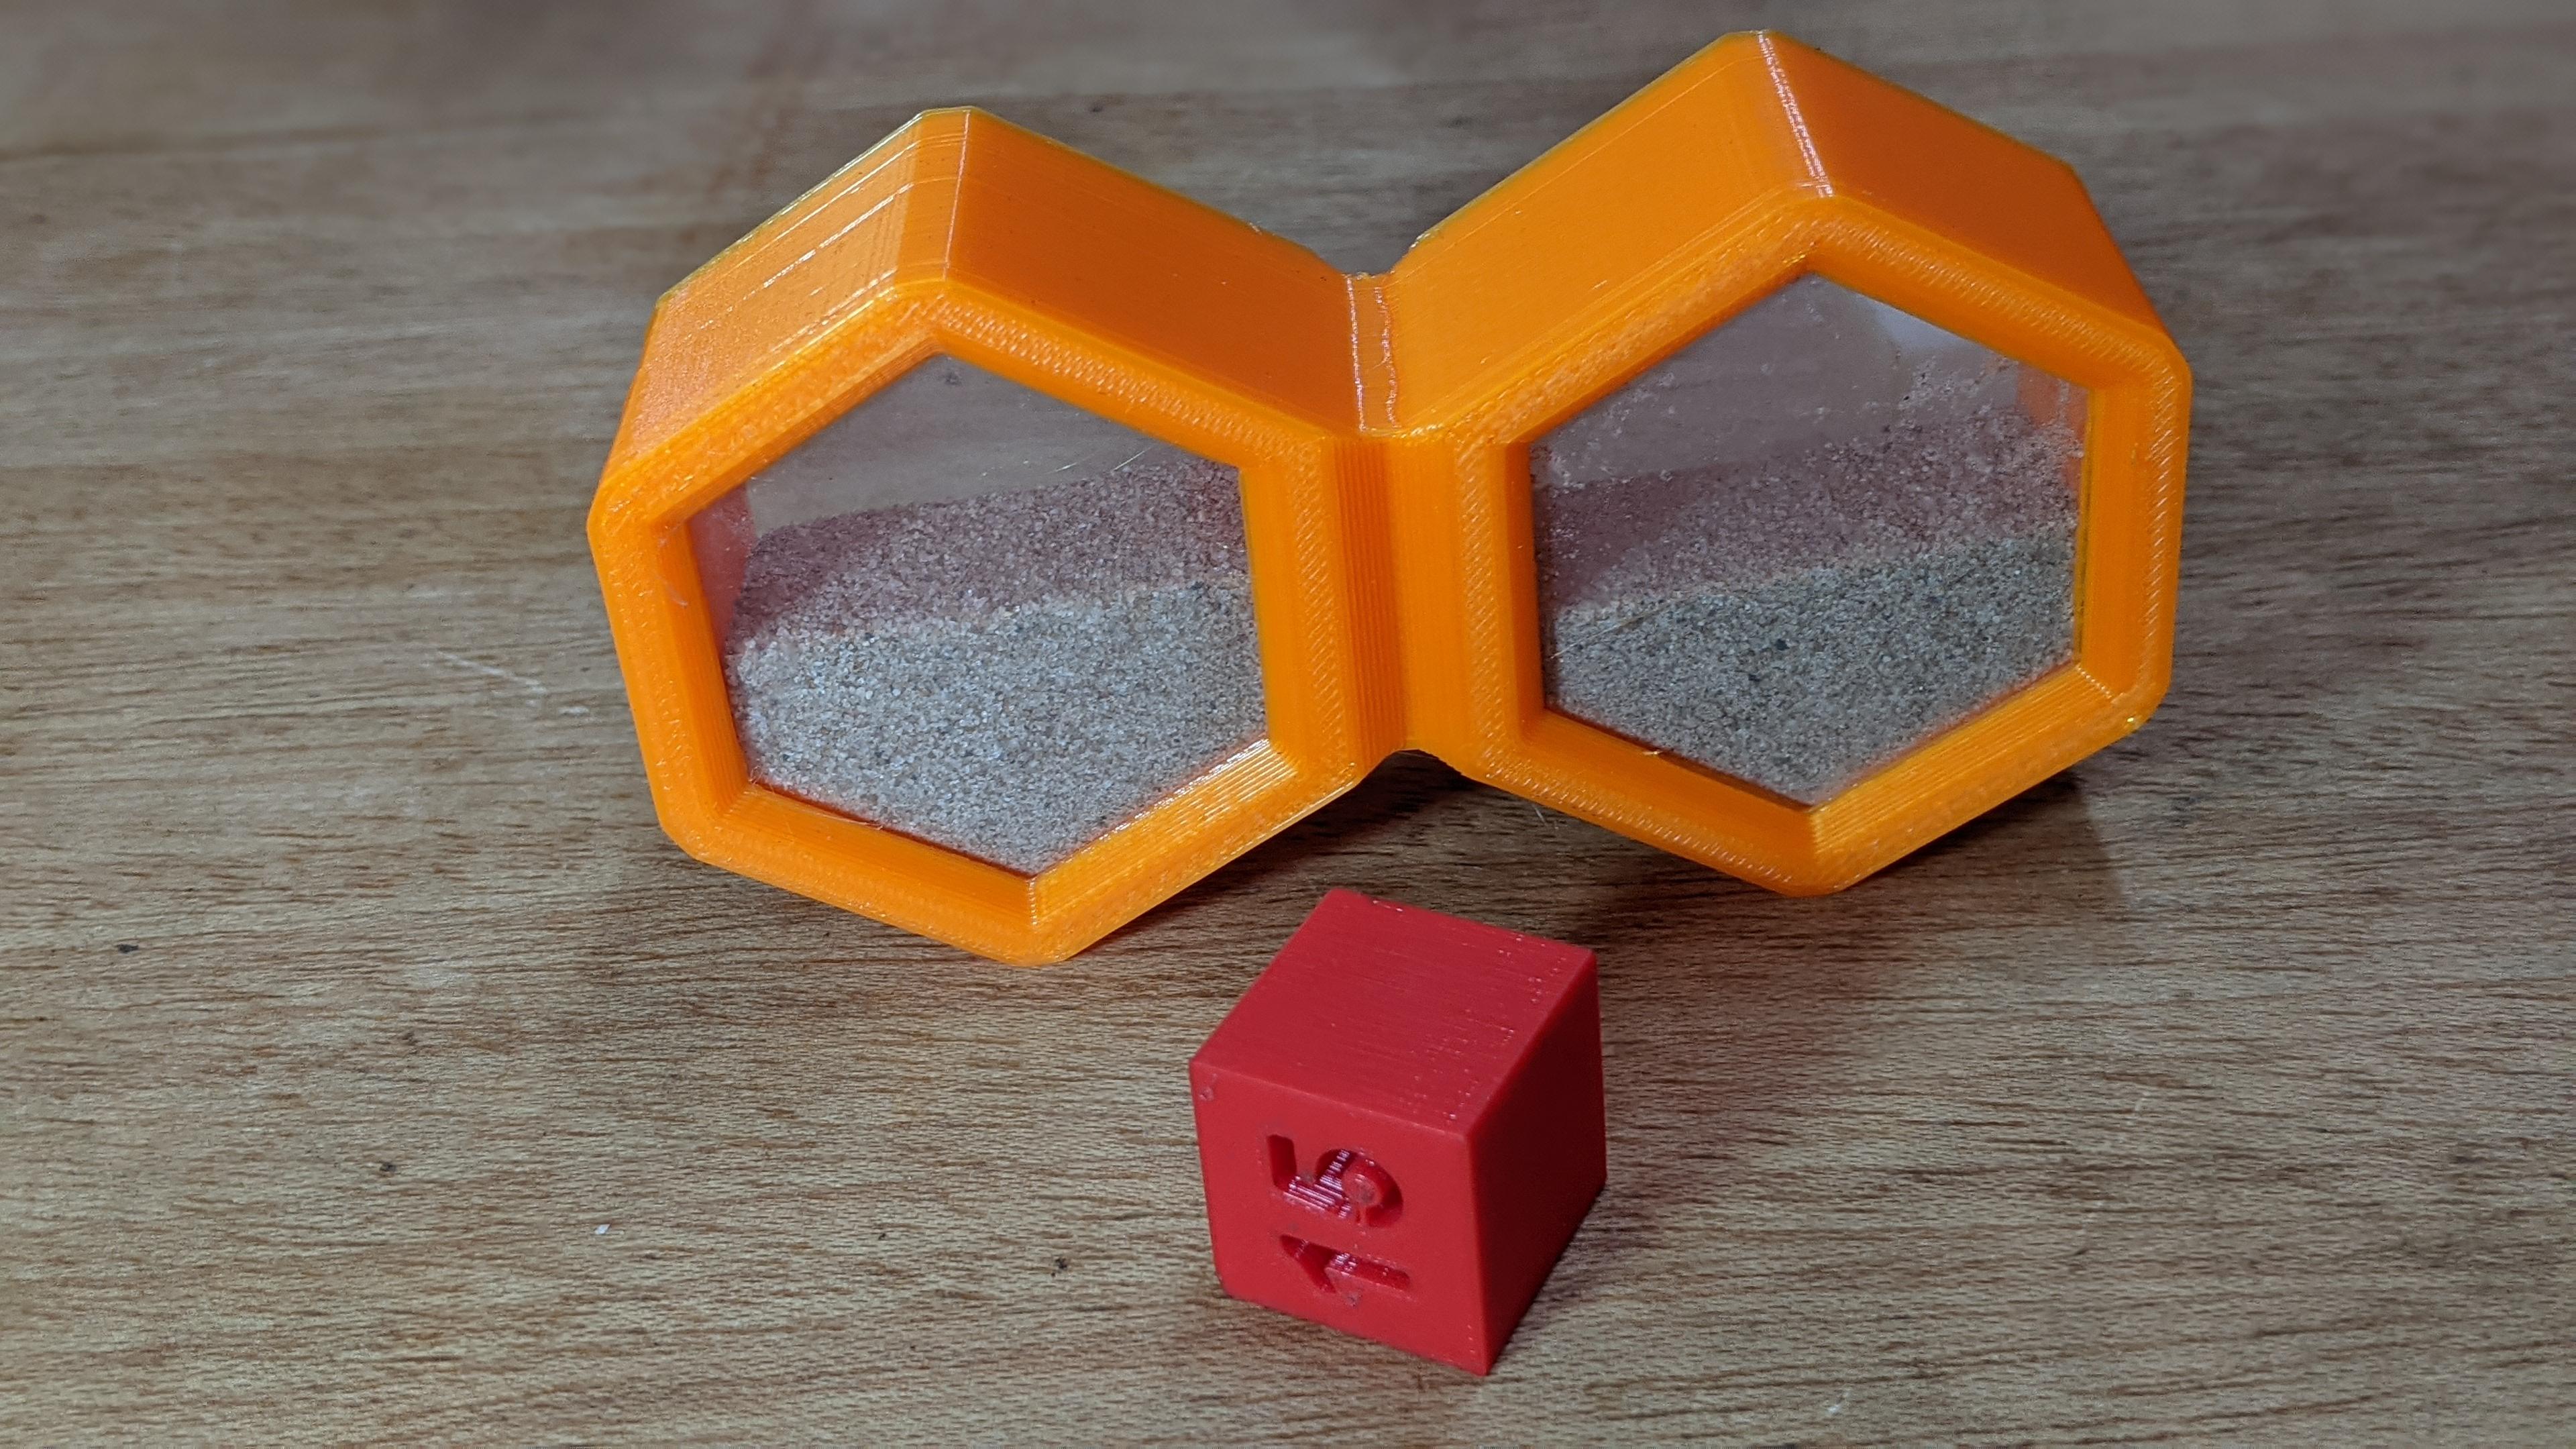
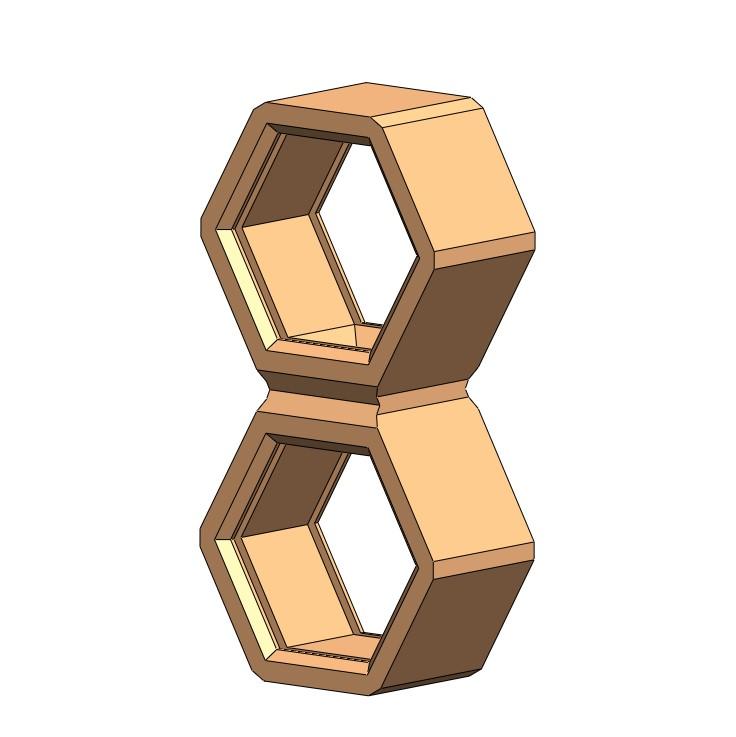
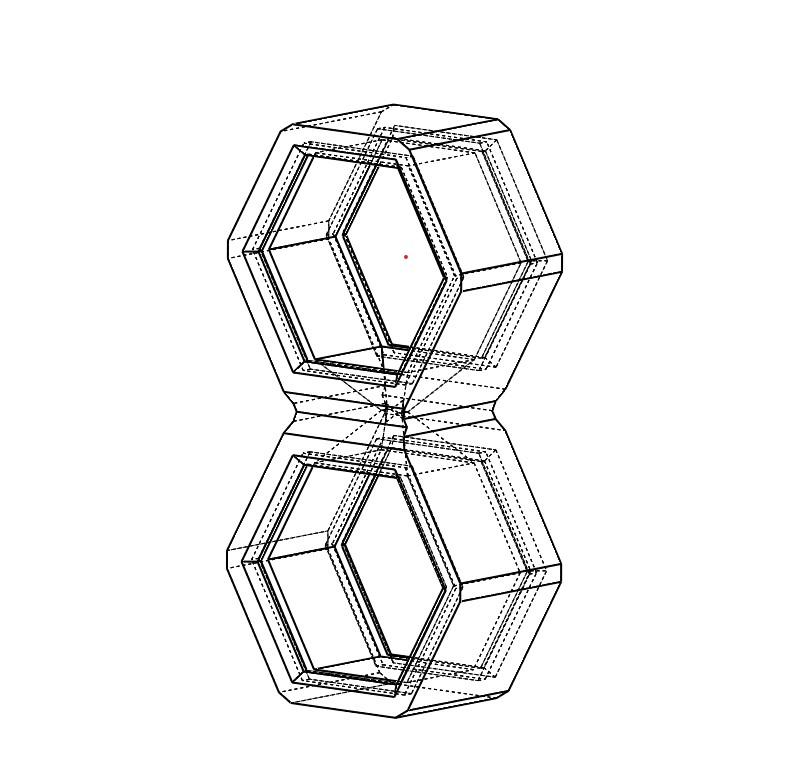
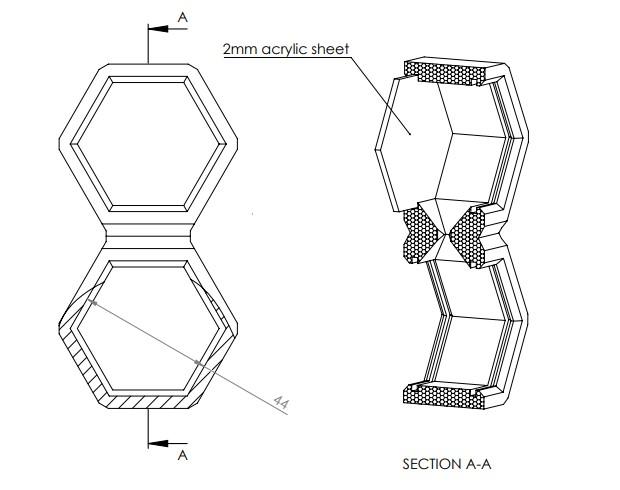
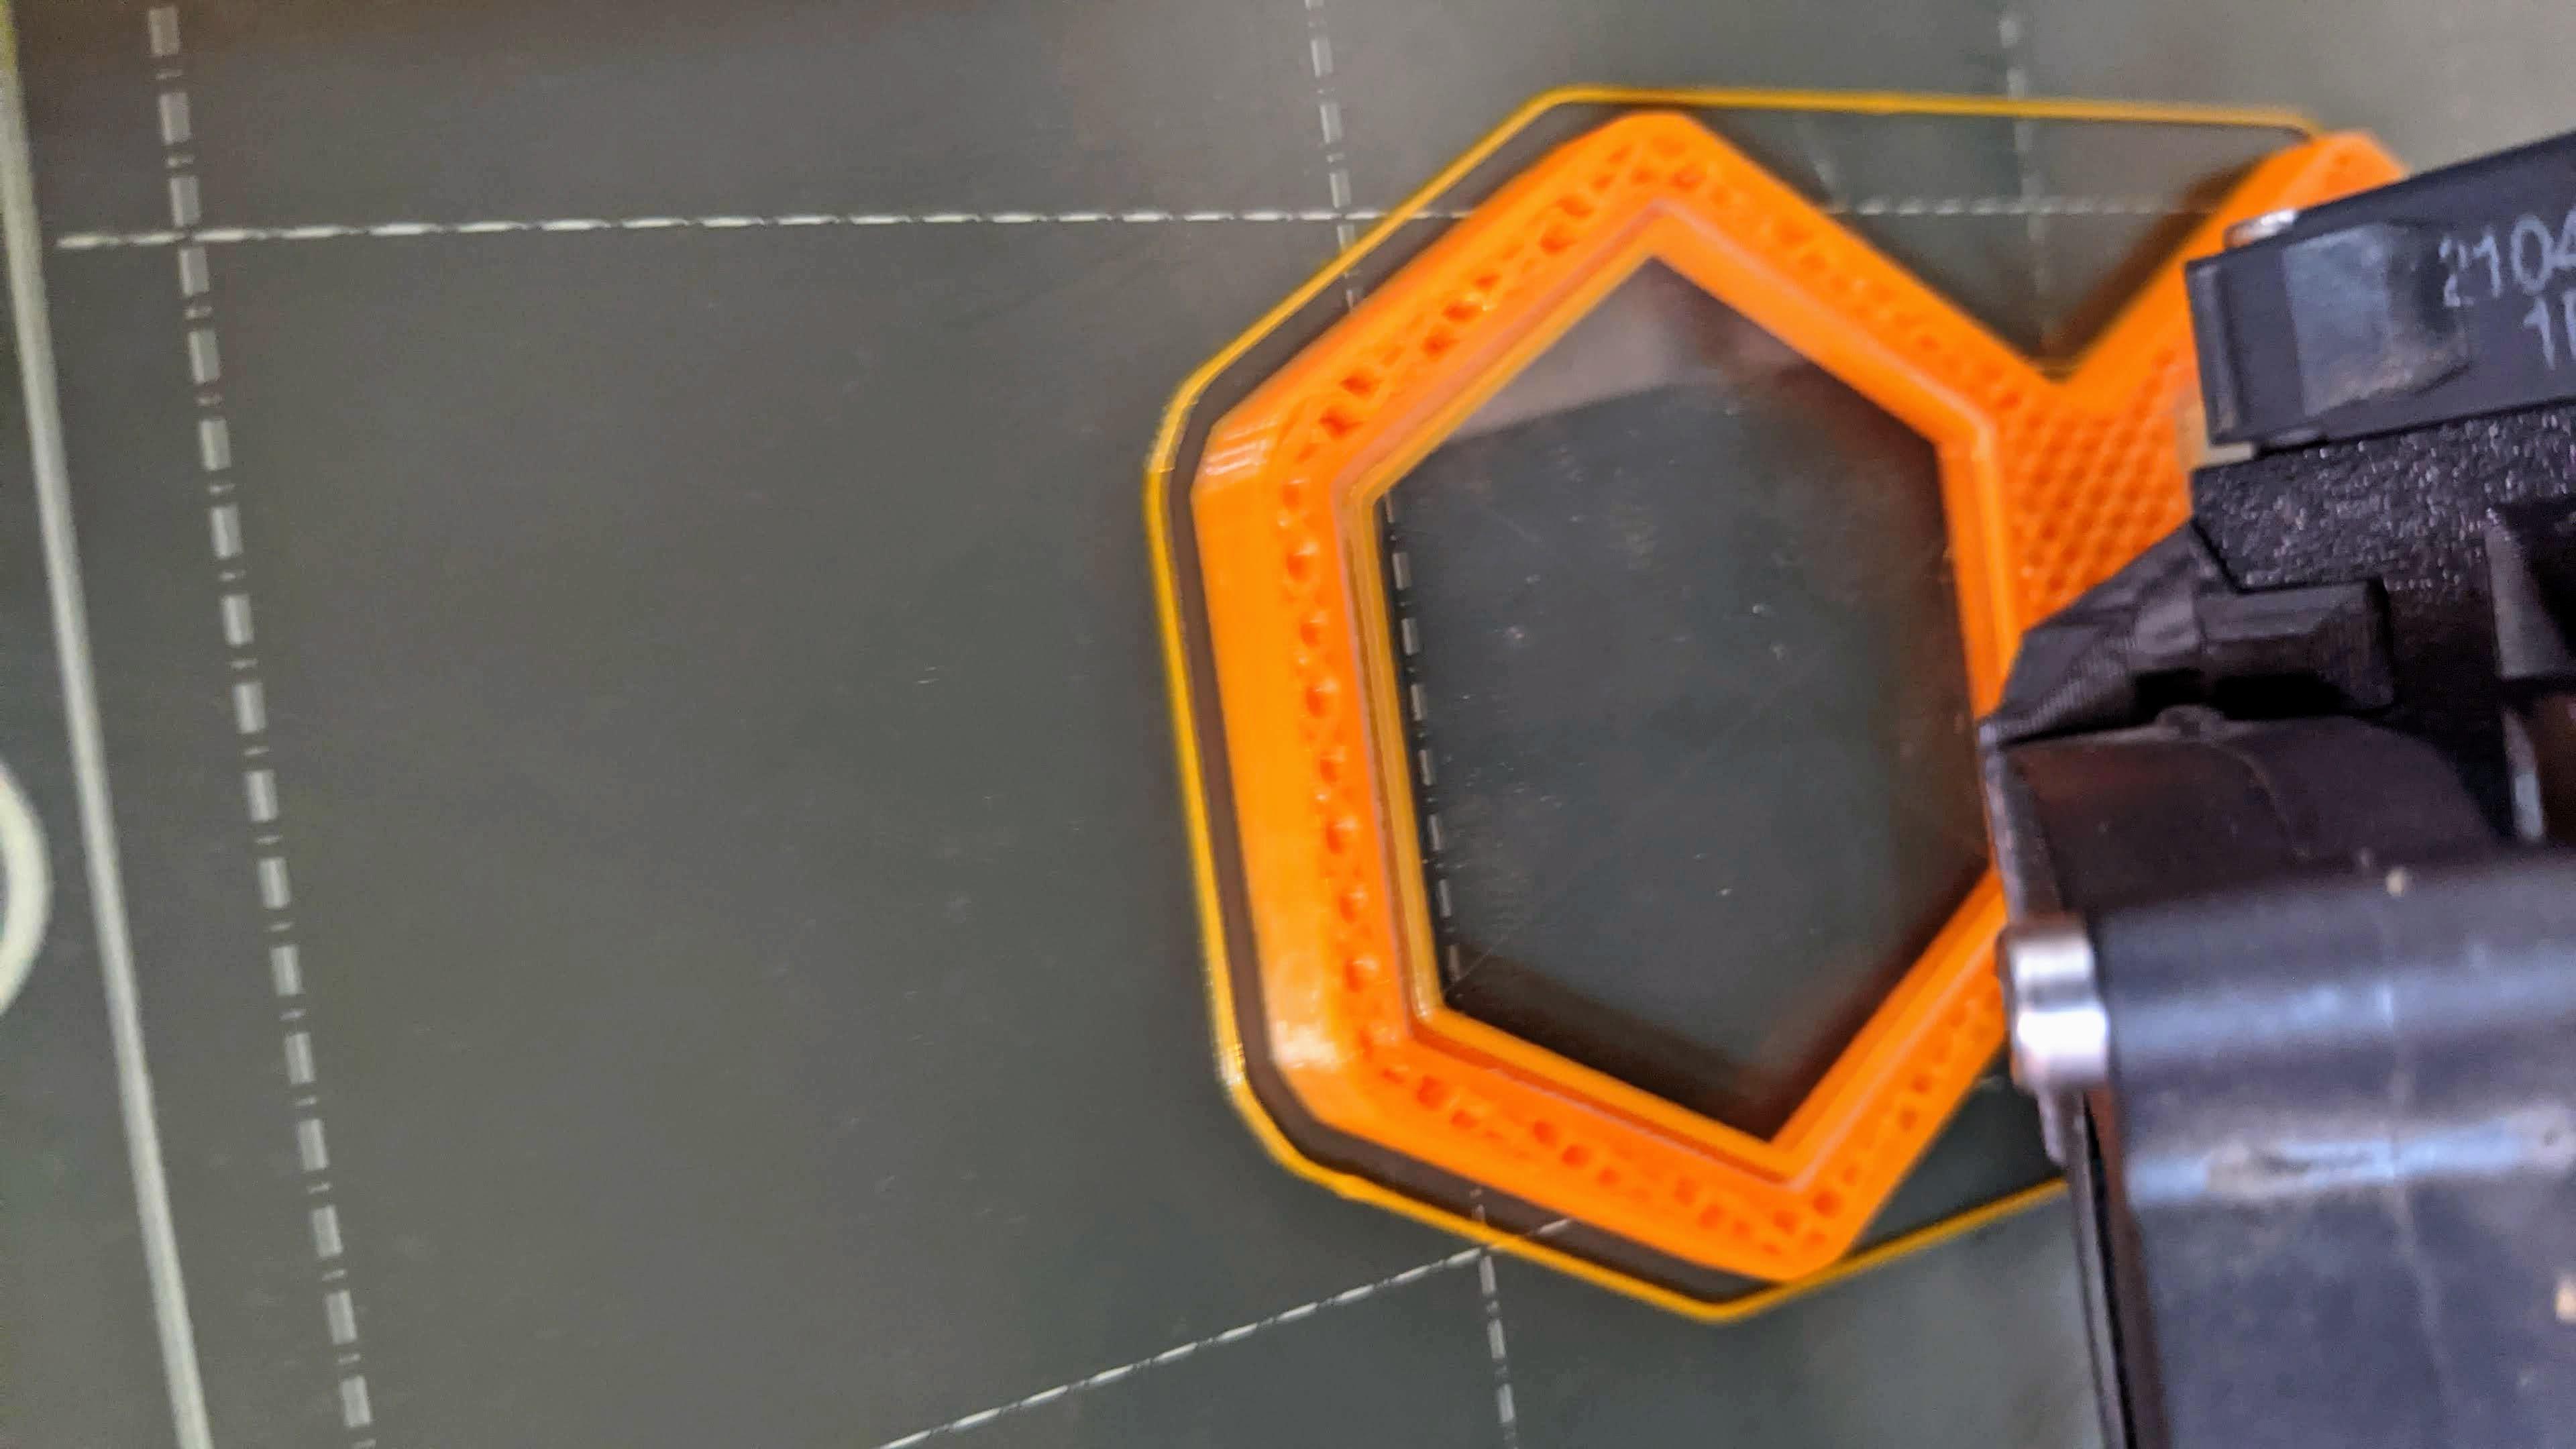
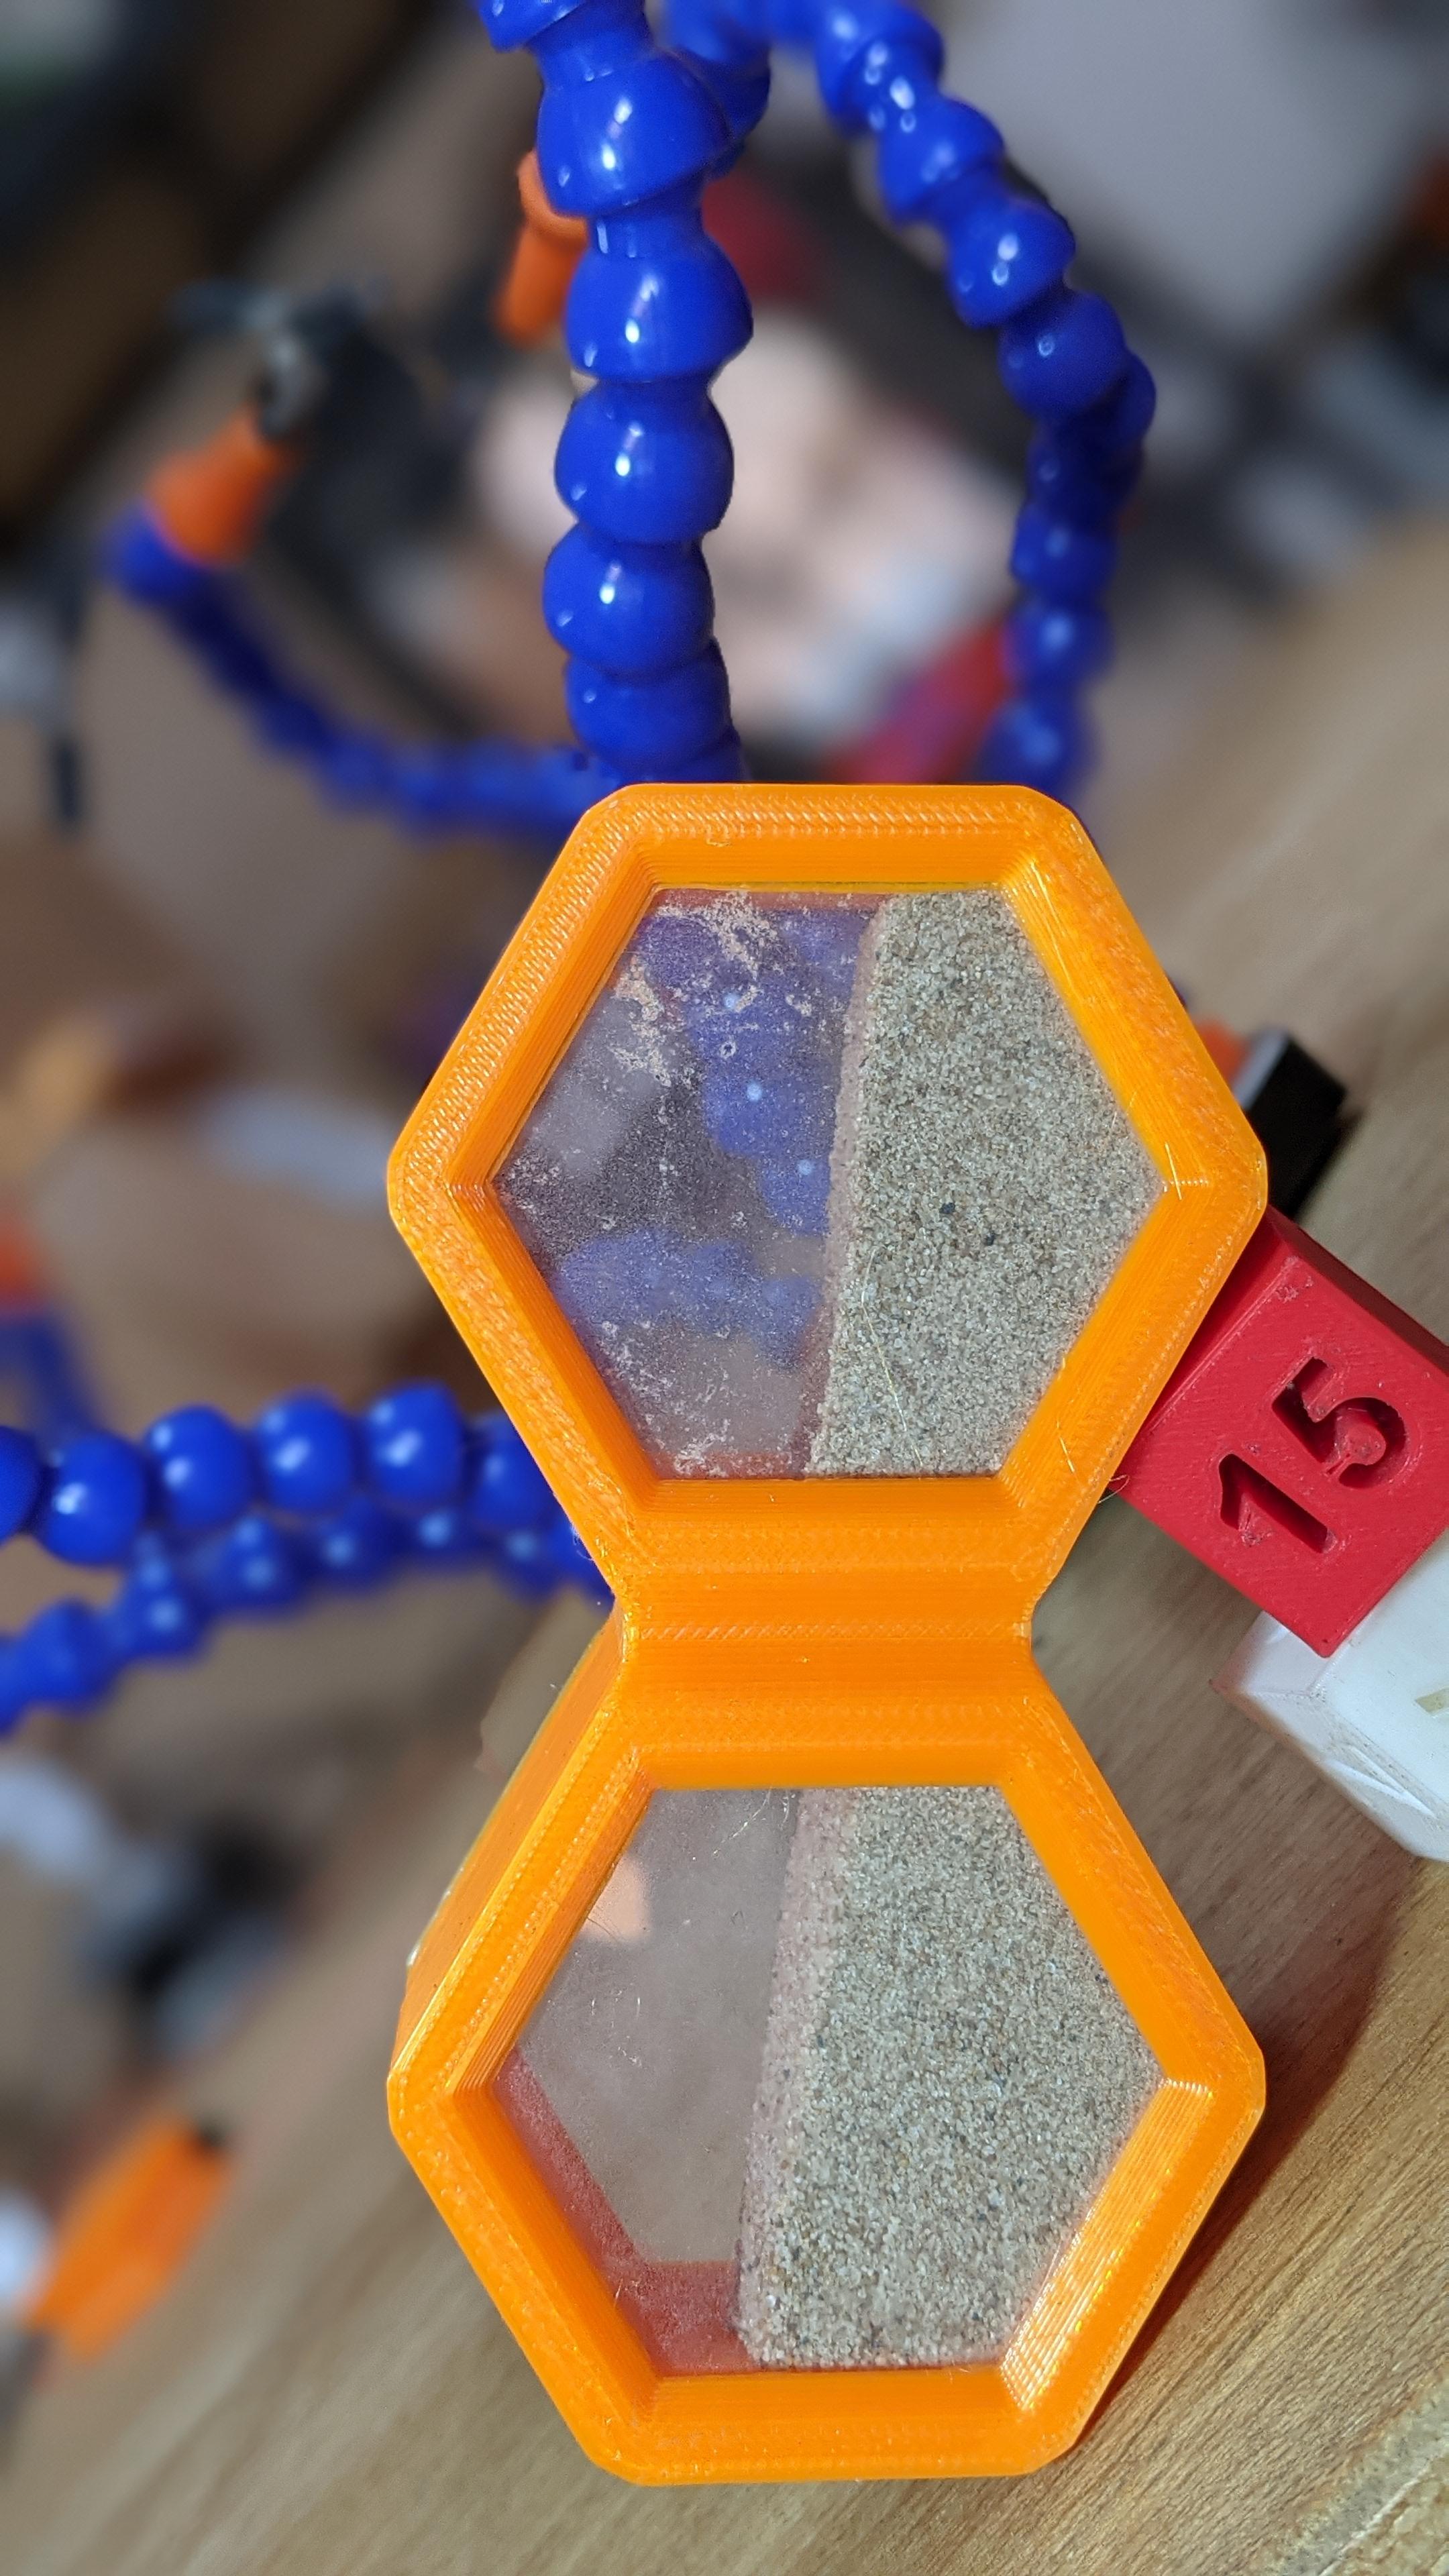
The hourglass is made up of two compartments connected together by a small 3mm orifice which lets sand flow from one side to the other side.
Each side is covered by a piece of transparent acrylic to visualize the flow of sand. the sand and pieces of acrylic are encrusted during the printing of the hourglass. No screws or nuts were used.
open the pdf below to better understand how it works.
Downloads
Collect and Sift the Sand
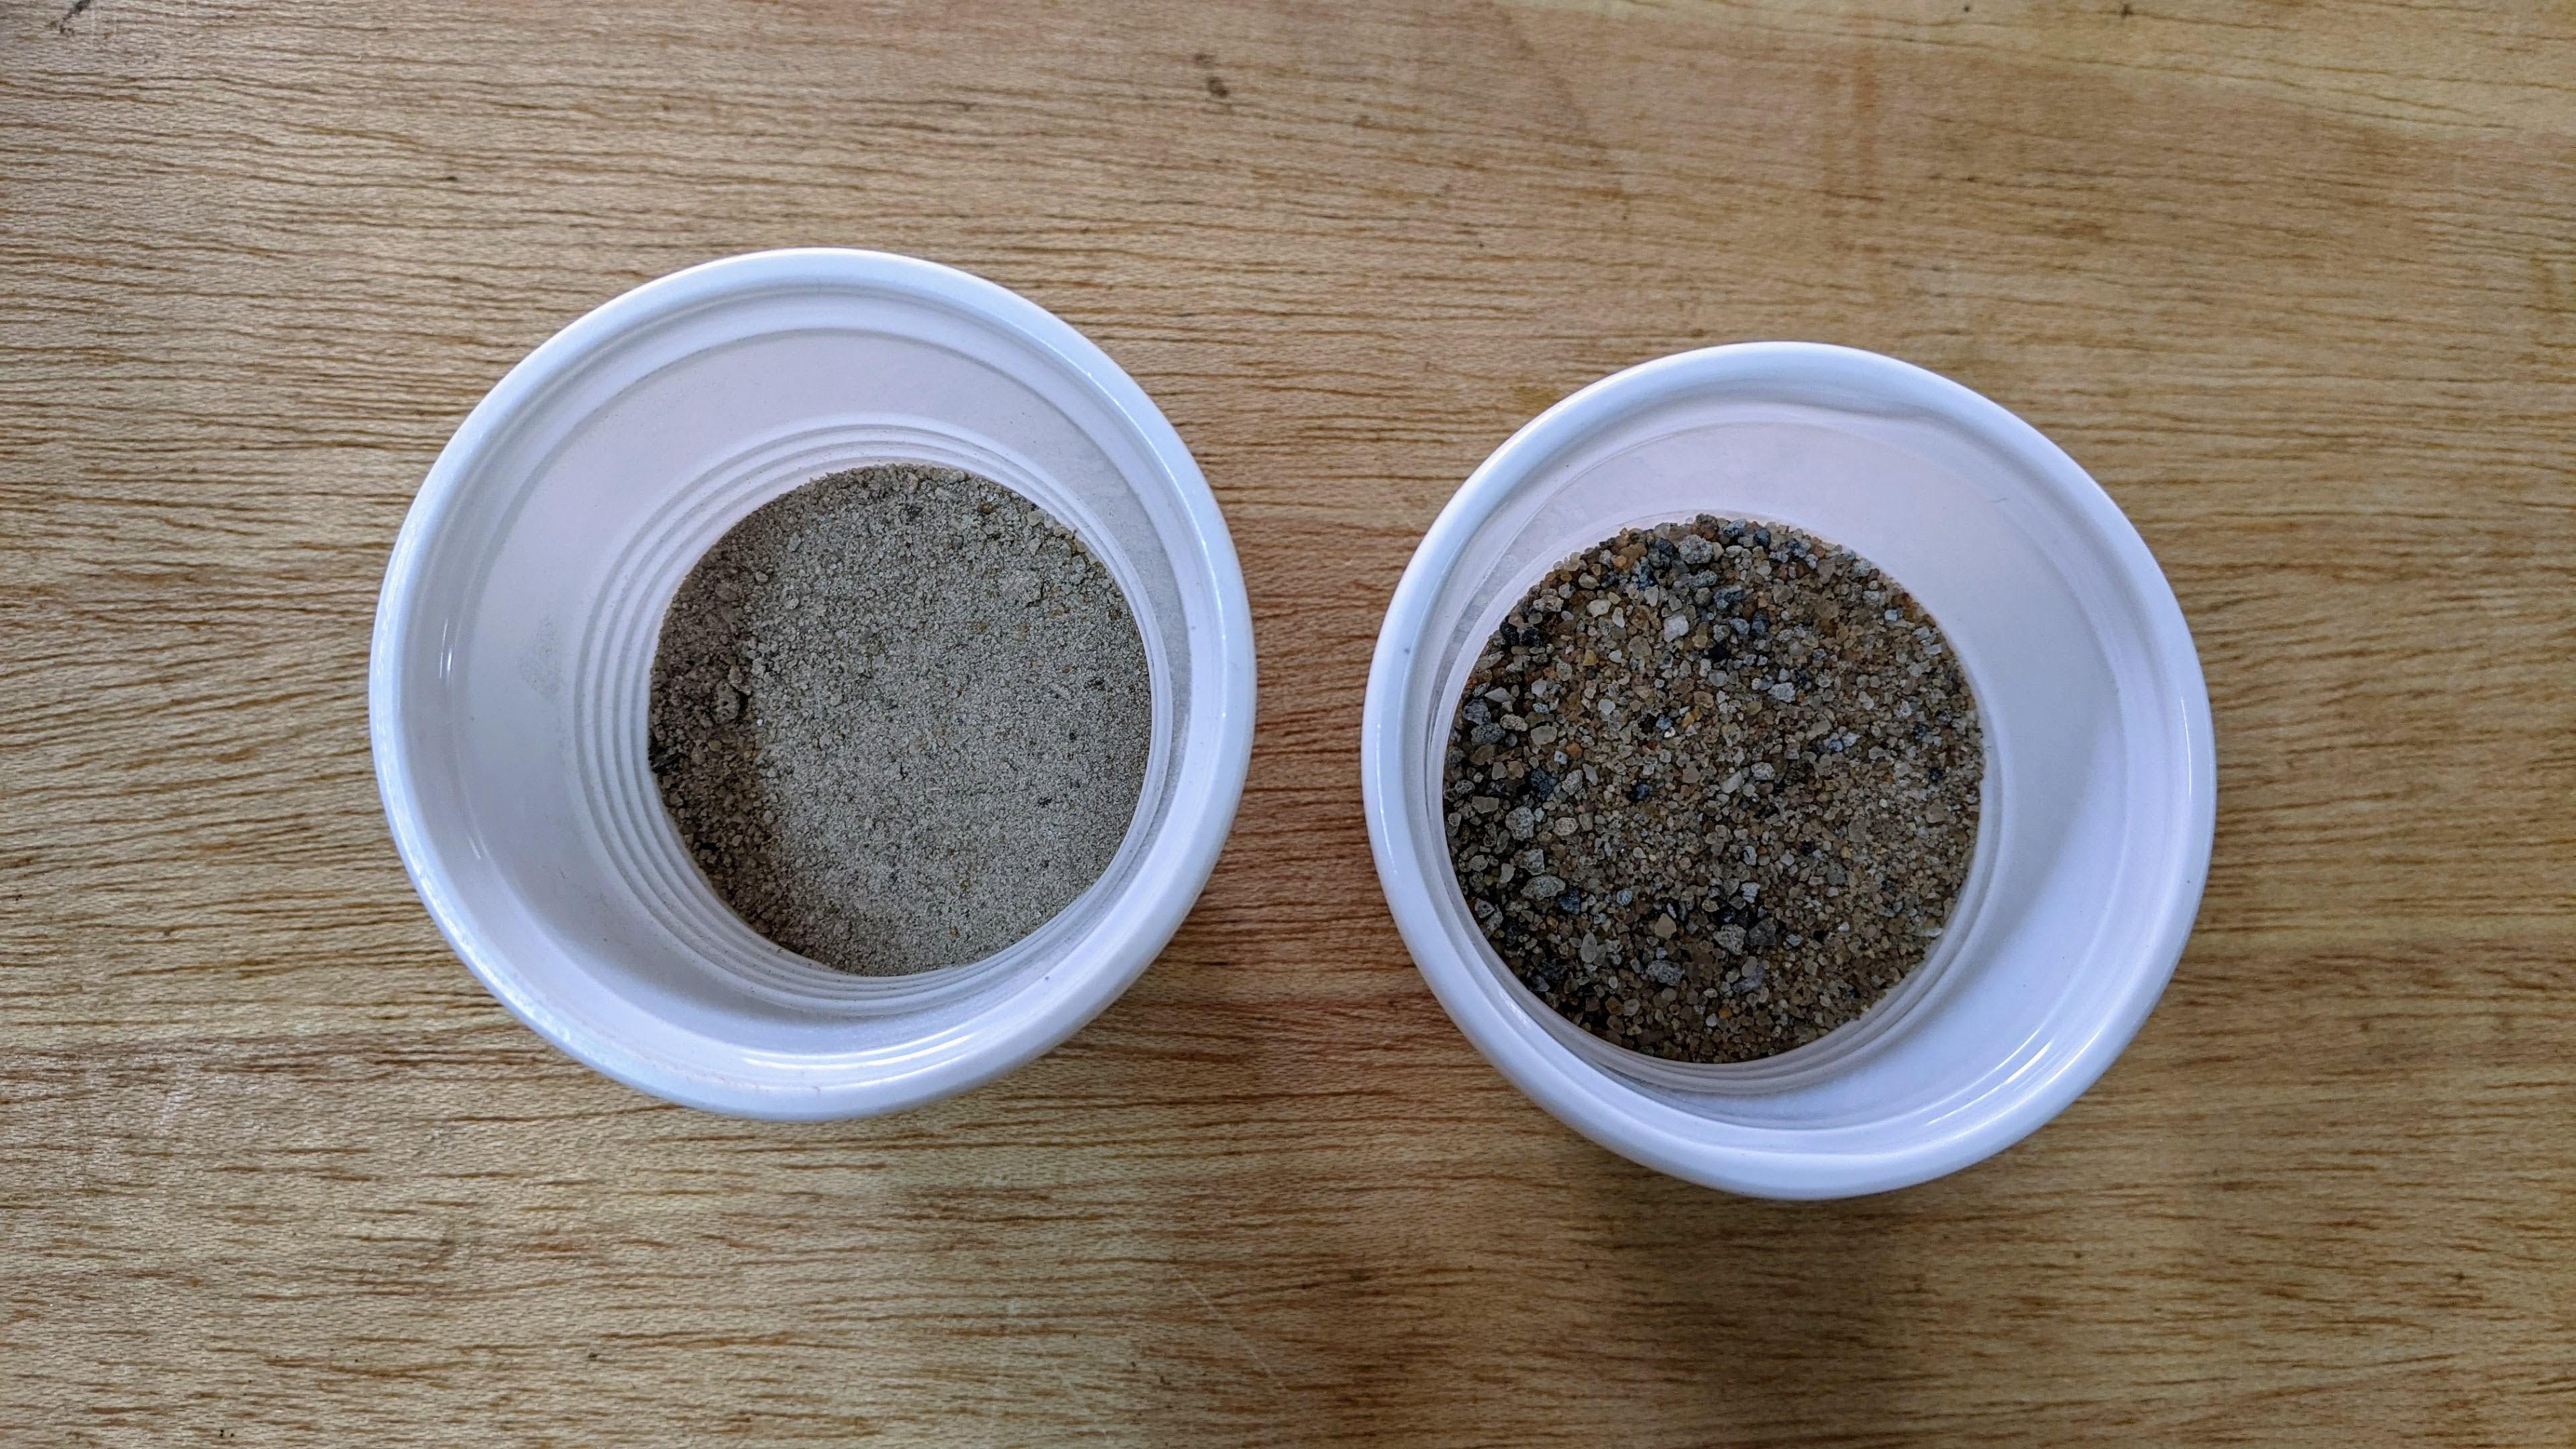
After collecting sand of your choice; it can be colored sand or not (personally I just took sand from the front of my house), it should be rid of these impurities (stones, sticks, etc.). You must use your sieve to sift the sand until you obtain grains of sand (uniform) of the size less than or equal to sugar crystals. The ideal is that it looks like small sugar crystals
- sift the sand to obtain small grains
- wash the sand and sift to obtain beautiful crystals (optional)
- dry the sand in the sun to remove all the moisture (otherwise there will be water vapors in the hourglass)
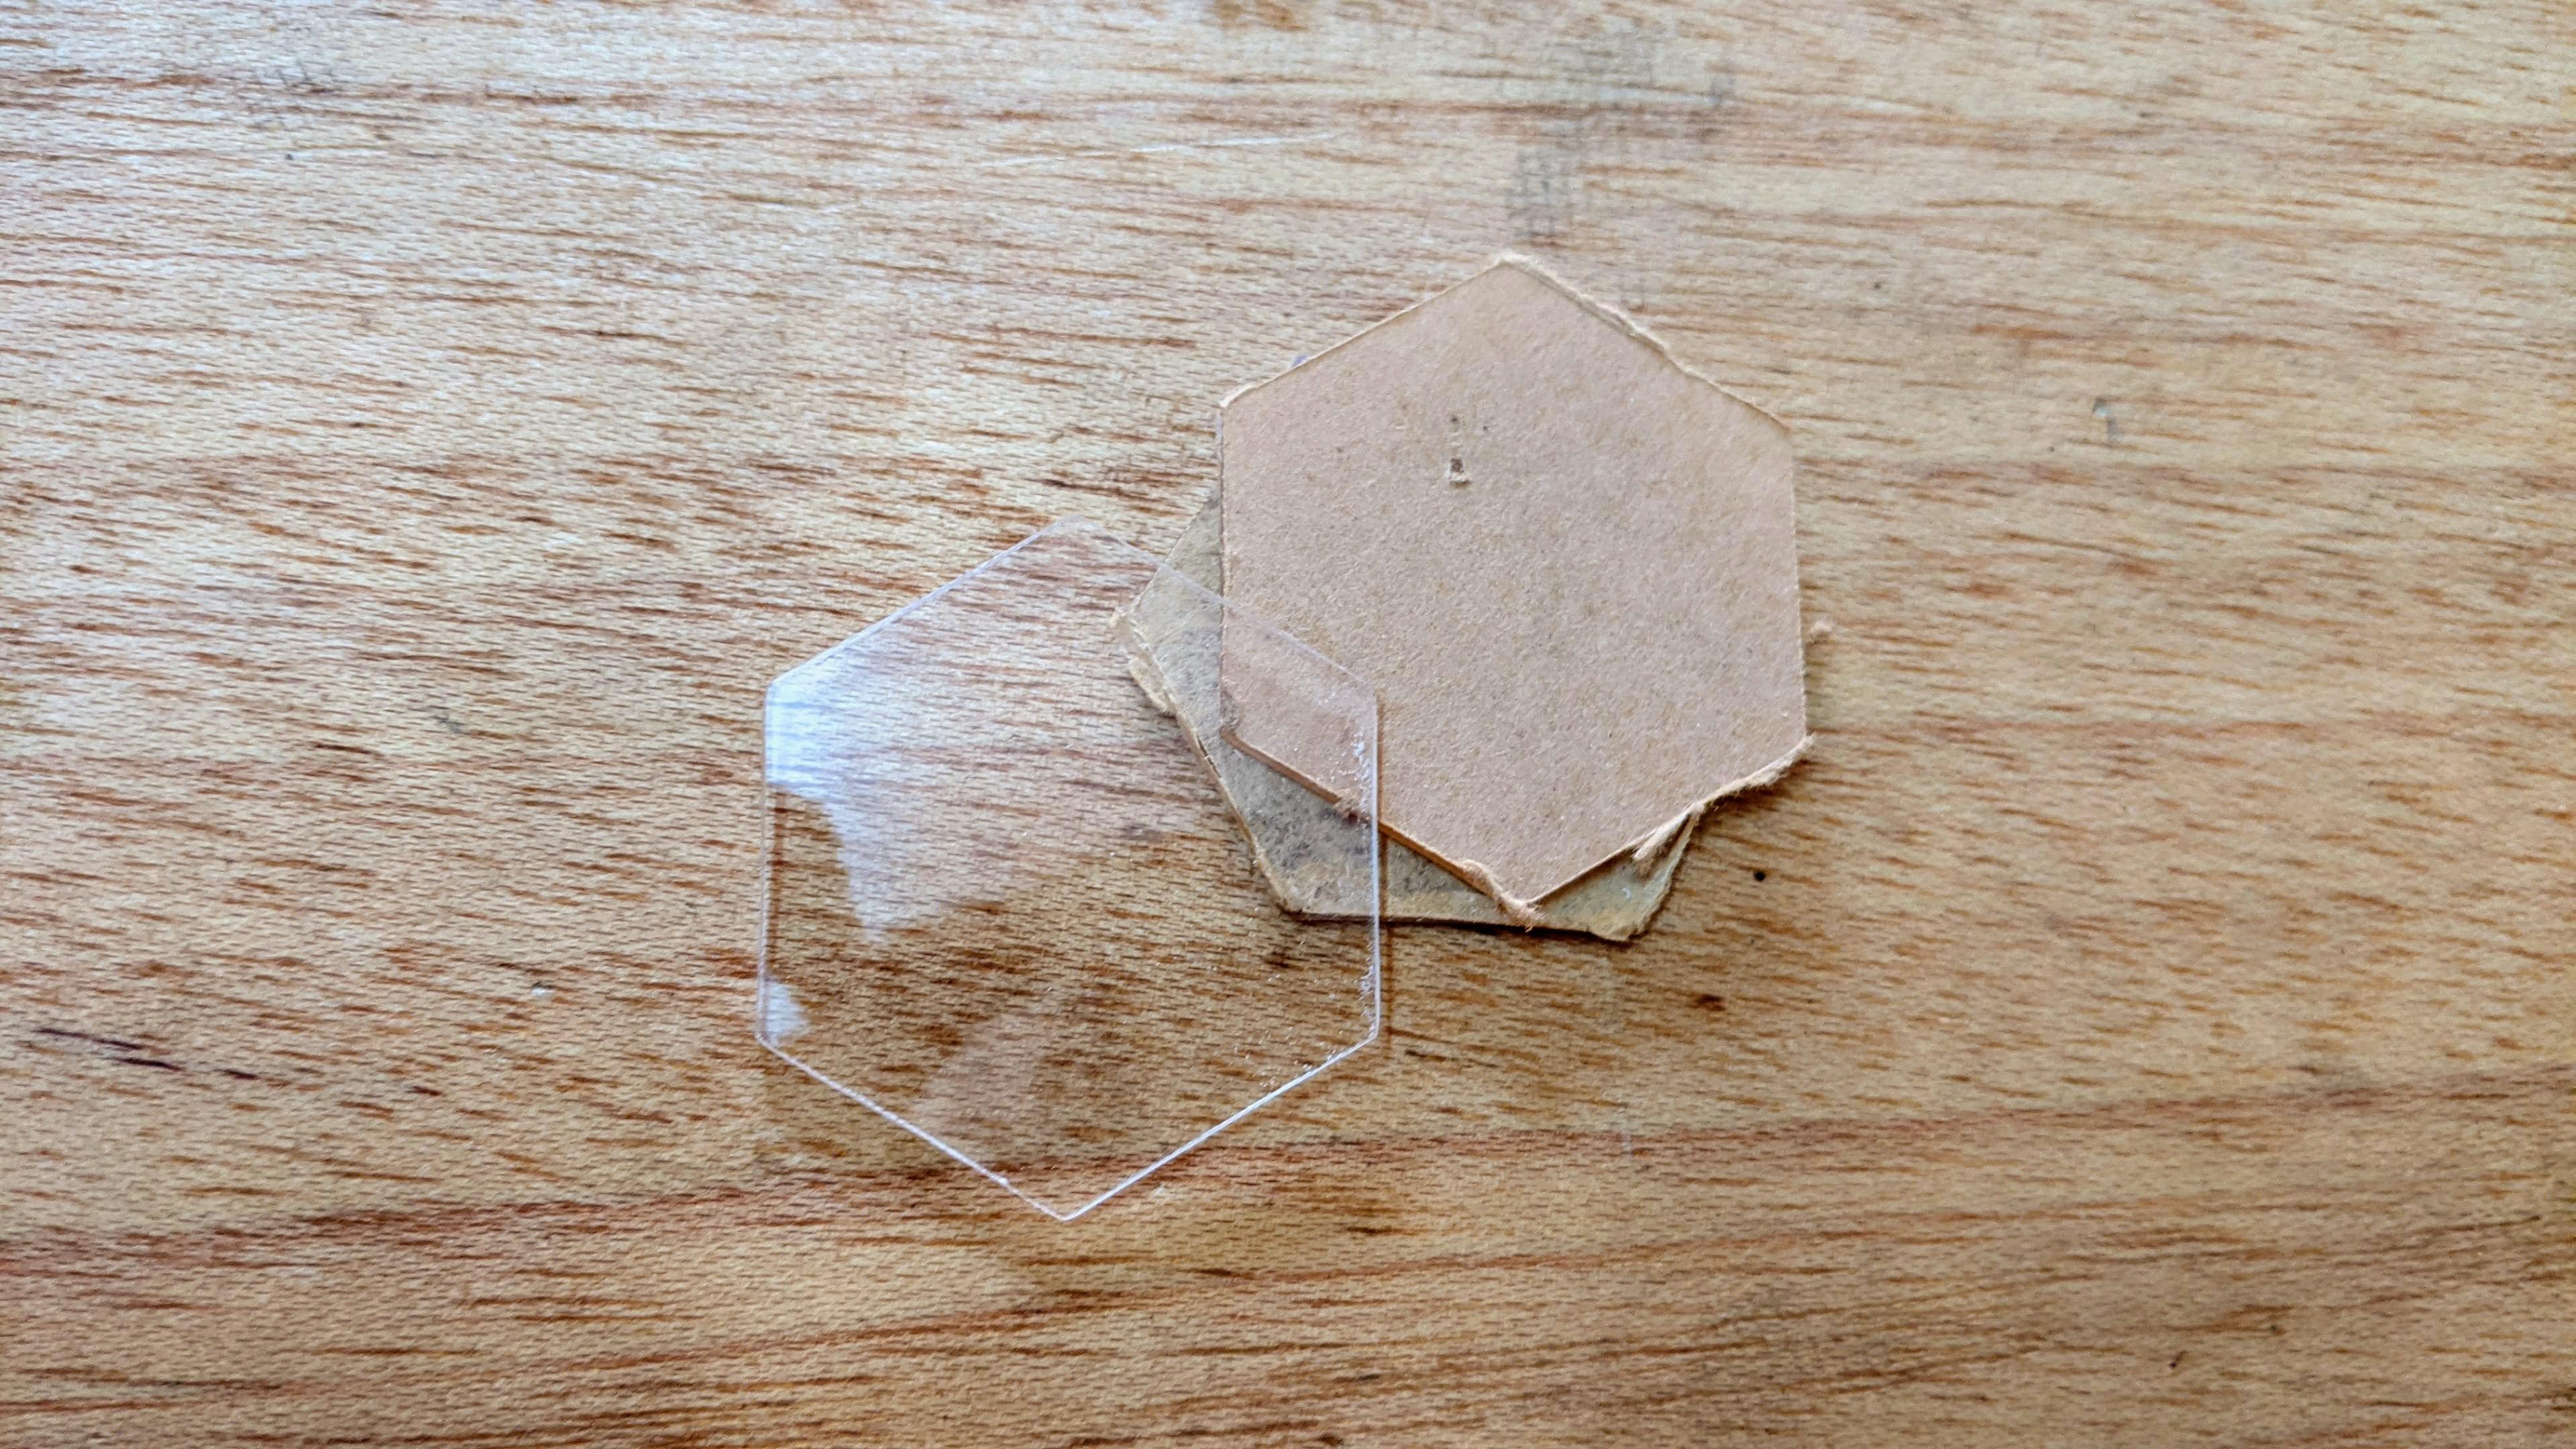
Cut Acrylic
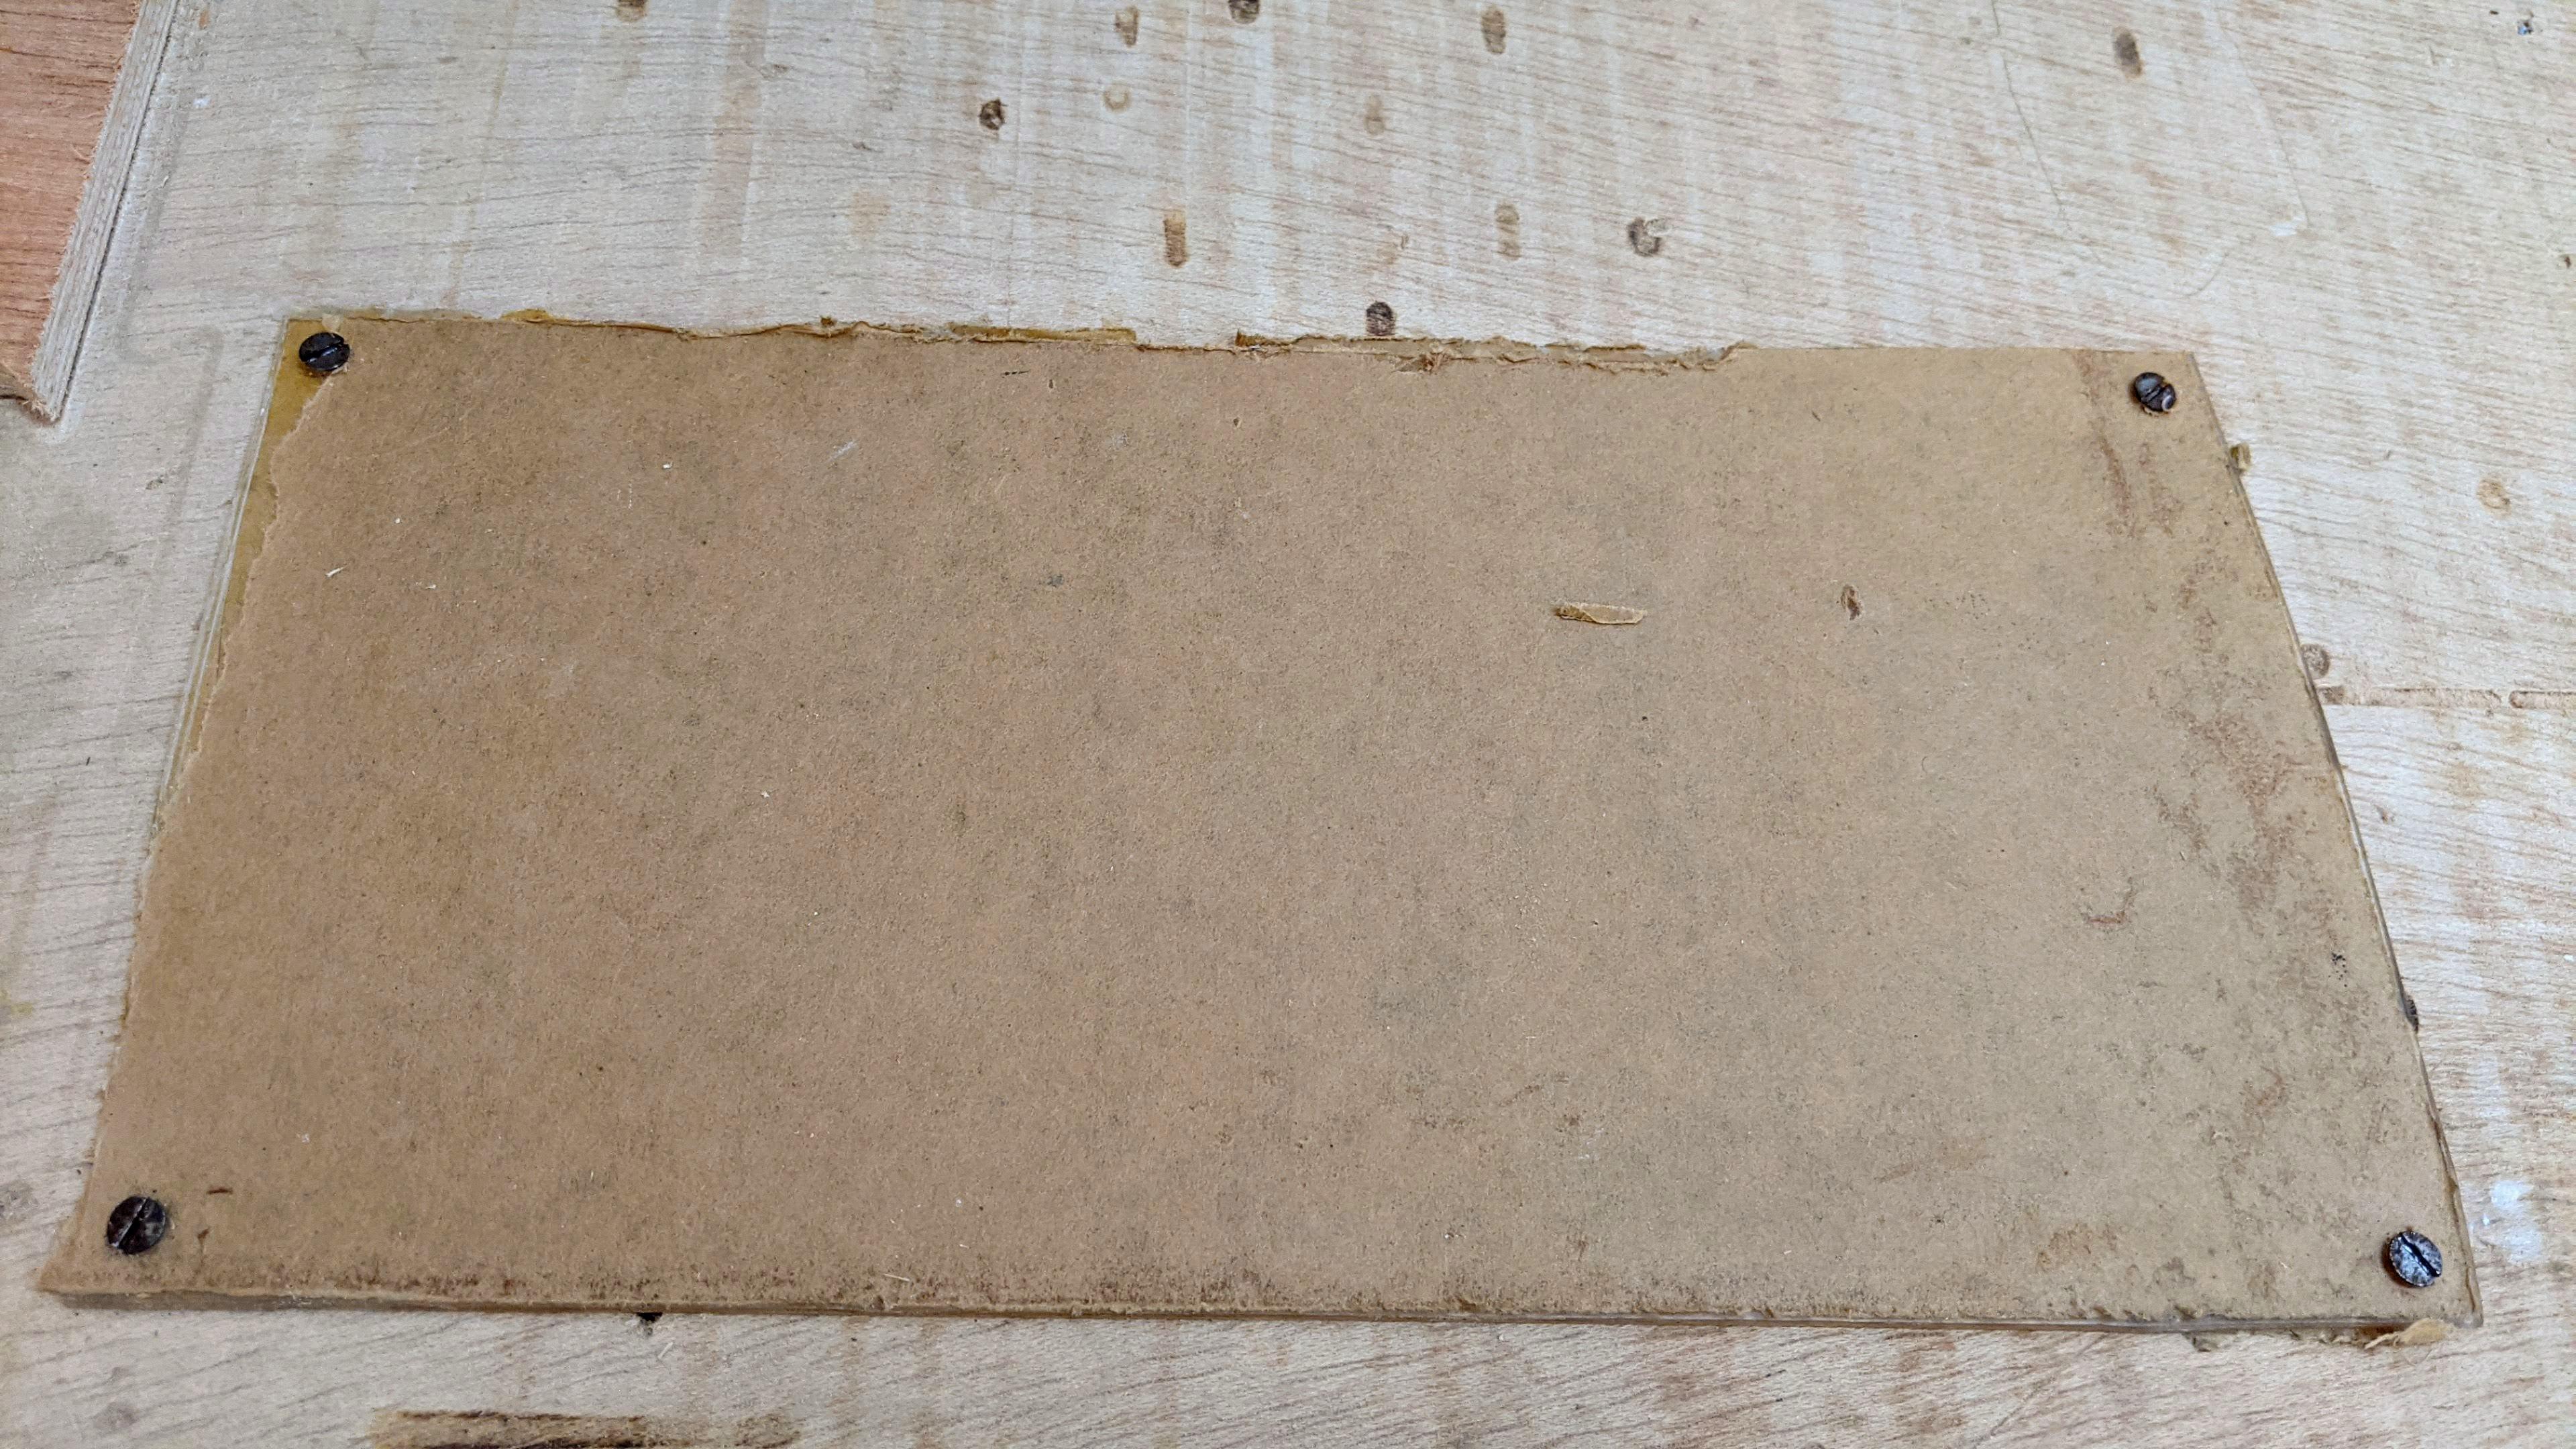
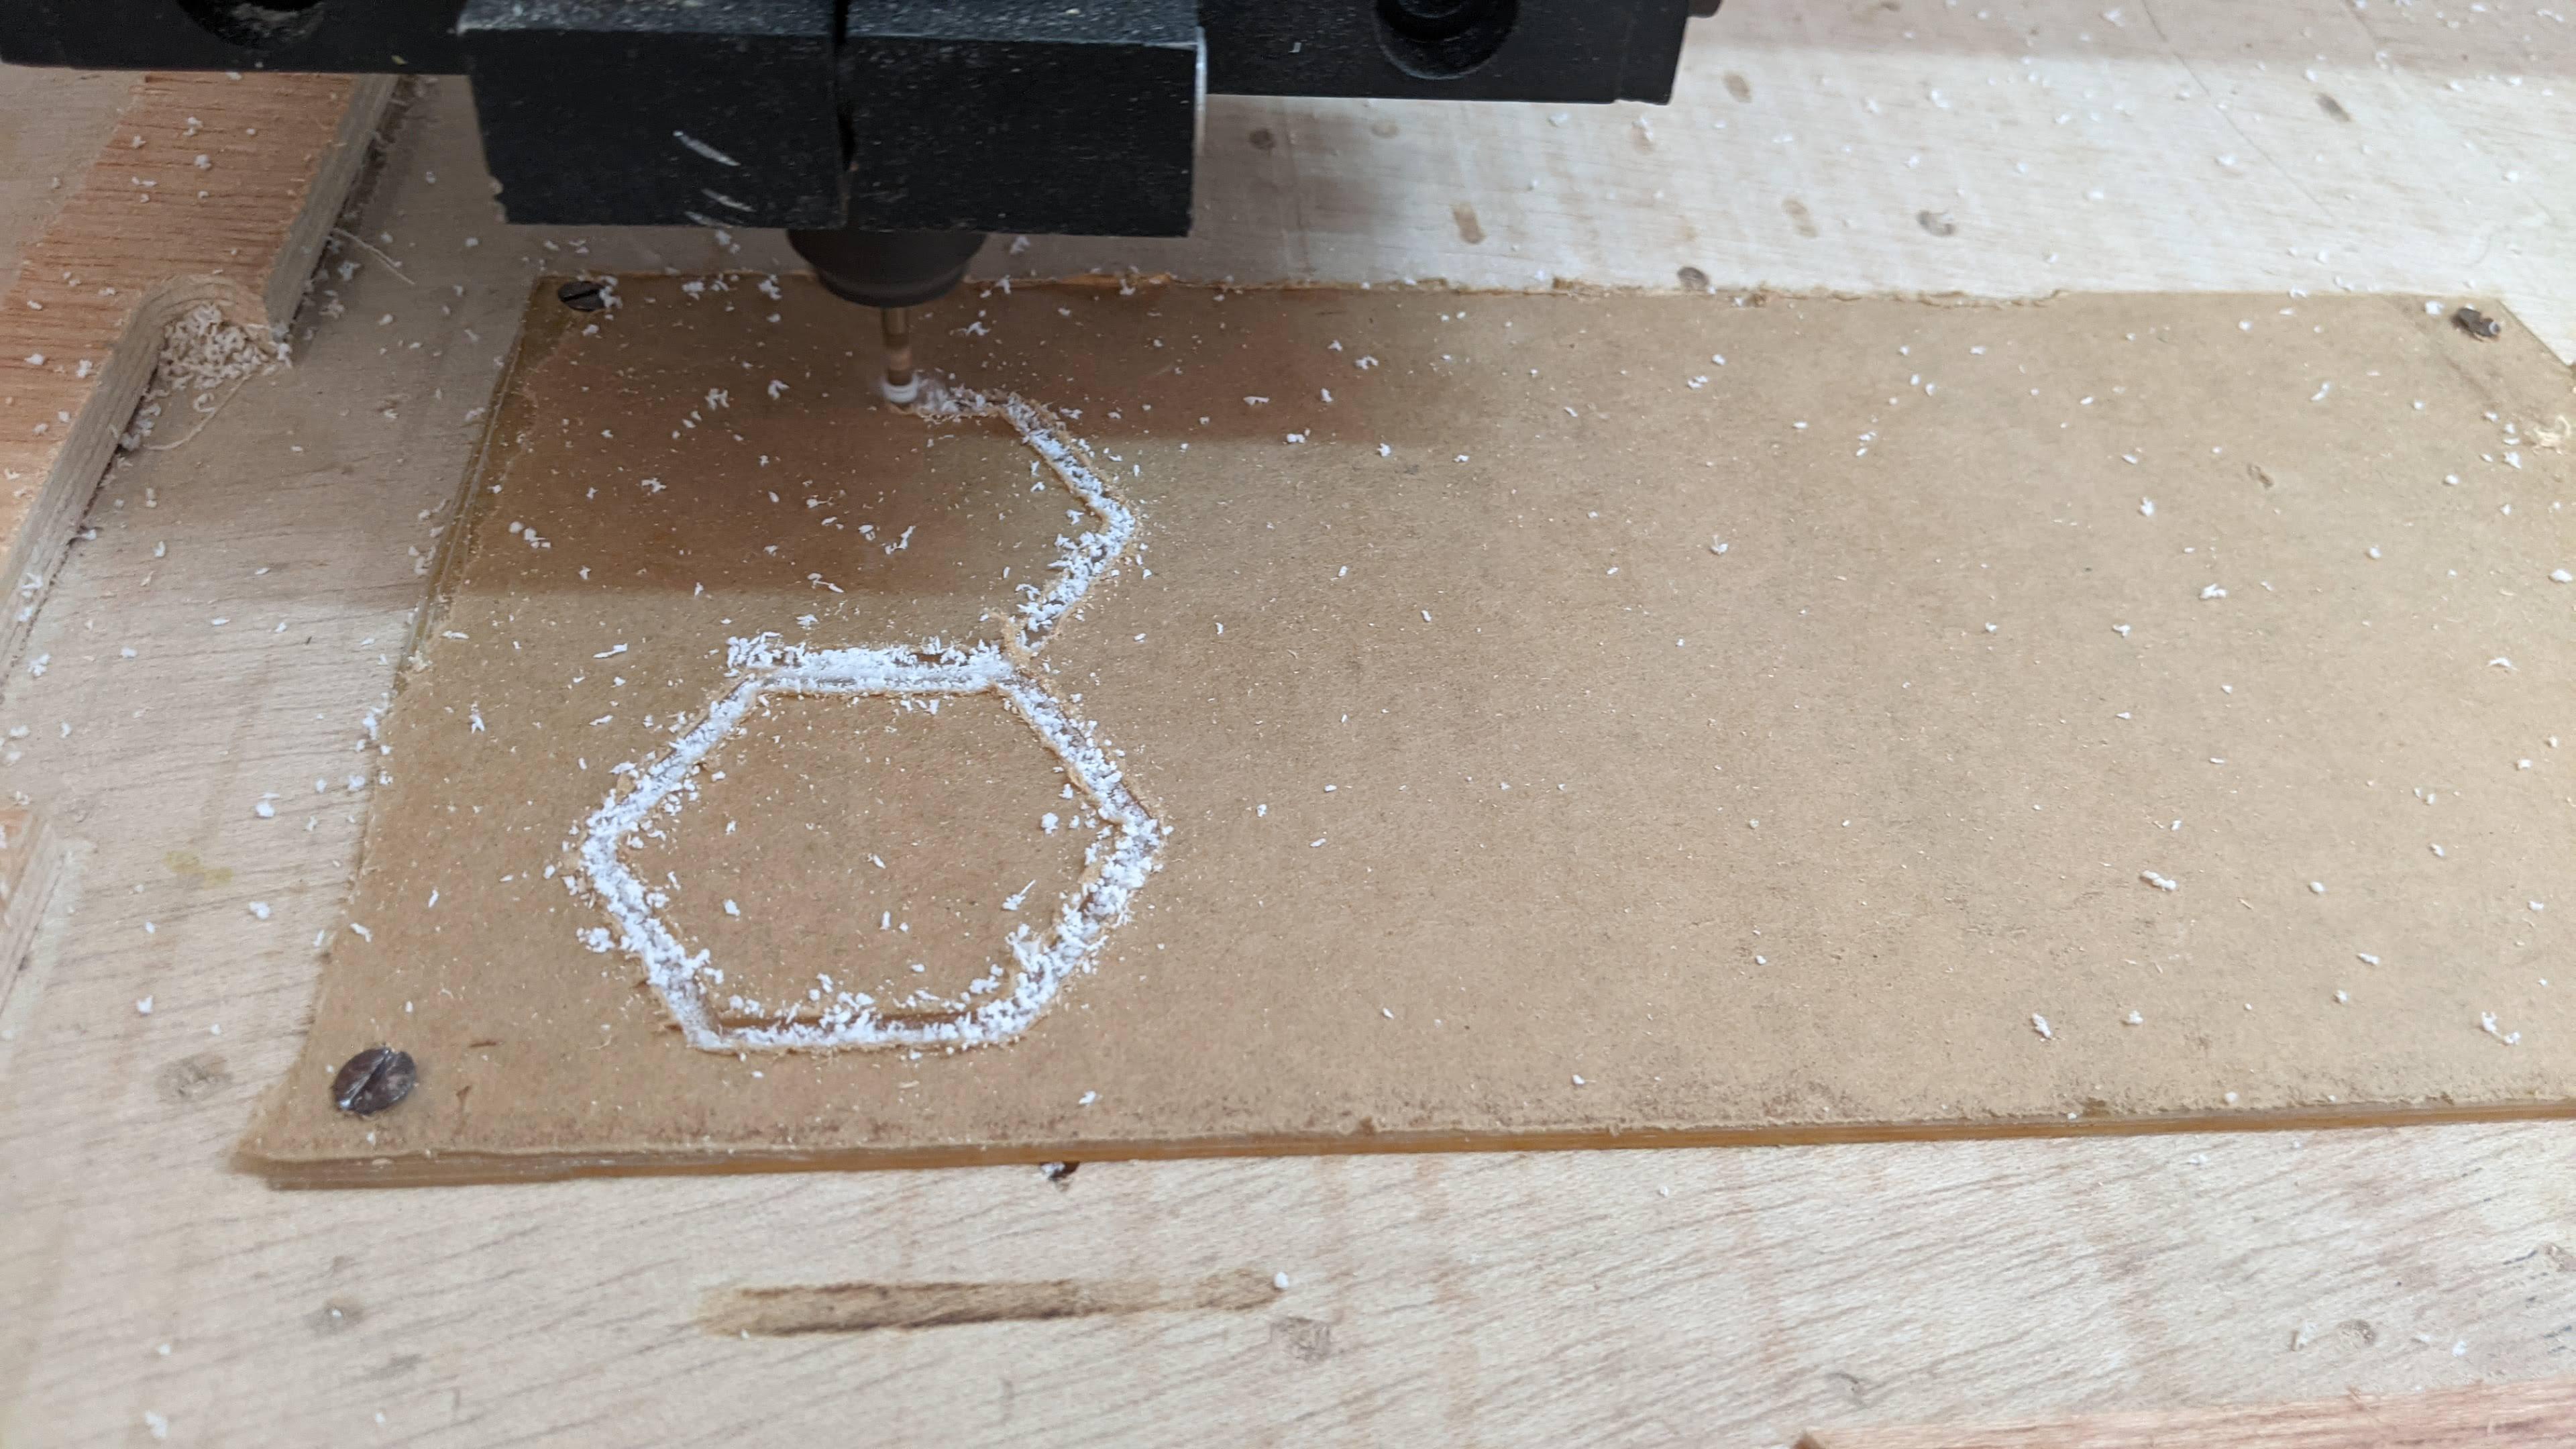
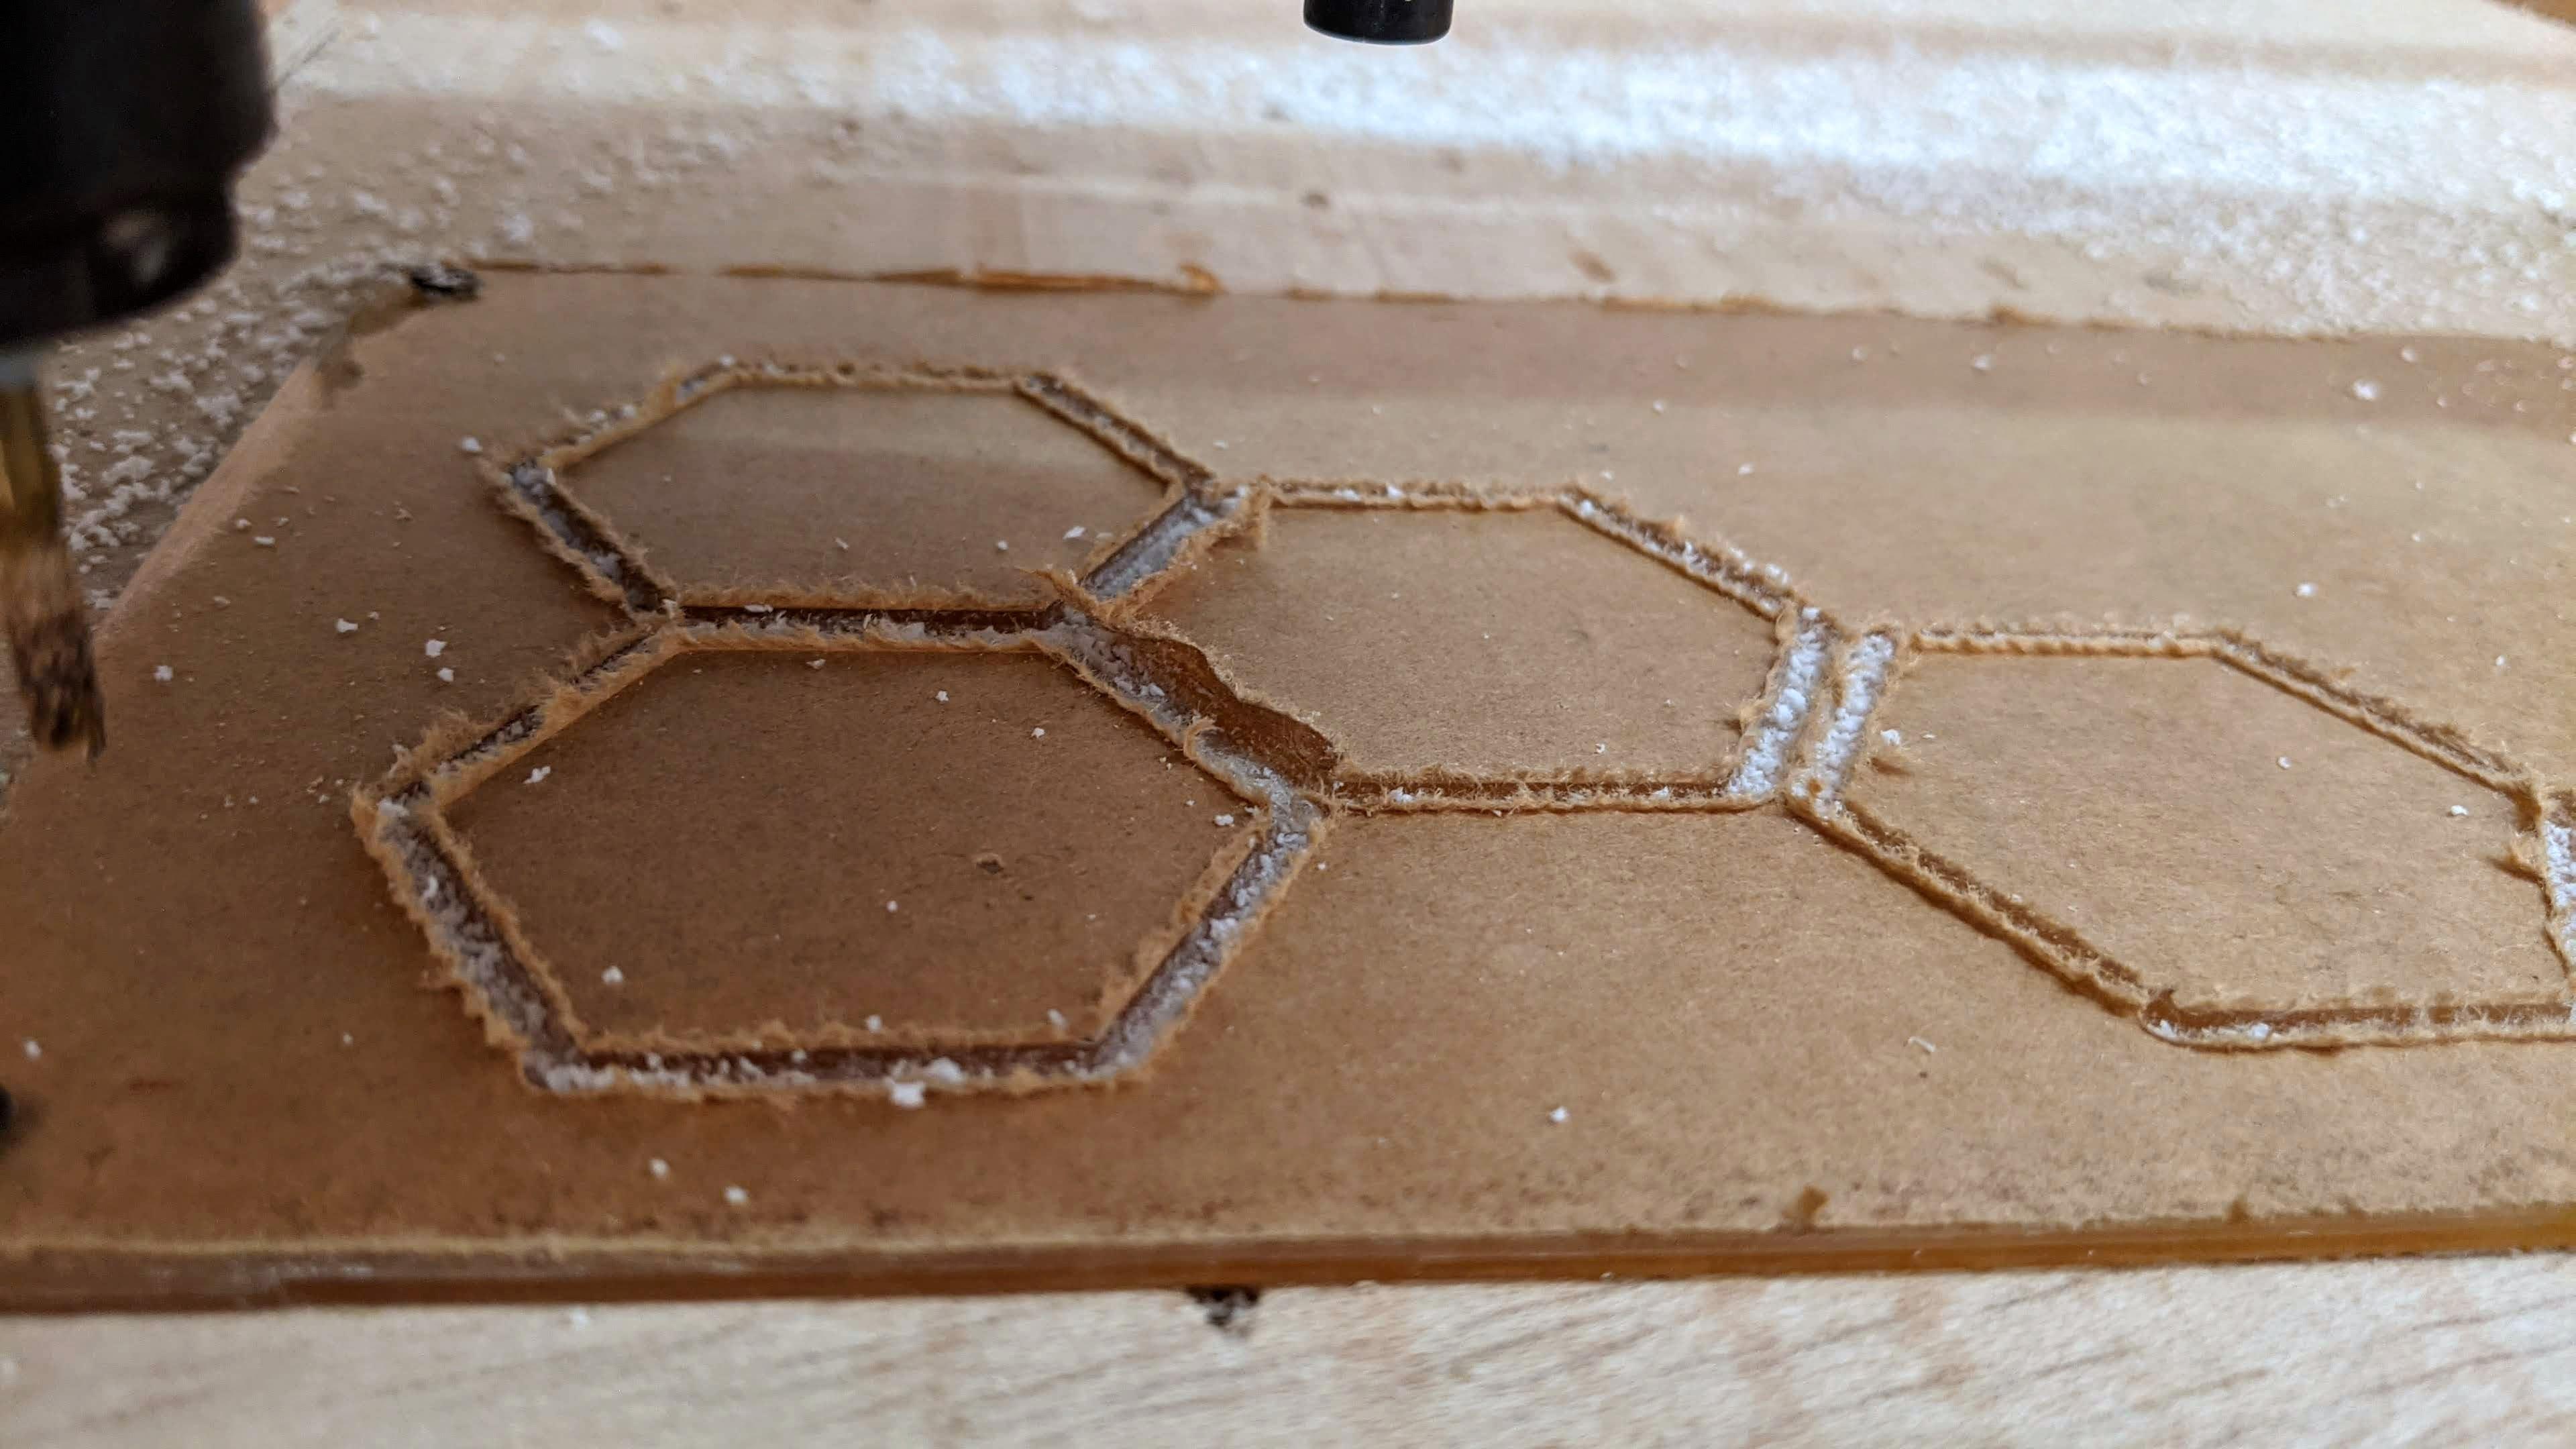
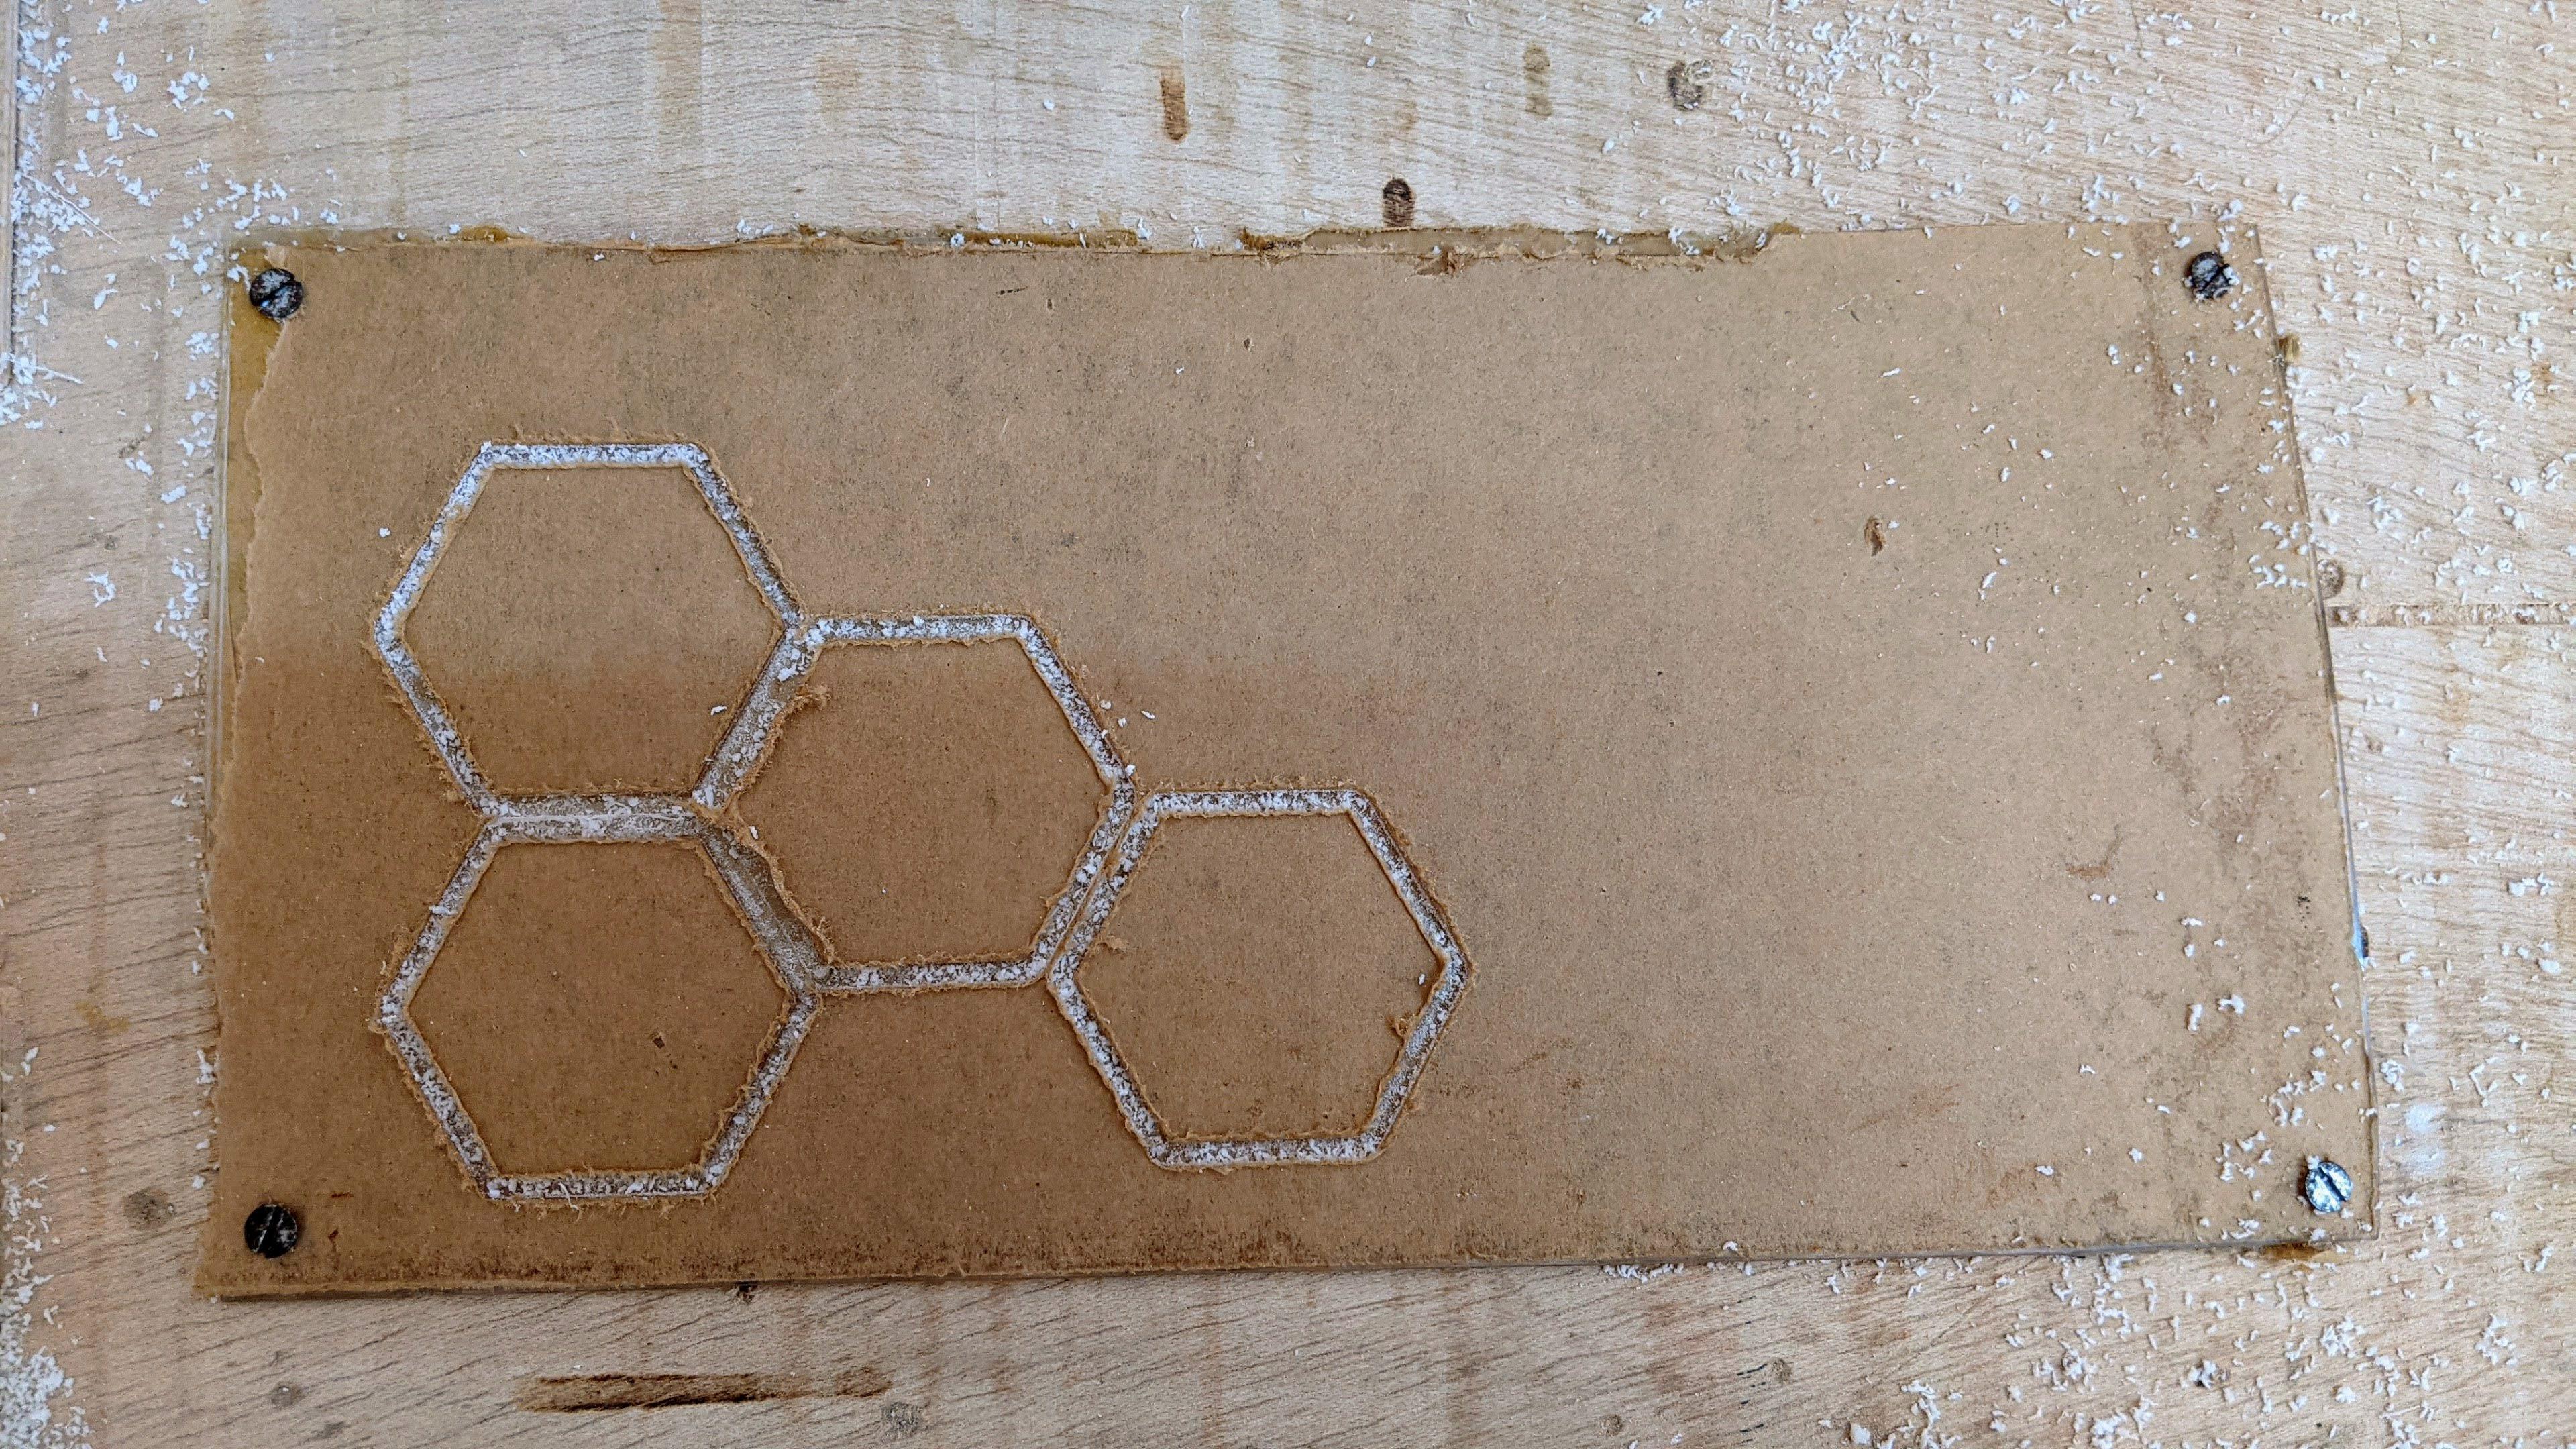
In this part we are going to cut acrylic to obtain the hourglass window; it is a hexagon we need 4 pieces.
- import the dxf file of the hexagon into the CAM software of your choice depending on your machine possibly (ligthburn) for laser engravers and cutters; (for my part I use the cambam software because I machine on a CNC)
- create the toolpath to cut the contours (there are plenty of instructables that talk about this)
- attach the piece of acrylic to the machine
- start cutting and wait a few minutes
- after machining, ensure that the parts are without cutting well and possibly correct them with a file to have straight and clean contours
warning
At this stage I would advise you not to remove the protective sheet from the acrylic yet to avoid marring the surface during handling.
Downloads
Check the Sand
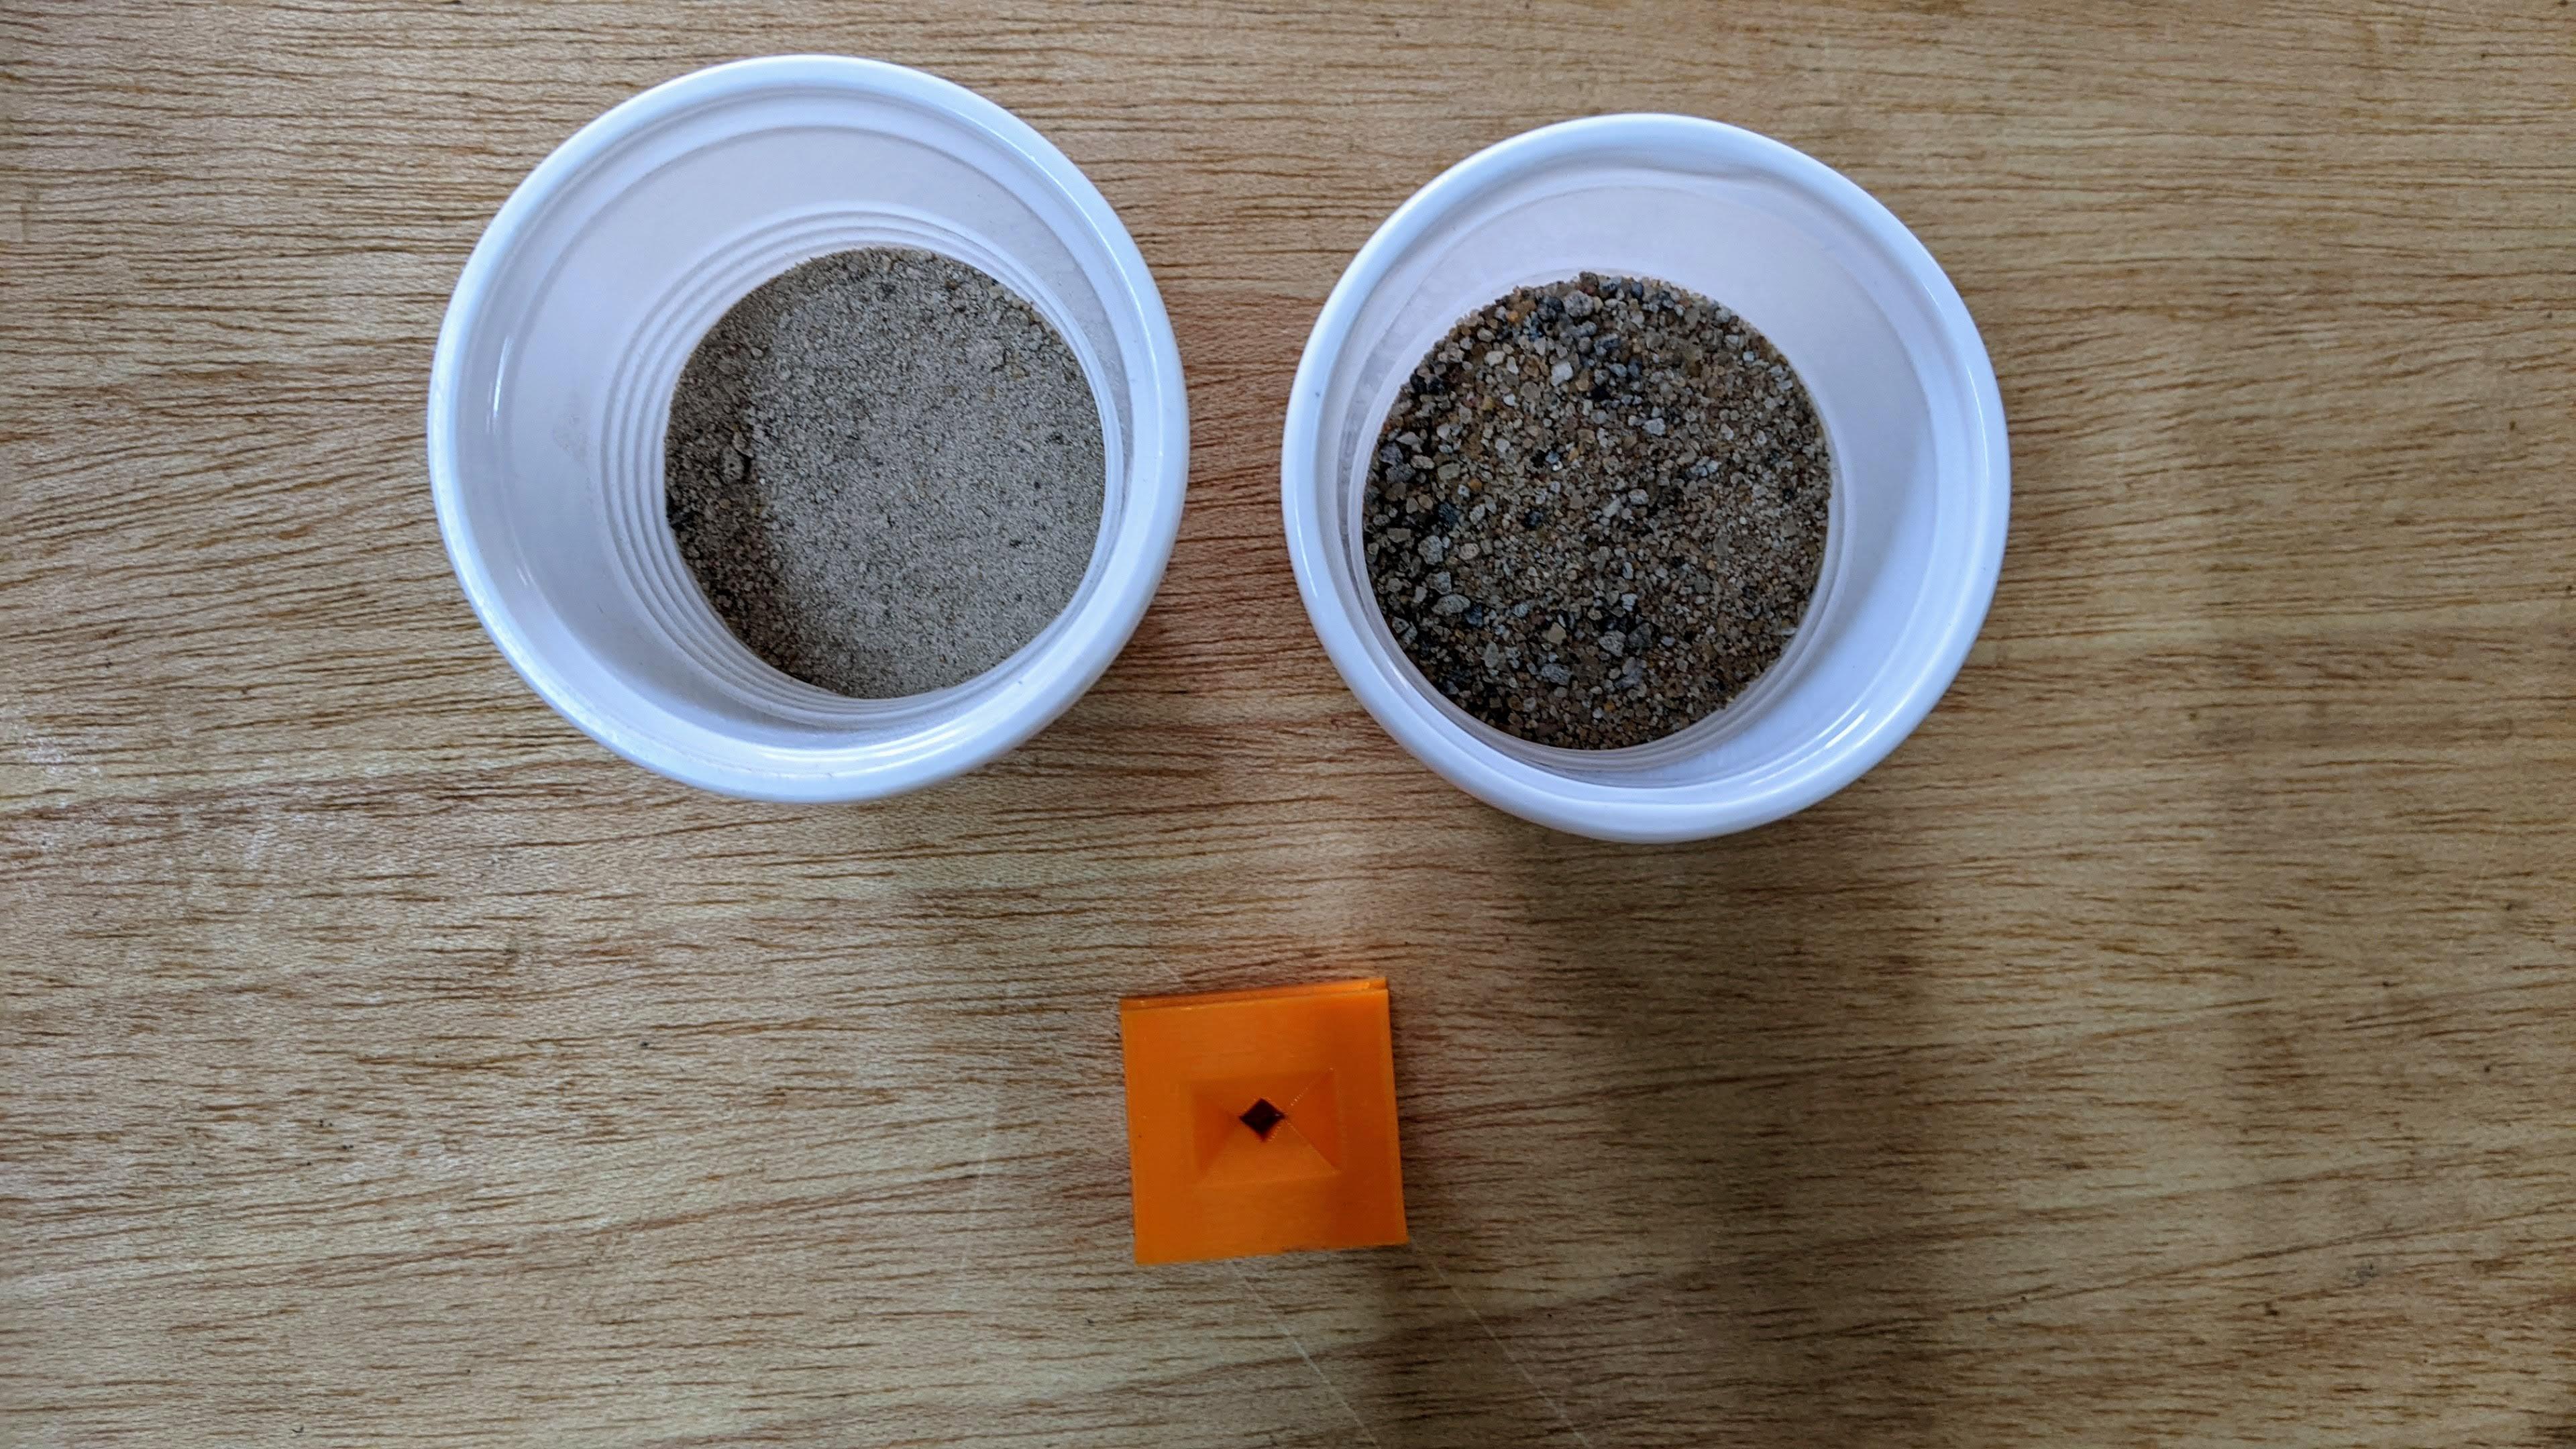
This section allows you to check whether the grains of sand, once sifted, can actually pass into the hole provided for this purpose. To do this, you must print the attached document; it is the central part of the hourglass and once printed we pass sand inside to see if all the grains pass without problems.
Downloads
Slicing
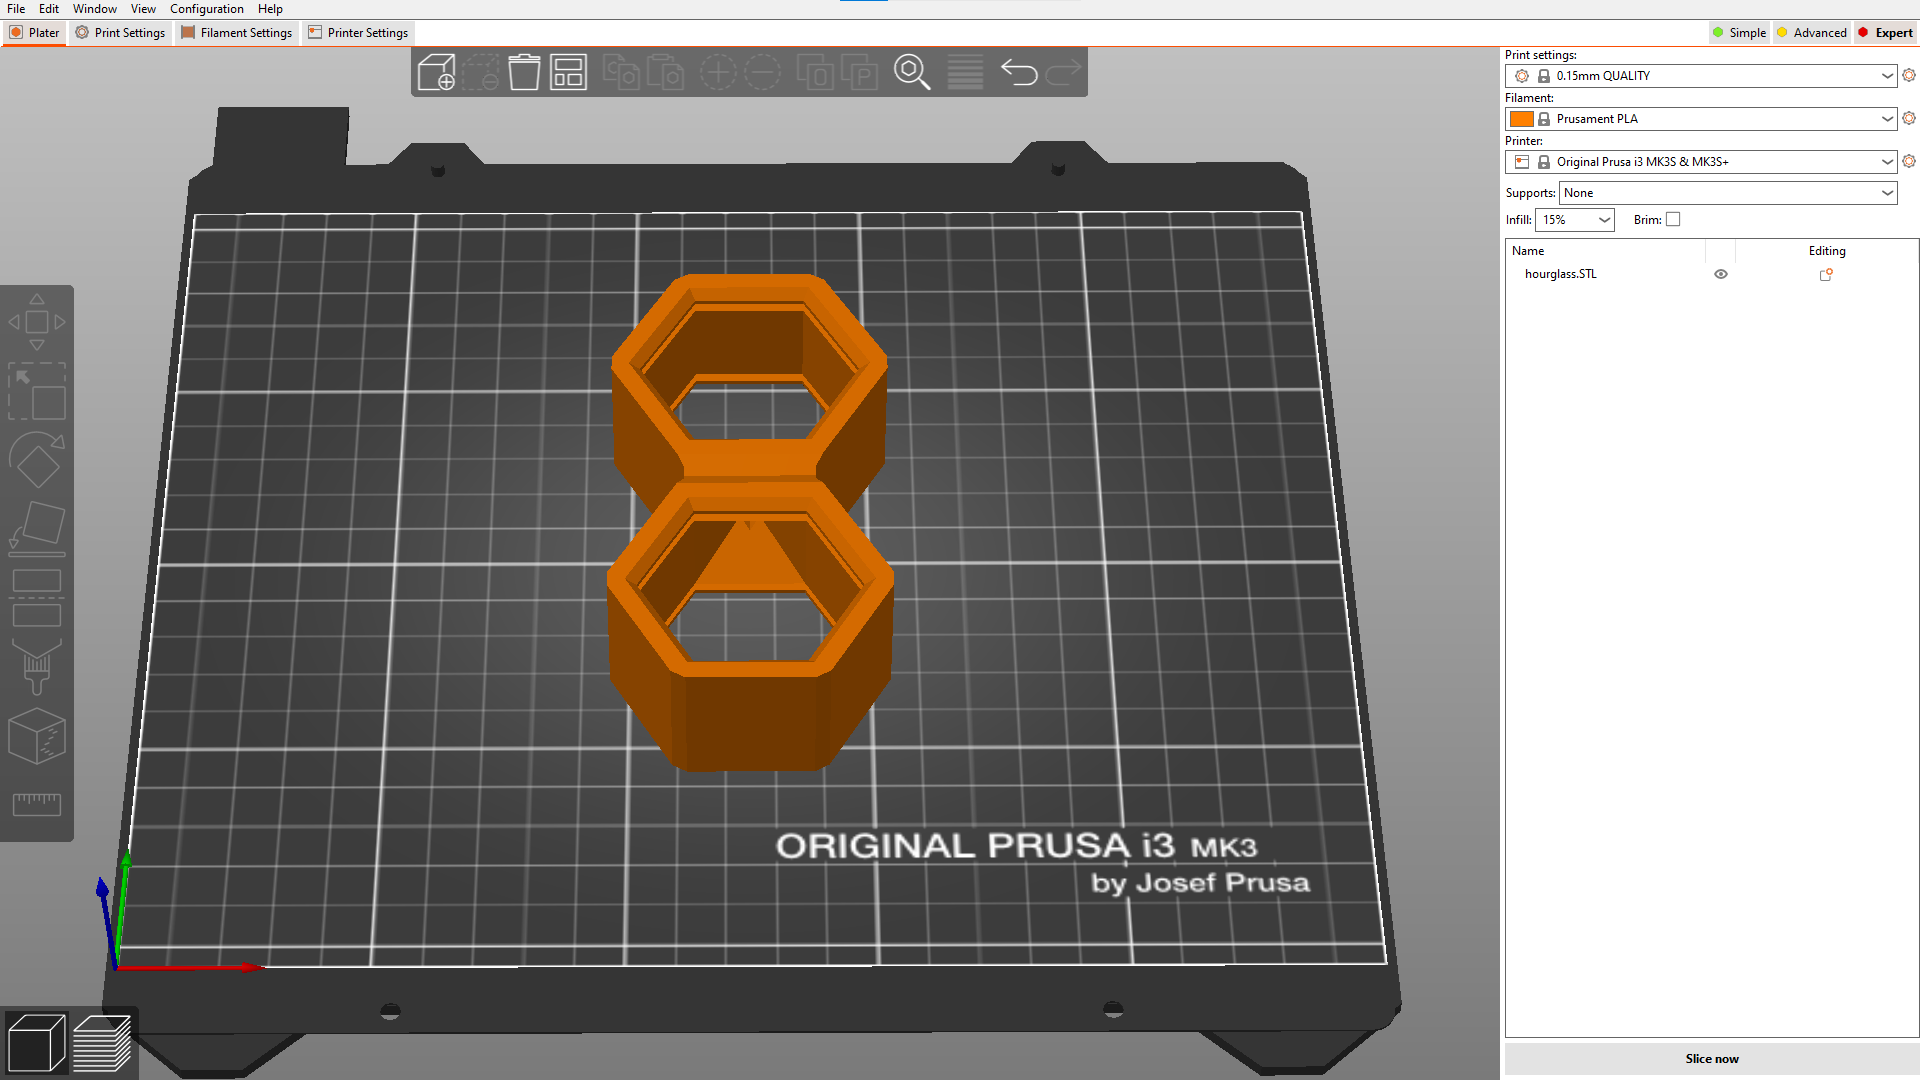
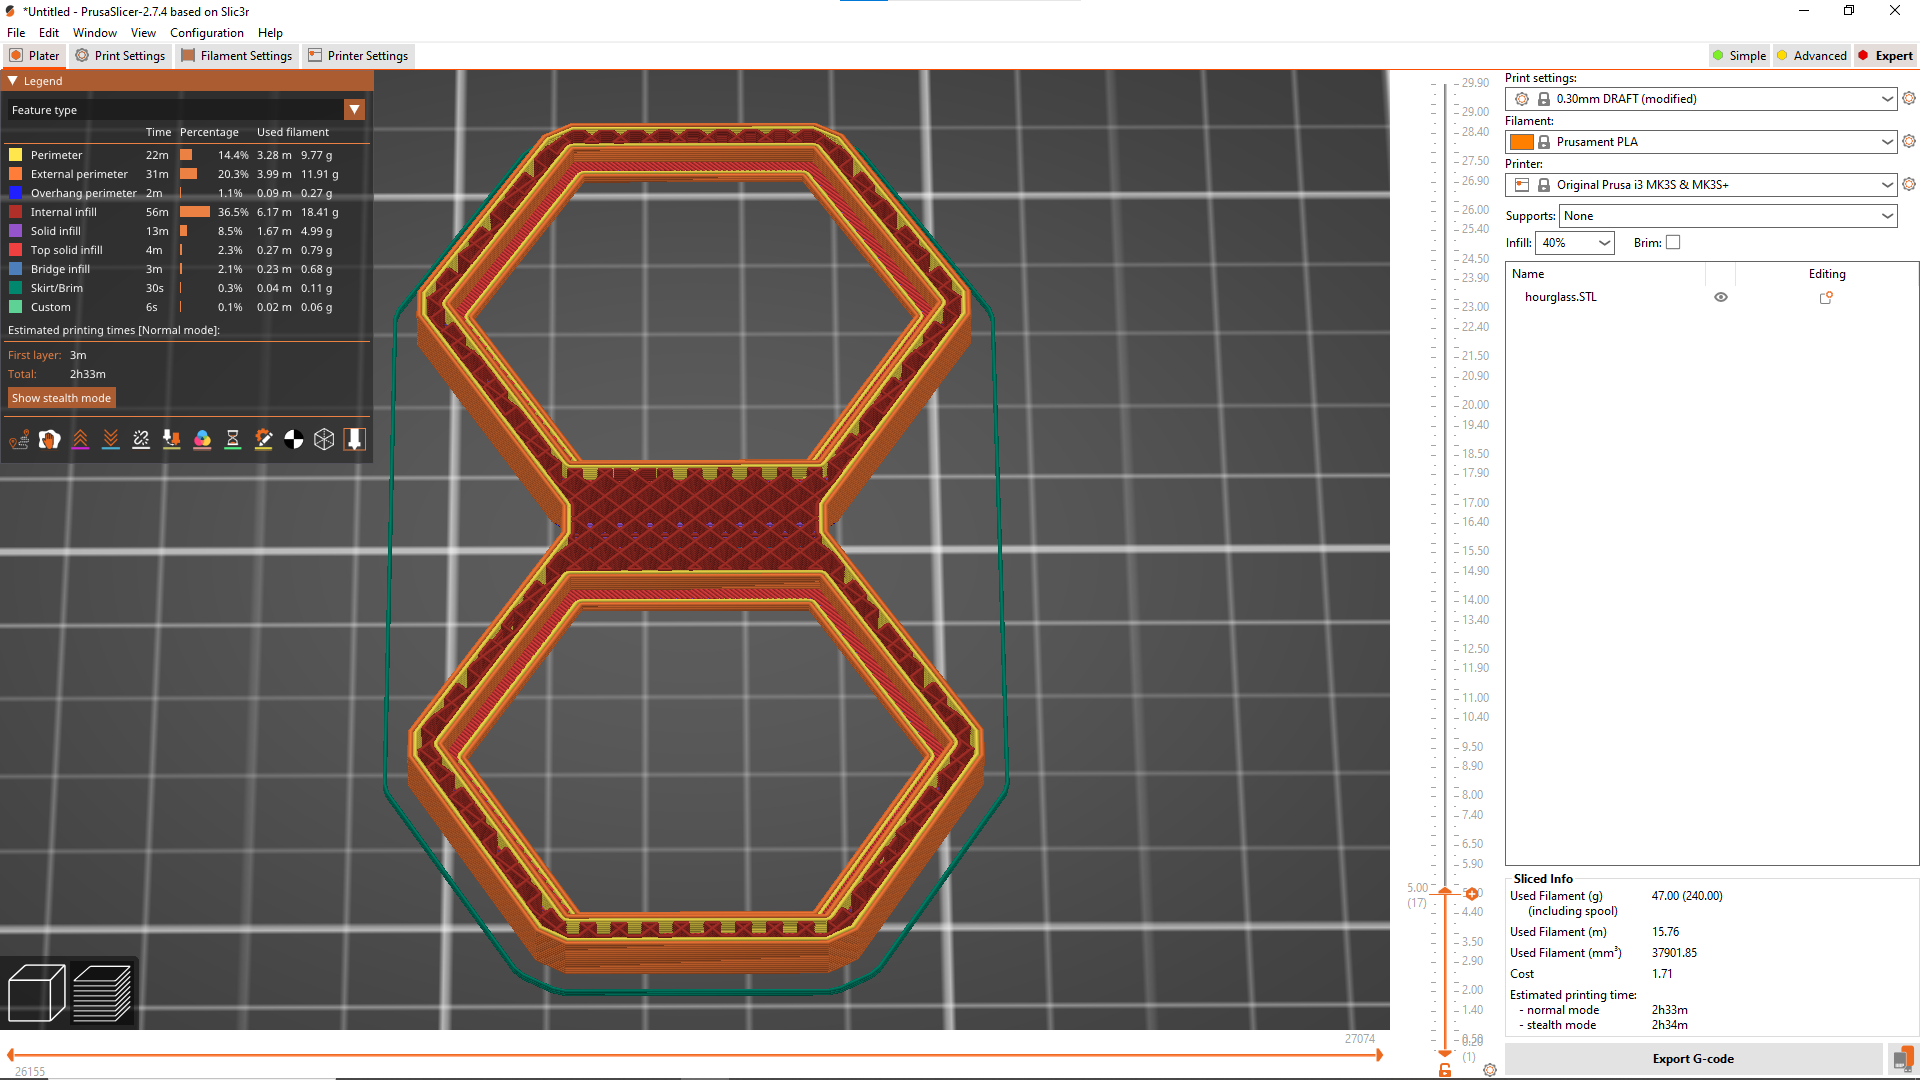
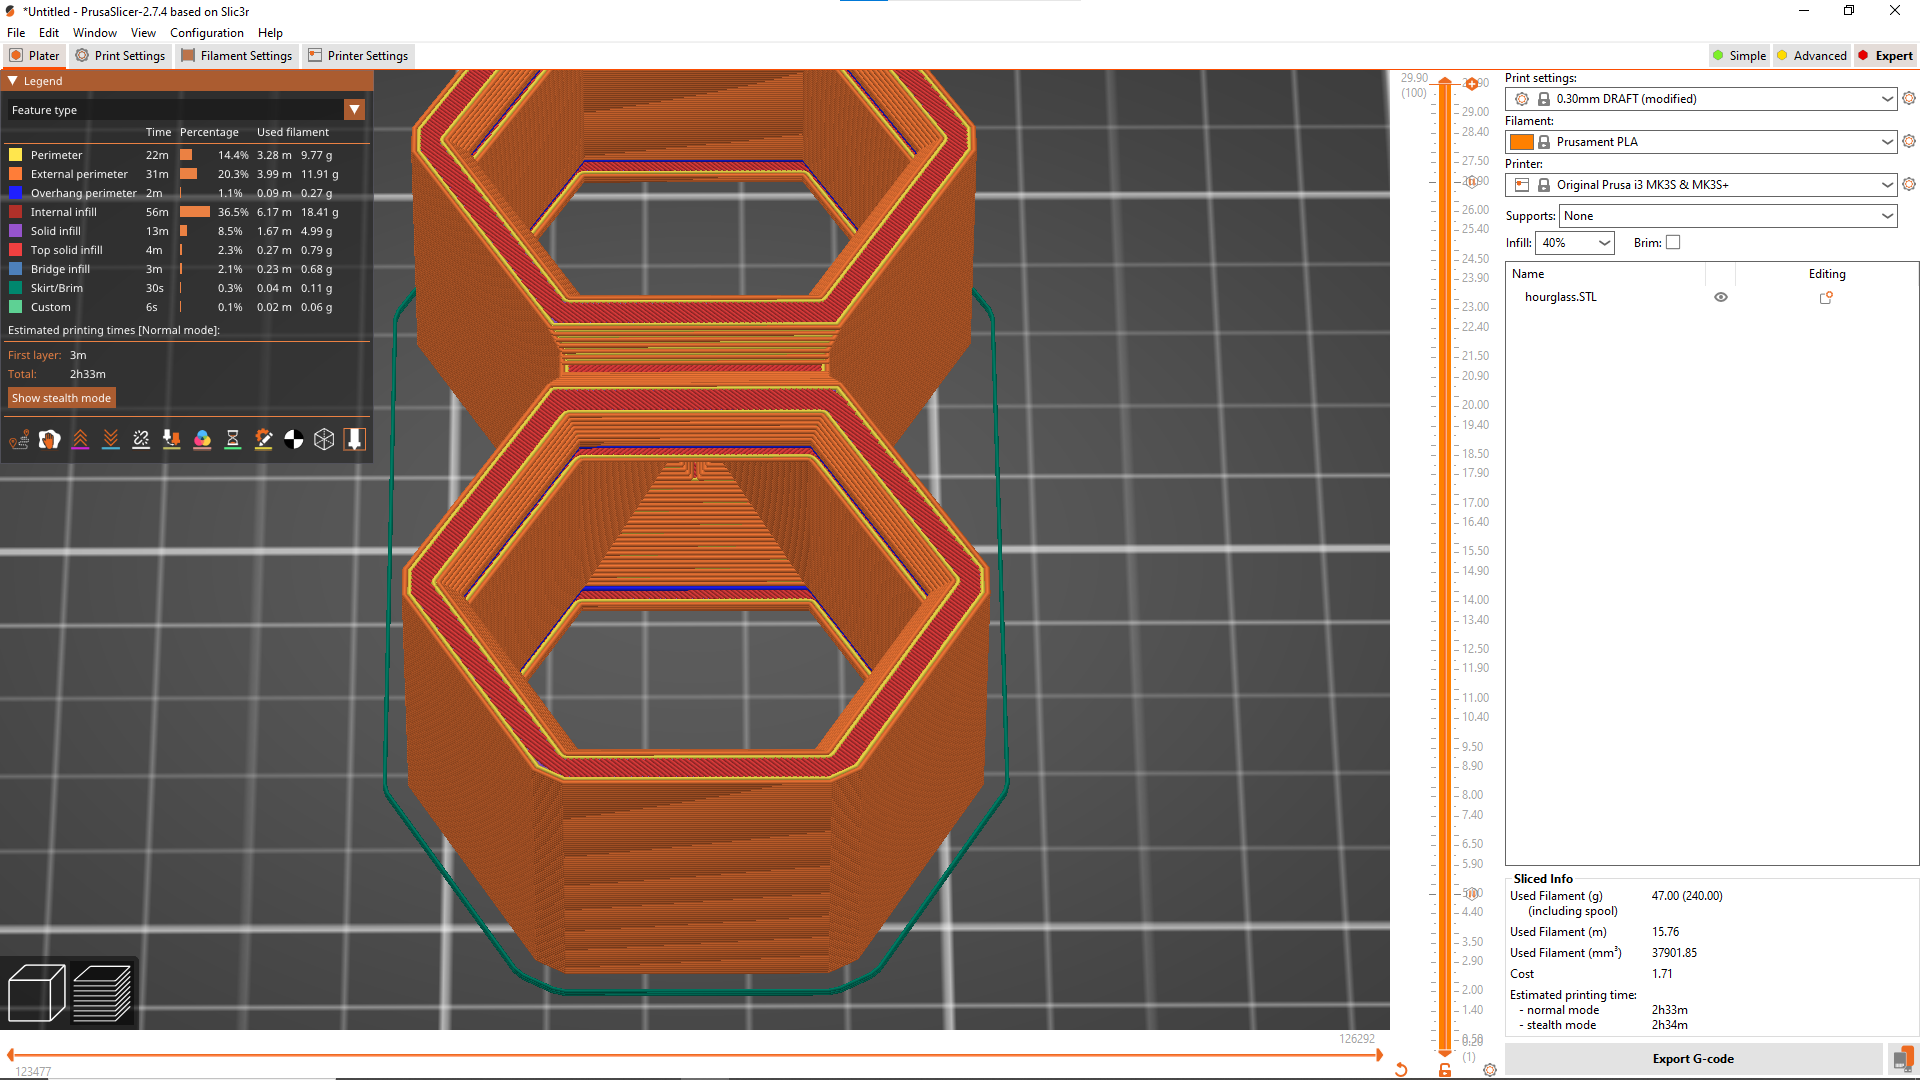
This step summarizes all the manipulations to be done before launching the 3d printing of the hourglass; the success of the project will essentially depend on this part.
- first import the STL file of the hourglass into your slicer (I use prusa slicer)
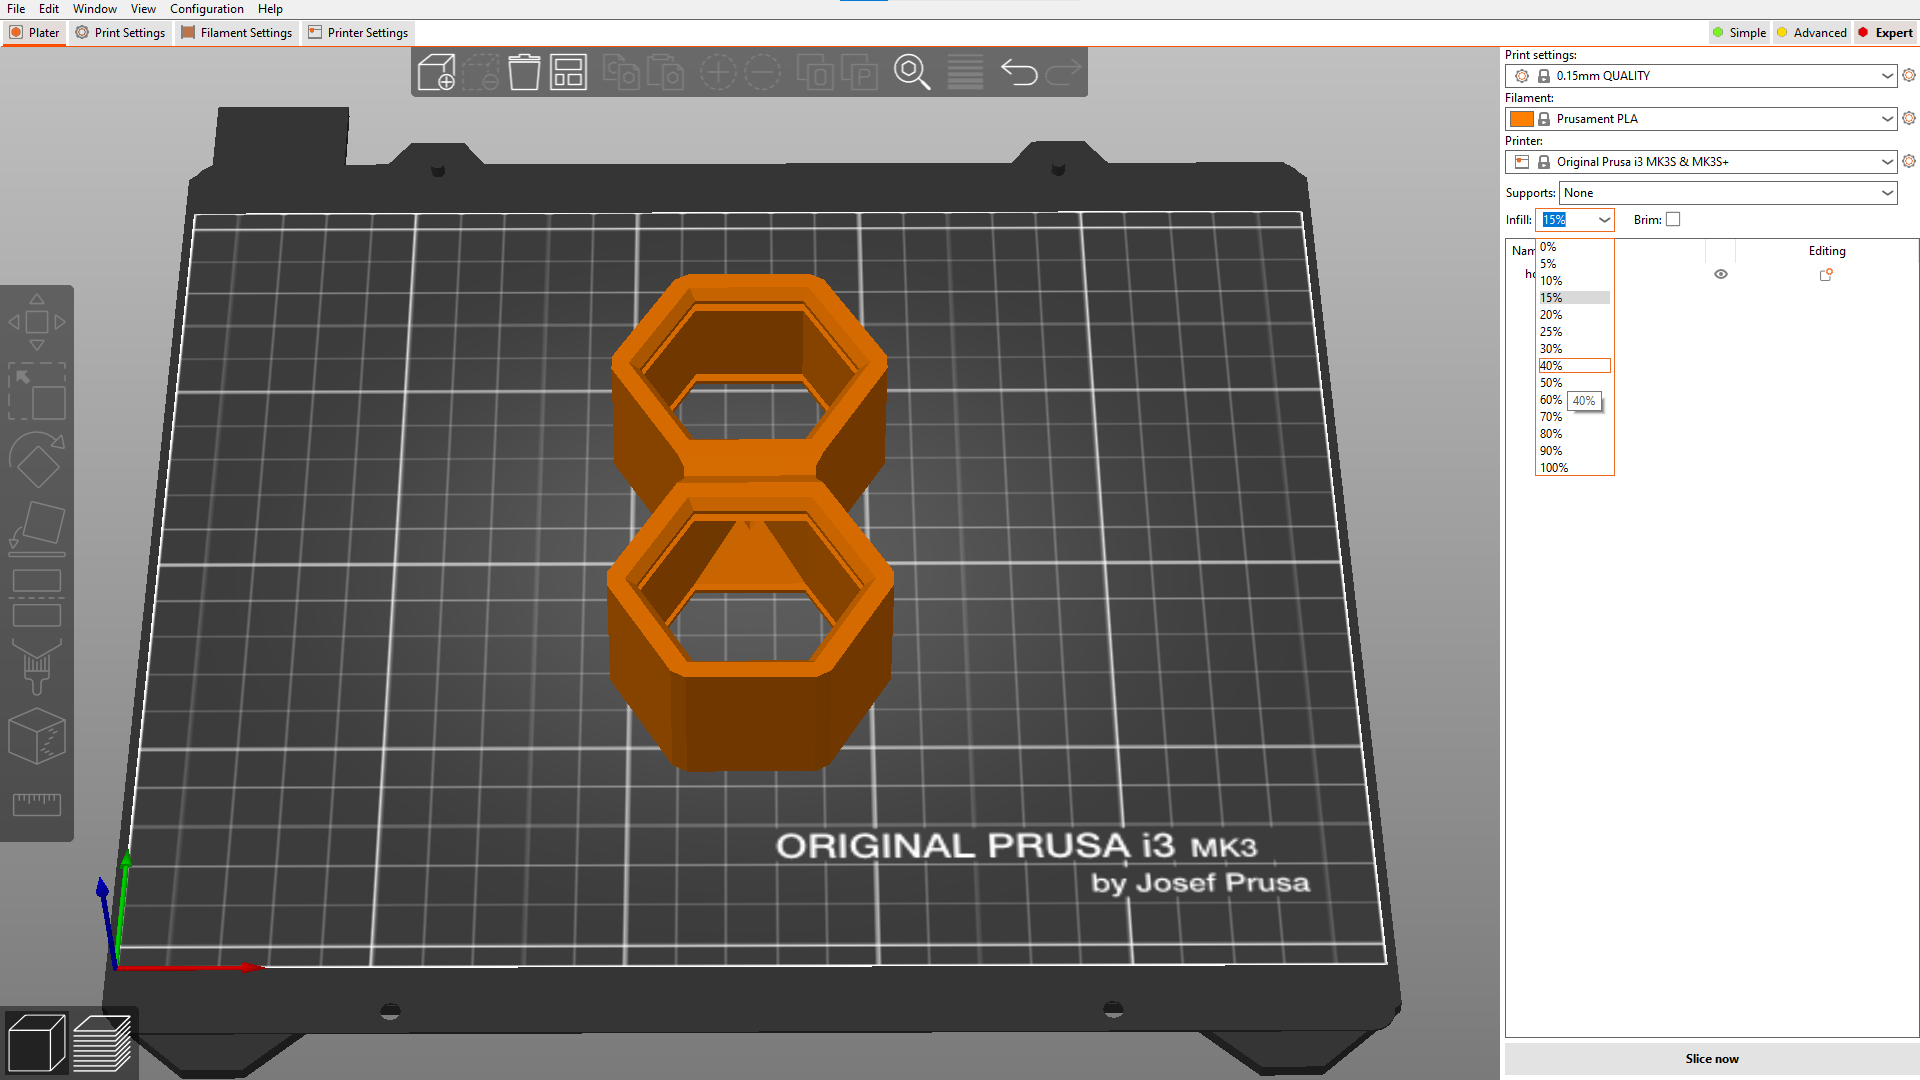
- choose the printing parameters:
- filling: 40 percent
- layer height: 0.3 (I use a 0.4 nozzle)
- type of filling: optional
- material: PLA
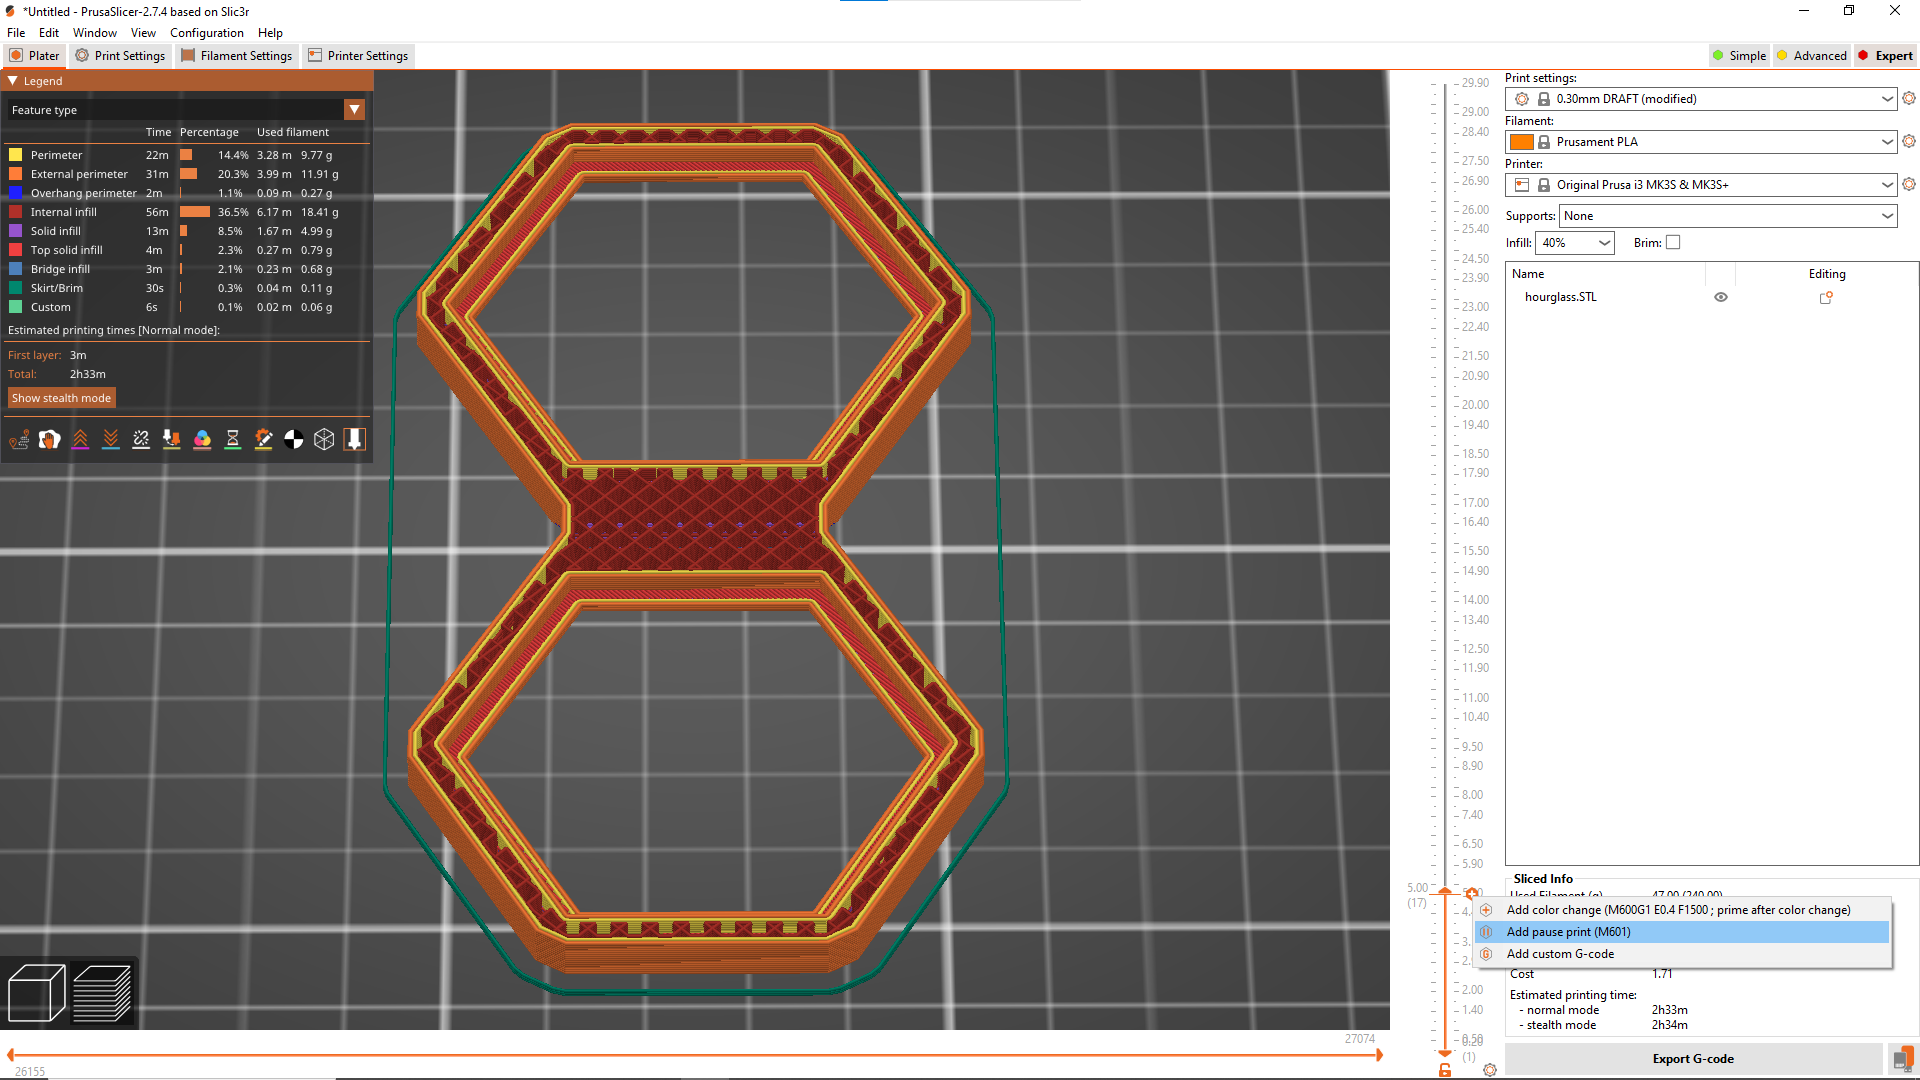
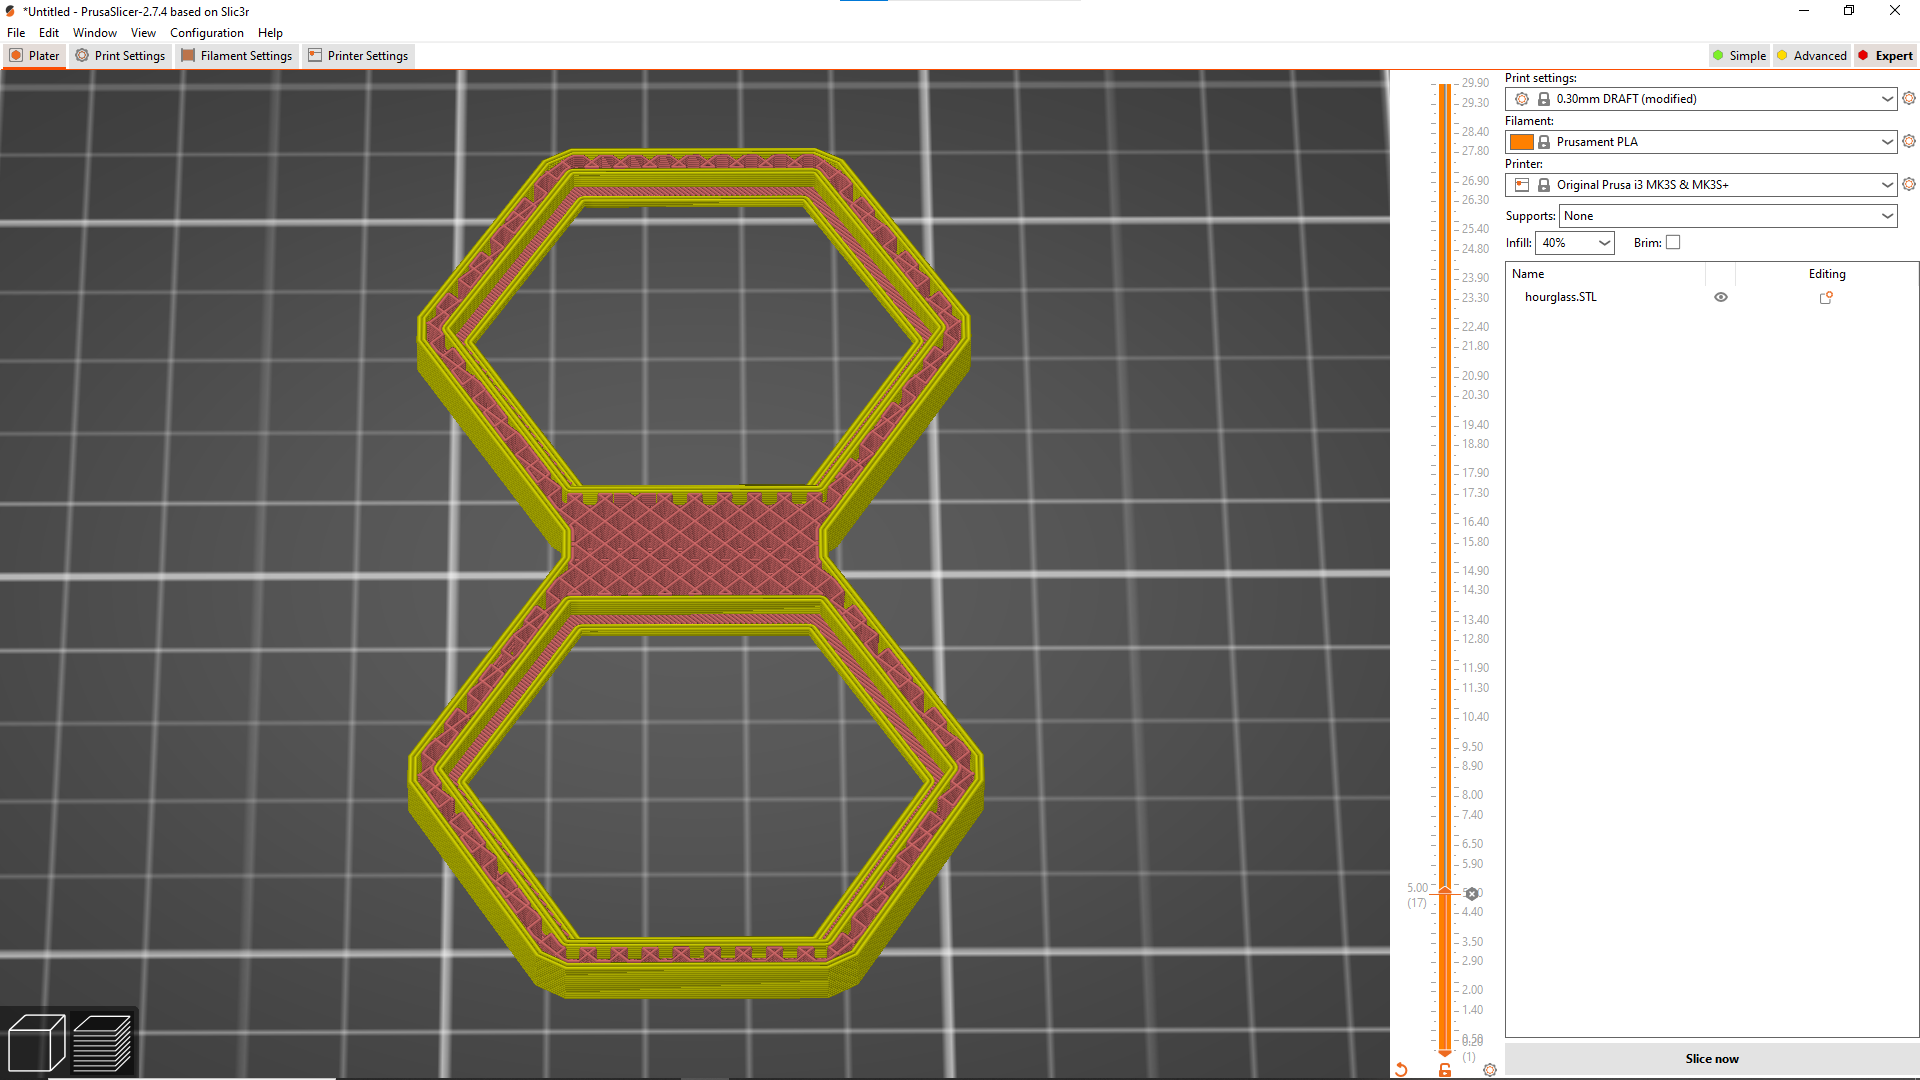
- click on the preview button
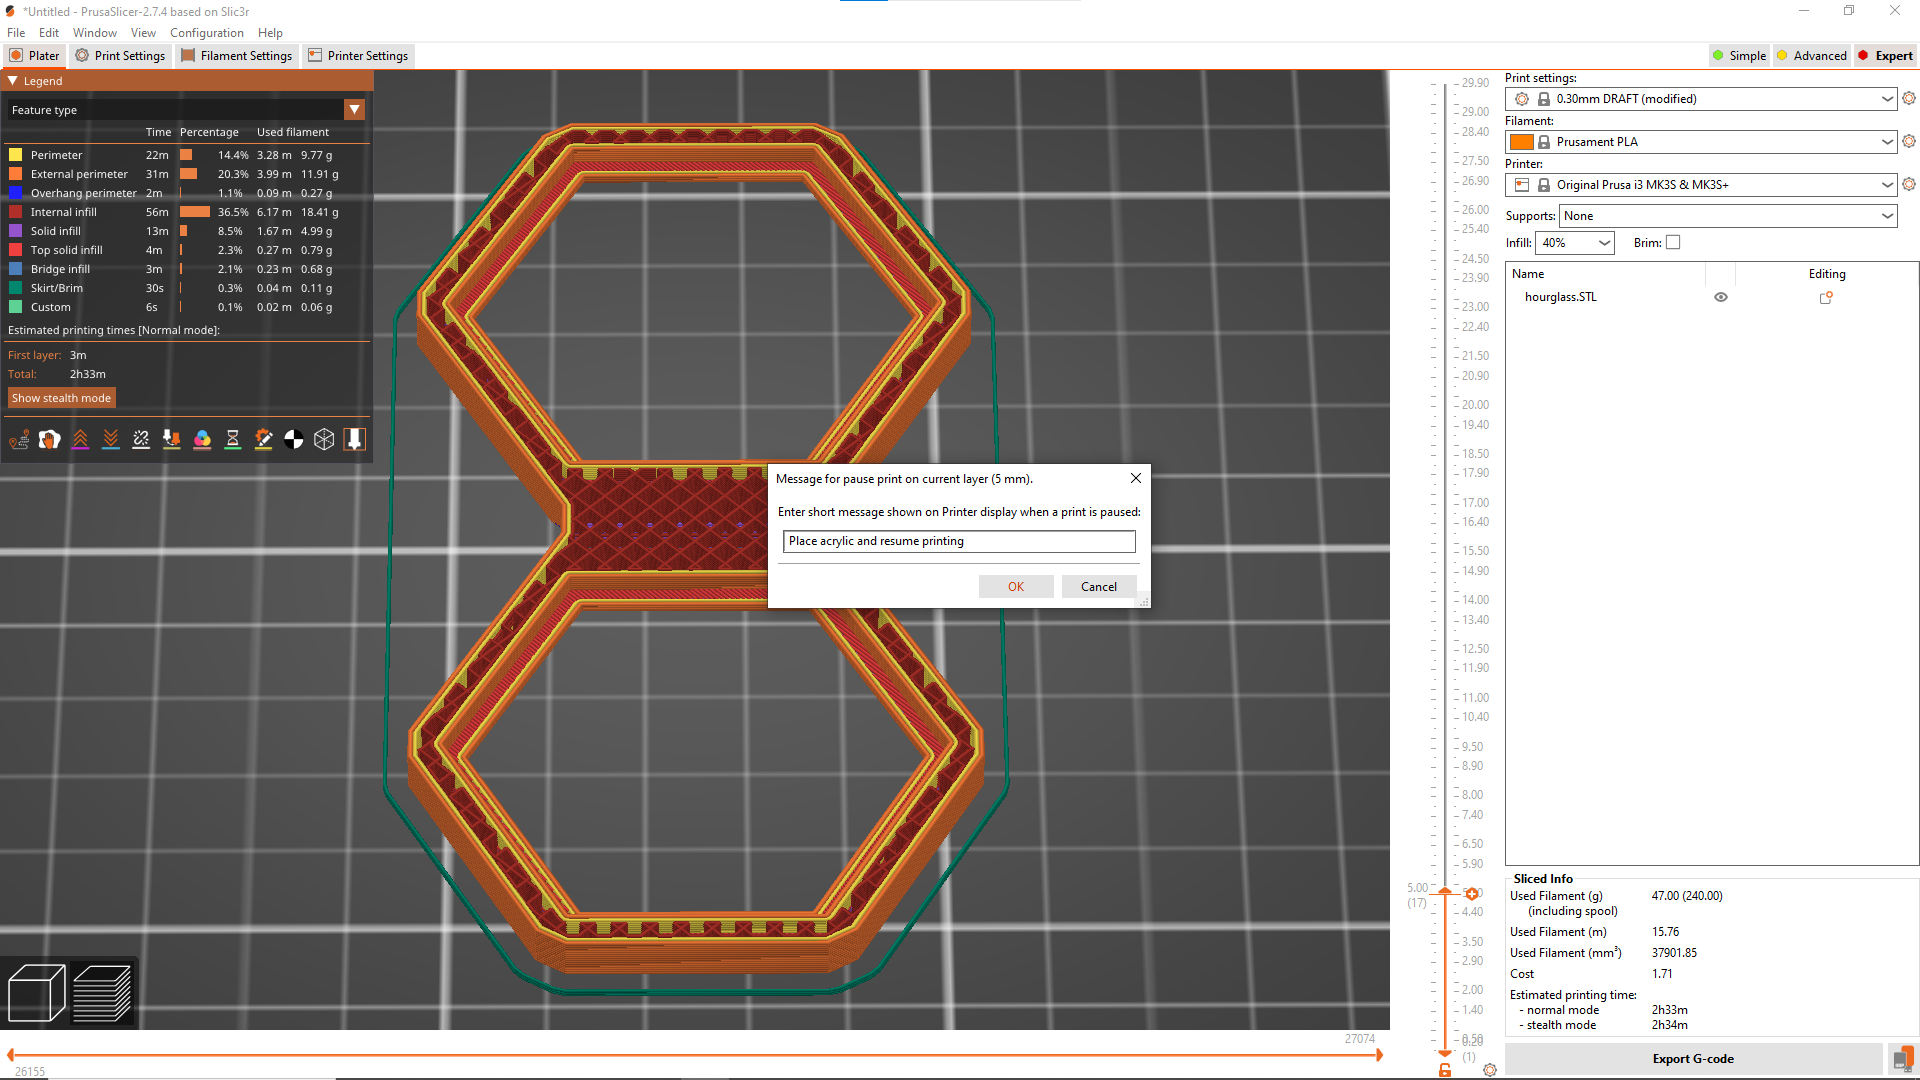
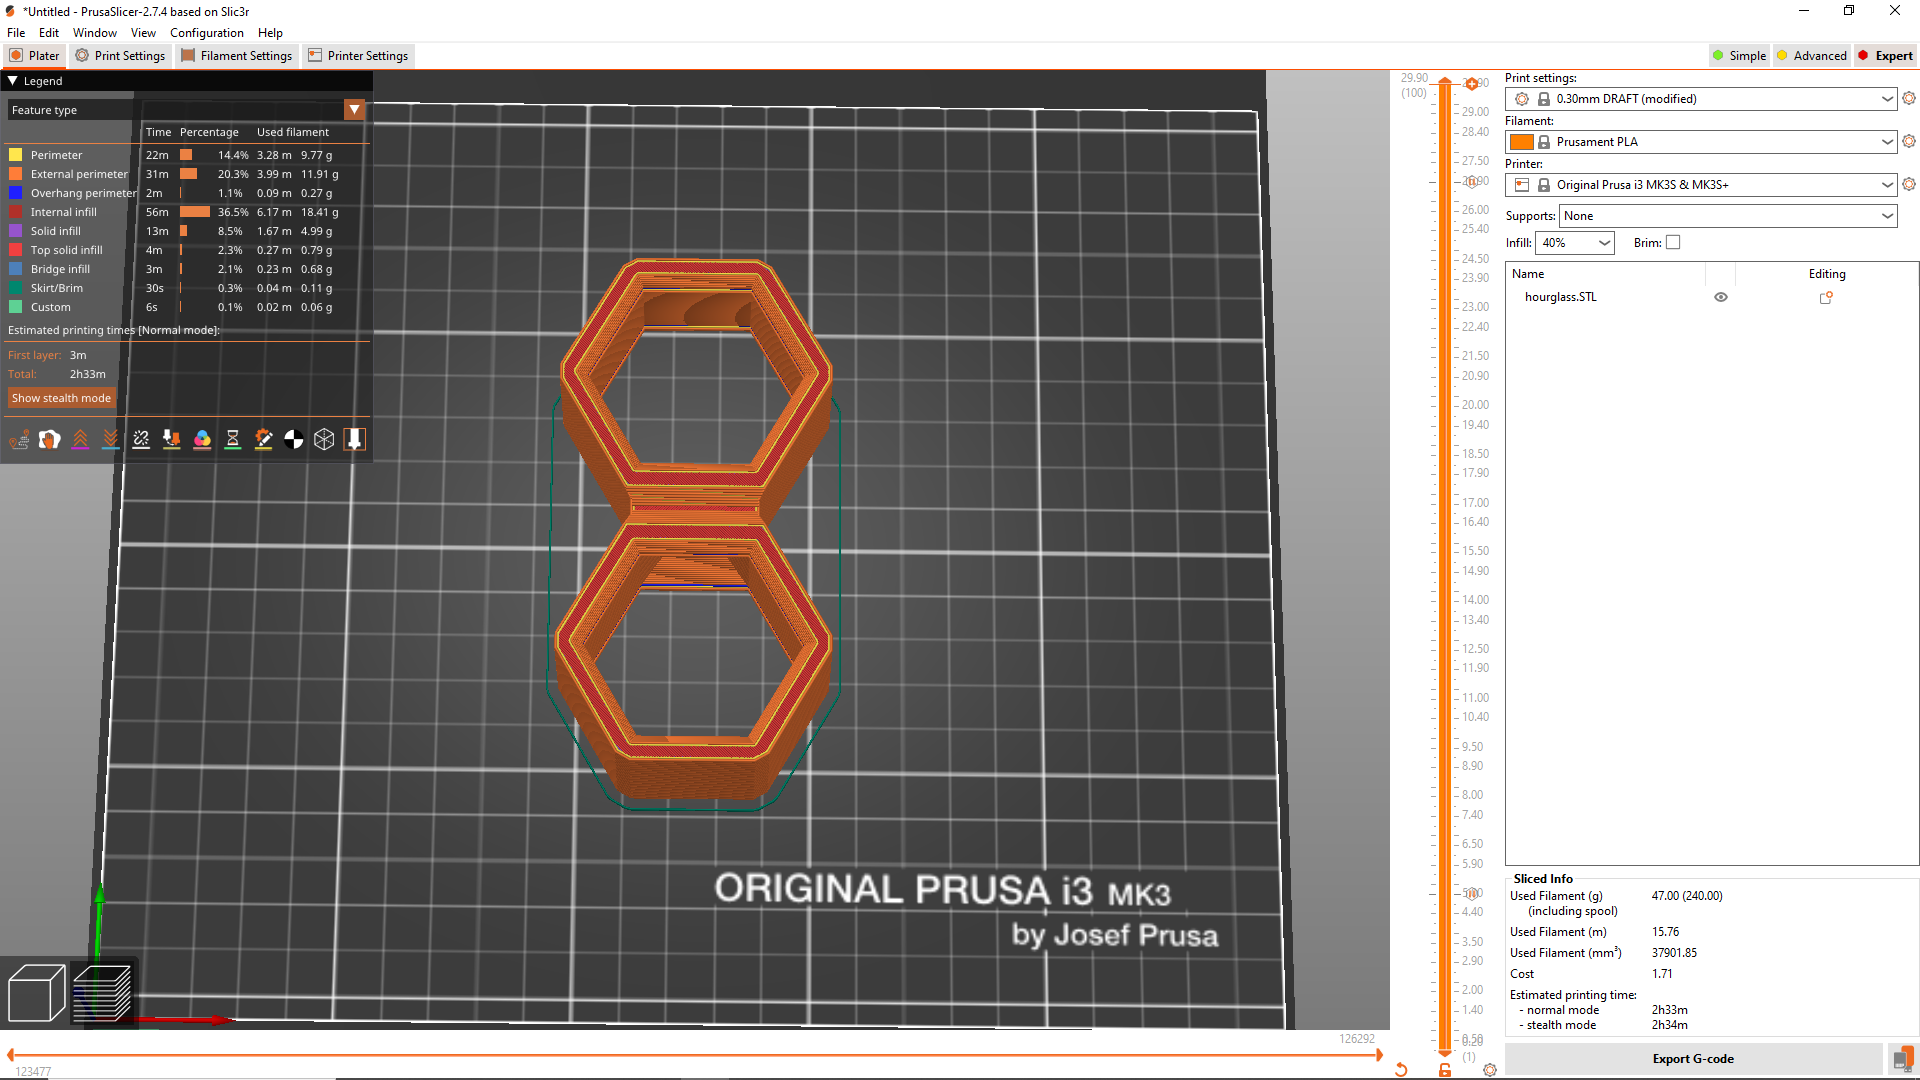
- after that we add a break to the printer at a height which will allow the acrylic to be placed (refer to the images)
- a dialog box appears to enter a message which will be displayed on the printer screen during the pause (message add acrylic)
- then we add a second break which will allow us this time to add sand and the last layer of acrylic
3d Printing First Pause Layer
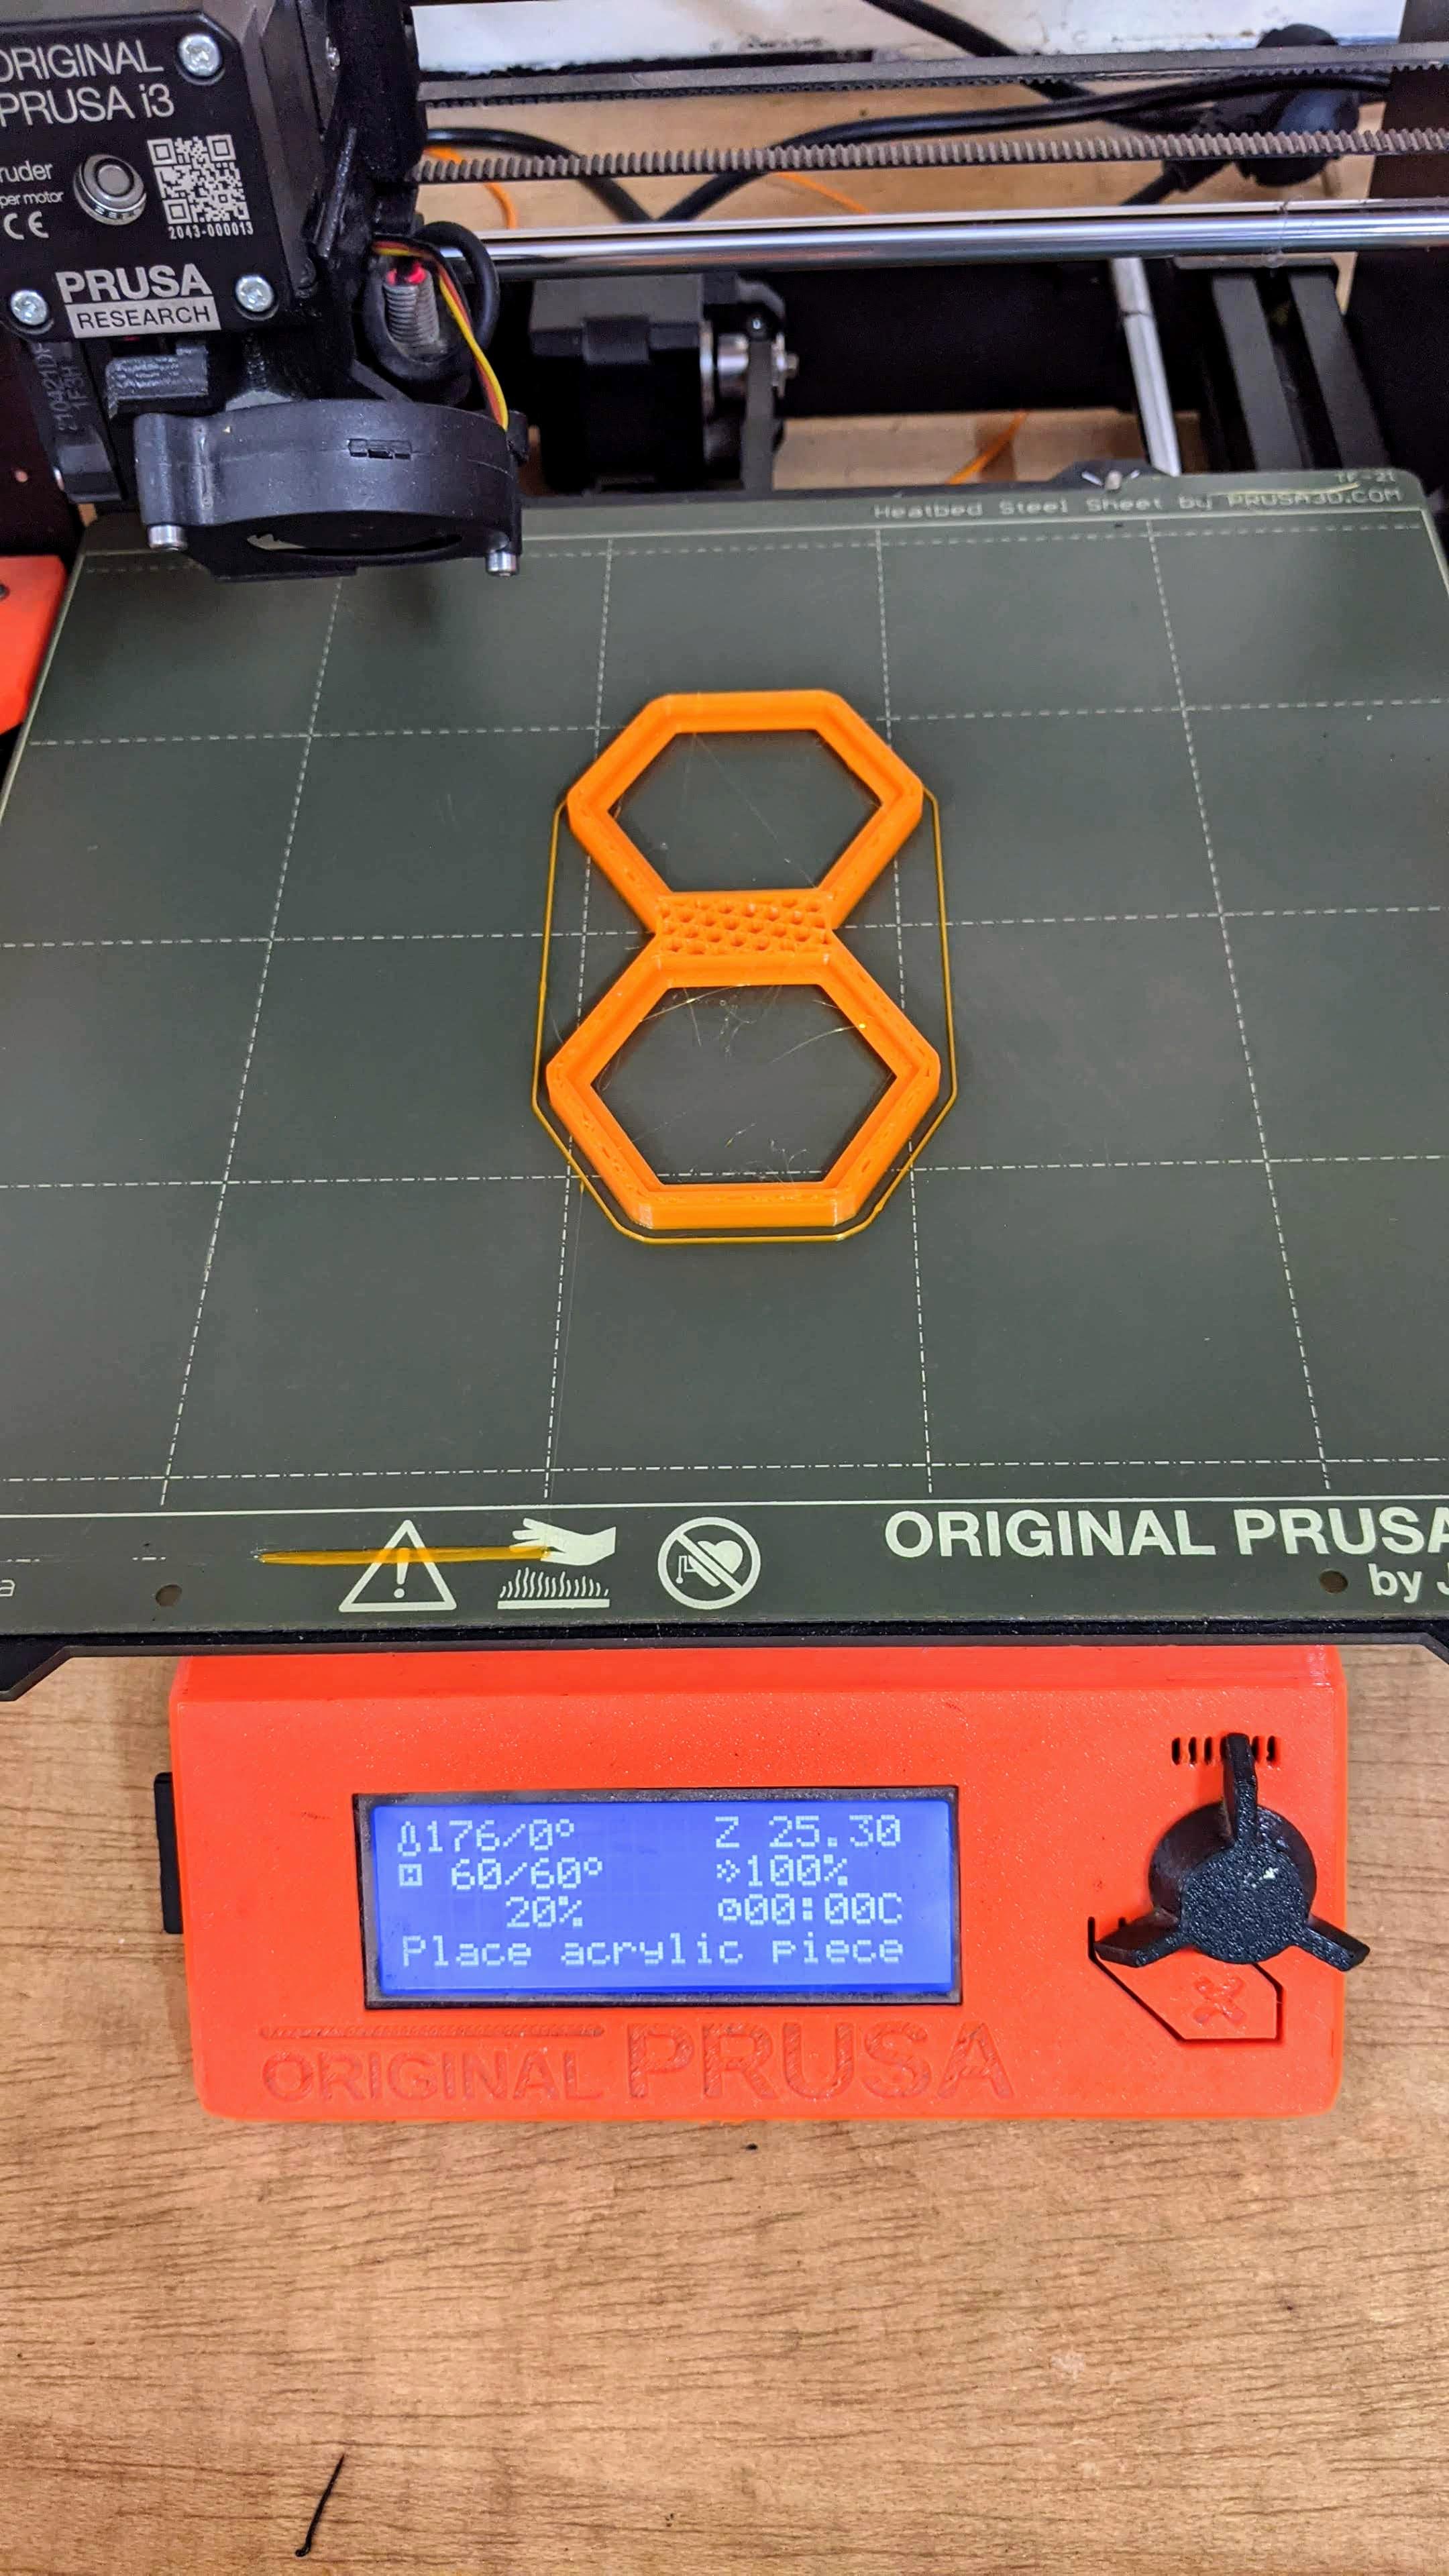

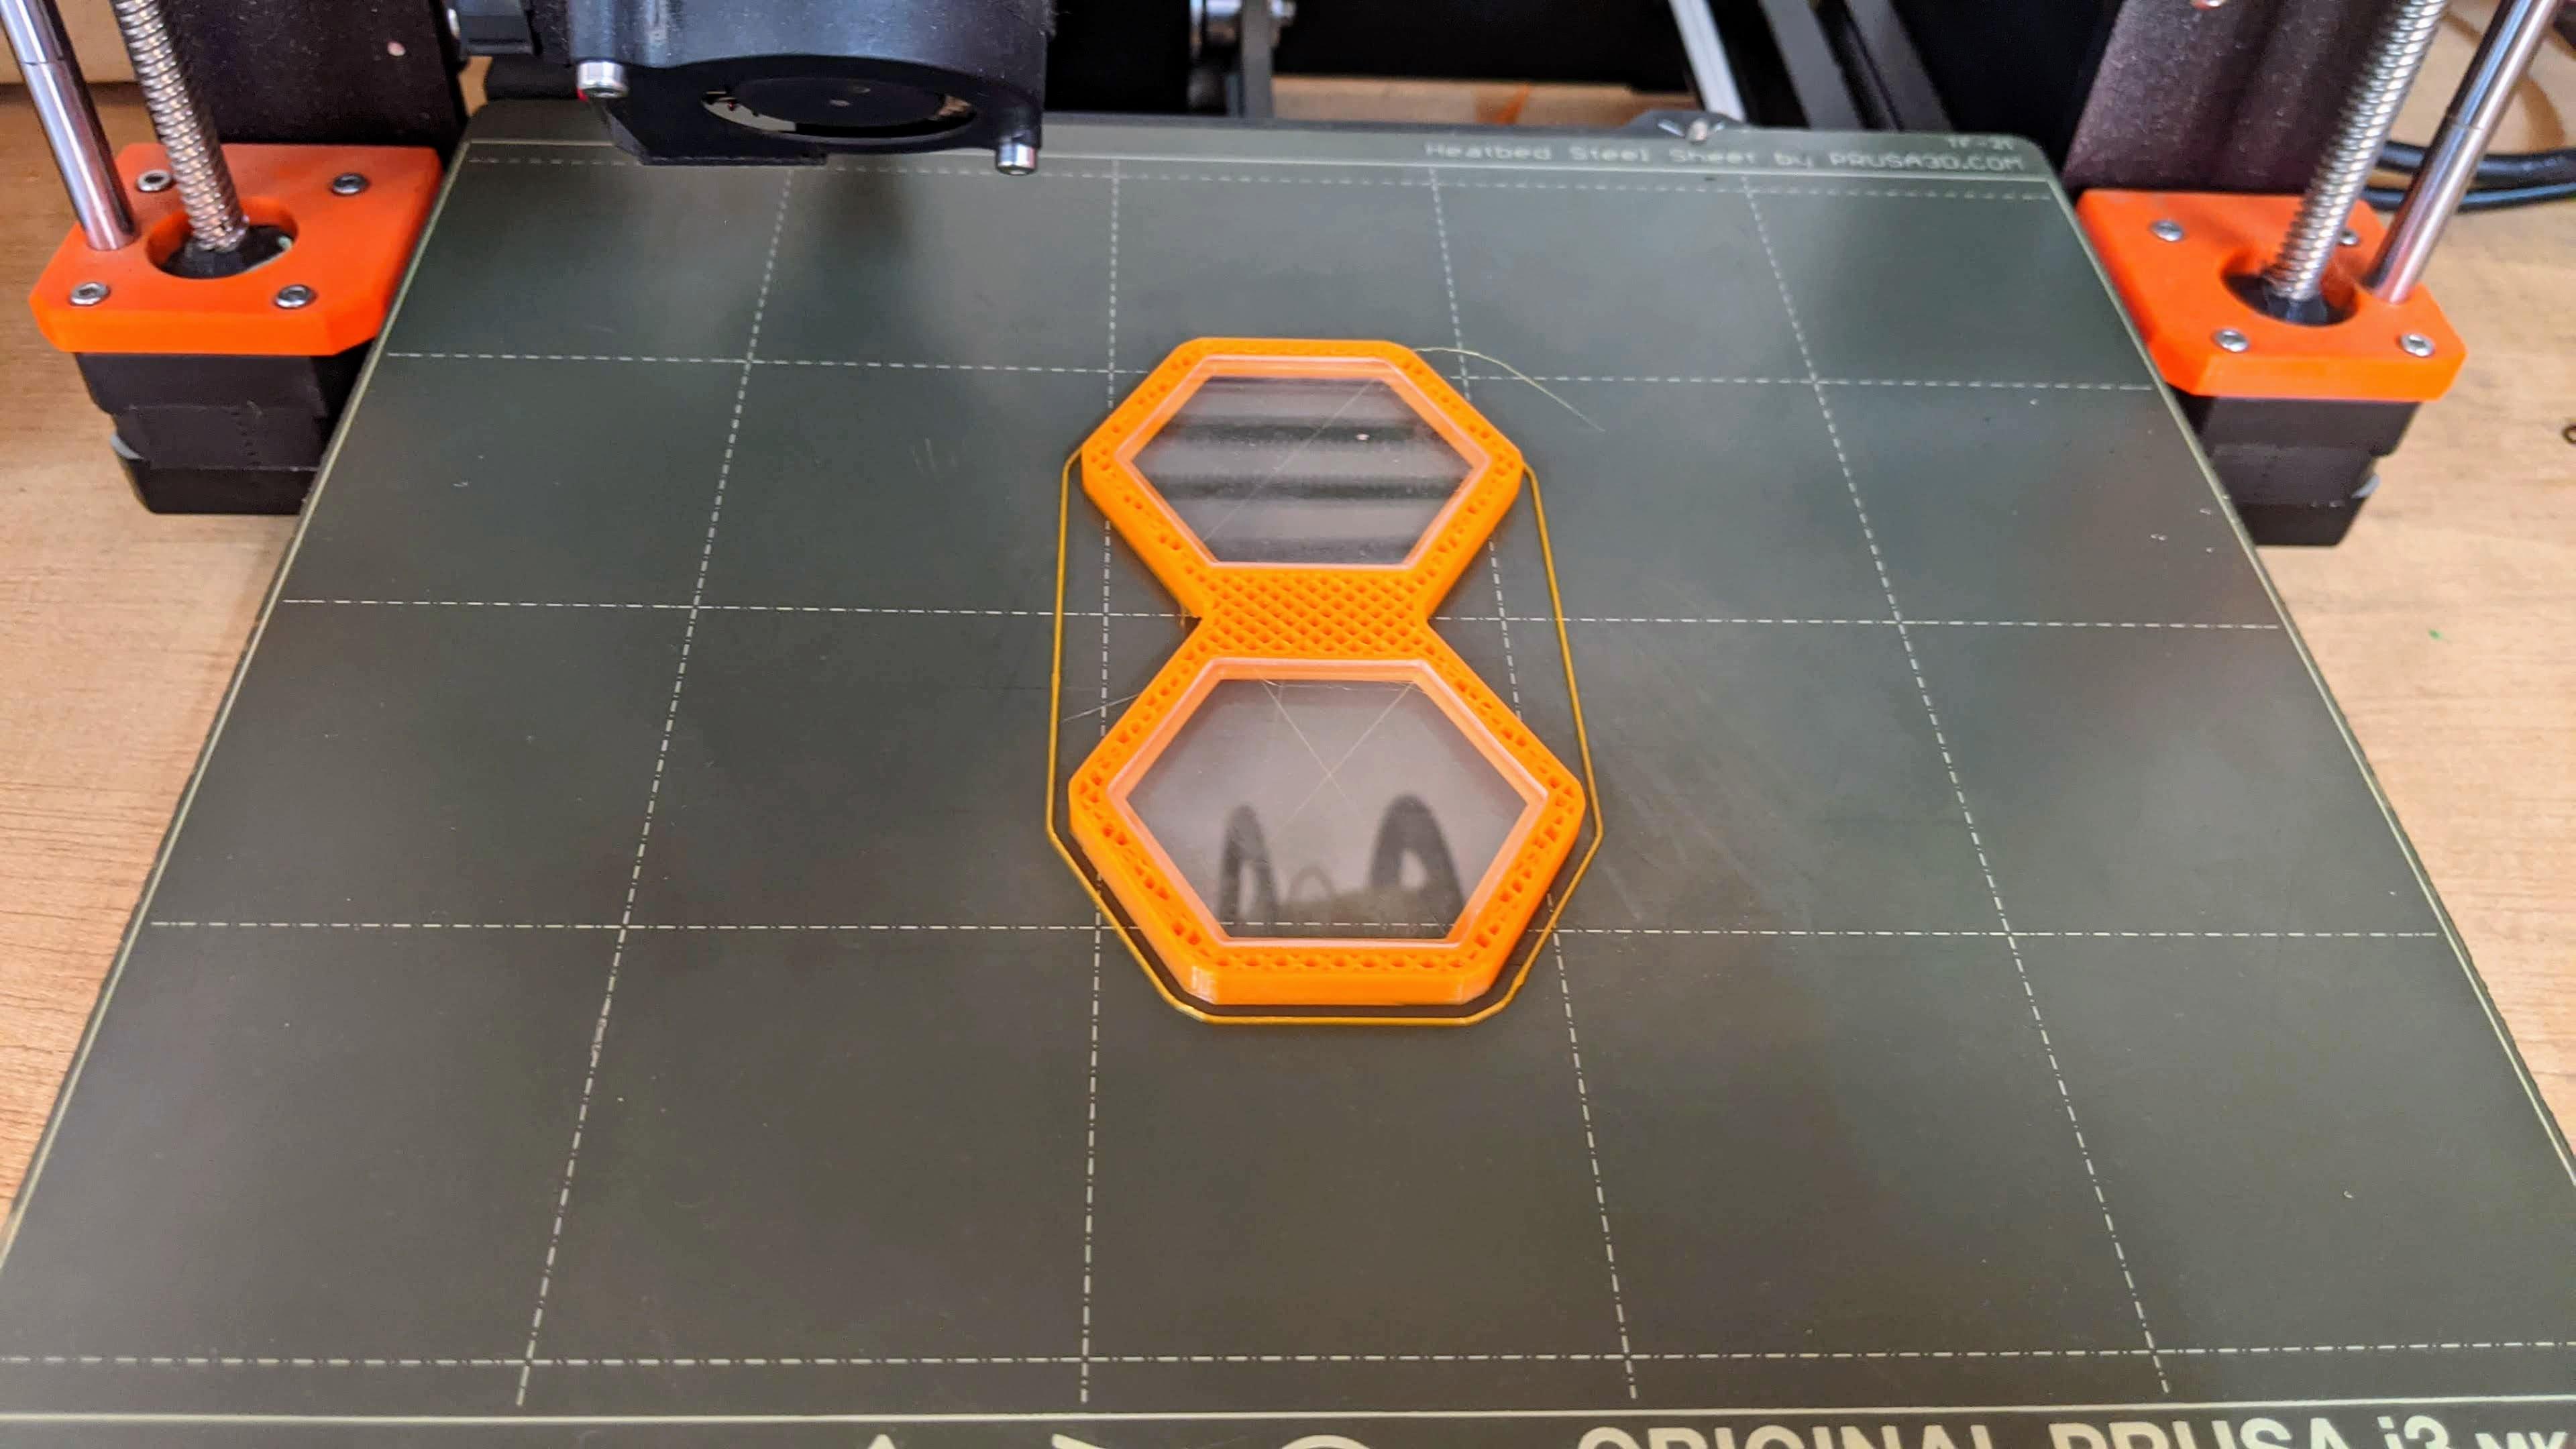
- copy the gcode obtained onto a memory medium and start printing the part
- wait until the printer reaches the first pause layer
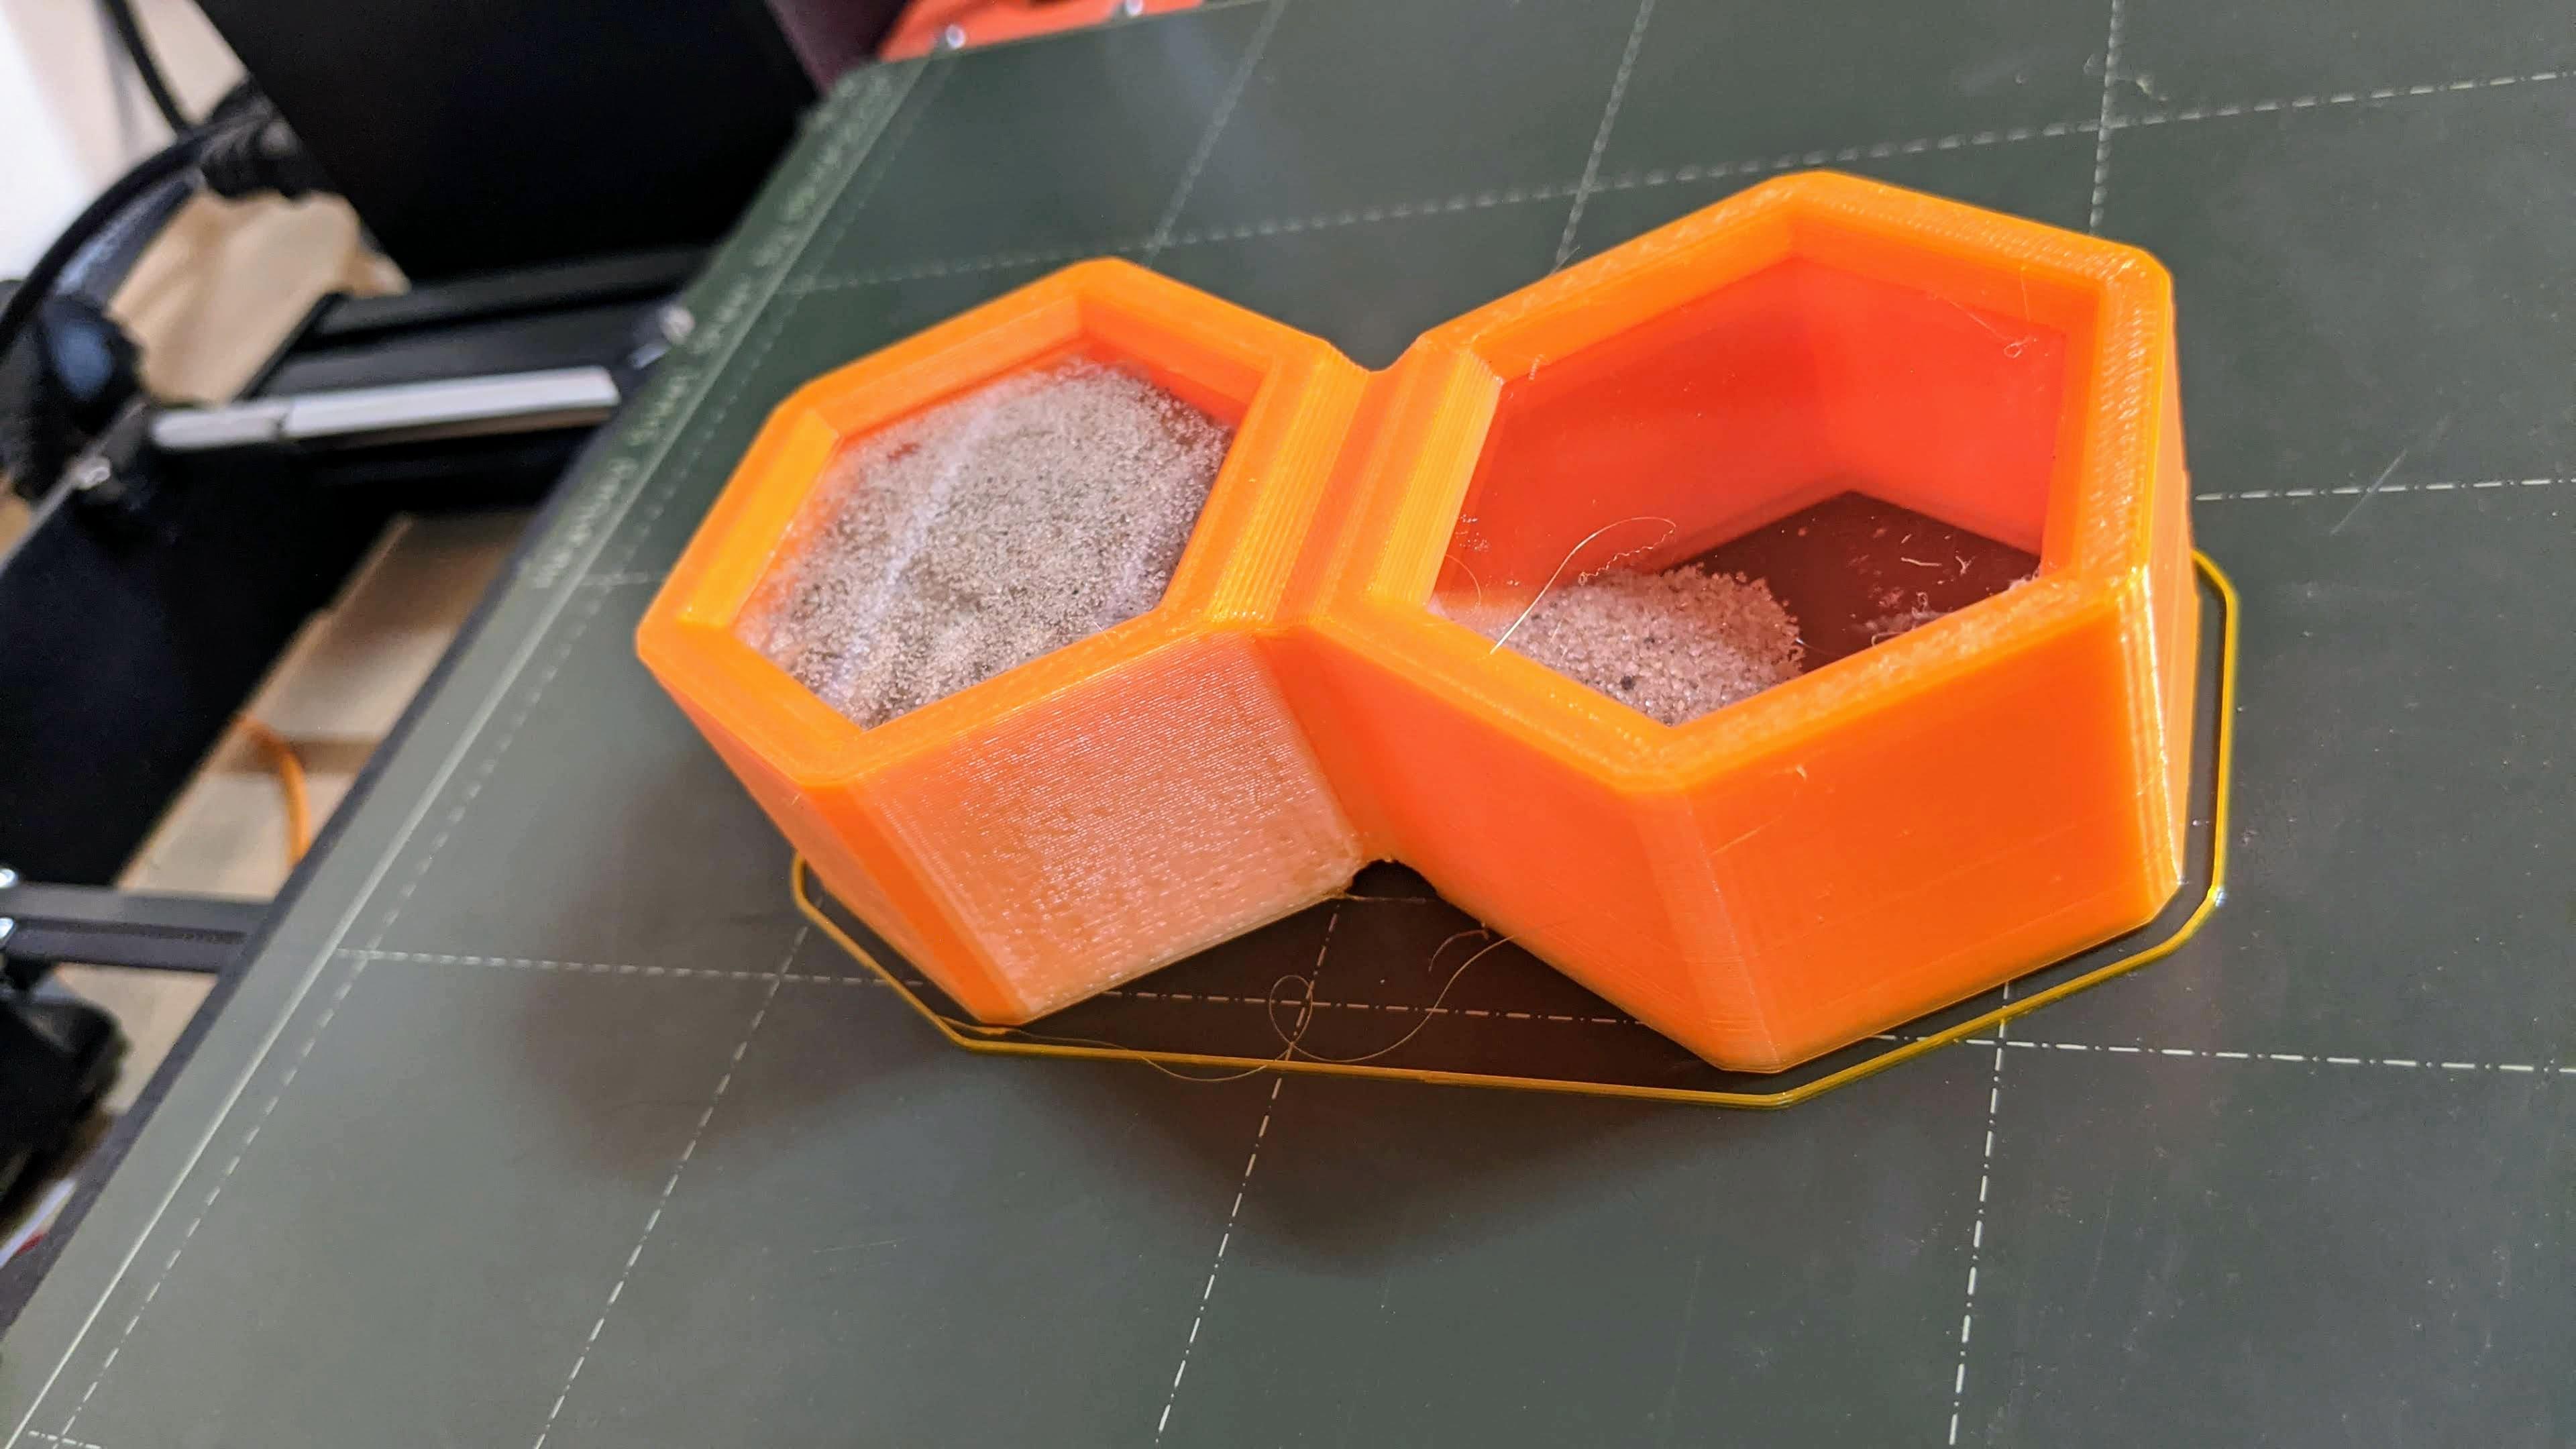
- remove the protection on the acrylic and place the pieces in their housing then continue printing
3d Printing Second Pause Layer
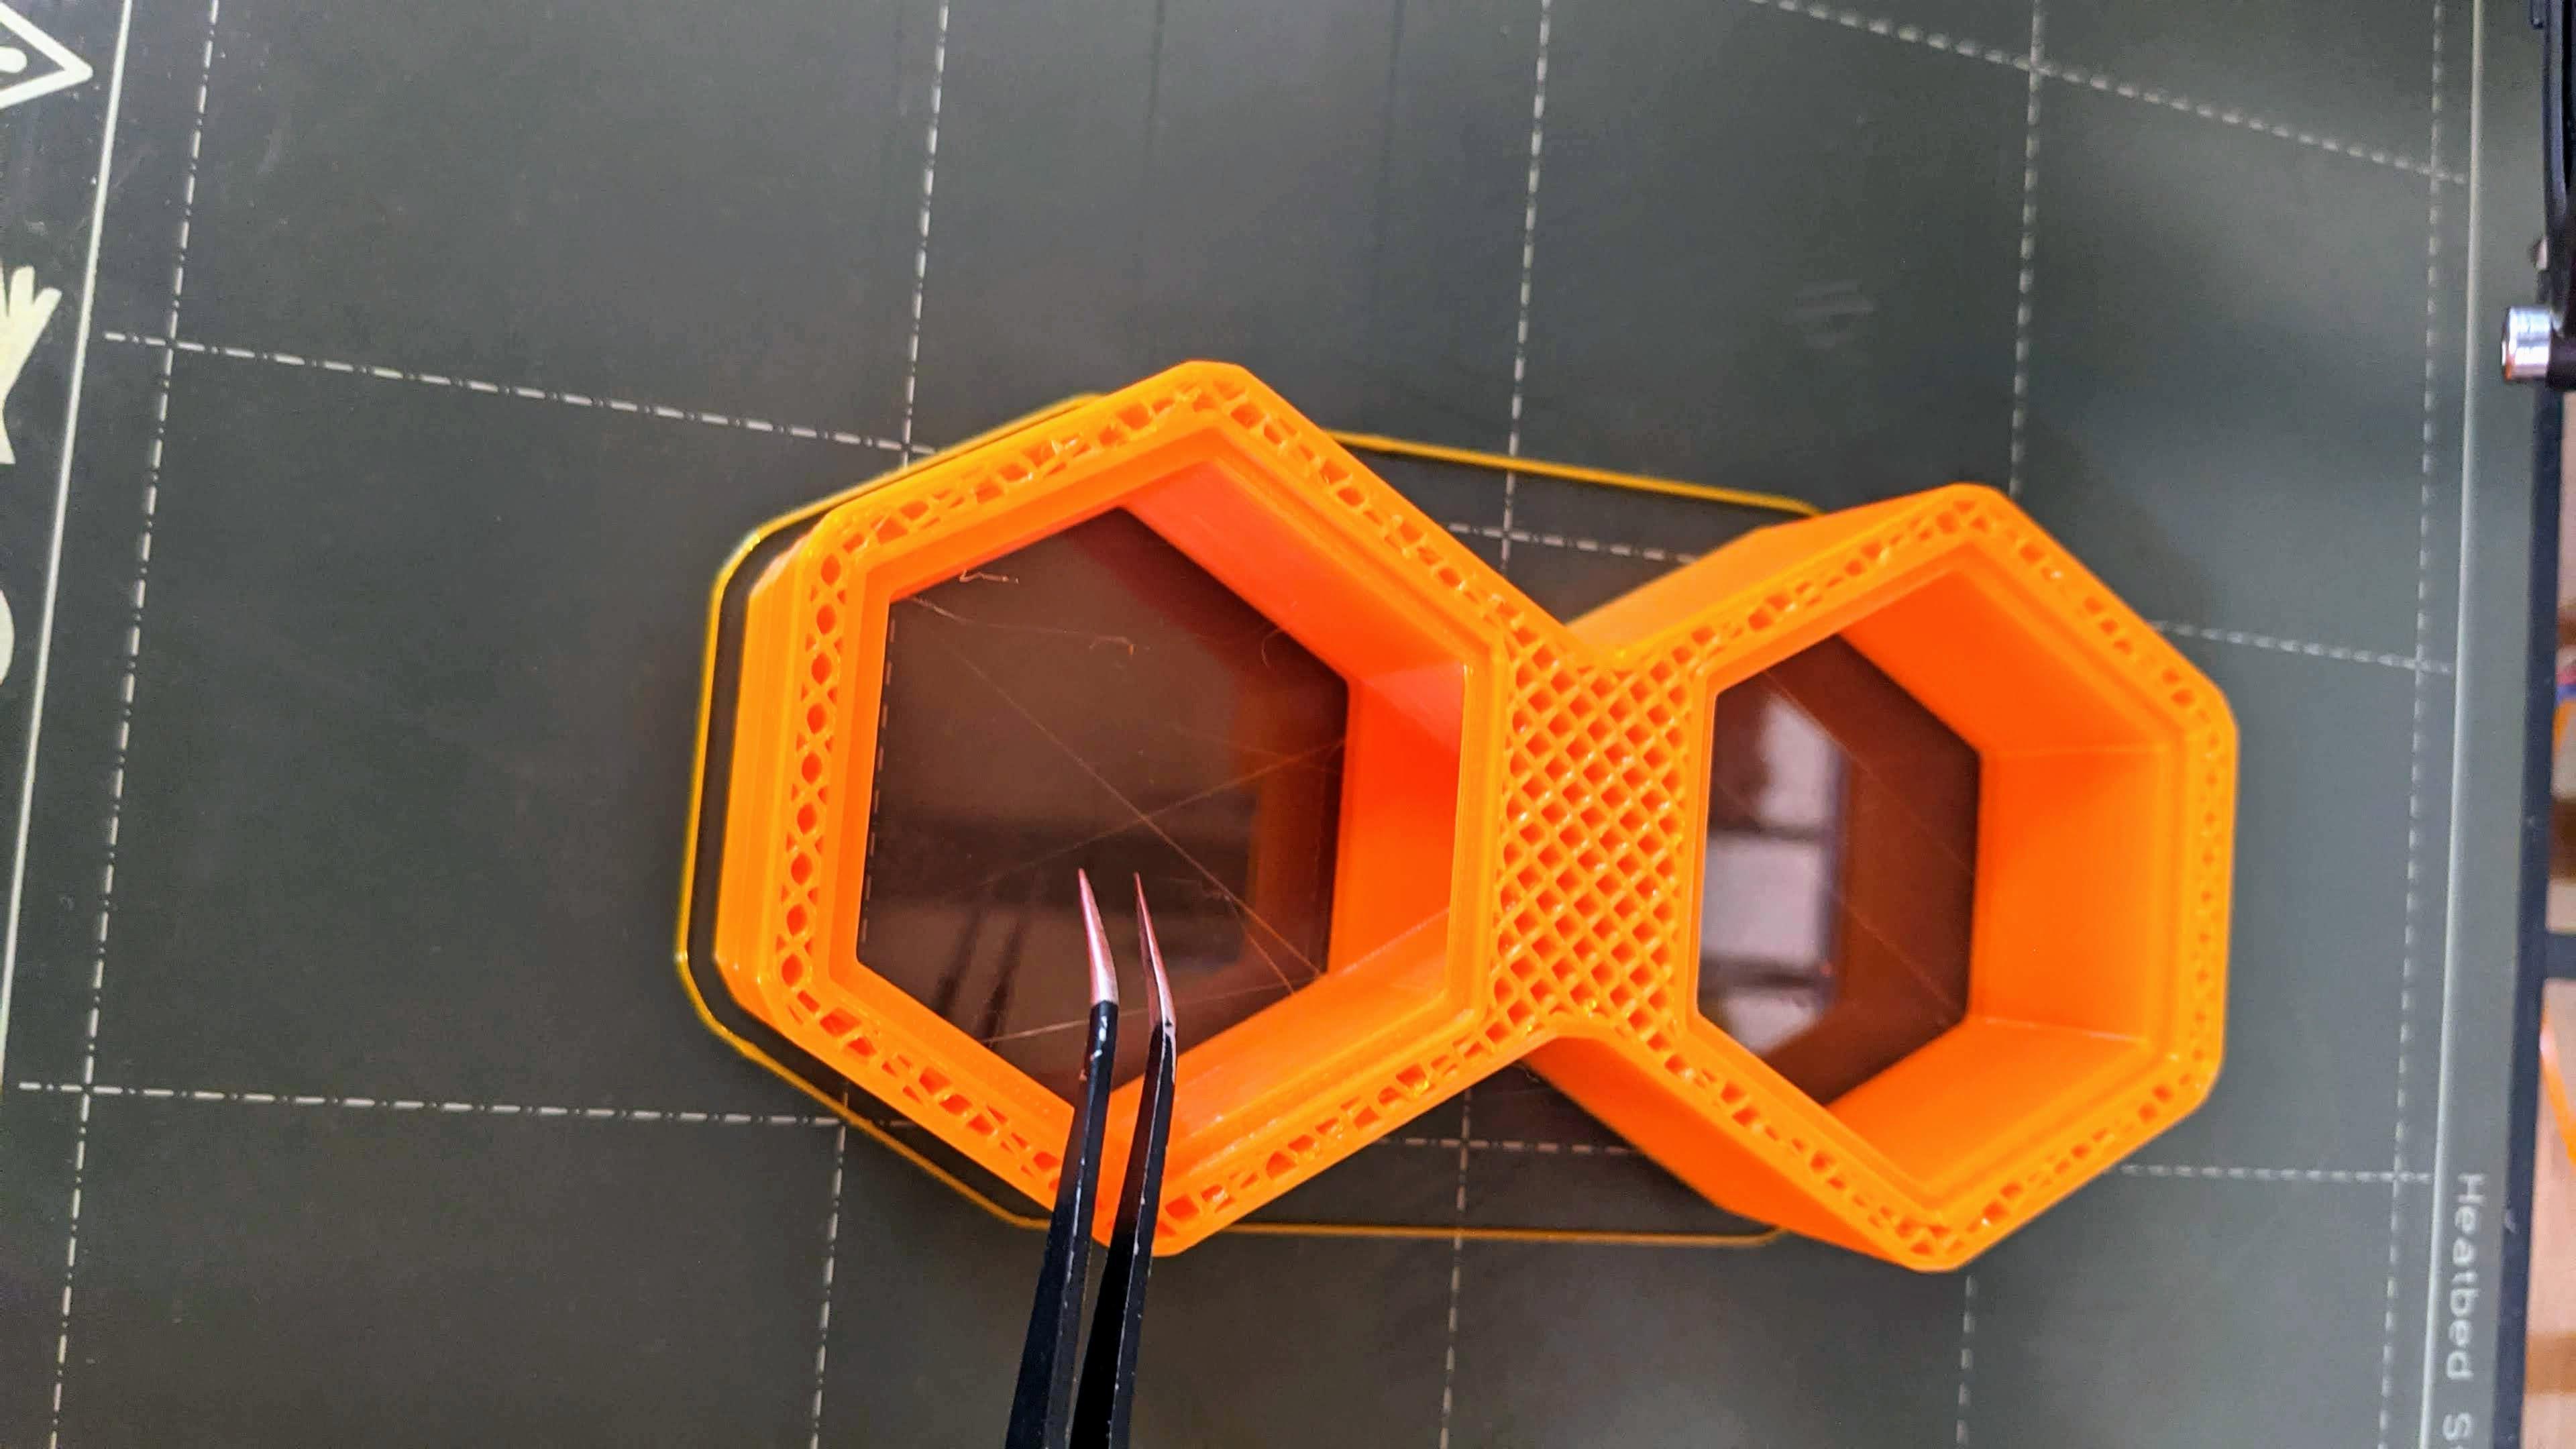
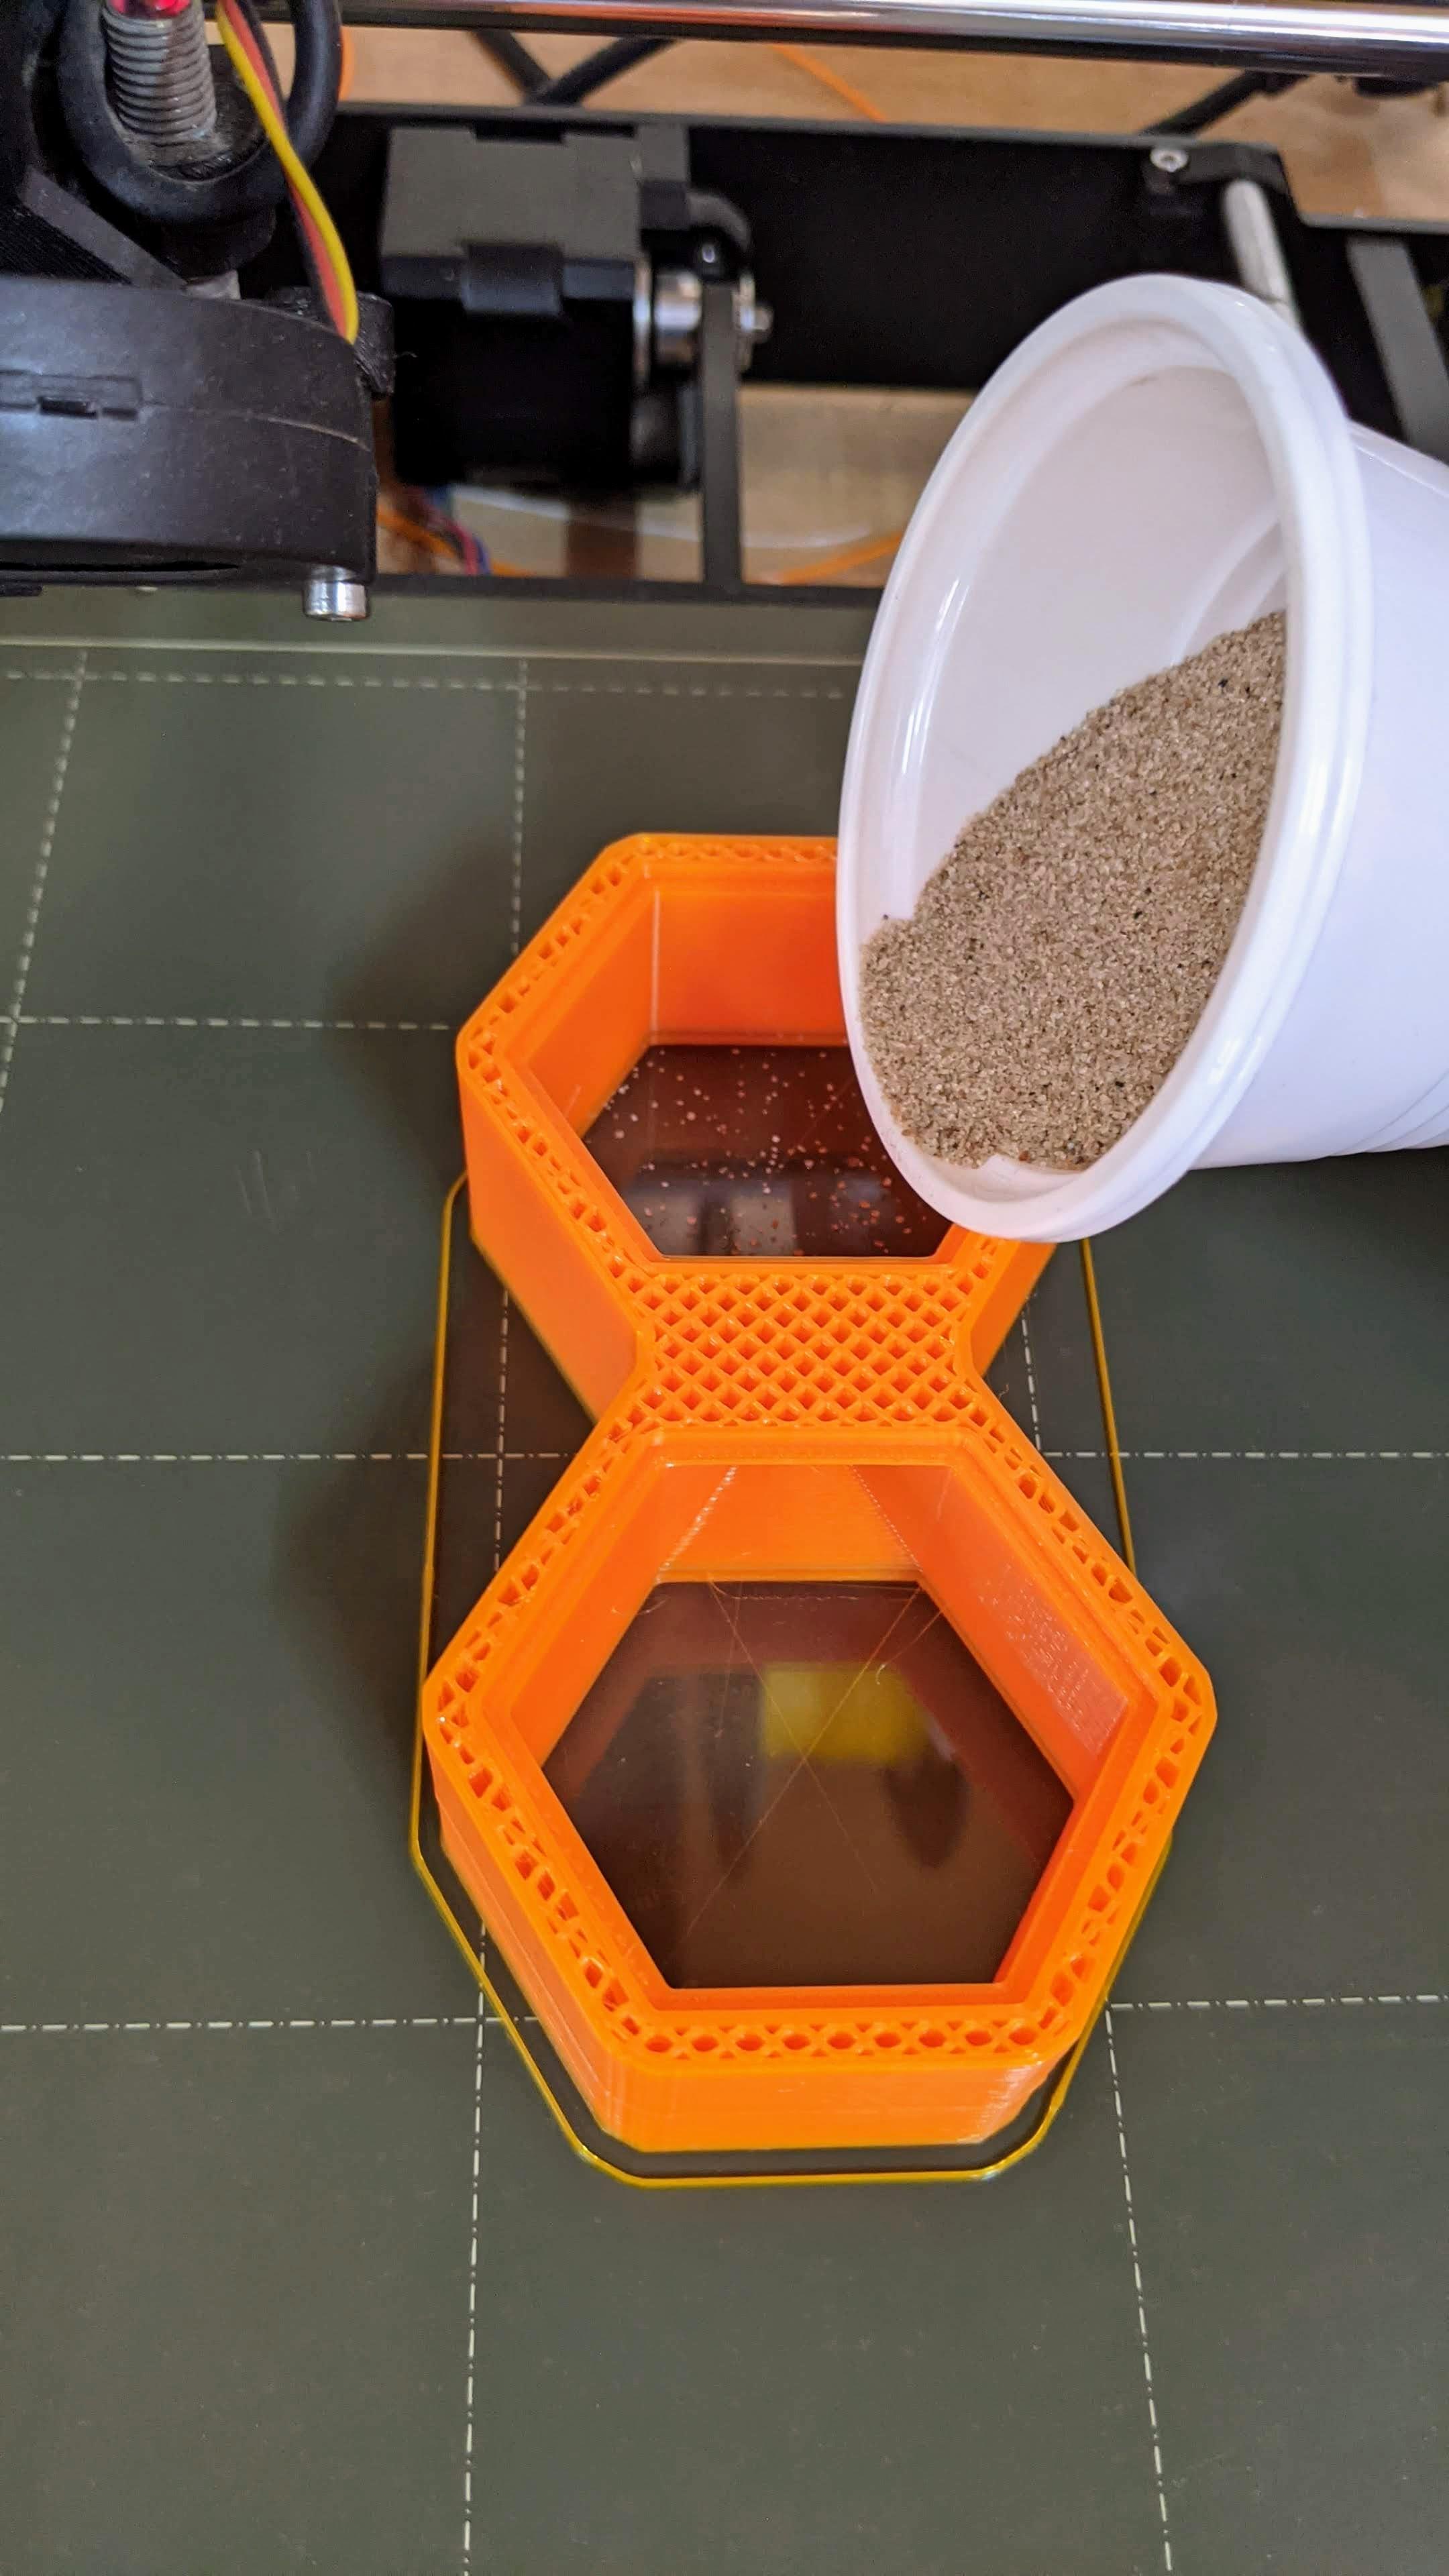
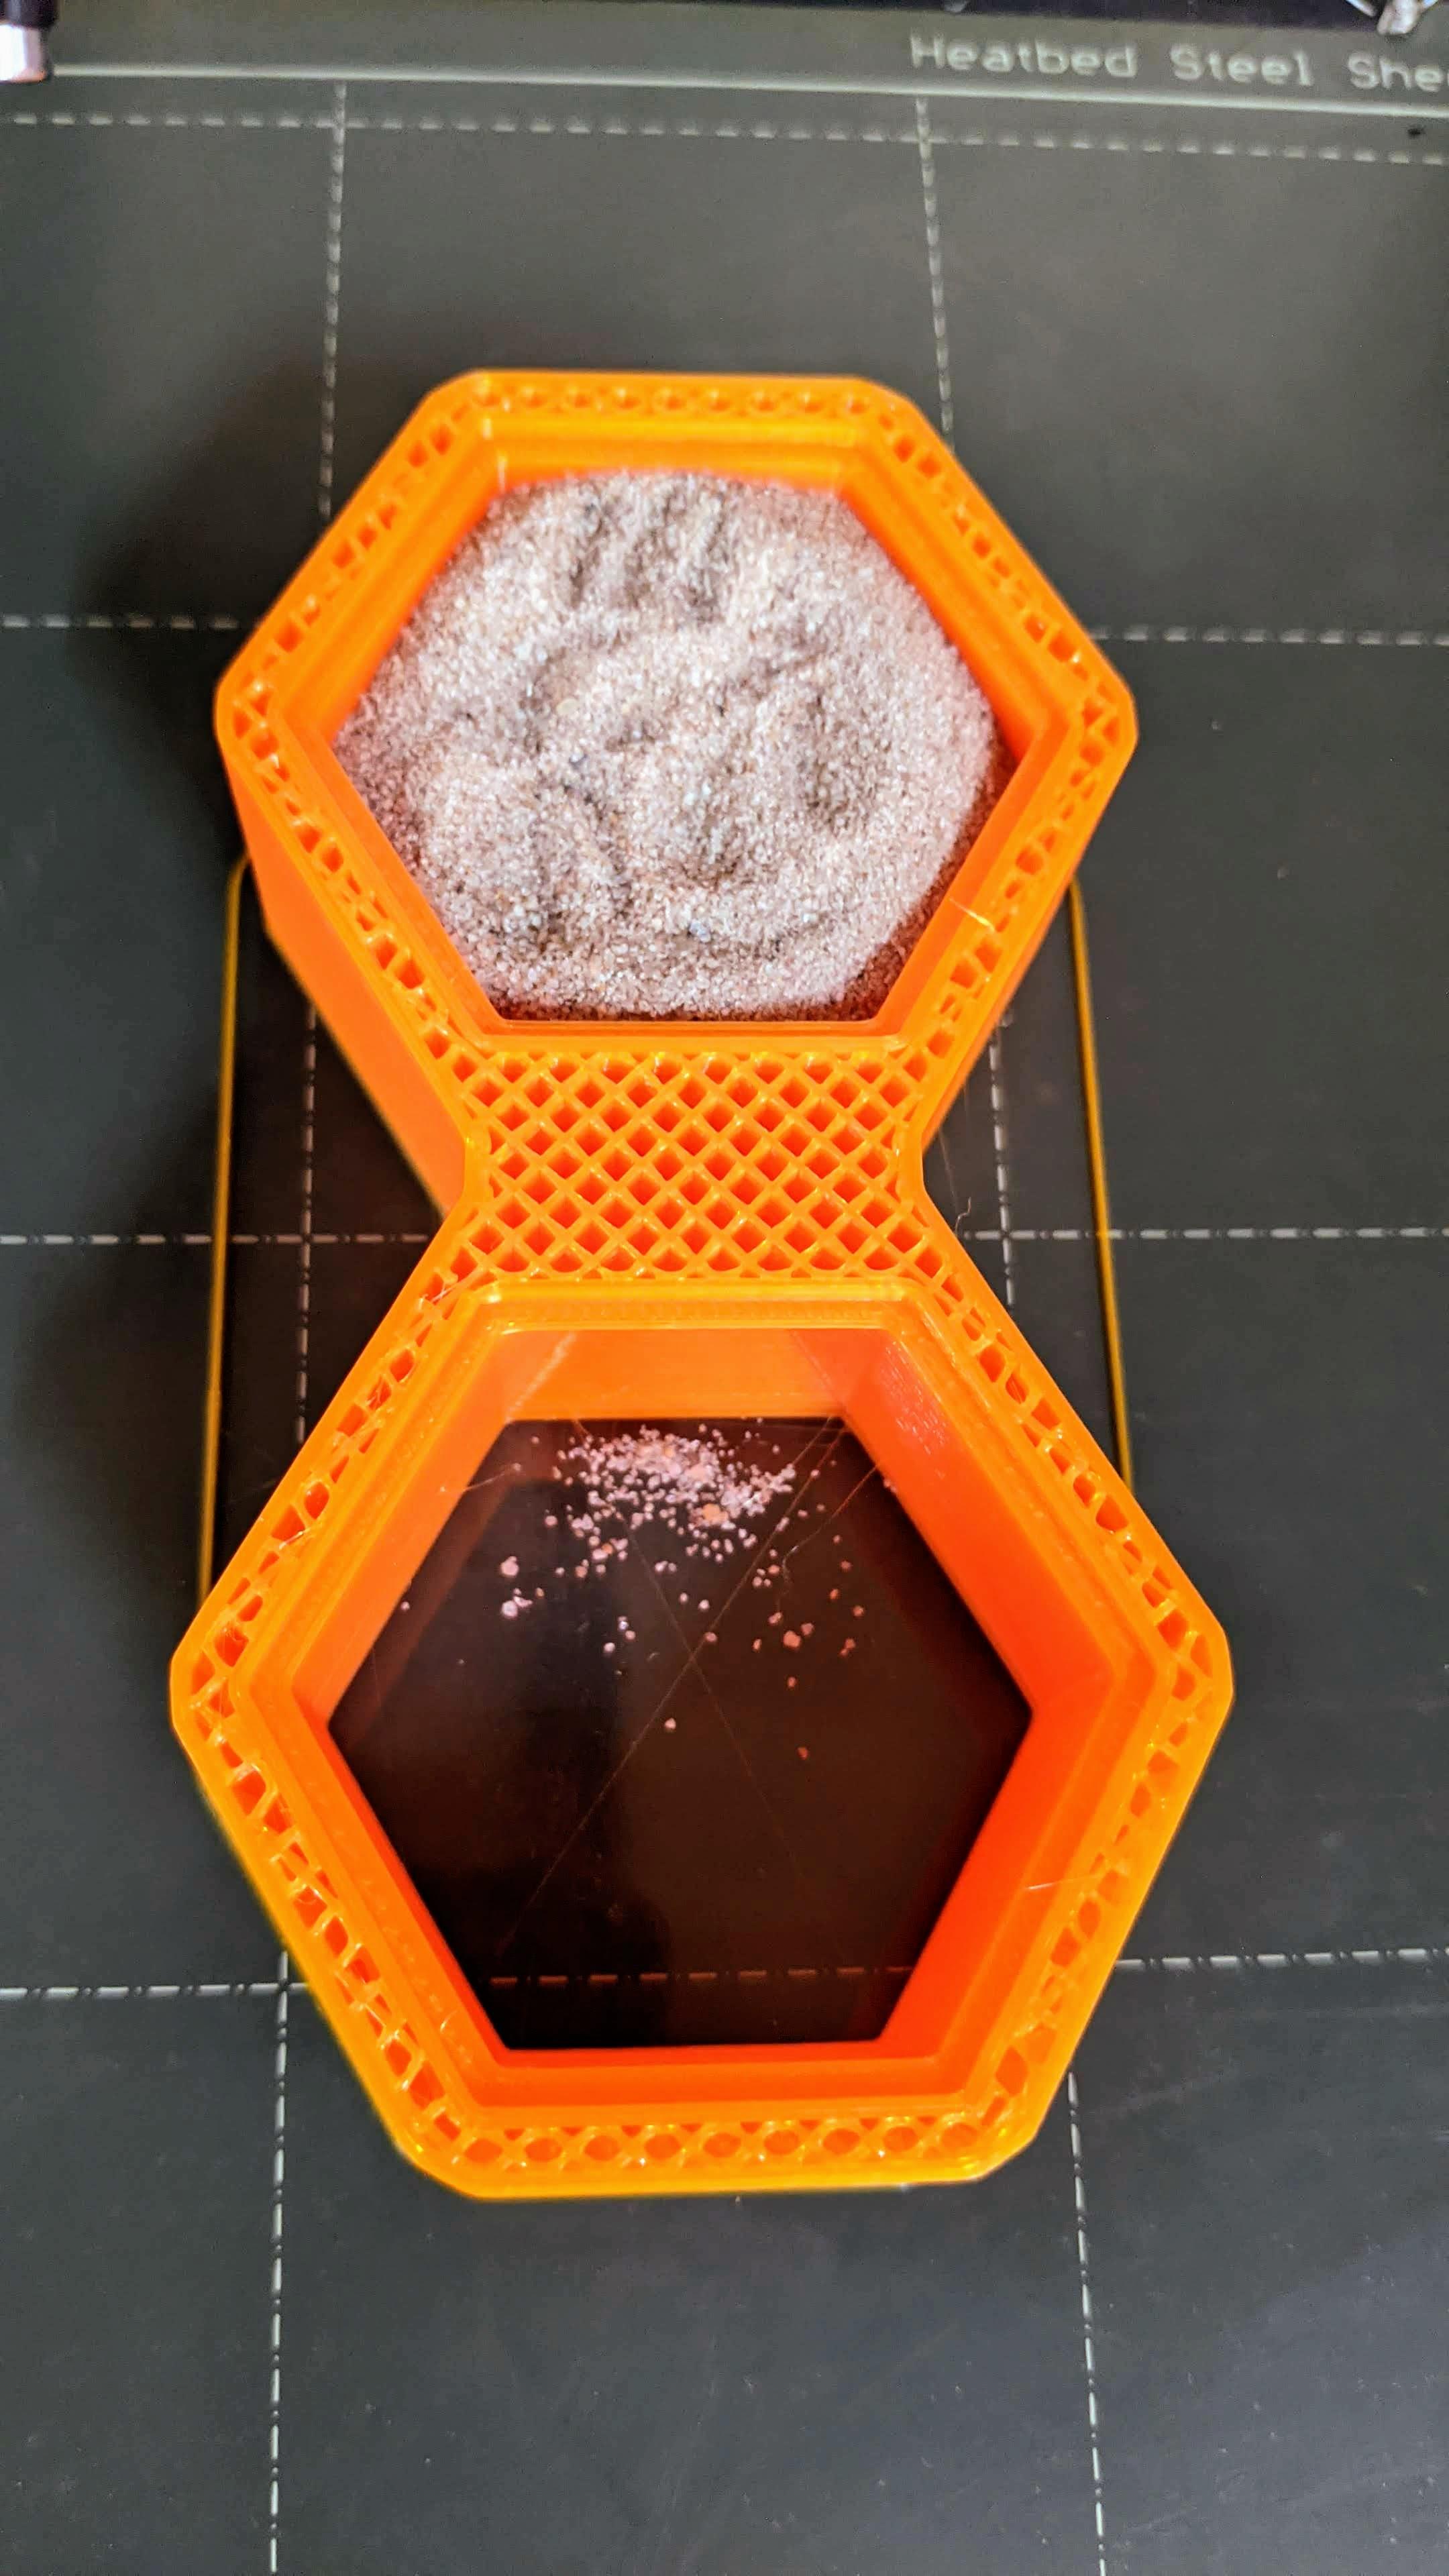
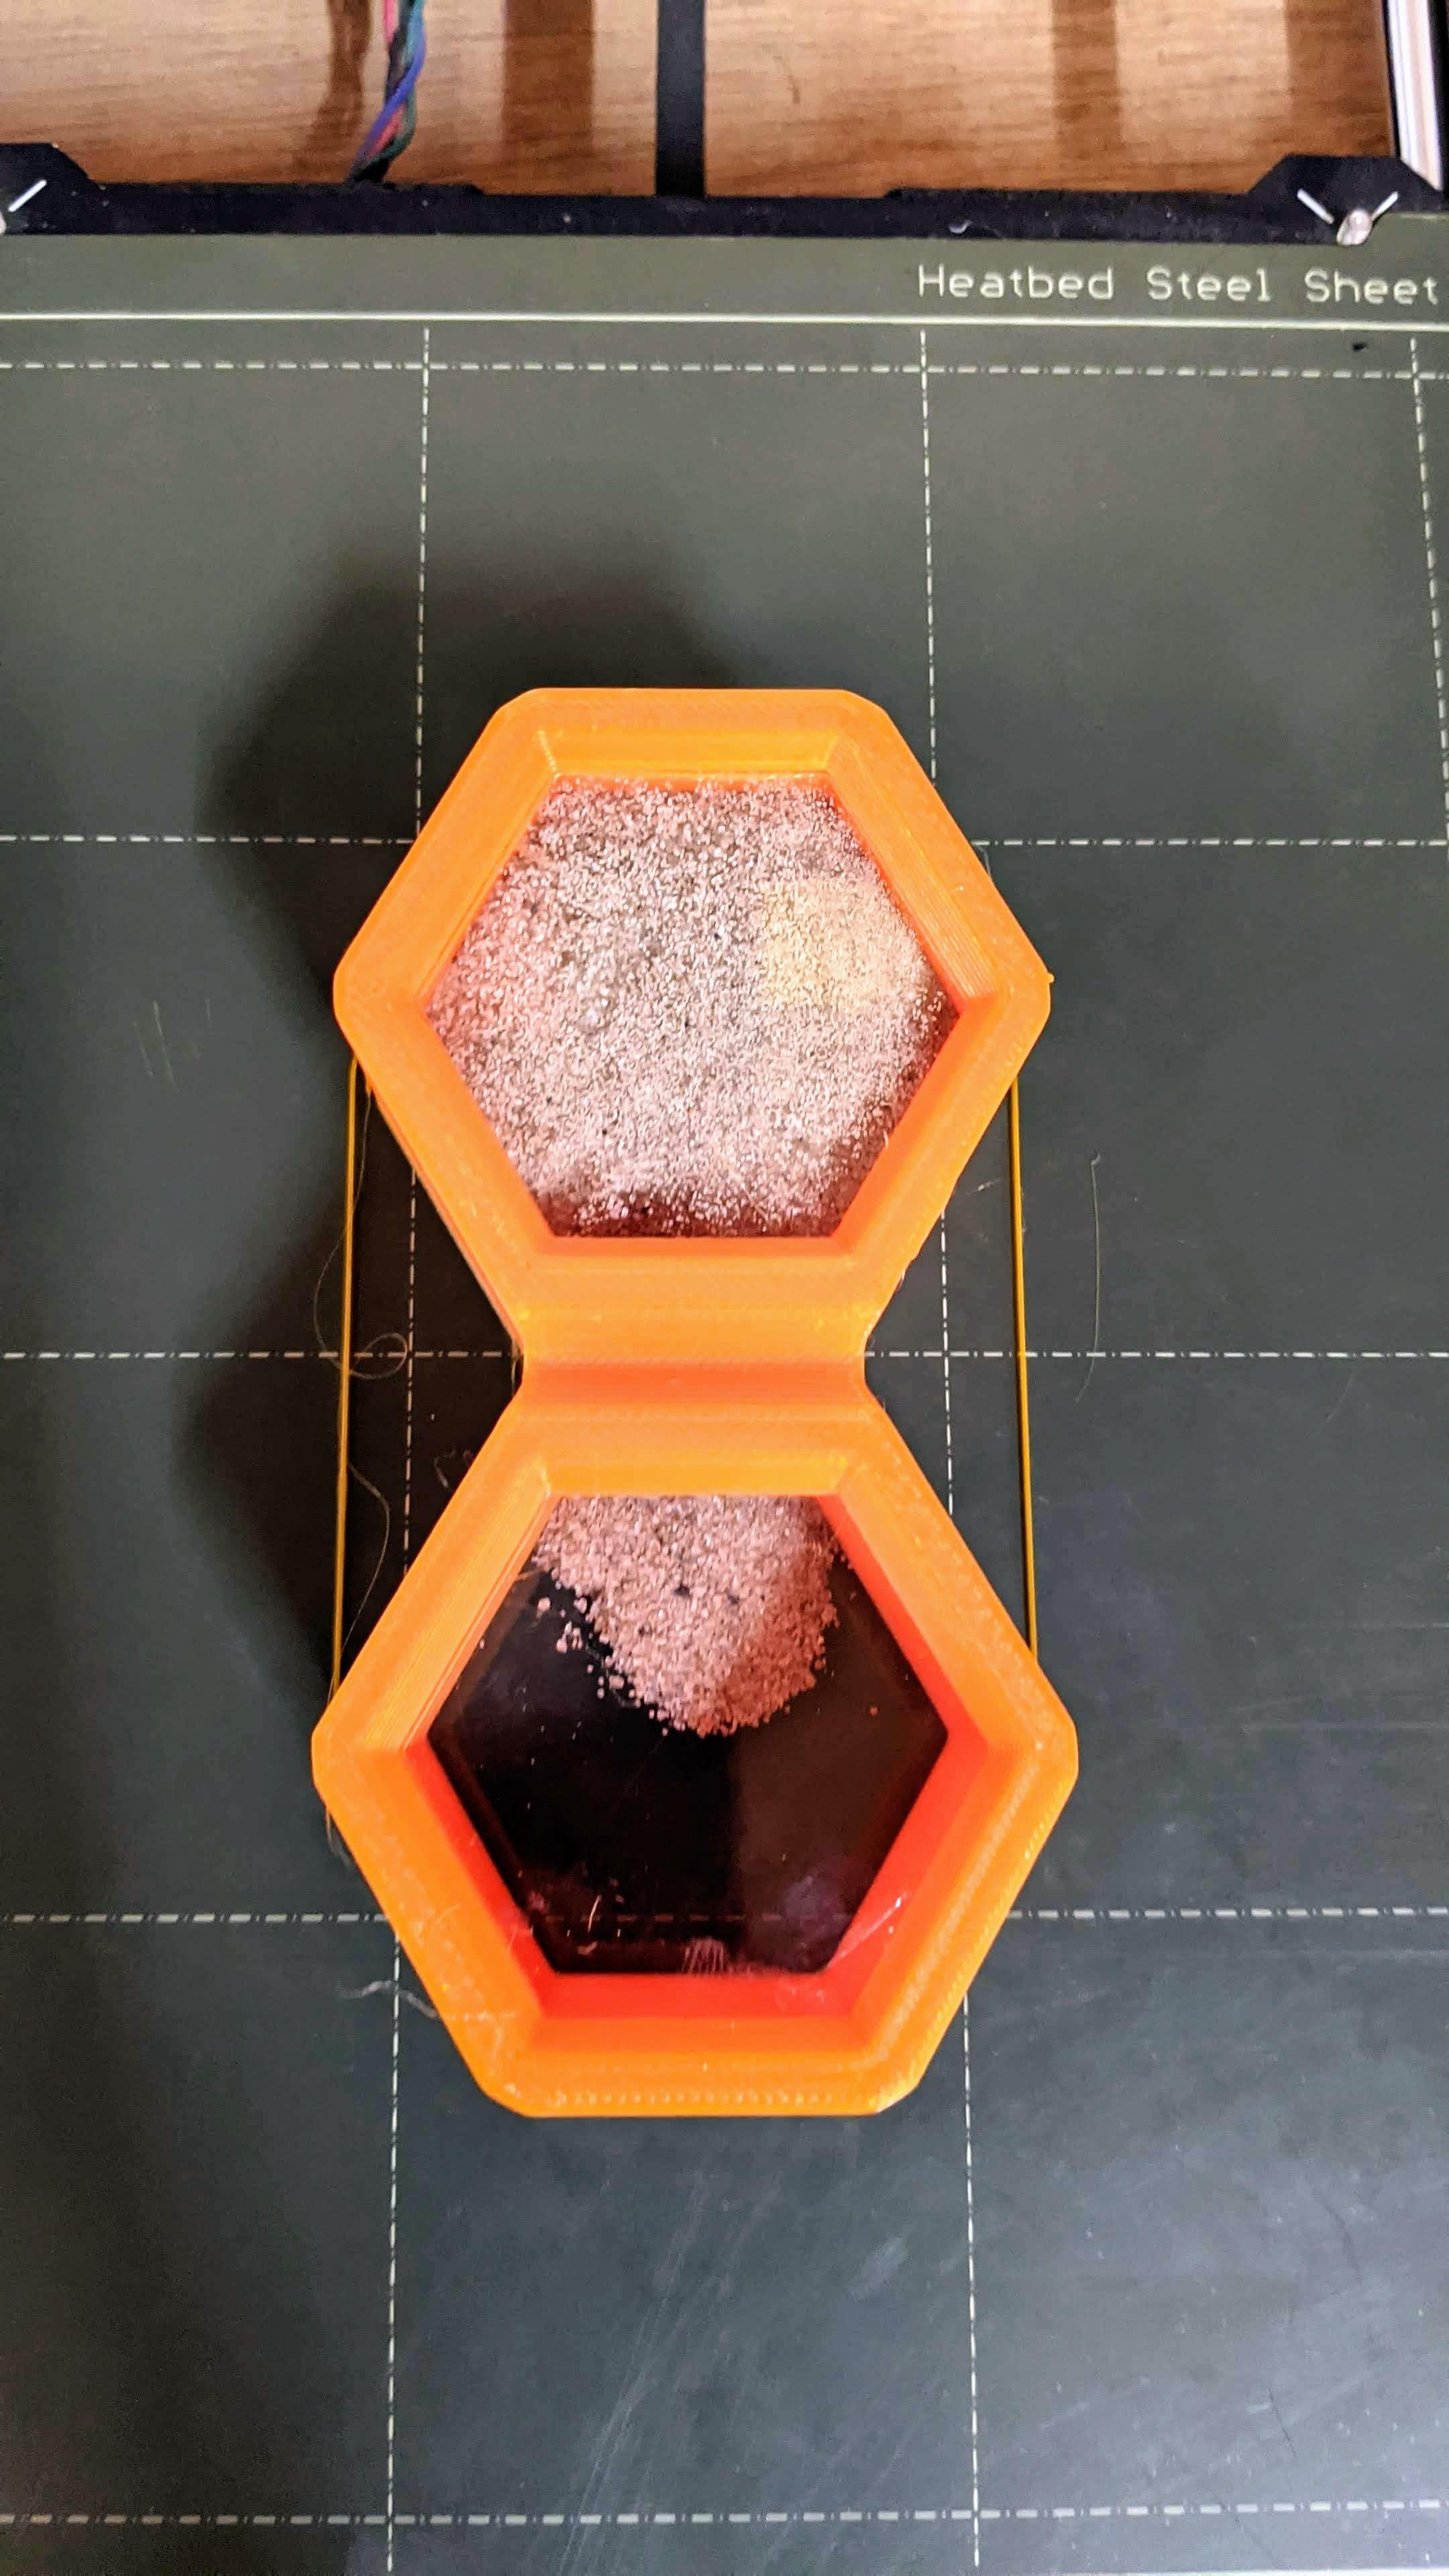
At the second pause layer:
- use tweezers to remove angel hair and print smudges if there are any
- gently pour the sand inside one of the two compartments (do not exceed the interior edges which will receive the other pieces of acrylic)
- place the pieces of acrylic on top then continue printing
- wait for the printing to finish and enjoy
warning
- be patient when adding sand to avoid getting it all over the printer
- When placing the sand and pieces of acrylic, be very careful not to remove the piece from the printing plate
- it should also be noted that depending on the precision of your printer it will be necessary to correct the gaps and gaps between the acrylic and the printed part in the 3d file (generally not necessary)
Conclusion
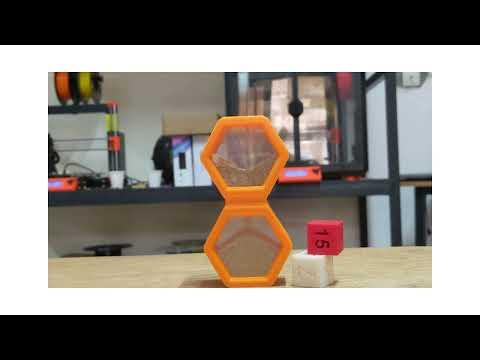

this hourglass allows you to count 25 seconds in total; and you tell me what can we do in 25 seconds?
in 25 seconds you can like, share and comment on this instructable; in 25 seconds you can look out the window to admire what is happening outside.