3D Printed Handles for Any Object
by vspencer in Circuits > Assistive Tech
3085 Views, 8 Favorites, 0 Comments
3D Printed Handles for Any Object
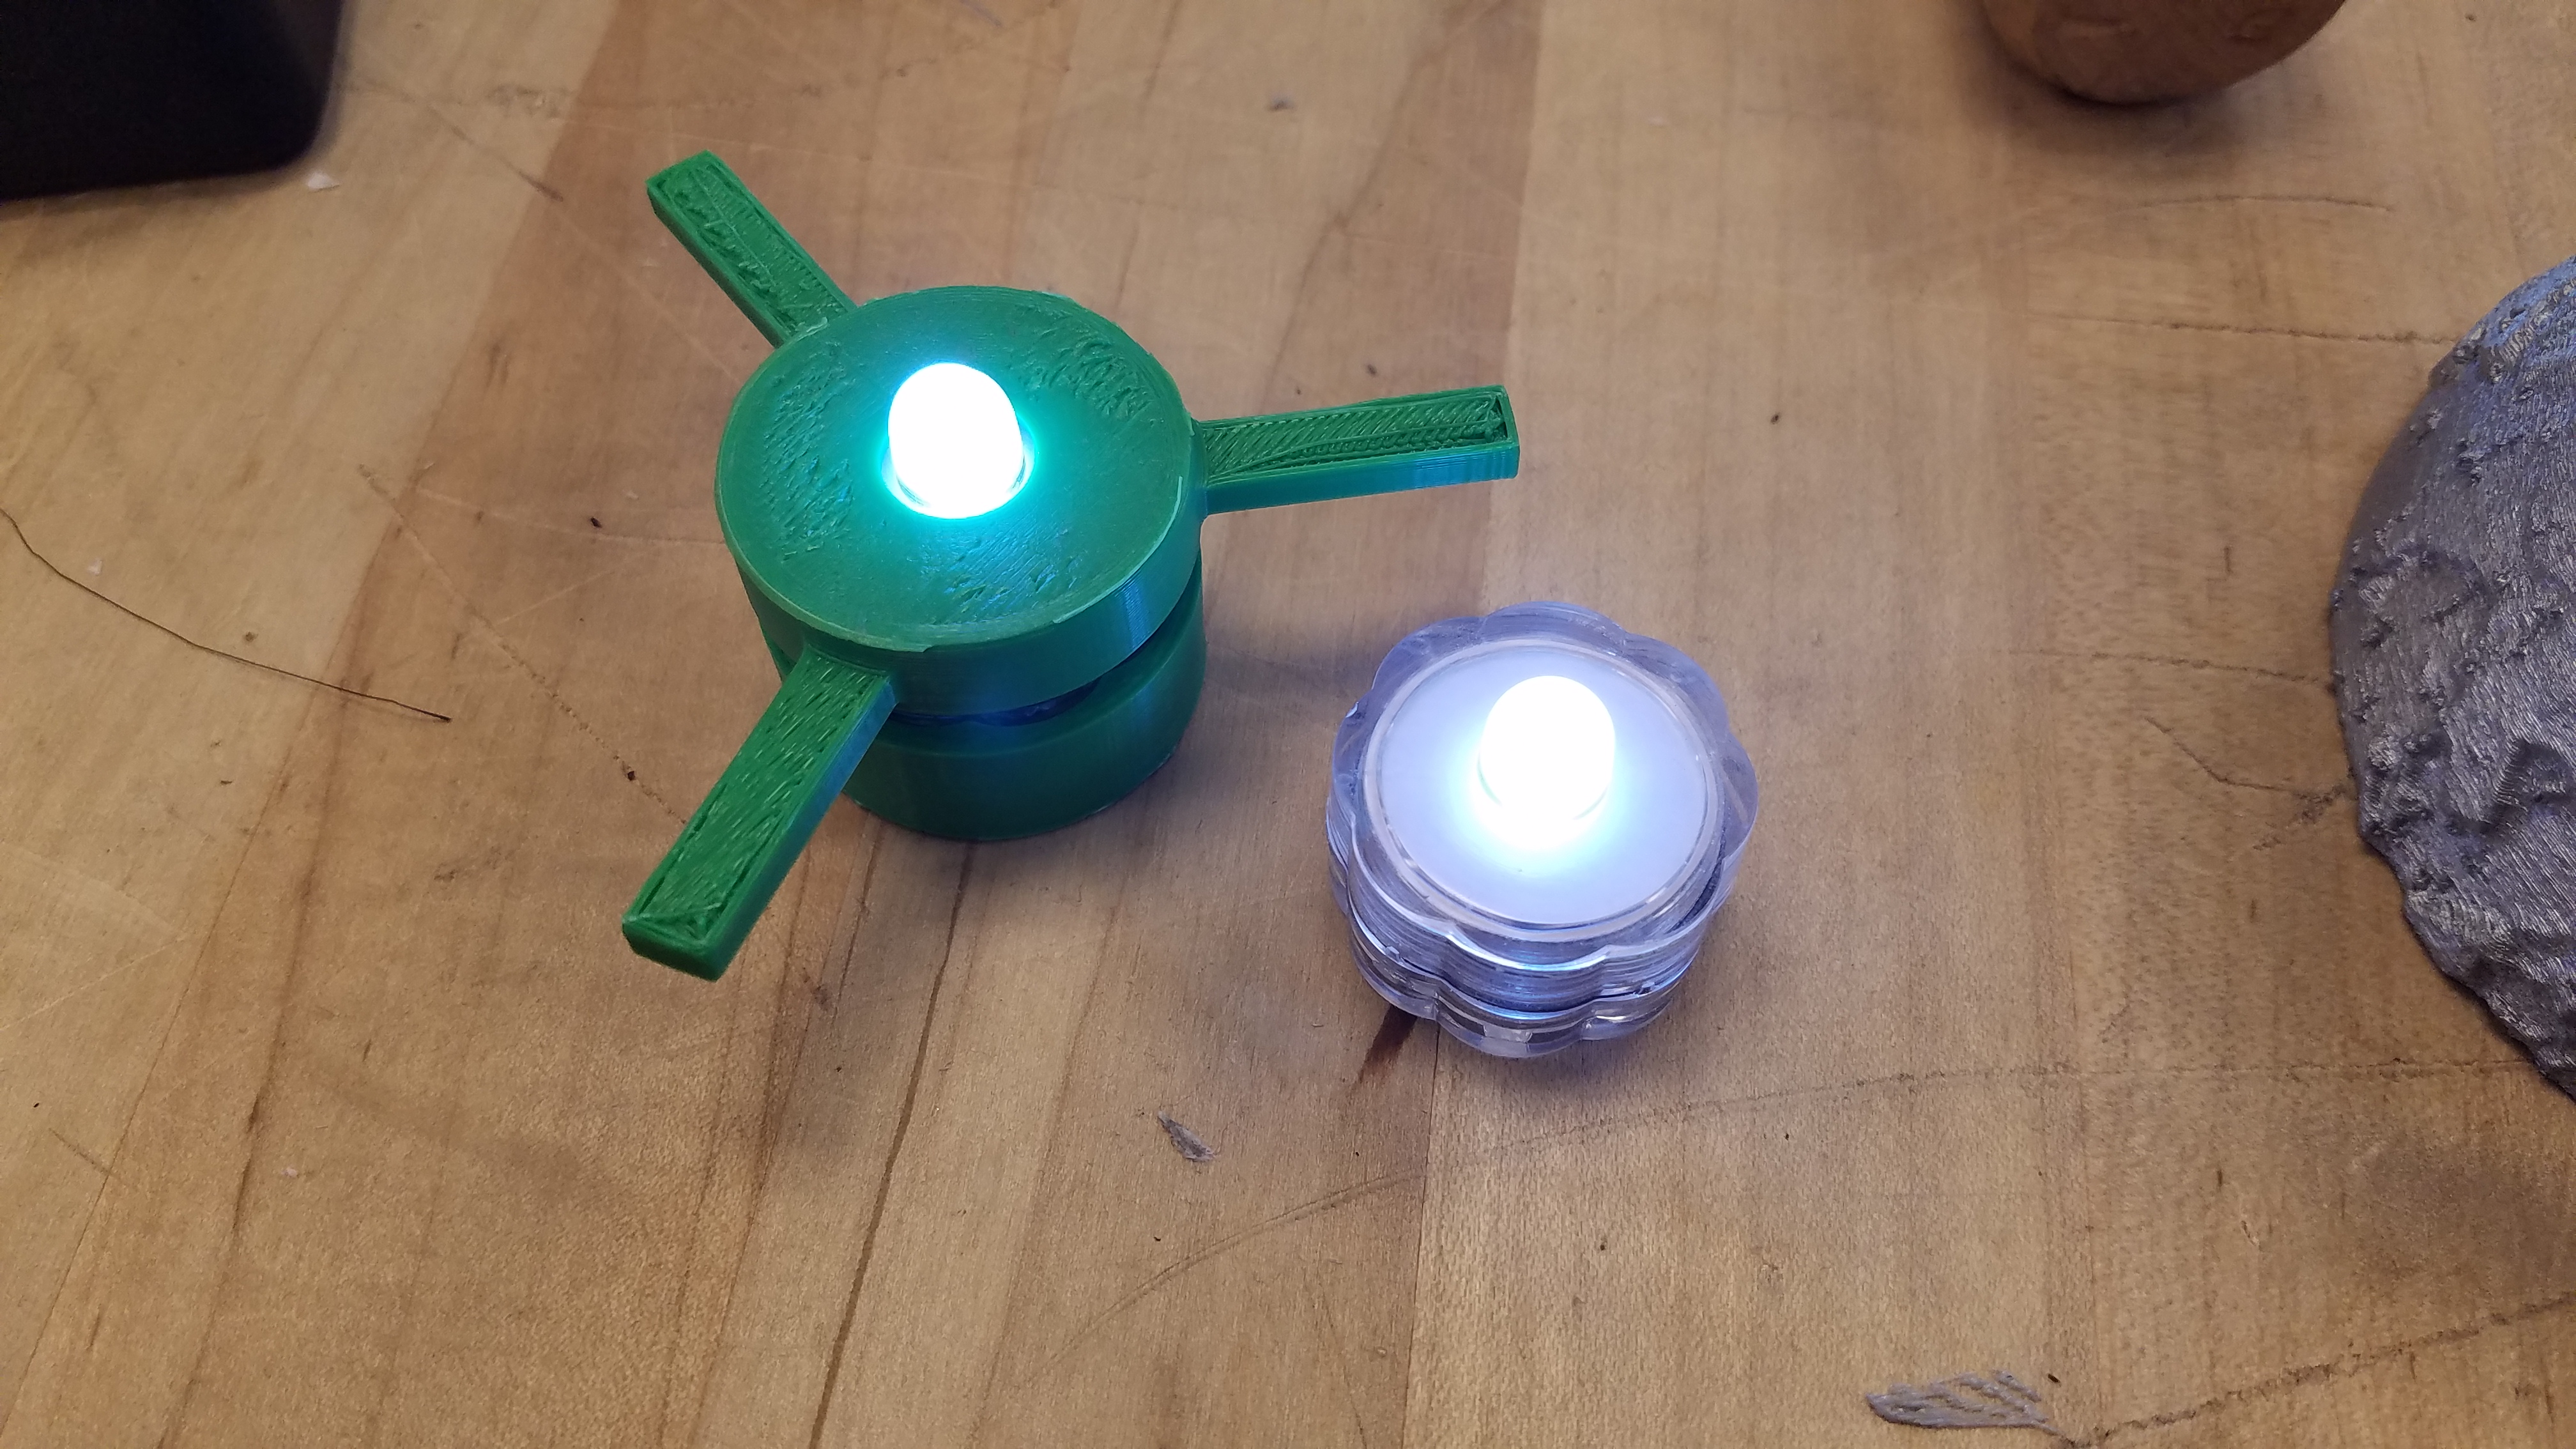
If you're anything like me, you love making things, but you have problems when you're dealing with projects that require a high level of dexterity. Sometimes, especially if I've been doing small scale, fiddly work, I have trouble continuing to work. In times like these, if I know I'll be using the object very often, I'll design a handle for it that makes it easier to manipulate.
Since I'm studying more about assistive technology, I realized that sharing these techniques might be useful to some of you! In this tutorial, I'll be teaching y'all how to design and 3D print custom handles for any object using Fusion 360. The object that I'll be working on today is a twist tea light, for another project that I'm working on, but the principle applies to many different types of objects.
Bill of Materials
Supplies:
Object that needs interface
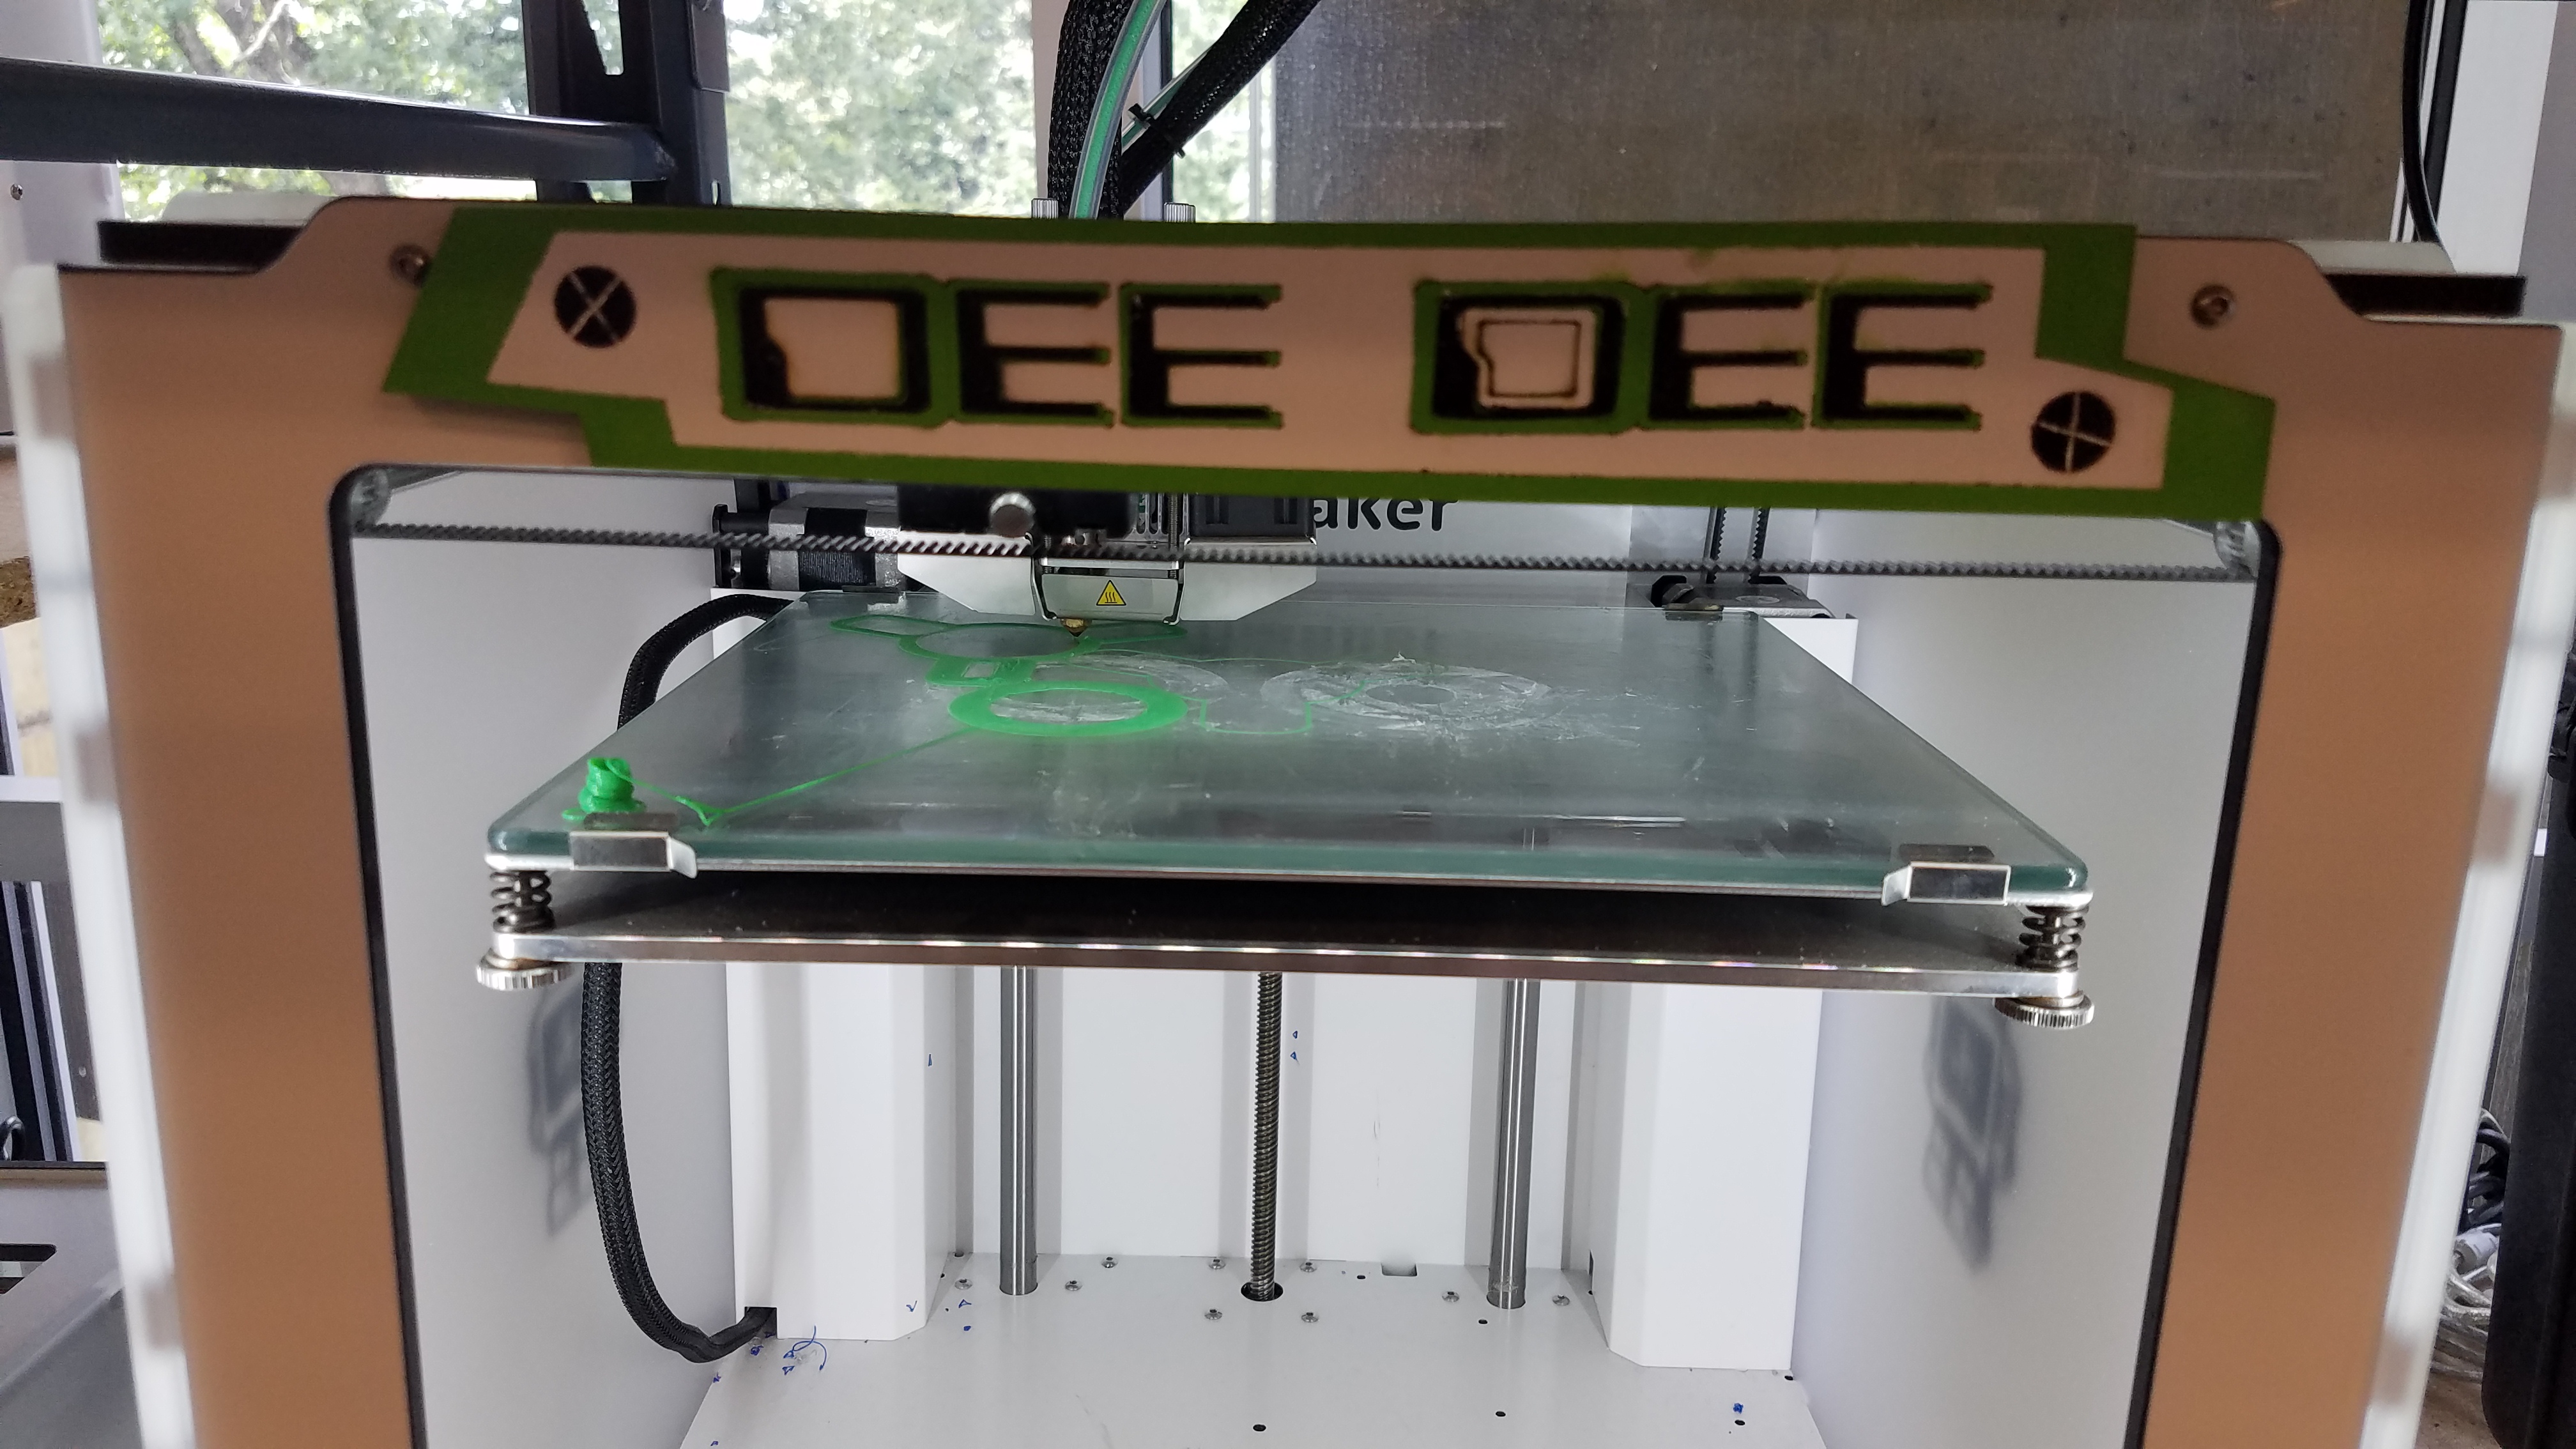
Filament
Tools:
Calipers
3D printer
Camera
Hammer
Software:
Basic photo editing software
Fusion 360
Take a Picture.
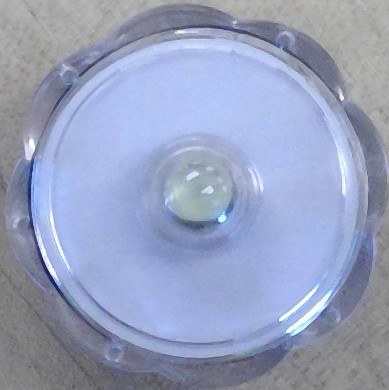
Get your orthographic views! In this case, because this is a simple twist light, the only important view is the top down.
Crop the Picture.
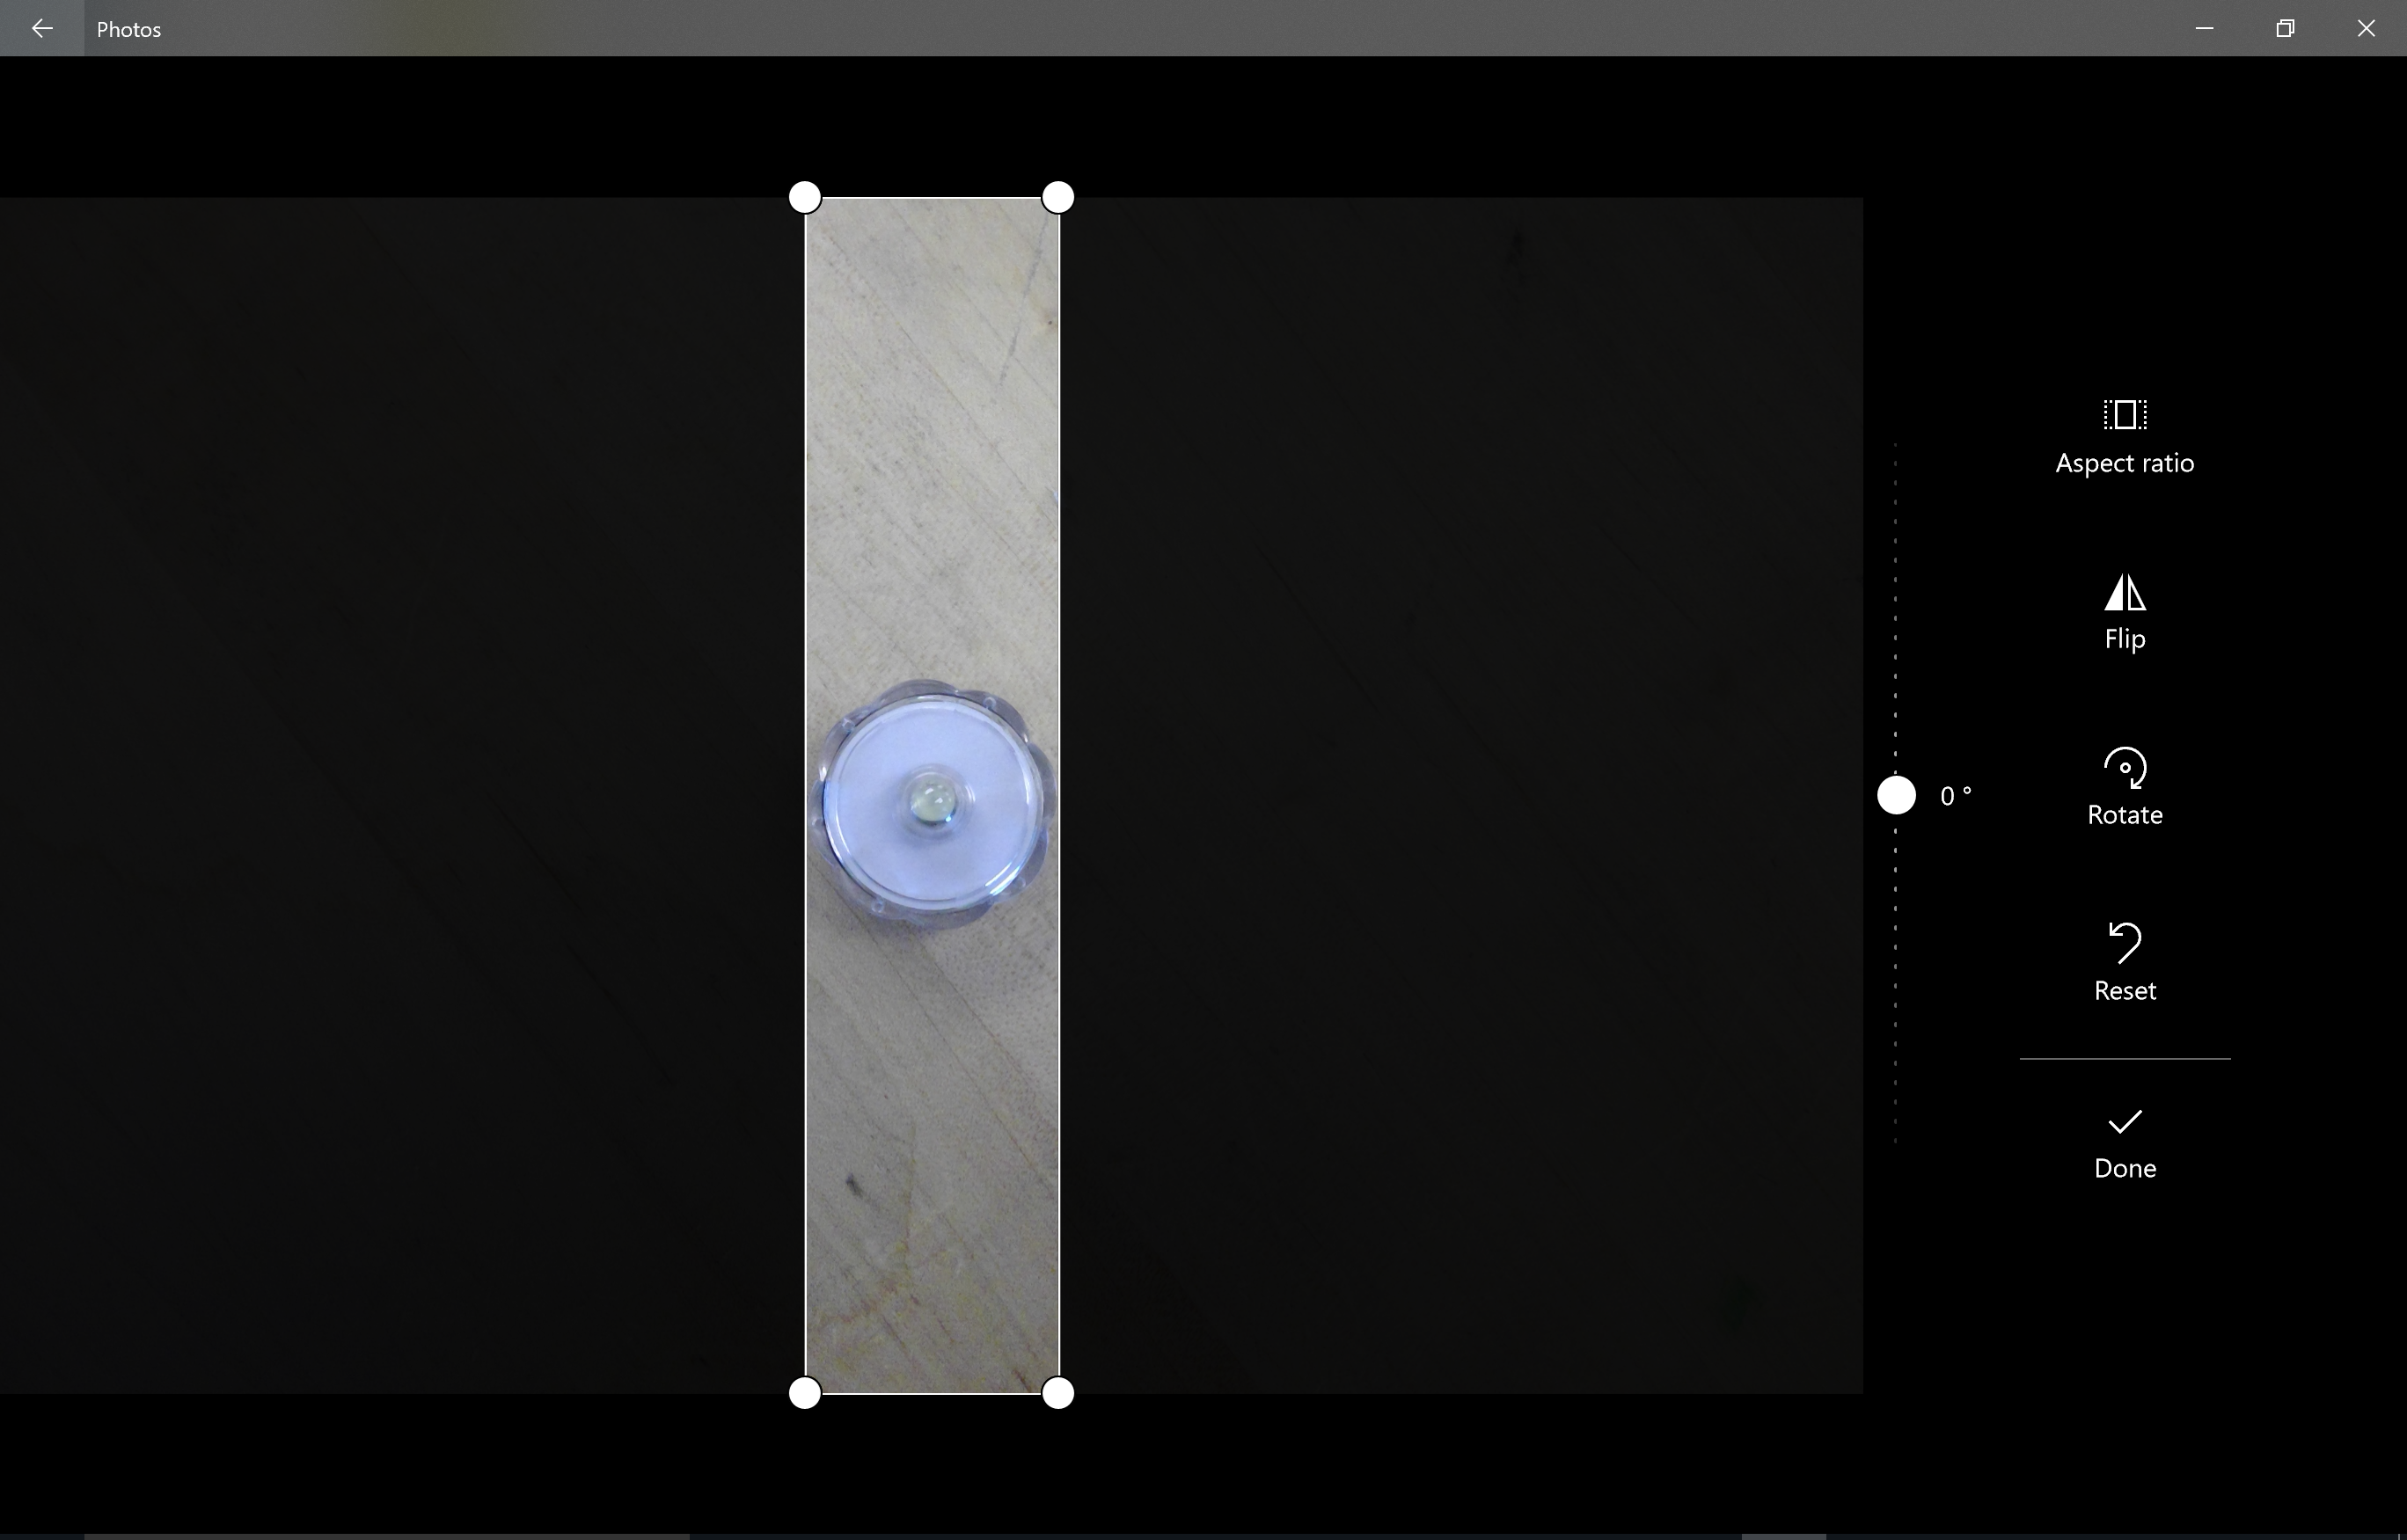
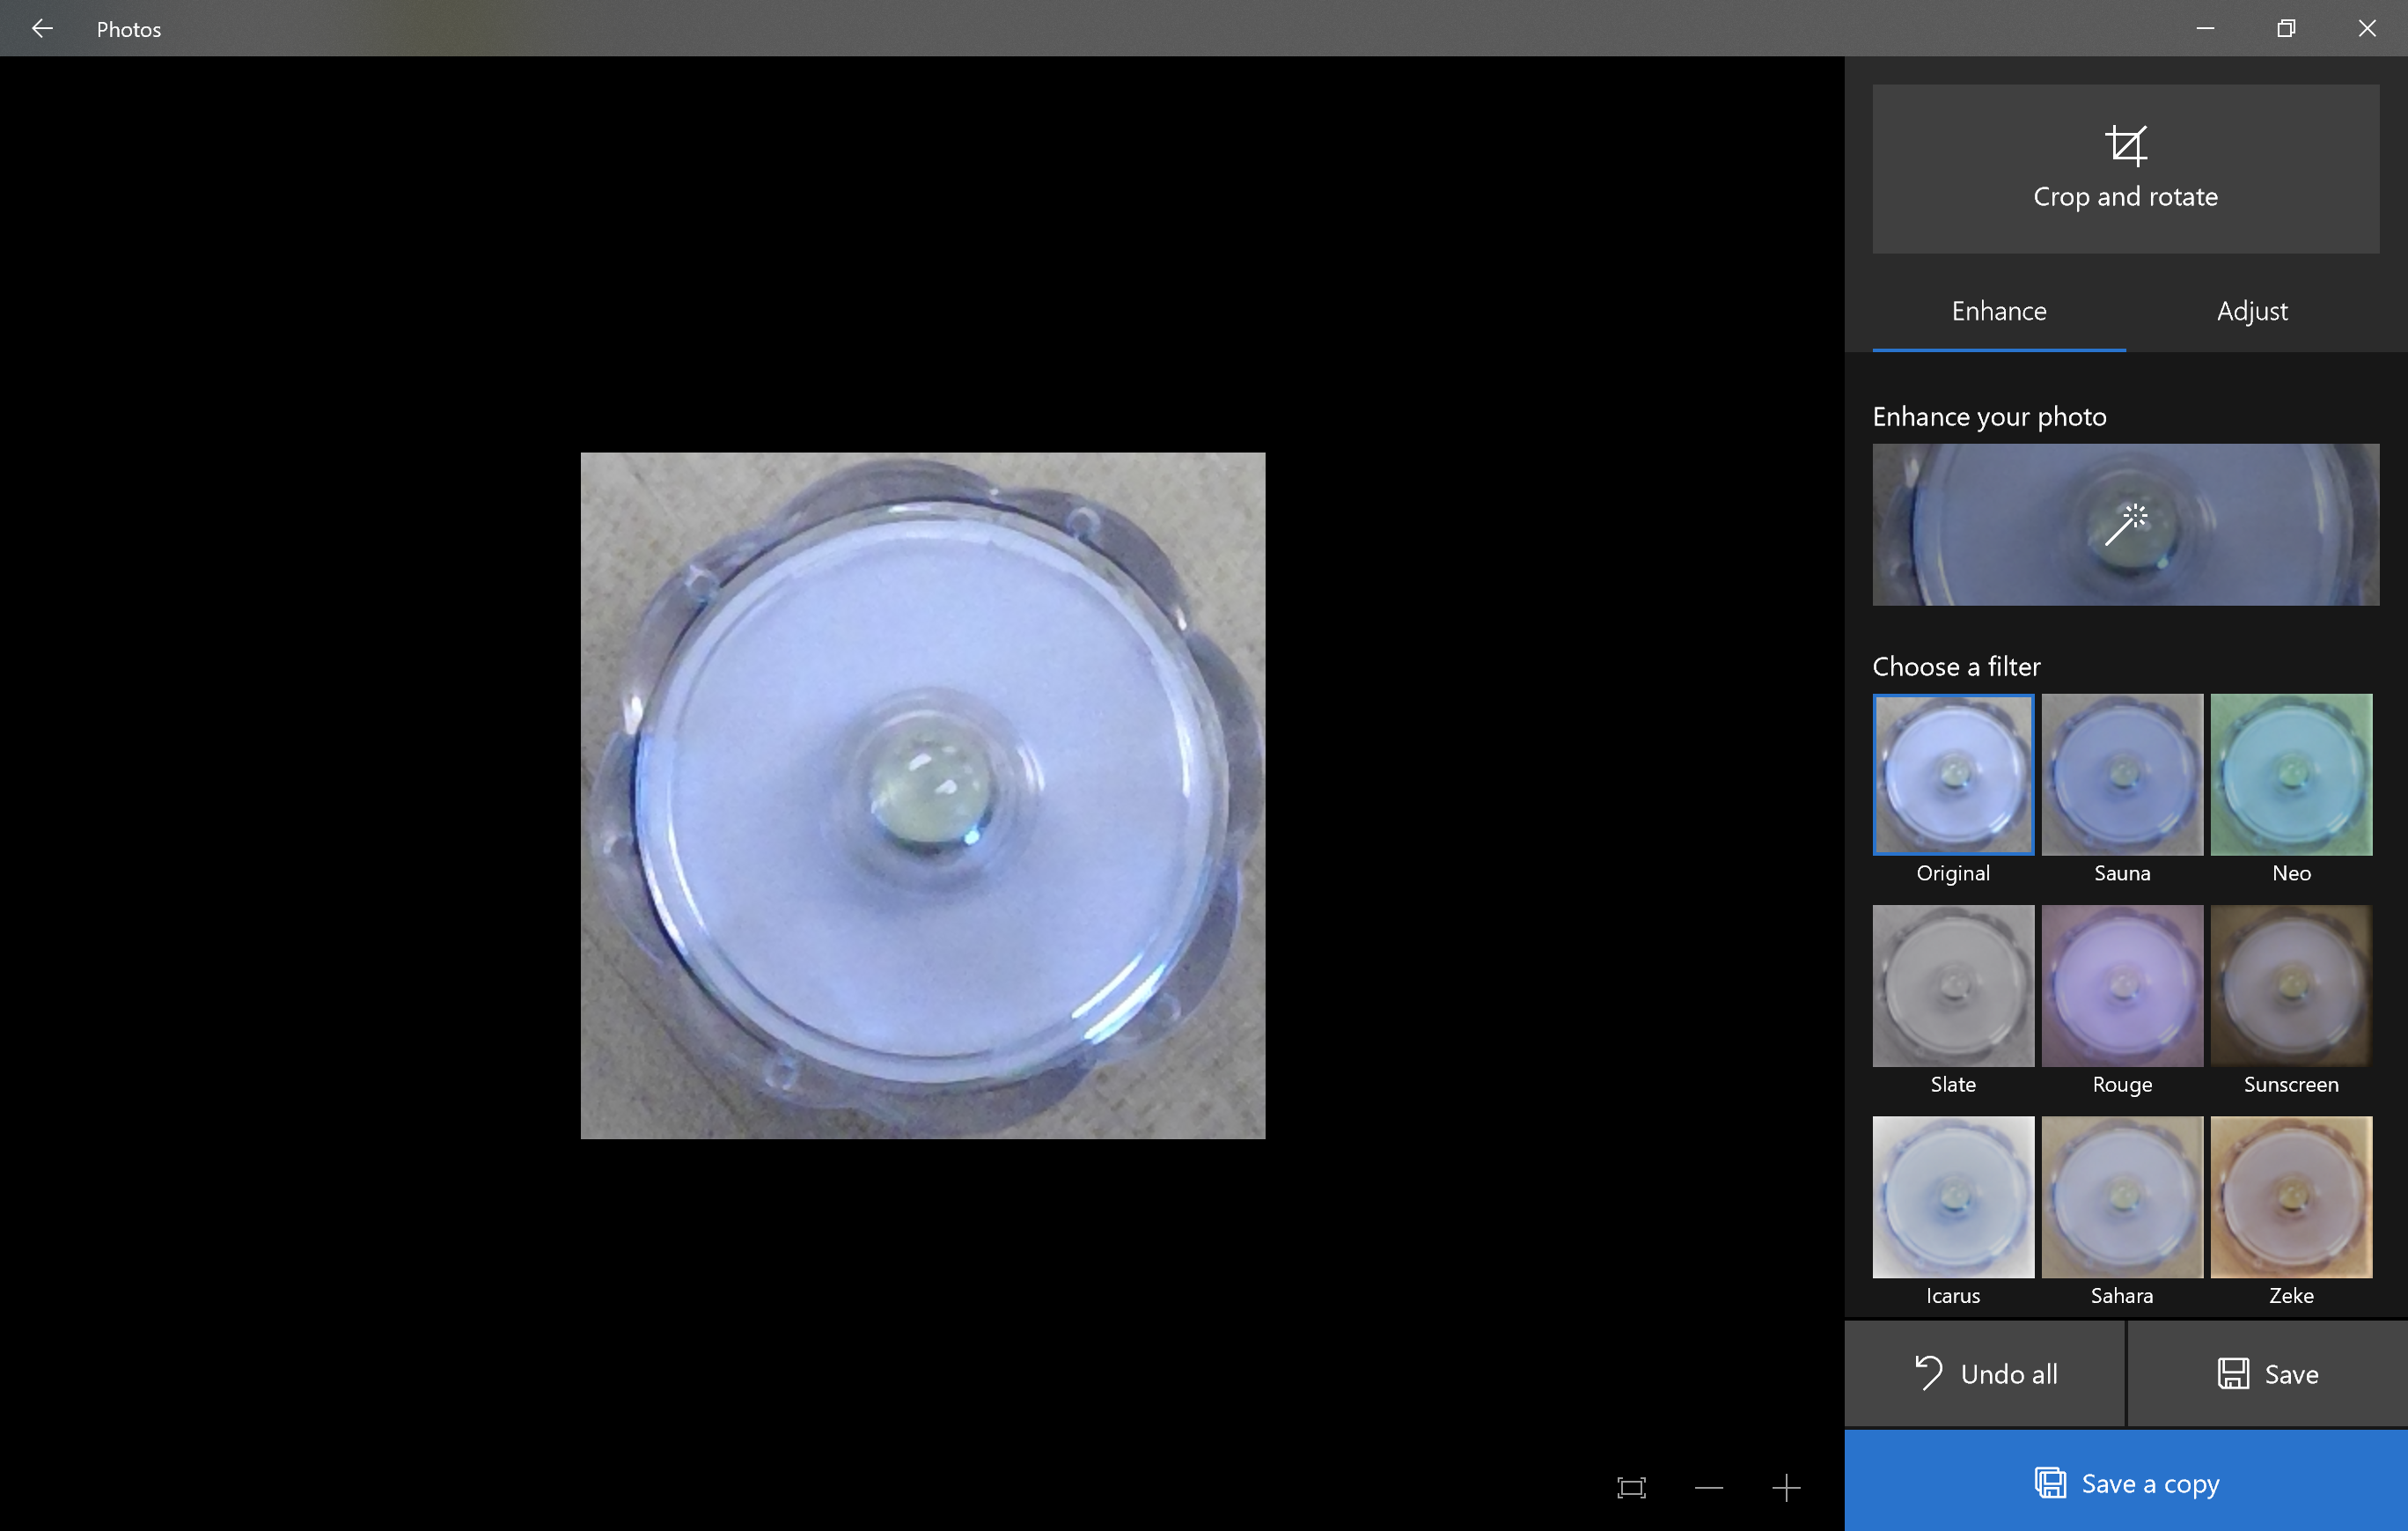

Make sure the edges of the object touch the edges of the picture, so that you can scale later.
Import Images Into Fusion 360.
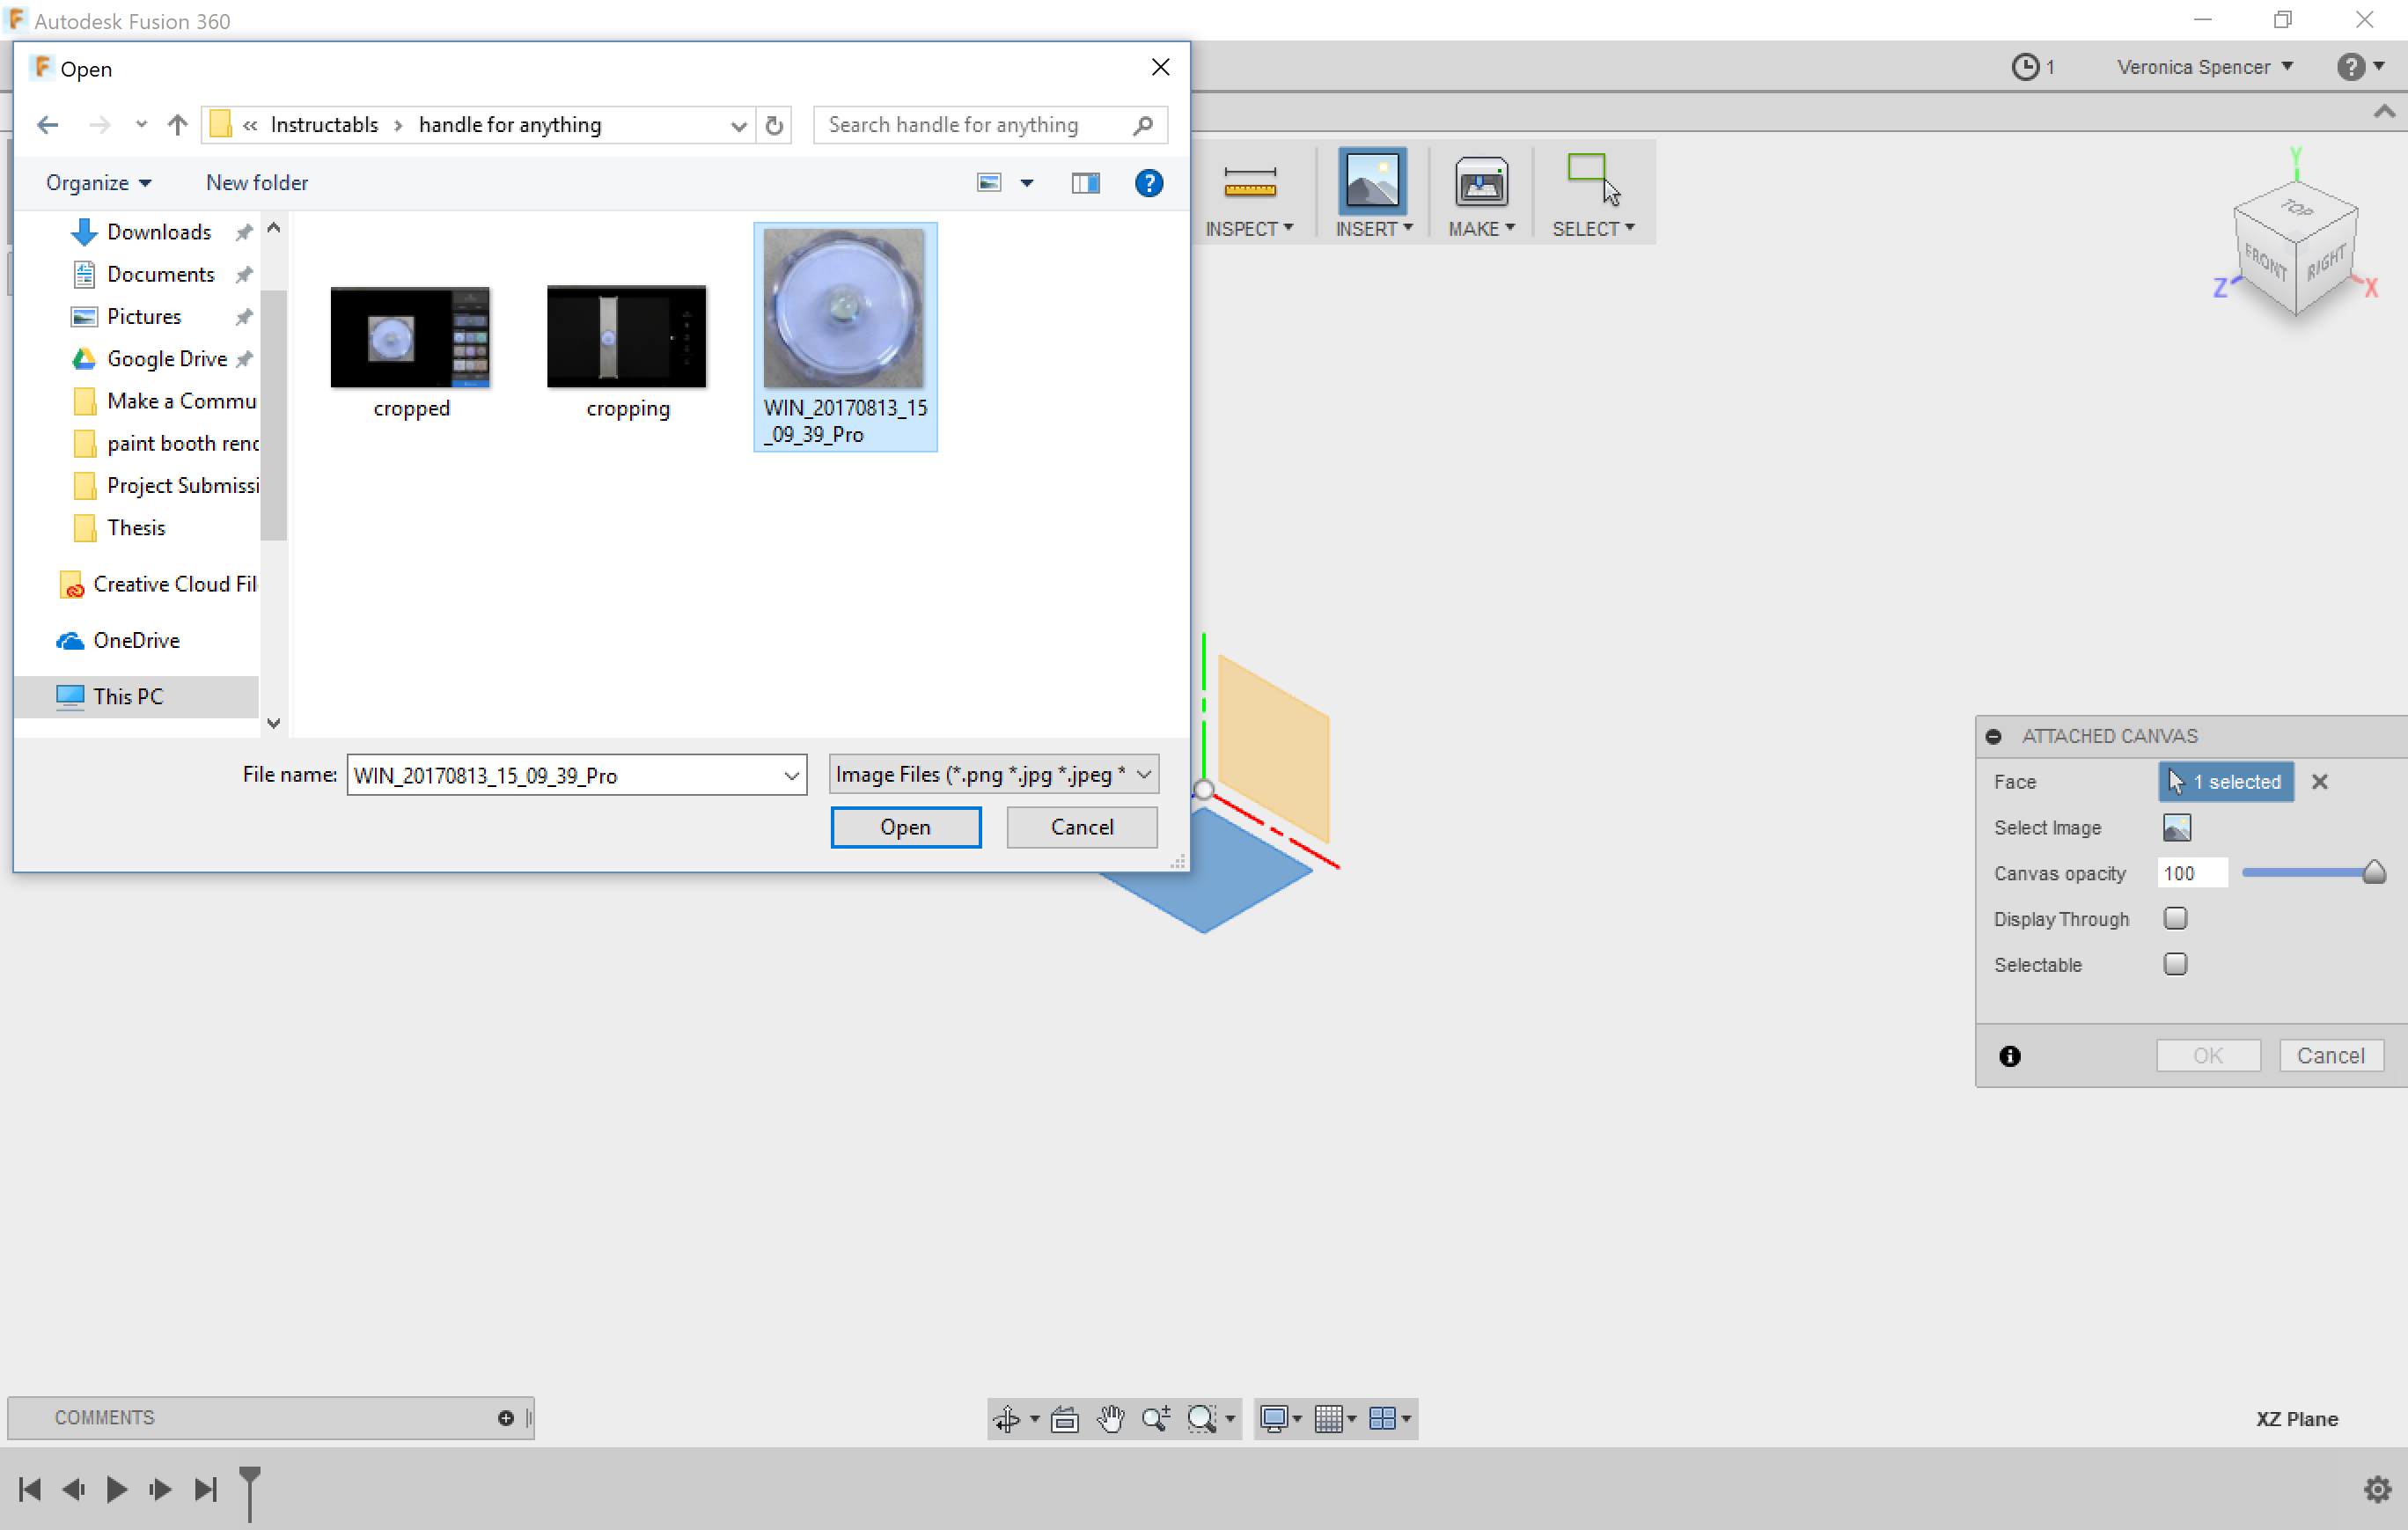
Import your image(s) into Fusion 360 as canvases, on the appropriate planes.
Scale the Pictures Appropriately.
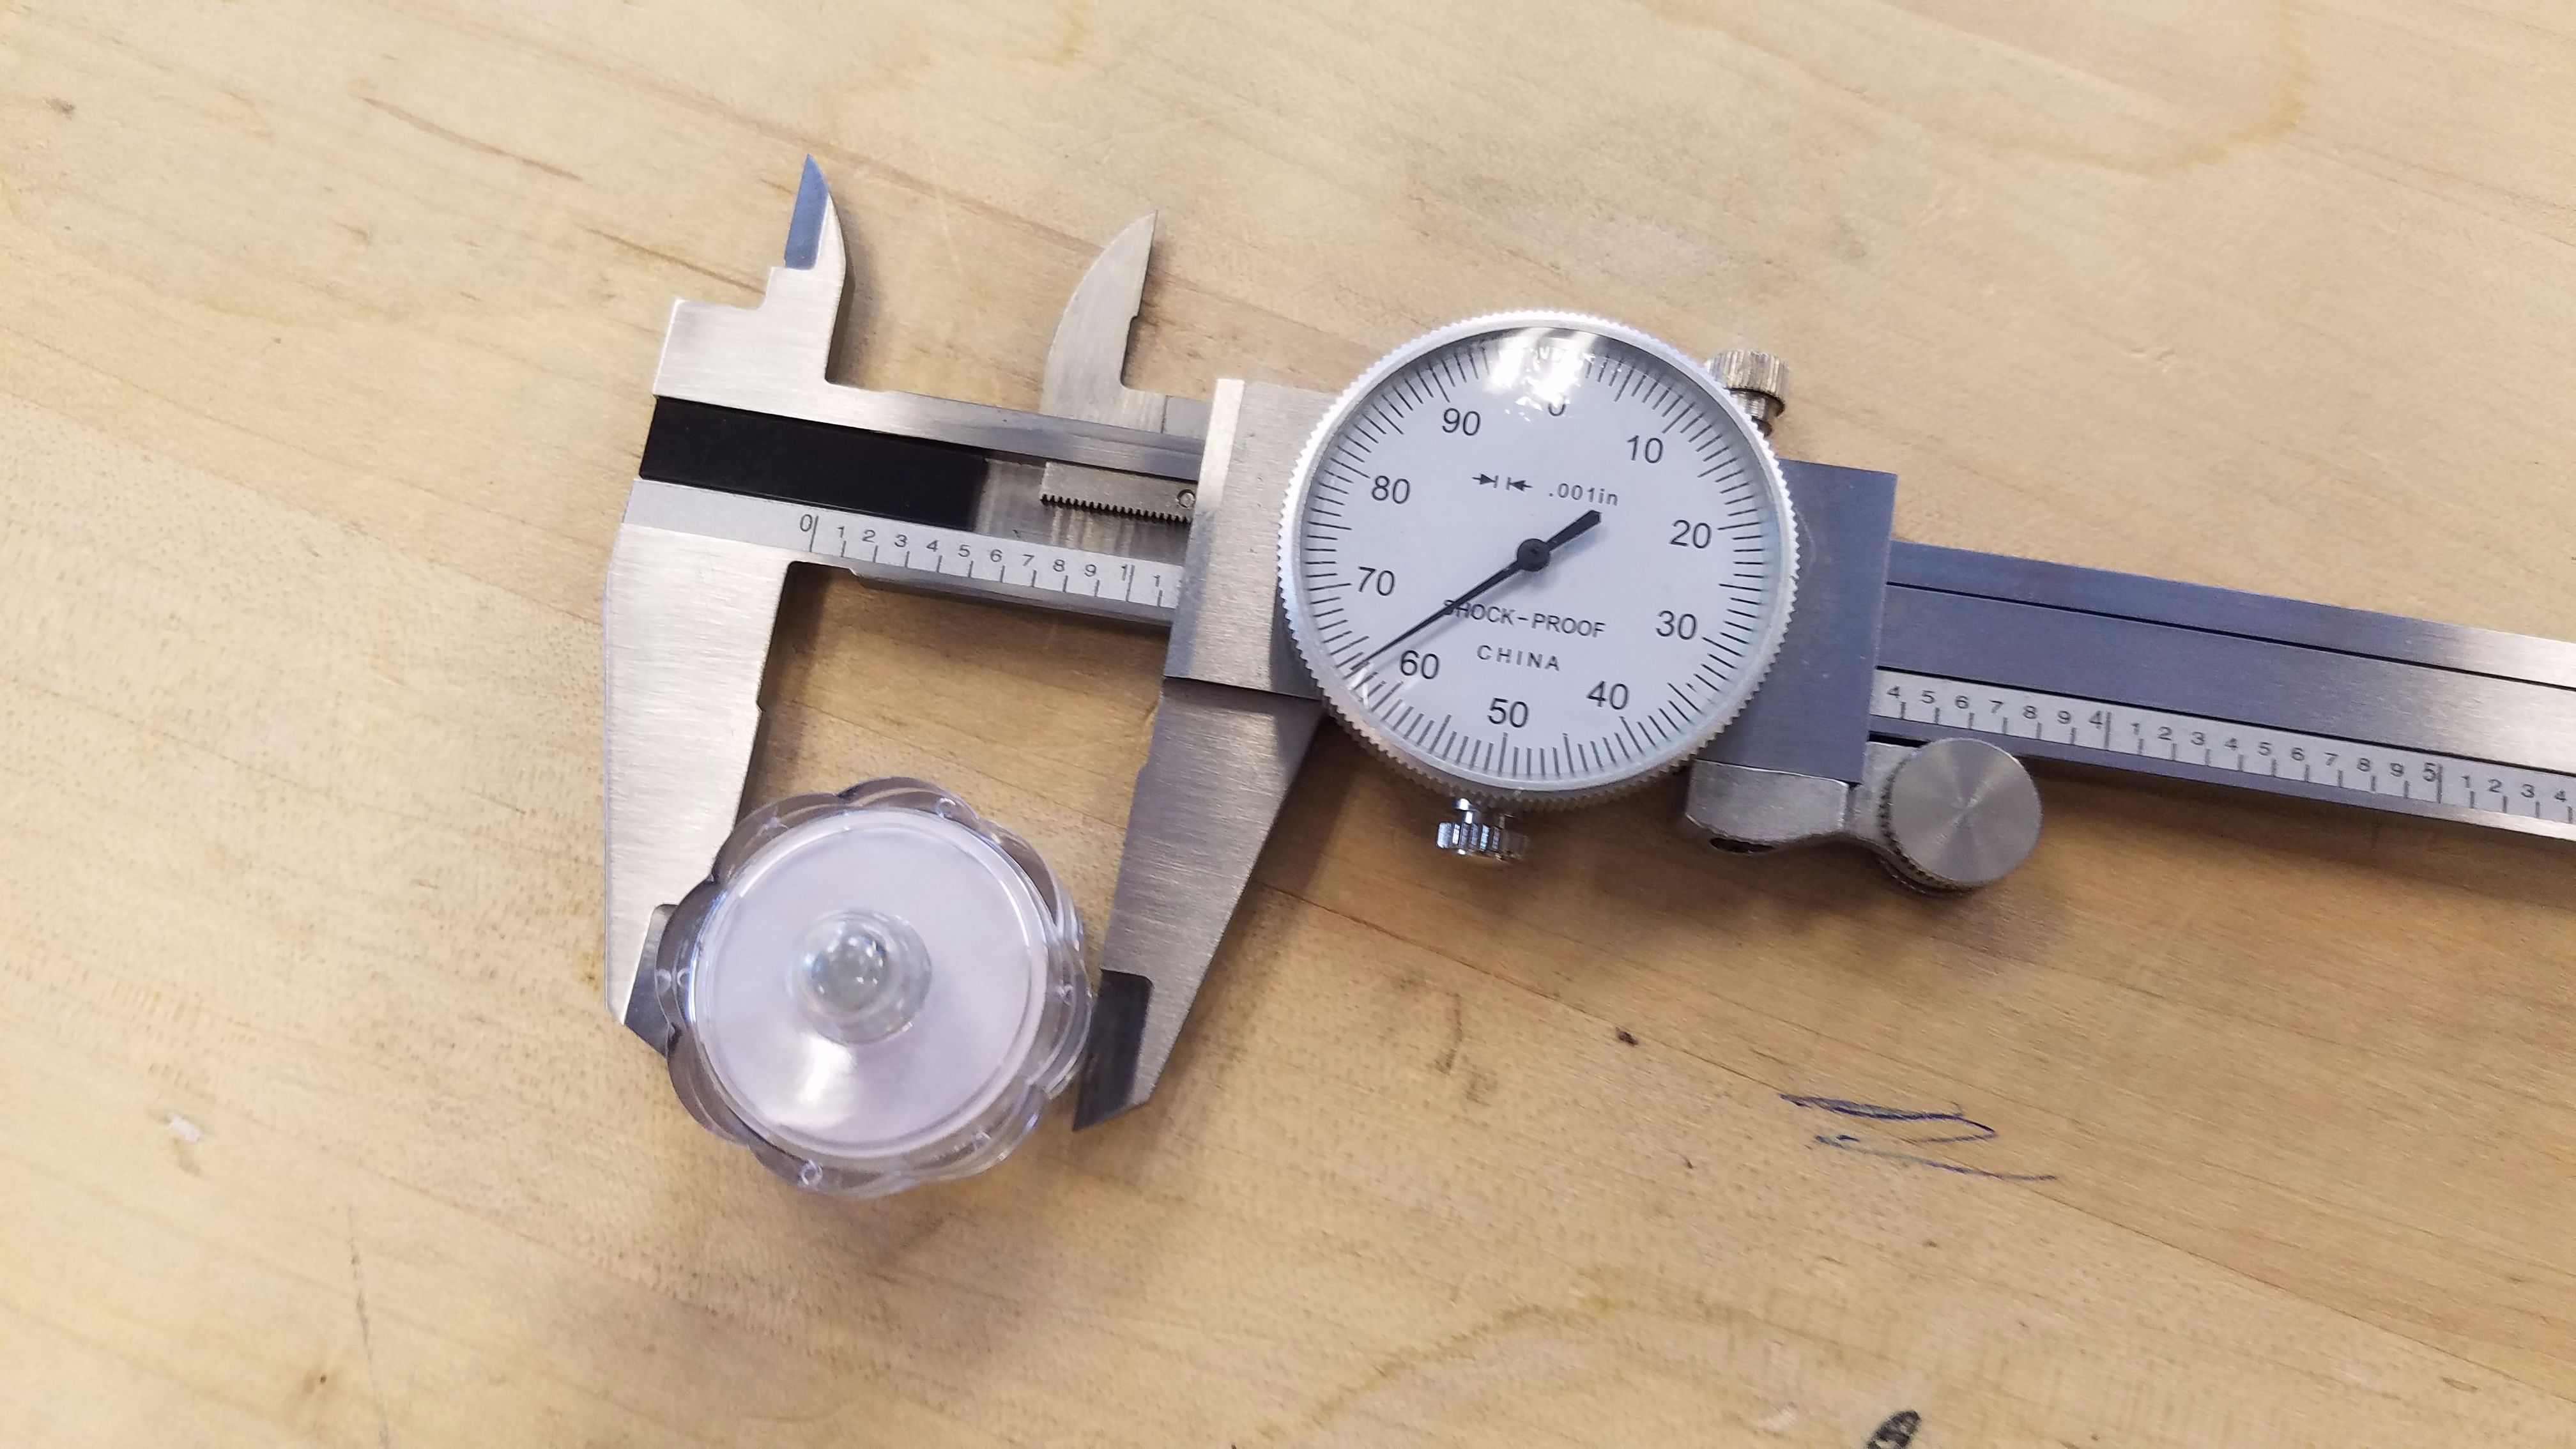
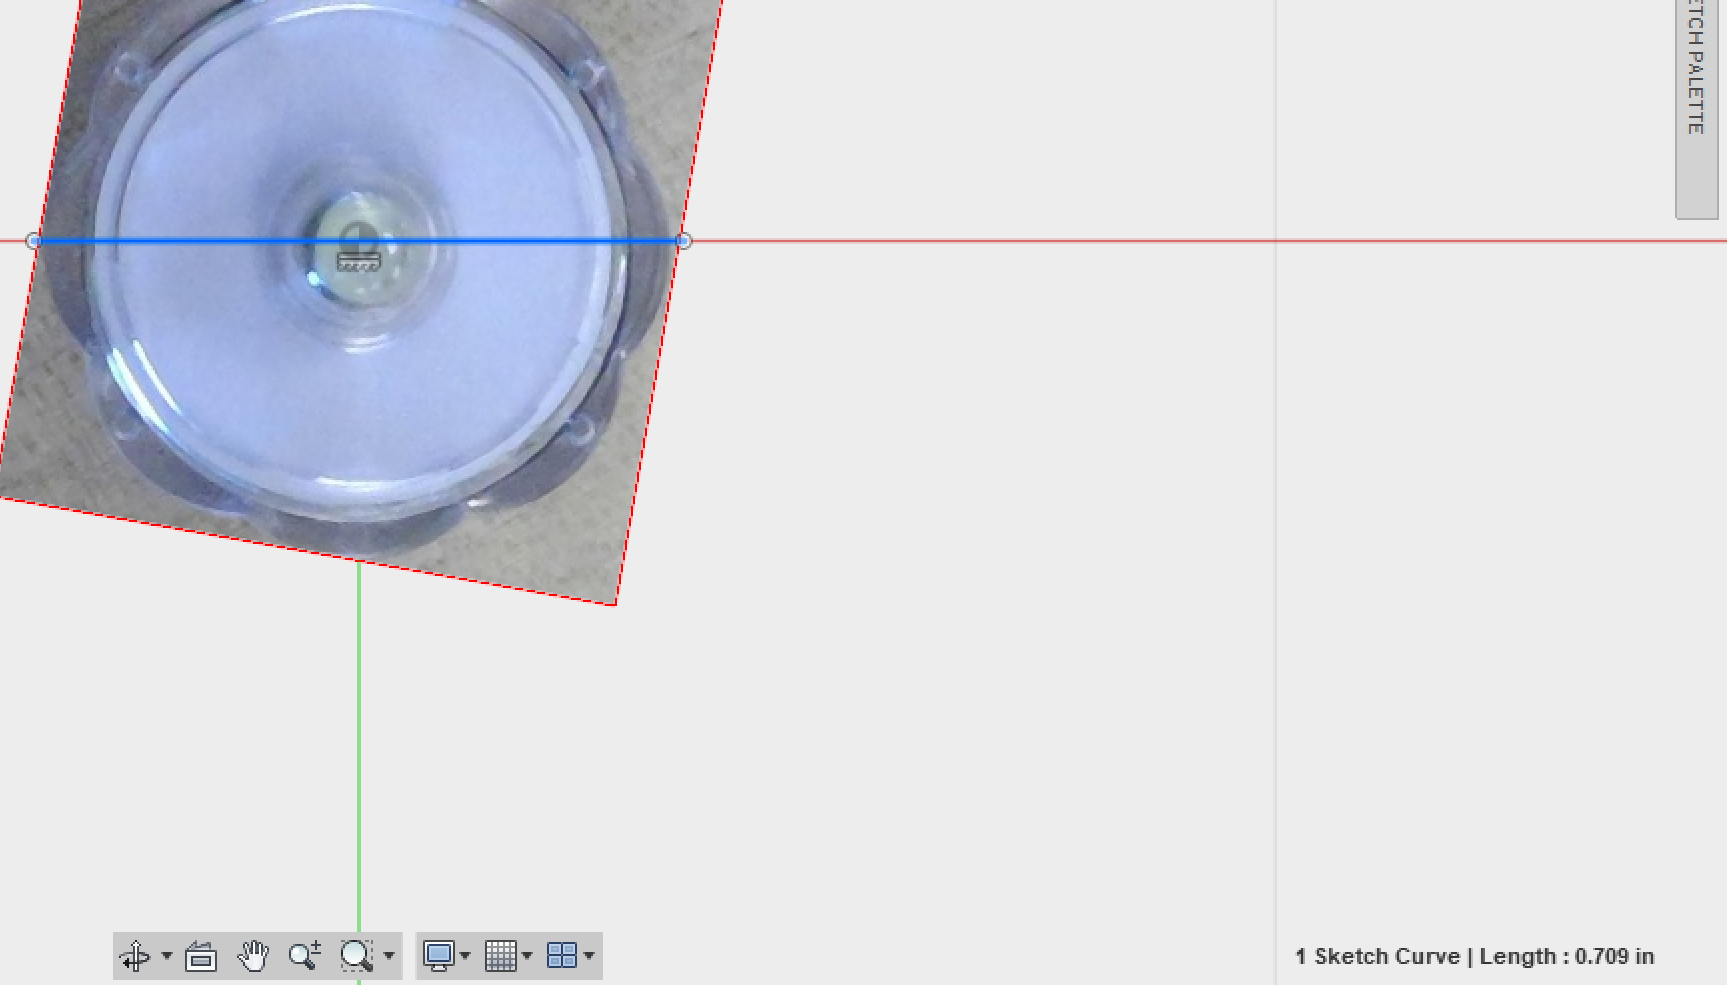
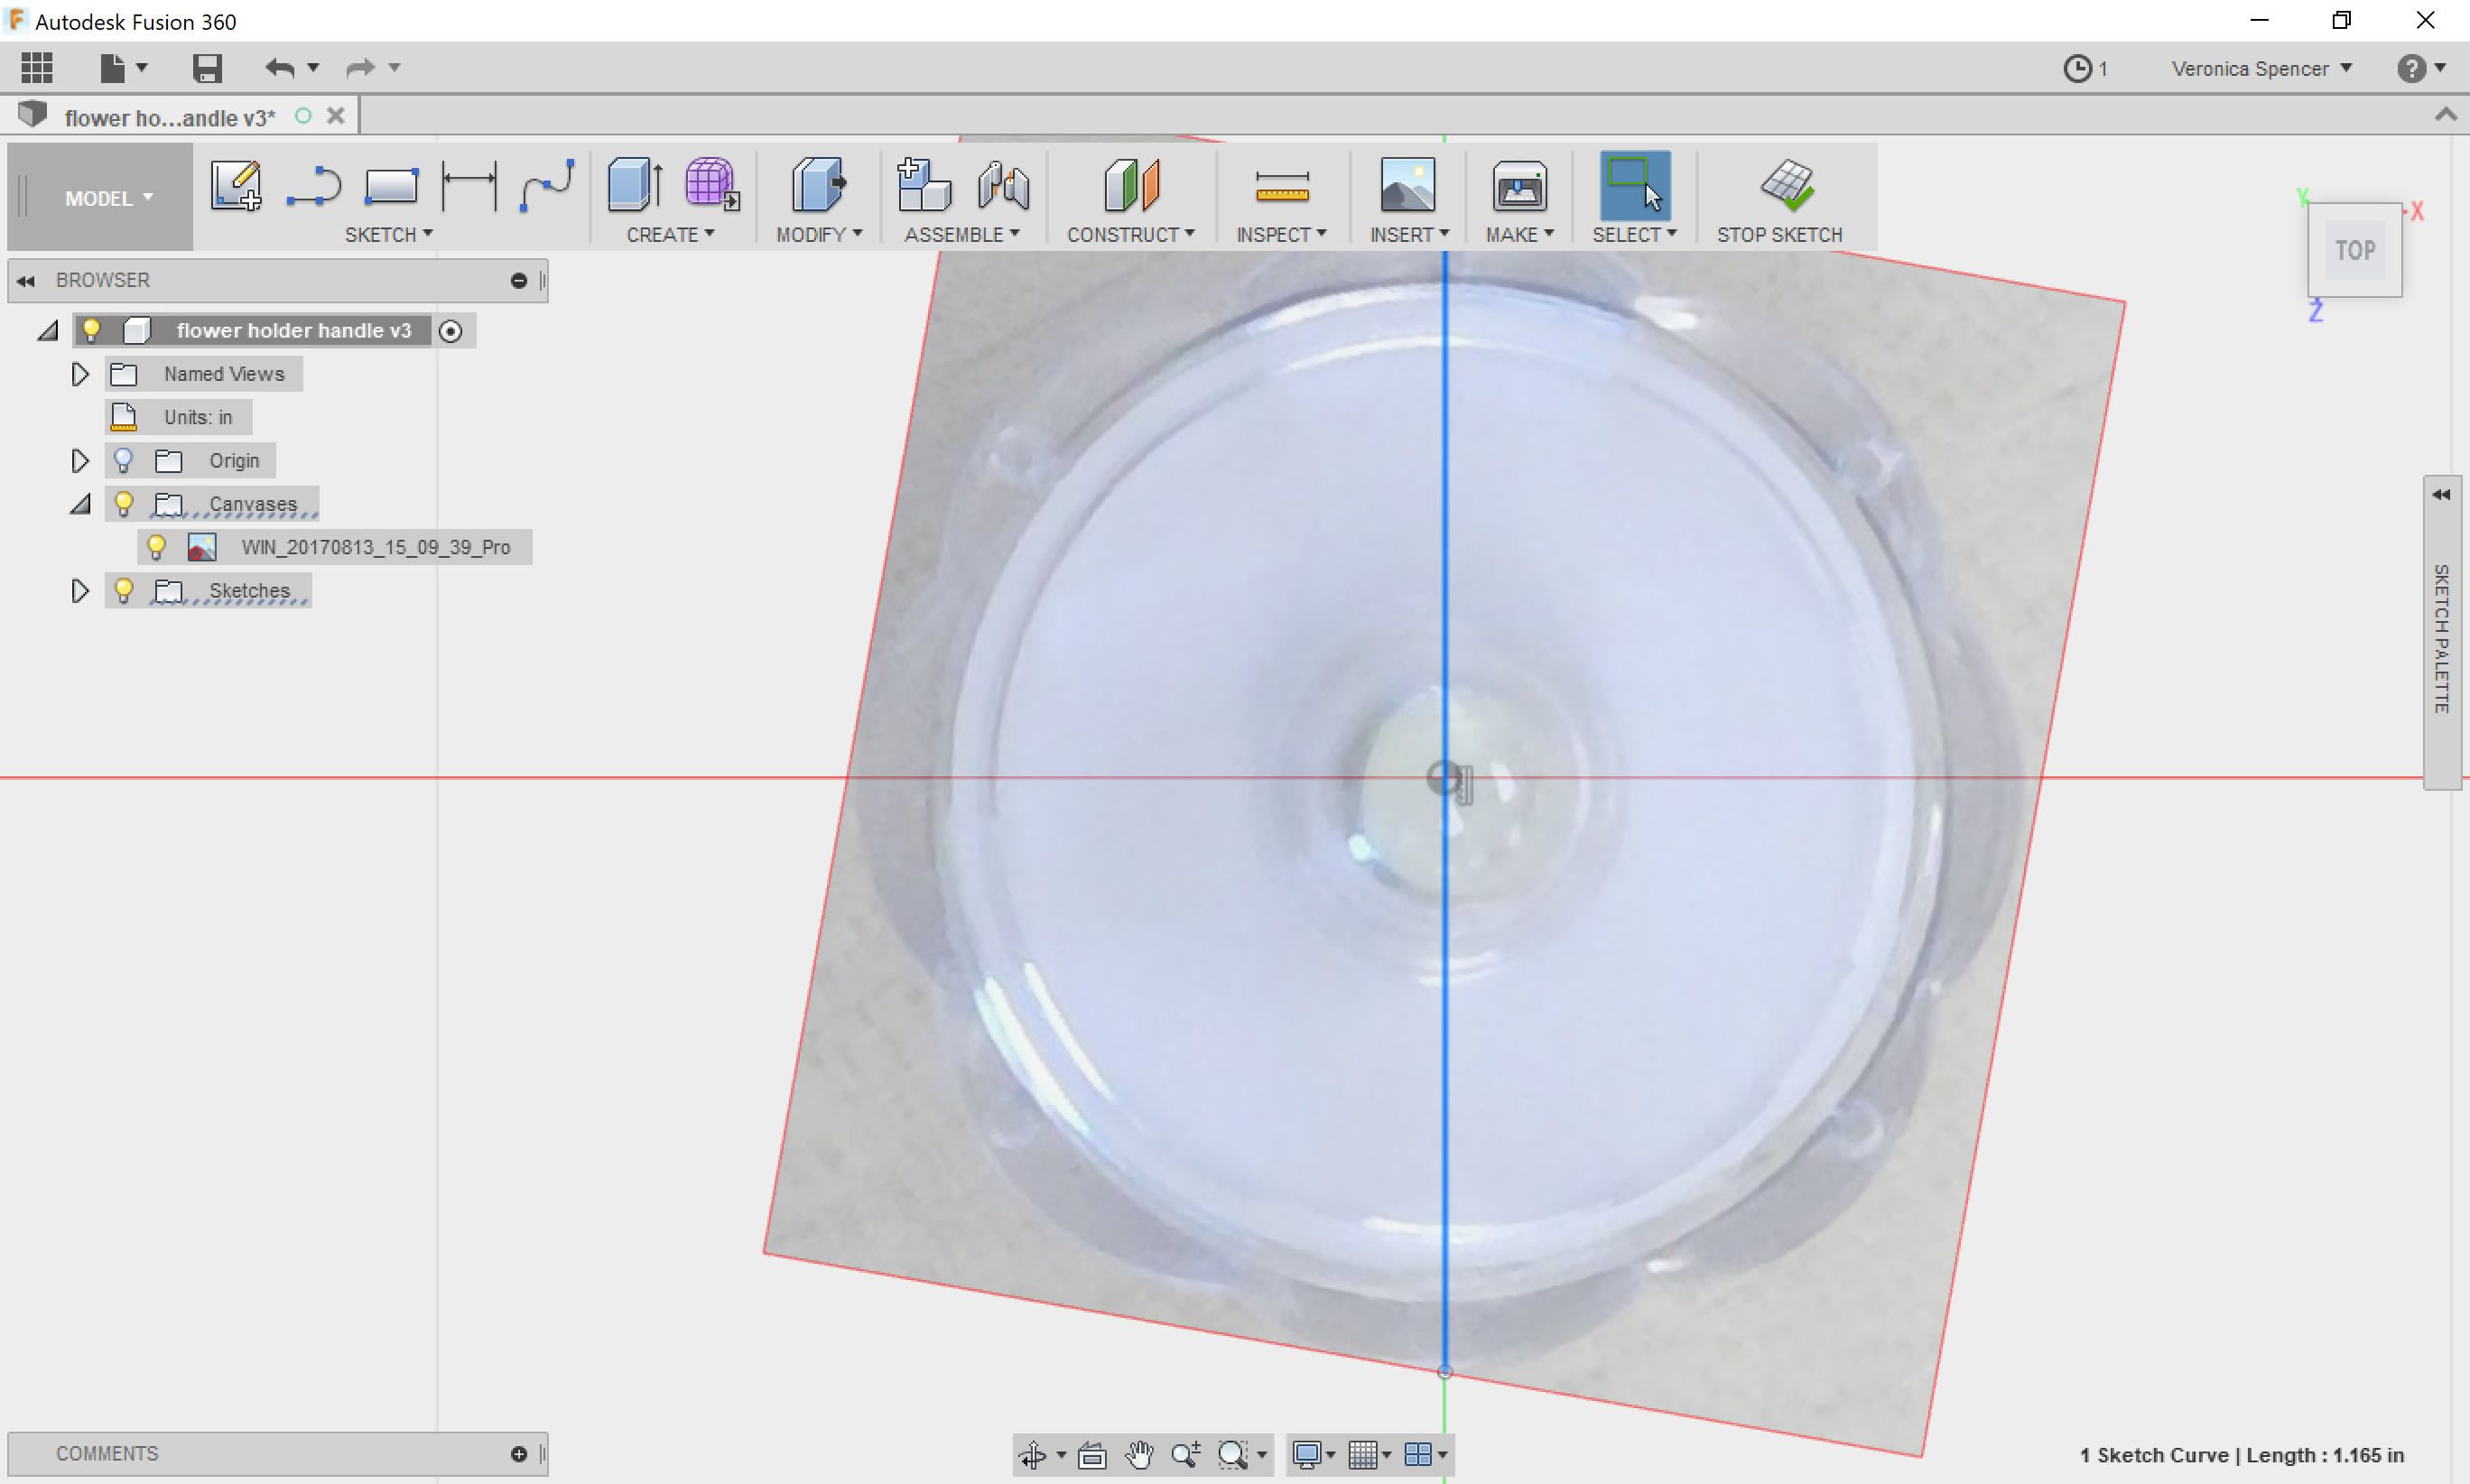
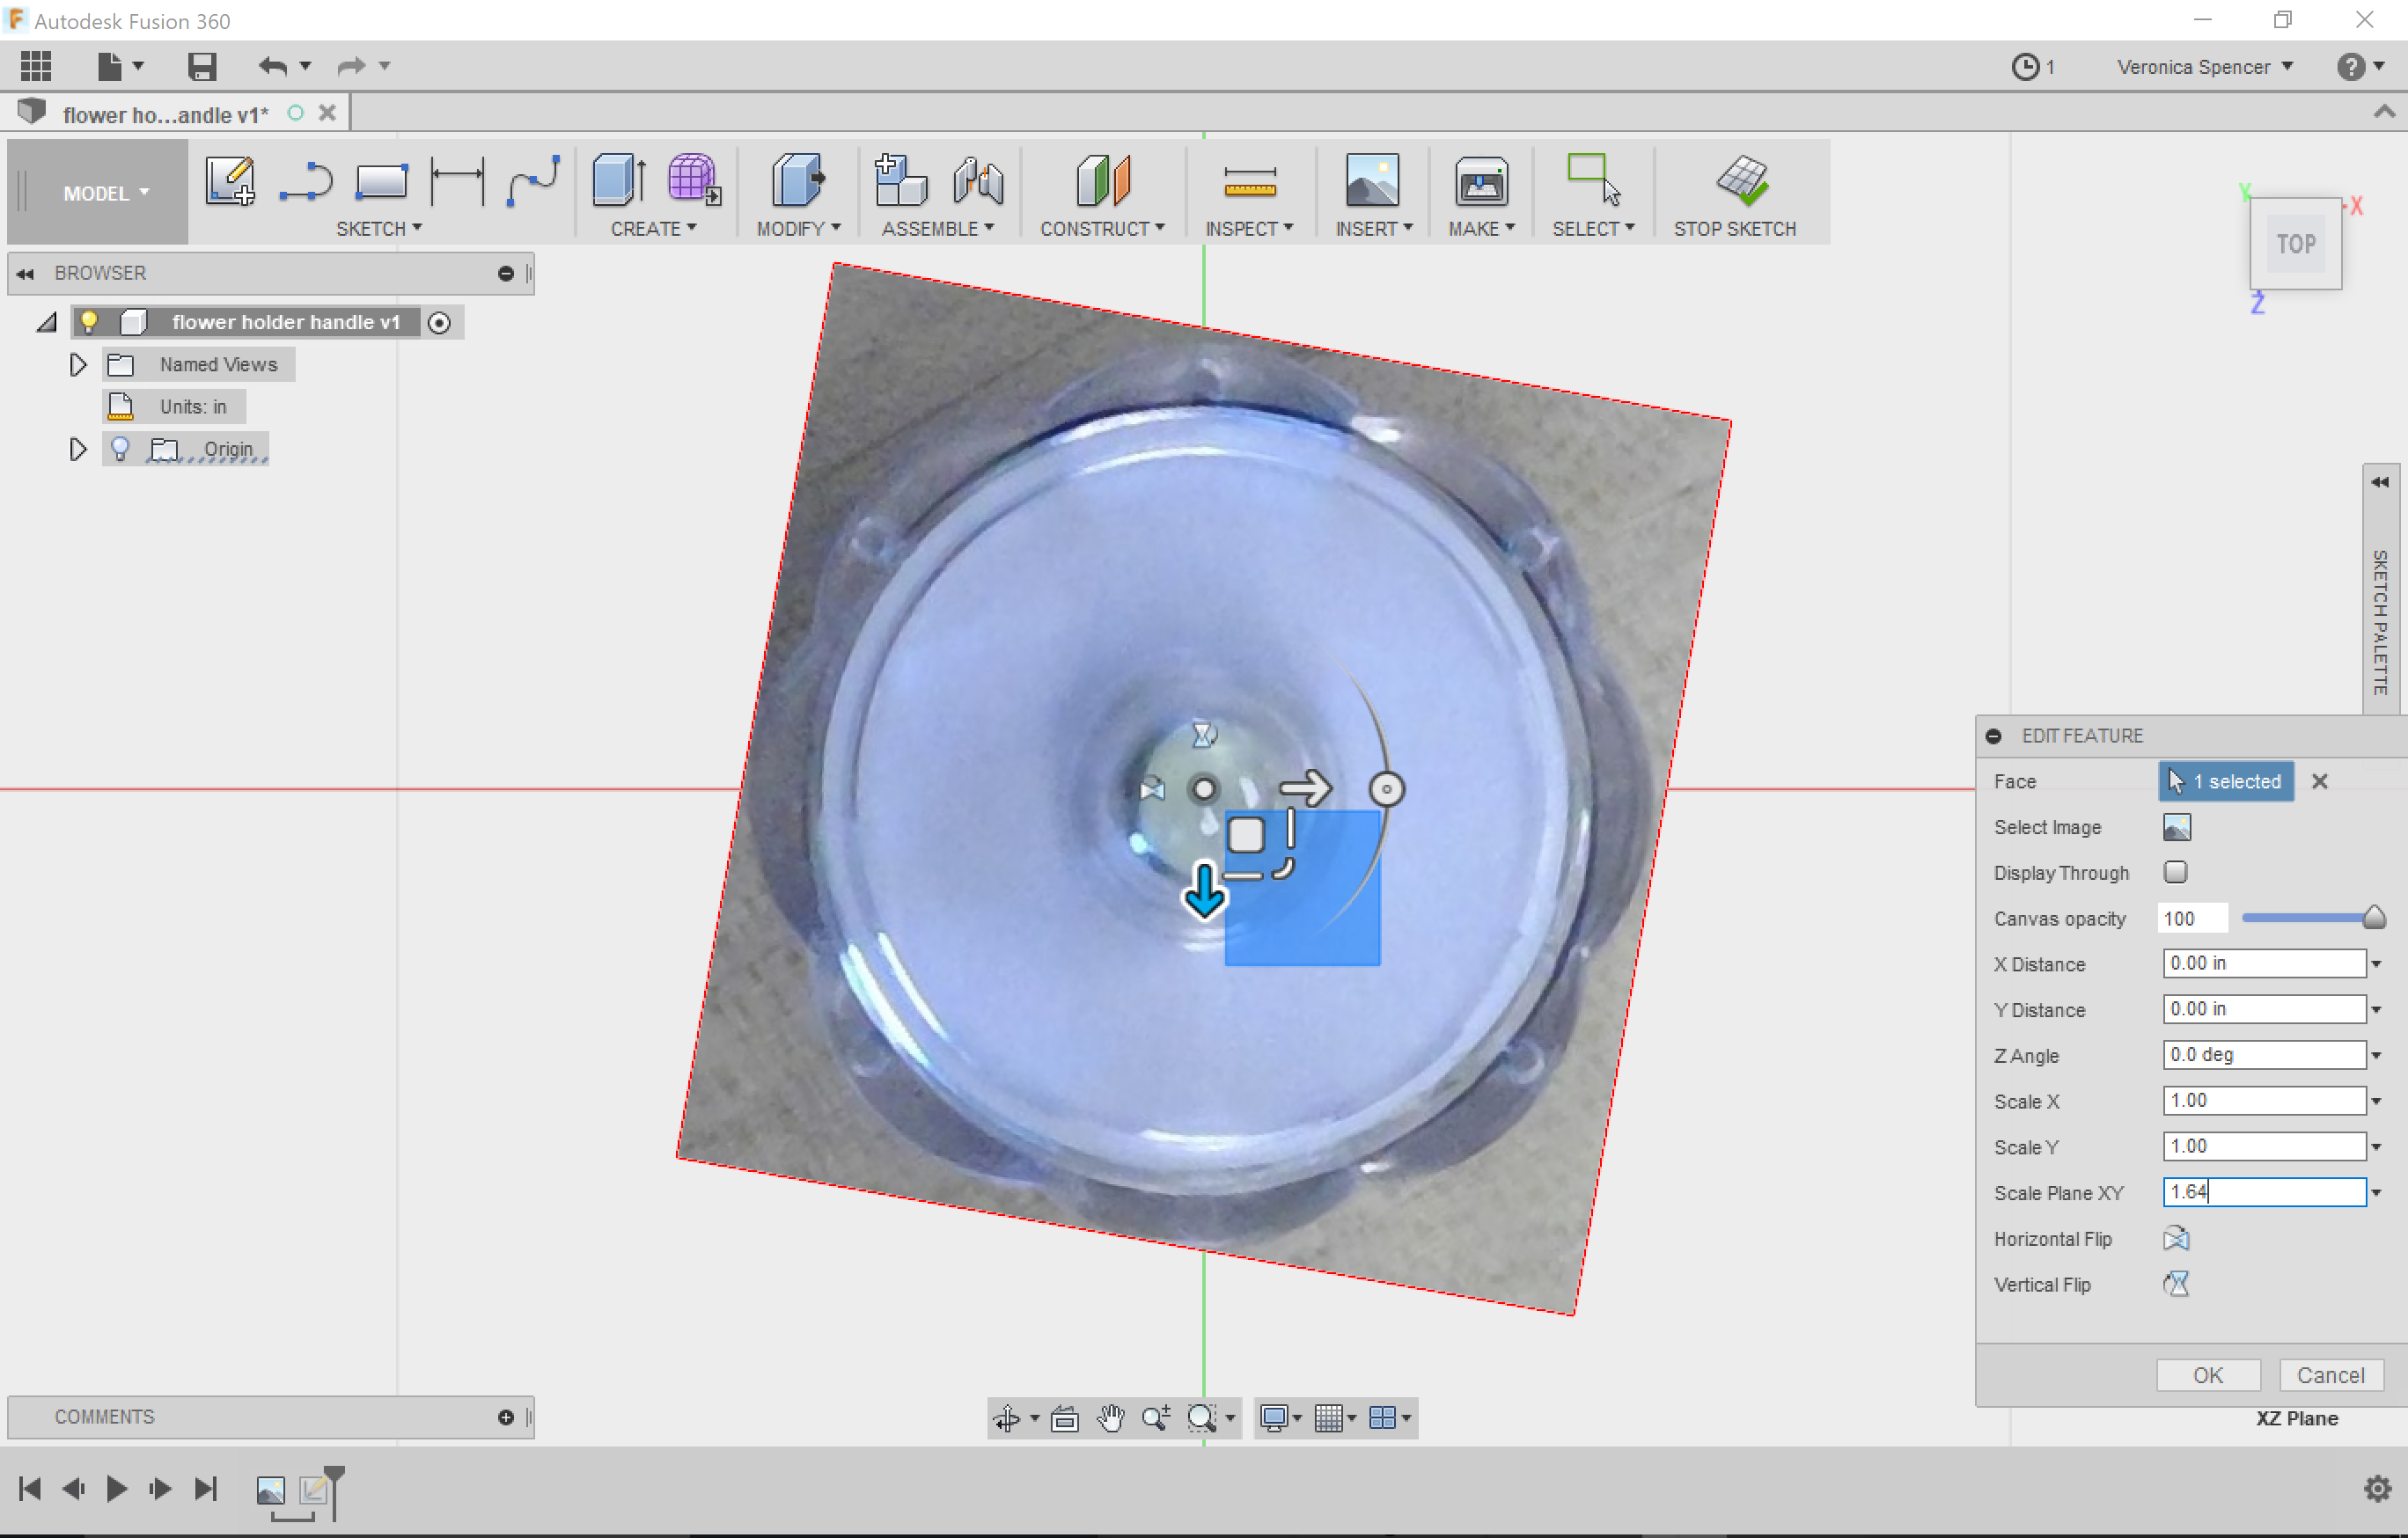
Scale each image to match the dimensions of the real world object.
- Measure the object. Edge to edge, the flower light is 1.163".
- Measure the image by drawing a line from edge to edge. Imported as 0.686"
- Divide the real measurement by the virtual one to get the scaling factor. 1.163"/.686" = 1.69533 scale factor.
- Scale plane xy by that number.
- Verify the distances match by redrawing the line.
Draw the Item Interface.
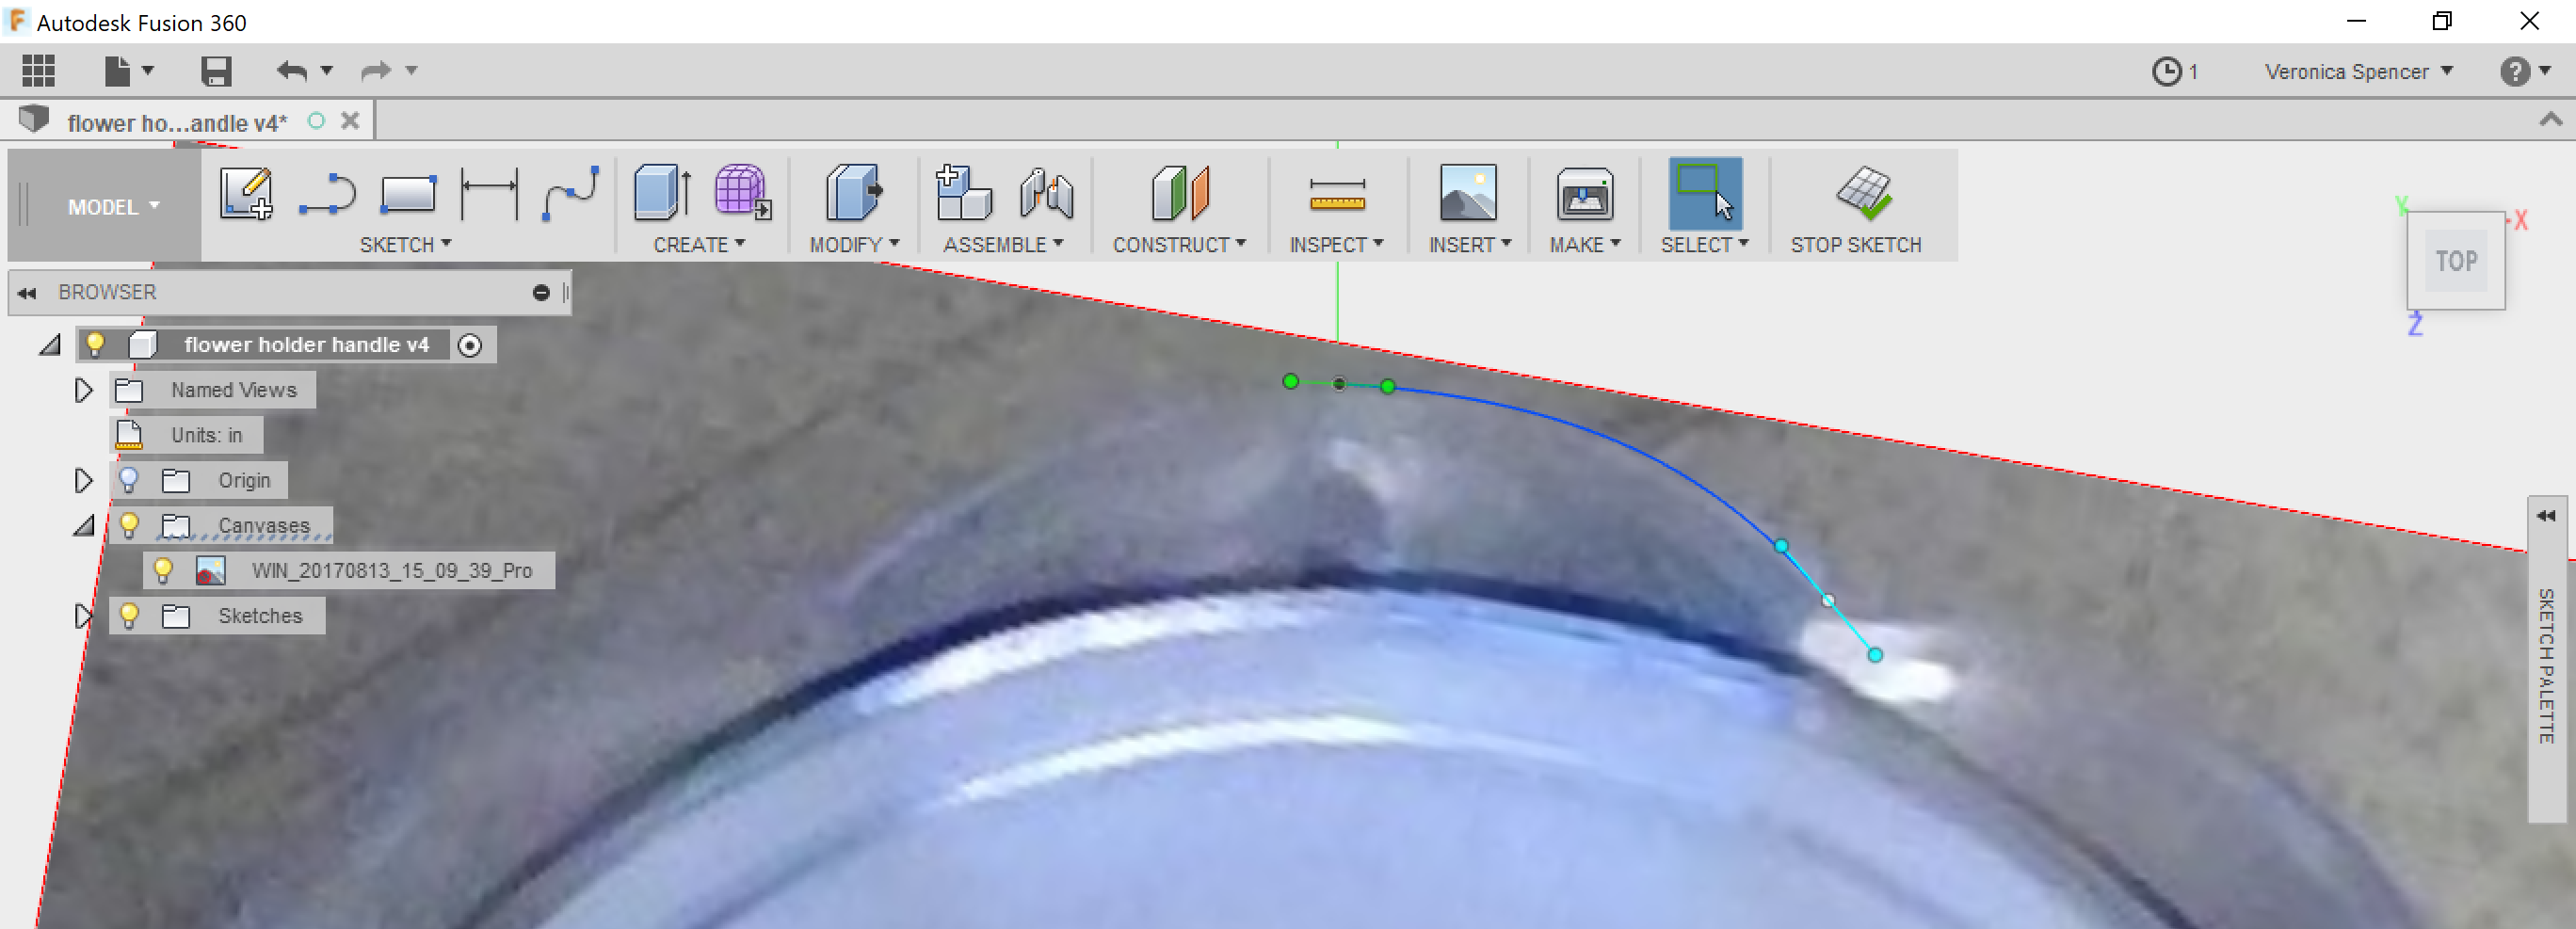
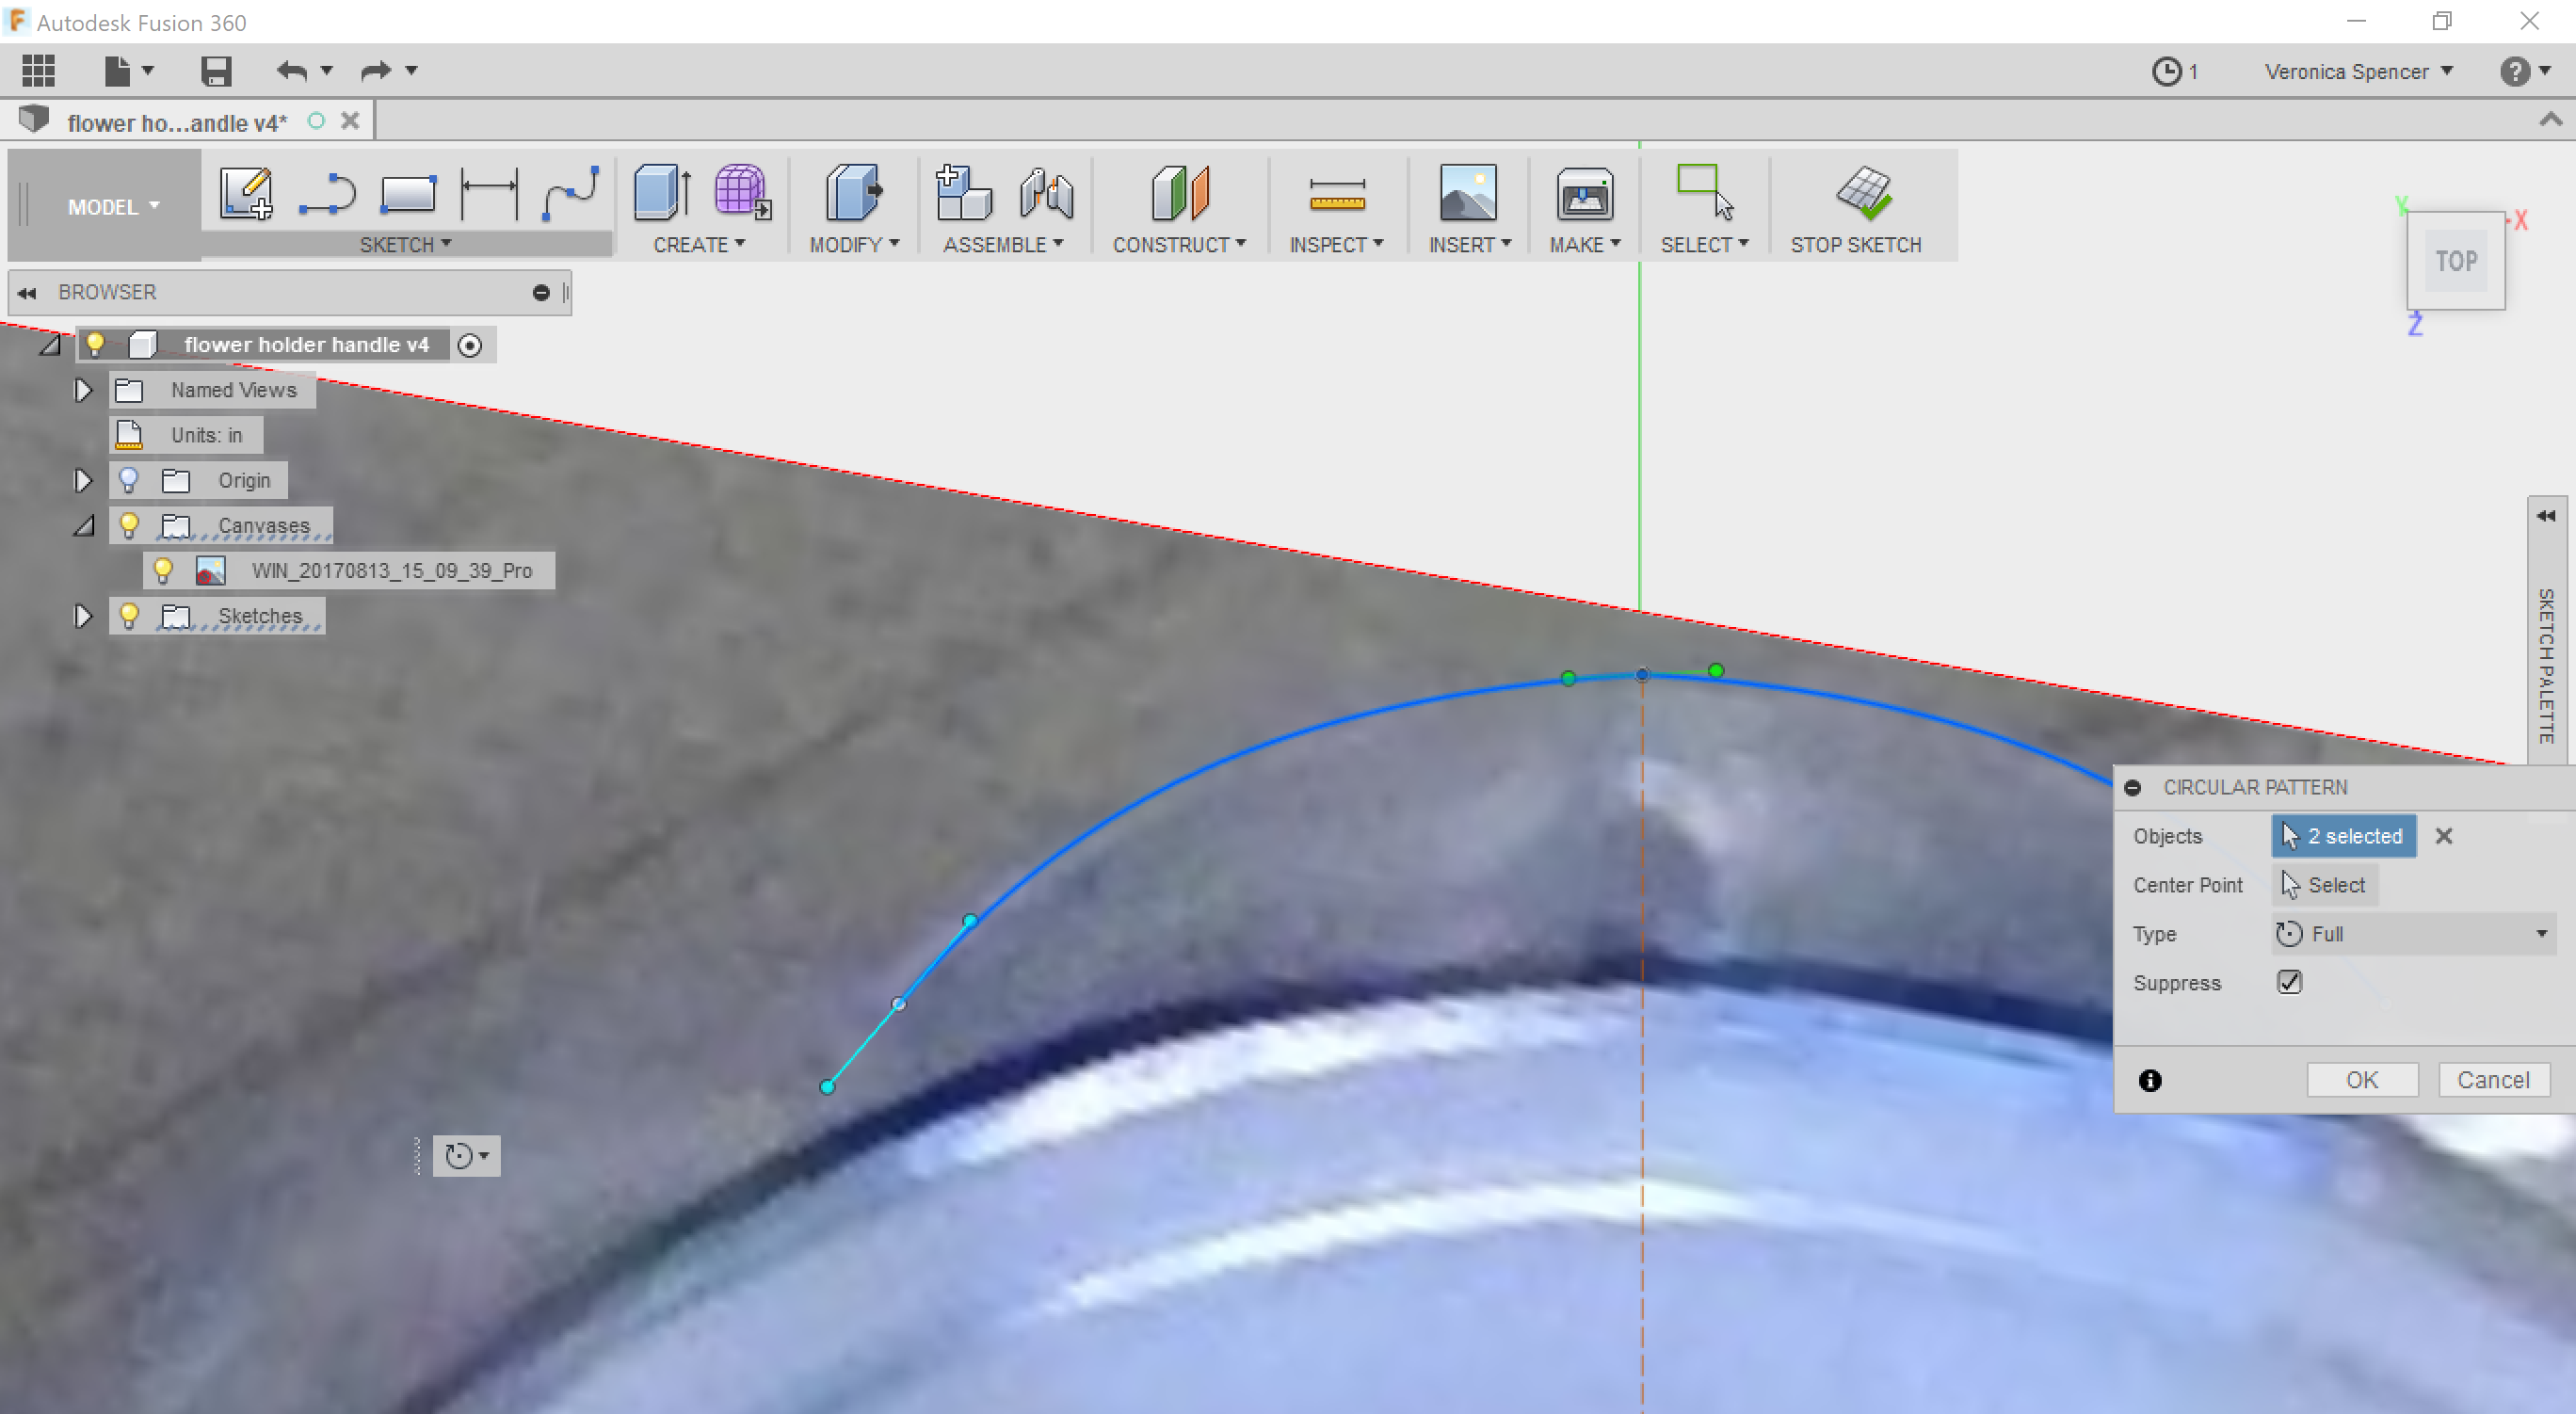
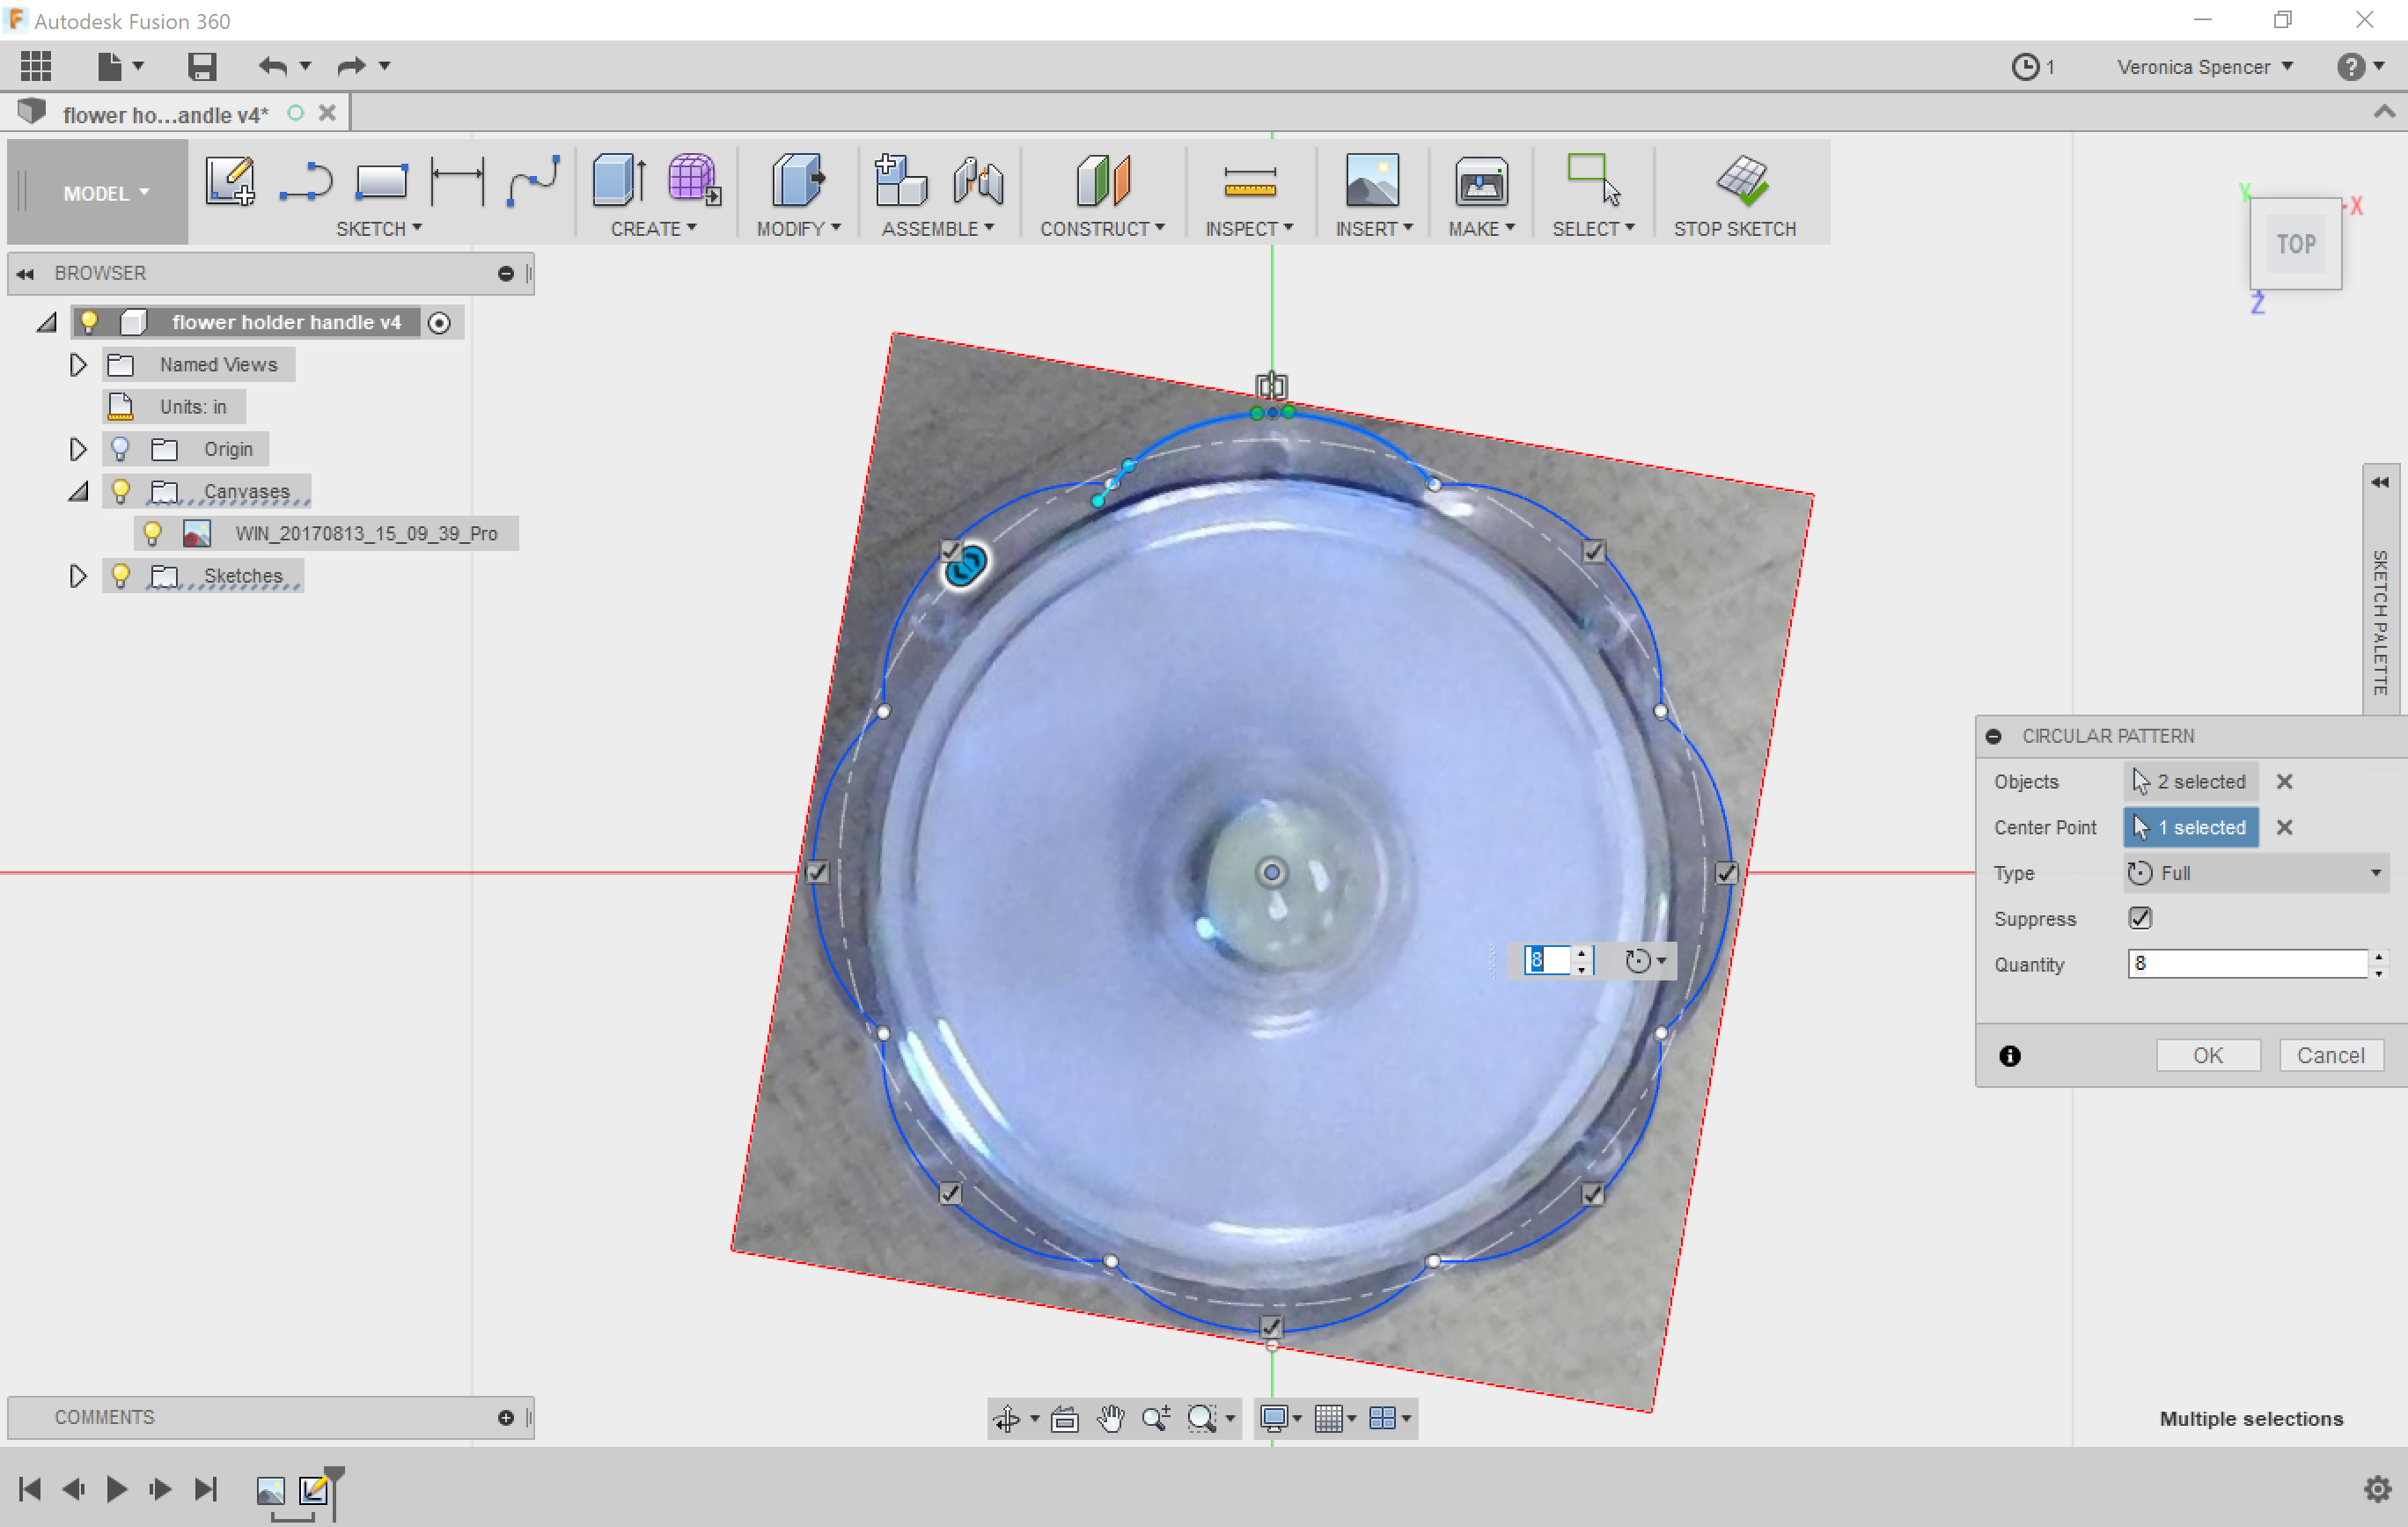
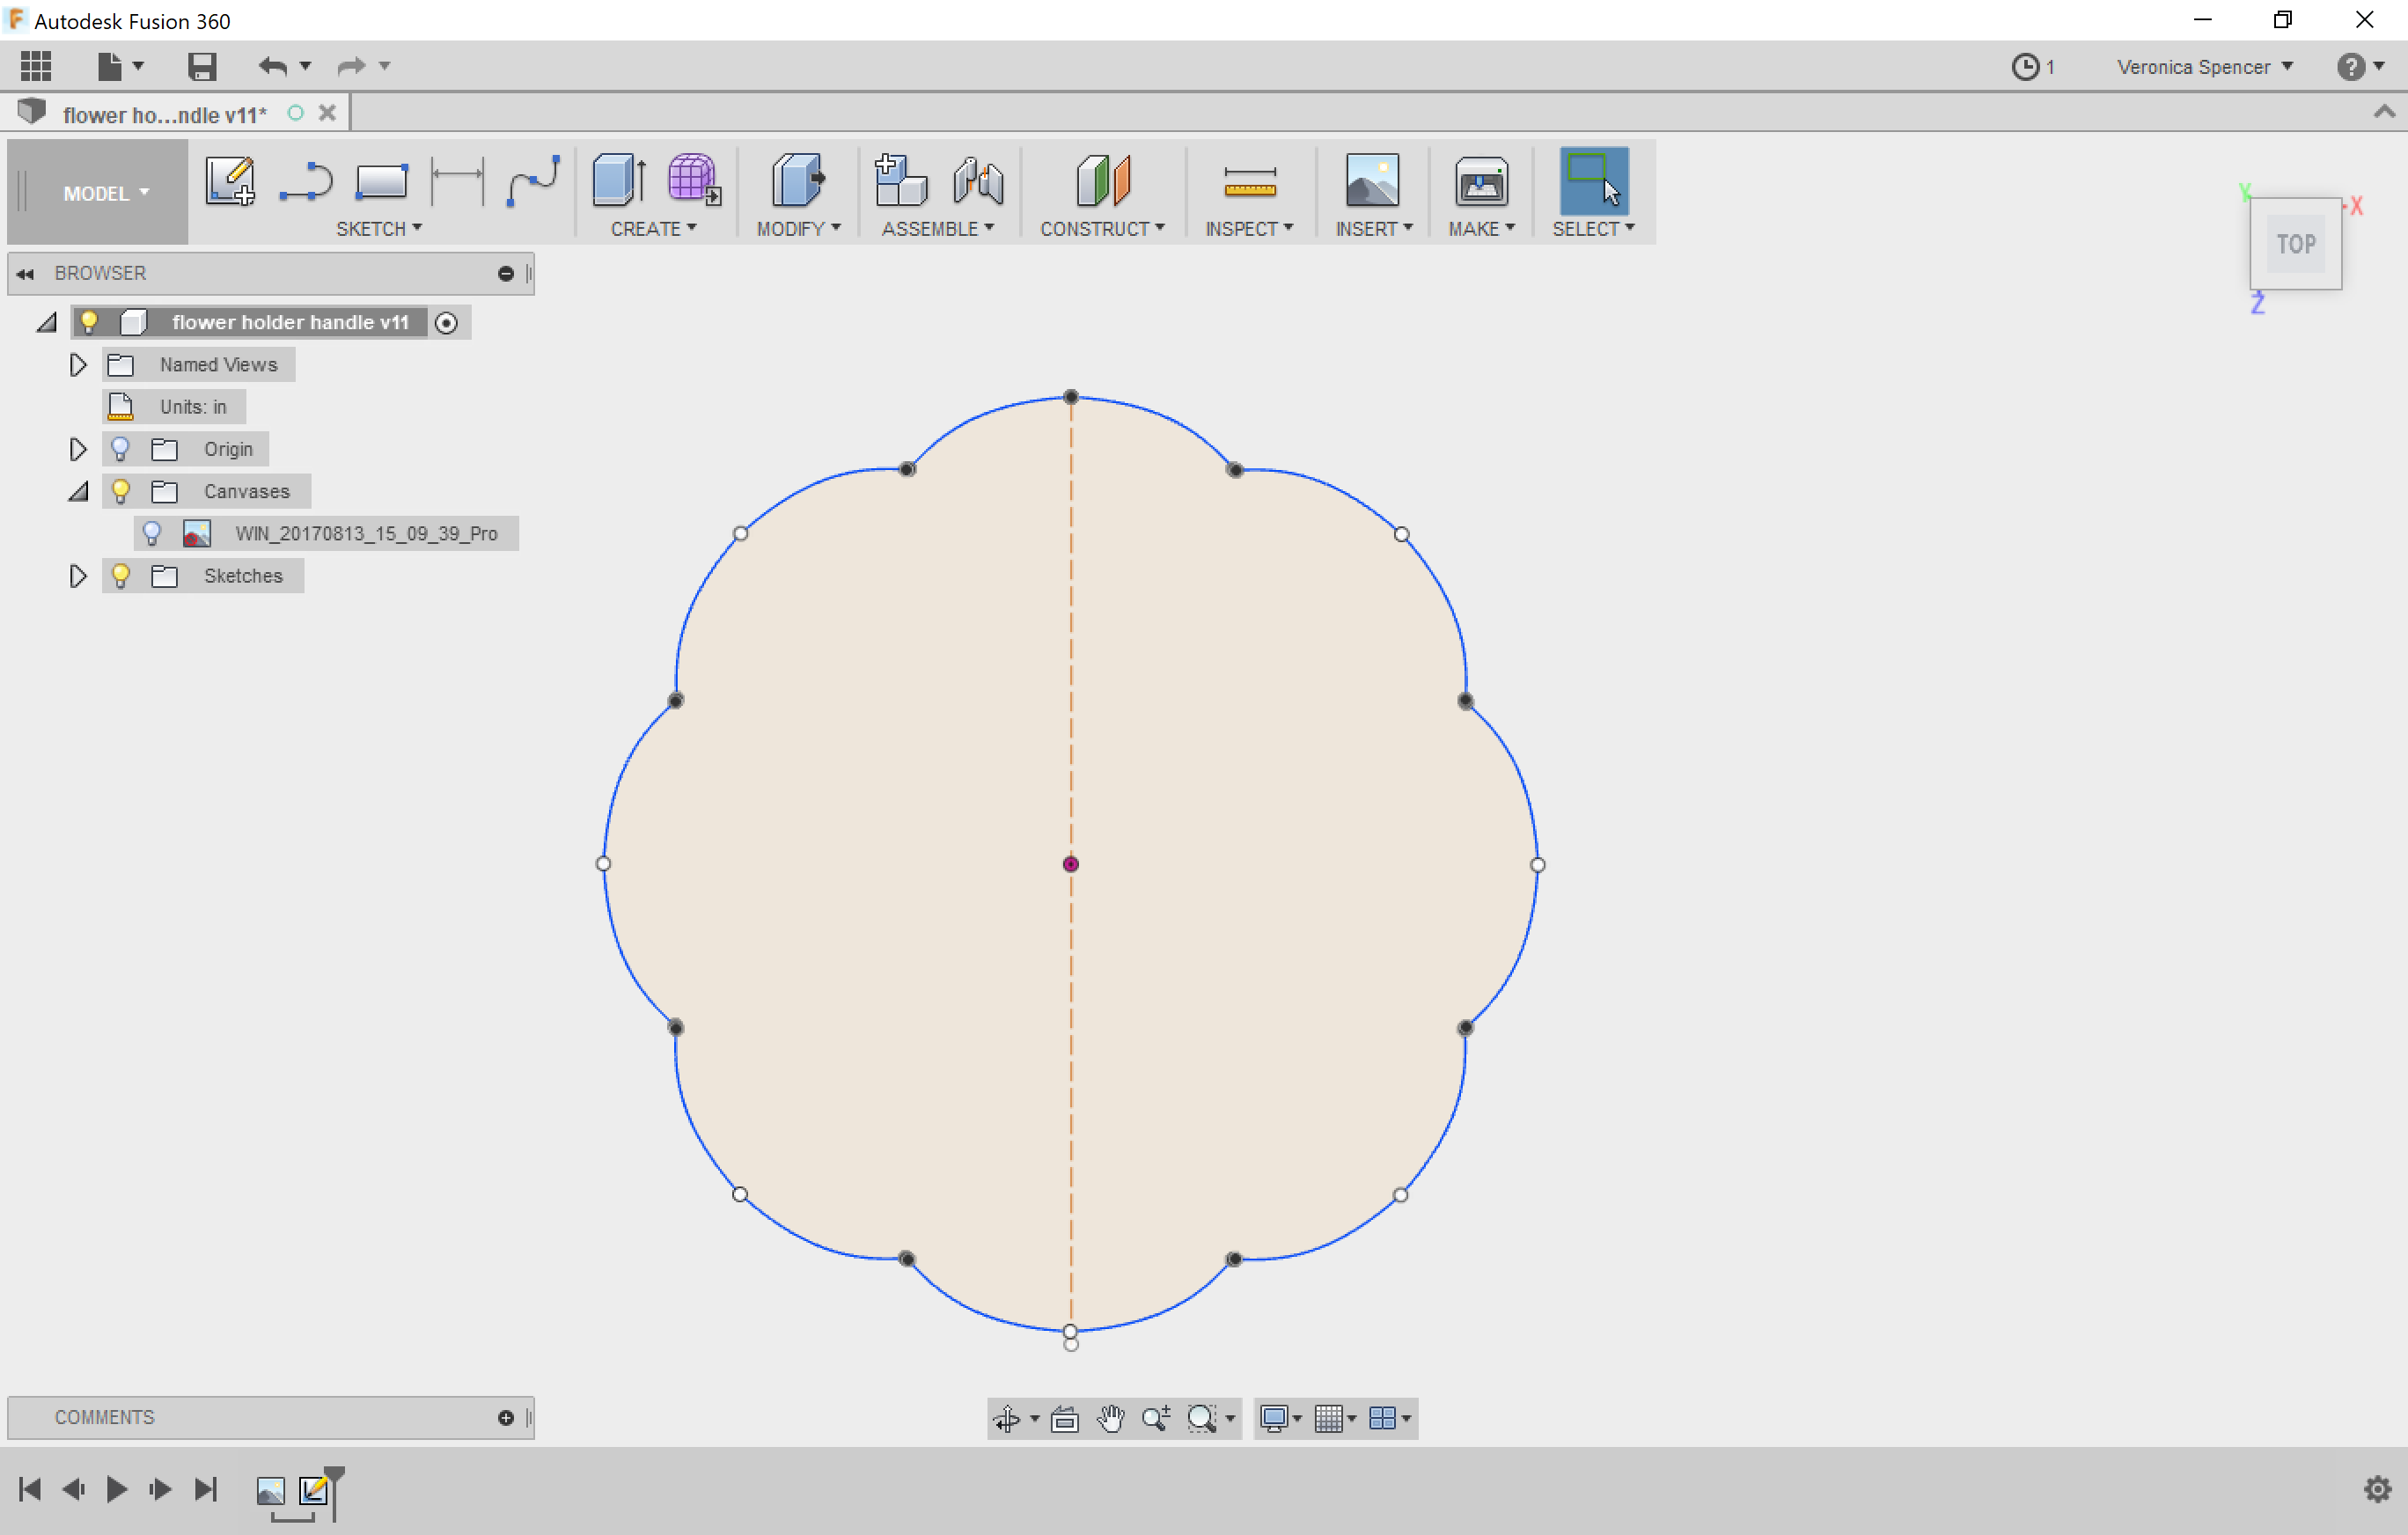
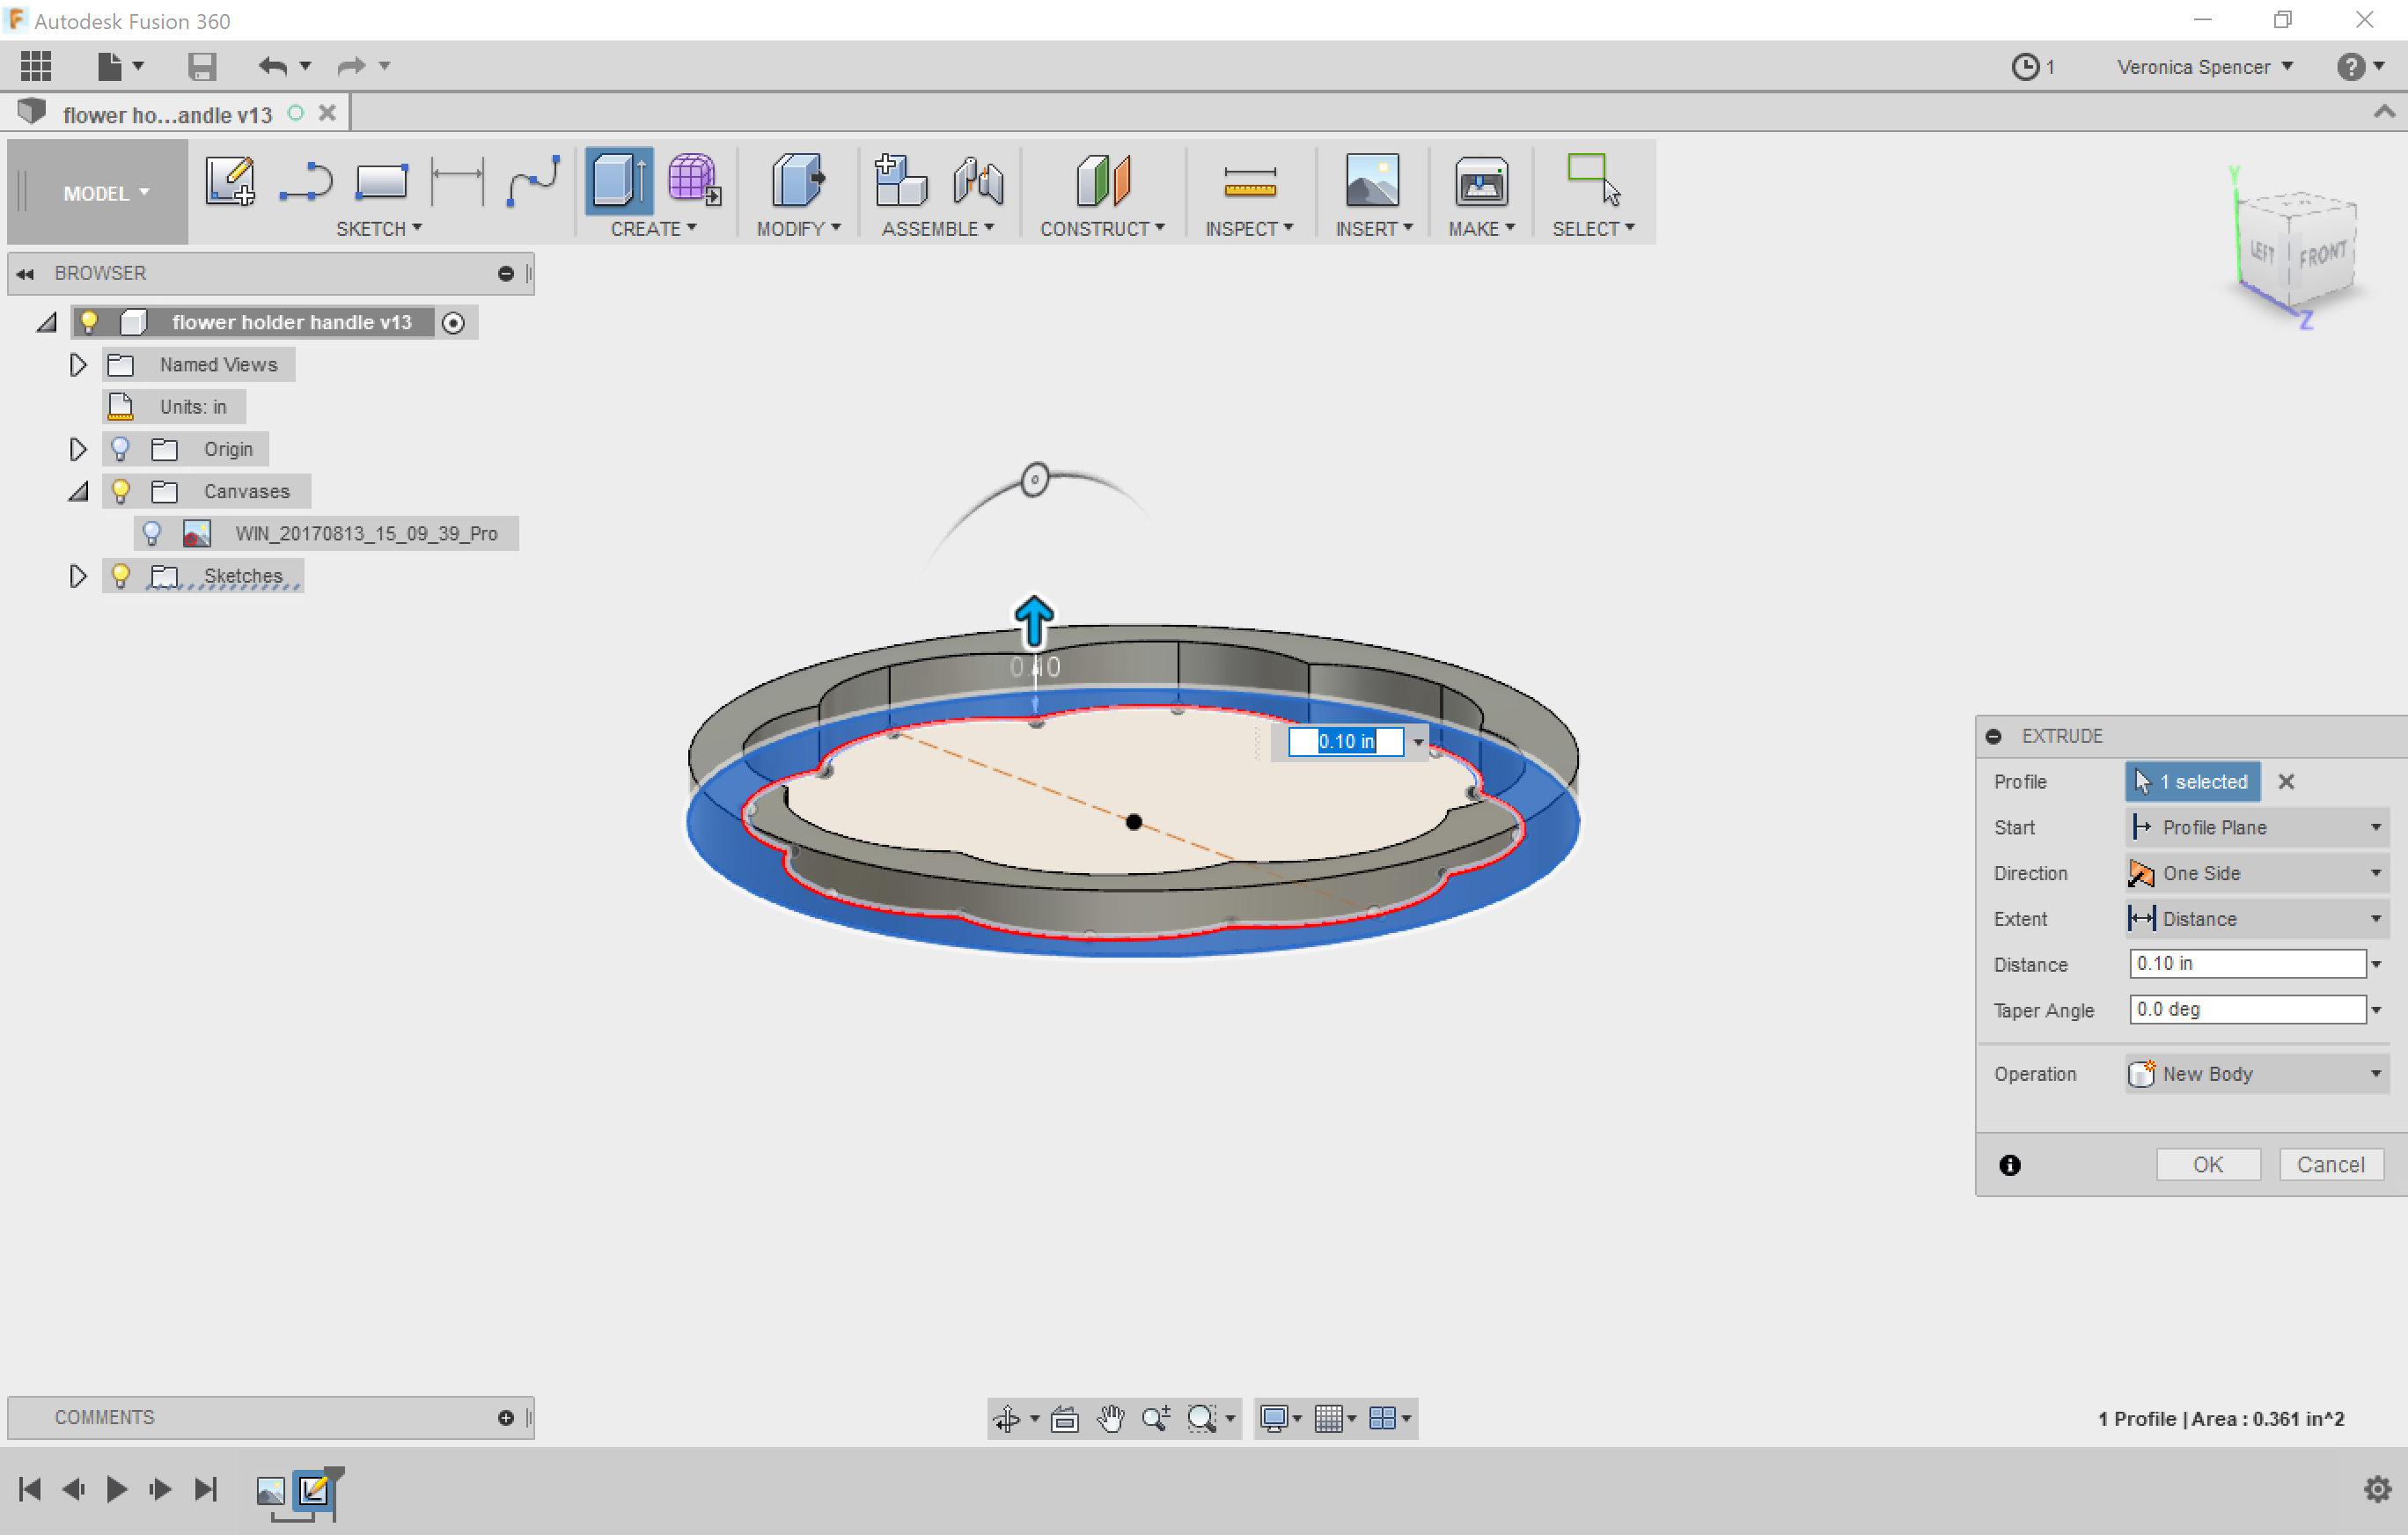
Make a new sketch, and trace over the picture until you have a profile. Offset the sketch to account for tolerances - the amount is going to vary, based on your preferences. Encircle the profile.
Extrude the resulting profile up as tall as you need for your object. My lights are pretty short.
Add Your Extra Bits and Pieces.
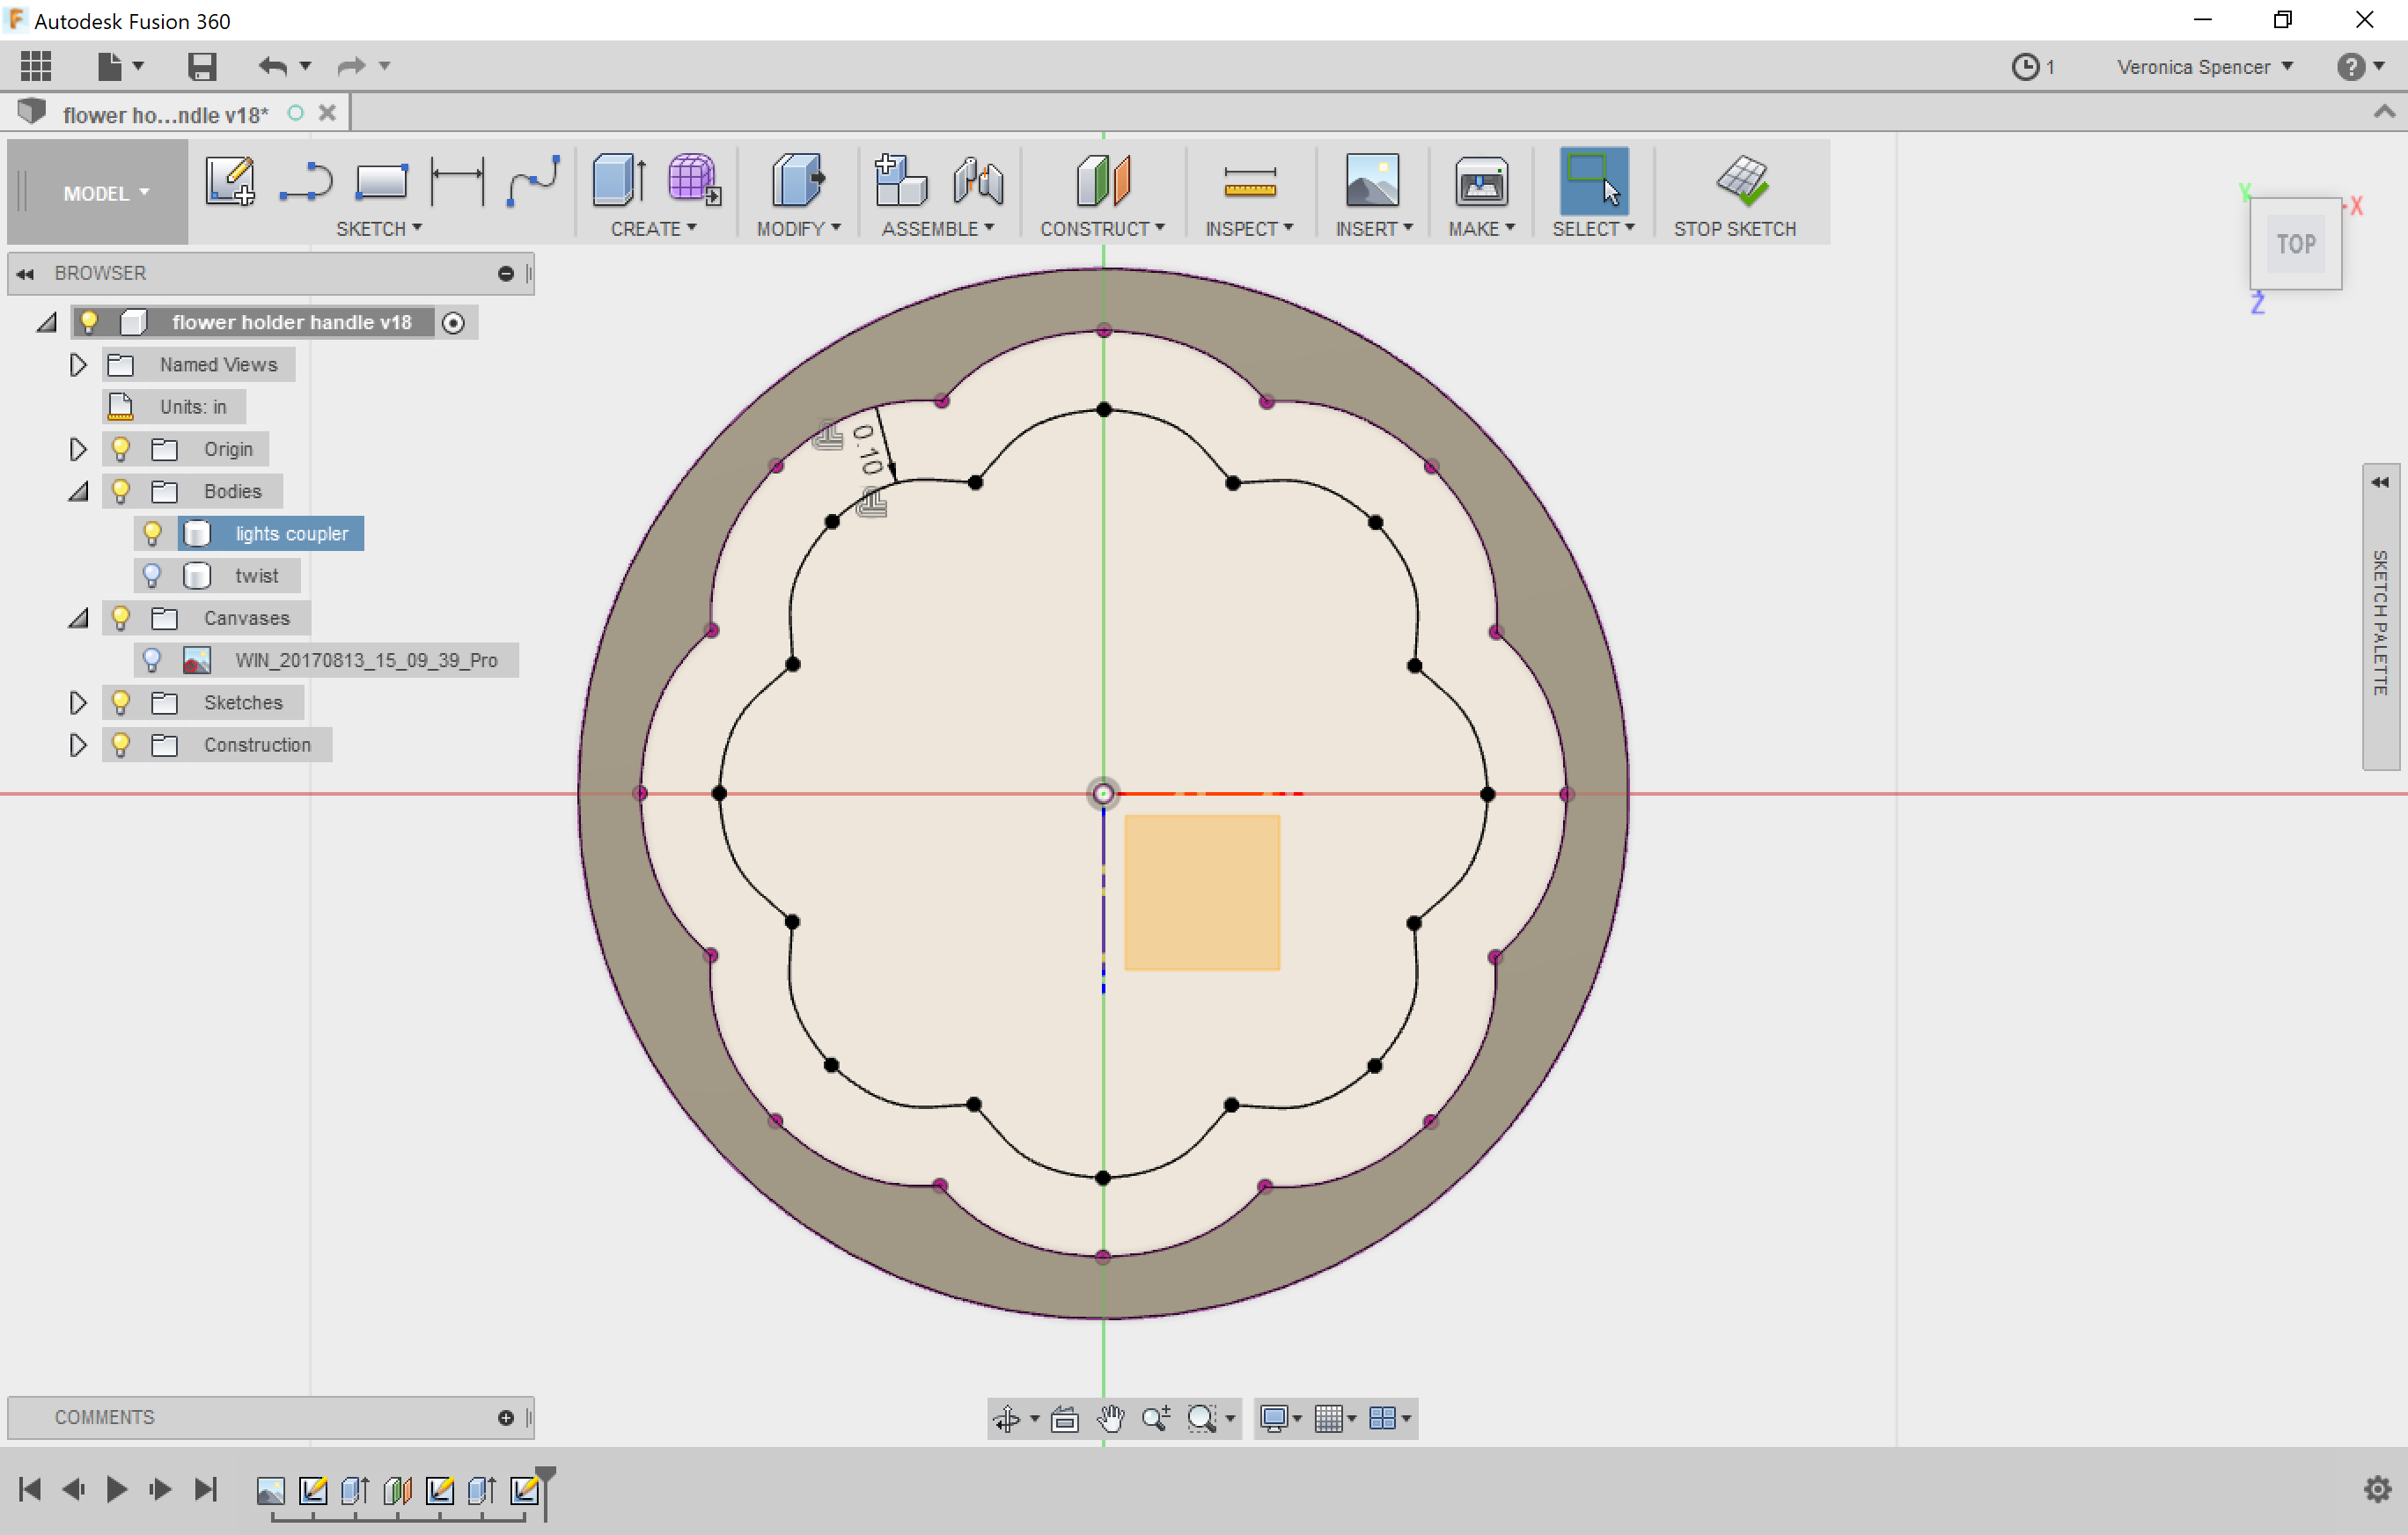
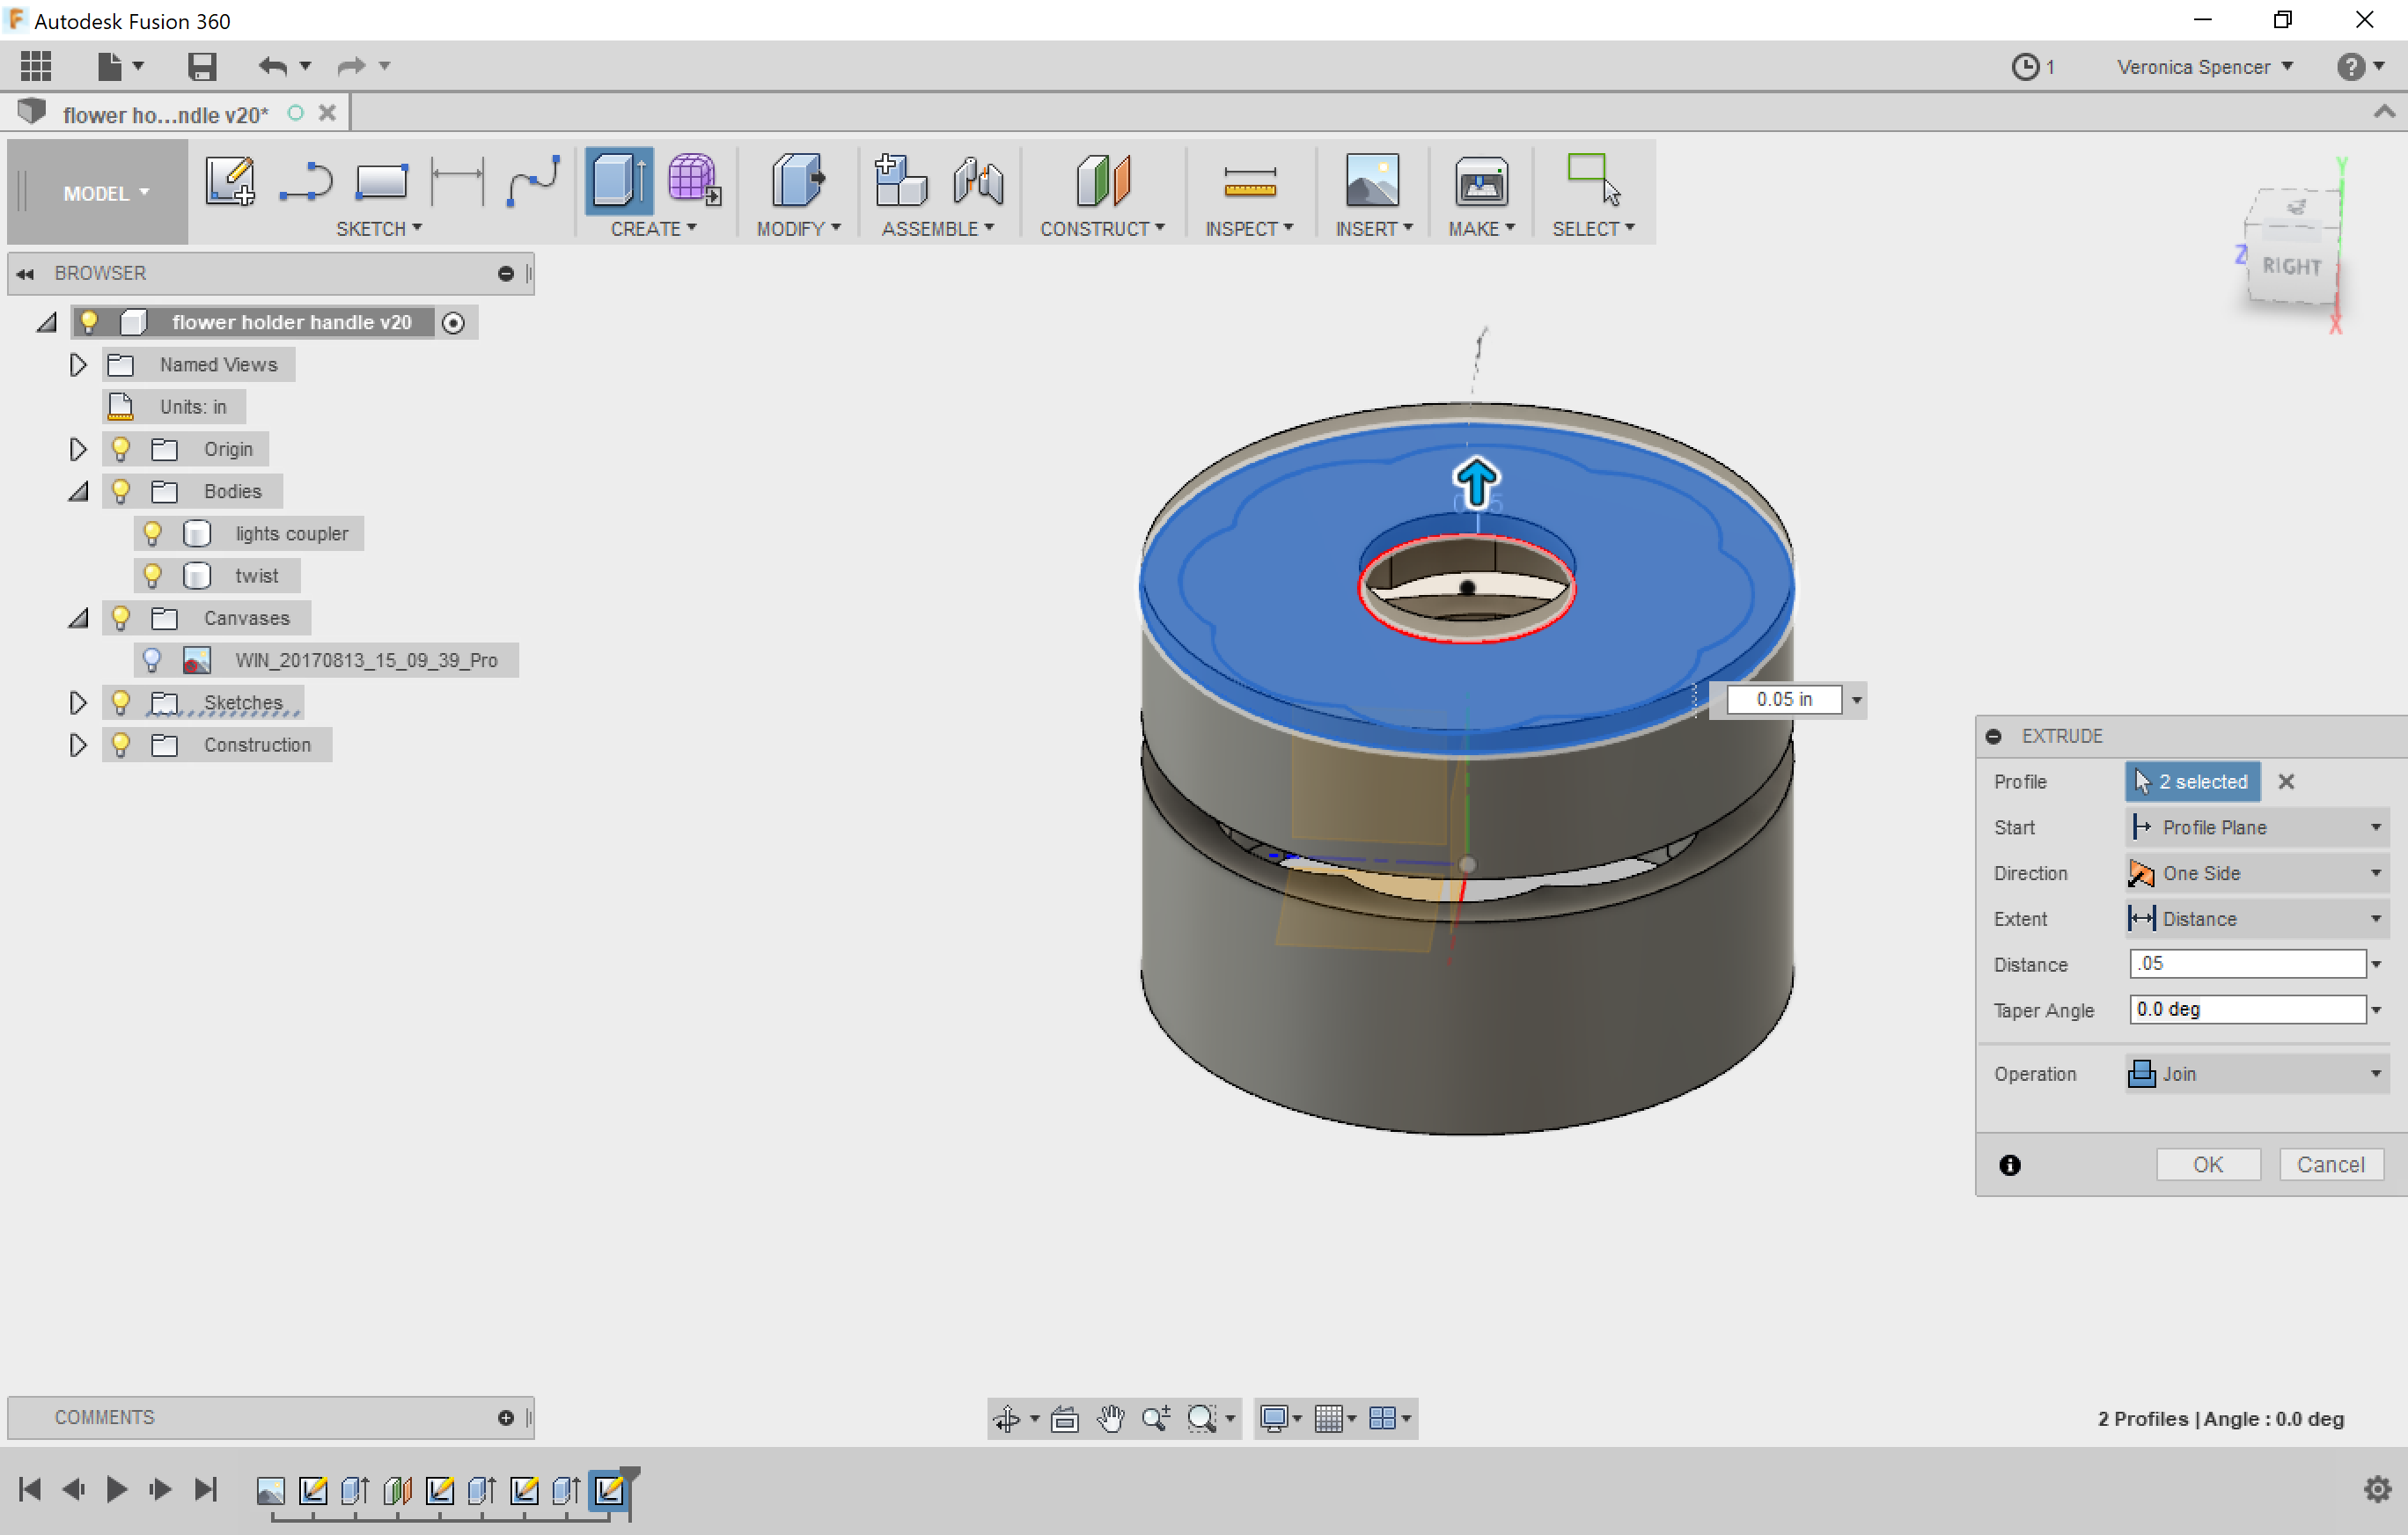
Since this is designed to couple 2 lights together, I needed a little shelf to indicate placement. I also needed a lid for the other piece - also for placement purposes.
Make a Handle to Attach to the Interface.
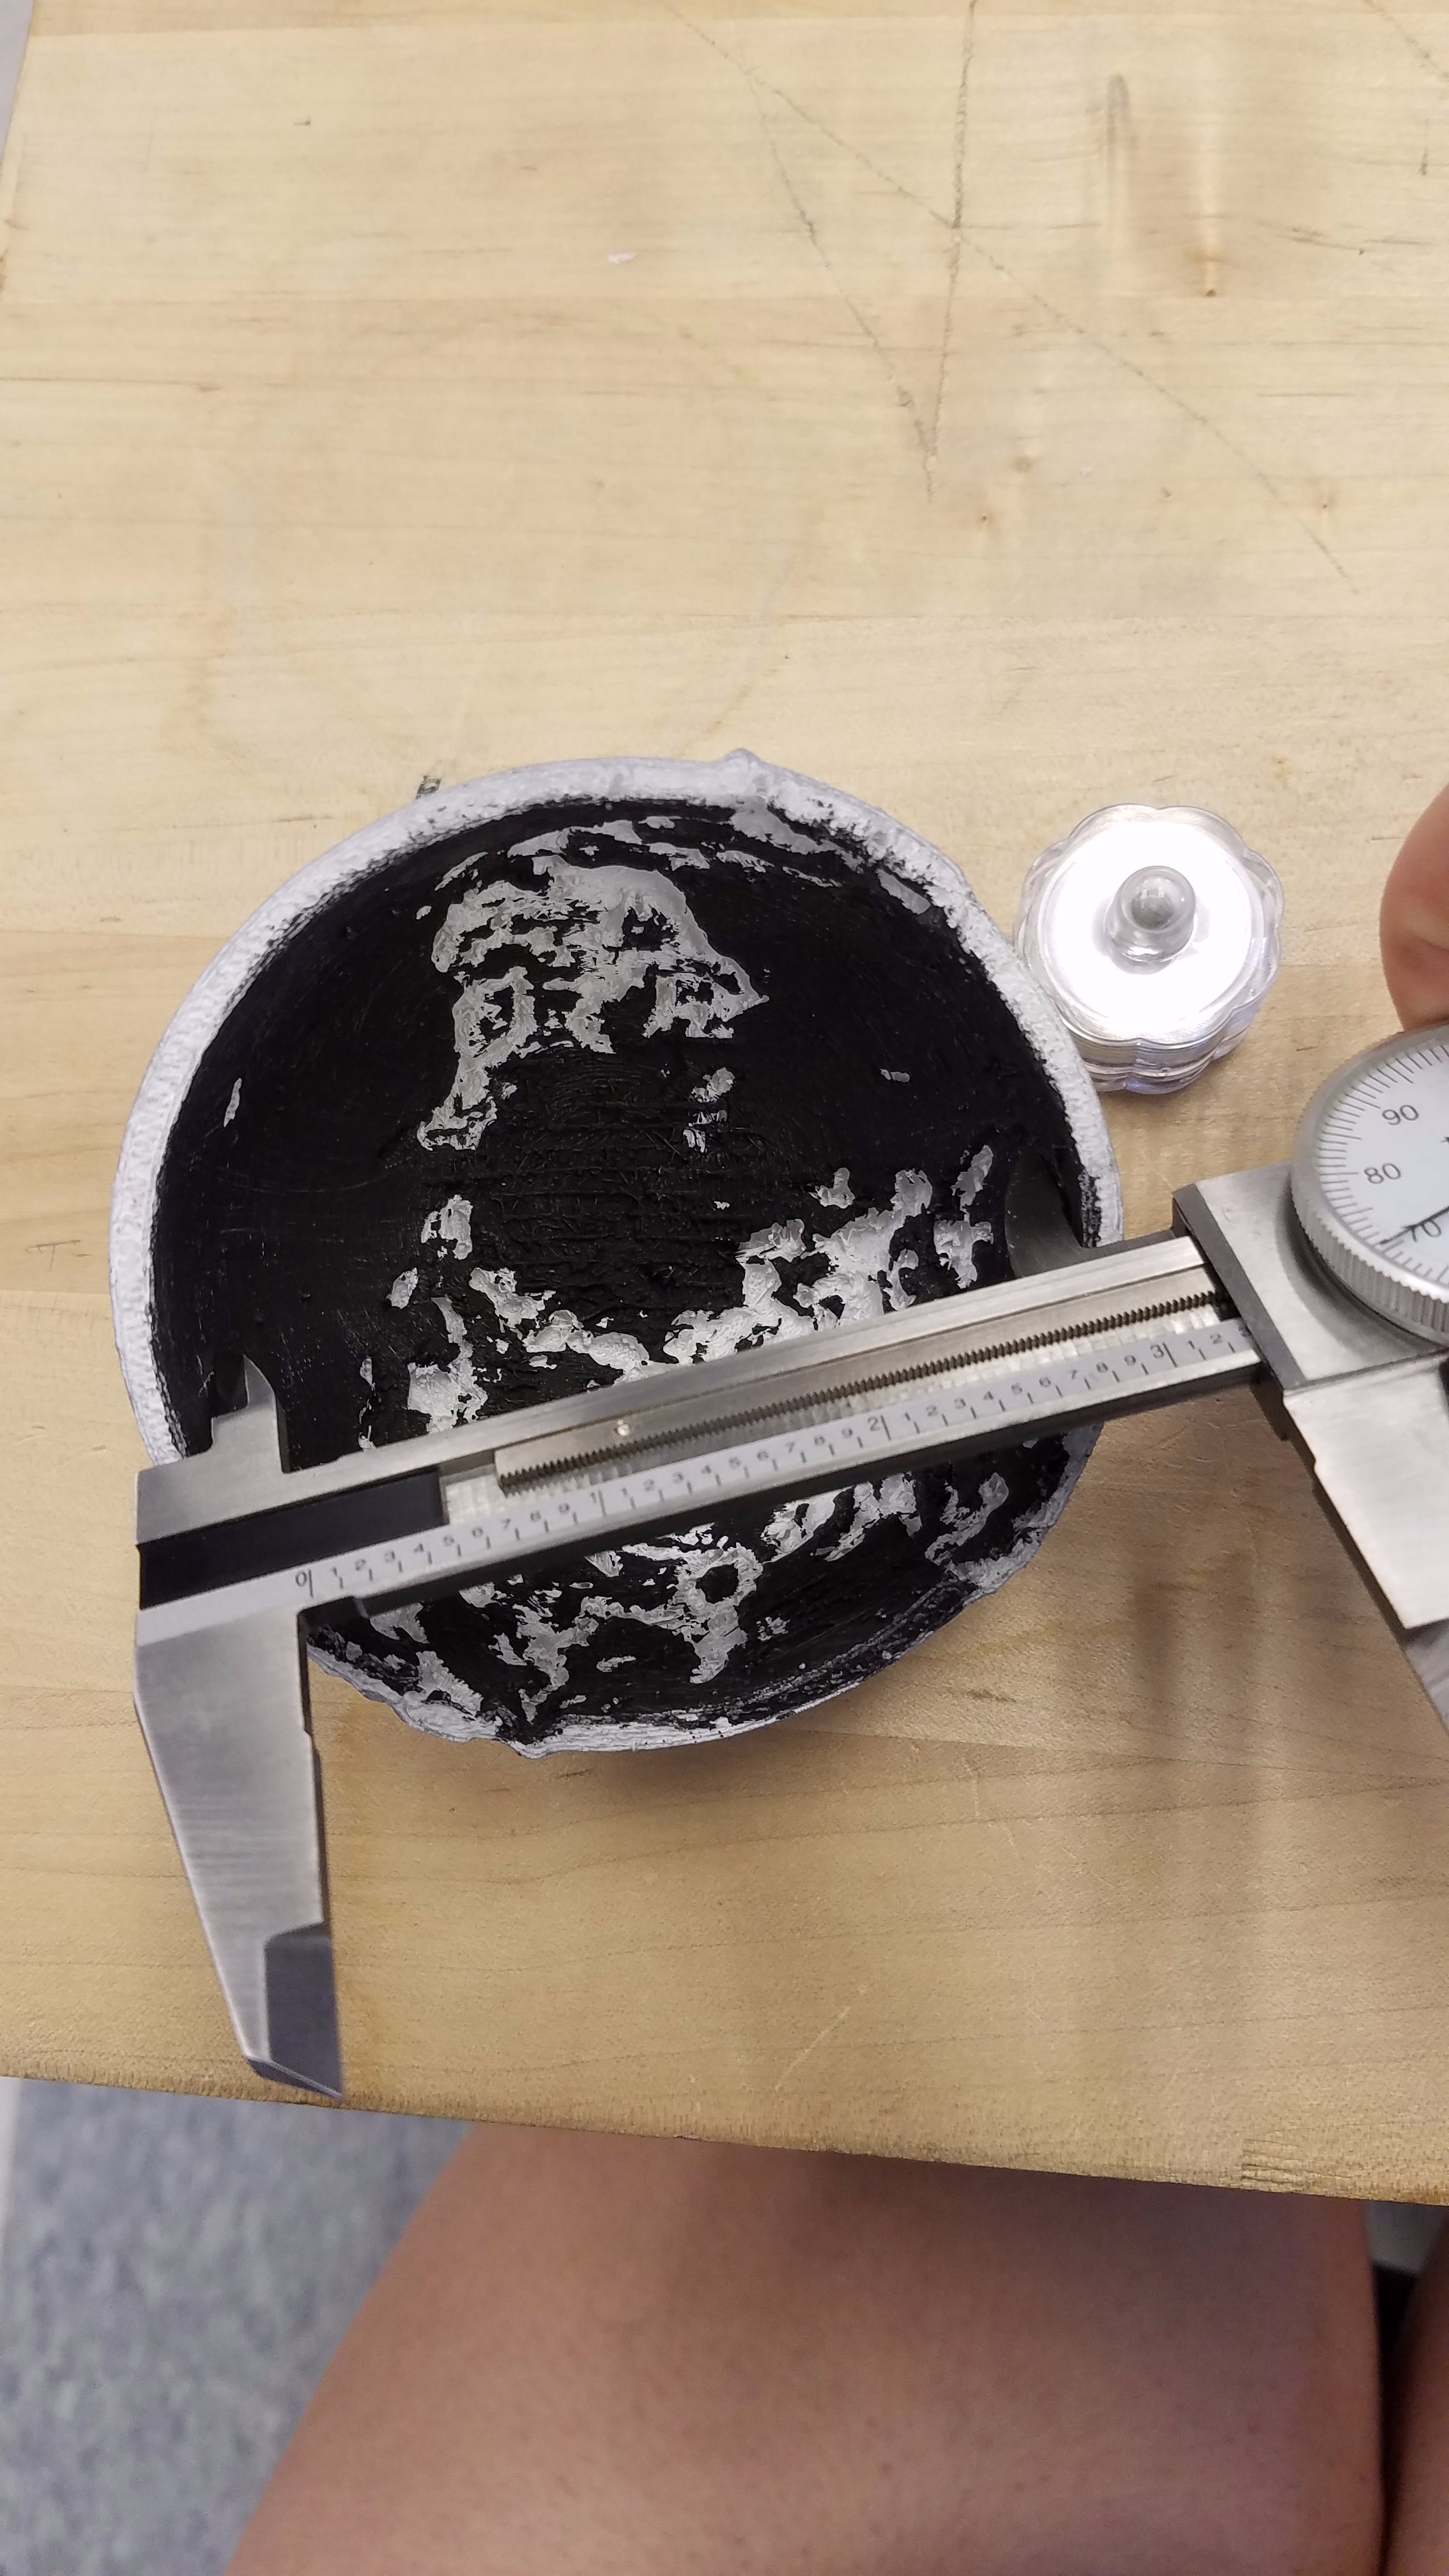
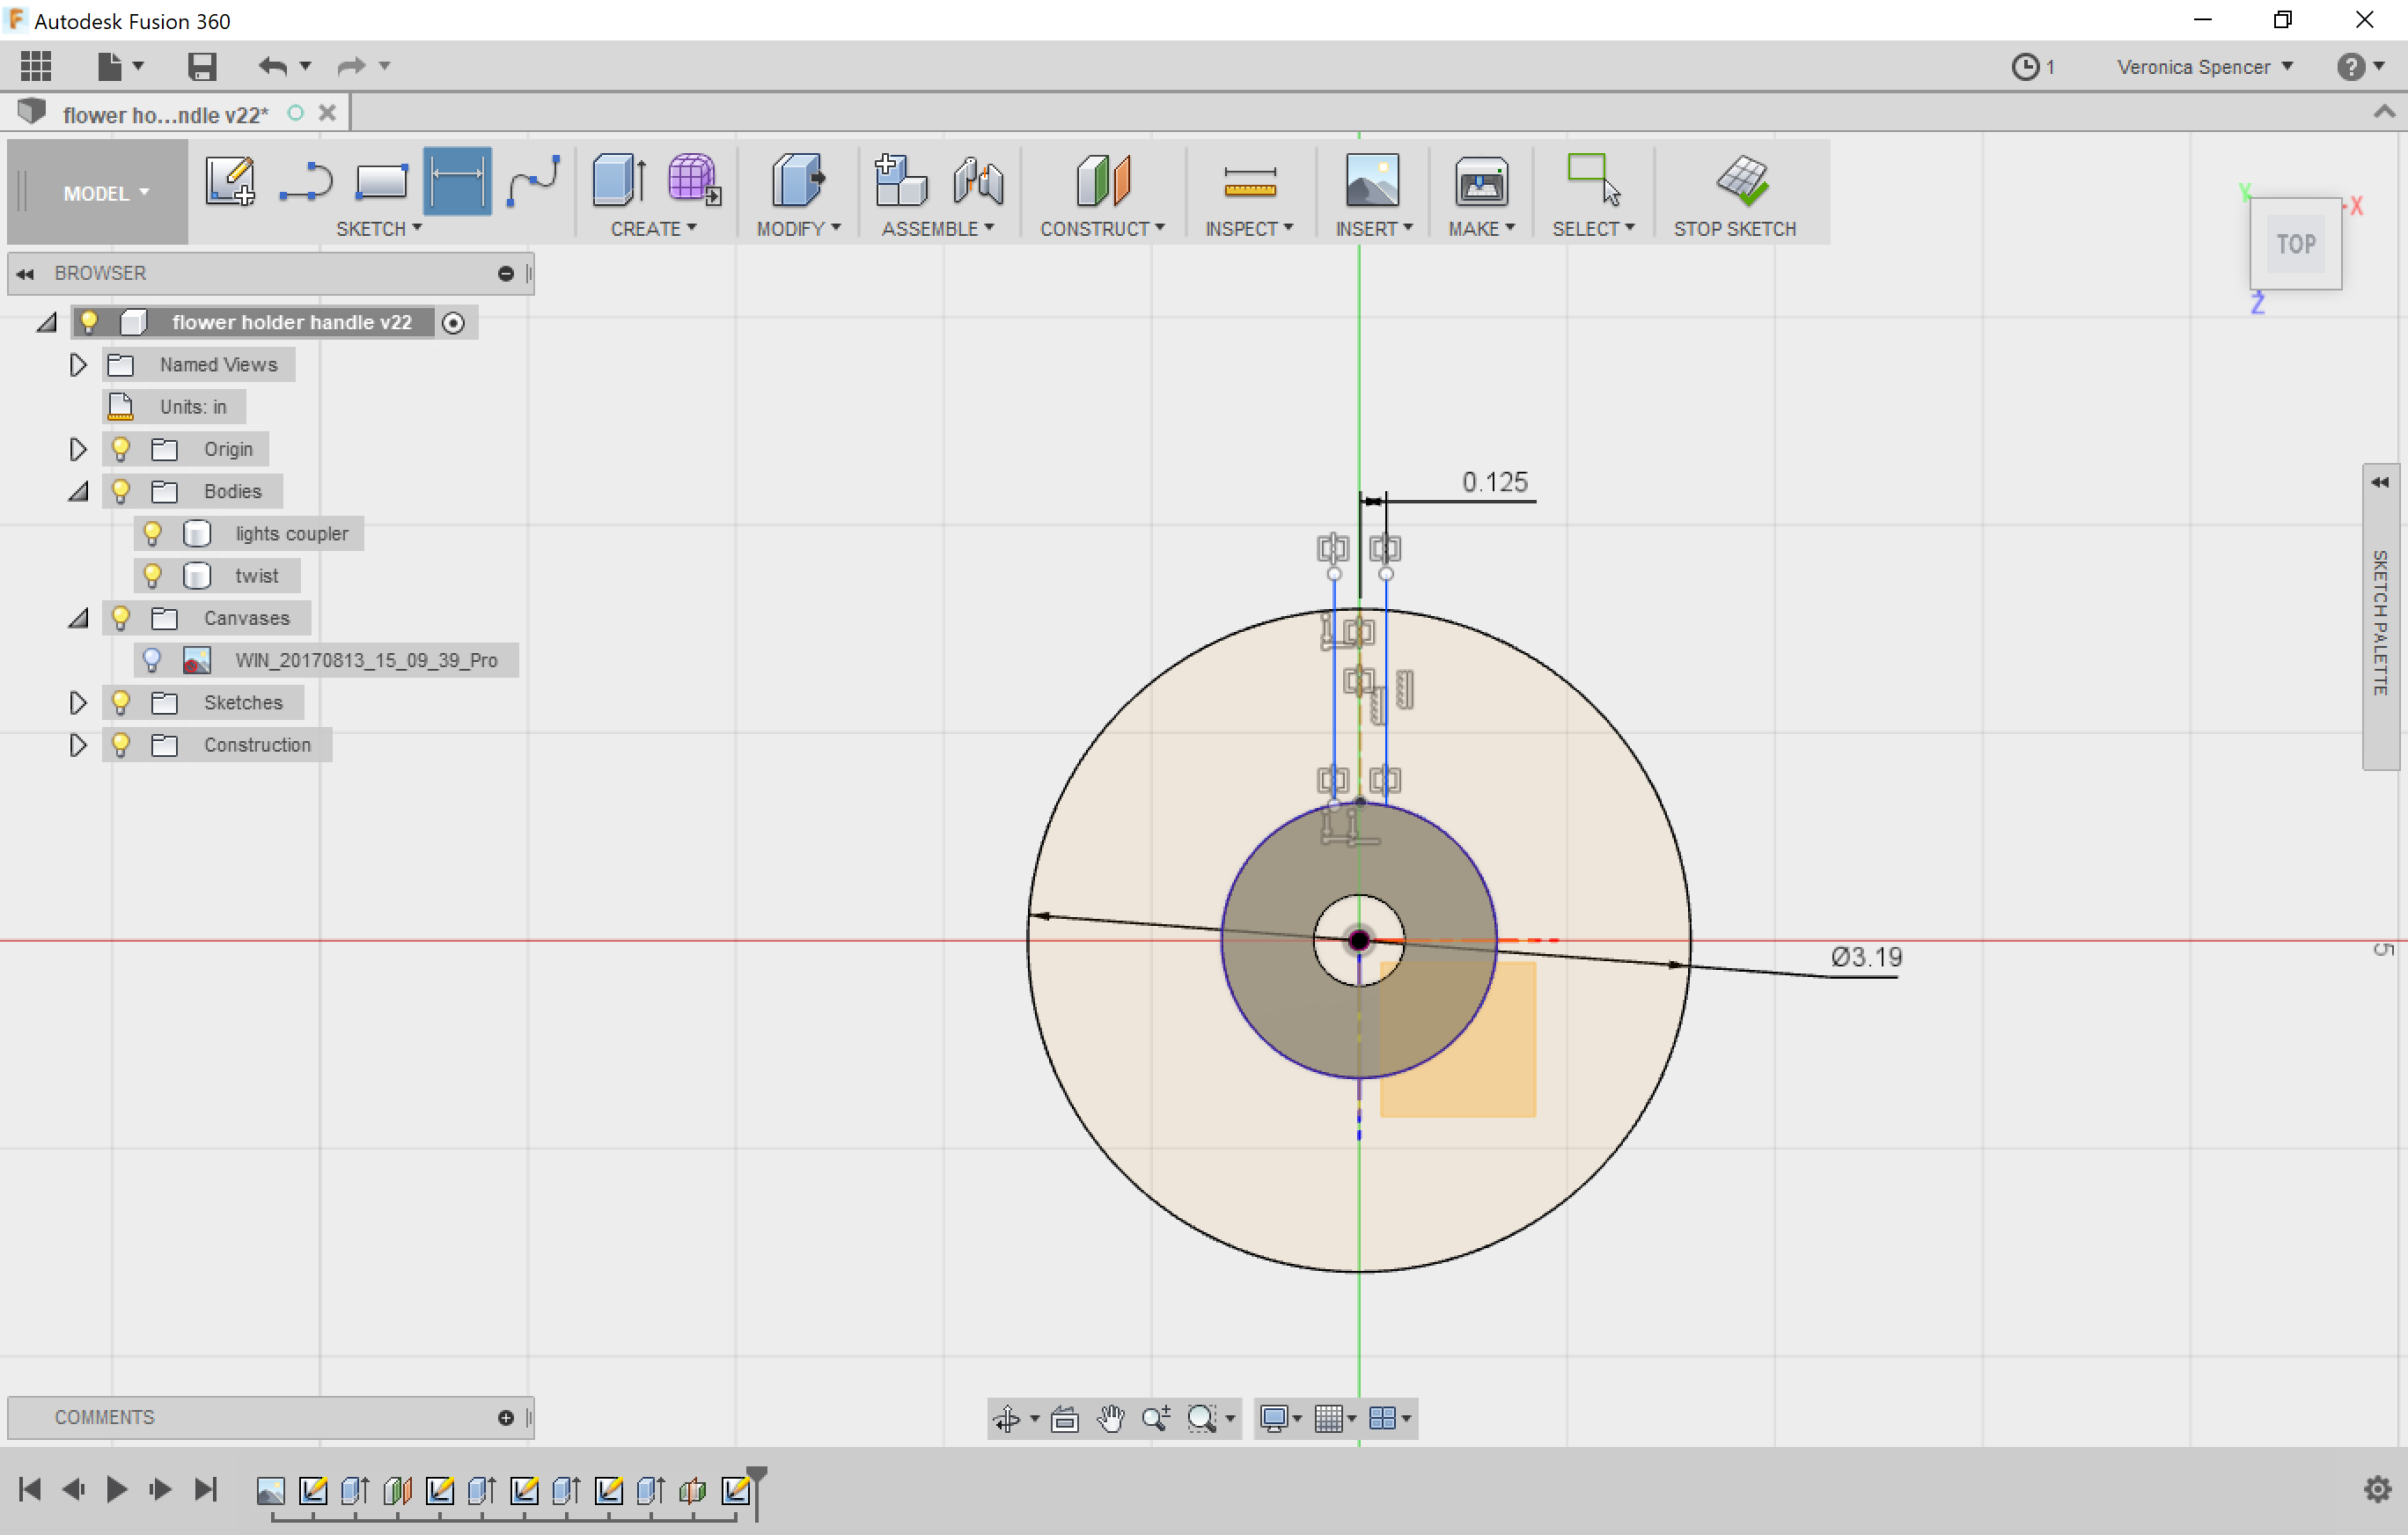
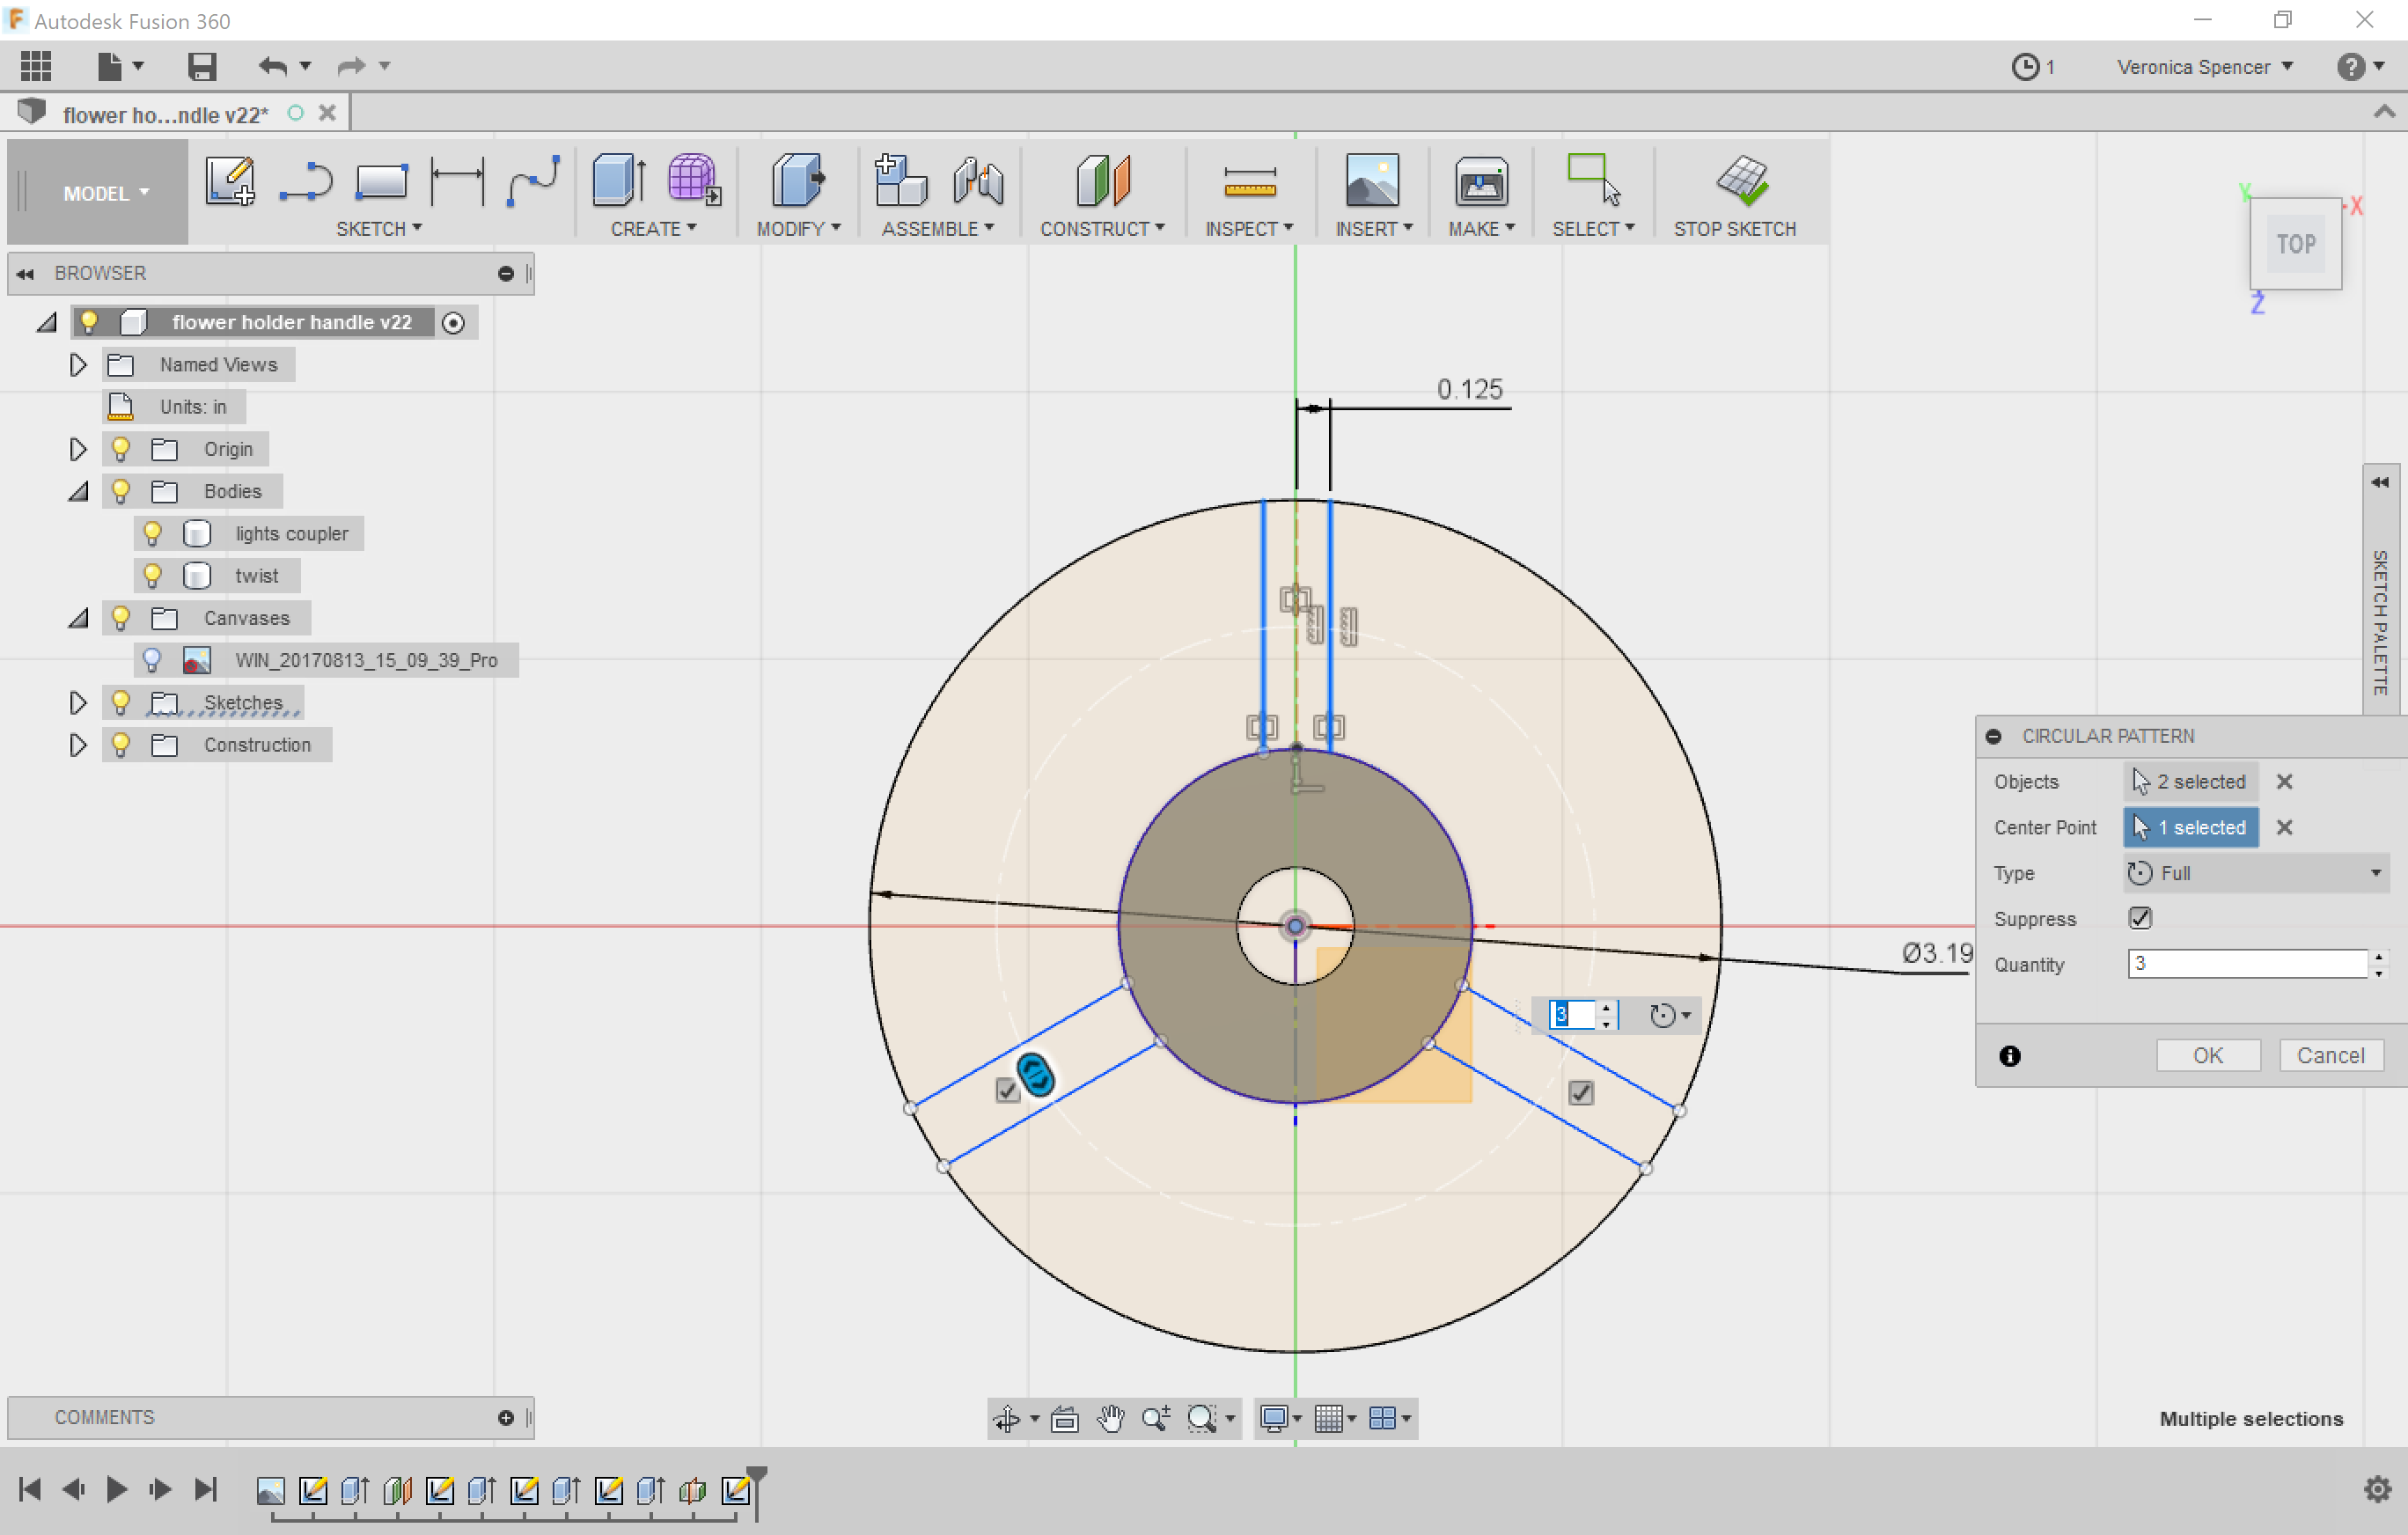
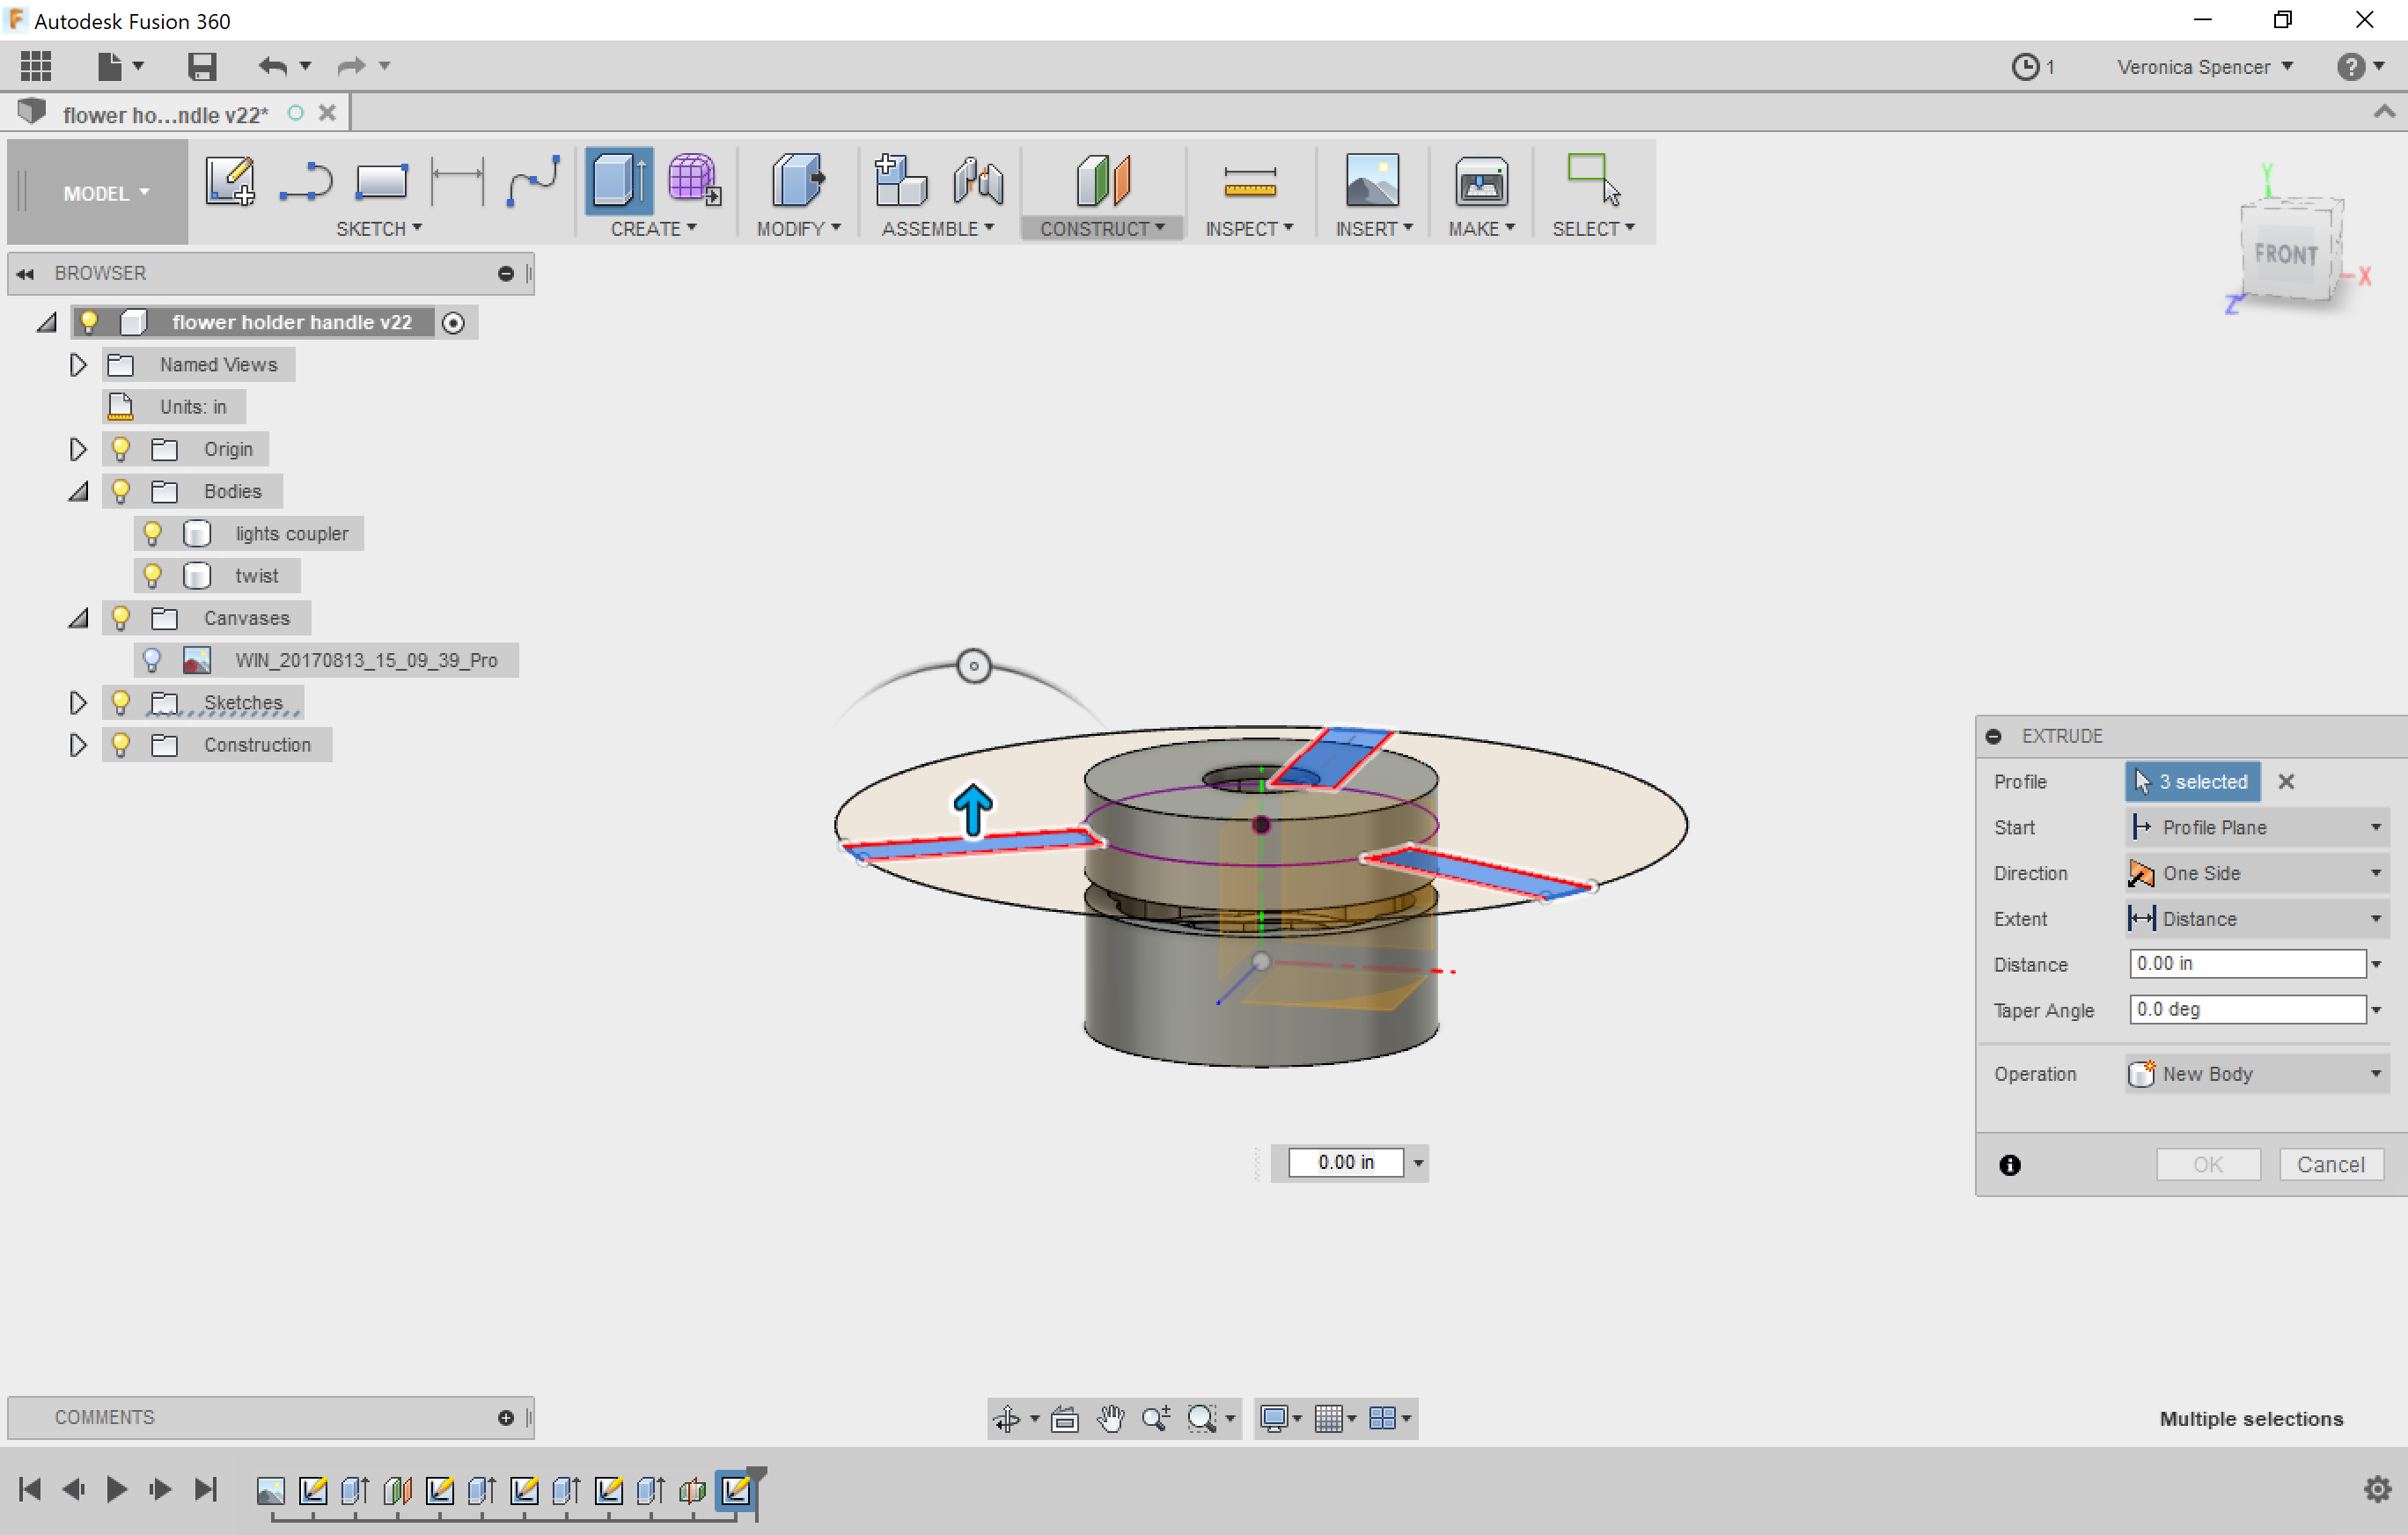
Create a handle shape that works for you. This time, I needed the handle to fit inside of another object.
You can also use more organic shapes, or make even larger handles!
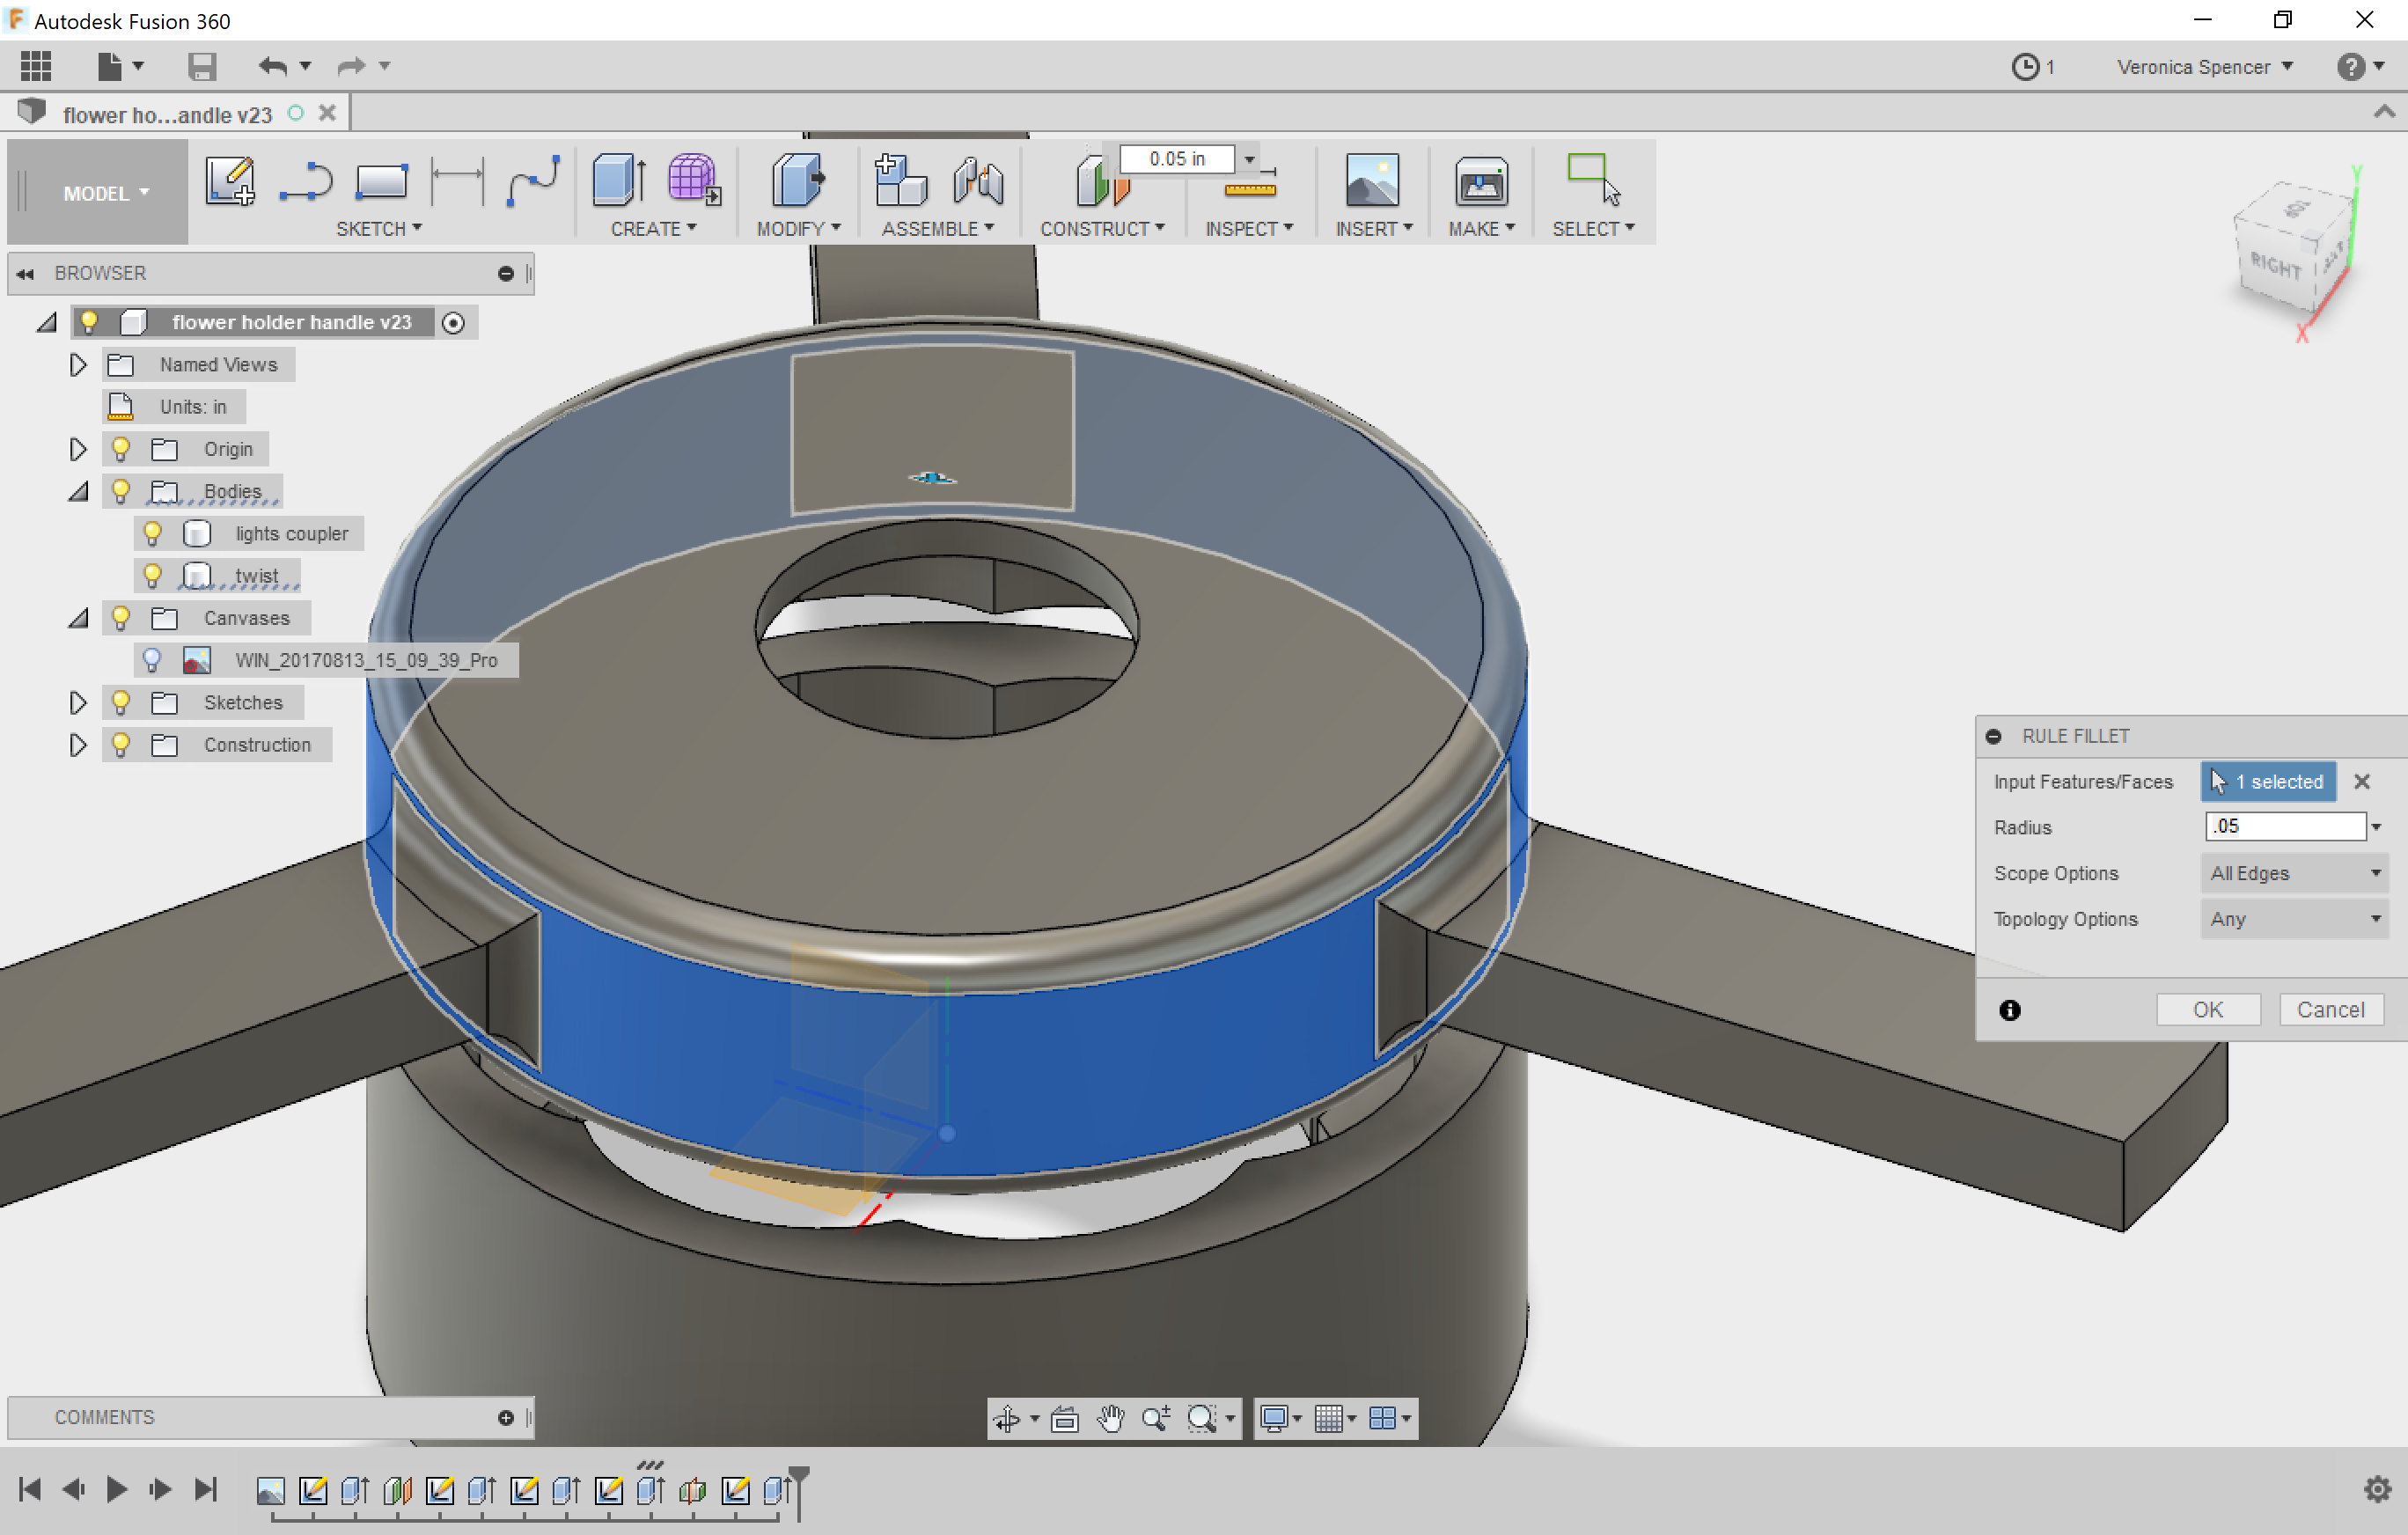
The handle is just a simple extrusion. Don't forget to add stress relief at the joints! You can do that with some quick fillets.
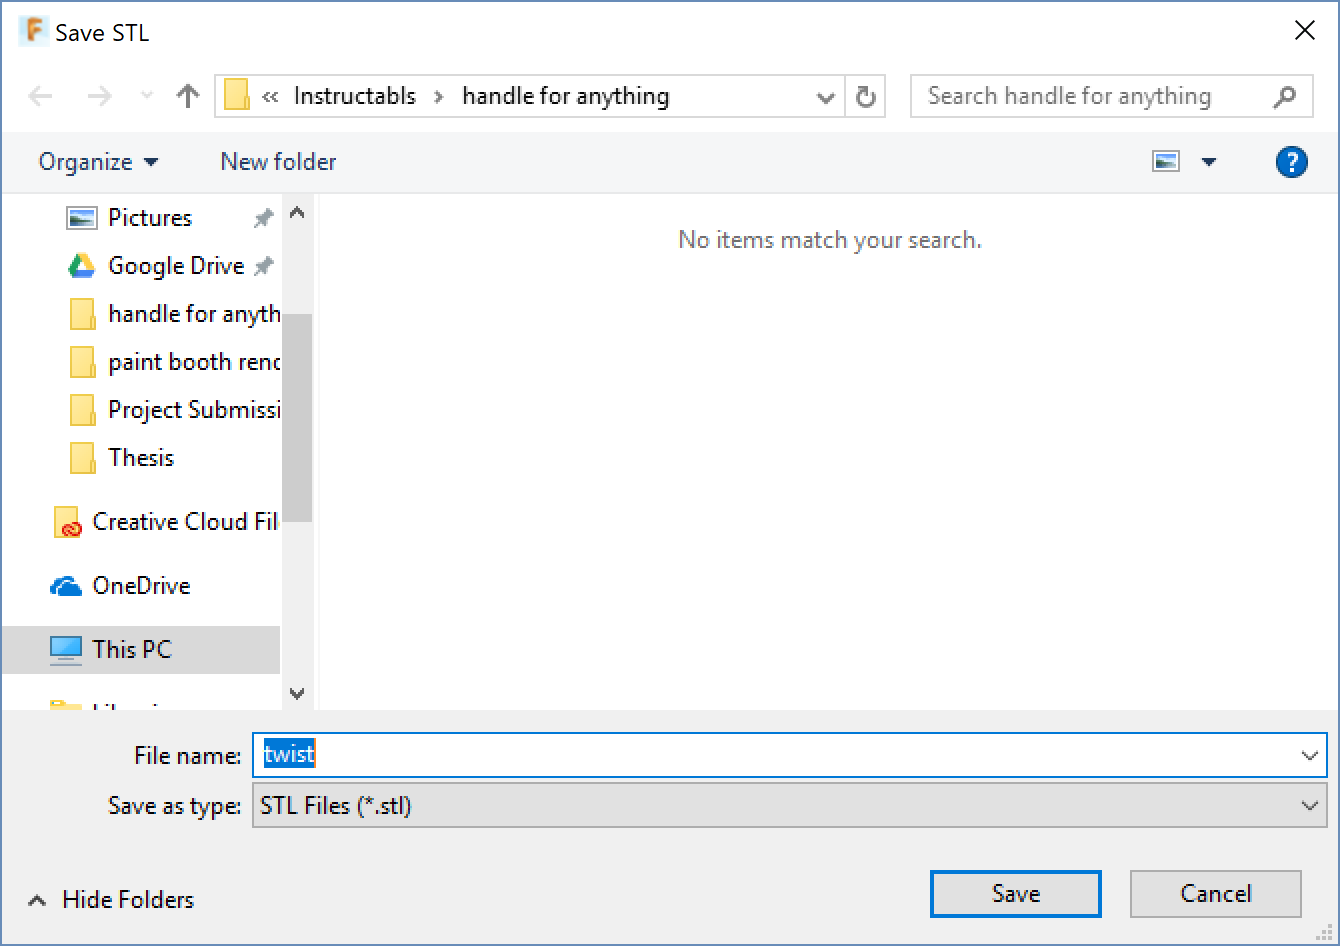
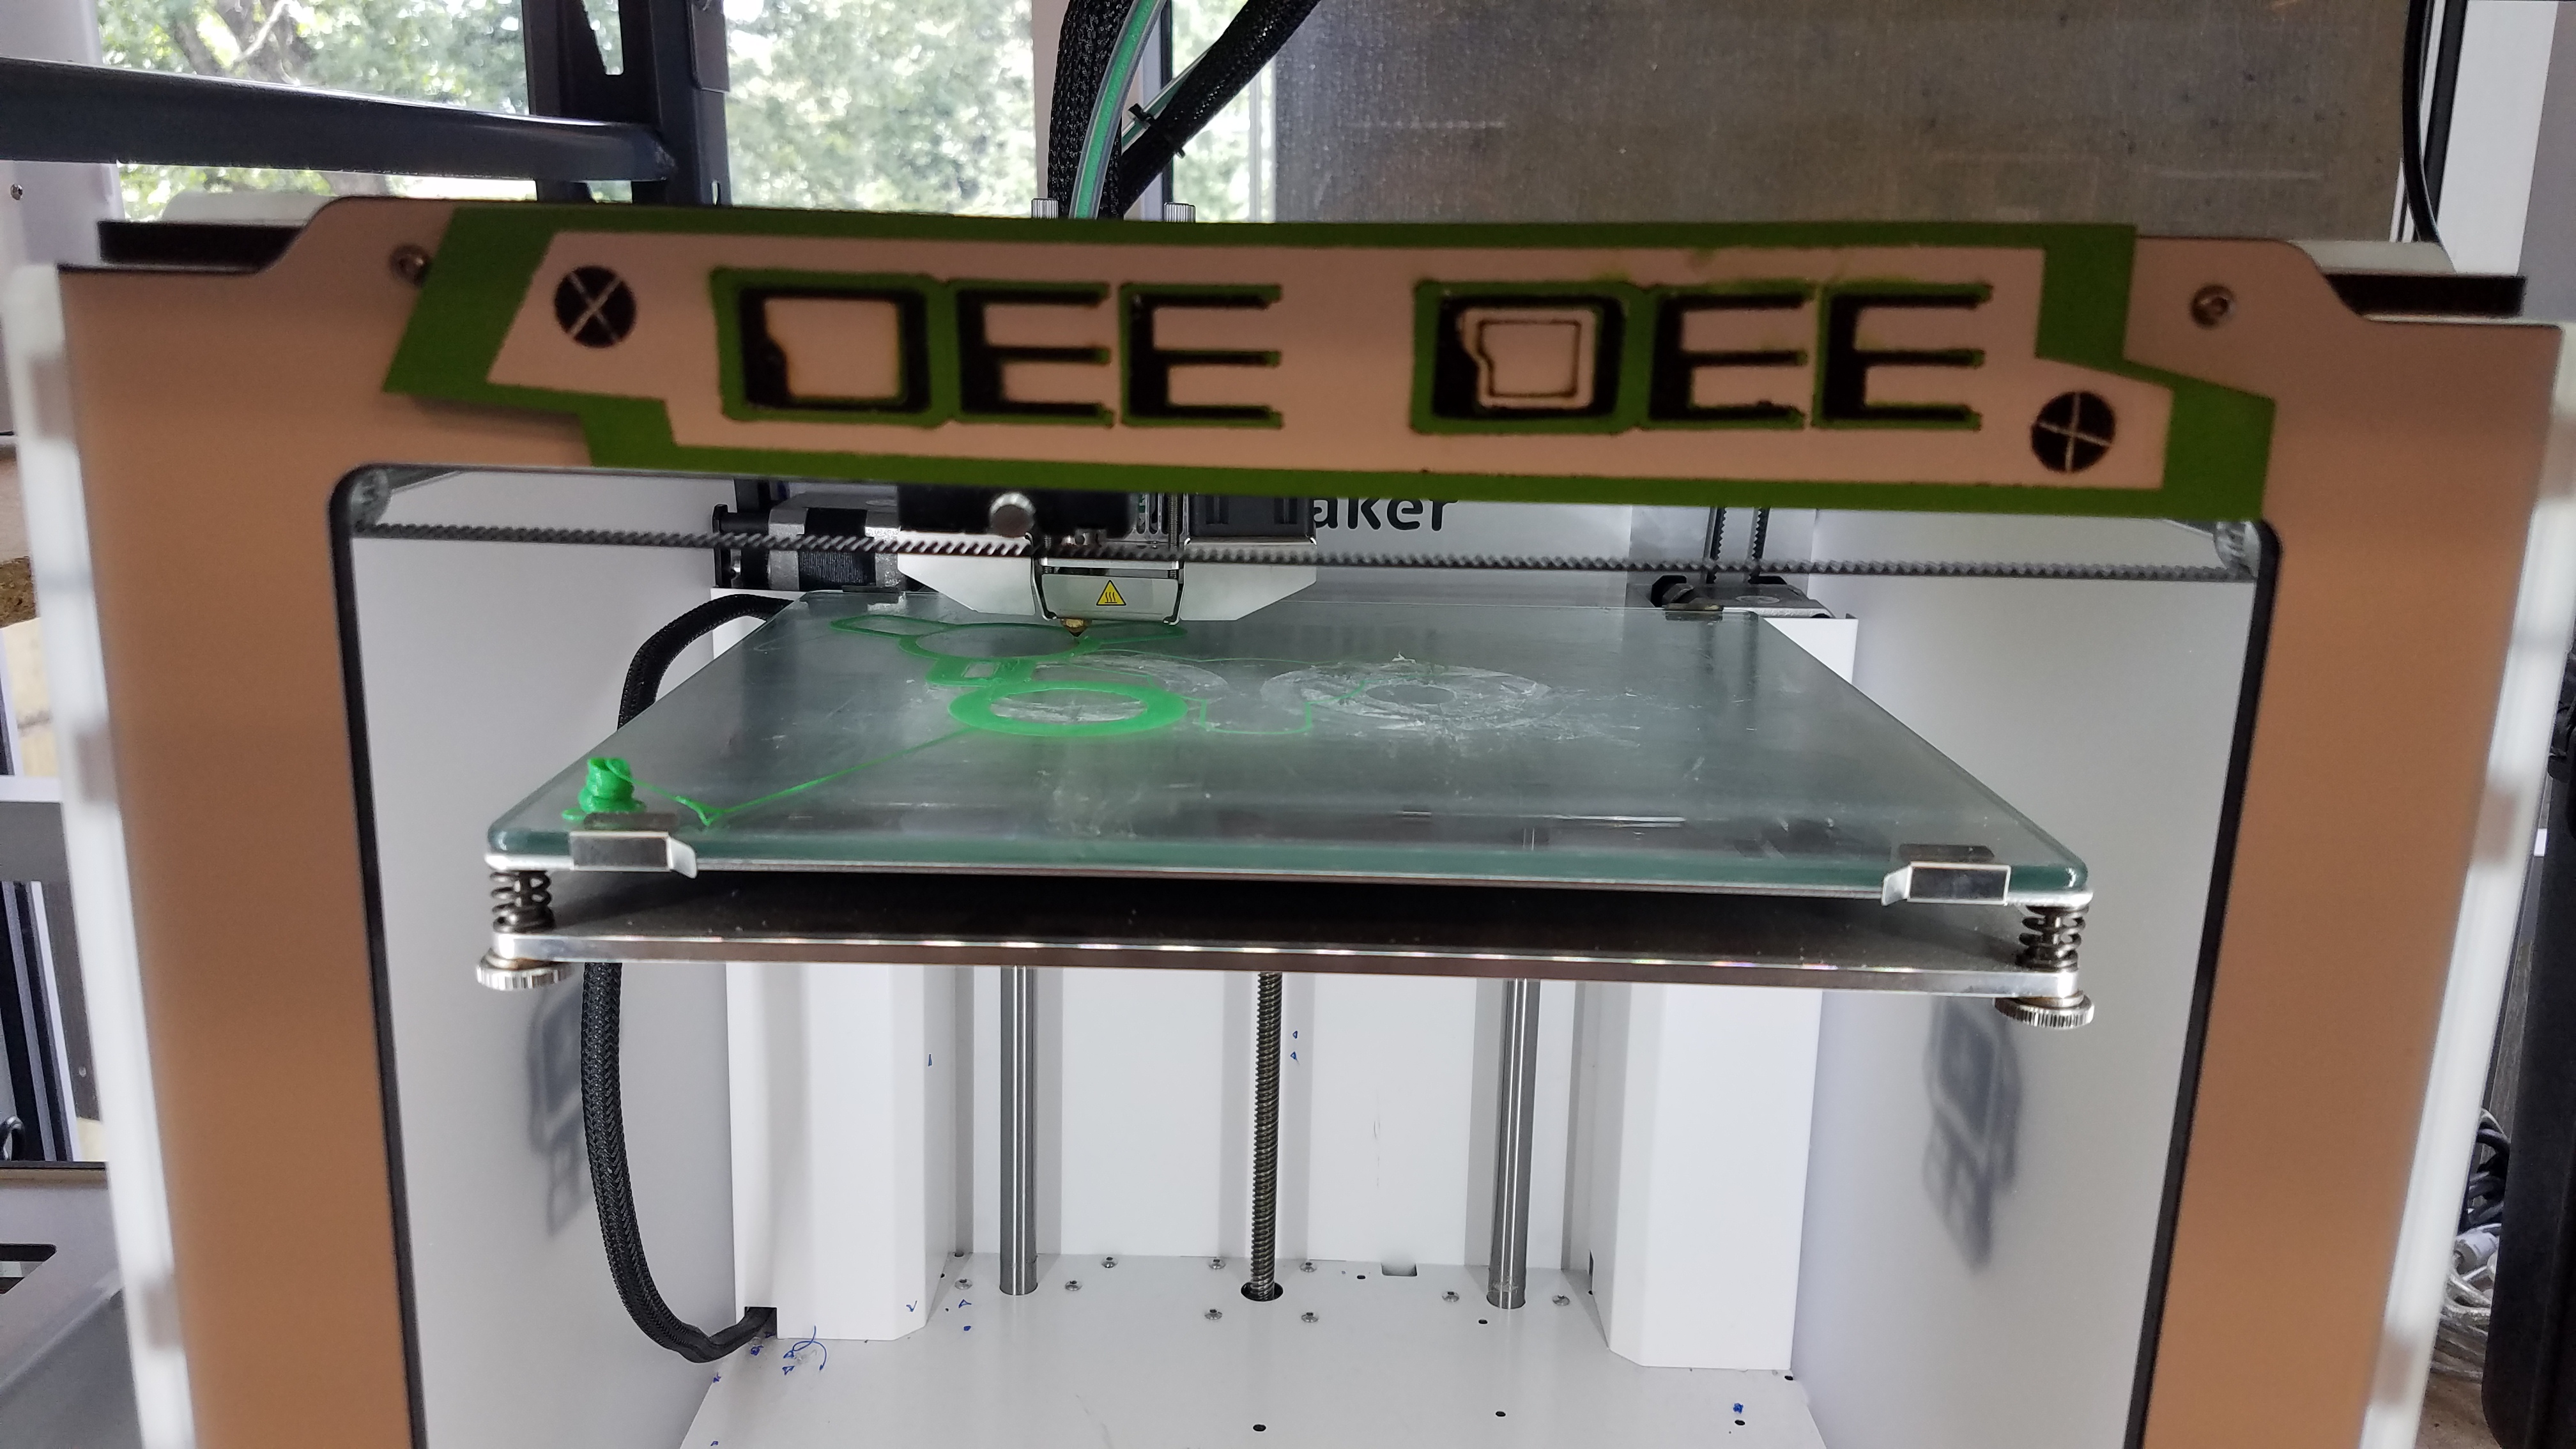
Print Your Handle.
Assemble.
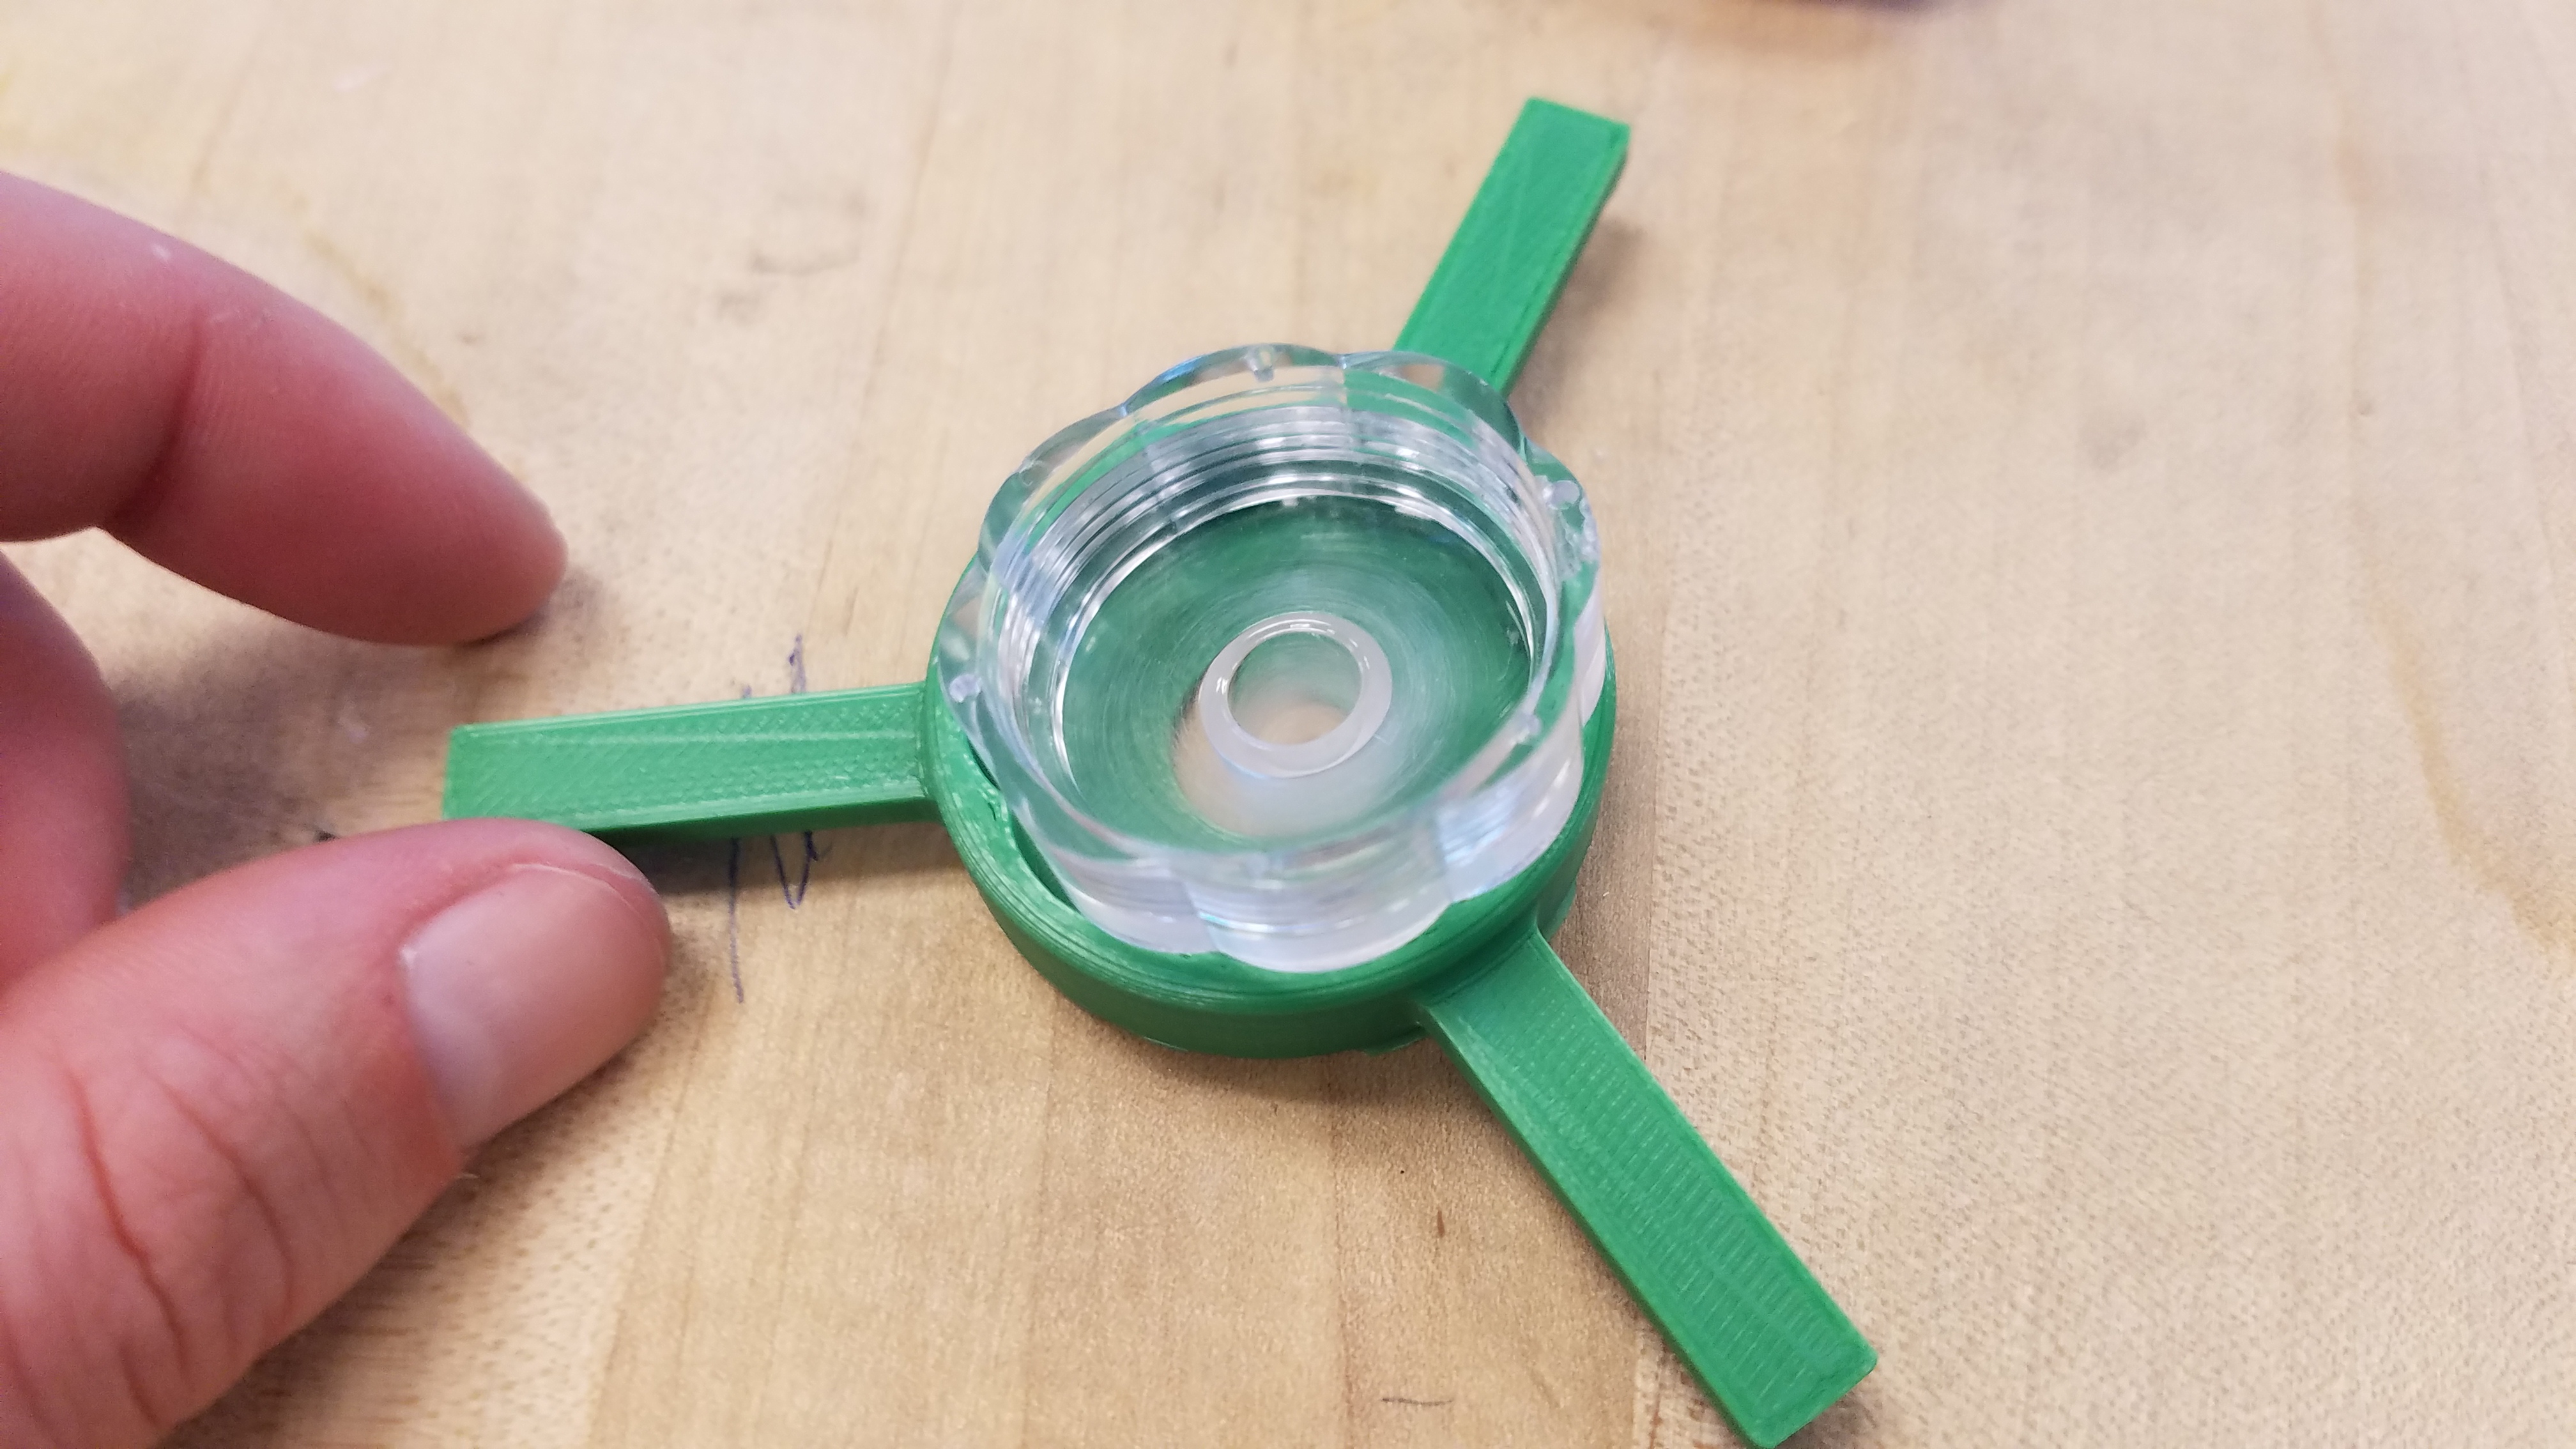
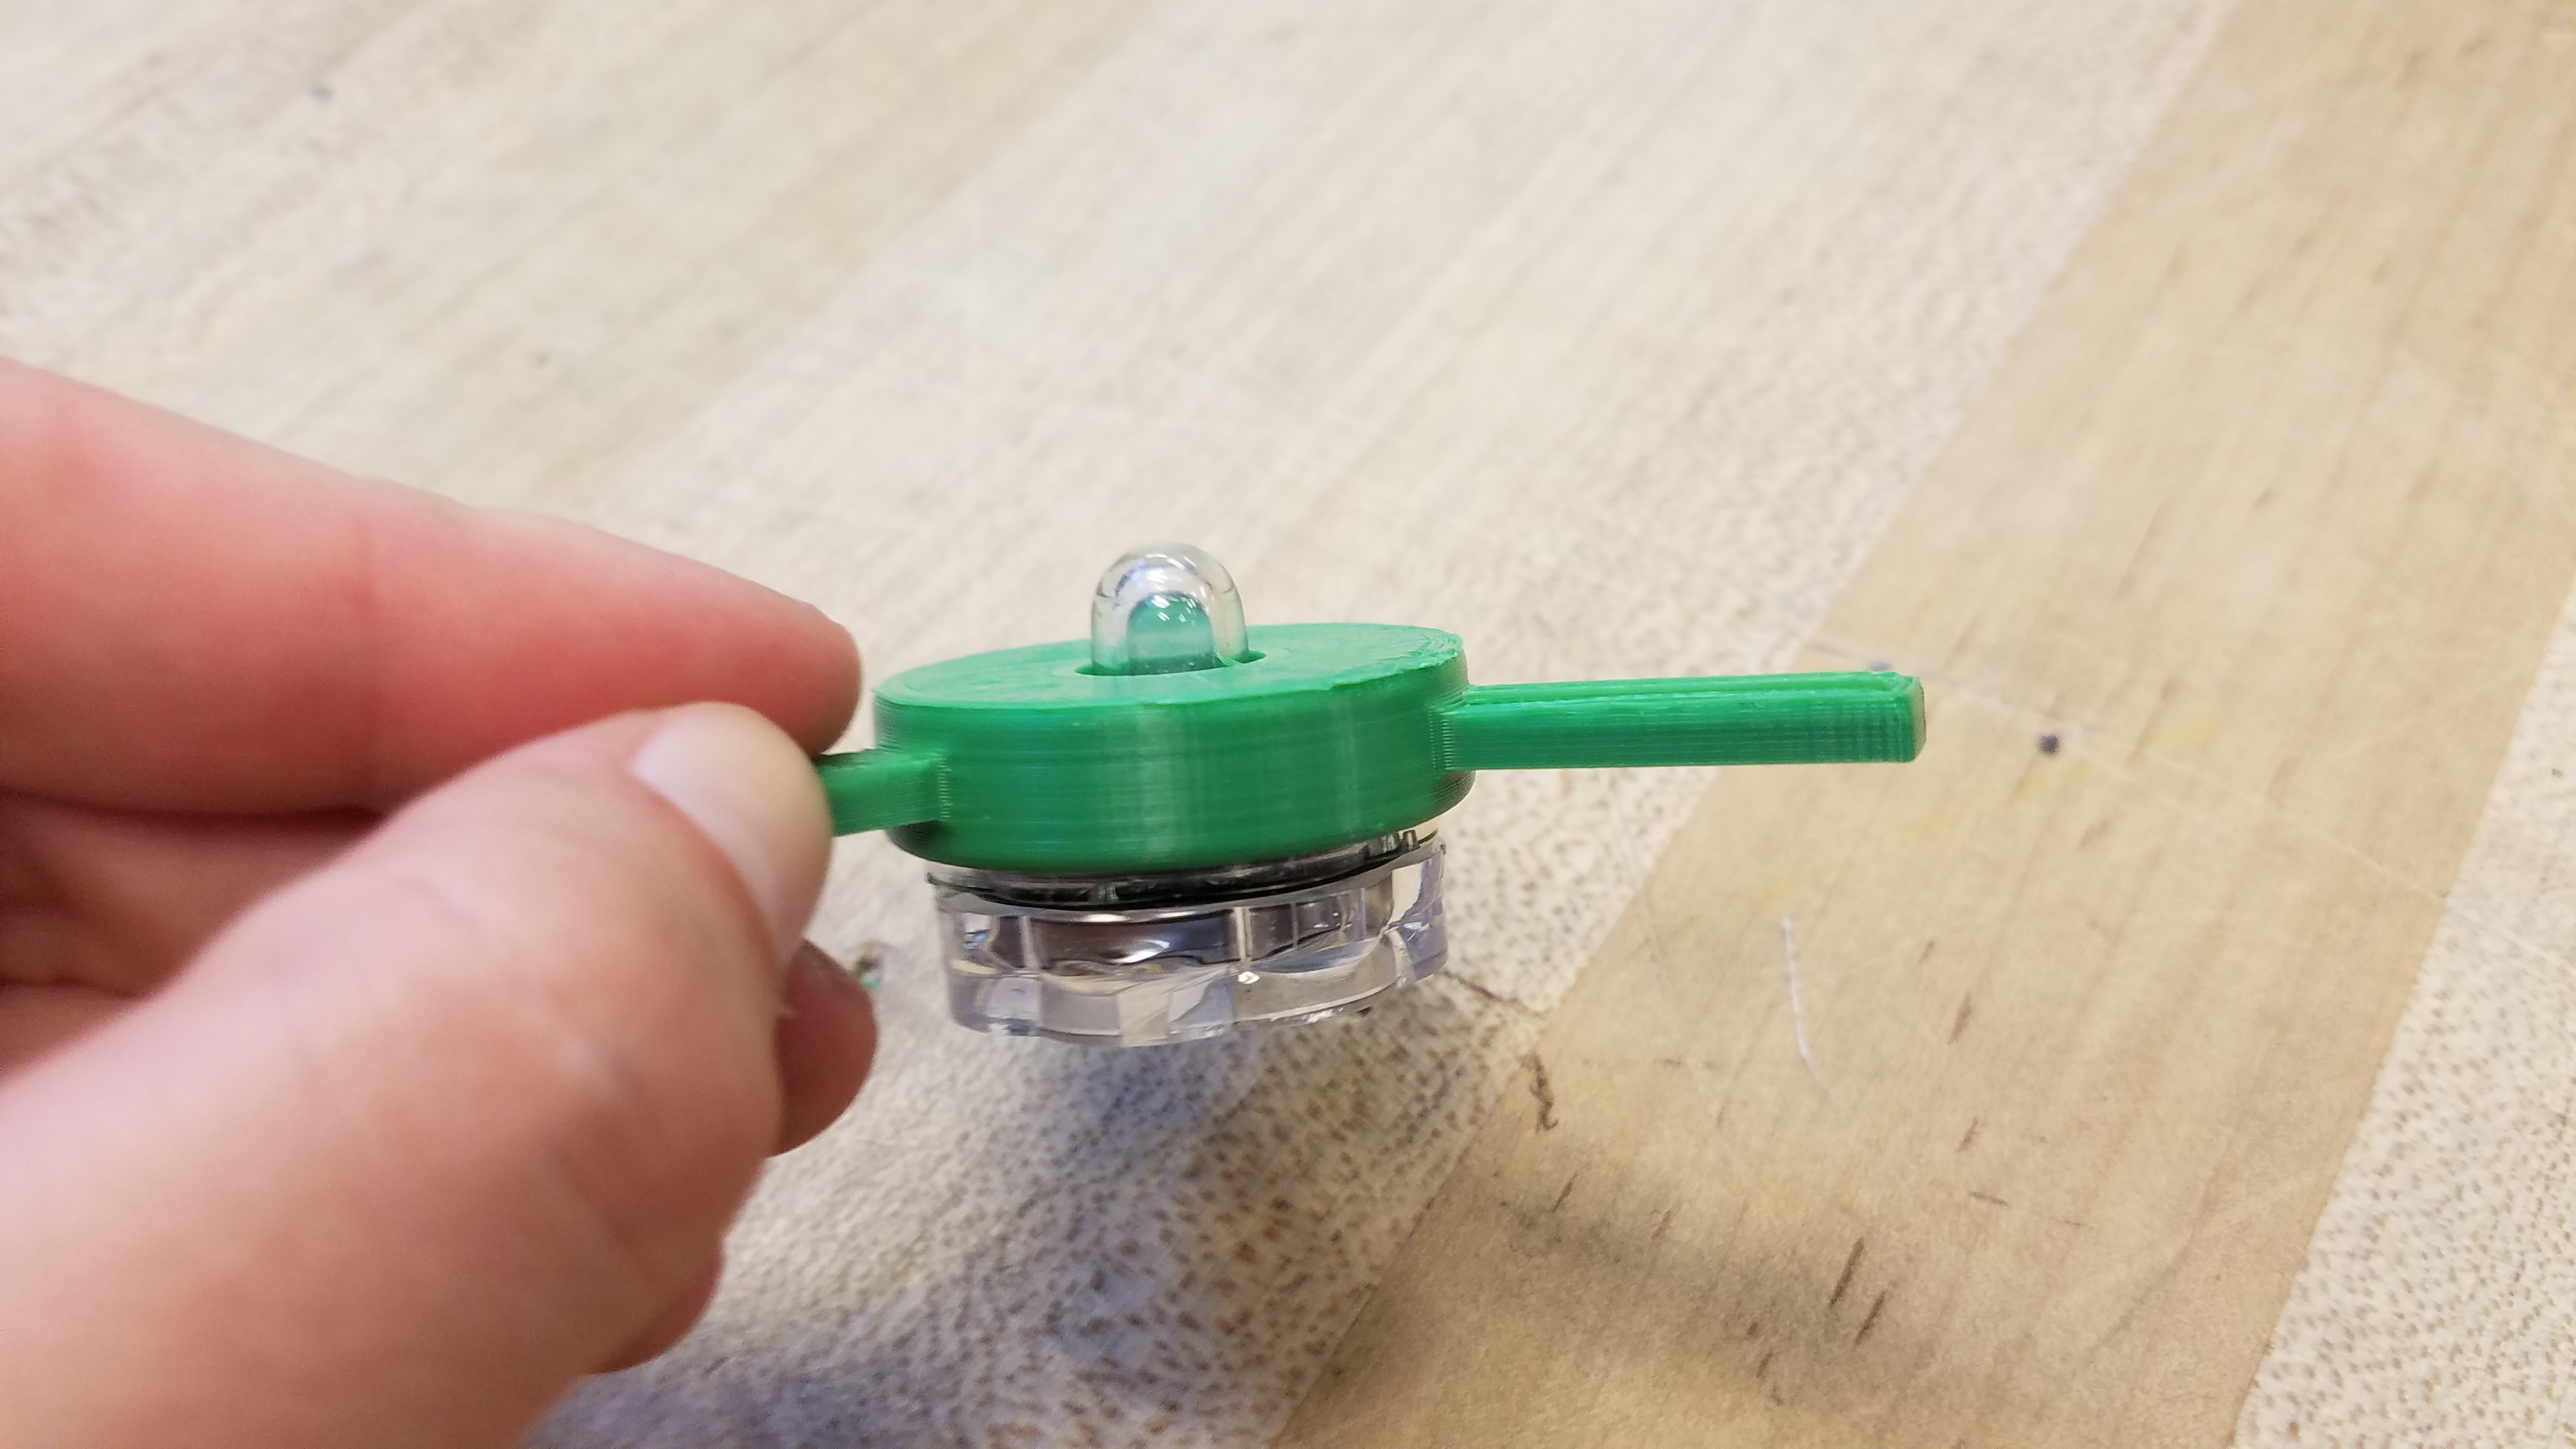
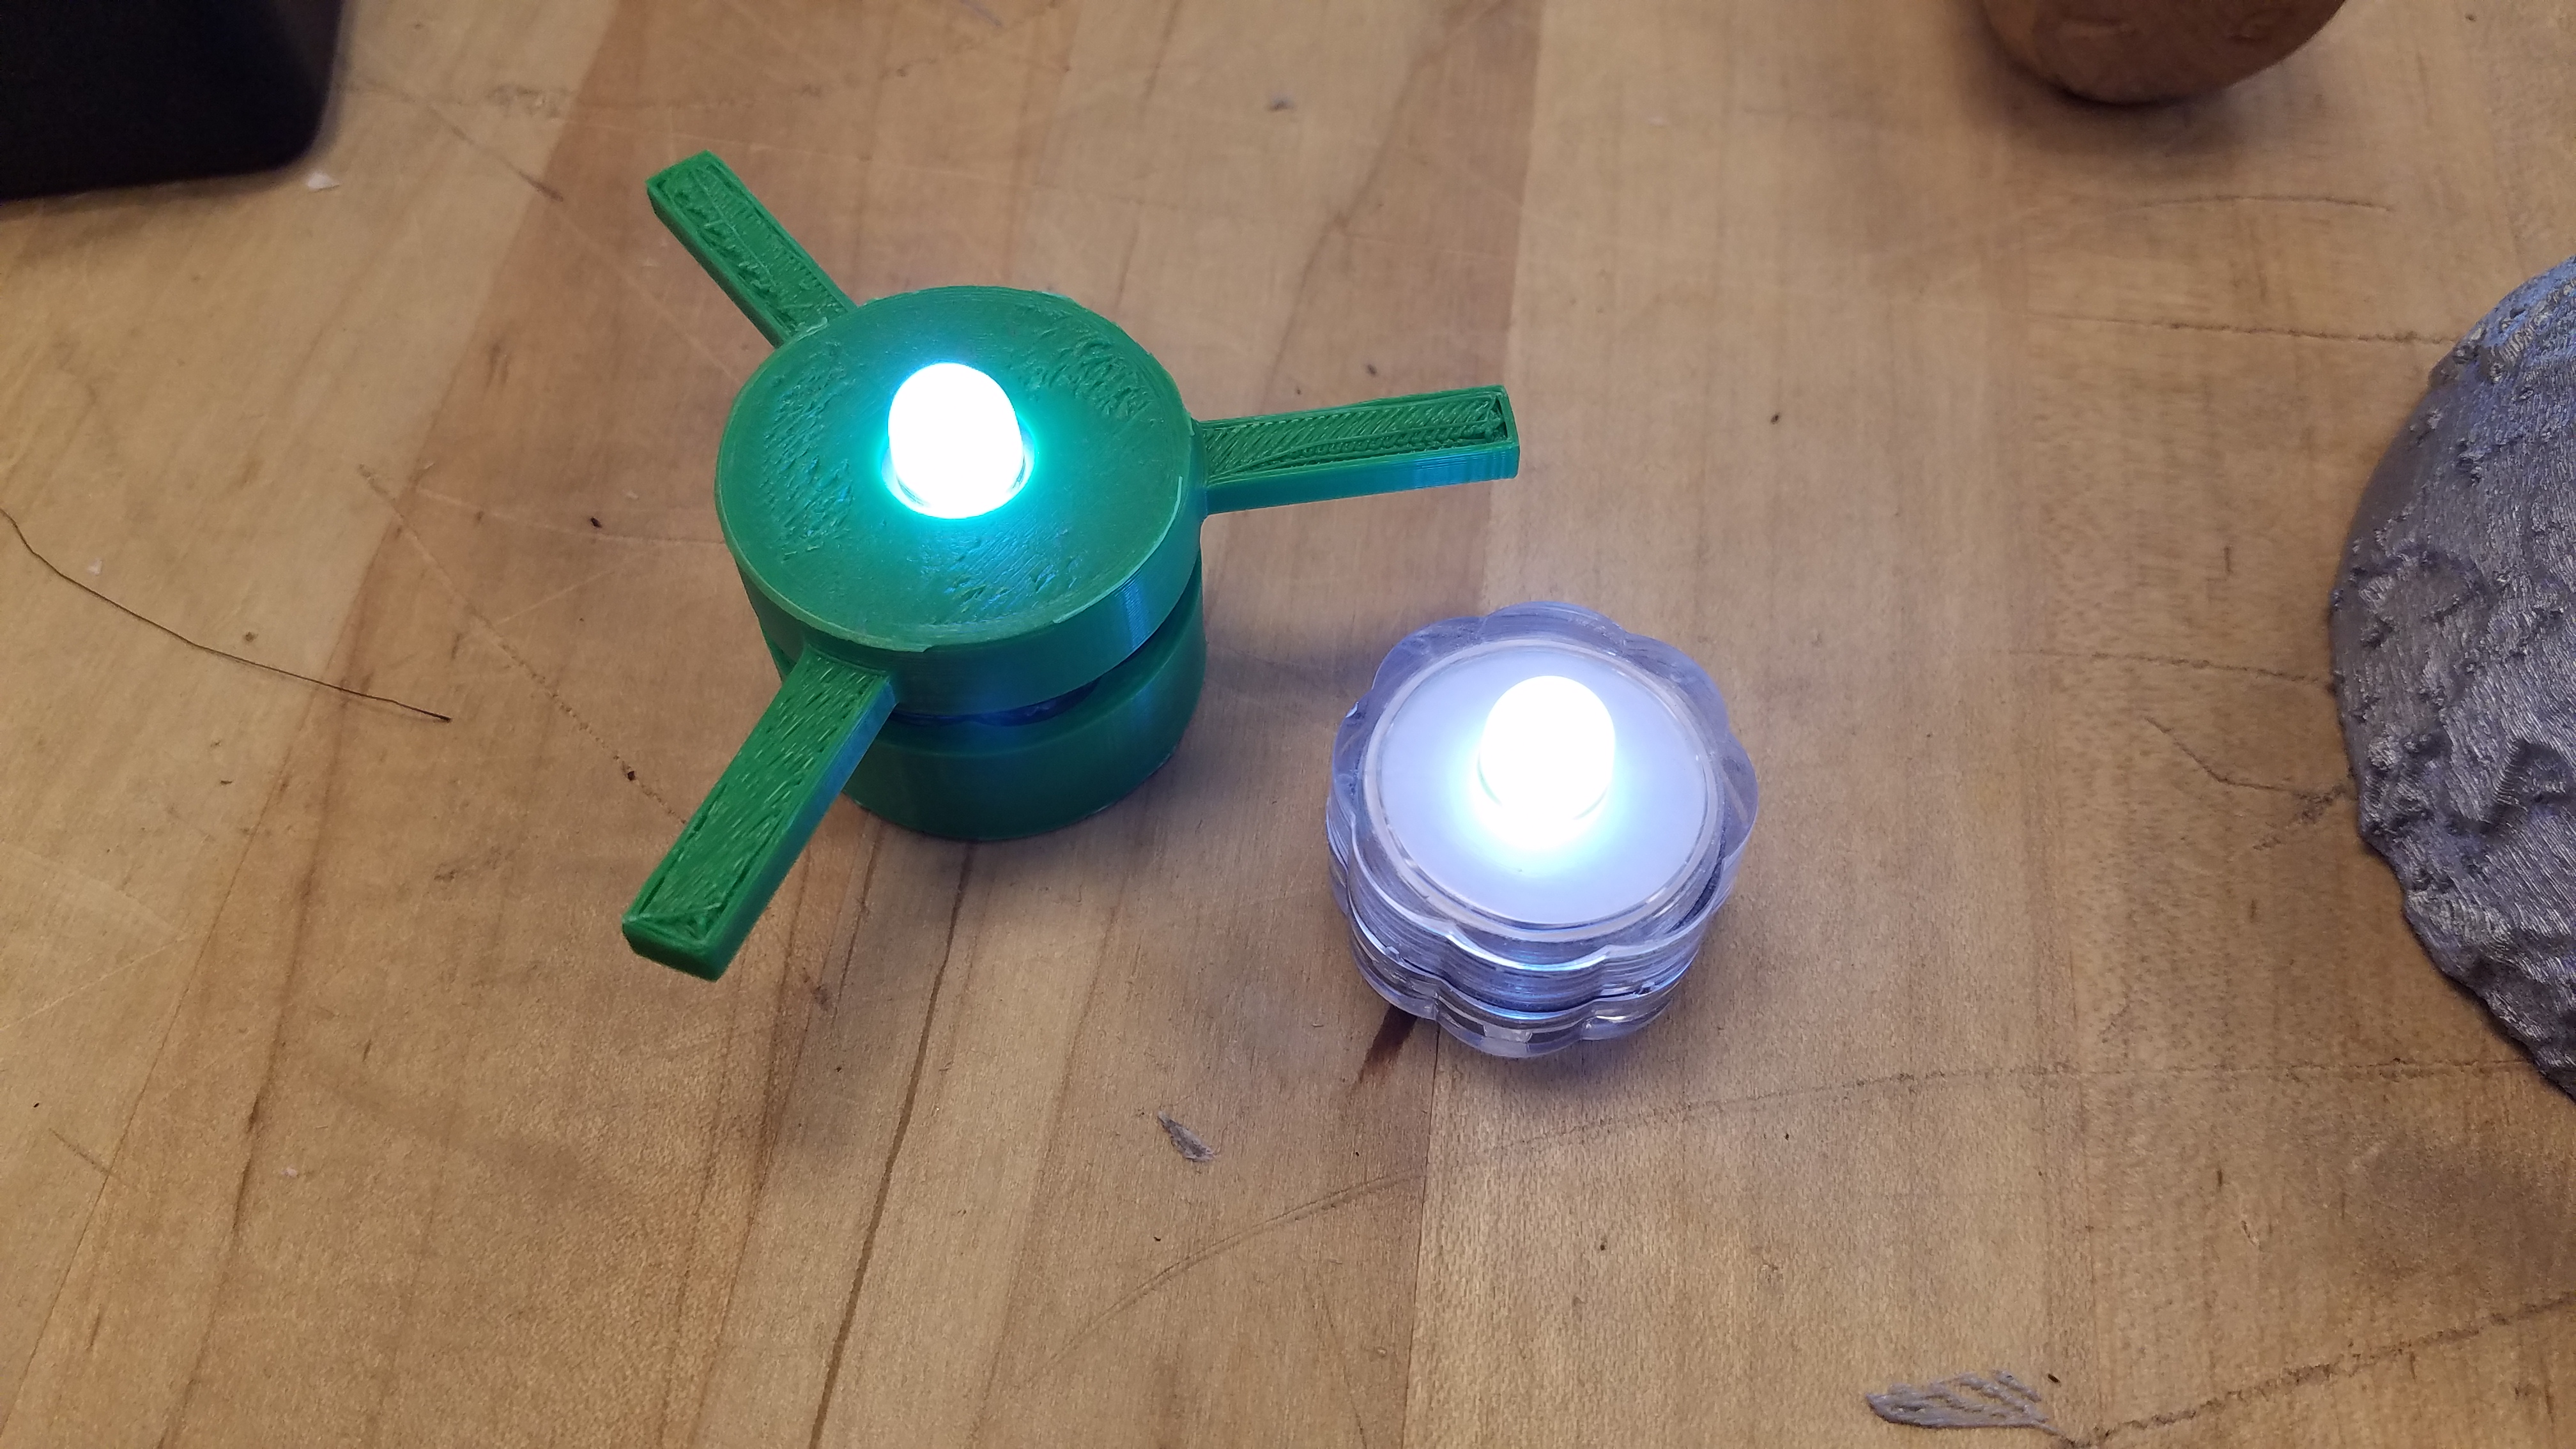
Attach the handle to the object. It's definitely a press fit kind of deal, and it leaves the handle securely in place.
You now have the power to design and create an easy to use handle for any object.