3D Printed Hall Pass
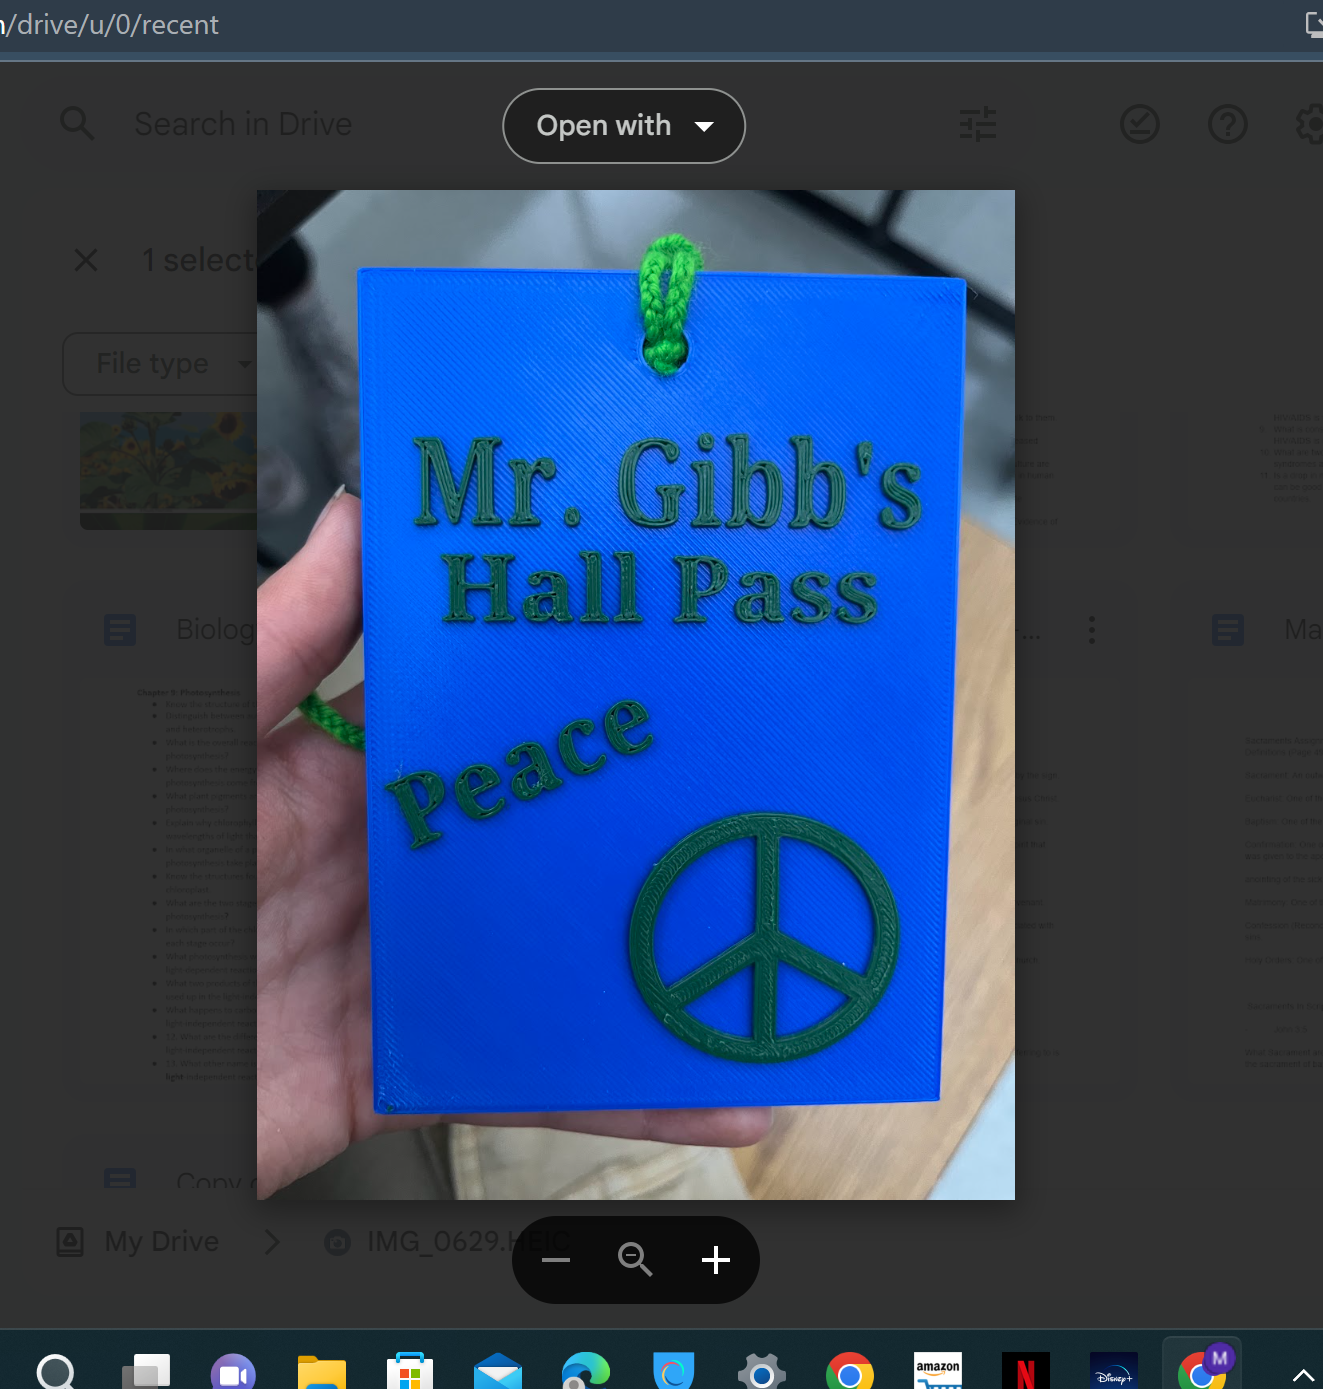
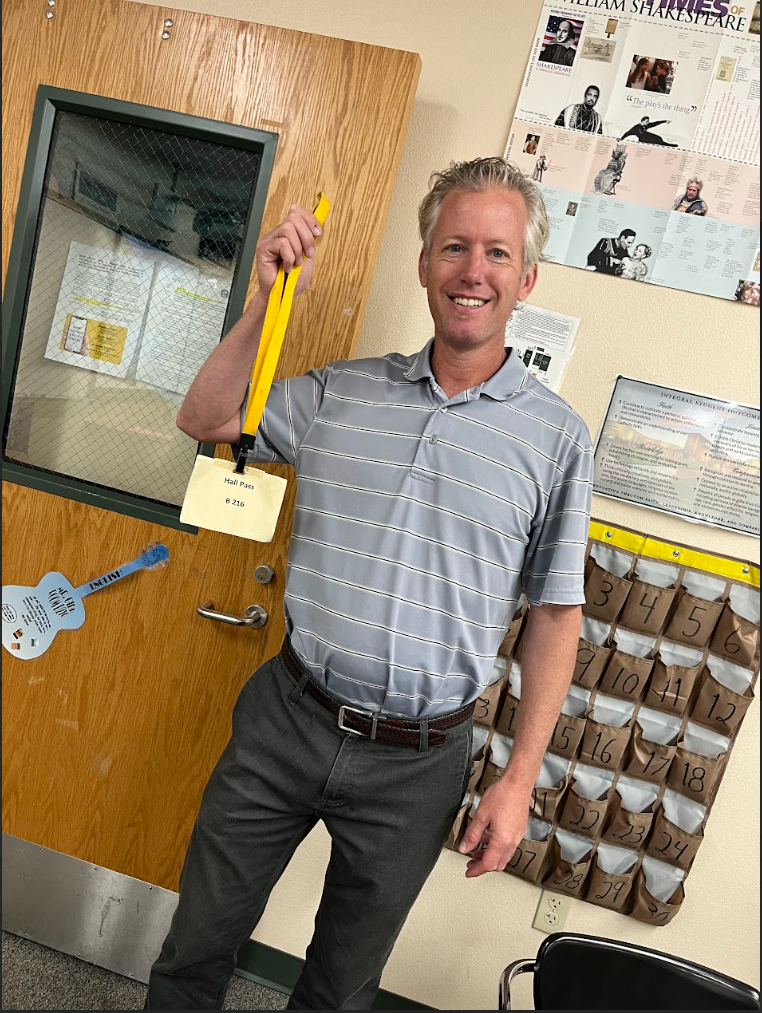
I made a hall pass for my English teacher Mr. Gibb. I made it because it was pretty gross having to use wet piece of laminated paper for a pass.
Supplies
3D printer, Fillament, PrusaSlicer, Tinkercad.
Interview Your Client

First, you must interview your client and brainstorm about what they want. Think about what color, shape, size, design, and if they what any words on the pass.
Tinker
.png)
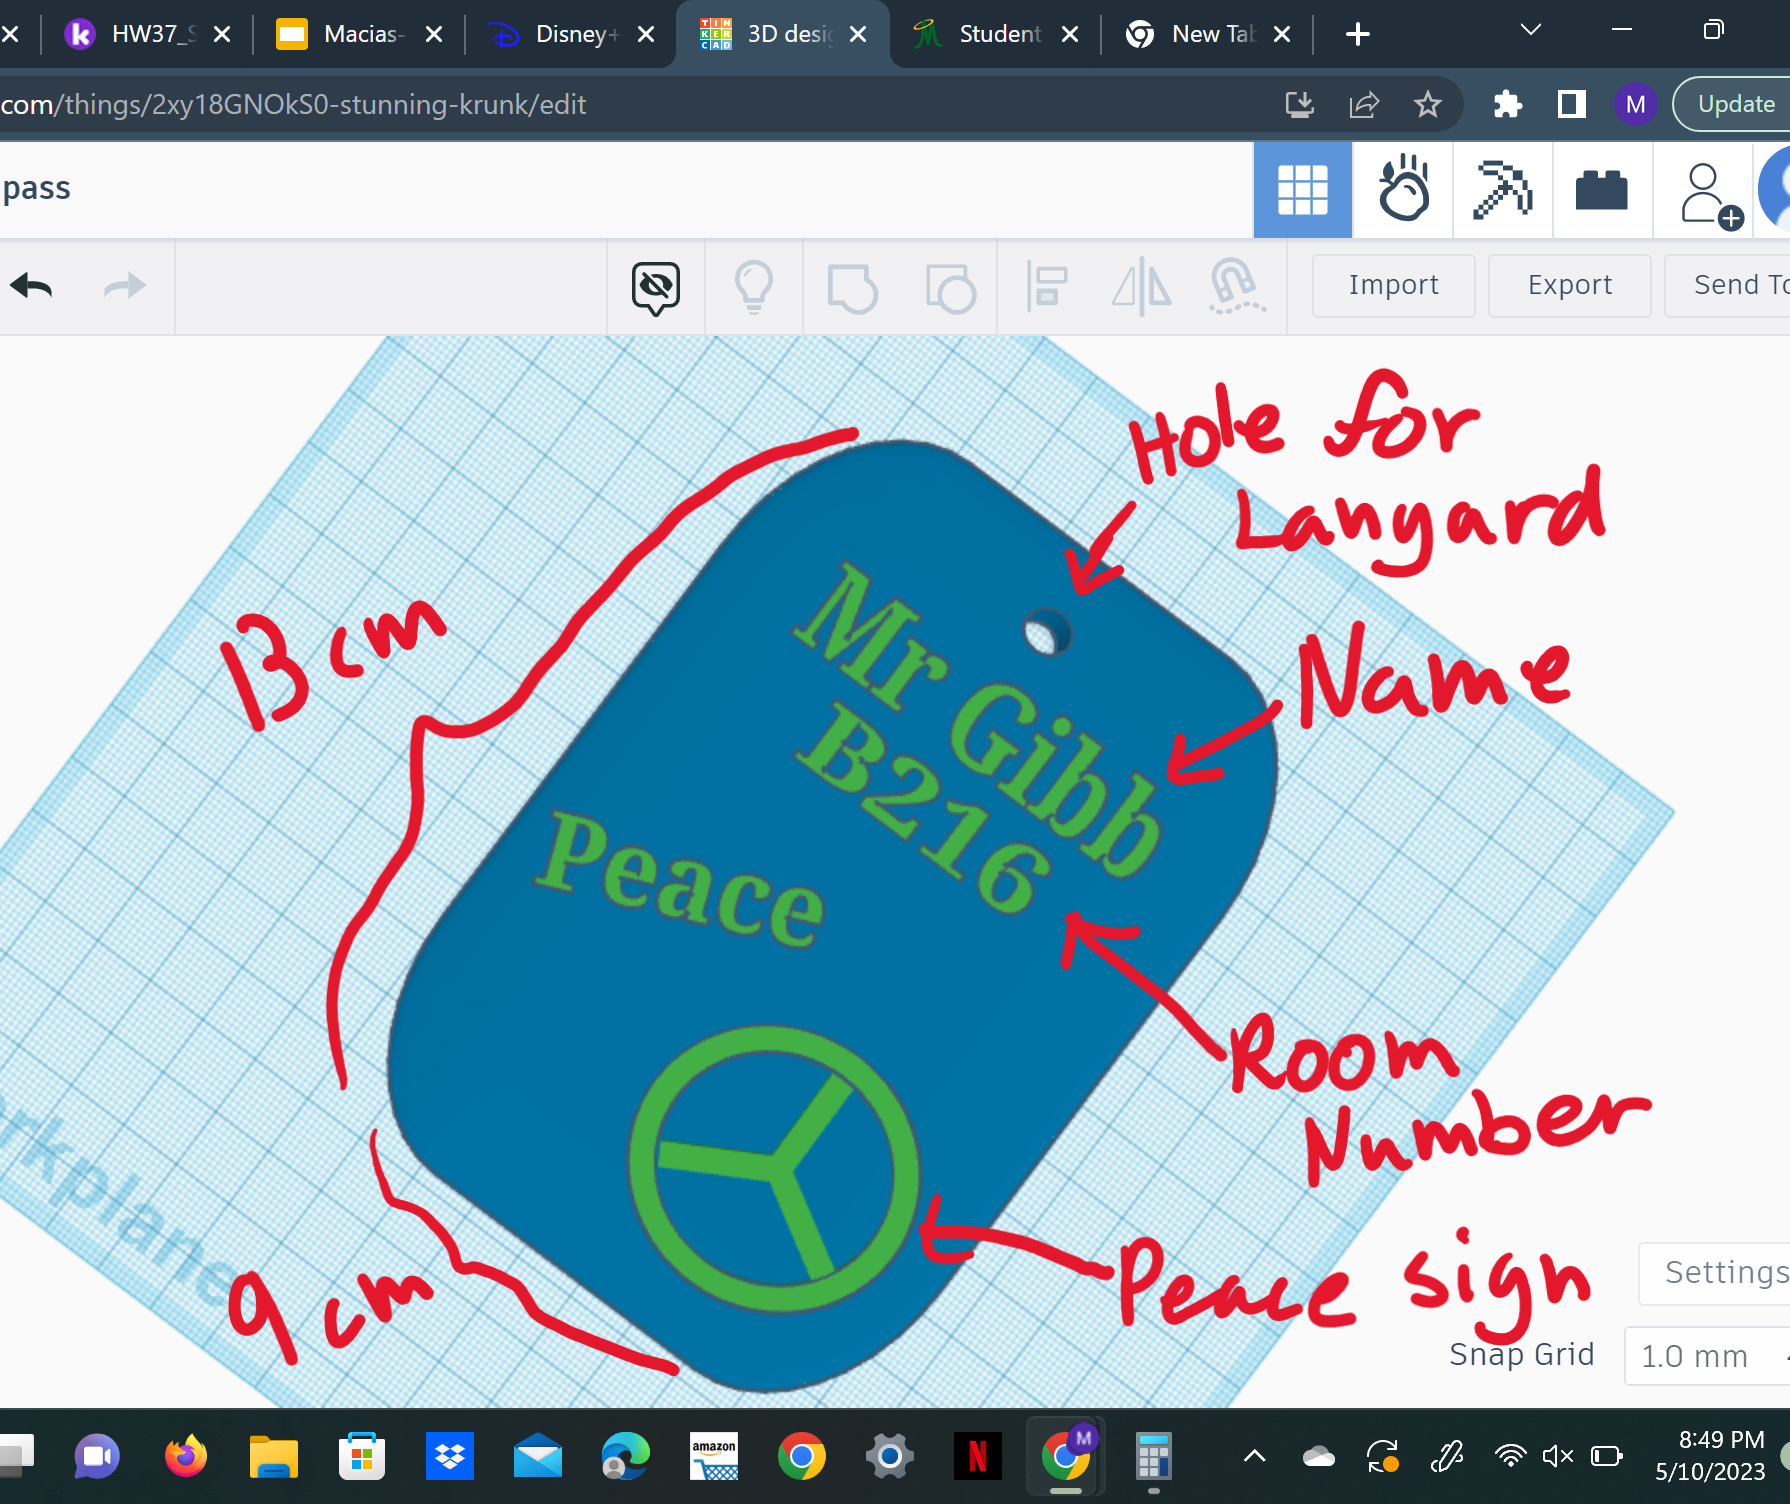
Open Tinkercad and create a 3D design of the hall pass. Keep in mind the size and dementions. My teacher Mr. Gibb wanted a peace sign on his hall pass. I clicked on the search button and searched "ring", and then edited it to the size wanted. For the inside of peace sign, I searched "piece sign" and found a shape like the inside of a peace sign. This will be your prototype 1.
Interview Client Again
After you've completed prototype 1, interview your client to recieve any feedback they have. Then apply that to your next prototype.
Create and Print Prototype 2
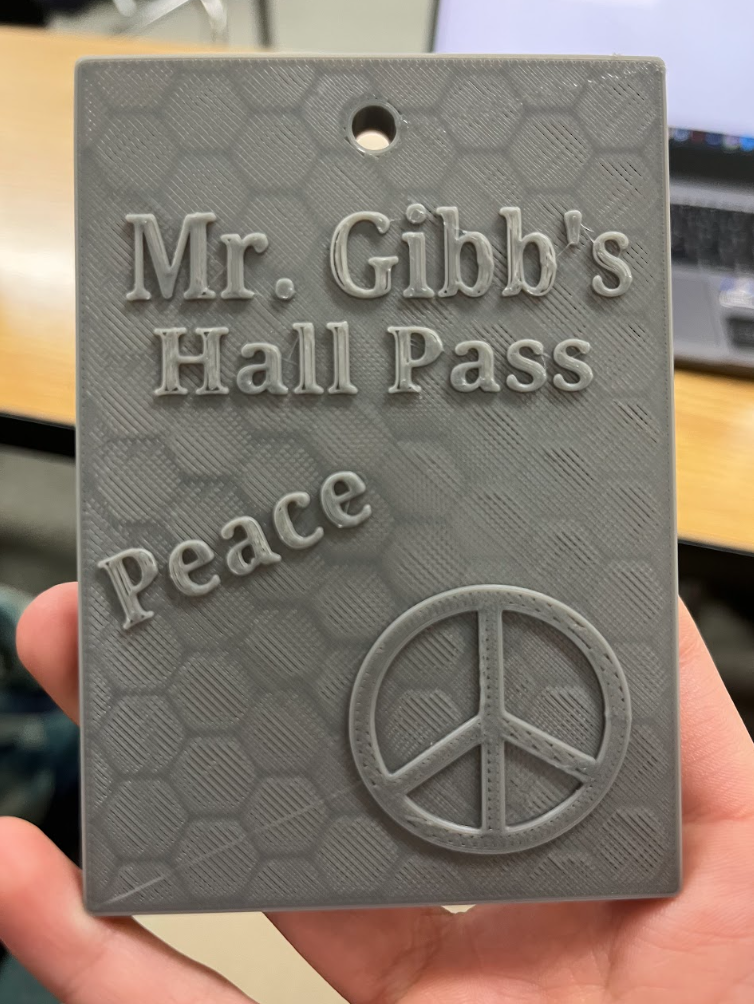
Apply the feedback your client gave you on prototype 1 and update prototype 2. After you've completed that, export it into Prusa slicer then splice it. If the bottom of the base is purple then 3D print it. Make sure to group everything in your design before you print.
Show Client Prototype 2
After prototype 2 is done, bing it to your client and get some feedback. Ask them their likes, dislikes and anything they would change. Then apply their feedback to tinkercad.
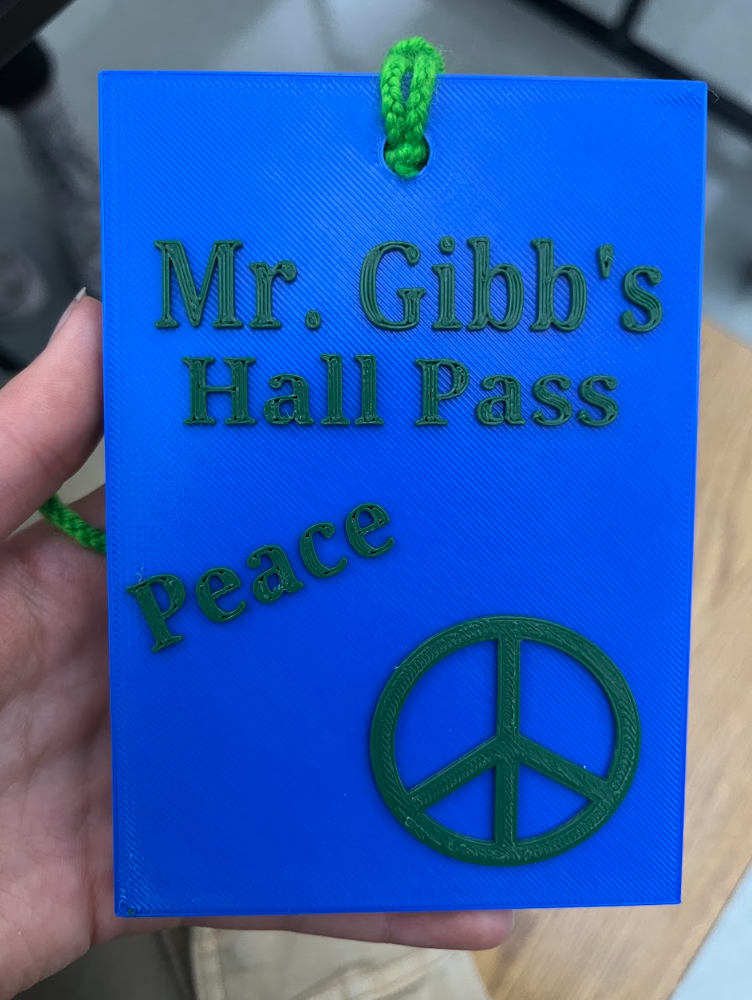
After your final prototype is printed, add finshing touches. Add the lanyard and then you can give it to your teacher.