3D Printed Glowing Pumpkins.
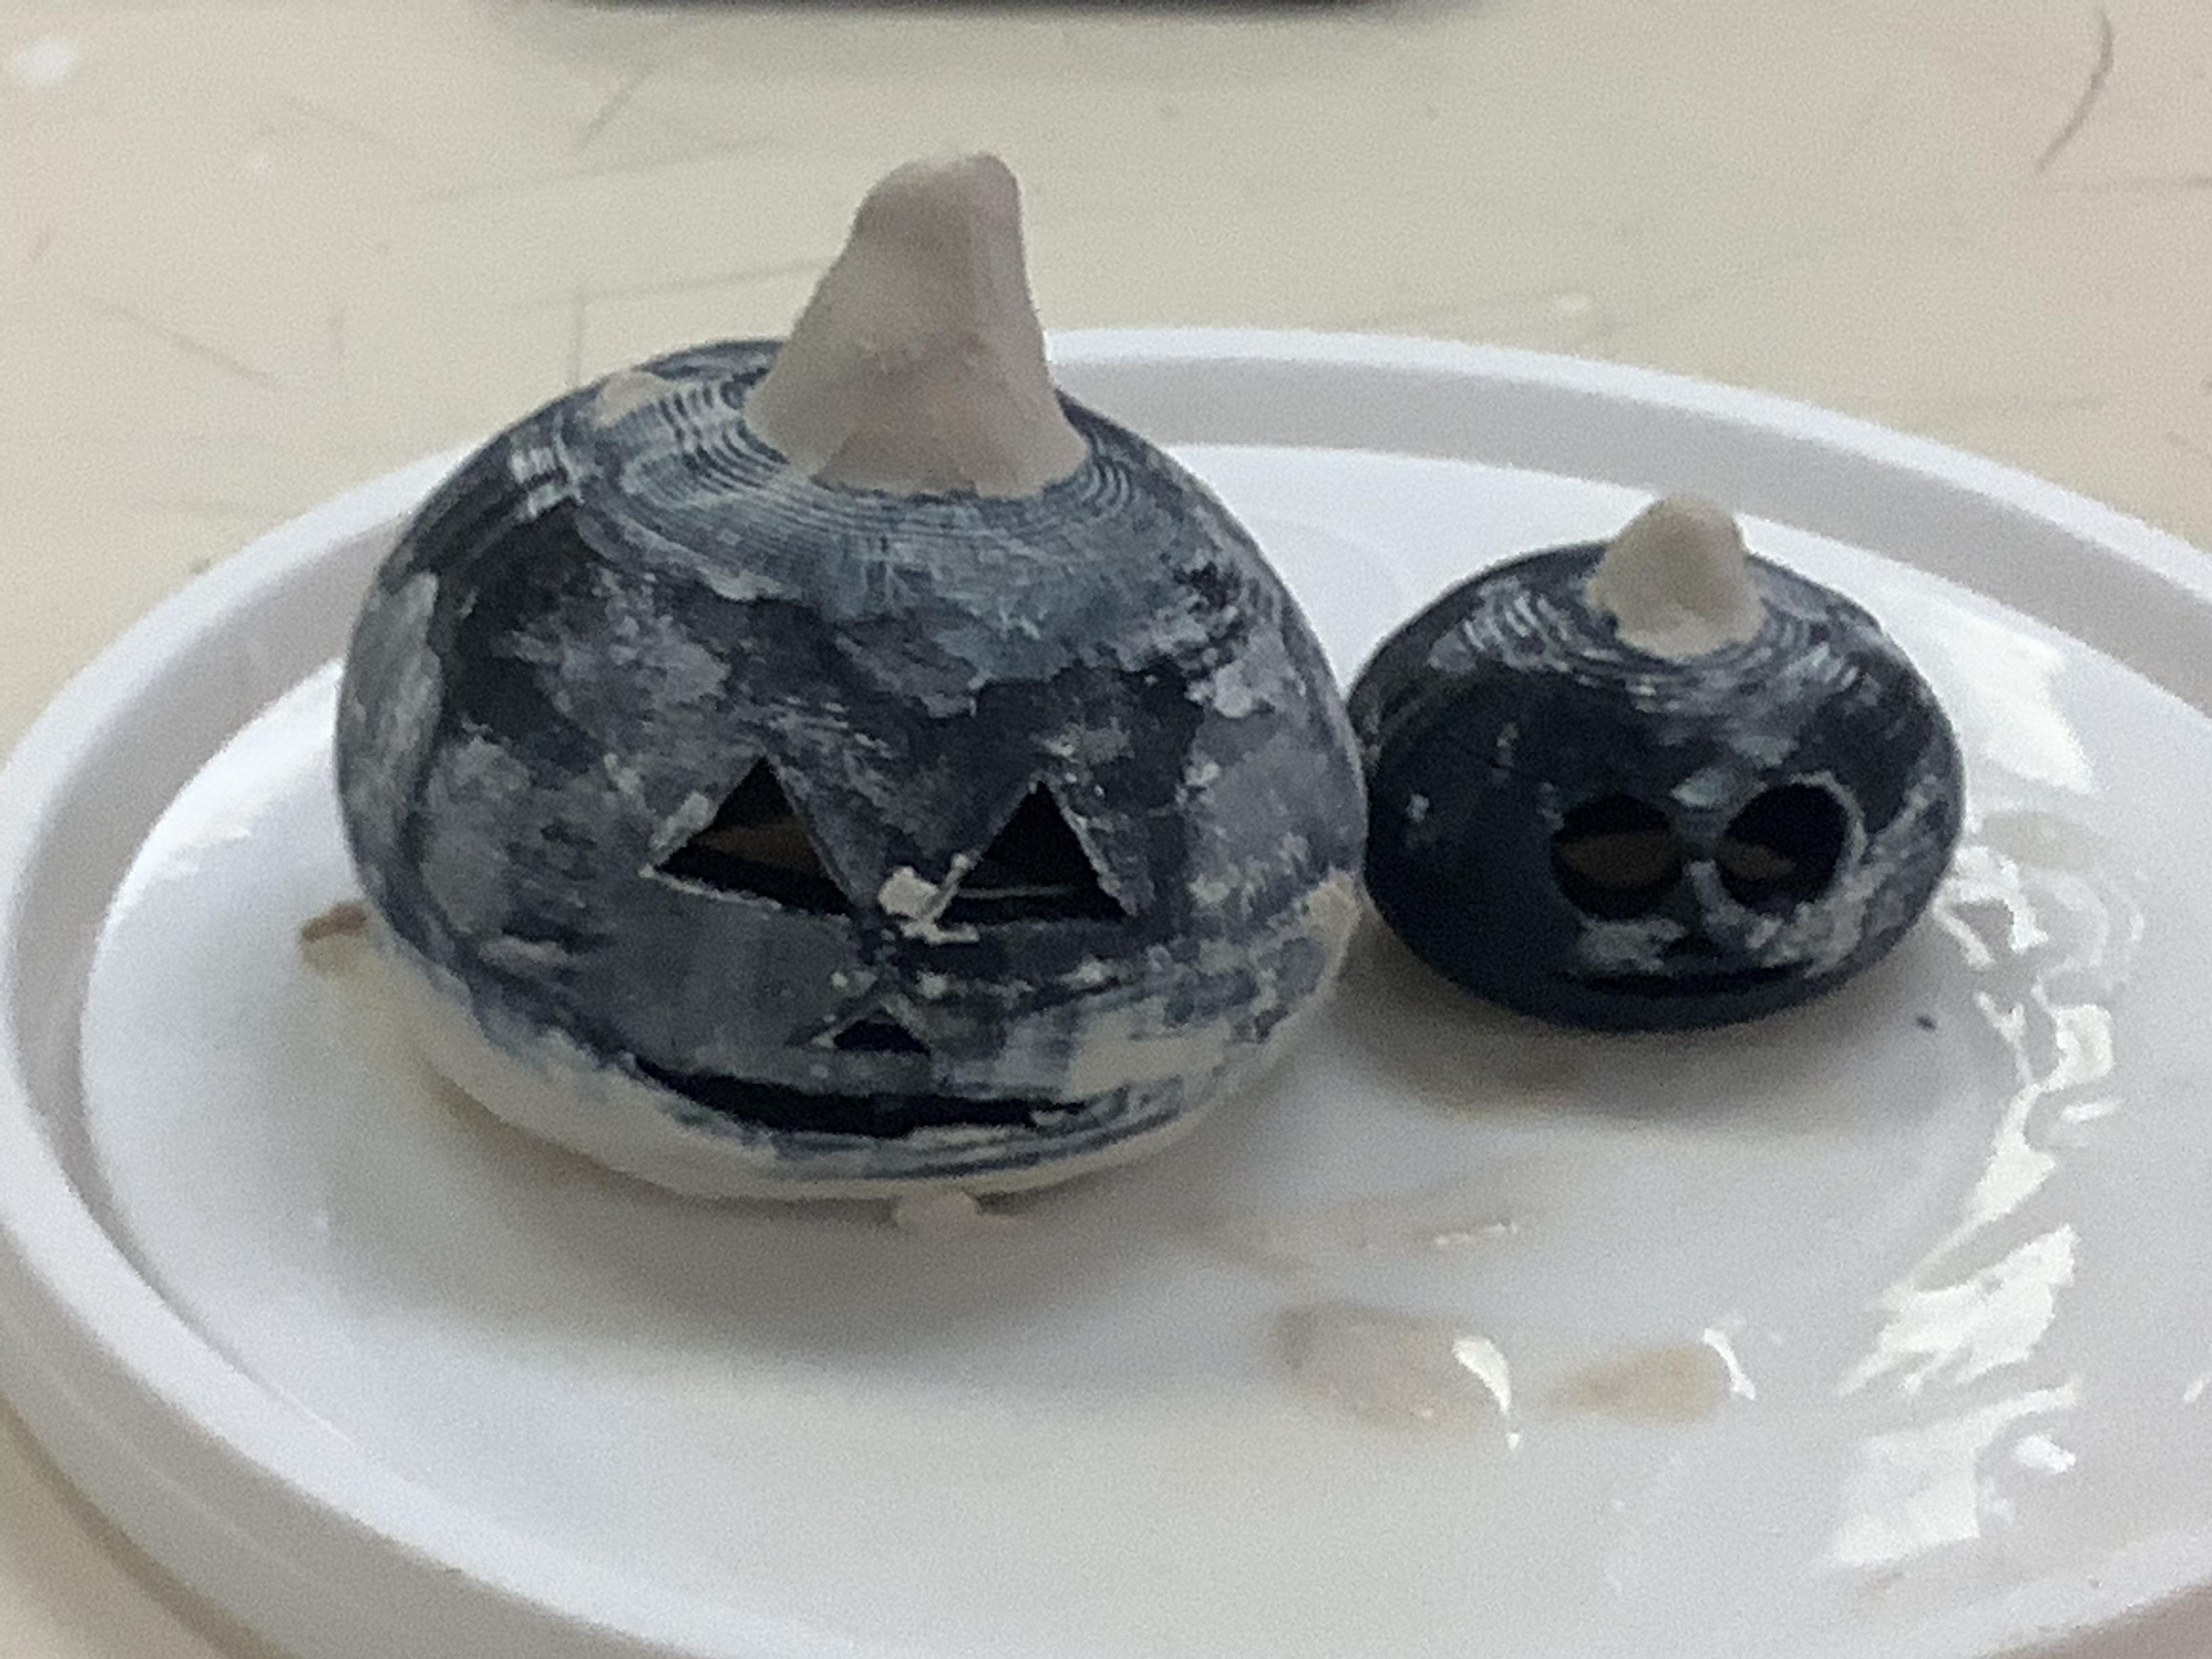
Halloween comes up soon and it is time for decor. With COVID upon us, going out isn’t really an option. But Halloween isn’t complete without pumpkins, so here’s a tutorial on how to make a 3D printed pumpkin.
Supplies
3D printer
Tinkercad
Filament
Glue
Small candle/ any sort of light
The Pumpkin Itself
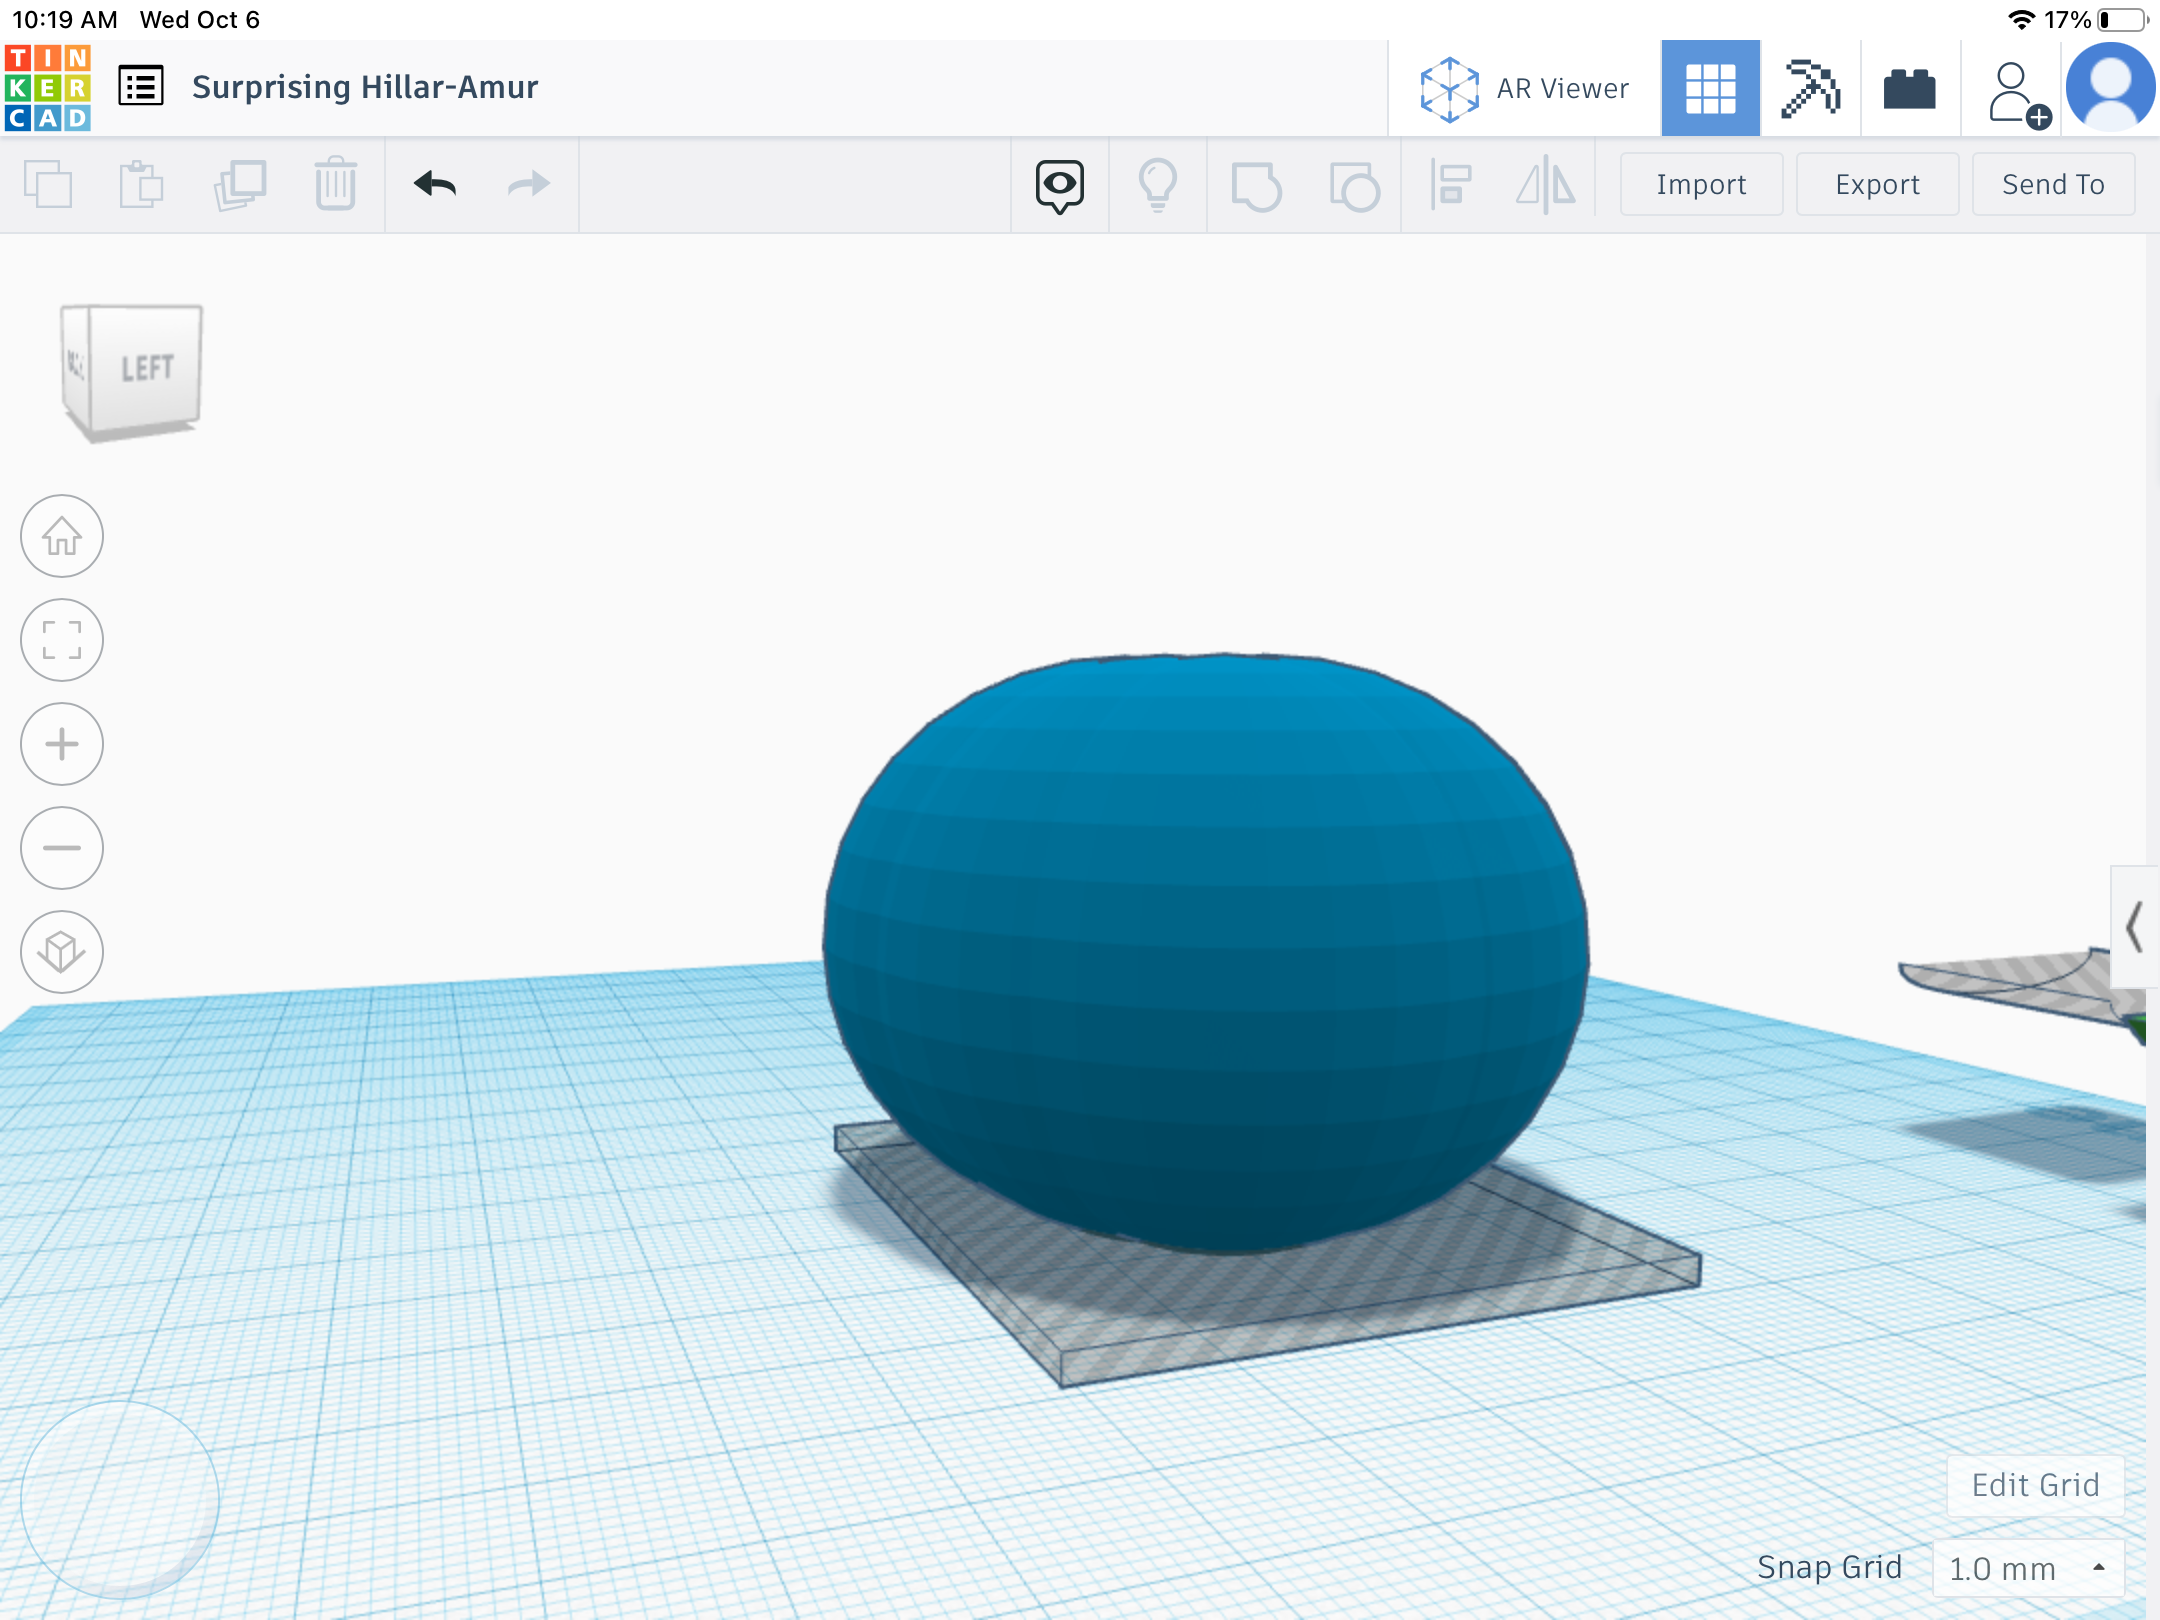
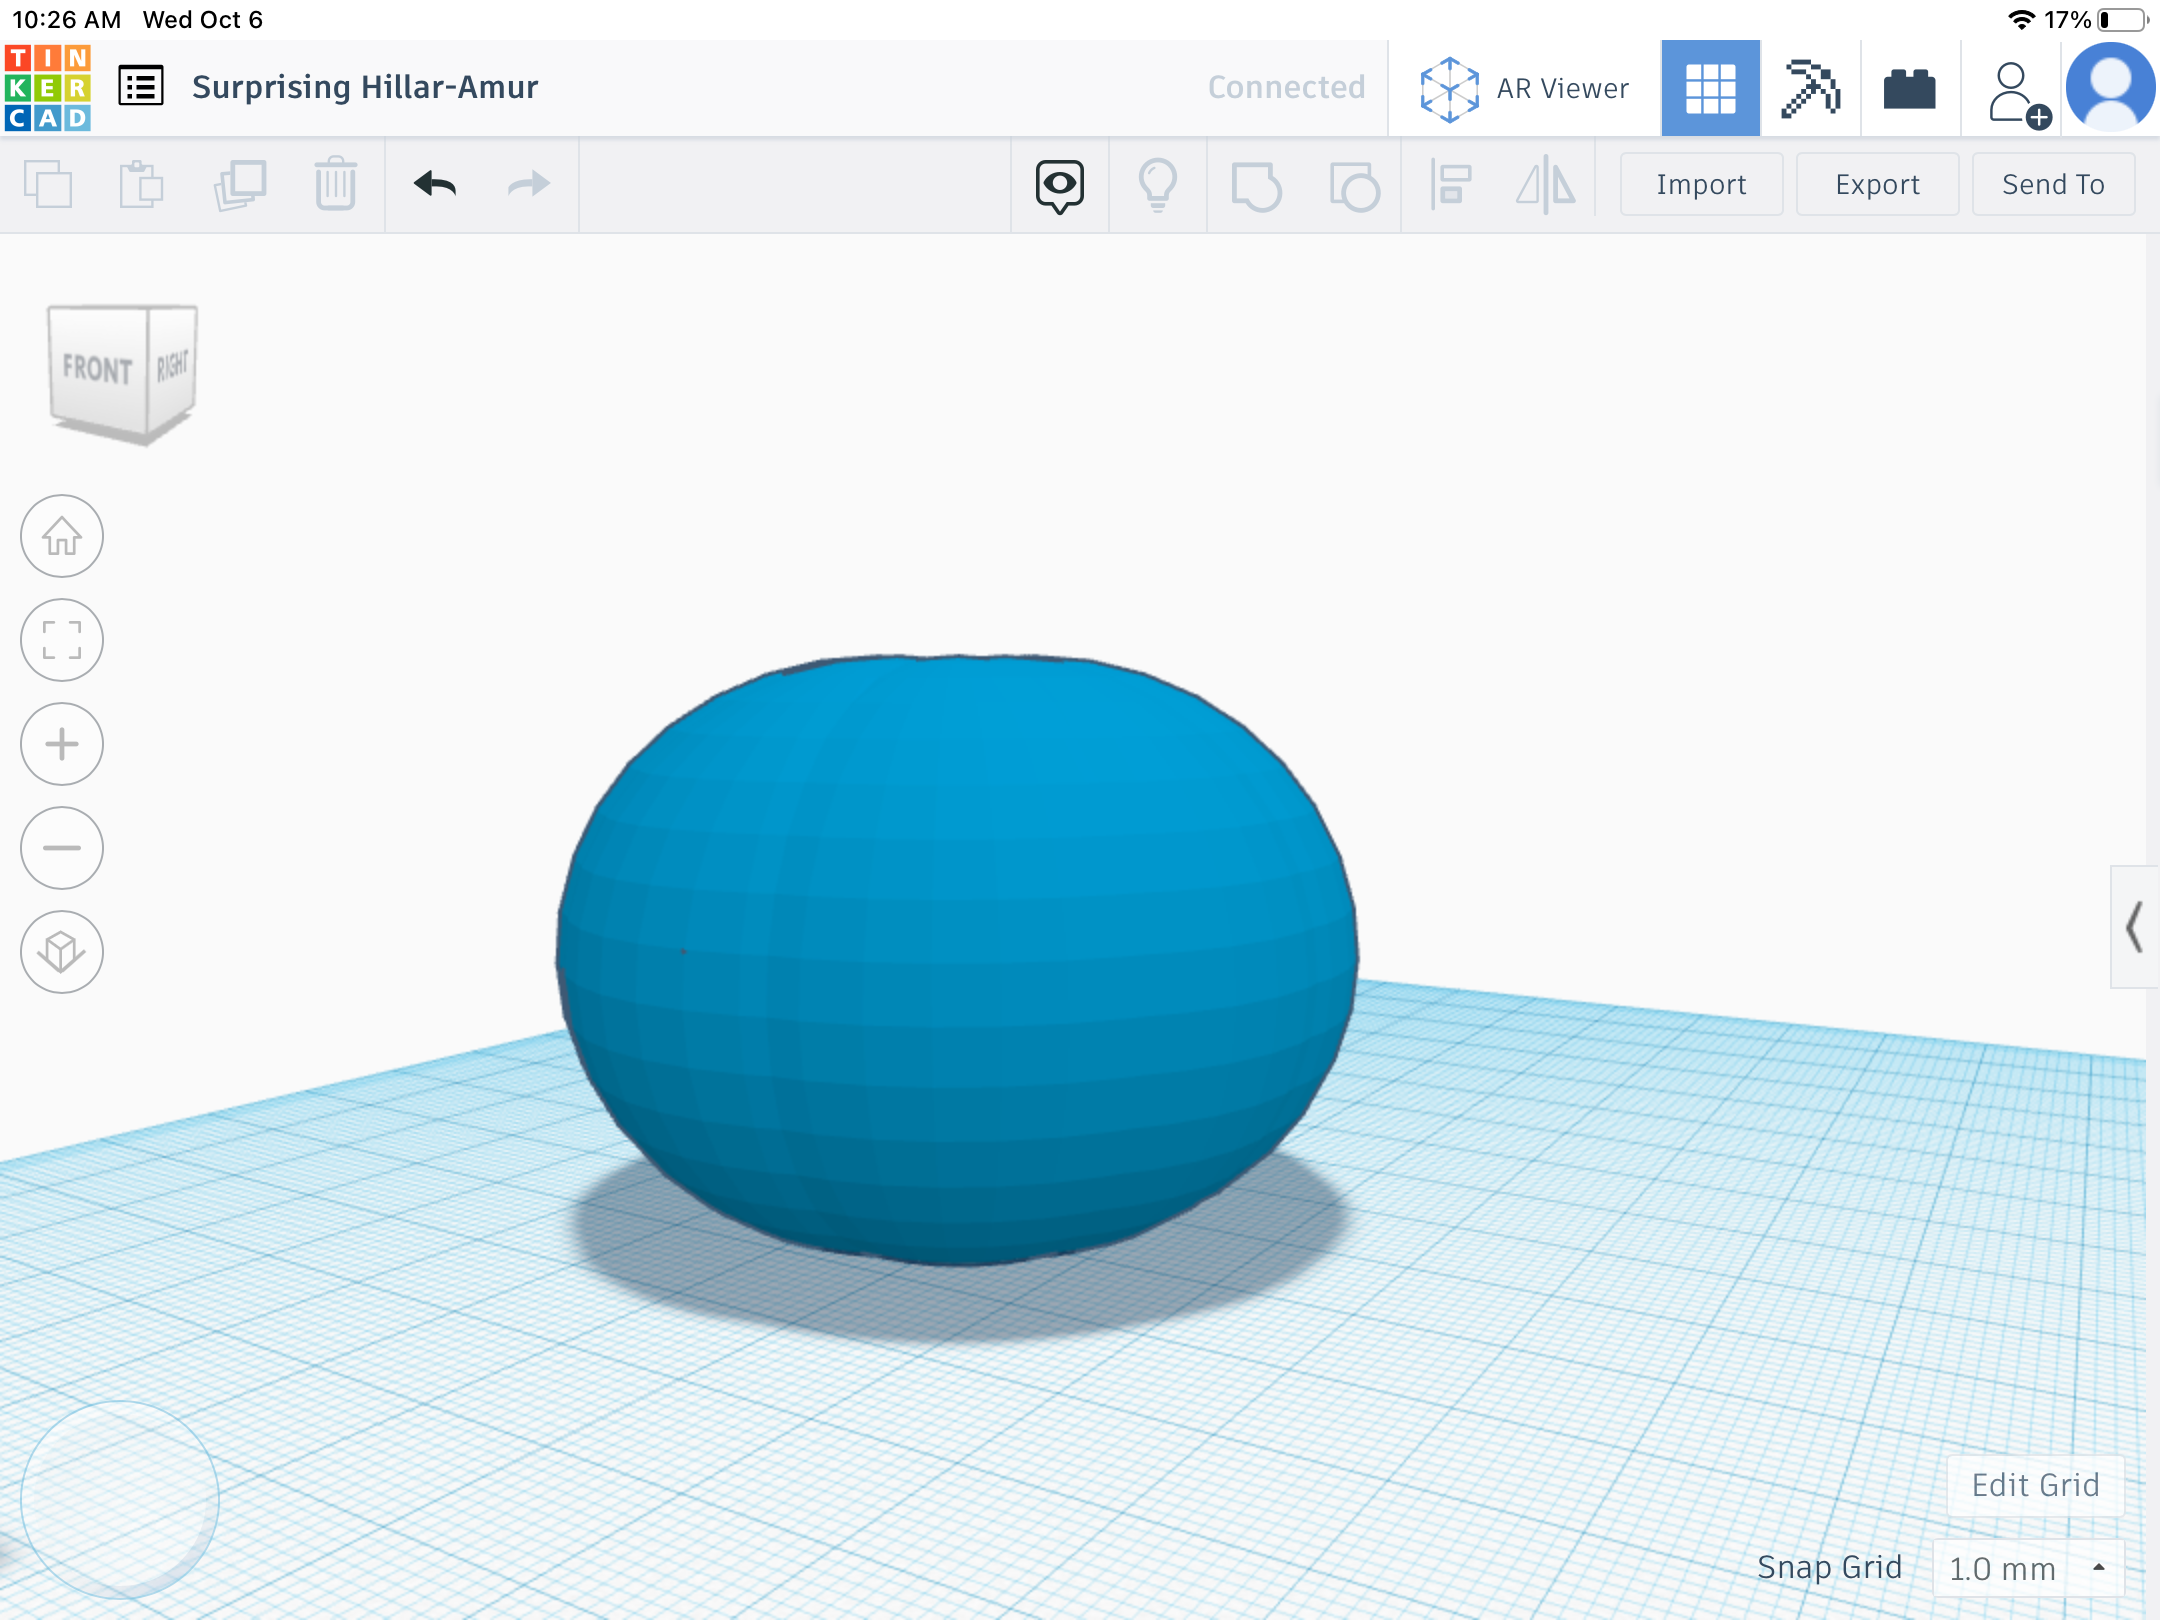
Open tinkercad and start a new project. Select a circle and size it to 49x49x44. Copy that up to 7 times. Group all of the circles together. Next get a box and size it to 57x48x2. Make the box transparent and place it under the pumpkin base. Group both together to get a flat surface for the pumpkin to stand.
The Stem
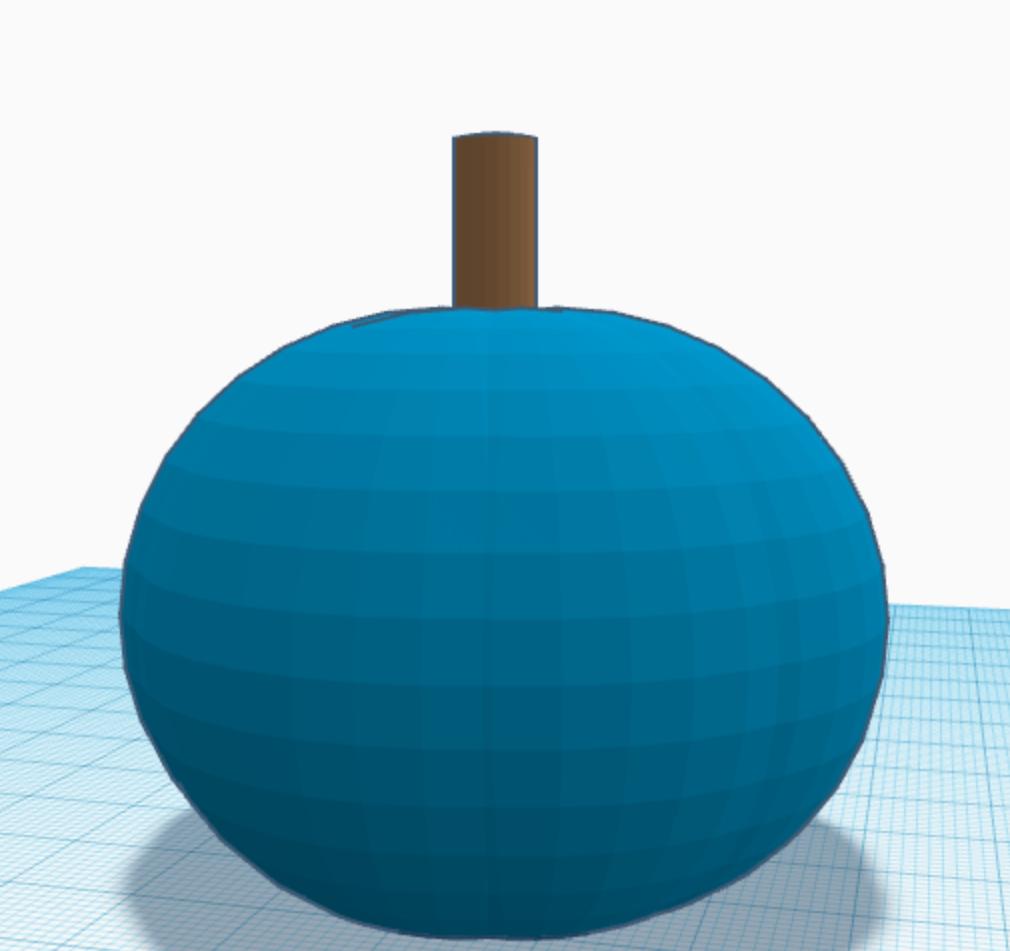
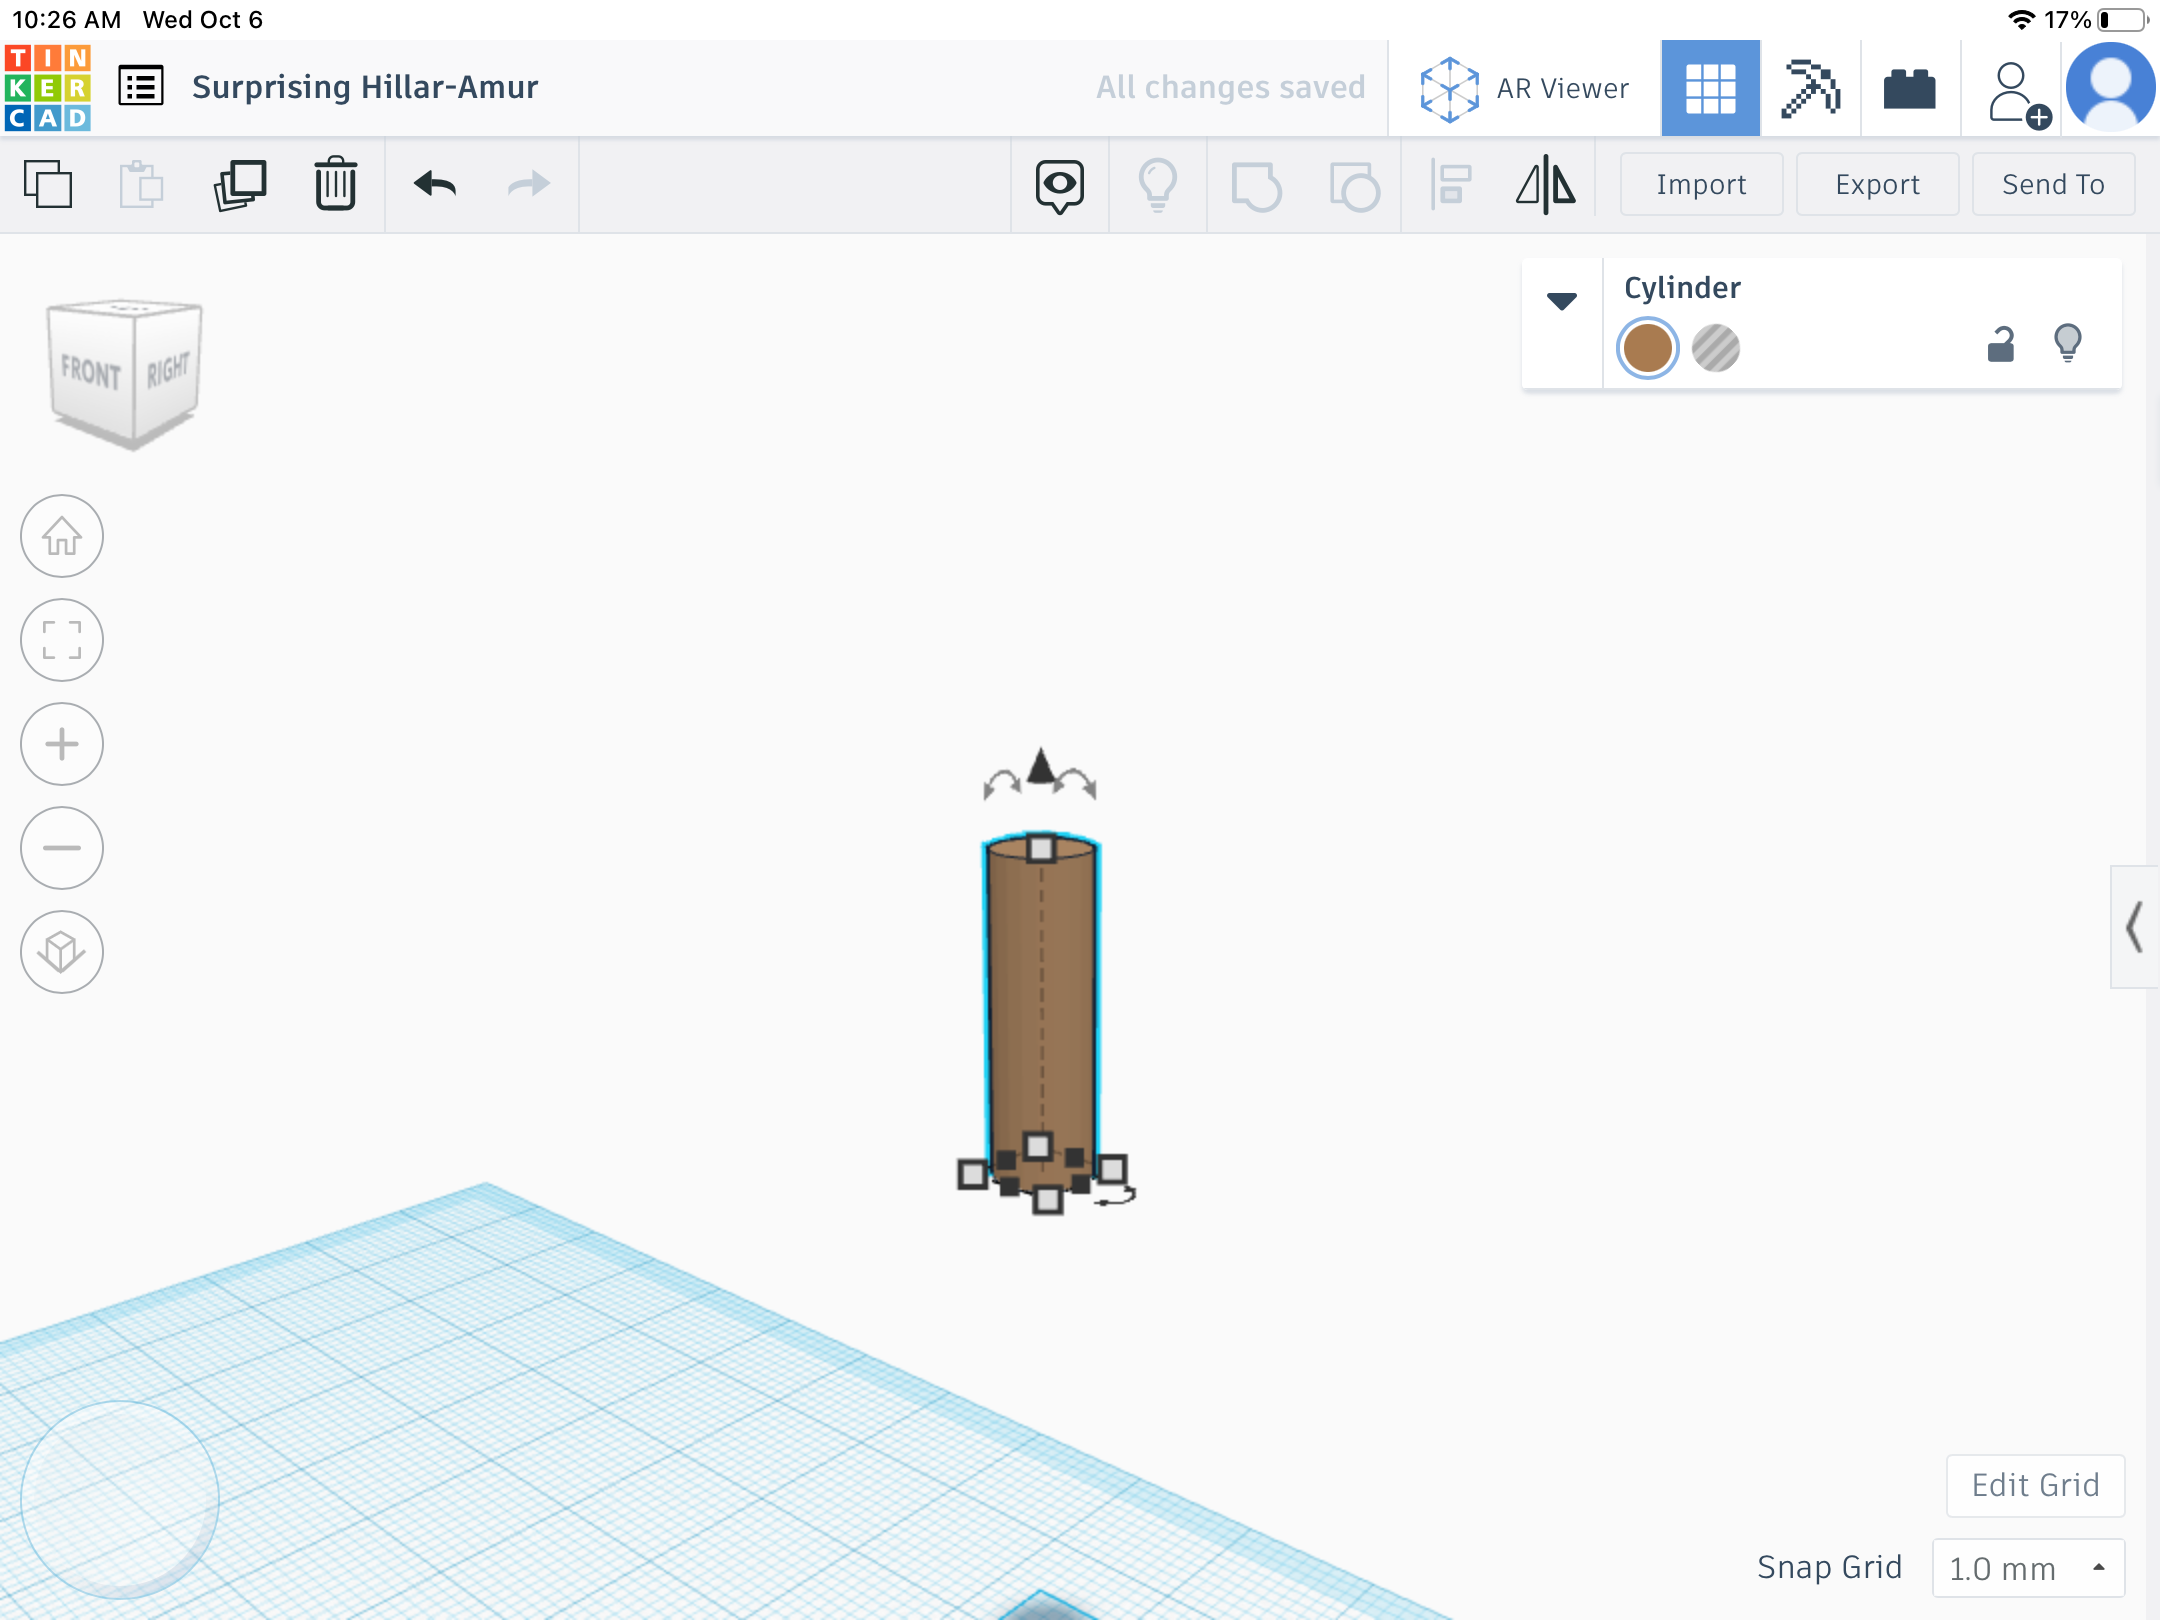
Next make a stem. Add a cylinder to your Workplane. The cylinder can be any size depending on how large you want it but I put mine on 6x6x20. Lift the cylinder to around 35 in and place it in the middle of your pumpkin base.
The Face
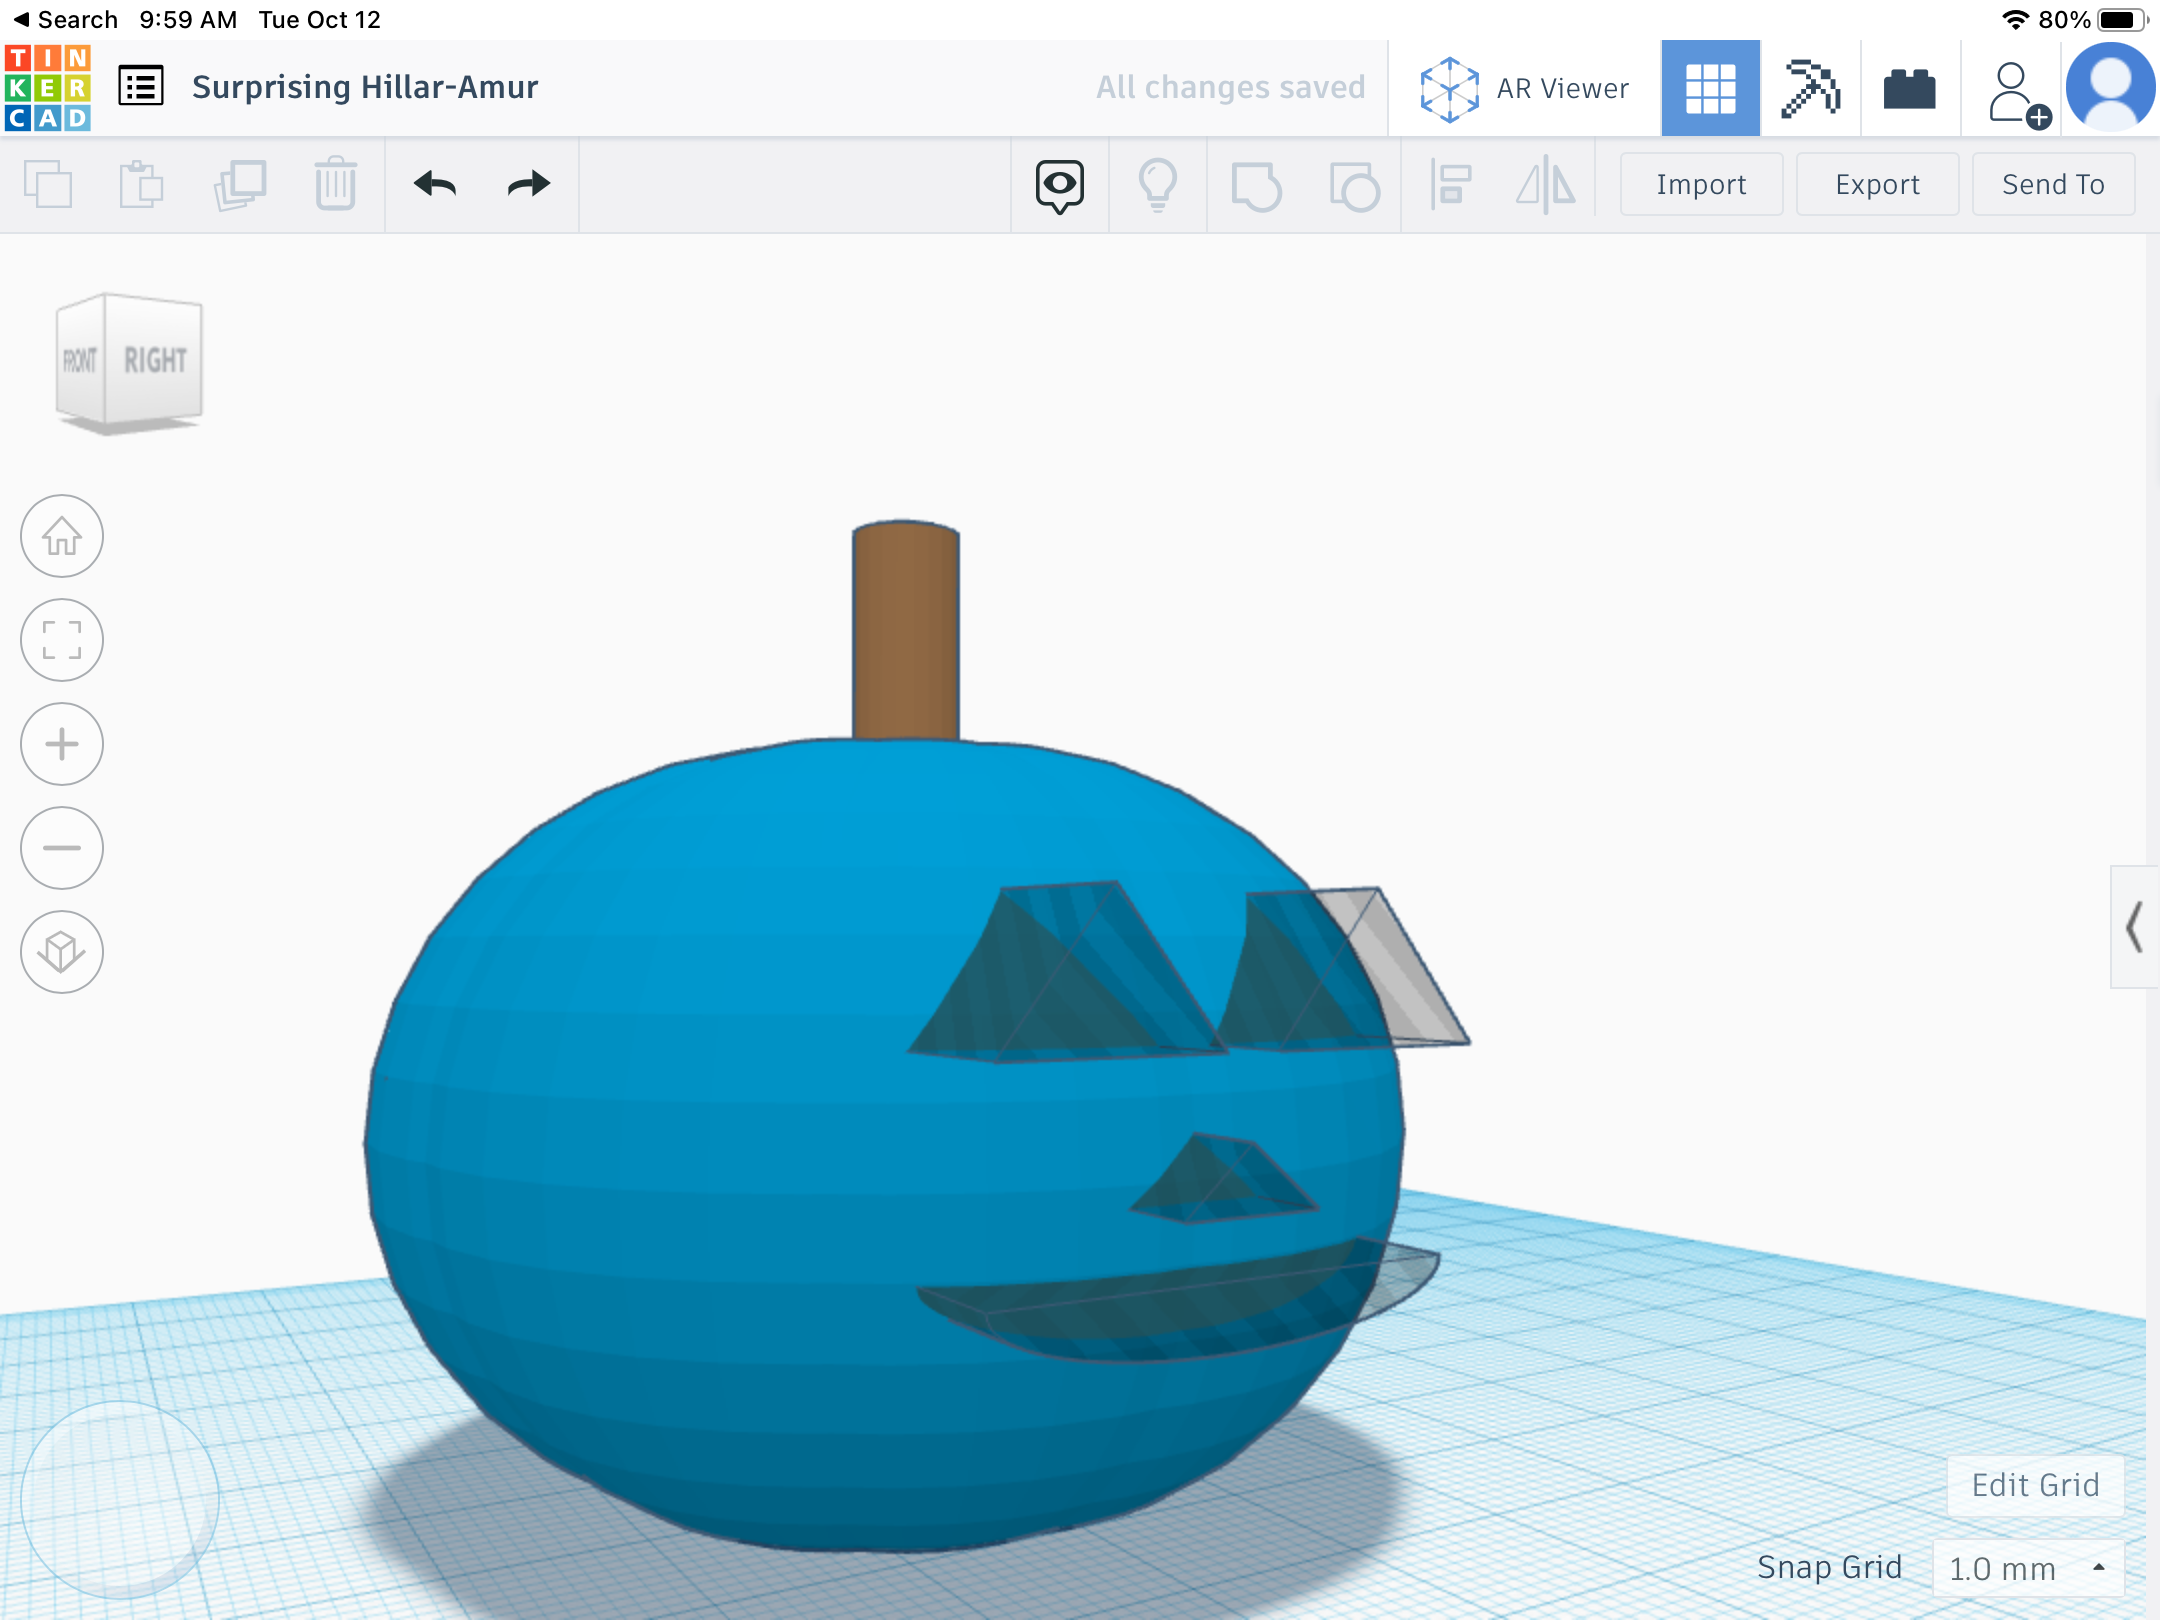
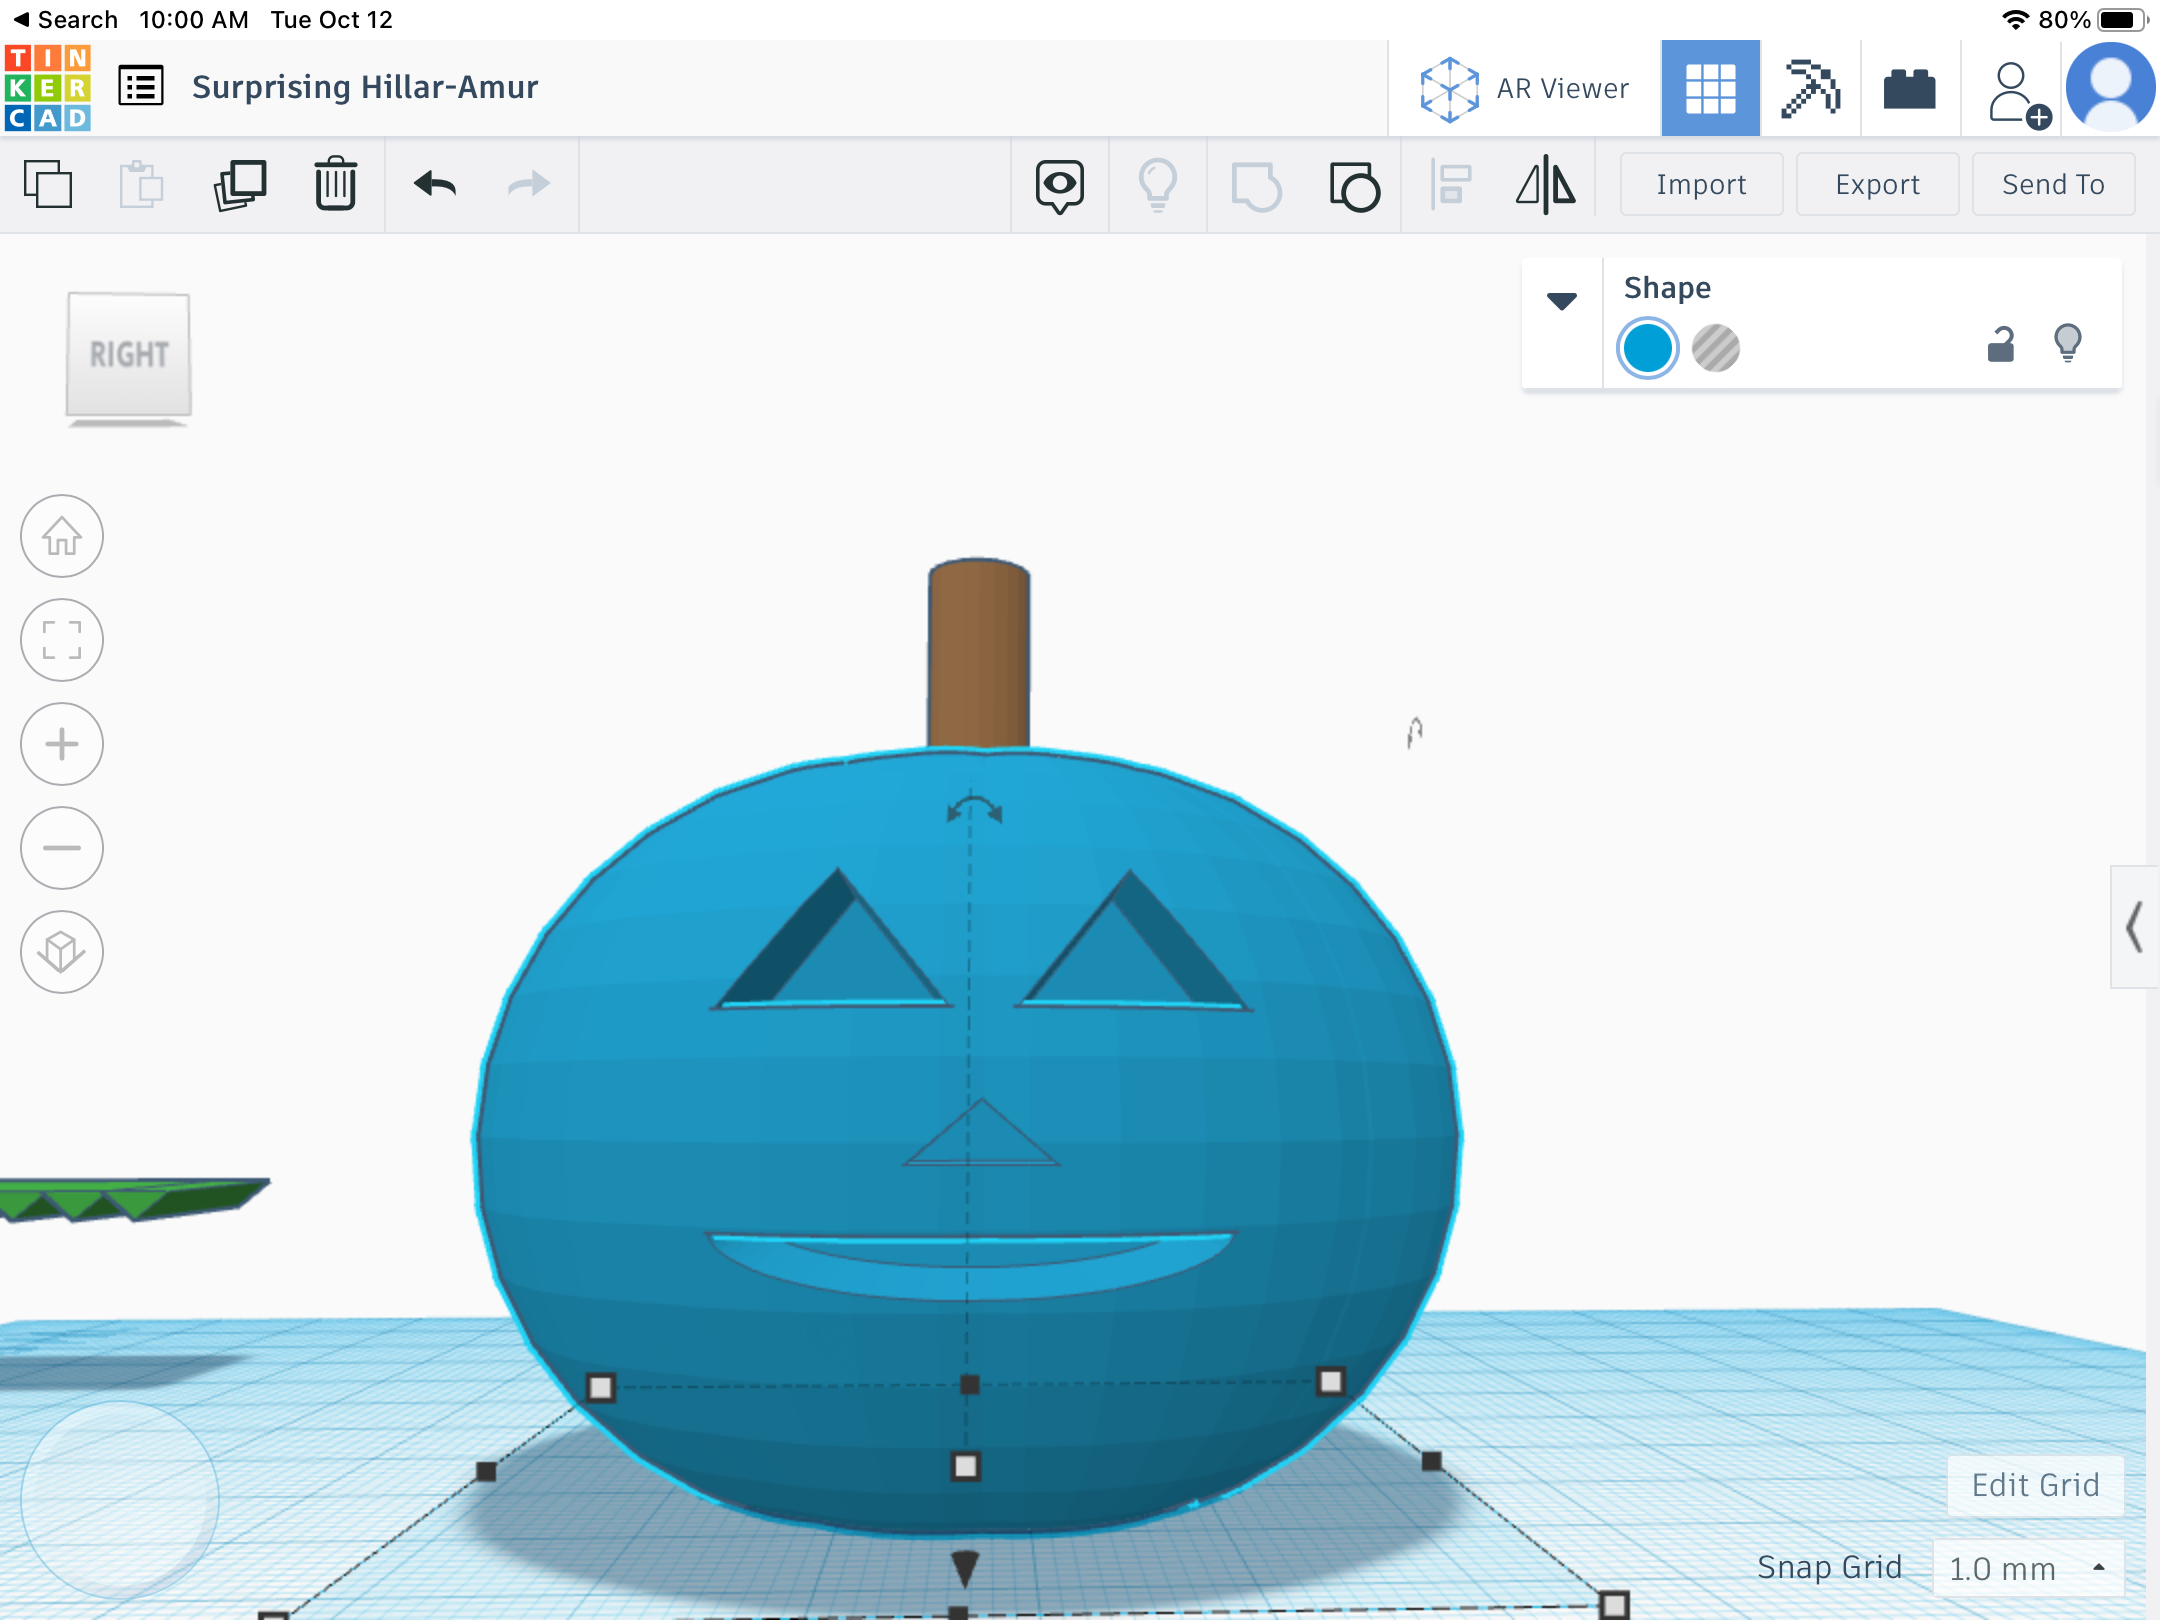
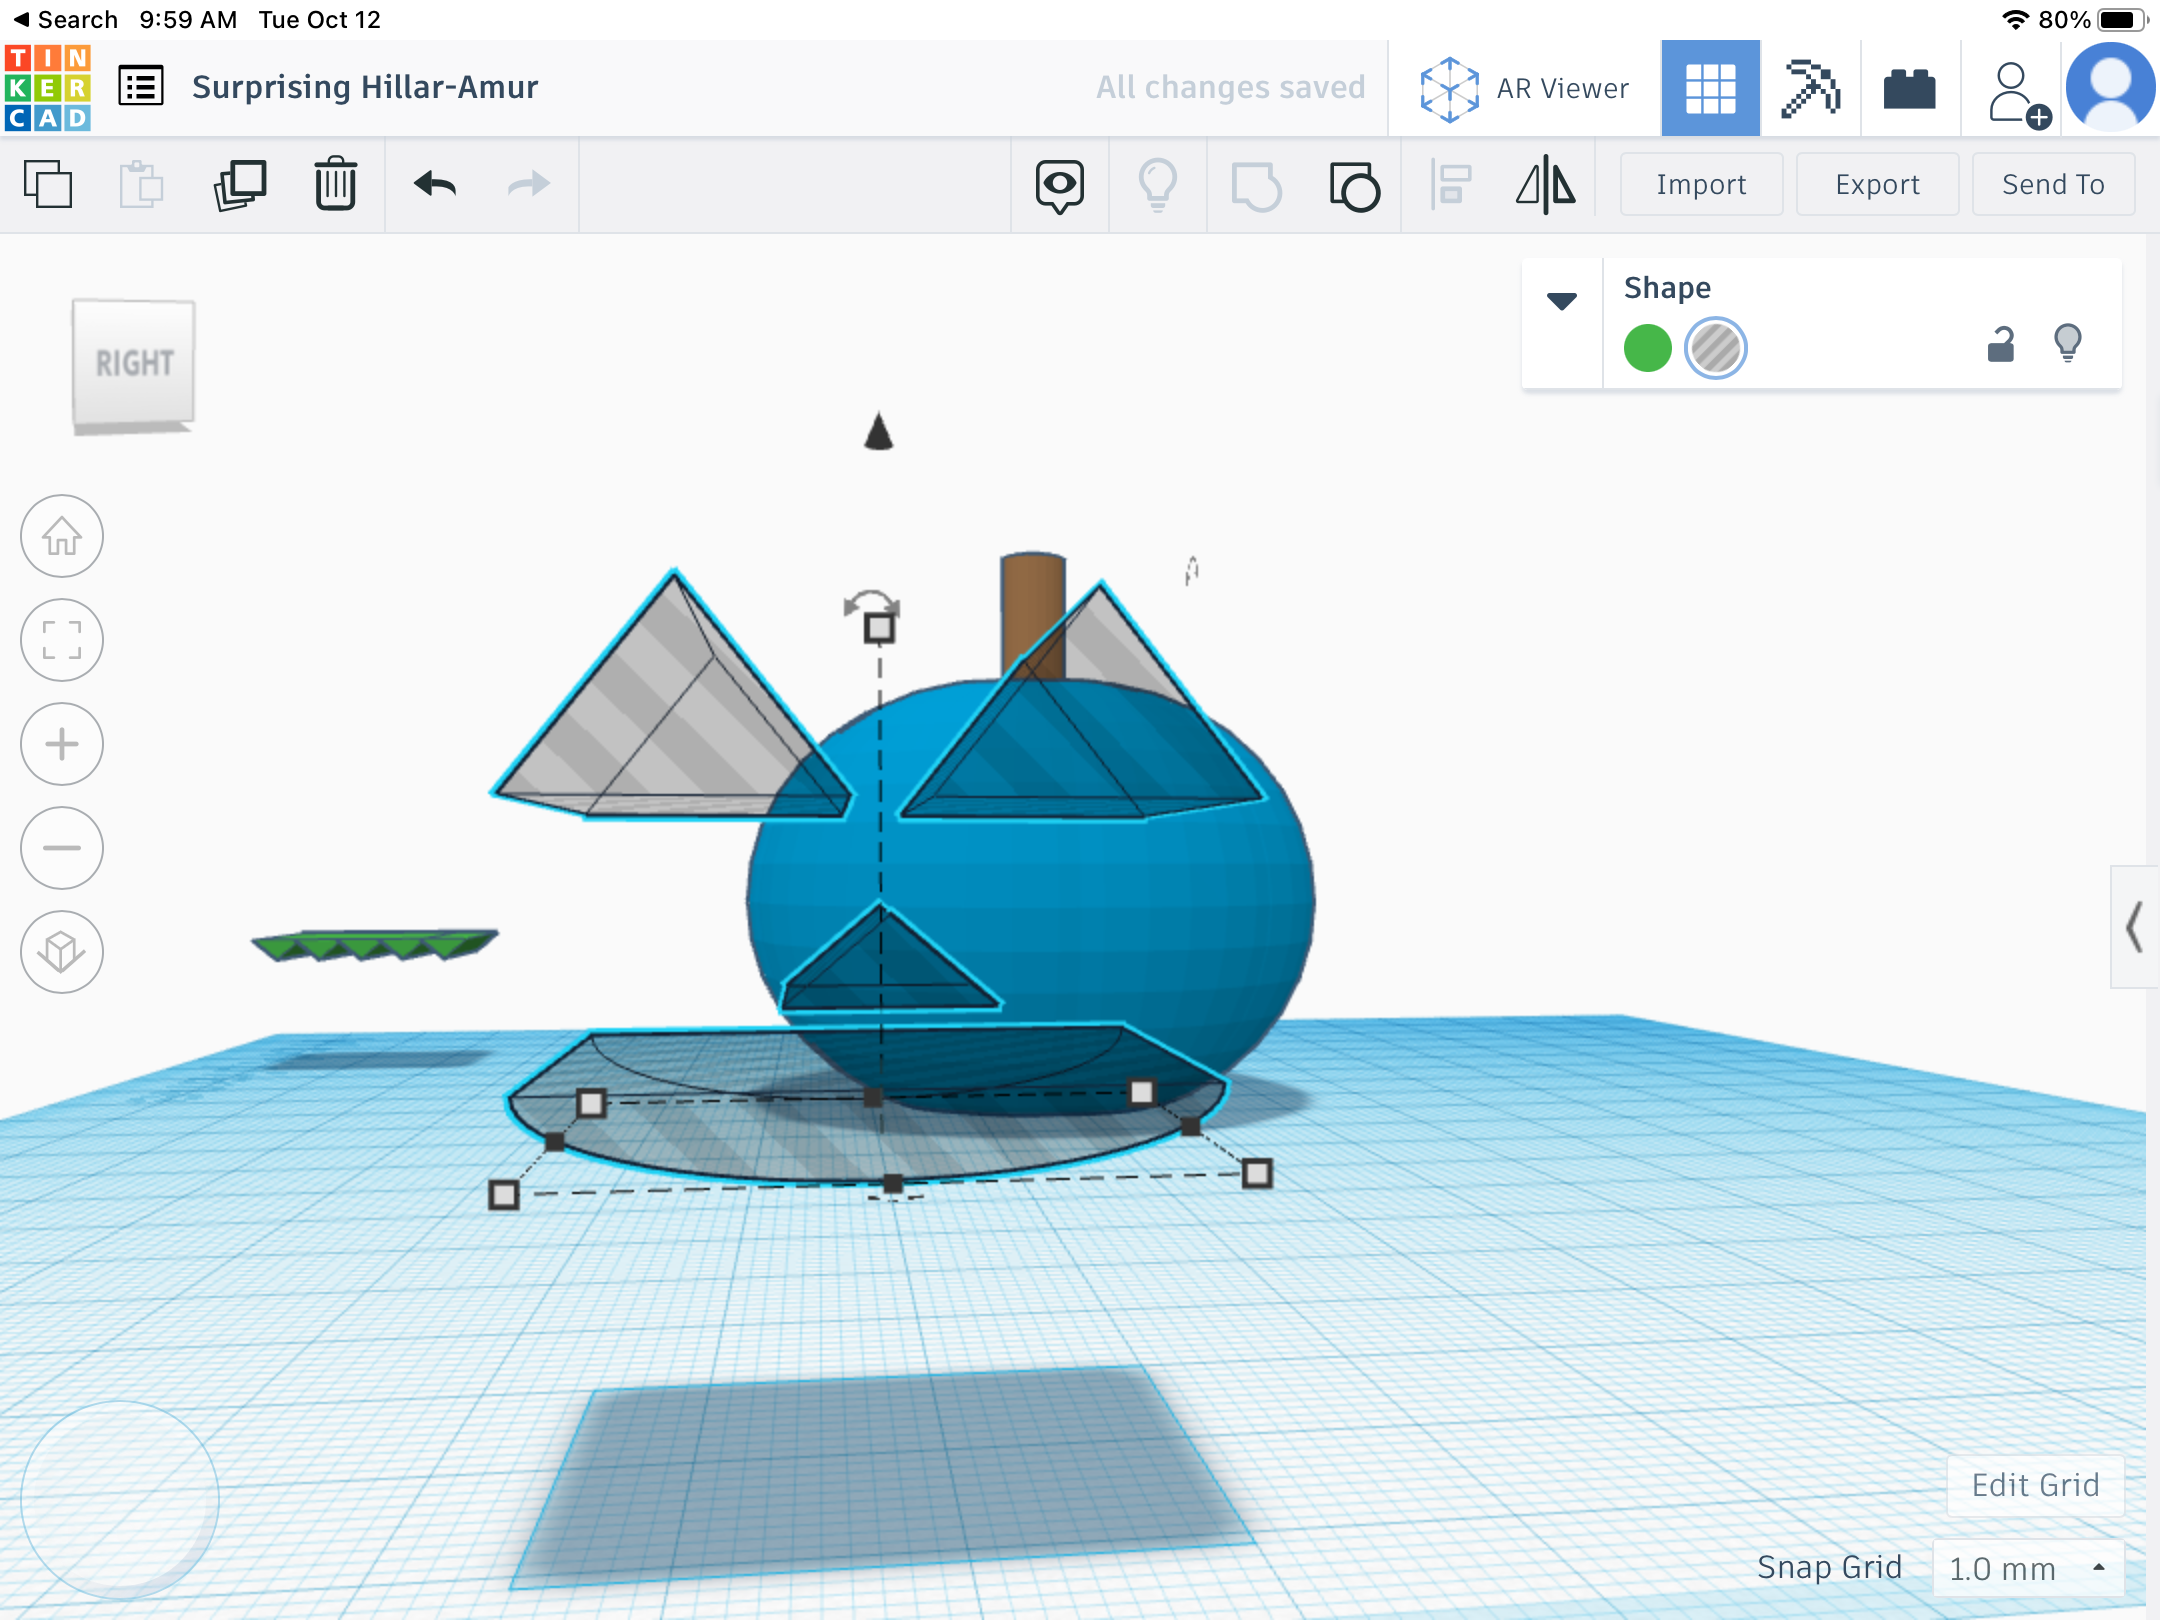
Create 2 triangles and place one at 7x10x3and the other one at 20.95x11.11x7. Copy the larger triangle . Place each of the larger triangles 3 mm apart. Raise both to 19 mm. Place the smaller triangle under the eyes and make sure it is even and equal. Rise the eyes and nose to 19 based on the nose. Next get a curved roof and size it to 20x24x3 and rise it to 13. Place inside of the pumpkin base and make sure the face is transparent and group together
The Teeth
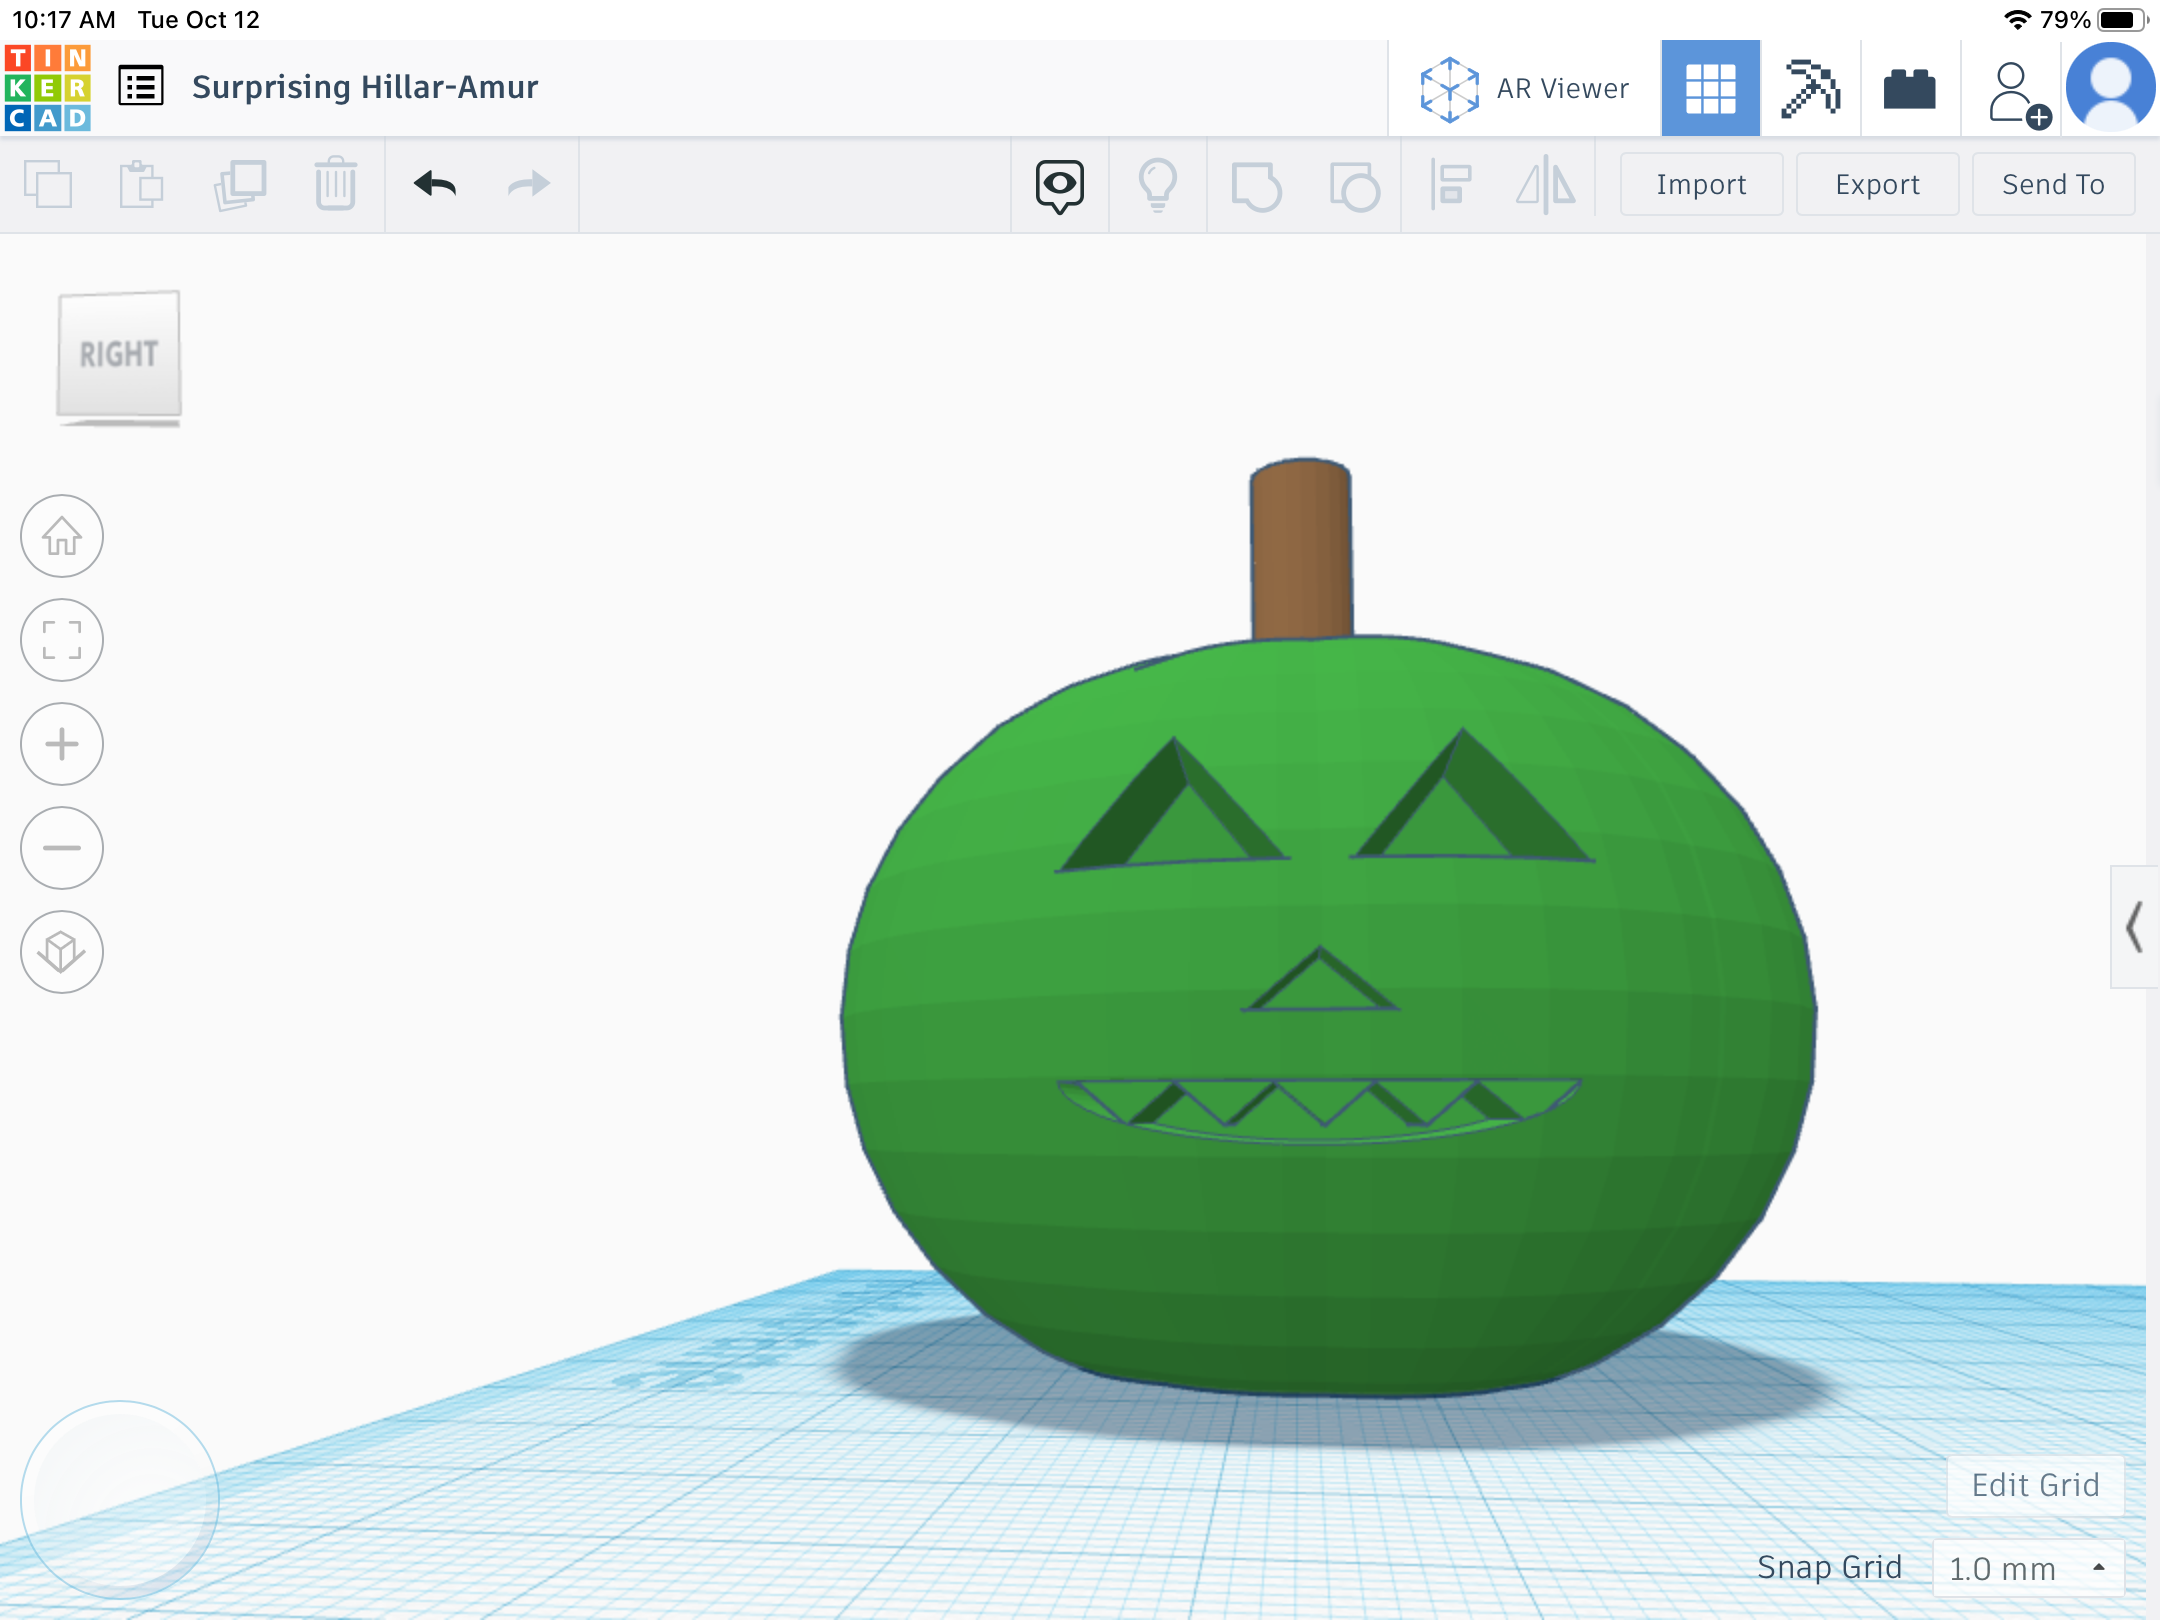
Next add a triangle and place it at 4.0x18x2. Copy at least 5 times. Place at 14. Enter the triangles into the mouth and group. This is just a basic face, you can get as creative as you want and have fun.
The Part Where It Will Glow From.
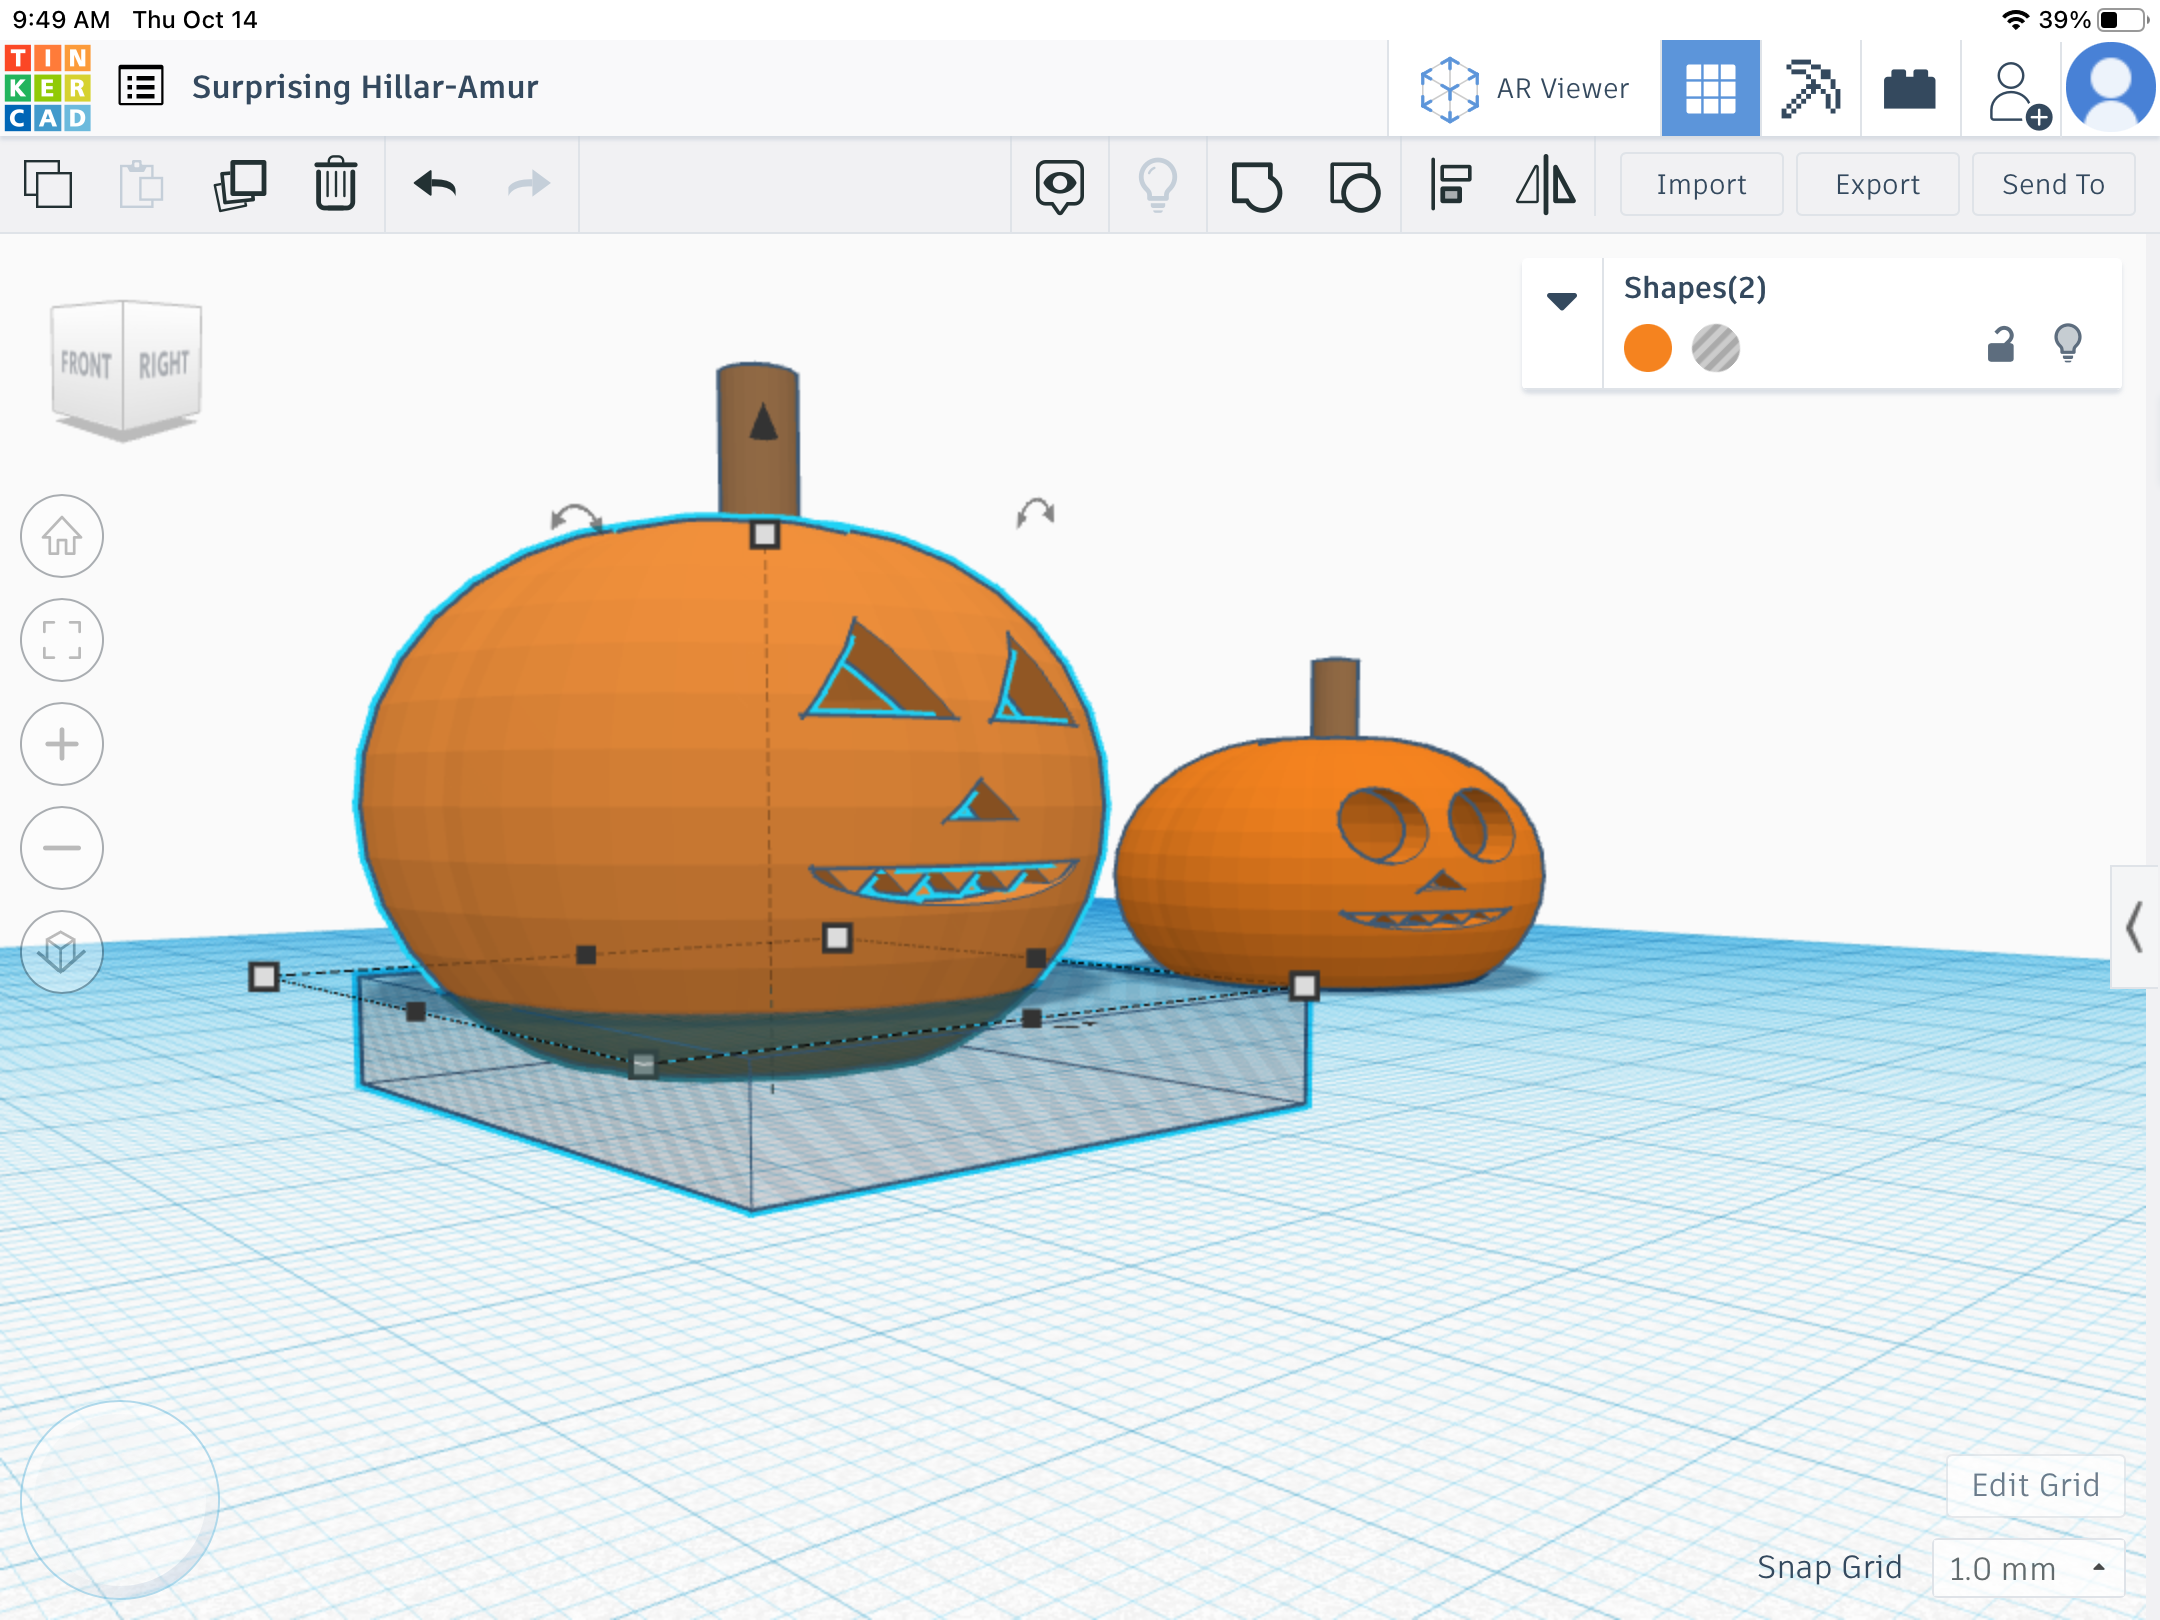
Next take a circle and a box.Make the circle transparent and place it inside of the pumpkin.. make sure the eyes,mouth,and nose have a little bit of circle in them. Group both together. Add the box and flatten it. Make sure that the box is inside of
Now Print!
save as an Stl. and print!
Optional
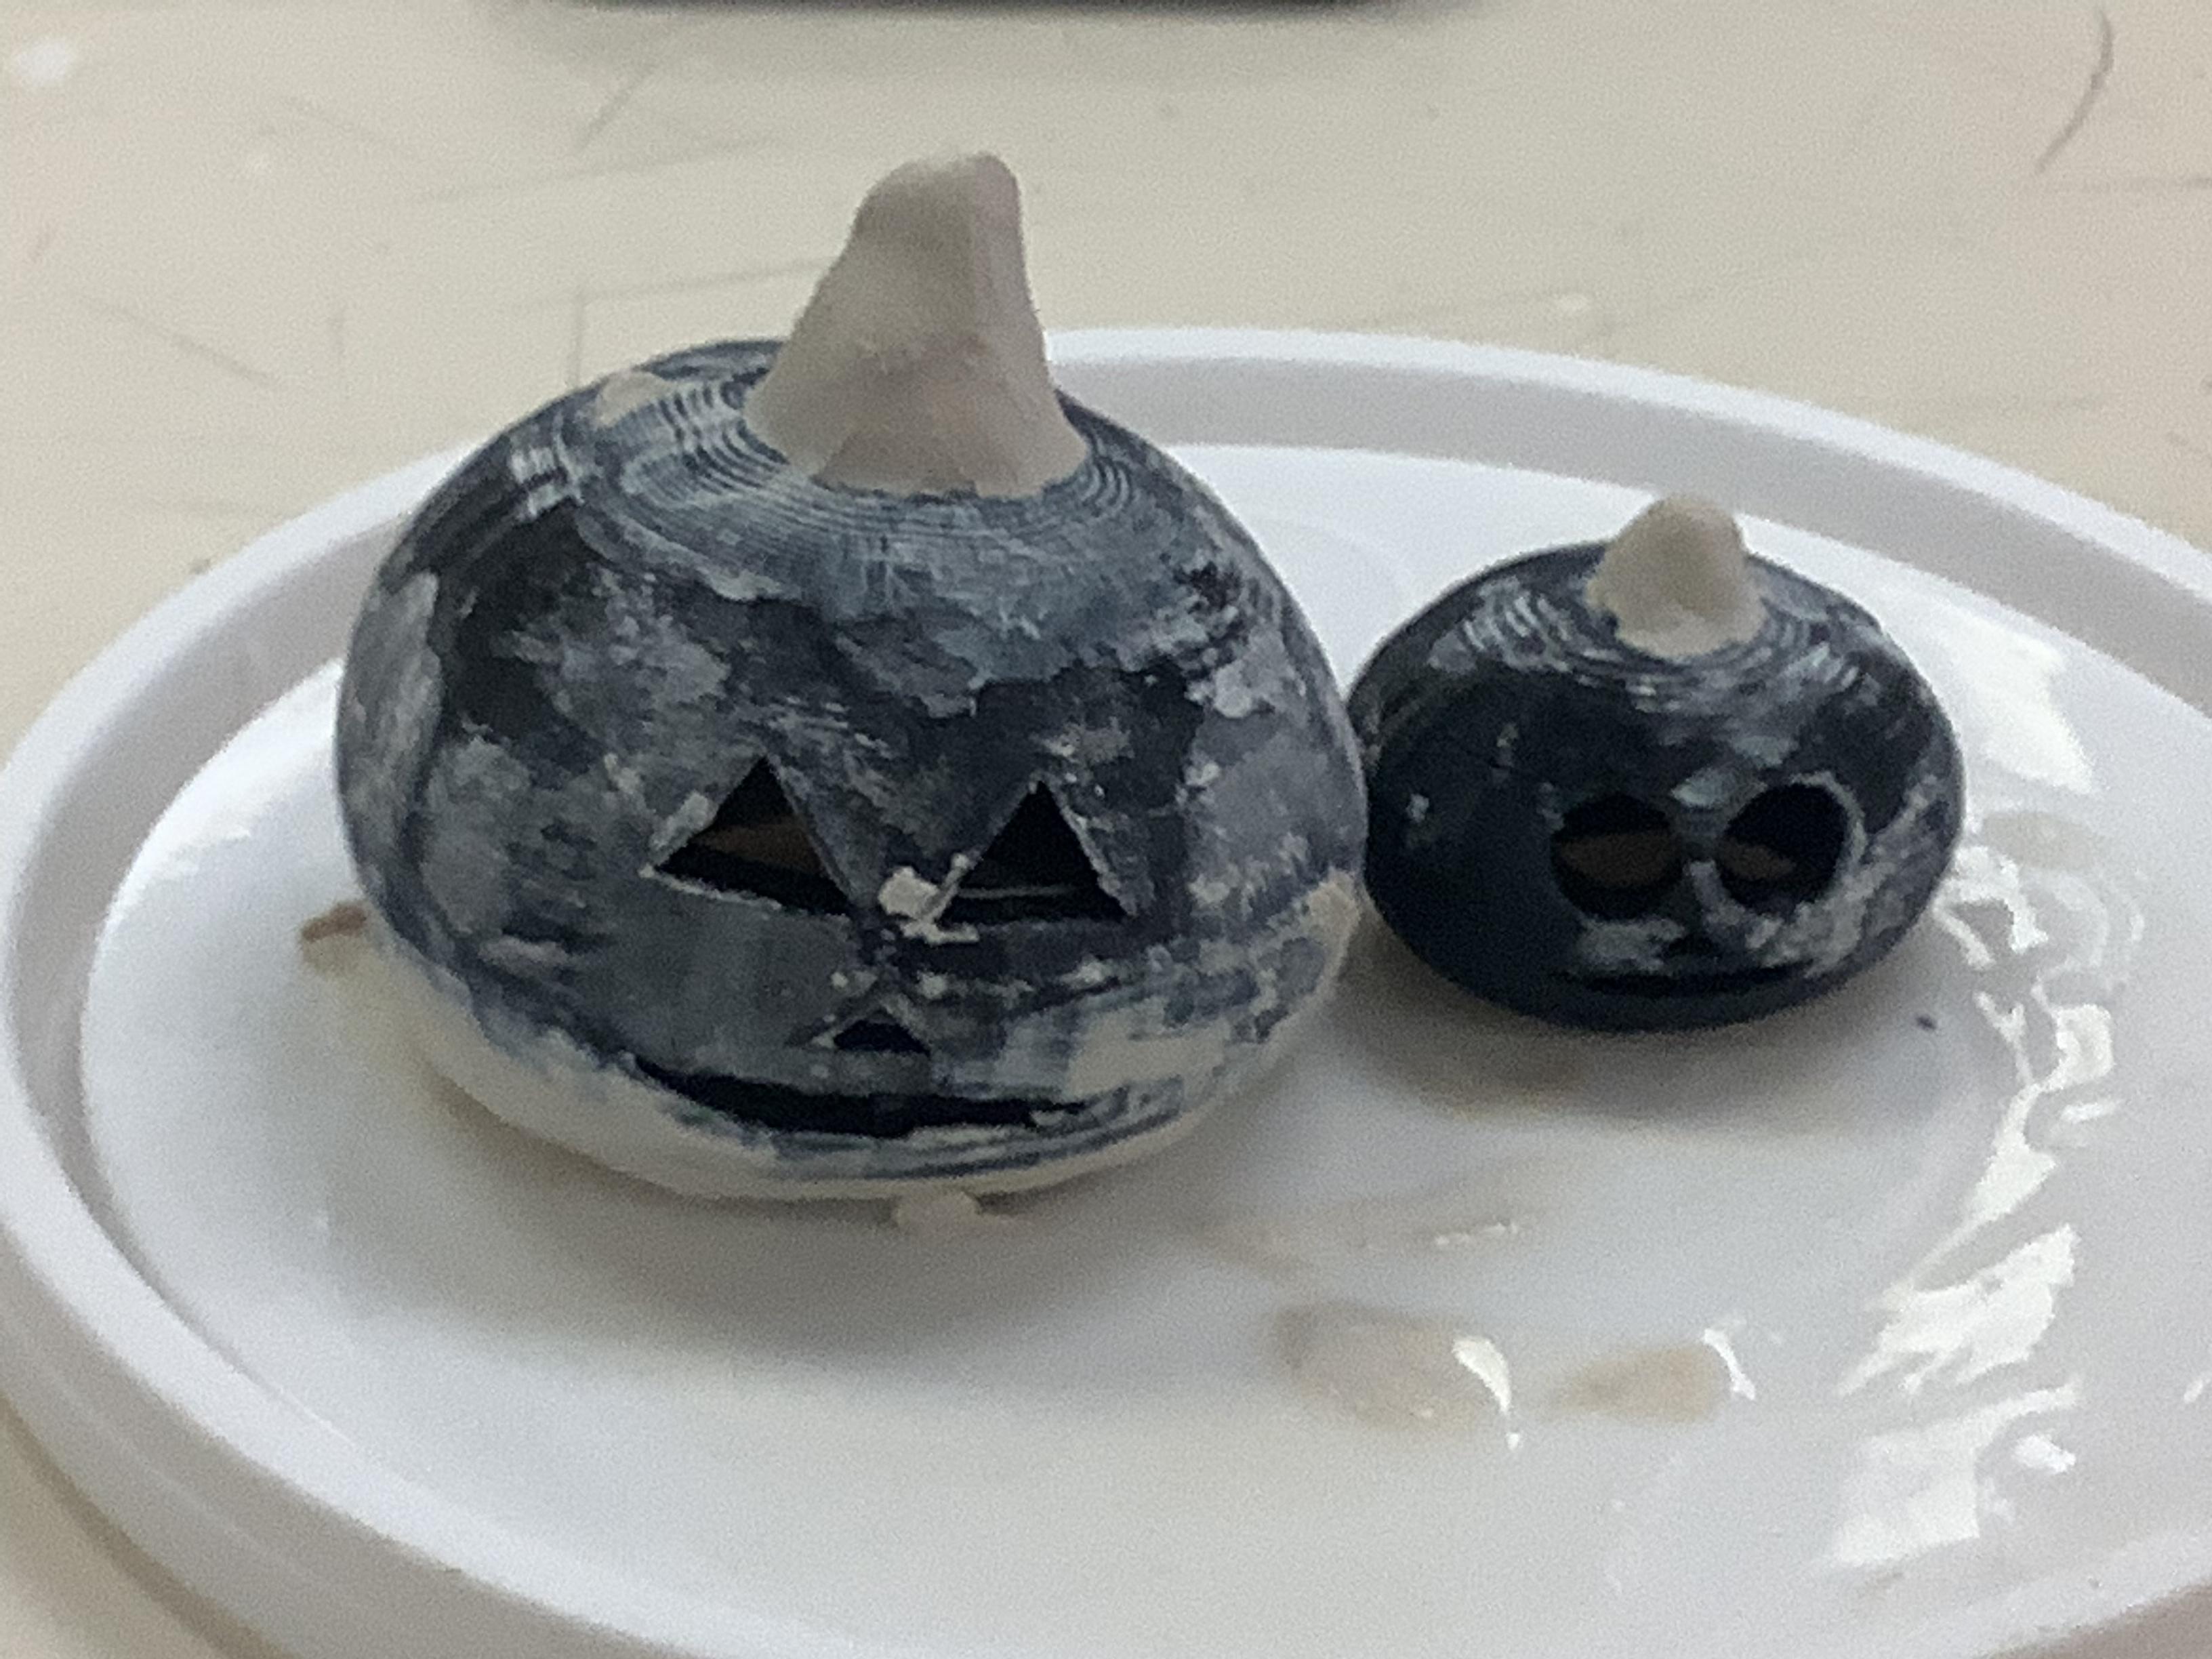
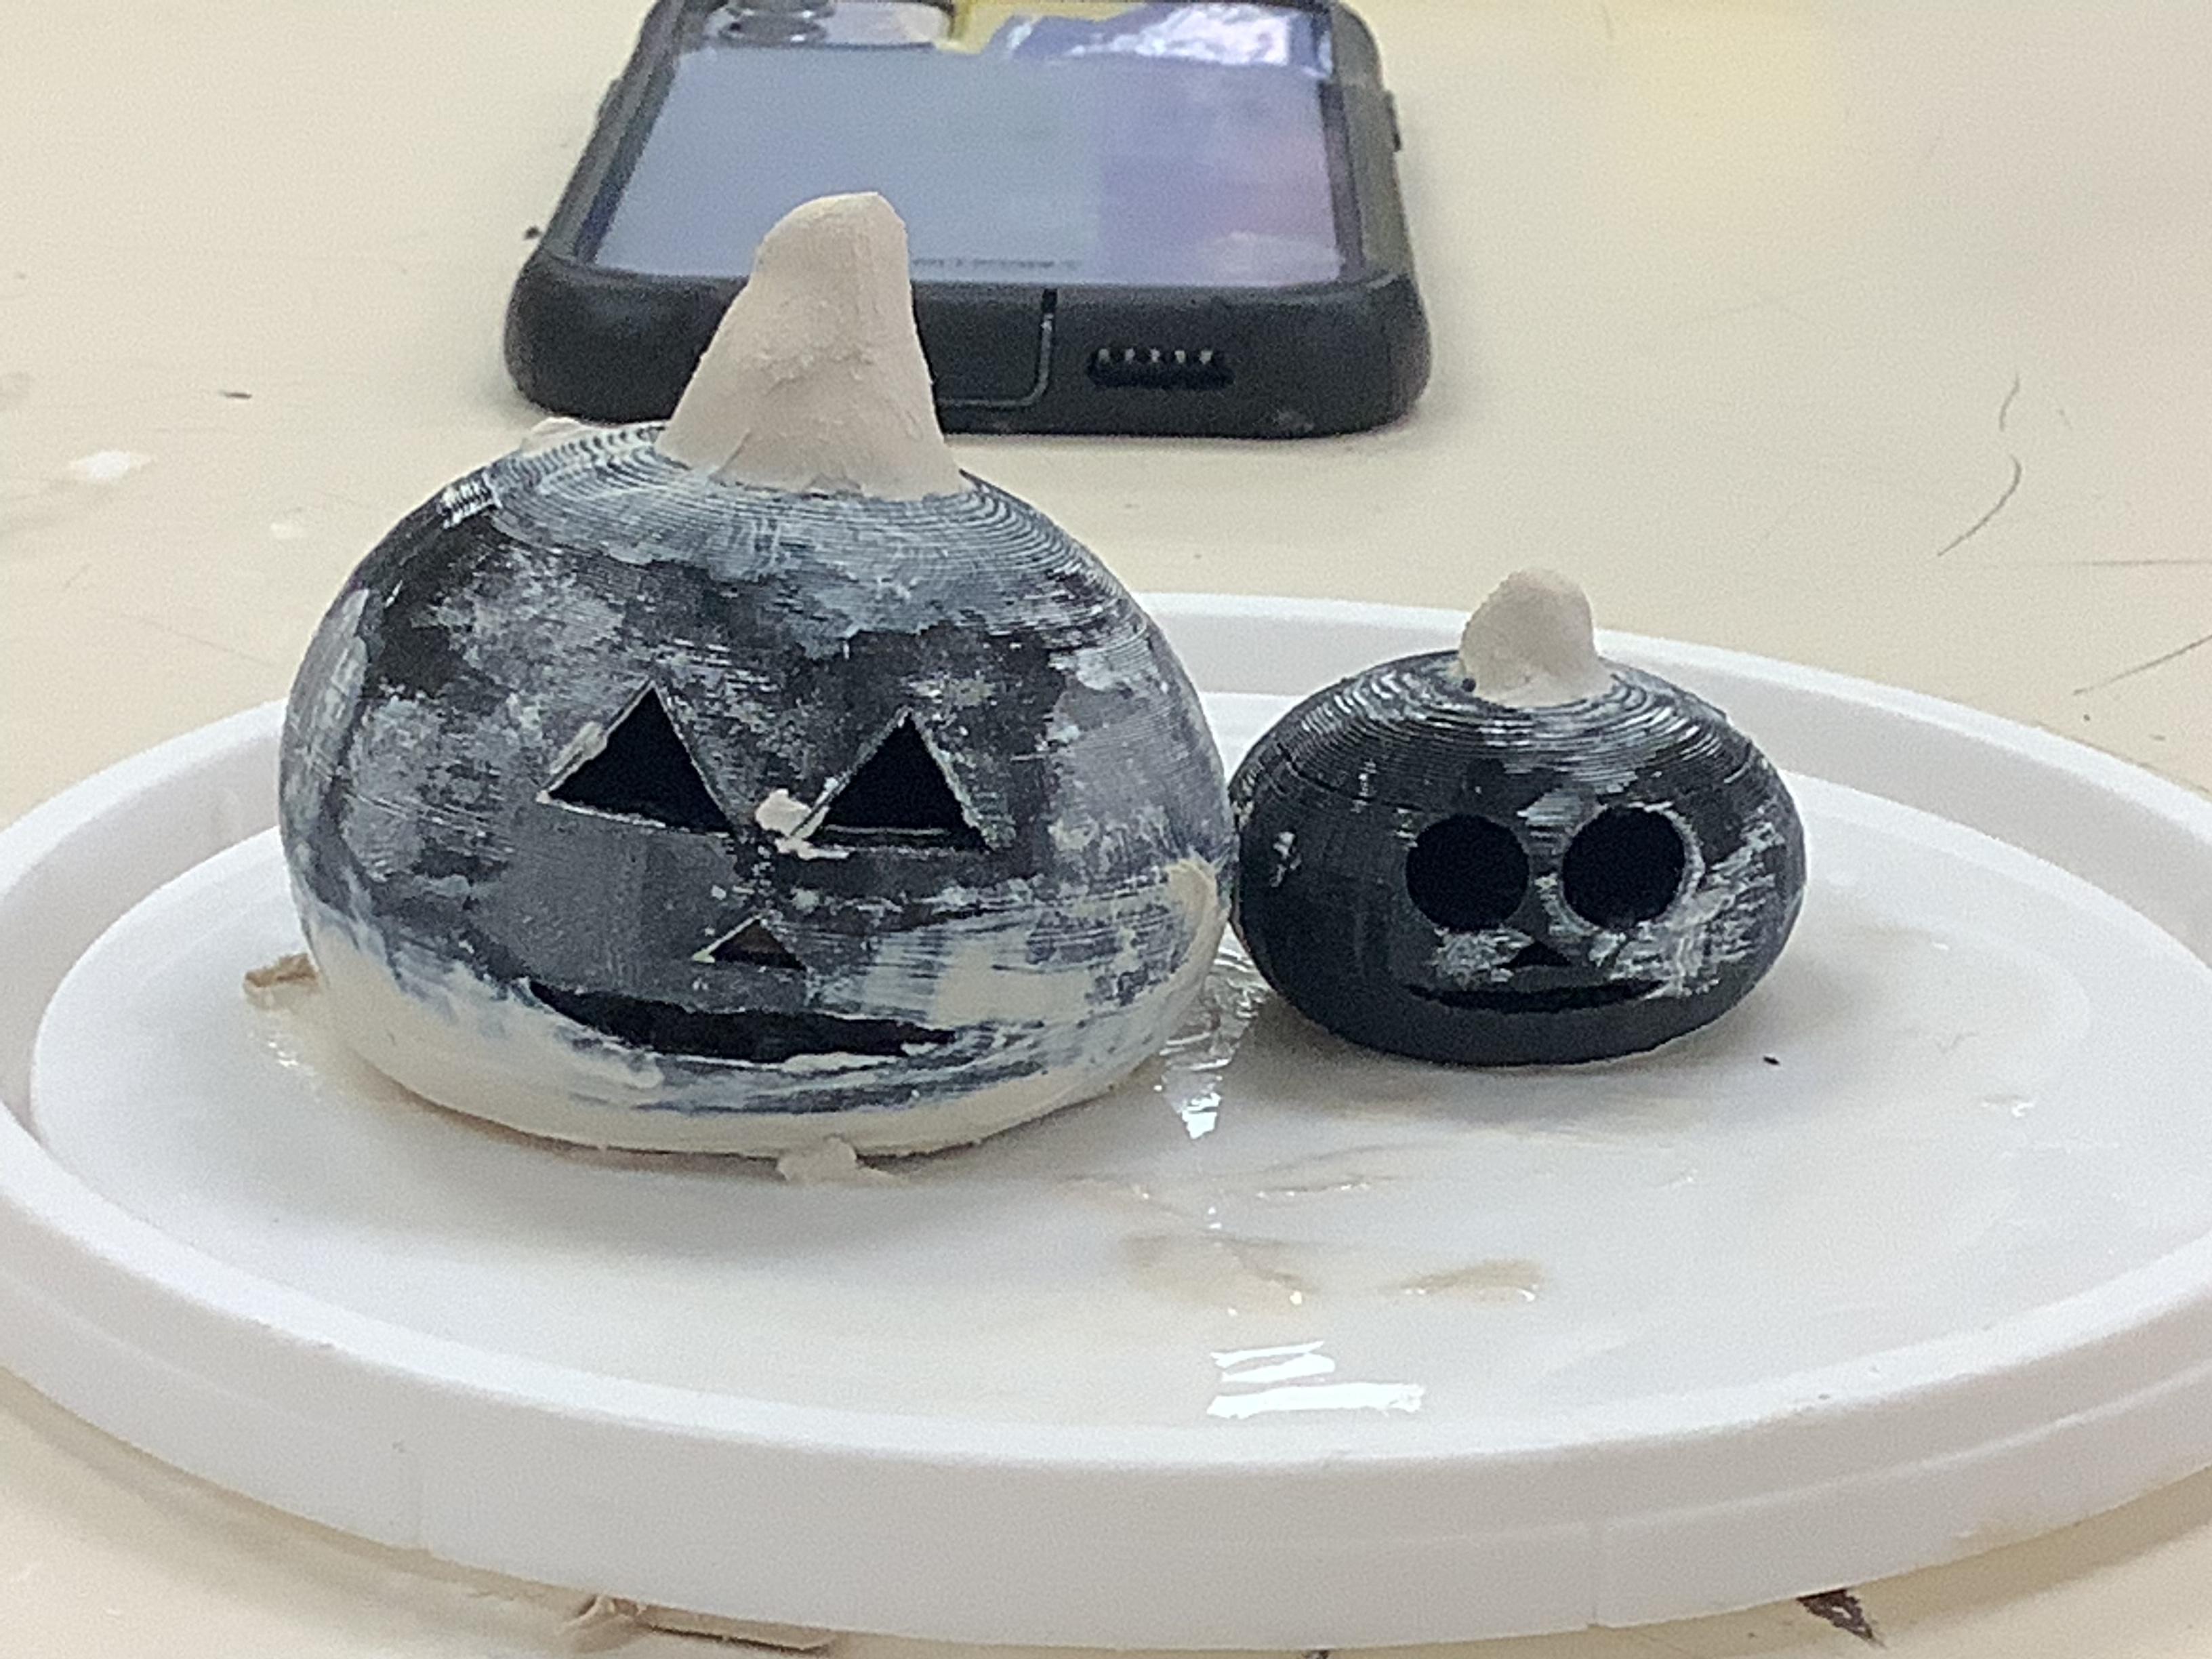
You can now make you print bigger depending on your preference and how big your light is.( mine came out wonky so I added clay