3D Printed Fondant Tools
This project uses basic free software and a 3D printer to create customised tools for shaping fondant for cake decoration. The example shown was a cake I created for my son, and though I'm no gourmet chef, I think it turned out pretty good.
This is a character called "Gekko" froma kids show called "the PJ Masks".
Supplies
- Power point
- Tinkercad.com
- Buildbee.com
- a 3D printer
Model a Gekko “scales” Pattern
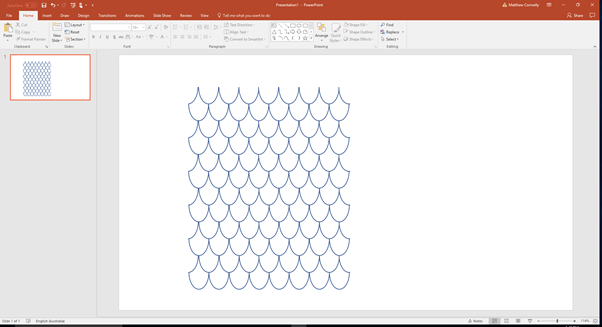
I needed to create an embossing tool for fondant to give the “scales” effect but since it’s a big area I wanted to make a stamp that could be repeated across the whole of the fondant sheet.
First I created the pattern I wanted for the scales using powerpoint drawing tools (just because that’s what I know). It’s basically just a combination of overlapping circles. Select all of the shapes in the image and group them and right click and select “save picture as” and save in .png format.
Then run the new png through a free online converter to turn it into an .svg file. There are tonnes out there, I just used this one that I googled https://convertio.co/png-svg/ note that a quirk with this one is that it makes transparent sections solid.
Turning the Pattern Into a Stamp
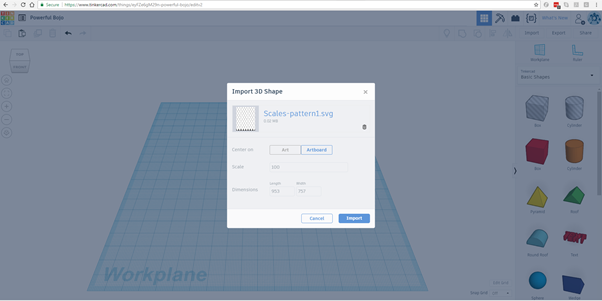
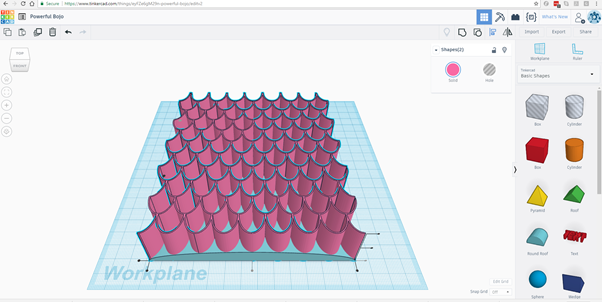
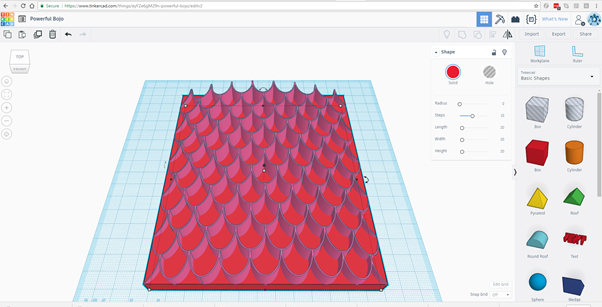
Now you’re ready to start using Tinkercad. Import the .svg file into a blank Tinkercad file.
Clean up any weird bits. I had some fill I didn’t want at the bottom so I just dropped a box over the bottom, resized it and positioned it carefully to align to a break in my pattern then changed it to a hole. Then simple group everything to cut it away.
Now we are going to turn your pattern into a rocker stamp. First, make your pattern nice and deep.
Drop in a “round roof” shape and resize it to be roughly the same x and y dimensions as your pattern block. Then centre align it with your pattern.
Change the height of the “roof” to the desired roundness of the rocker that you want then move the pattern block out of the way.
Make the round roof a hole and bring in another box. Make the box slightly bigger then the roof.
Centre align the two then group them. Then turn the new shape into a whole.
Then bring the pattern block back into the build area and centre align the new shape with the pattern block and group them.
Now add a handle to the back with a block but be careful not to let it extend beyond the sides otherwise you’ll have trouble rocking without it touching the side edges.
Finally, group everything and scale it all down to a good printing size. While scaling make sure you hold down the shift key so it maintains the aspect ratio.
Alternative Quick Stamp Option
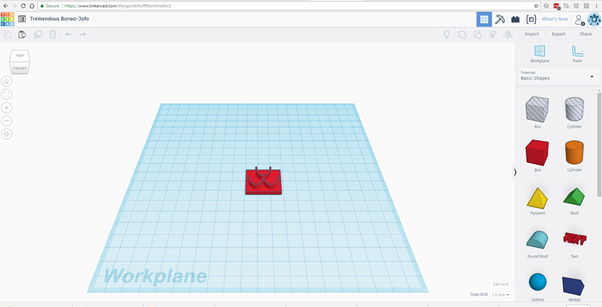
I actually ended up only doing a 3 scale “hint” type stamp because I ran out of time to print the whole thing. But you can see how it would work.
Designing the Facial Feature Cutters
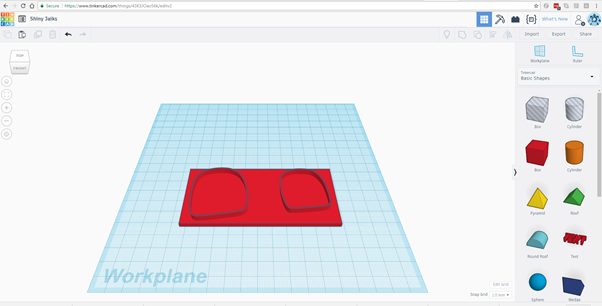
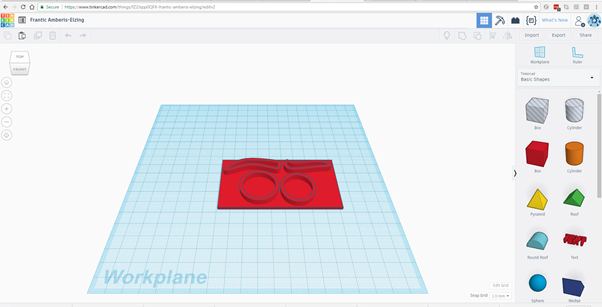
I love decorating but have way too unsteady a hand for nice neat carving (and I’m a total perfectionist) so instead I fall back on cutters.
Find a cartoon of the face you want to replicate. I used this one http://coloring-pages.info/images/ccovers/1488392030Gekko-pj-mask.png
In powerpoint I drew over the top of the individual features one at a time. Then save each feature as a .png and using the steps outlined in the previous section convert them to .svg. To do this easily you’ll need to colour the lines of your object white and the background black/grey.
Import it to Tinkercad and don’t forget to scale it to fit your cake (I demonstrate here with the eyes). You don’t’ want to make the lines too thick (see tip).
Now make a base with a simple box and make sure you make the cutter tall enough to get through a few mm of fondant.
You can then cut down the plate to make sure your print time isn’t too long Repeat for all of the facial features. You can put anything that is going to be in the same colour fondant on one cutter for simplicity like the ones below.
Tips! You may have to experiment with line thicknesses to get a cutter that it thick enough that it doesn’t break off but thin enough that it actually cuts rather than smooshing. I found about 1.5 pt ended up printing well, but it will all depend on the scaling when you bring it into Tinkercad. I’d recommend doing a test print of a small piece first to see how it goes.
Upload to BuildBee for 3D Printing
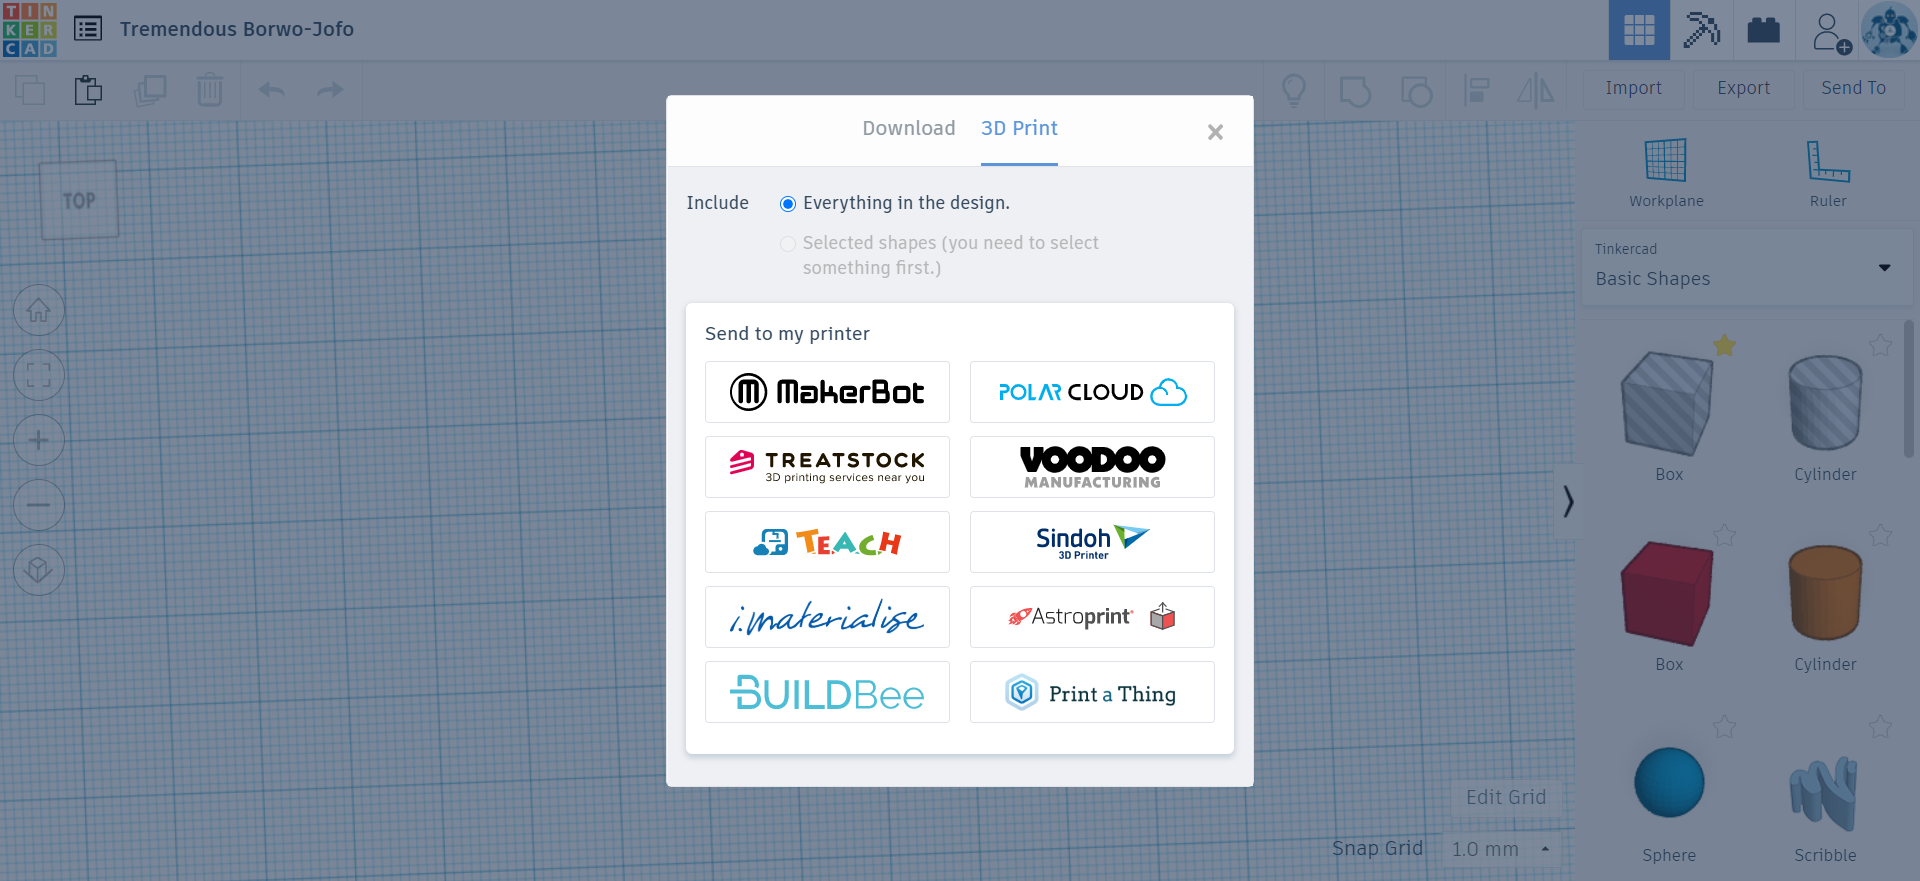
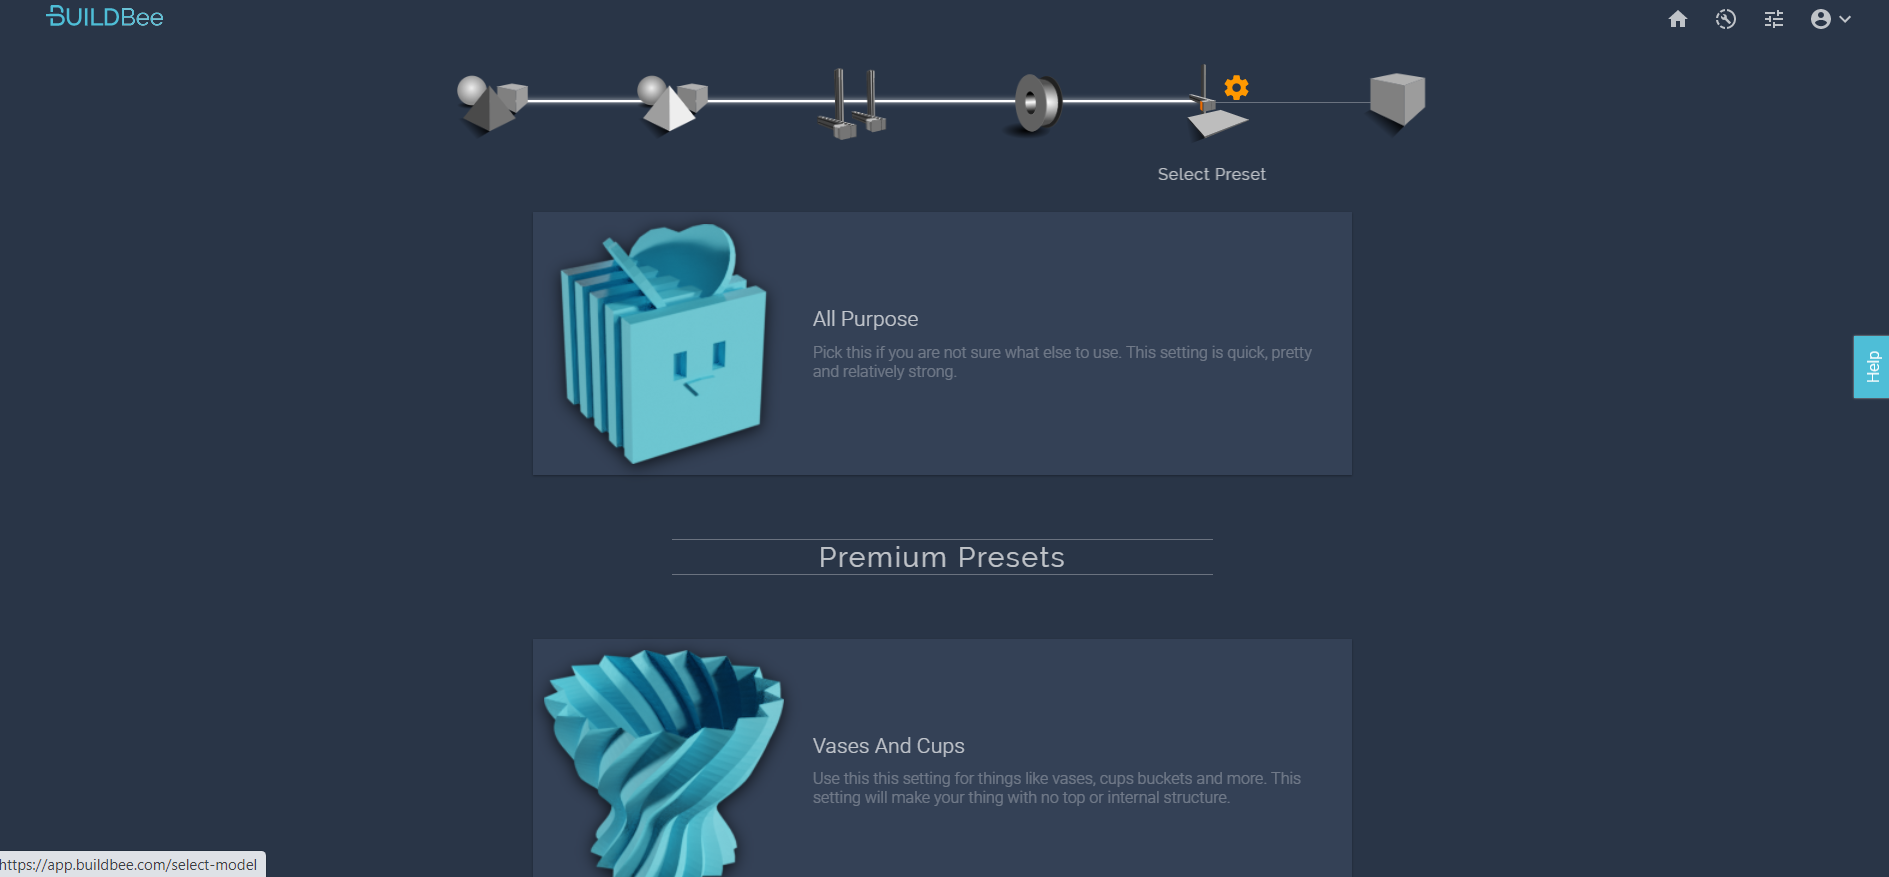
I use BuildBee to run my 3D printer because it's free, easy and I can run it from my phone anywhere. In Tinkercad, hit "export" and select "3D print". You'll see BuildBee at bottom.
Import the model and give it name. Confirm that it's the size you expect and that it passes BuildBee's "printability" tests.
Select whichever filament you have in your printer. For this you can use pretty much anything, although I'd suggest a cheap rigid material like PLA, because this a once only use.
Select your printer. If this is your first time using BuildBee, the easiest way to start is just to plug your 3D printer into your computer's USB port and run it from the Desktop app. Once it's plugged in, you can walk away and actually control the job from your phone or some other device.
In the setting stage I used "all purpose" as I never get a failed print with this setting.
Hit print and walk away. You can monitor the progress on your phone.
Optional Extension
Make your embosser a roller by experimenting with the duplicate tool in Tinkercad. Take a vertical section of your scales, rotate it to the vertical position, copy it and align the scales then duplicate the part into a cylinder. Neaten it up by dropping a “tube” shape around the outside and mount it on a cylinder on the inside.
Now Get Baking!
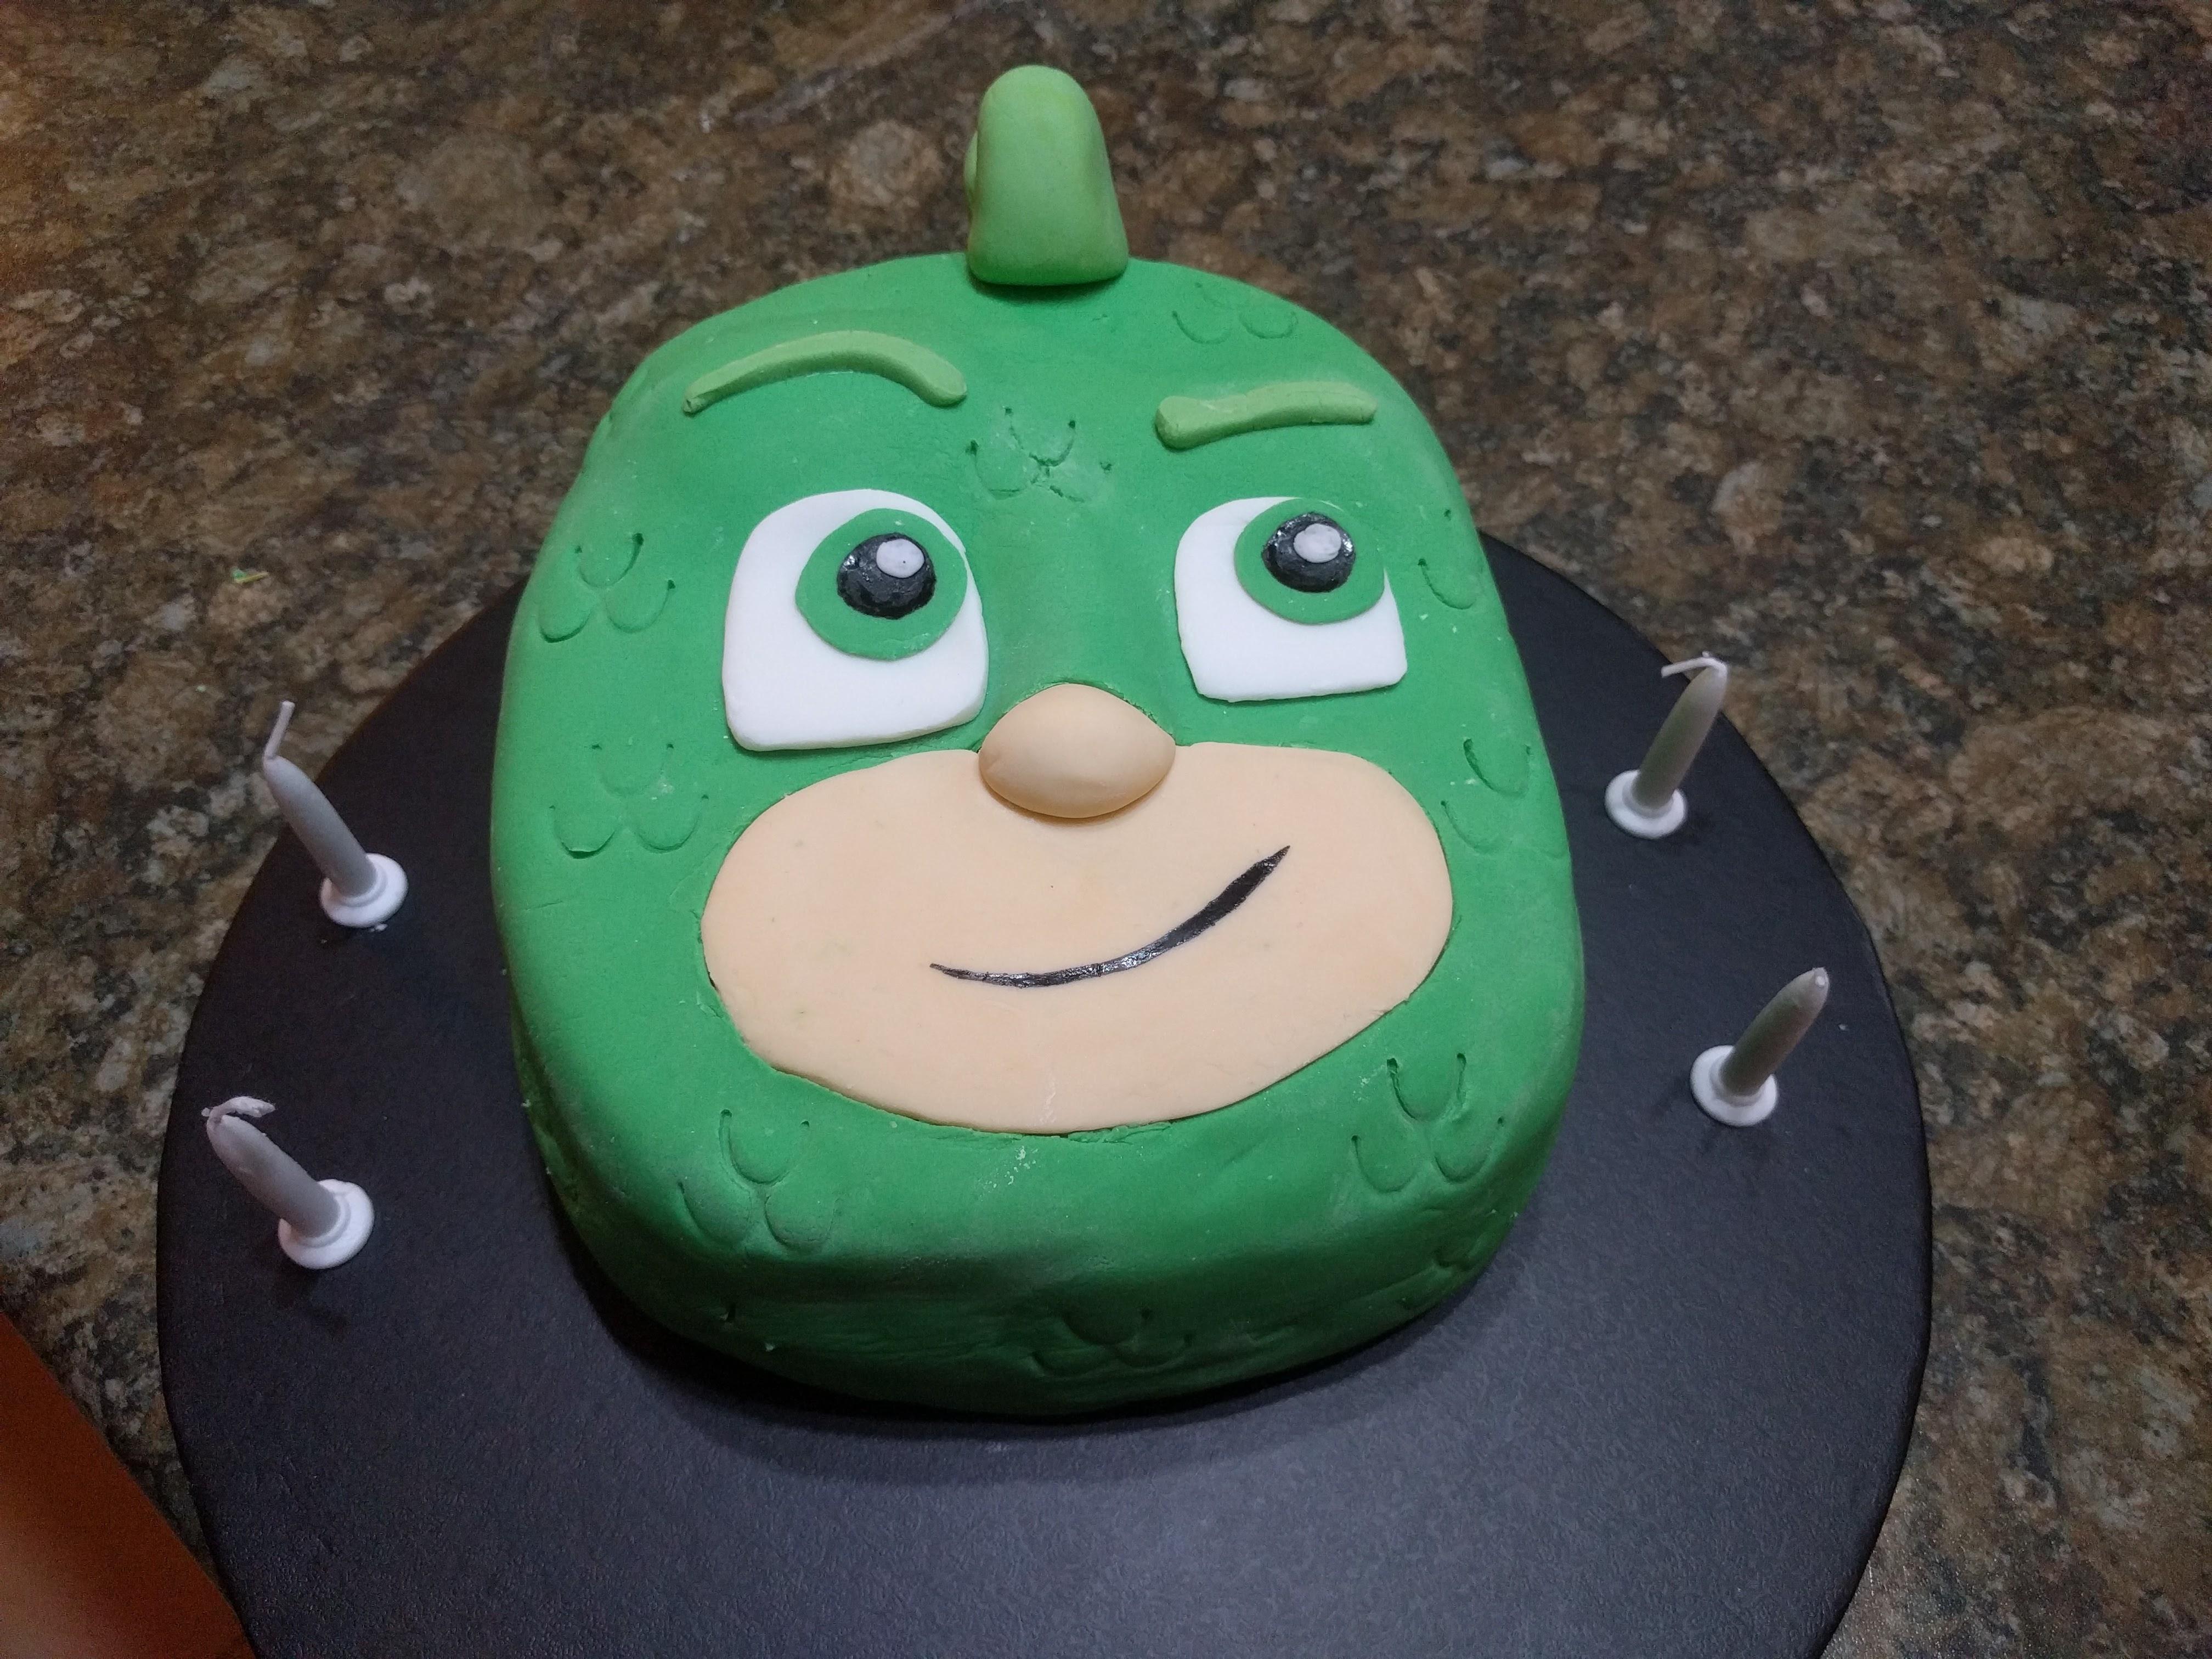
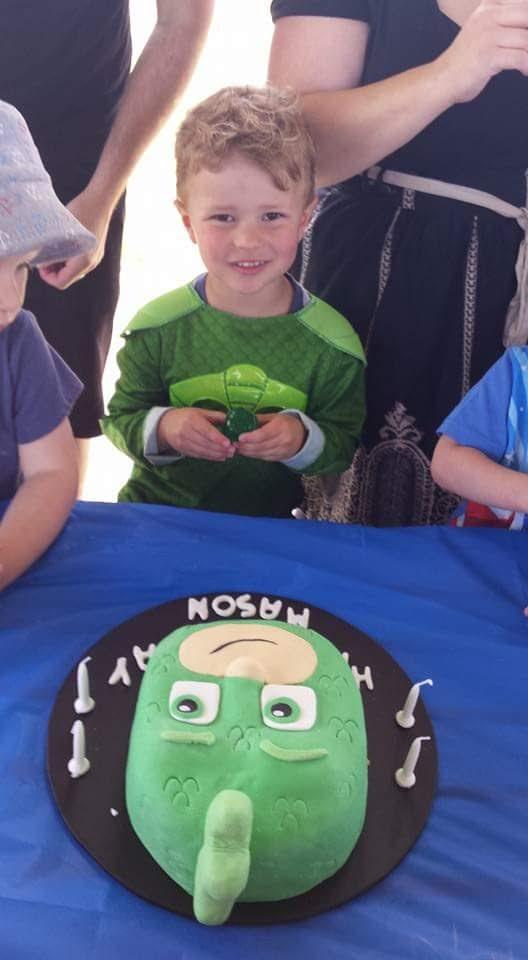
I'm pretty happy with how cake came out considering I'm a novice baker.
You can use this process to make a whole range of customsied cakes. Post pics if you do!