3D Printed Flower Shape Lamp.
by daxpatel in Workshop > Lighting
1185 Views, 14 Favorites, 0 Comments
3D Printed Flower Shape Lamp.
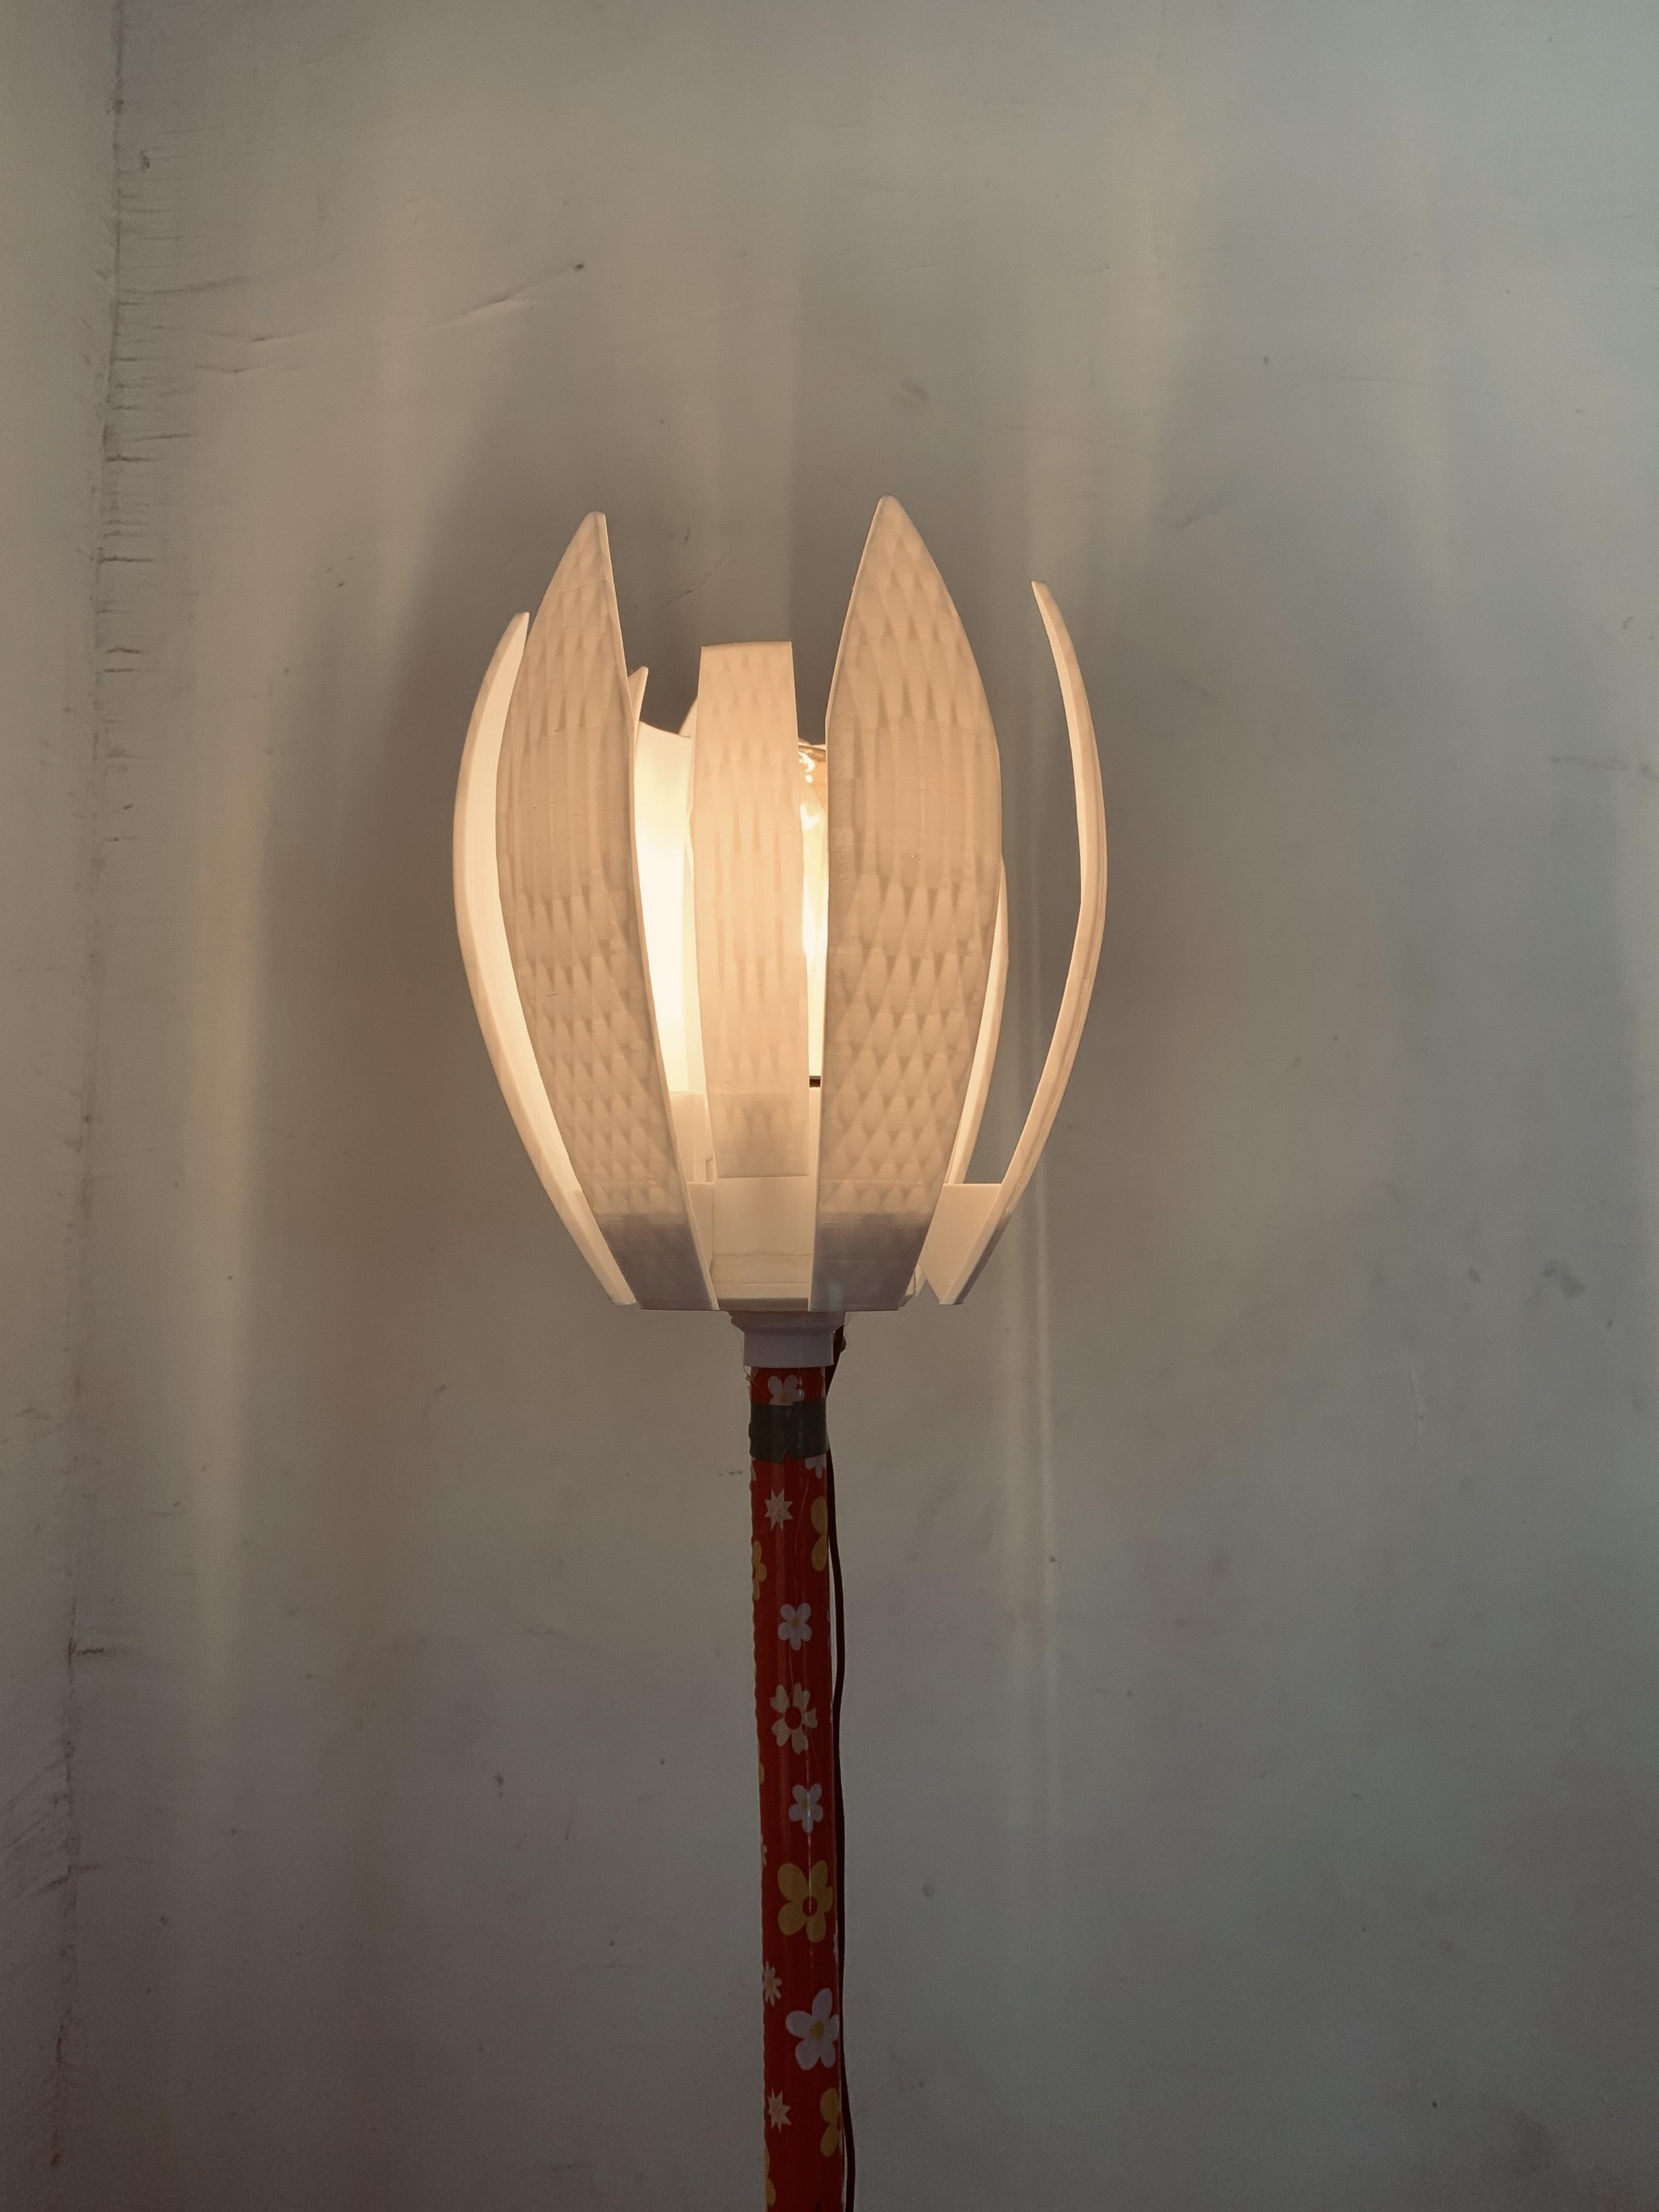
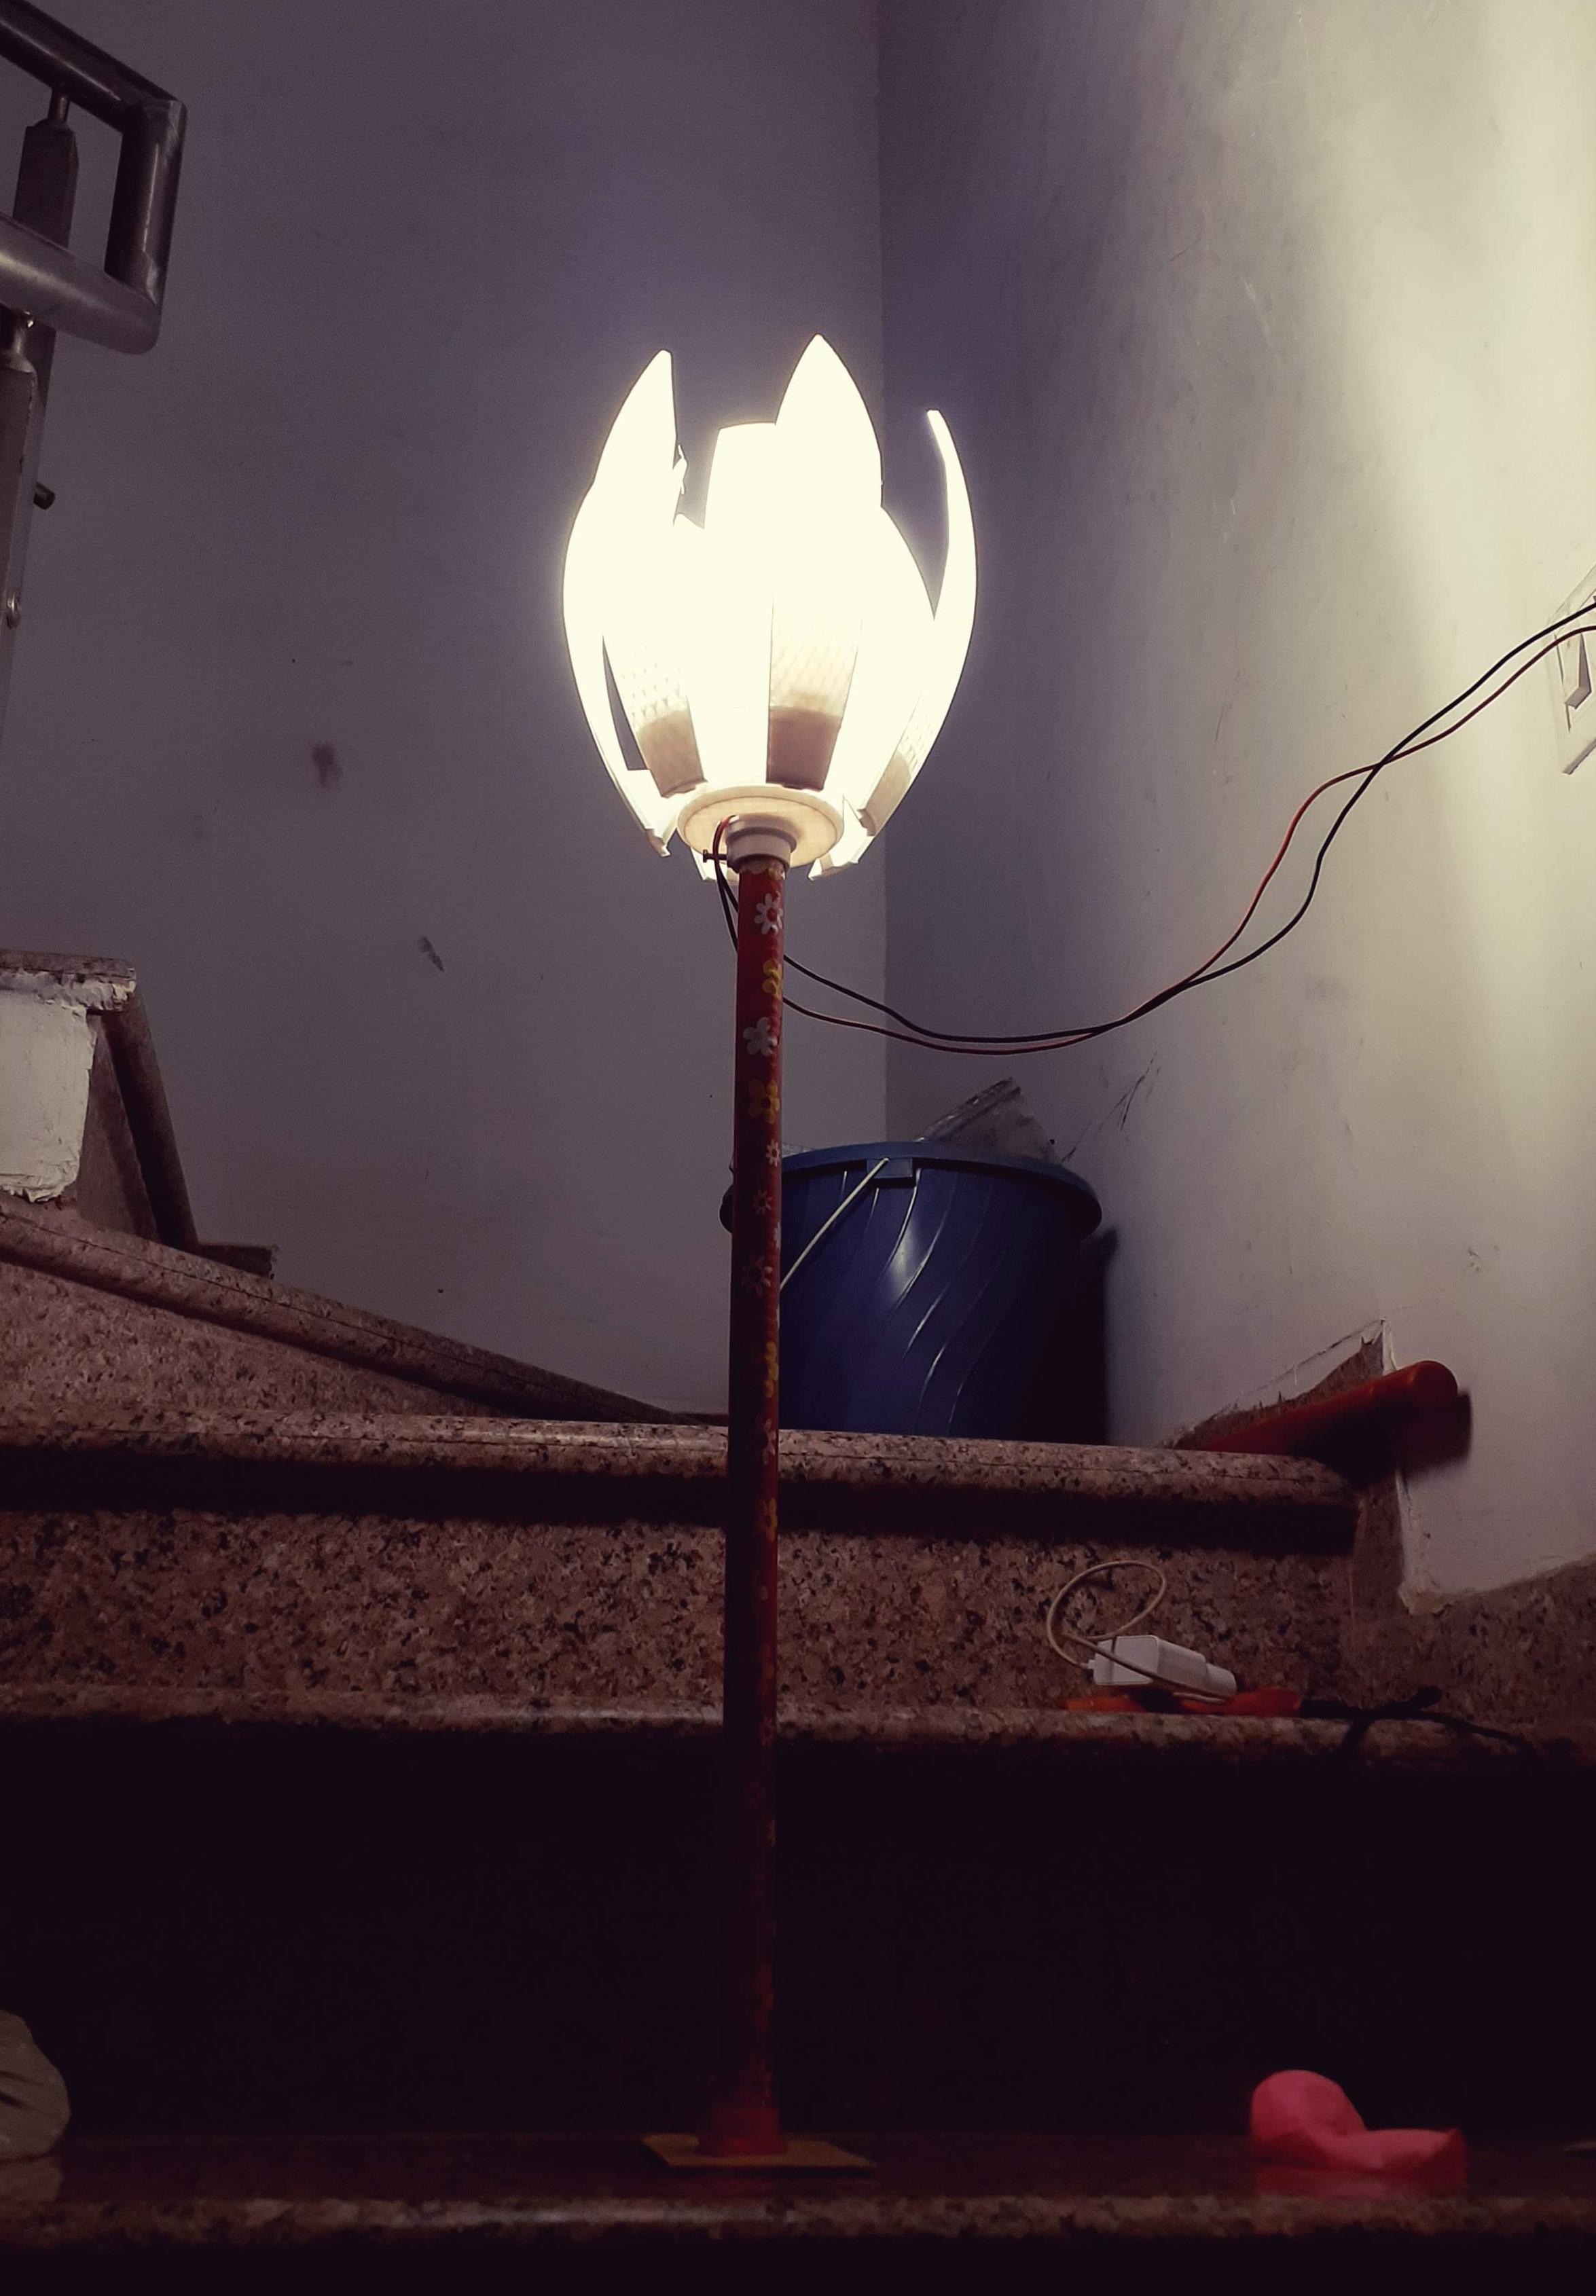
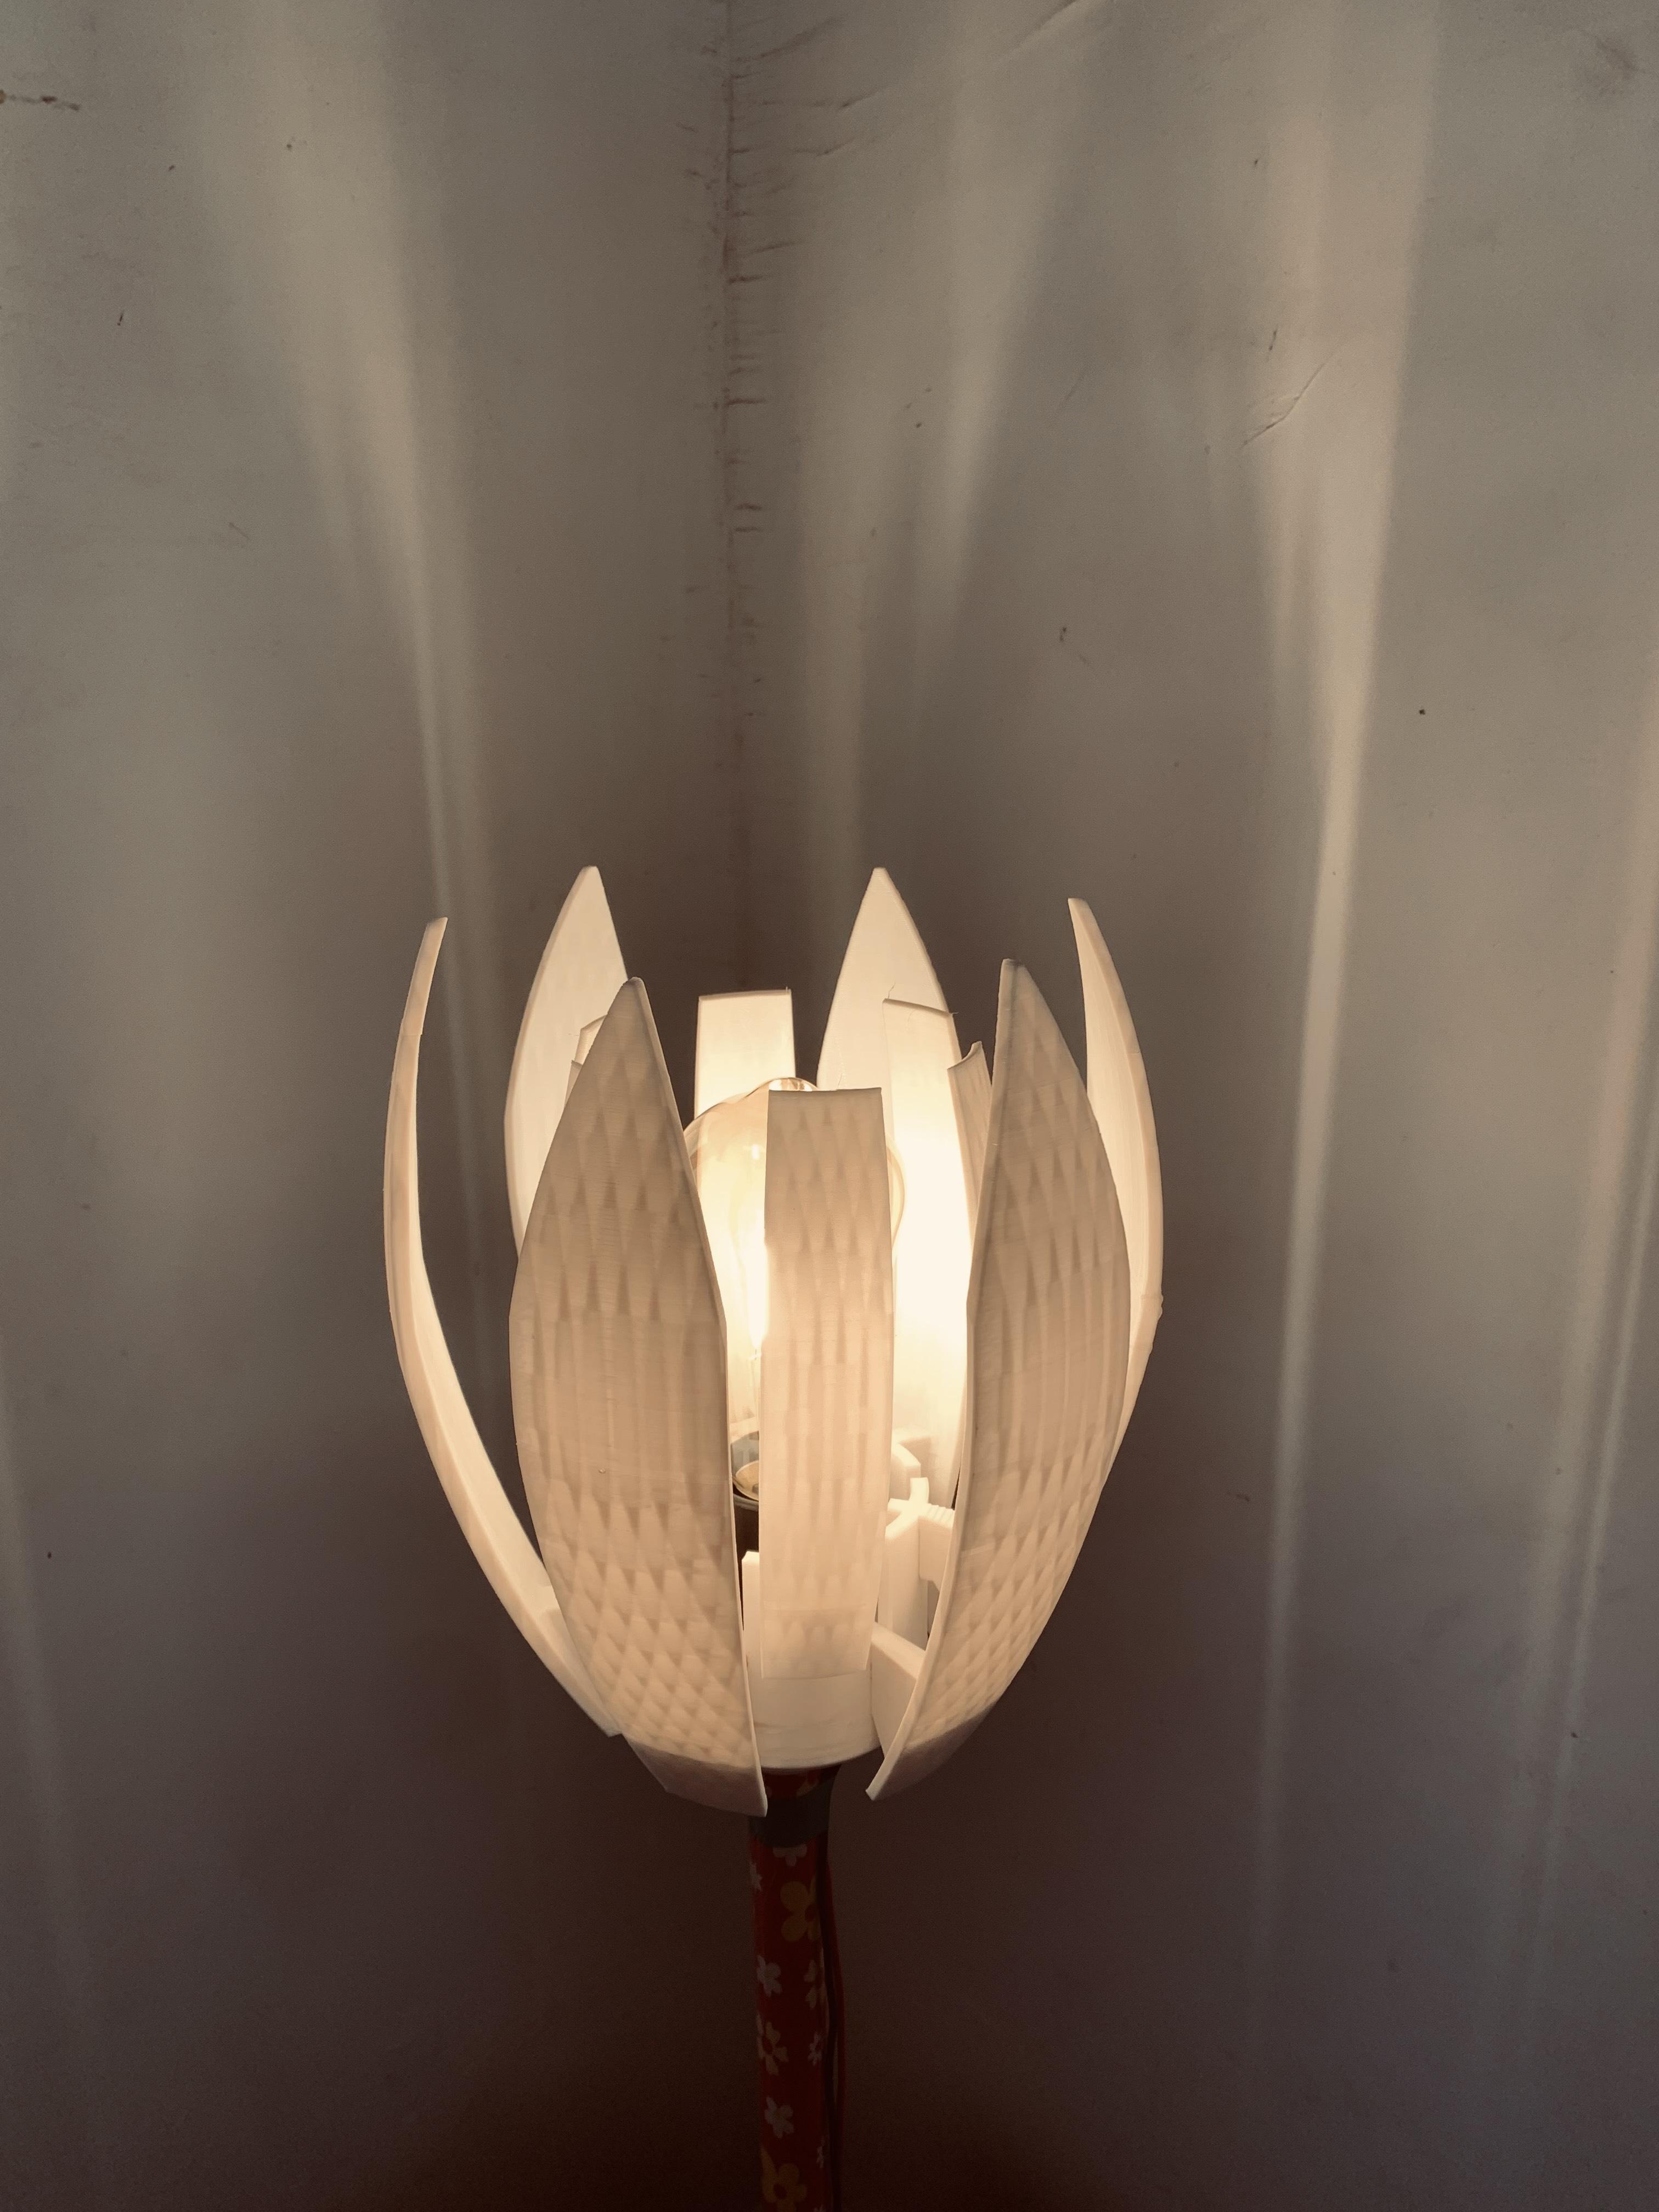
Hello makers.
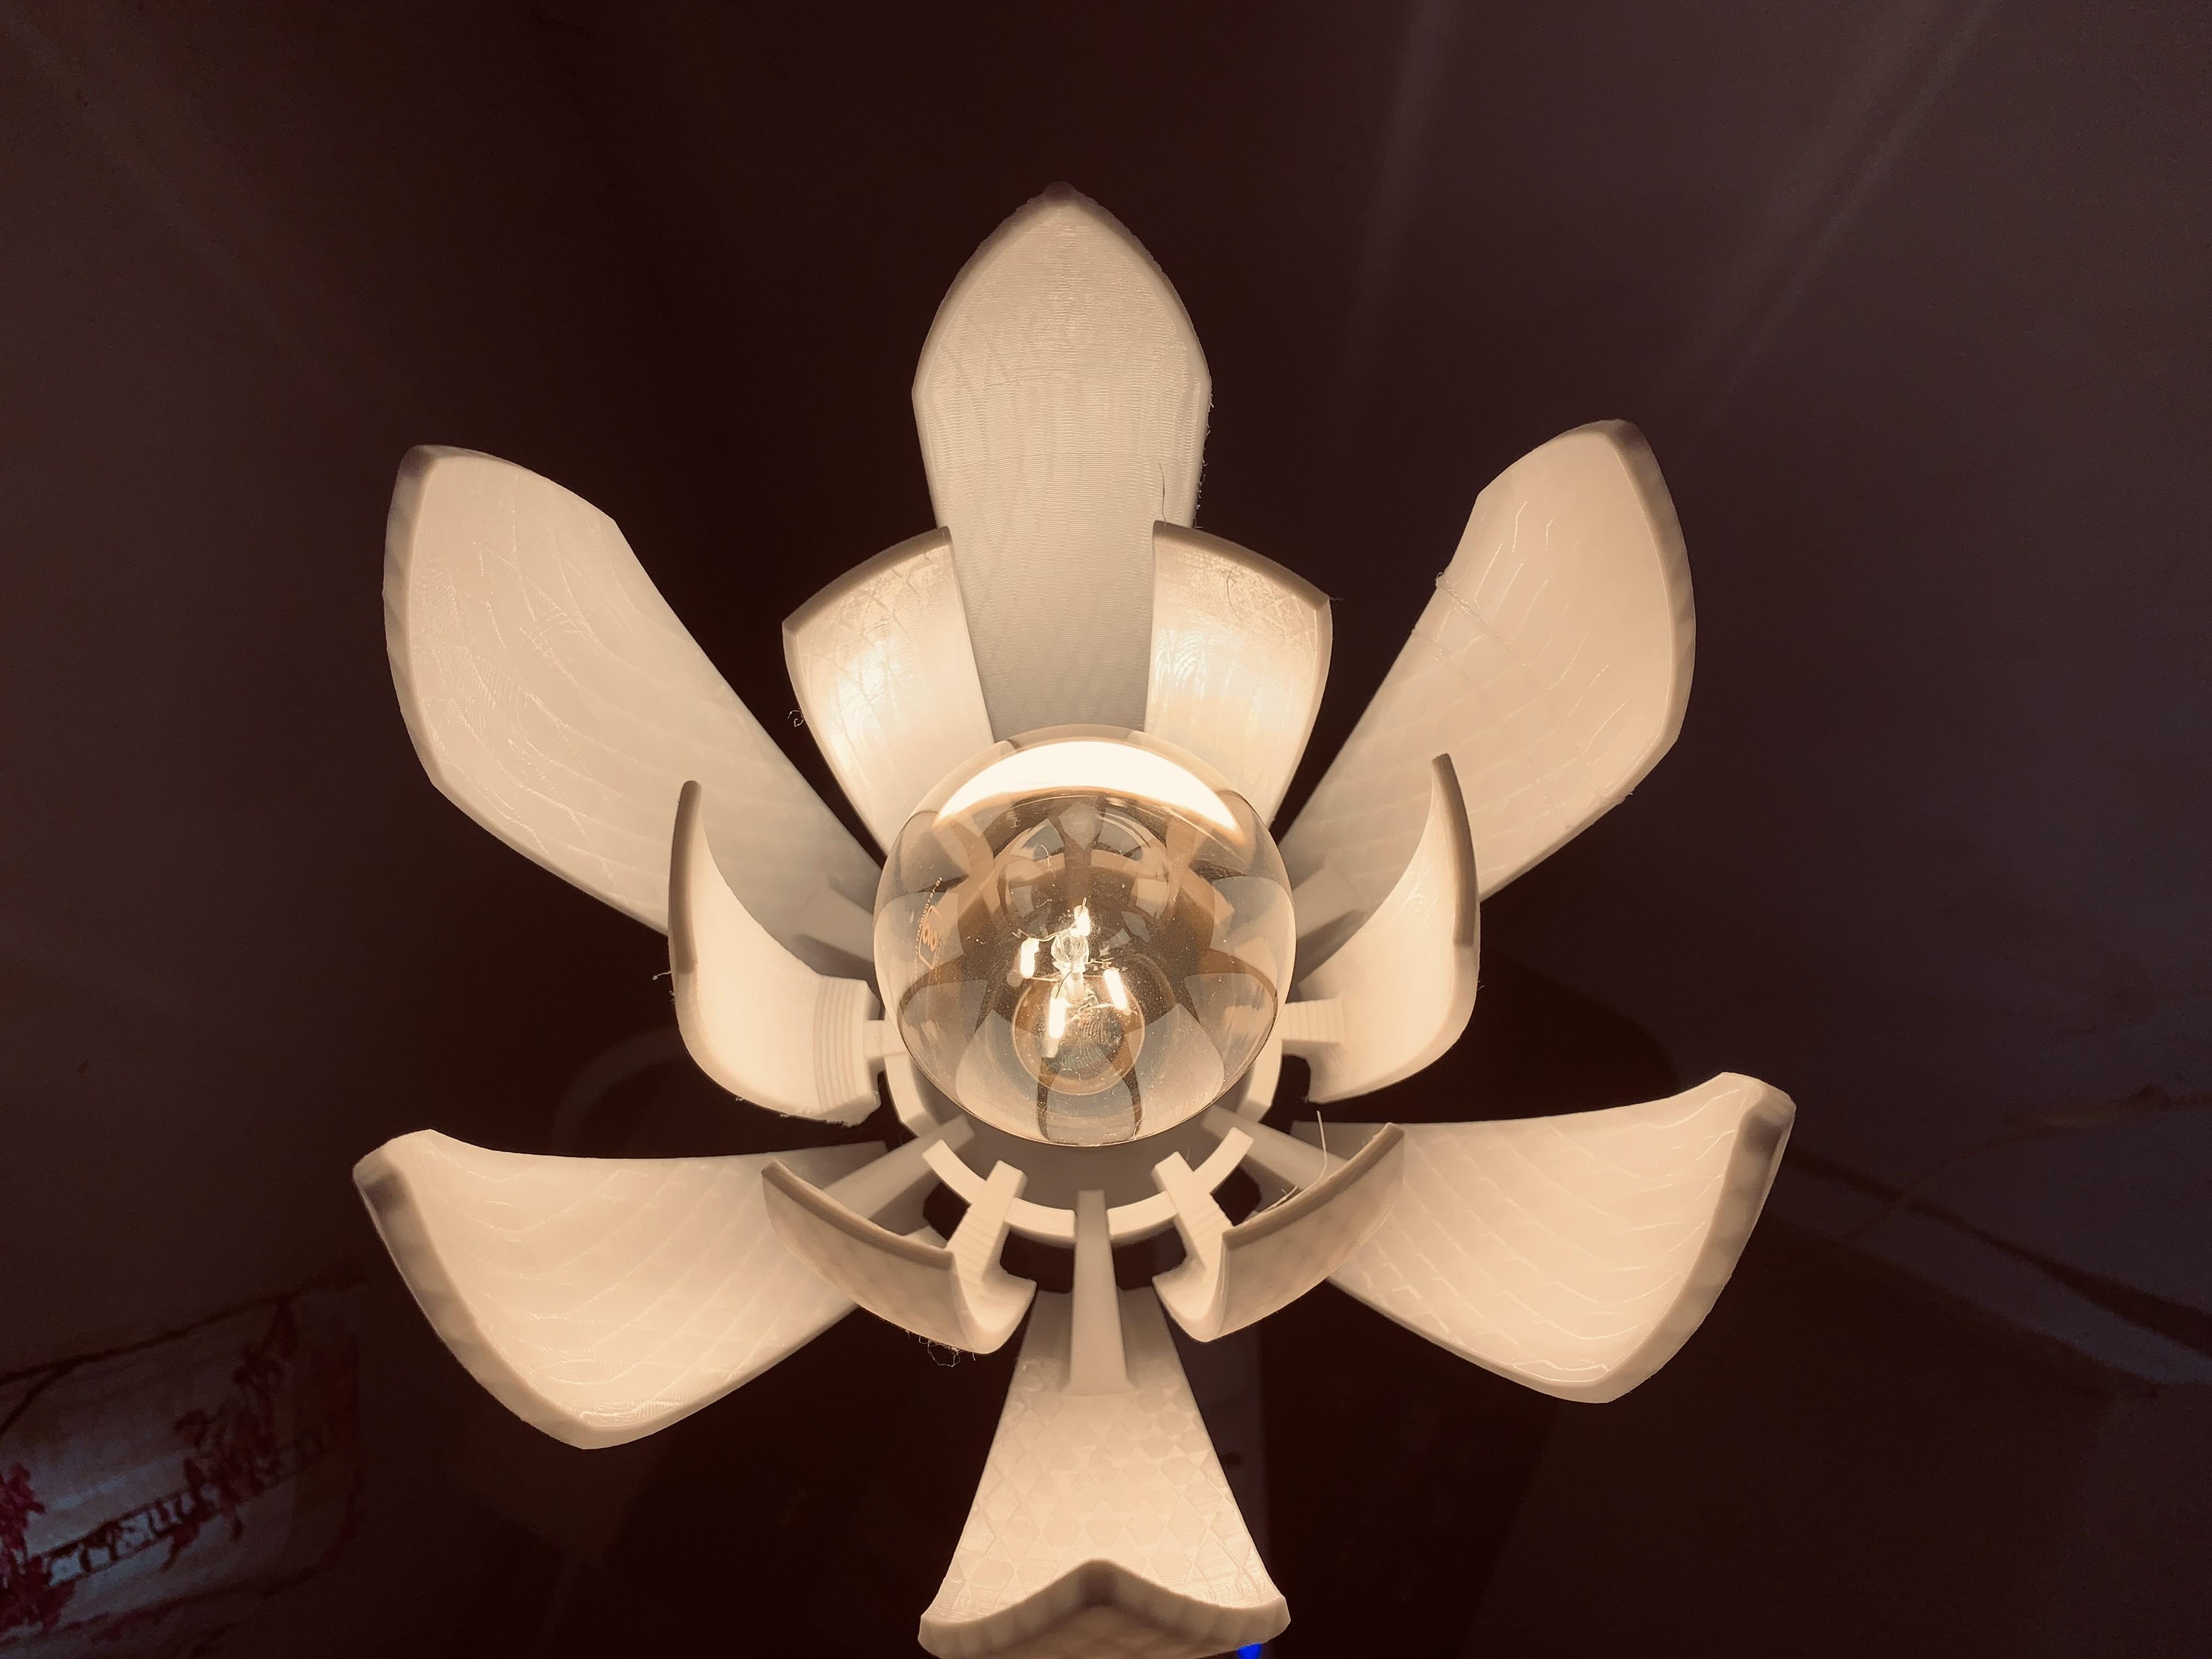
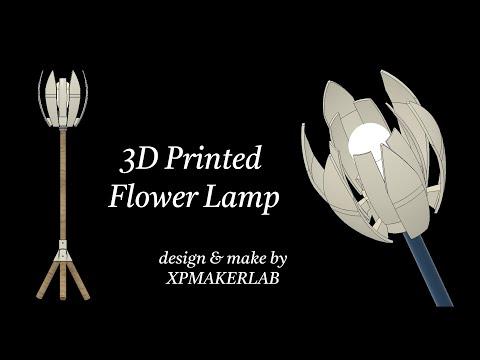
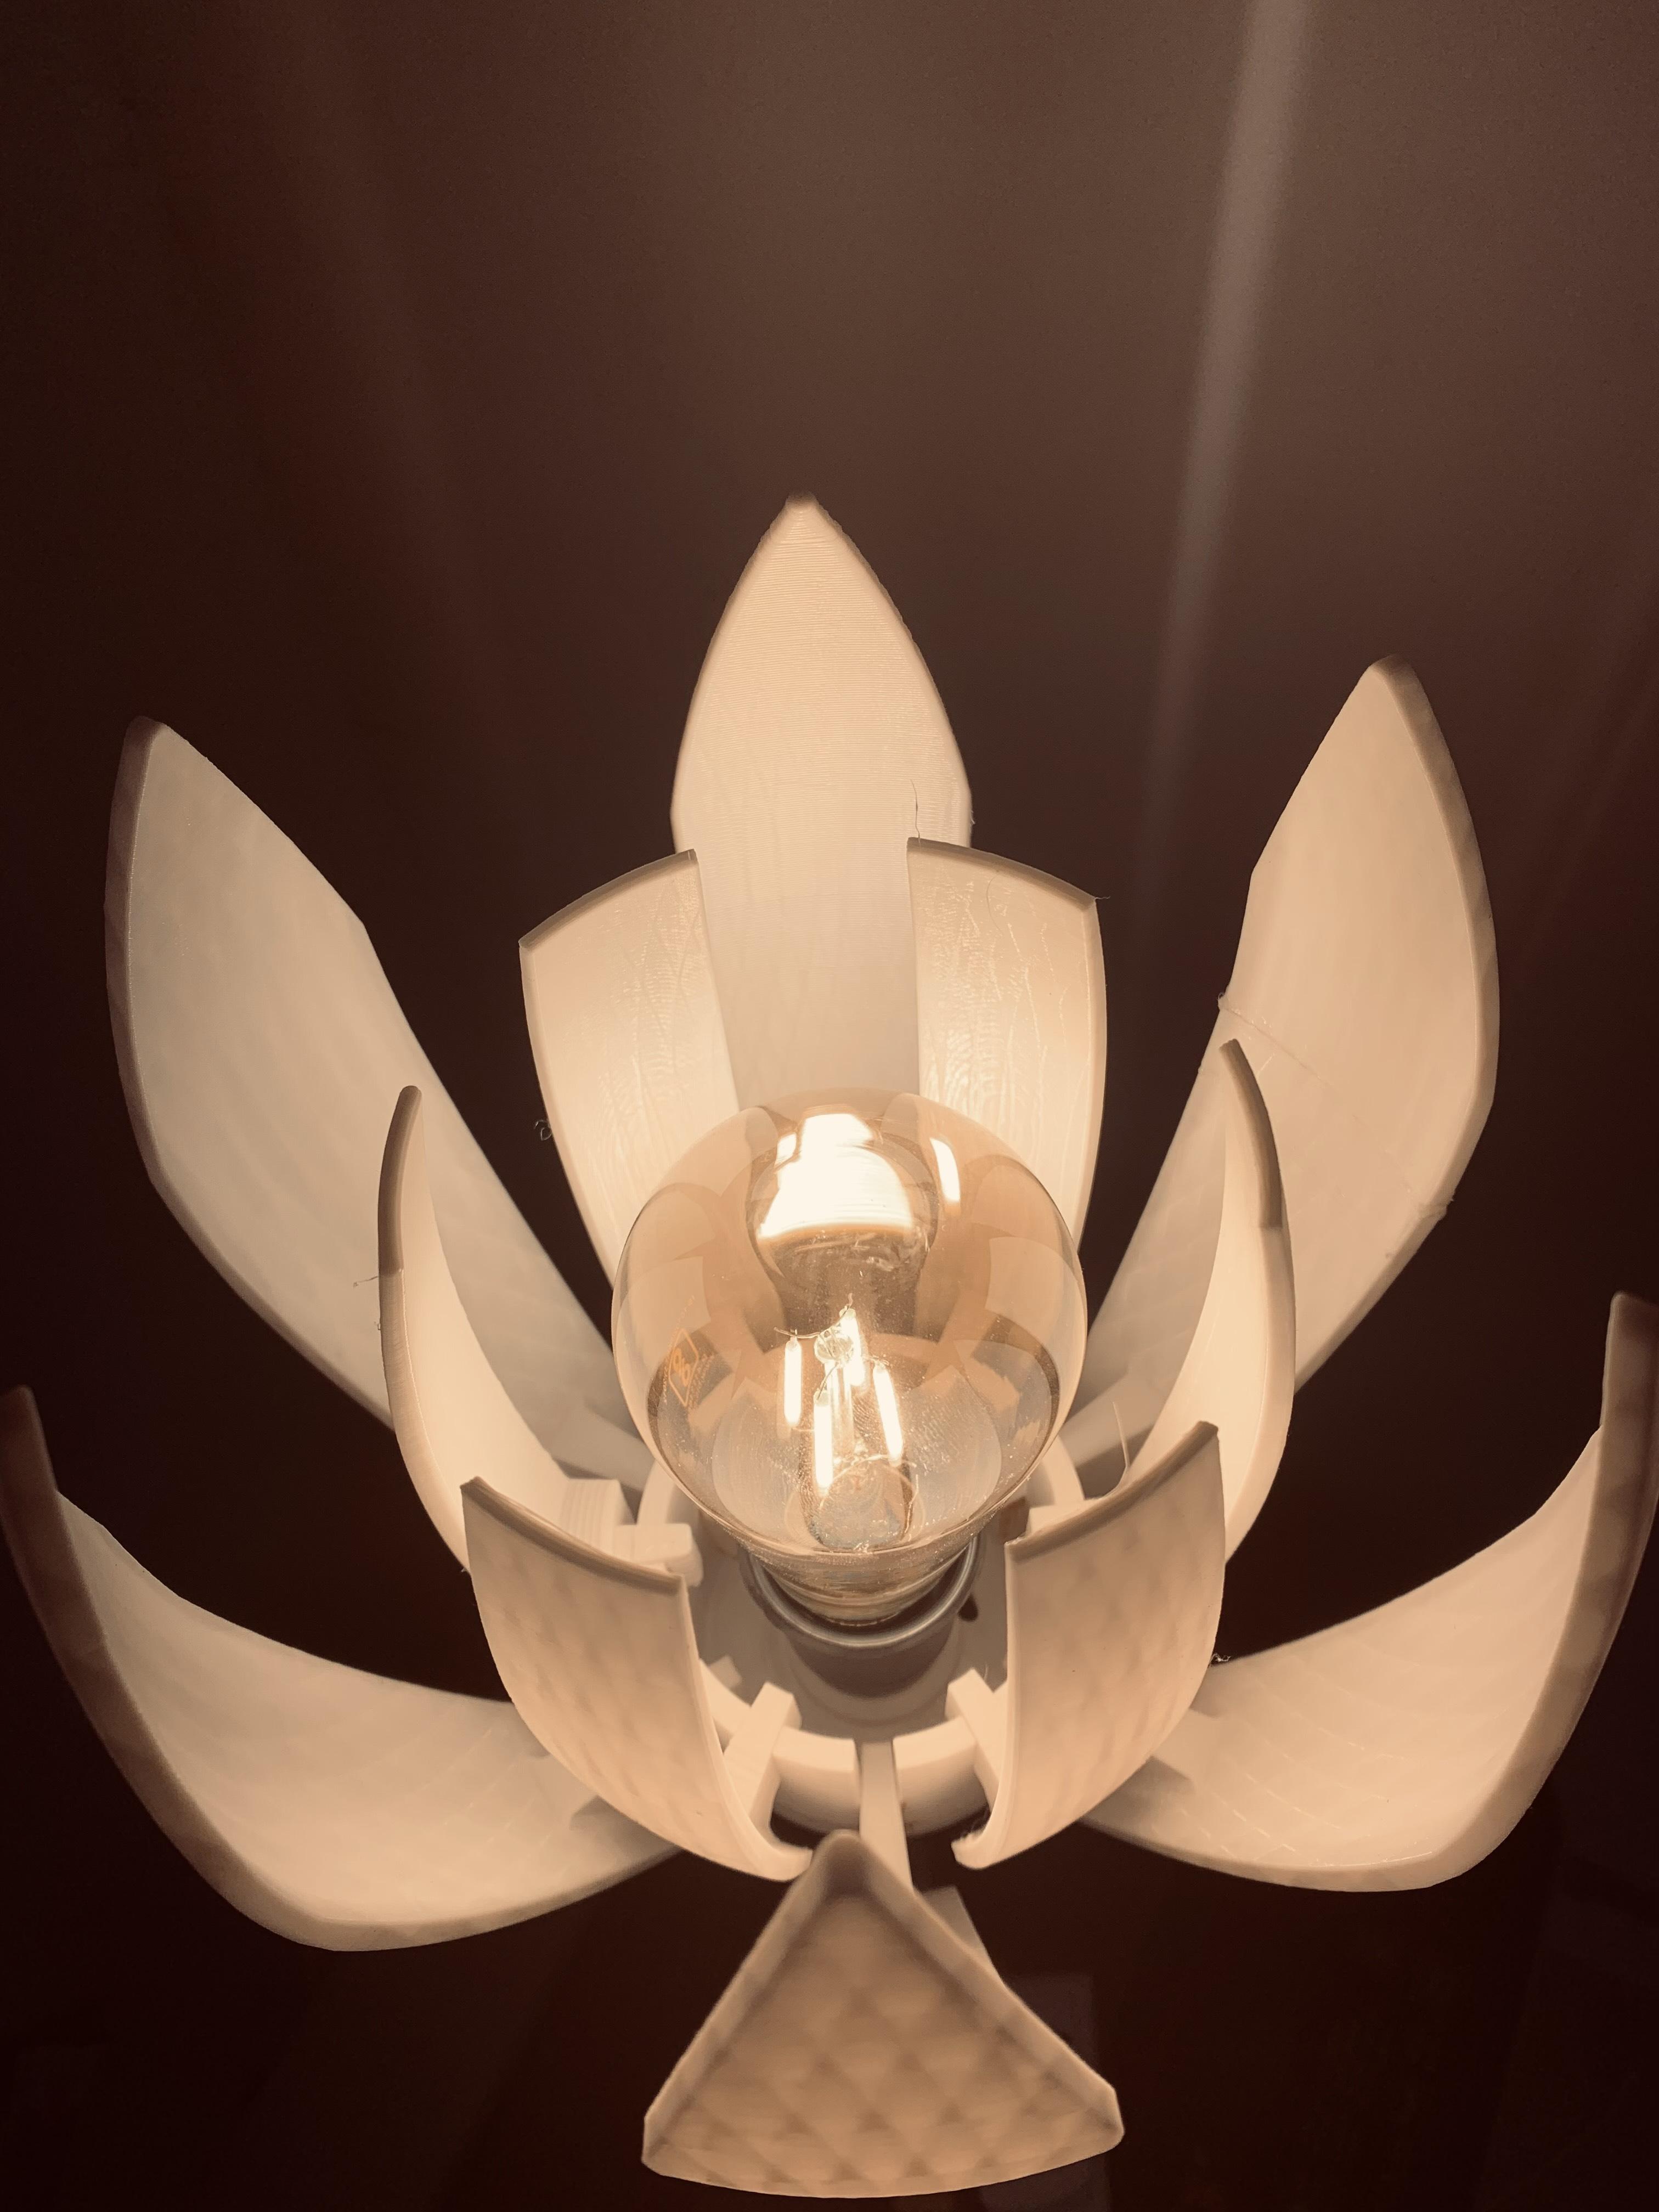
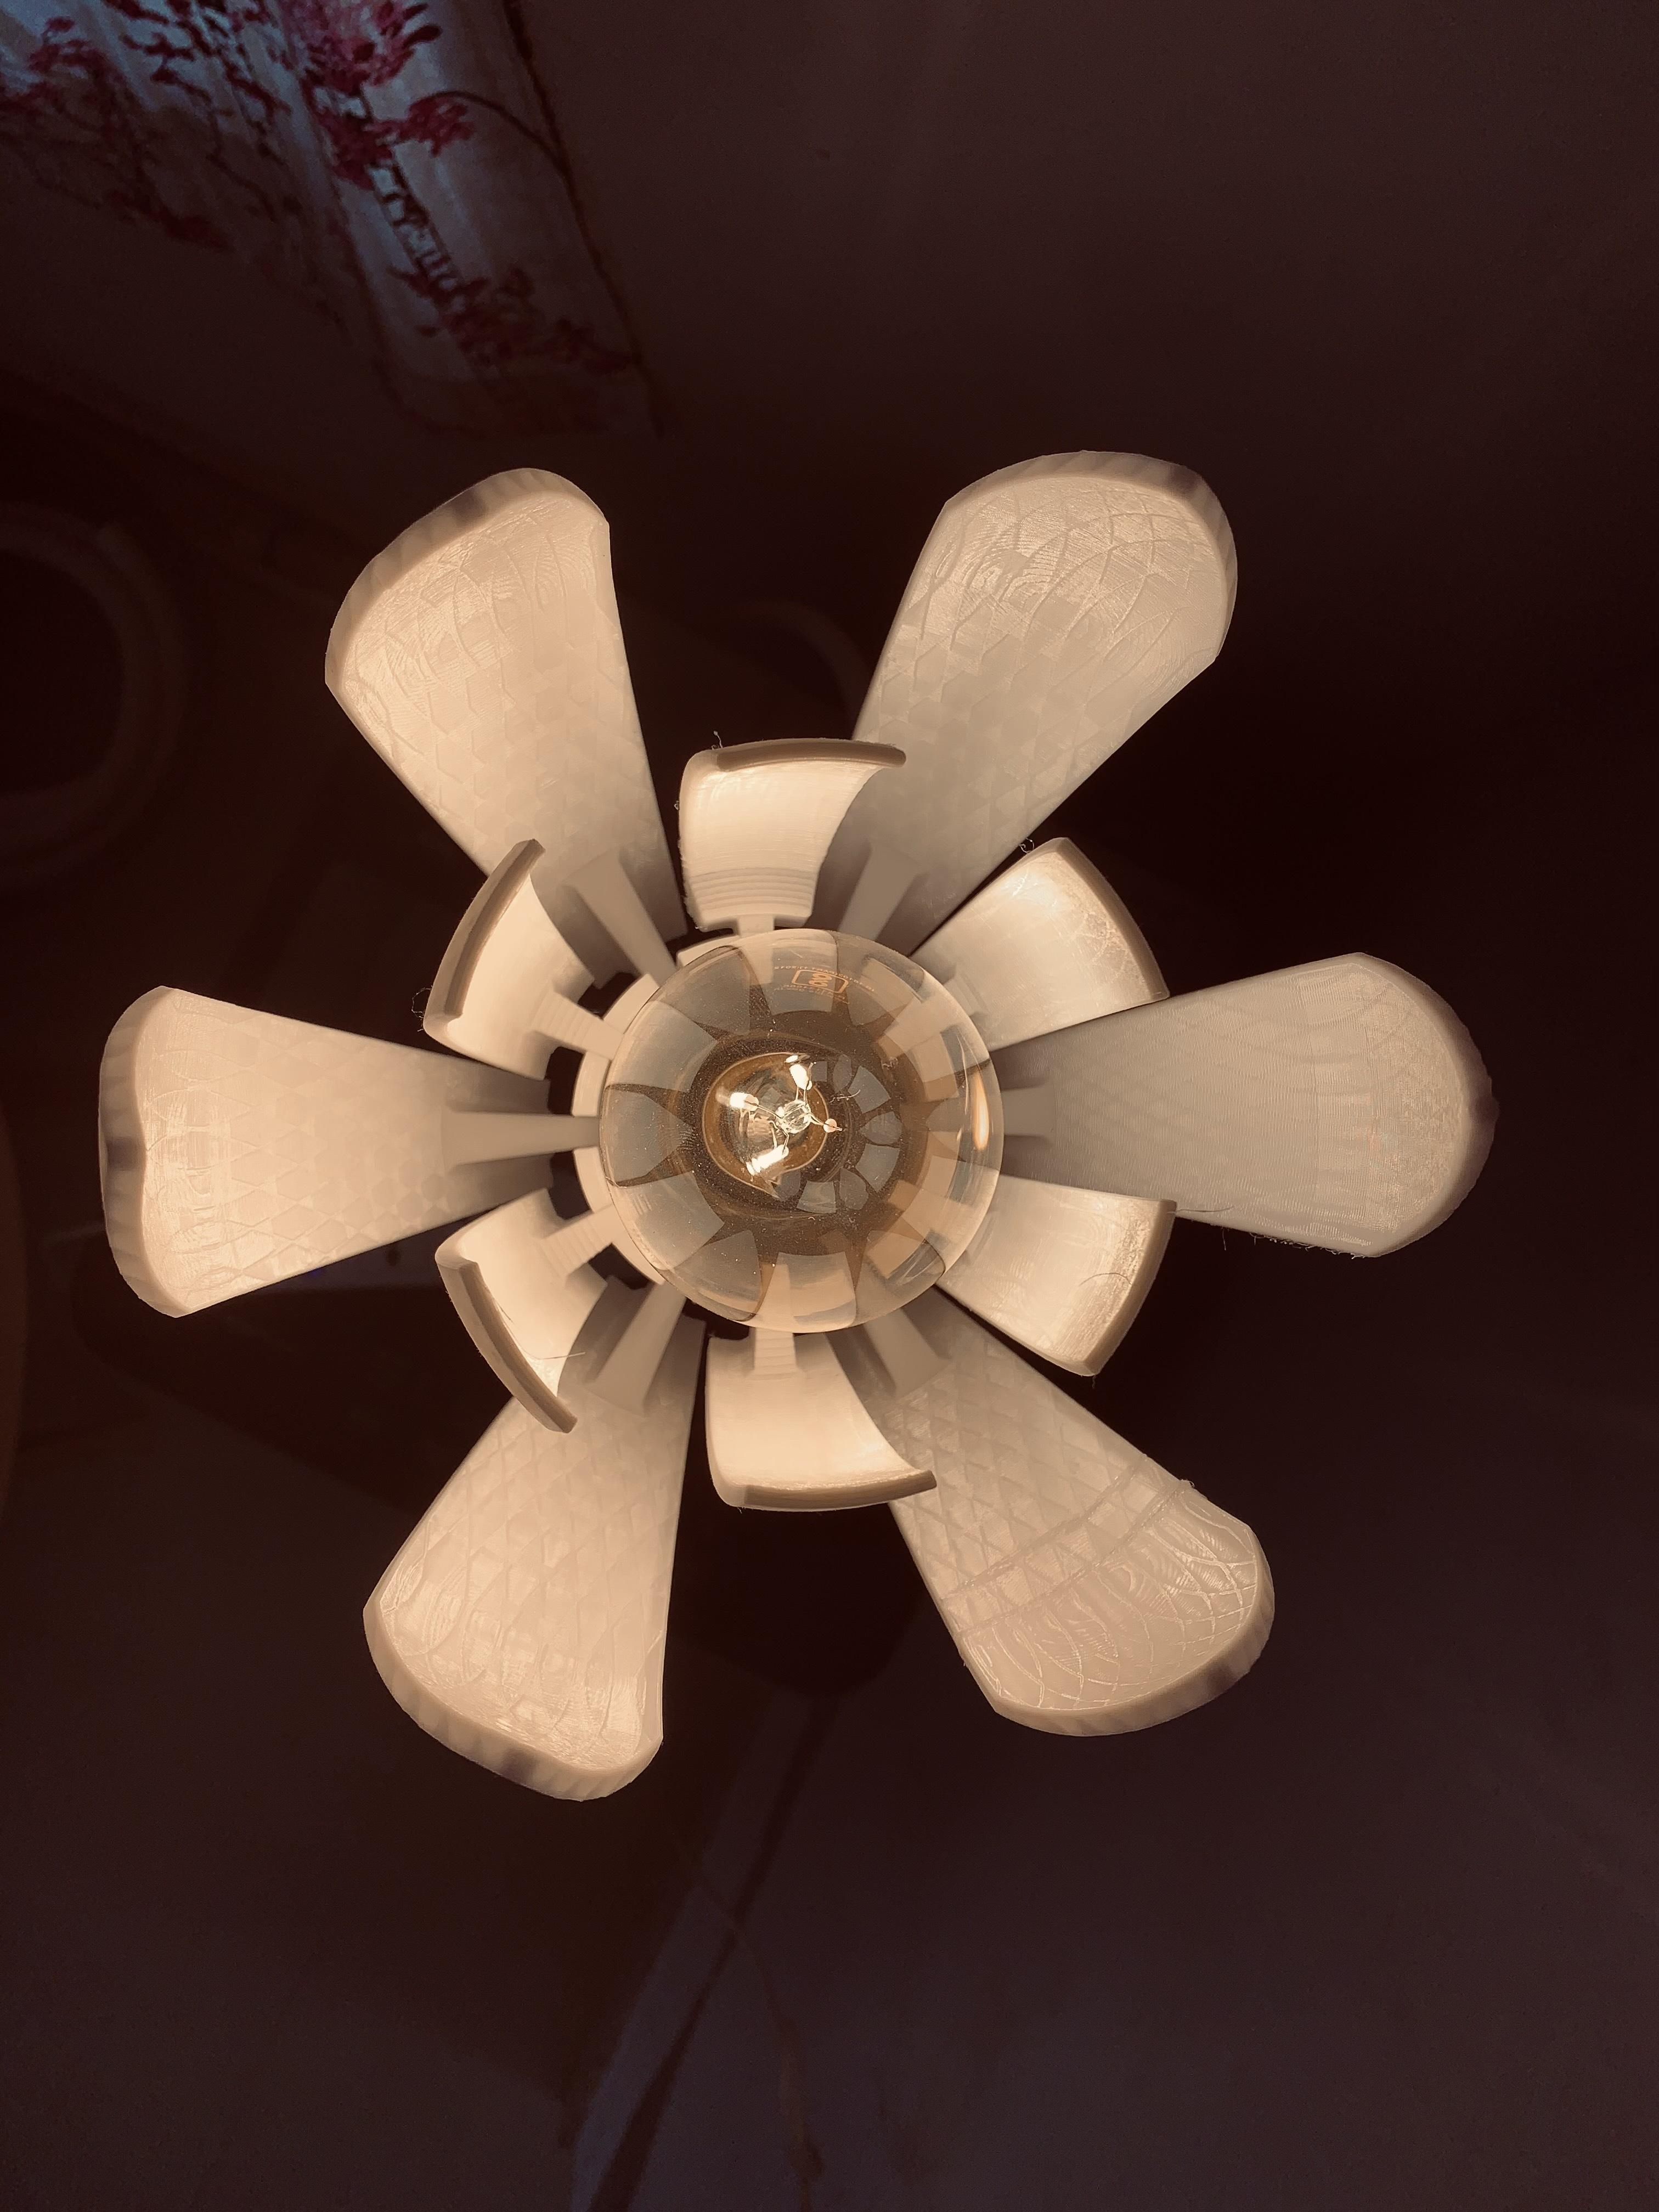
In this Instructable we design and make Flower shape lamps using Fusion360 and a 3d printer.
This lamp concept comes from a flower shape.
I do some rough sketching on paper to make some dimensions ready for design.
Rough dimension of the lamp made after considering LED bulb and wiring and Lamp appearance.
Flower lamps include leaves outside and LED lamps inside for making perfect ambient lighting.
Collect all supplies and start making projects.
Supplies
.jpeg)
.jpeg)
.jpeg)
1> Computer or laptop with Fusion360 for design.
2> 3D printer for 3d print lamp.for 3dprinted part.(check step-4)
3> M3 bolt and nut
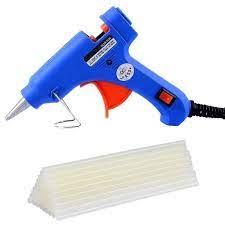
4> glue gun
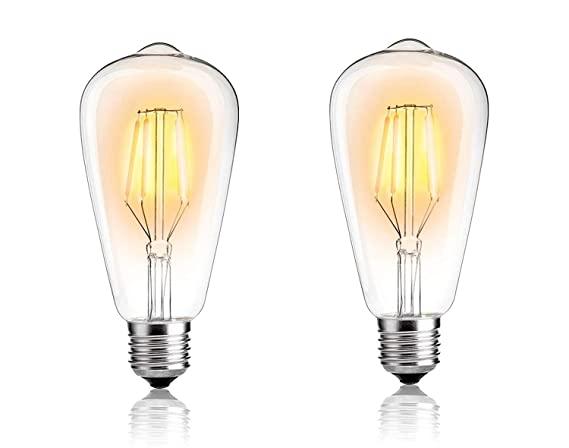
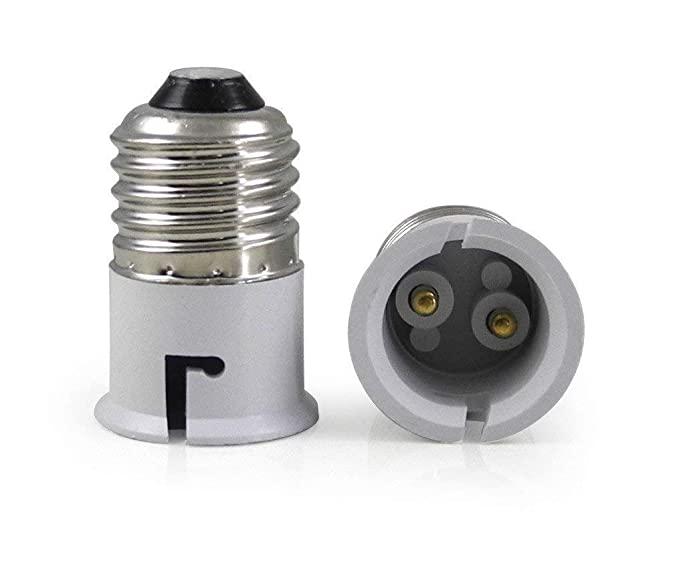
5> LED Bulb and holder(any color)(Filament LED bulb or WHITE LED bulb)
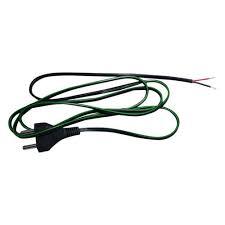
6> wires and Plug
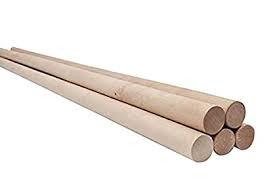
7> 22 mm round wooden stick( ~ 700mm x 1 piece).
8> 22 mm round wooden stick( ~200mm x 3 piece)
CAD Design in Software
.png)
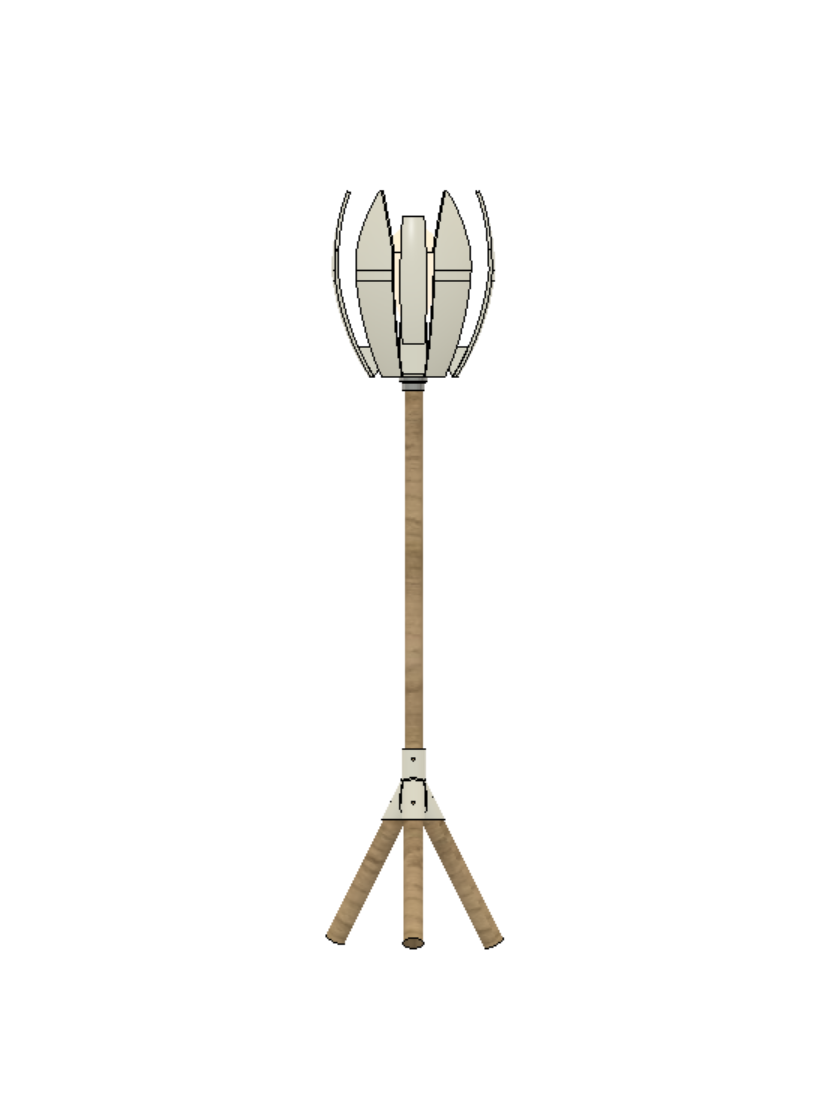
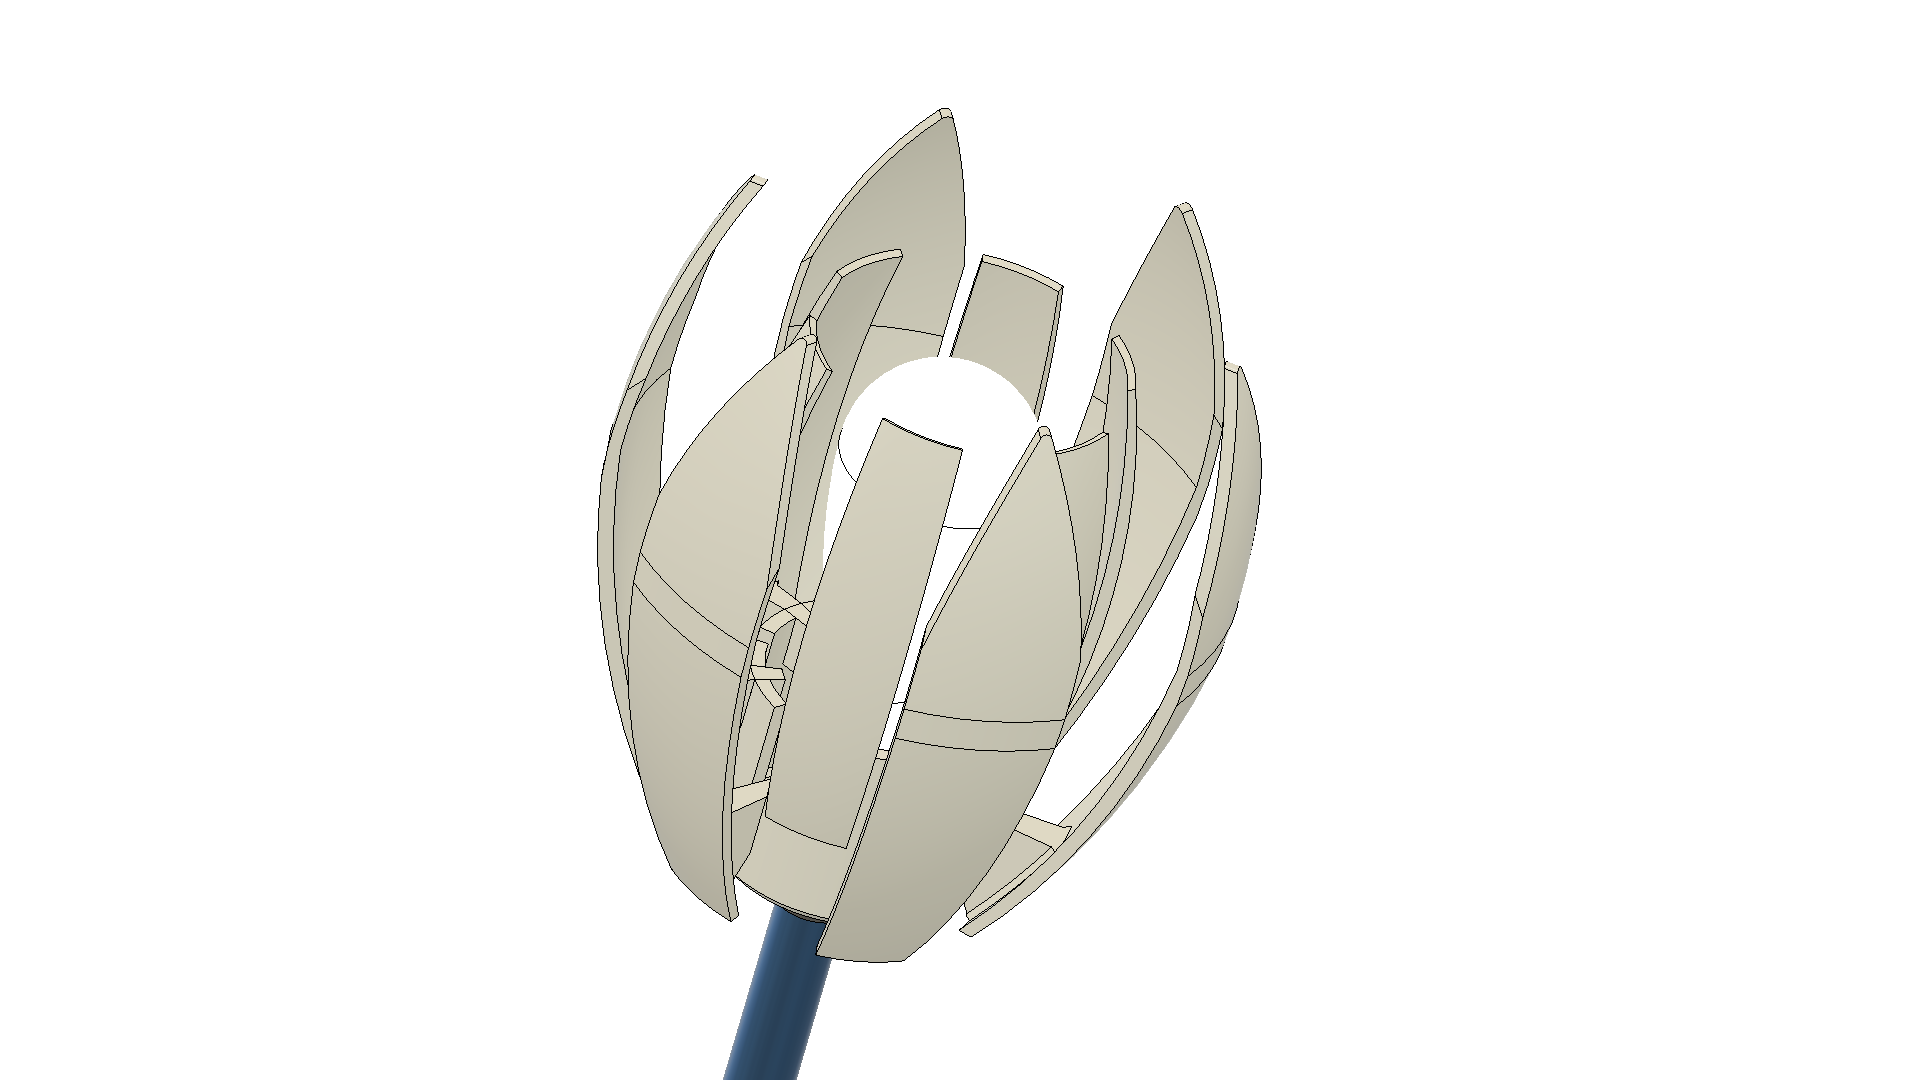
After confirming the dimensions on paper sketching, I started with CAD design on the computer.
For CAD I use Autodesk Fusion360.
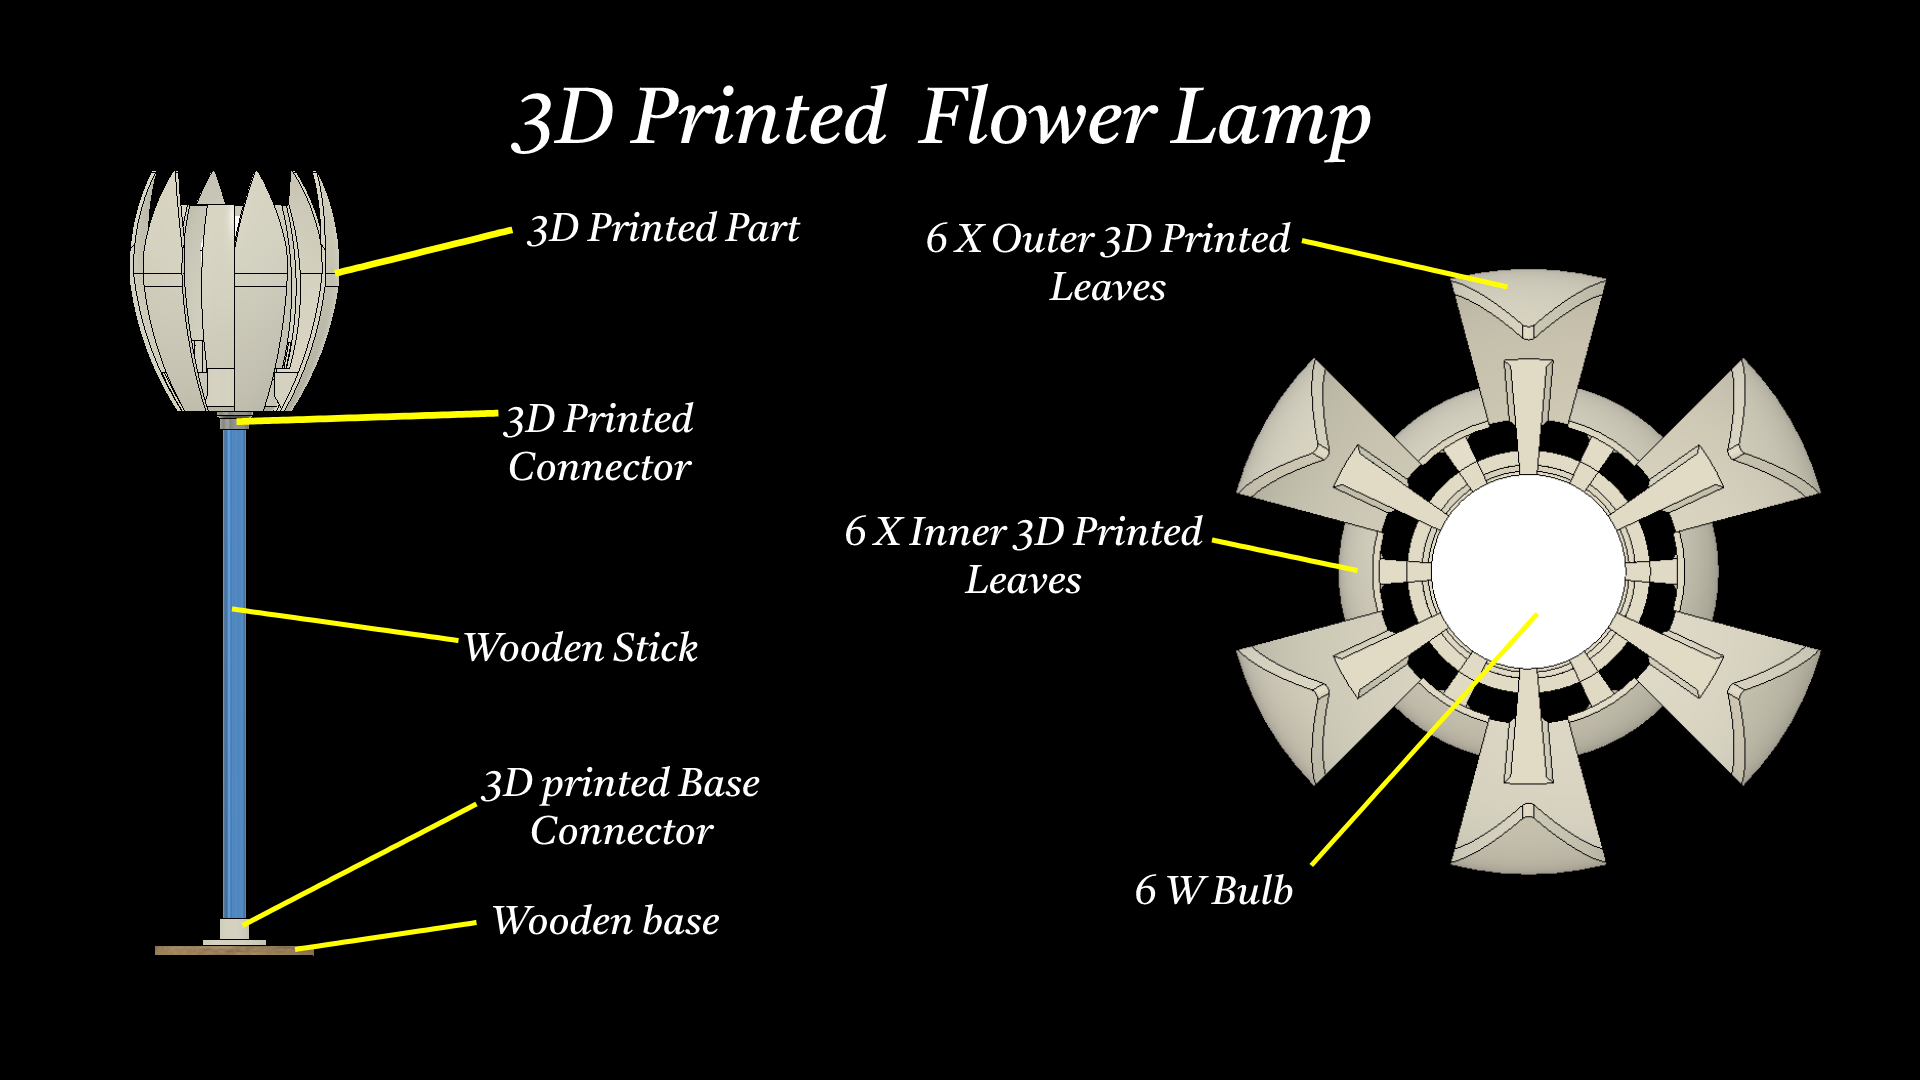
Part of Lamp.
1> Center part for Bulb Placement
2> Leaves
3> pole
4> Tri-leg Base
I started with the Center part, Inner diameter is 30 mm and the outer diameter is 85mm.(consider your holder and bulb diameter.)
Offset the outer edge to 5mm inside to make a small circle.
- Extrude the circle region to the 5mm bottom side.
- Extrude the same sketch outer circles to 65 mm upside to make a circular wall.
- Make 6 square gaps for bigger leaves and 6 shallow gaps for small leaves.
- Then design a bigger leaf that is offset 20 mm from the circular part.
- Use the Circular pattern command for 6 big leaves attached to the center part.
- Design a small leaf and use a circular pattern command for 6 smaller leaves.
- Attach small and big leaves inappropriate gaps.
- Design pole attachment with screw hole to make it rigid.
Design a wooden pole as per your hardware available.
- Extend the pole at approx 700 mm.
- I made tri-poles as a standing base for the lamp.
- Design 1 pole to 3 pole connector.
- Make an appropriate hole for the screw.
Fusion360 Design File
Export File for 3d Print.
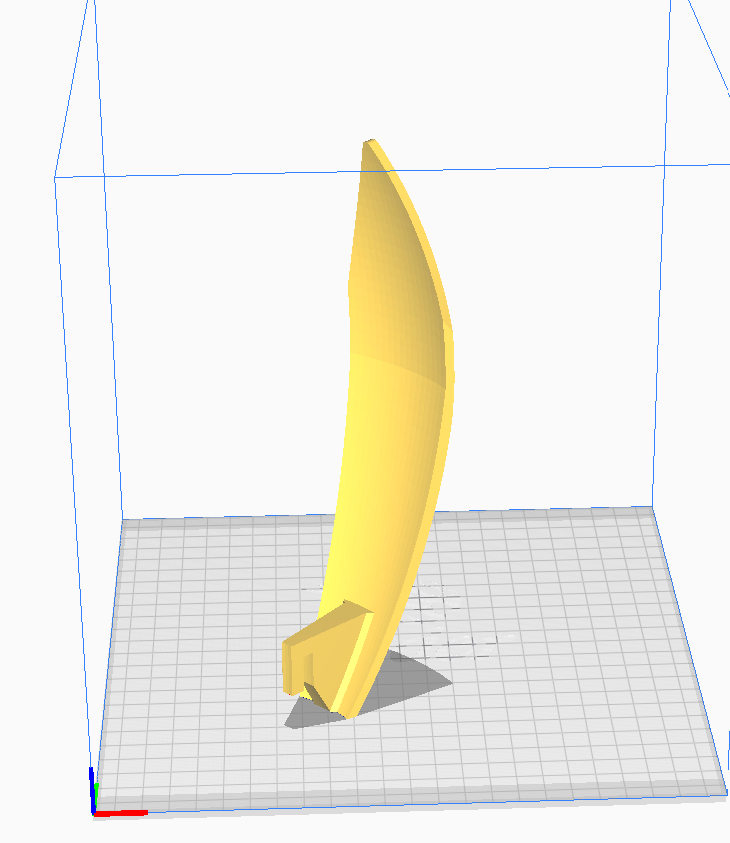
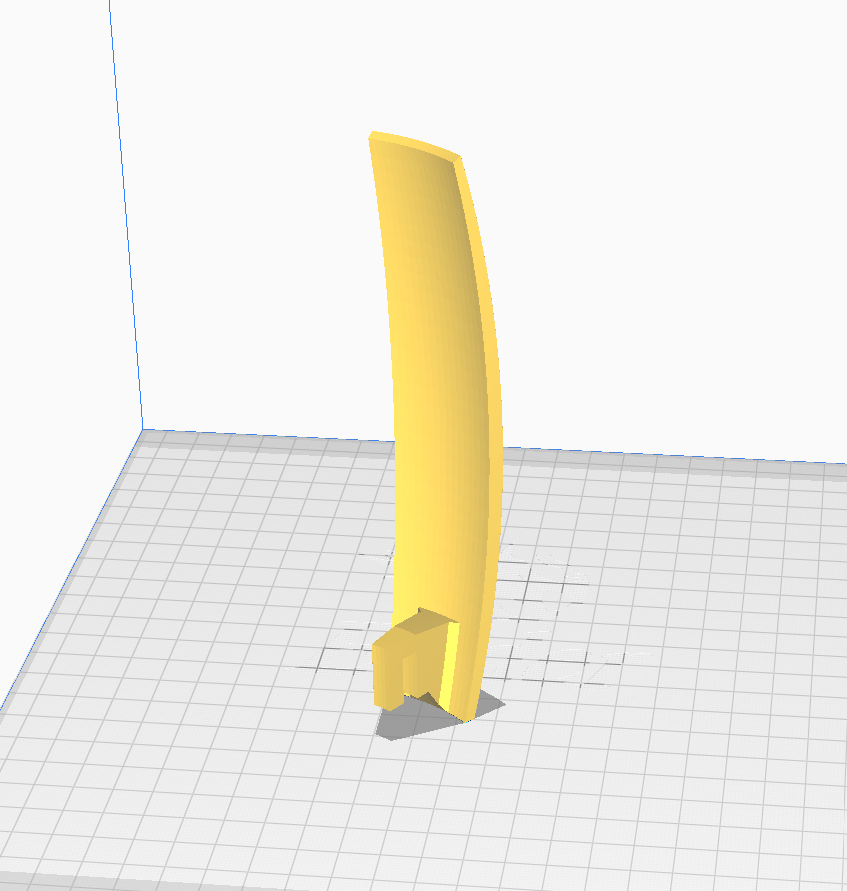
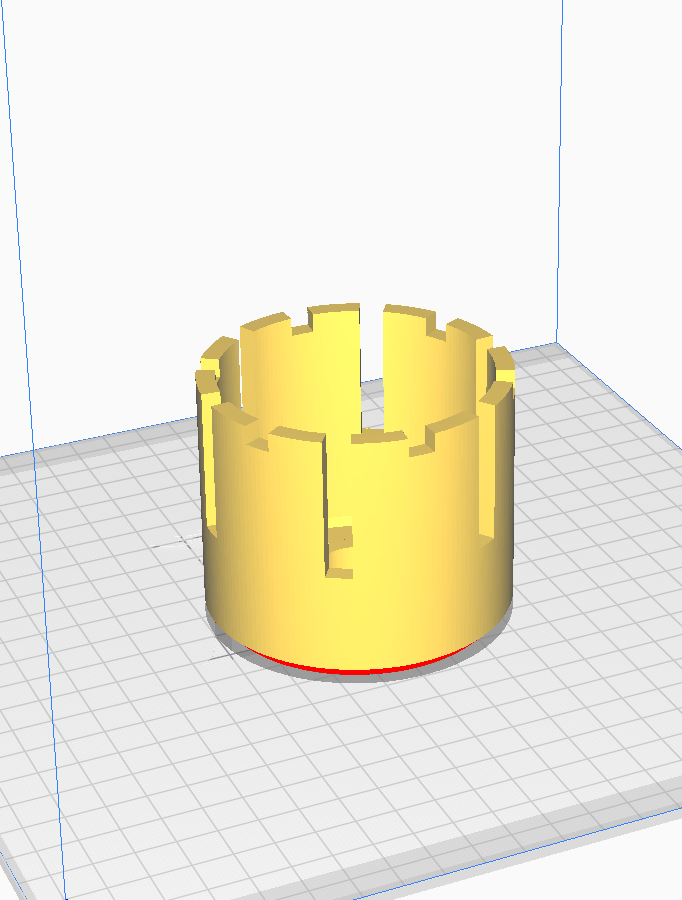
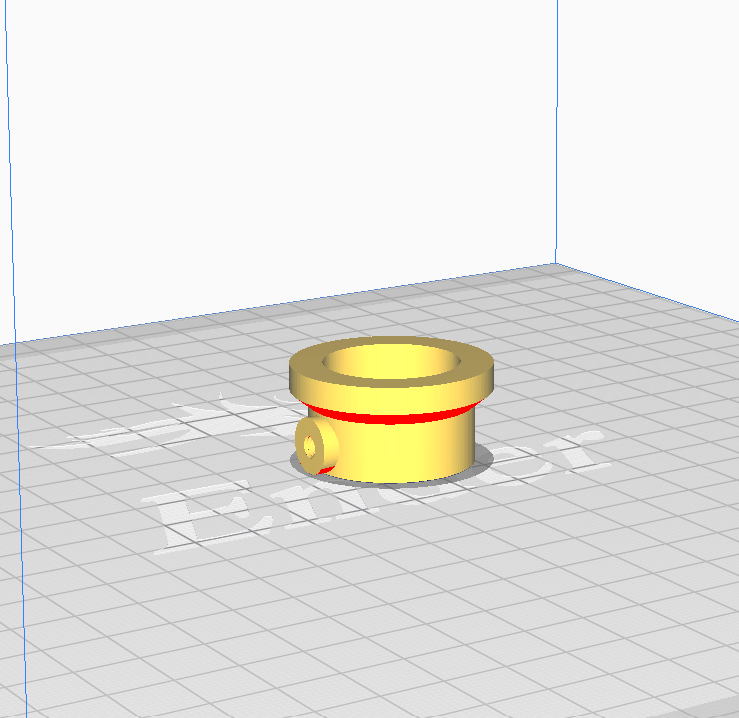
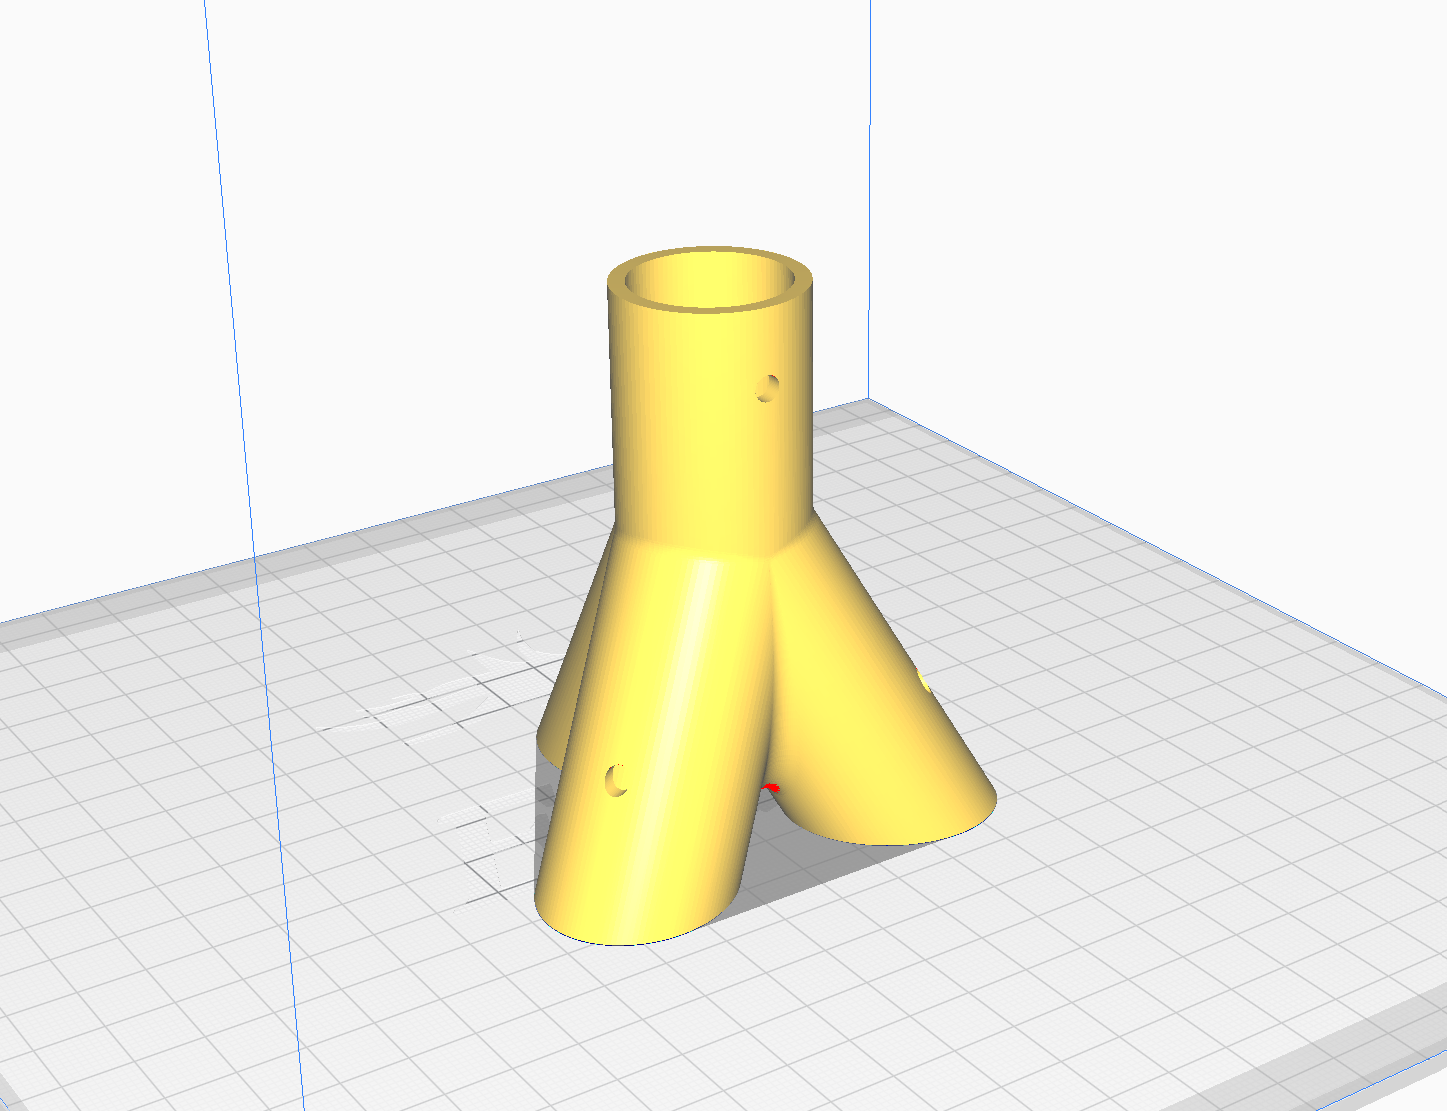
- After design in Fusion360, we need to make l parts with 3d printing.
- For 3d printing, we need to export a .STL file for slicing.
- I use CURA Slicer for the Ender-3 3d printer.
- Export a single part and save it as mesh.
- I attach all STL files for 3dprint.
Slice File for 3d Printer
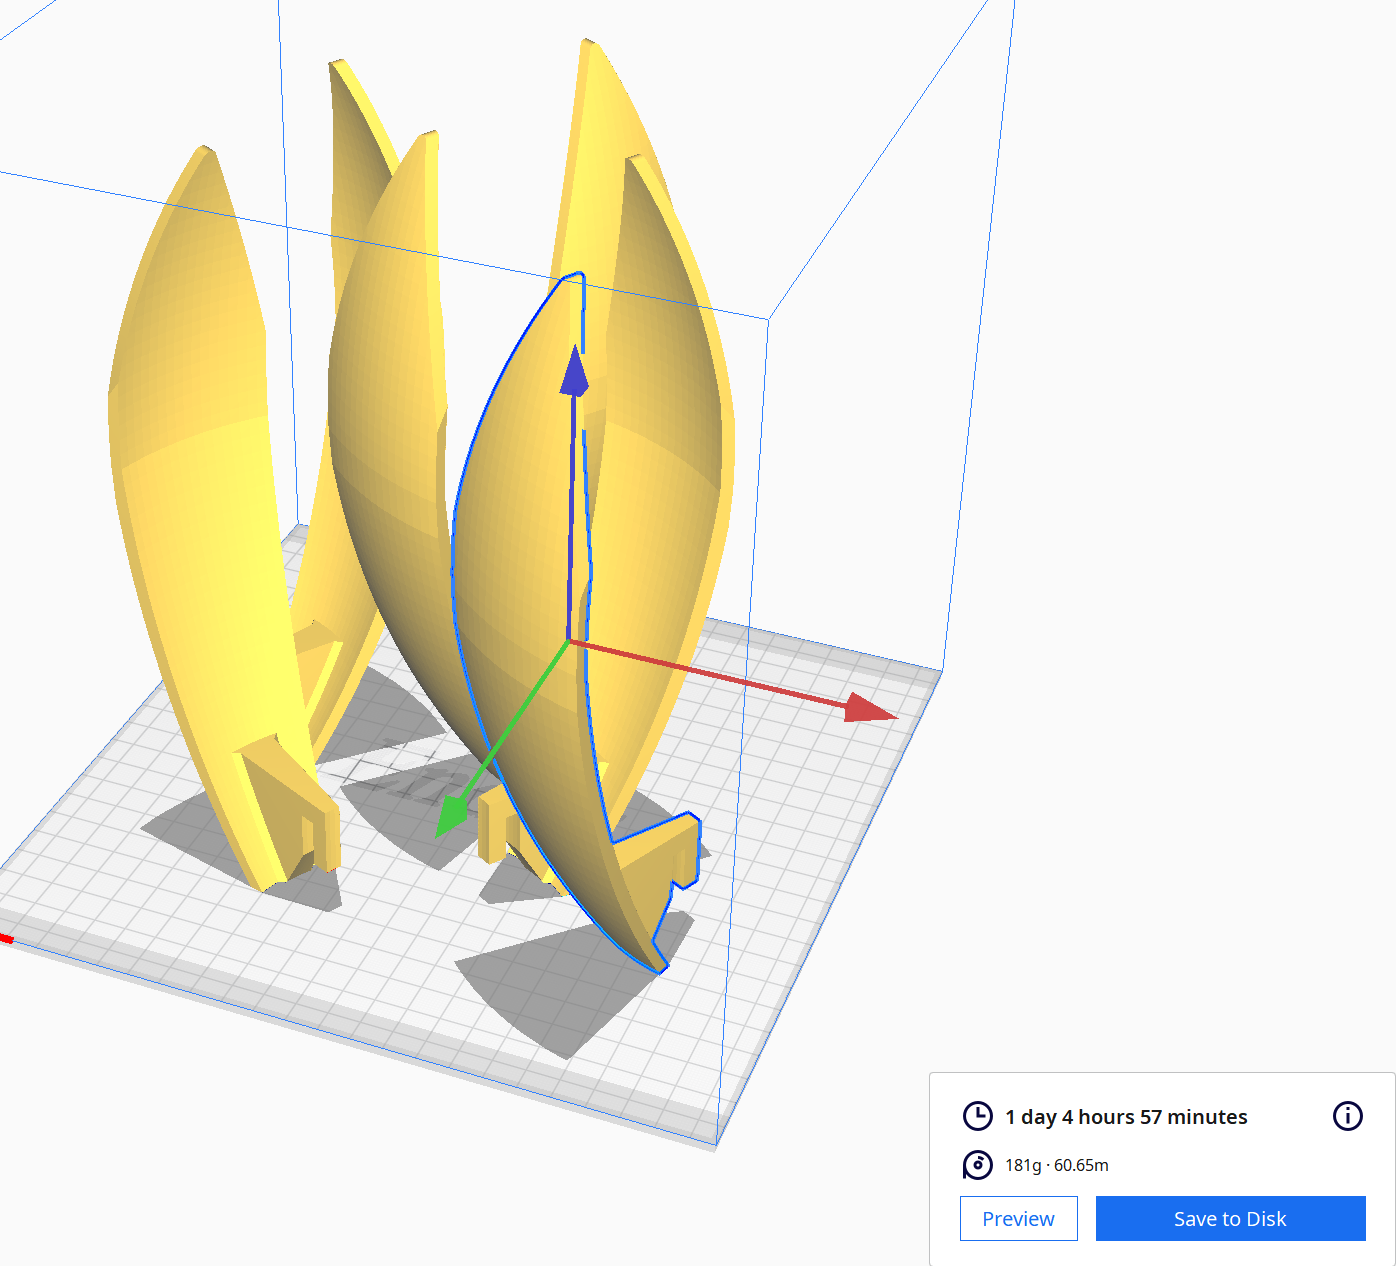
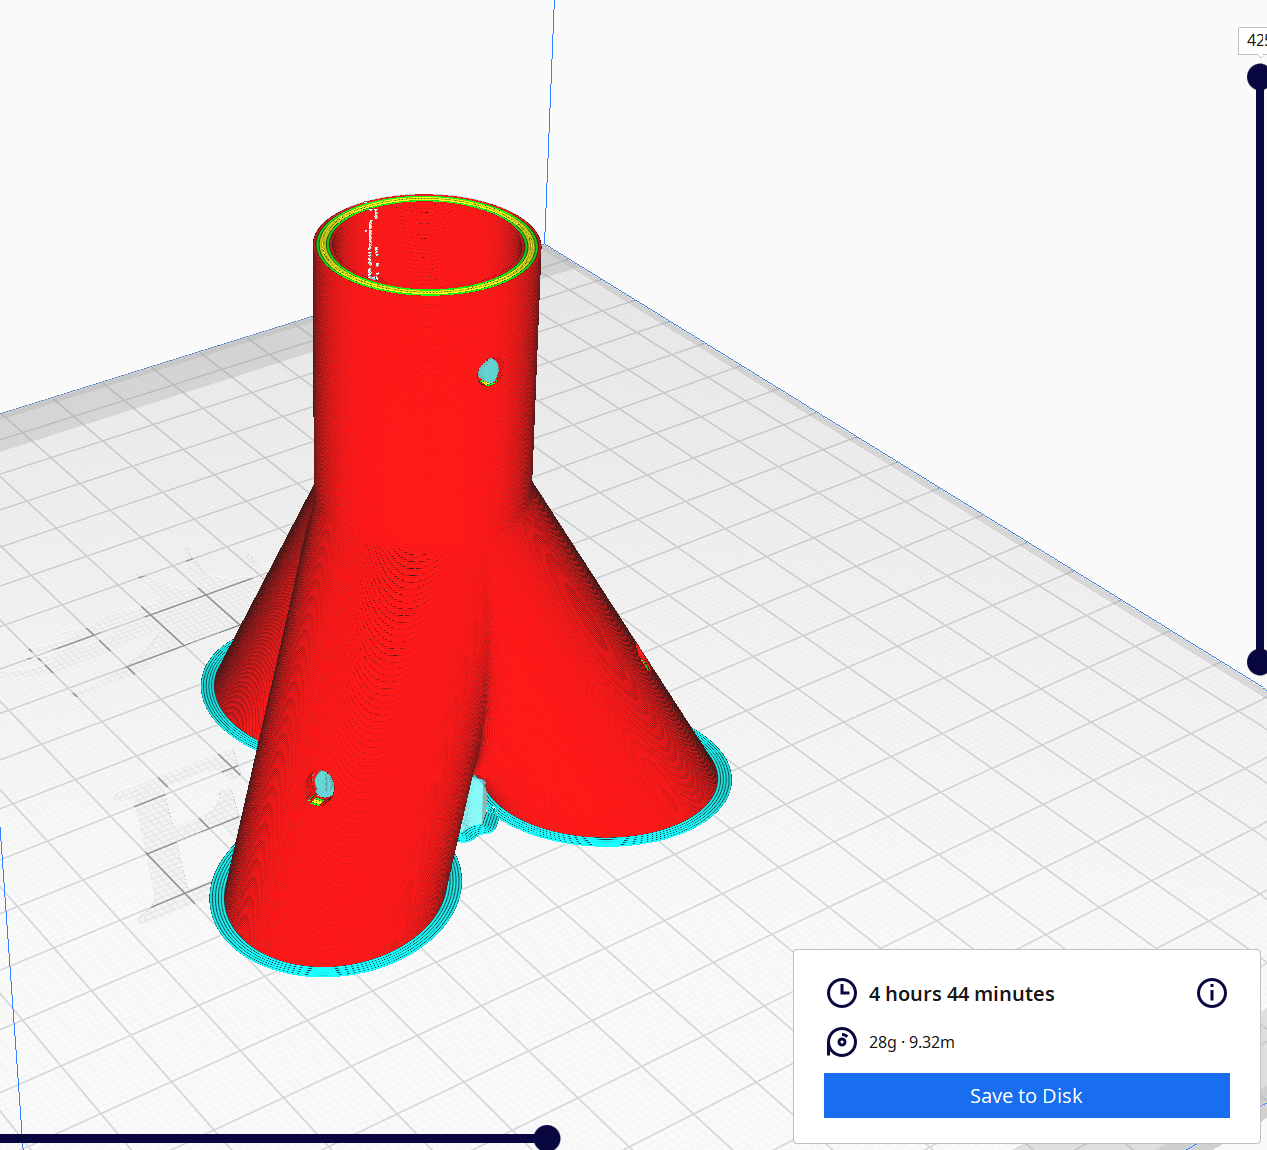
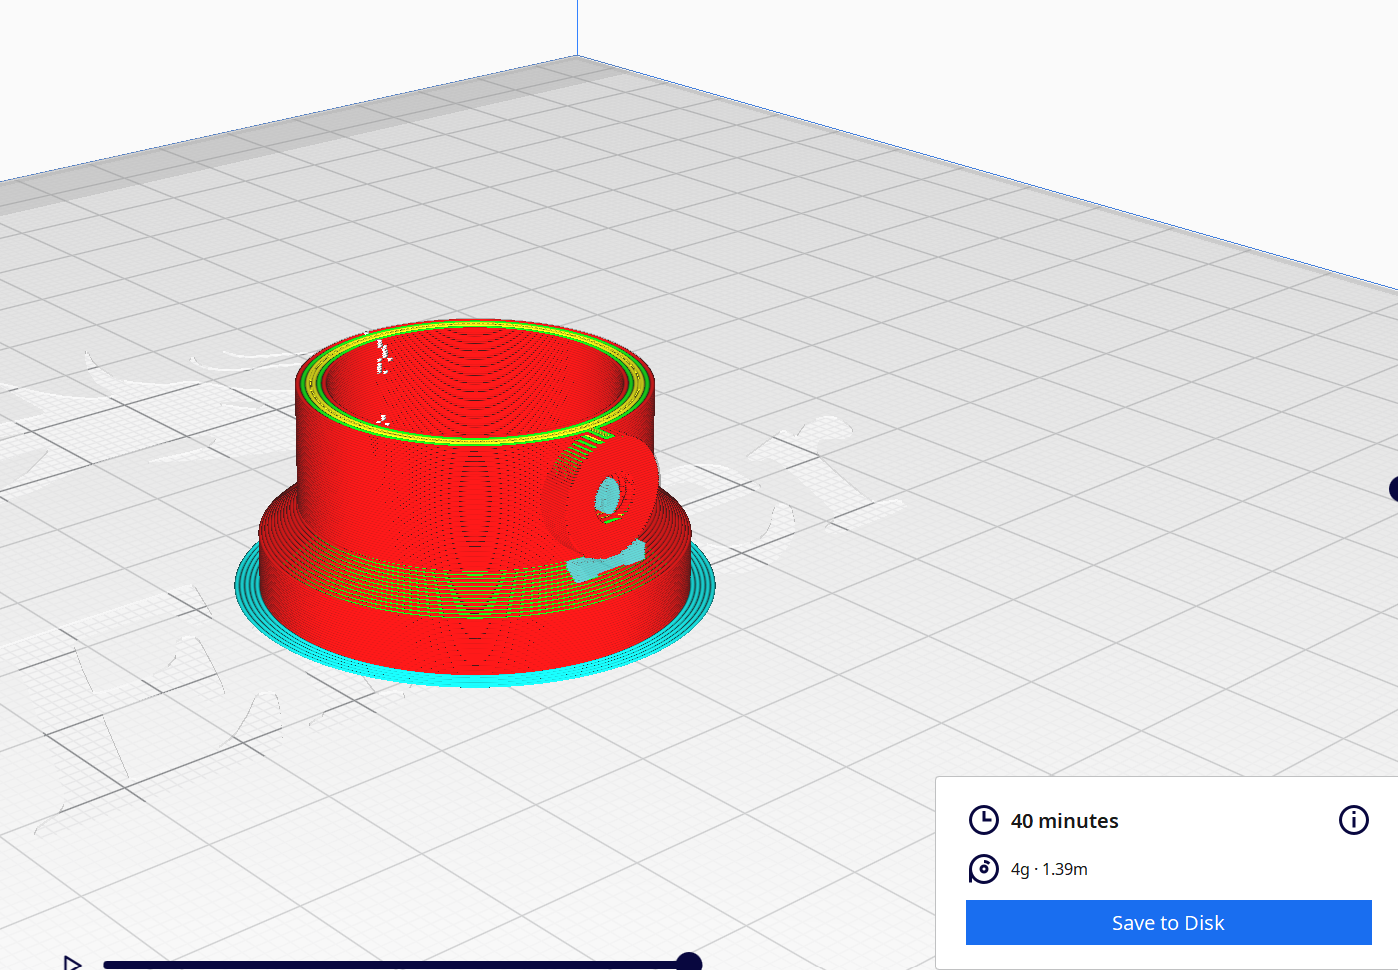
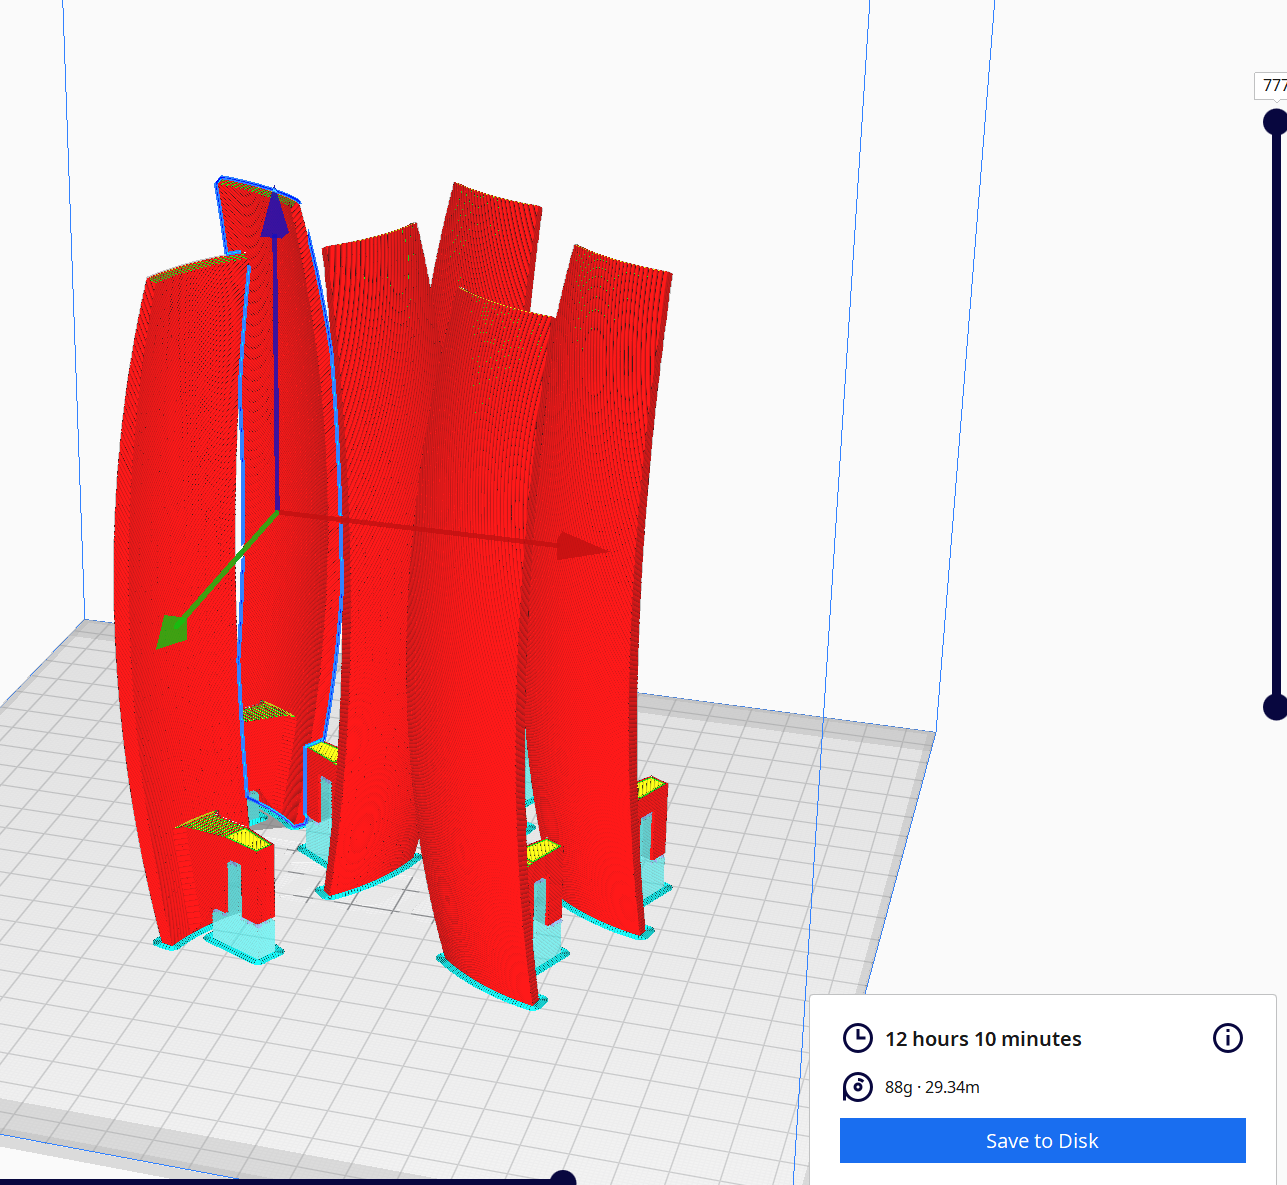
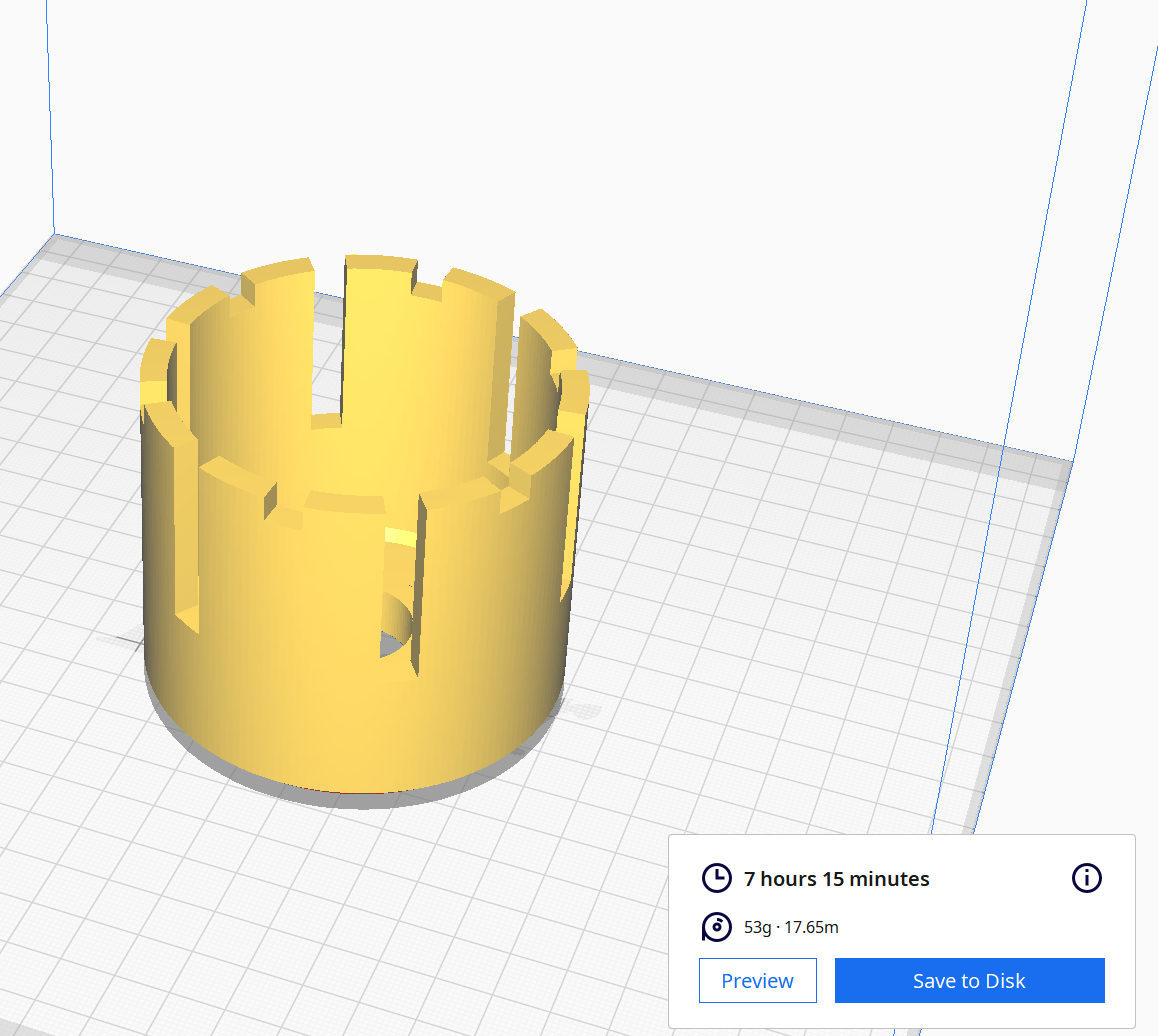
Import STL file in CURA slicer to make 3d printed parts.
Use the below parameter for good 3d printing.
Layer height: 0.2 mm
Wall: 2
Top / Bottom : 3
Infill: 25 %
Material: PLA White
Speed: 40 mm / s
Support: no
Build Plate Adhesion: Brim
3d Print Parts of Lamp
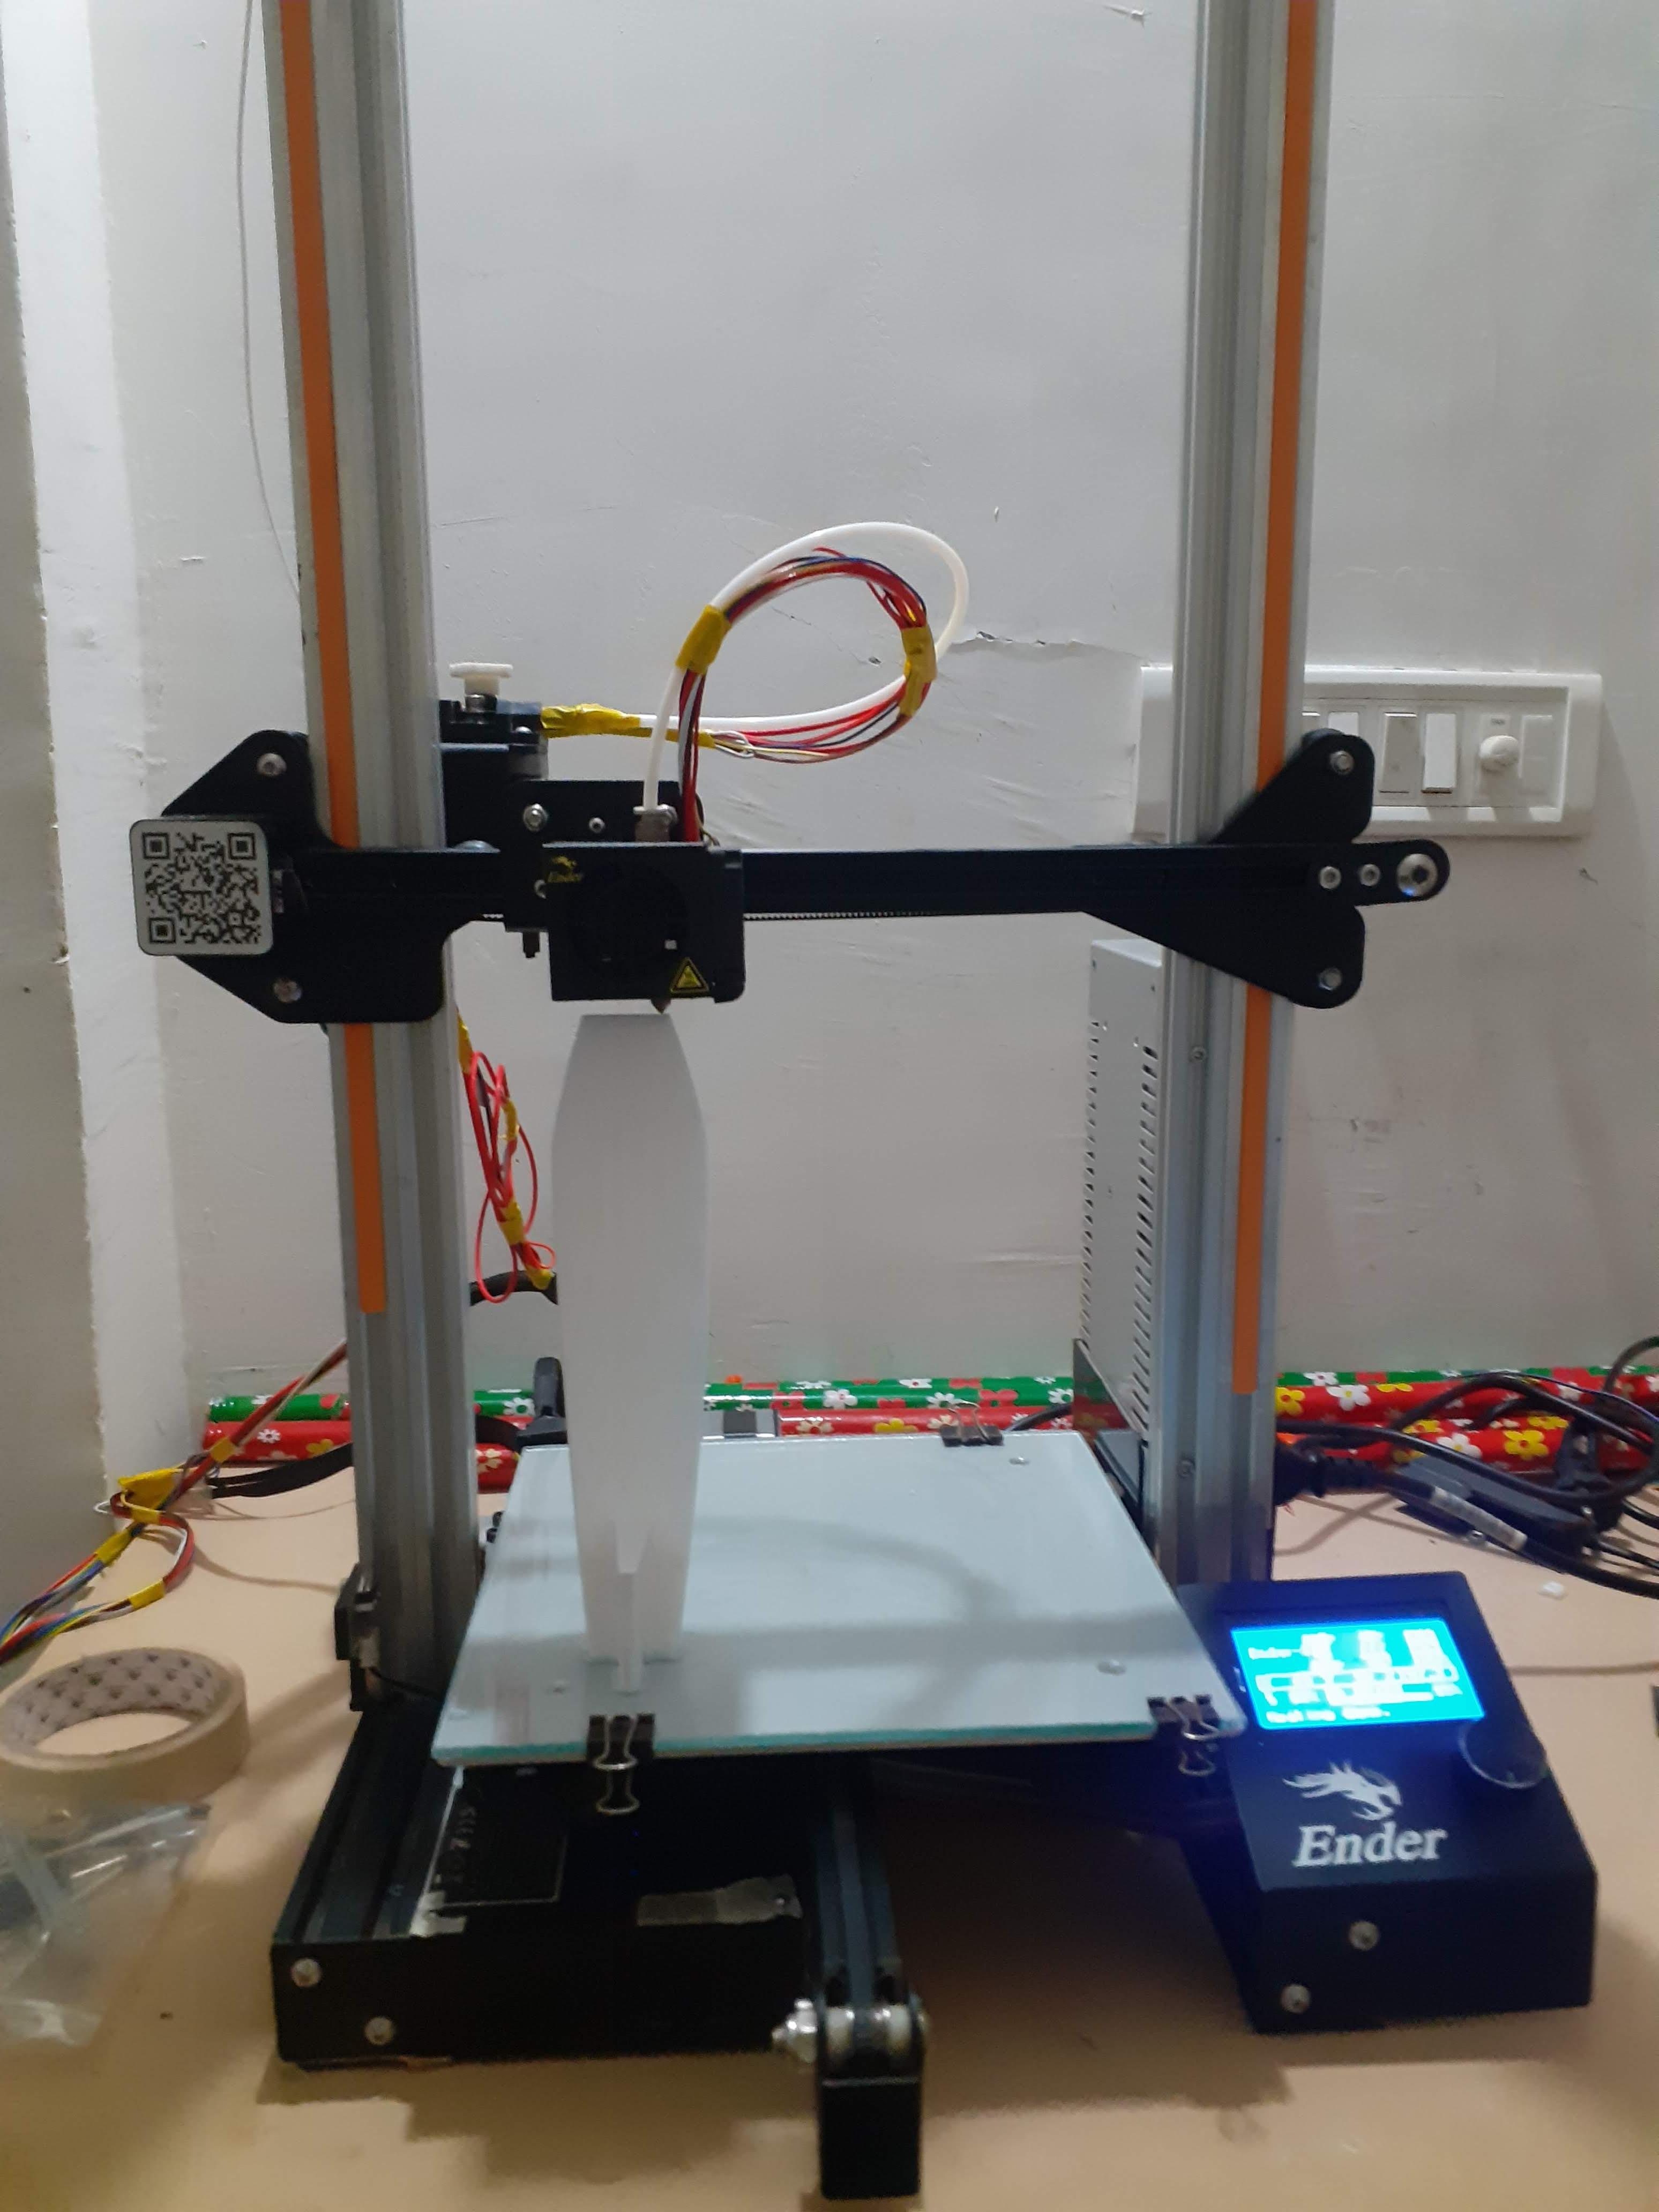
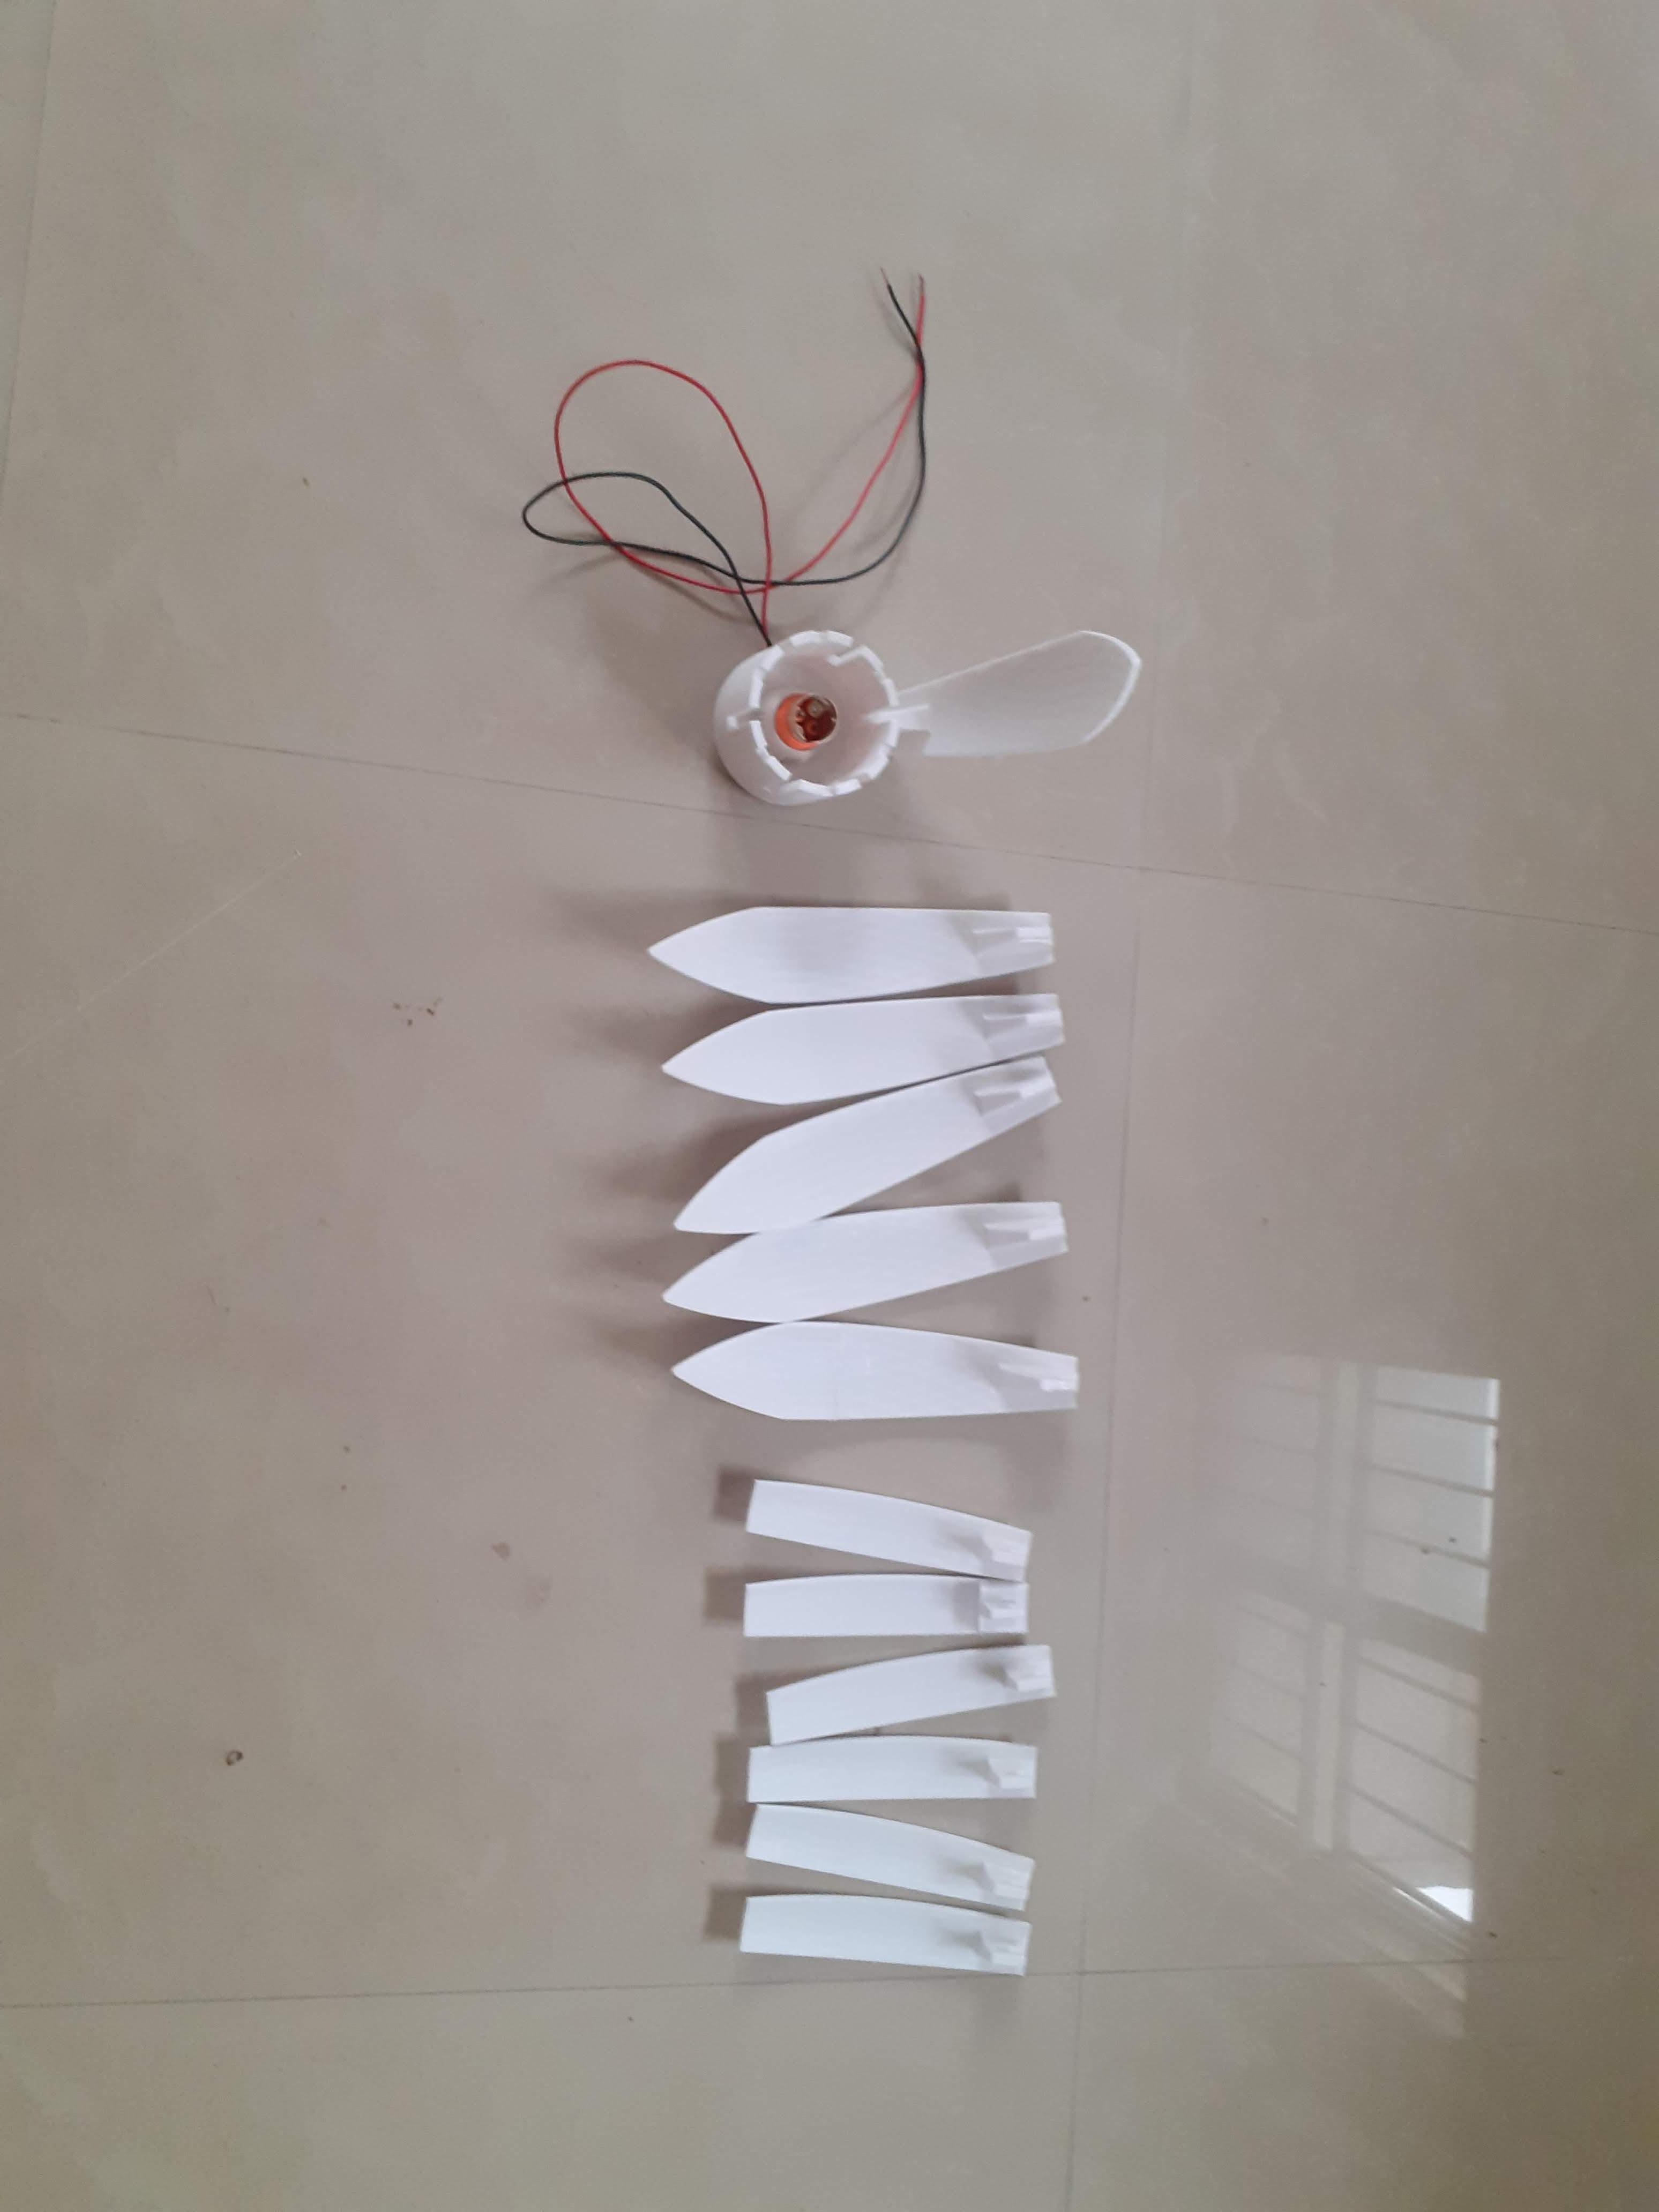
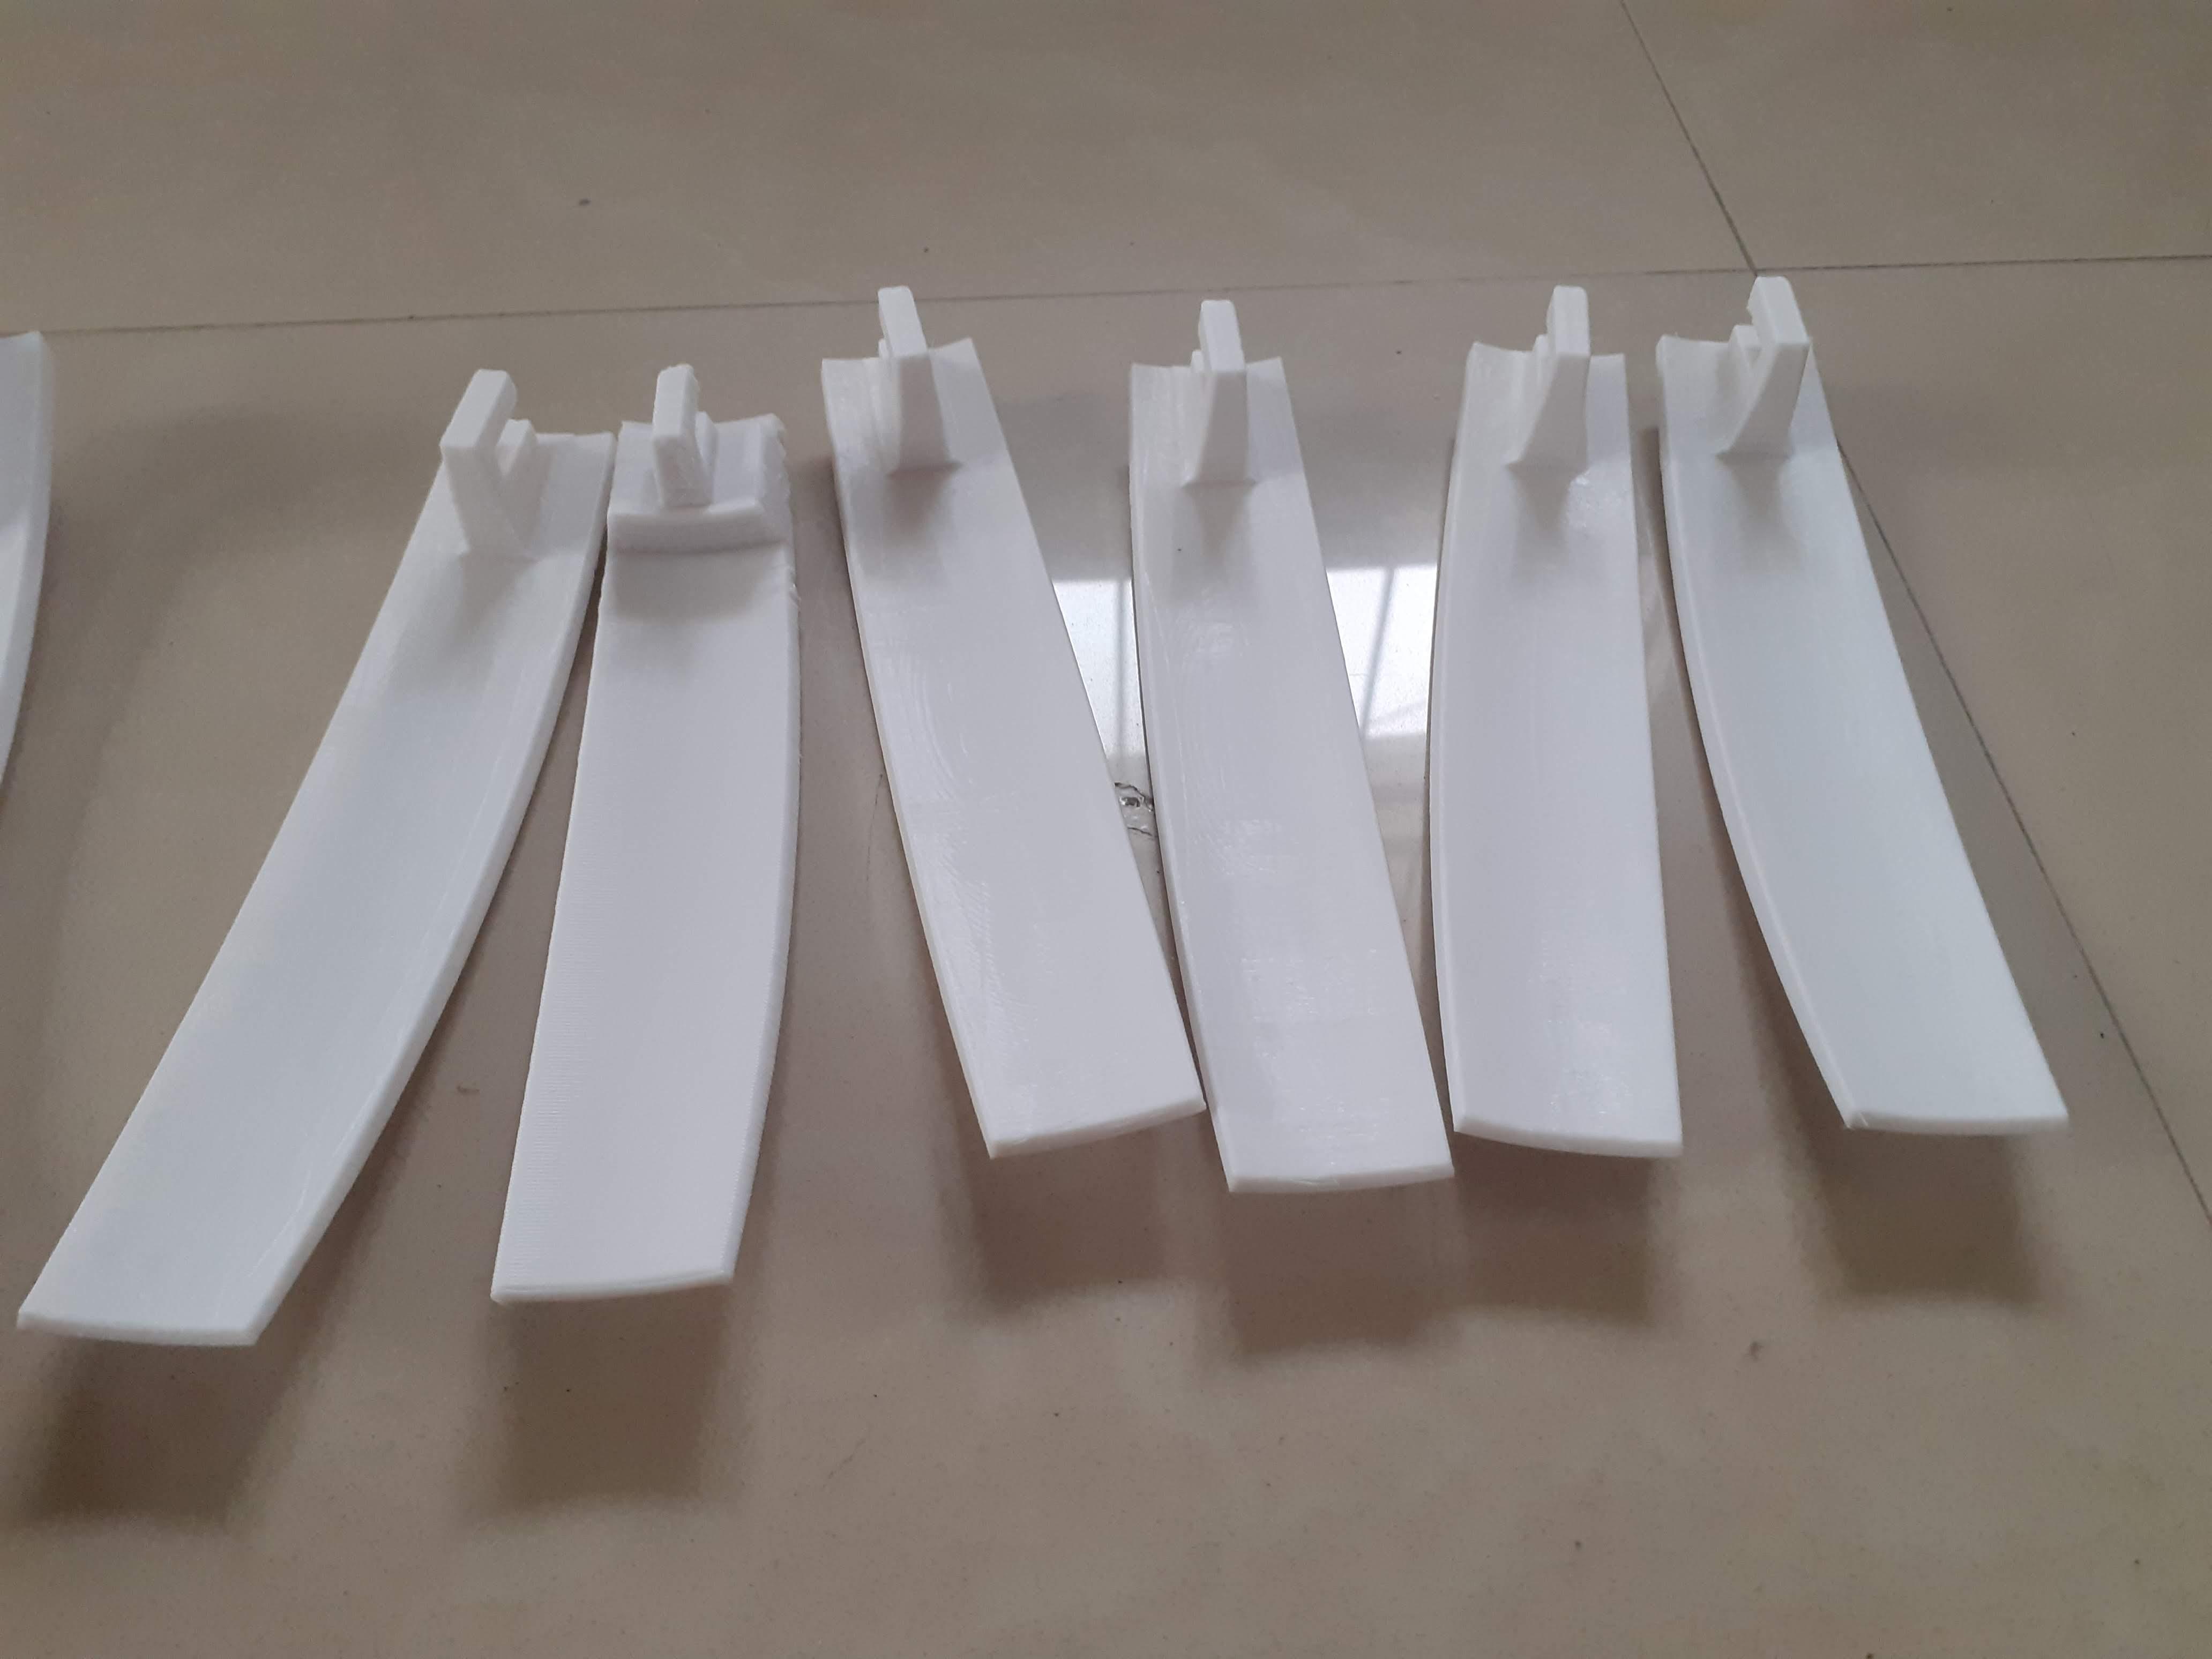
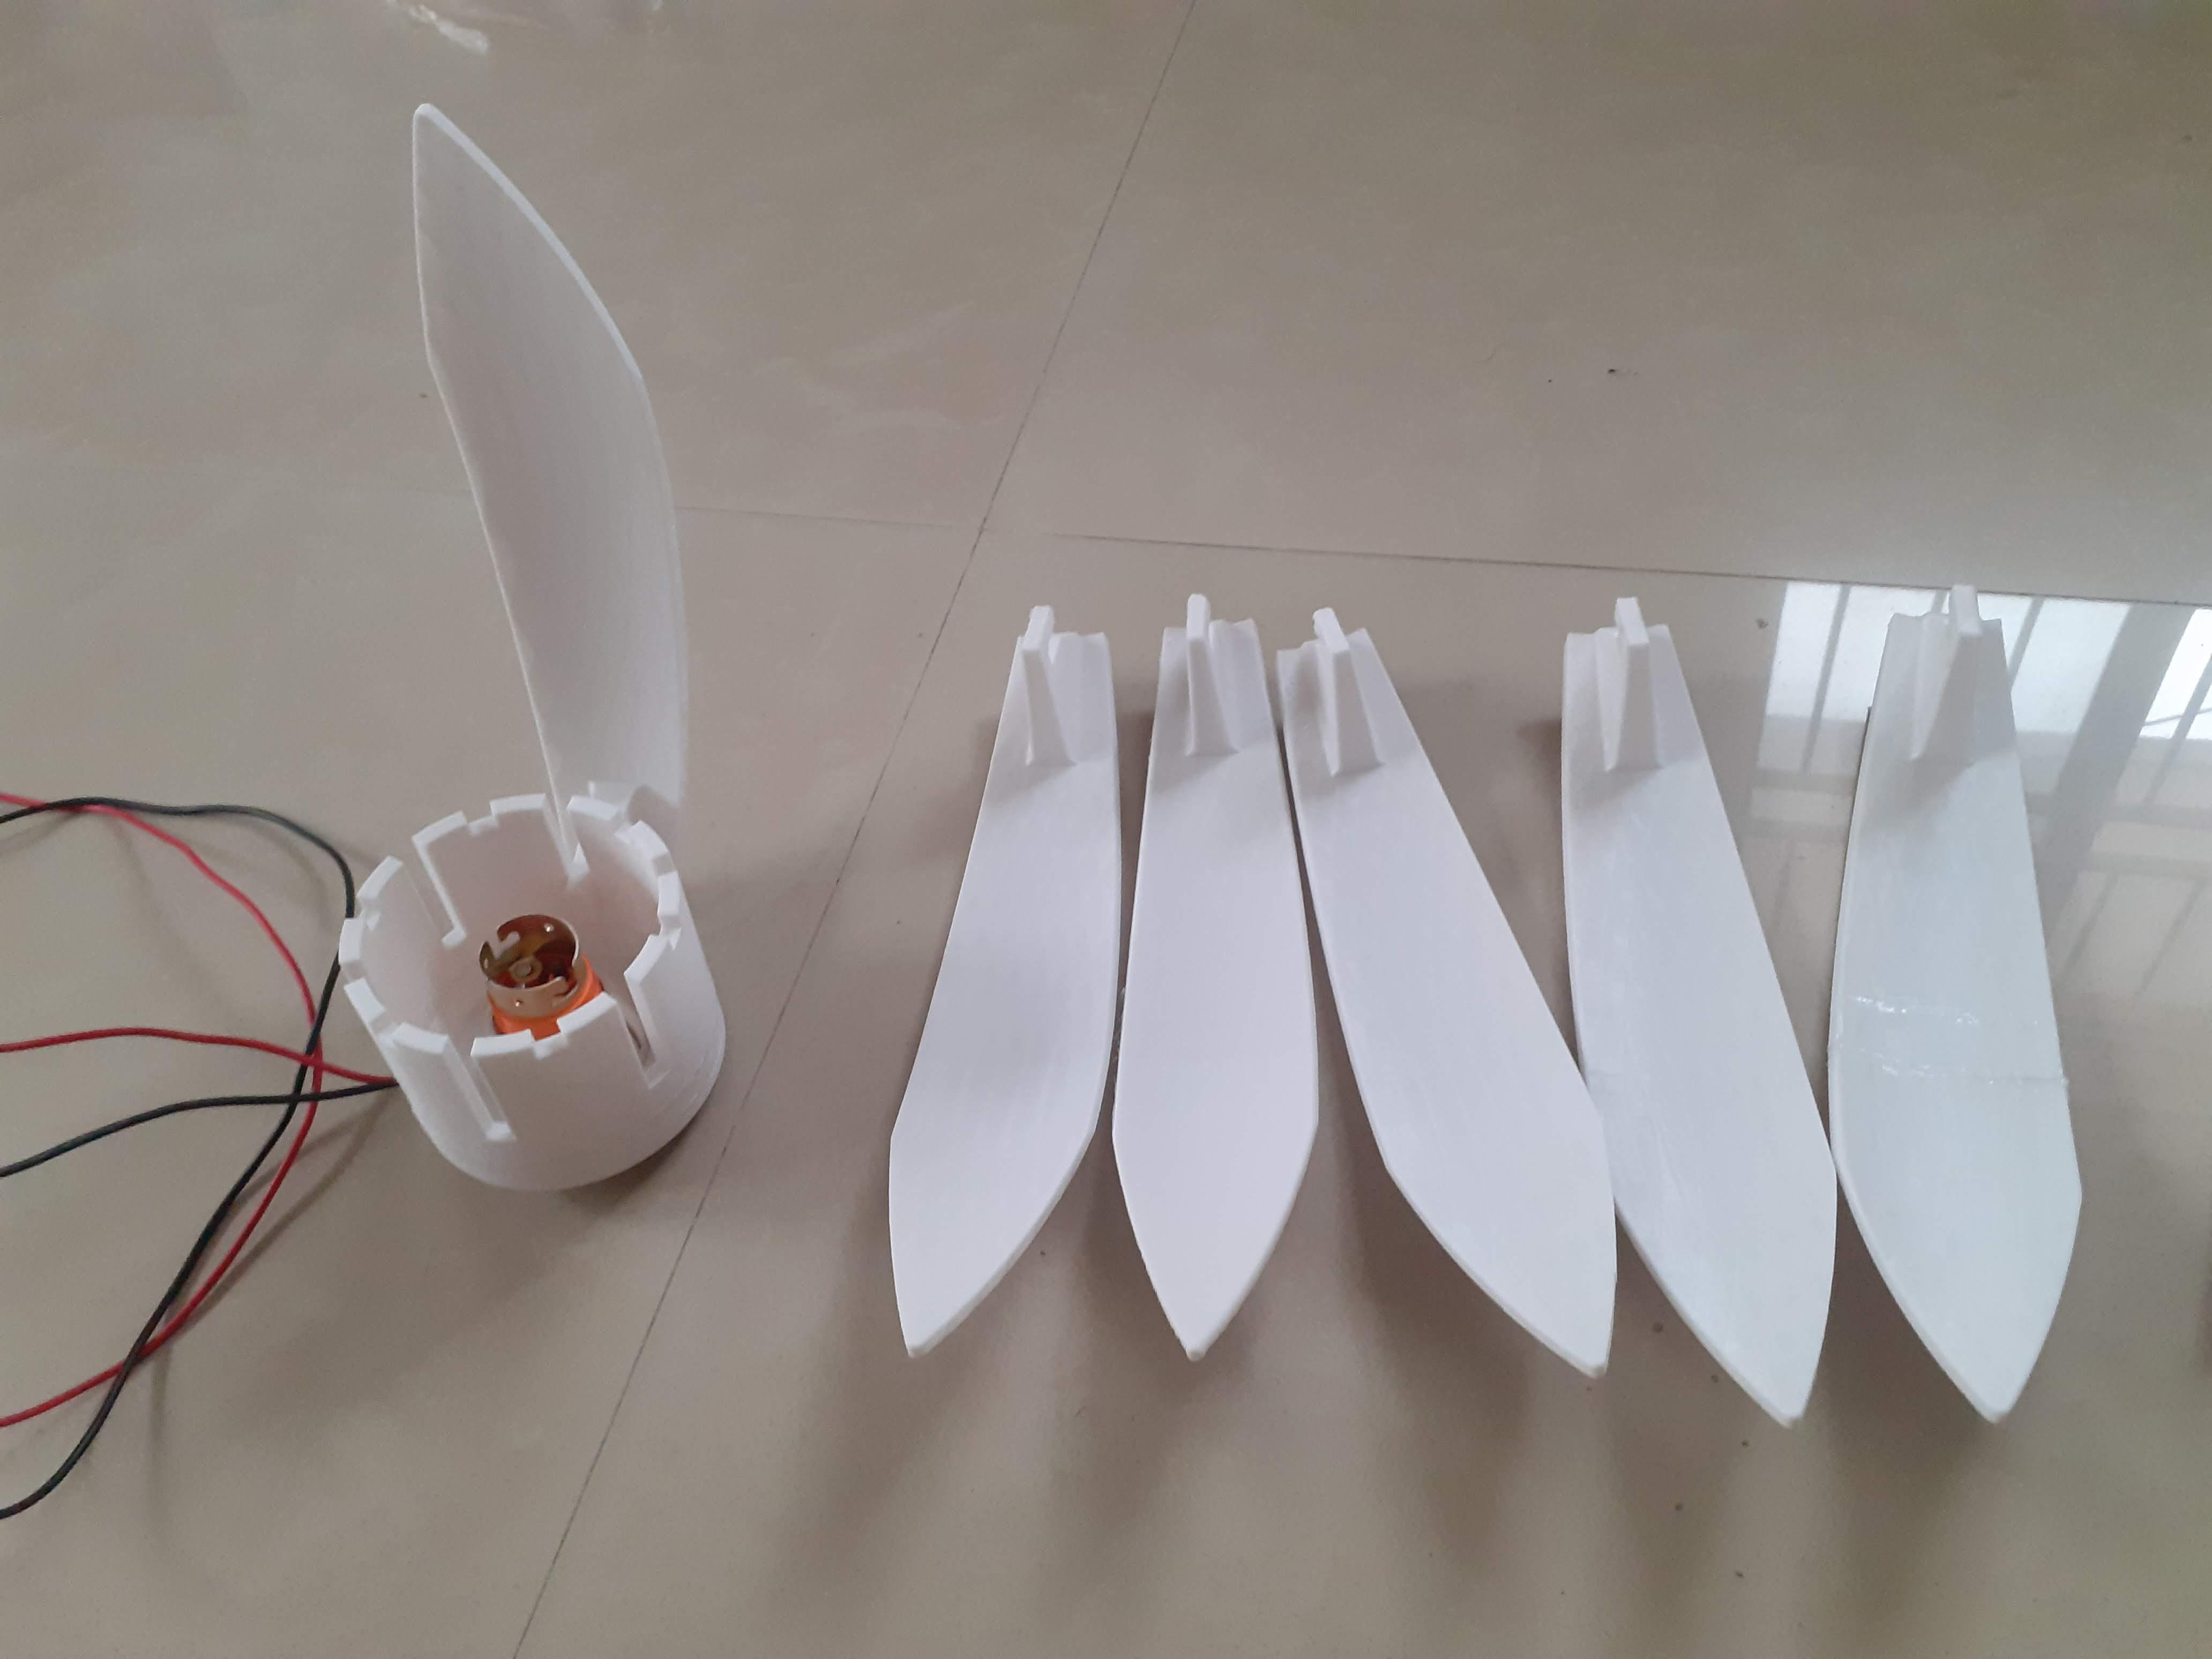
With Ender-3, 3d printing of all parts takes 40 to 45 hrs.
For the post process, you need to remove the Brim at the bottom of the parts and sand it if needed.
Assembly and Testing.
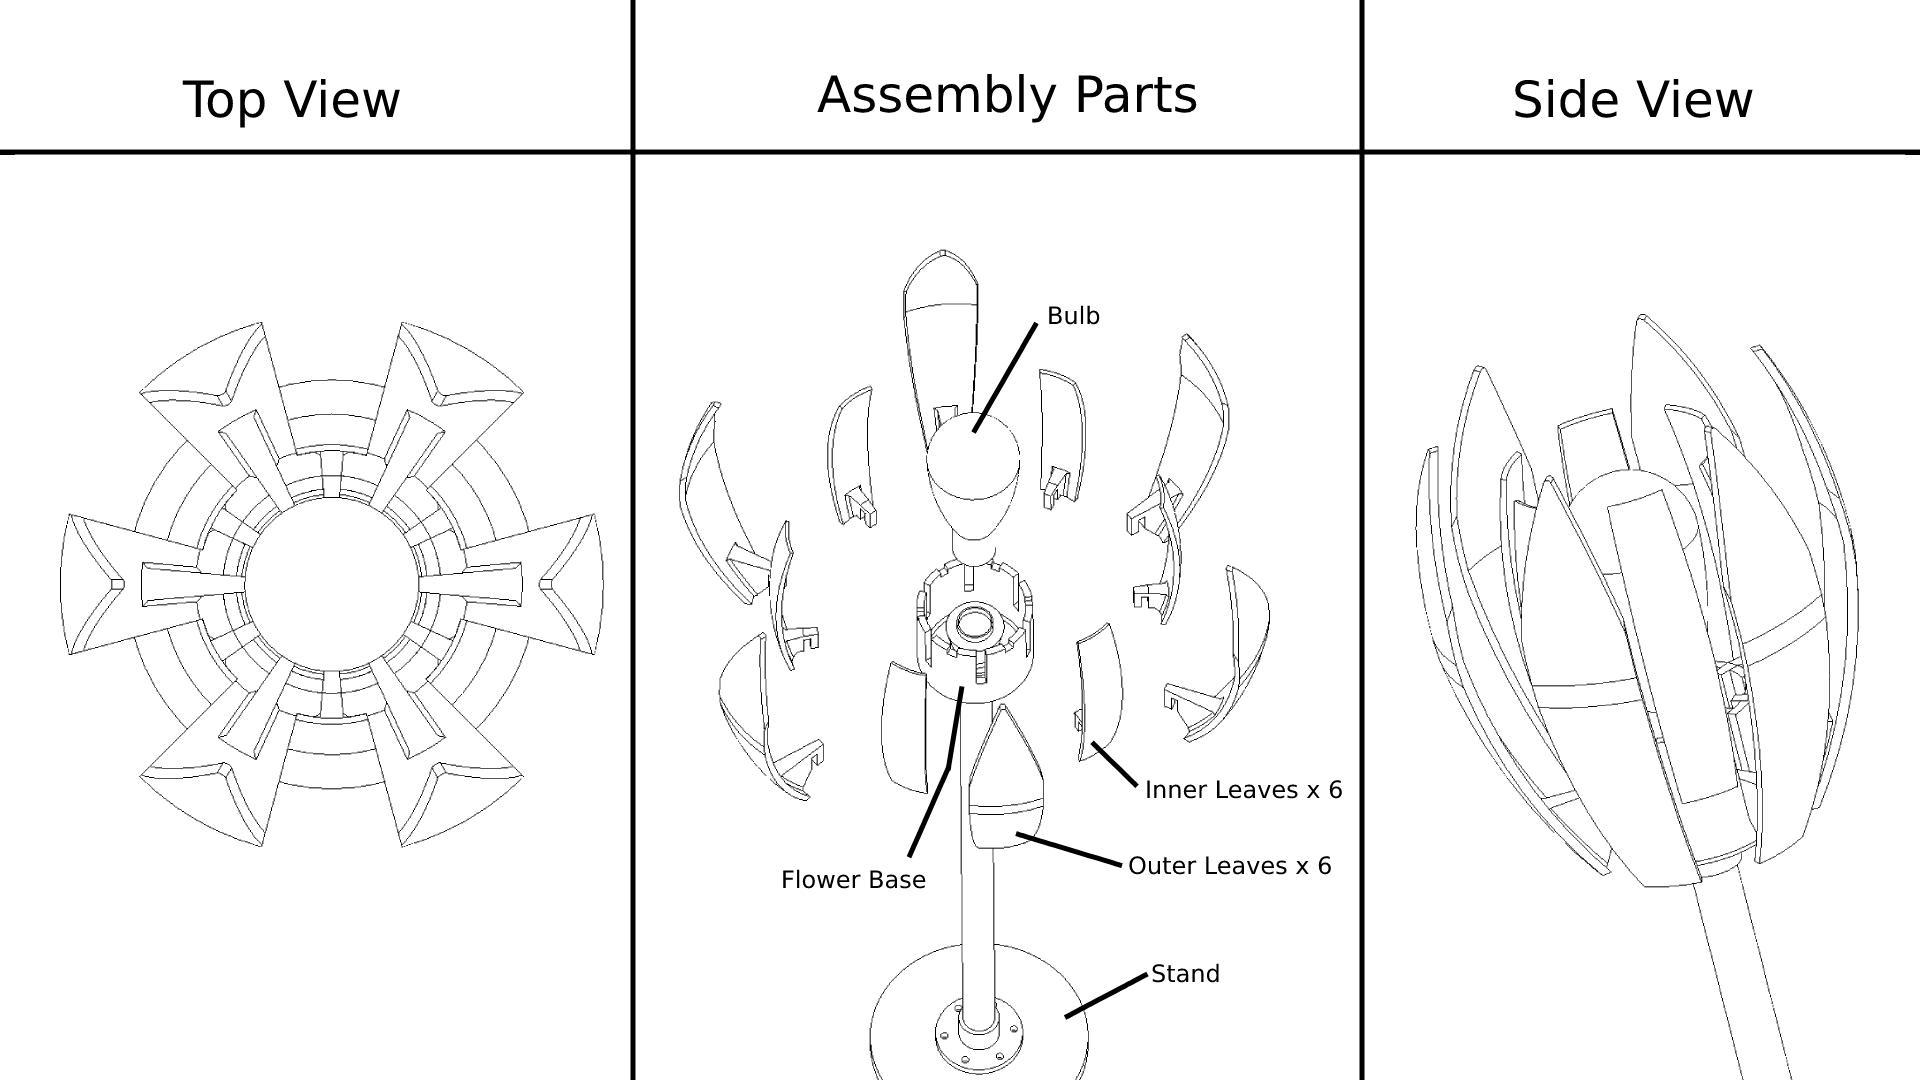.jpg)
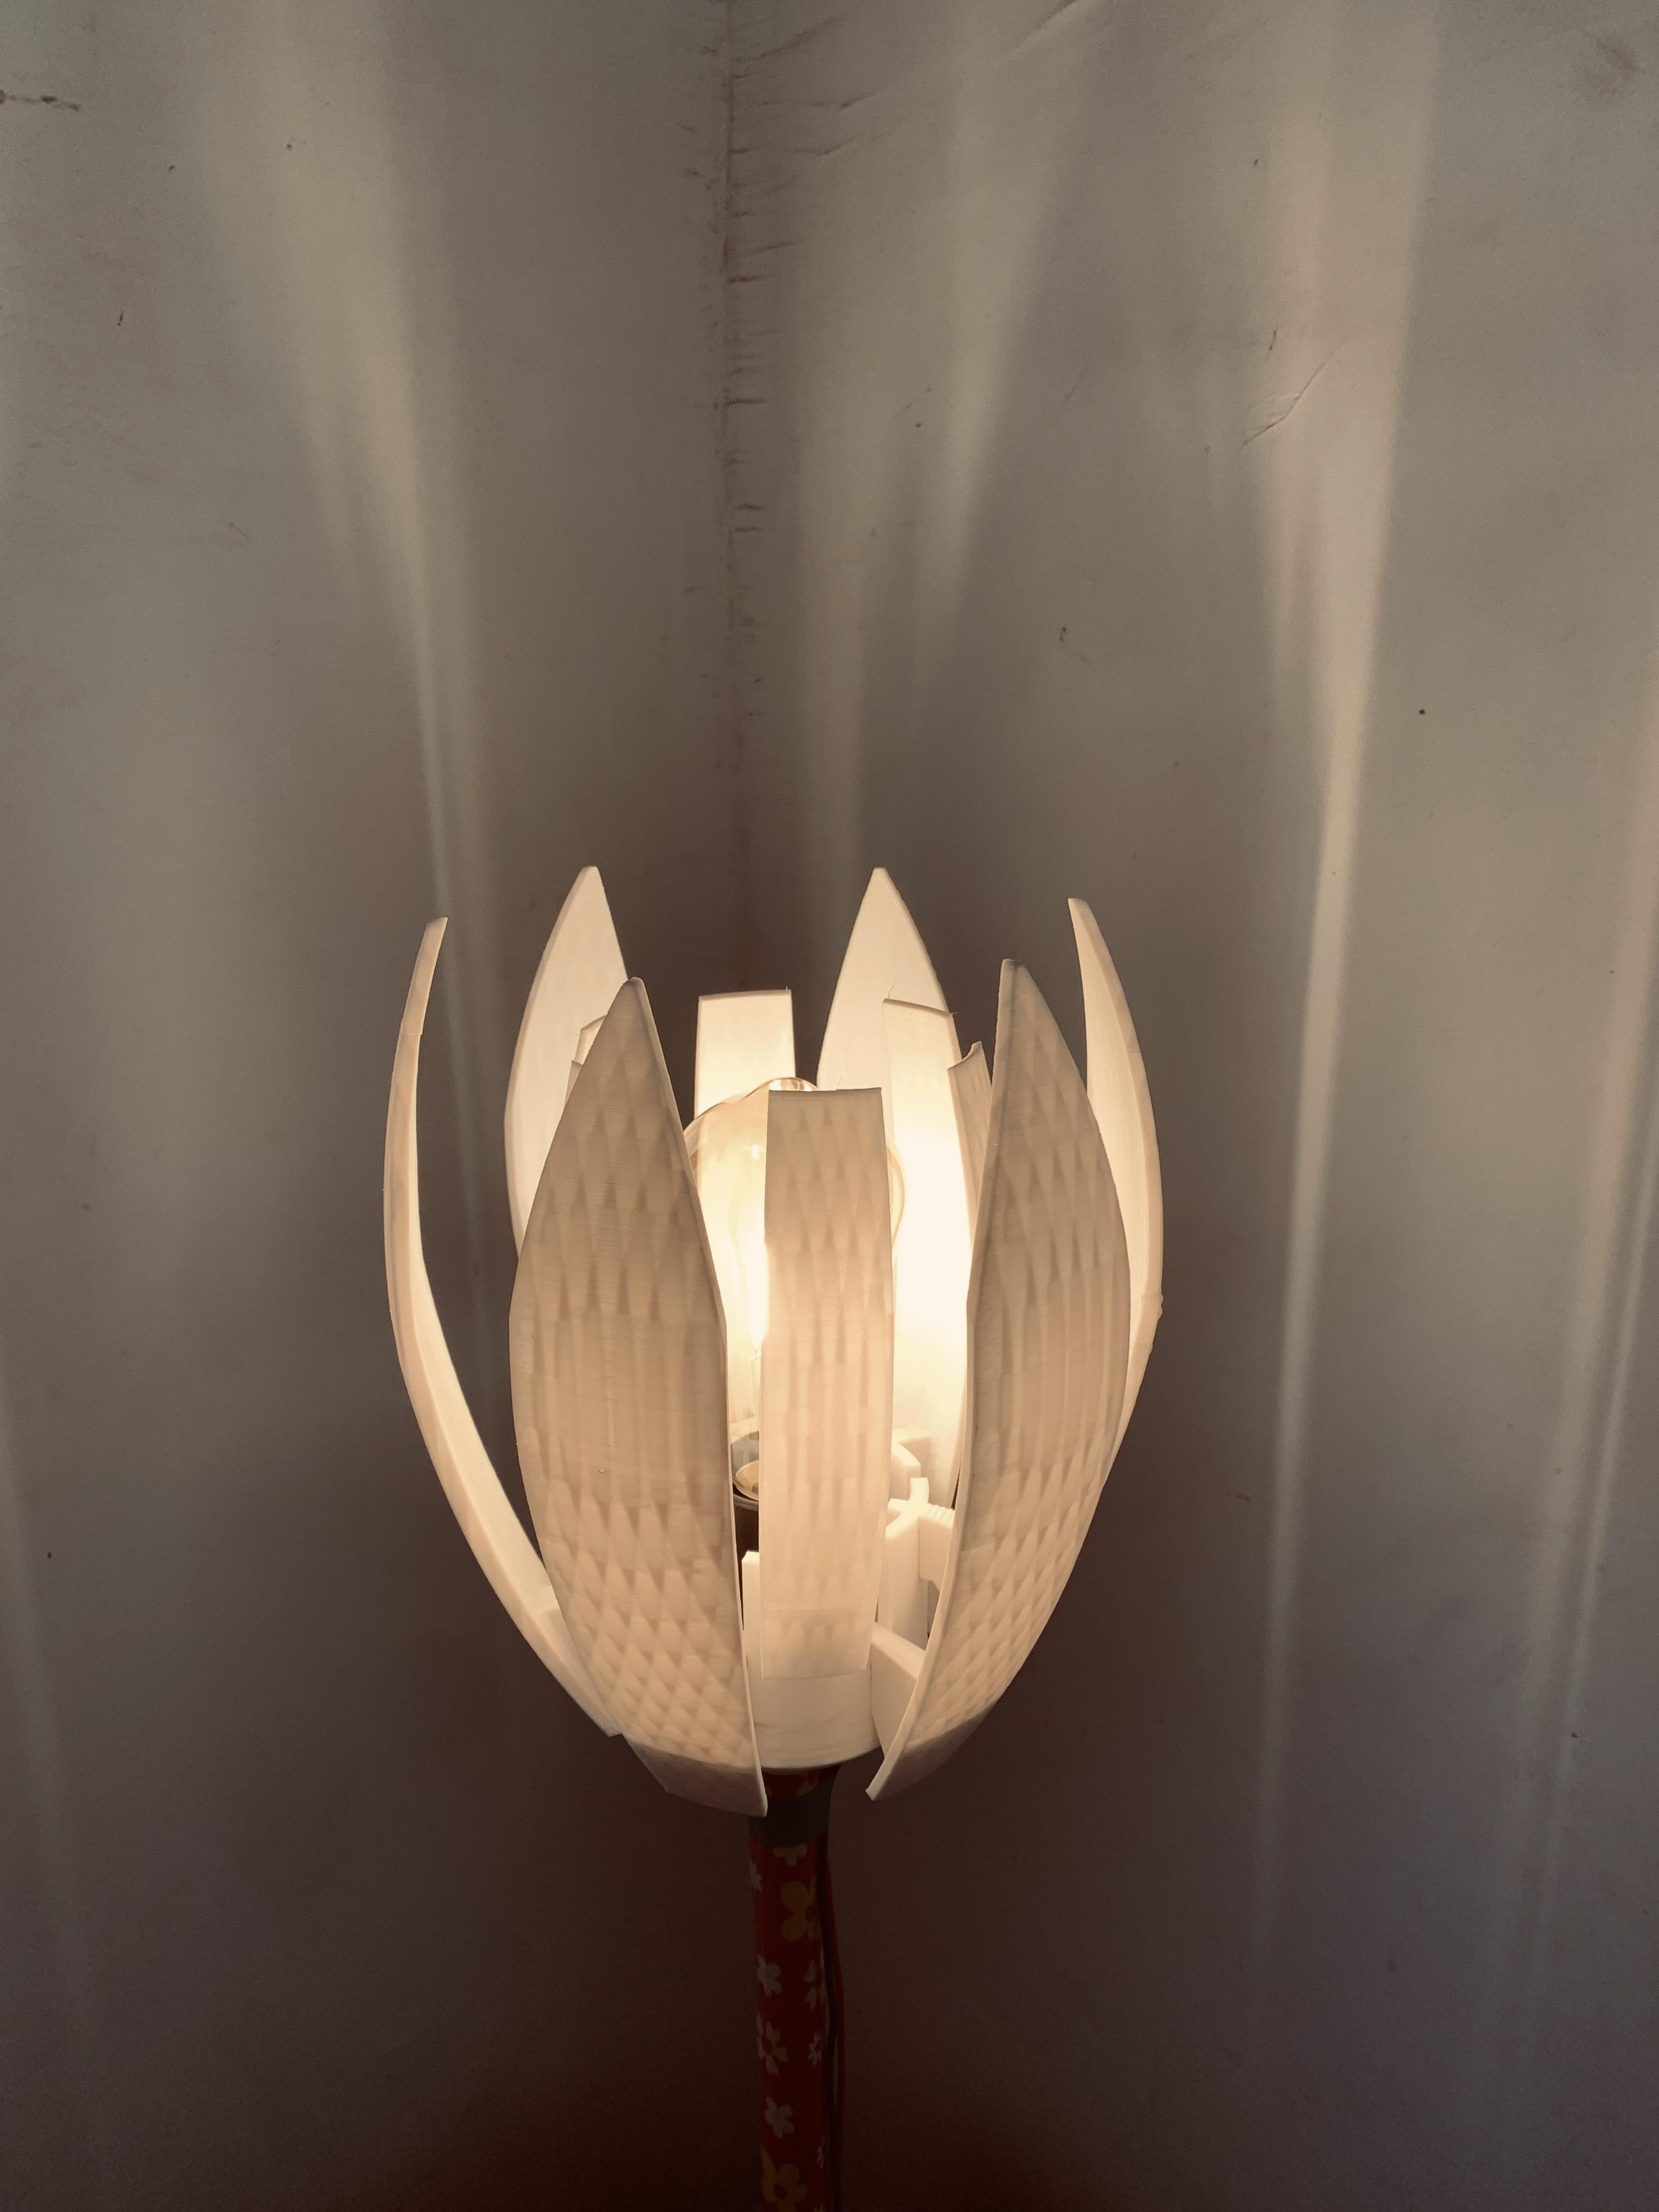
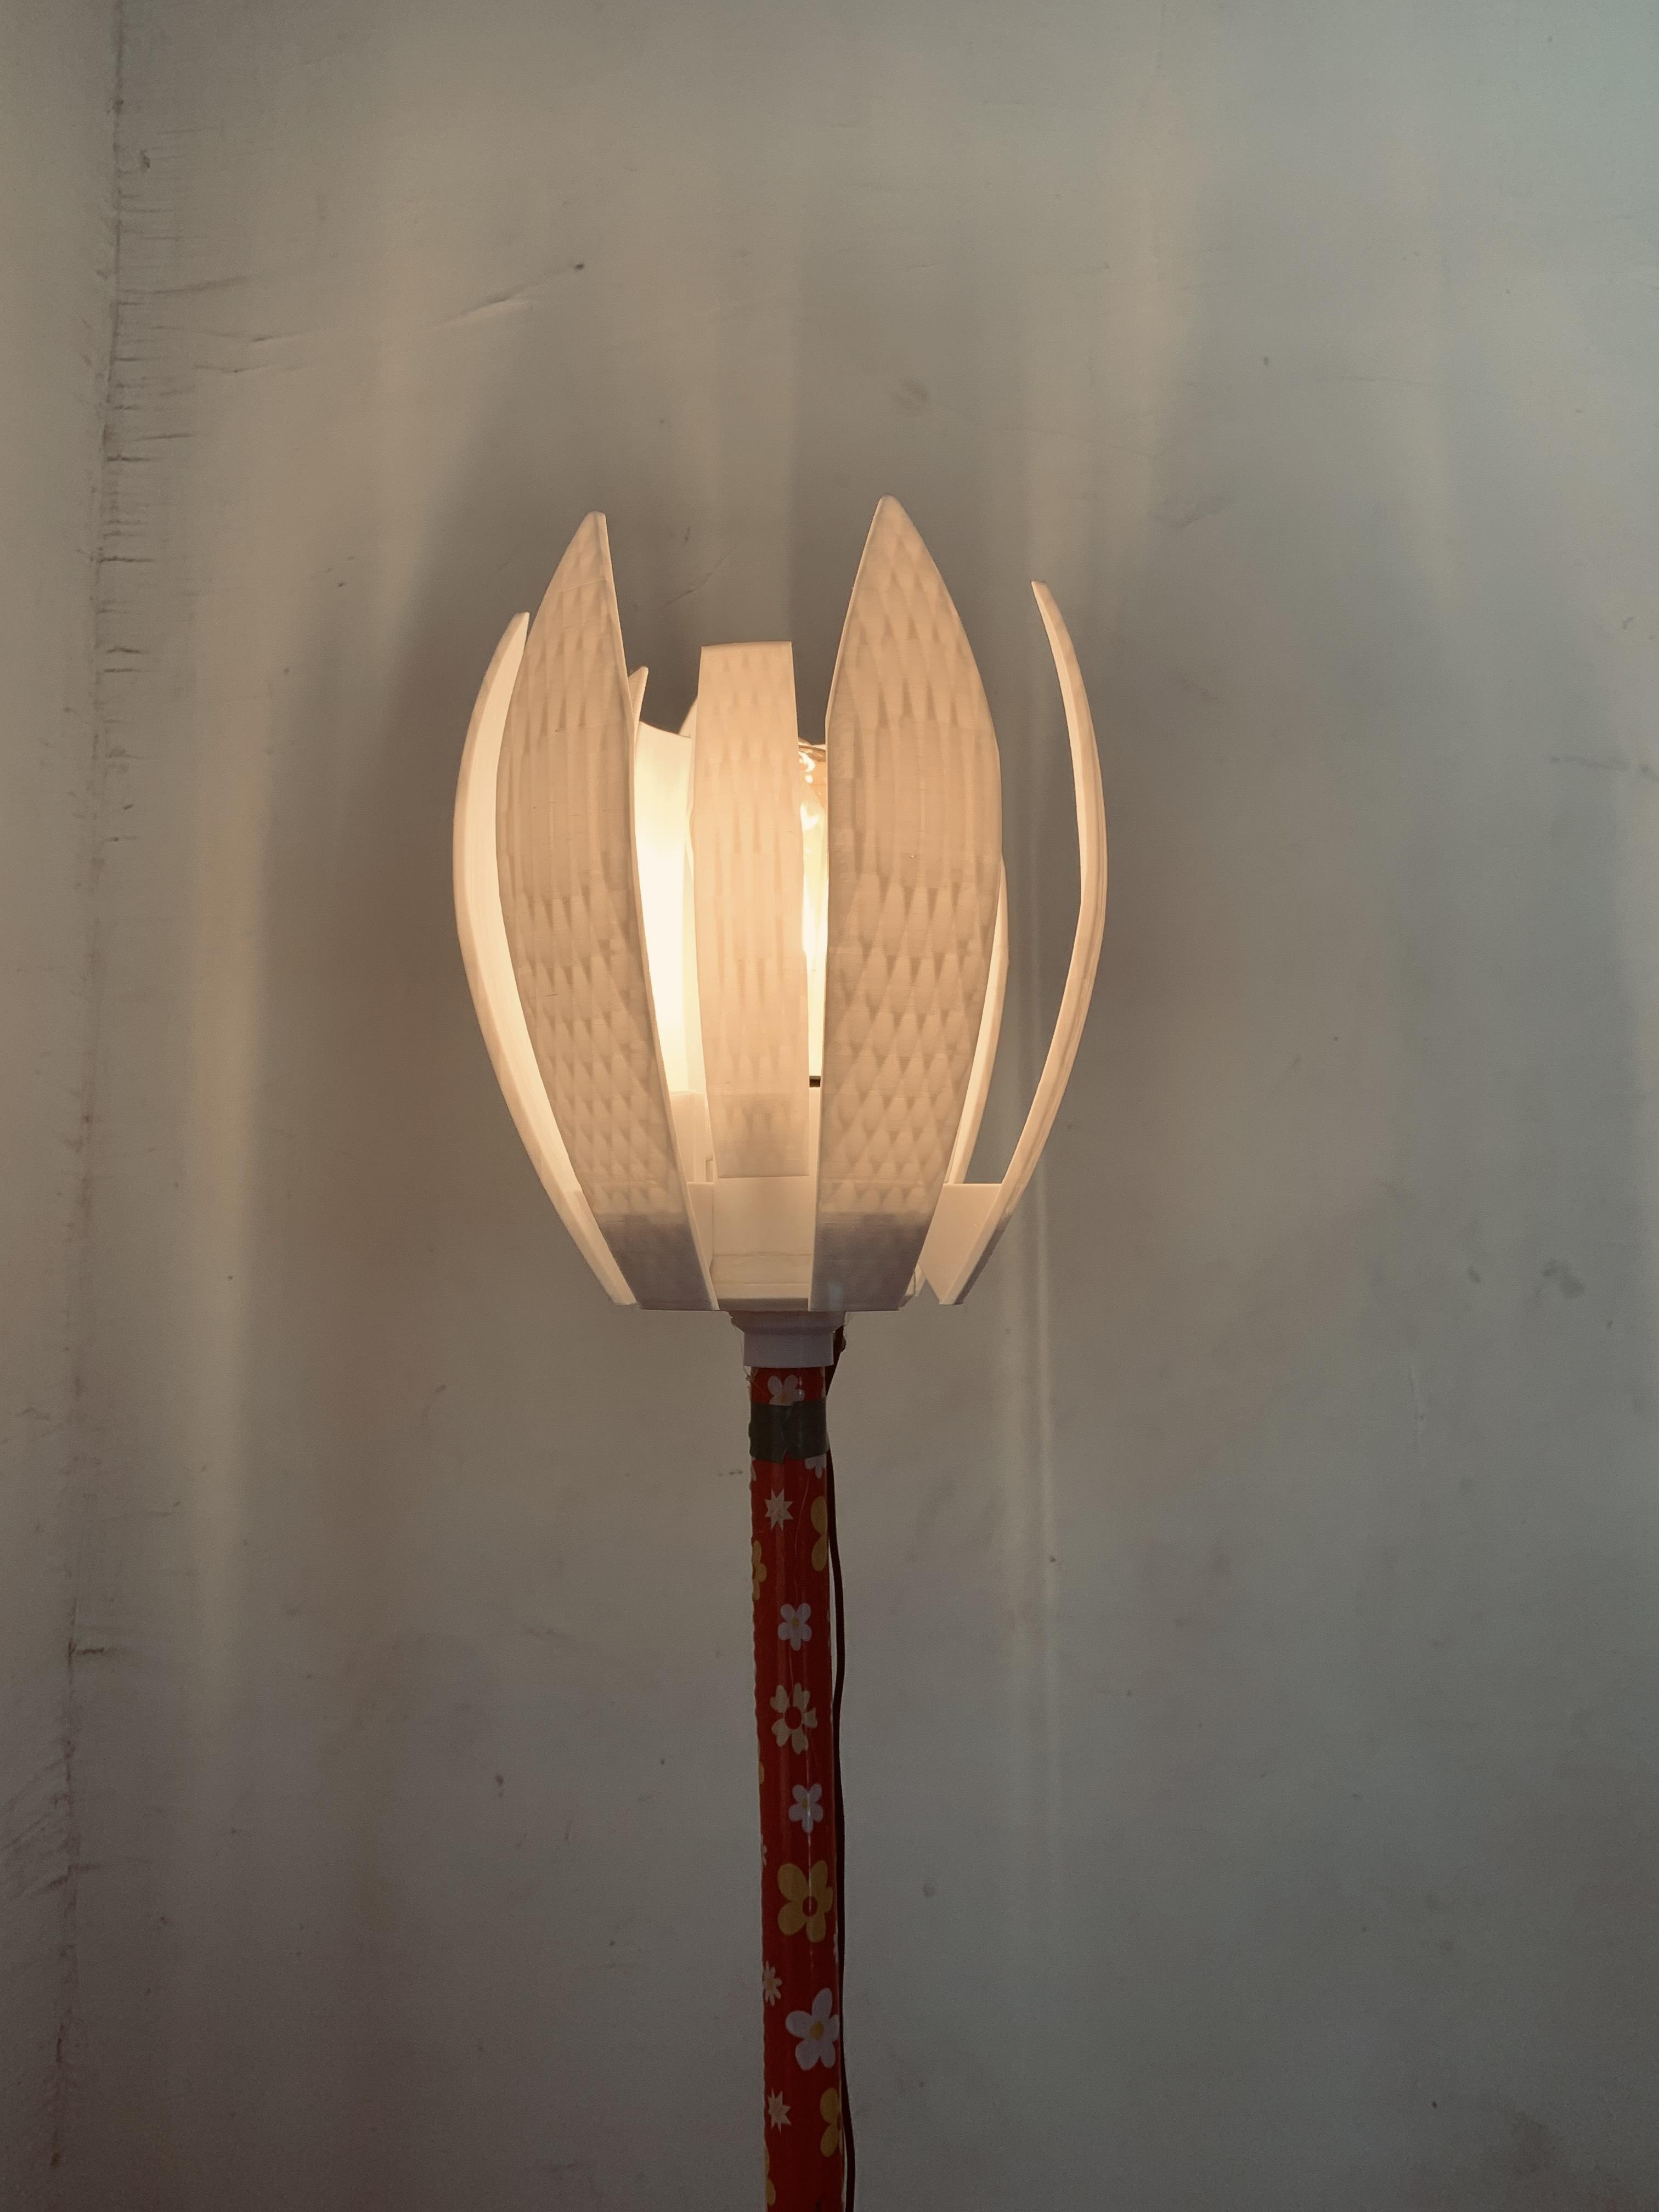
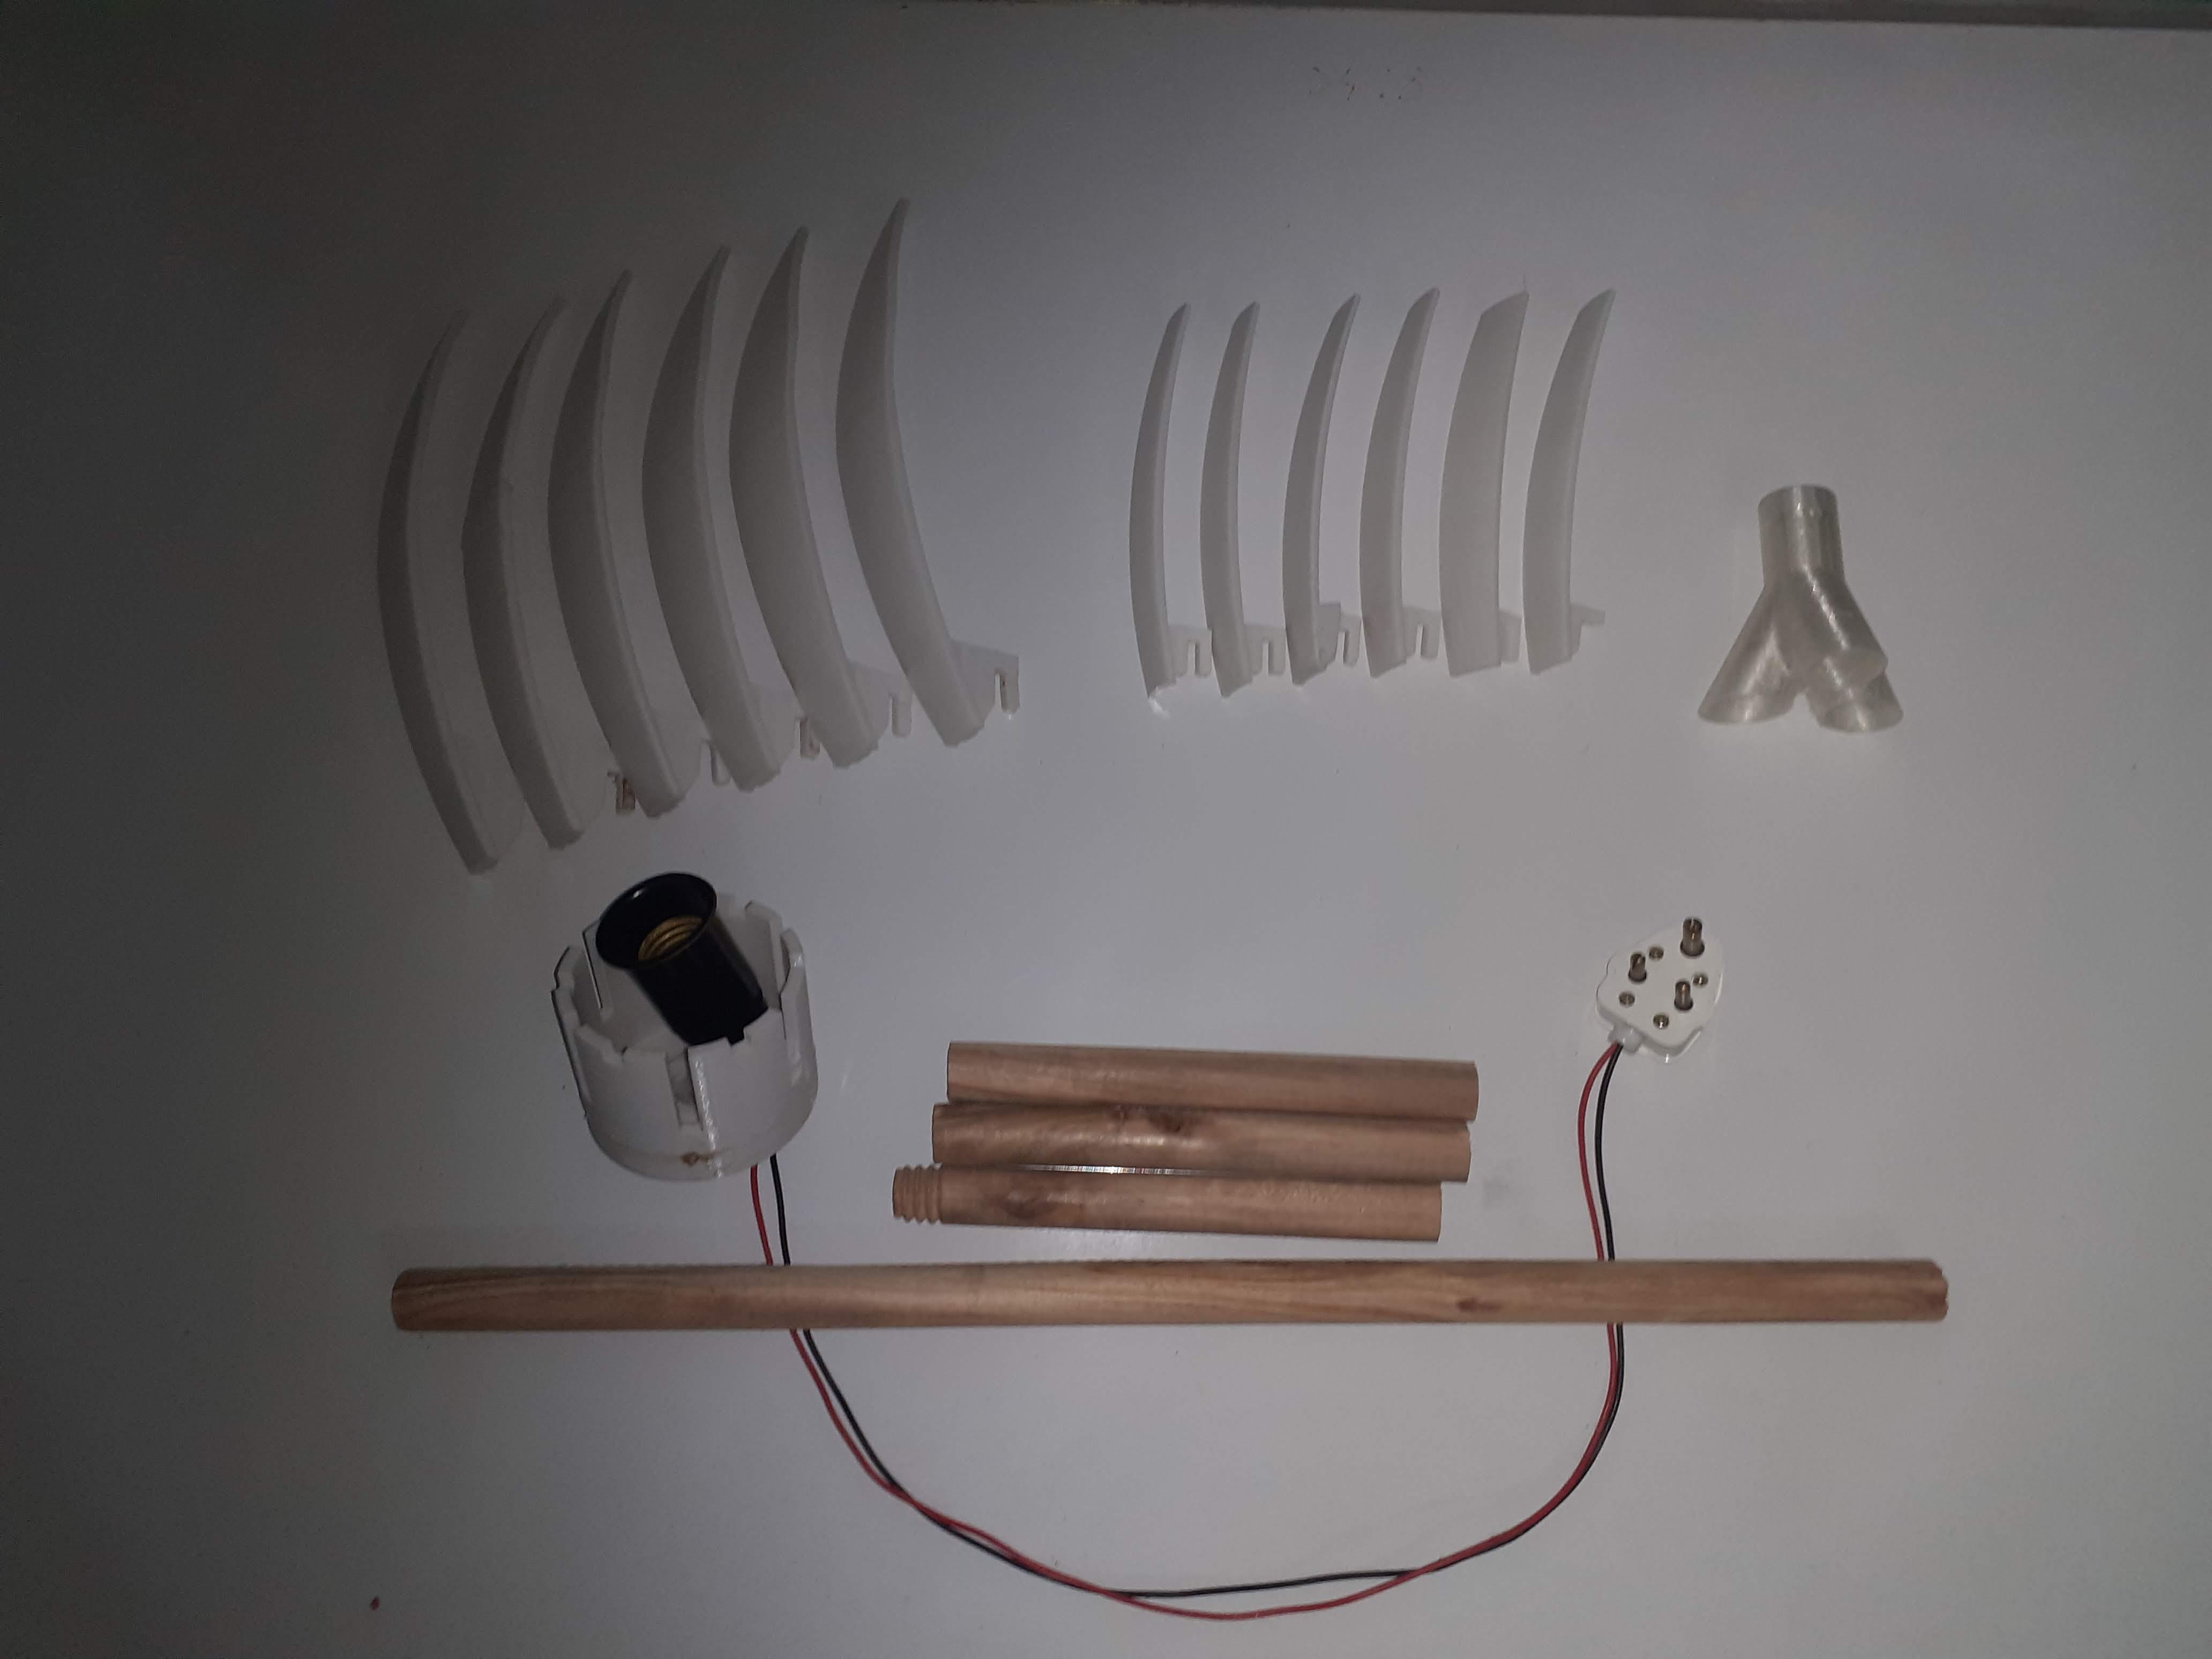
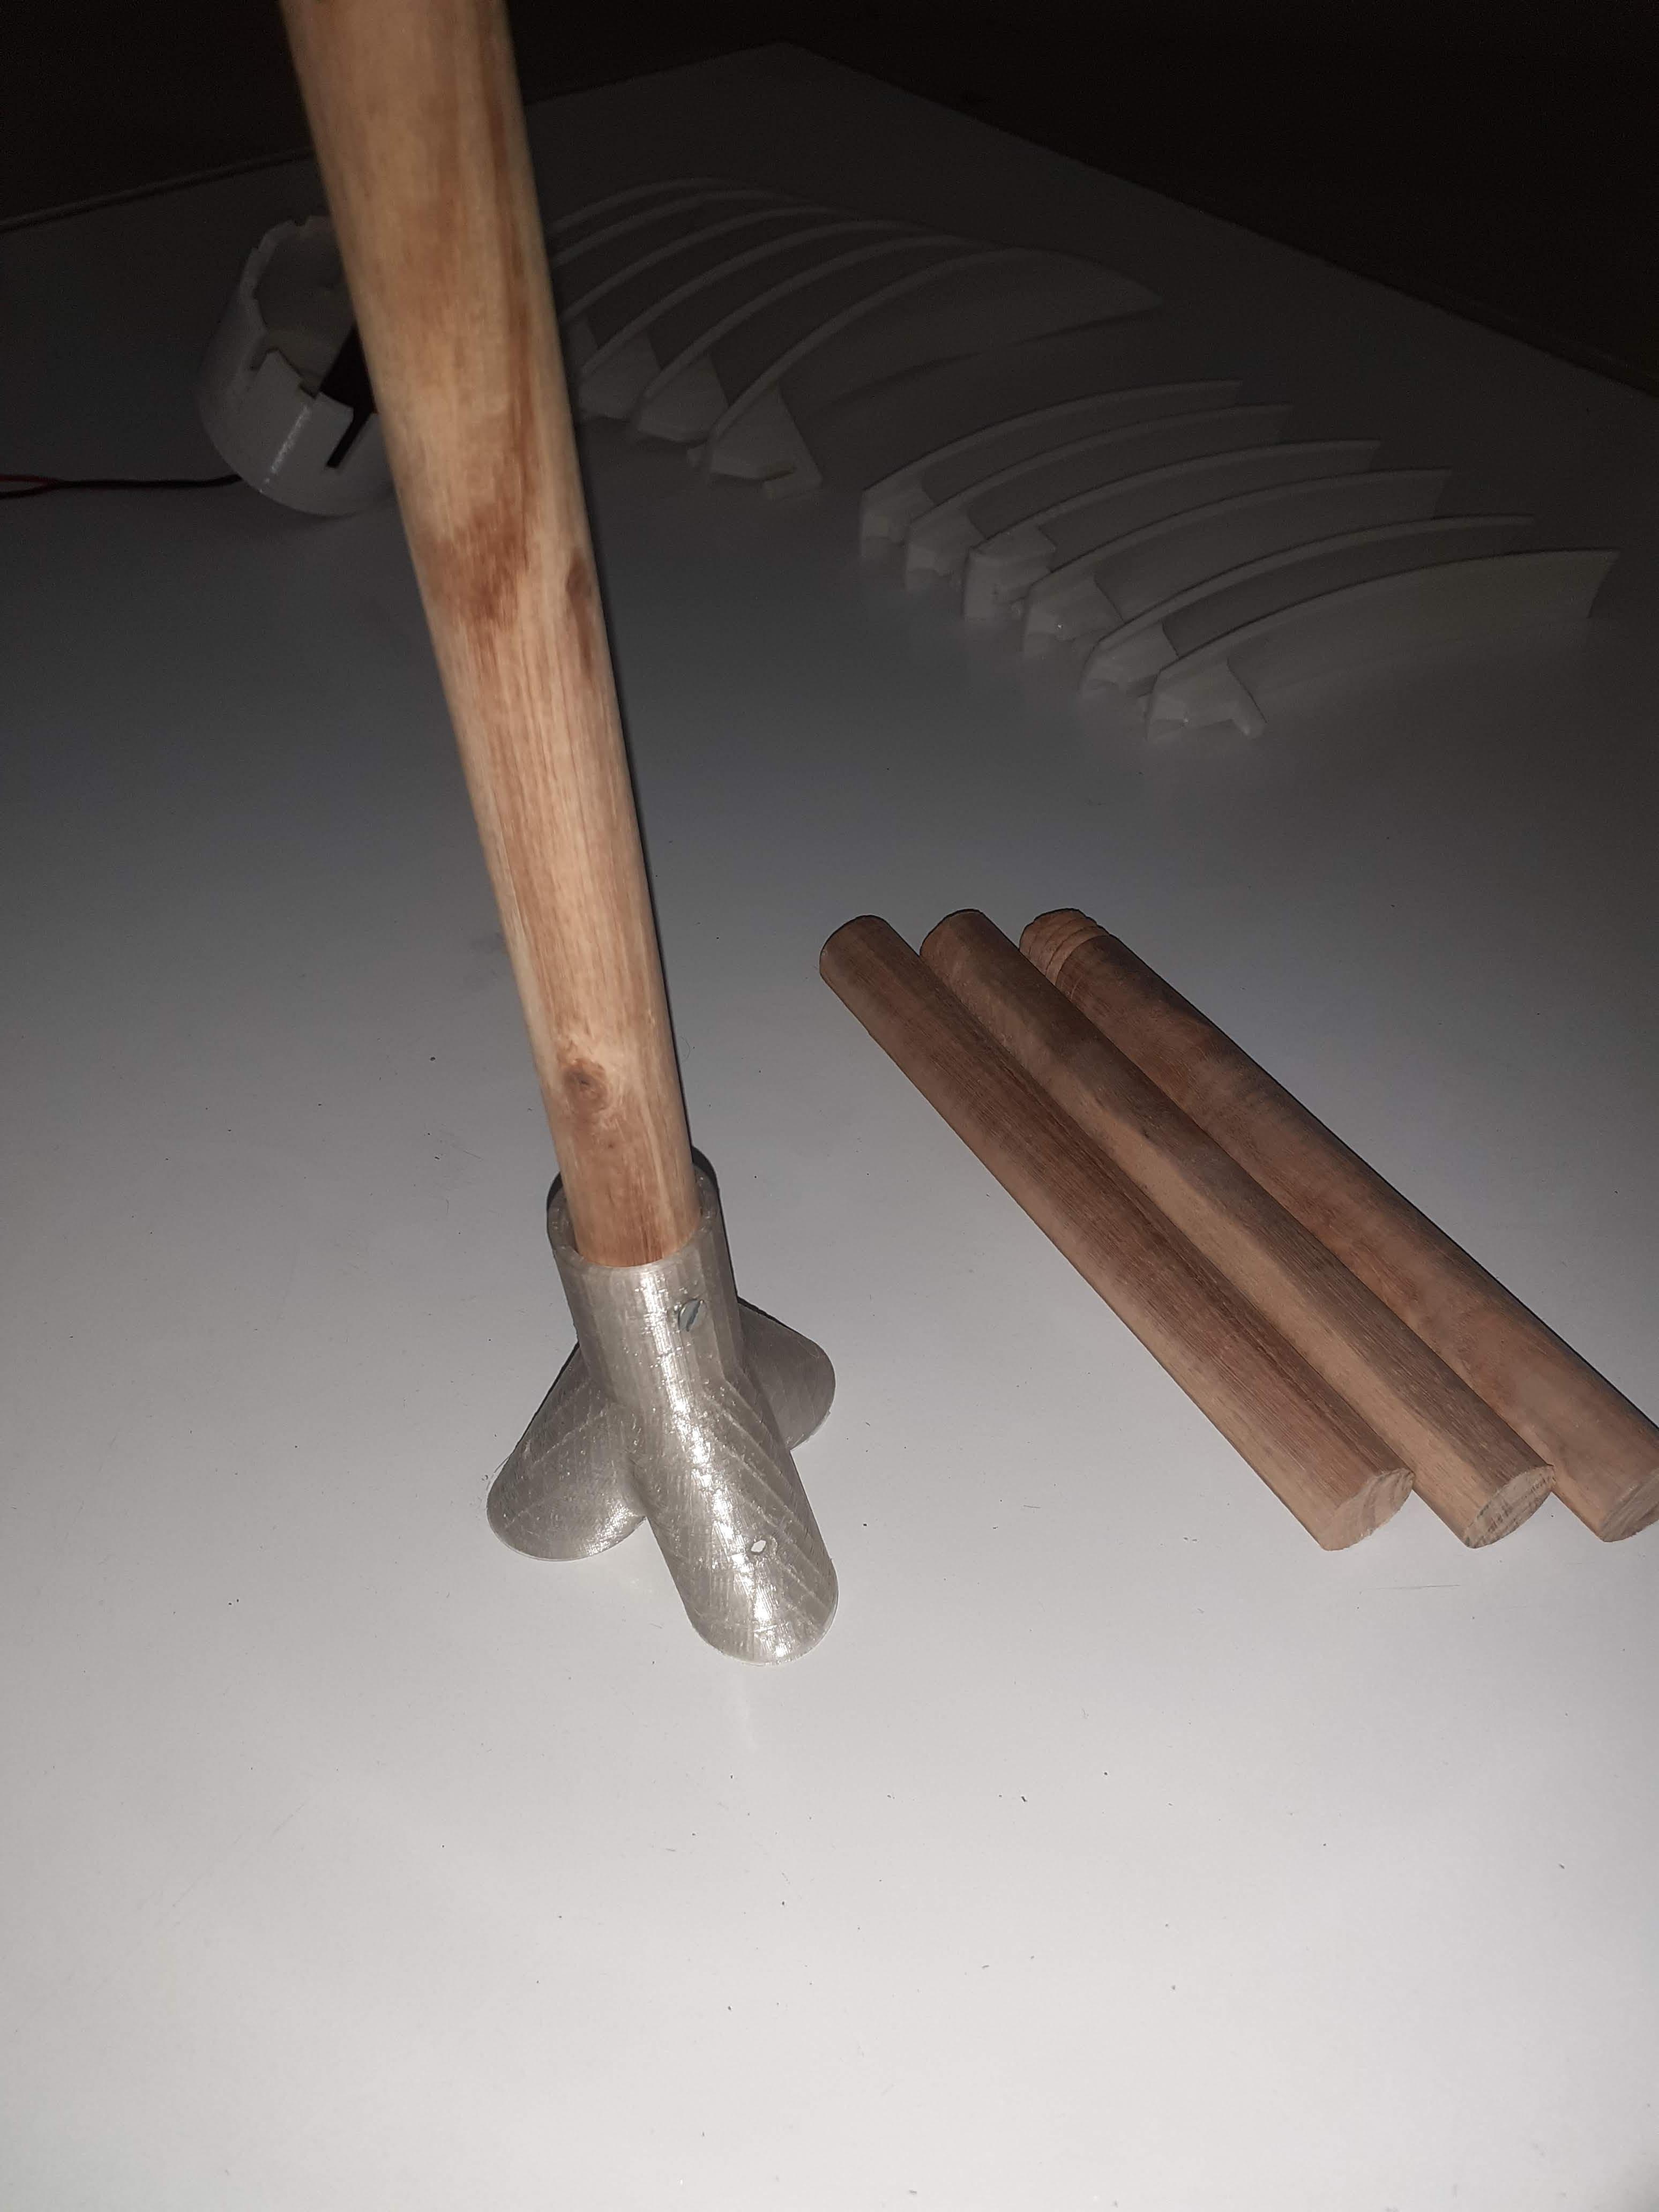
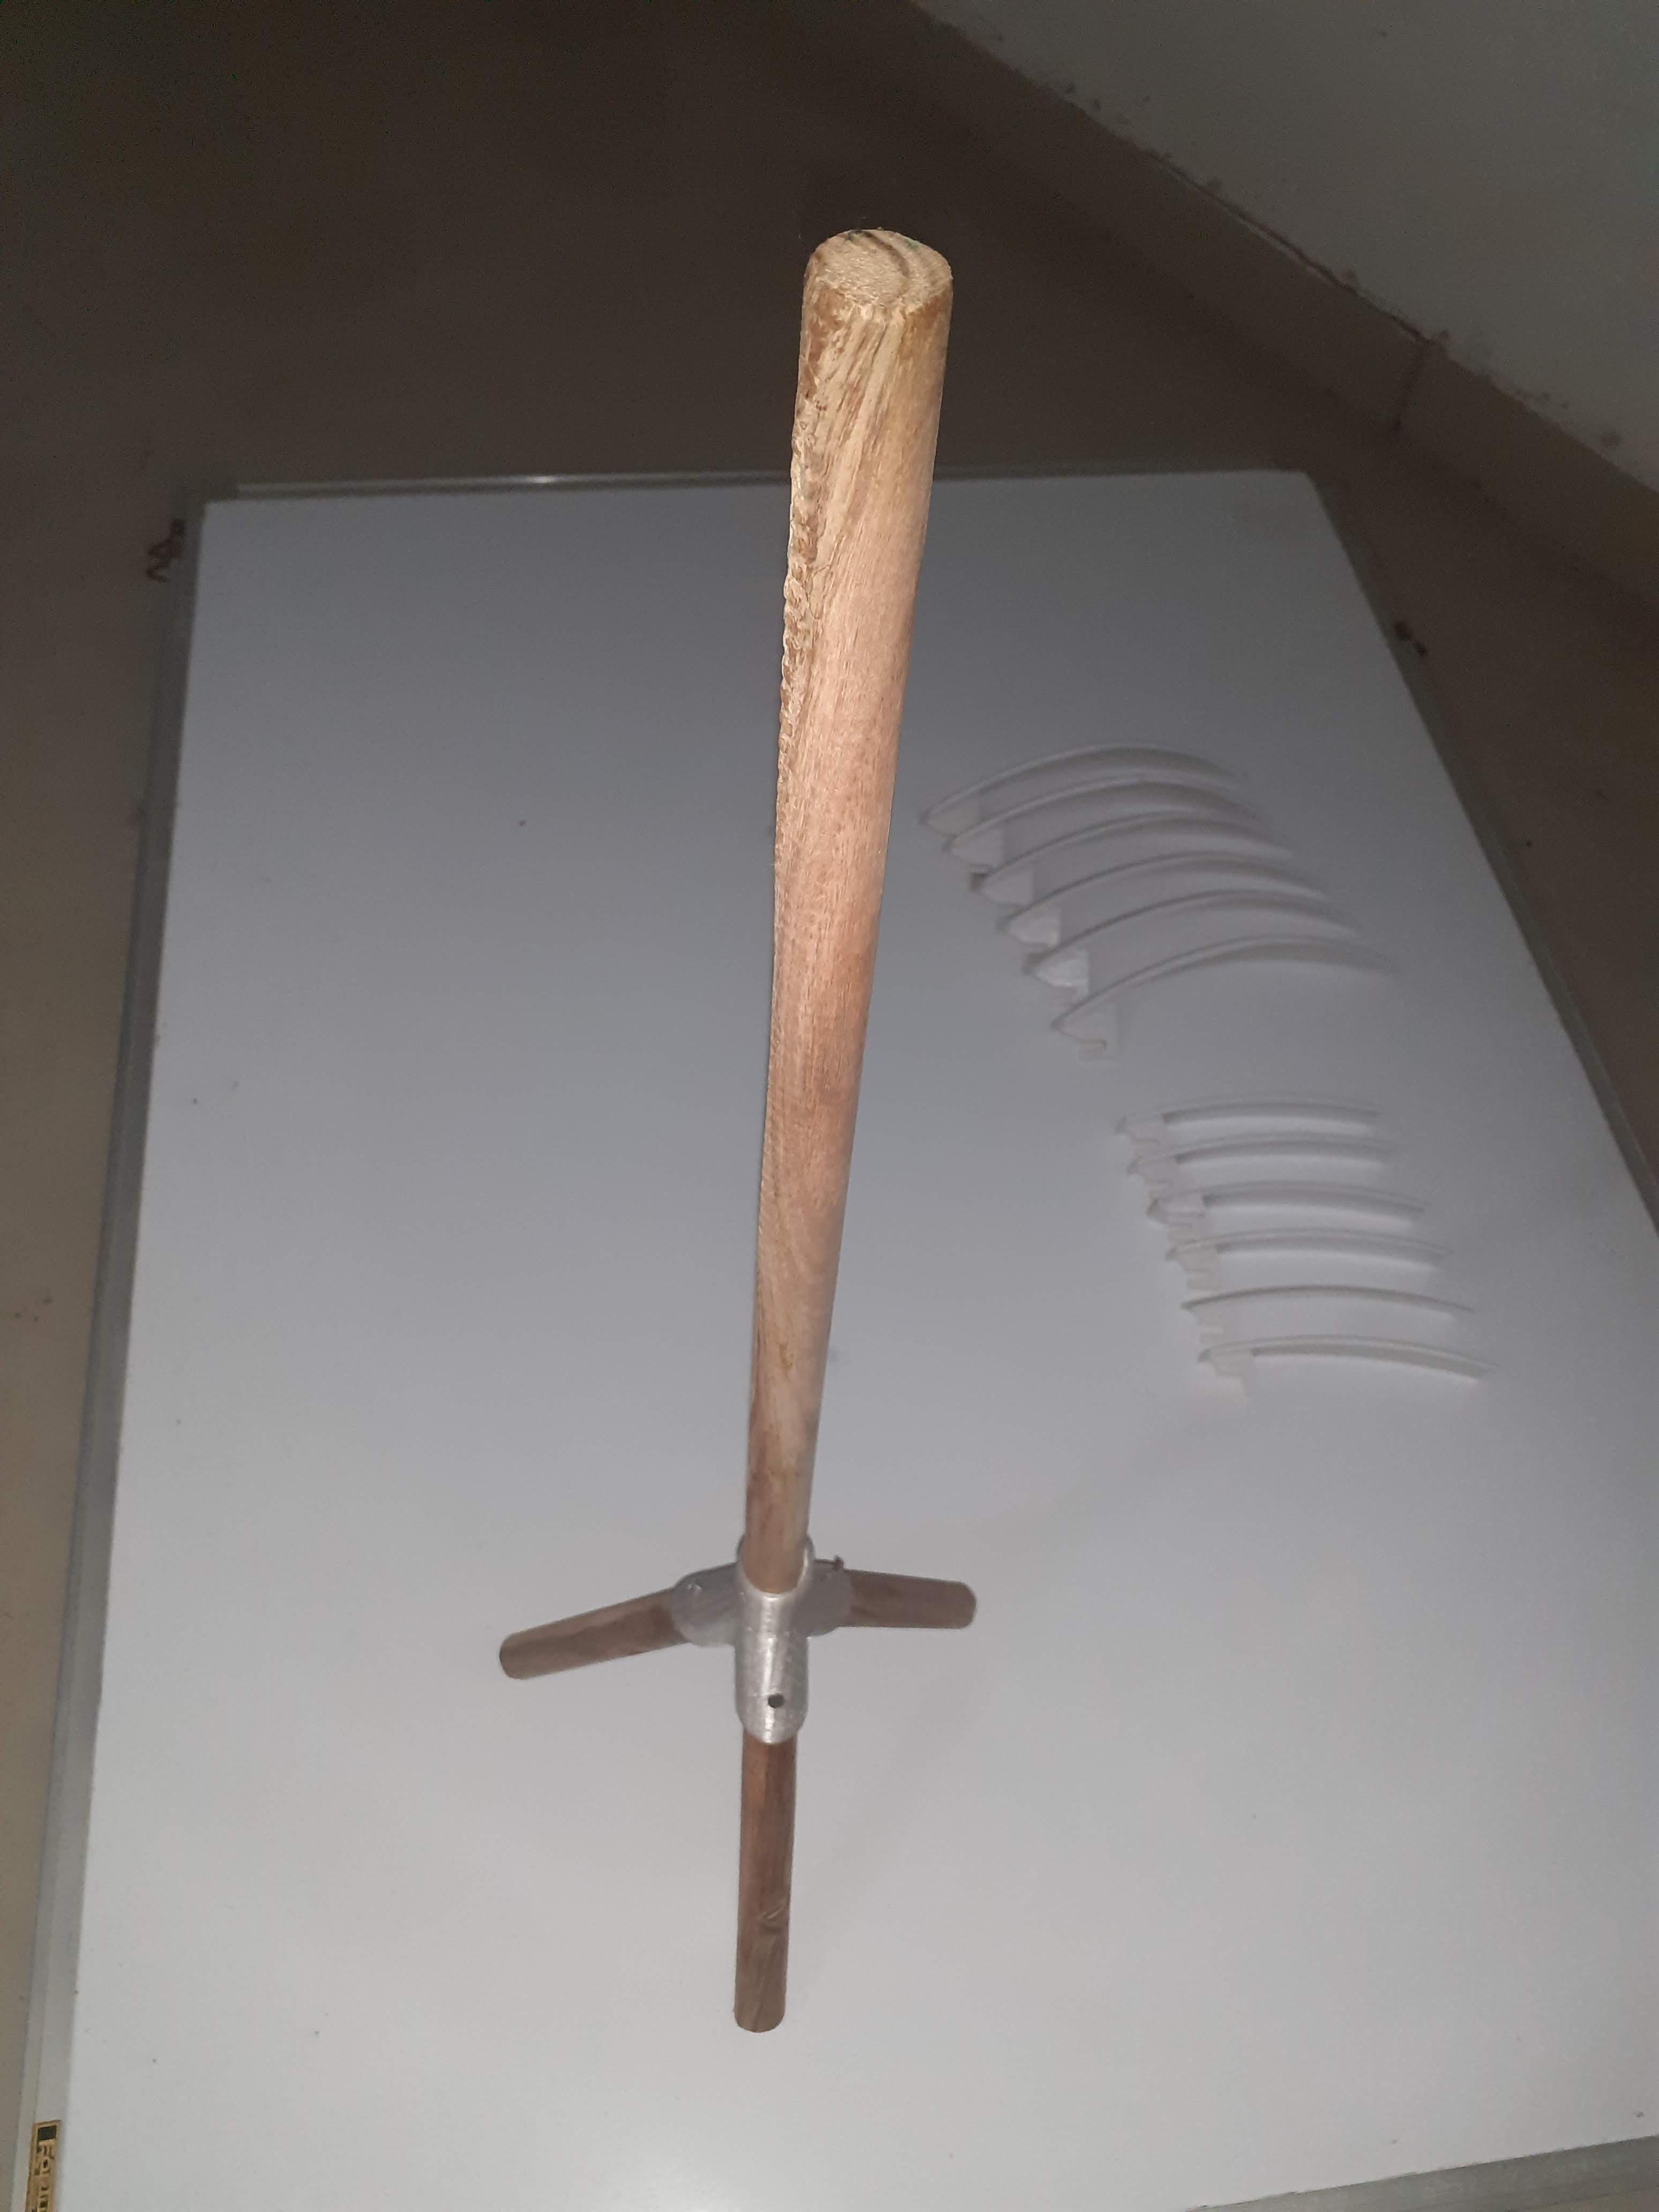
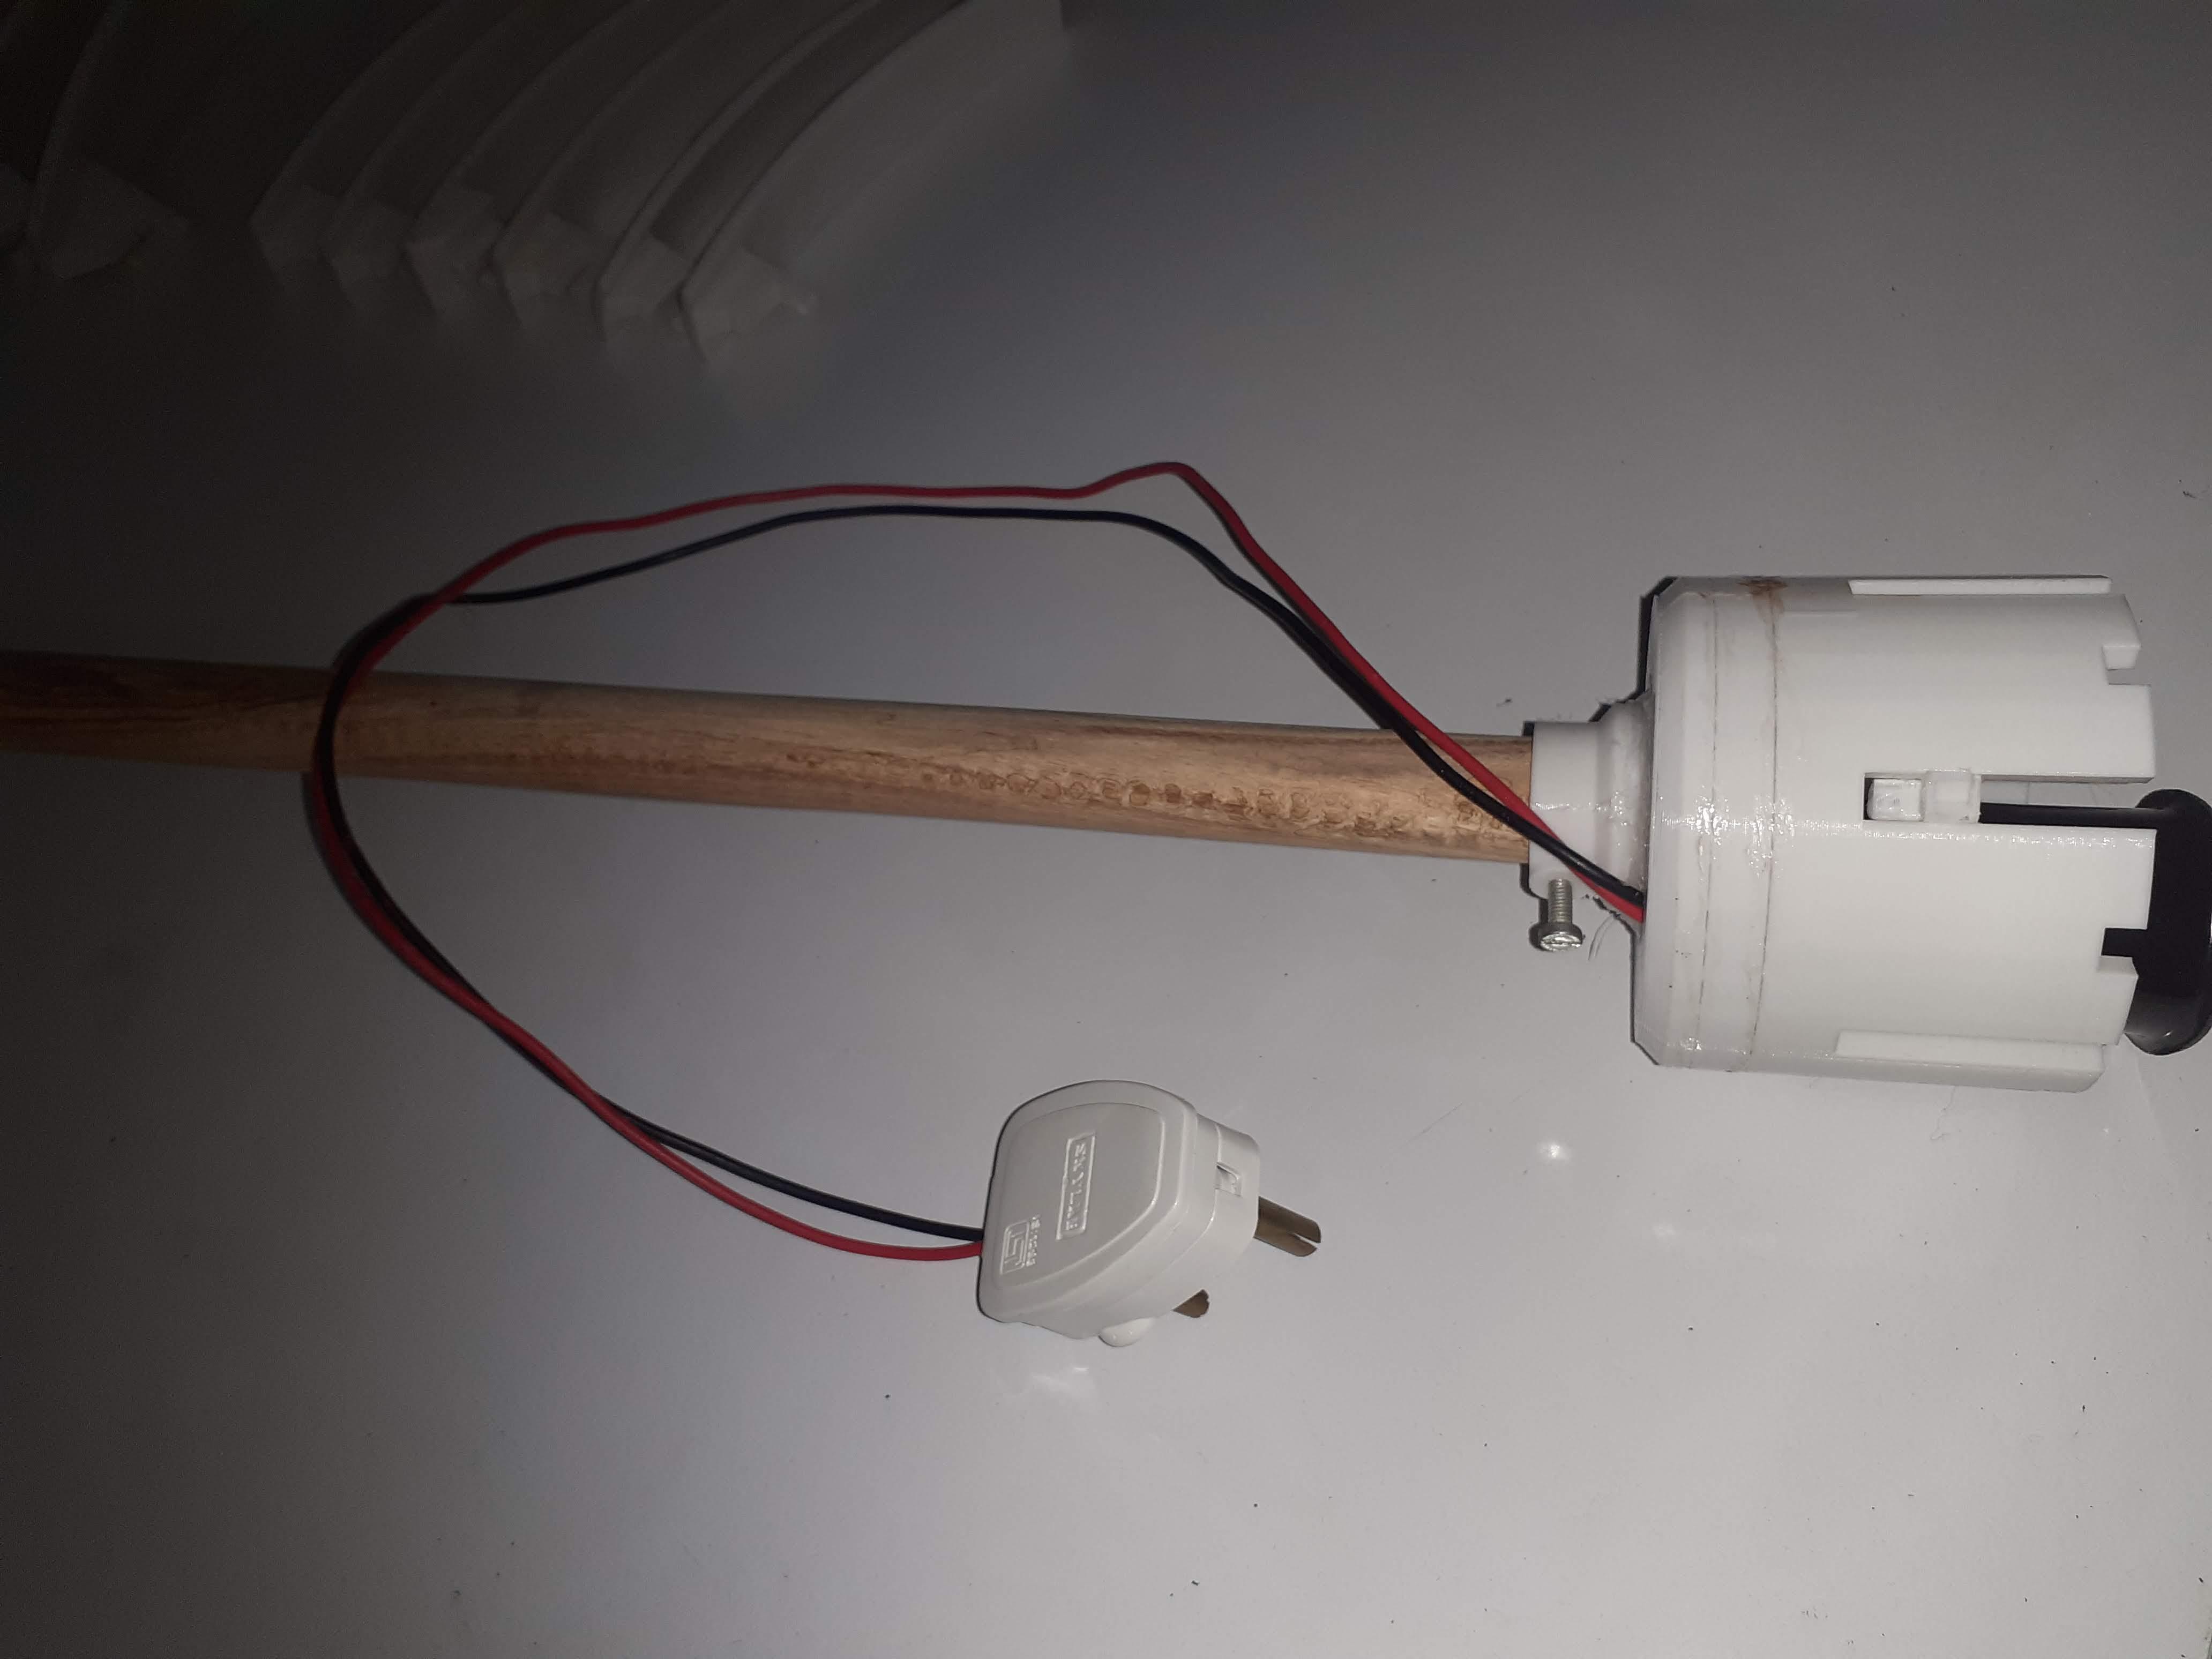
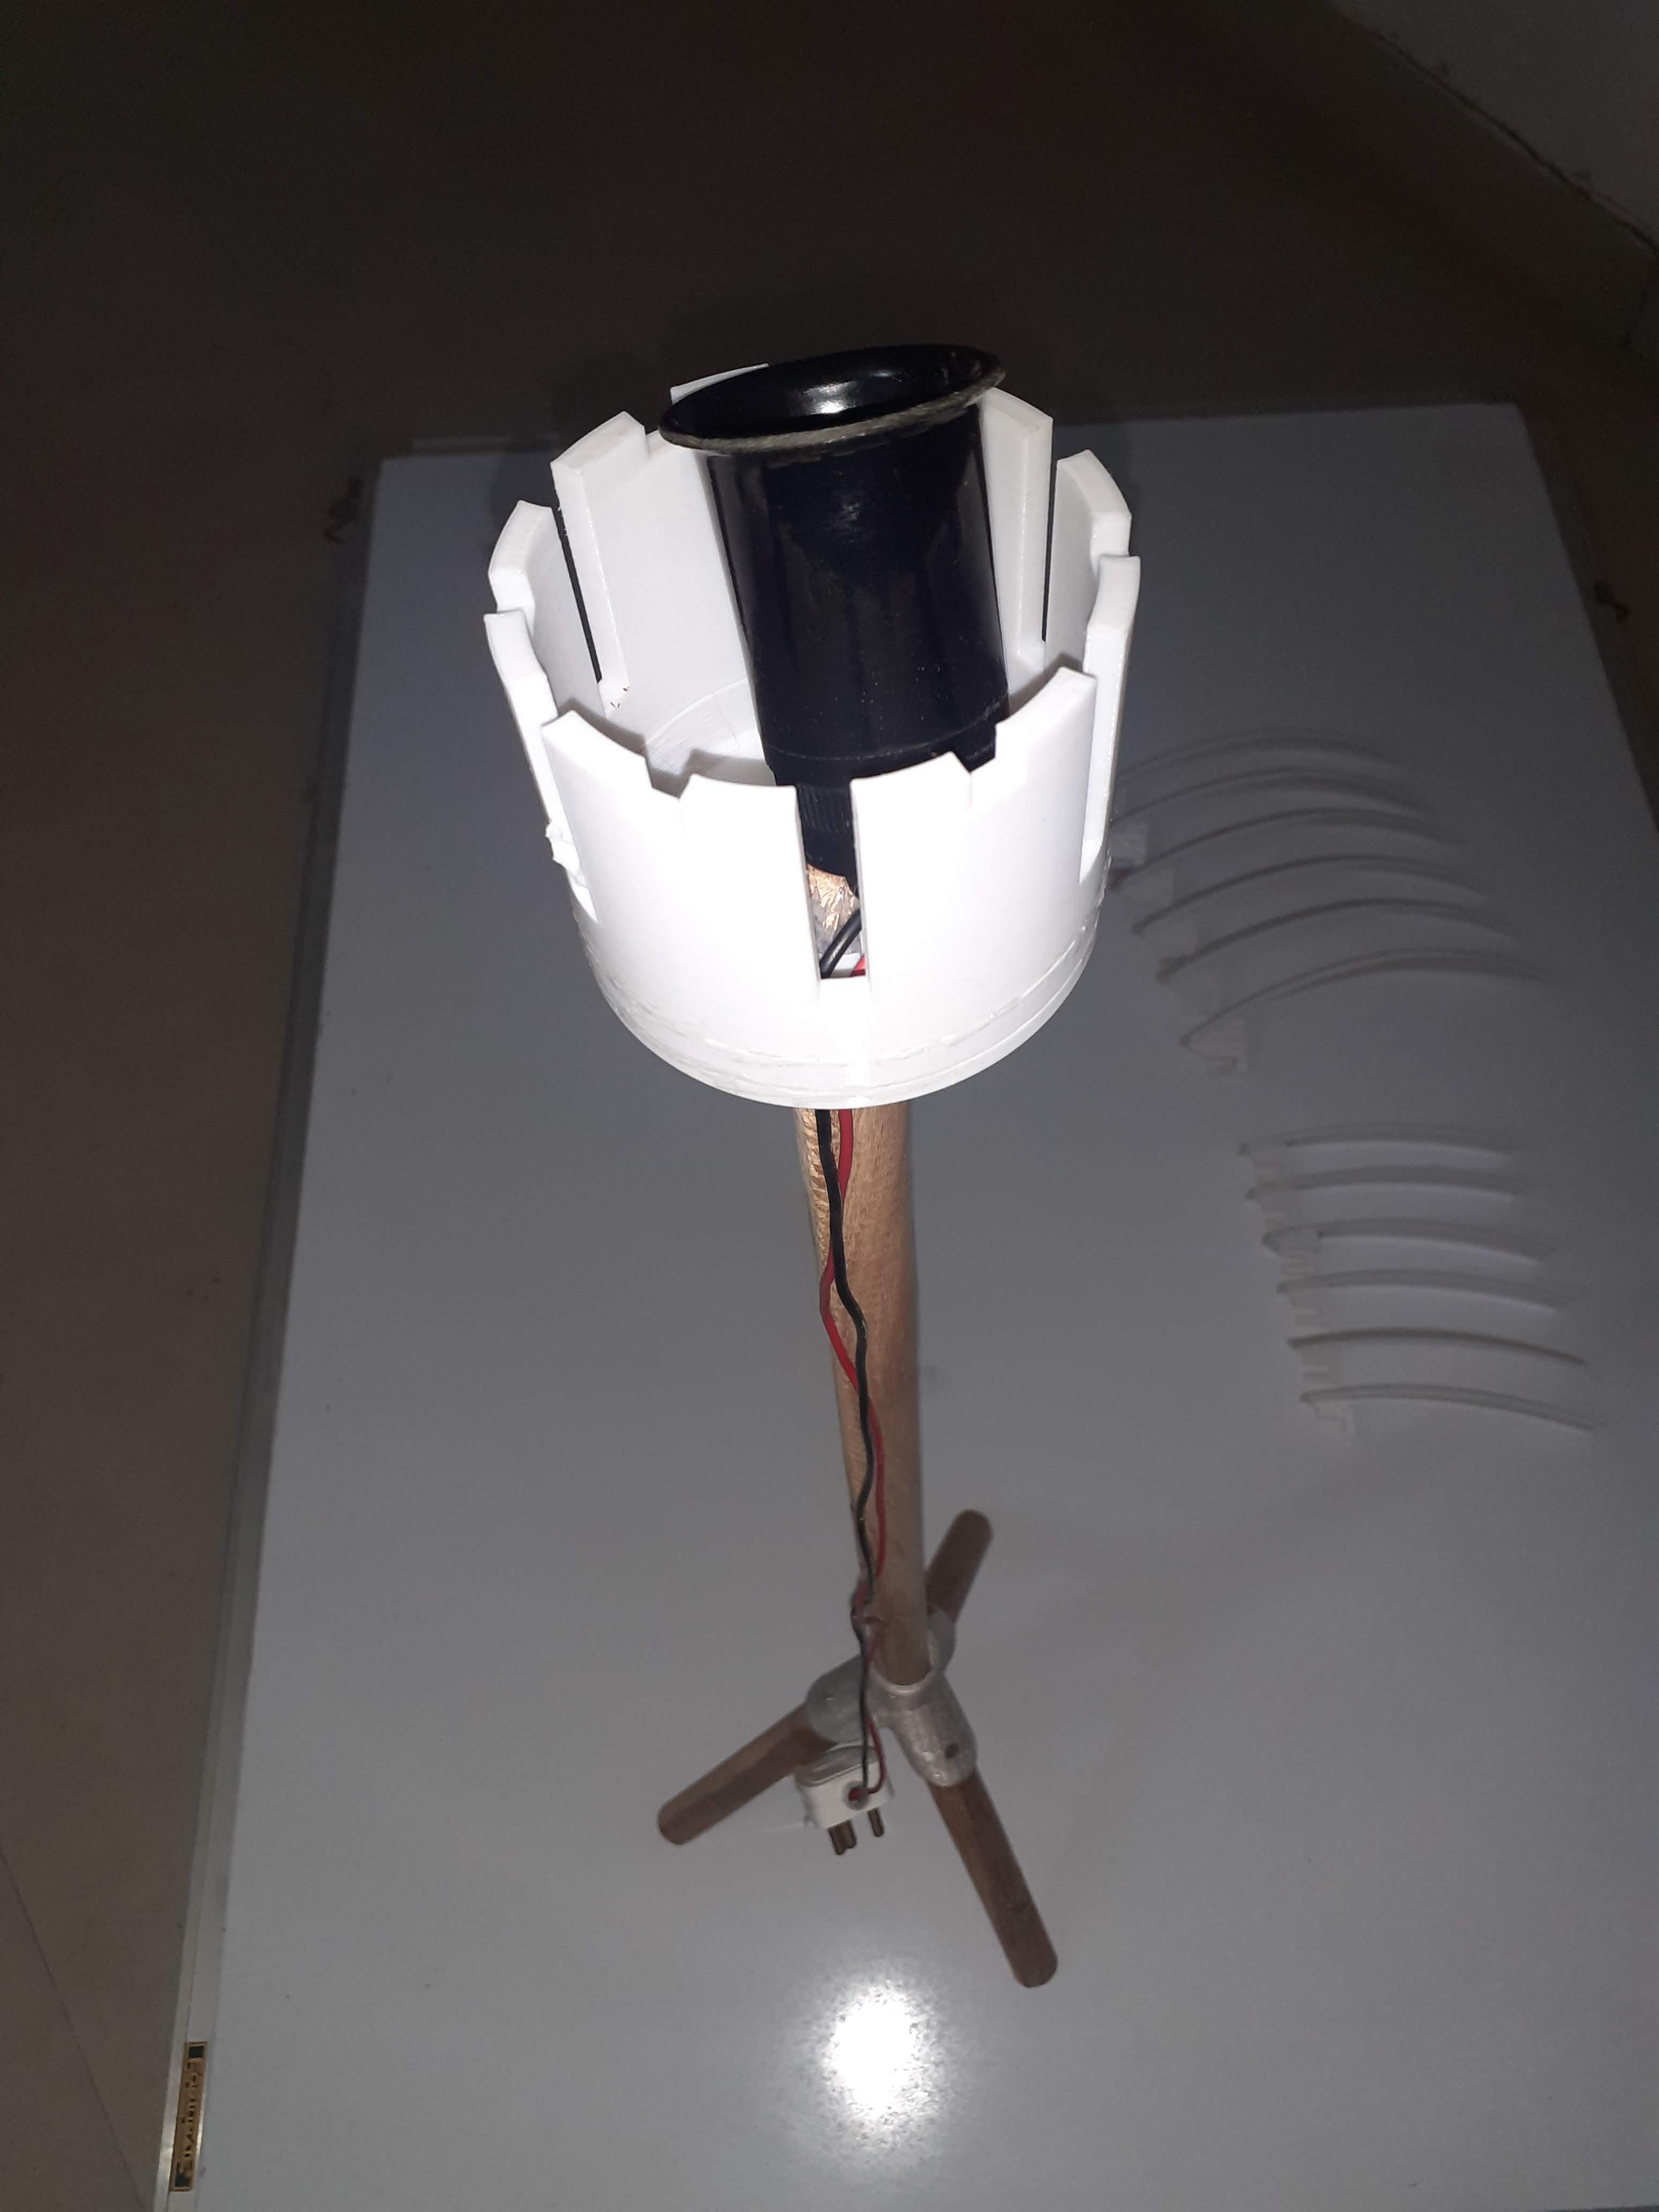
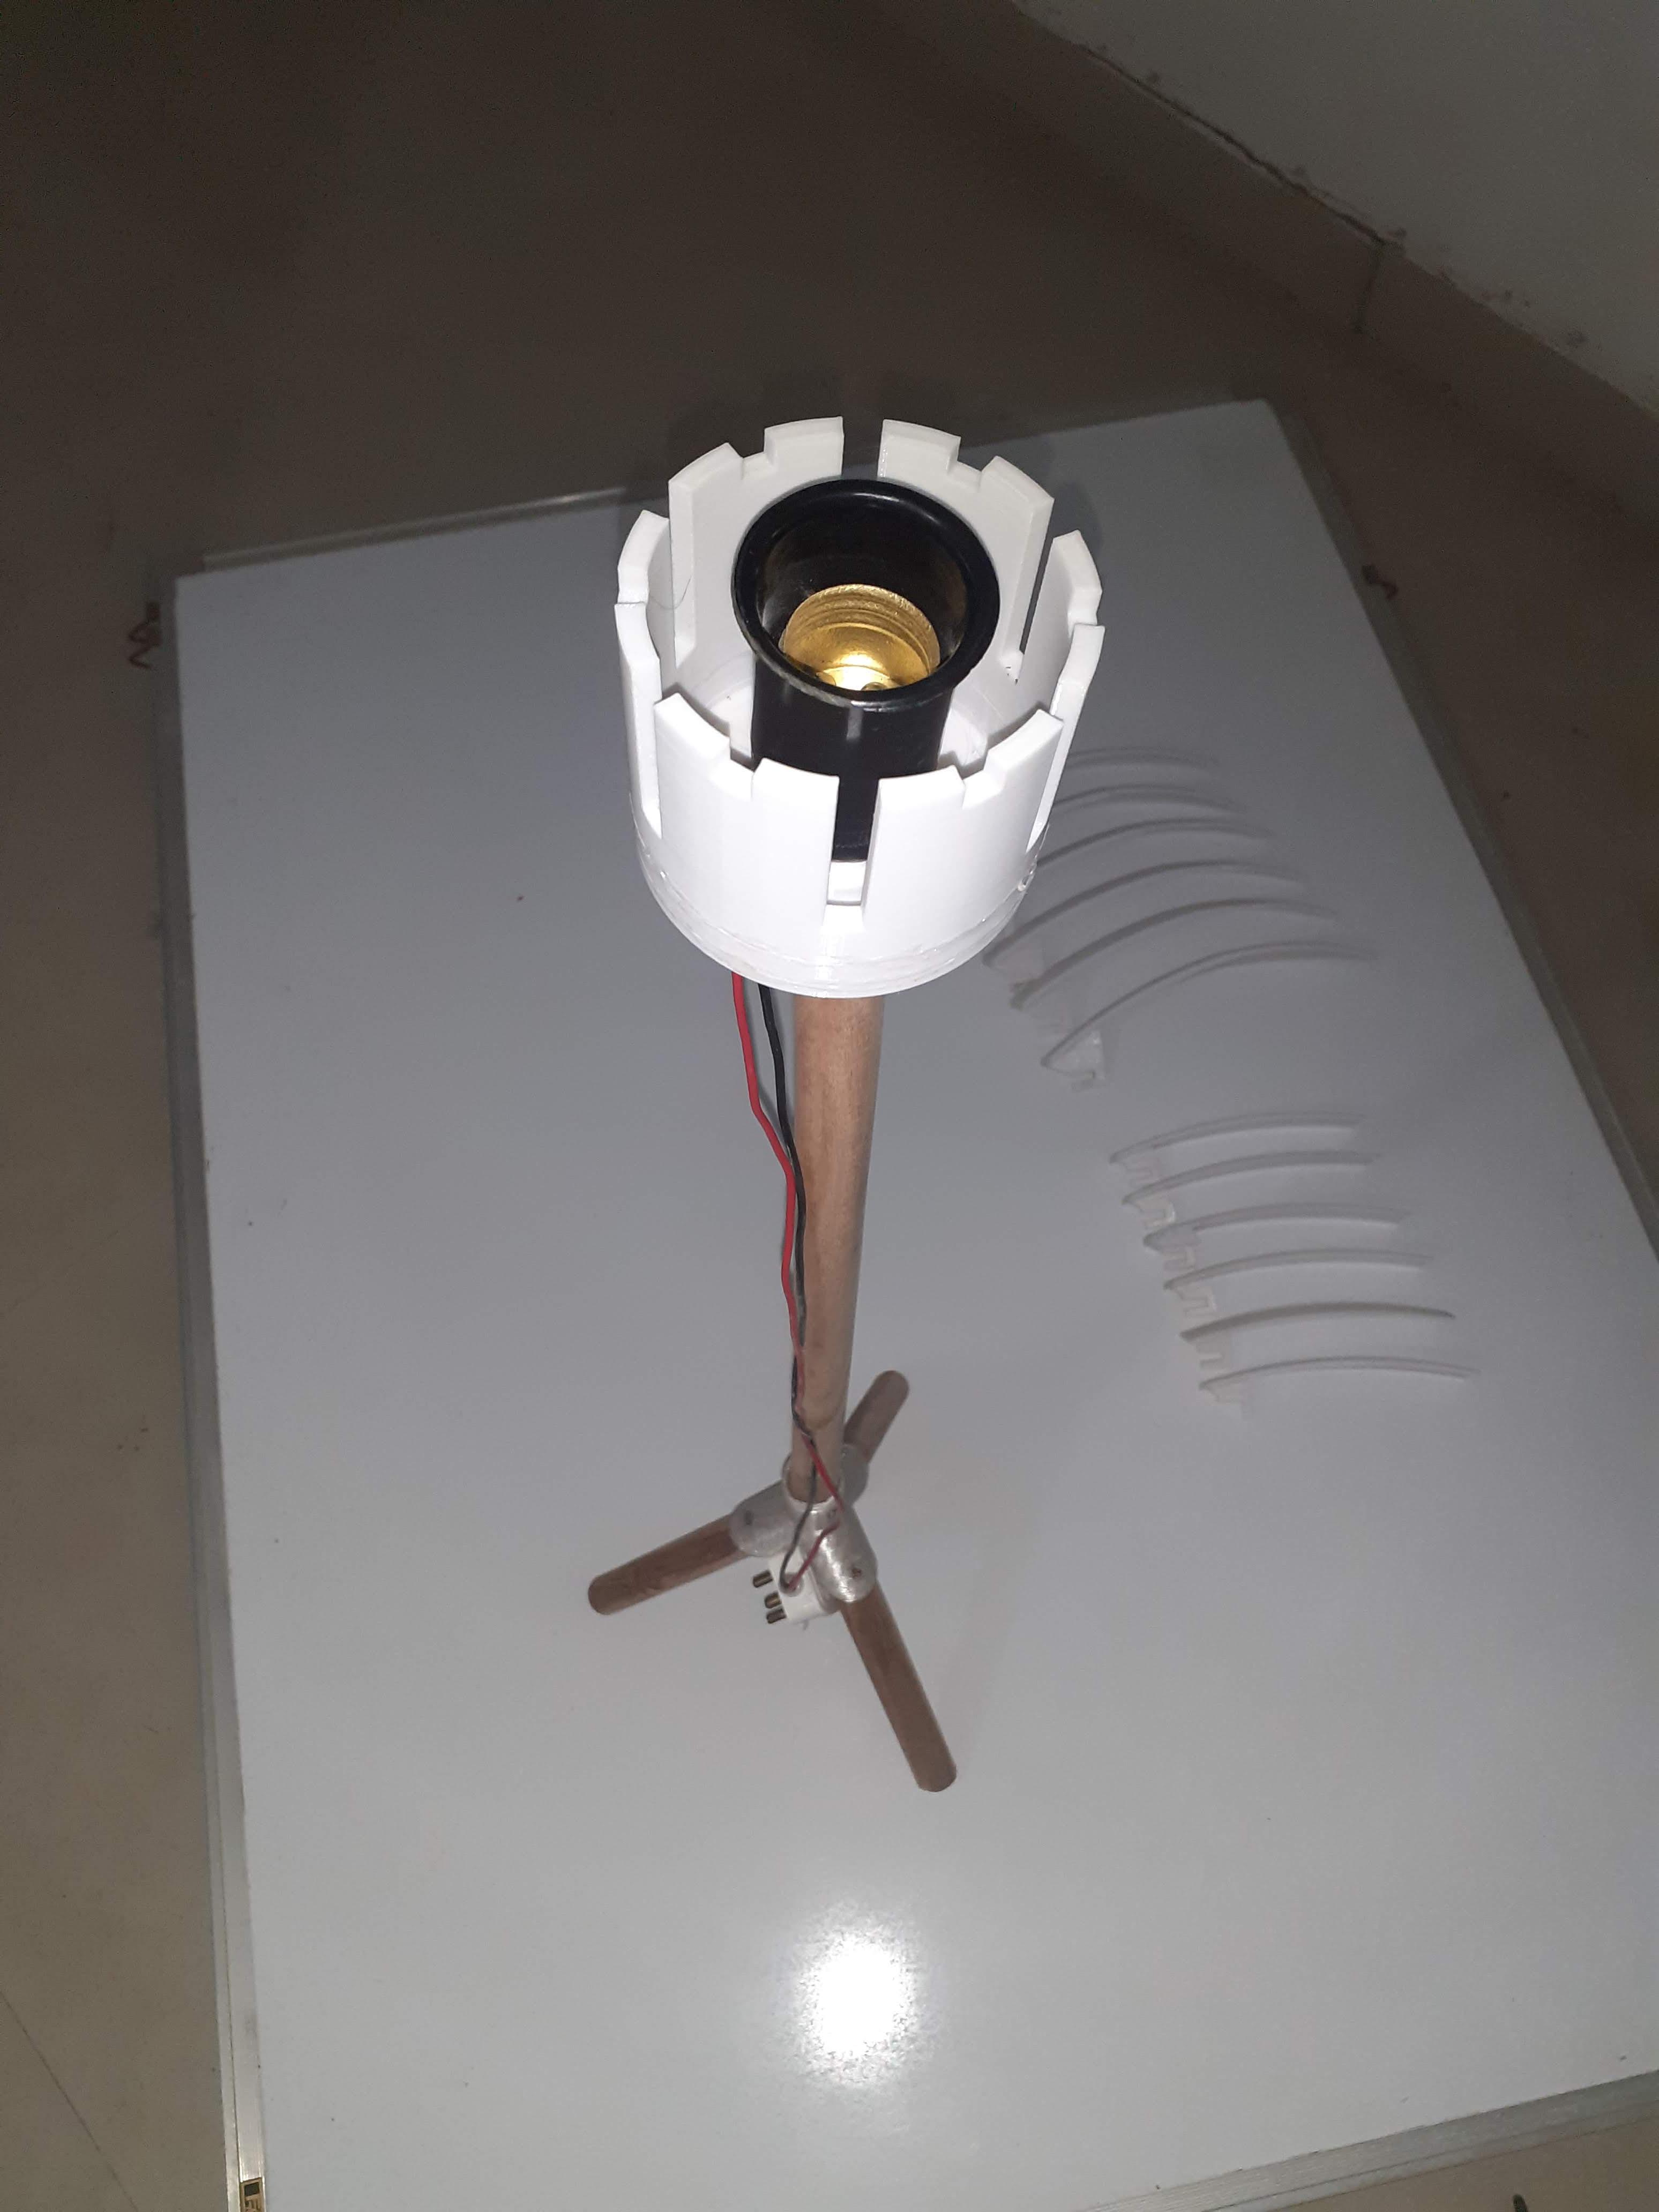
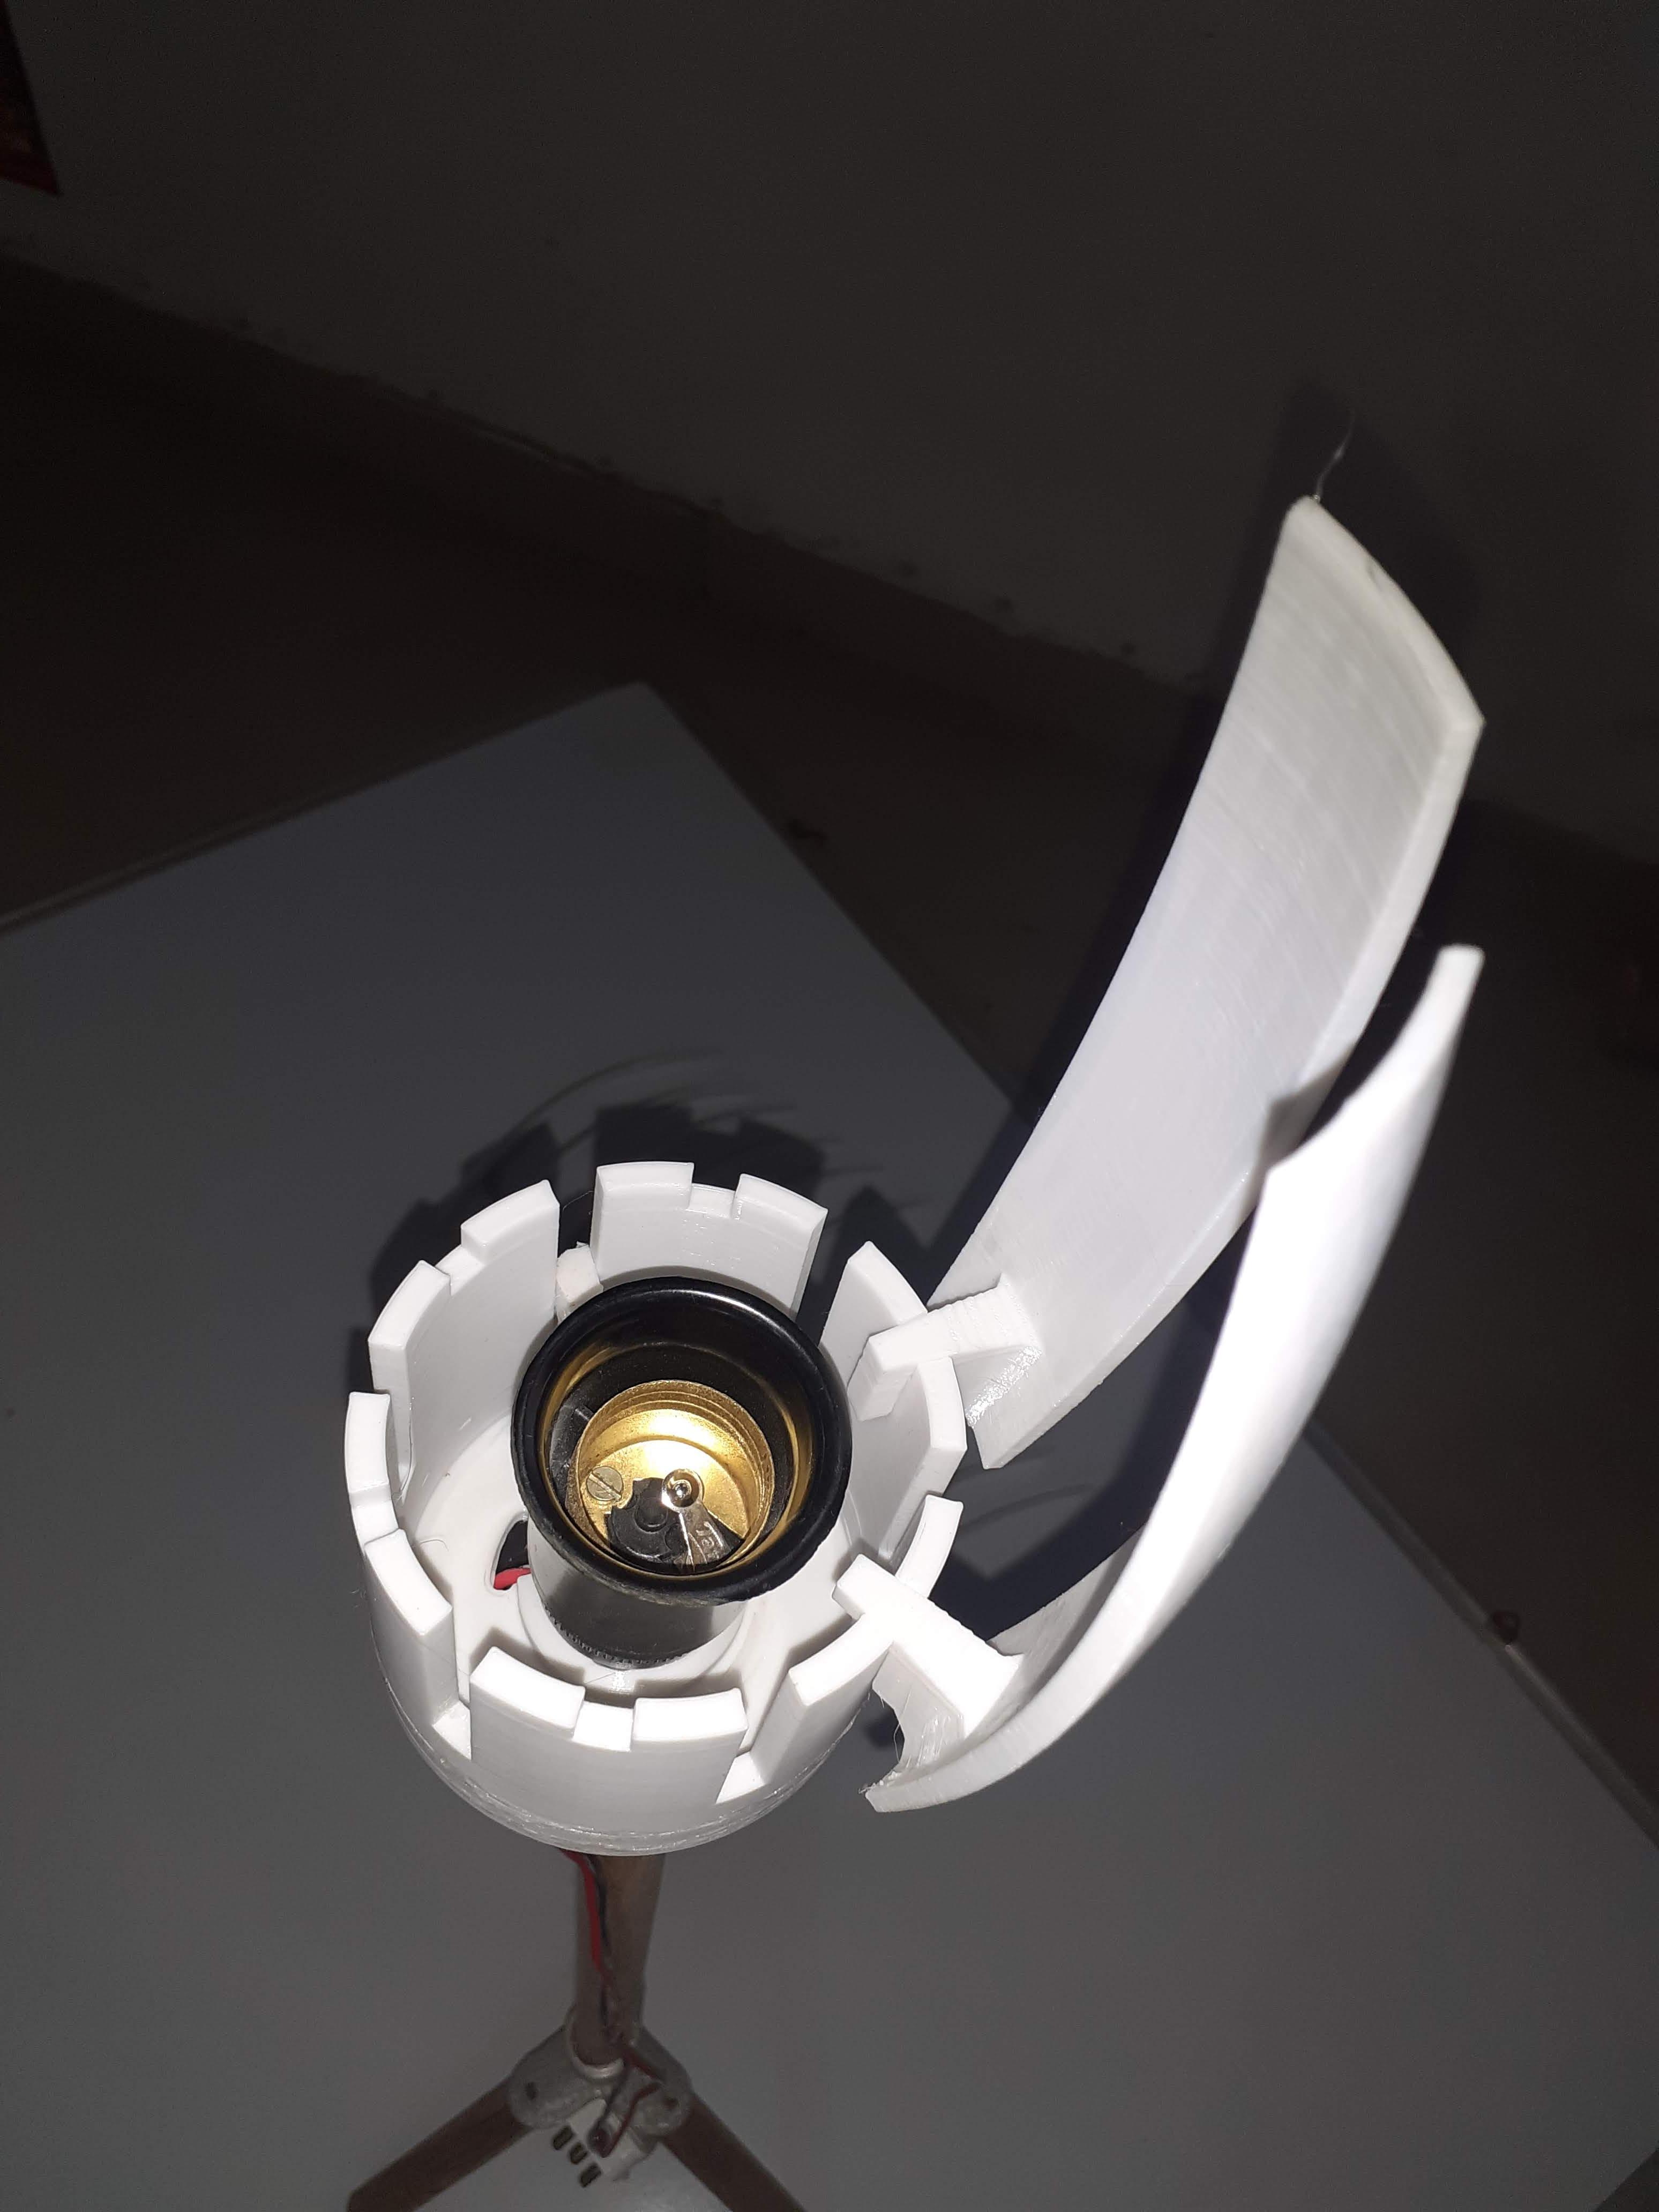
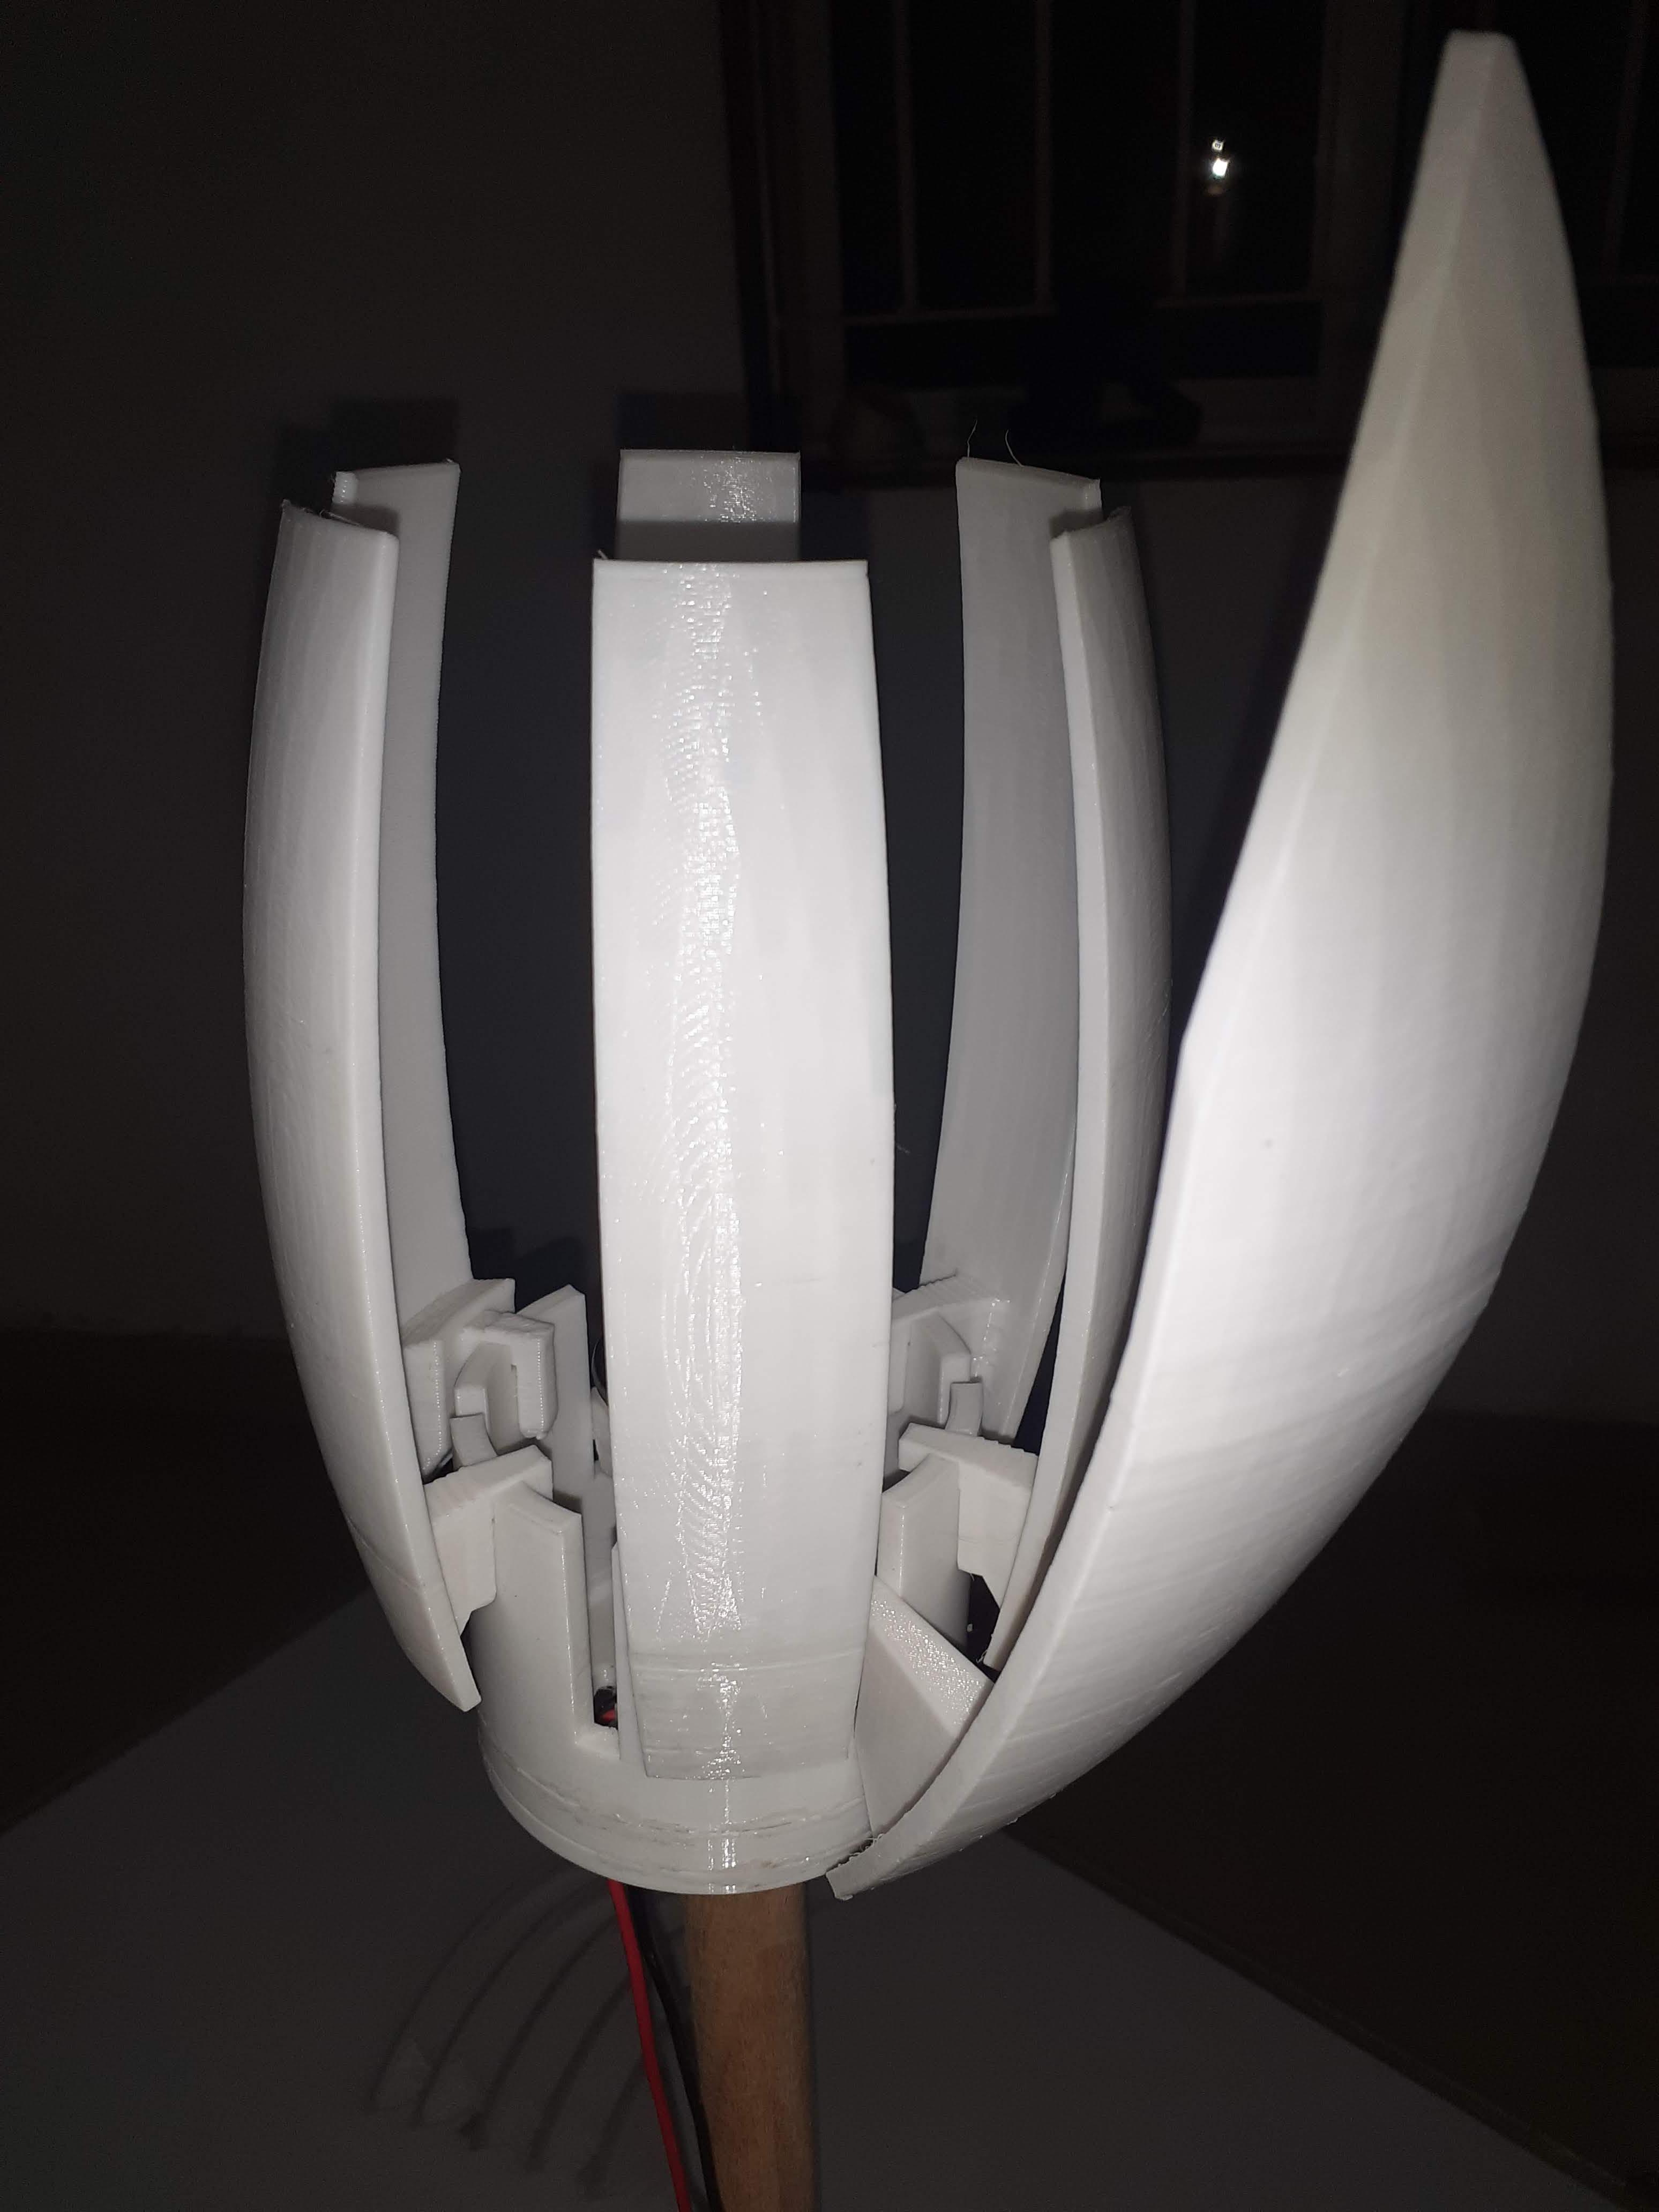
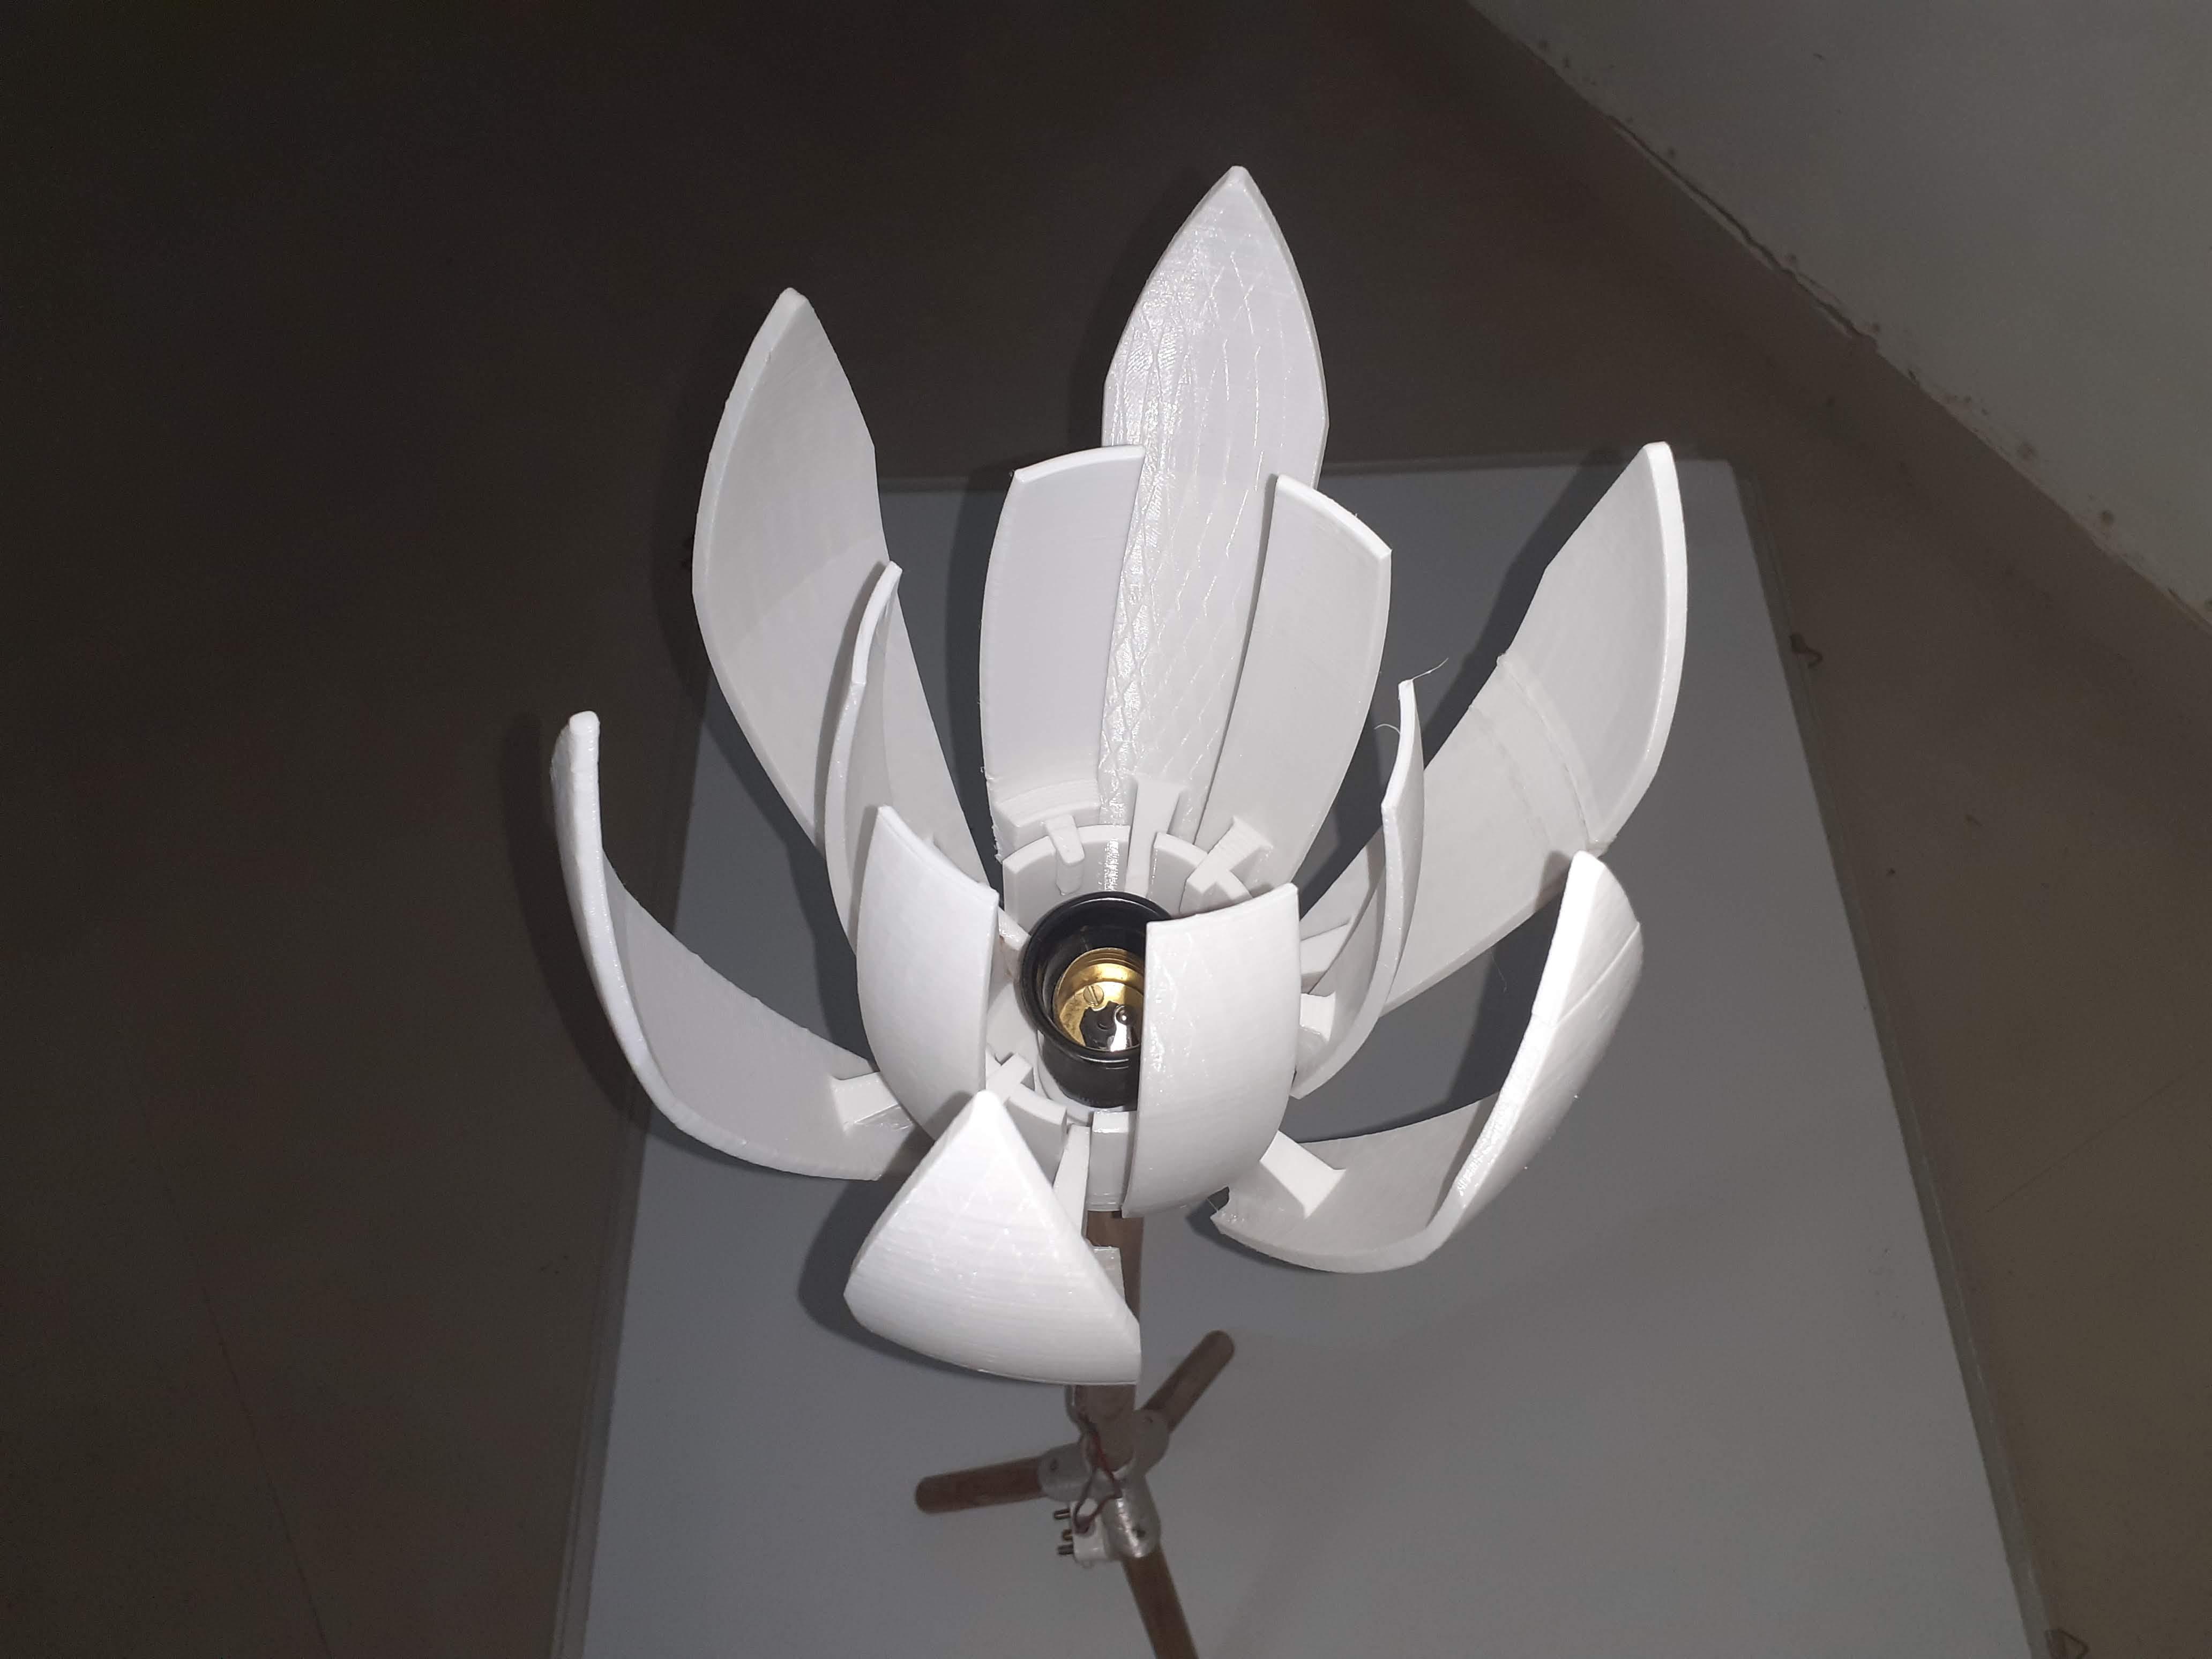
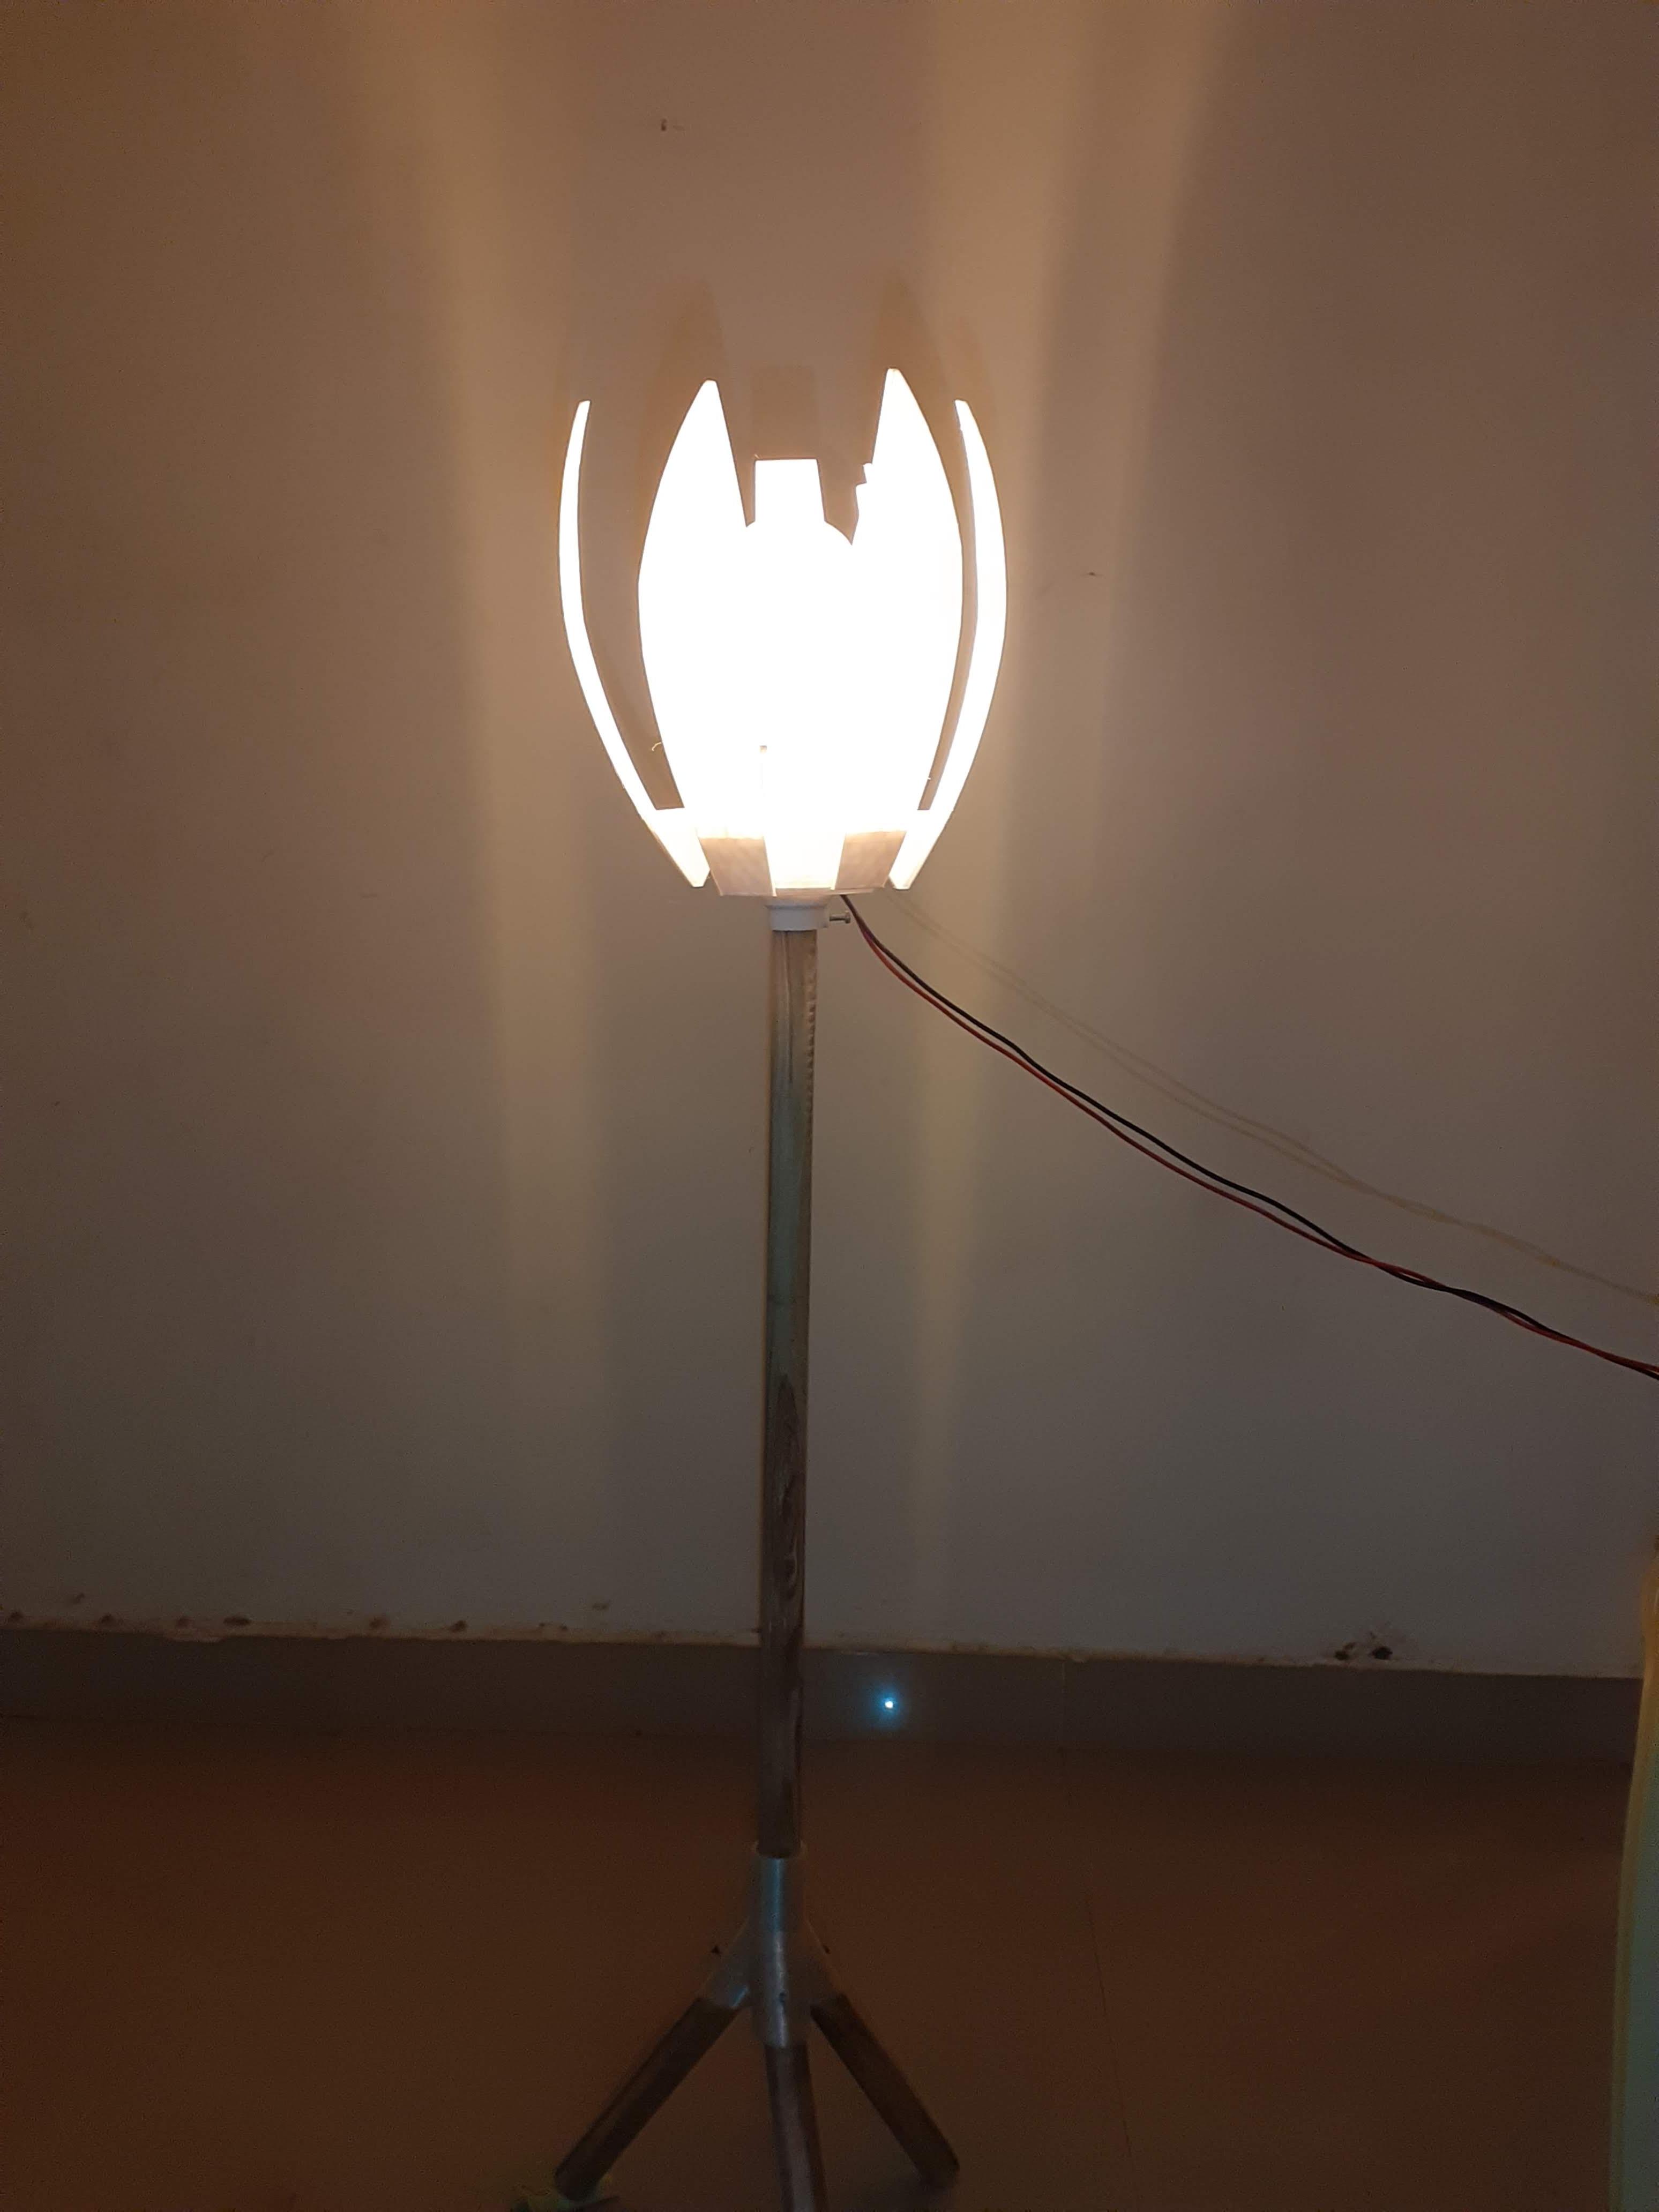
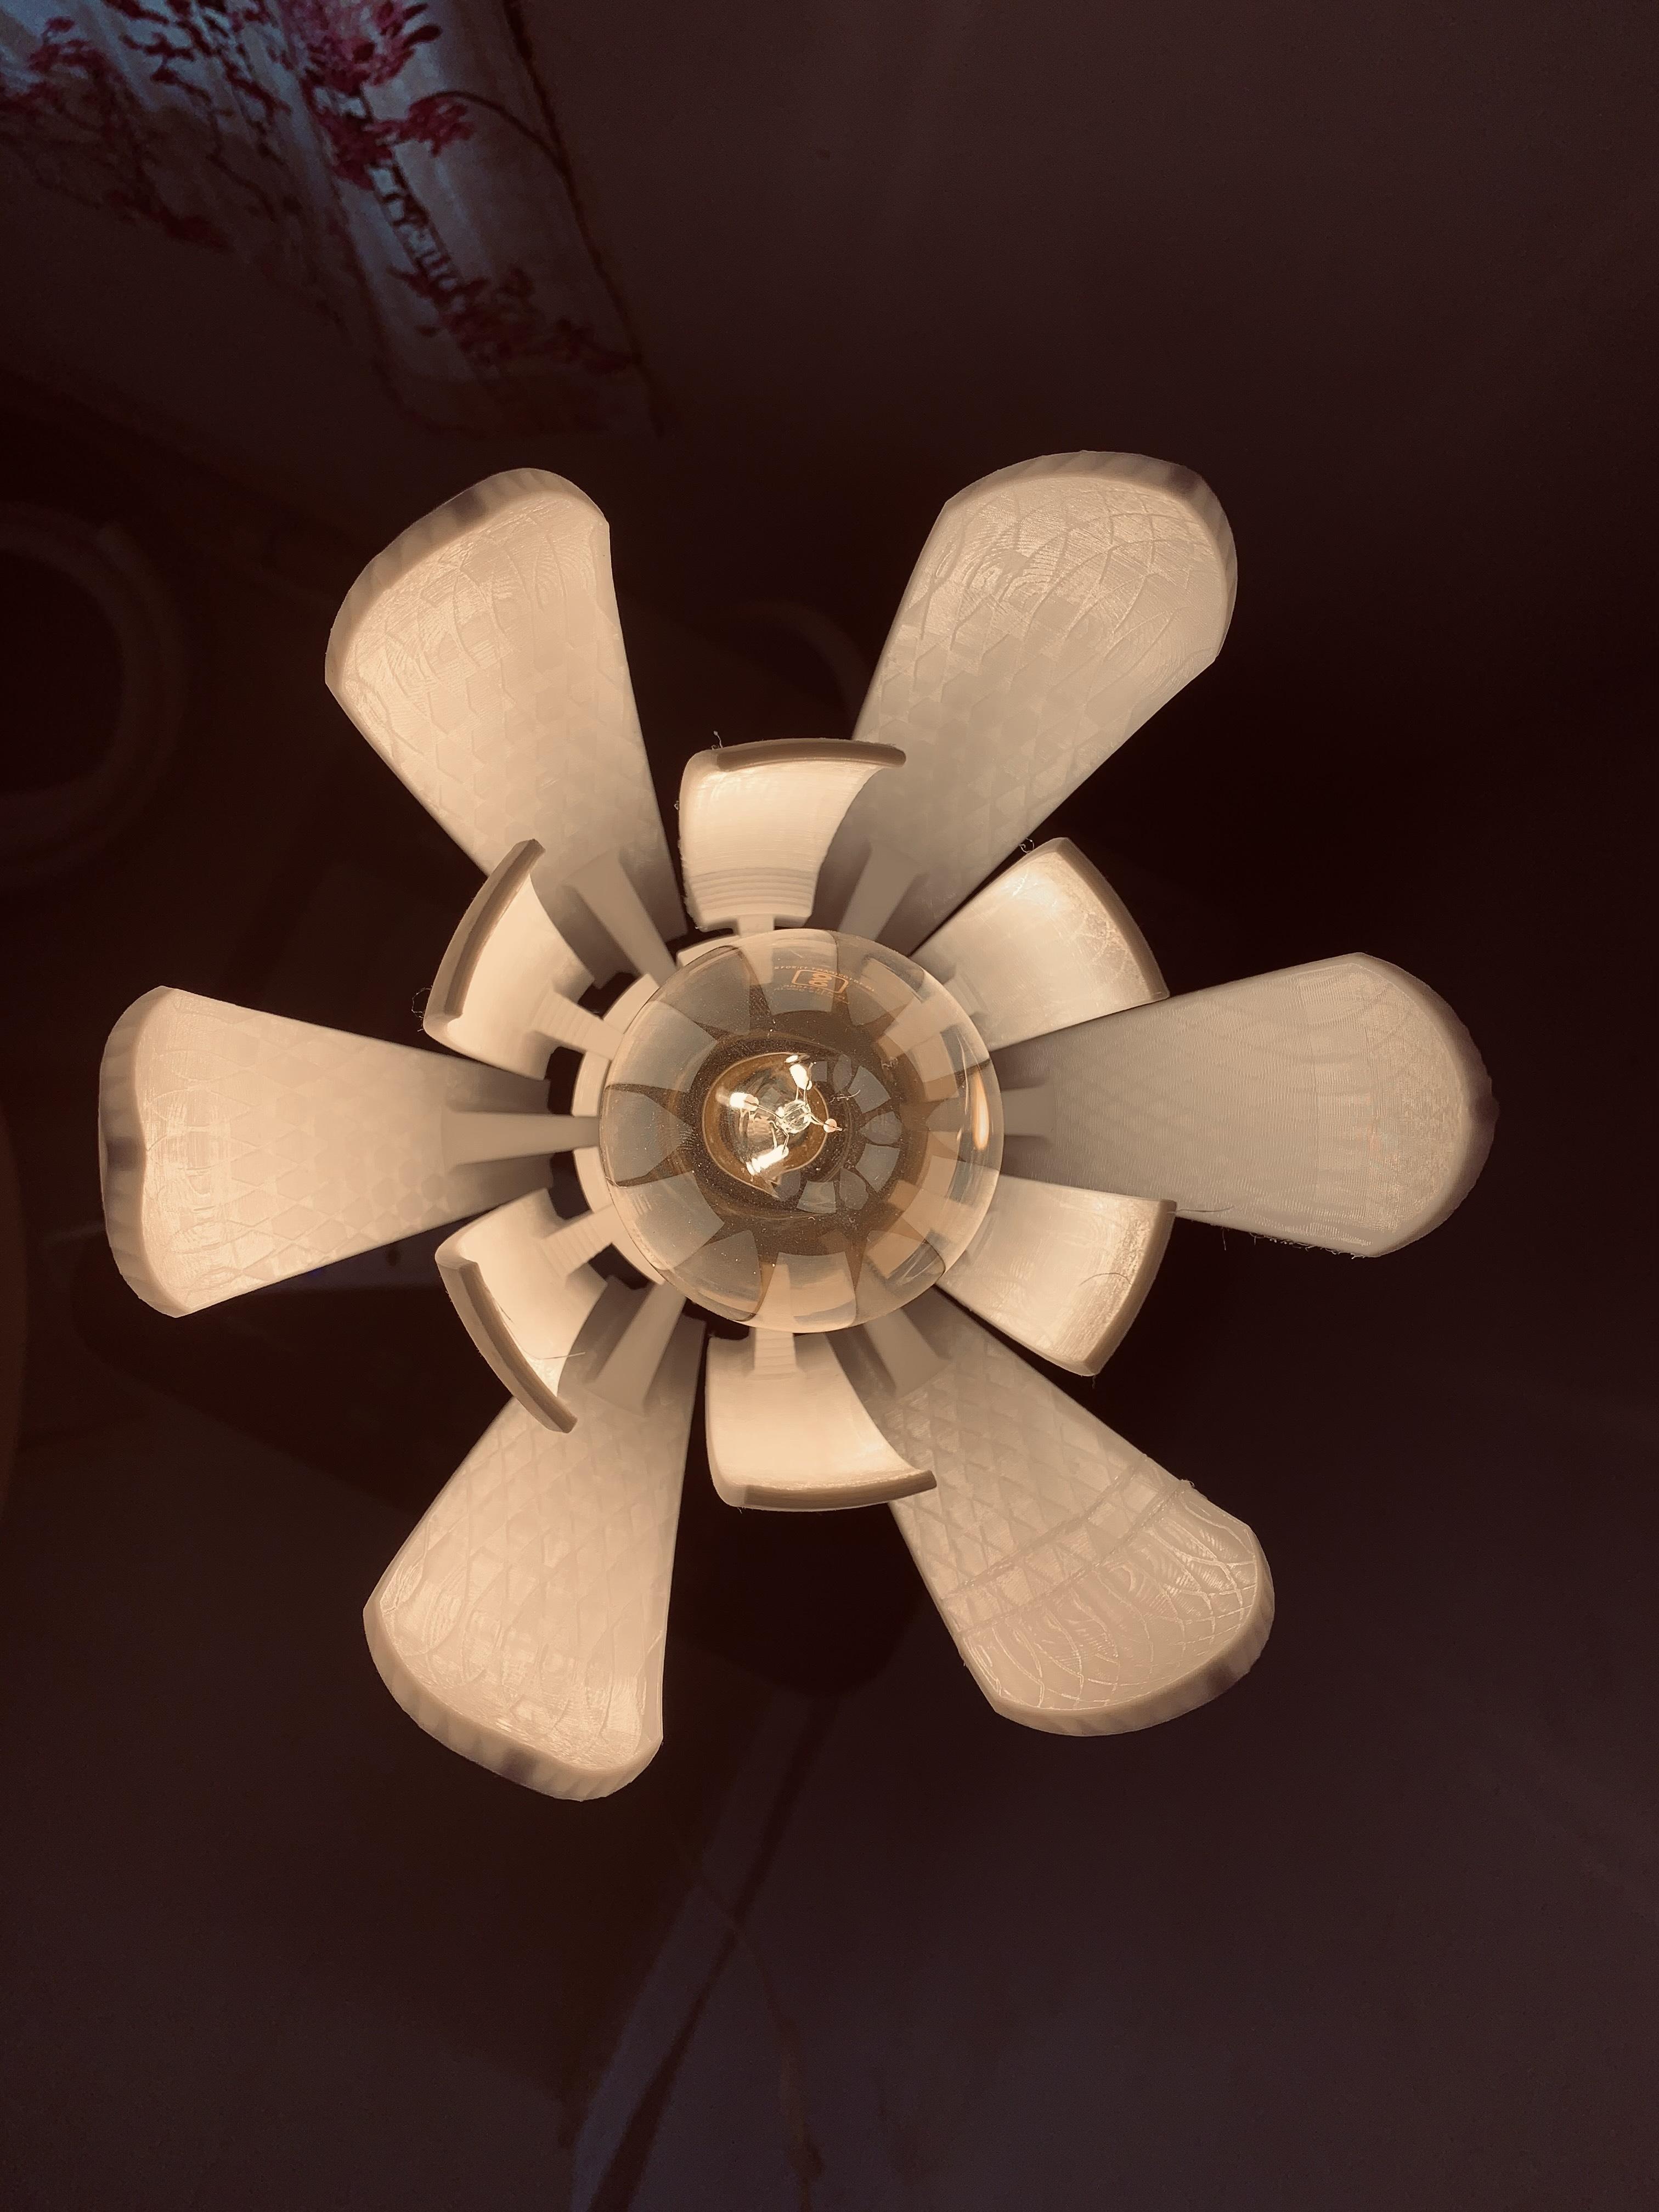
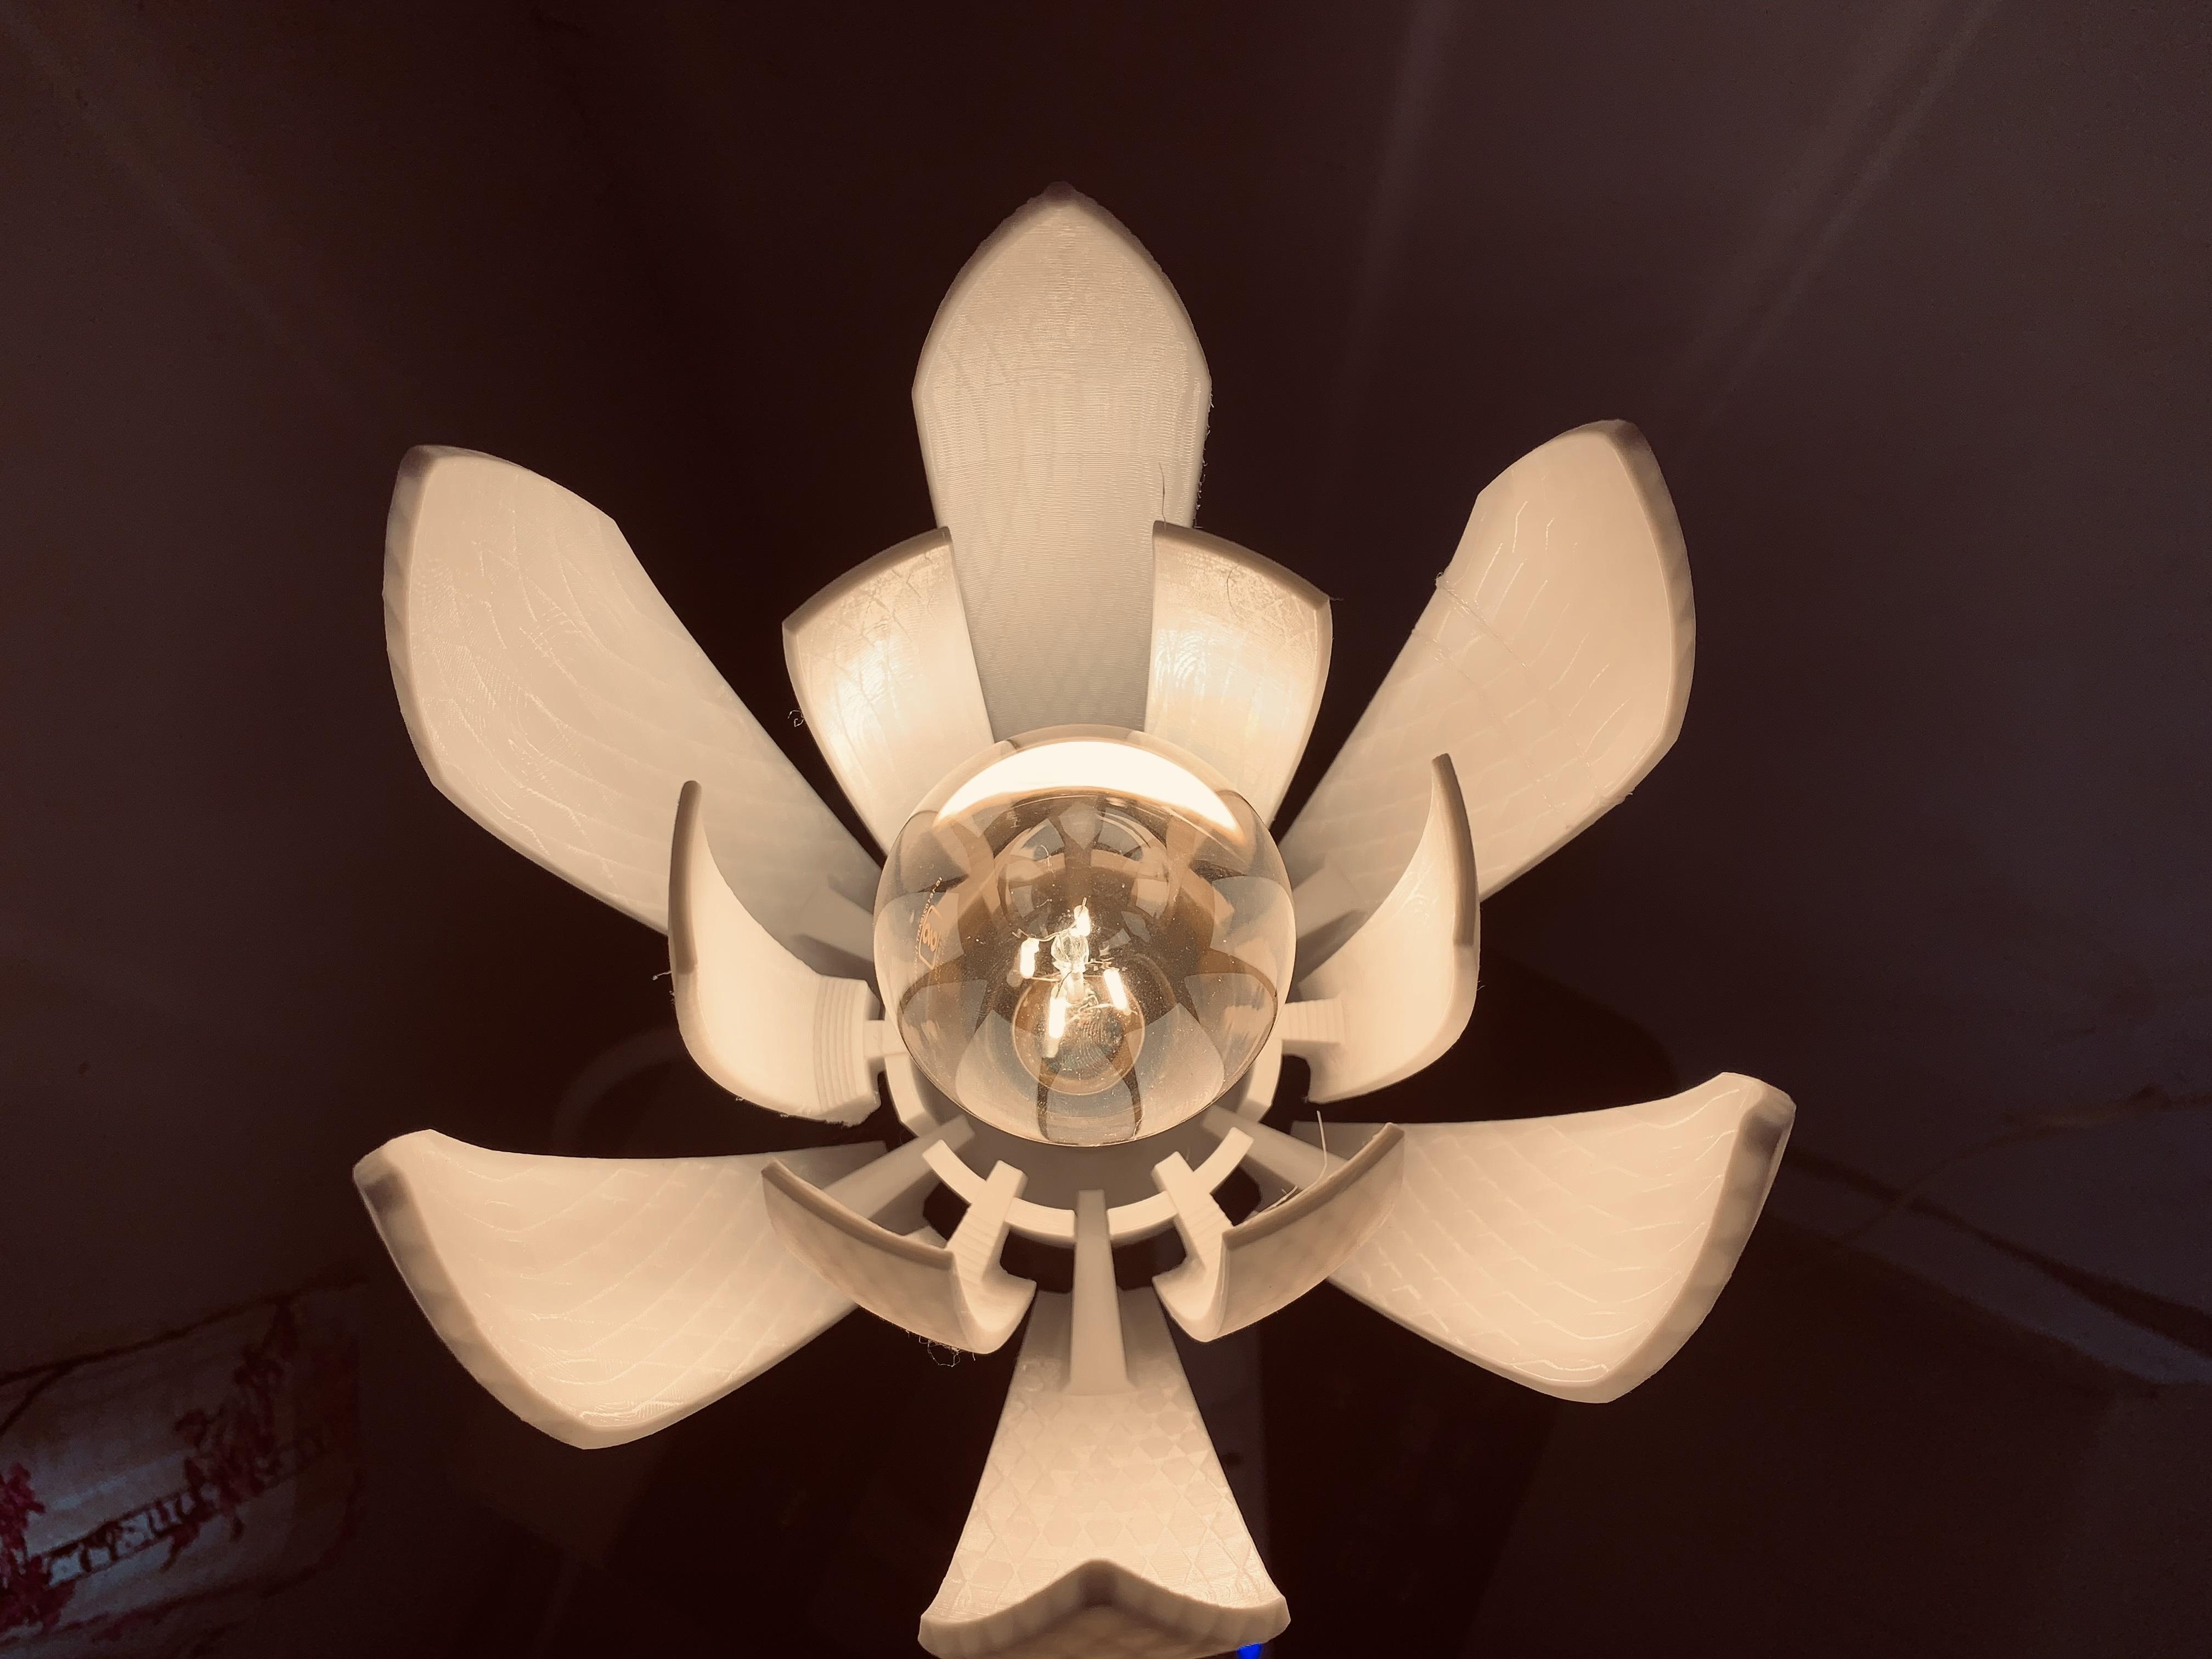
For assembly Follow the below instructions.
- First, you need to test the Holder and Bulb separately after wiring with Plug.
- Then attach the holder inside the center part to hold the bulb.
- Assemble the Leaves of flower lamps on the outer periphery one by one.
- Attach Pole at the bottom of the center part with a screw attached.
- We have 3 pole stands attached at the bottom of the pole as a tripod stand.
- Connect the plug to the socket and turn on the switch.
If you do things in the proper manner, you will get a nice 3d printed flower lamp in front of your eyes.