3D Printed Flower Necklace Using Tinkercad Codeblocks
by Graceful Paradigms in Teachers > 3D Printing
2228 Views, 18 Favorites, 0 Comments
3D Printed Flower Necklace Using Tinkercad Codeblocks
This project is perfect for a technology summer camp or any home with a 3D printer! You may also be able to find access to a 3D printer at a local library, school, or makerspace. Or you could send it out to a 3D printing service.
This project was inspired by my own semi-recent intro to and interest in Tinkercad Codeblocks. I was first introduced to Tinkercad Codeblocks last spring in one of my college classes. It is such a fun program to use and it is so rewarding to see your code come to life.
Supplies
- A computer or iPad with access to Tinkercad
- A 3D Printer
- Friendship bracelet string
- Scissors
Access Tinkercad
Tinkercad is a free 3D modeling program. It is easy to learn and fun to use!
Access Tinkercad on your computer at www.tinkercad.com. This program is all done in your browser, so no download needed.
You can also access Tinkercad on your iPad with the Tinkercad App.
You will probably need to make an account if you don't already have one. Kids, make sure you have parents permission before creating an account.
Use Codeblocks to Model Your Flower Charm
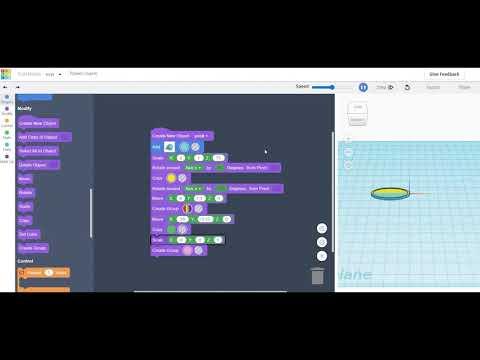
Please watch the above video to learn how to use Codeblocks to create this model.
This model can also be viewed on Tinkercad at https://www.tinkercad.com/codeblocks/2XbQ6bNfeG4. I added comments to the code to help guide you through.
I have also attached the downloaded .stl of the file.
Downloads
3D Print!
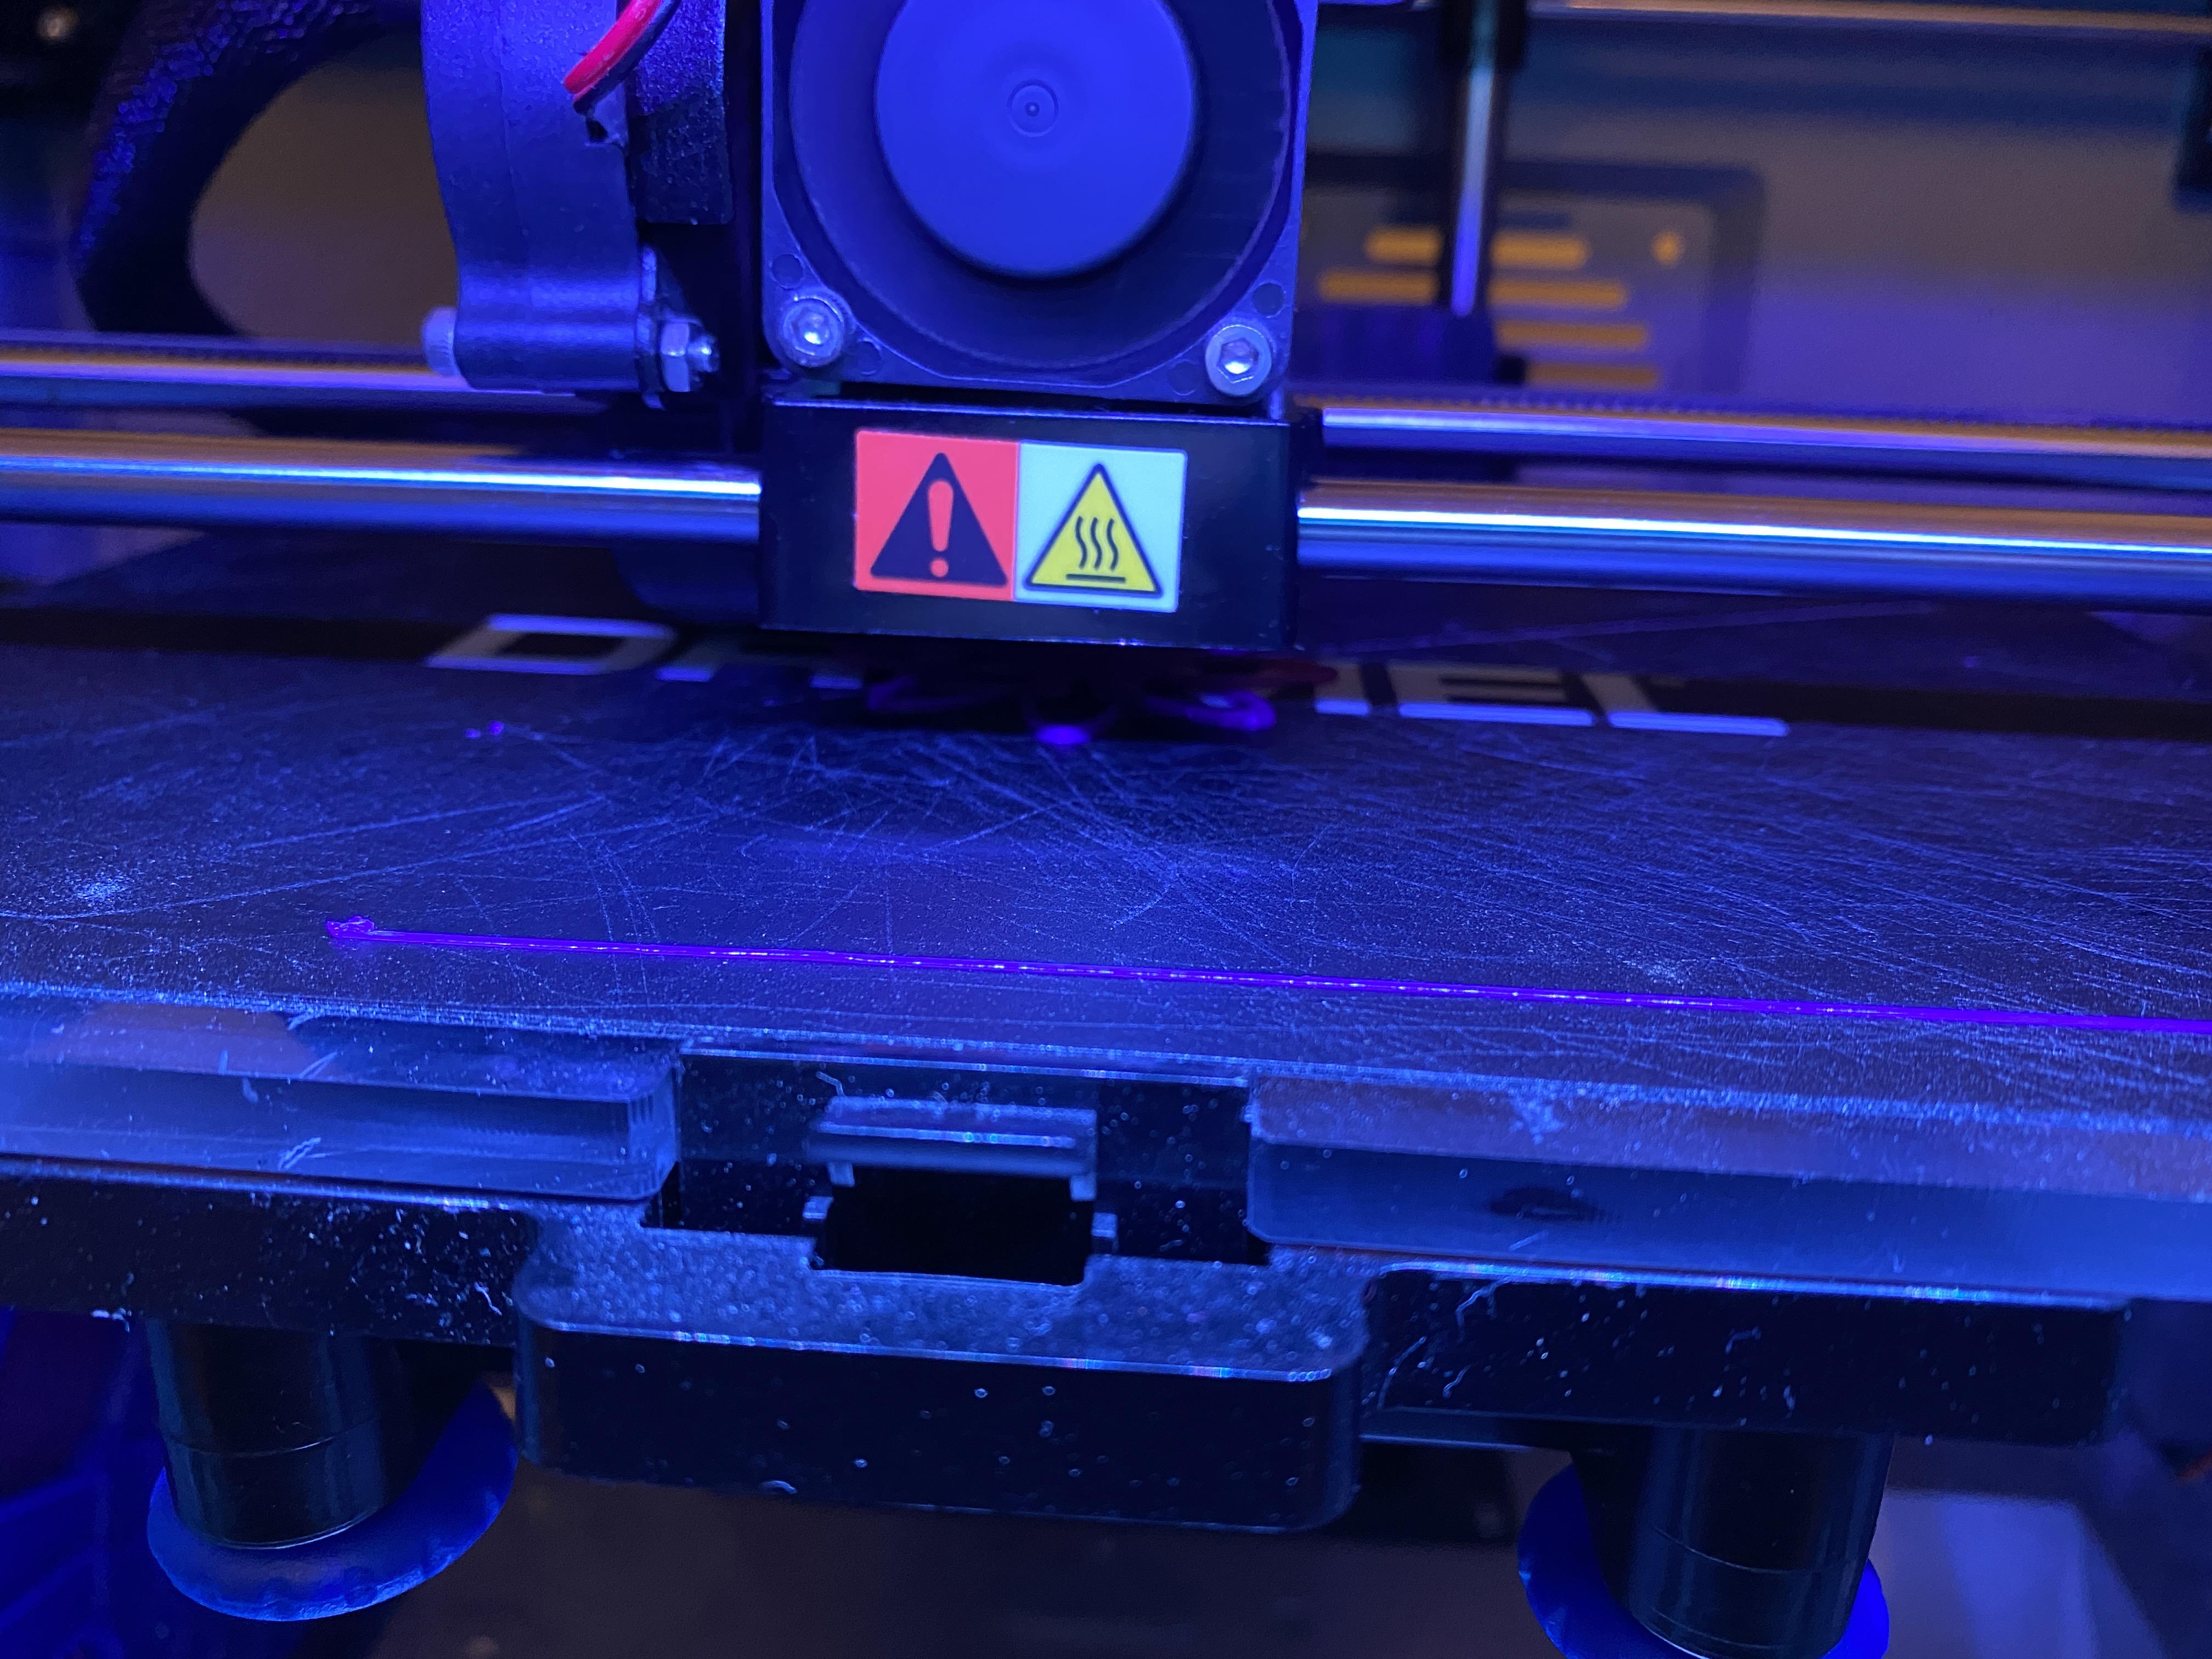
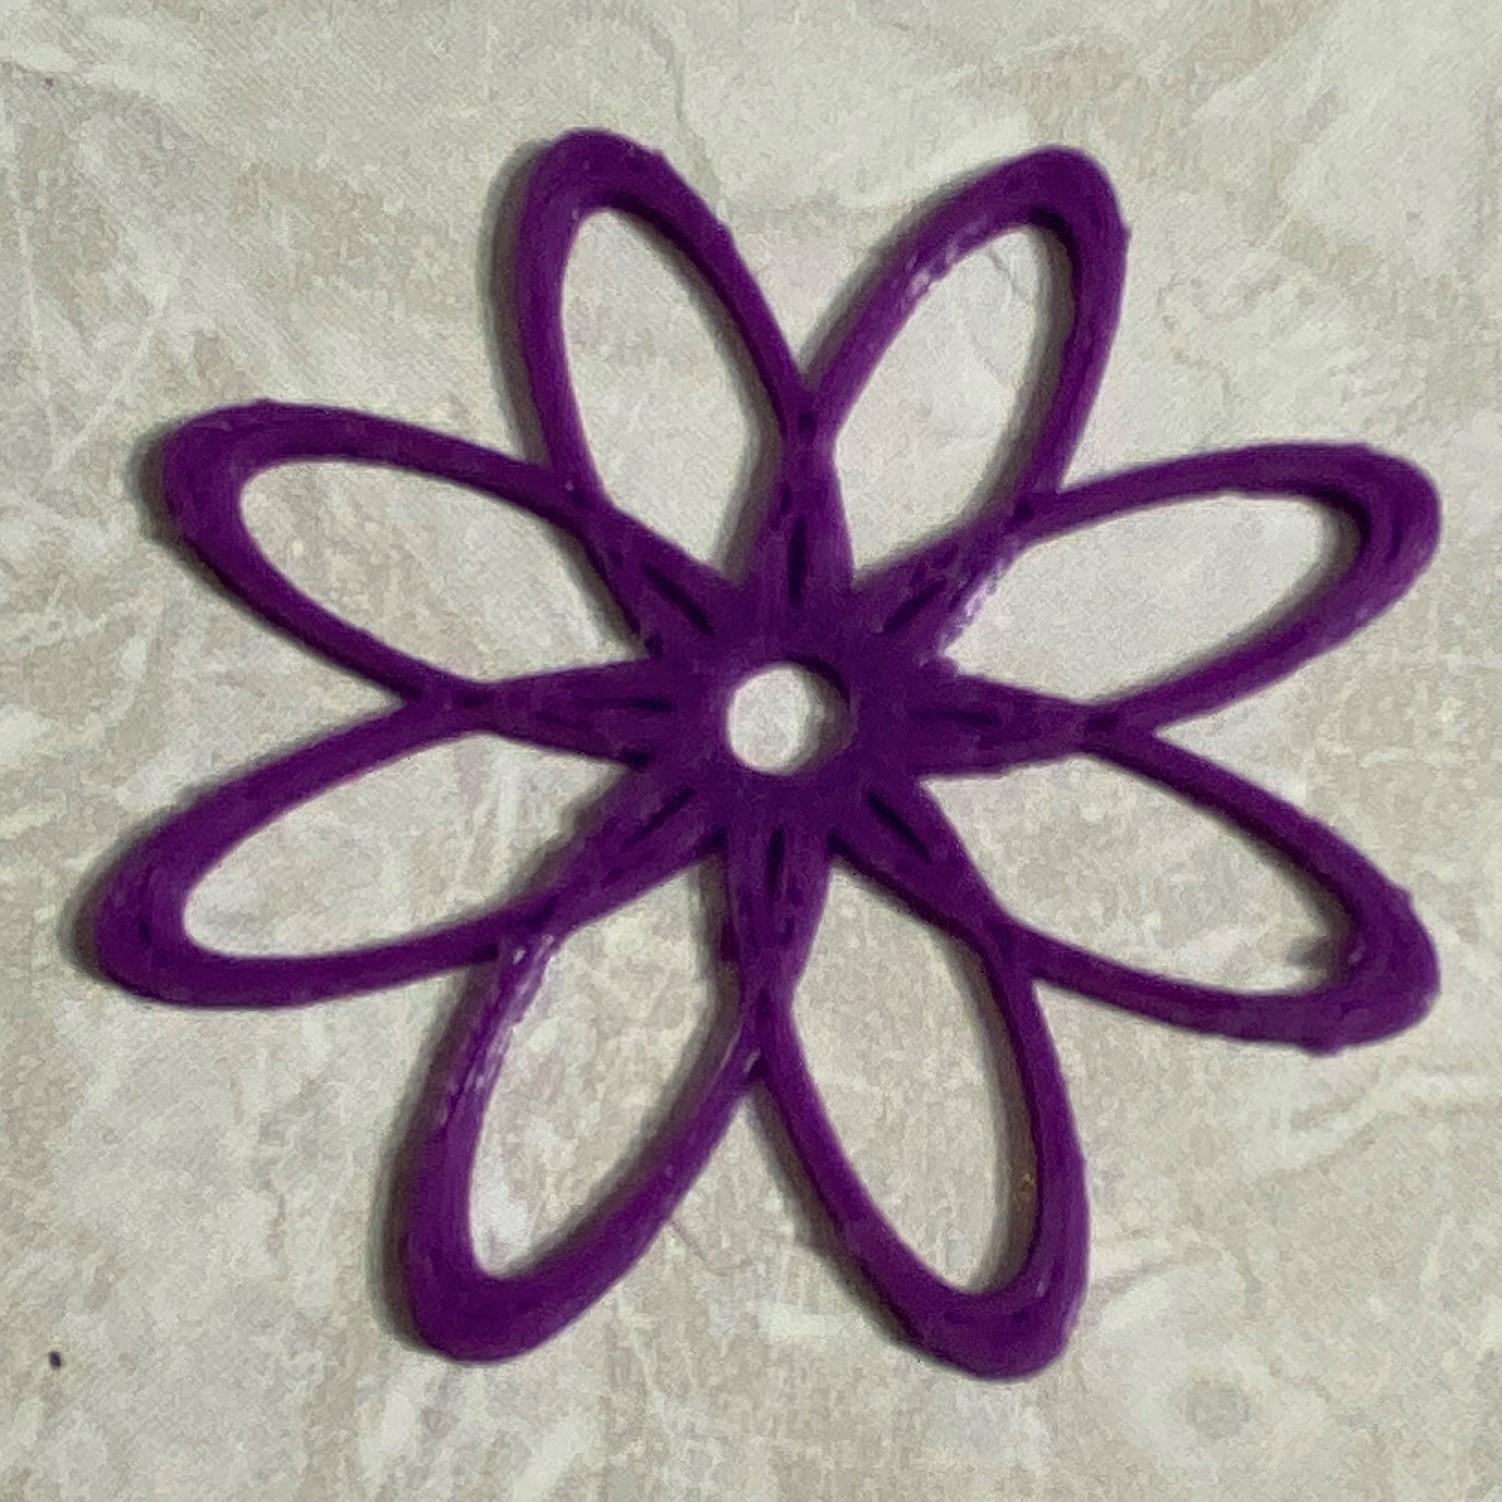
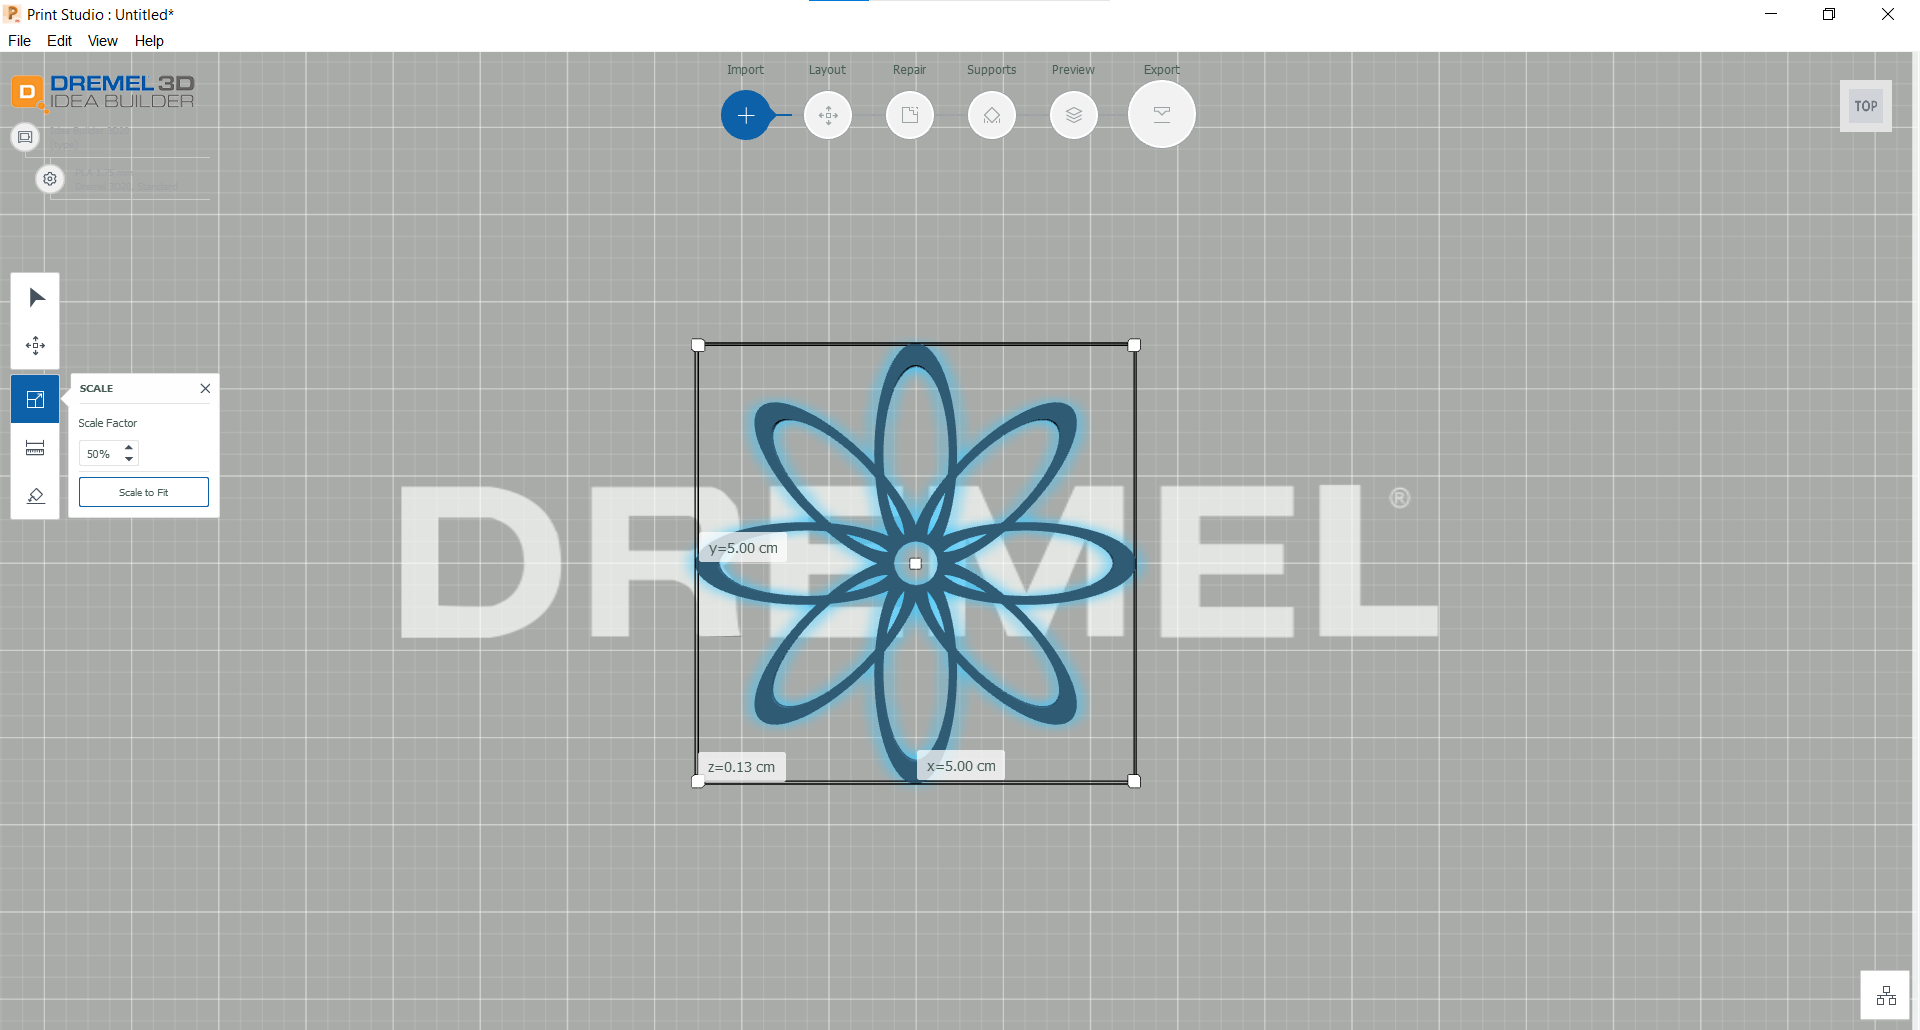
When 3D printing you will want to resize the charm so that the diameter of the flower is 5 cm.
Use whatever color filament you want! I used purple because it is my favorite color. What is your favorite color?
Cut the String for the Necklace
Yes, you could use a chain for your necklace, but what is one thing that most summer camps have? Friendship bracelet string!
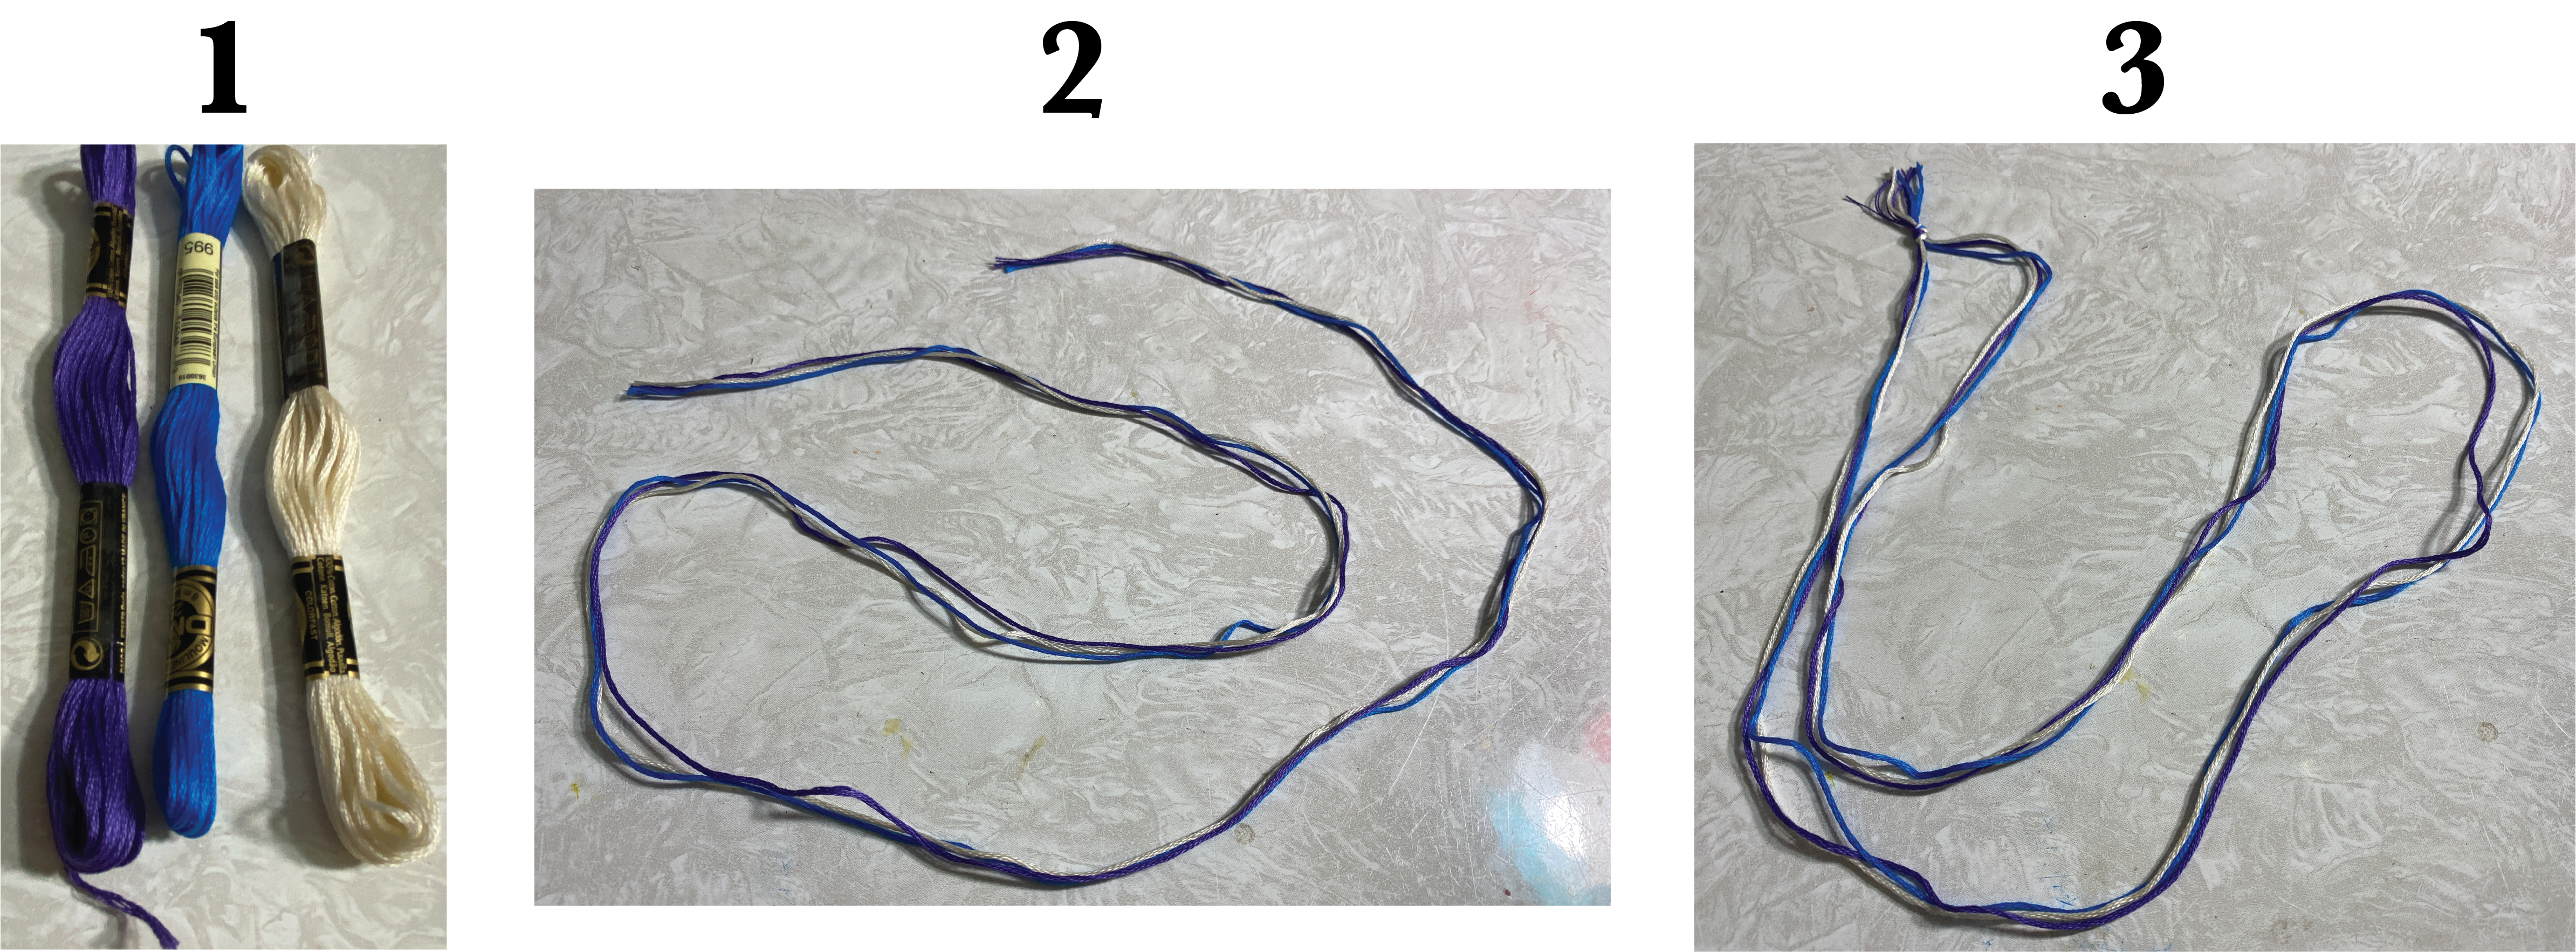
- Choose your colors! I recommend at least 3 strands, which could be the same or different colors.
- Cut your strands to between 24-inches and 36-inches. Each kids head will be a different size and you want this to be able to go over their head without untying. It's better to overcut and have to trim after. Make sure each strand is the same size.
- Line your strands up, fold them in half, and then tie them together at the end. This is the simple way, you could also braid the strands or do some sort of friendship bracelet knots with them, but remember, you want them to still be long enough to go over the head once tied.
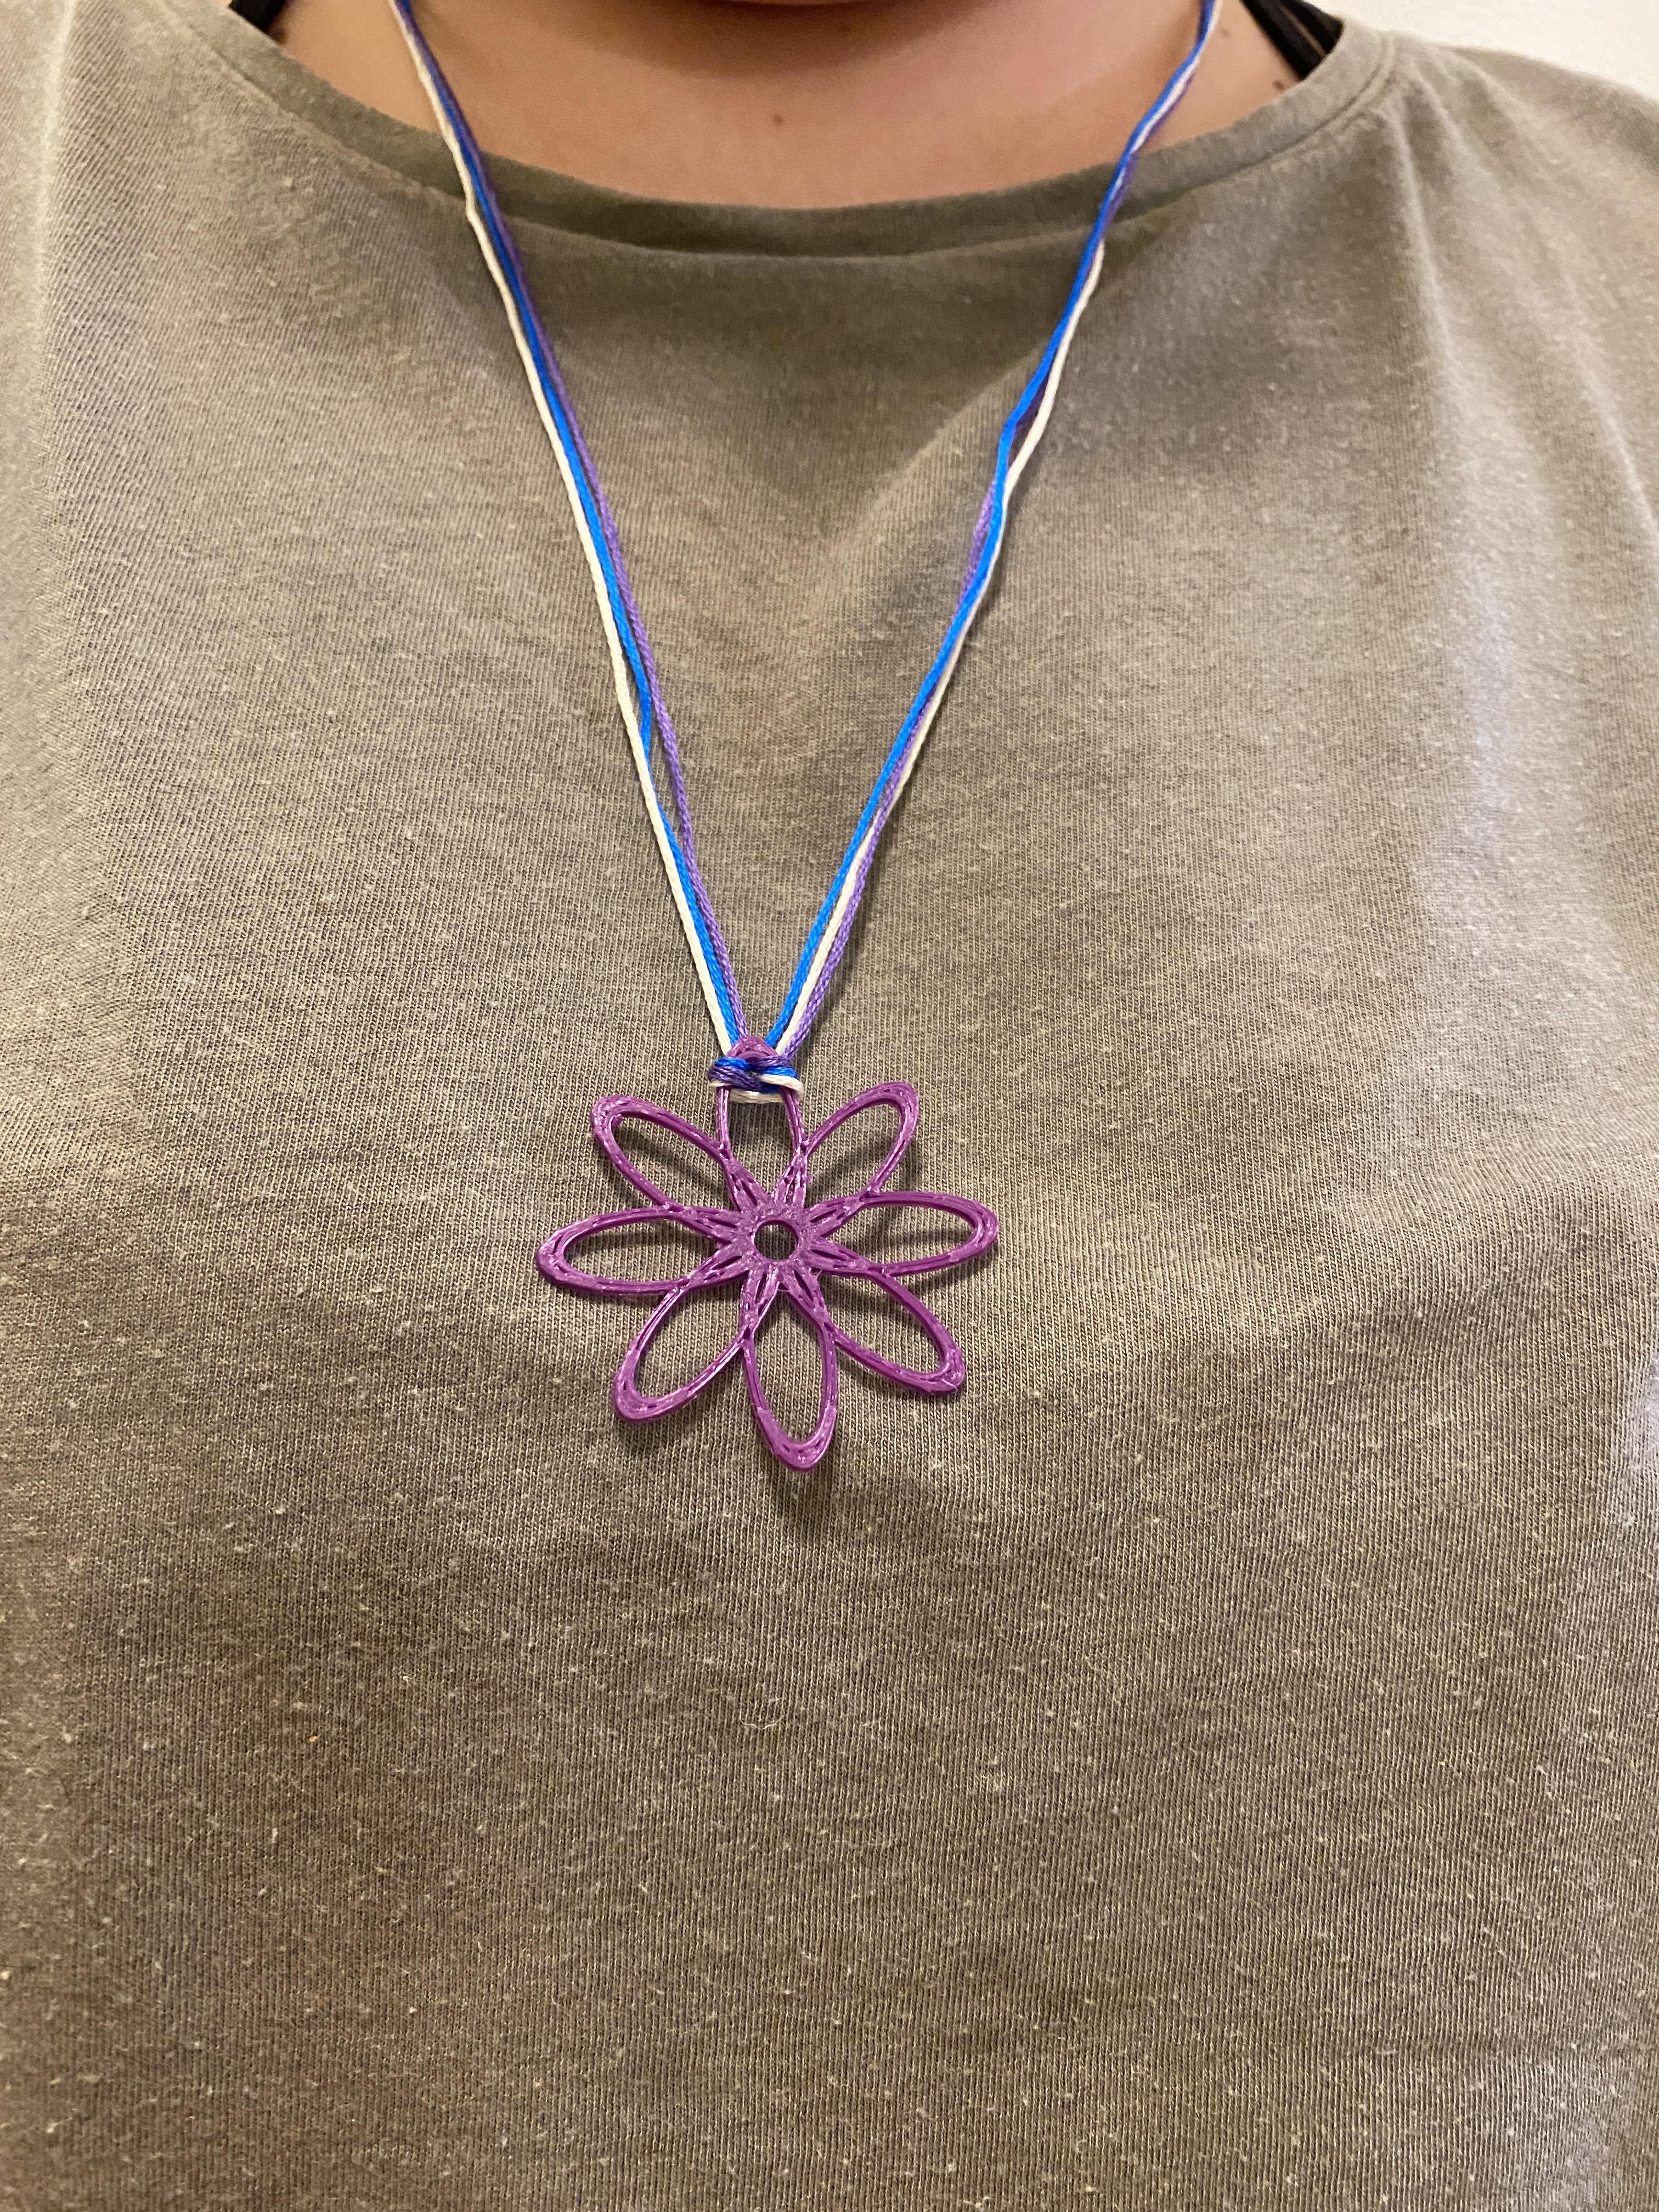
Put the Flower Charm on the Necklace Strings
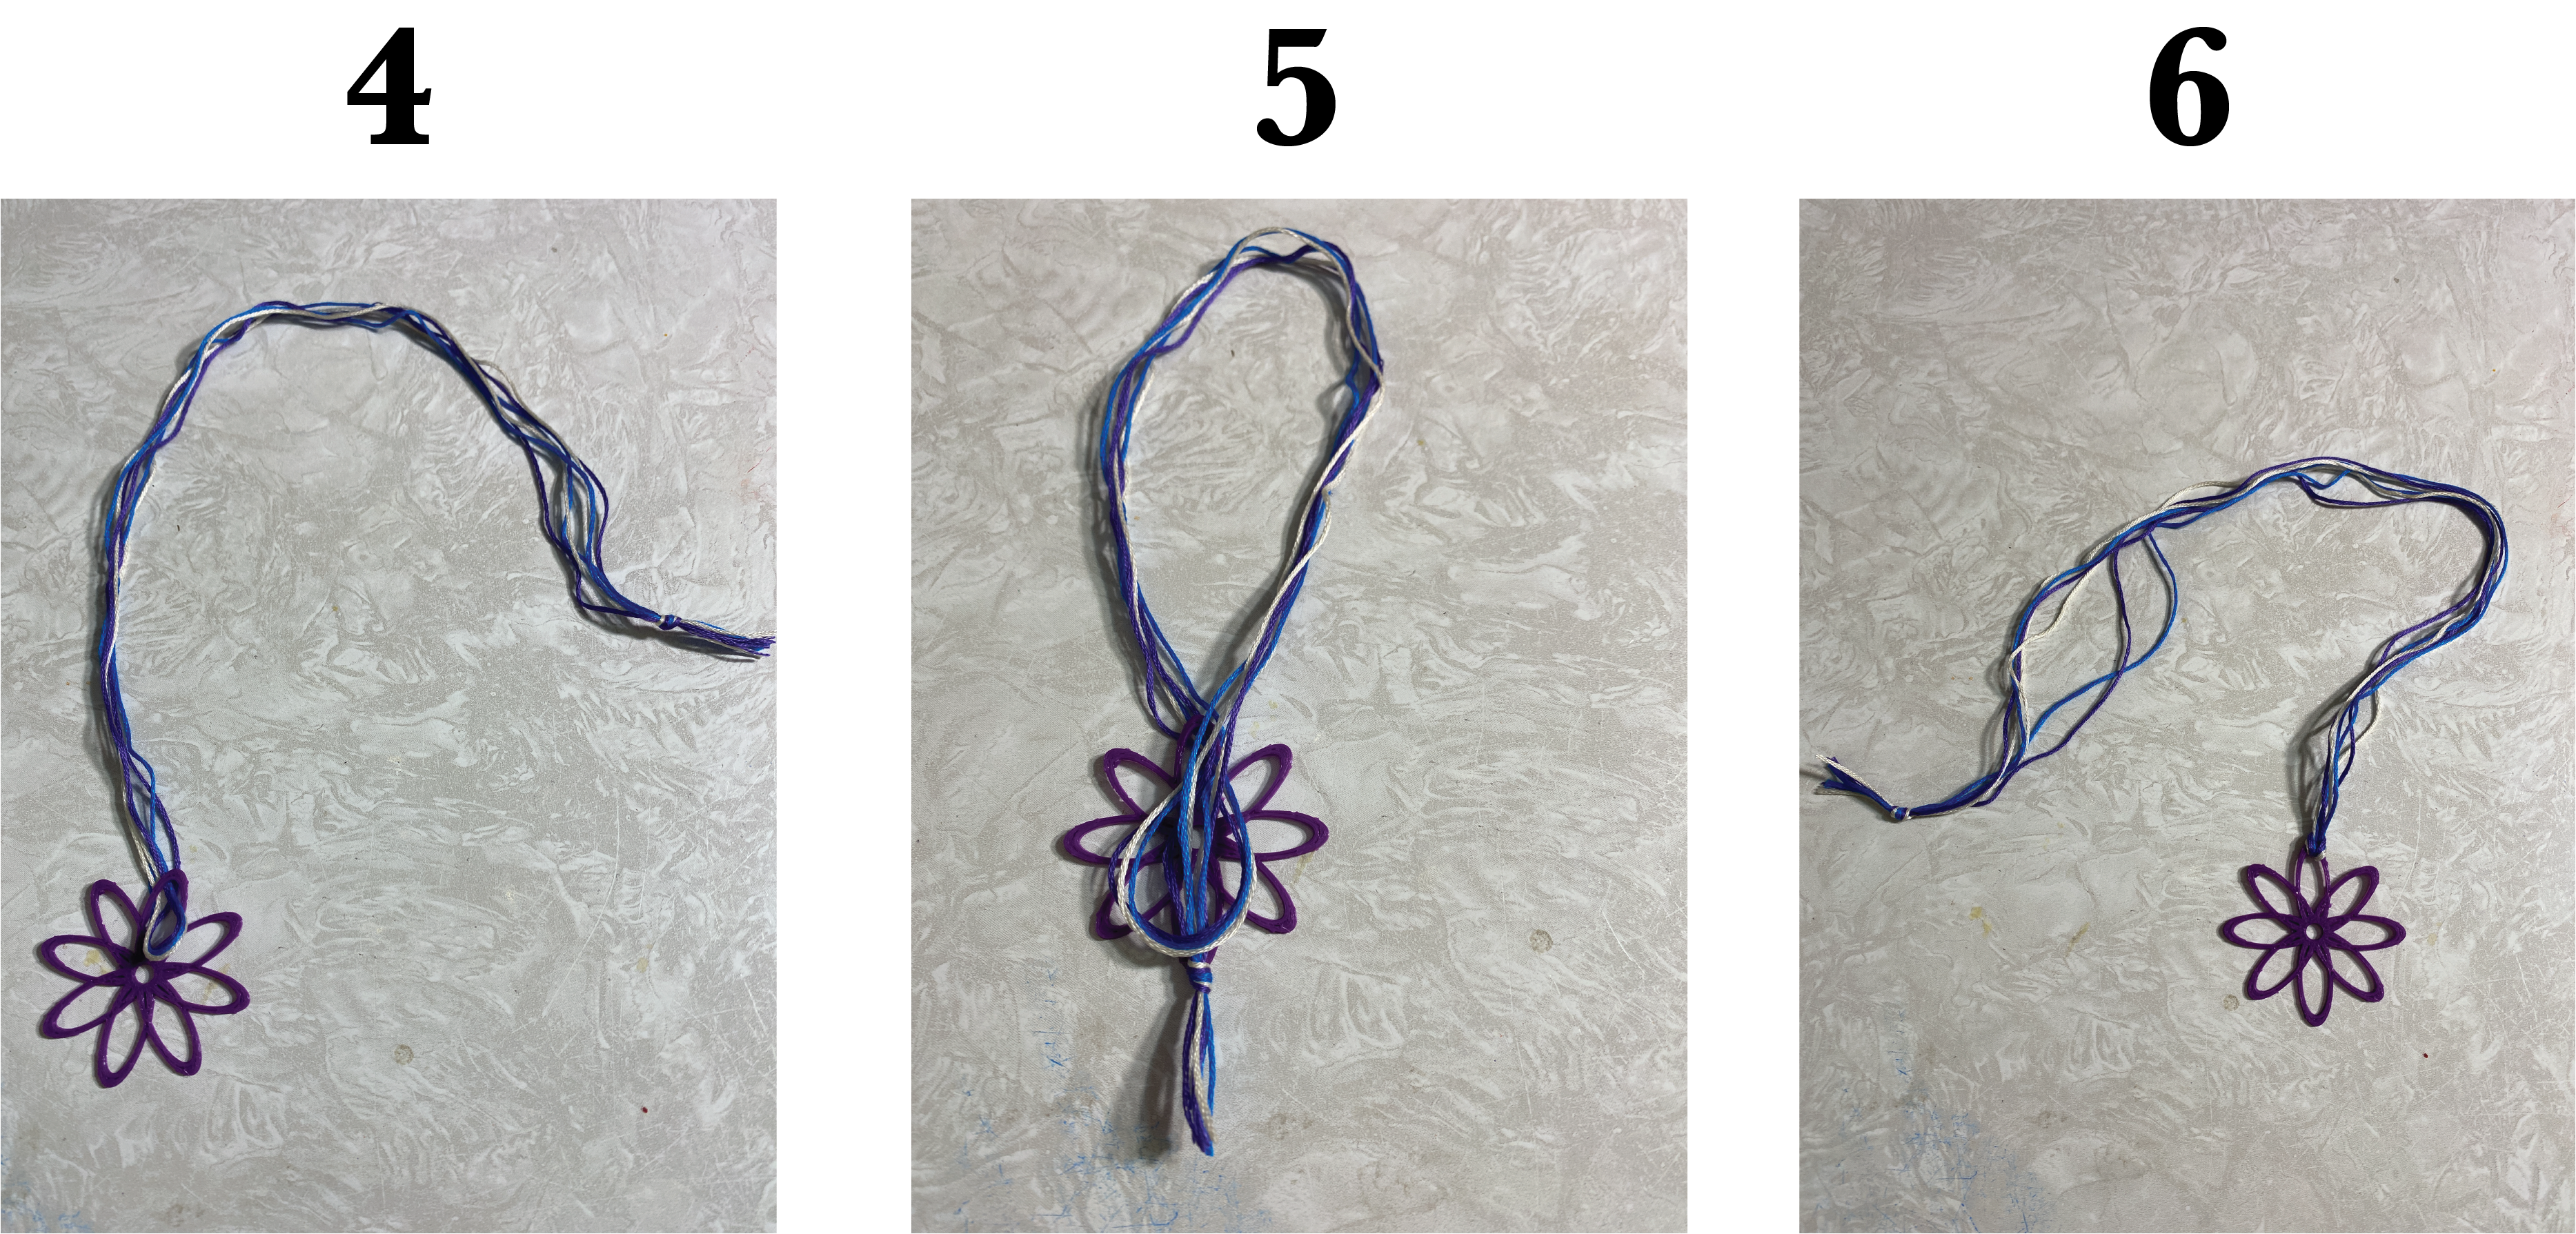
Steps 4-6 are all about putting the charm on the strings.
- Fold your strings in half and slide the end opposite the knot through one of the flower petals.
- Make the end you slid through the flower petal into a bigger loop and slide the knot end through that loop.
- Pull tight and there you go! Your necklace is ready to wear! Show off your awesome work!