3D Printed Flahing LED Name Tag - Get Your Name in Lights!
by MakeThingsToday in Circuits > LEDs
1535 Views, 8 Favorites, 0 Comments
3D Printed Flahing LED Name Tag - Get Your Name in Lights!
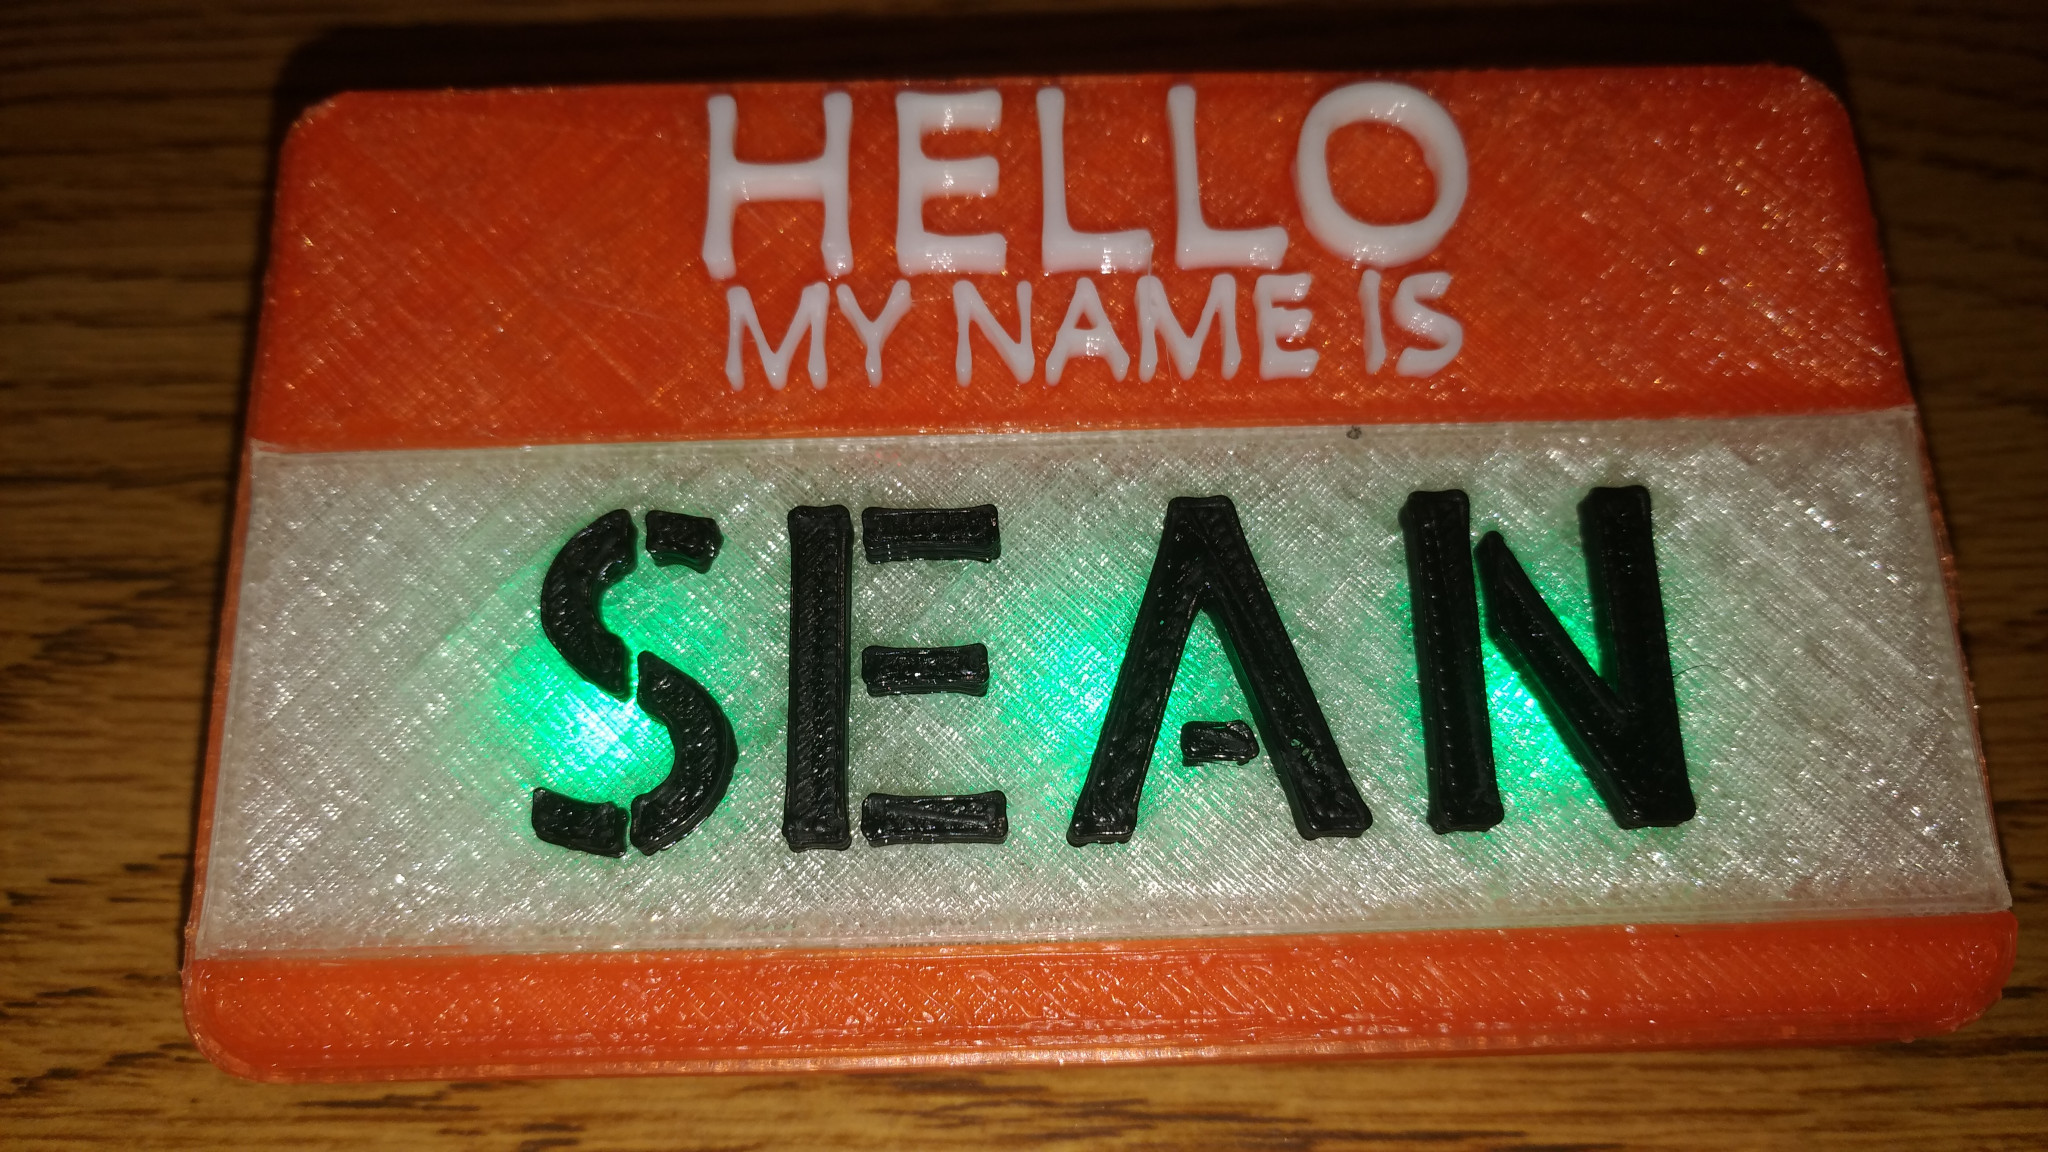

This is a nice little project in which you build a name tag which is very flashy and eye-catching using multi-colour LED lights.
Video instructions:
For this project you will need:
- 3D Printed Parts https://www.thingiverse.com/thing:2687490
- Small Switch
- 3 WS2812 LED Lights
- Small Ardiuno - Nano, Nano Pro, or Digispark/Pro (Nano used in this howto)
- Wires
- Paperclips
- 2 2032 Batteries
- Like every project - patience!
Printing the Parts
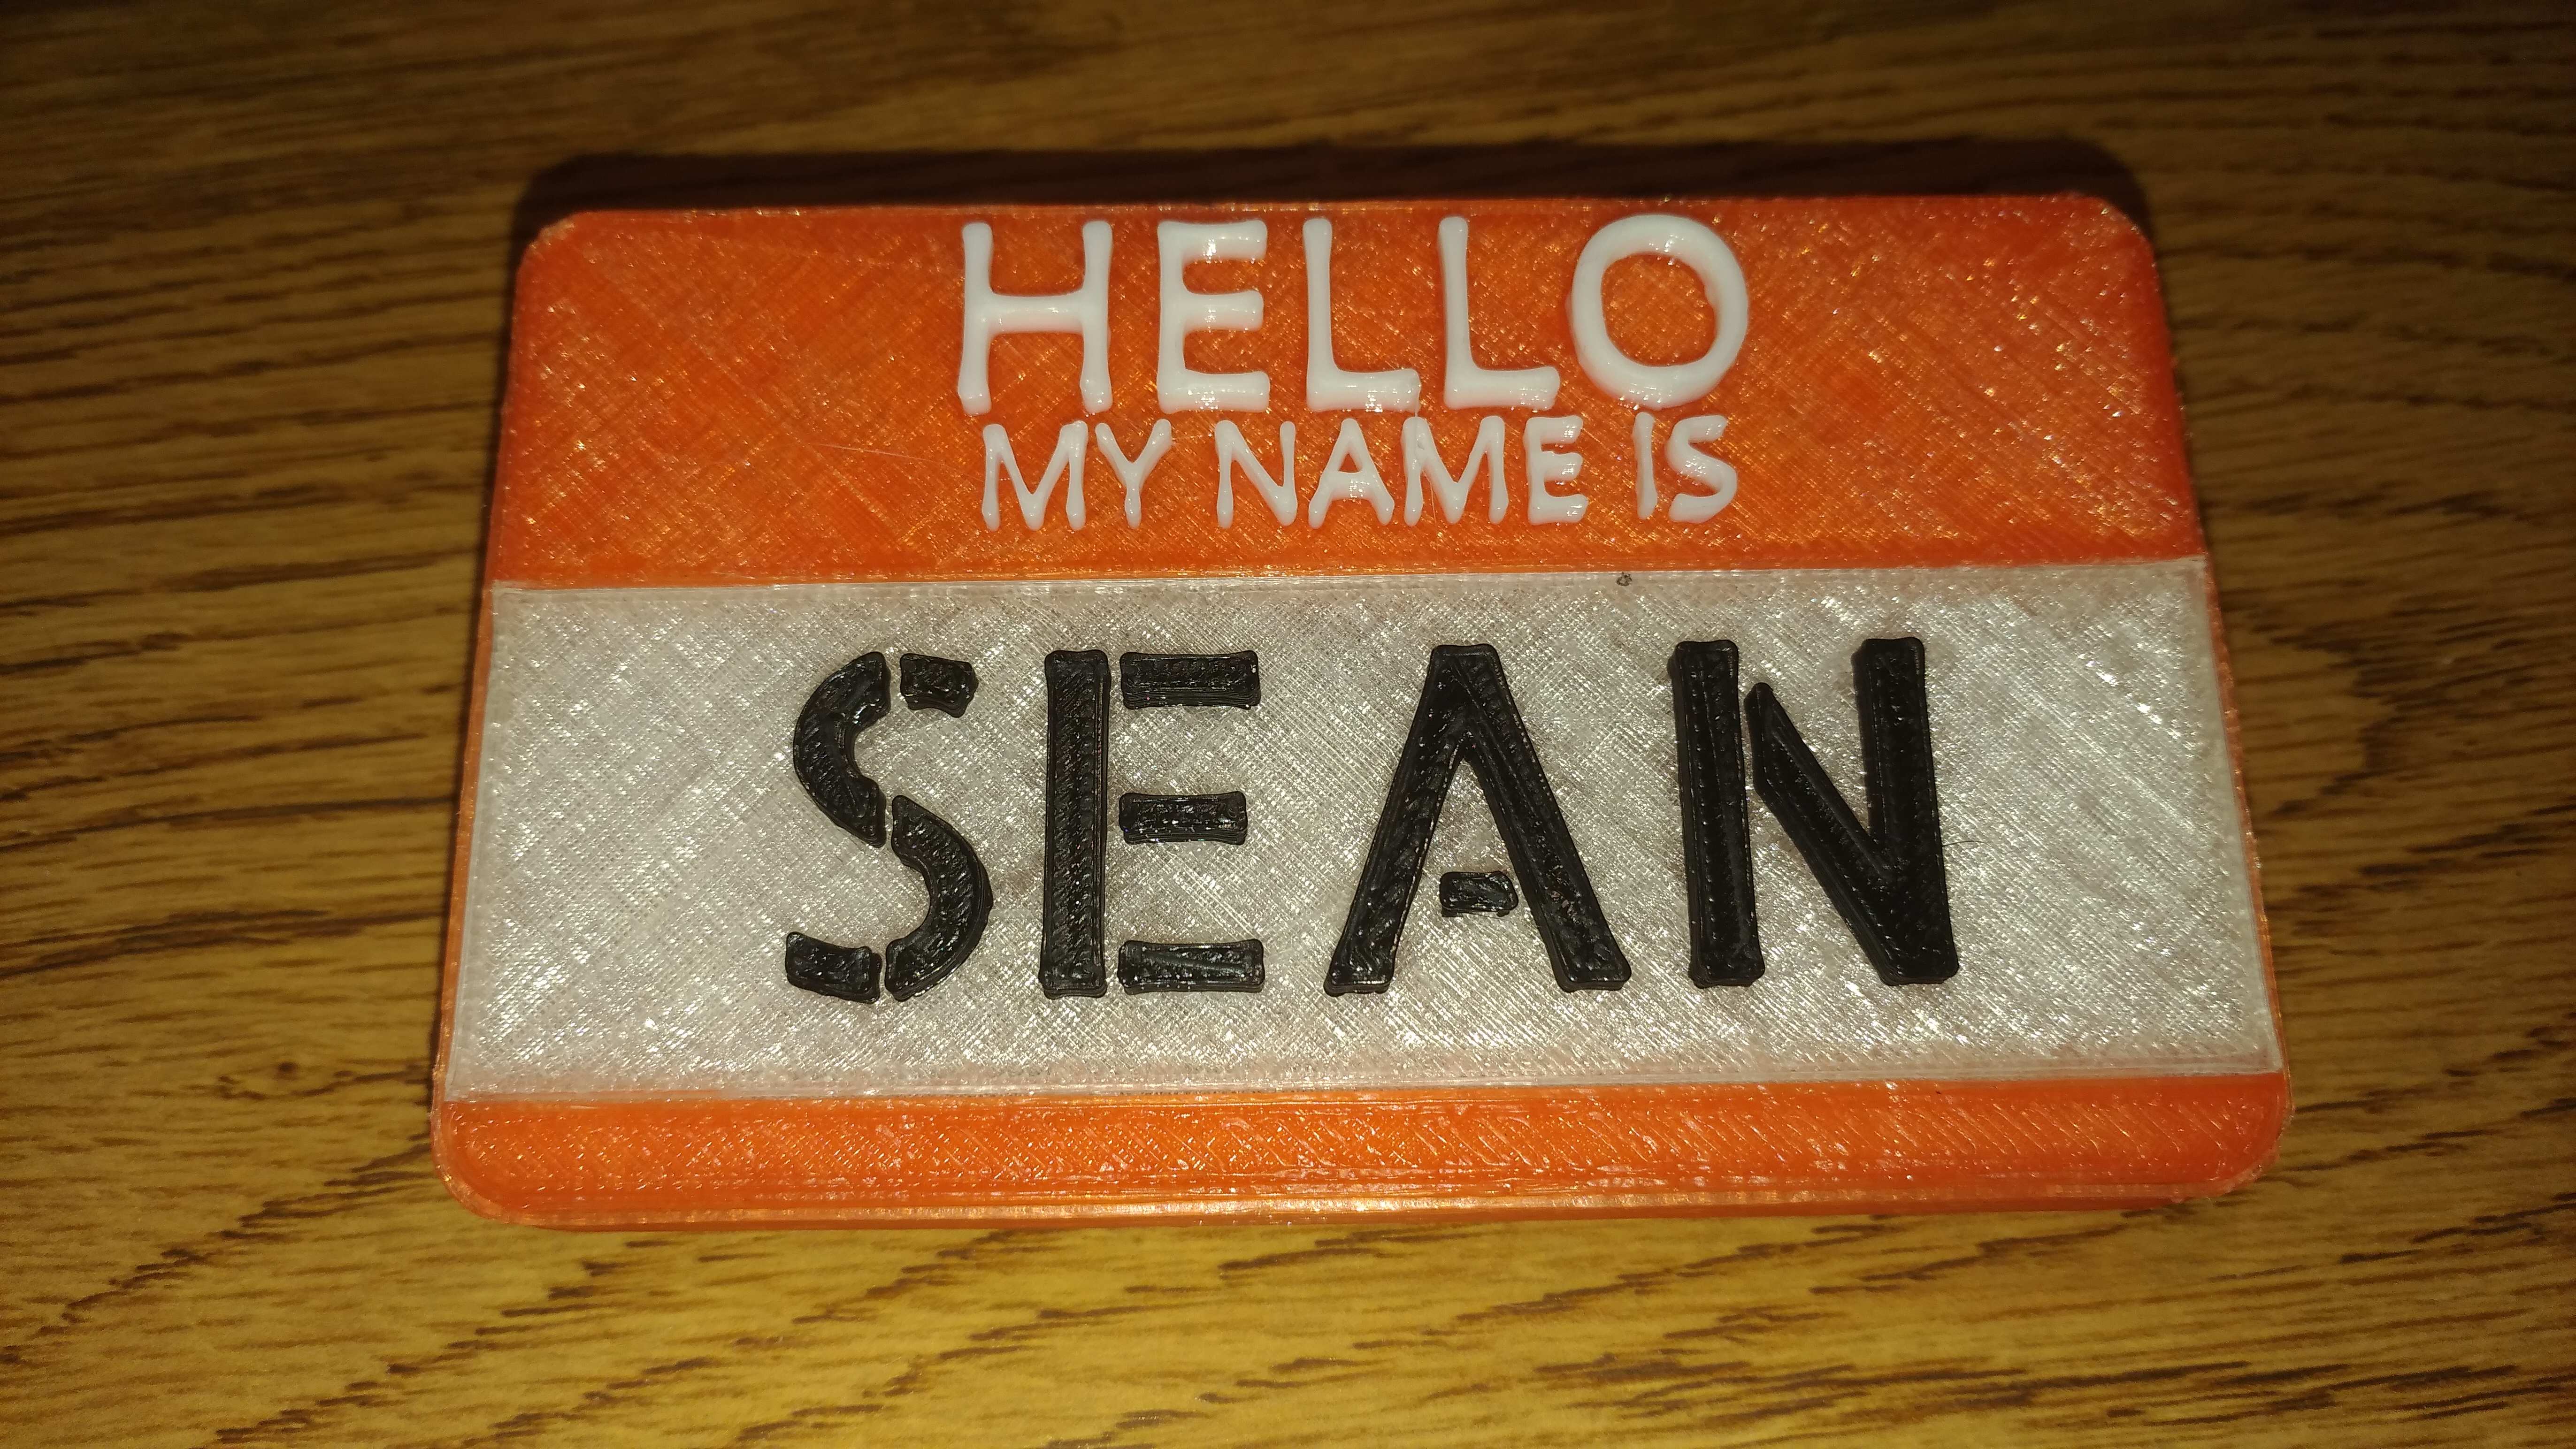
You need to print one of each part except for the clips, which you need 2 of. When printing the pieces with words on them, you will want to use either a printer with dual nozzles, or set up your print to pause at the correct height so you can switch materials. Instructions on doing this with Cura are available in the Youtube video below. You will also have to glue the top and bottom sections of the name plate to the middle section. This extra step is what allows you to have a faceplate with 4 different materials while using a single-extruder printer.
If you would like to change the name (very likely) here are the CAD files: https://cad.onshape.com/documents/68be14817735aab...
The video below also walks you through making the required changes to change the name.
Program the Arduino
You can program the Arduino at any time after assembly, but it is easier if we do it first.
You can program the Nano by following the instructions in the video below.
Here is a summary:
- Install and run the Arduino IDE
Install the Adafruit NeoPixel library - Load up the Example file in [File -> Examples -> Adafruit NeoPixel -> strandtest
- Change line 16 from: Adafruit_NeoPixel strip = Adafruit_NeoPixel(60, PIN, NEO_GRB + NEO_KHZ800);
- to: Adafruit_NeoPixel strip = Adafruit_NeoPixel(3, PIN, NEO_GRB + NEO_KHZ800);
- Program the Nano with this example
Assemble the Electronics
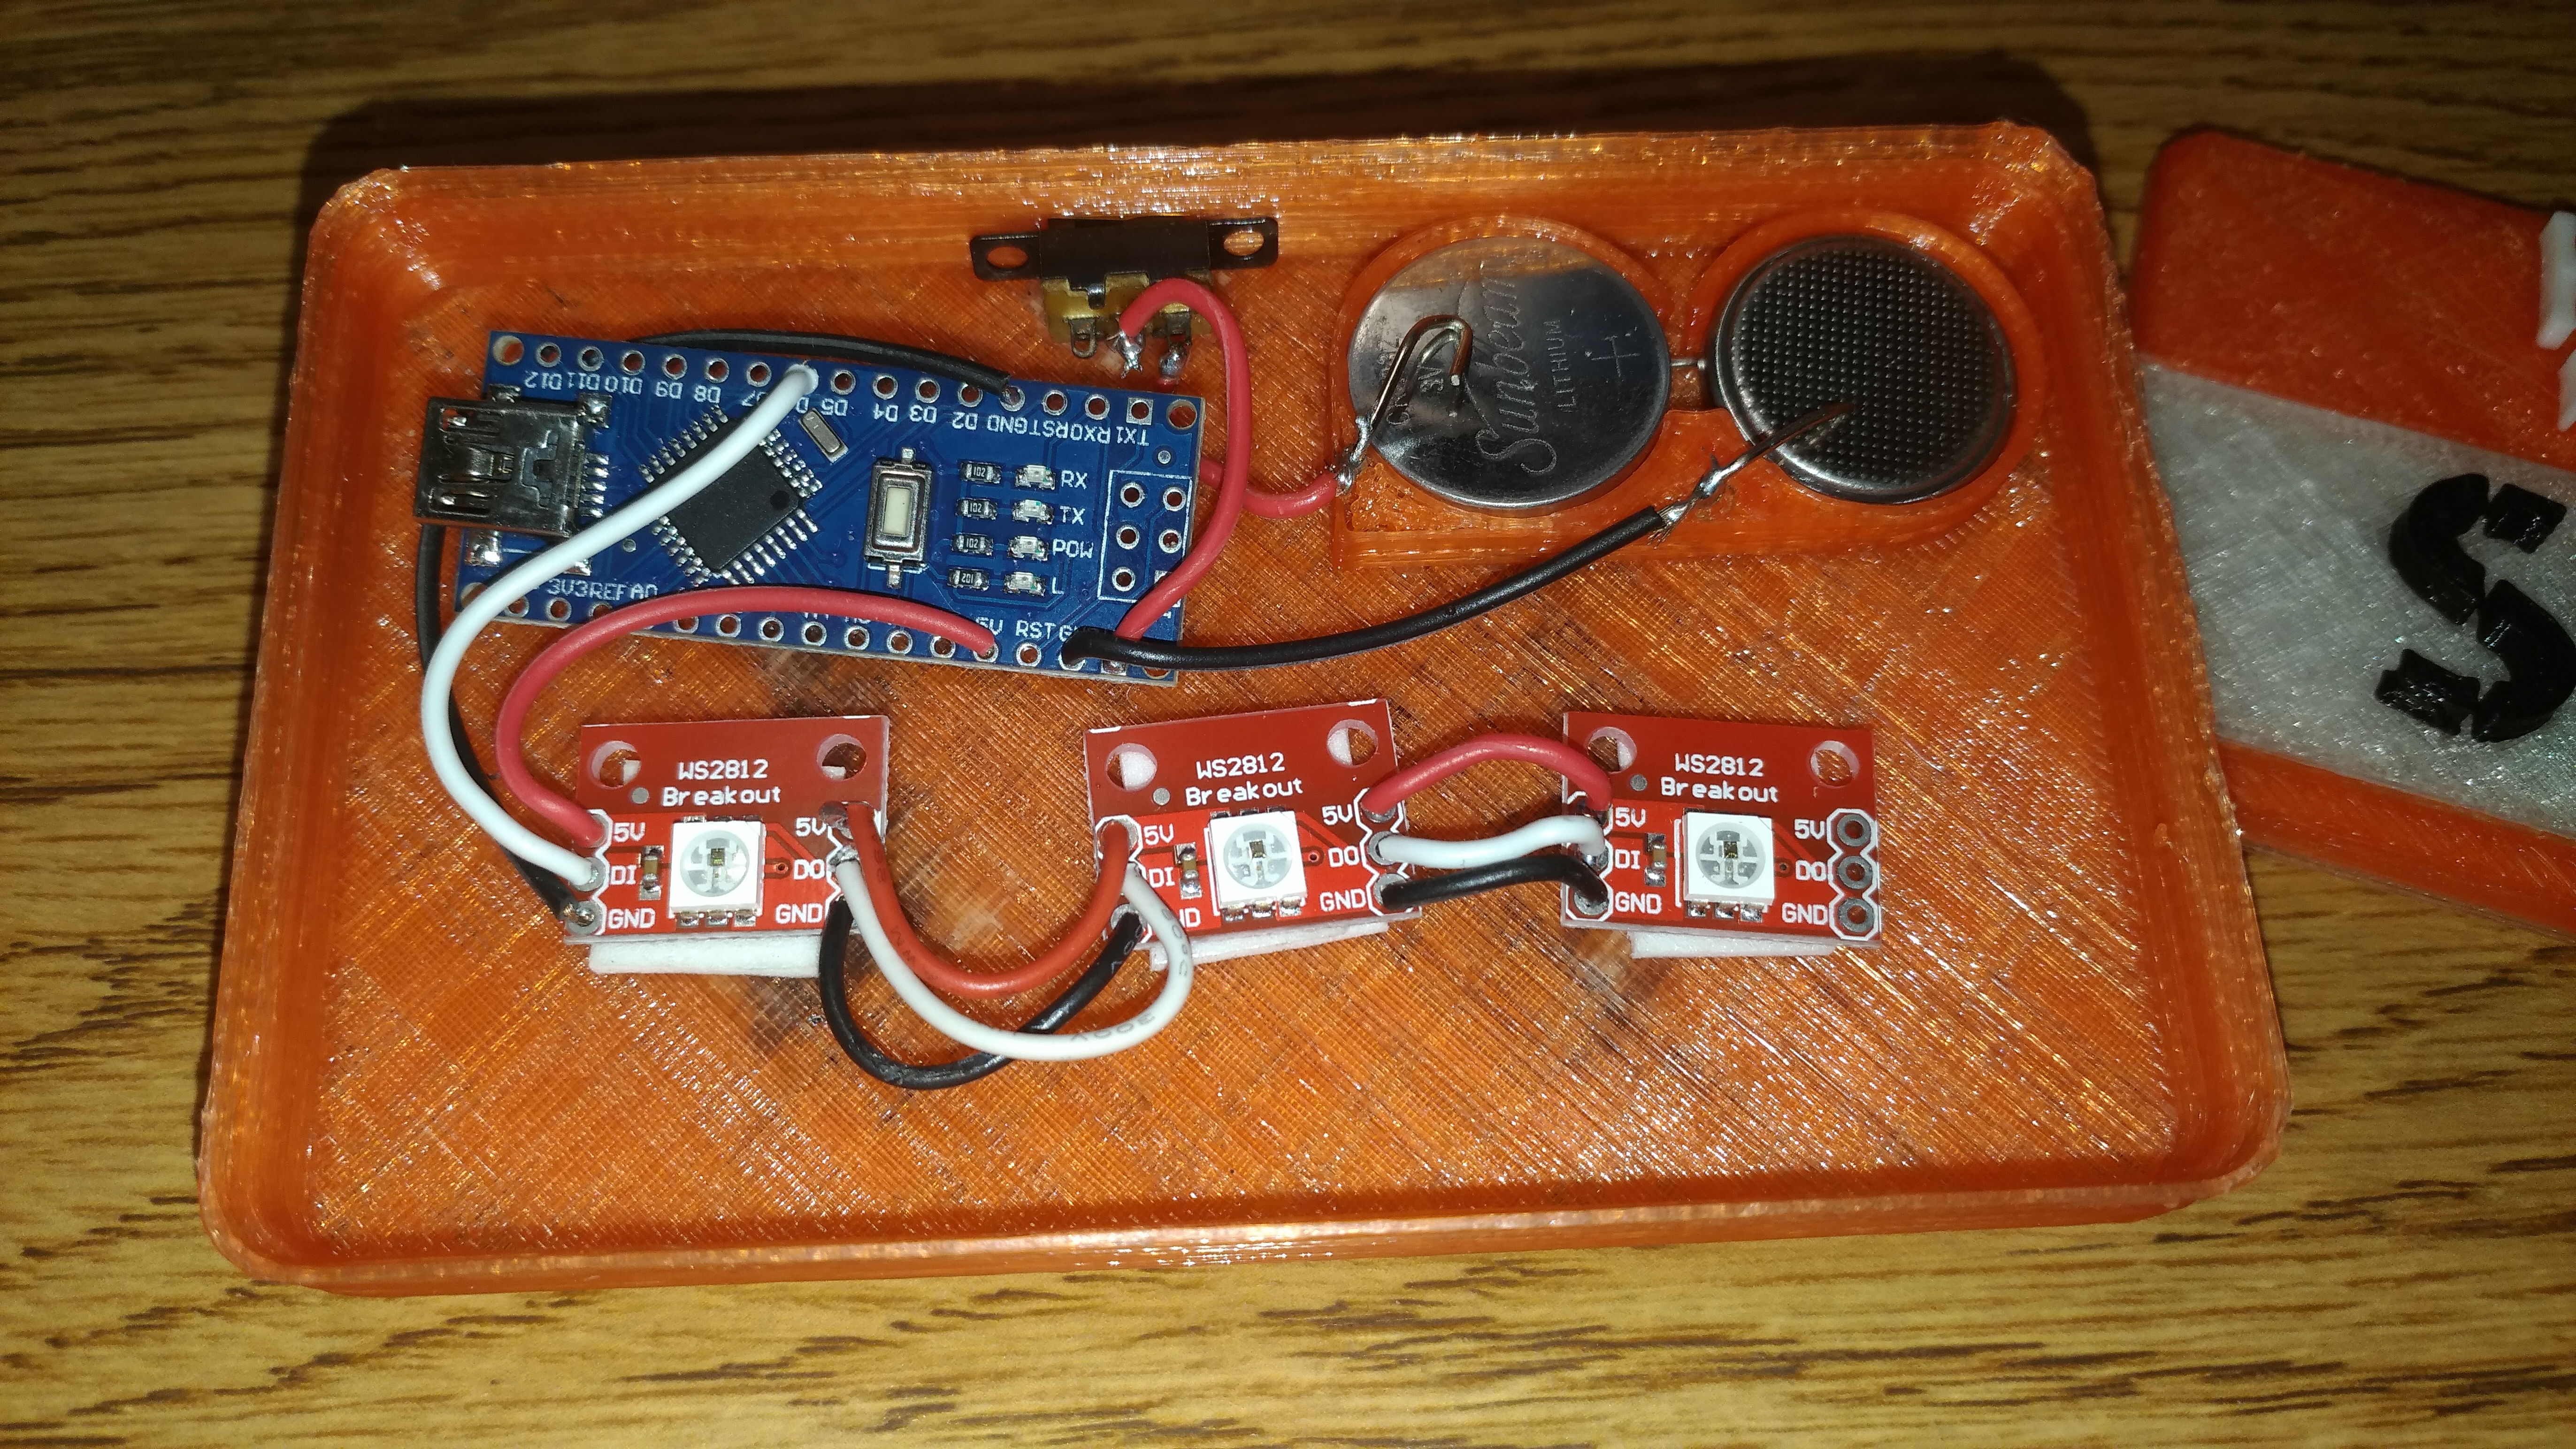
As you can see in the picture, the 2032 coin cells sit in the circular bits of the name tag back piece - one with positive side up, and the other with negative side up. You will want to put a piece of paperclip with a sleight bend at each end in the channel below them before inserting the batteries. You will also use 2 more small sections of a paperclip which are bent so they place pressure on the top of the batteries. Your positive and negative wires are then soldered to these top clips - just make sure you solder the positive to the side with the positive battery facing up. The positive wire goes to one pin of the the switch and then the next pin is wired to Vin on the Nano. The negative goes straight to GND of the Nano. What this does is use the voltage regulator which is built in to the Nano board to supply the required 5 volts to everything.
Next you will want to run a wire from another GND pin of the Nano to the first LED board, another from the 5V pin of the Nano to 5V on the first LED board, and finally a wire from pin D6 from the Nano to the DI of the first LED. You will then continue the string by wiring the 5V, GND and DO to the 5V, GND, and DI of the second LED board. Repeat this to connect the second board to the third one. You can then use a little double-sided tape to secure the LED's to the back of the case.
Final Assembly
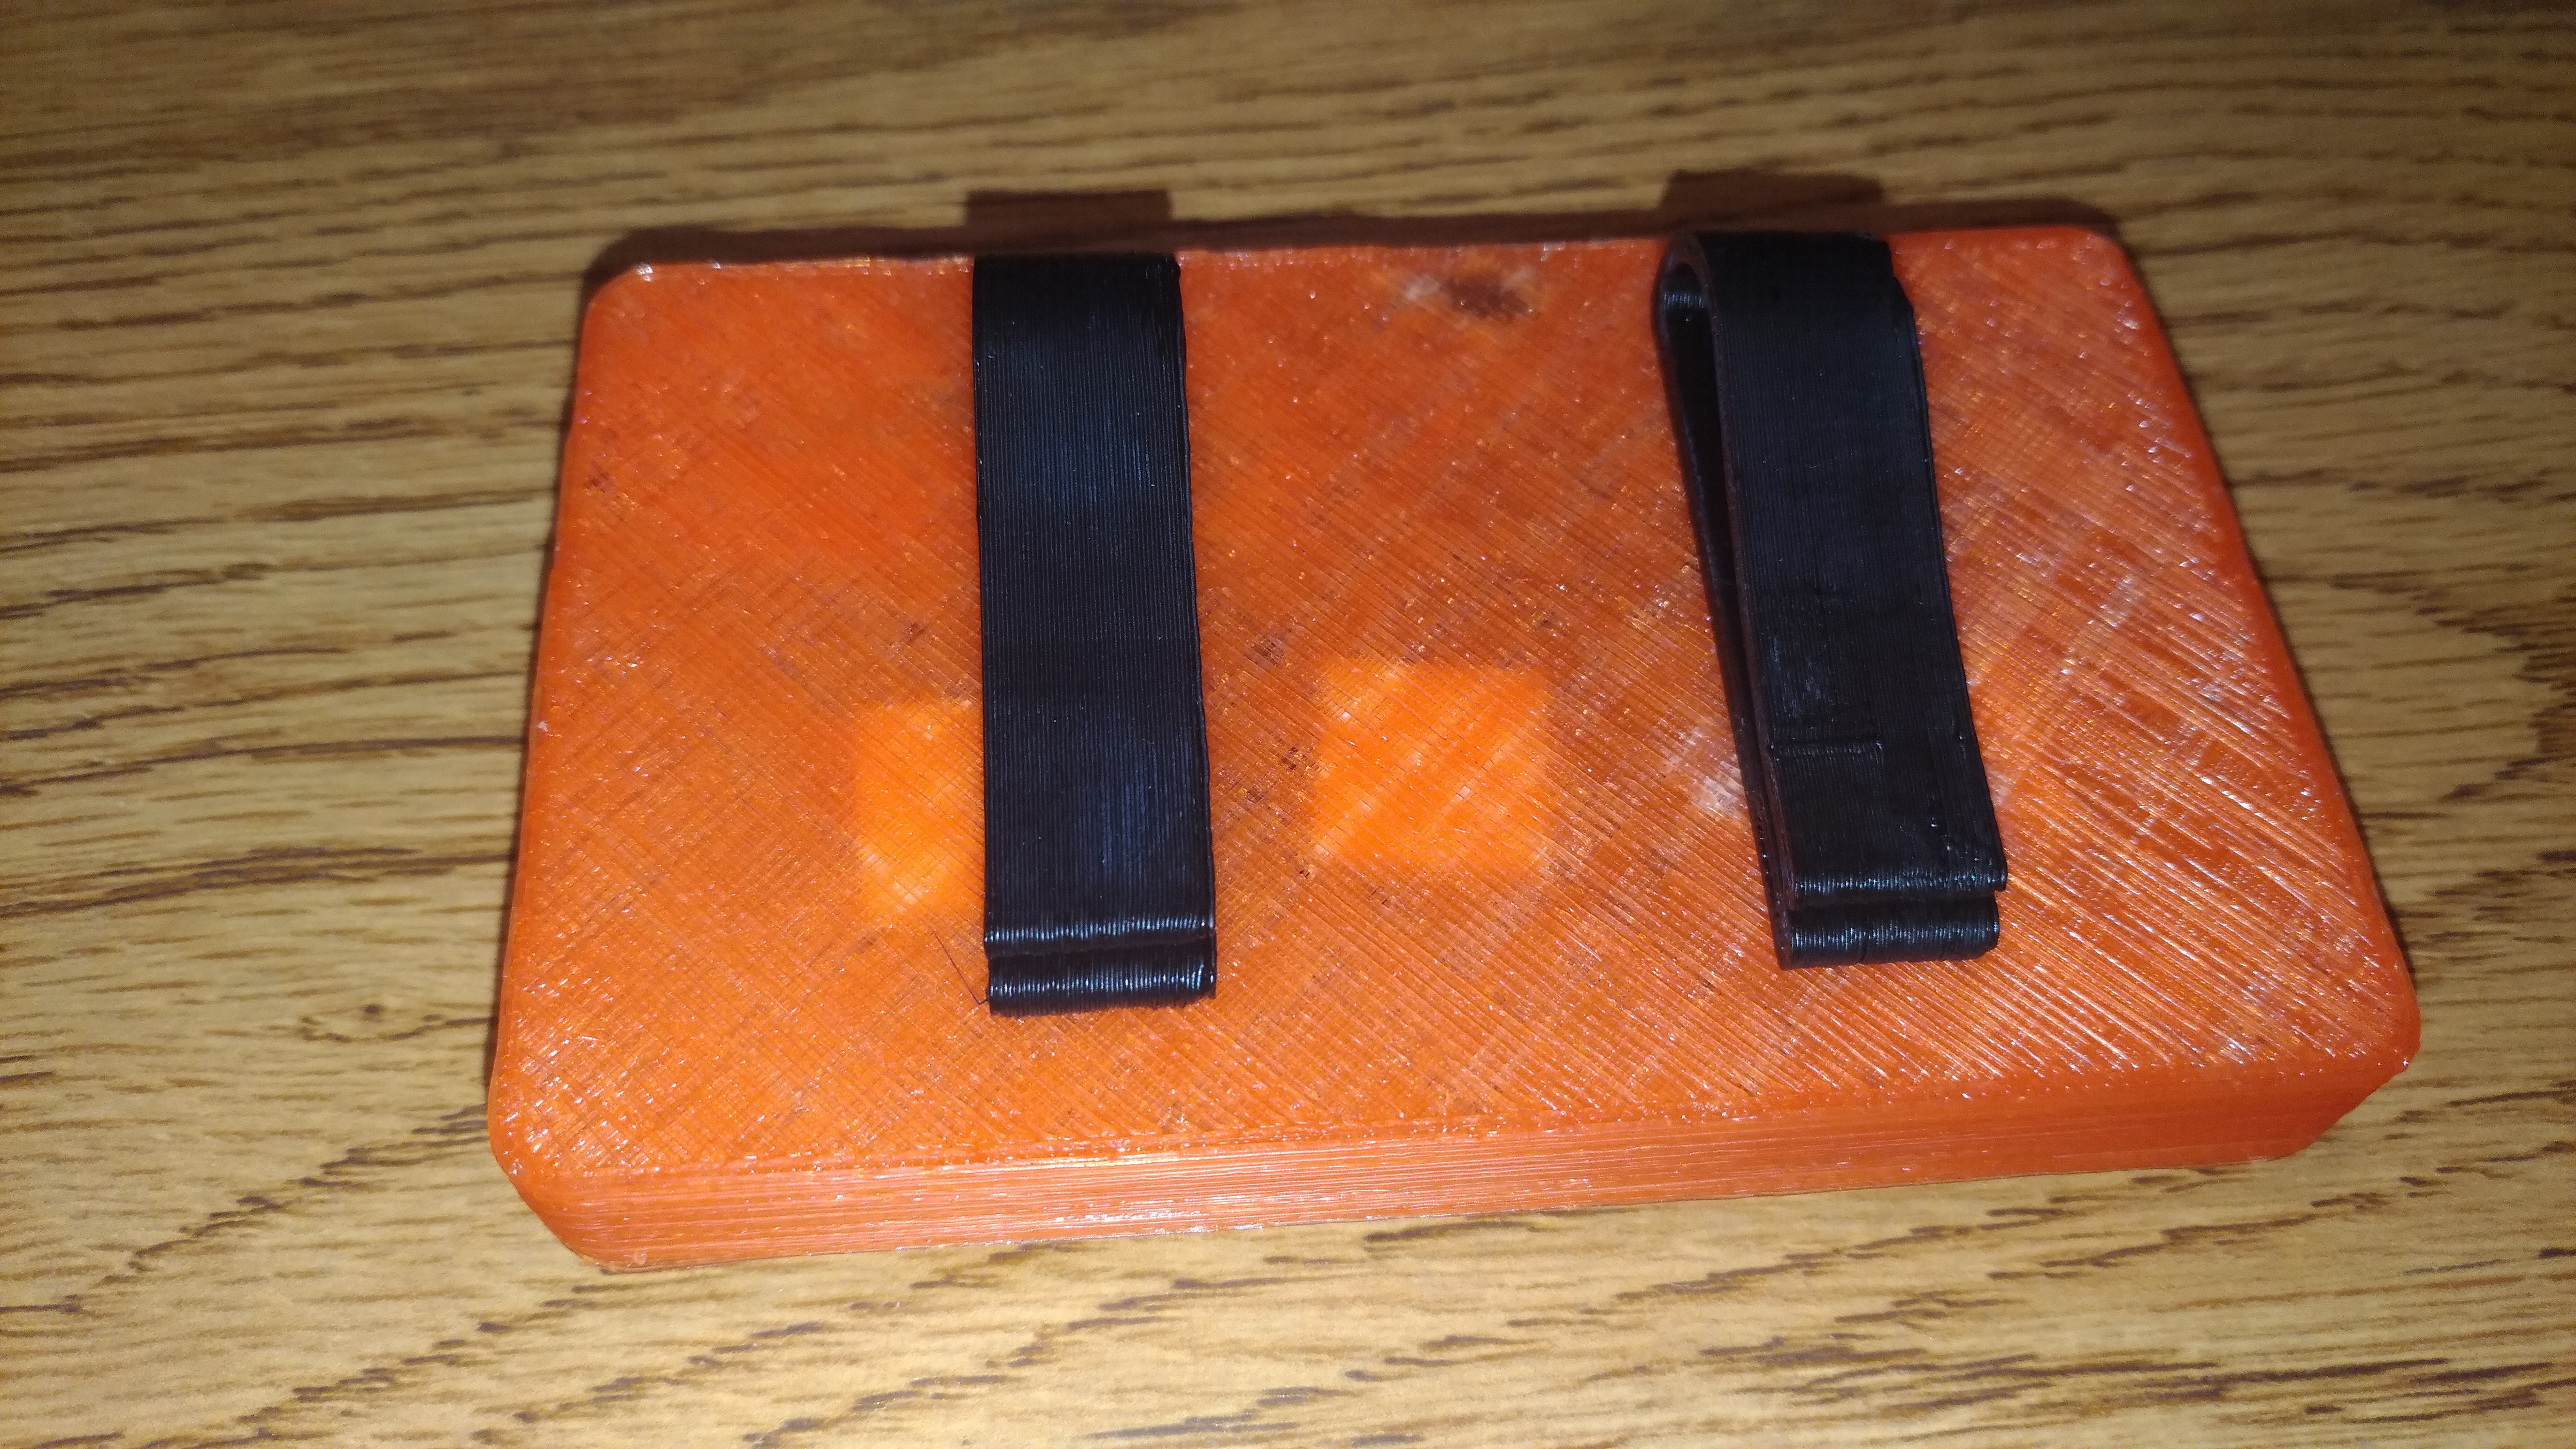
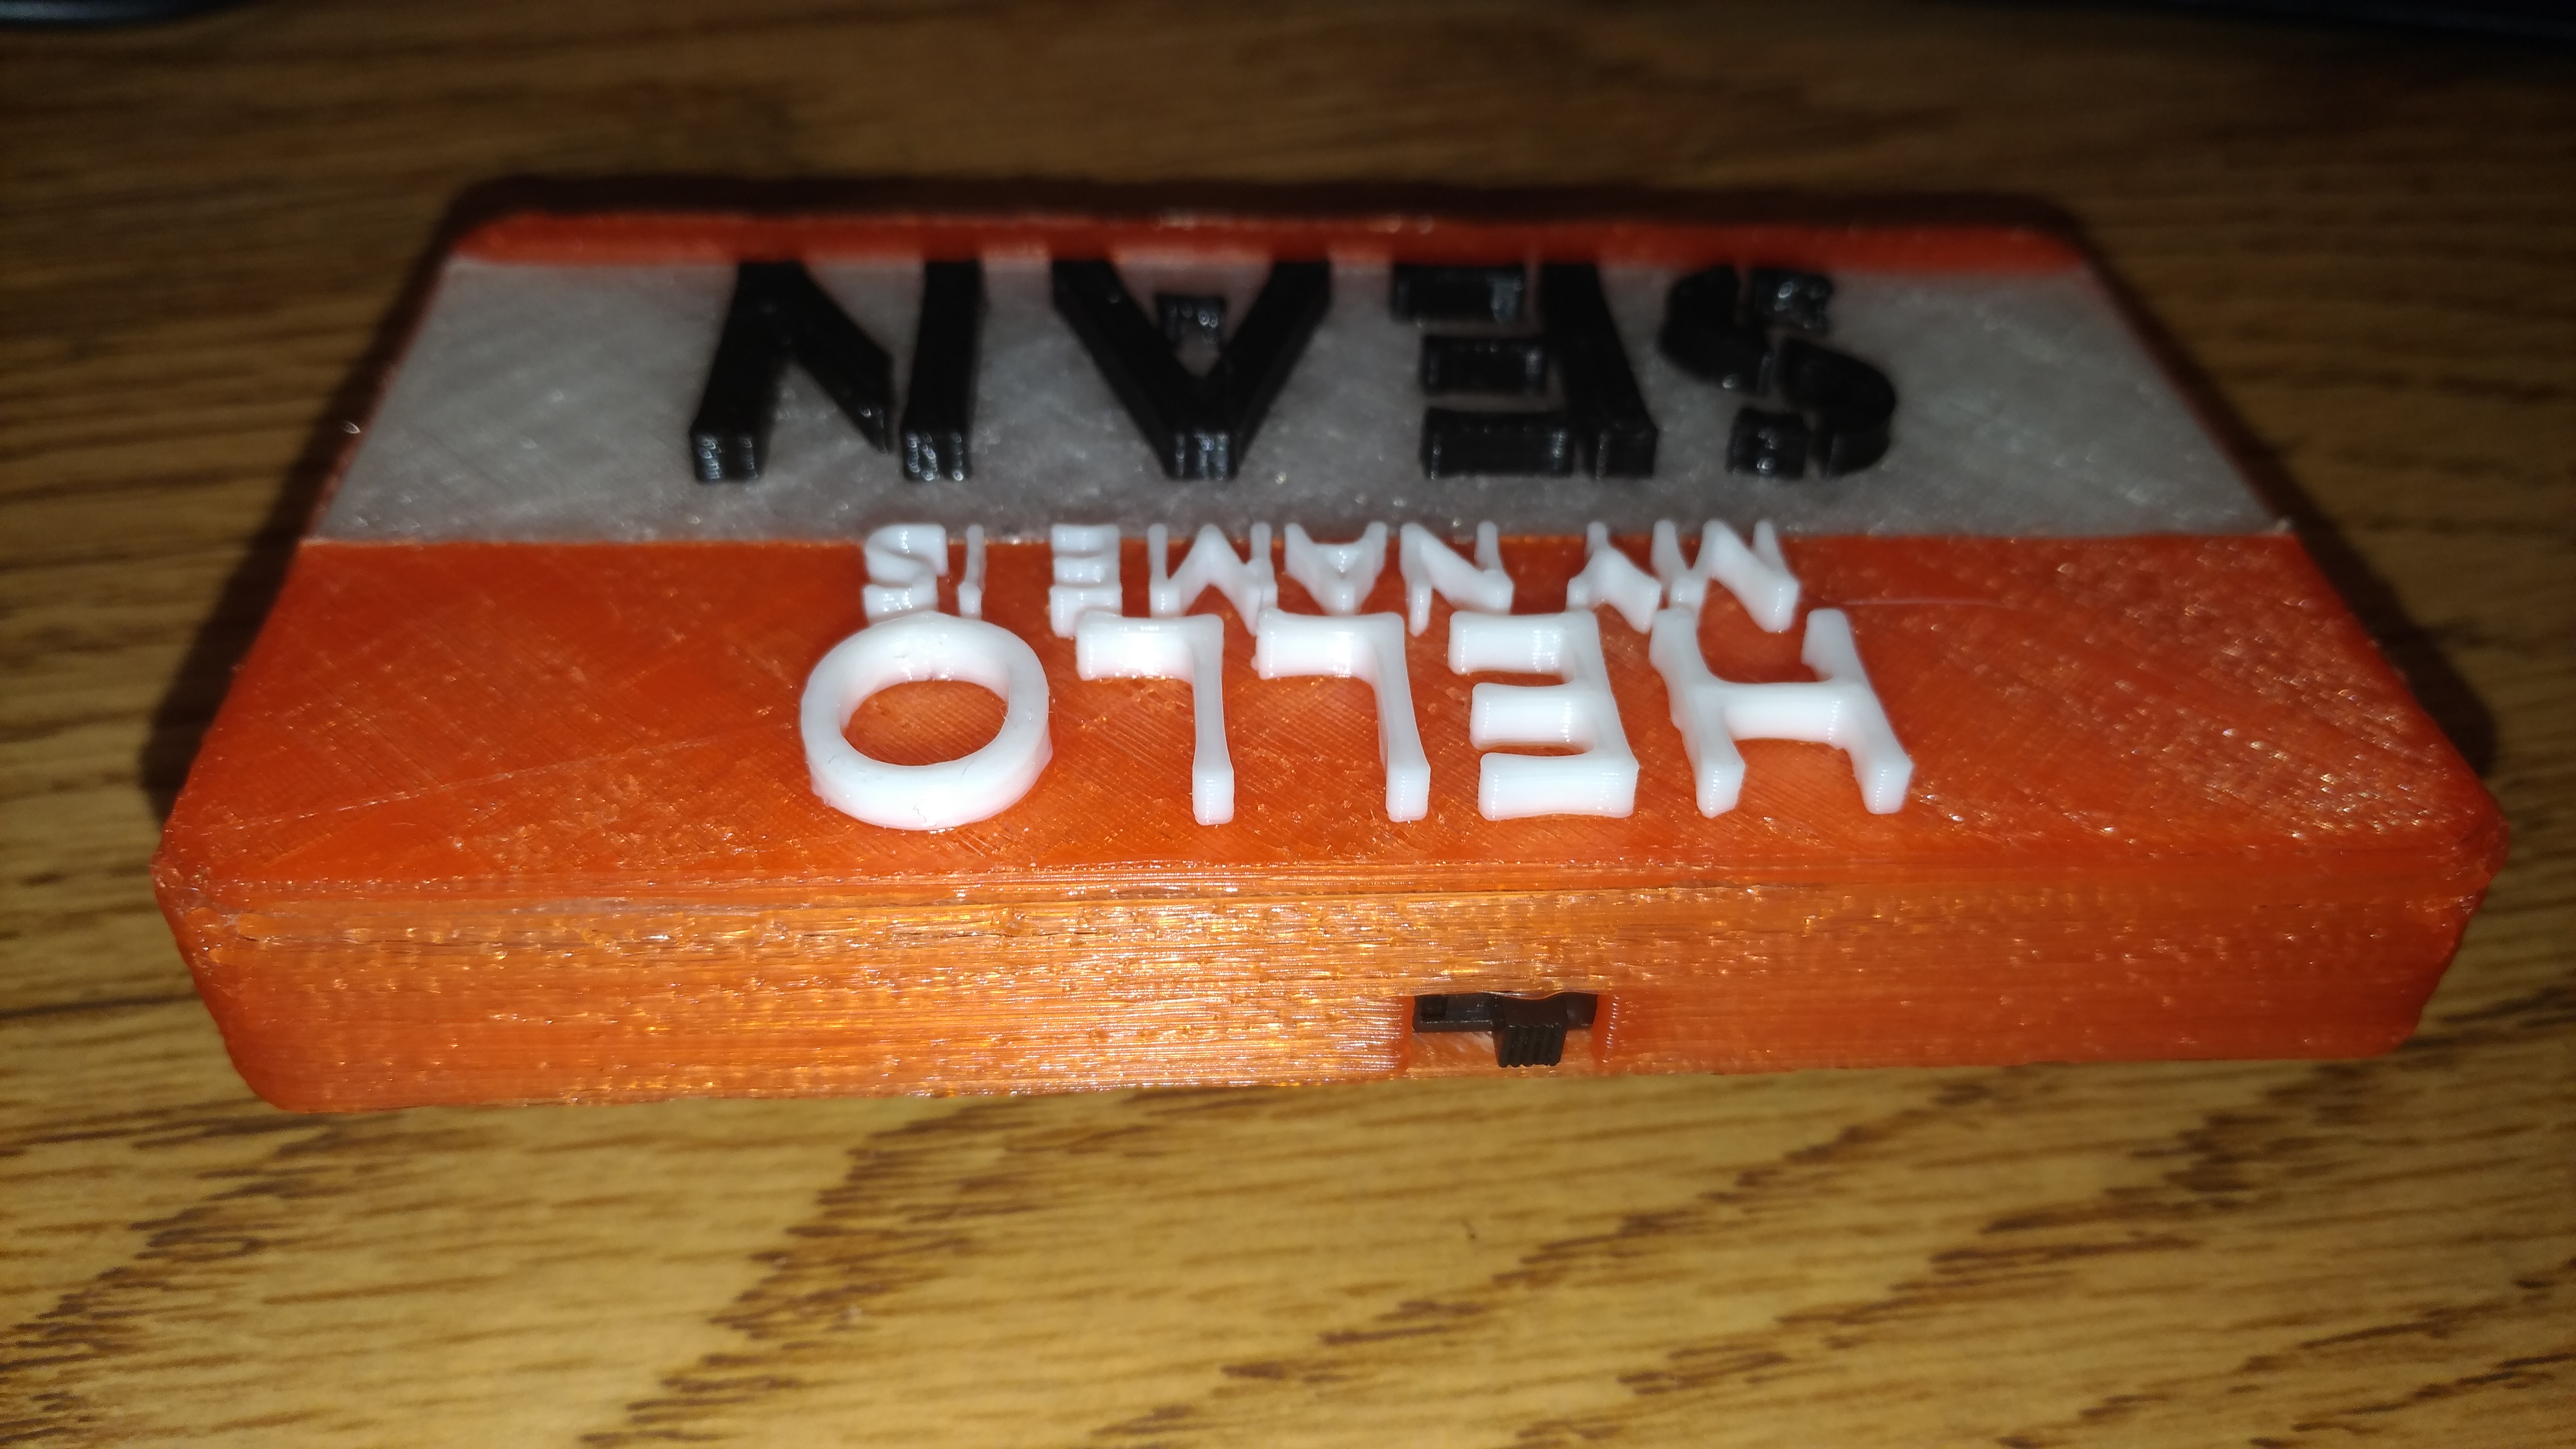

Add the faceplate and glue on the 2 pocket clips at the back of the case. Then just turn it on and try it out!