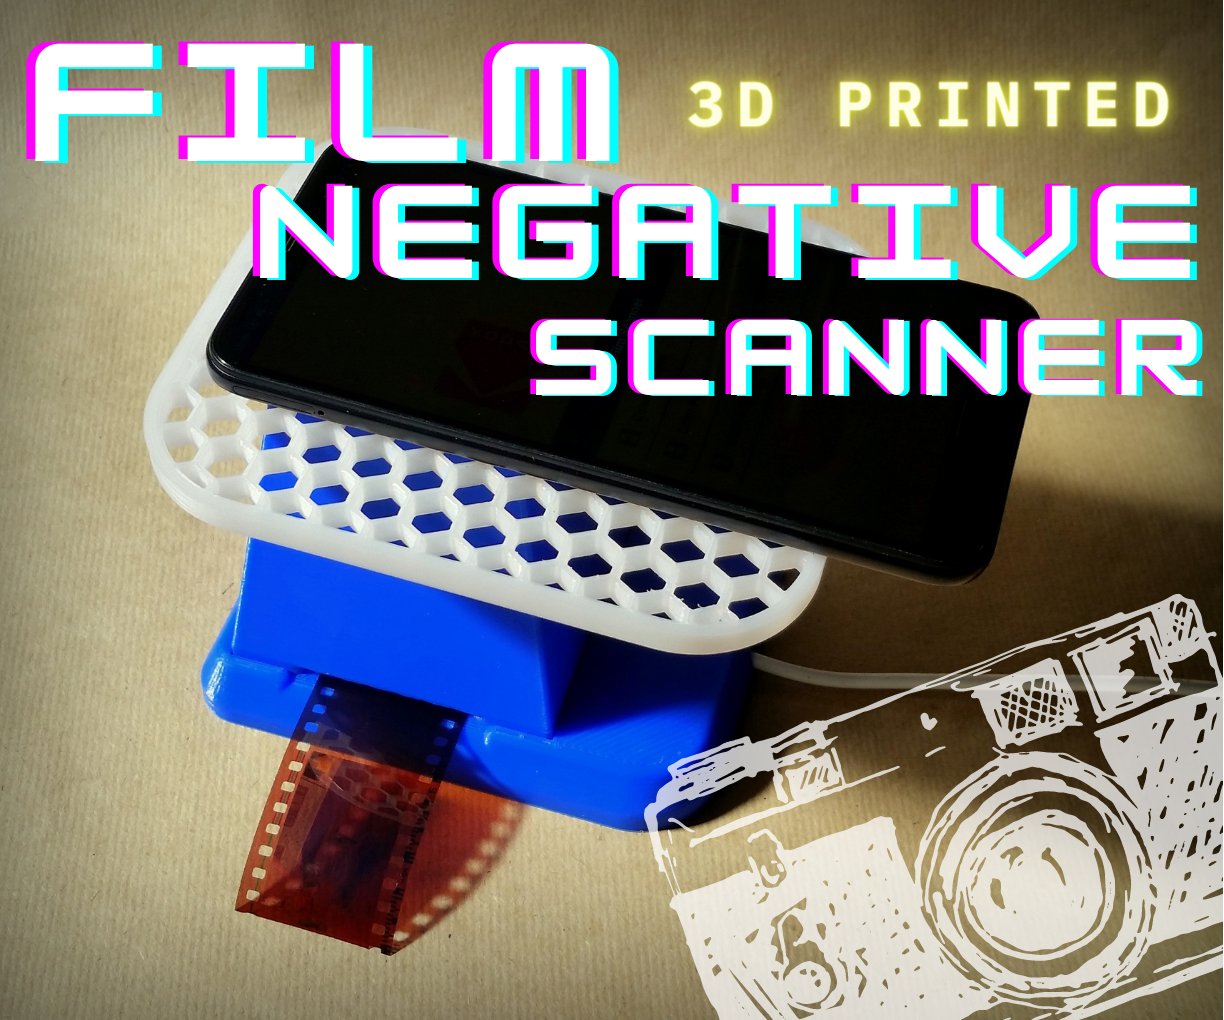
3D Printed Film Negative Phone Scanner
by JGJMatt in Workshop > 3D Printing
12530 Views, 187 Favorites, 0 Comments
3D Printed Film Negative Phone Scanner


Please consider subscribing to my YouTube channel for more projects
Hello fellow makers!
I recently found a box full of my parents old 35mm film negatives that I really wanted to digitize them.
Now I know there are a few options out there from dedicated negative scanners (that can be costly if you want good quality scans) and companies that will do it for you, but being a maker I wanted to try and create my own scanner using what I have available.
Luckily there are already multiple great apps available for your phone that can scan negatives so all we need is a appropriate light source and phone holder.
Let's get going!..
You Will Need the Following:
To make this Instructable you will need the following:
- Access to a 3D printer
If you're looking for a 3D printer I highly recommend this: Ender 3
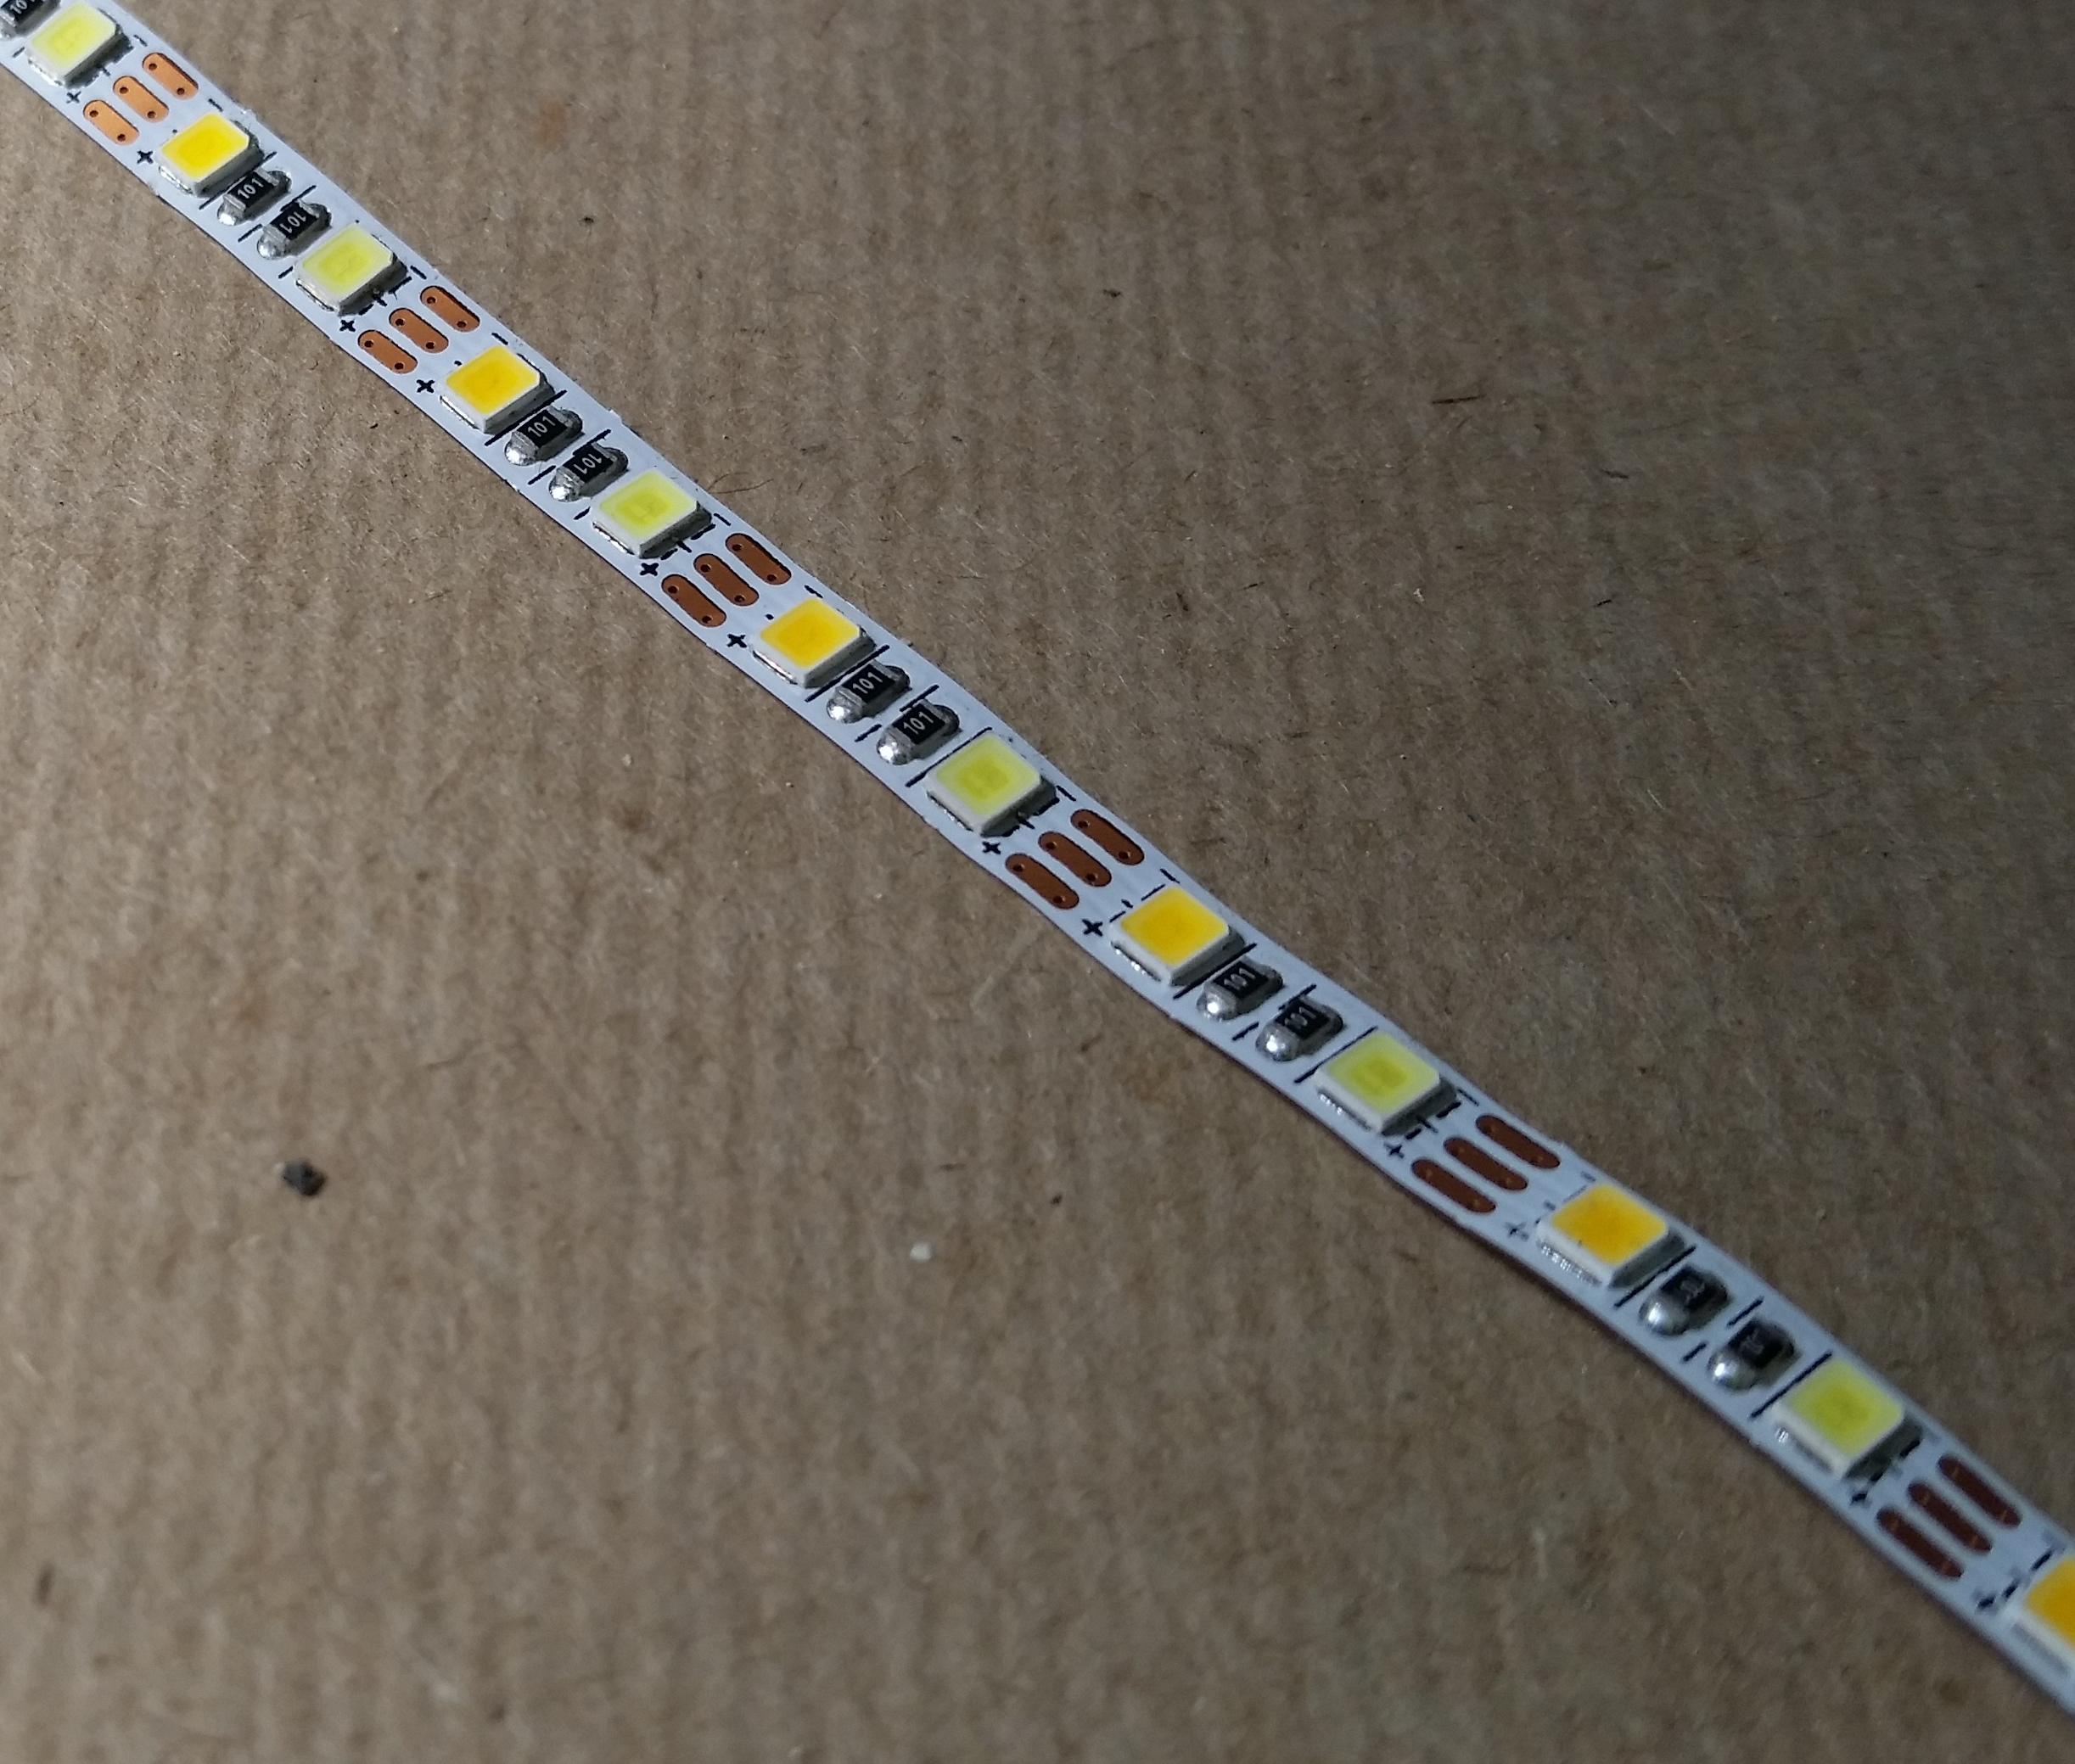
- 5V LED Flexible strip
Amazon link: 5V Flexible LED Strip
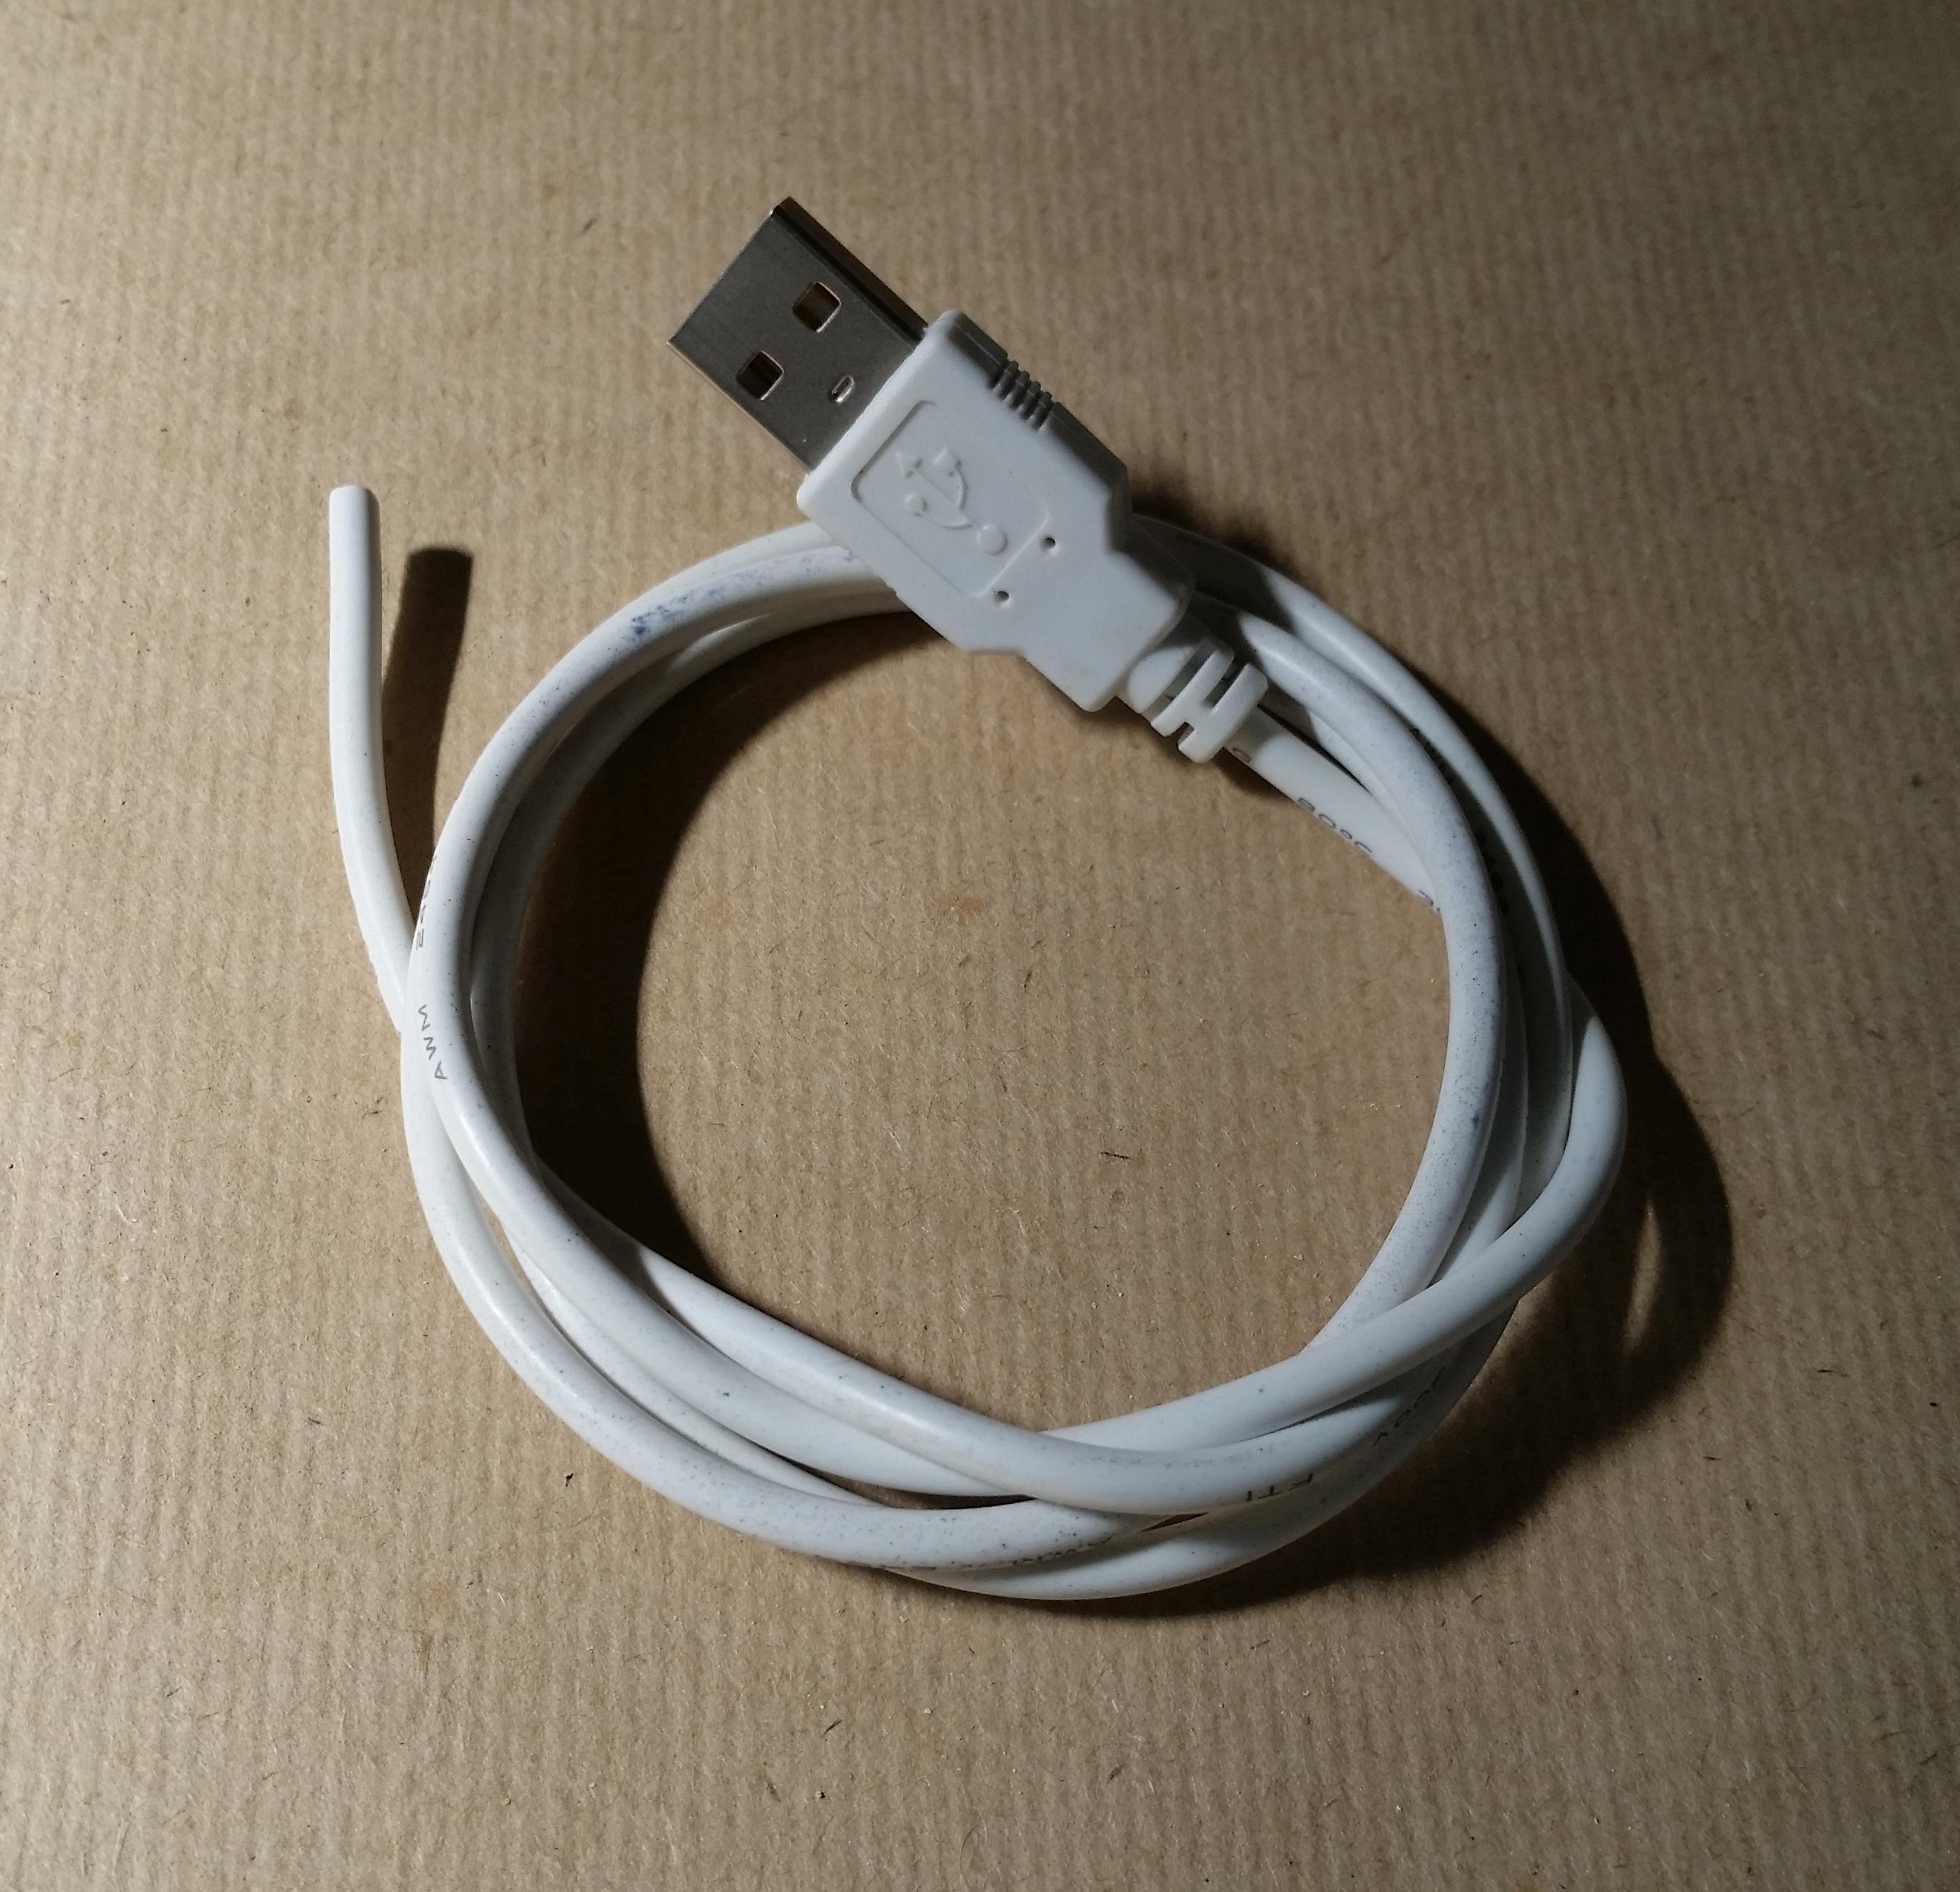
- USB Cable
The linked LED strip includes the a USB cable with touch sensitive dimmer switch and is what I used.
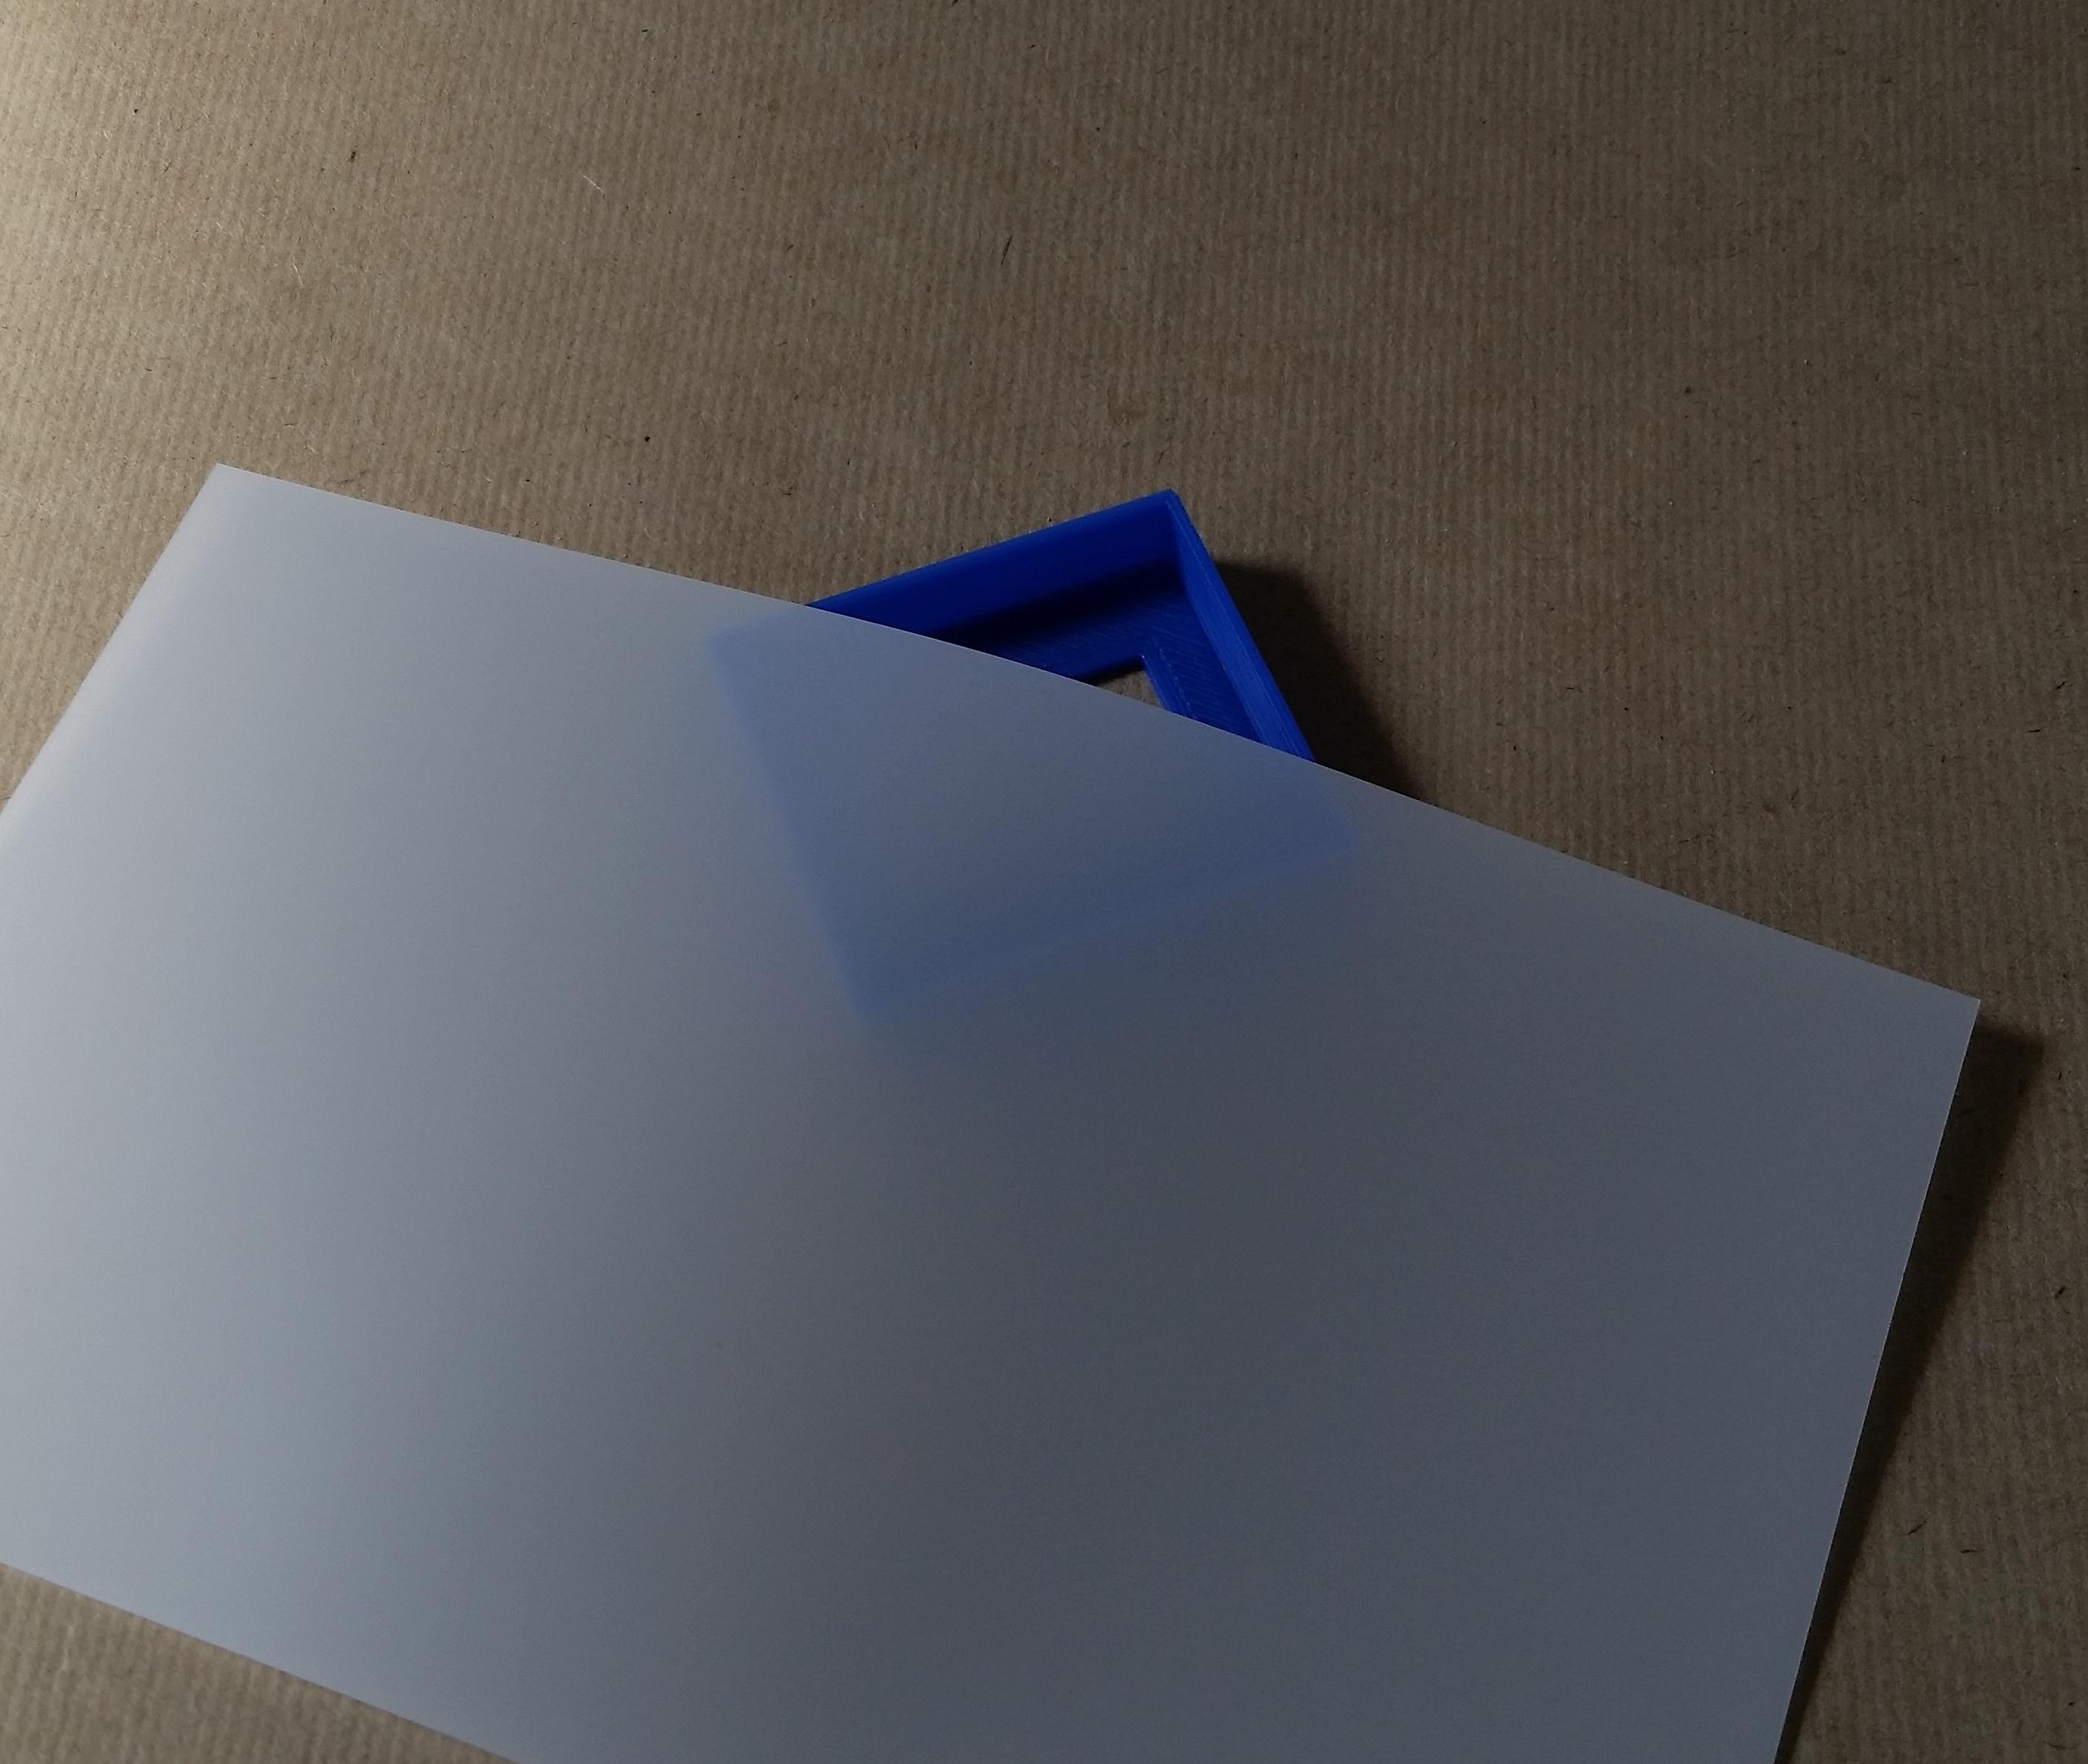
- 50X60mm Thin opaque plastic
Amazon link: Translucent PE sheet
- General purpose adhesive/CA glue
- 2X 4mmx30mm Screws
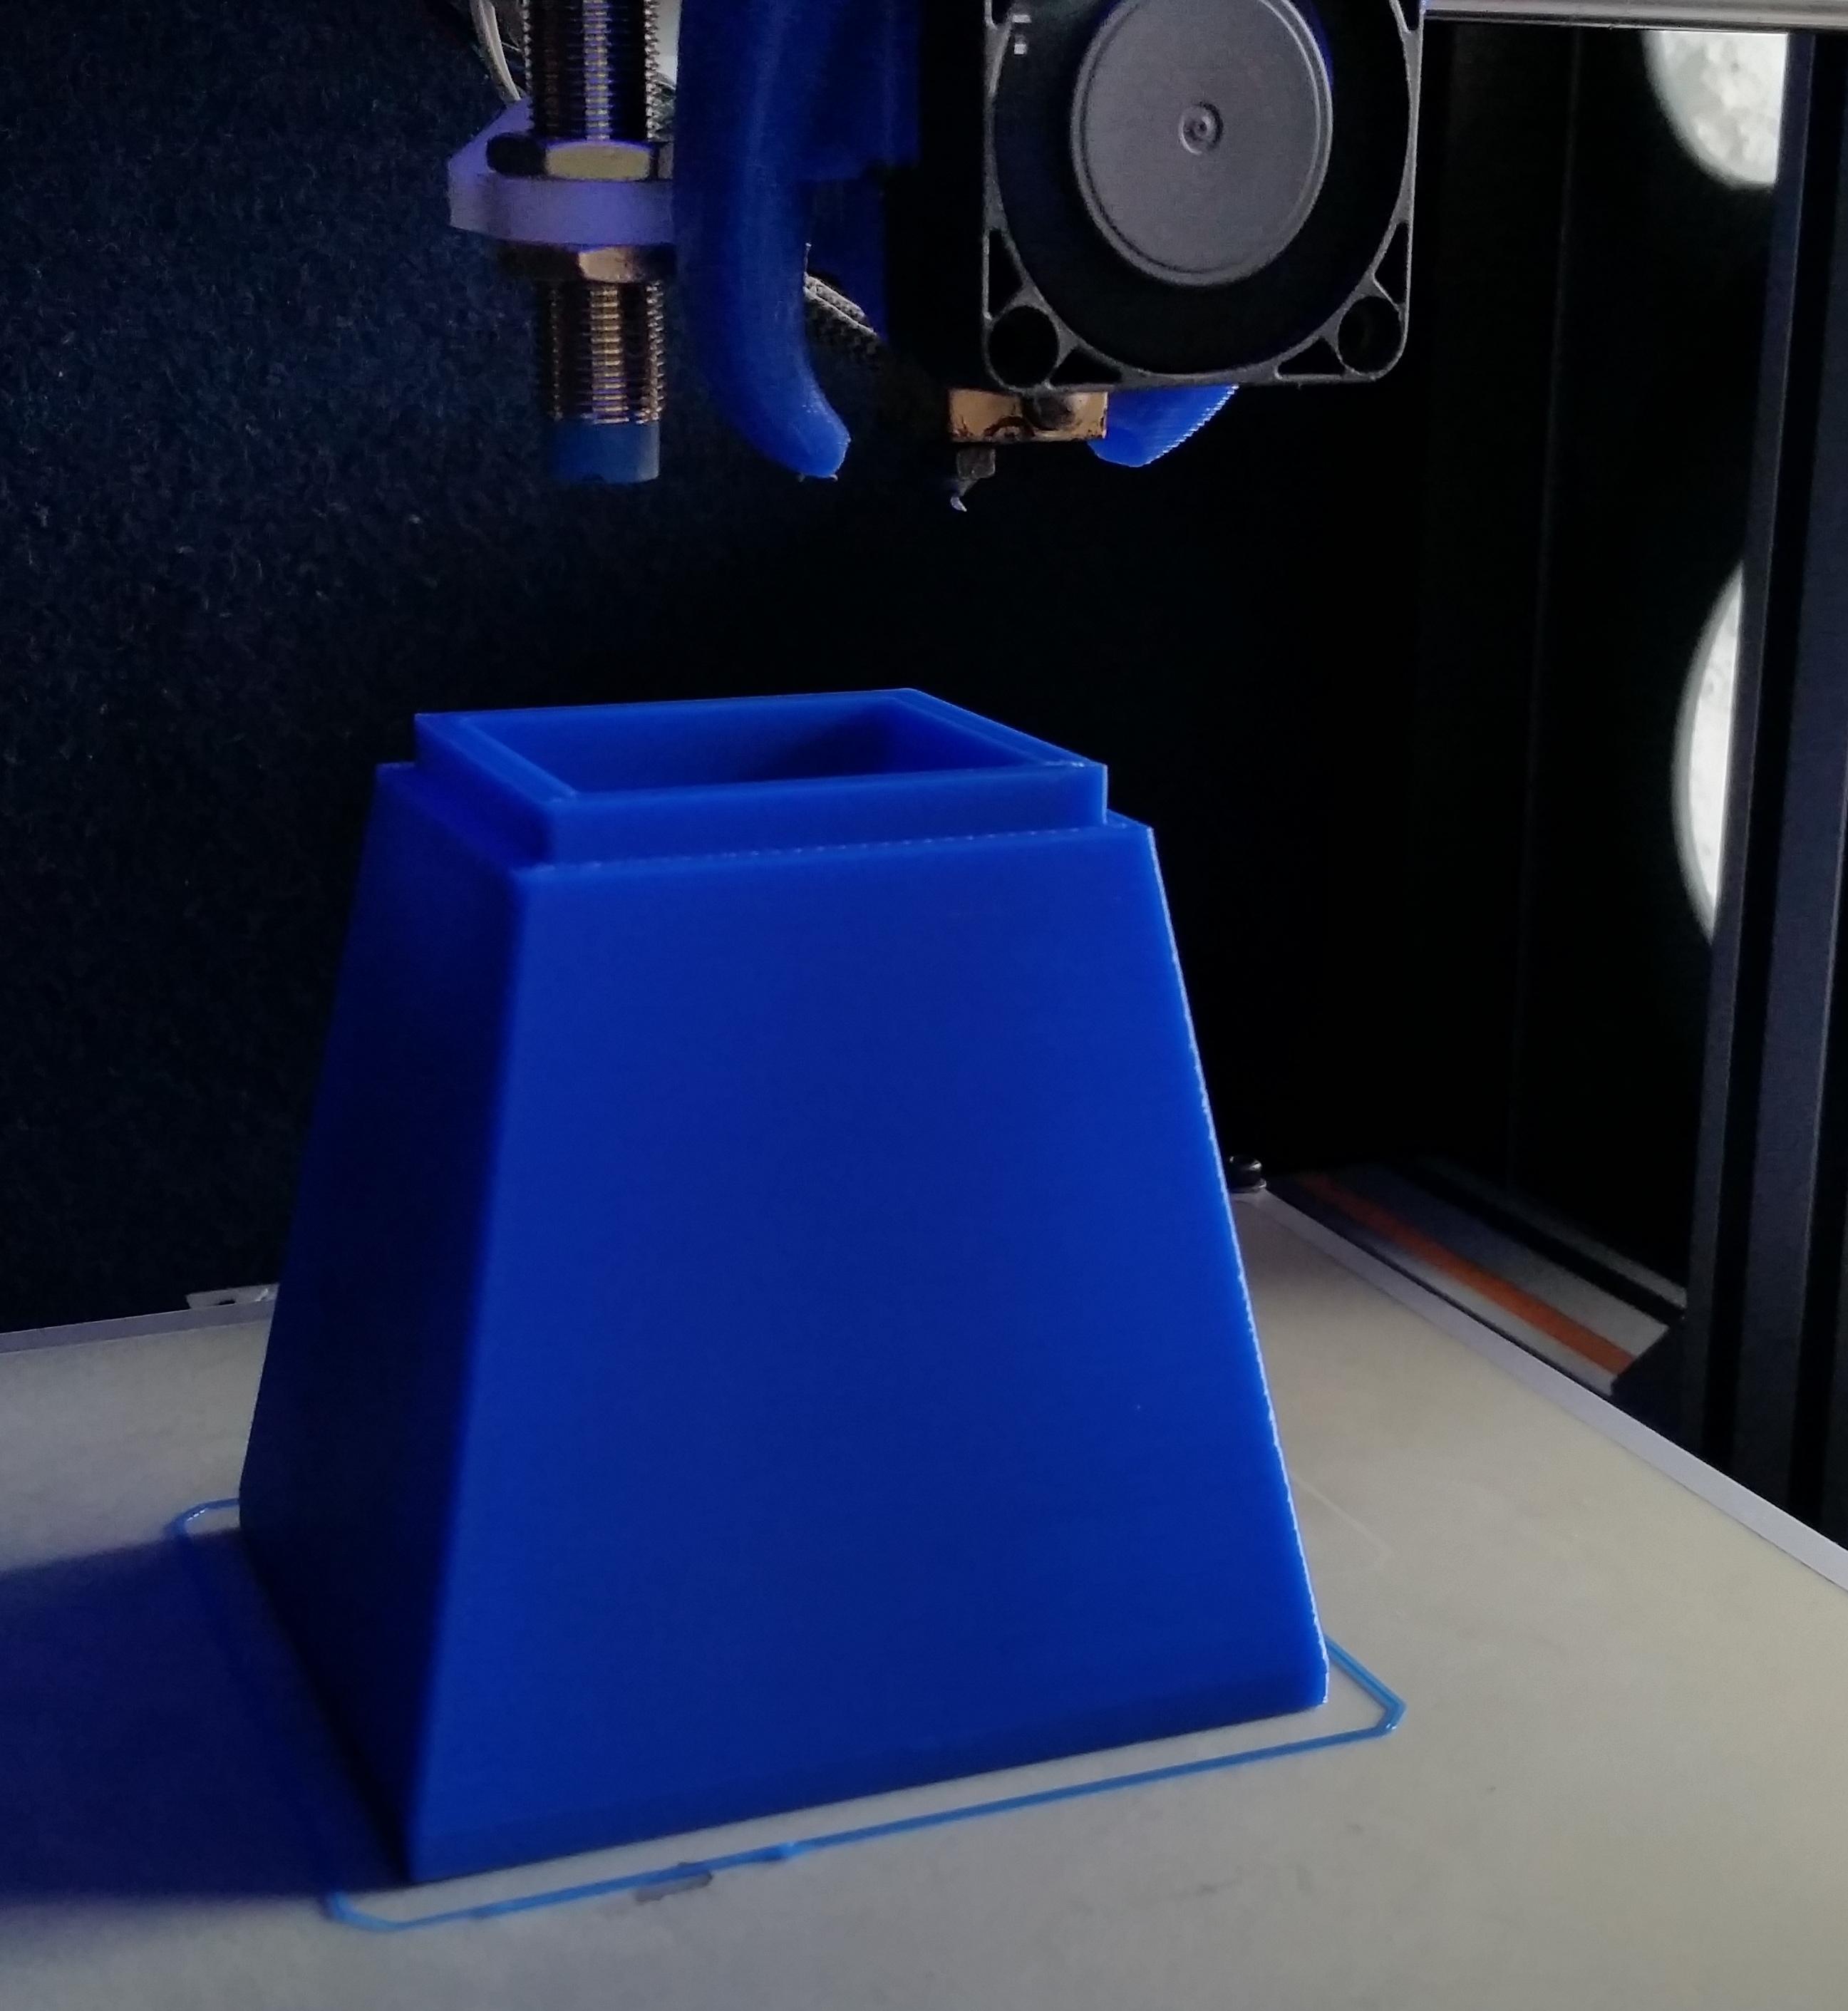
Design the Scanner:
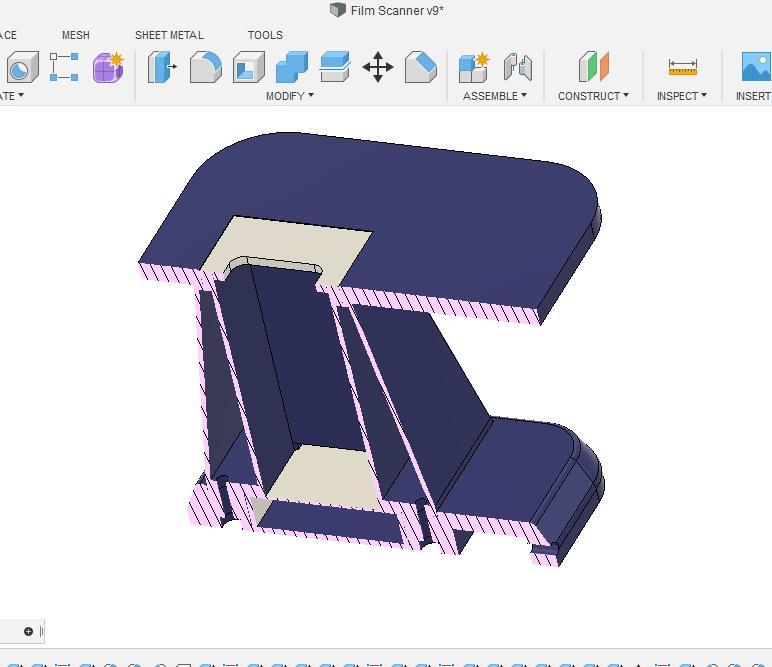
I designed the scanner in Fusion 360.
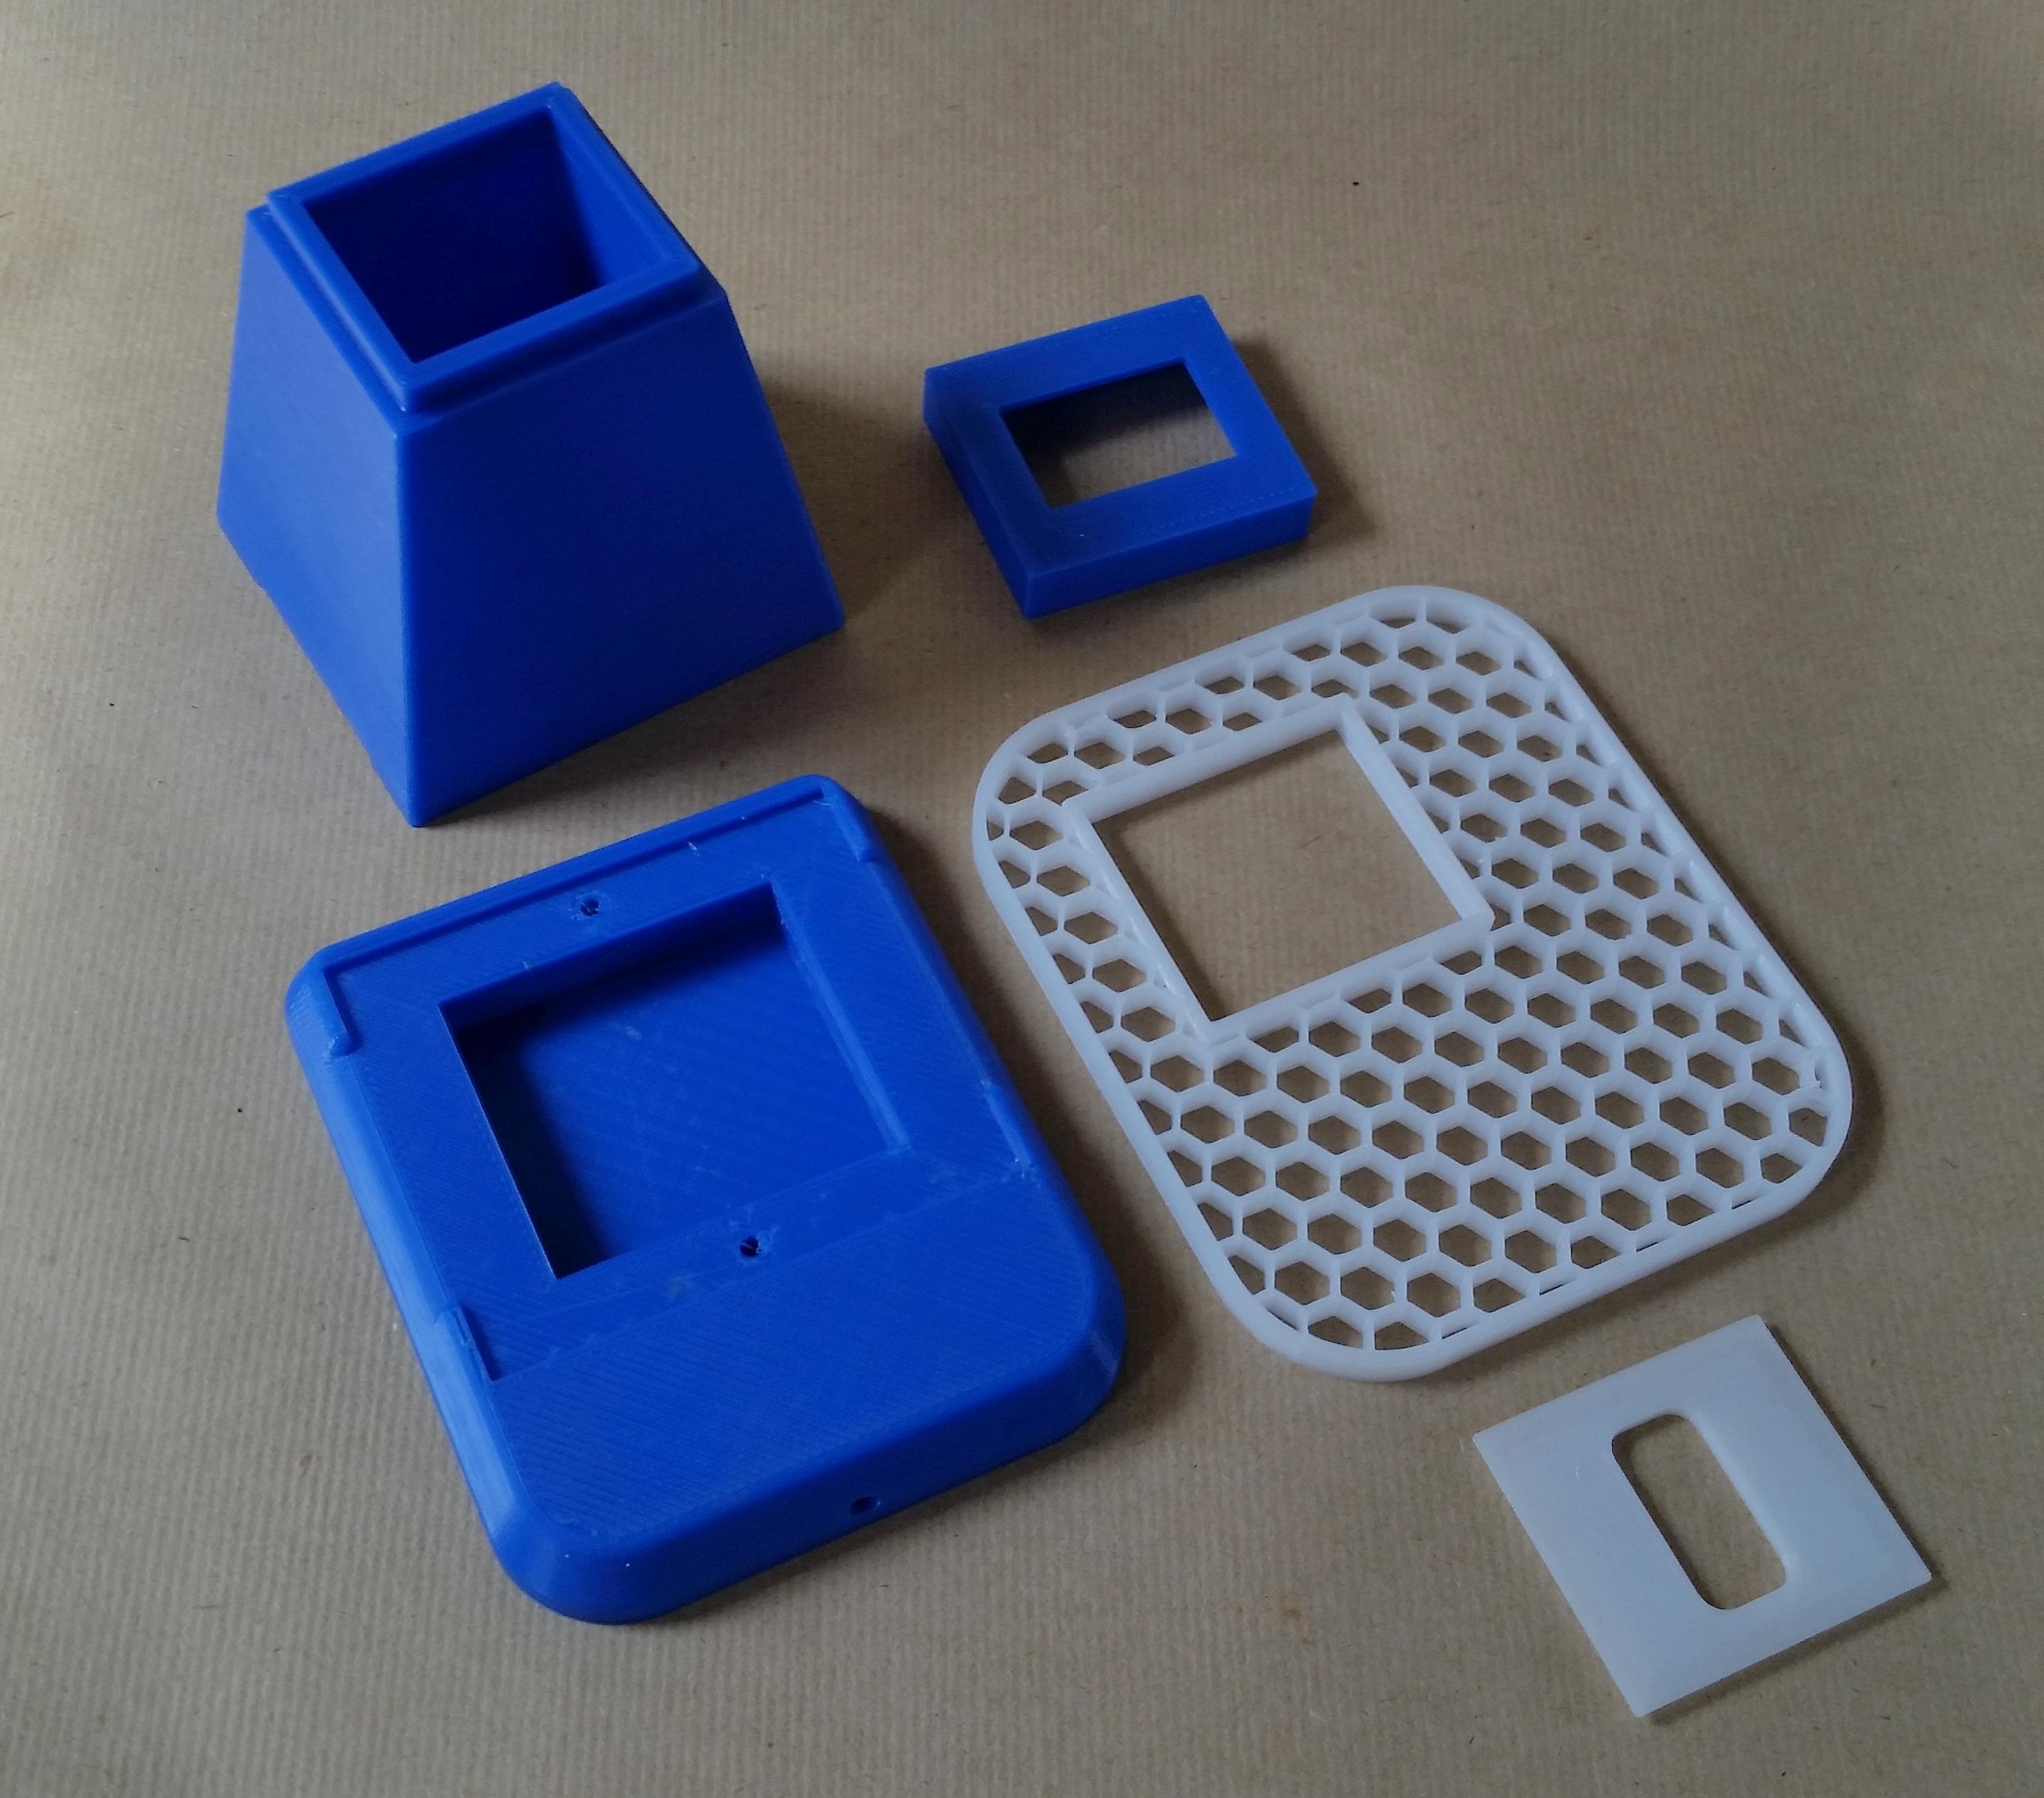
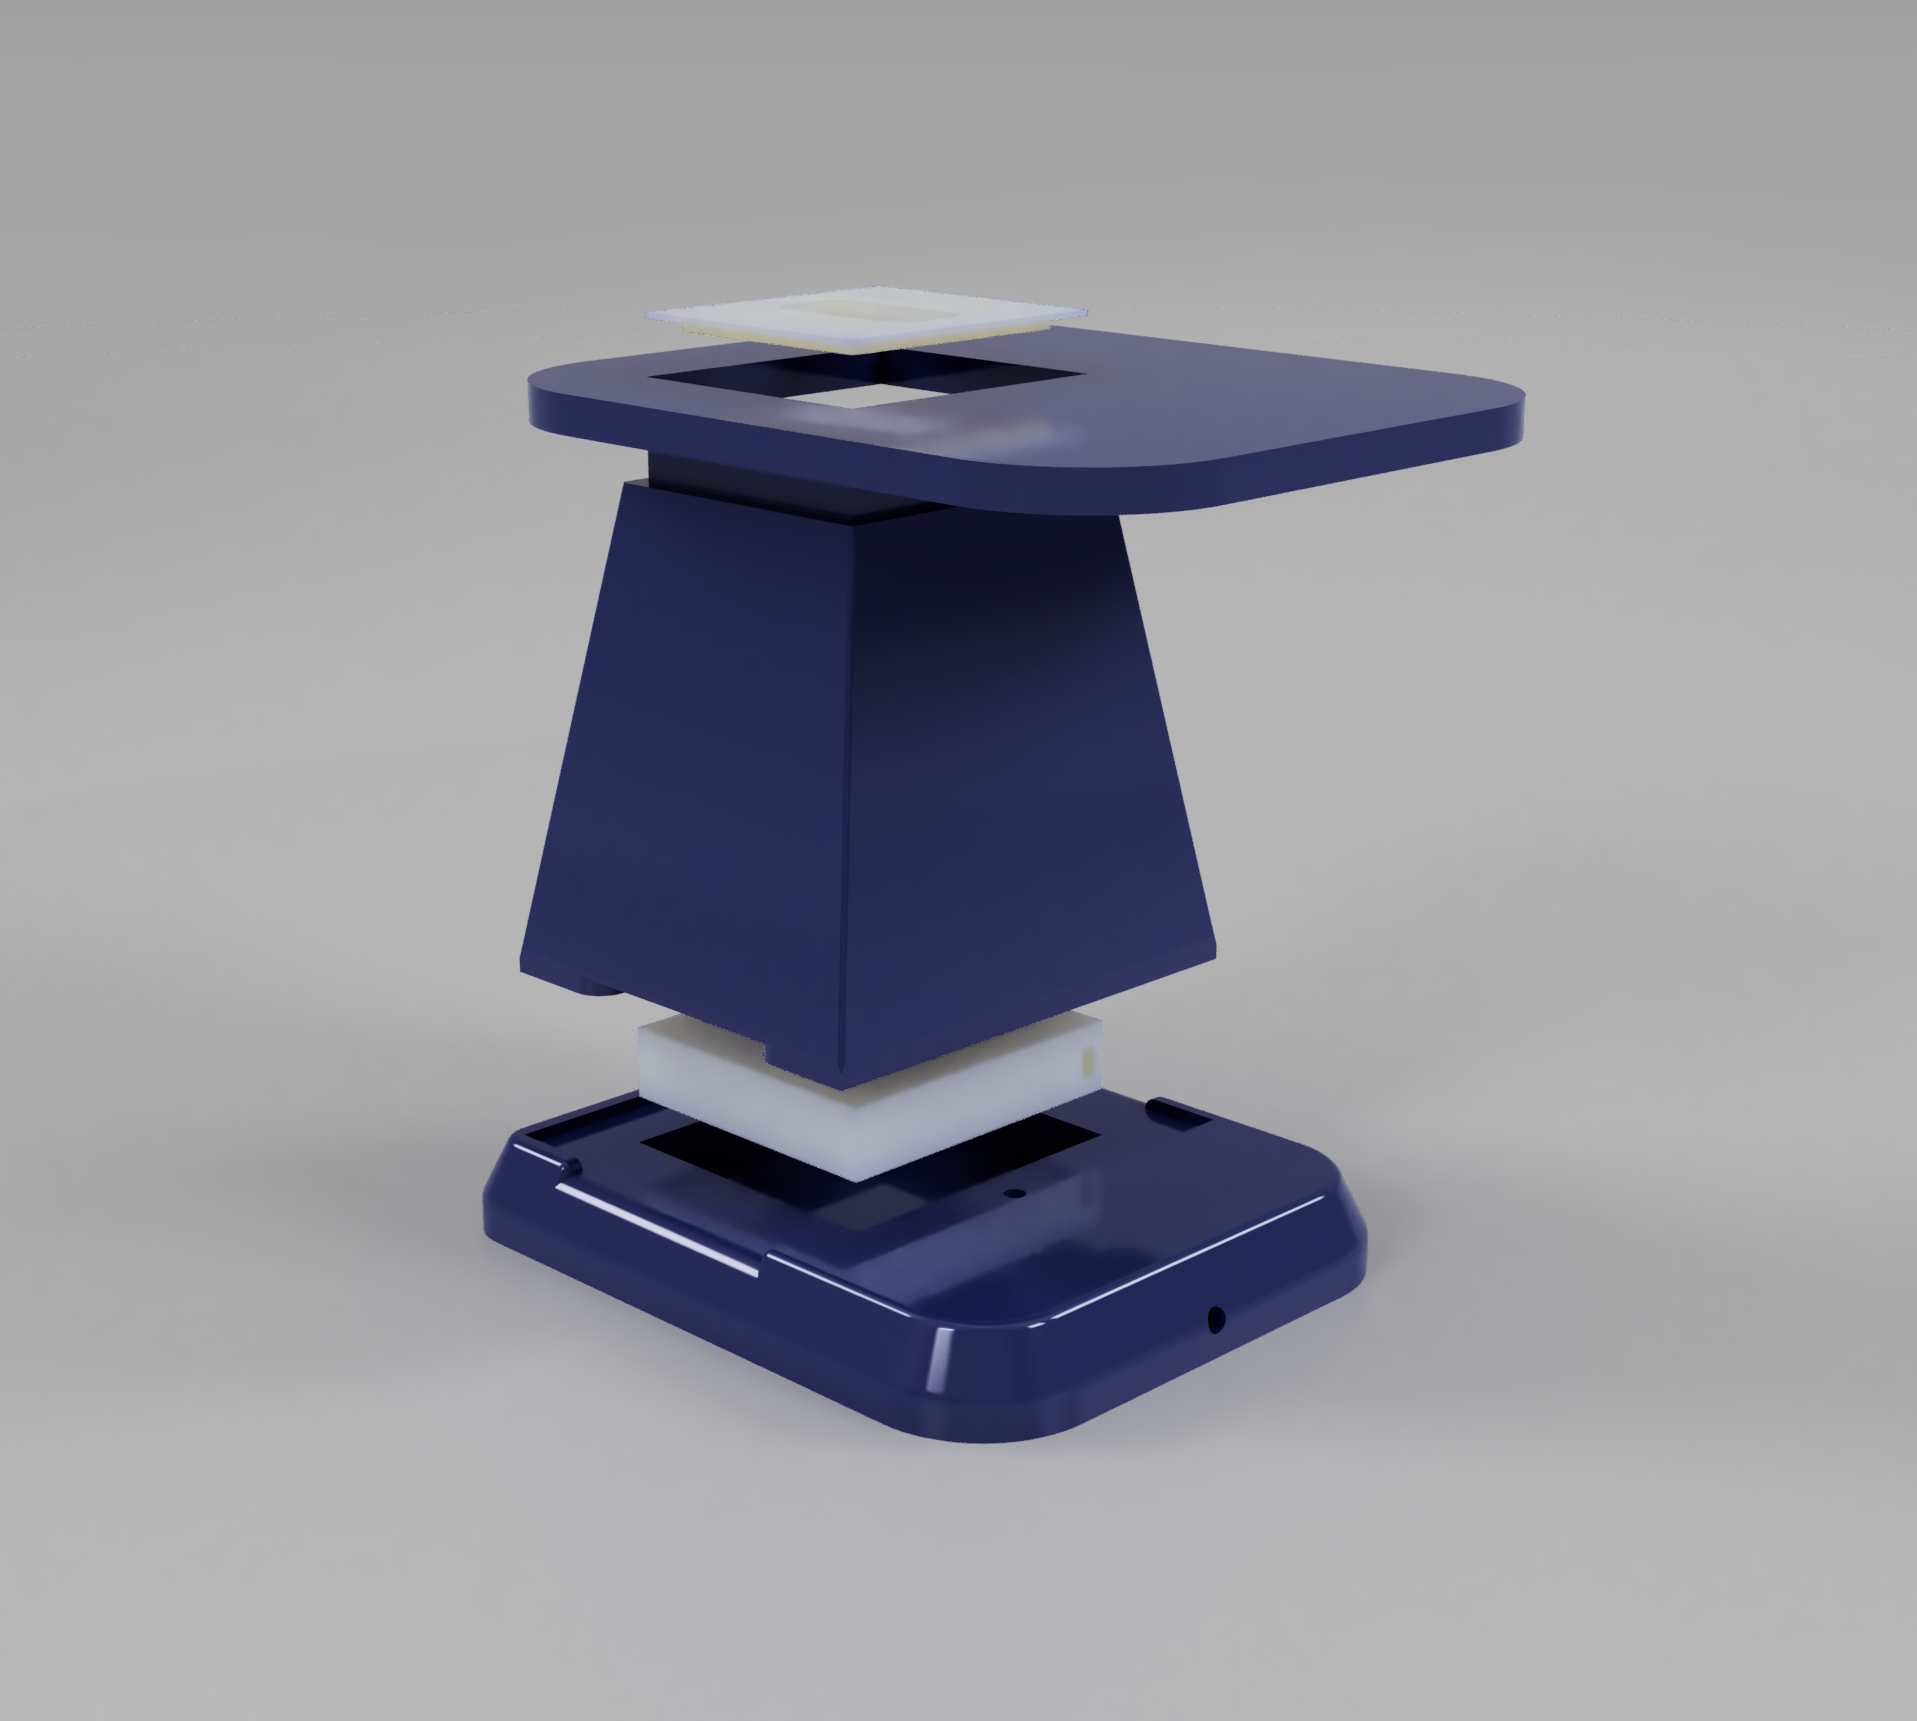
I made the central body 80mm high that should be enough for most new and older phones to focus properly on the film.
The scanner consists of 5 parts that are printable without any supports and I tried to get it to use as little filament as possible.
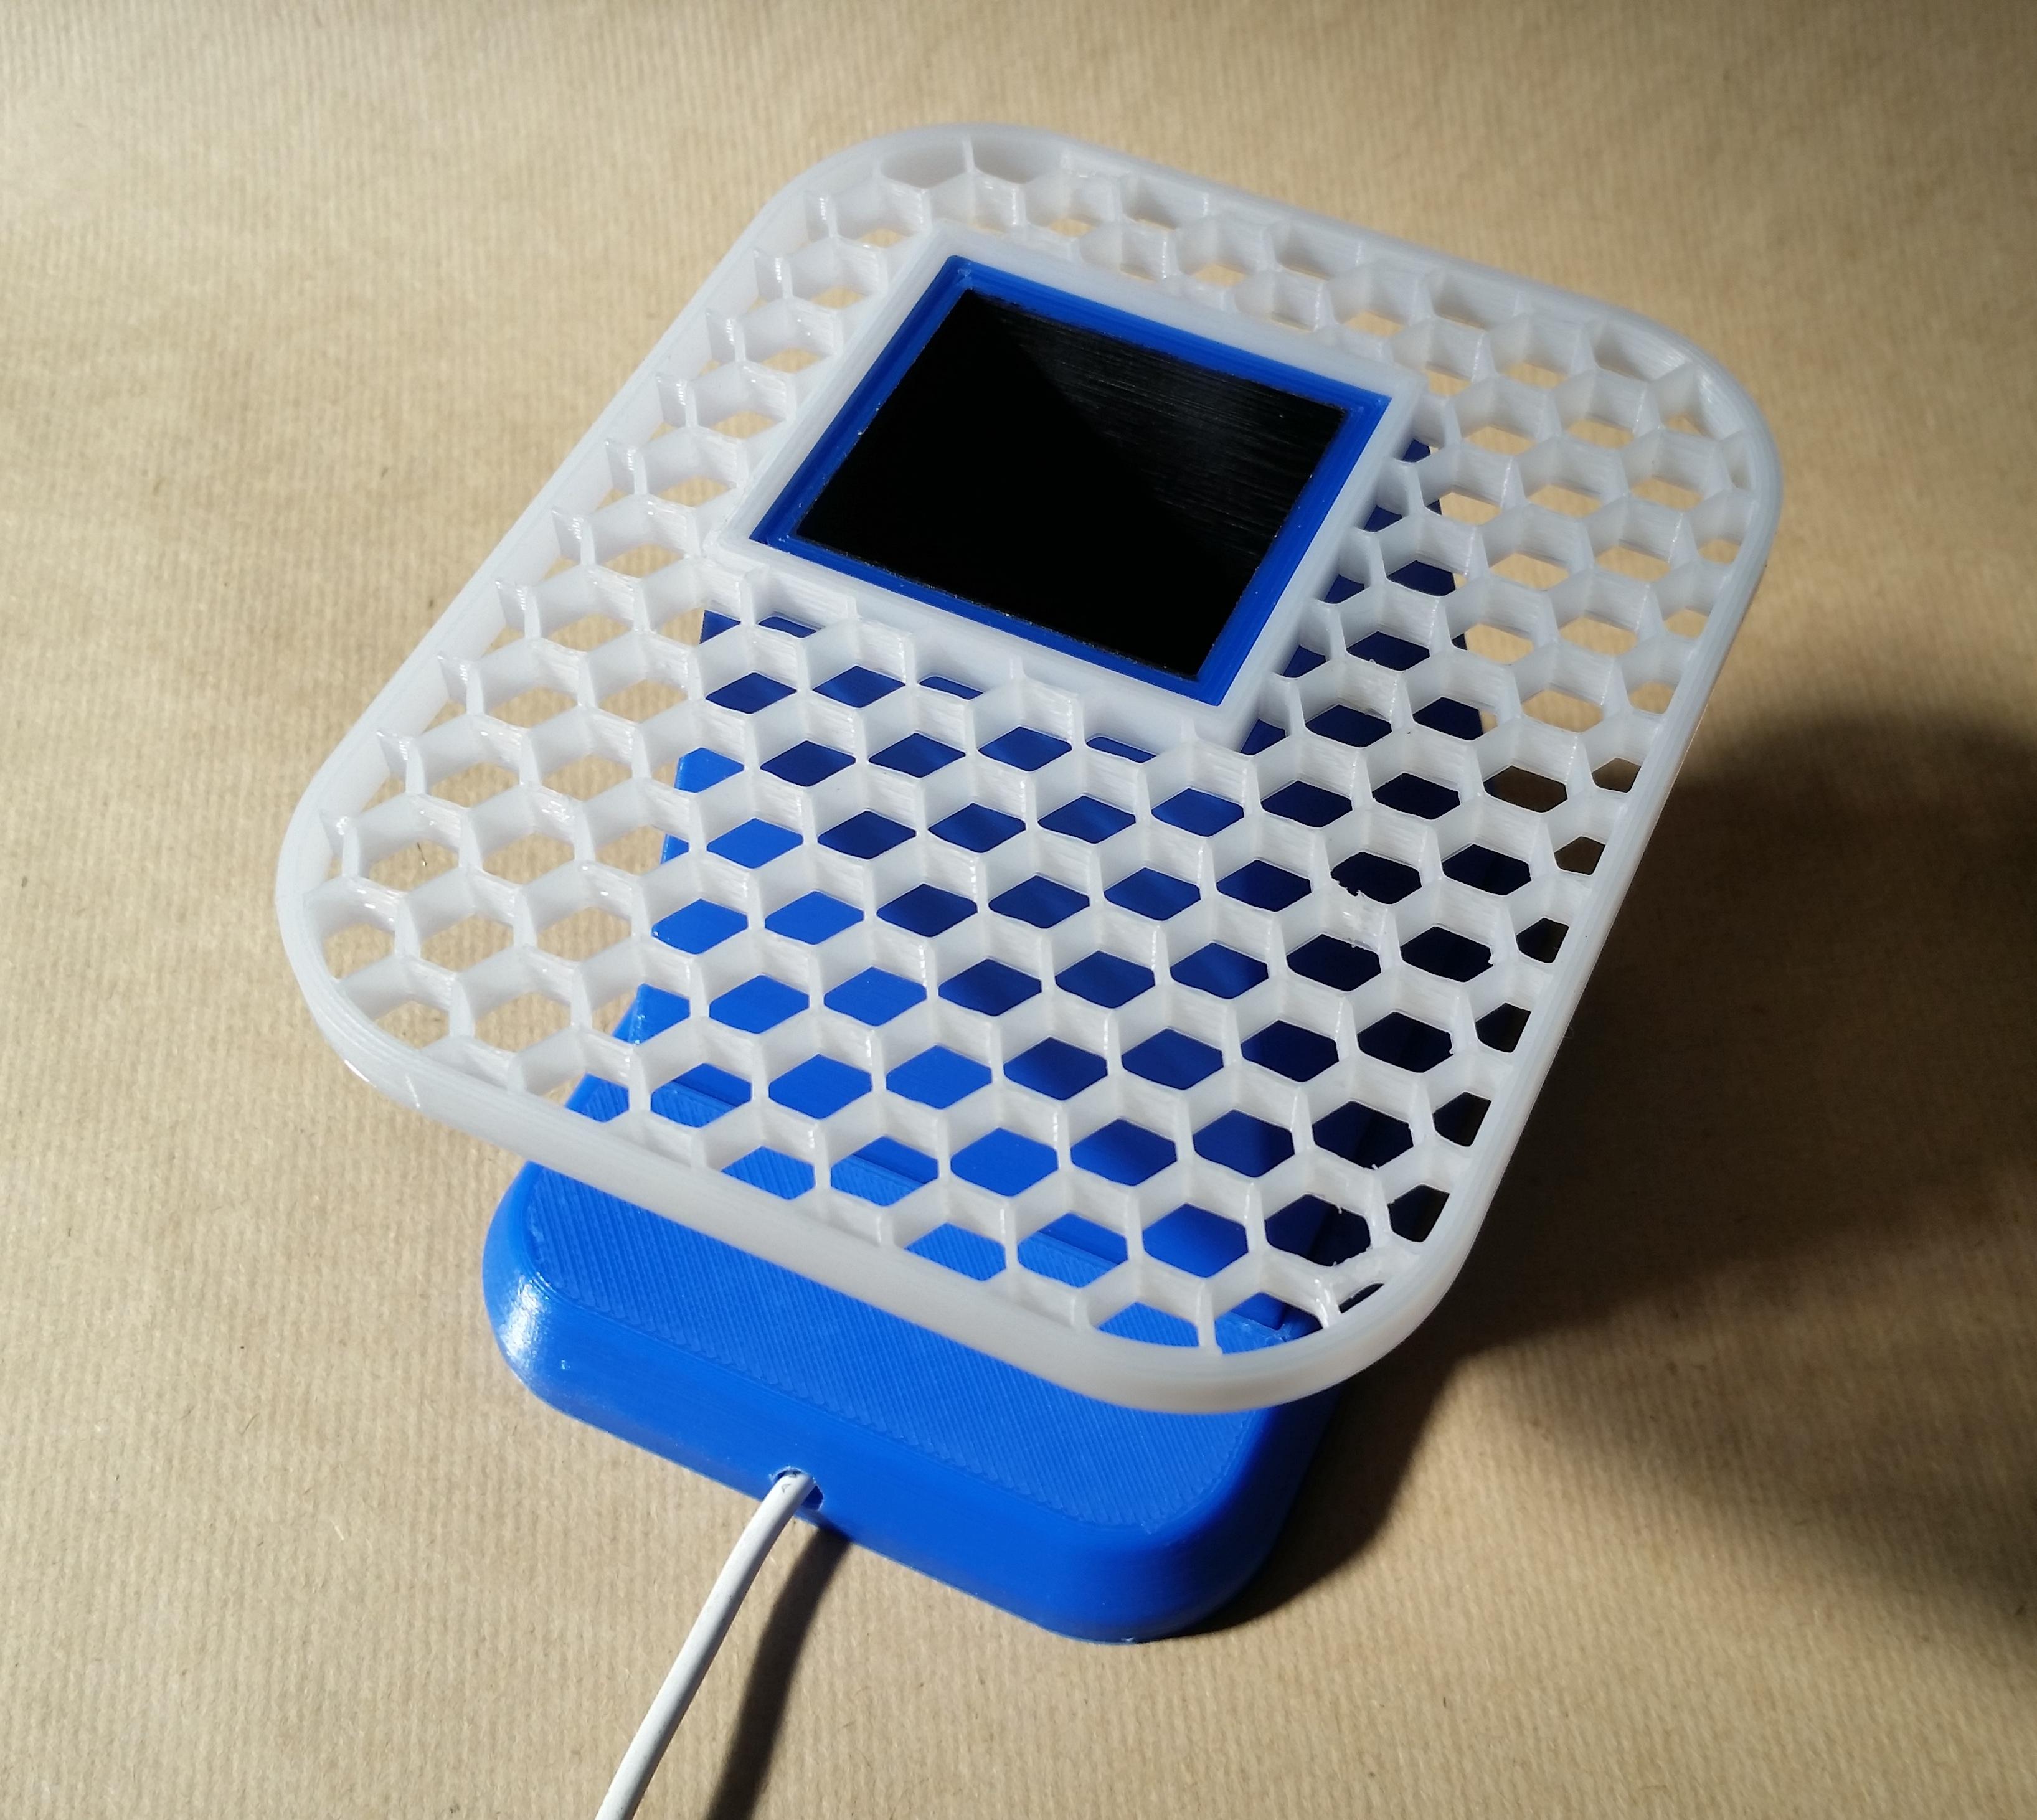
The top phone holder and lens cover is removable so that it can be altered to fit any phone model.
Printing:
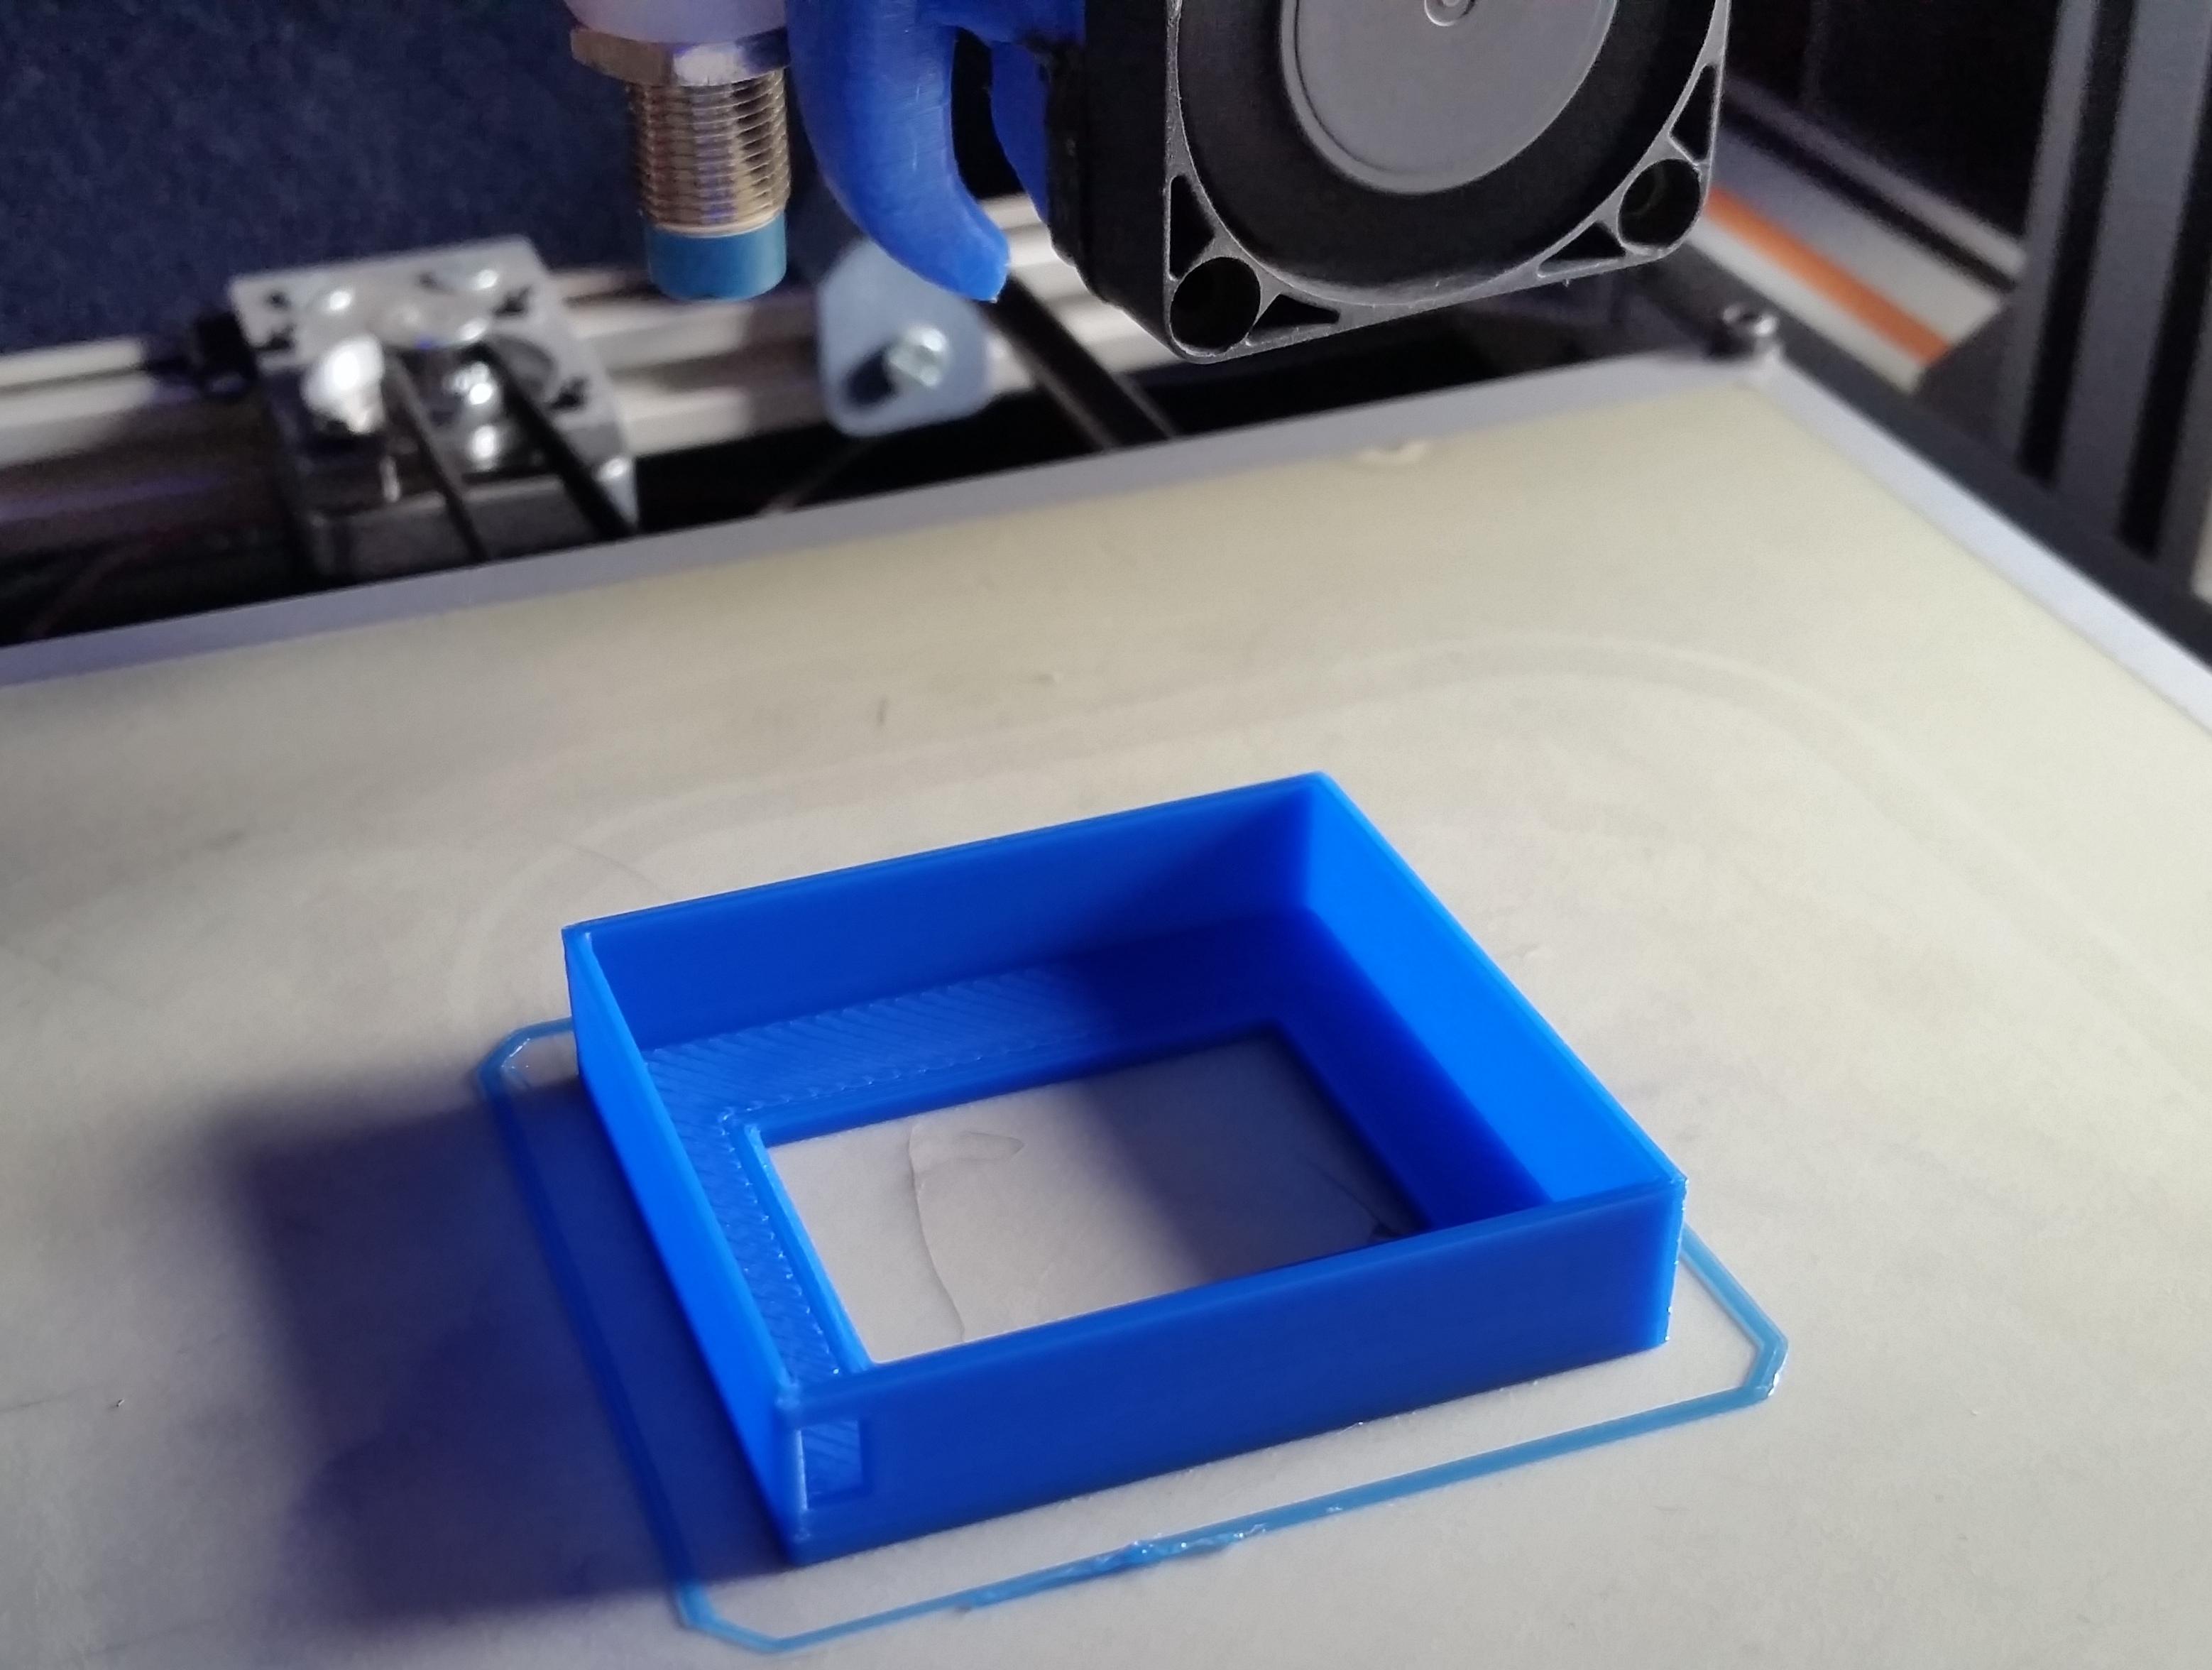
All parts are printed using PETG but PLA can also be used.
I printed the top phone holder with the top and bottom layers set to zero in the slicer so that it only prints the walls and infill, this saved a LOT of filament , cuts the printing time and I think it just plain looks cool!
At first I printed the lightbox in an opaque white but the layer lines showed up when scanning the photos so I redesigned it to have a window that we will add a light dispersing layer.
My print settings are:
Material: Sunlu PETG
Layer height: 0.24mm with .6mm nozzle
Speed: 45mm/s
Temperature: 260/85
Cooling: 50% with Fan Fang
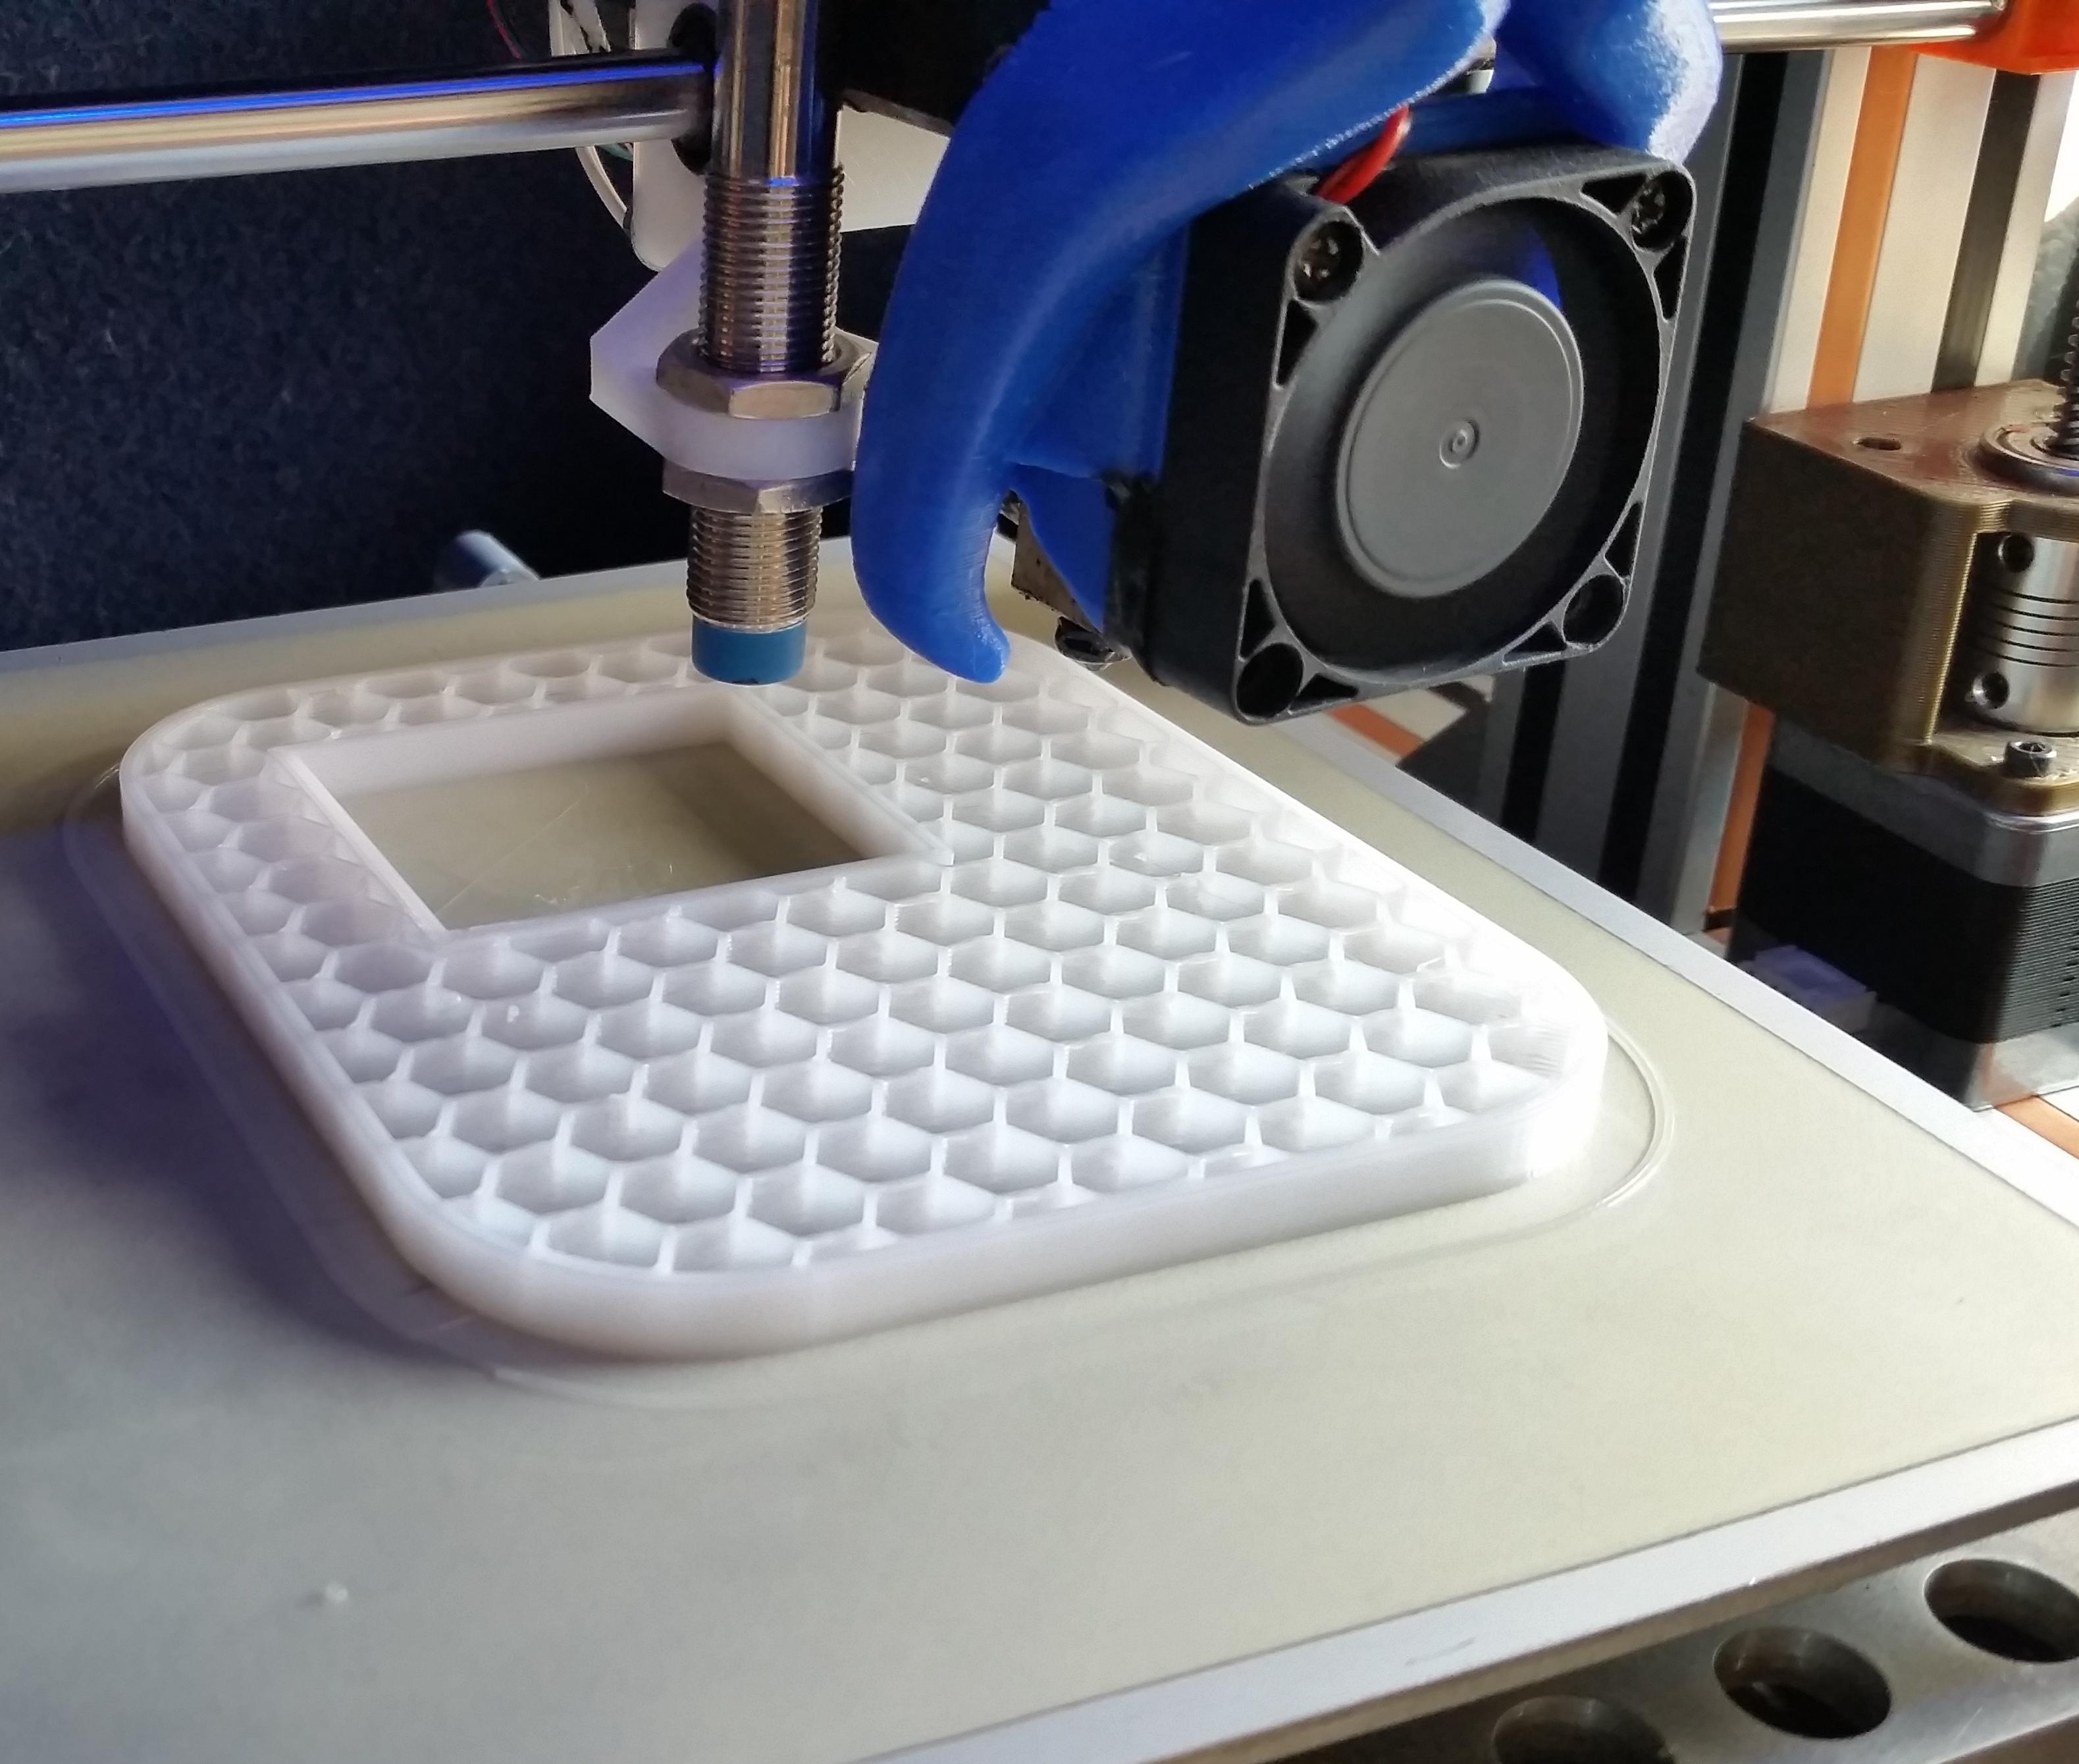
Prep Work:

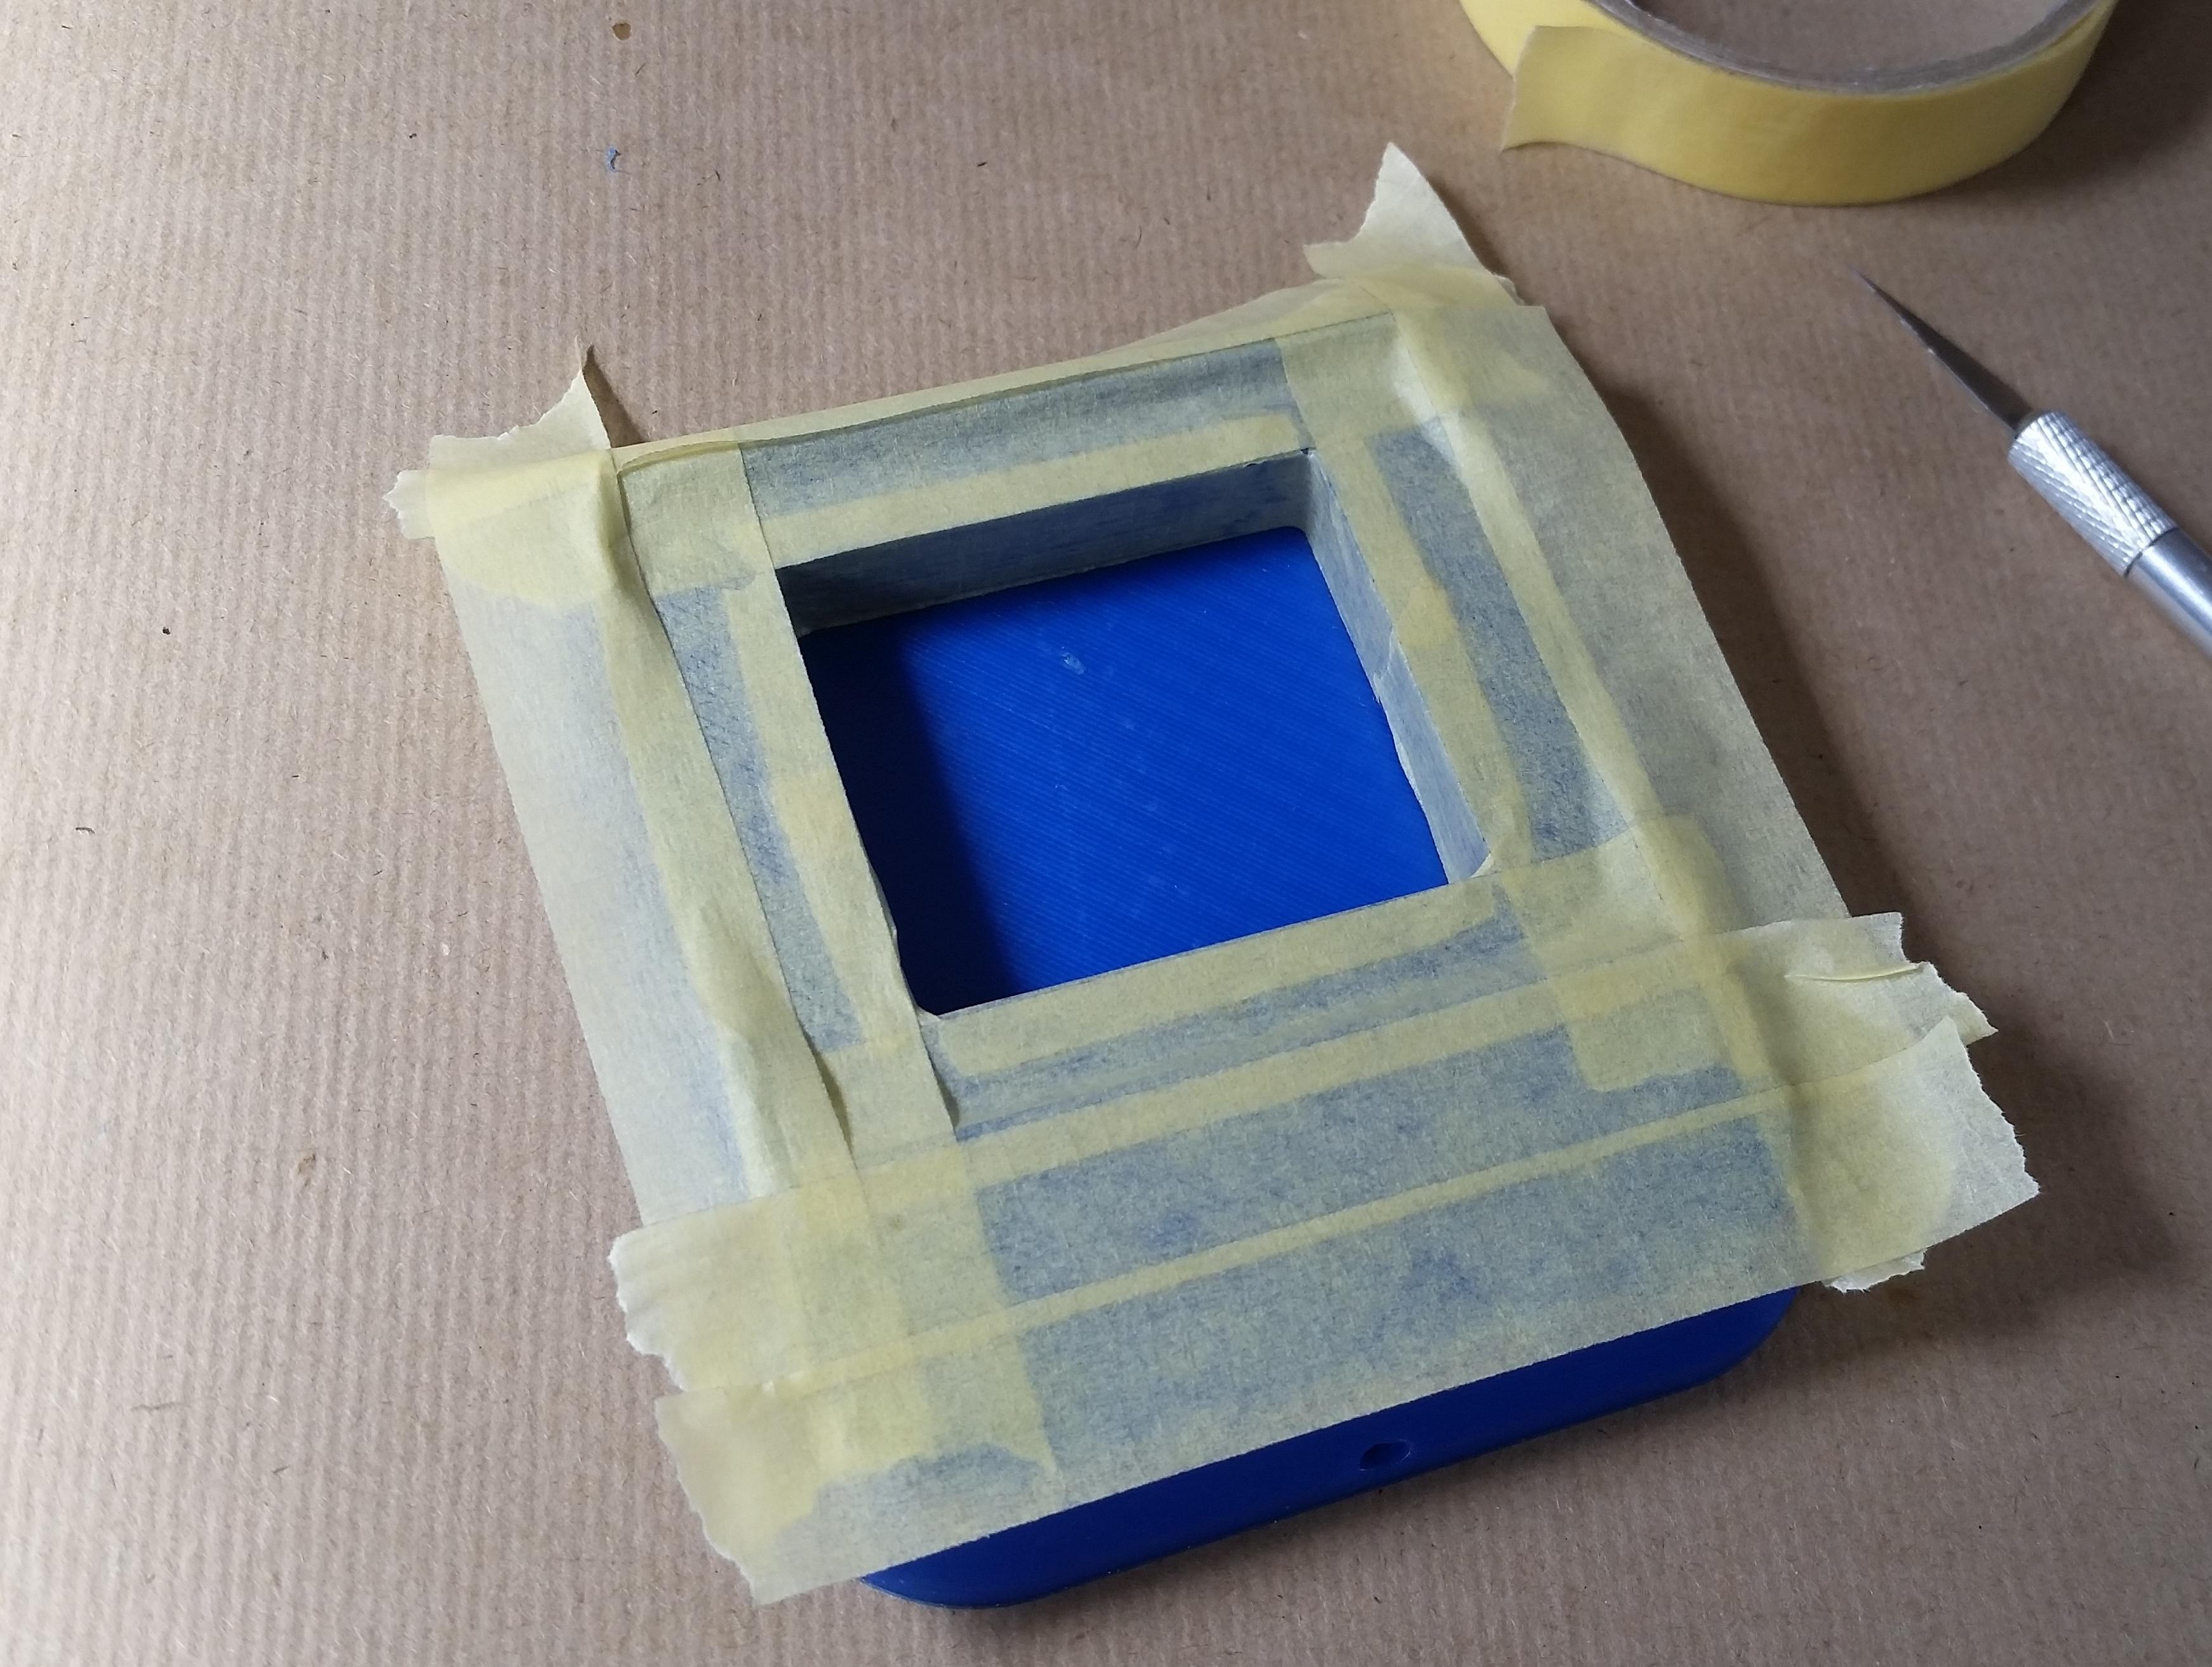
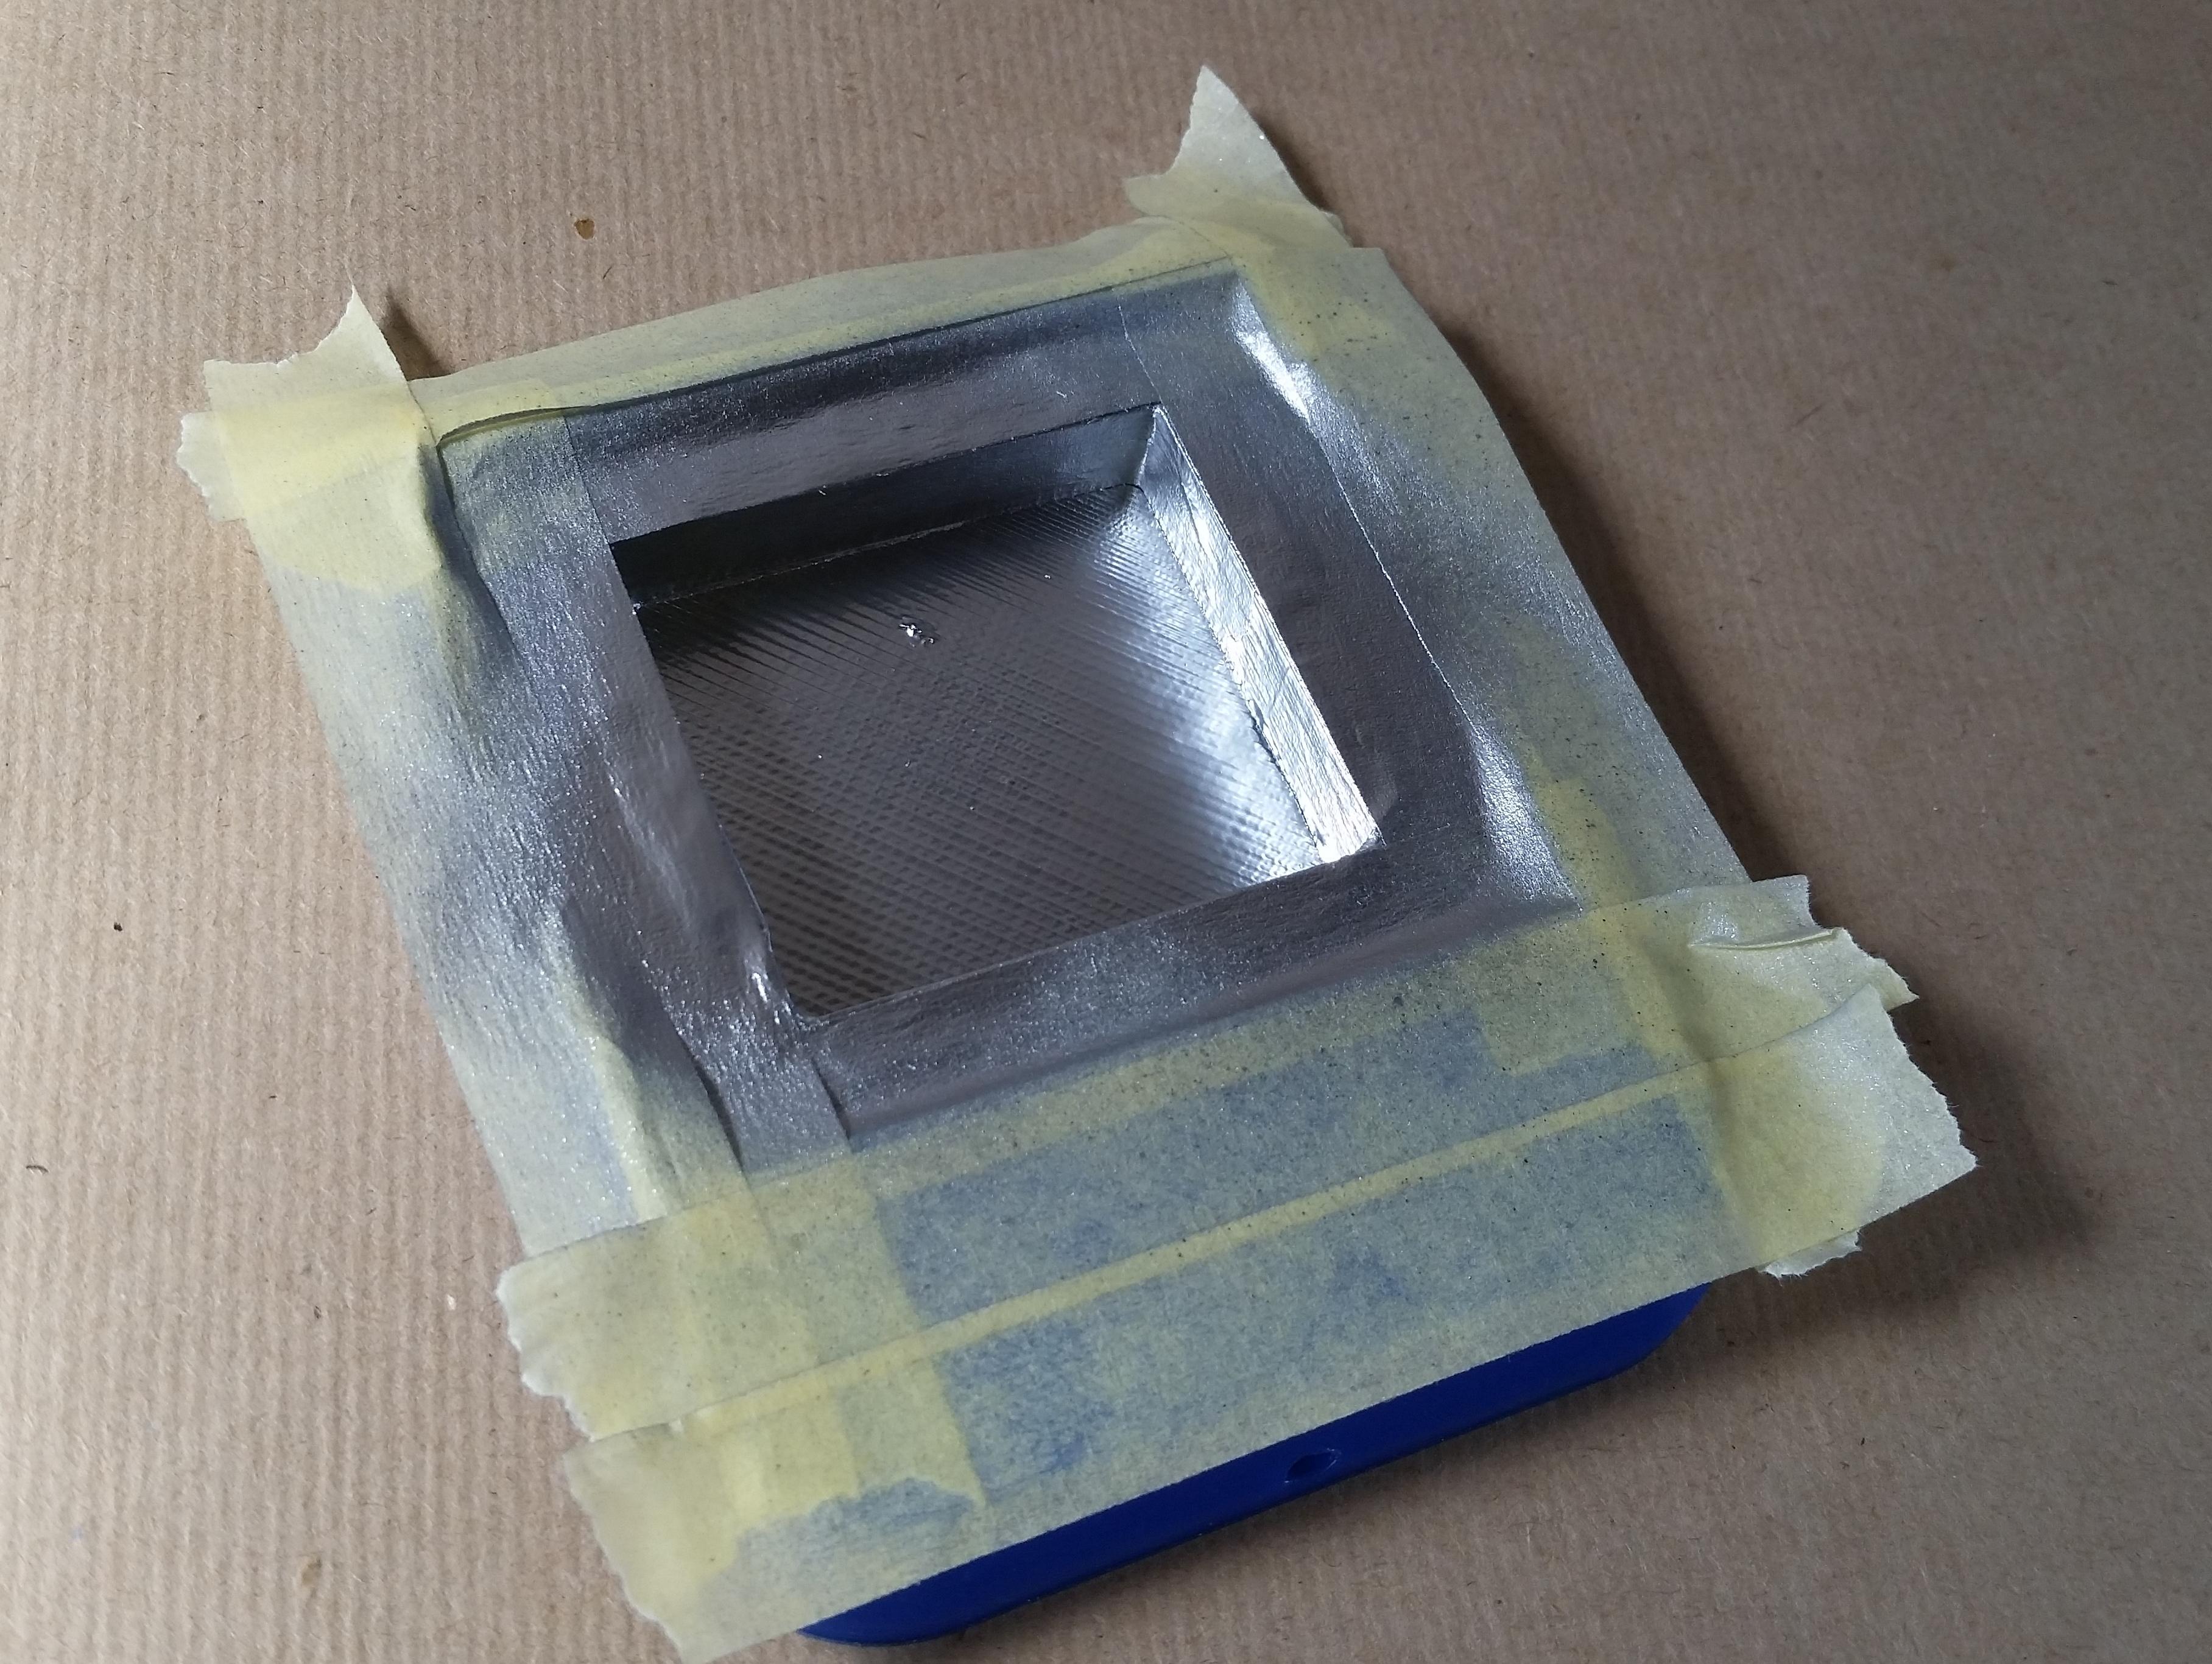
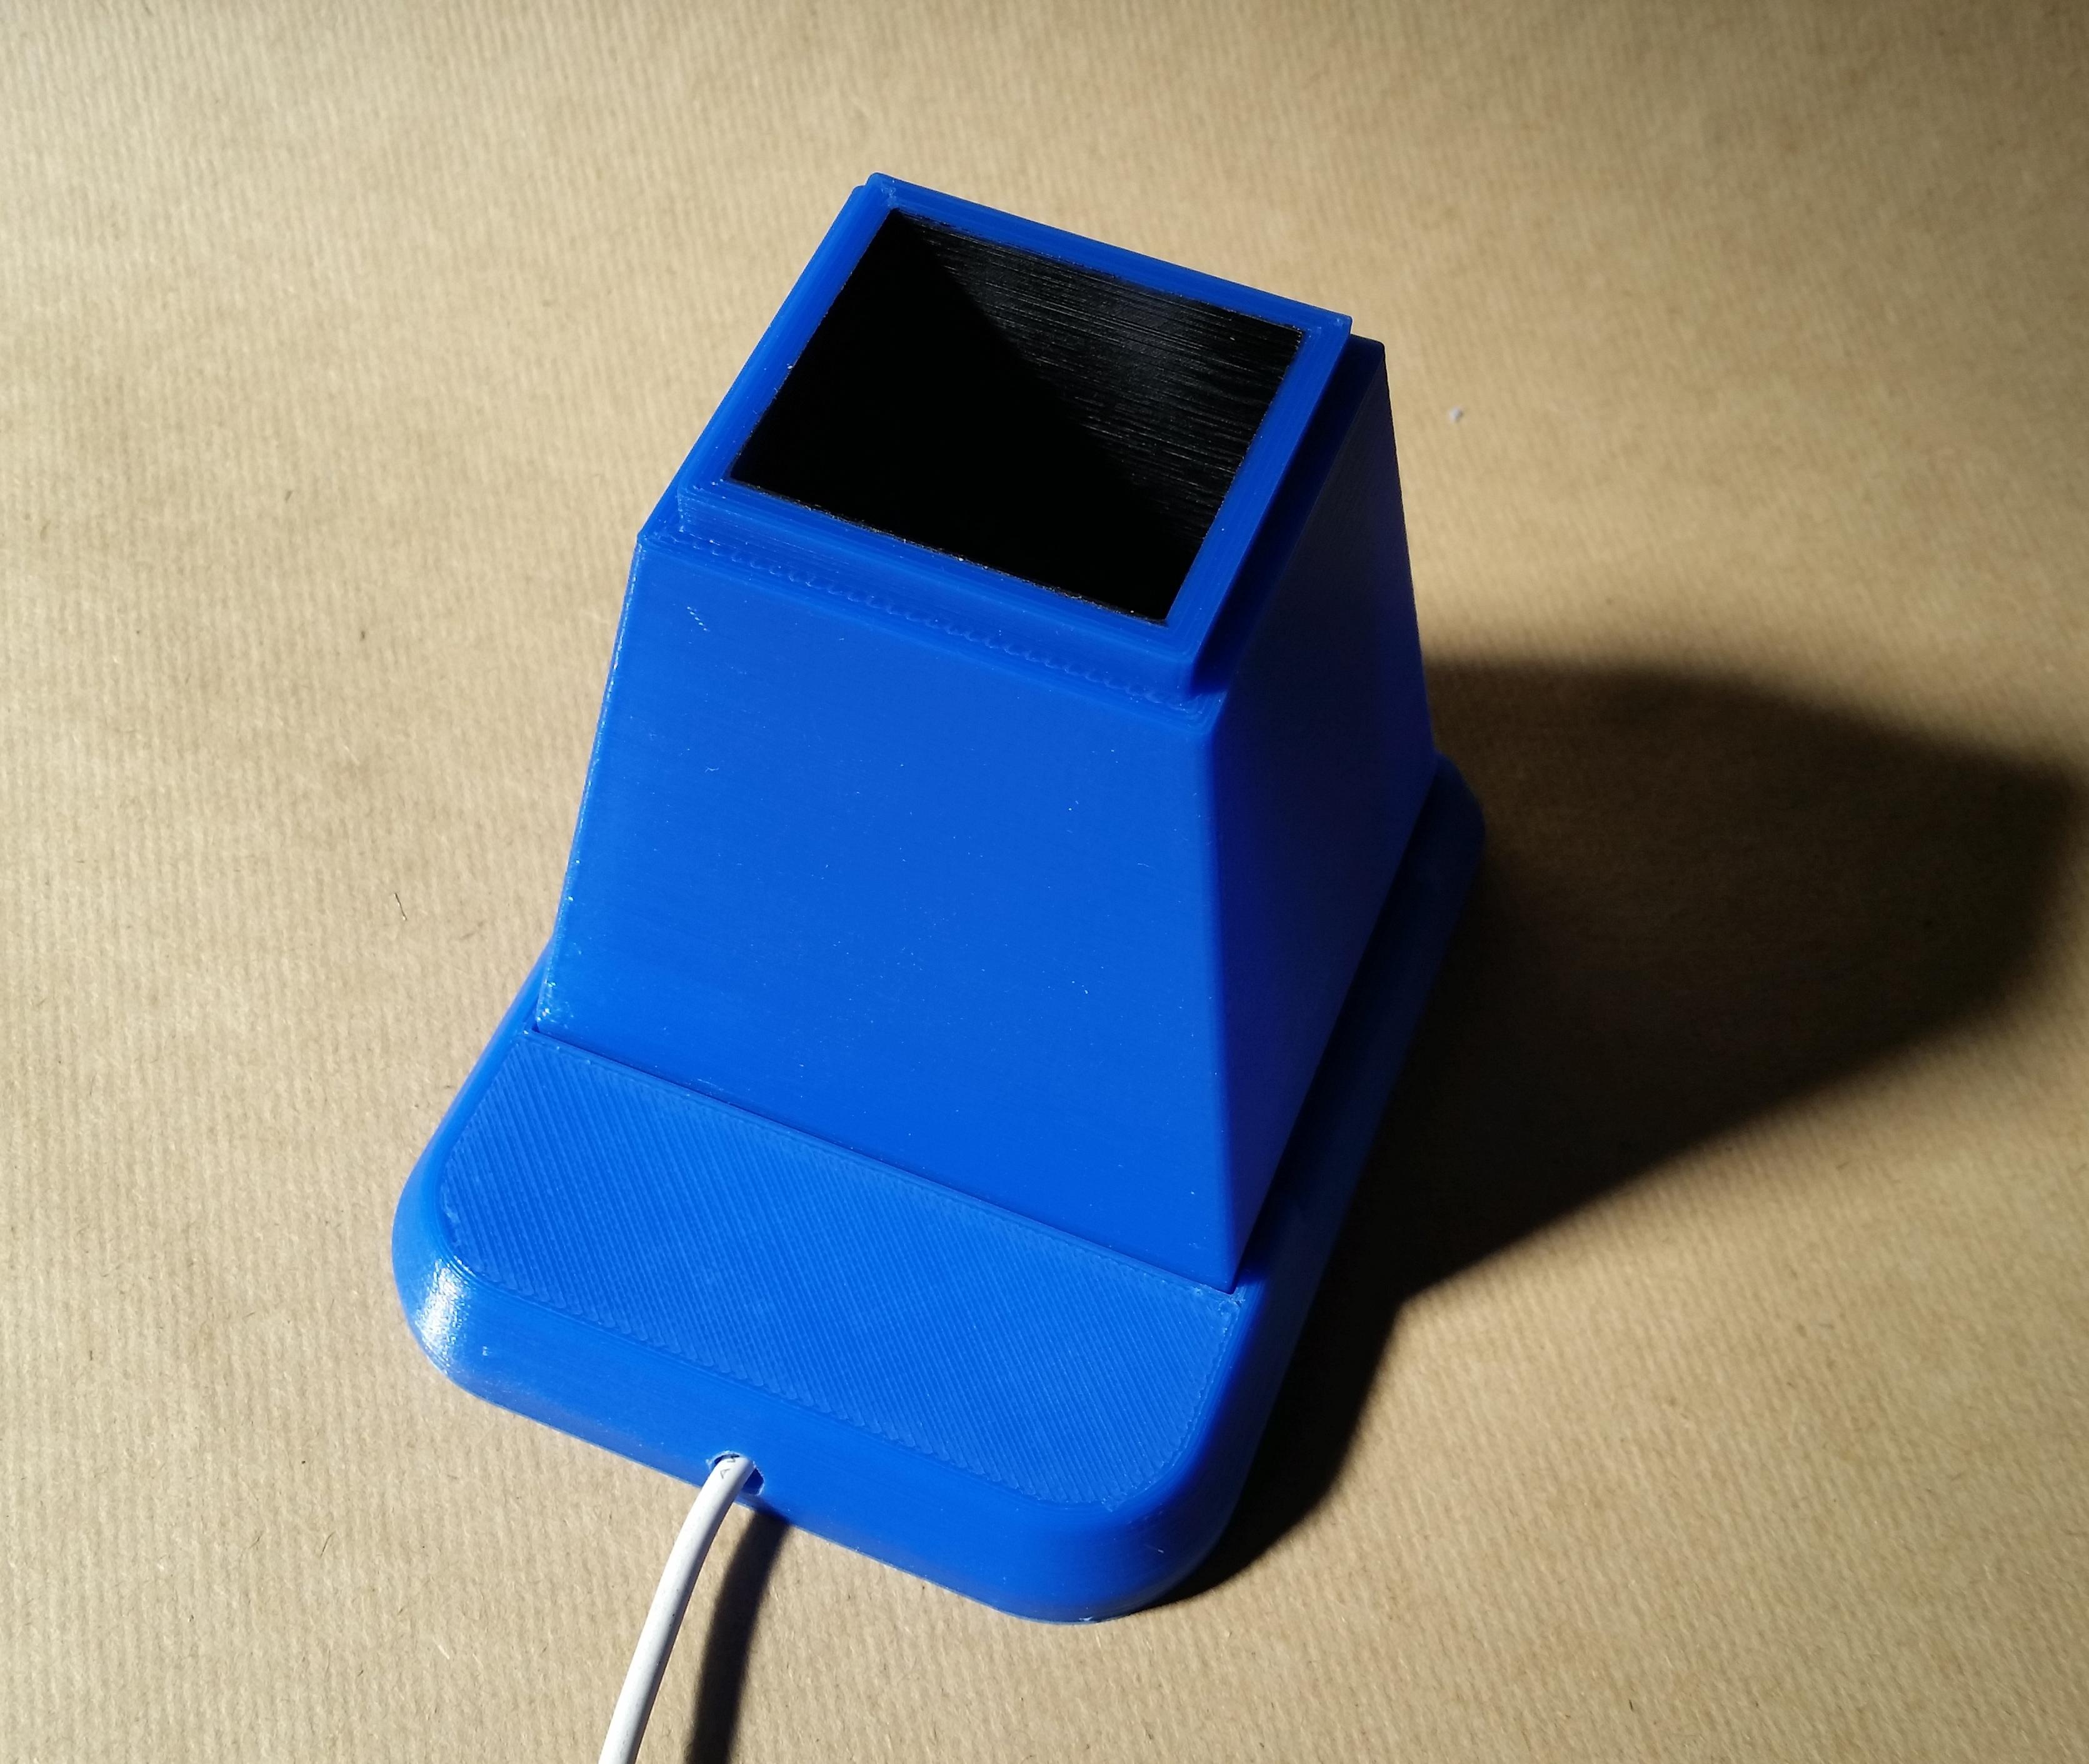
First I wanted to eliminate reflections within the camera "tunnel" as PETG tends to be glossy. To do this I taped up the outside with painters tape and gave the inside a few coats of matt black spray paint.
Next we want the light from the lightbox to be reflected up onto the film negative.
Because I had a can of chrome spray handy I taped up the surrounding stand with painters tape leaving the lightbox cavity exposed and gave it a few coats of the chrome spray.
Alternatively you can use a piece of aluminium stuck into the cavity instead of the paint.
Assemble the Light Box:
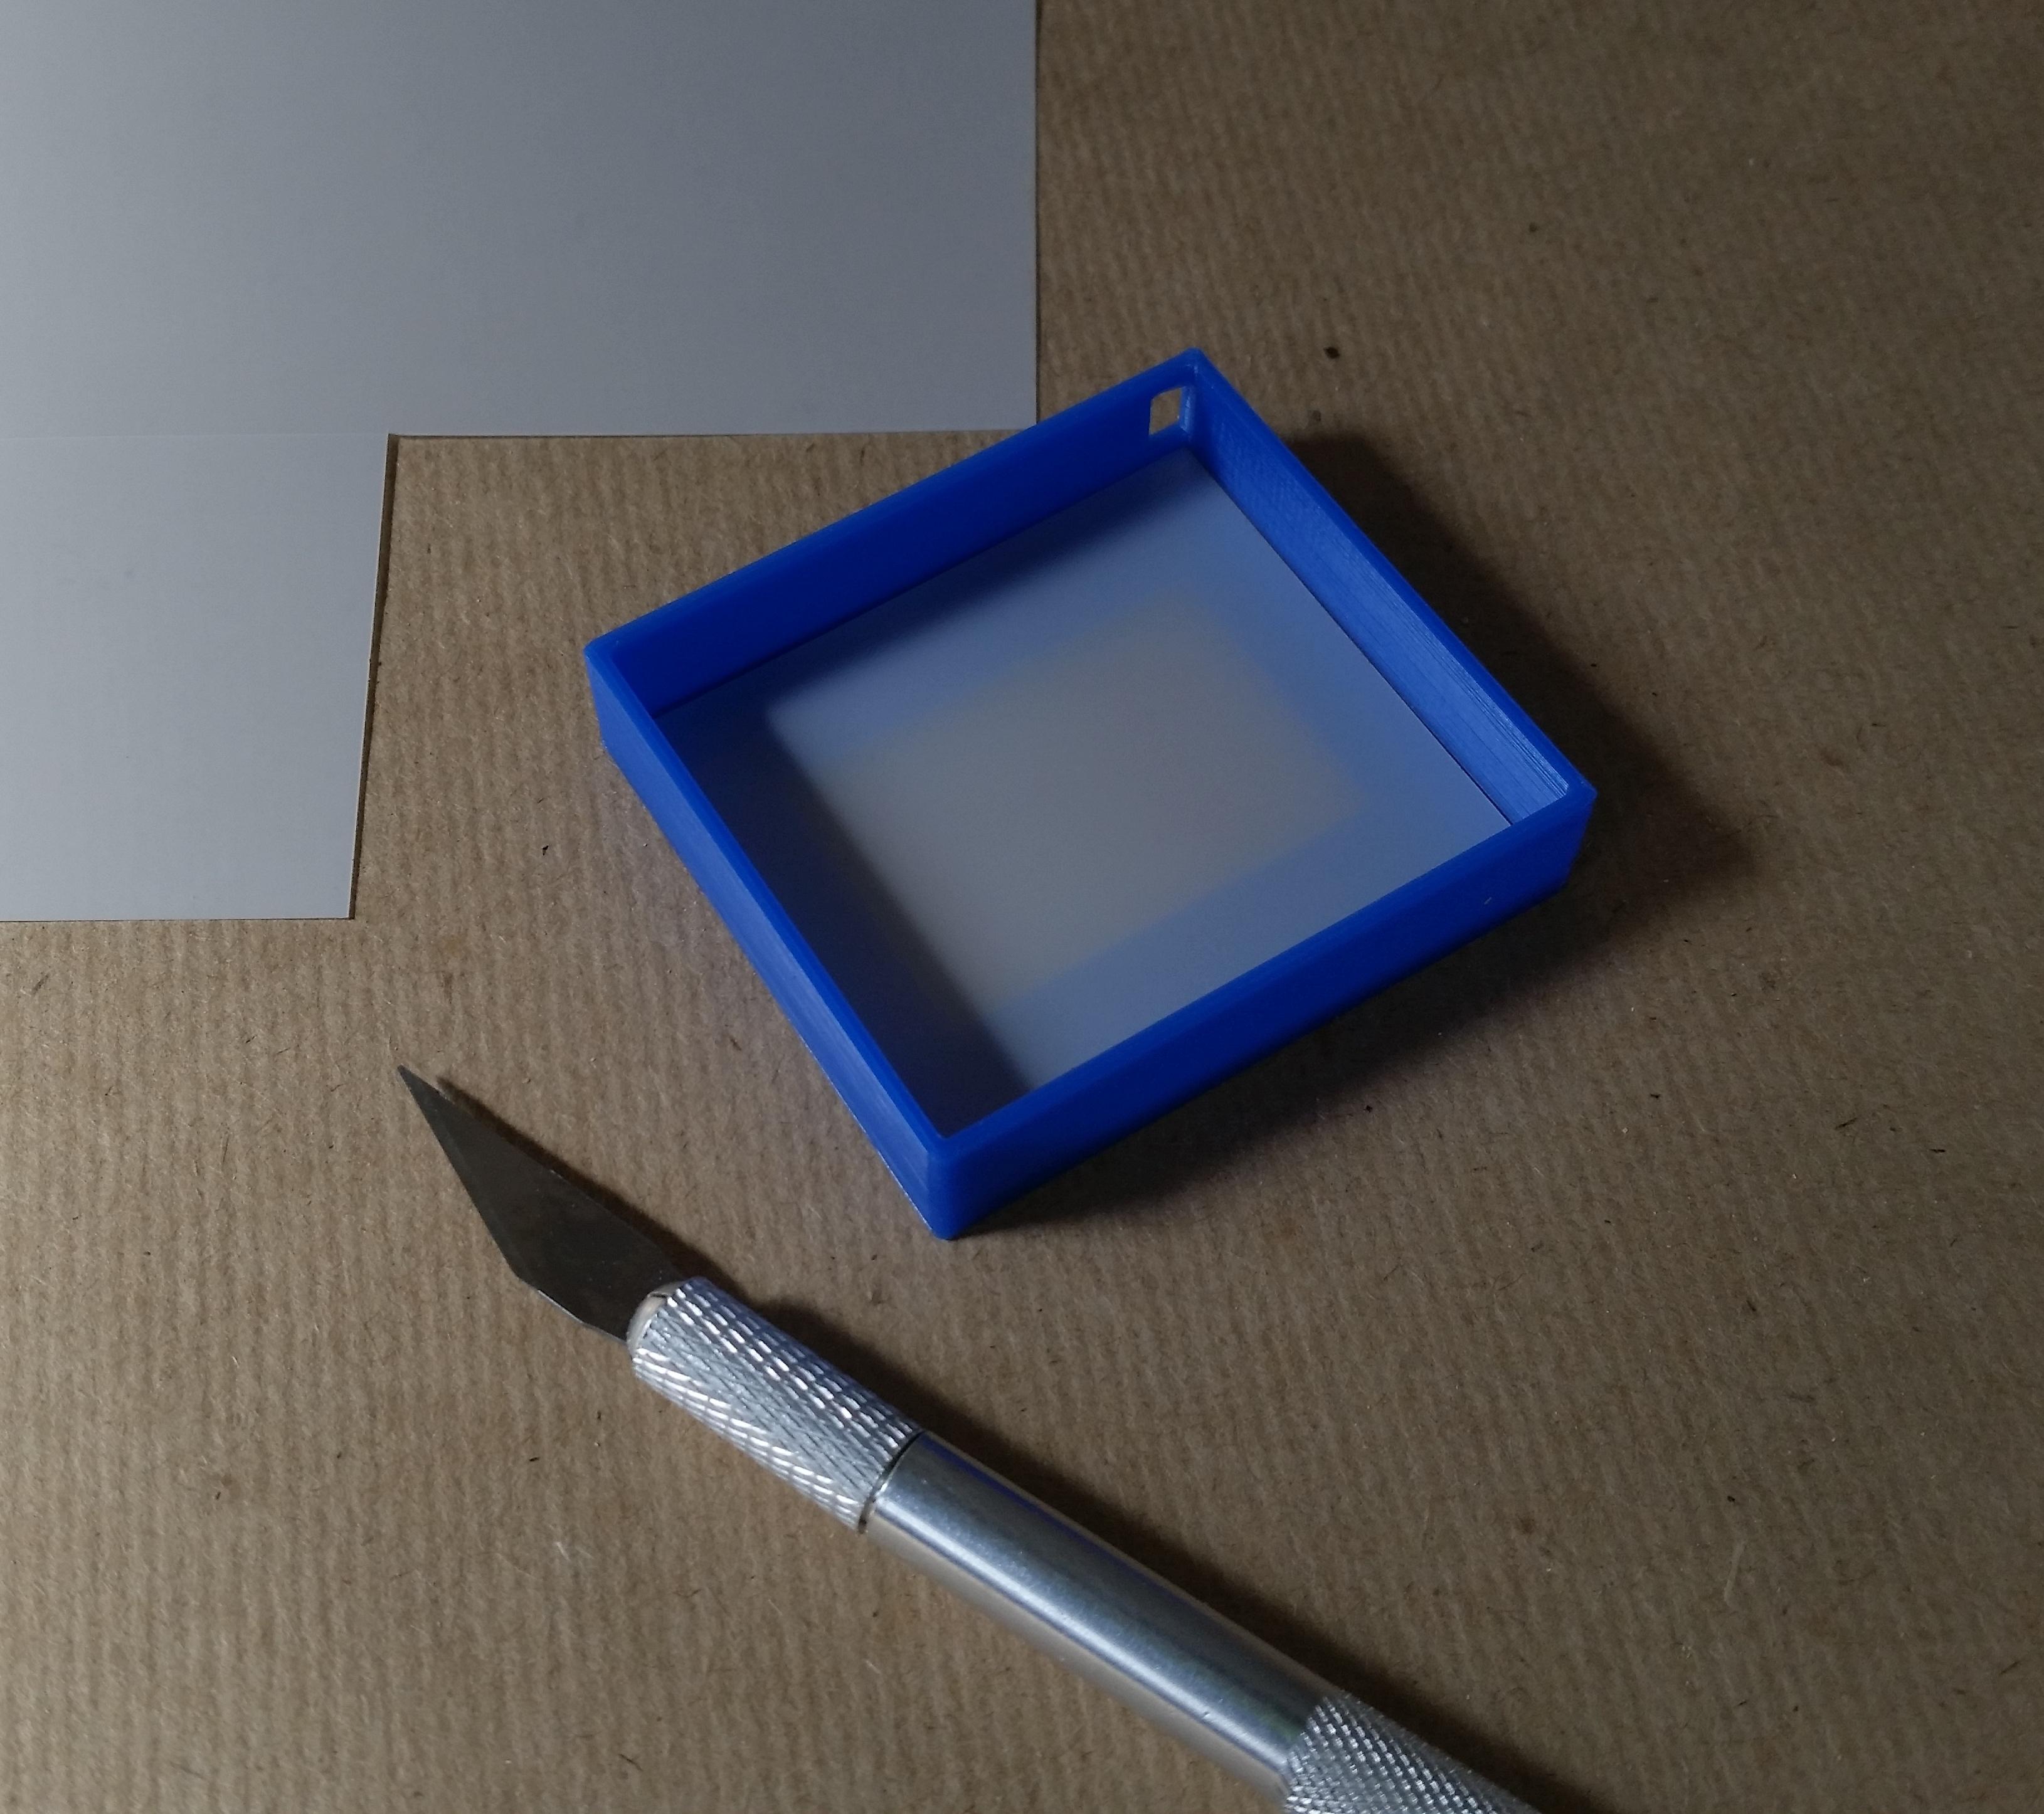
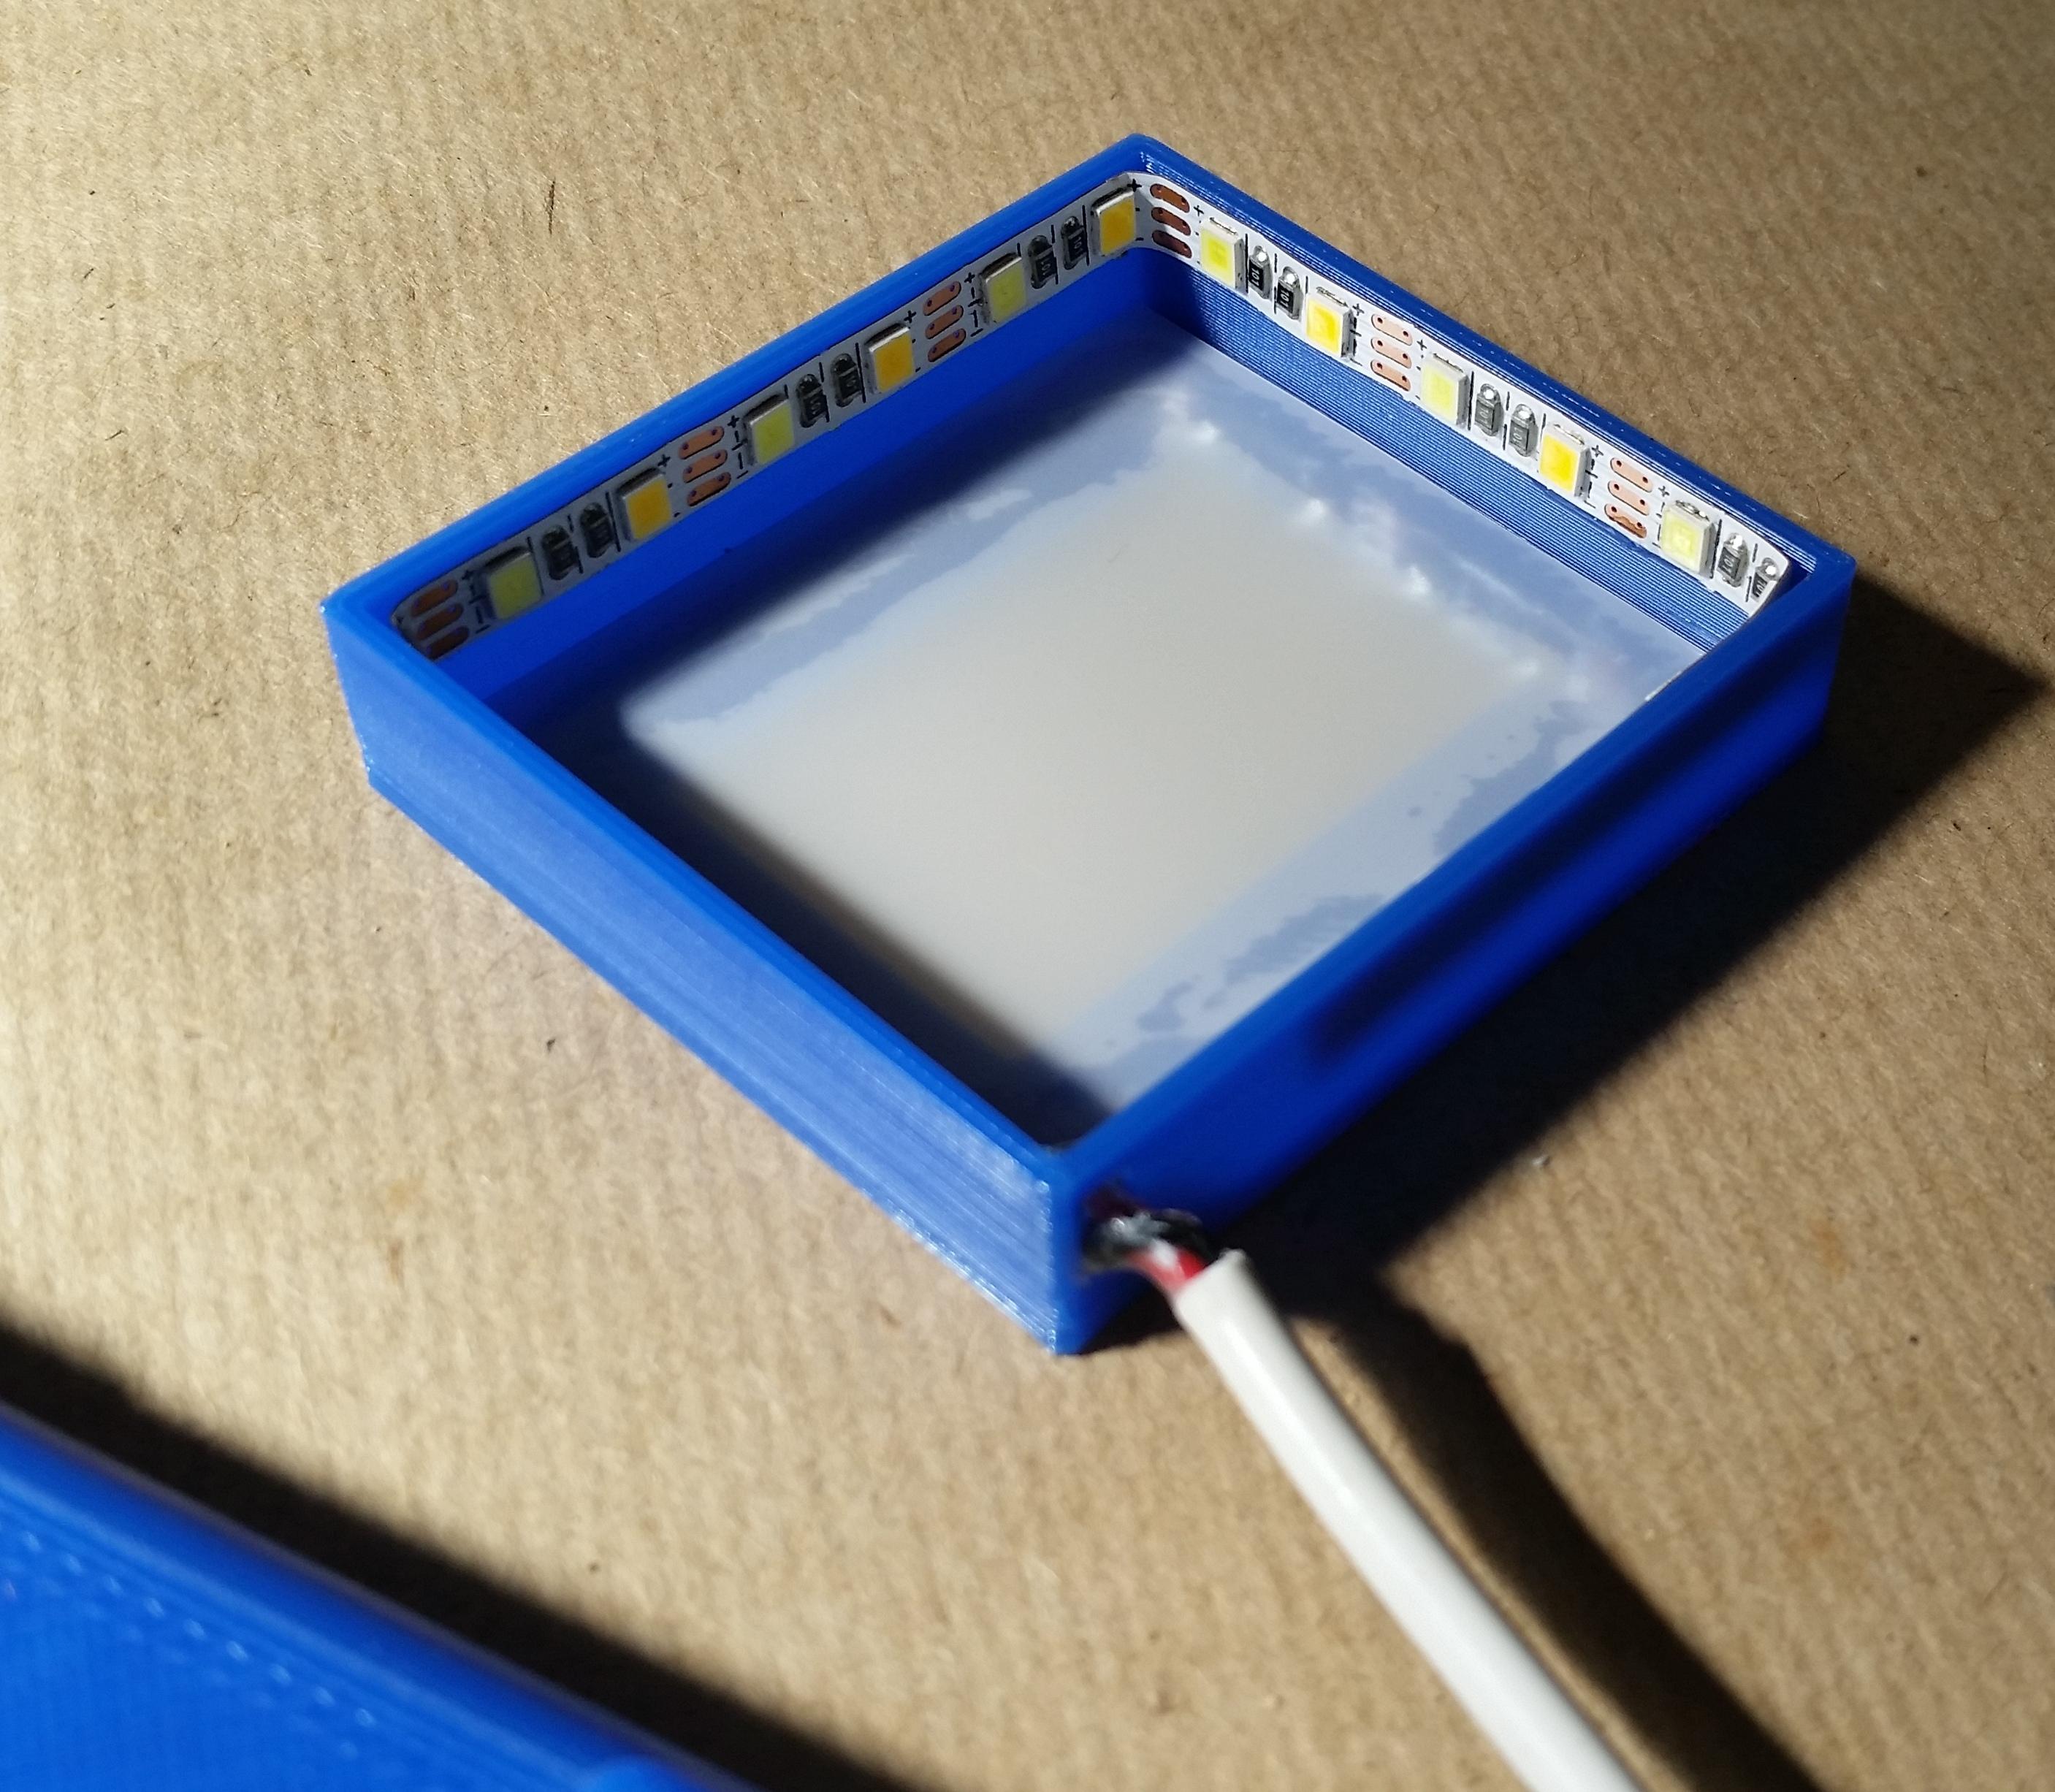
Next we need to assemble the lightbox...
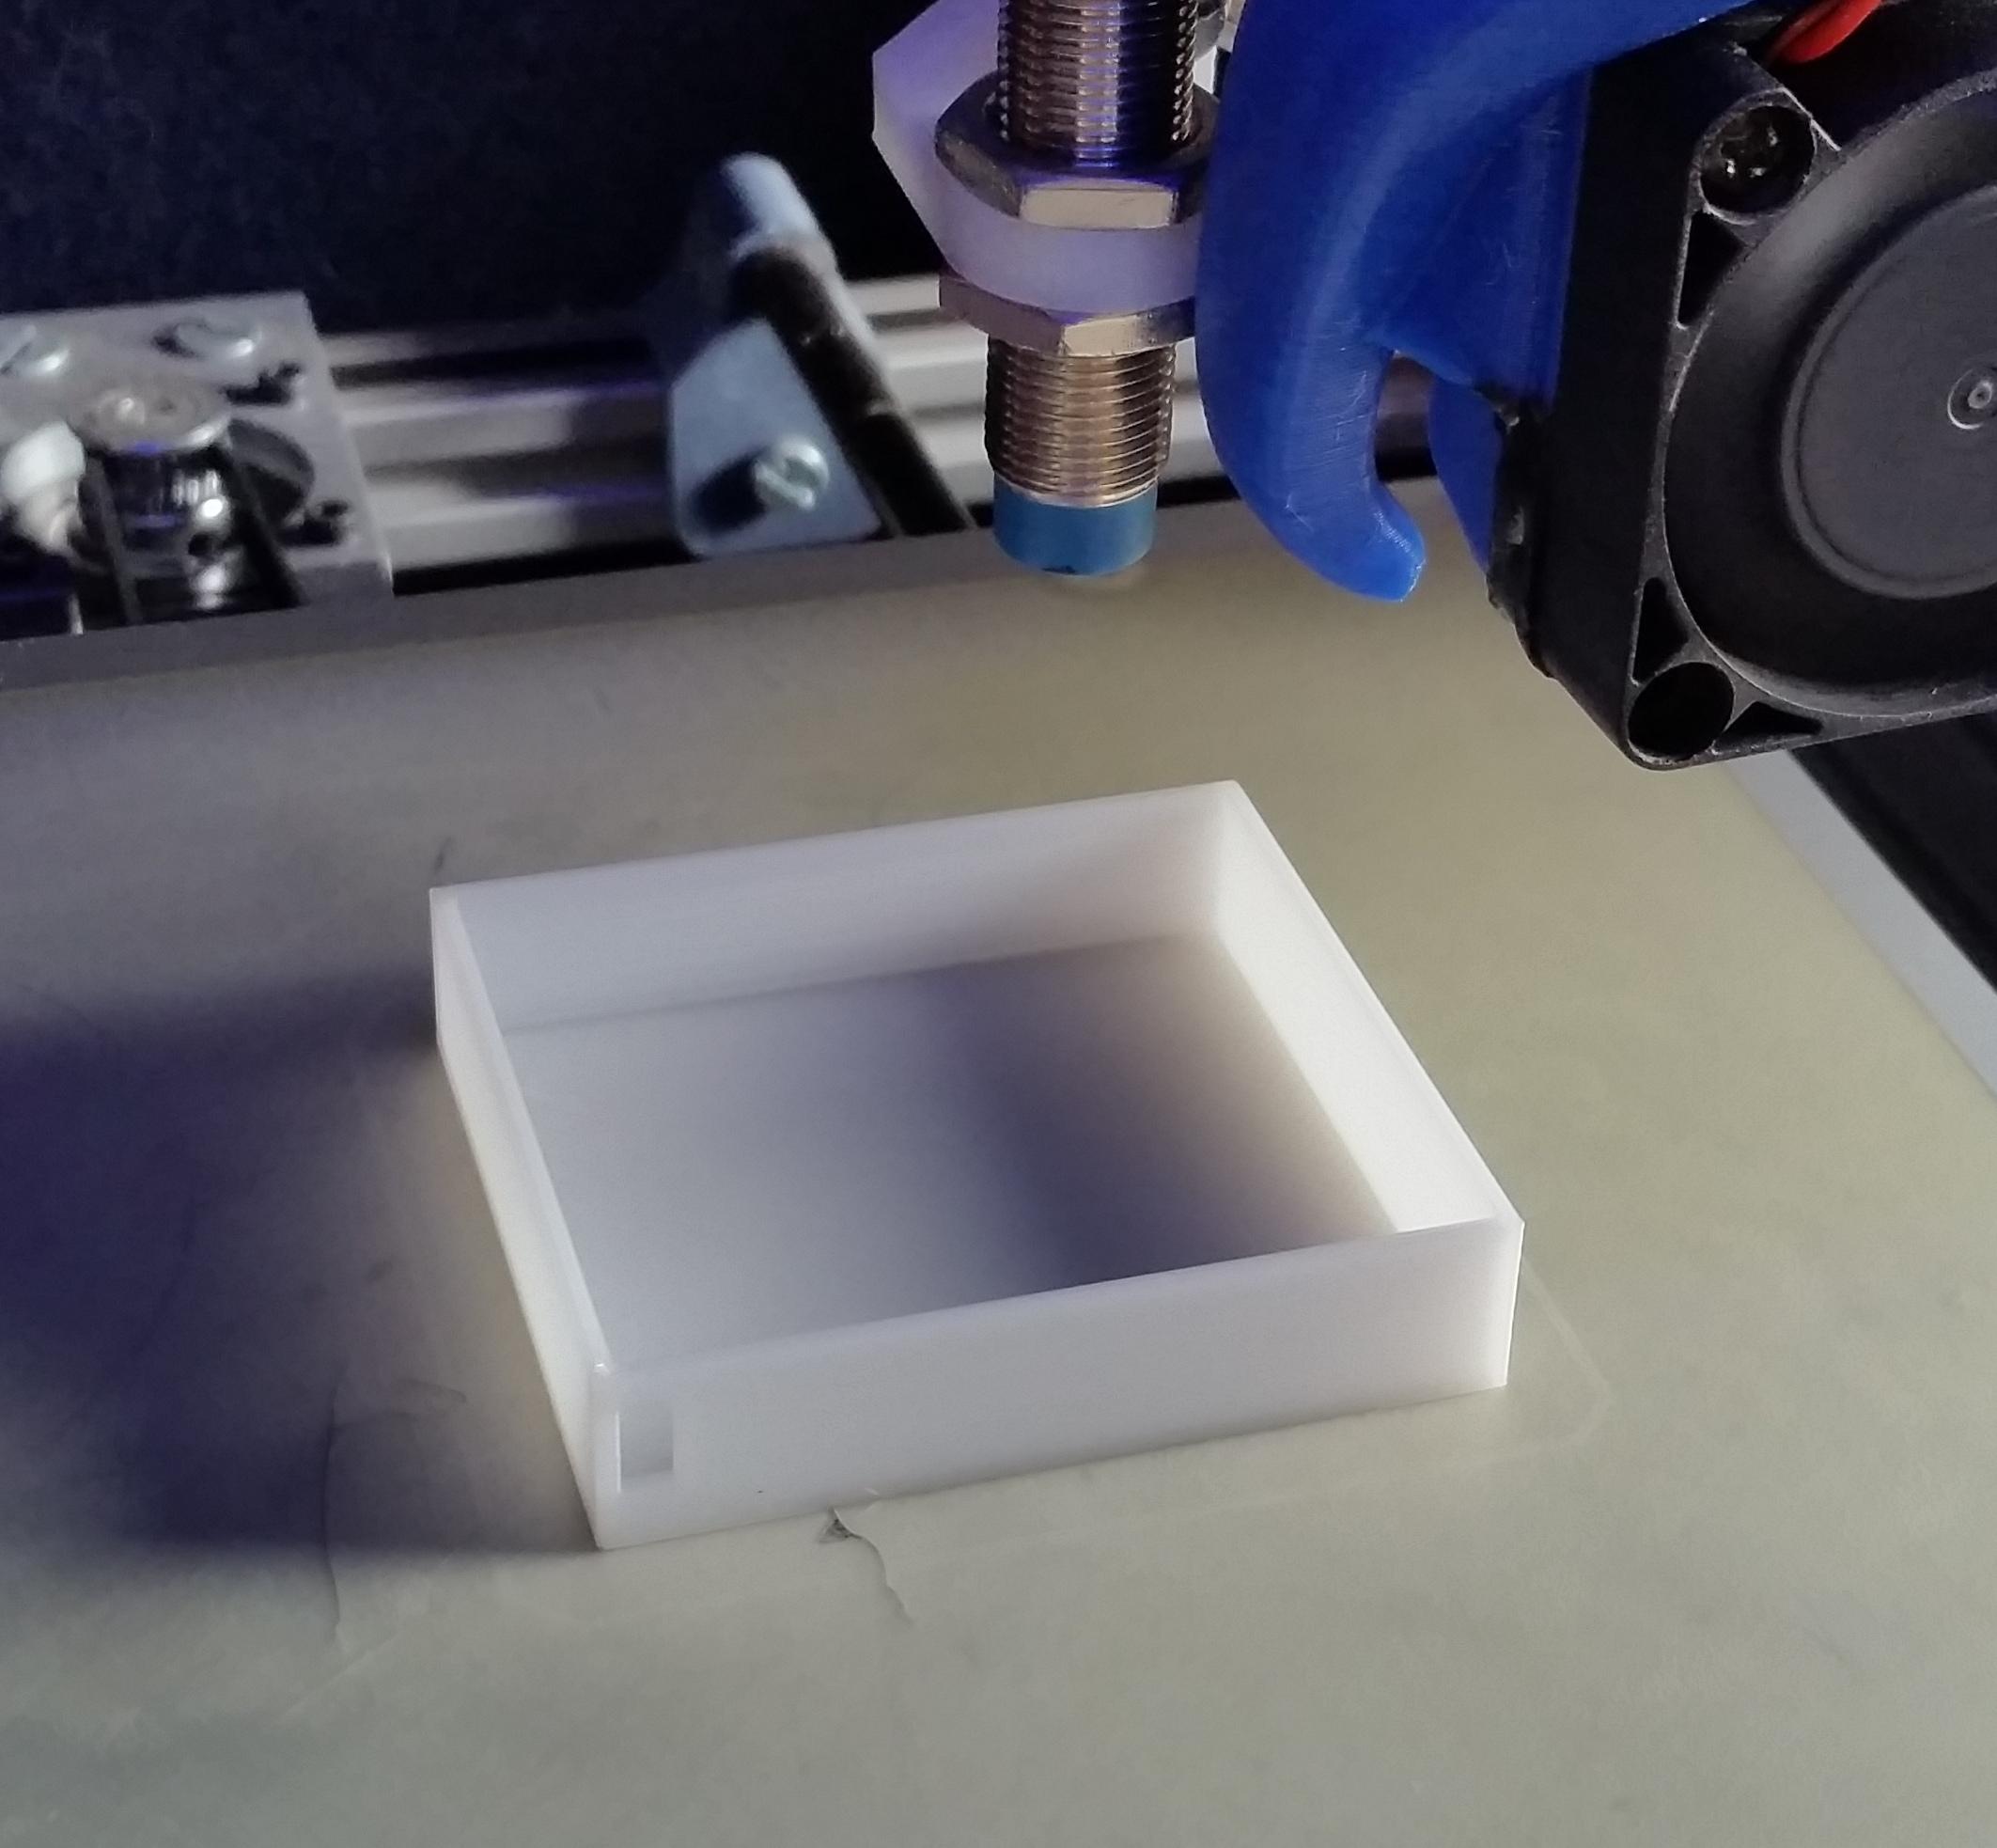
You will need a piece of thin opaque plastic that does not have a rough surface or it will show on the photo. The film I used came from a broken LCD display and works perfectly as its designed to diffuse light.
Cut it to size and glue it to the inside using some general purpose adhesive.
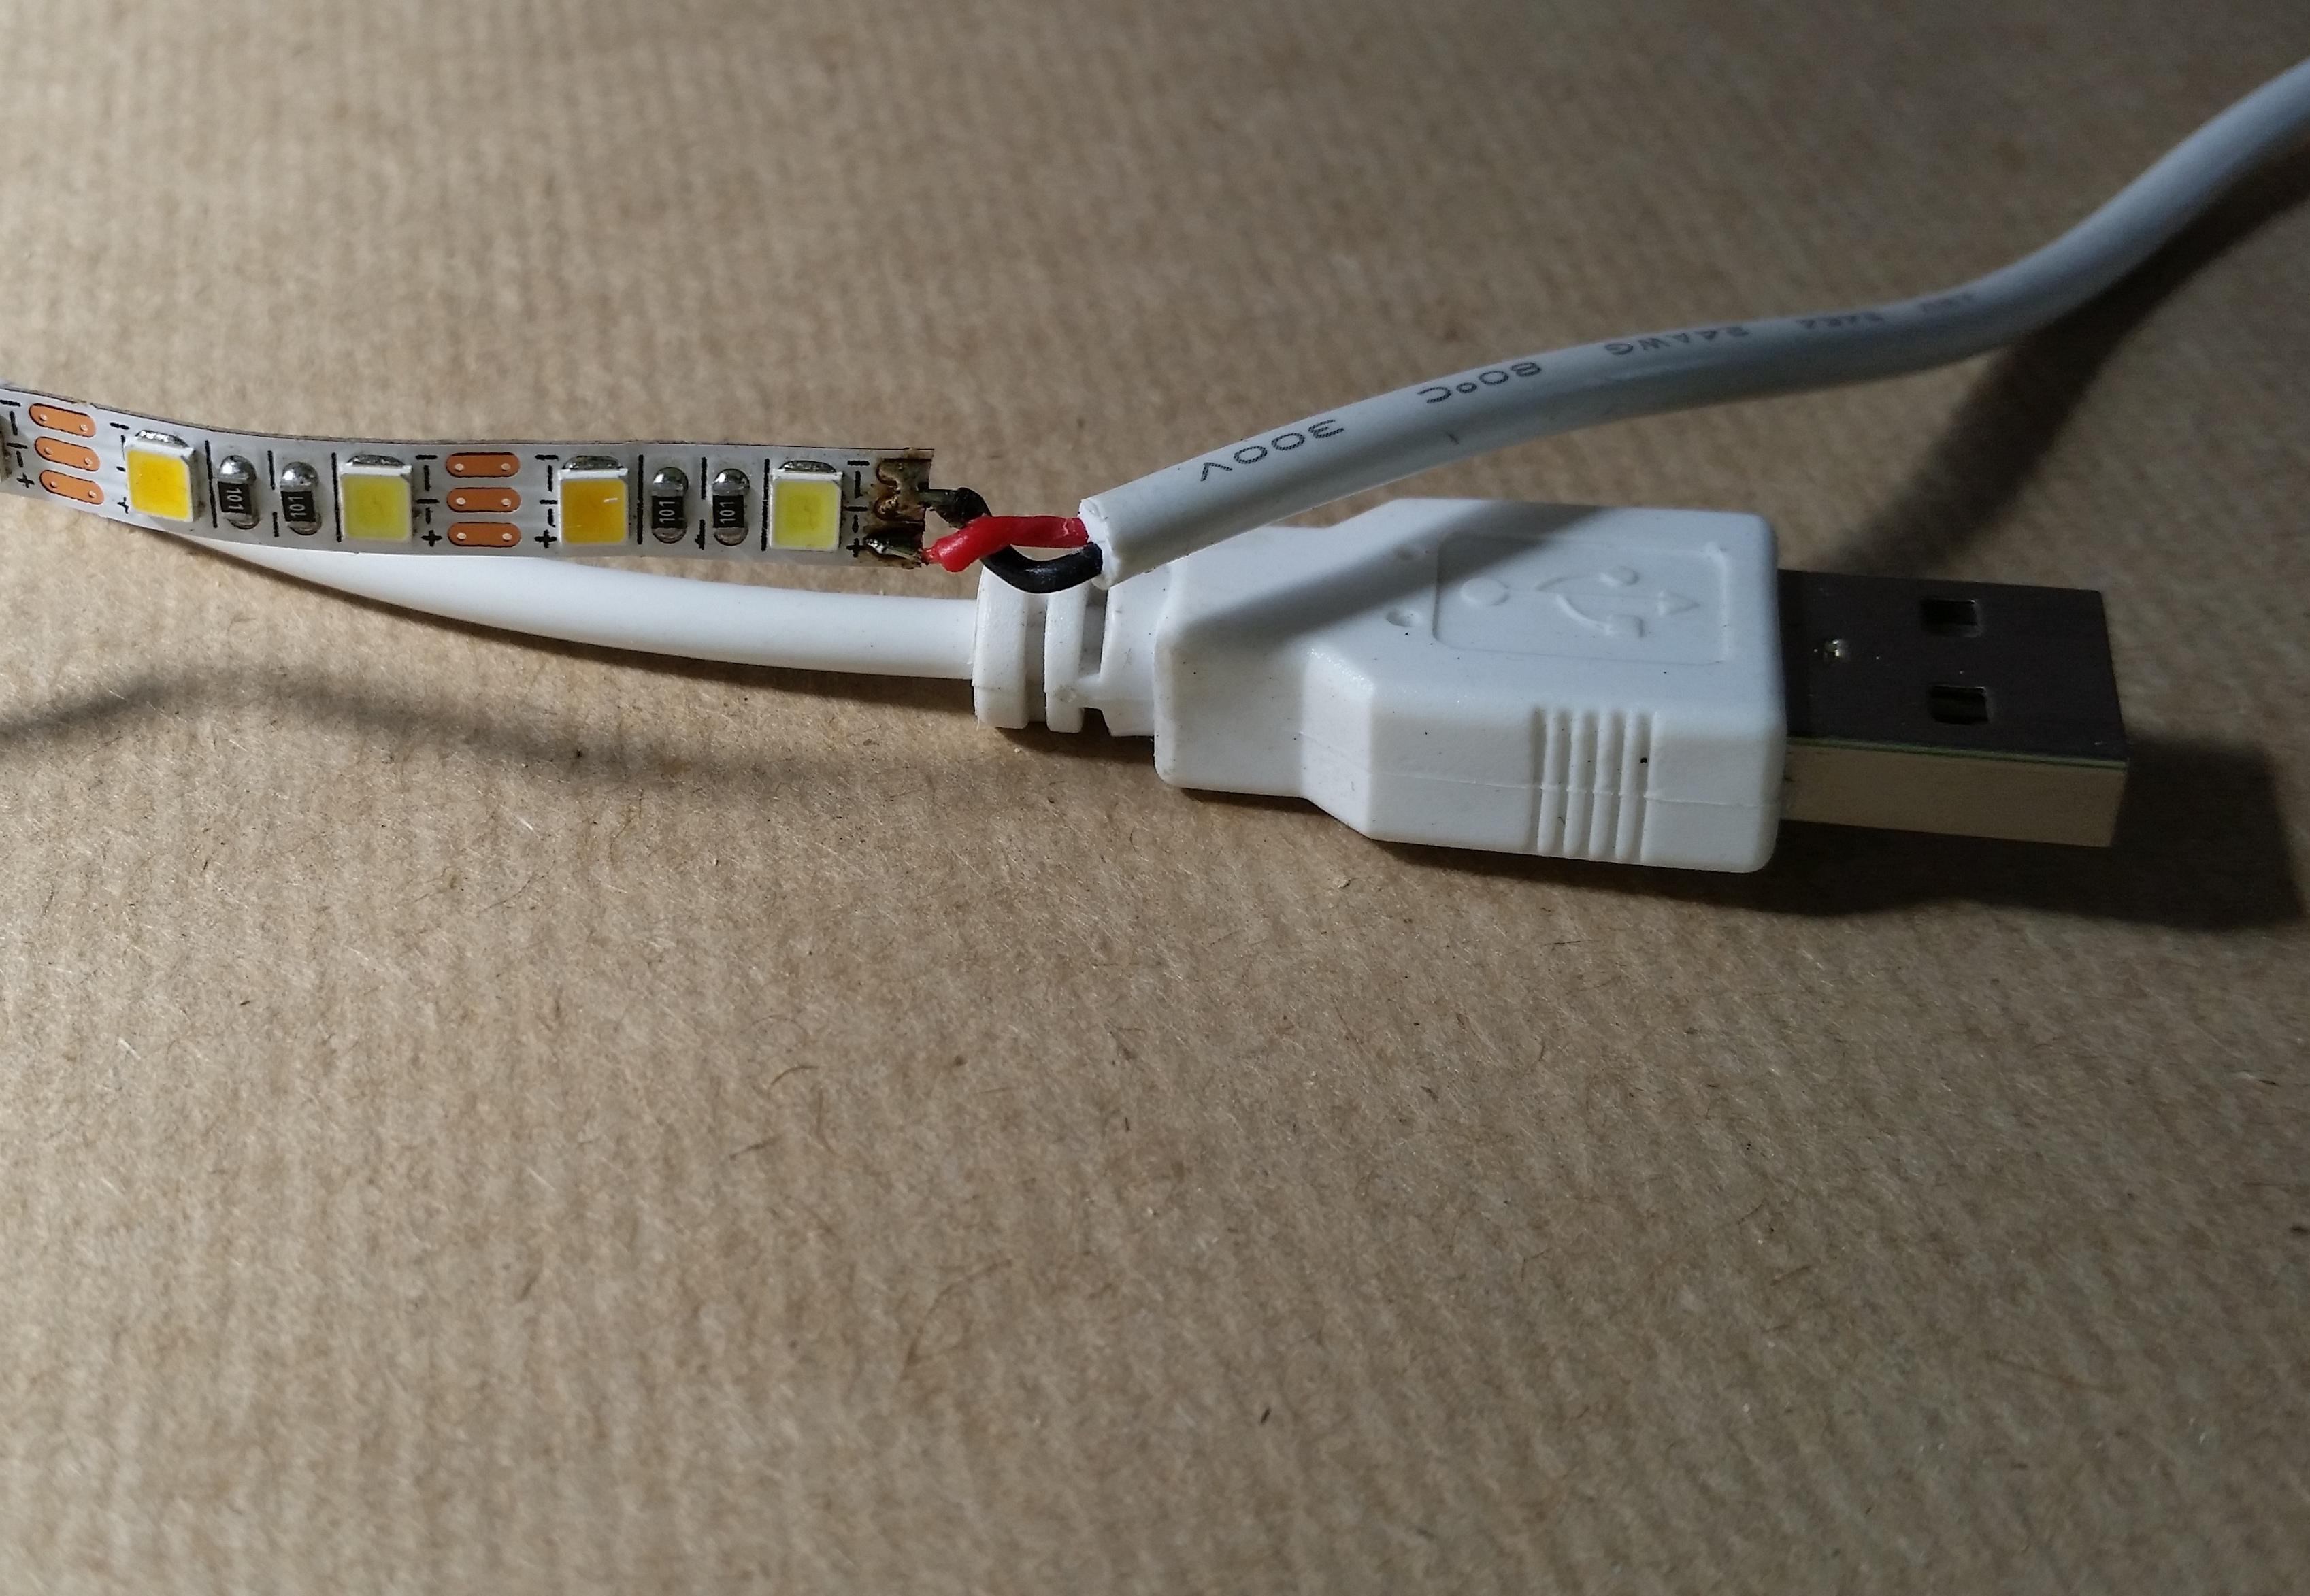
We need to attach the LED strip next.
Now don't go and make the same mistake as me... first thread the USB cable through the holes to the lightbox cavity before soldering on the LED strip.
Solder your USB cable to the LED strip paying attention to the polarity, I then added a drop of hot melt glue to the solder joint to reinforce it.
Plug in the USB to make sure everything works before proceeding.
Next stick the LED strip inside of the box (the LED strips usually come with an adhesive backing but you can also use CA glue)
With the LED's in place we can glue the lightbox into its cavity.
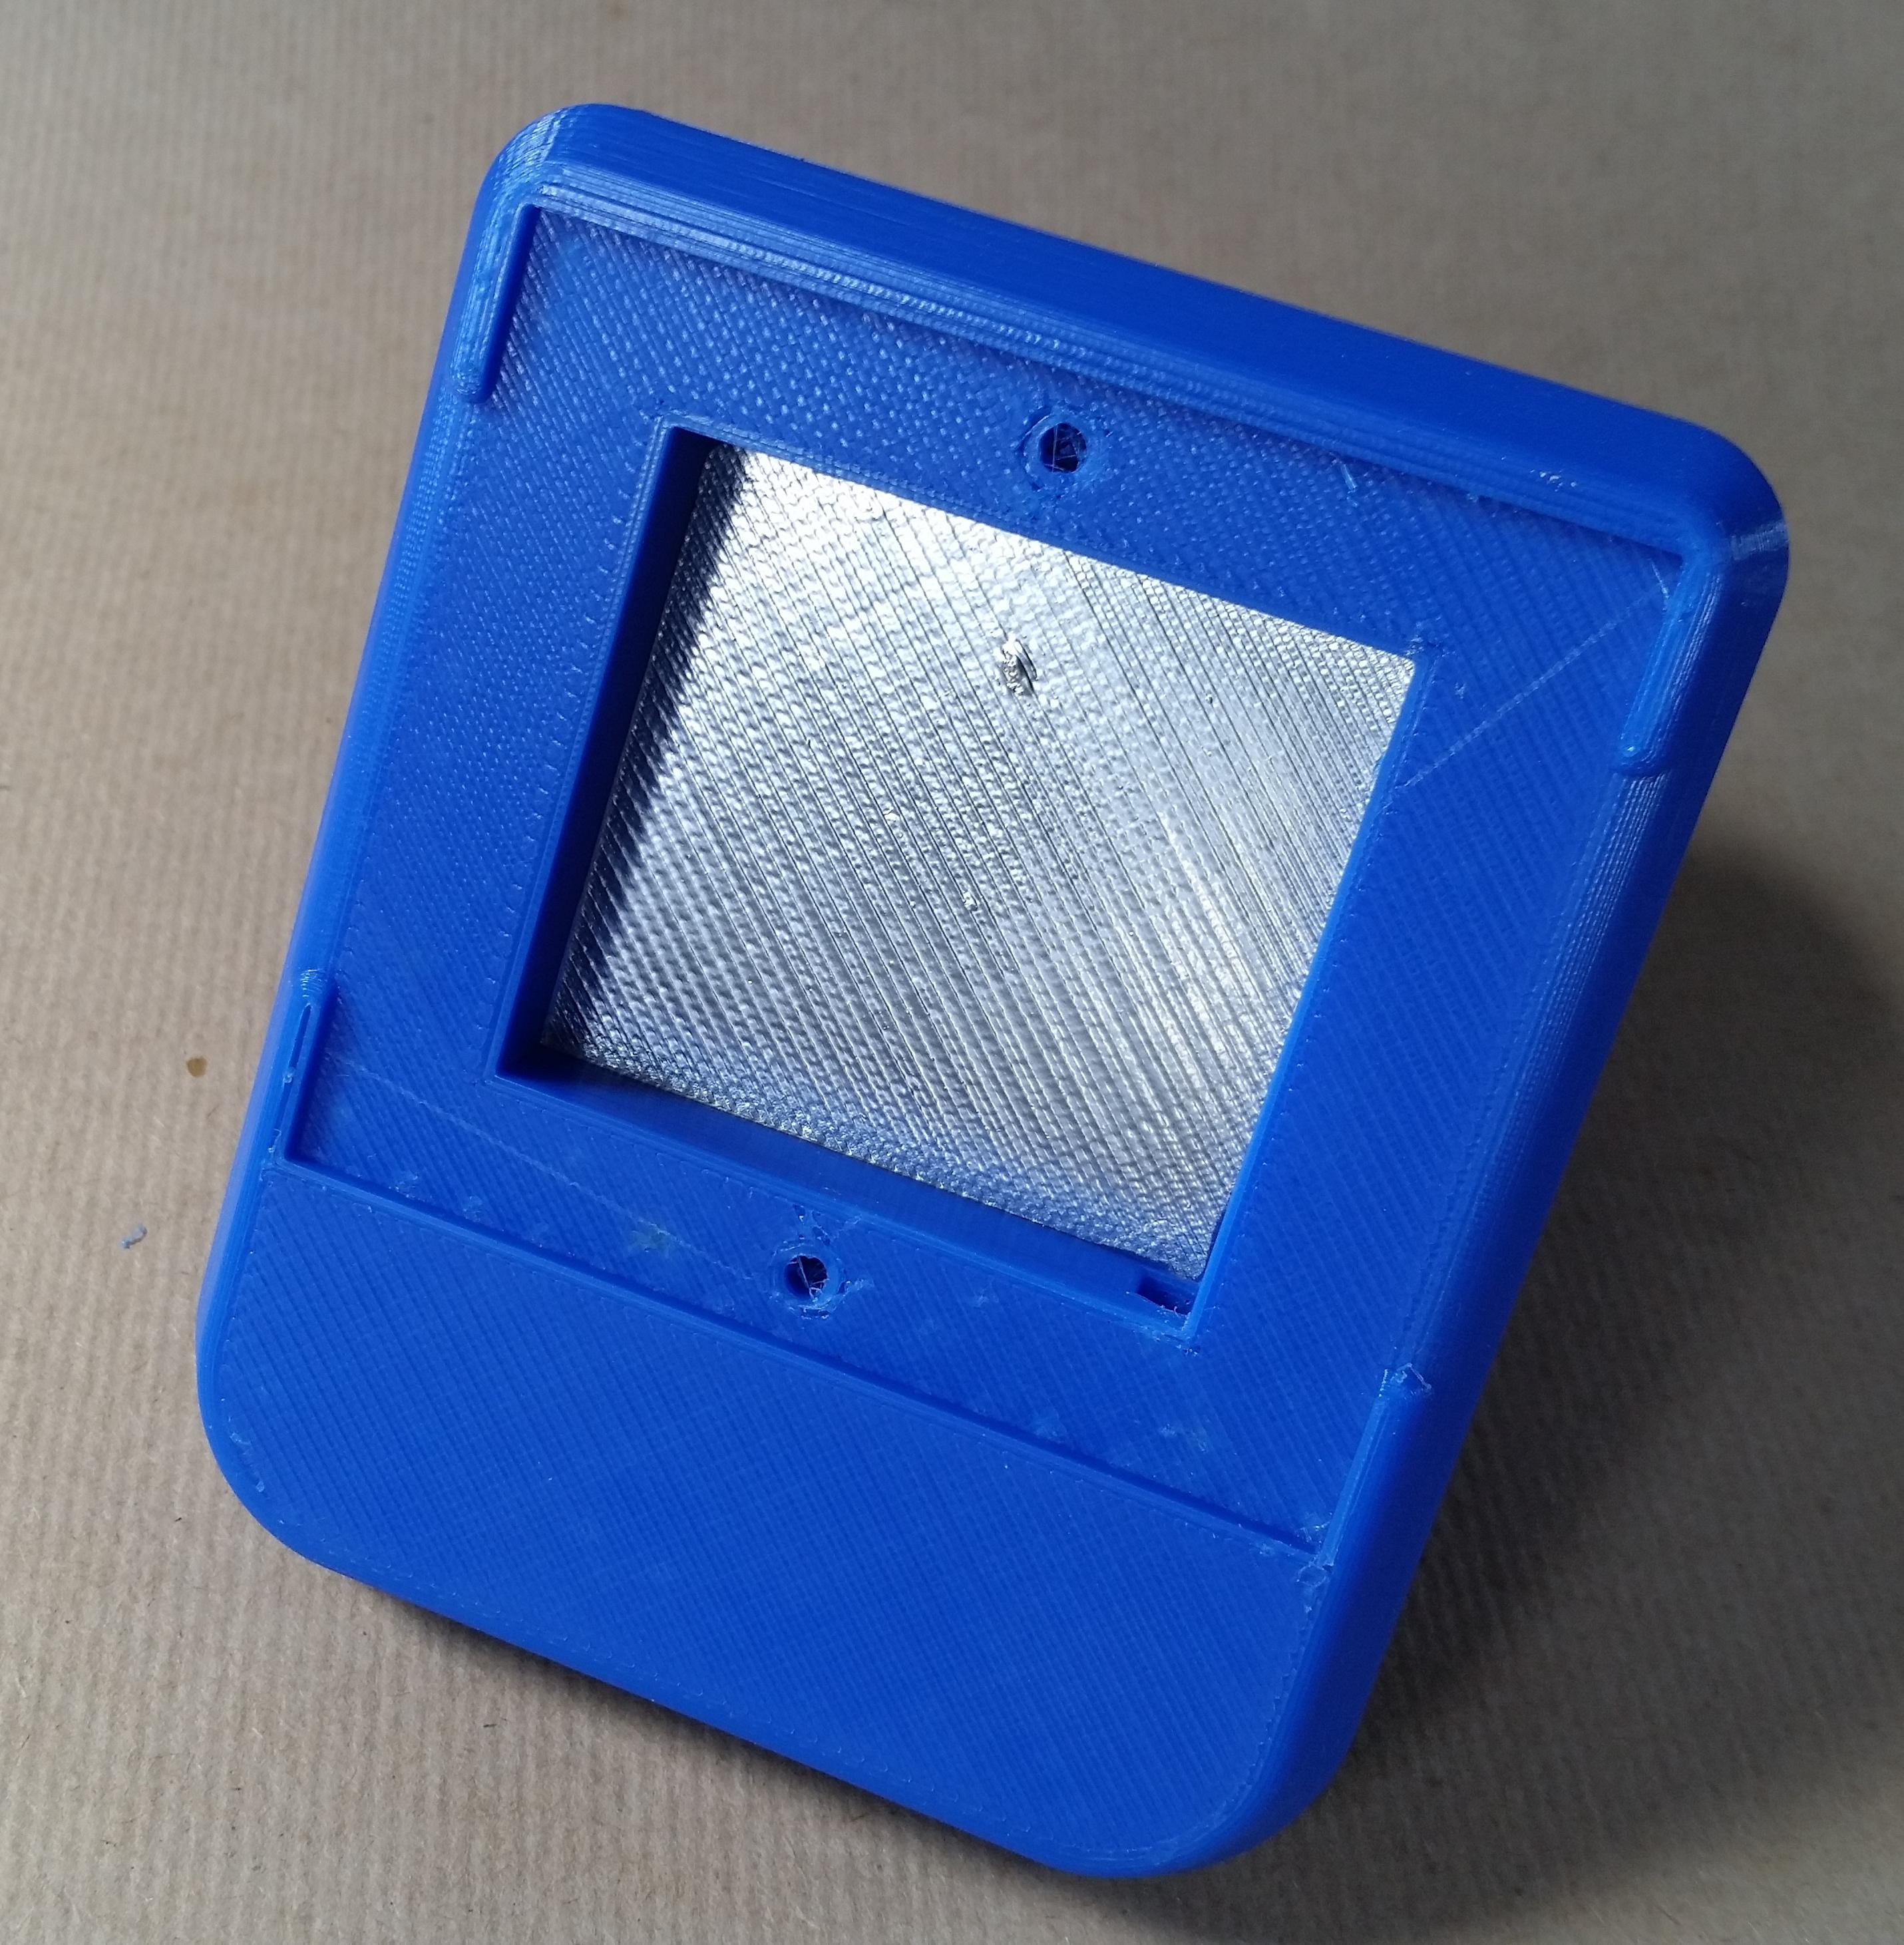
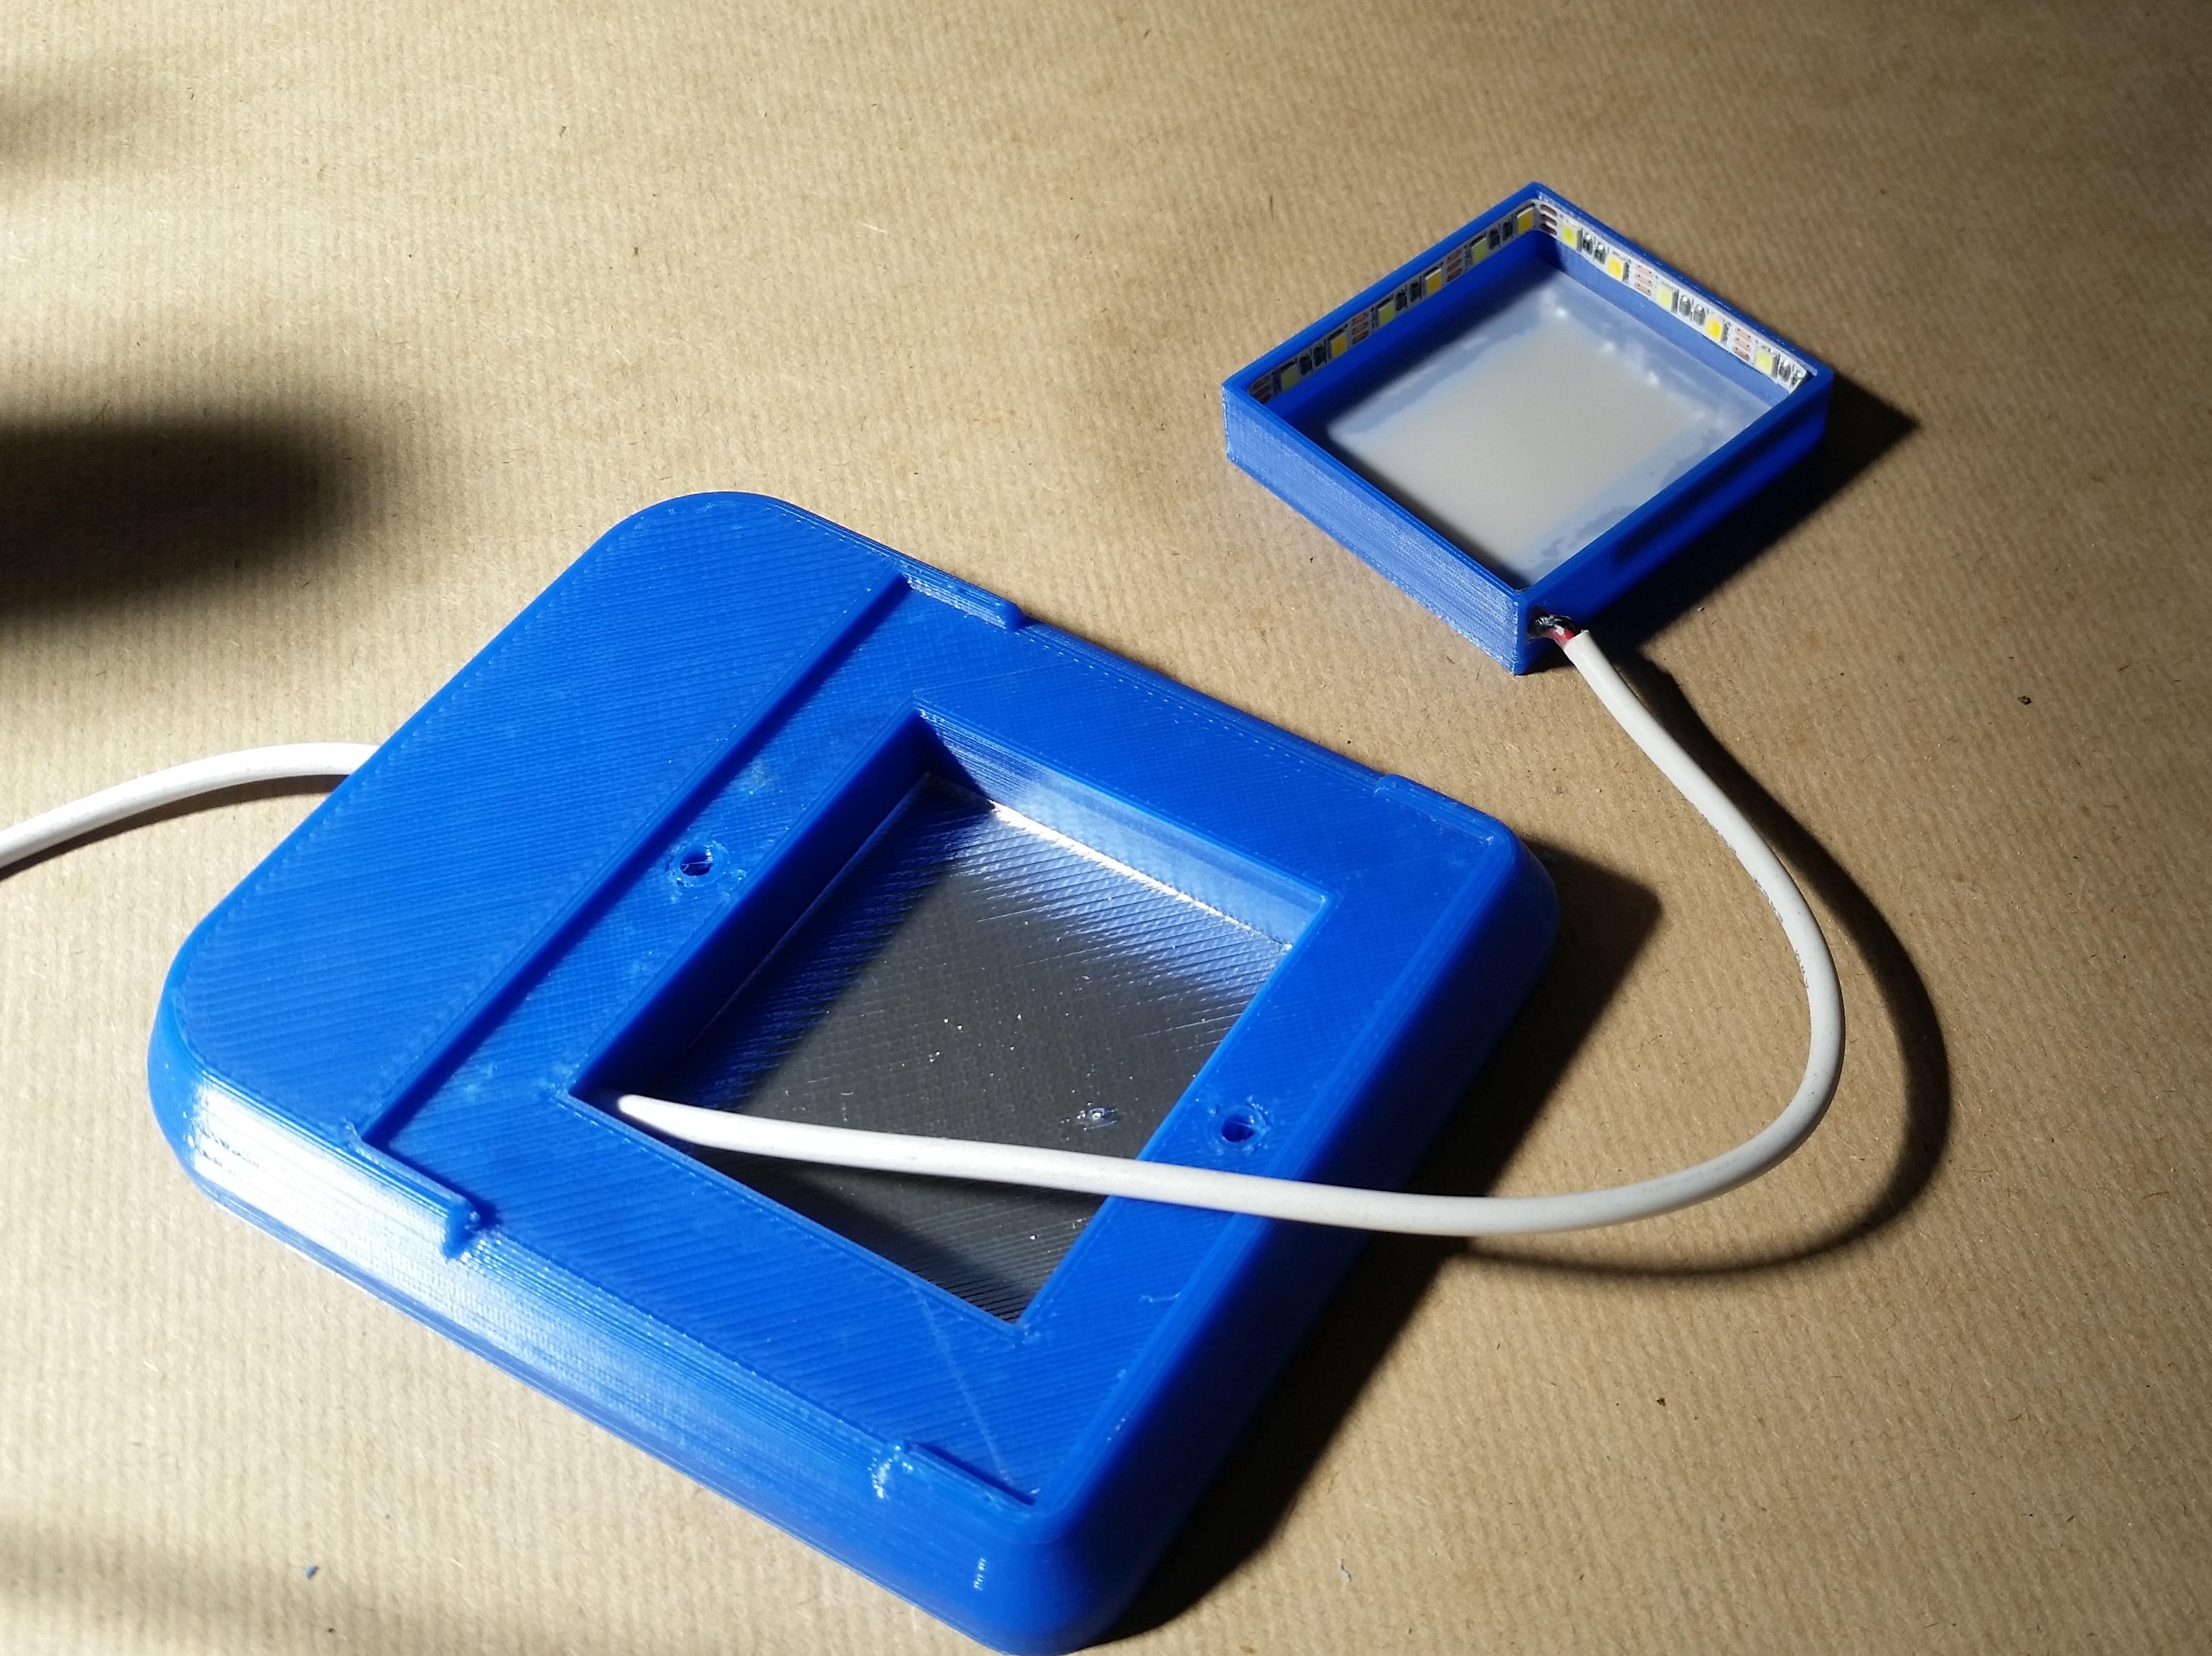
Assemble:
With the lightbox in place and working we can assemble the rest of the scanner.
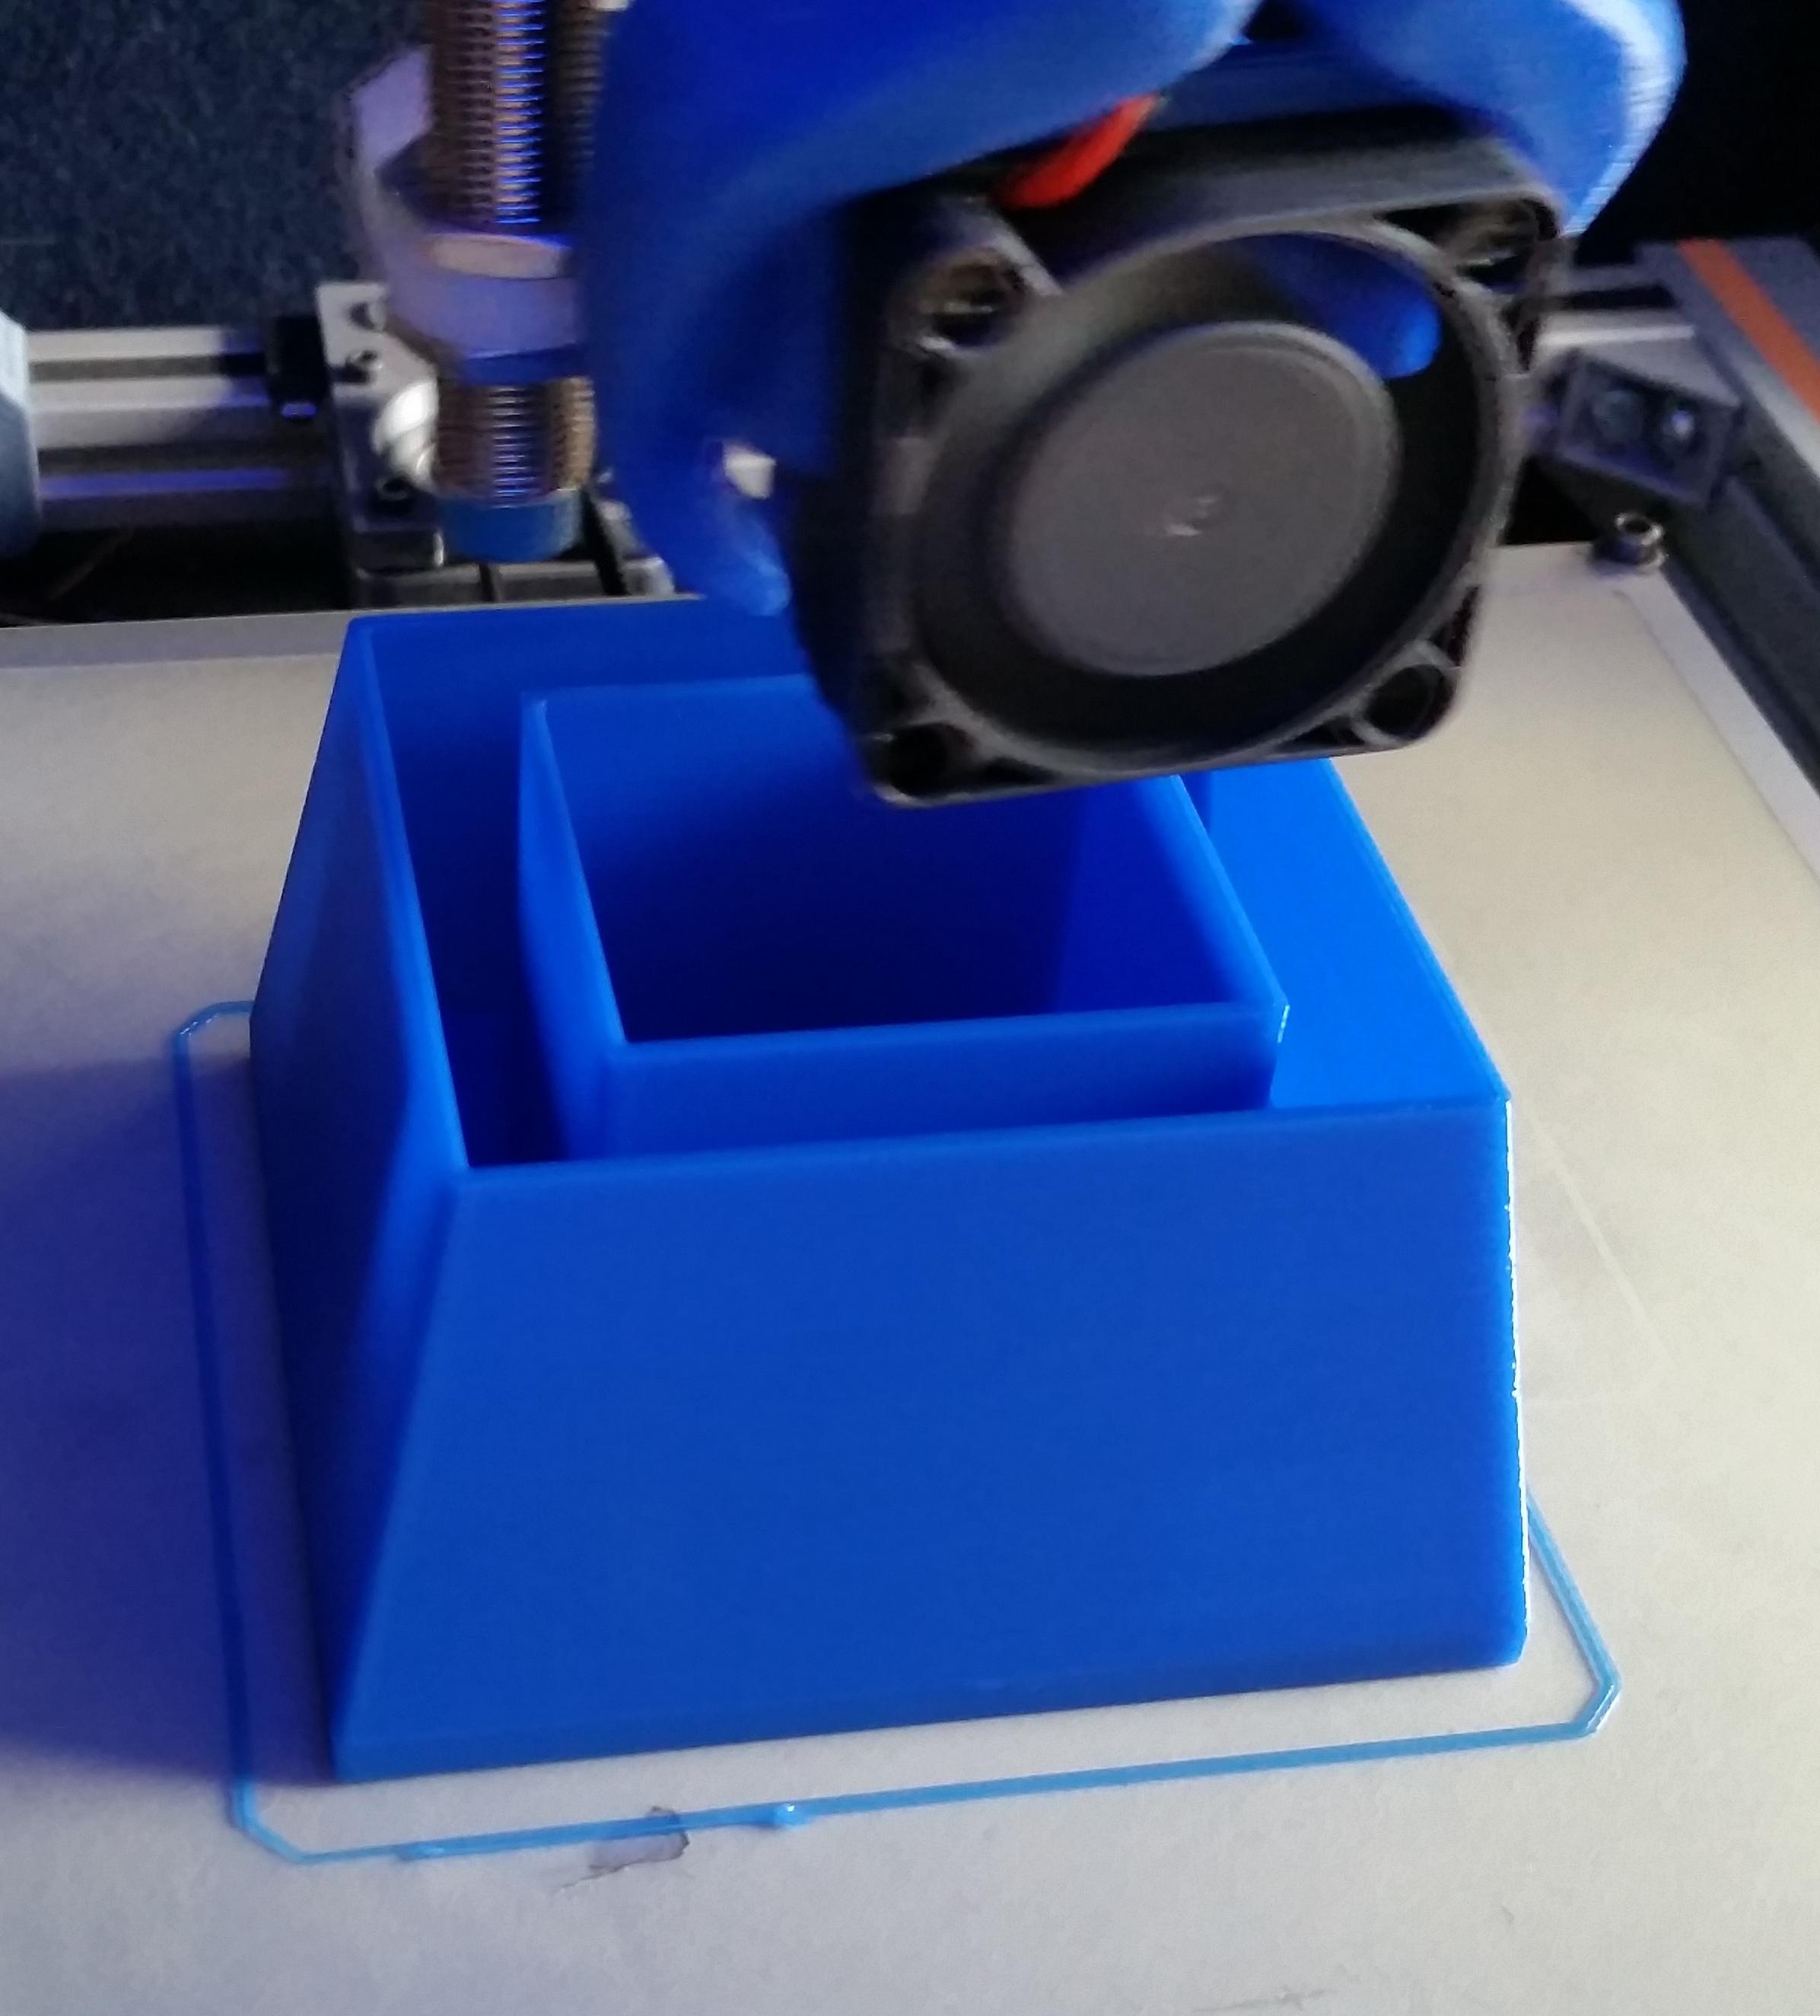
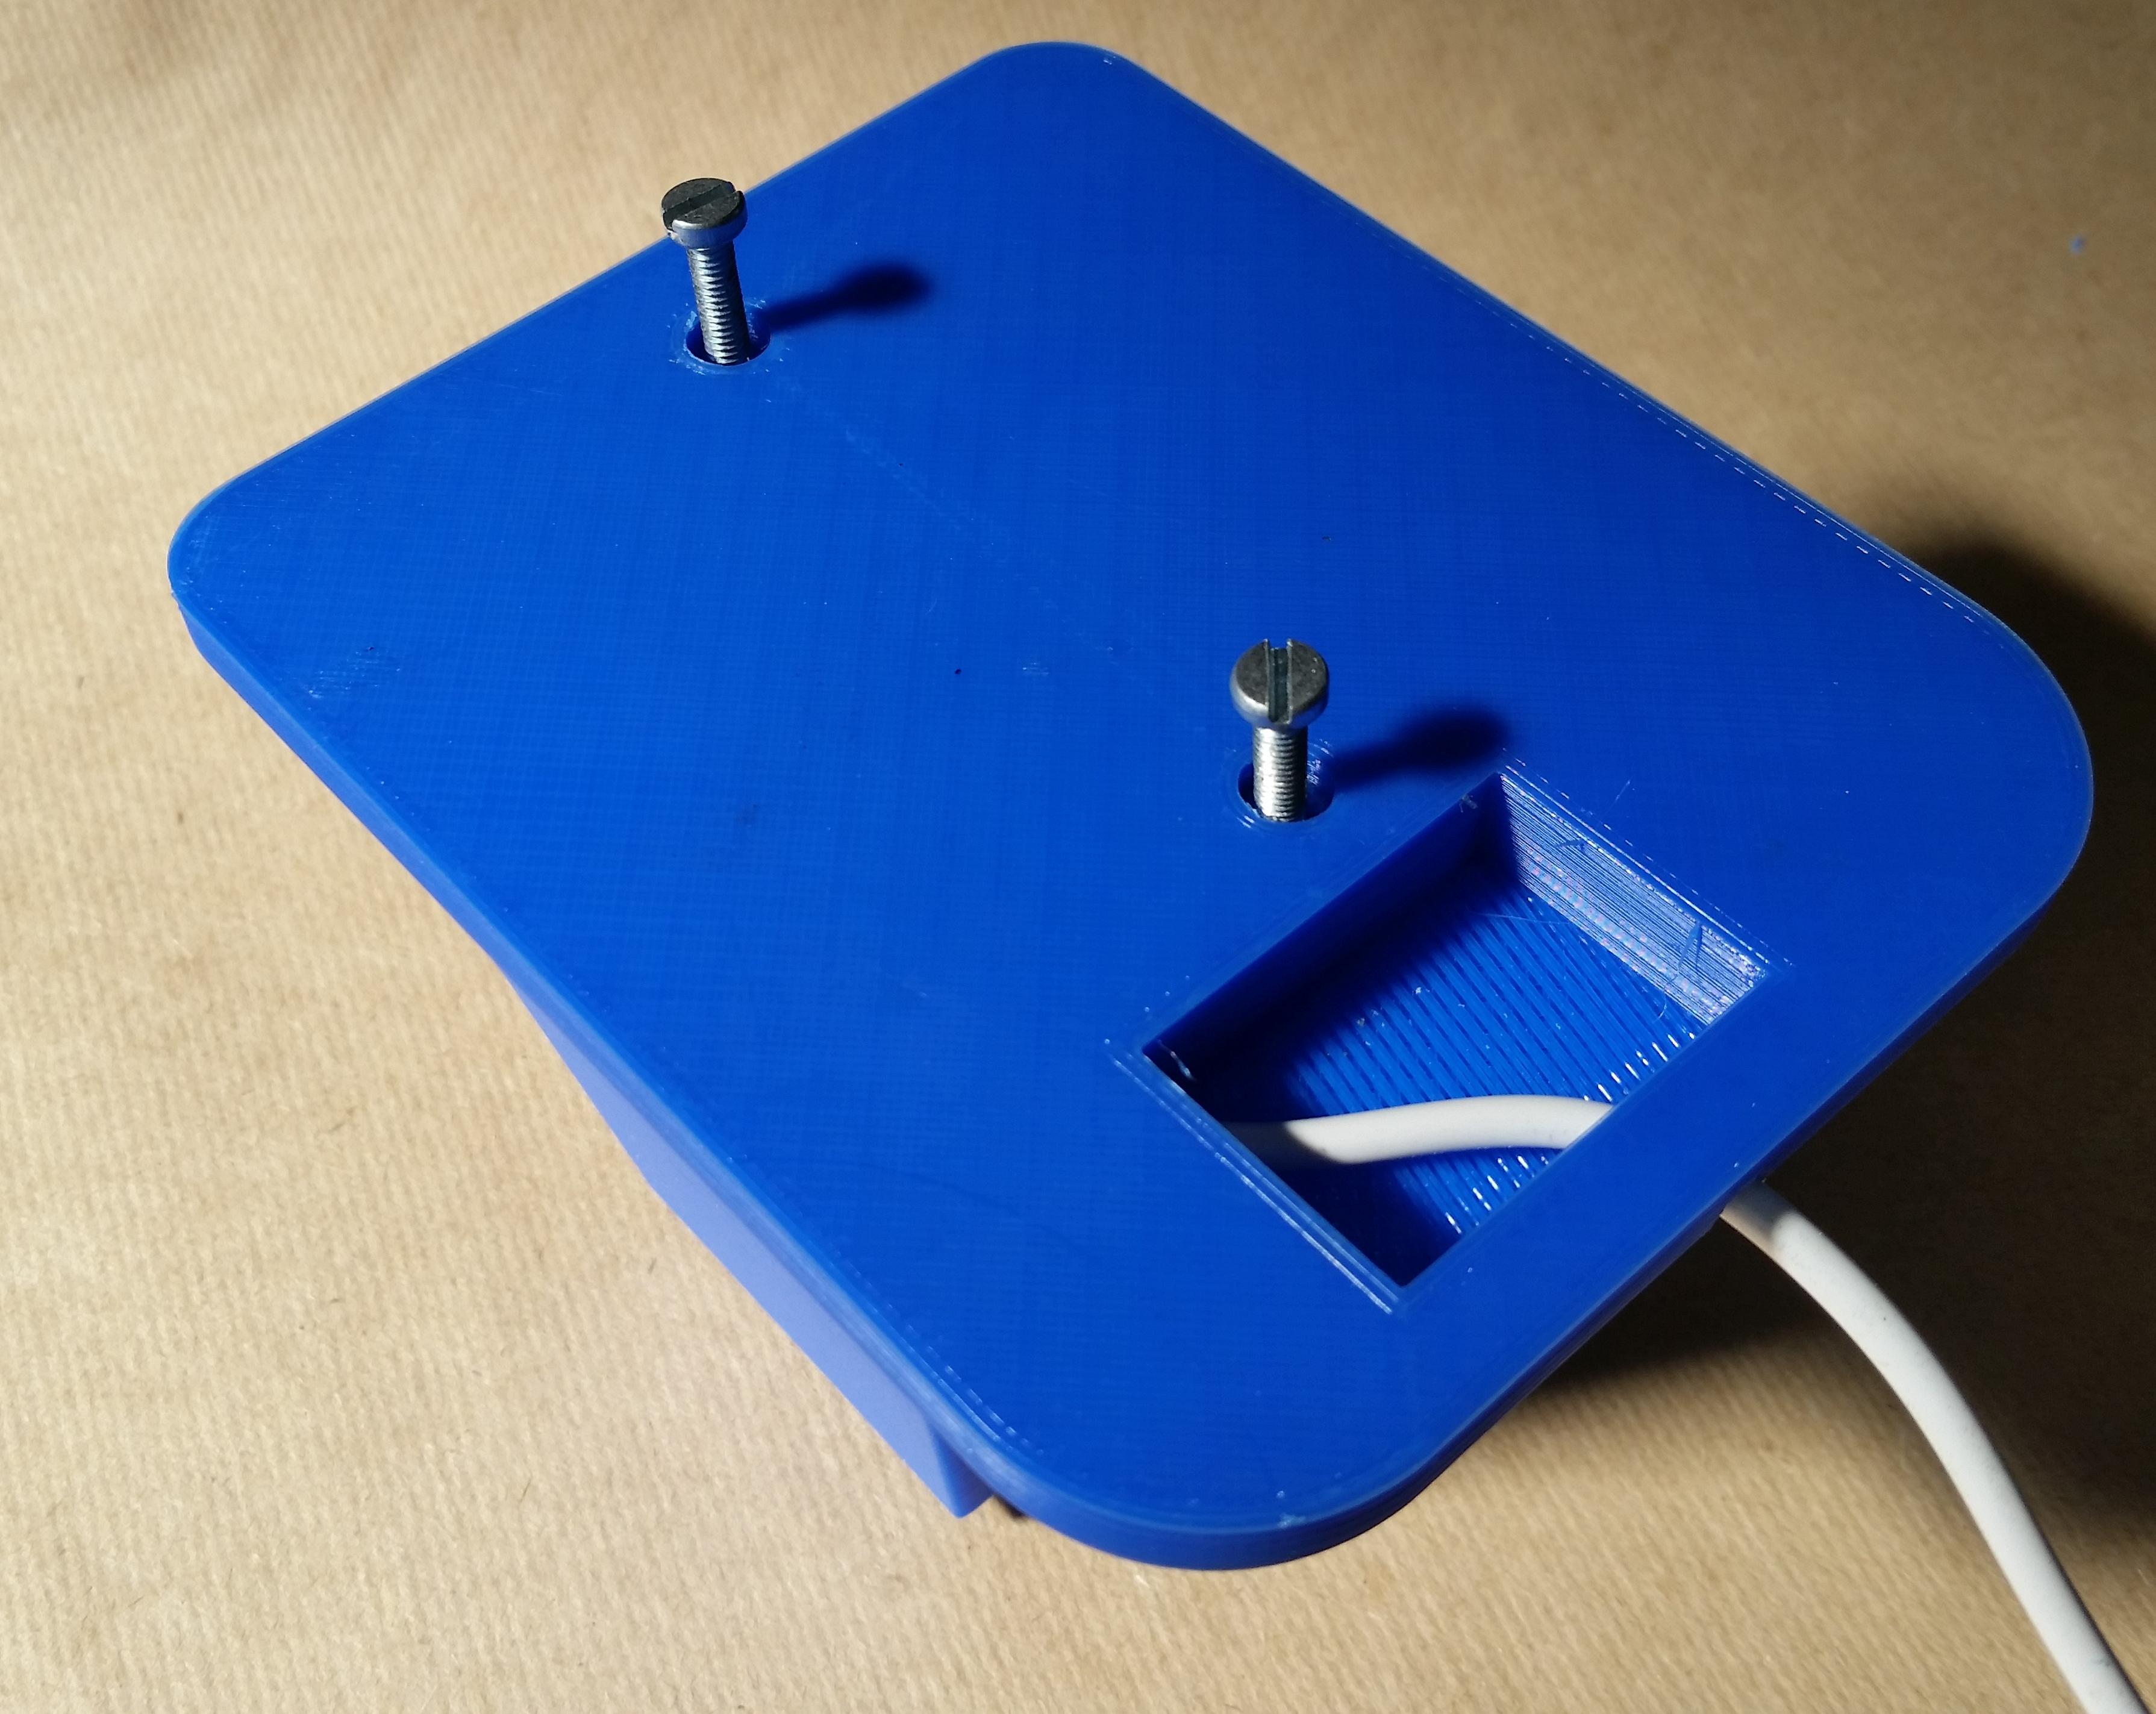
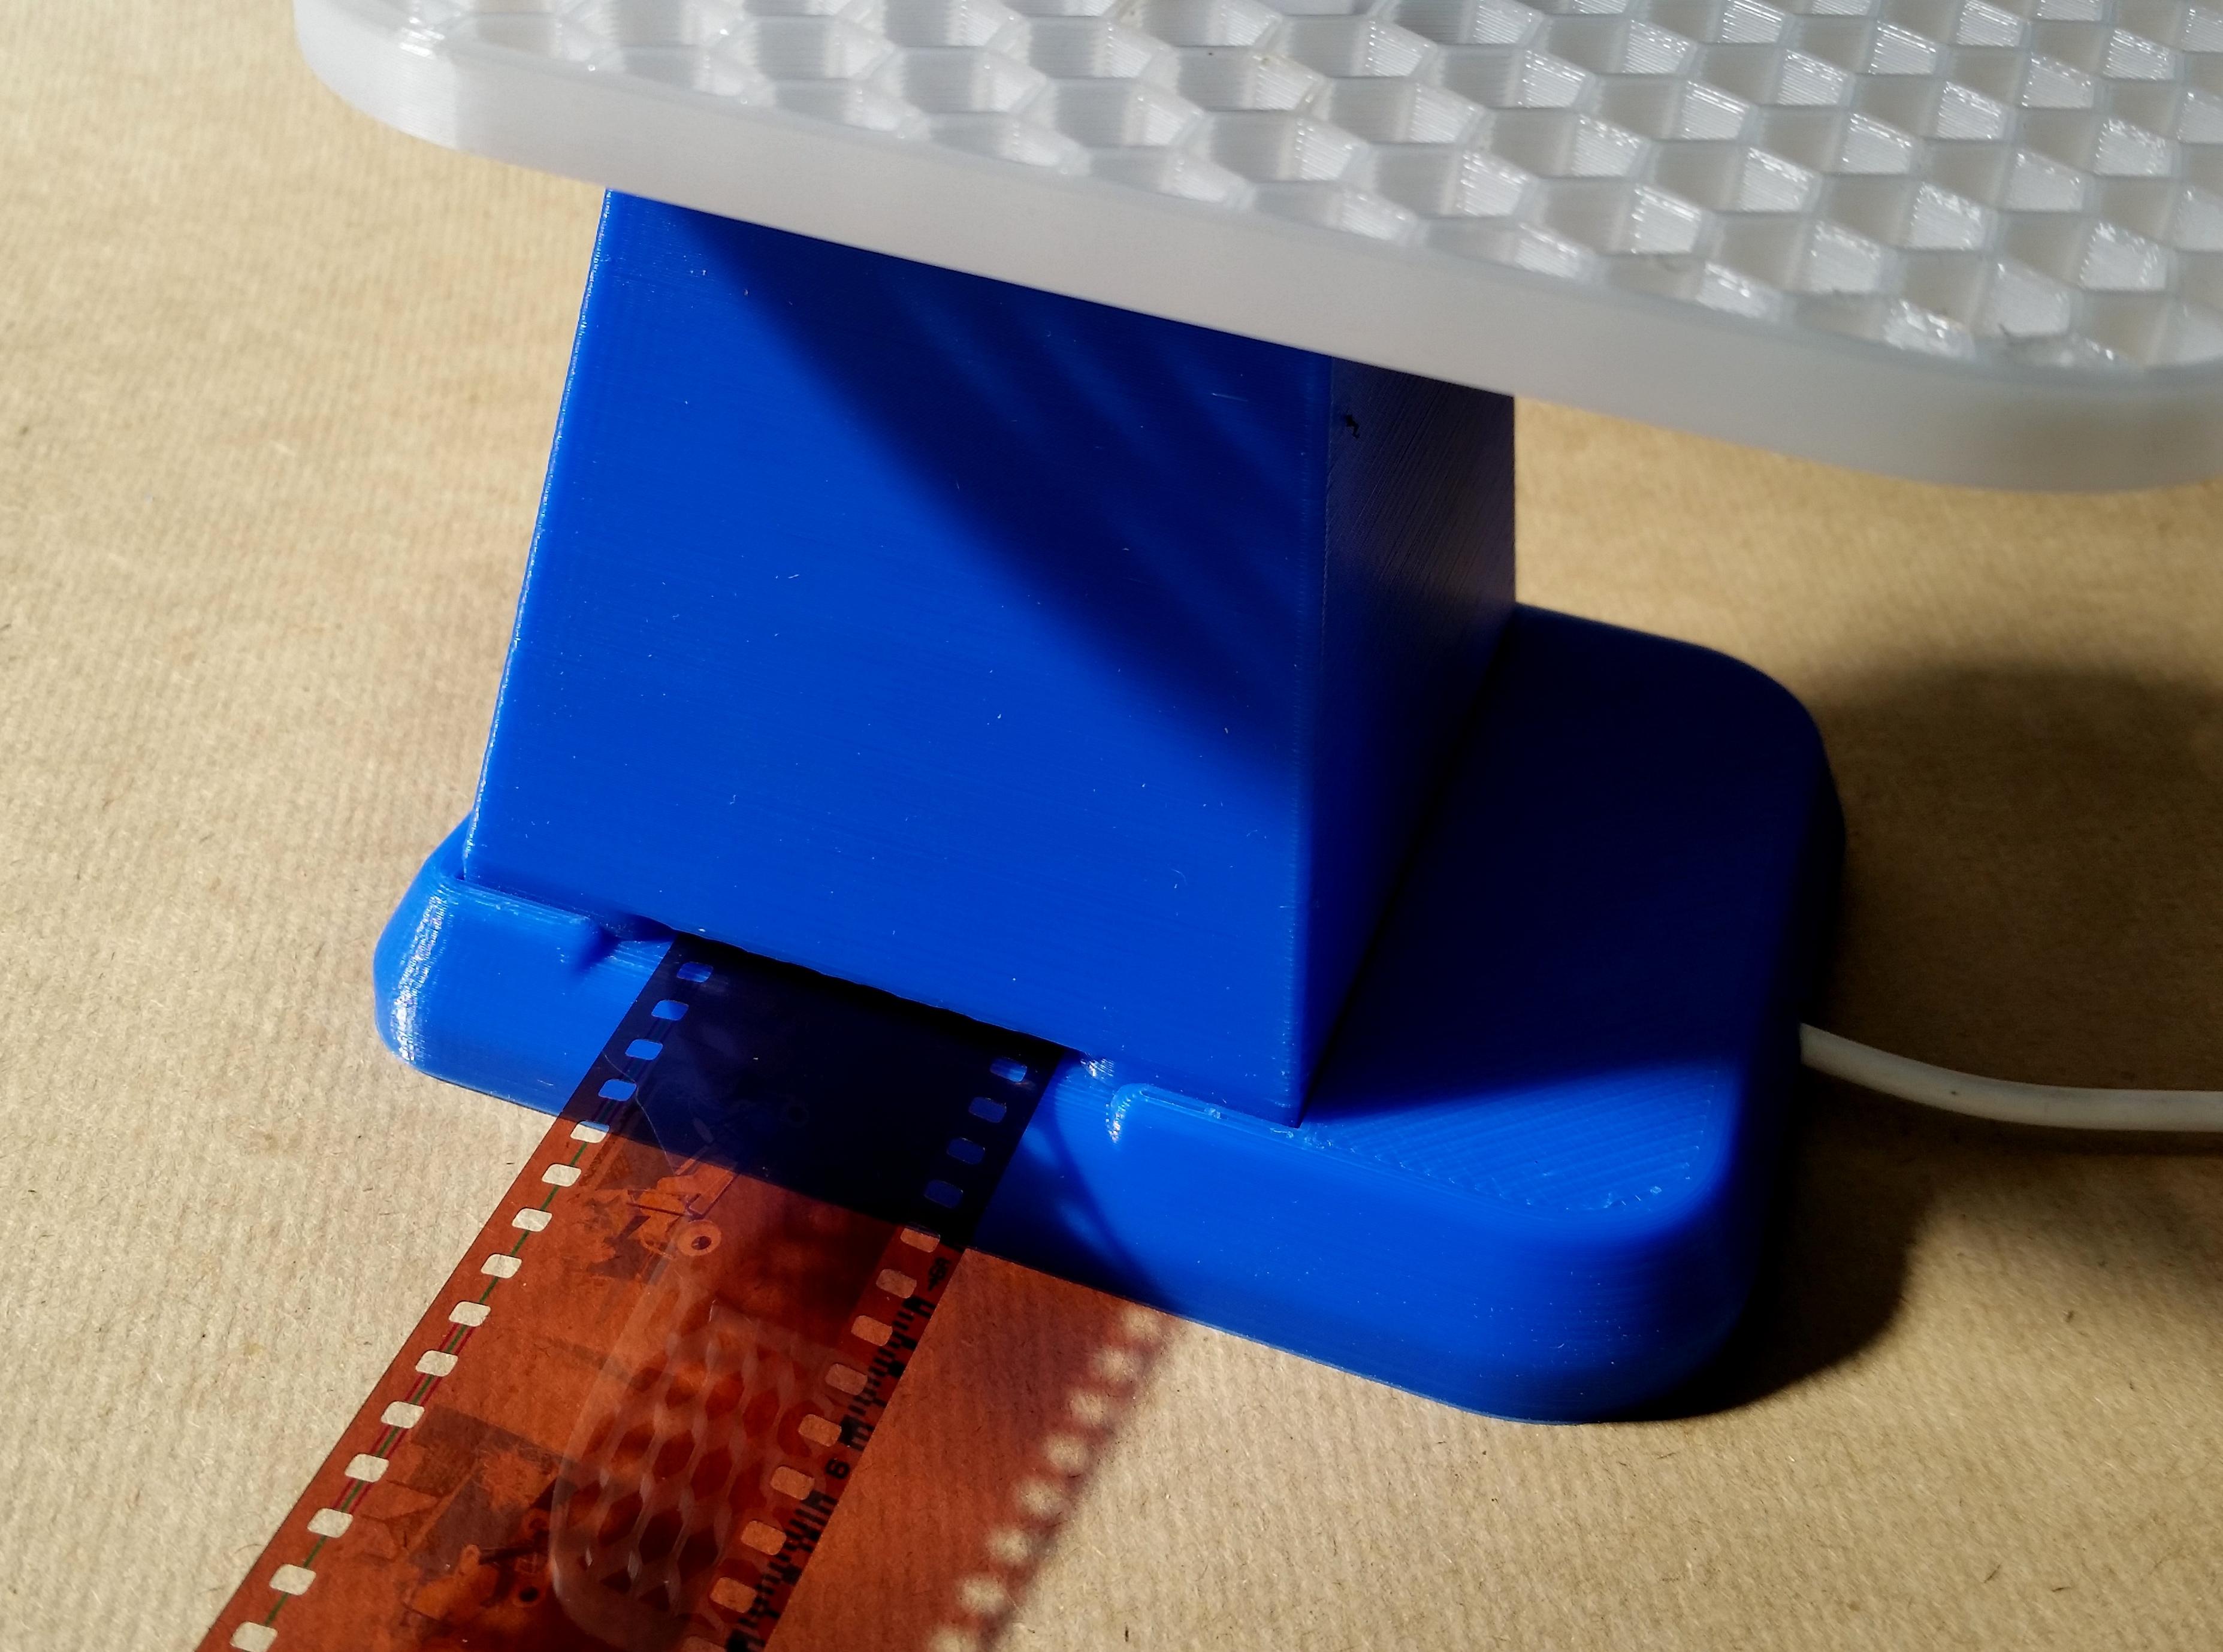
Place the "camera tower" into it's cavity on the main body and attach it with the two 4mm screws on the bottom.
I have included an extra cavity on the bottom of the main body in case you need to add additional components like a step up/down for the LED strip.
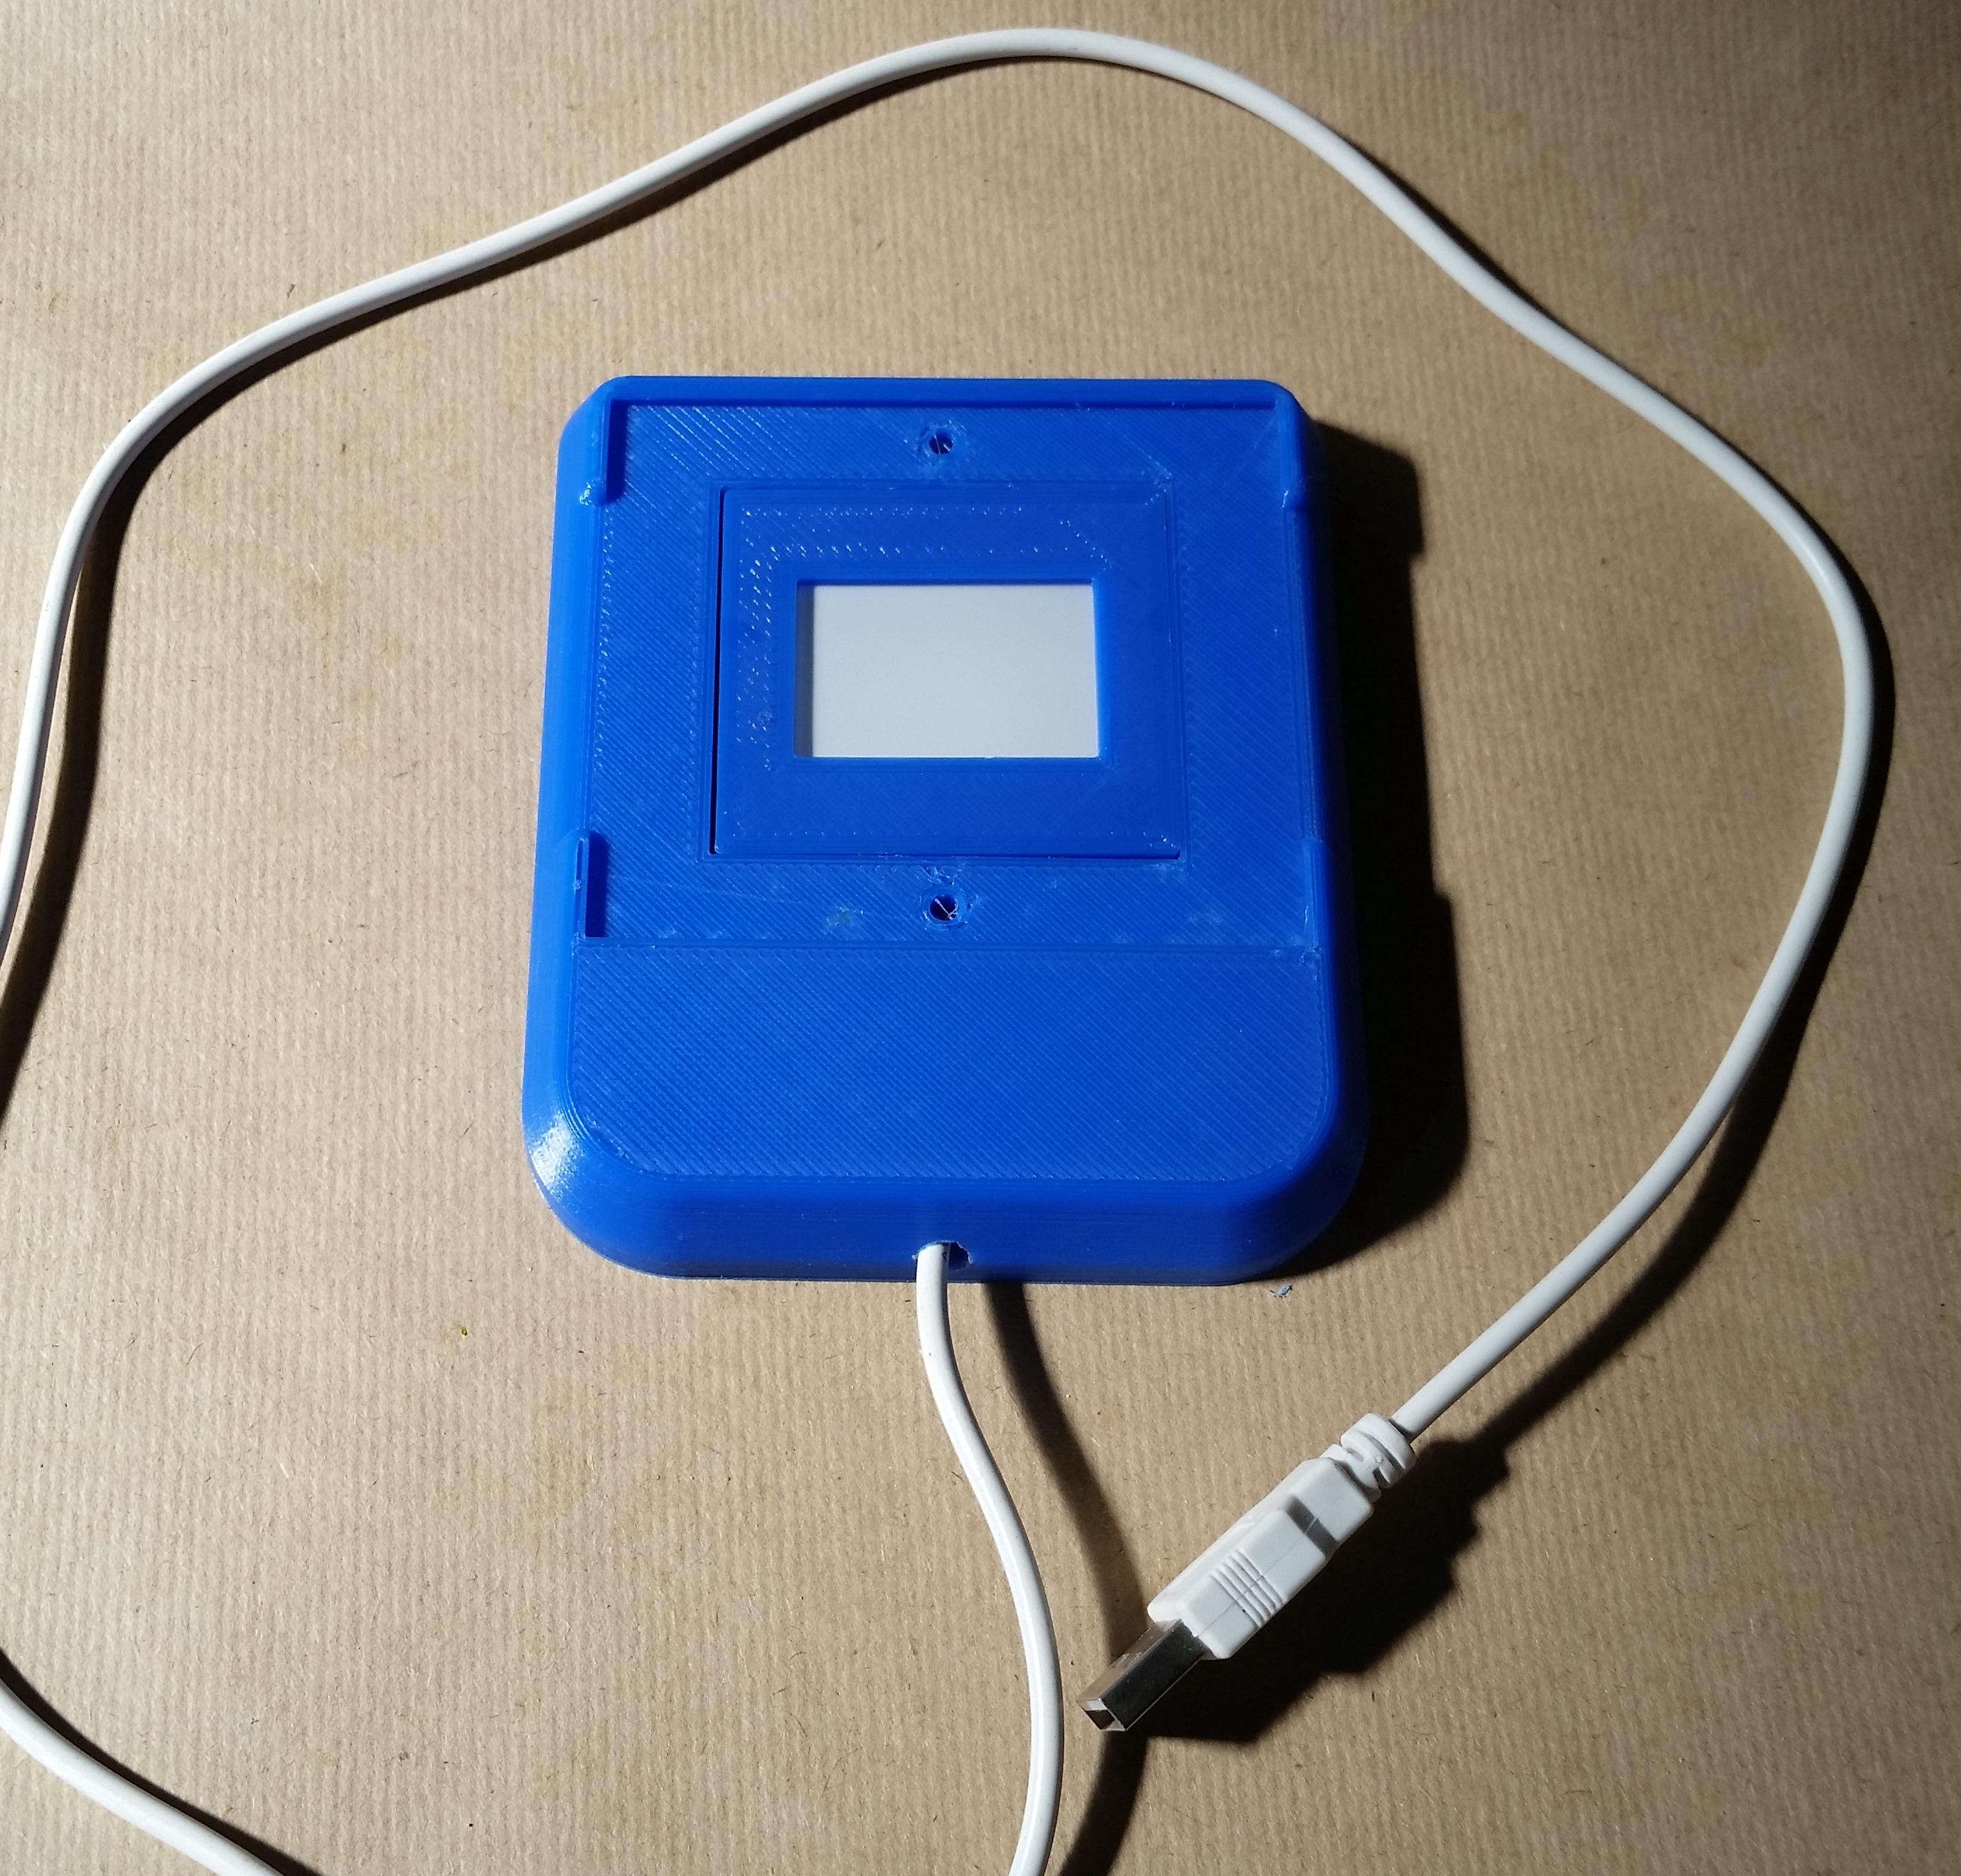
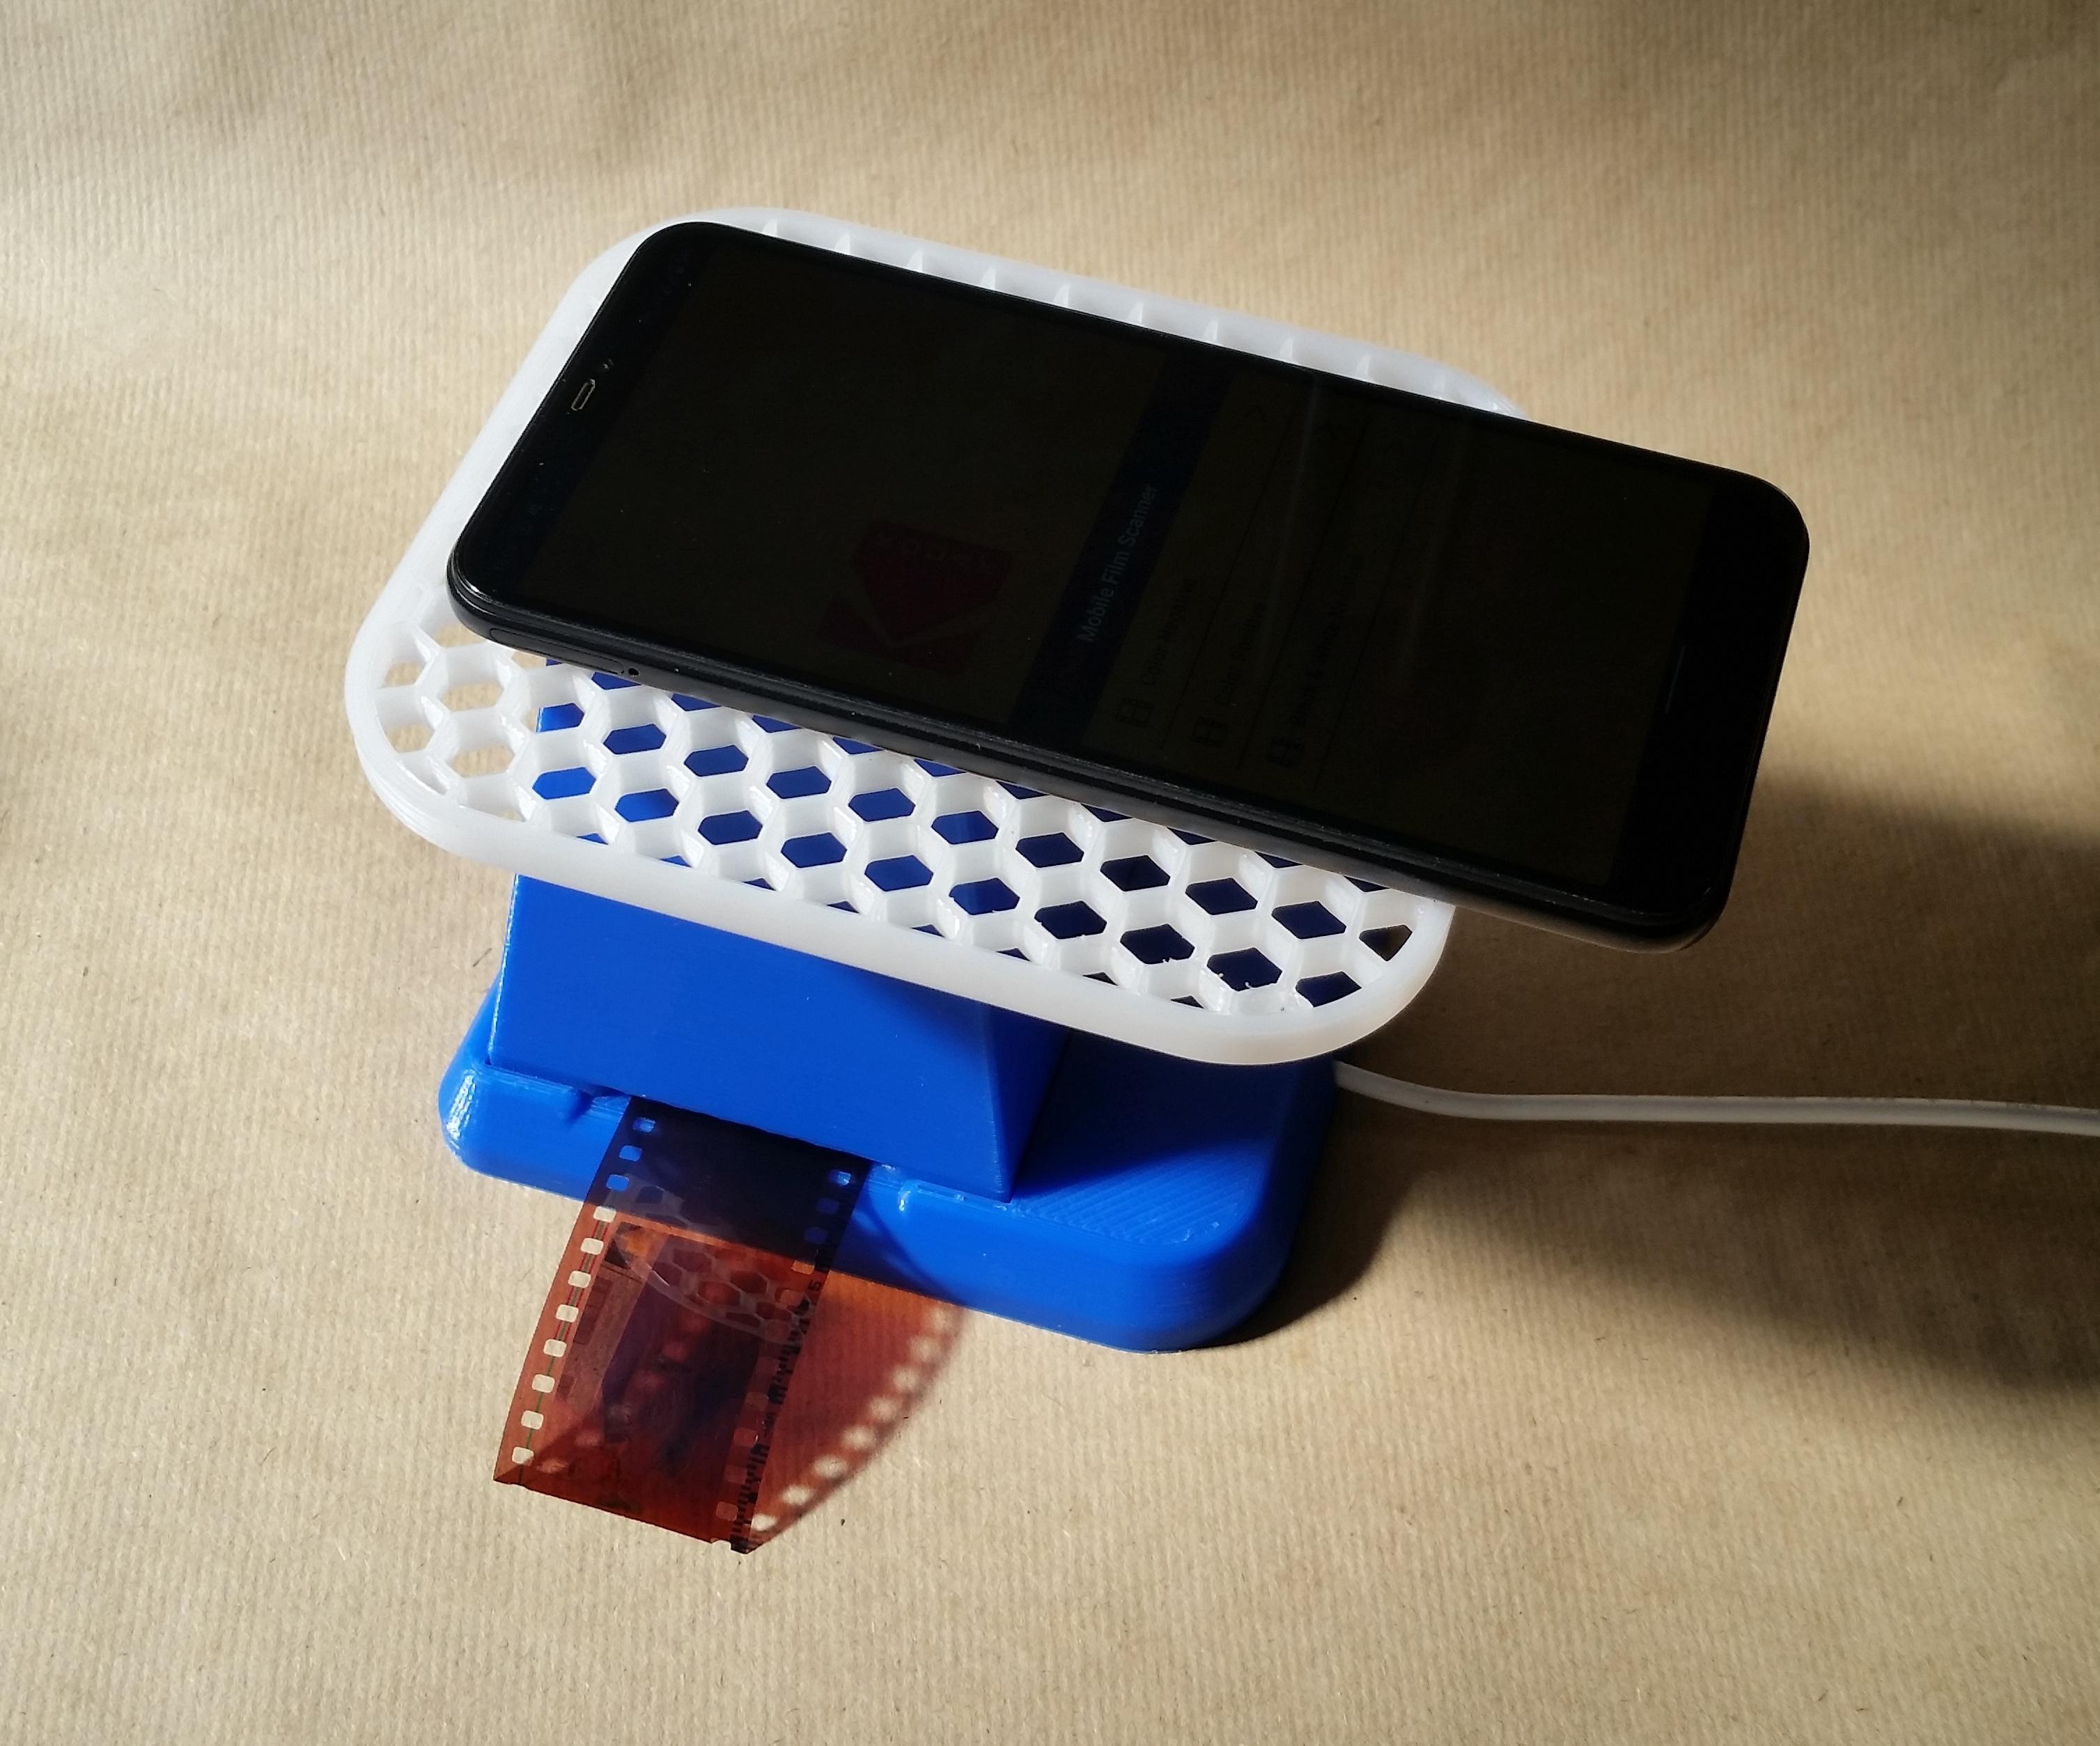
The phone holder plate should just press over the top snugly, depending on your printer it might need to be up or downsized slightly in your slicer.
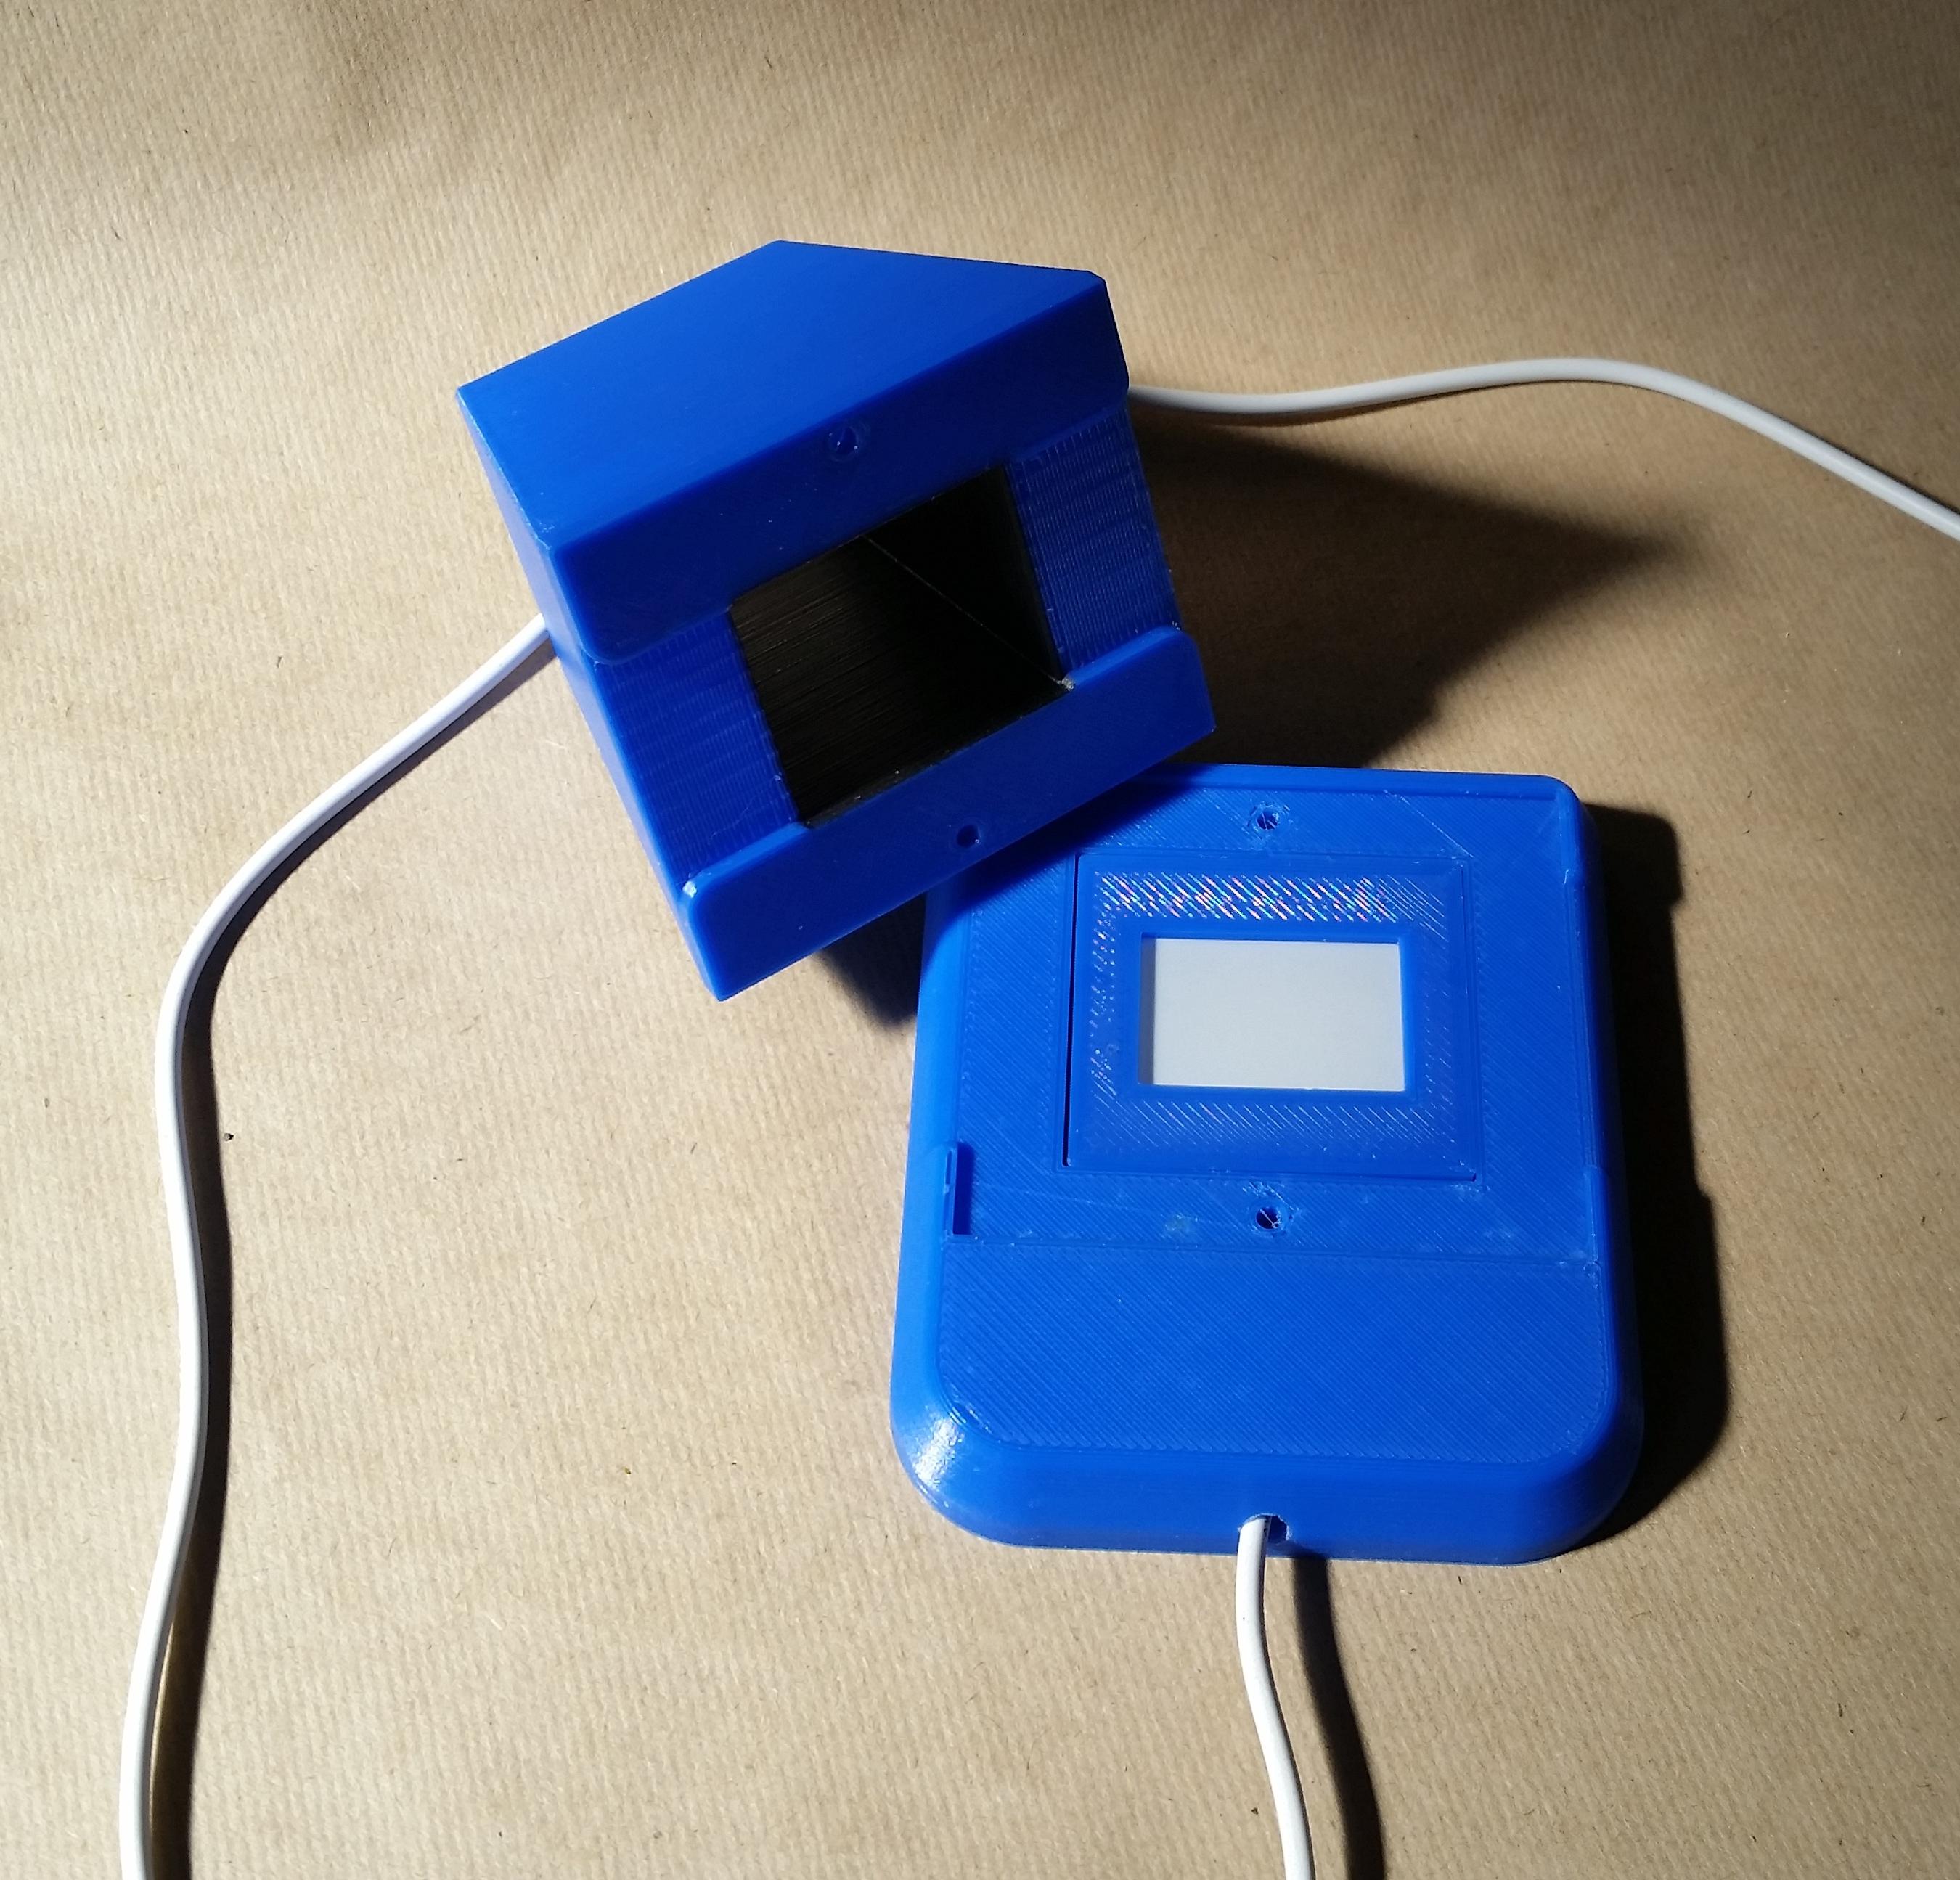
Camera Hole:

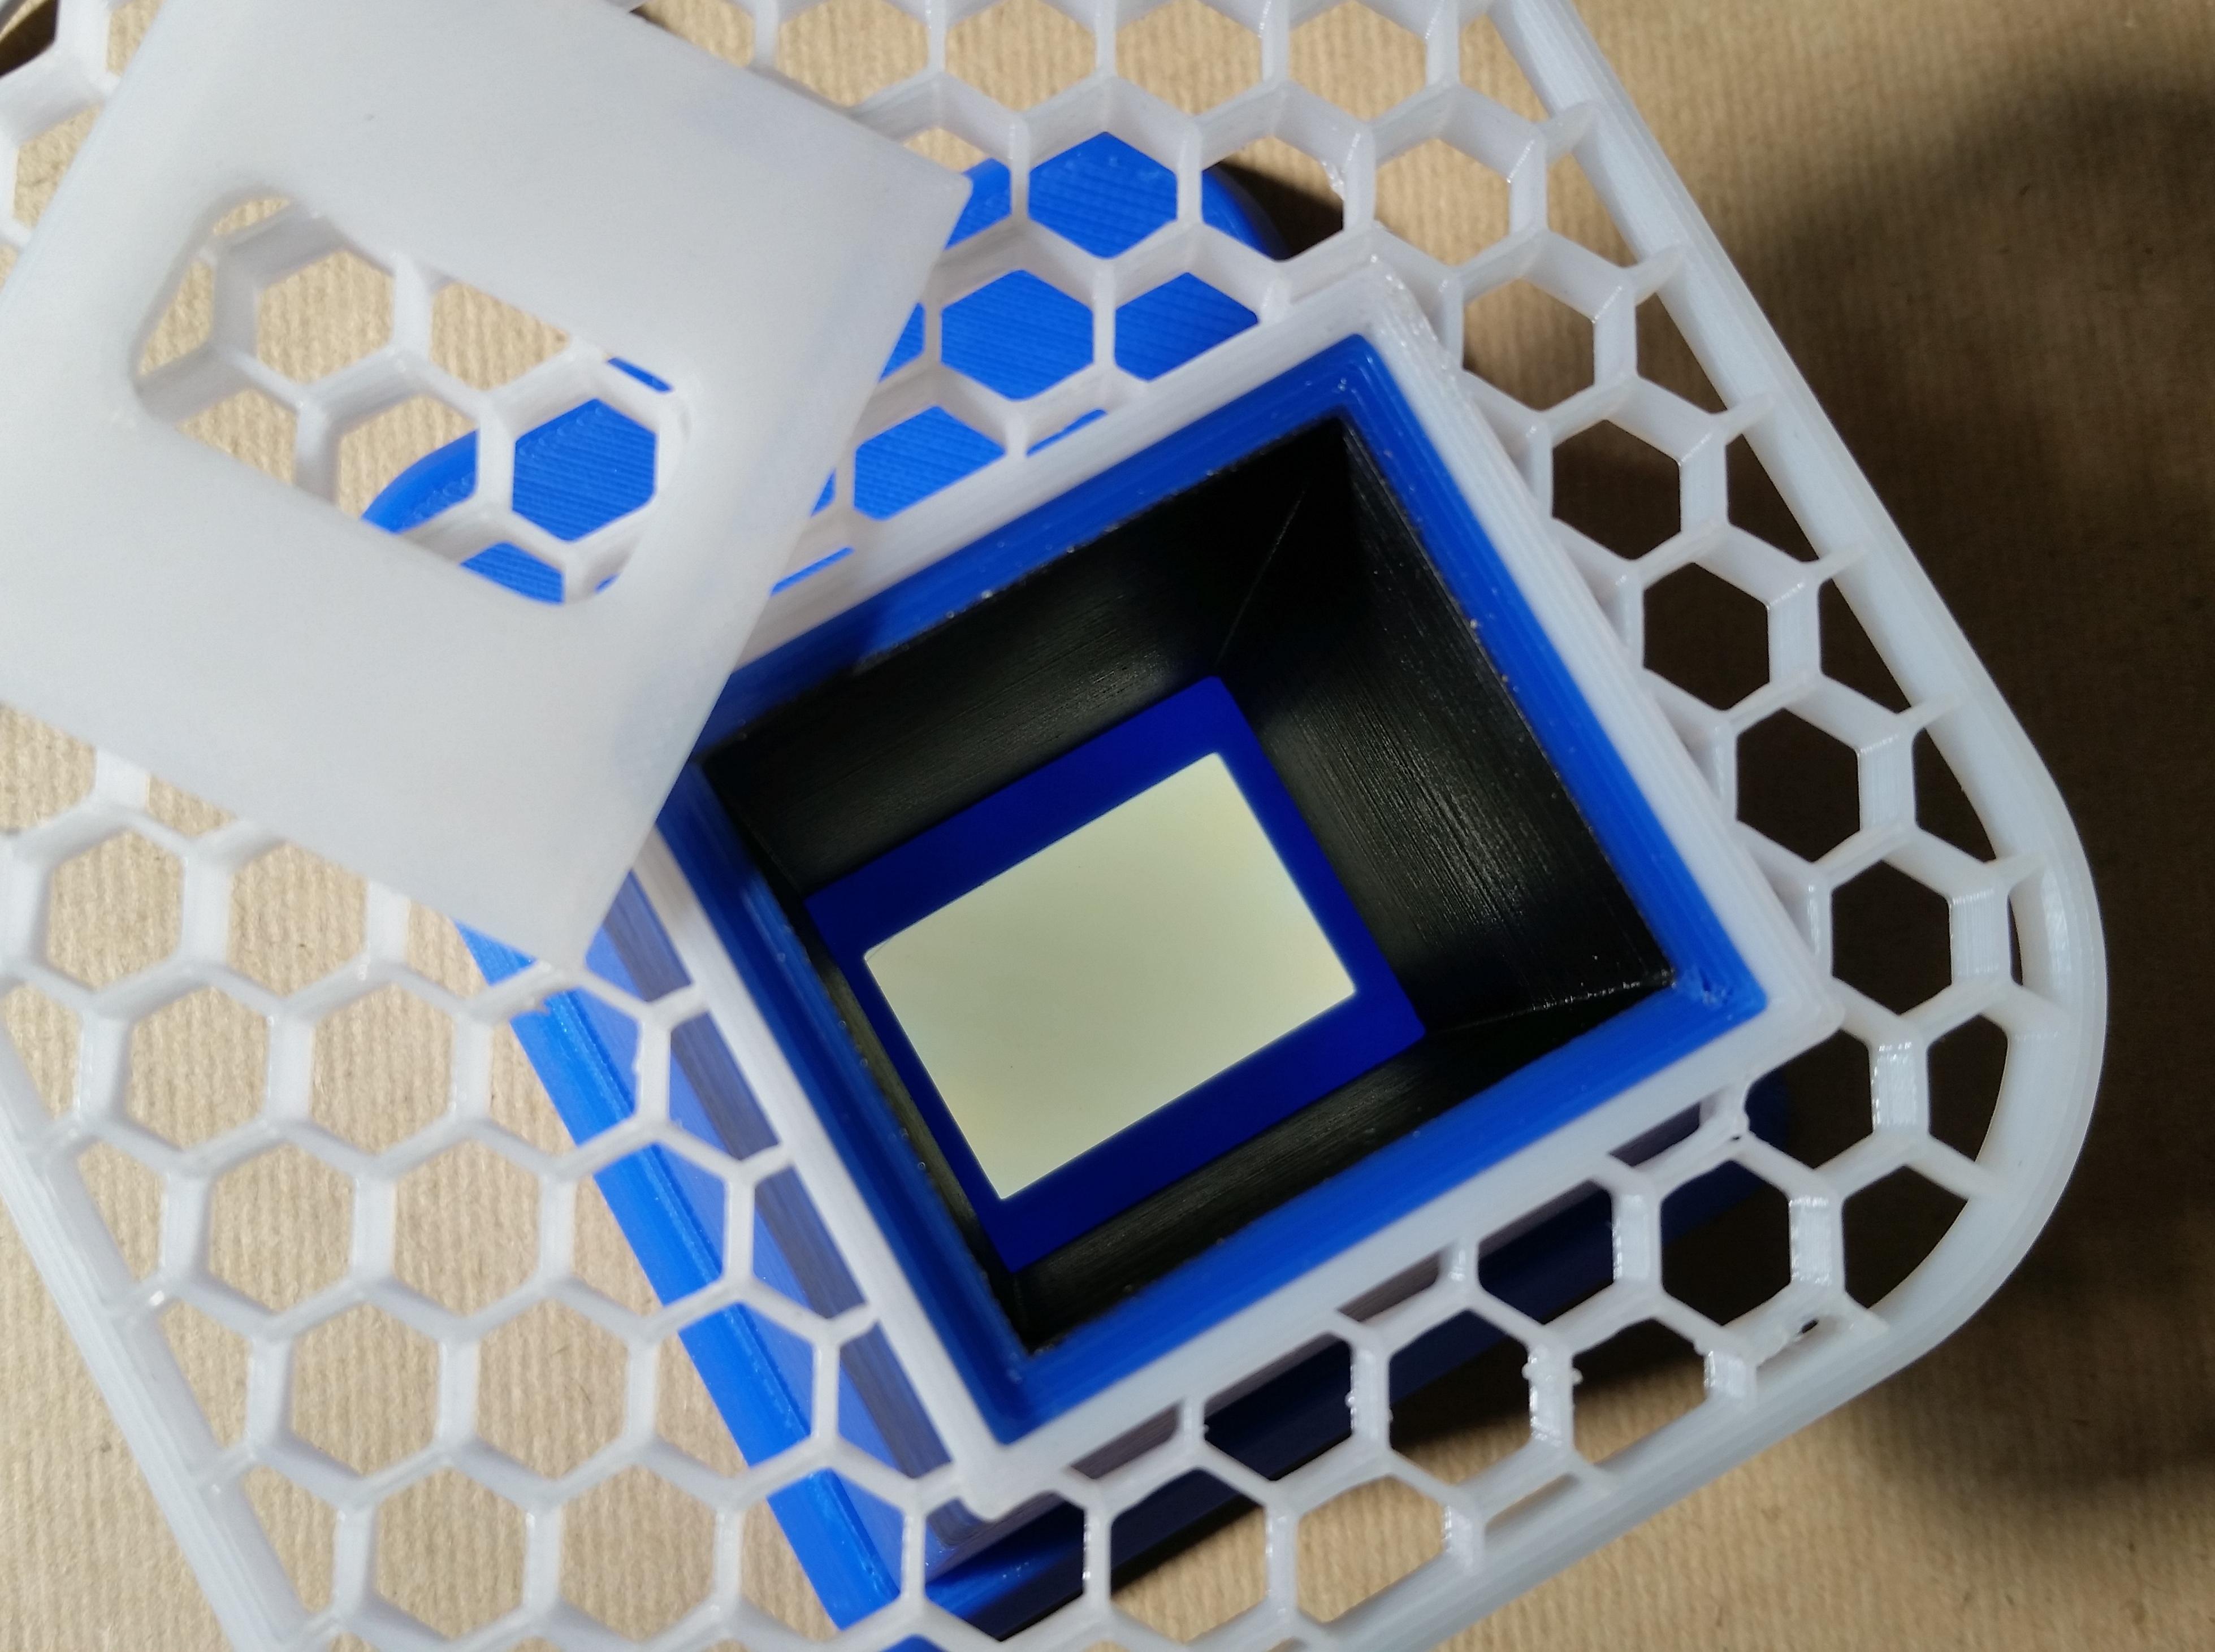
To keep external light from reflecting onto the film we need to cover any gaps around your camera lens.
To do this I decided to make a separate panel that fits in on the camera tower that can be modified to fit your phone model, the one included works with an iPhone 10.
Test Your Scanner:
The time has come to finally test our new scanner!
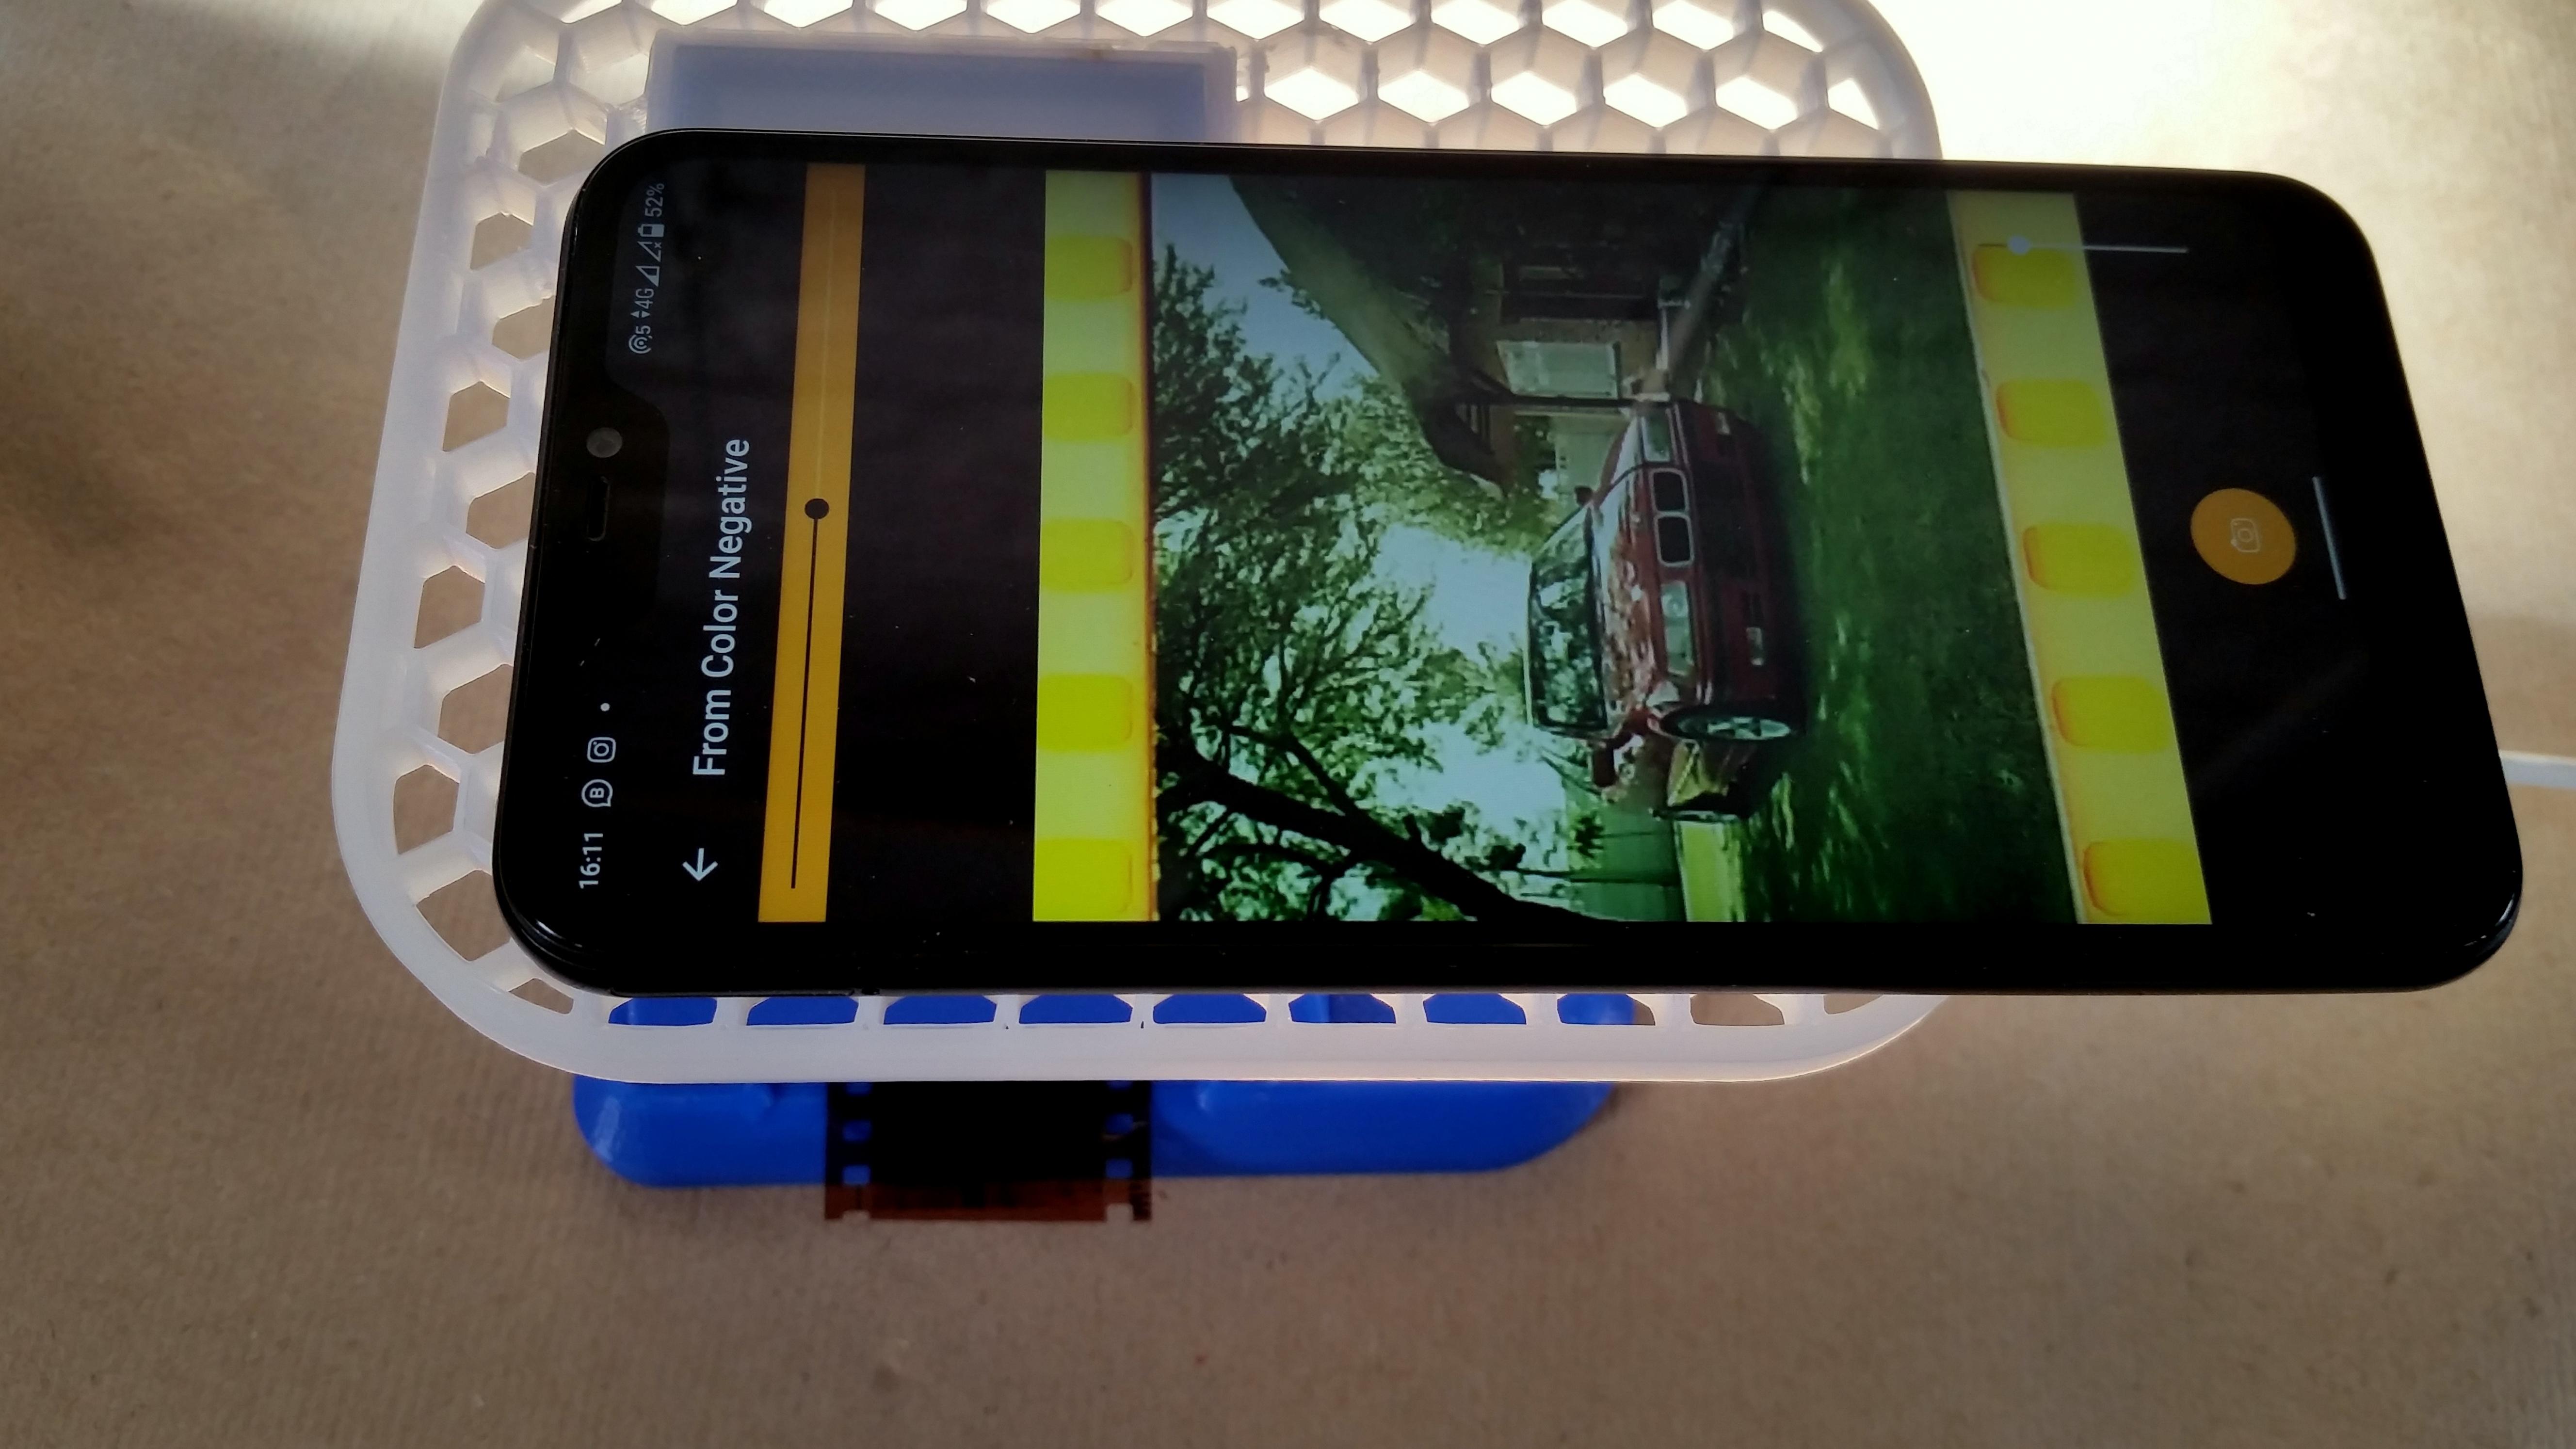
First you will need to download a film negative scanner app onto your phone.
My favorite one to use is the KODAK Mobile Phone Scanner:
- First examine your negatives or slides for dust, and clean them with canned air or a soft cloth if necessary.
- Make sure there is no dust inside of your scanner
- Now take your 35mm film negative and slide it into the slit on the side of the scanner, it will automatically guide it and centre it onto the lightbox window.
- Open the app on your phone.
- Select Negative on the app.
- Place your phone onto the holder and centre the camera so that your film shows.
- Use the zoom slider so that only the photo shows and not the sides.
- Adjust the picture temperature with the top slider if necessary.
- And scan!
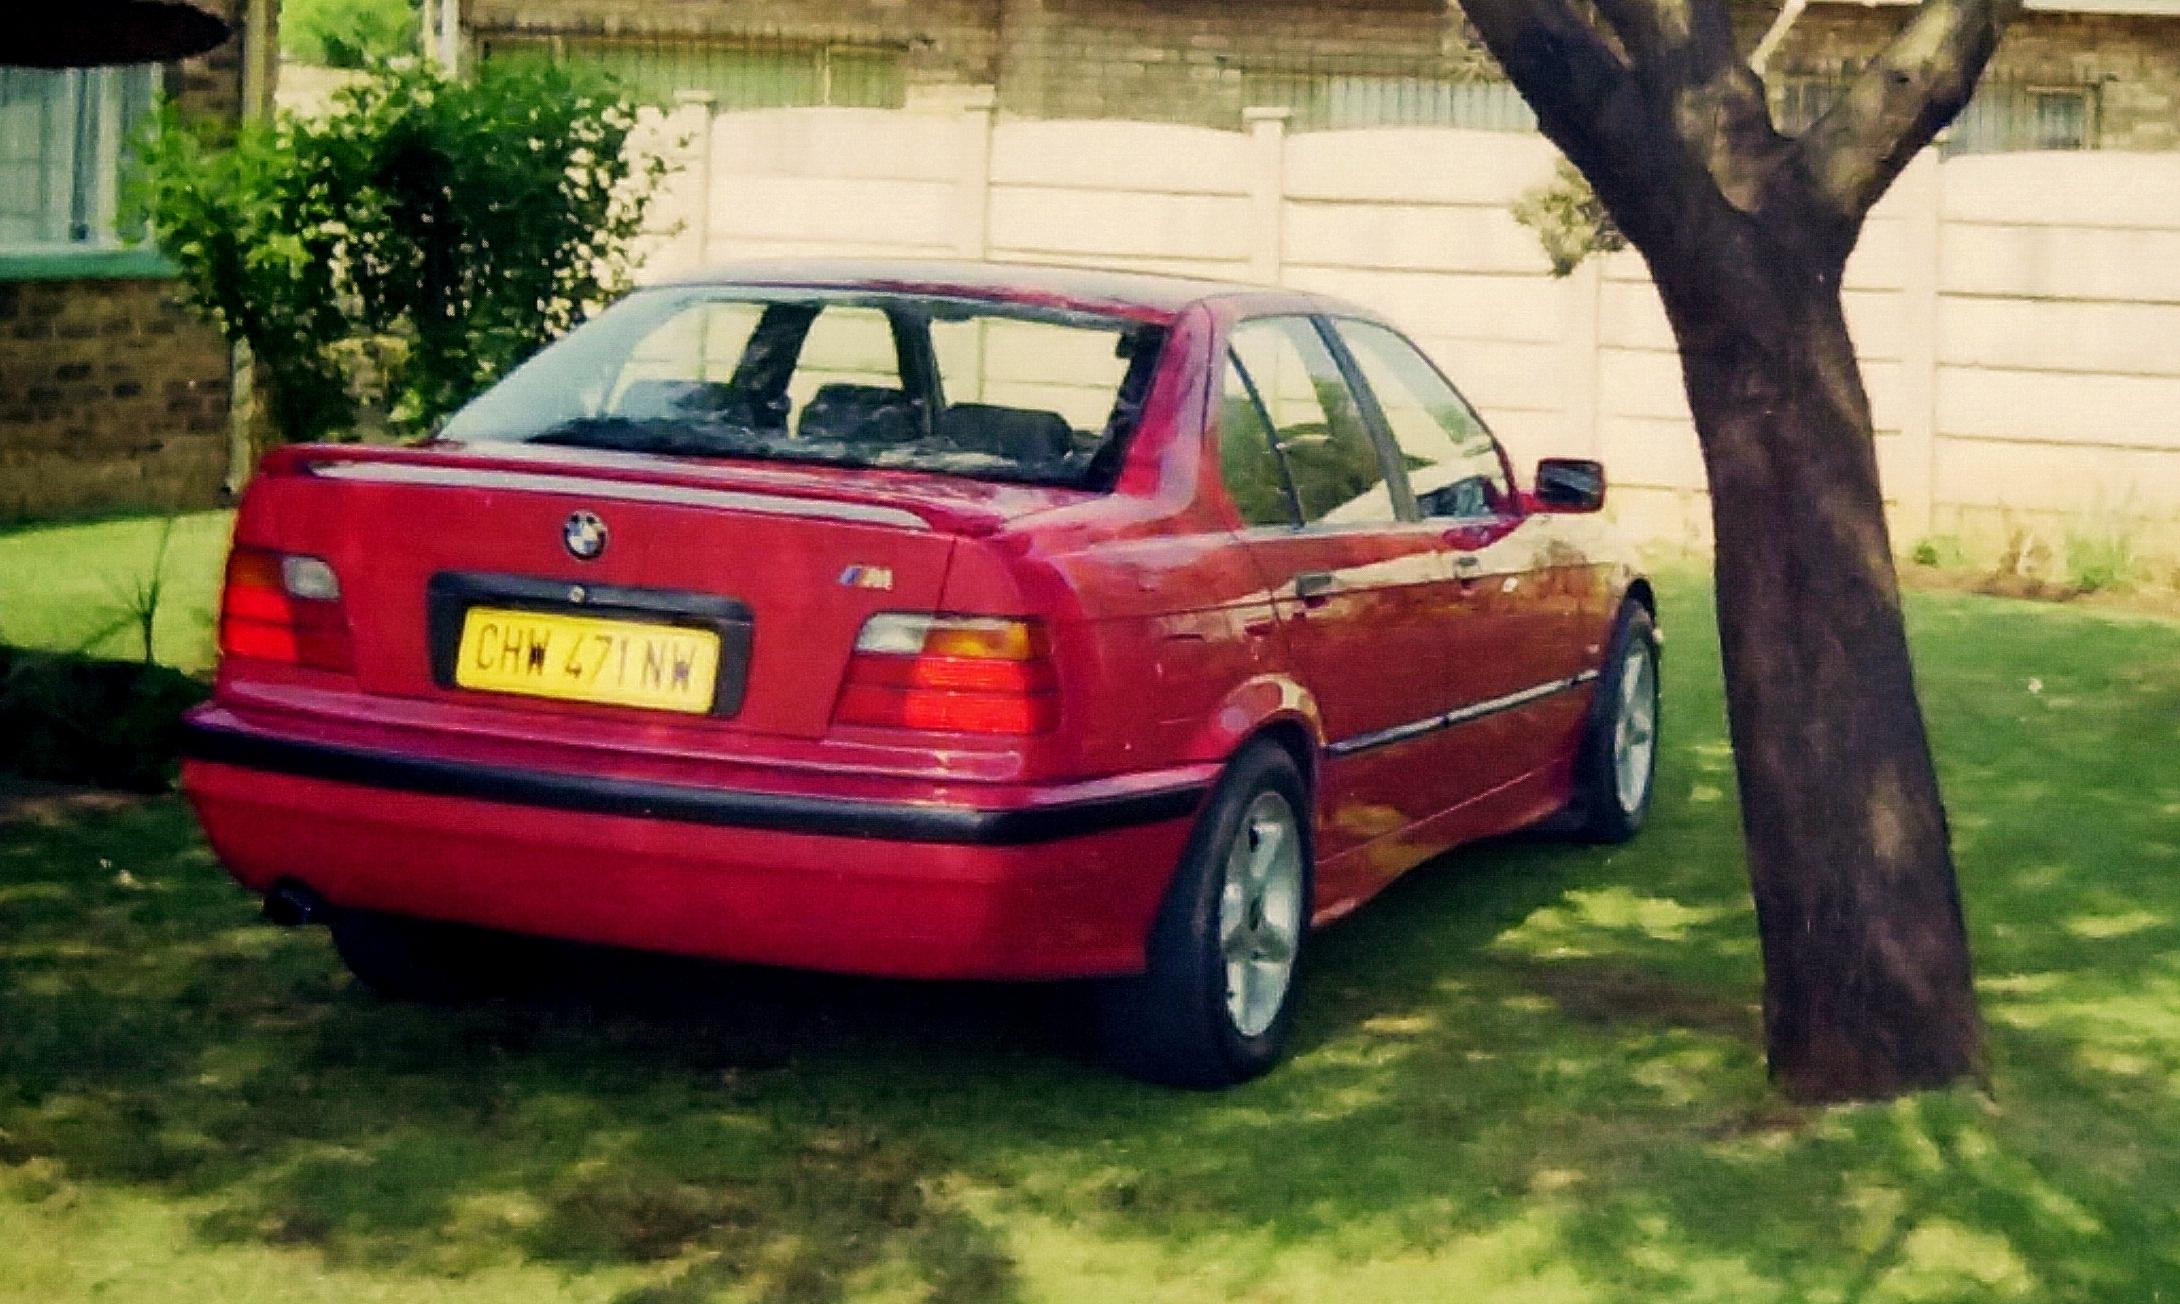
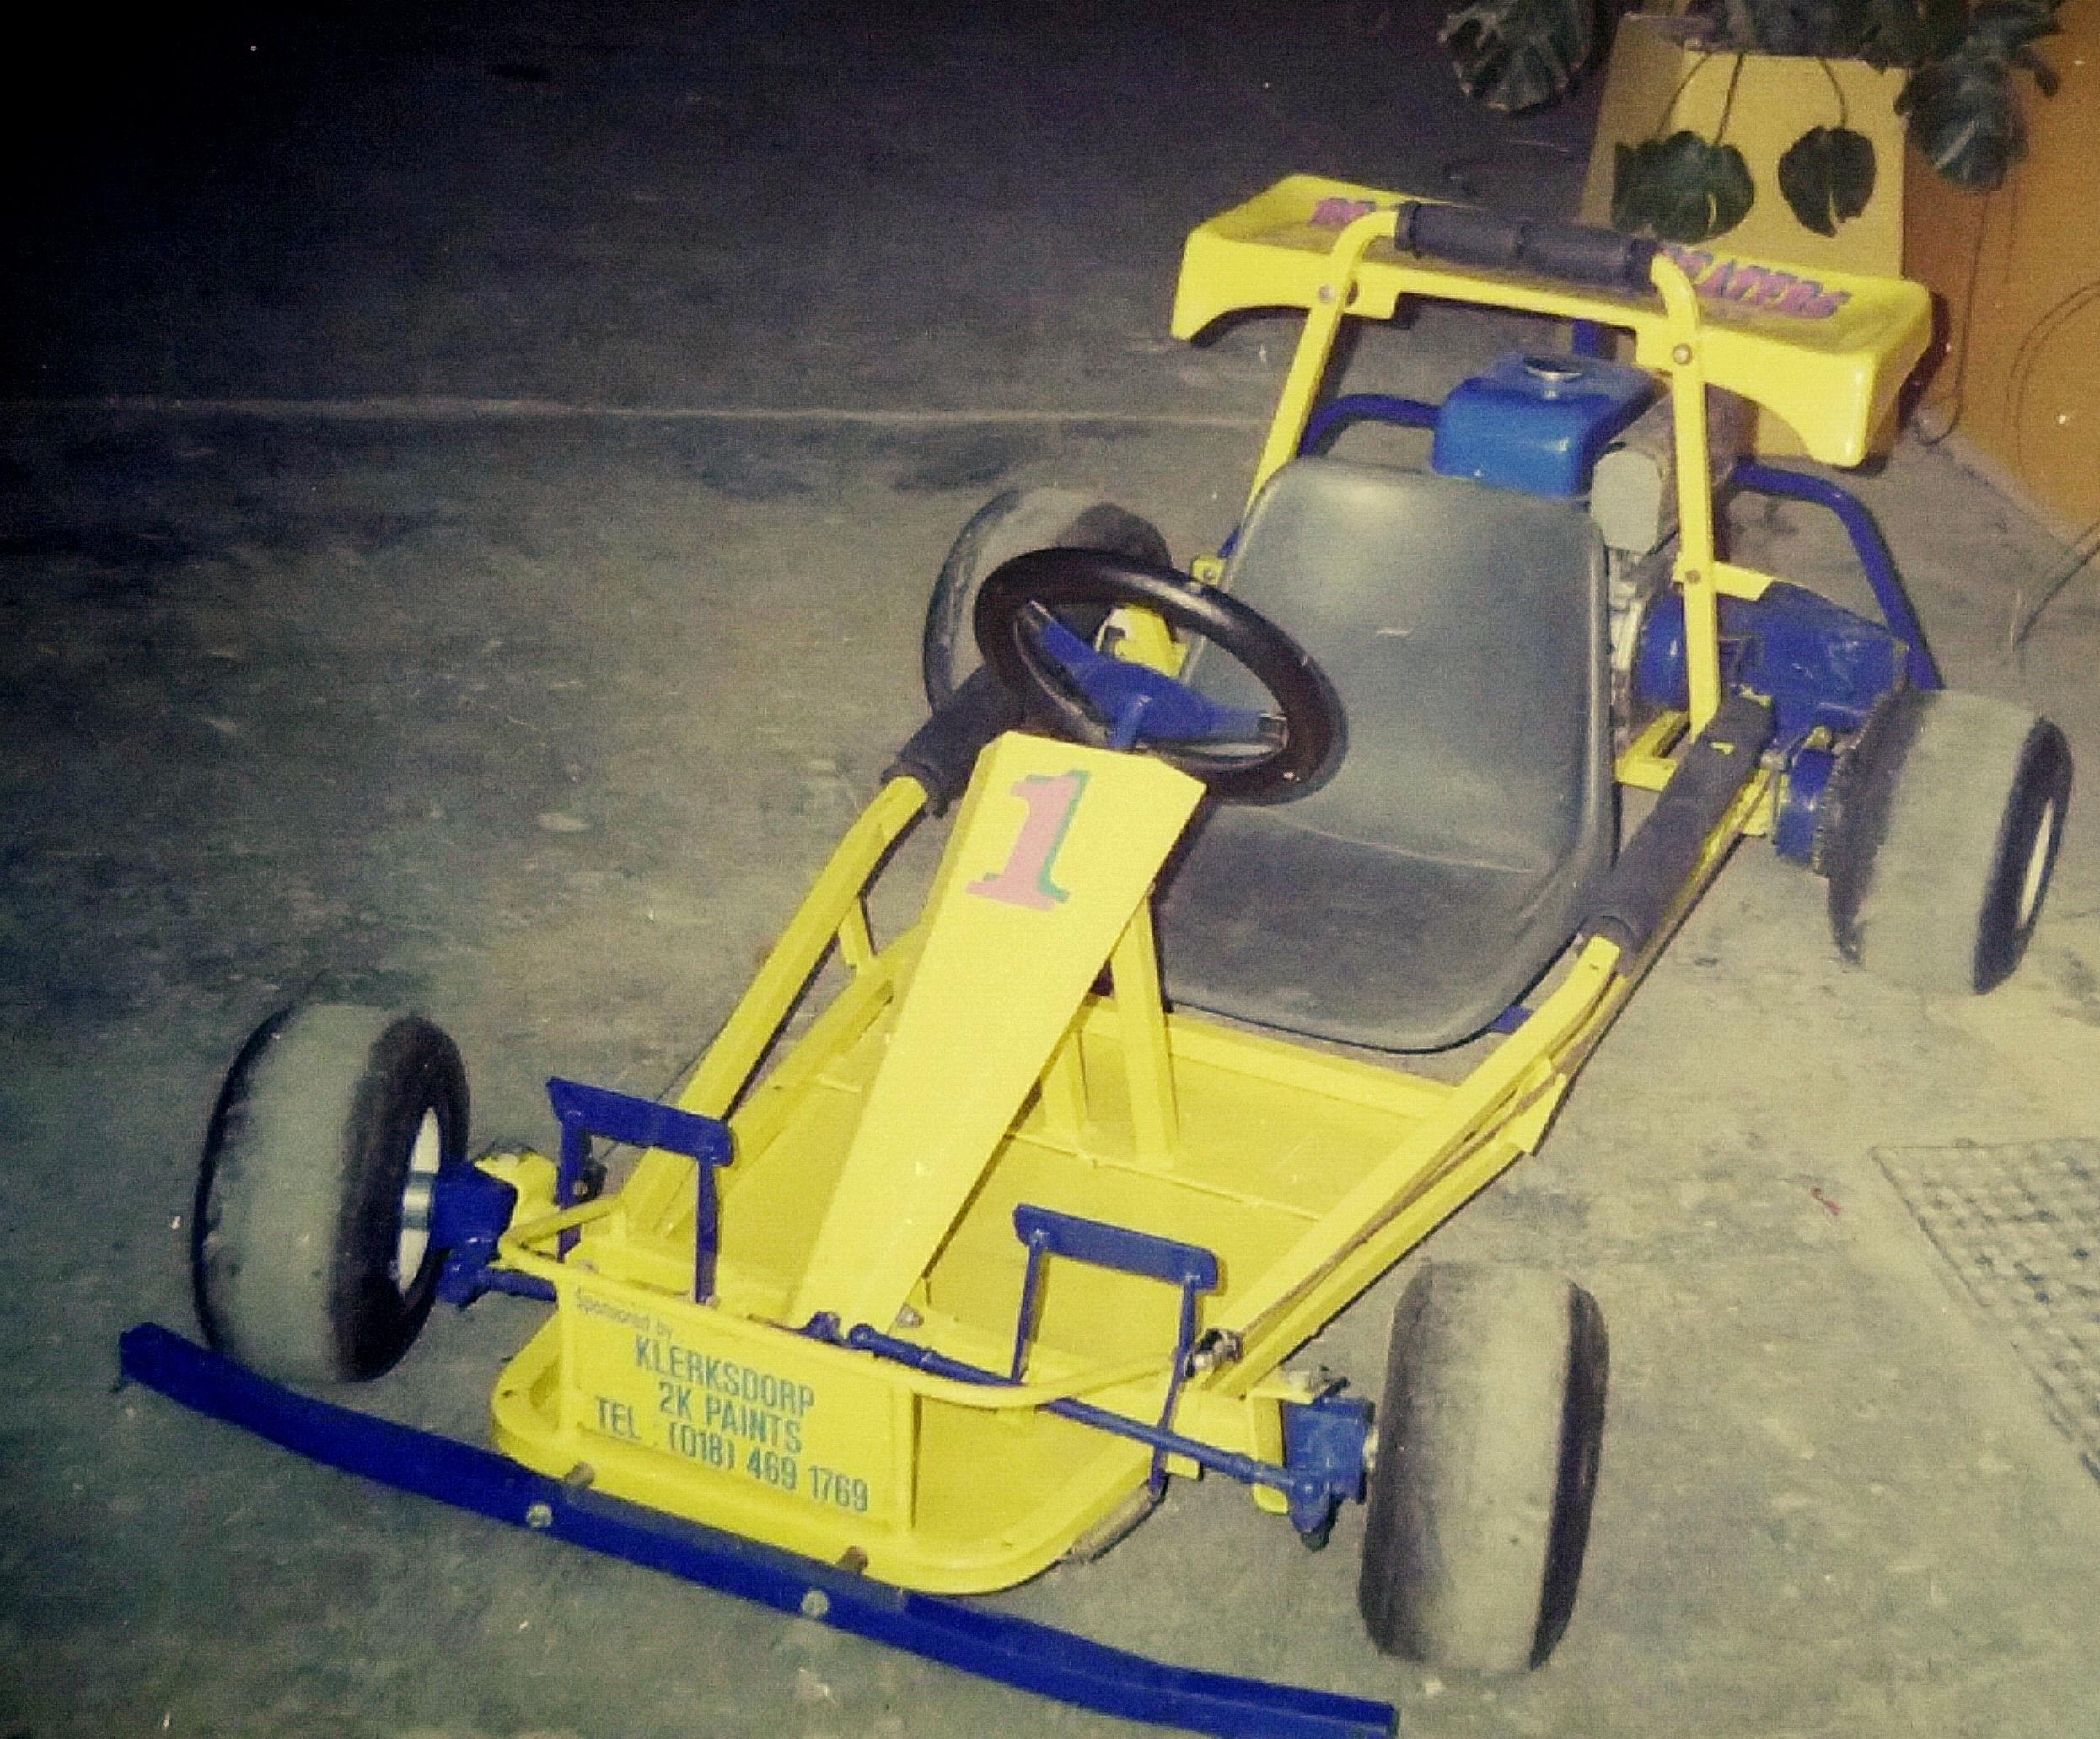
- Now you can use the apps built in editor to adjust your picture.
Enjoy!