3D Printed Fabric Box
.png)
.png)
Recently I was experimenting with 3d printed fabric.
Please check the below link.
- I want to go one step further to make something that is designed & printed in 2D but after that using heat treatment or manual bending, we make a 3d structure.
- Last time I used Tinkercad for making fabric in size of 100x100x0.2 mm.
- This time I make a 3d printed fabric box using 3D printing.
Supplies
1> Computer access
2> Autodesk login for tinkercad and Fusioon360
3> 3d printer access
4> Glue gun
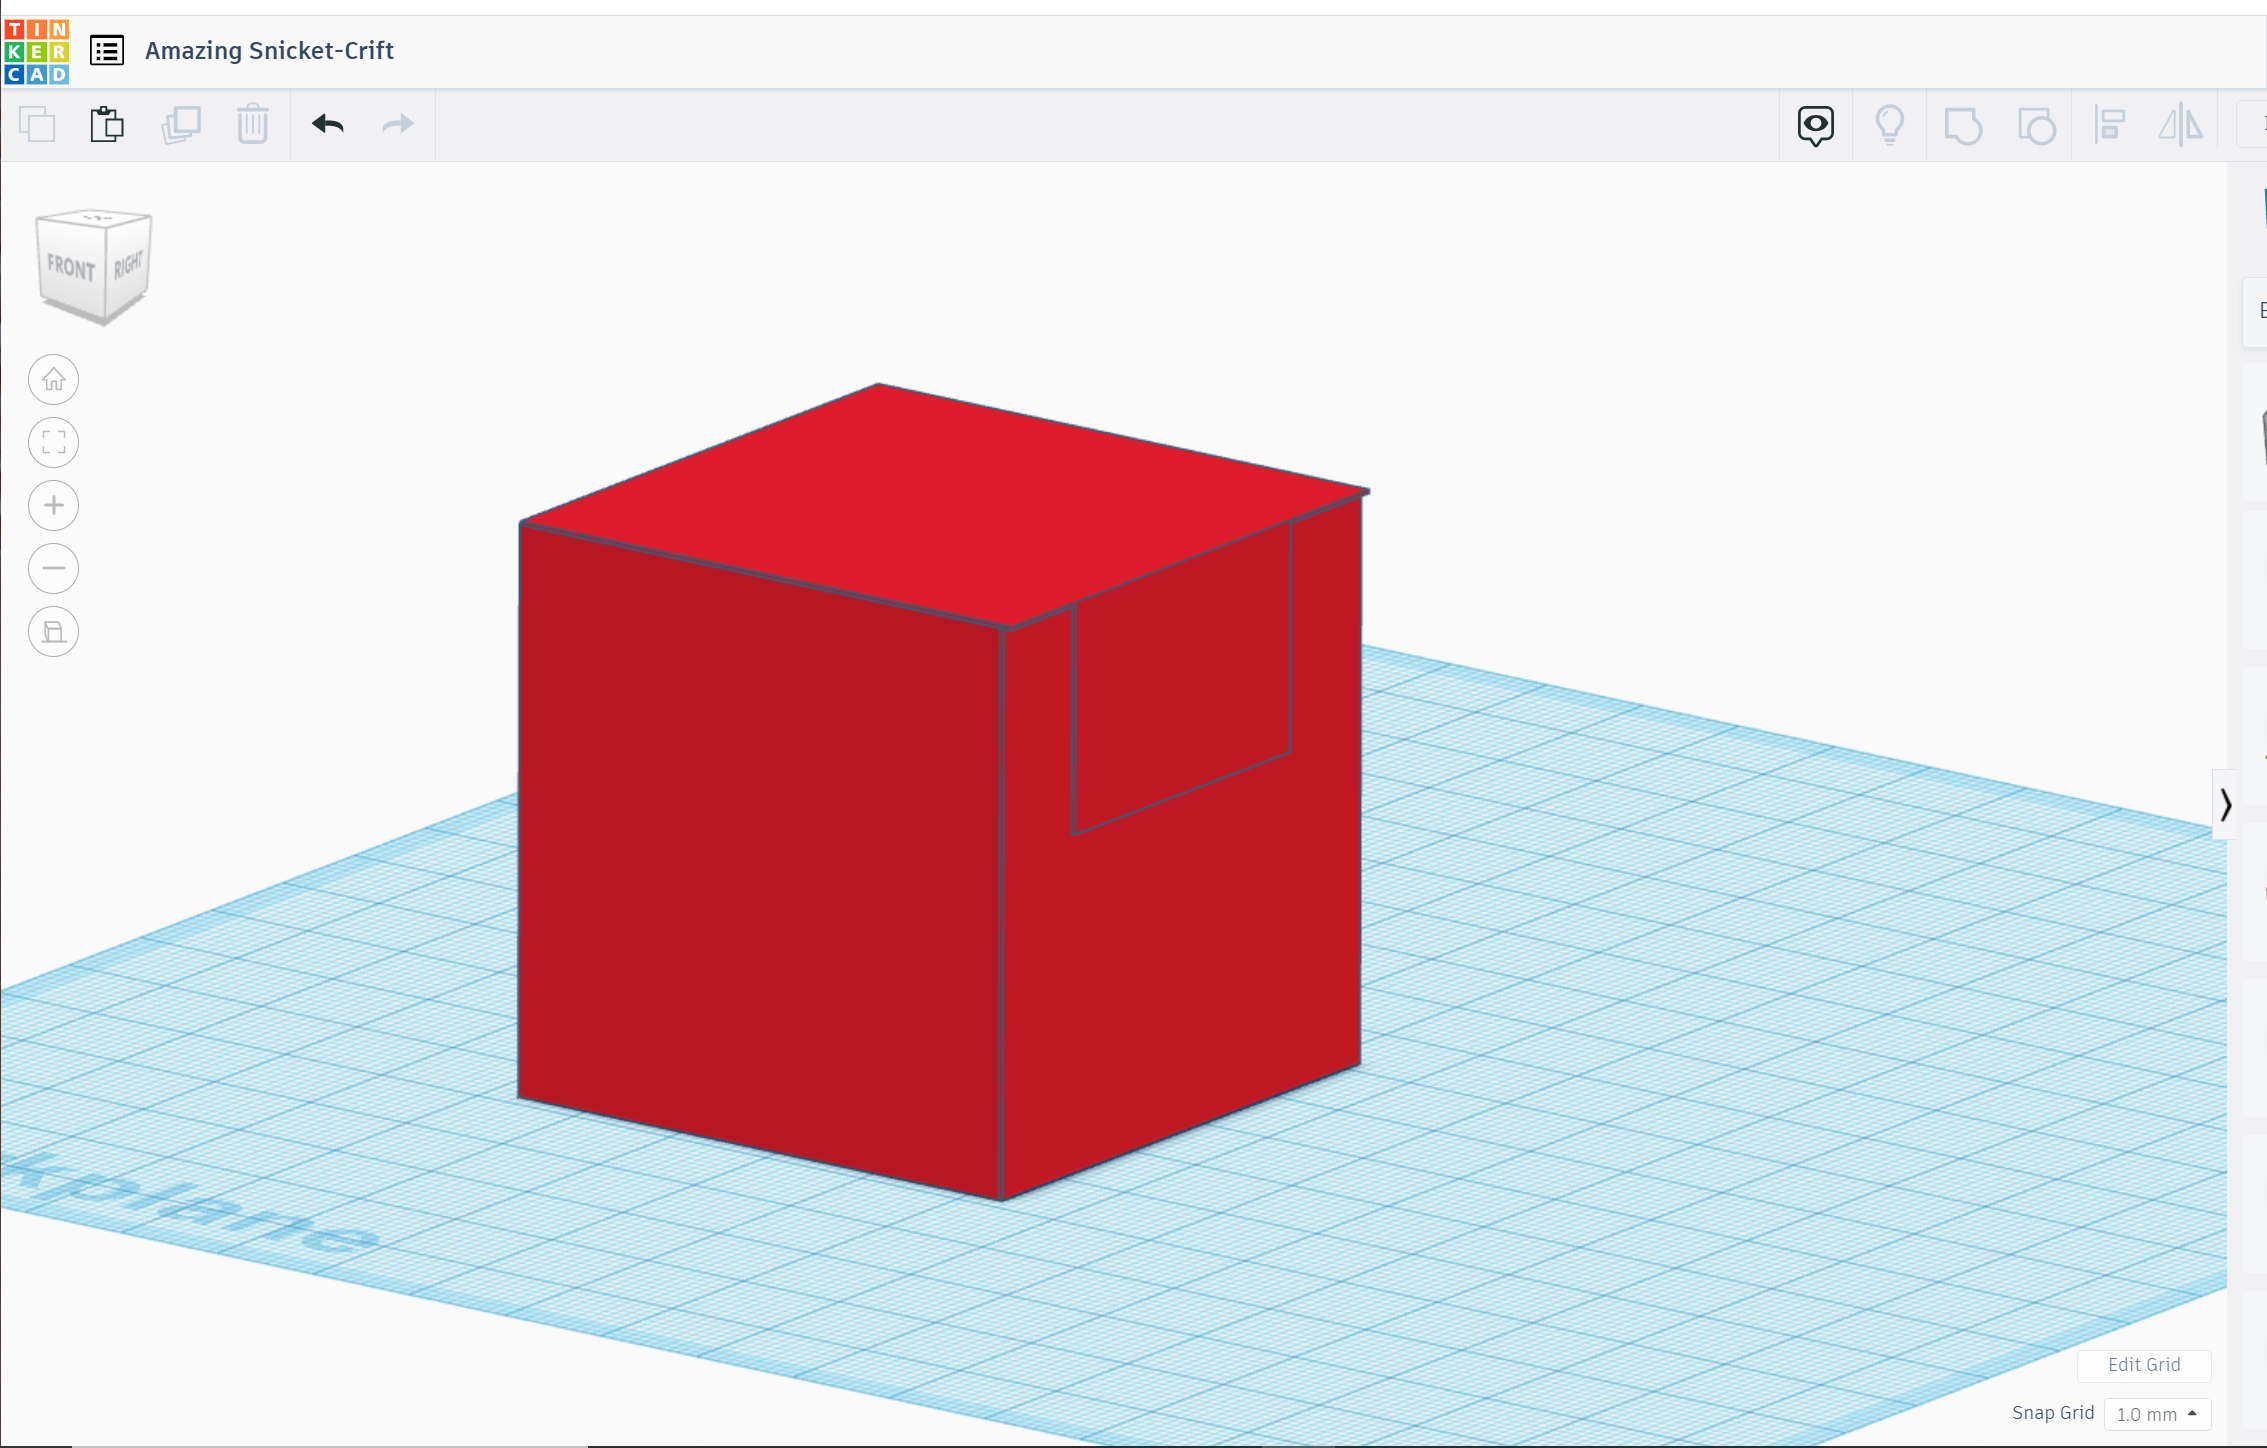
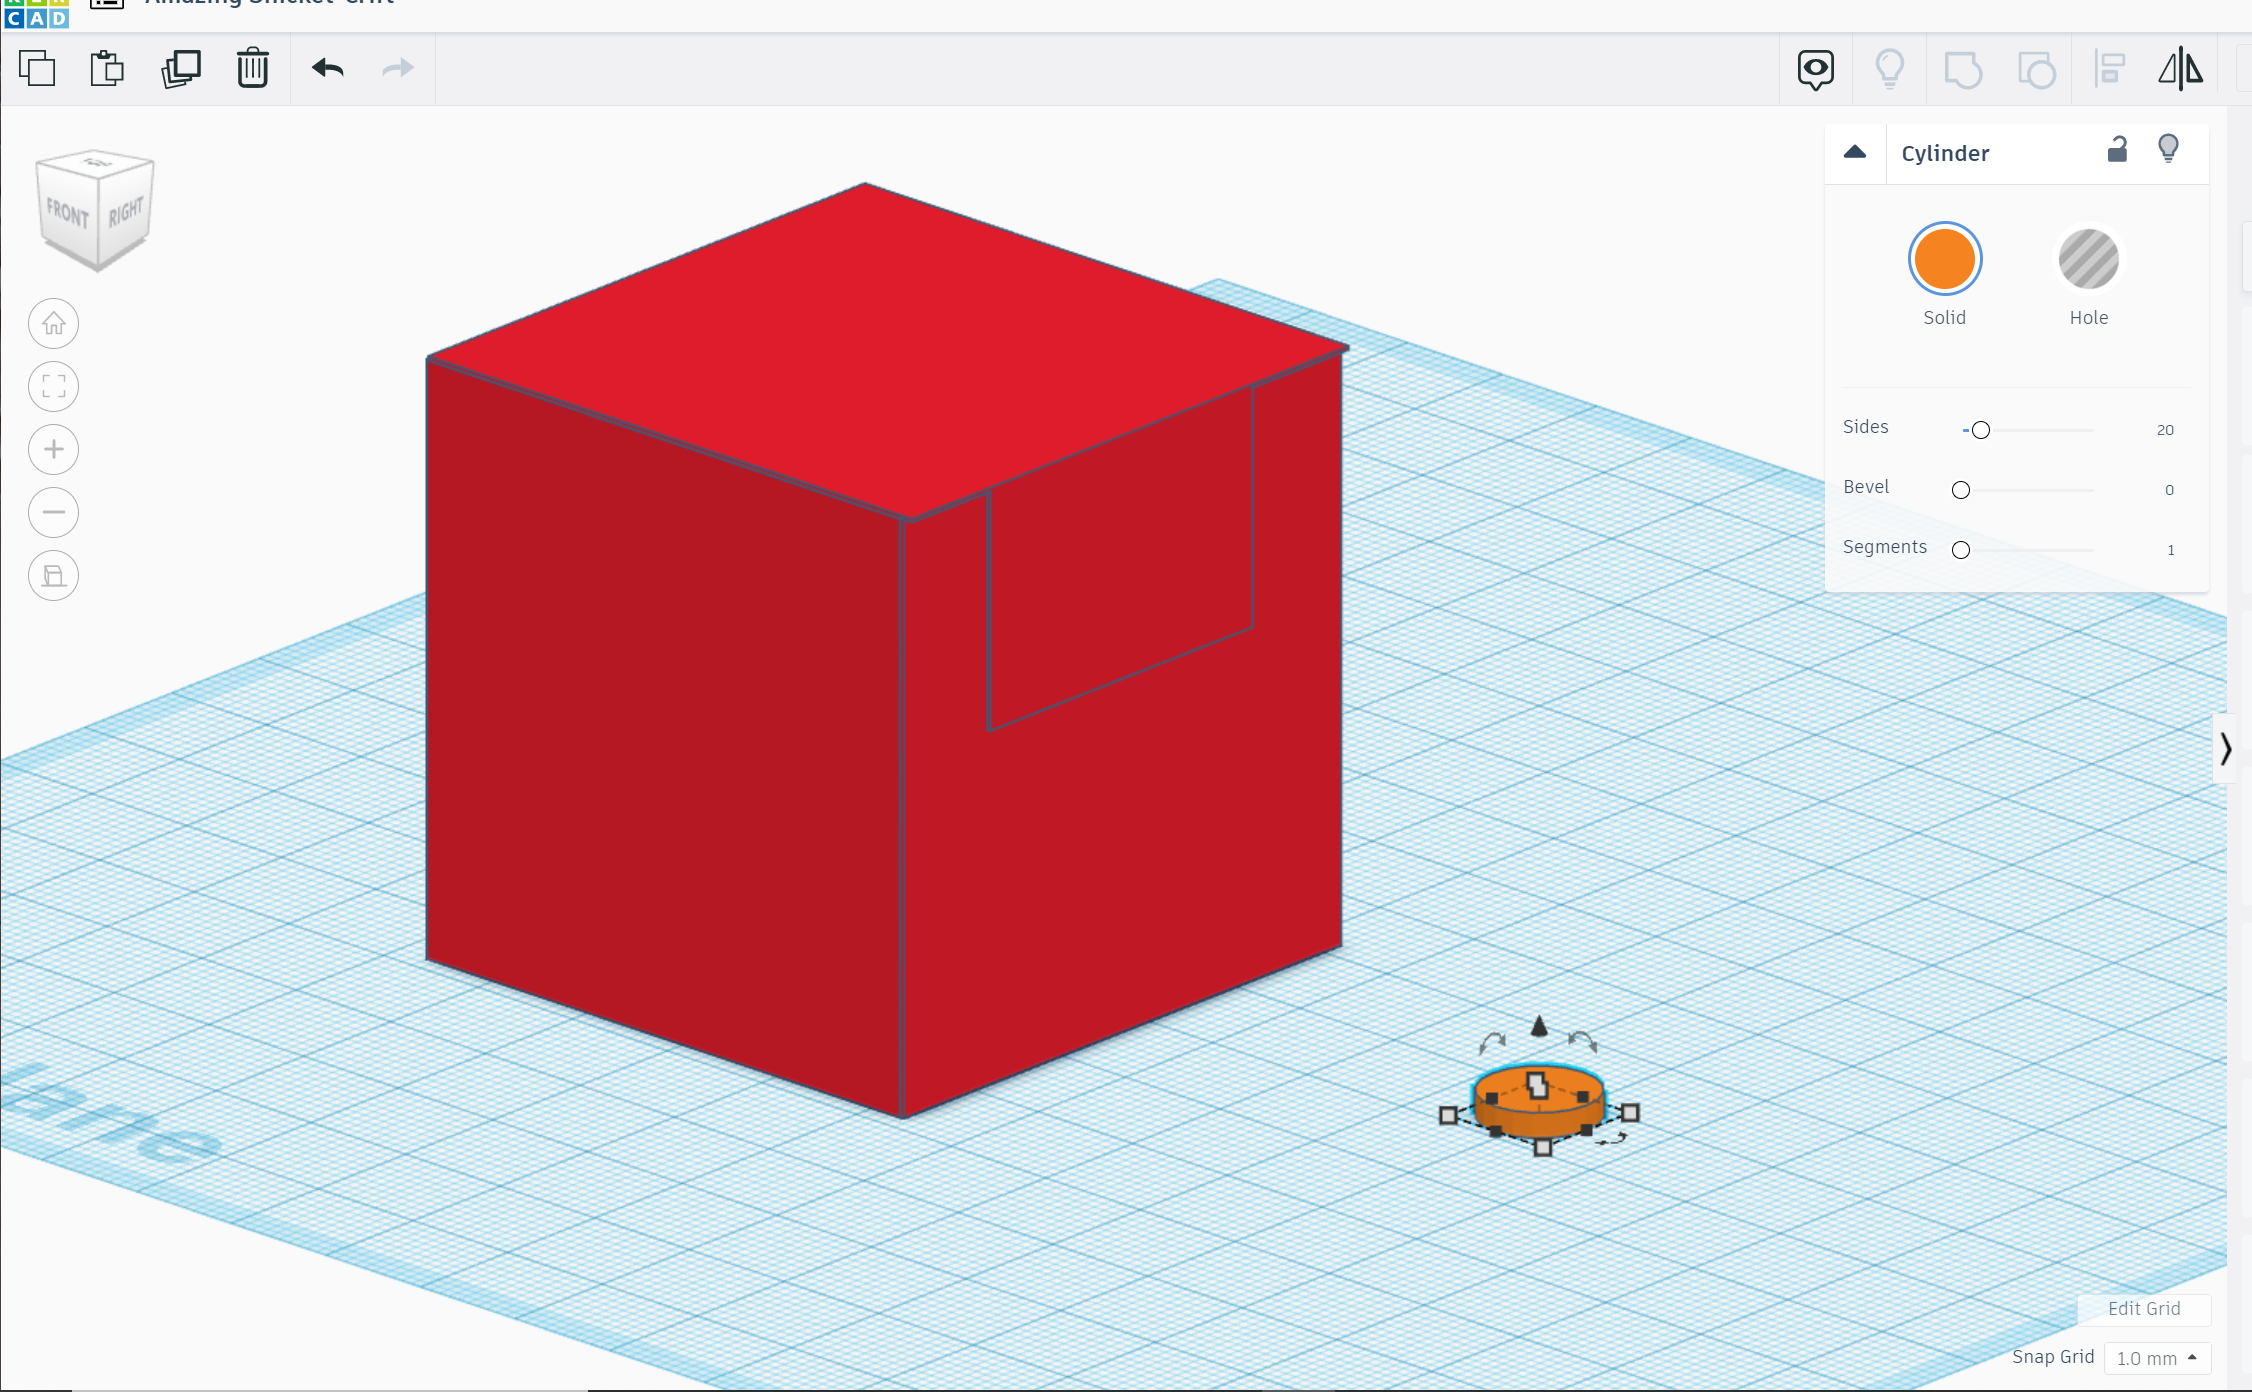
Design in Tinkercad
.png)
.png)
.png)
.png)
.png)
.png)
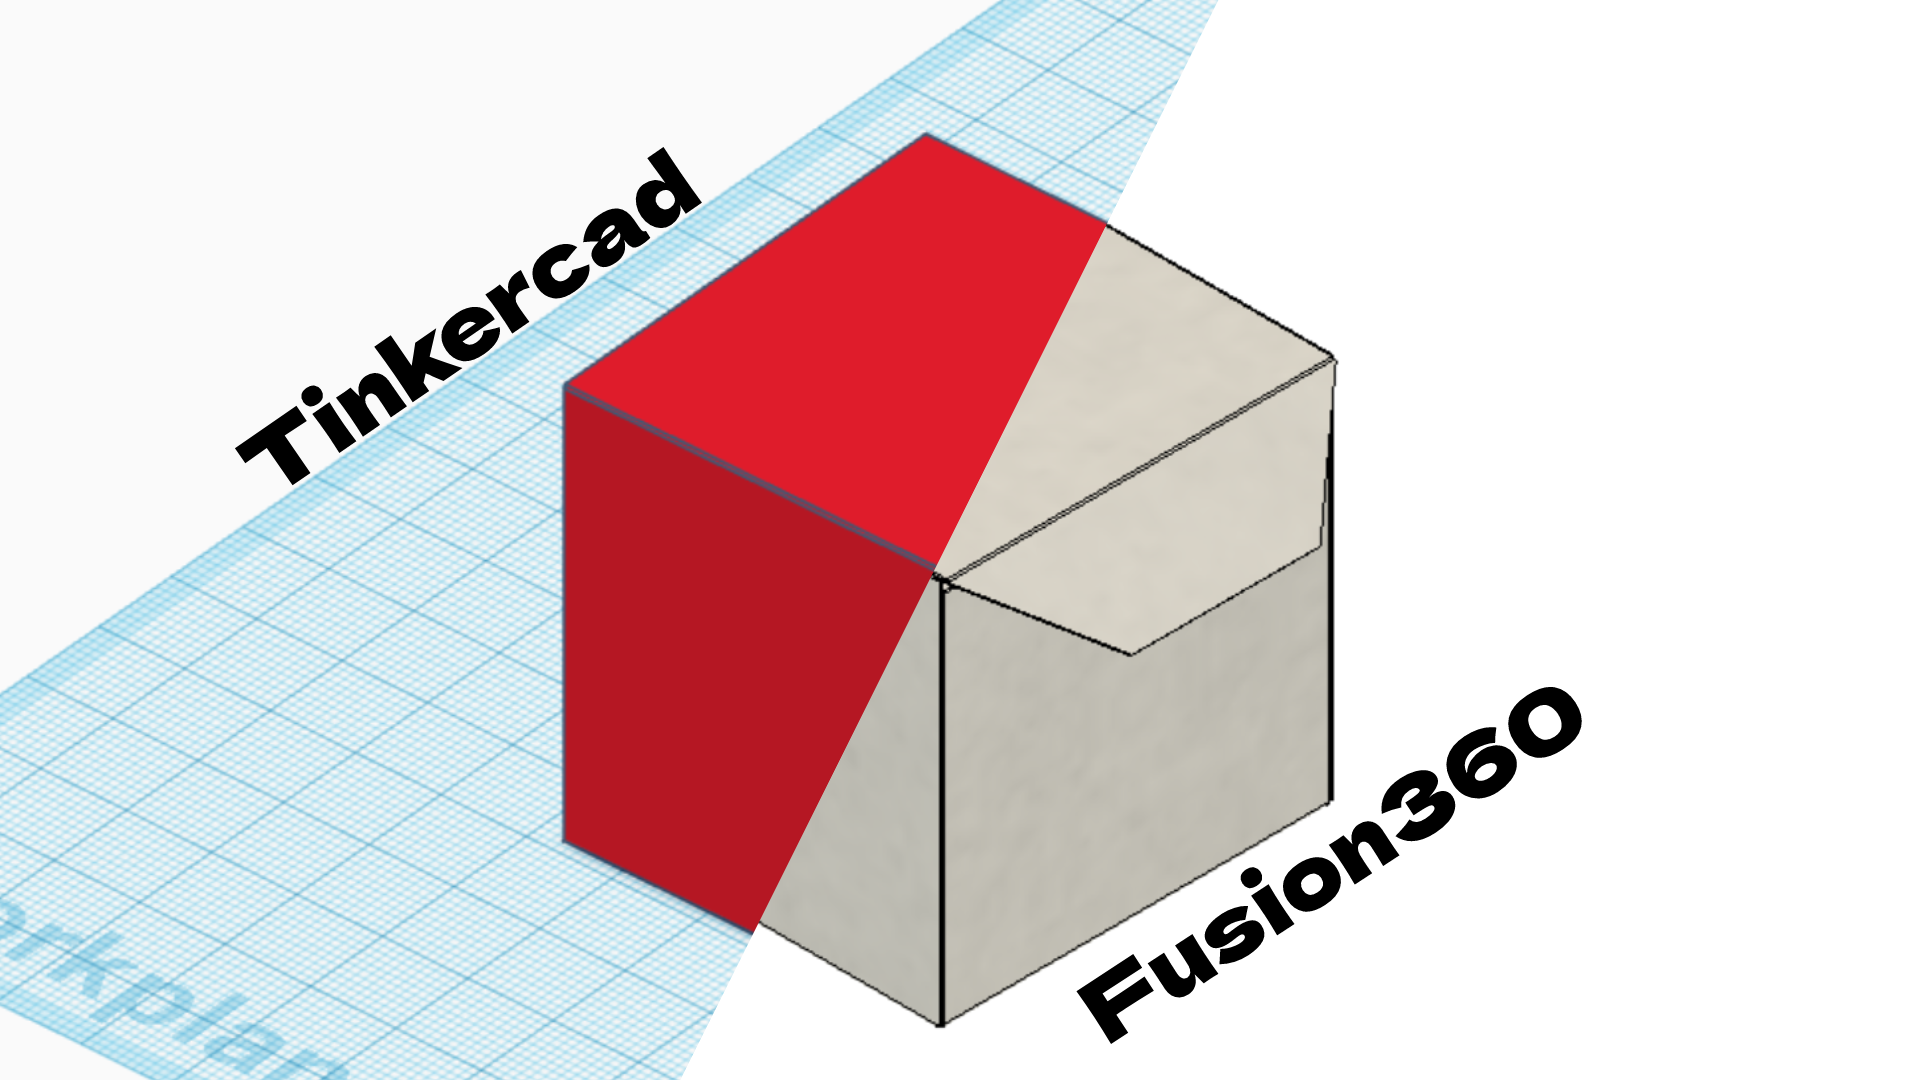
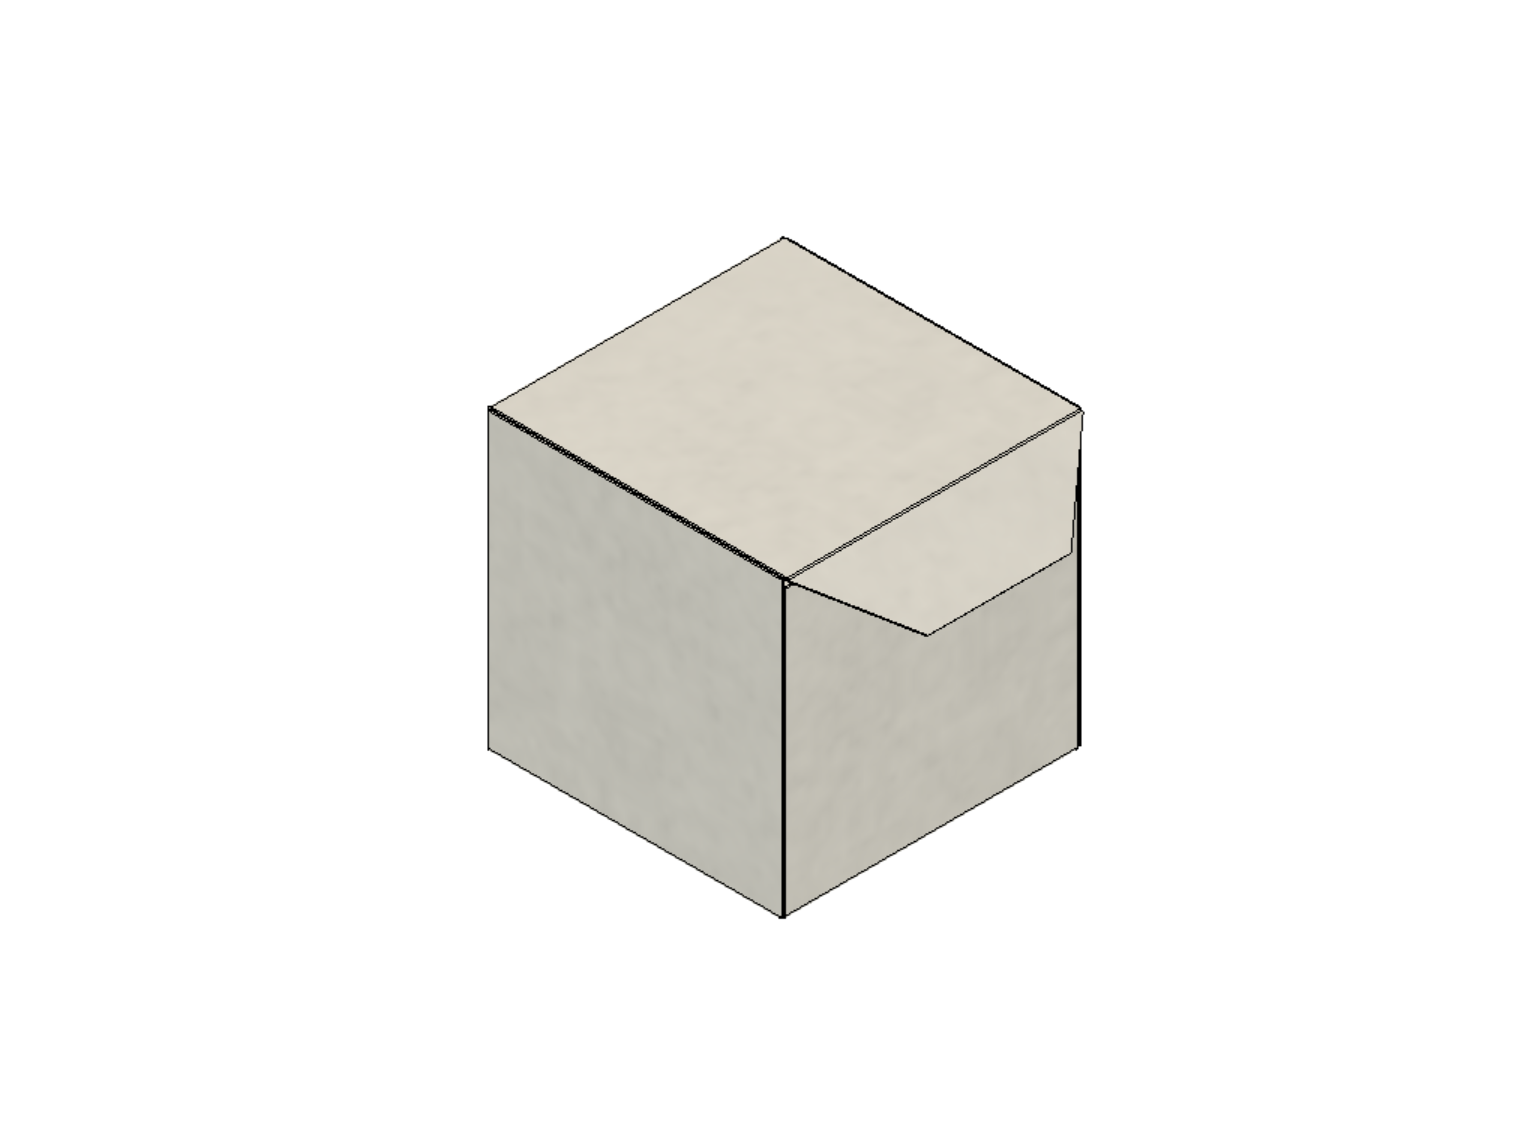
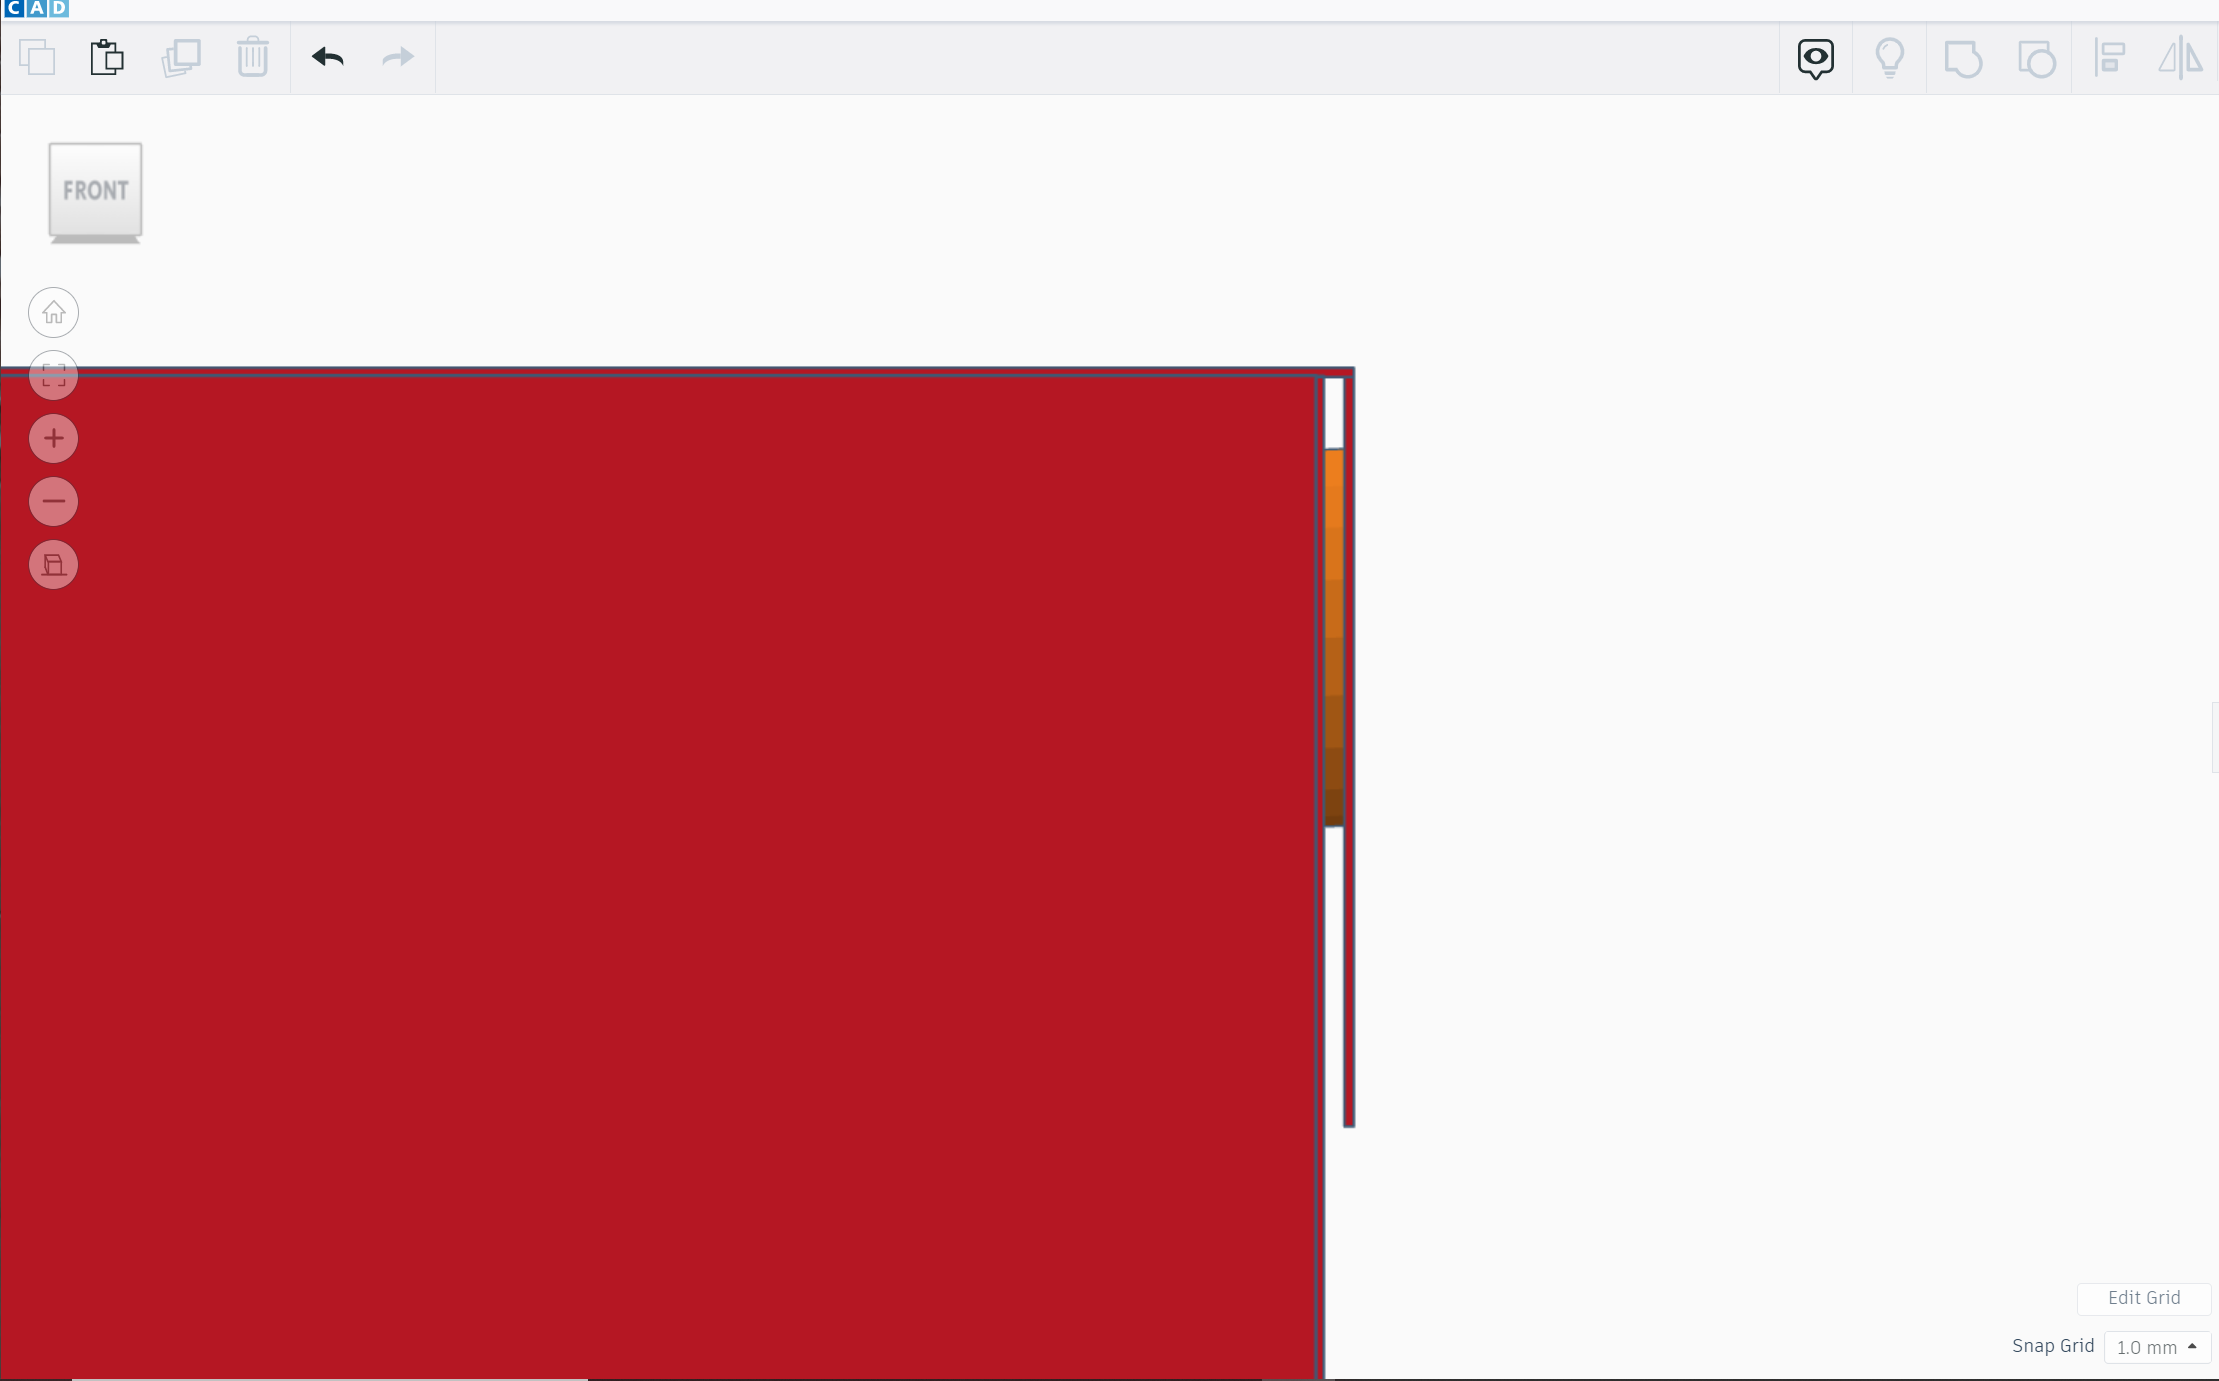
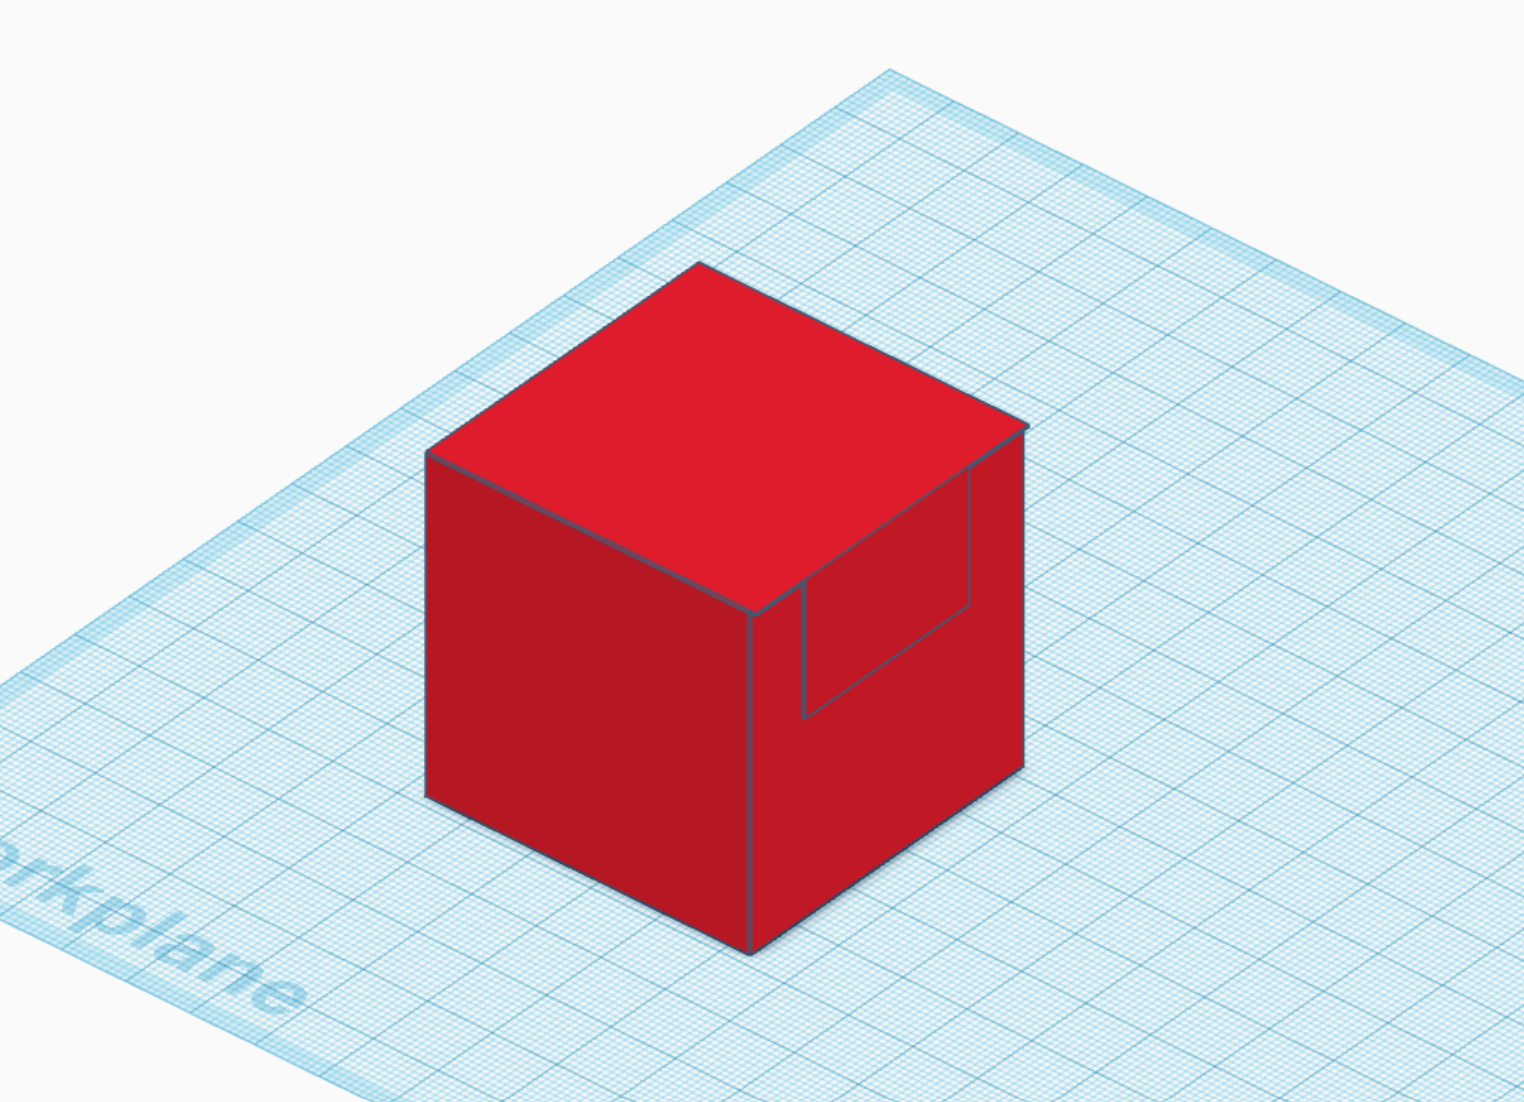
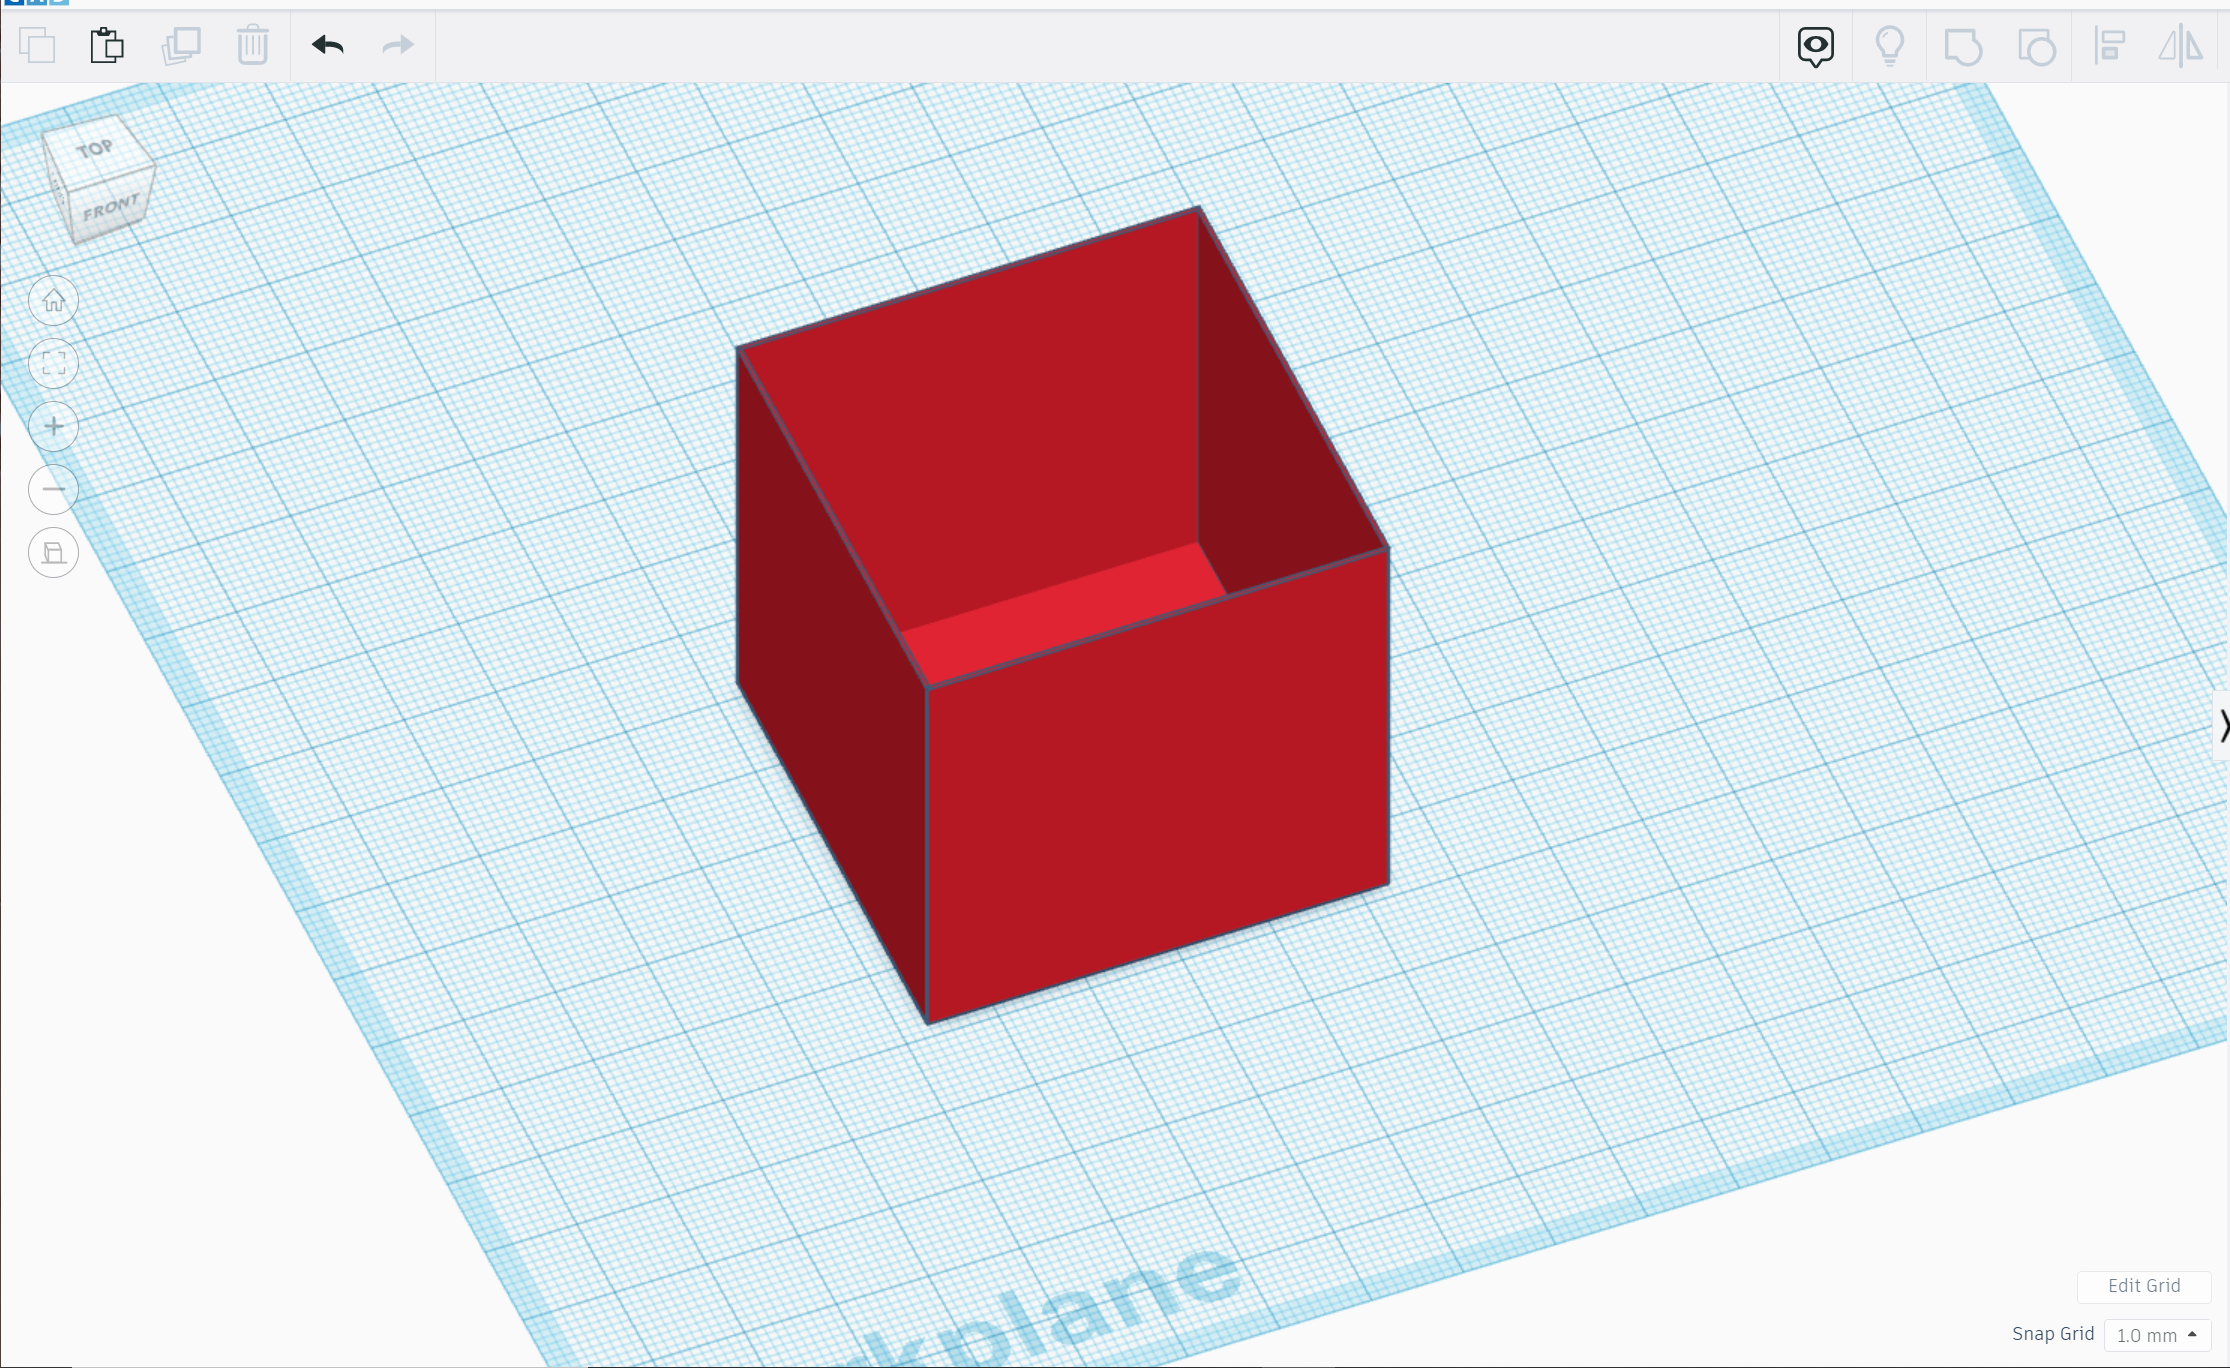
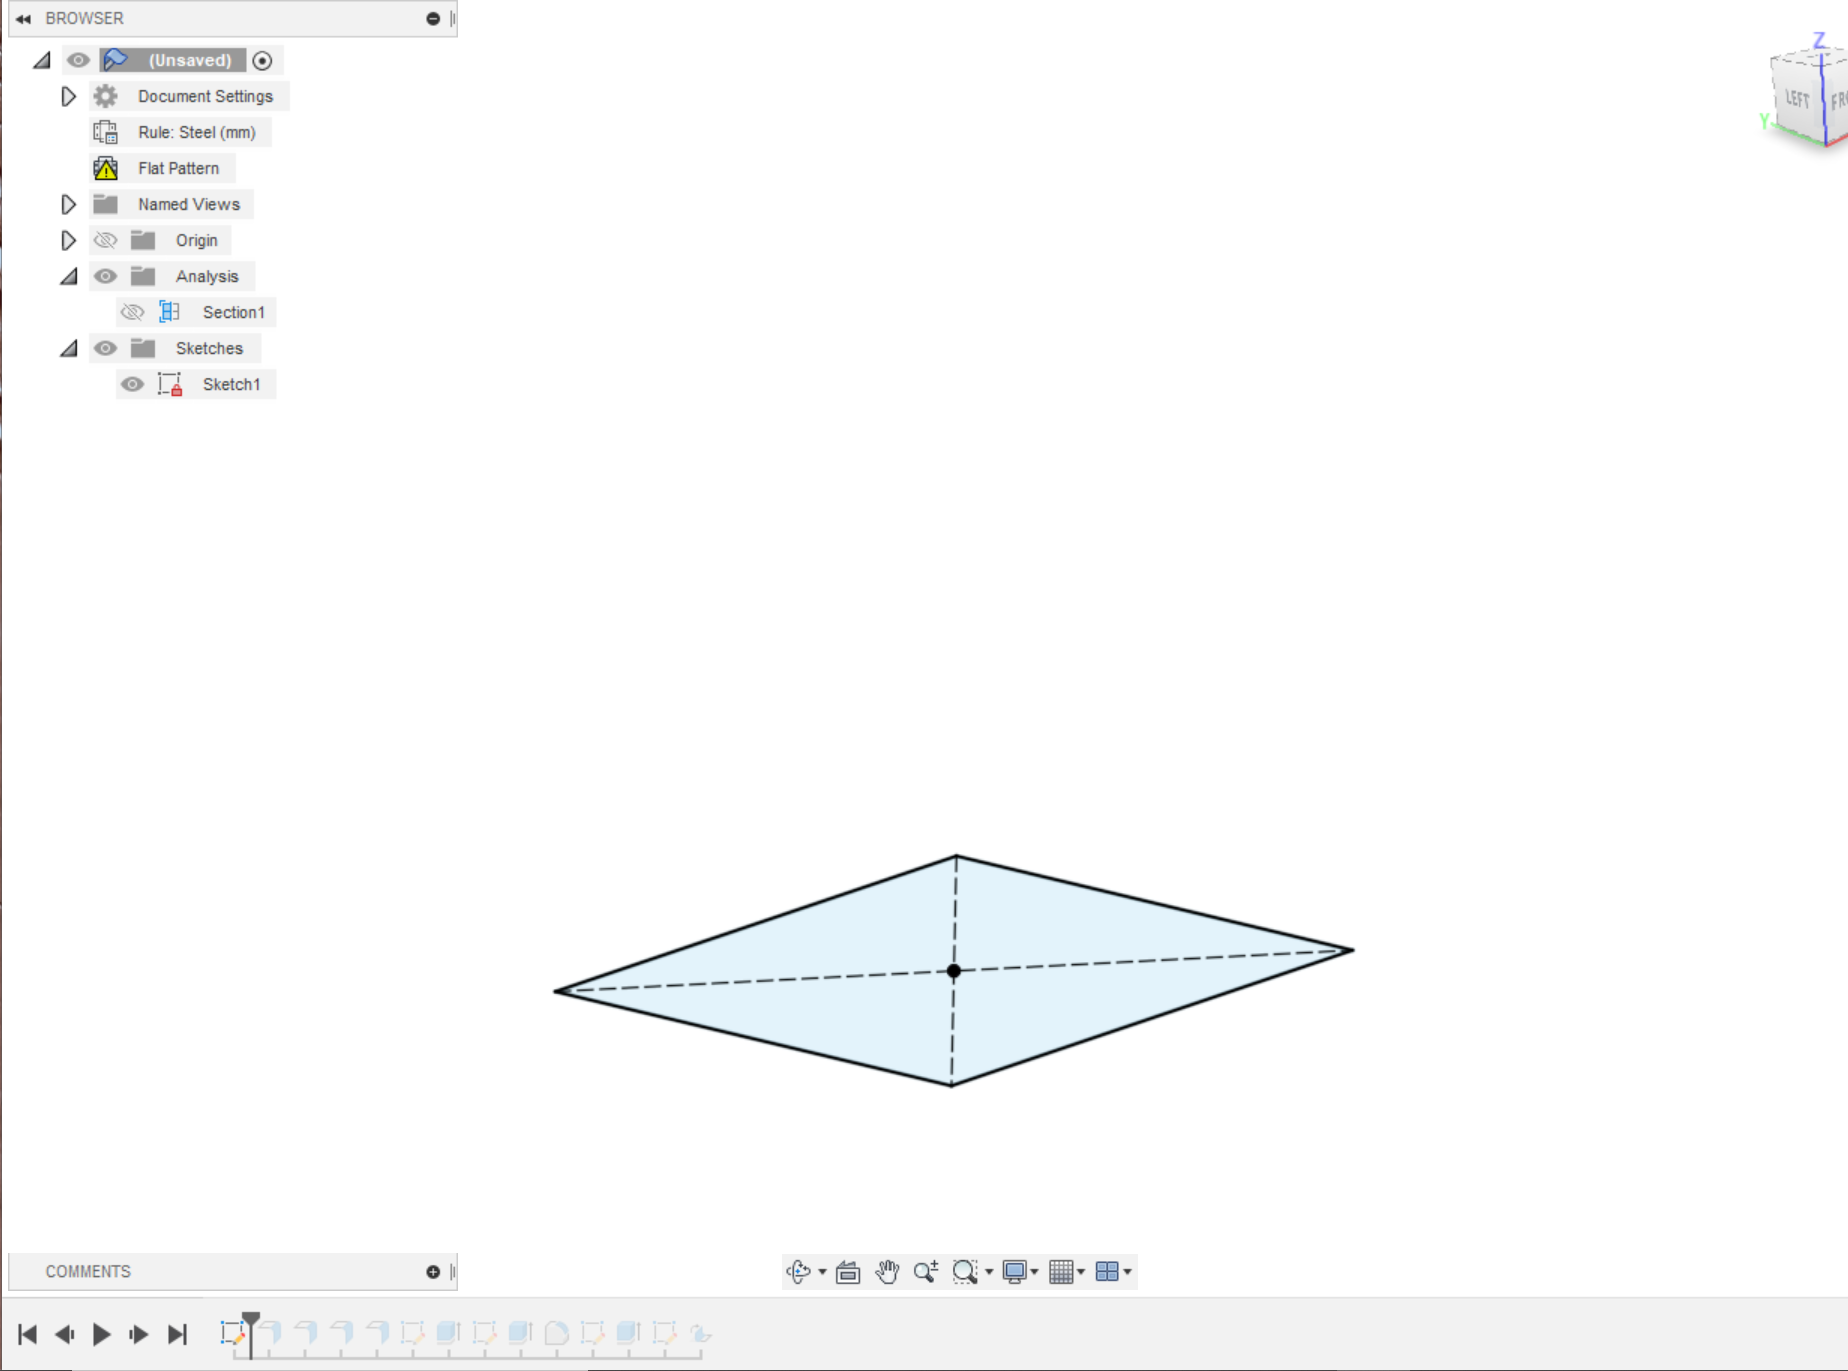
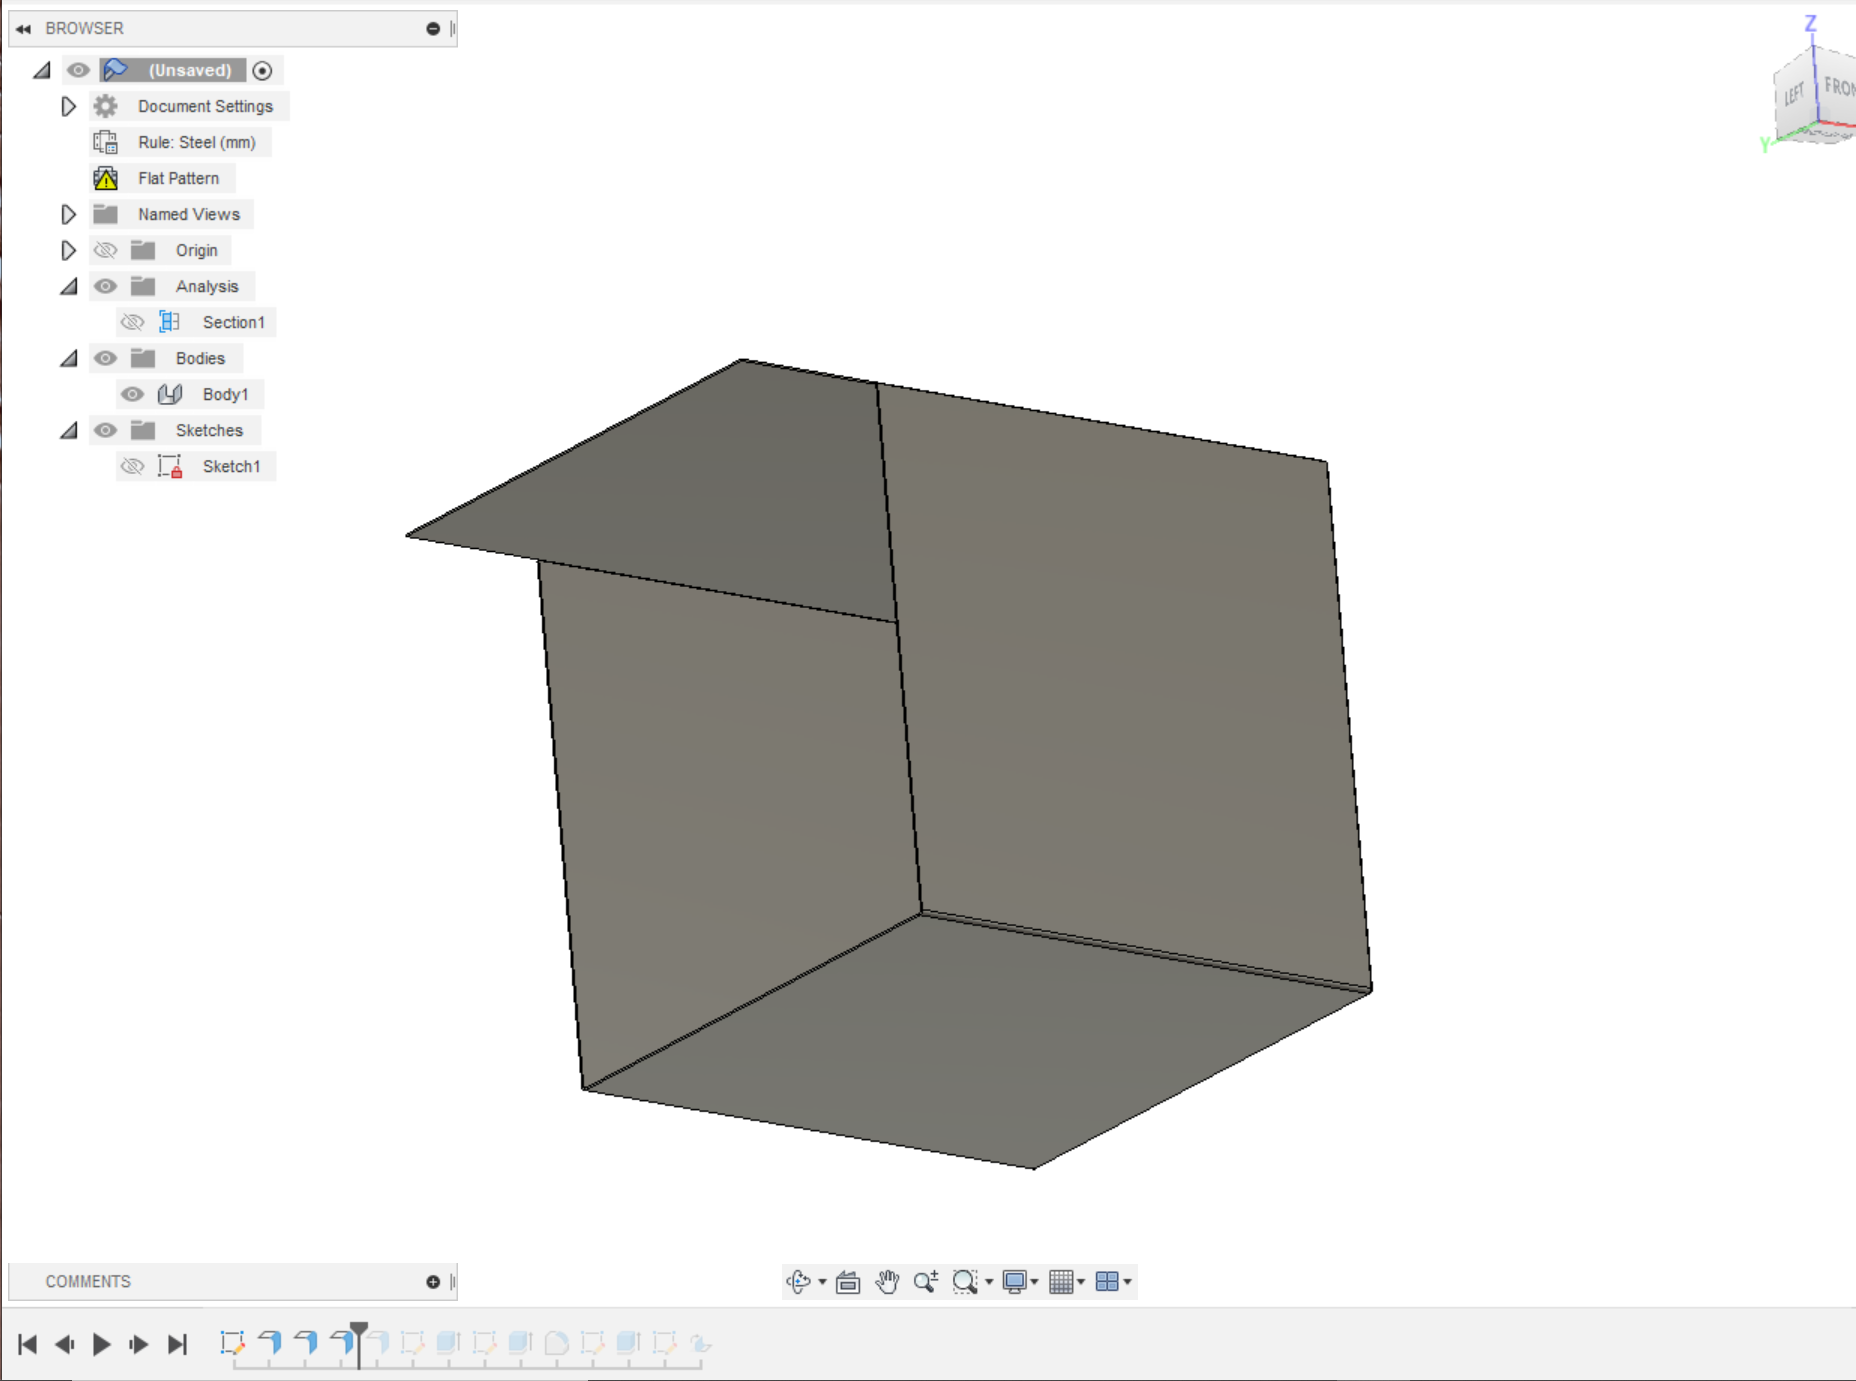
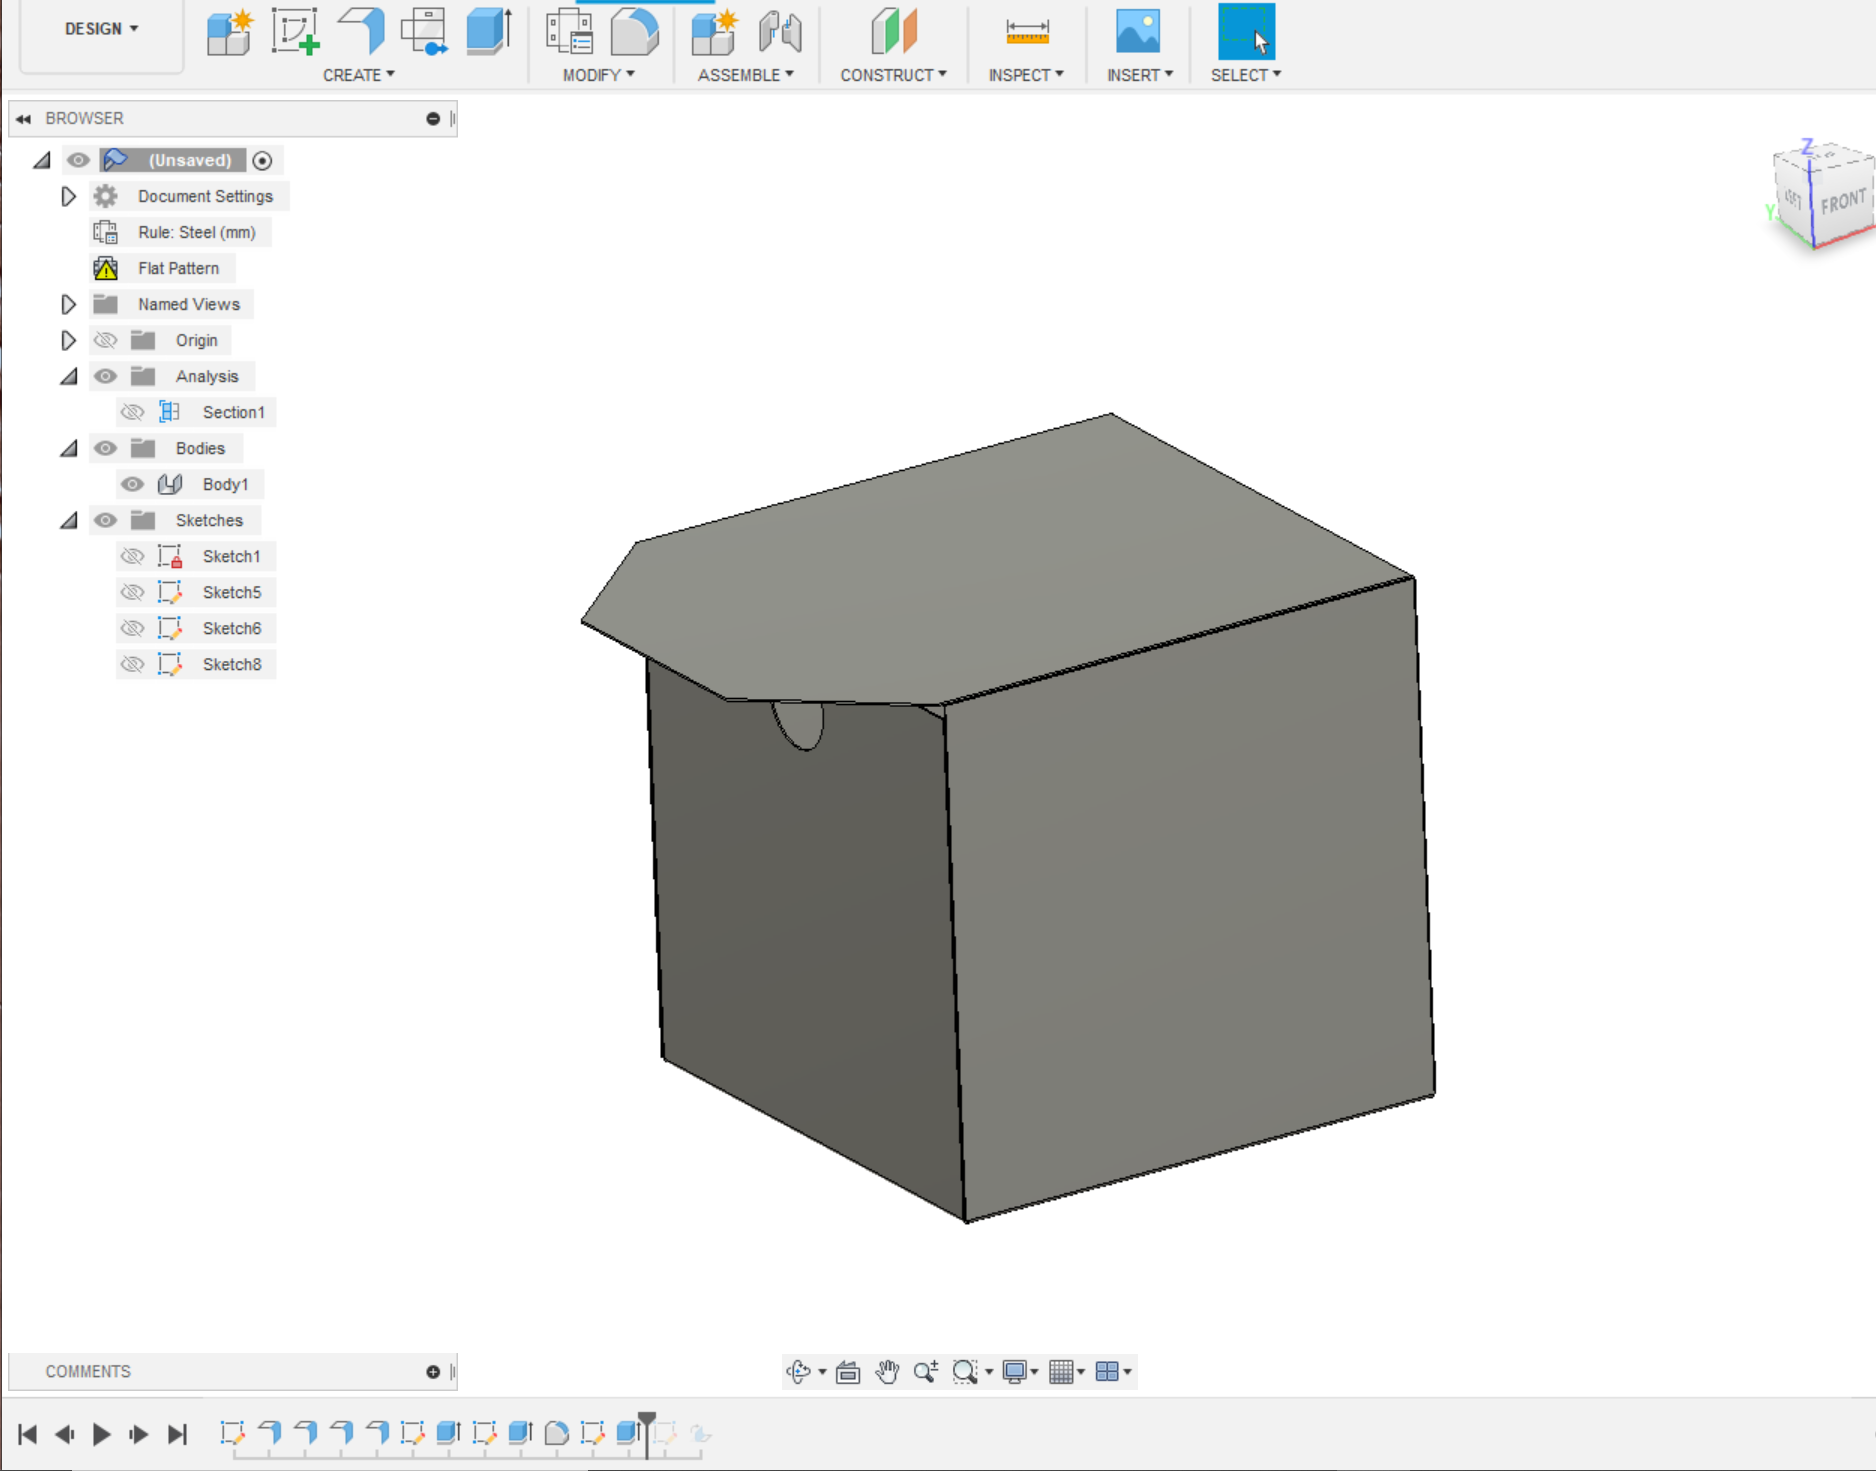
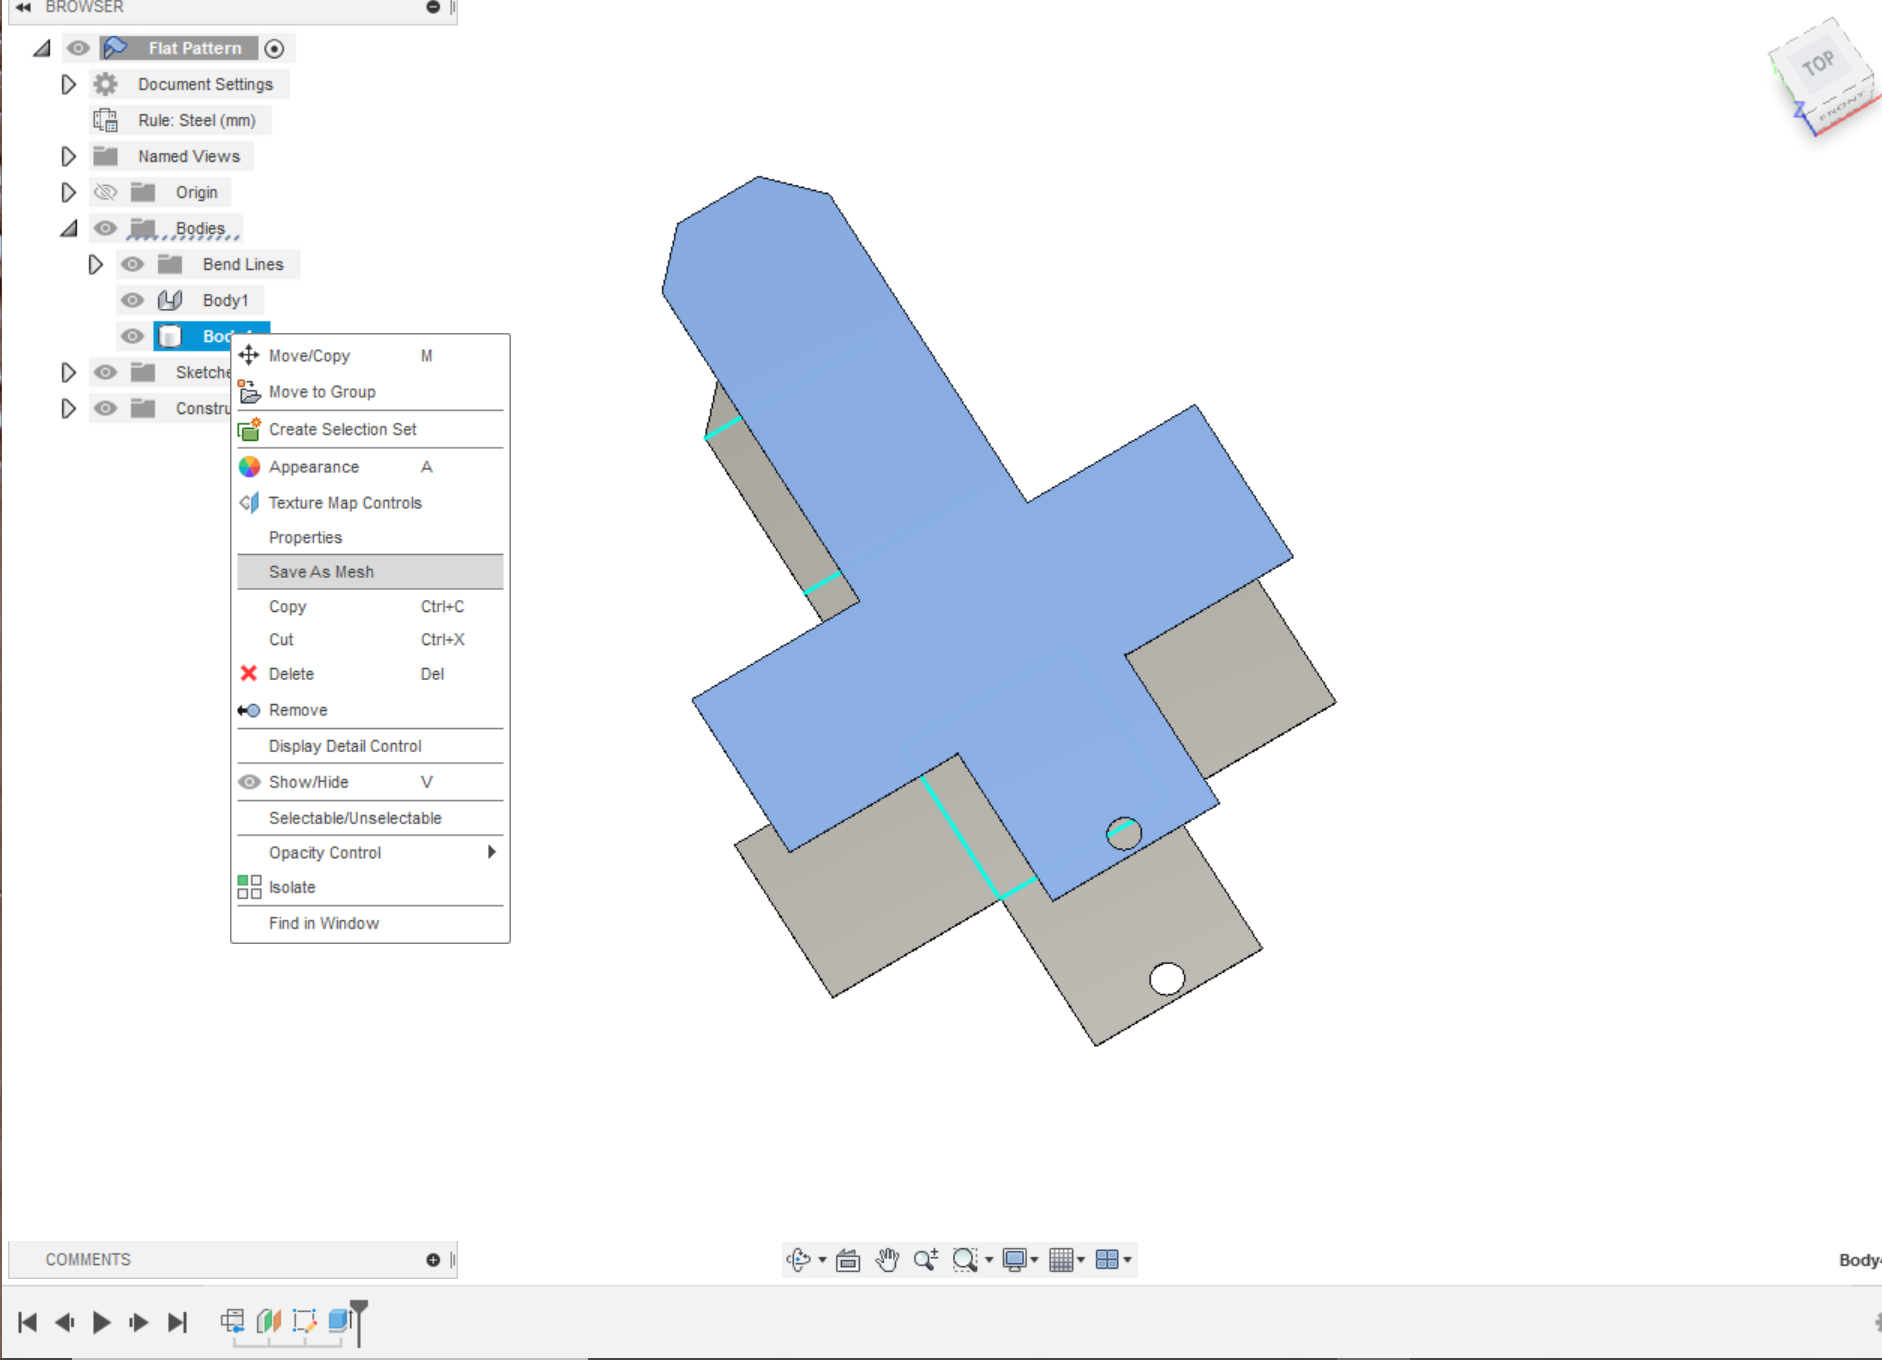
- I make a box in the size of 50x50x50 mm. we all know the box has six sides.
- In tinker cad, we make a box with side walls.
- But in flat pattern design, it's hard to find bend edges in Tinkercad.
Design With Fusion360
.png)
.png)
.png)
.png)
.png)
.png)
.png)
.png)
.png)
.png)
.png)
.png)
.png)
.png)
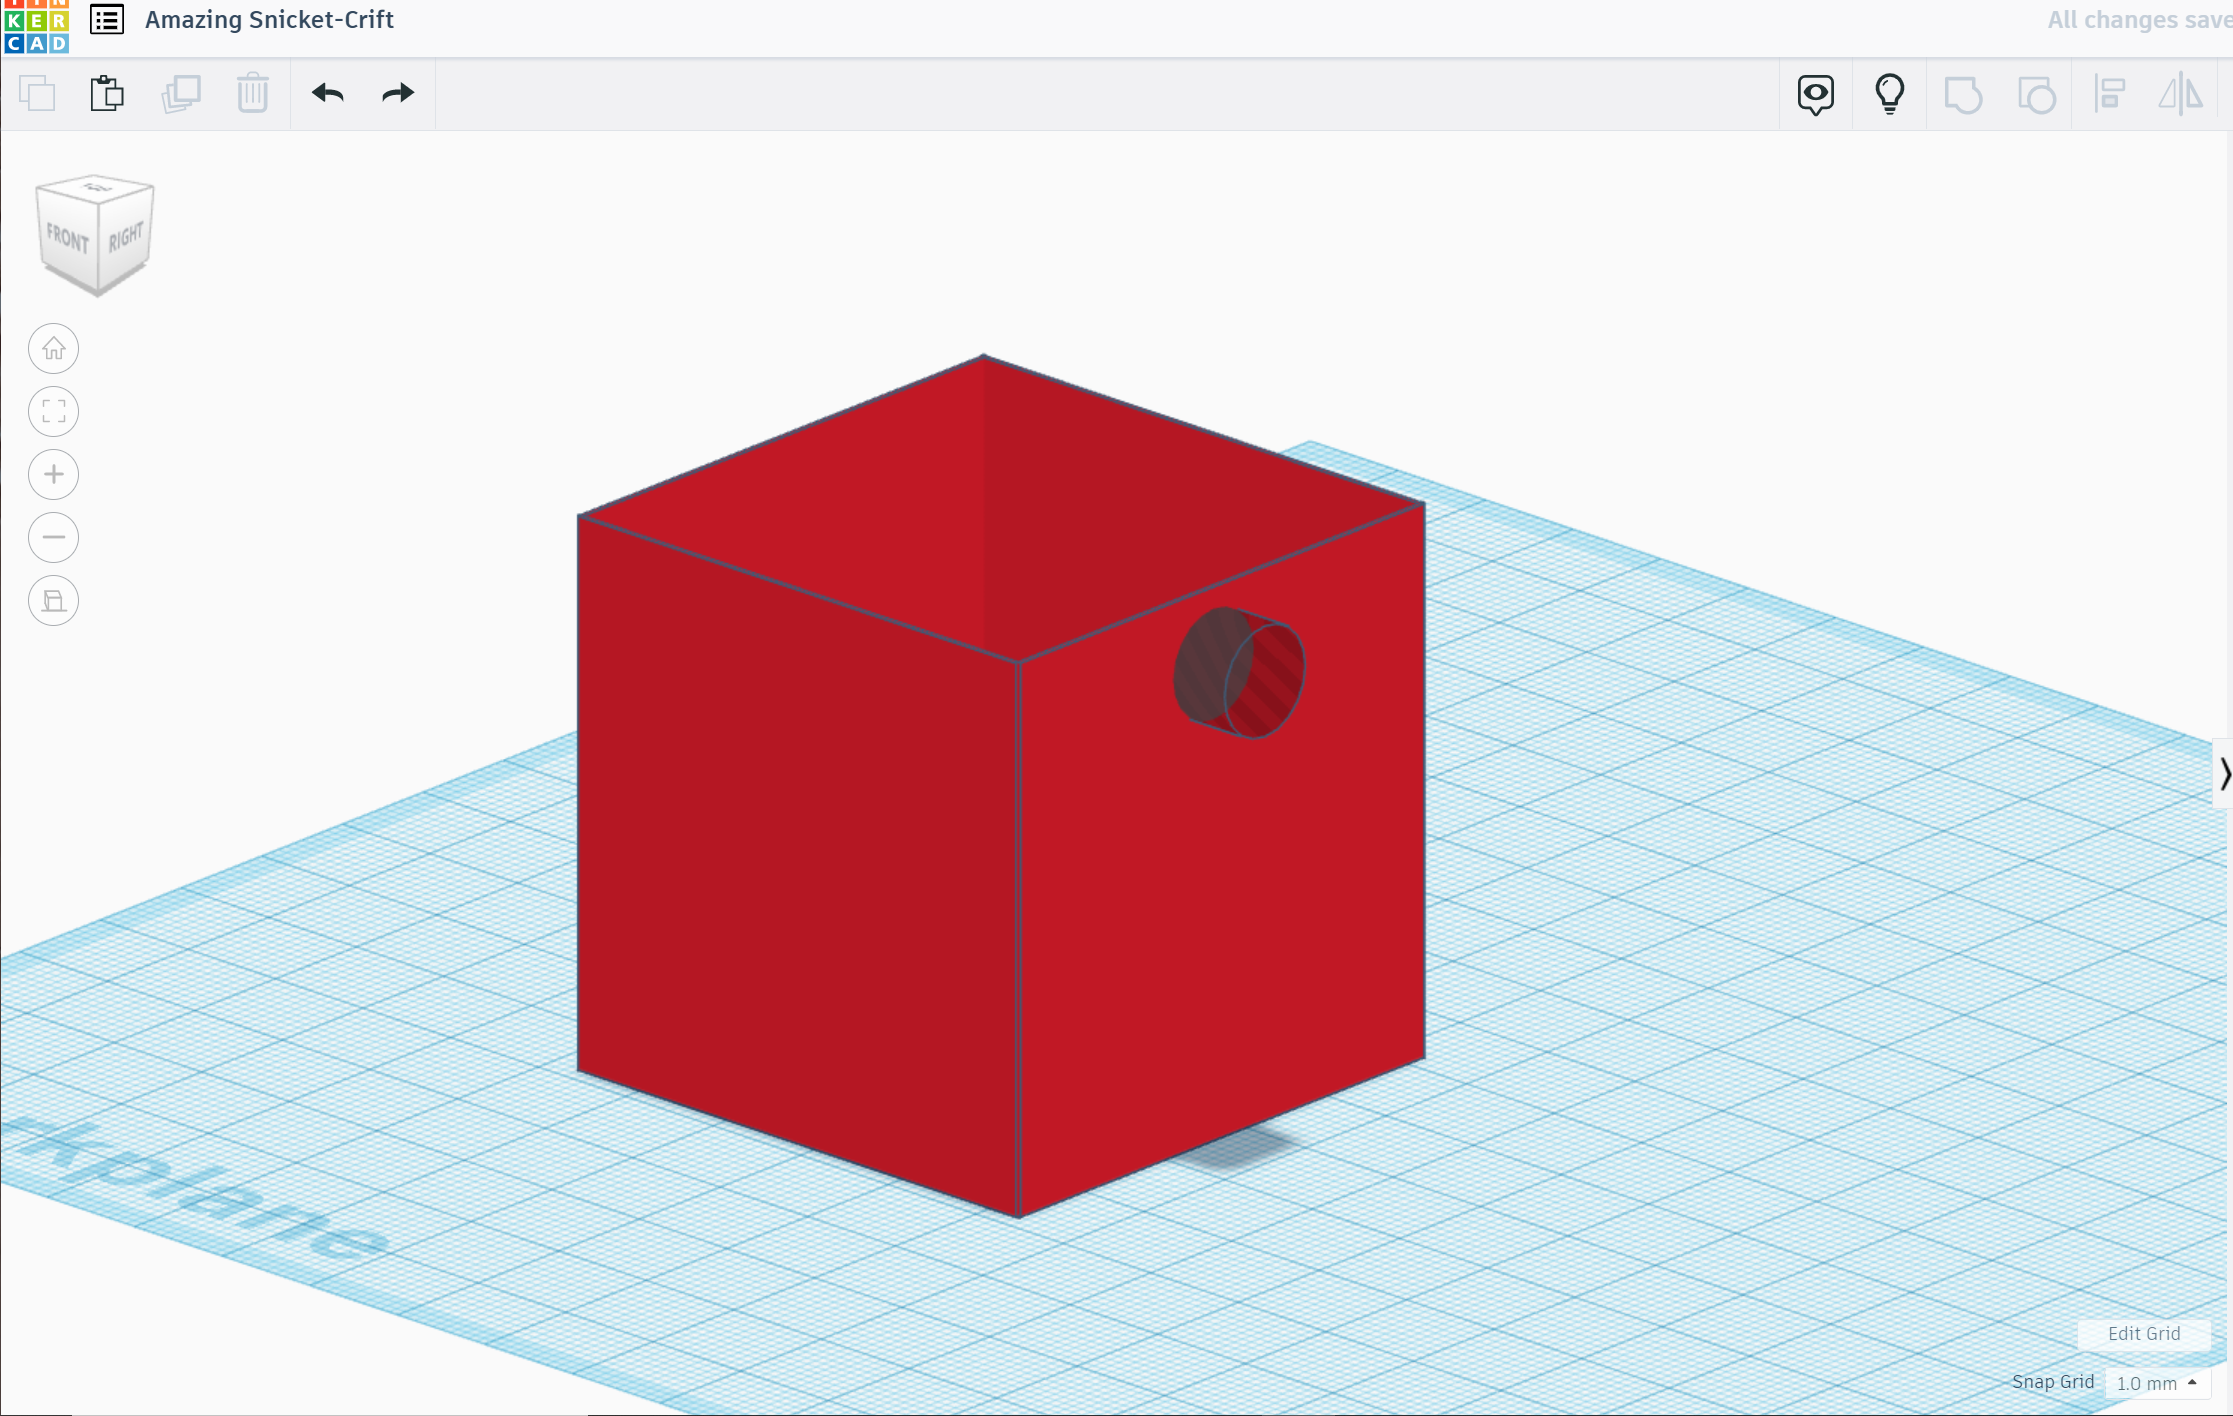
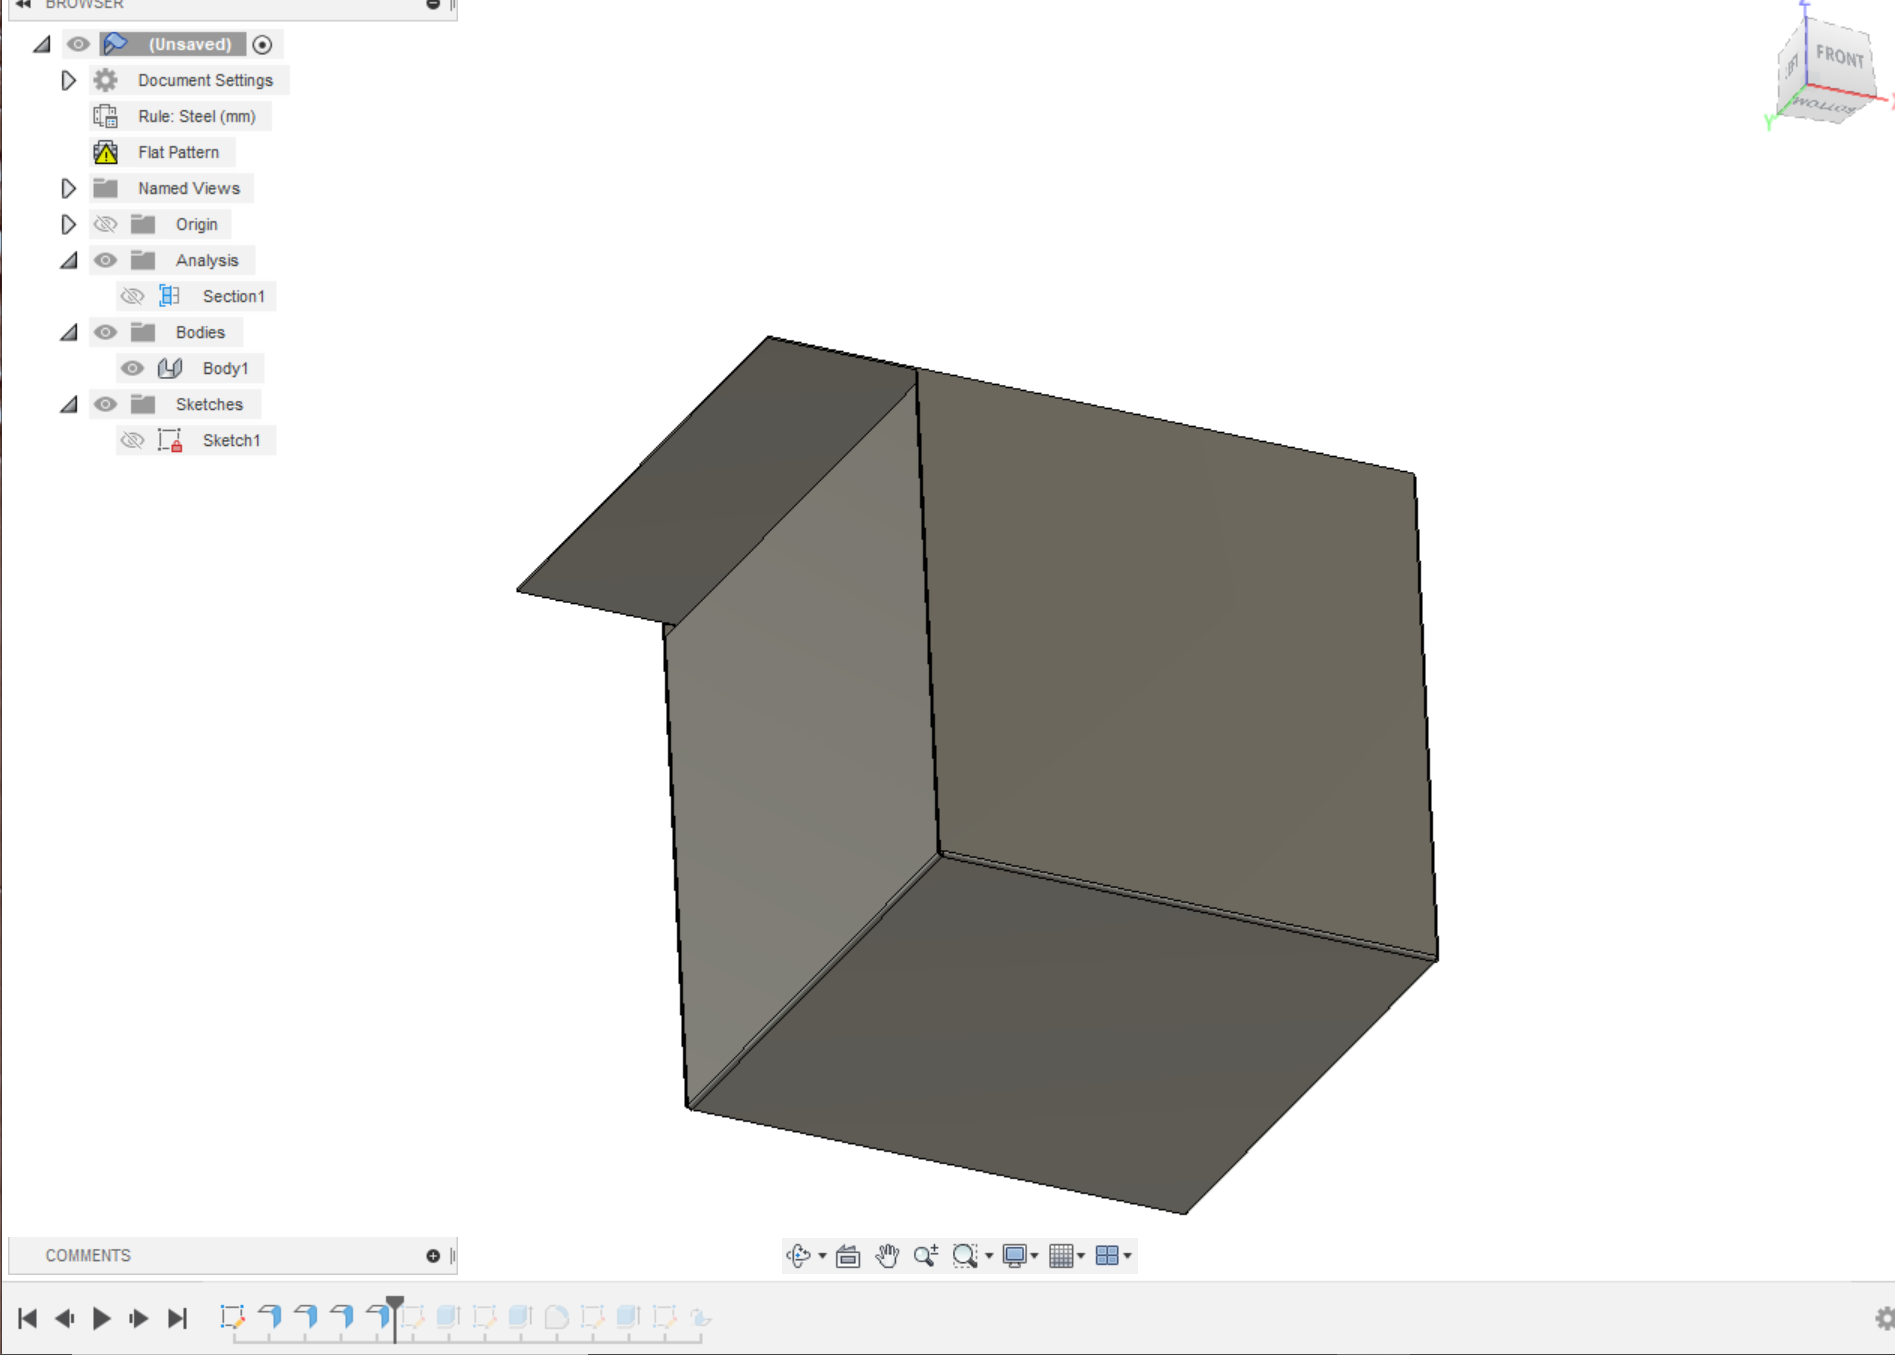
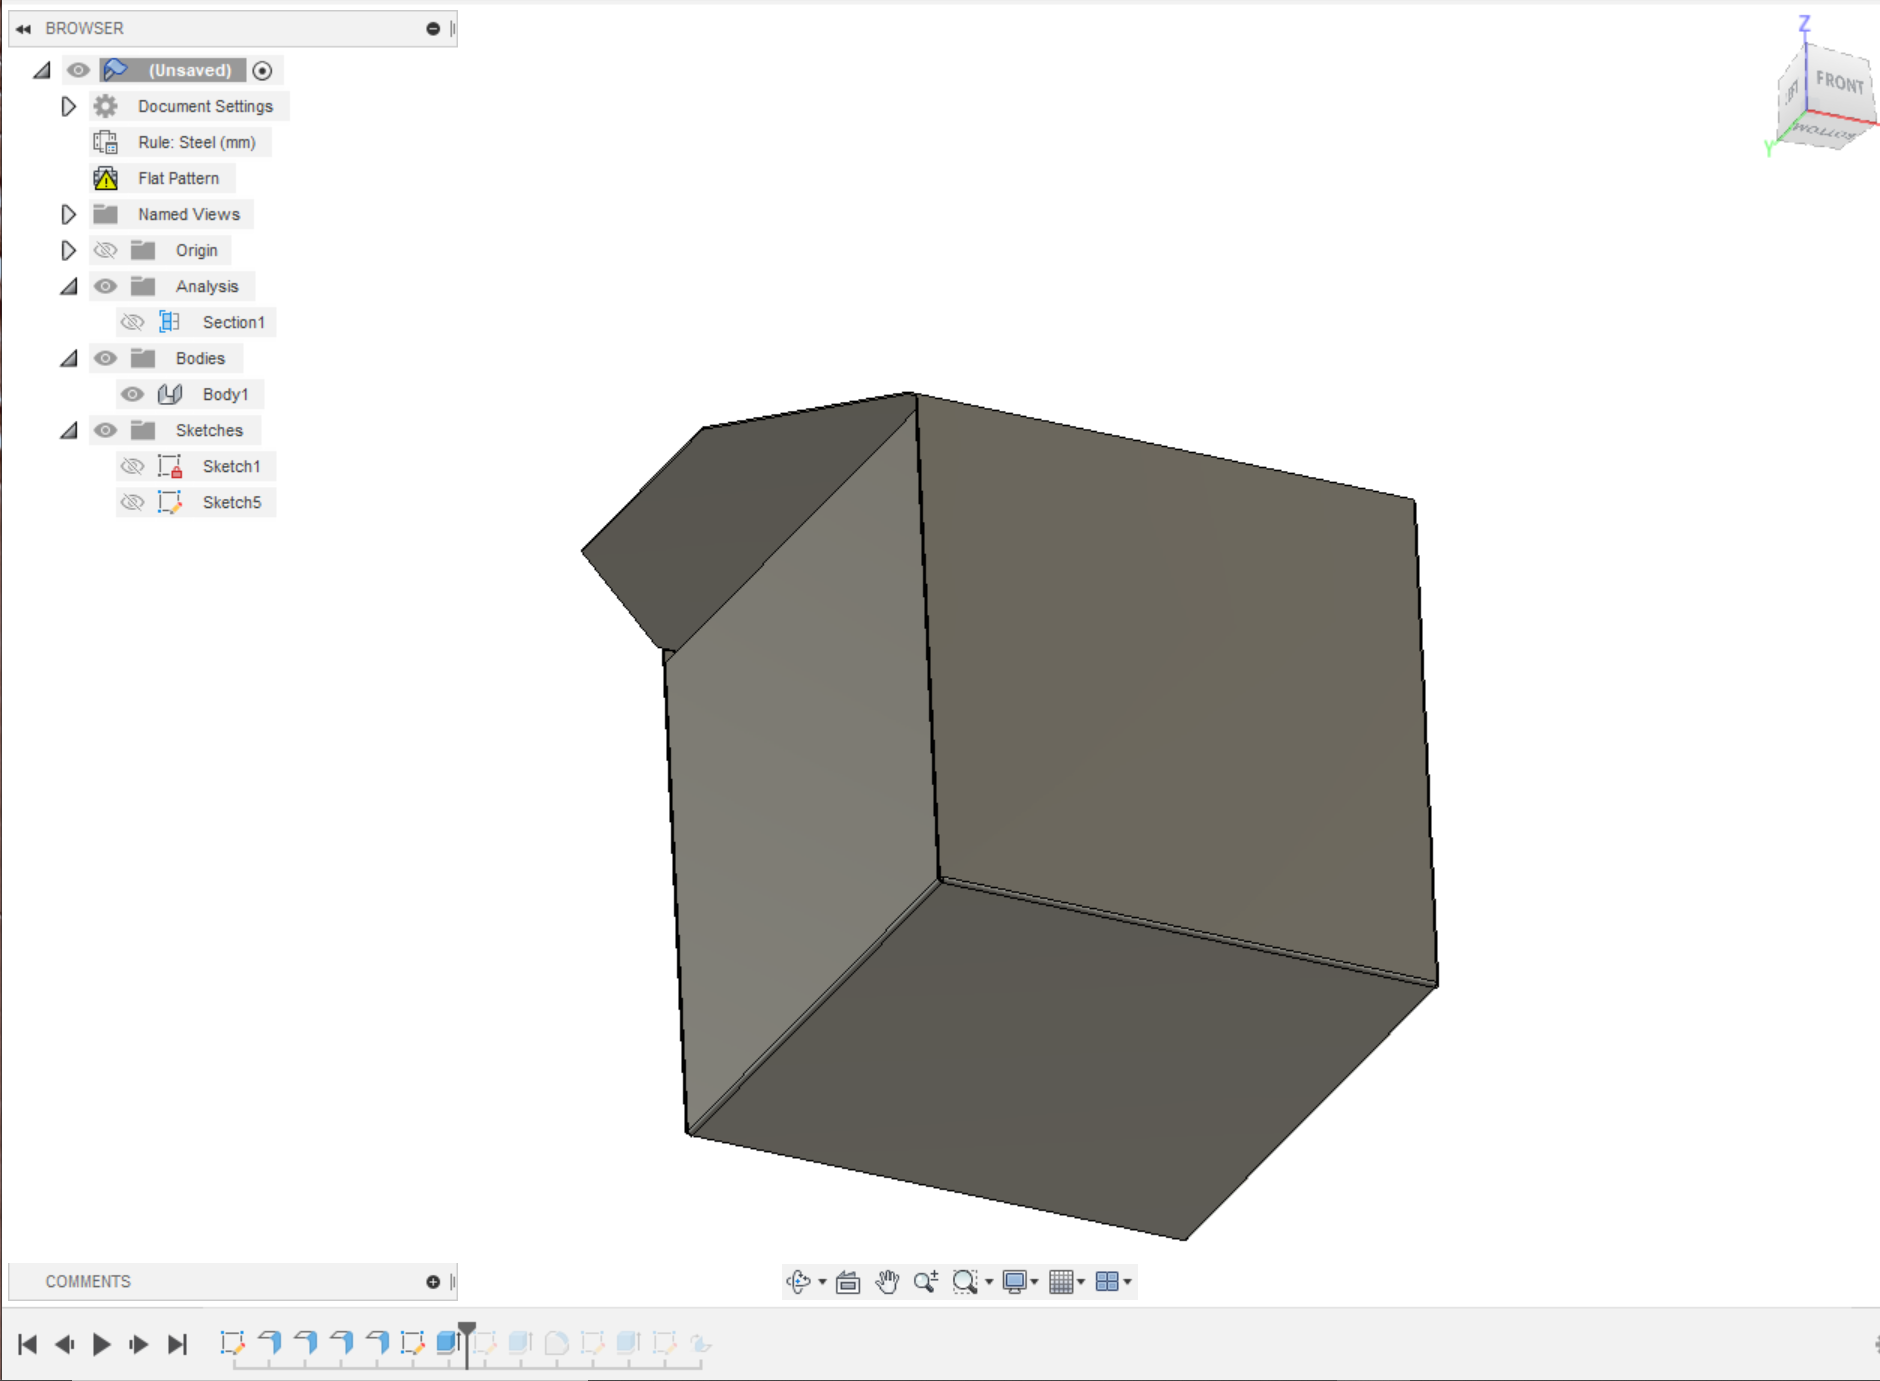
The thin wall box is like a sheet metal box. there is a small paper sheet and we fold it to make a box out of the flat sheet.
For advanced design, I use fusion360 to make boxes.
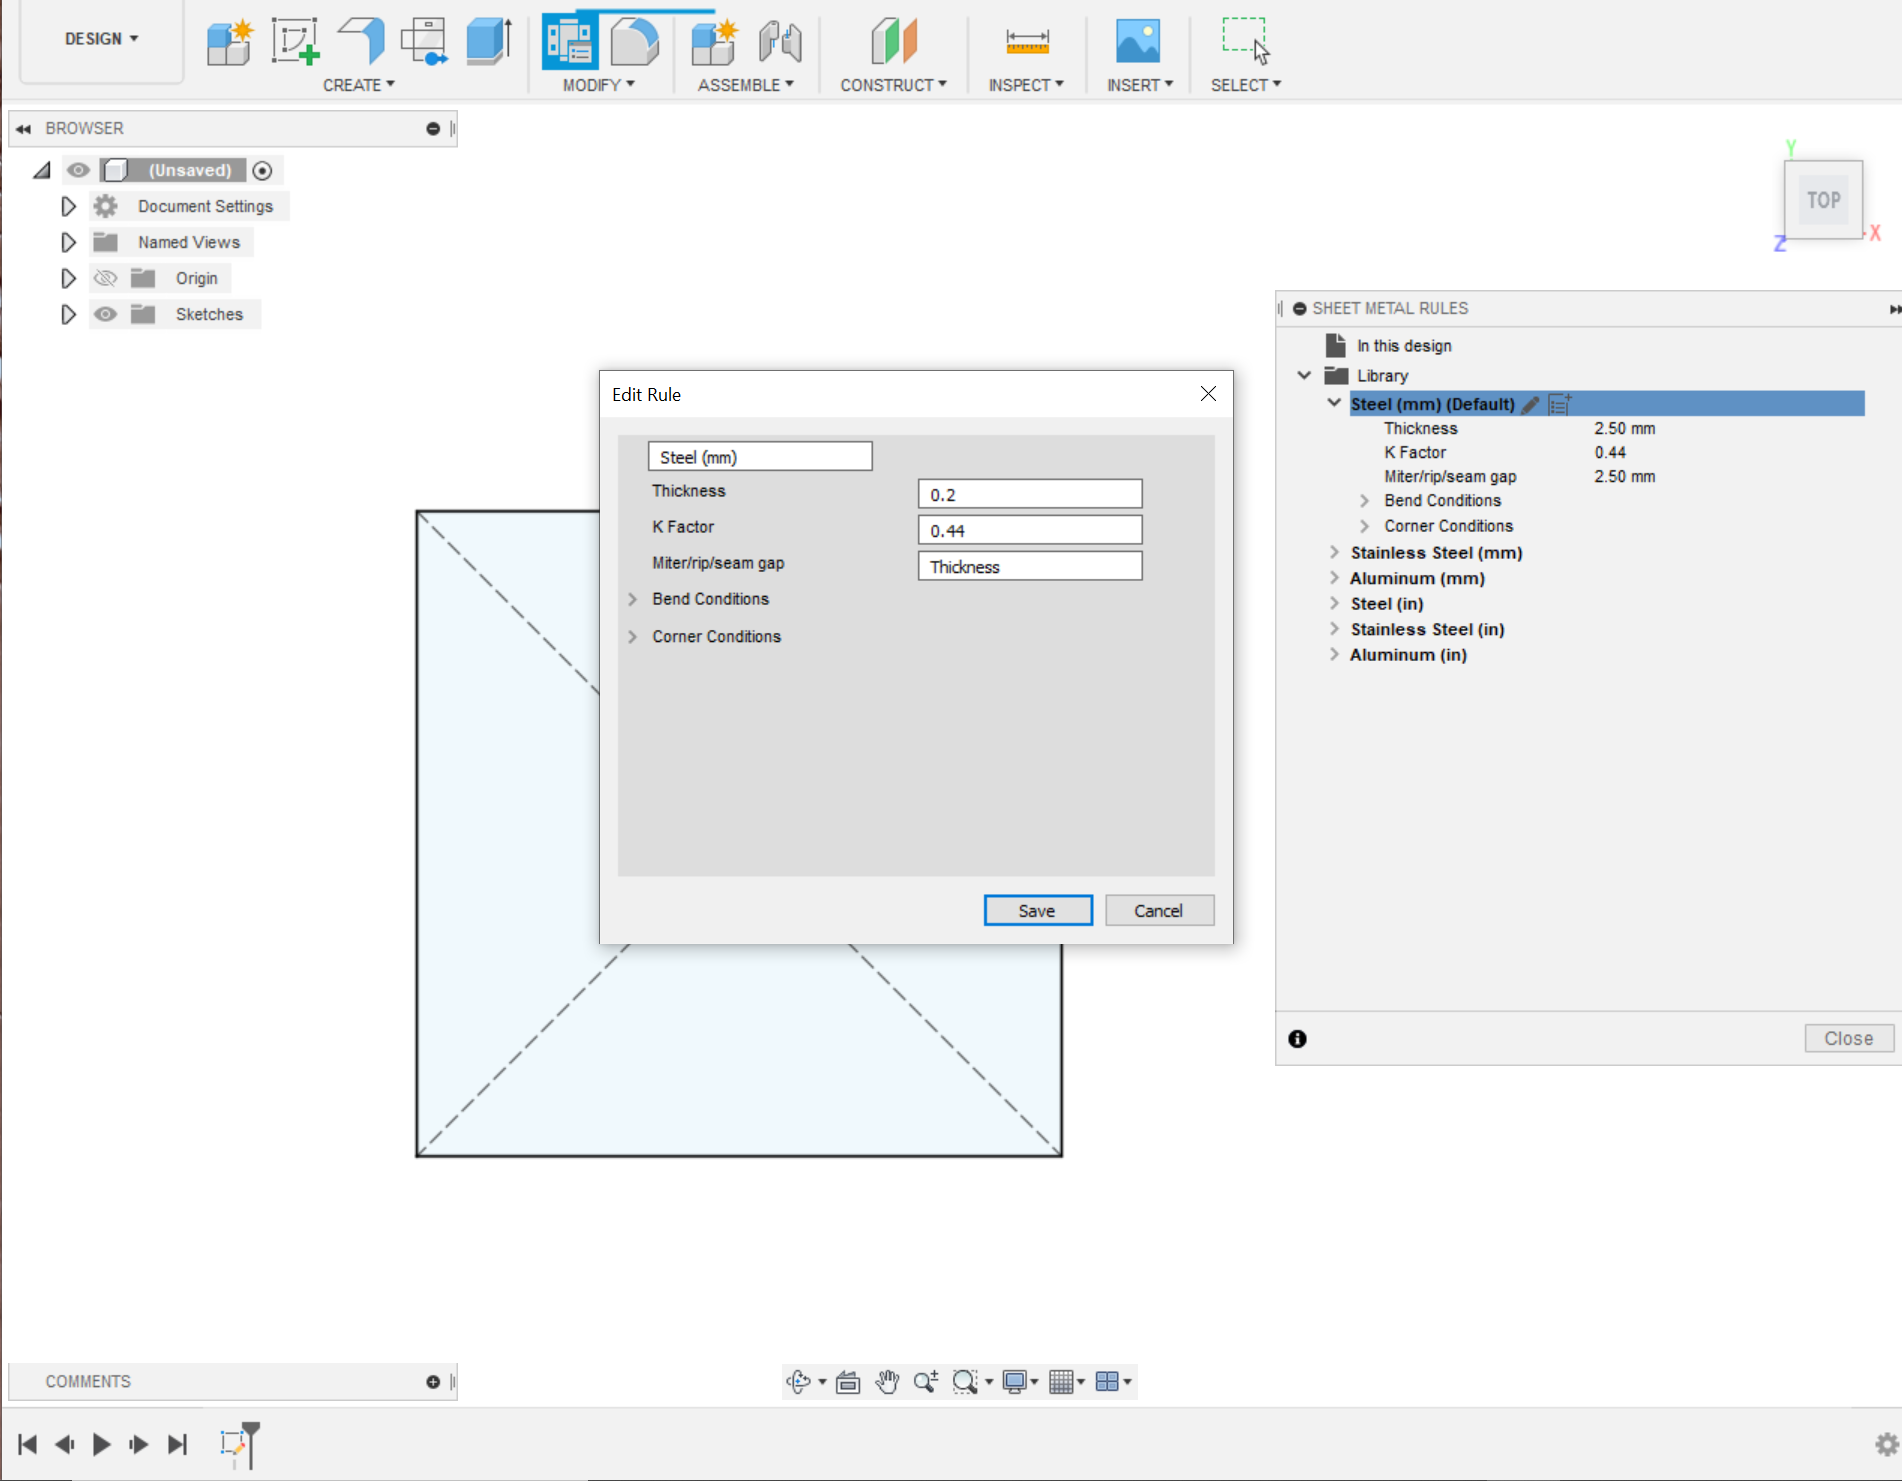
Use fusion360 sheet metal workspace to make a box and export that flat pattern body for 3d printing.
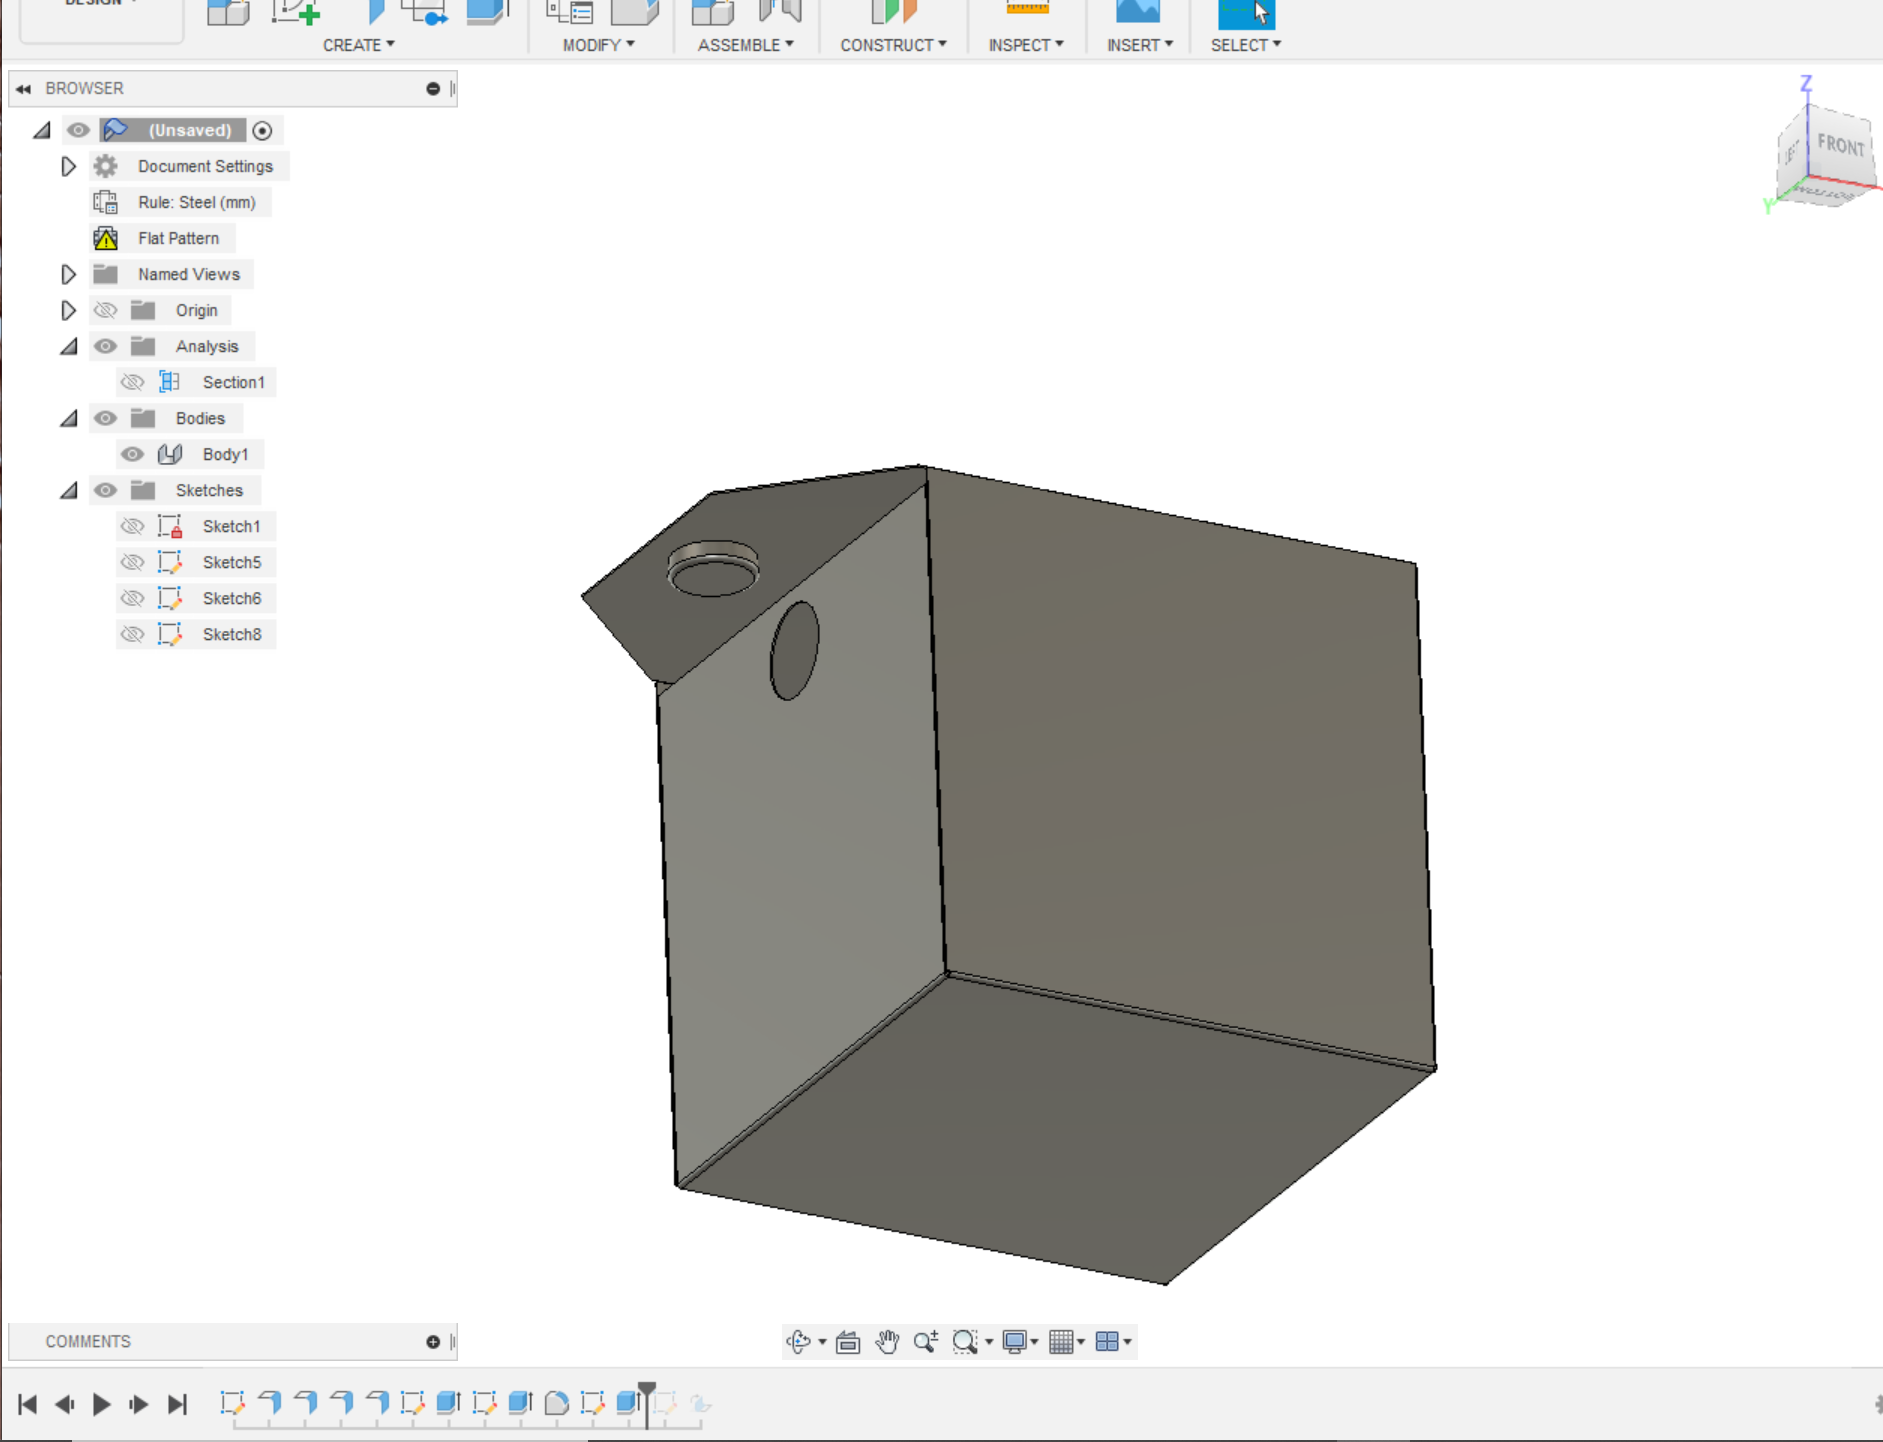
- First, i choose a sheet metal workspace and draw a square size of 50x50mm.
- then use the flange command to make the sheet metal part.
- To define sheet metal thickness I select sheet metal rules and modify steel thickness to 0.3mm.
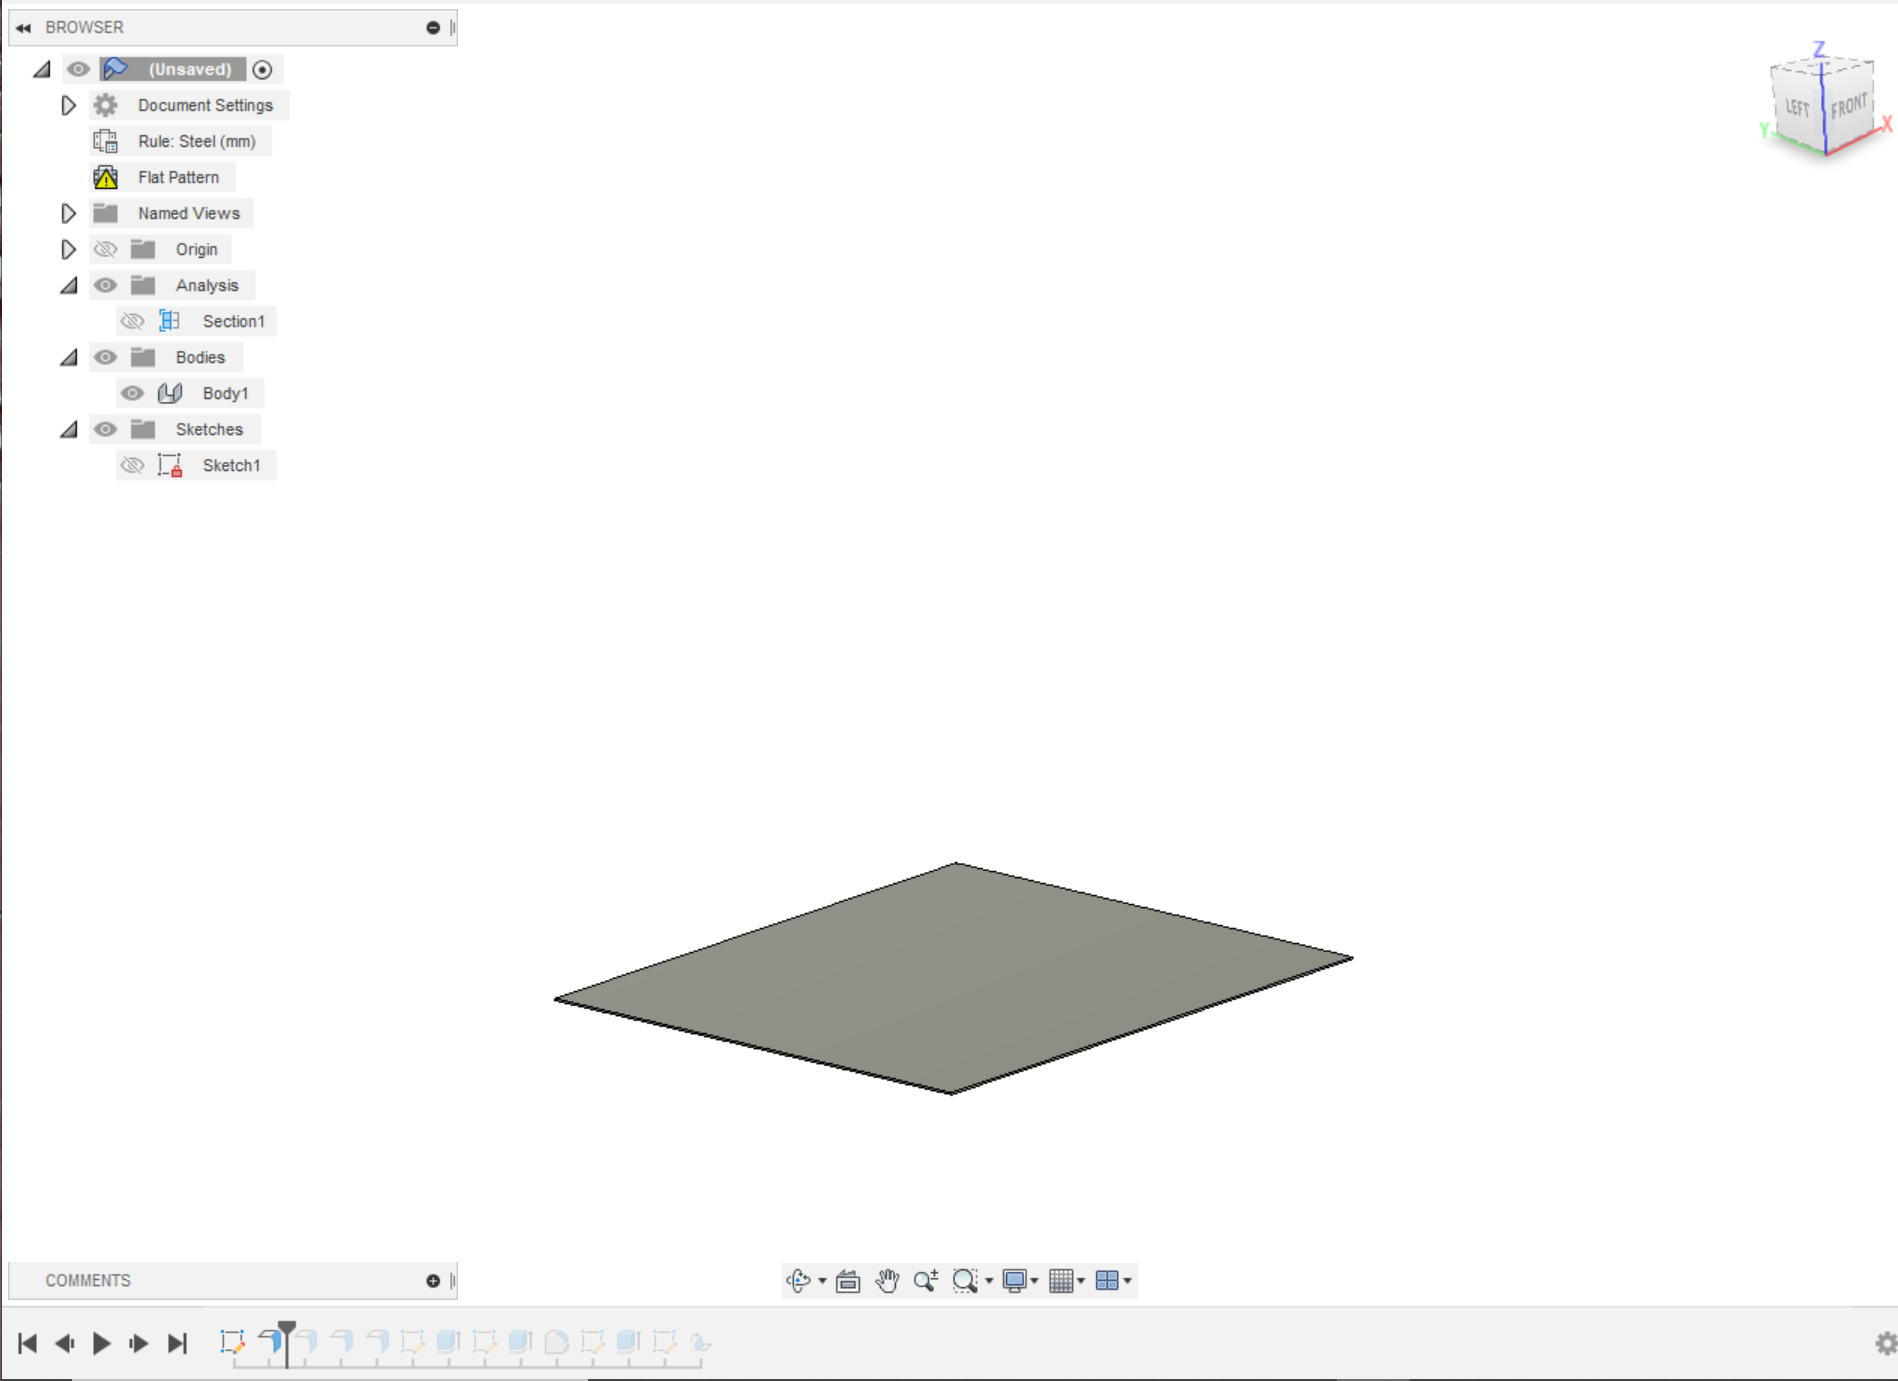
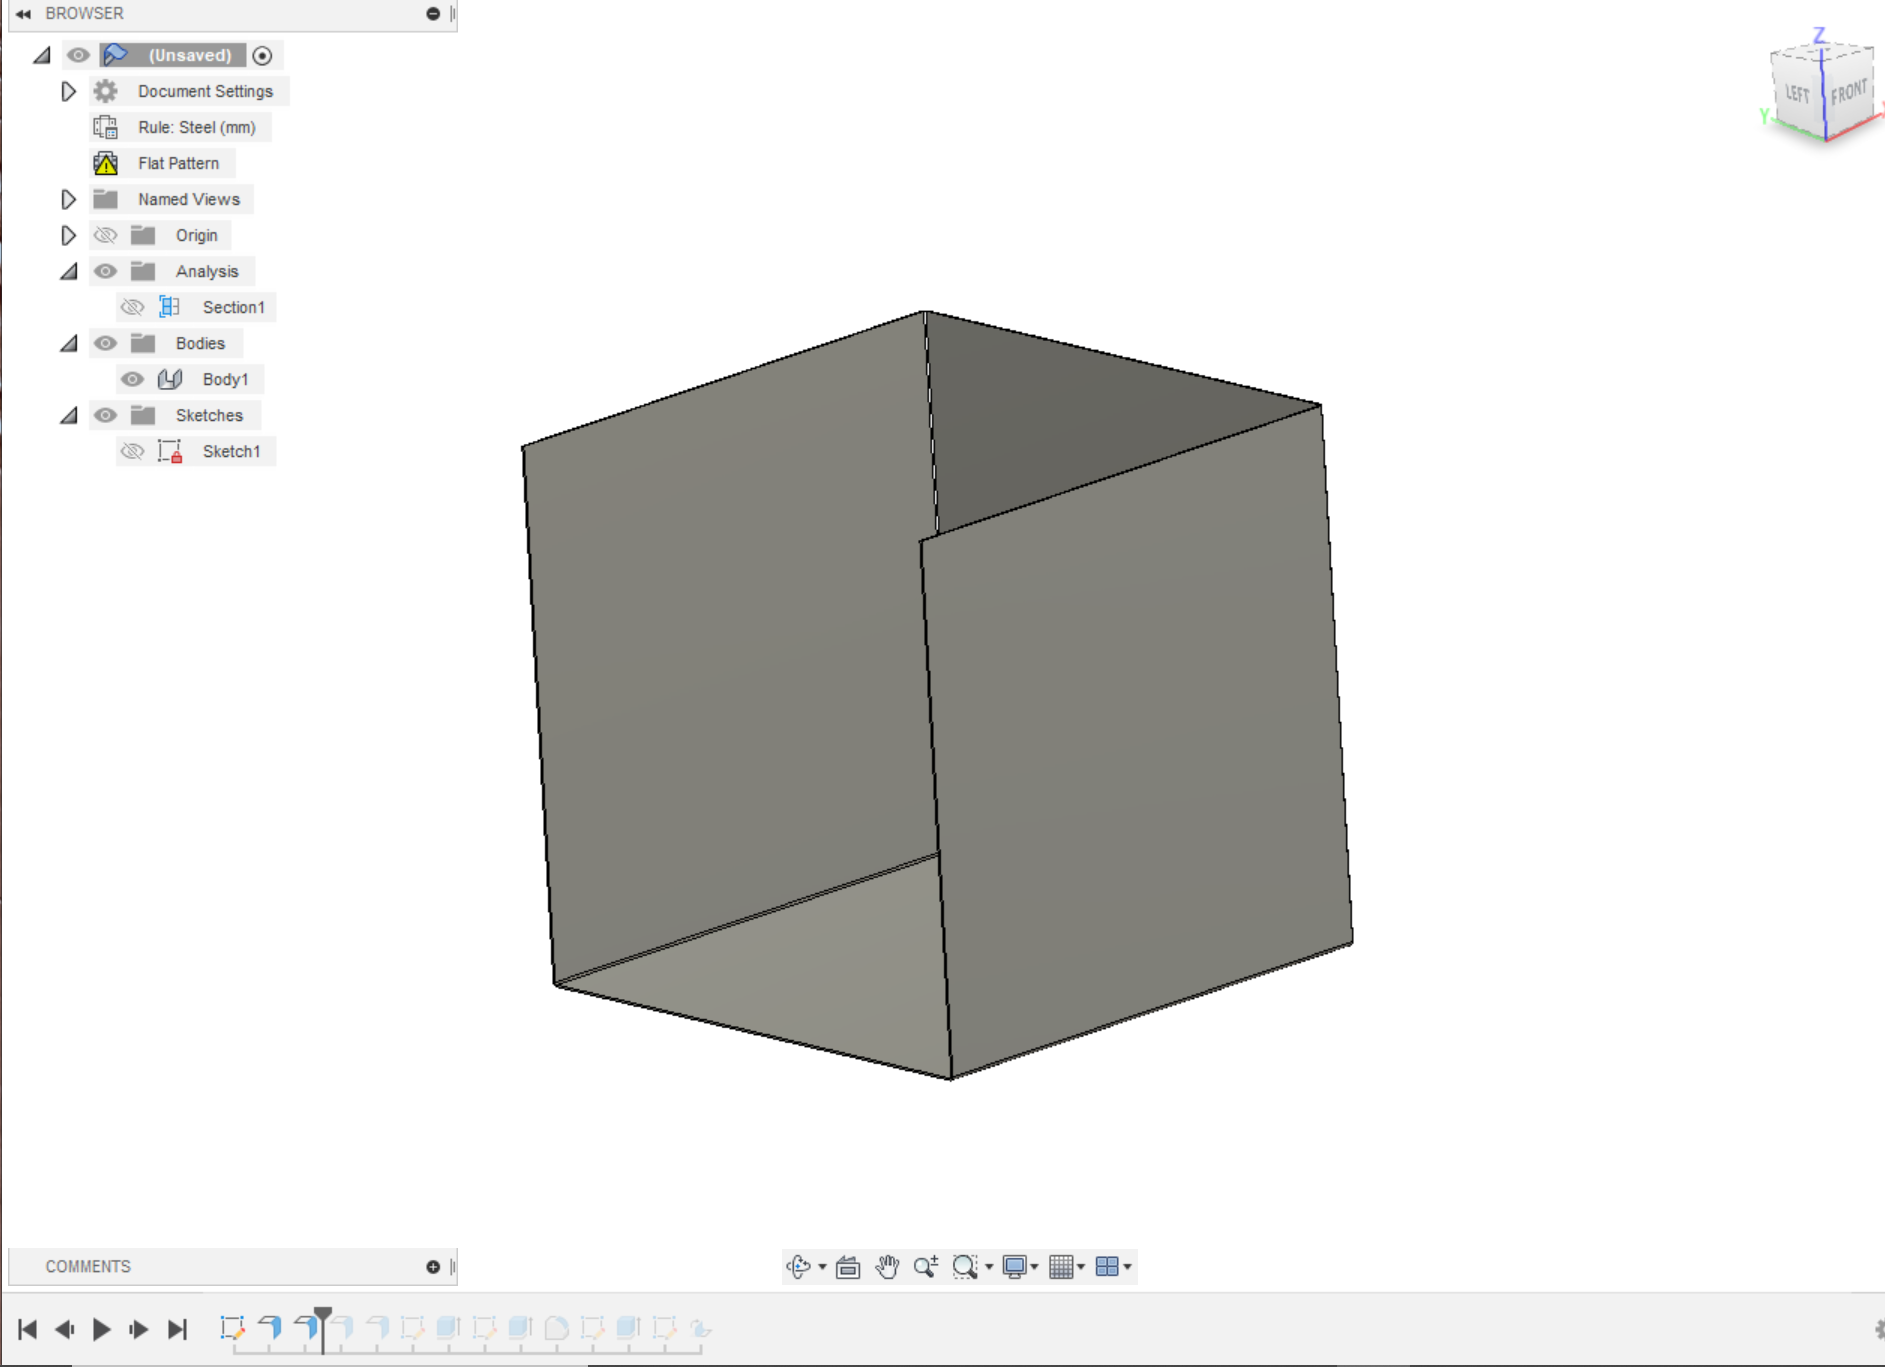
- Use the flange command to extrude the outer 4 side wall at 50mm in height.
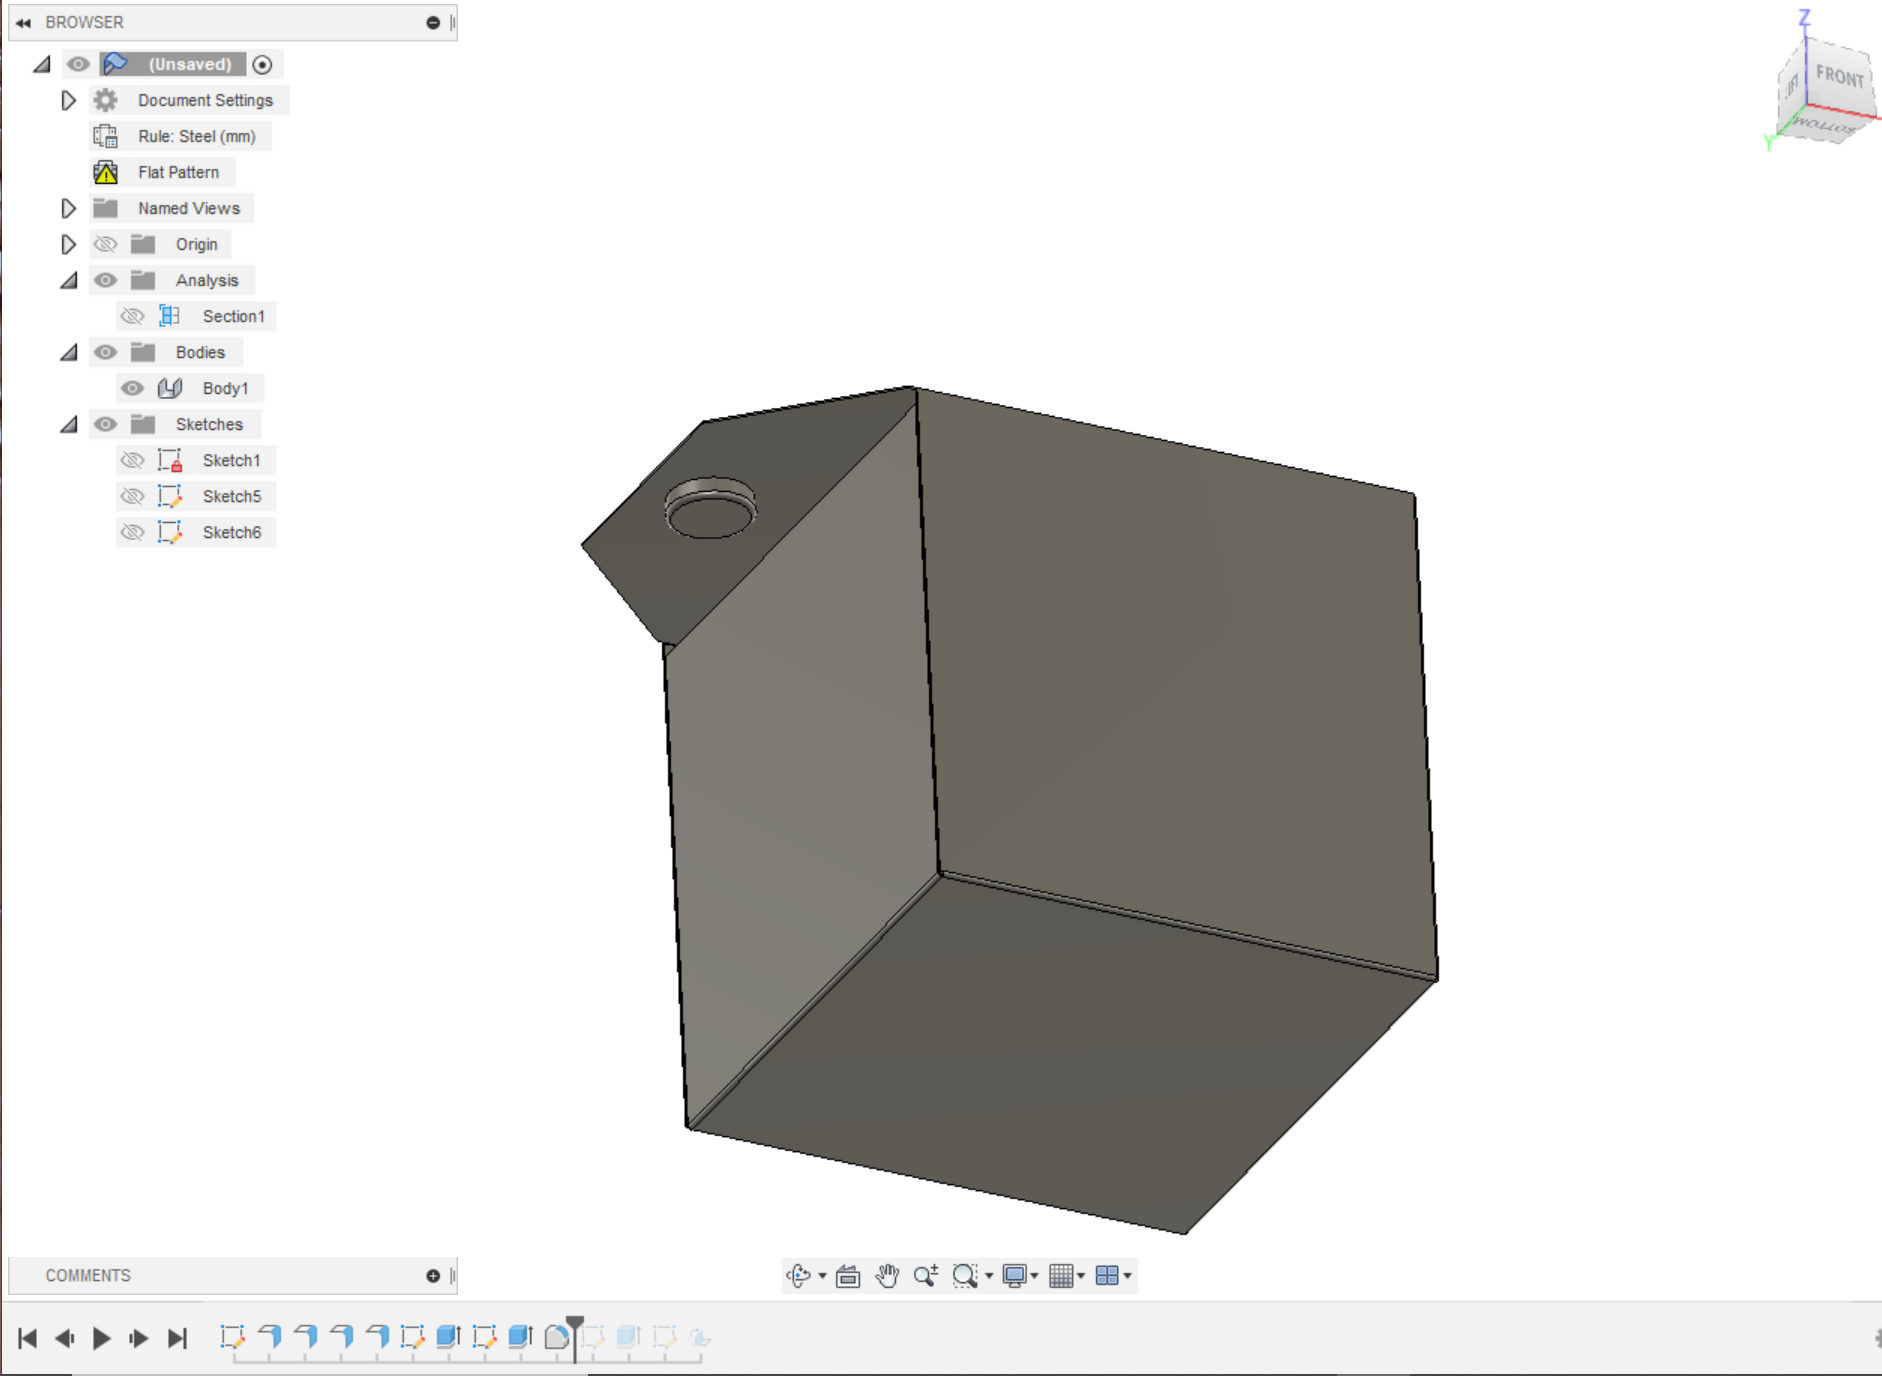
- Use the flange command and select the backside edge of the vertical wall and extrude 90 degrees and 51 mm from the back wall.
- use the sketch on the top side to create a flapper on the top part.
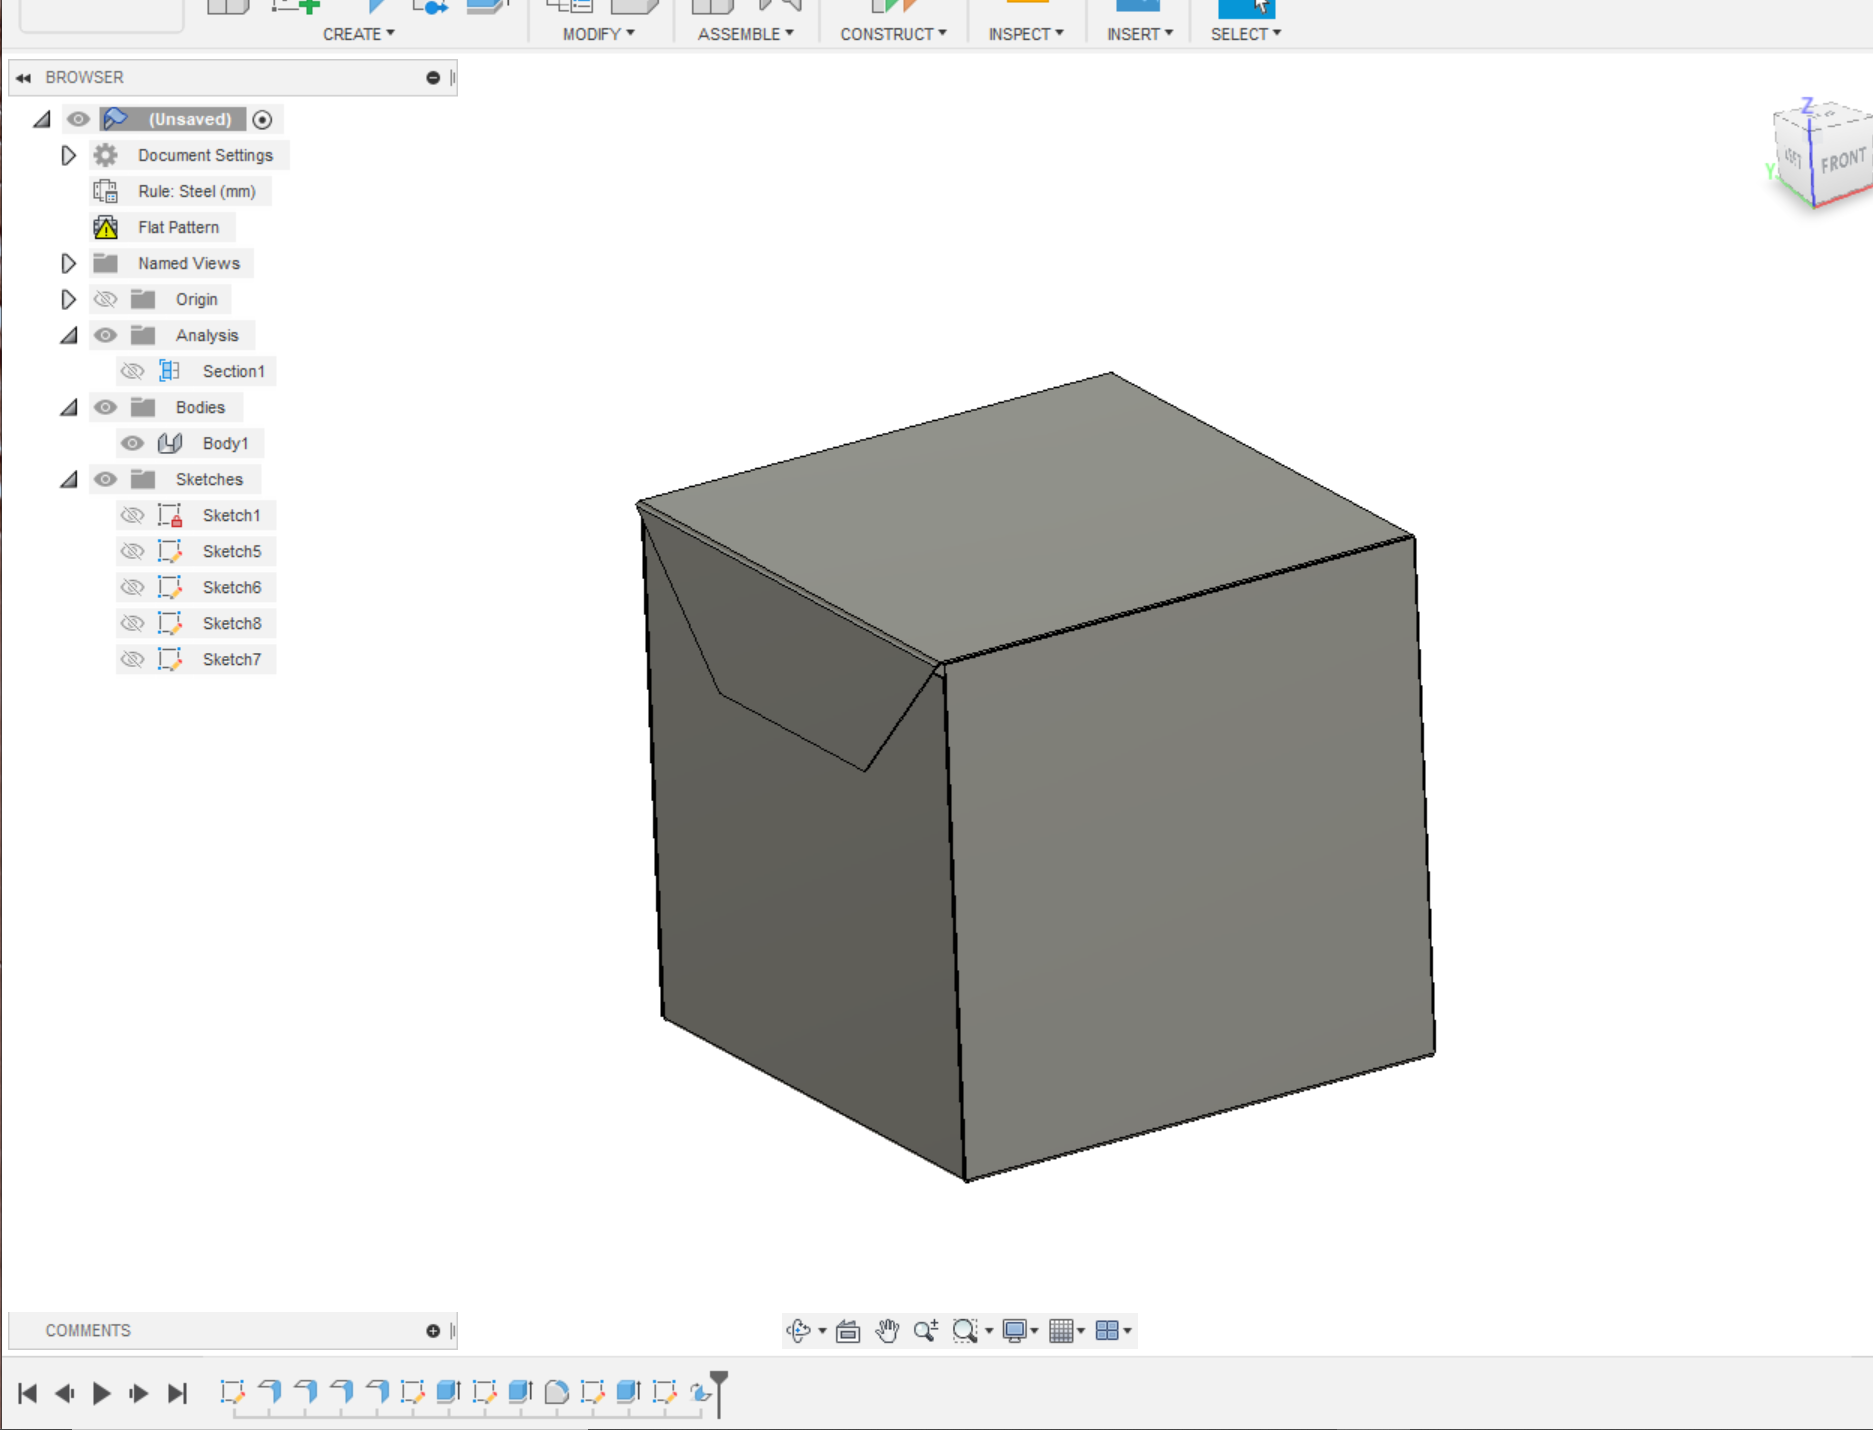
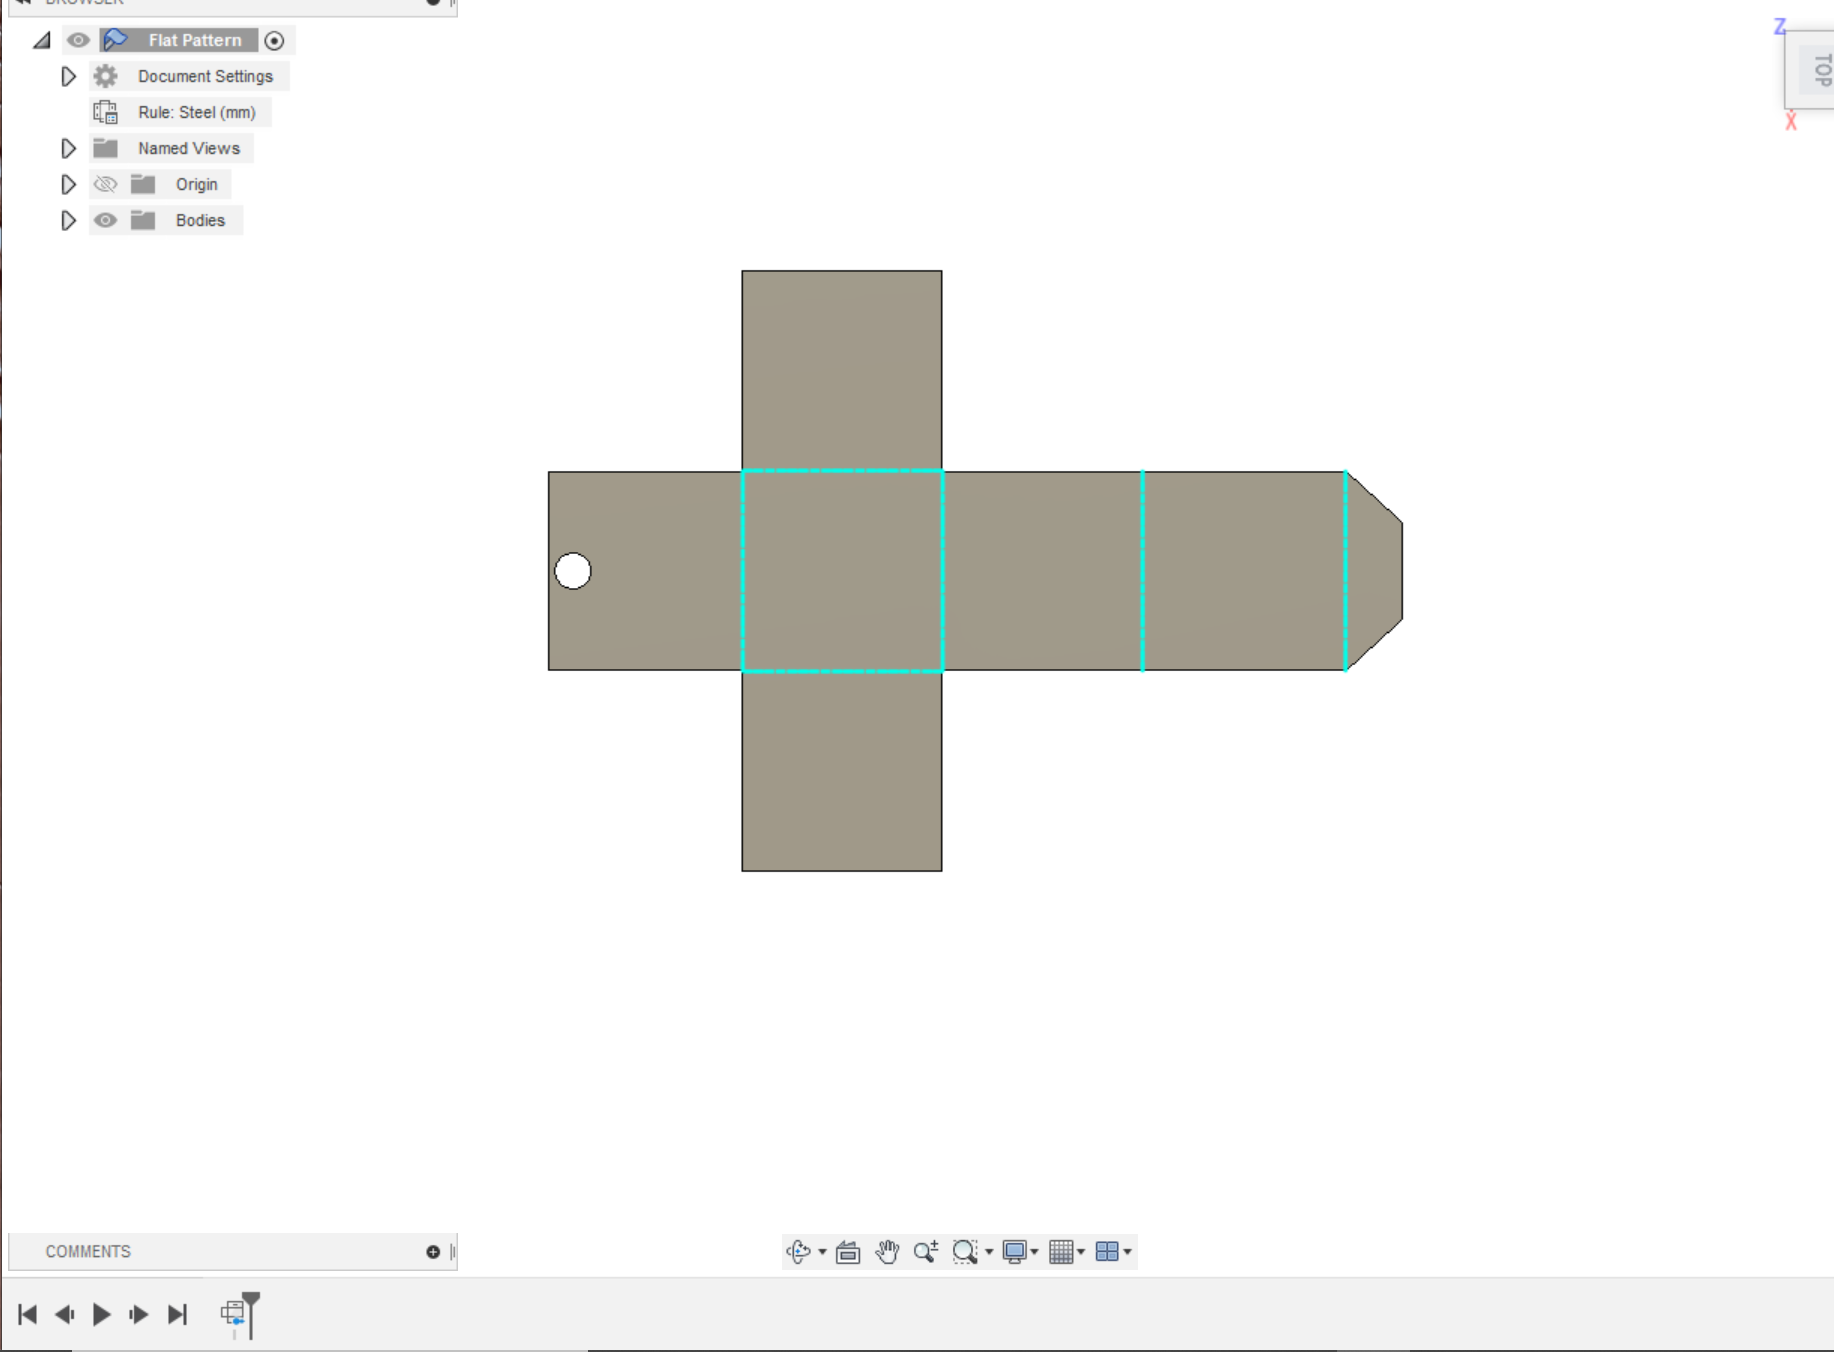
- Use create flat pattern command to unfold our box on a flat sheet.
- Generate an offset plane on 100 mm and project a flat pattern on it.
- Use extrude command to extrude a flat pattern sketch to 0.3mm.
- Export same body in Stl file for 3d printing.
Downloads
Design Drawing.
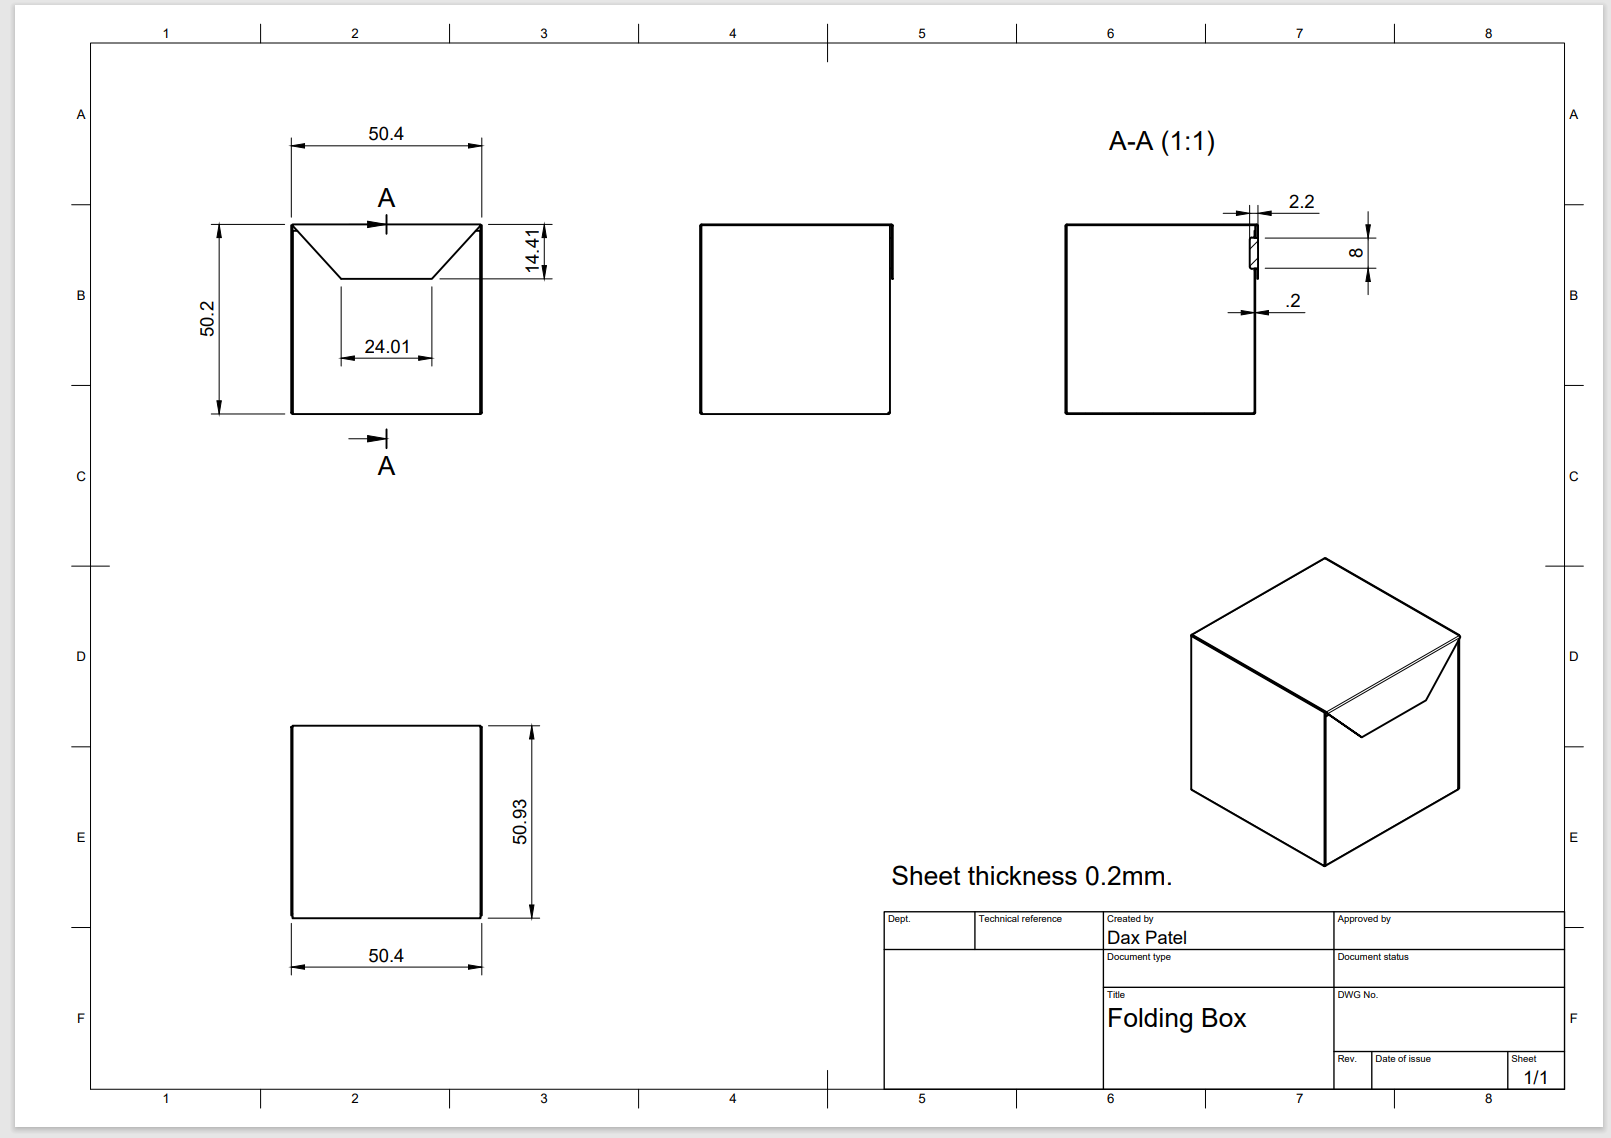
Using fusion360 we can make Engineering drawings.
After the design, I make engineering drawings for this box to define dimensions for future use.
Downloads
Render in Fusion360
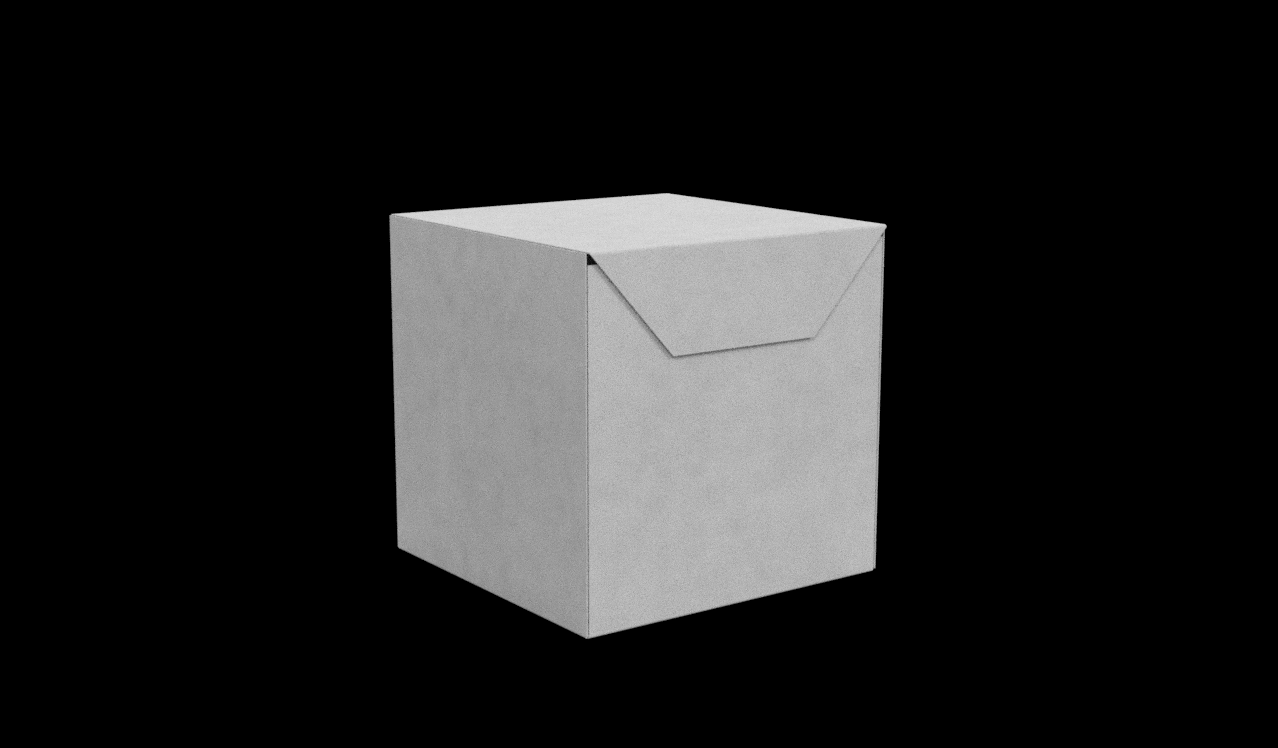

- For Branding Purpose Fusion360 have a very good render engine to make good branding images from various angles, lighting, and environments.
- I use paper material for the box.
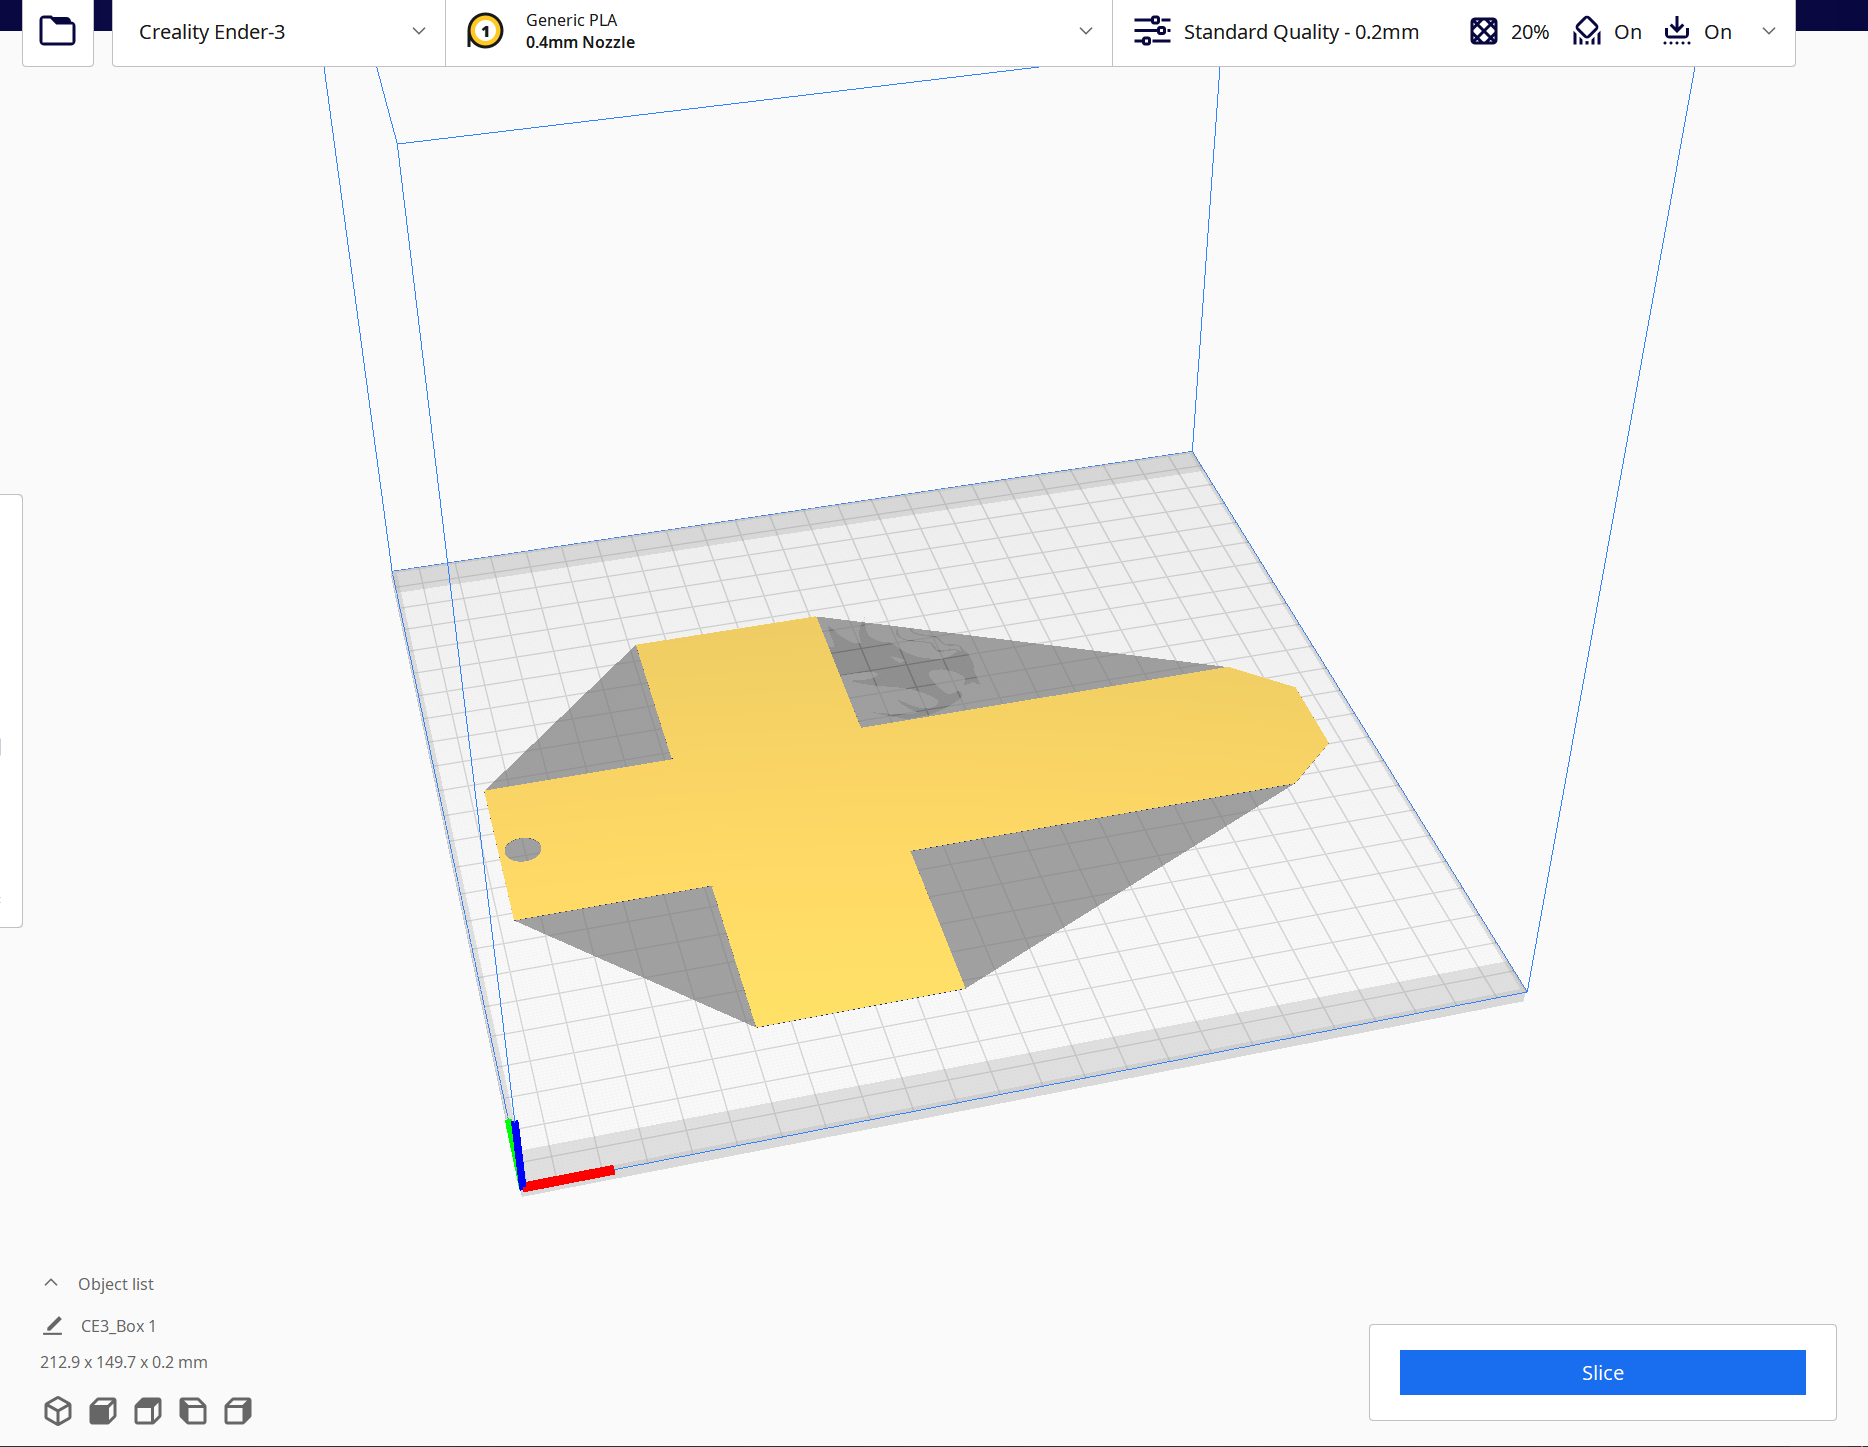
3D Printing.
.png)
.png)
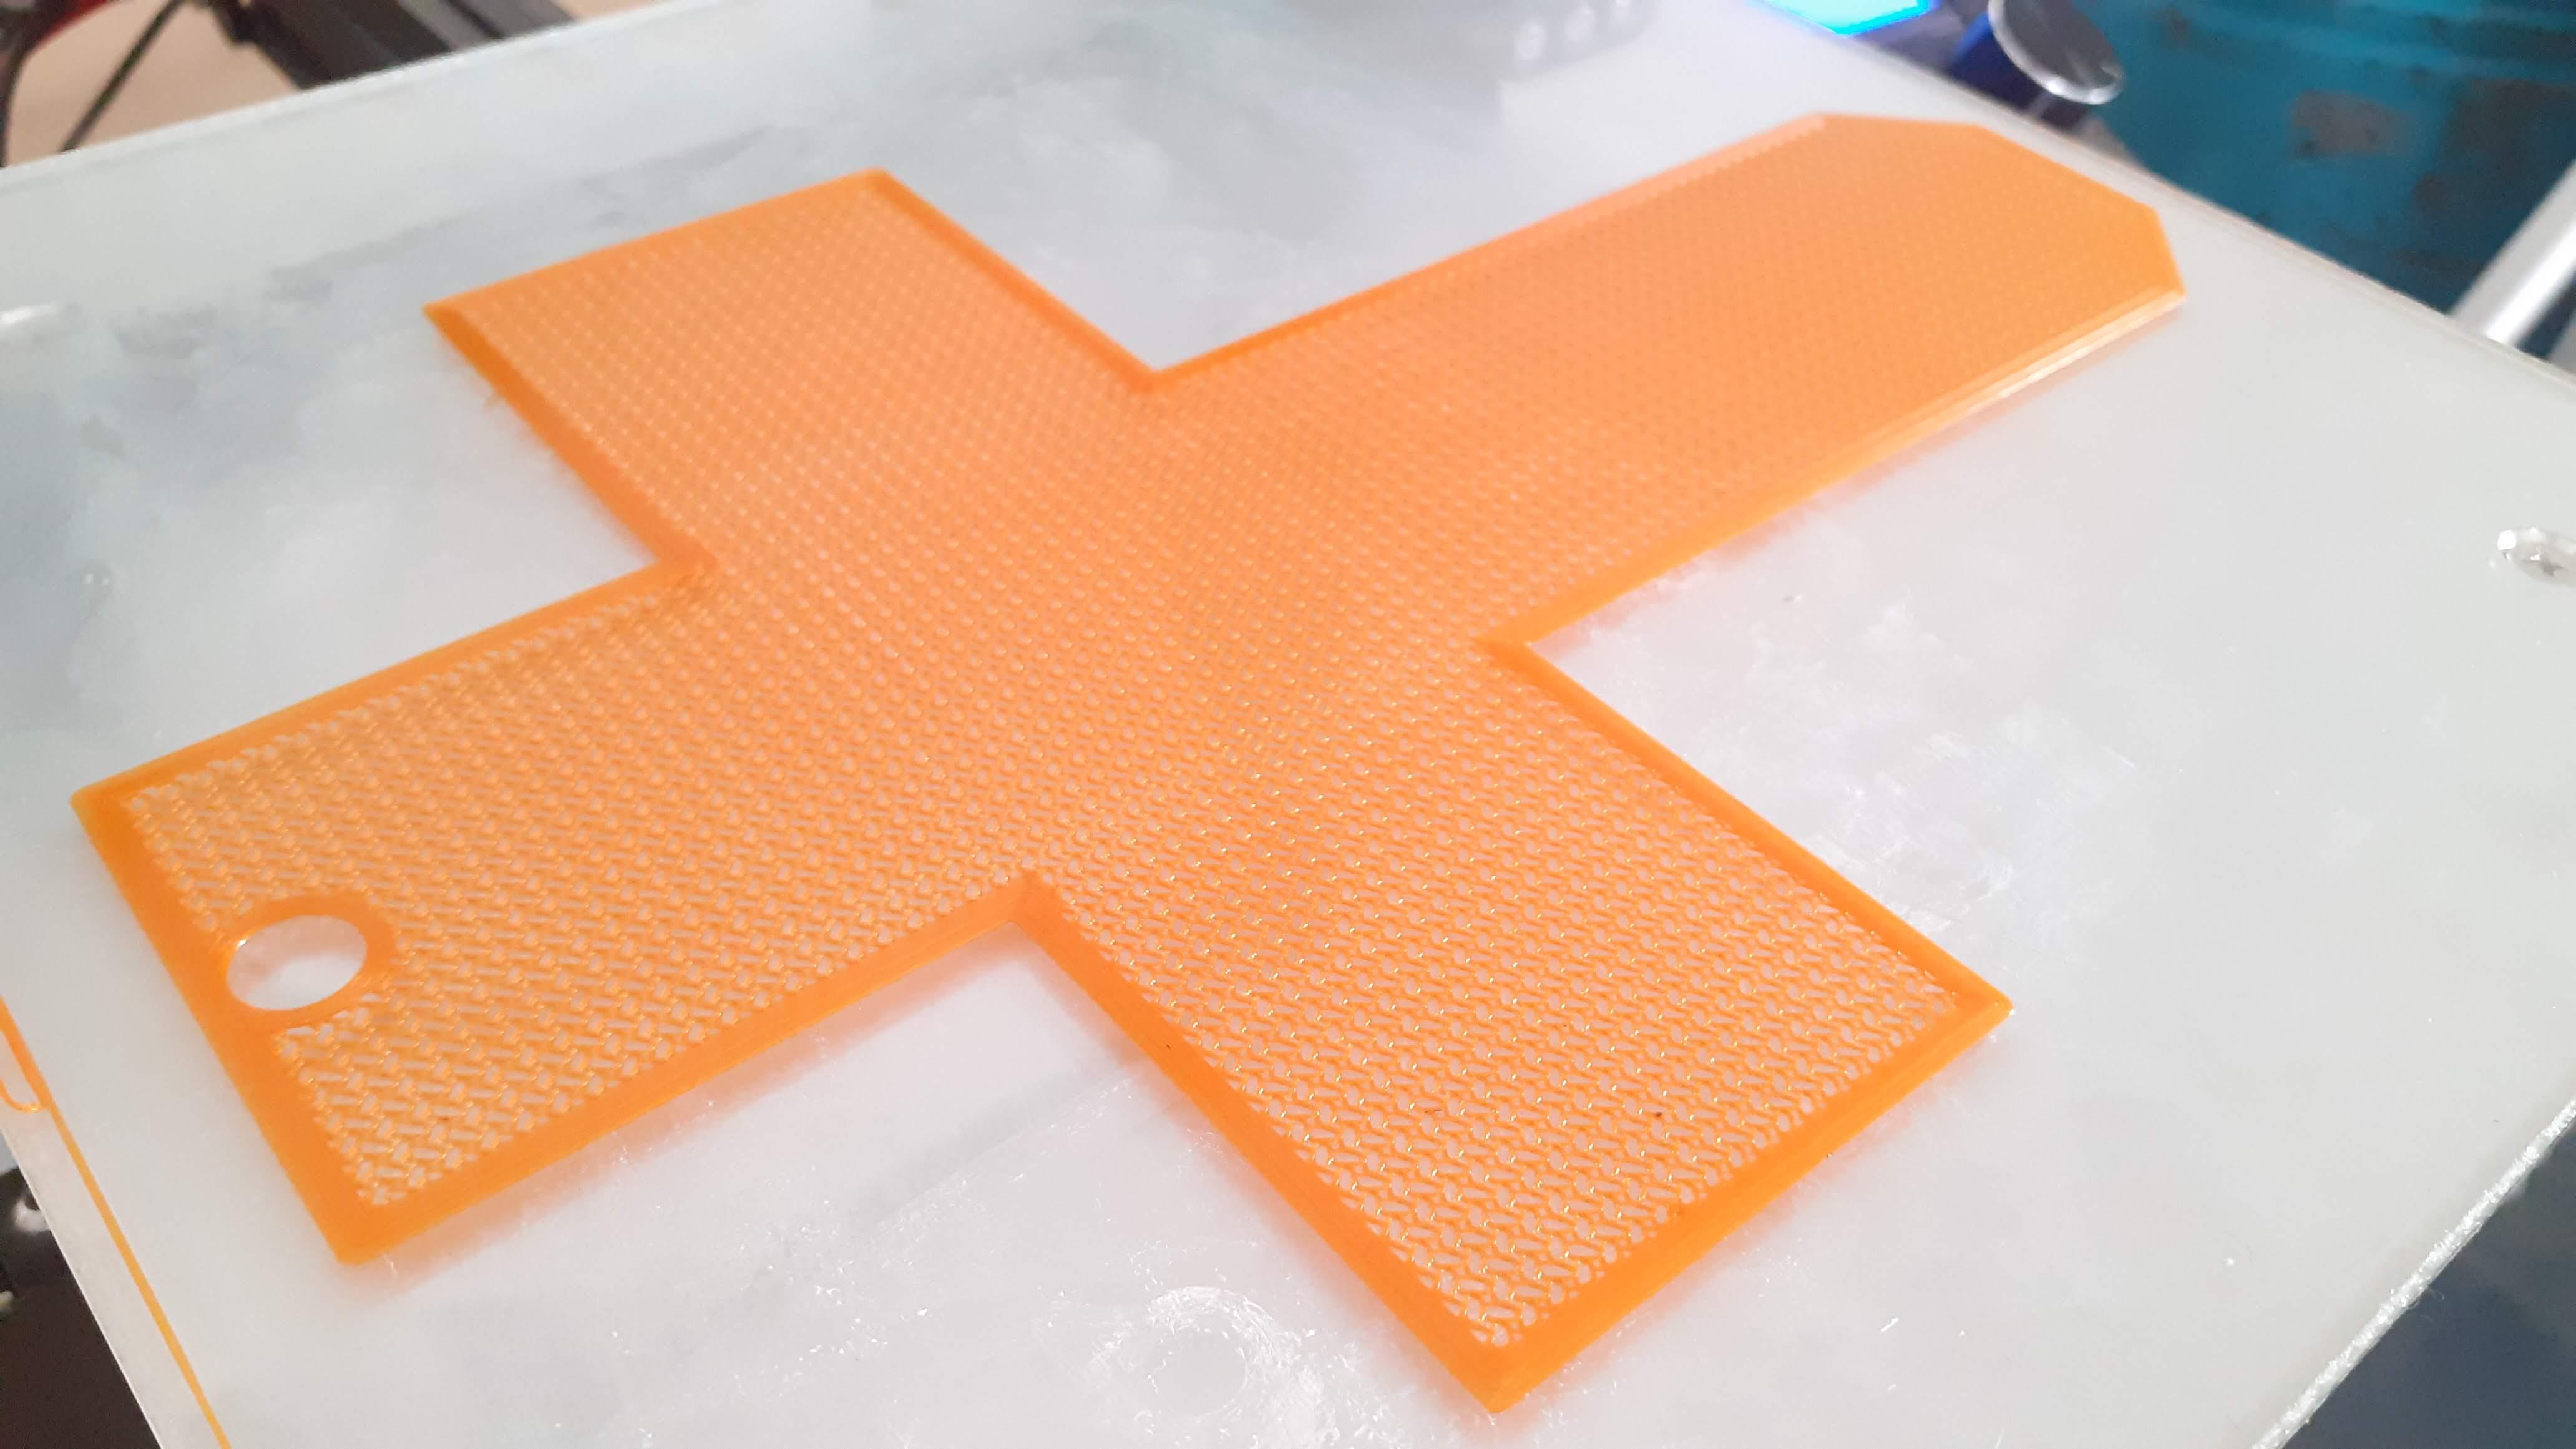
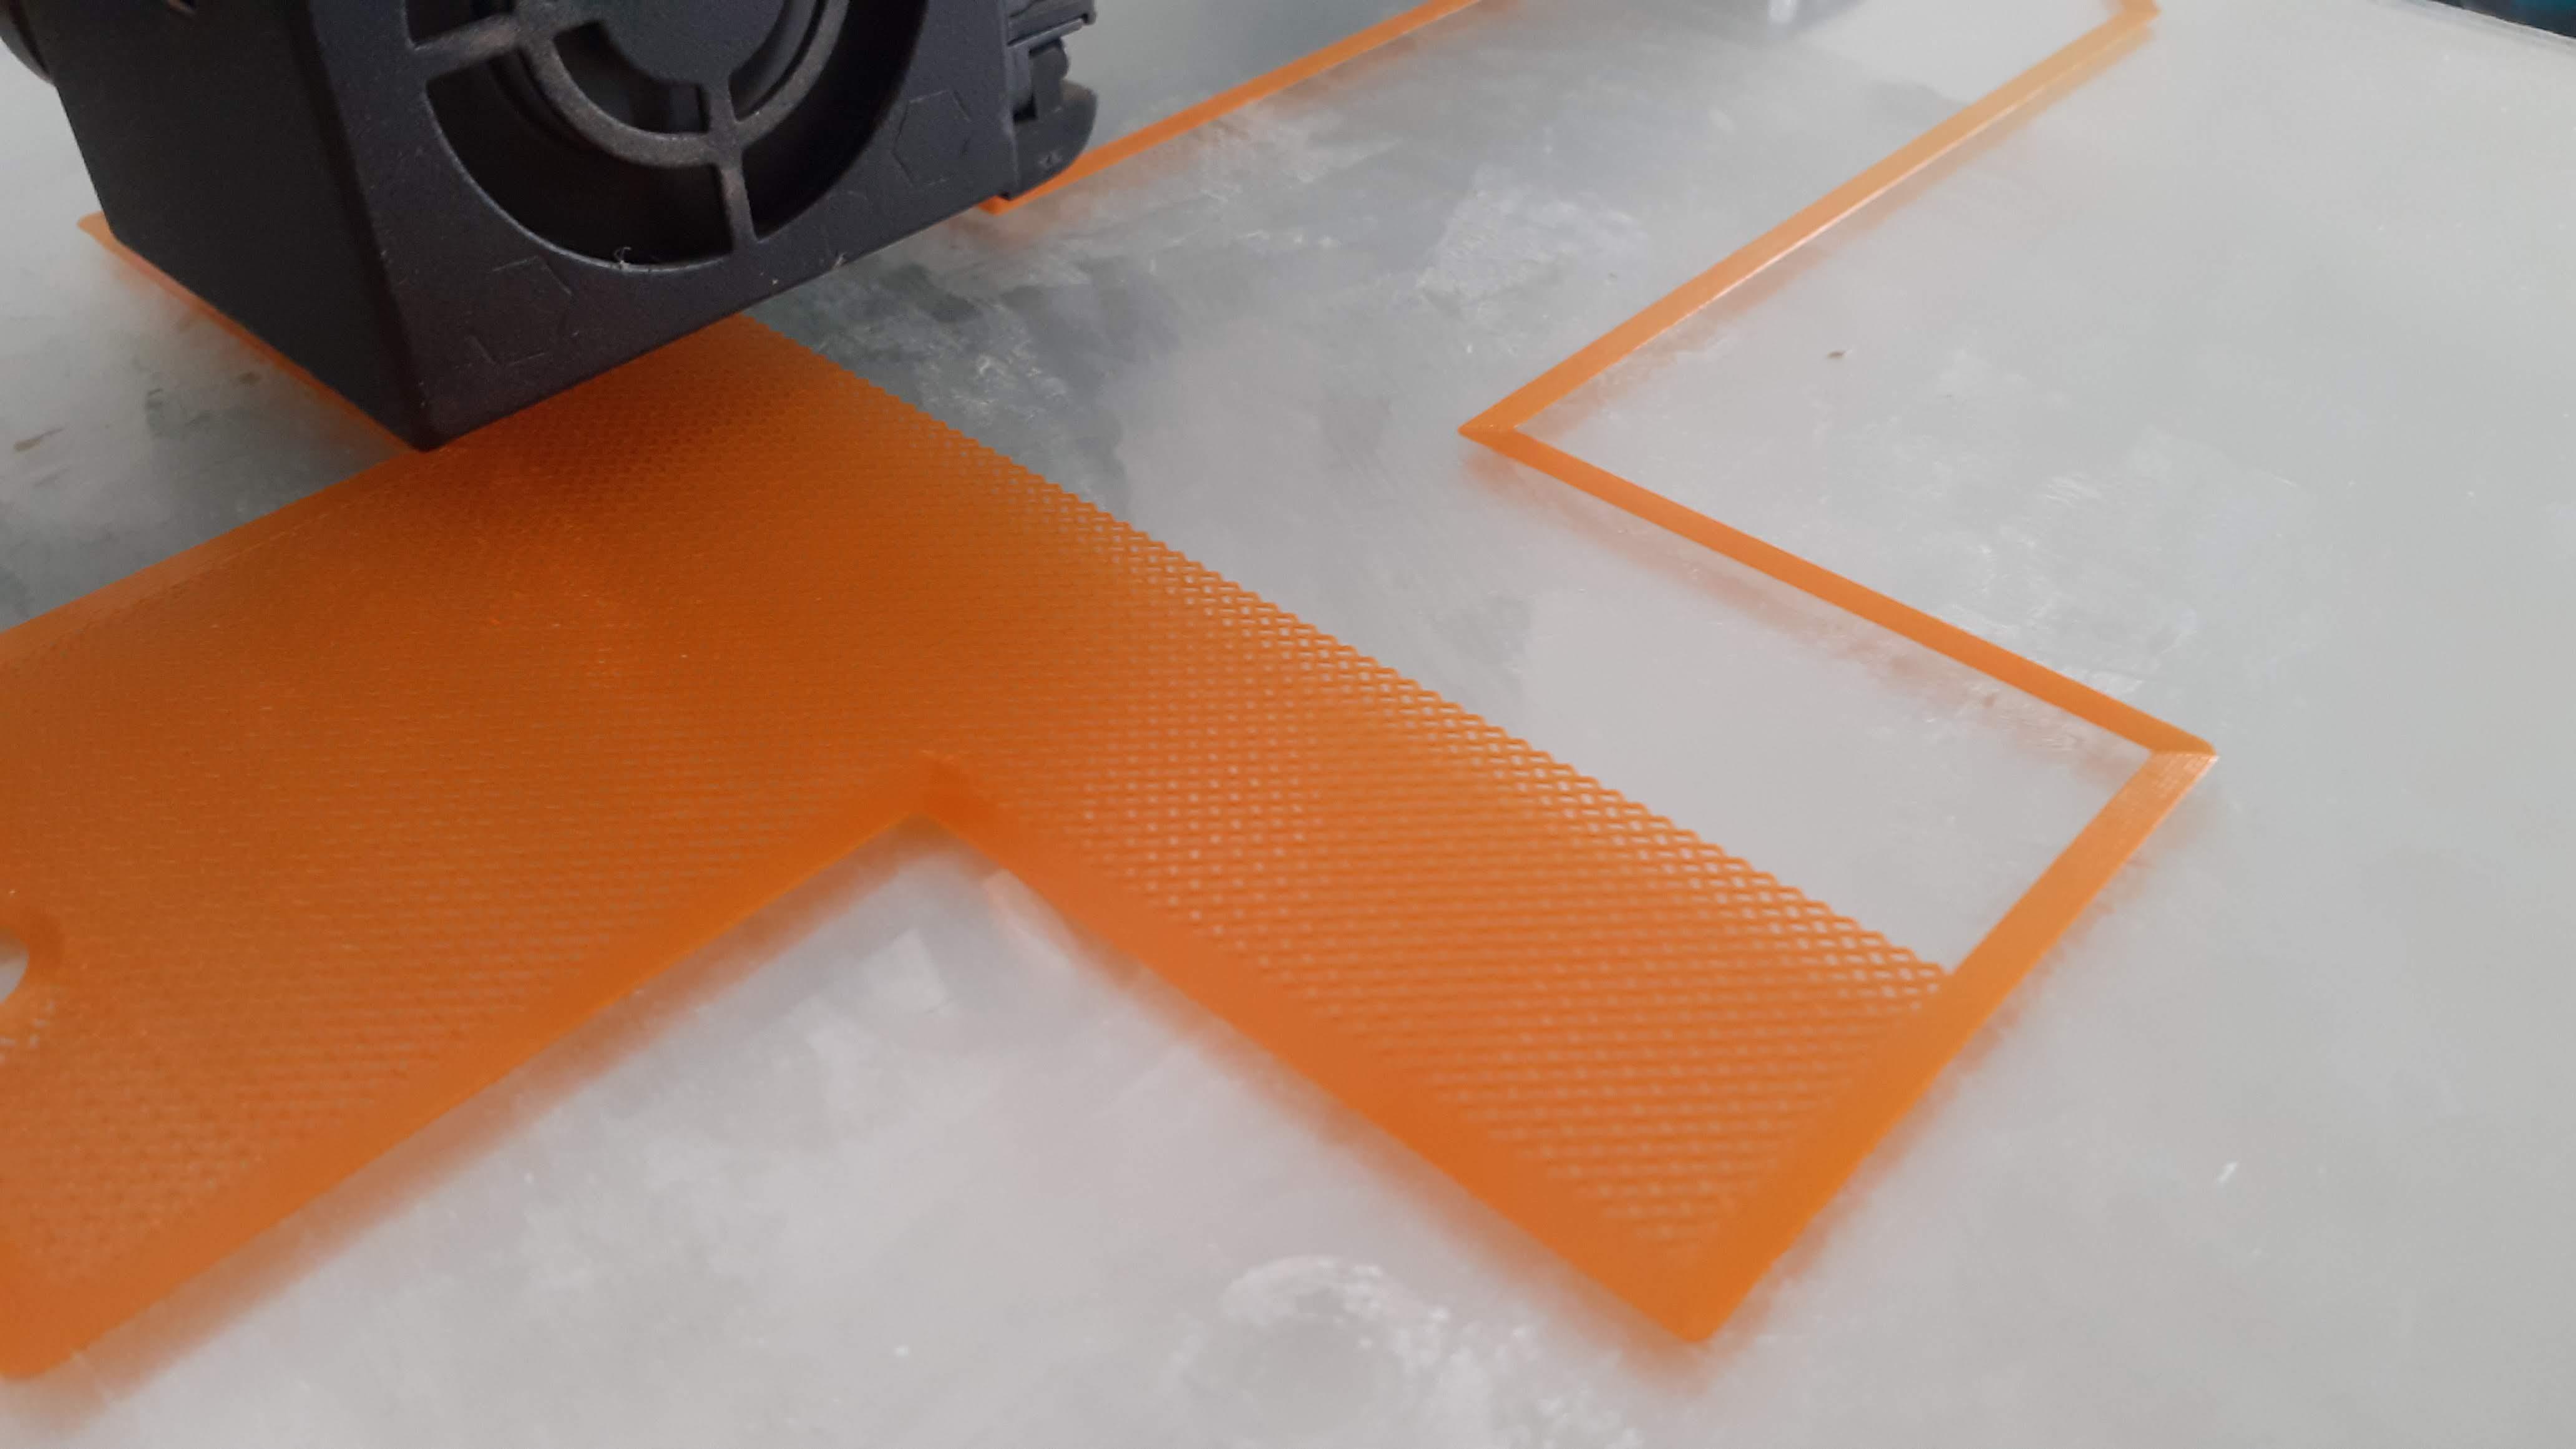
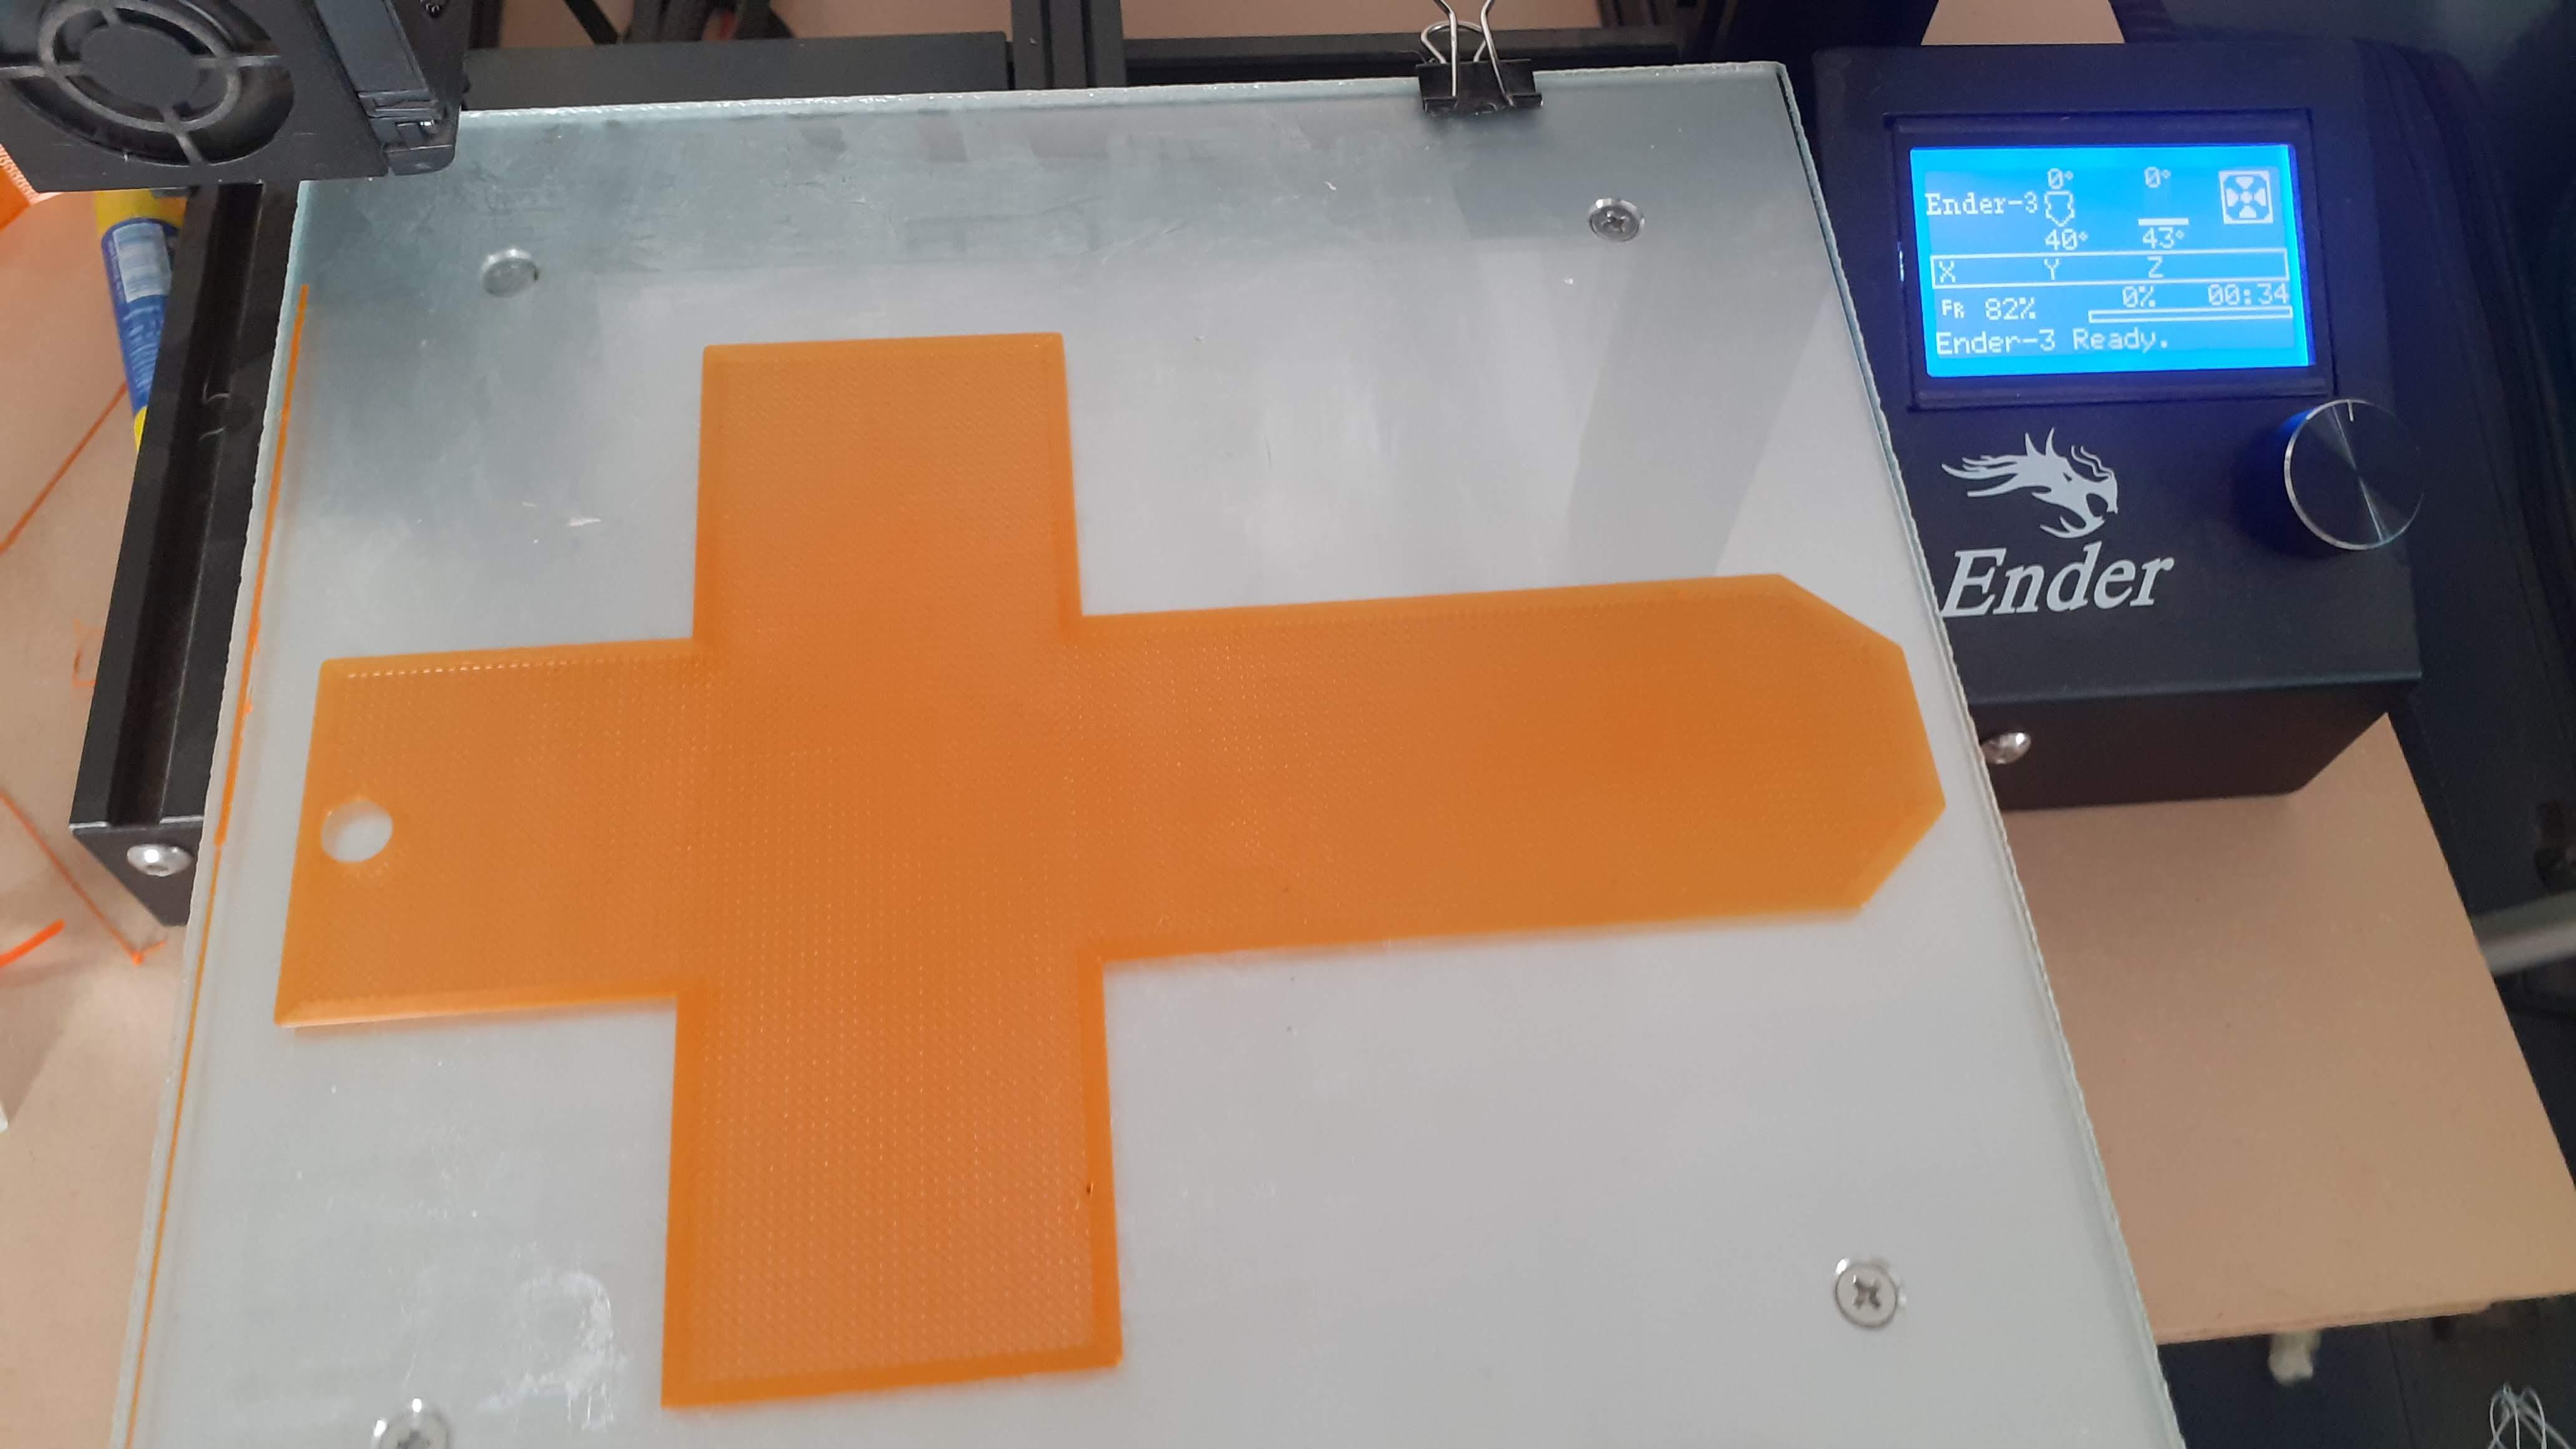
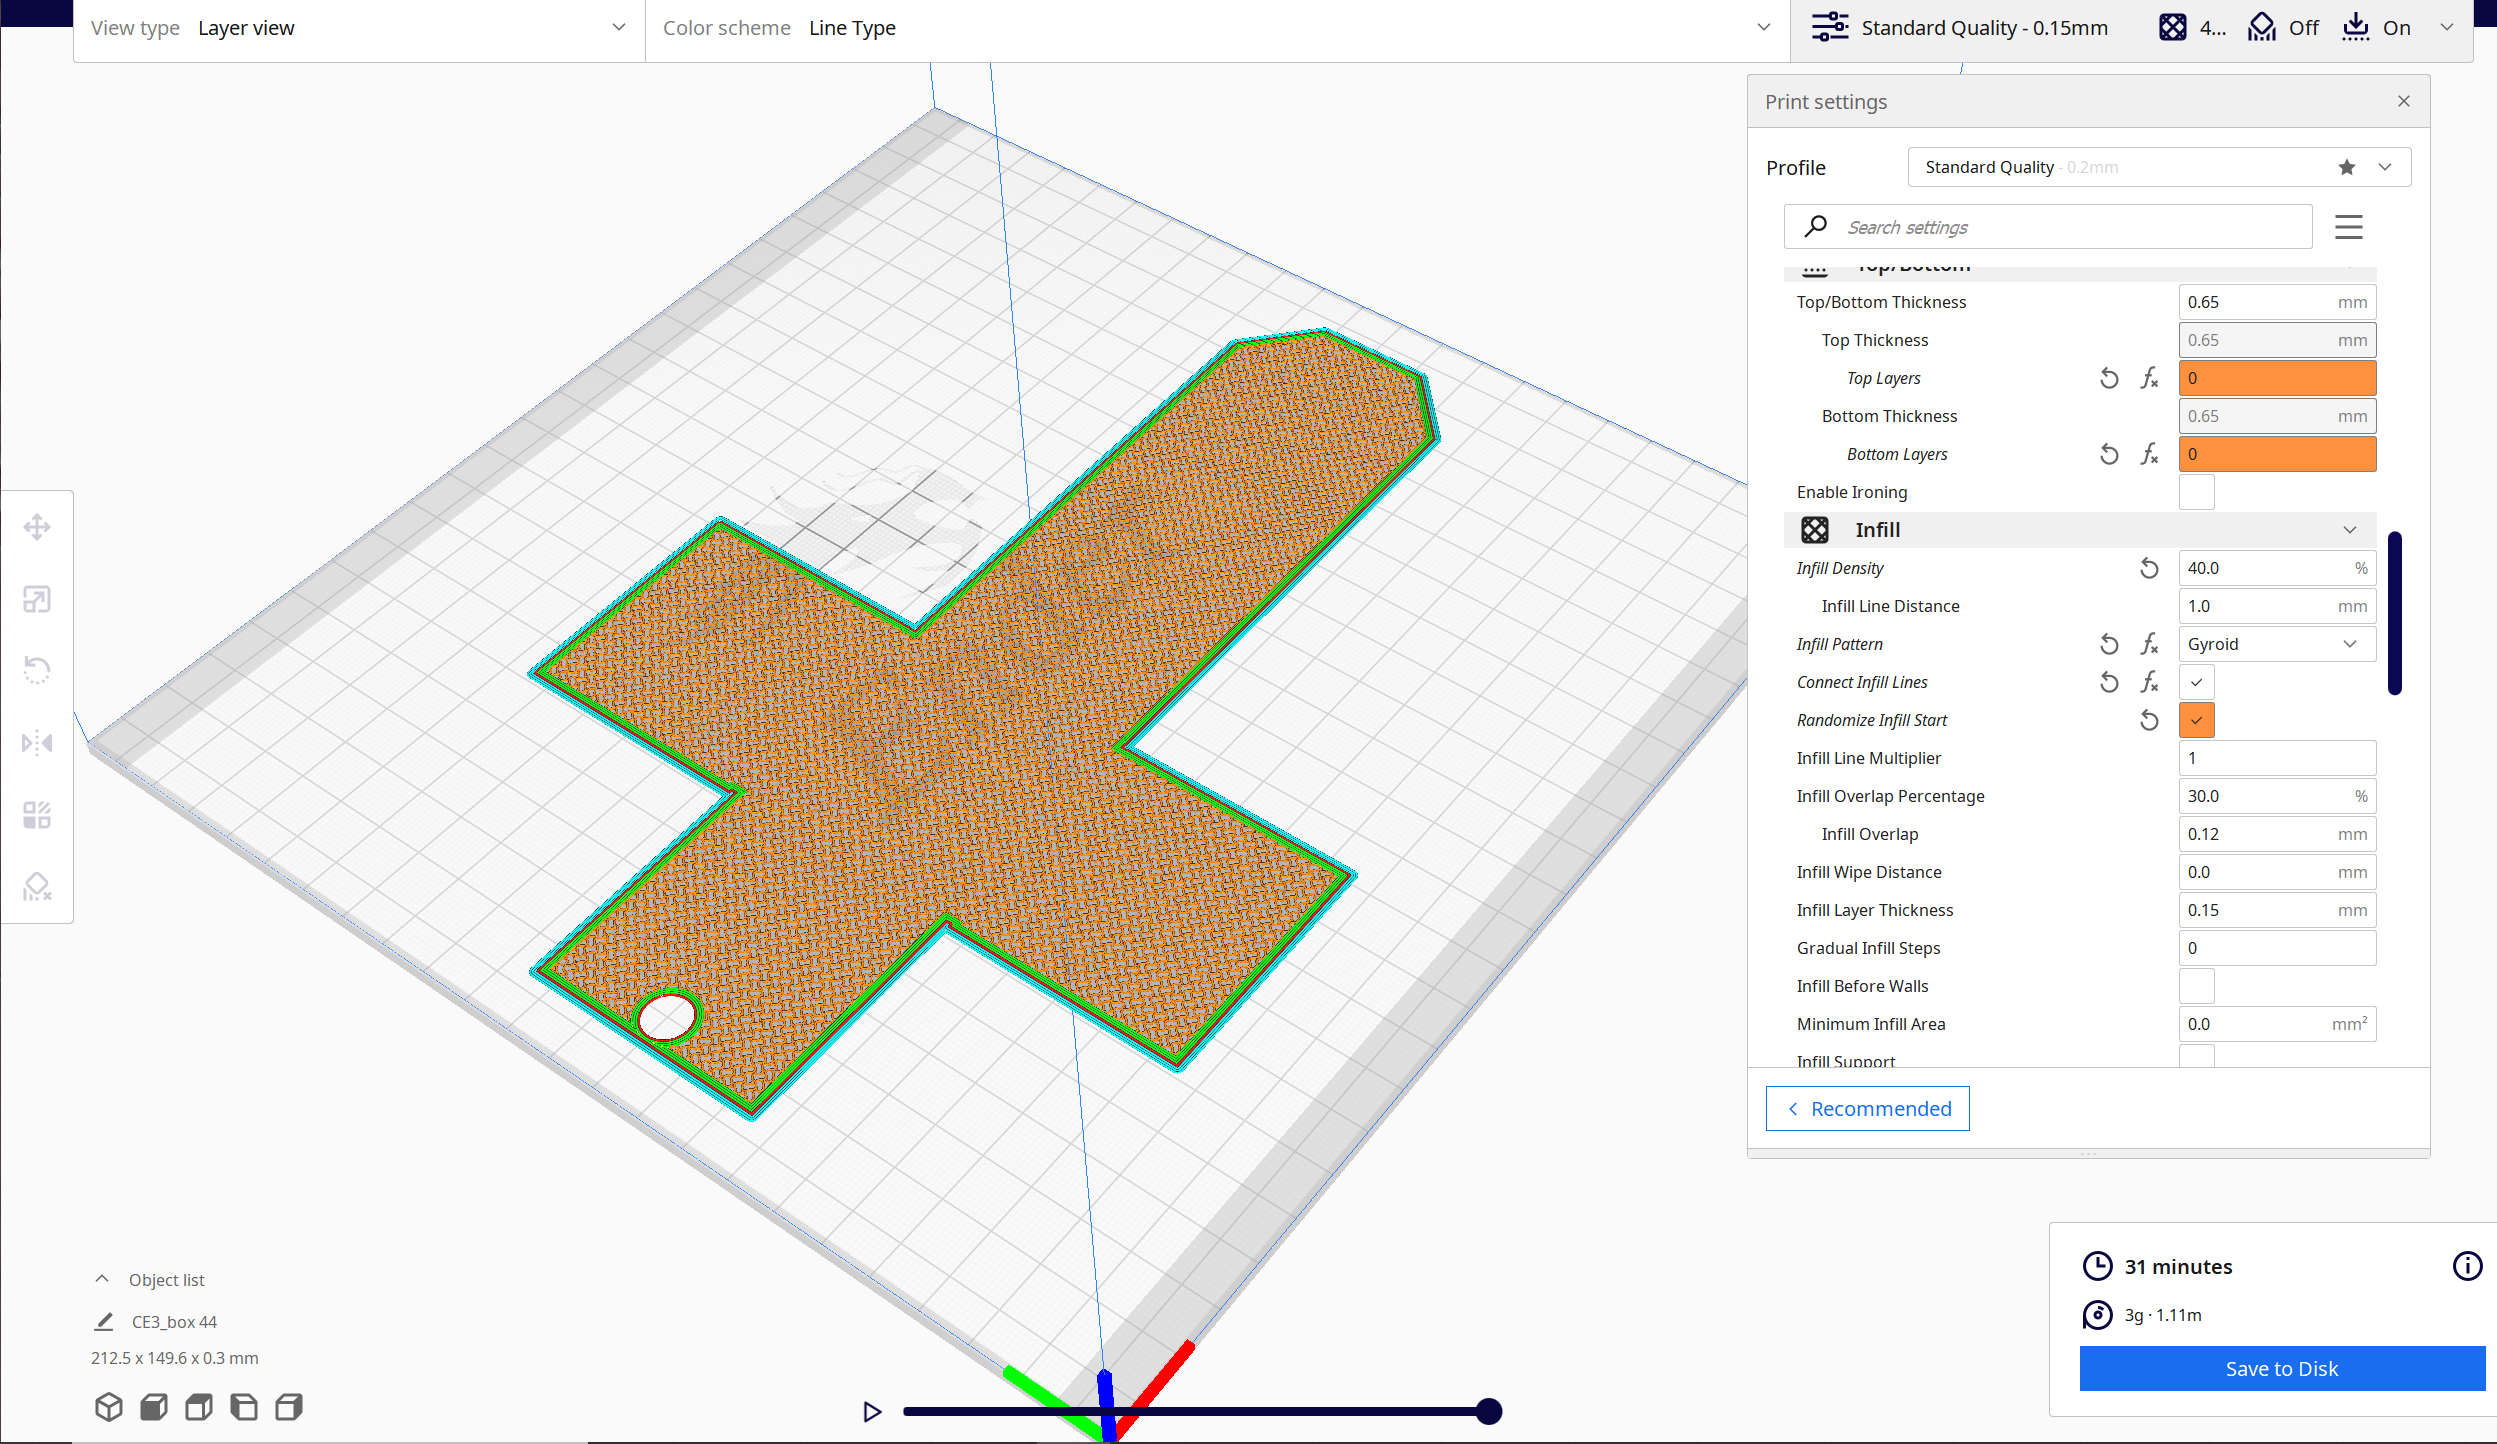
Making something out of a 3d printer is a general job. you just set basic parameters and it's done.
For making fabric we need to alter basic parameters for that.
Use the below parameter for making 3d printed fabric.
- Layer height: 0.1mm
- Top/bottom layer : 0
- Wall: 4
- Infill: 50 %
- Infill pattern: Gyroid
- Adhesion: brim
- Brim lines: 5
Using this parameter in Cura or other slicer software you make a very good and smooth 3d print fabric.
After the 3d print, we use a scale to bed the fabric in the size of the box and use a Glue gun for join all side of the box.
Assembly
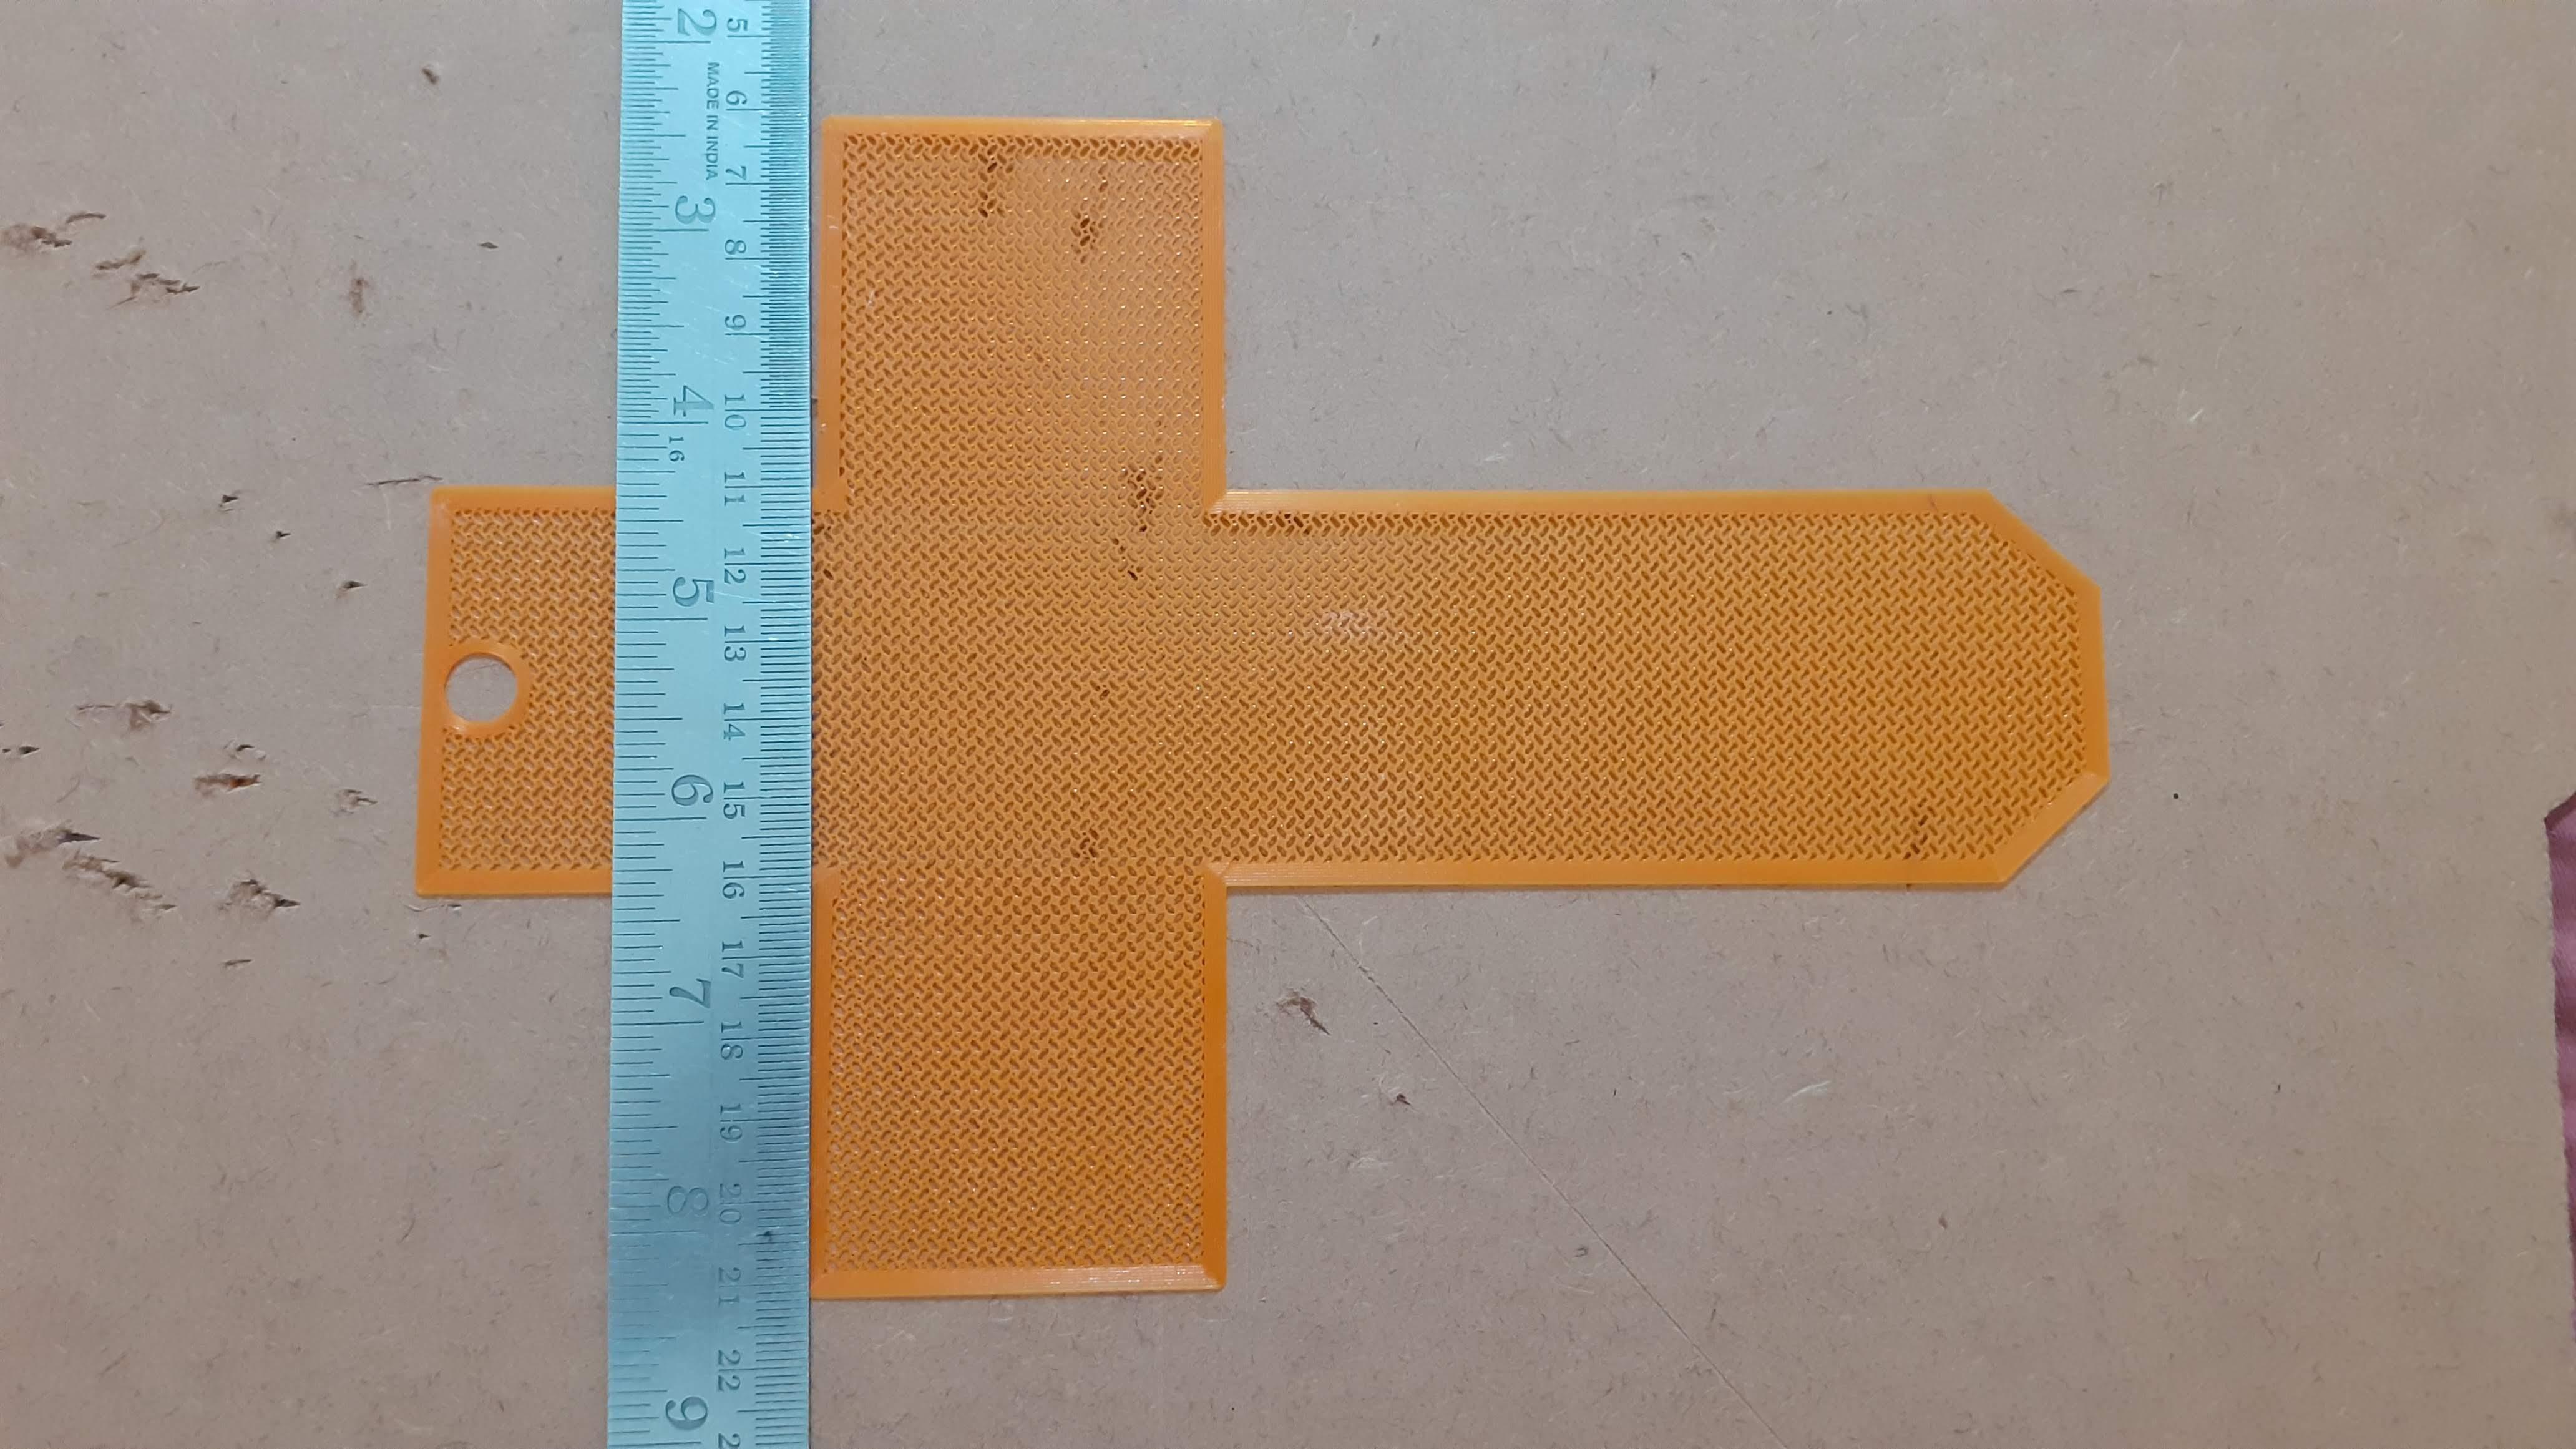
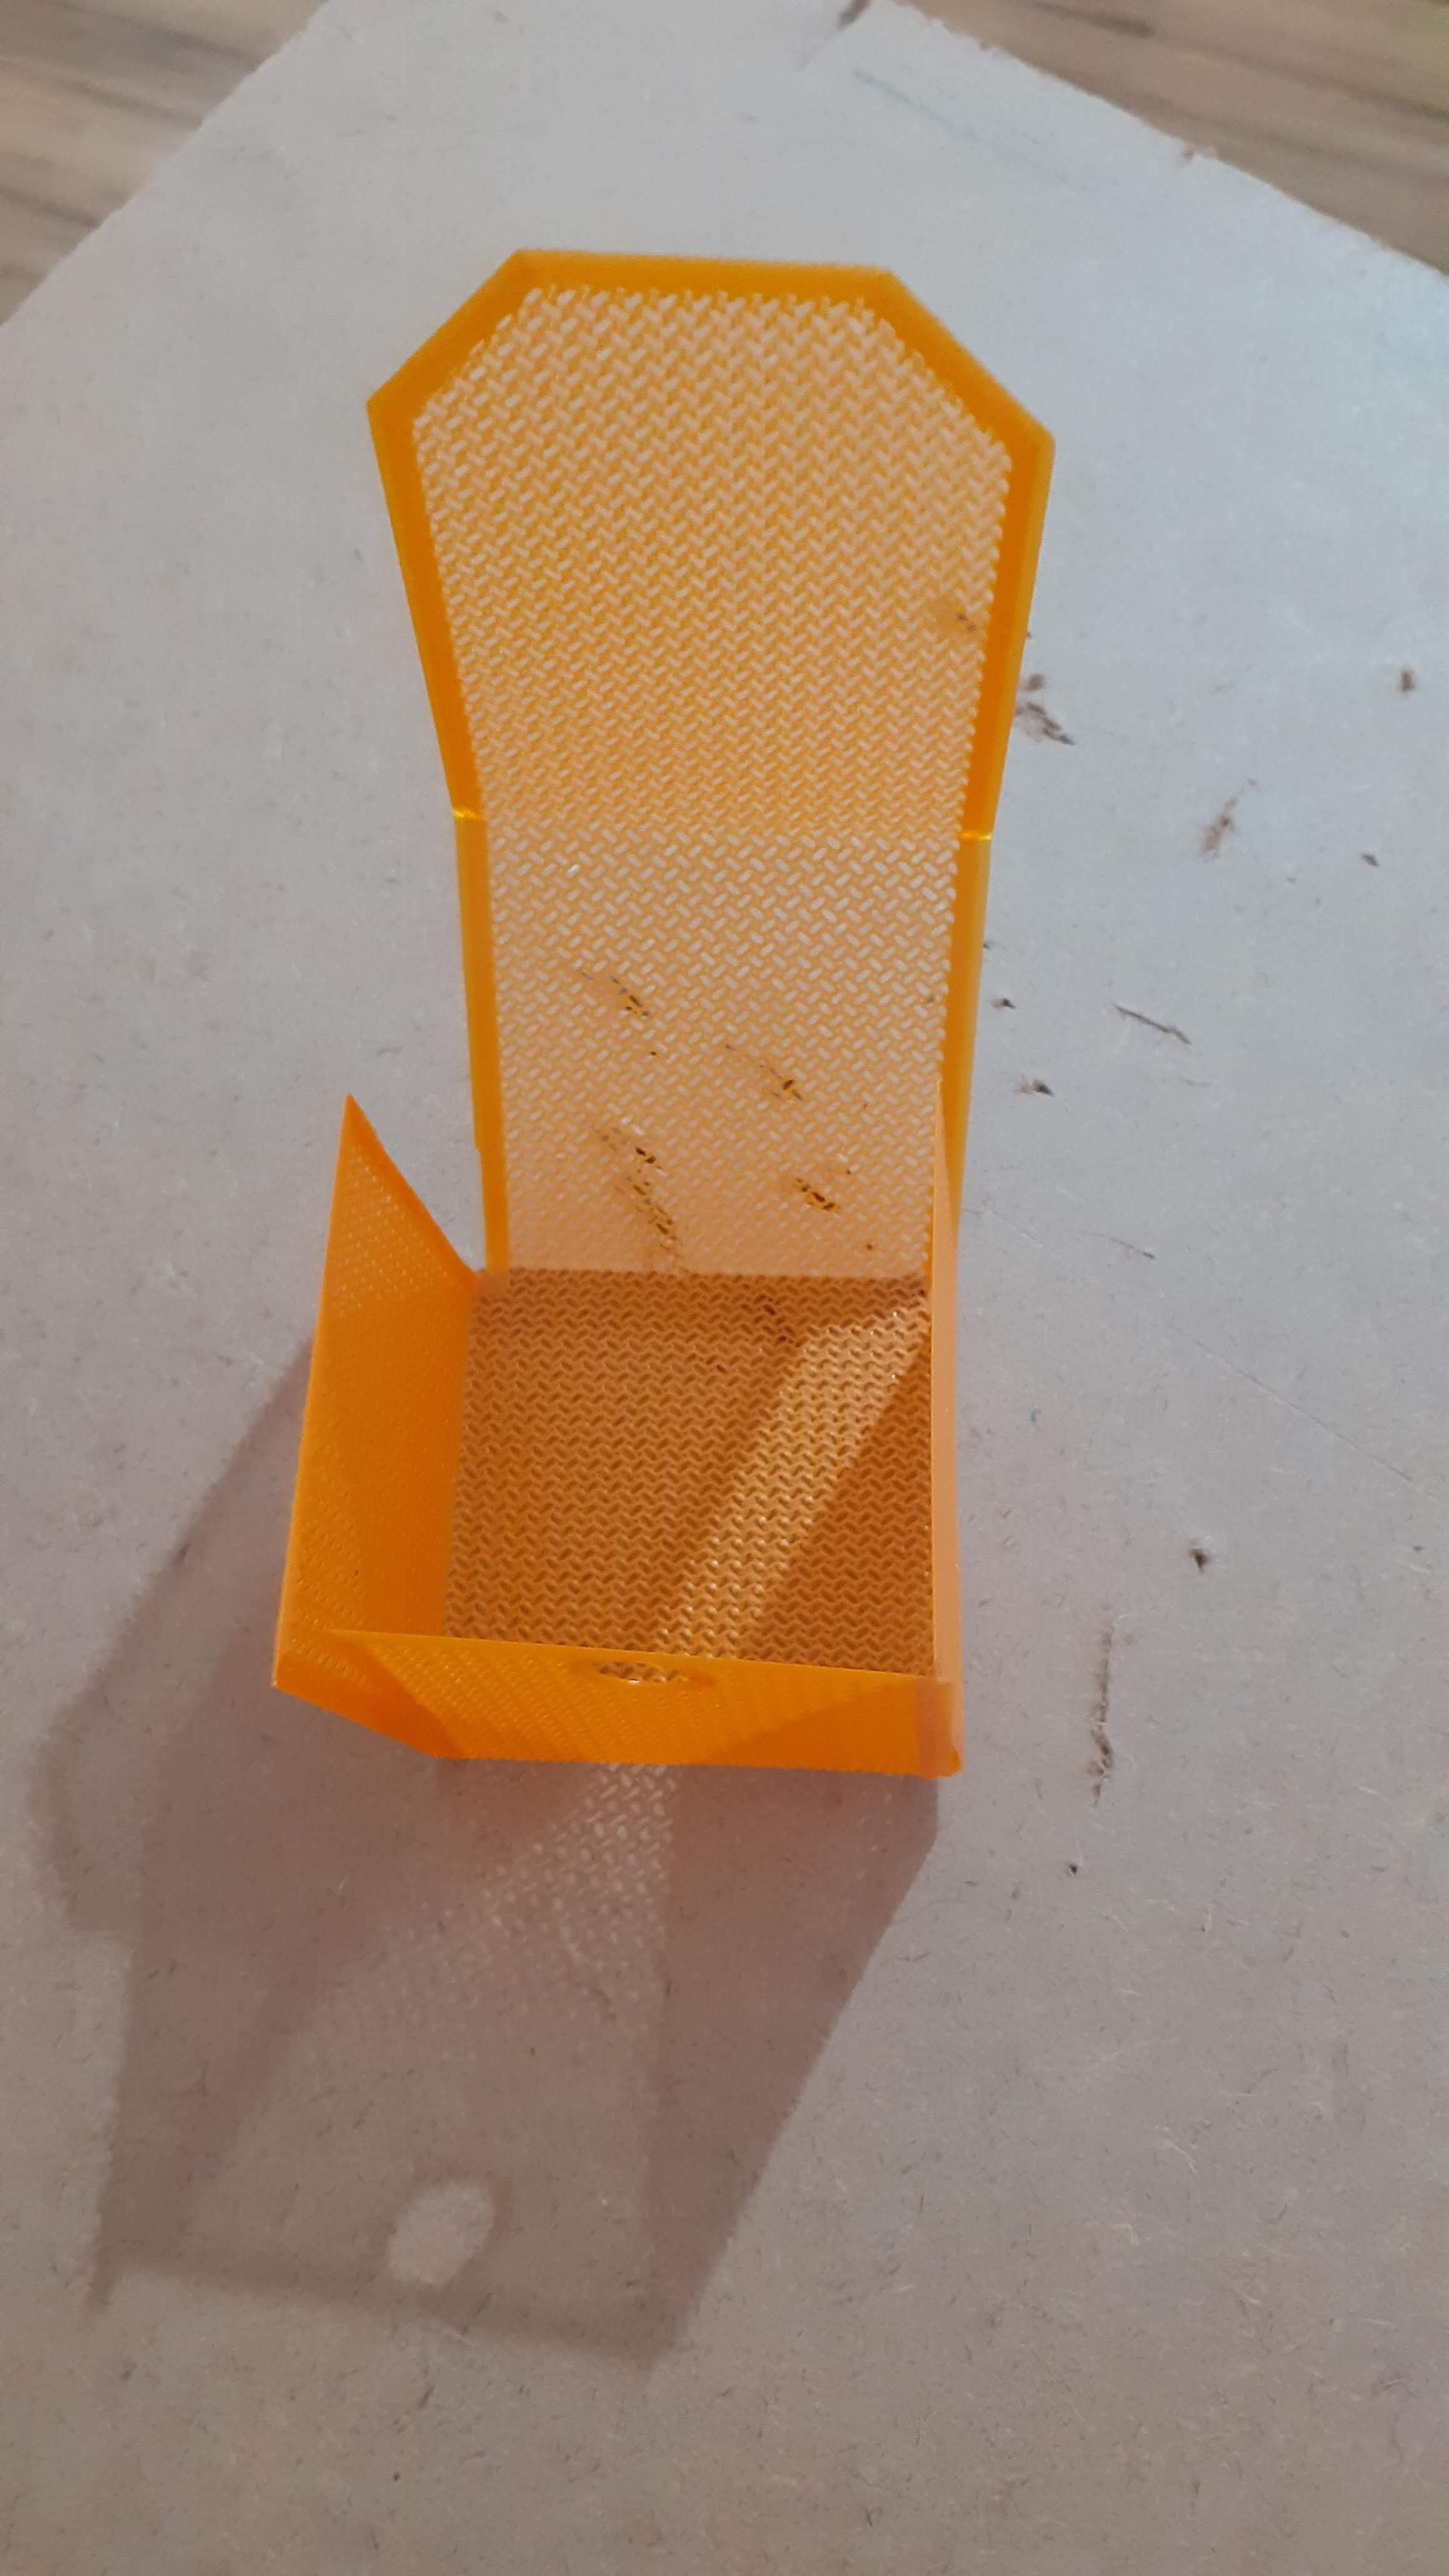
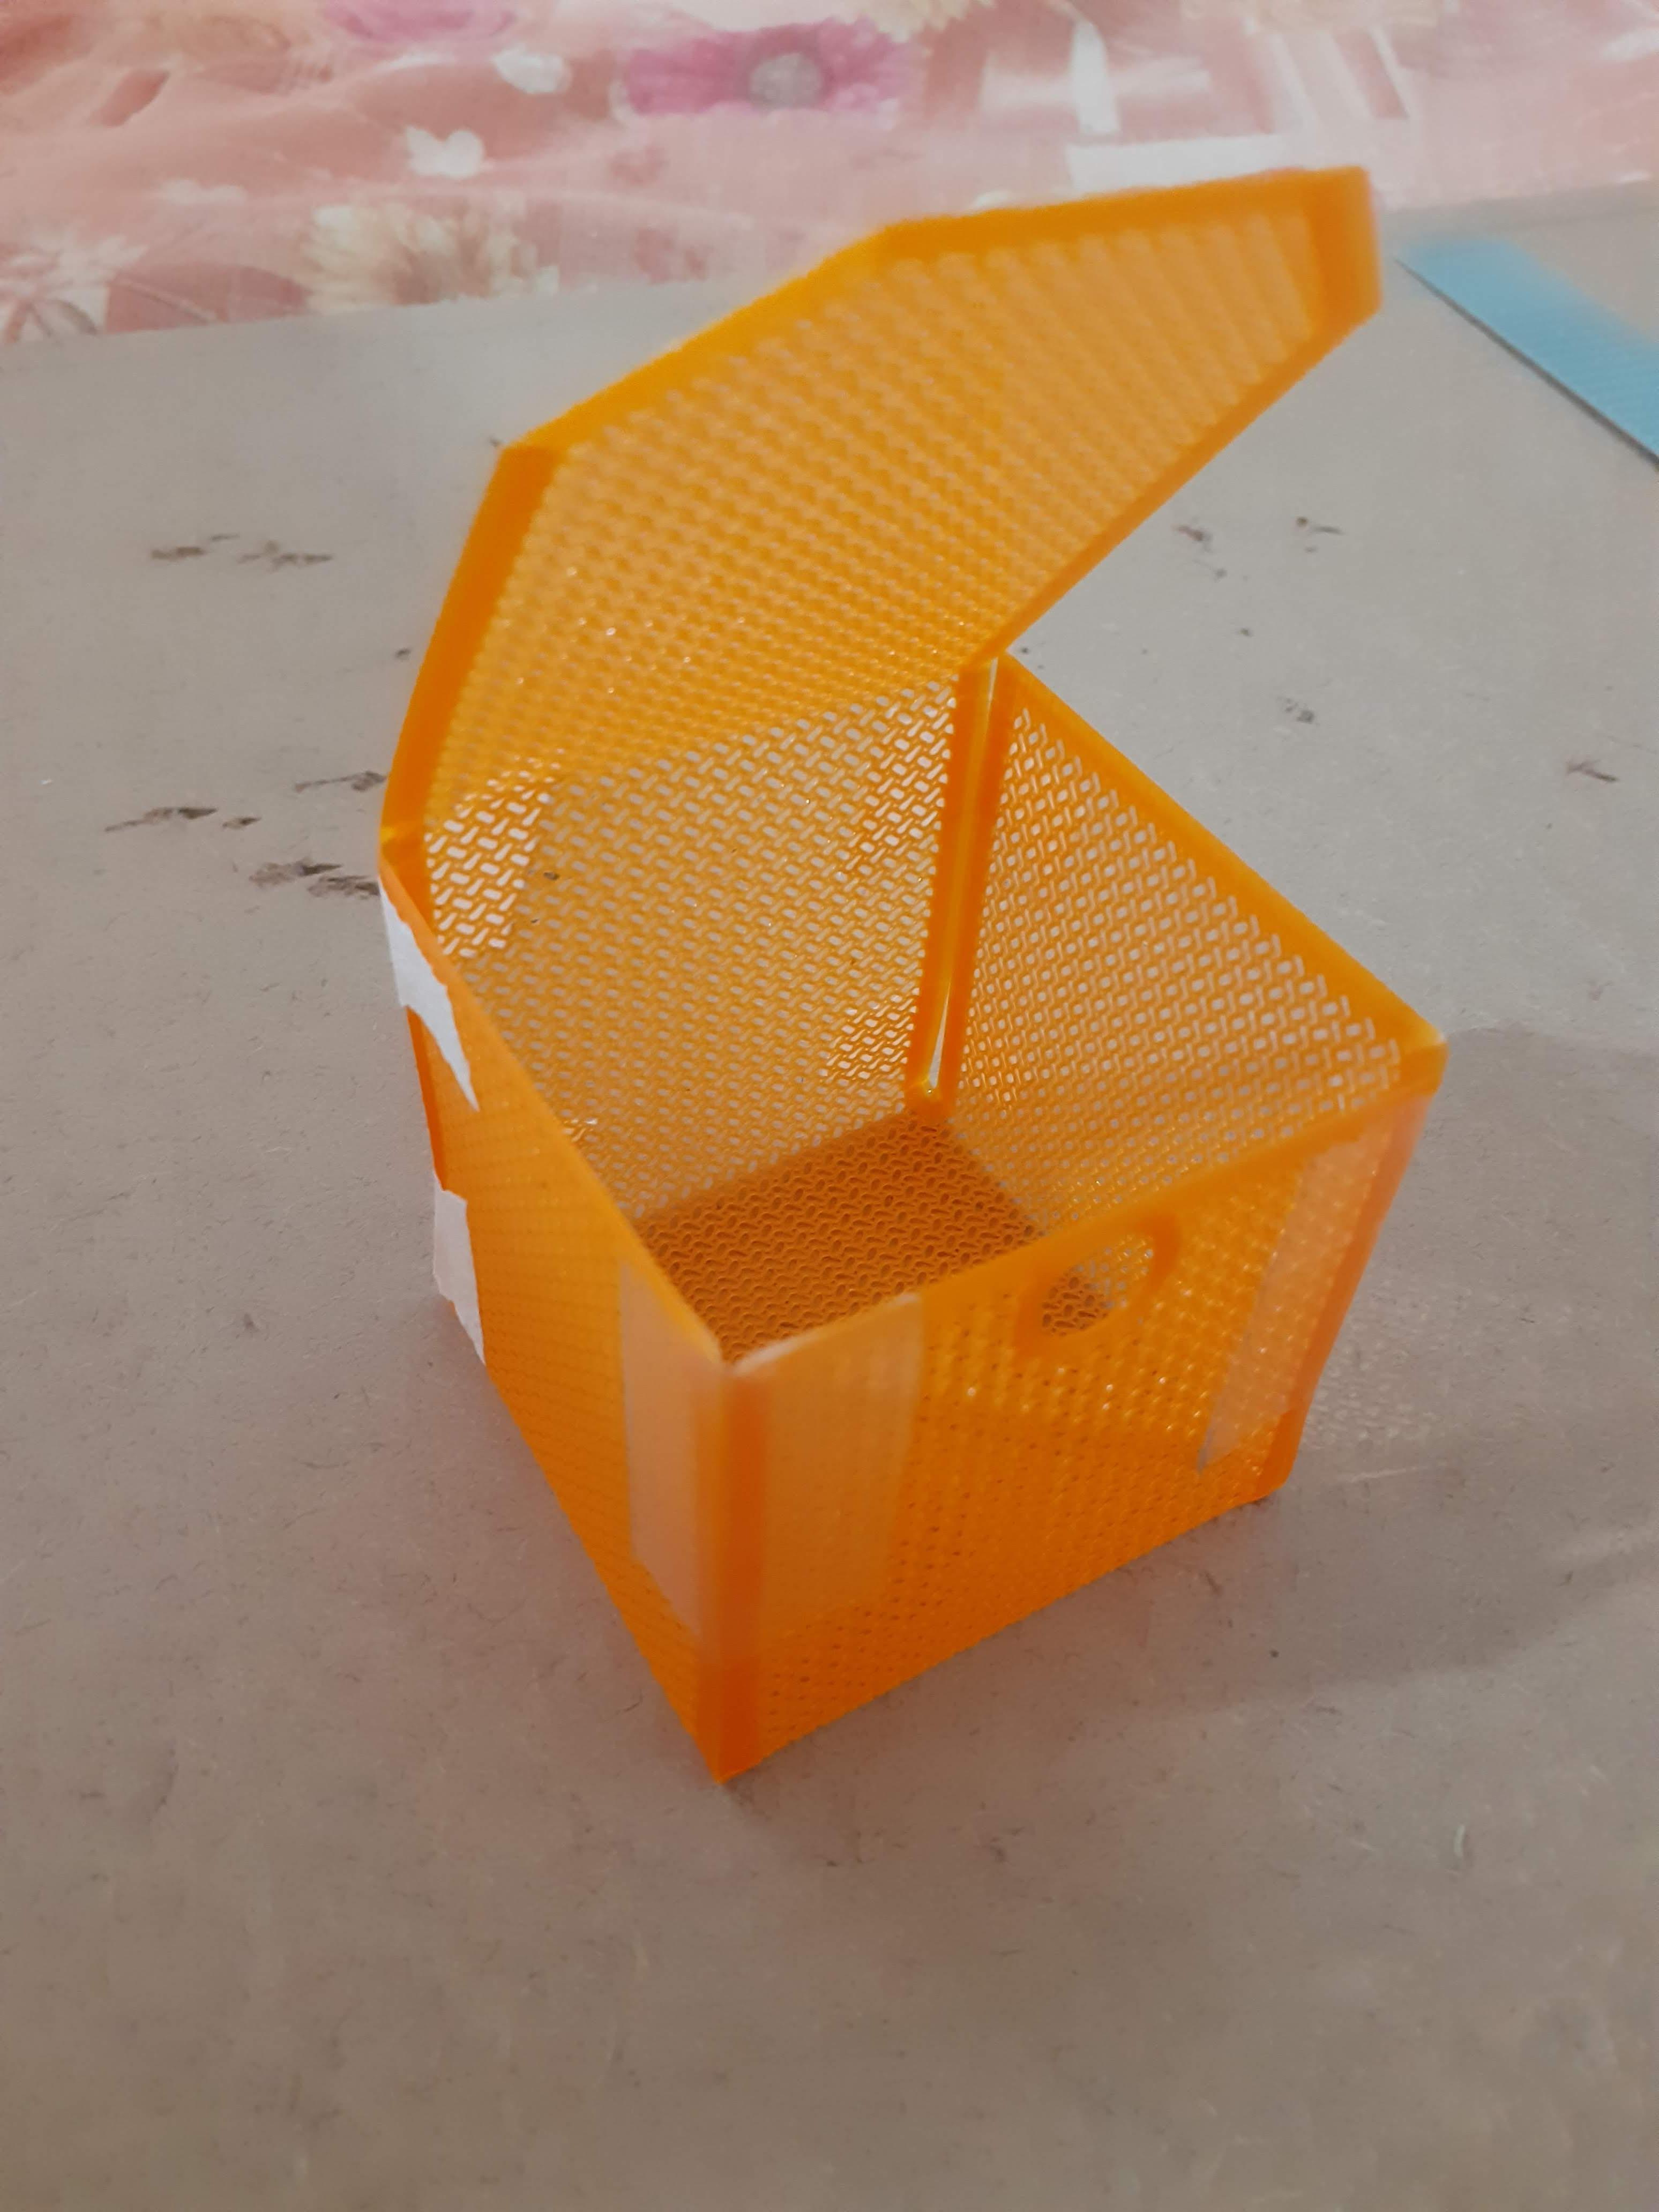
After the 3d print, we use a scale to bed the fabric in the size of the box and use a Glue gun to join all sides of the box.
Using this fabric concept you will make lamps, wallets, shirts, etc.