3D Printed Dangle Earrings
by LearnAtLaunchpad in Craft > Jewelry
3496 Views, 7 Favorites, 0 Comments
3D Printed Dangle Earrings
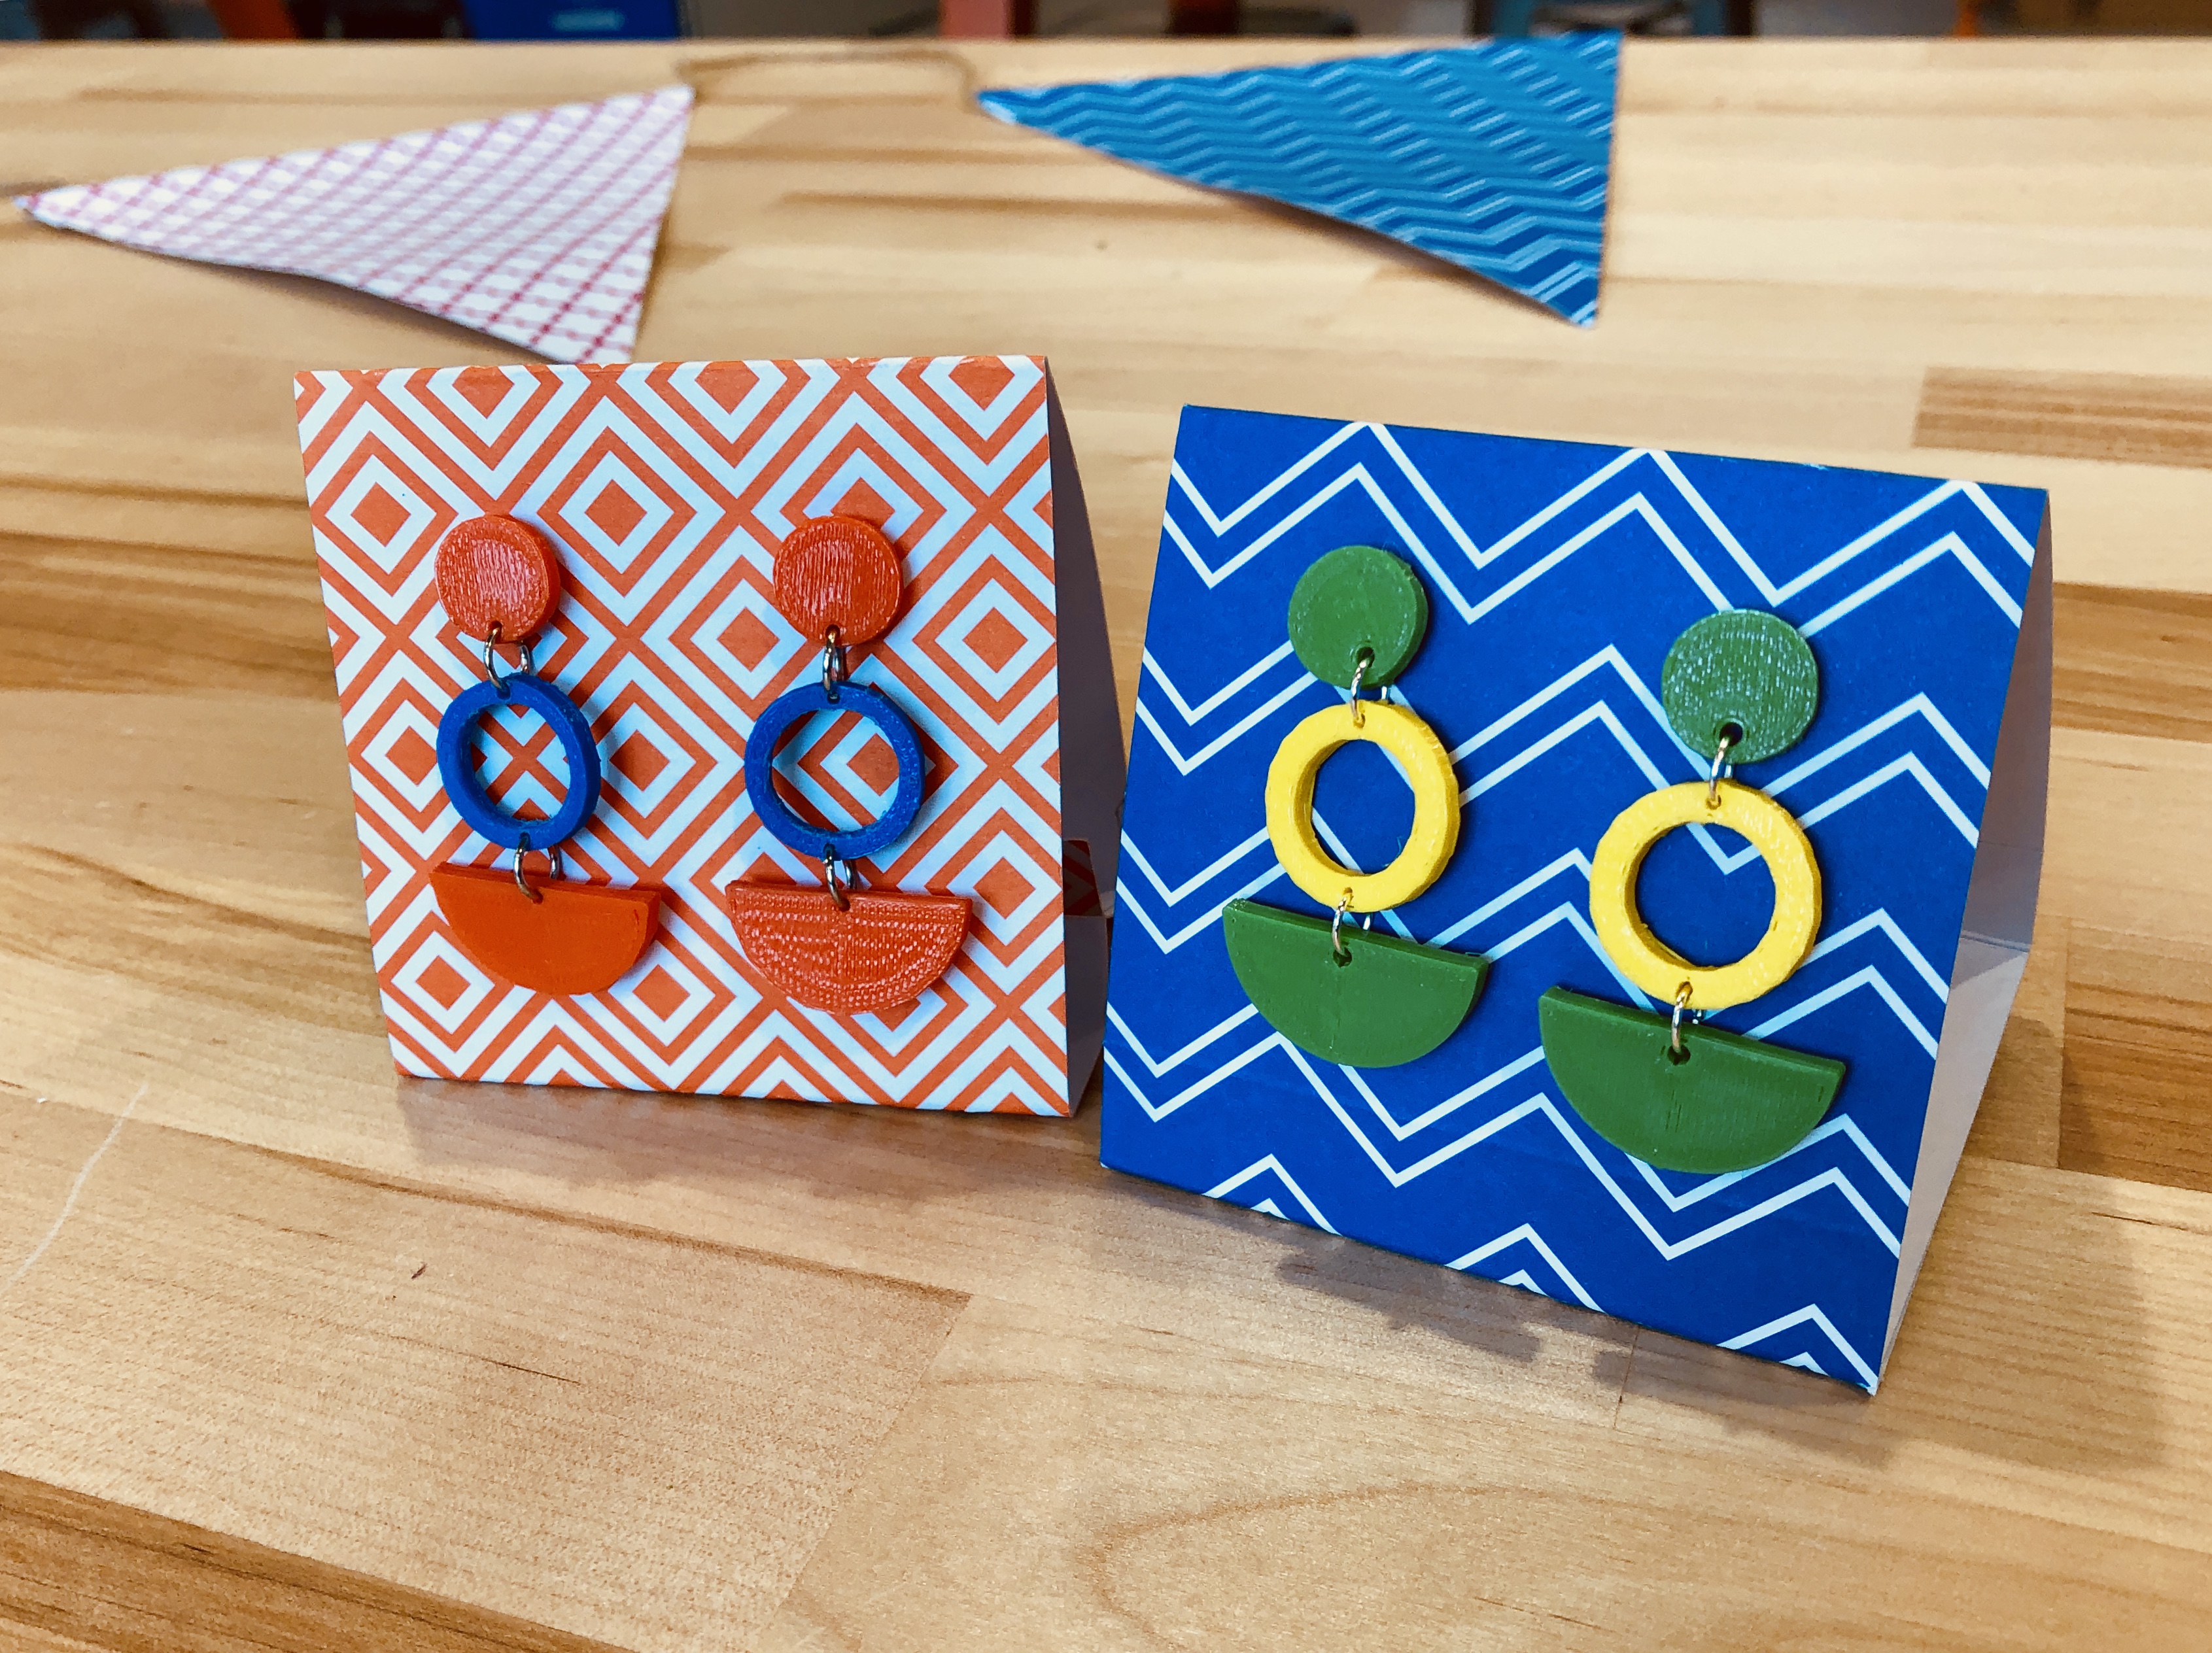
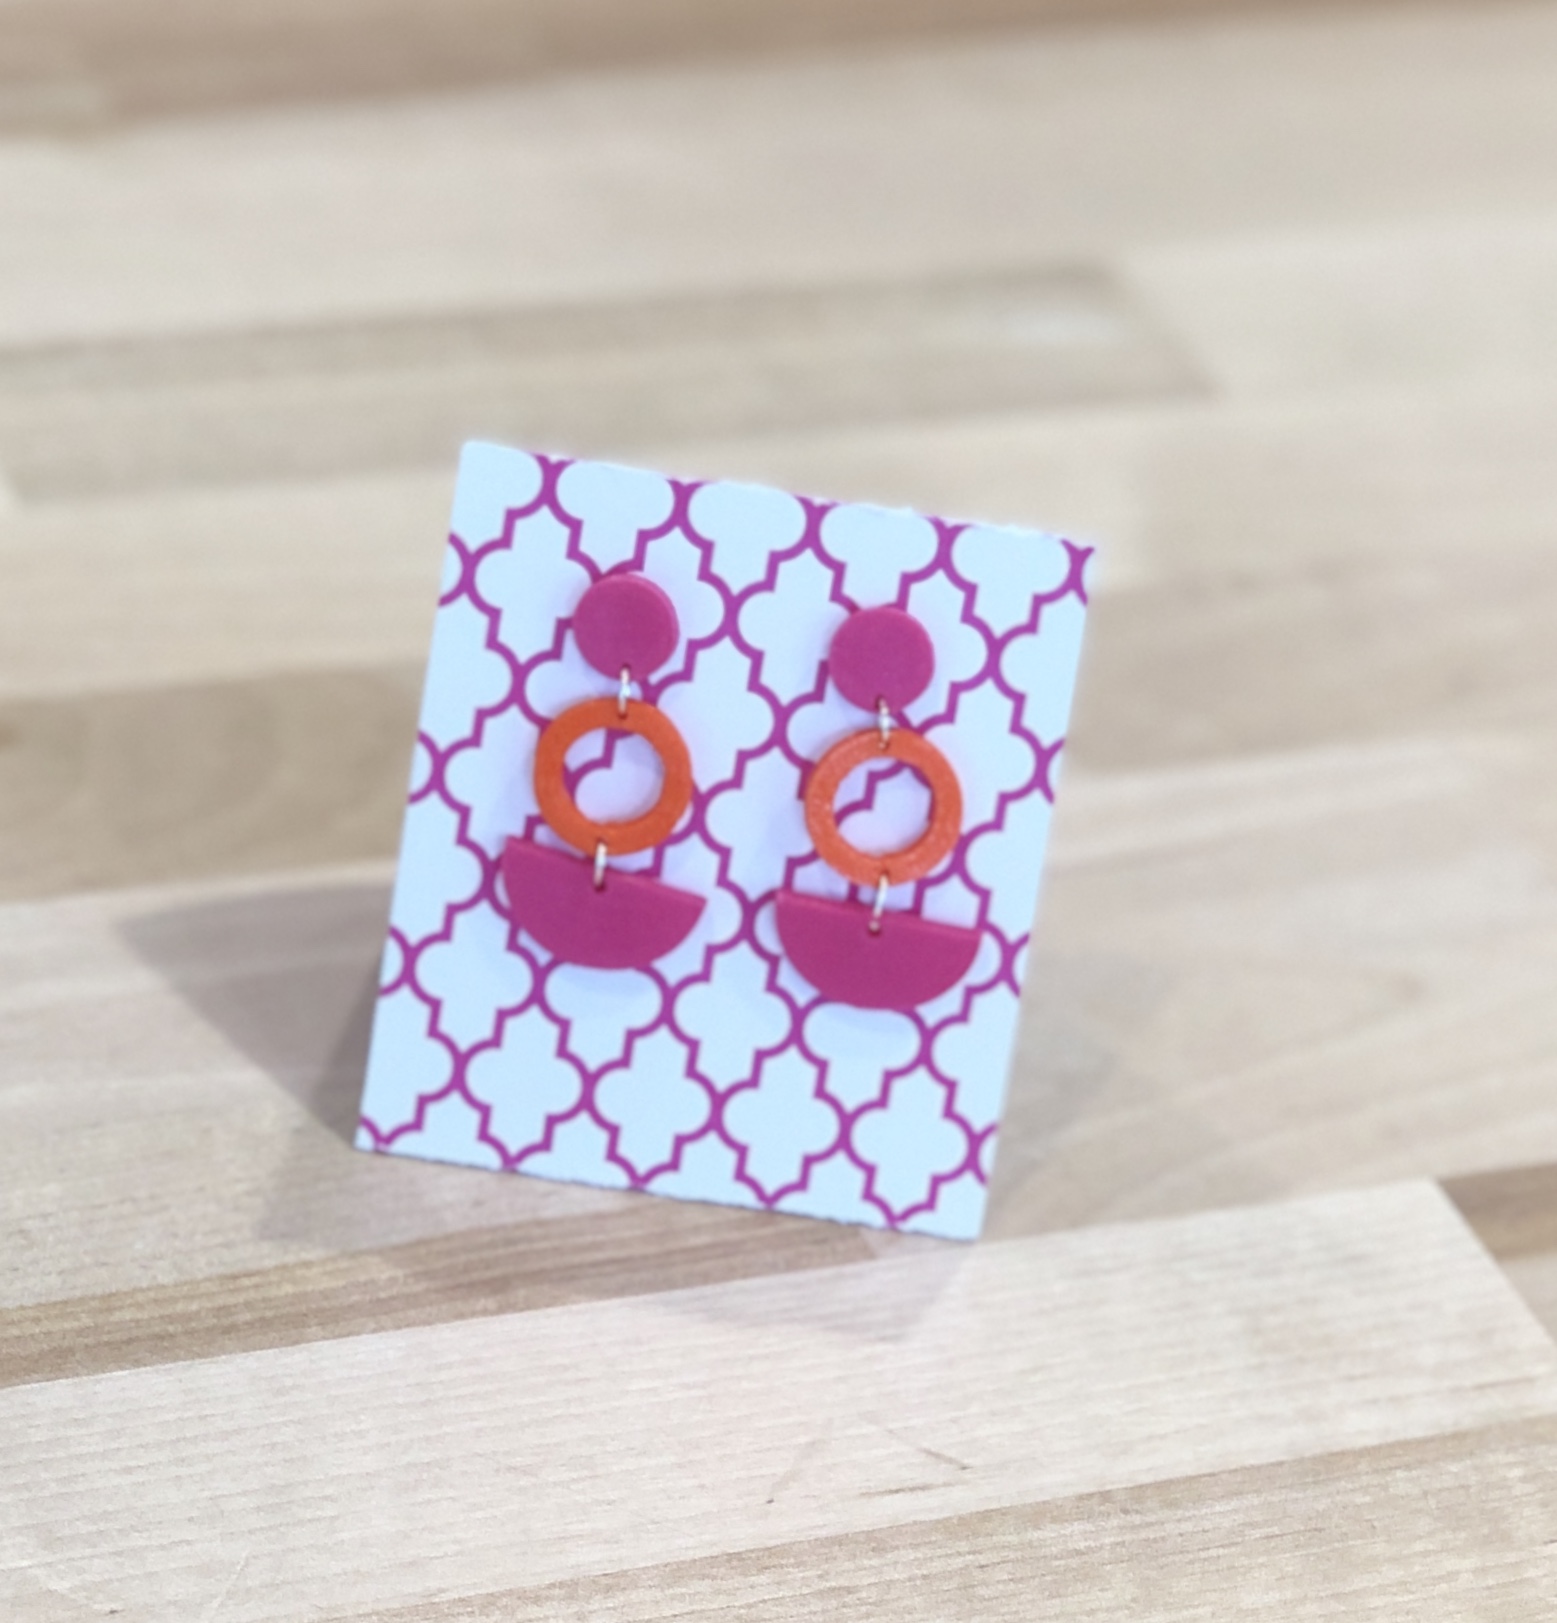
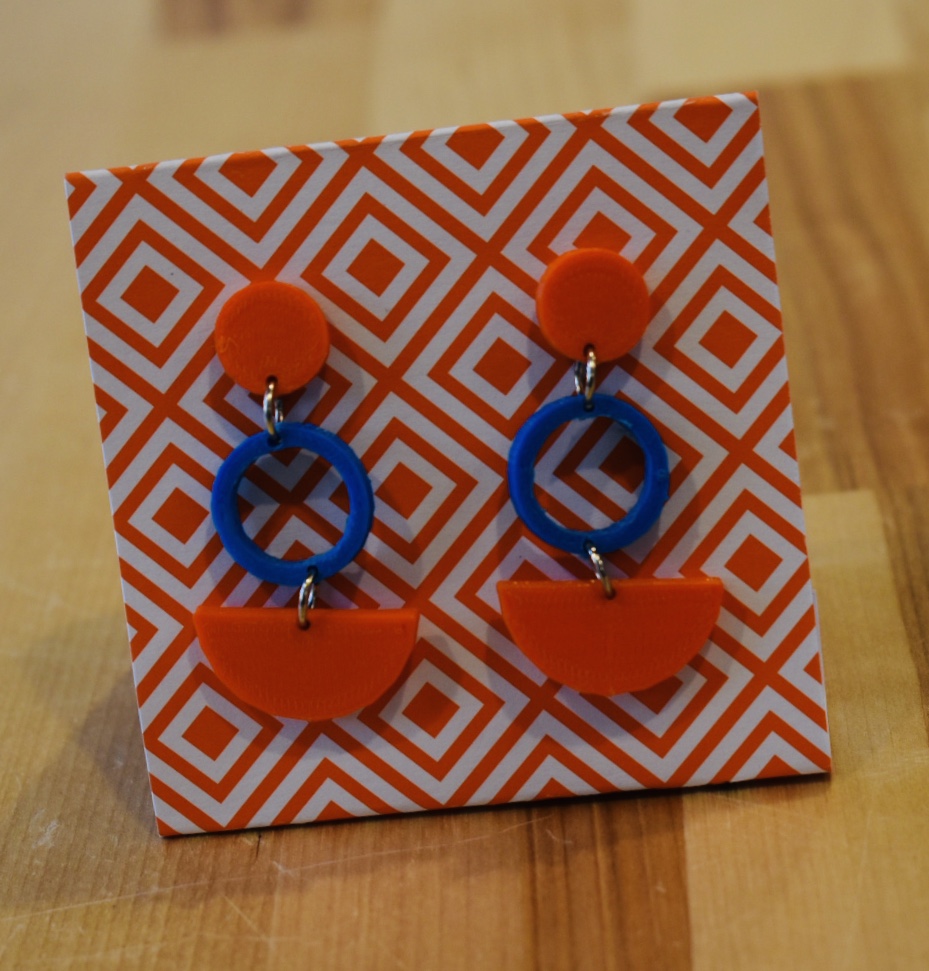
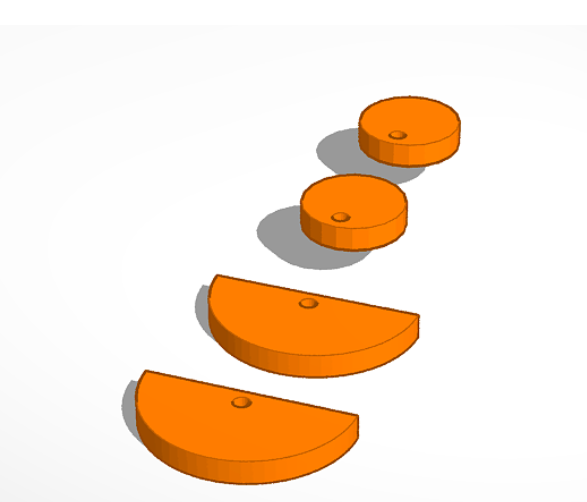
With minimal design, materials, time and effort, you can have a pair of dangle earrings with the help of a 3D printer. This project takes less than an hour and can provide you with earrings that are a perfect match for that outfit or a last-minute gift for a friend or relative. This is also a great project for getting started with Tinkercad or getting students interested in digital fabrication.
Assemble Your Tools and Materials
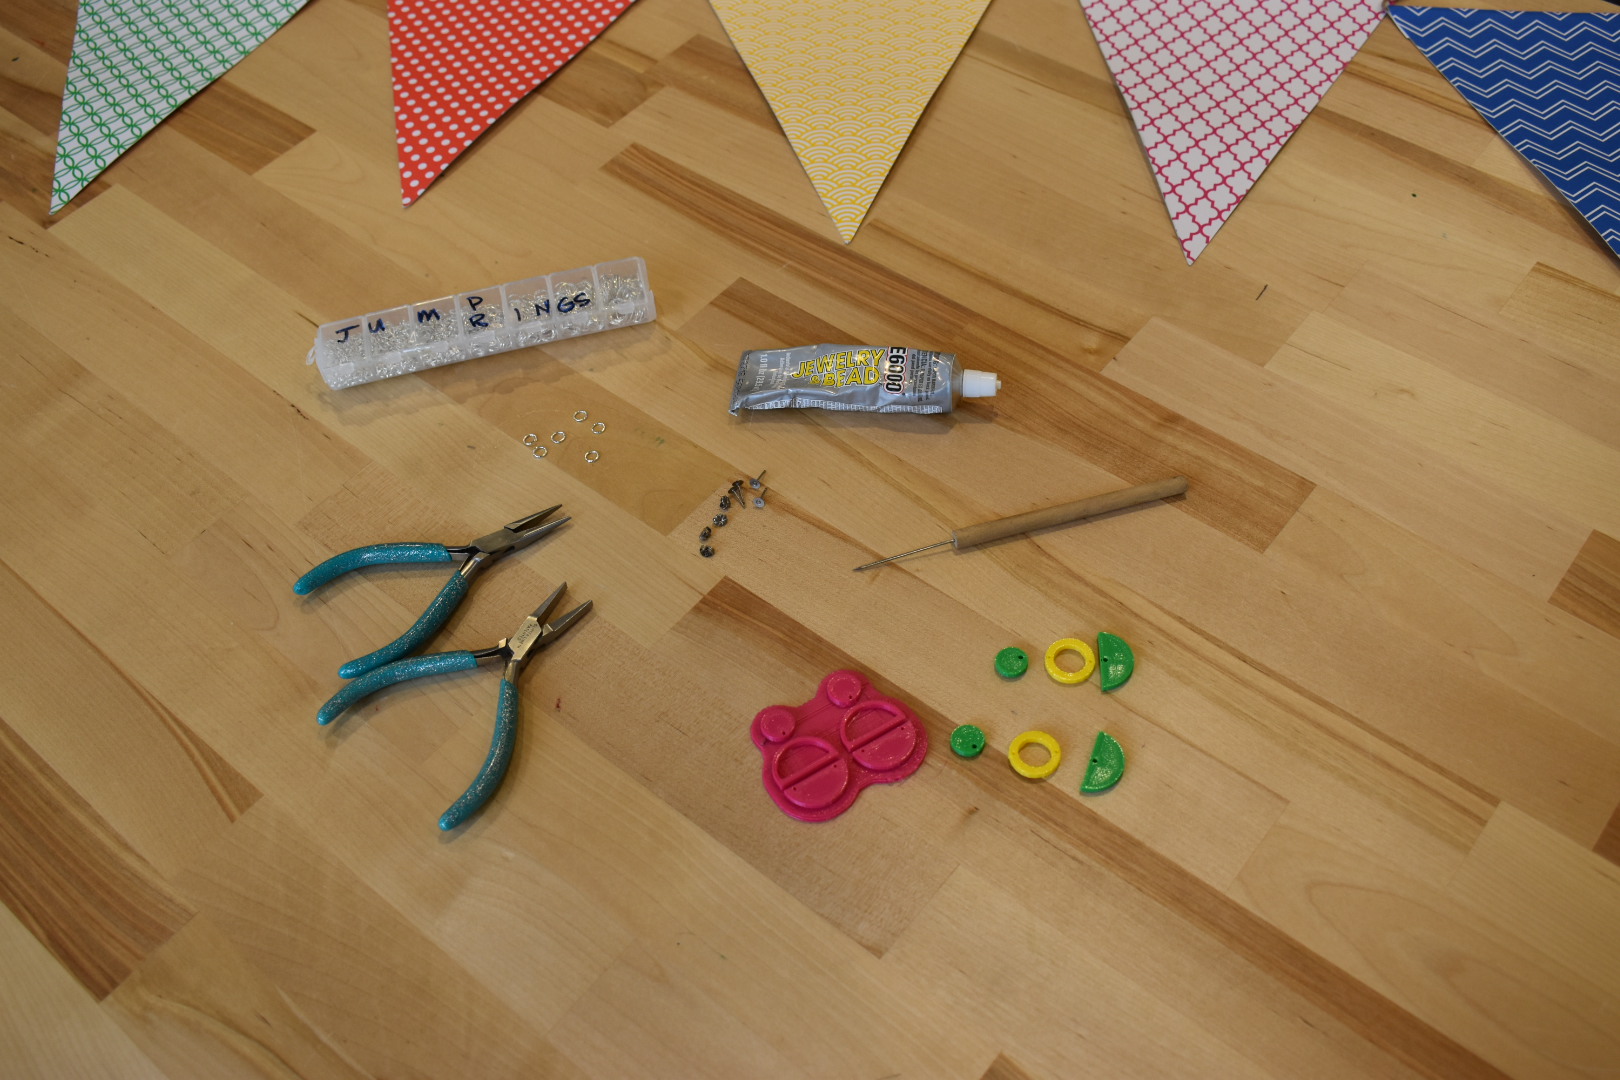
For this project, you'll need the following items (links have been provided only to offer a product I've actually purchased and found met my needs):
1) Jump Rings
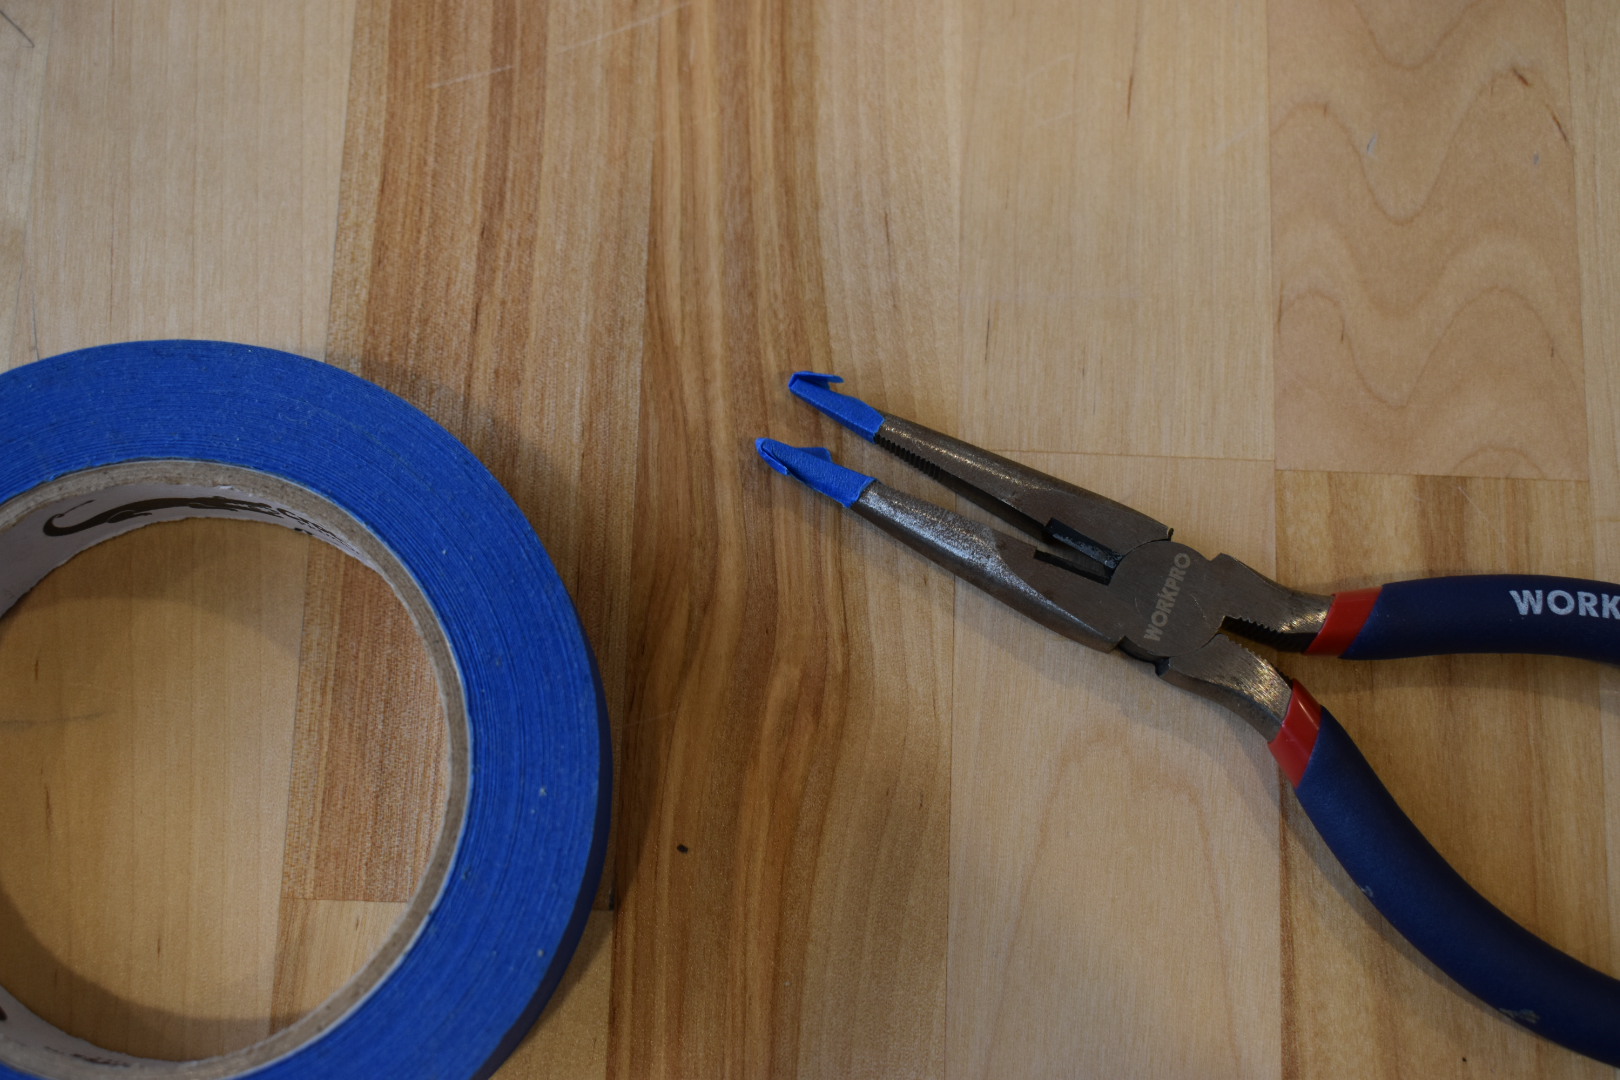
2) Long-nose Pliers - two pair. Jewelry pliers are preferable because they do not have grooves that can scratch or damage the surface of the materials you use them with. However, if you don't have them, just cover the grooves on regular pliers with some masking tape while you are working with the jump rings.
4) Something thin and sharp to poke through holes (T-pins would work well too)
6) Access to a 3D printer and .stl design files (you may need a free Tinkercad account)
7) 3D printed earring parts
Step 1: Getting Started With Tinkercad
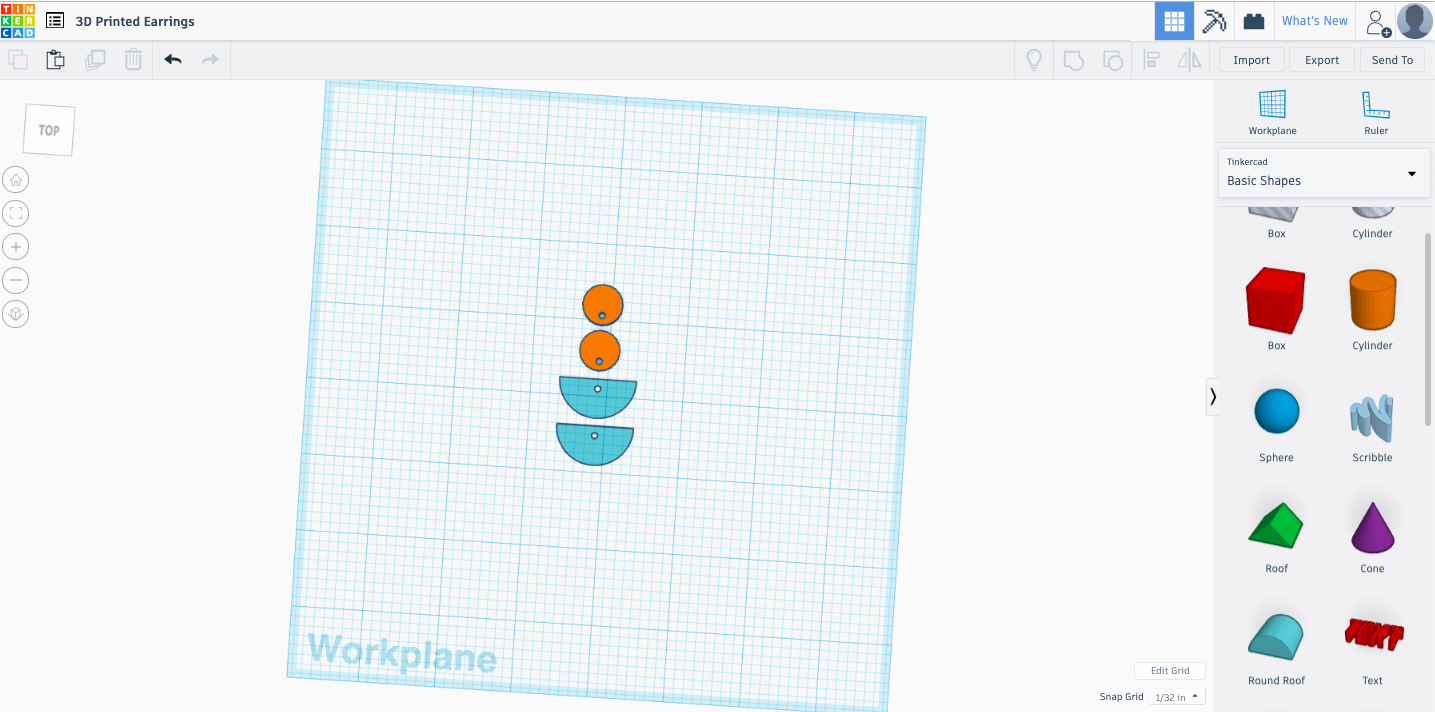
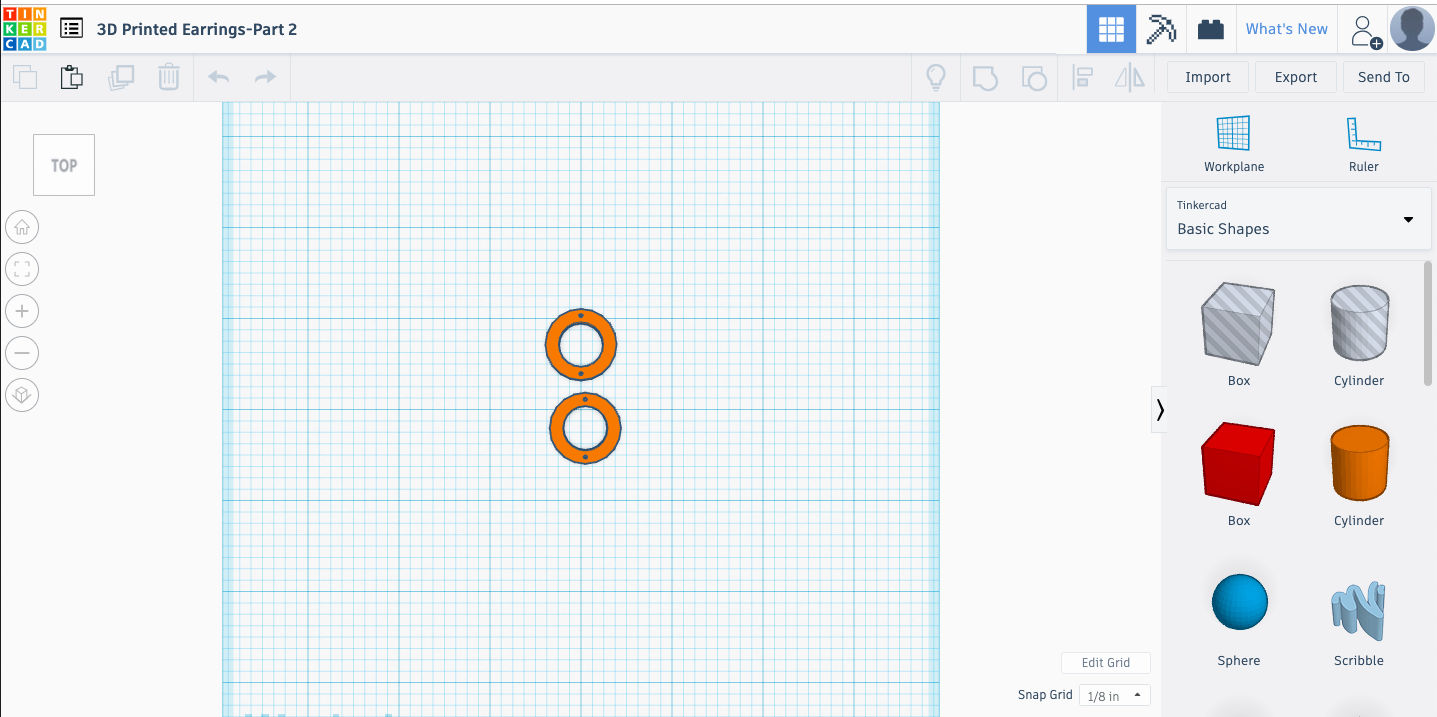
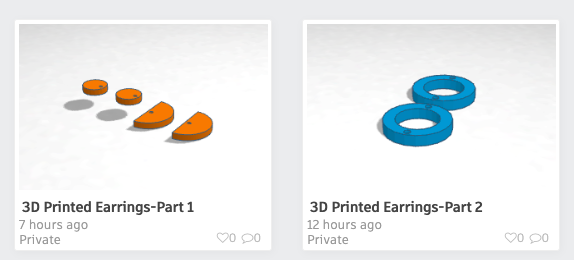
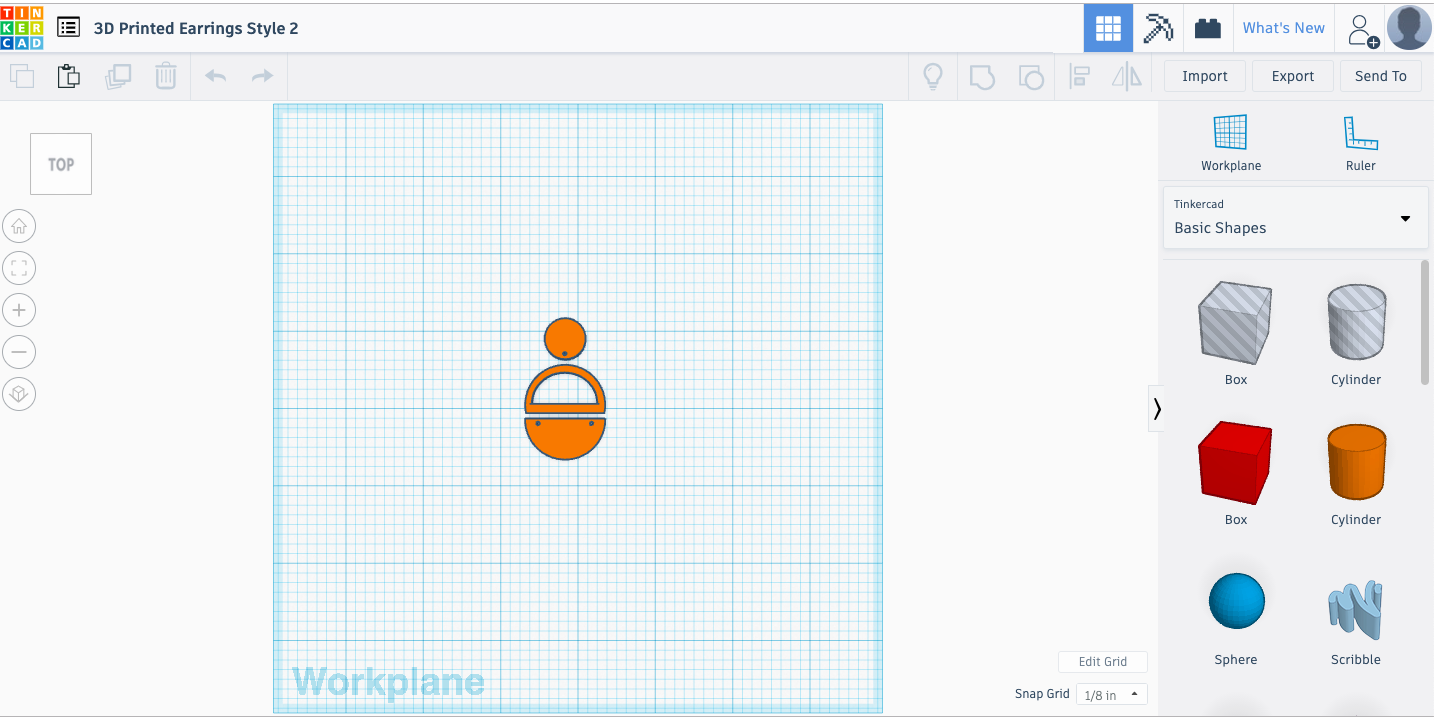
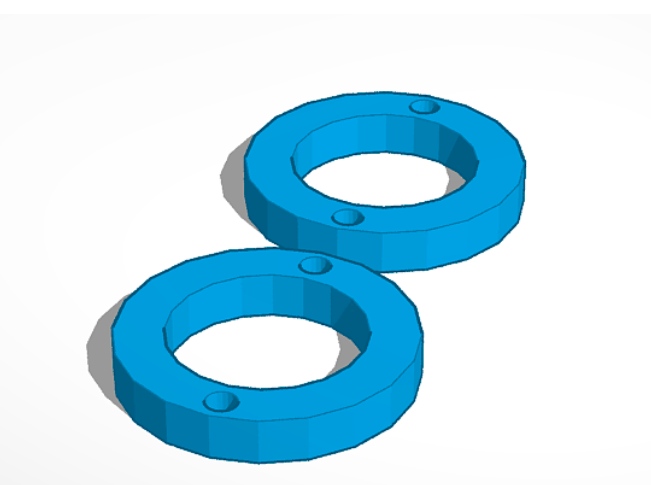
You can use the .stl files attached (ready for 3D printing), or easily create your own in Tinkercad. Tinkercad is free and easy to use. All of the designs for these earrings were easily created with primative shapes provided by Tinkercad. Not sure how to get started? Tinkercad is loaded with brief tutorials and lessons. Go to Tinkercad and click on LEARN. This project would be a good way to learn how to make a hole, and how to align objects.
There are two files available, so you can print the pieces in two different filament colors. One for the top and bottom pieces and one for the middle section. If you'd rather, you can print all the pieces in the same color.
Print Your Files
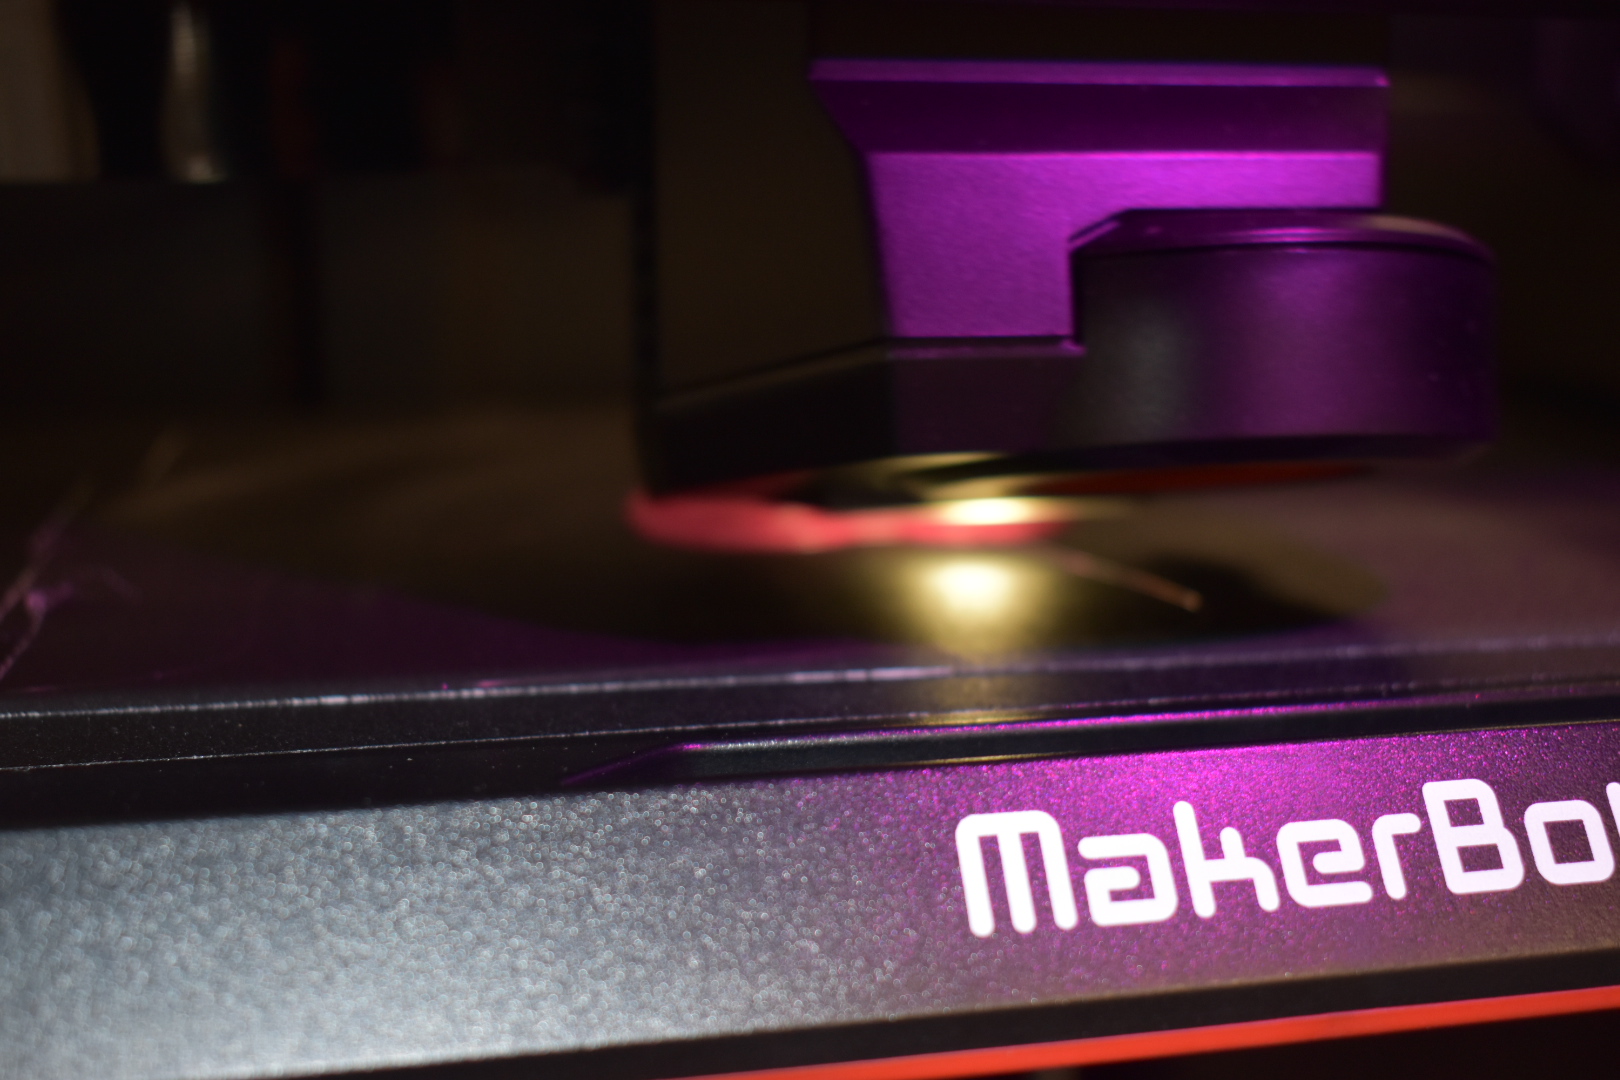
Once you have created and downloaded your .stl files, you can export them to your 3D printer. I used a MakerBot Replicator Plus to print my earrings. The two files took under 30 minutes to print.
Clean and Prepare the Parts for Assembly
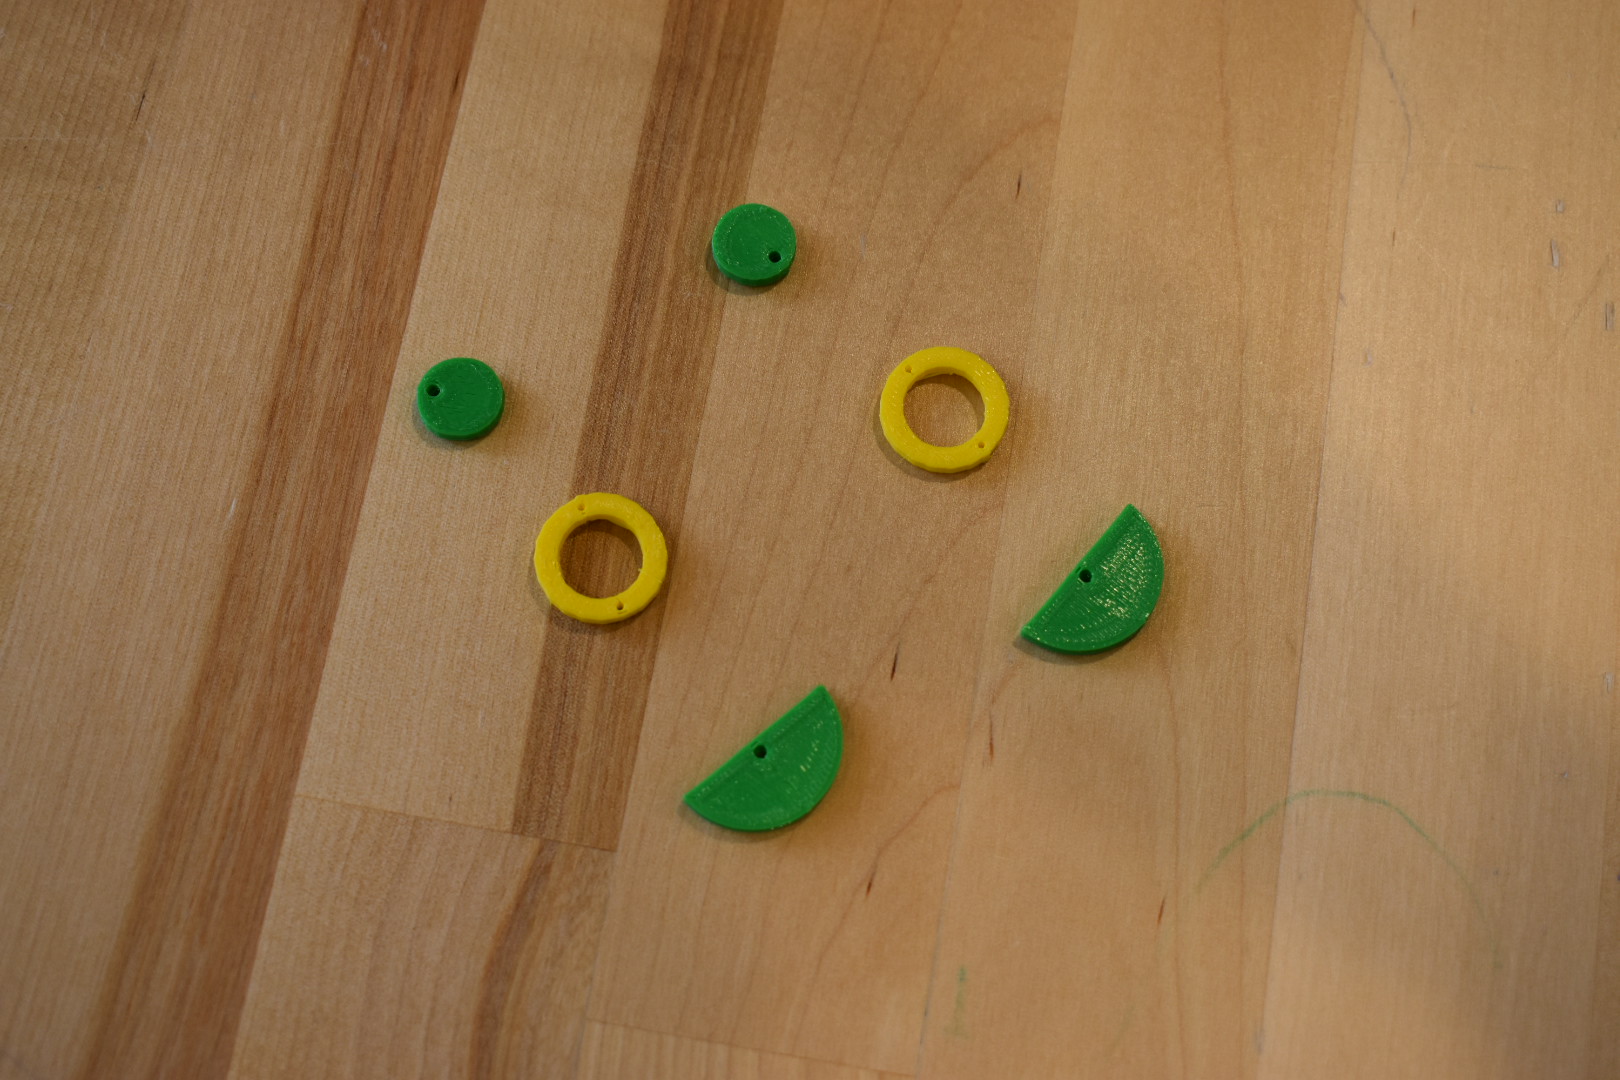
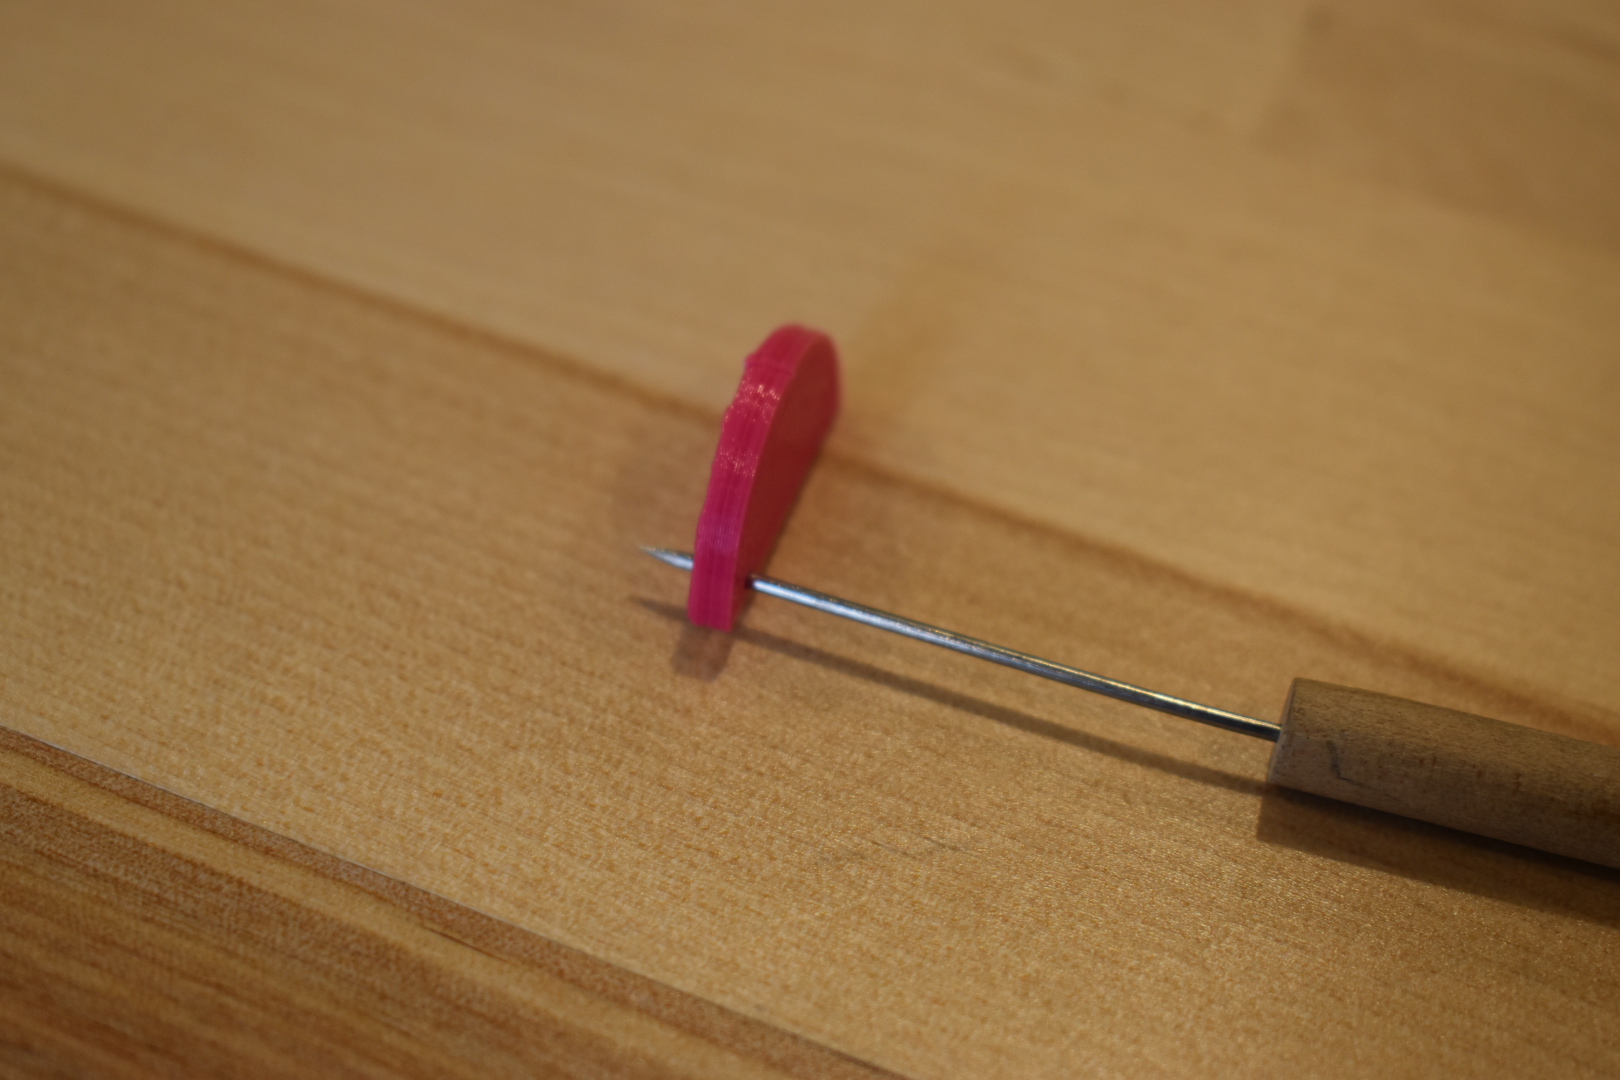
You'll want to remove any strings or support materials from your 3D prints. A small file comes in handy sometimes for this. I like to use a sharp poker (normally reserved for dissections) to cleanly open the holes.
Glue on the Earring Posts
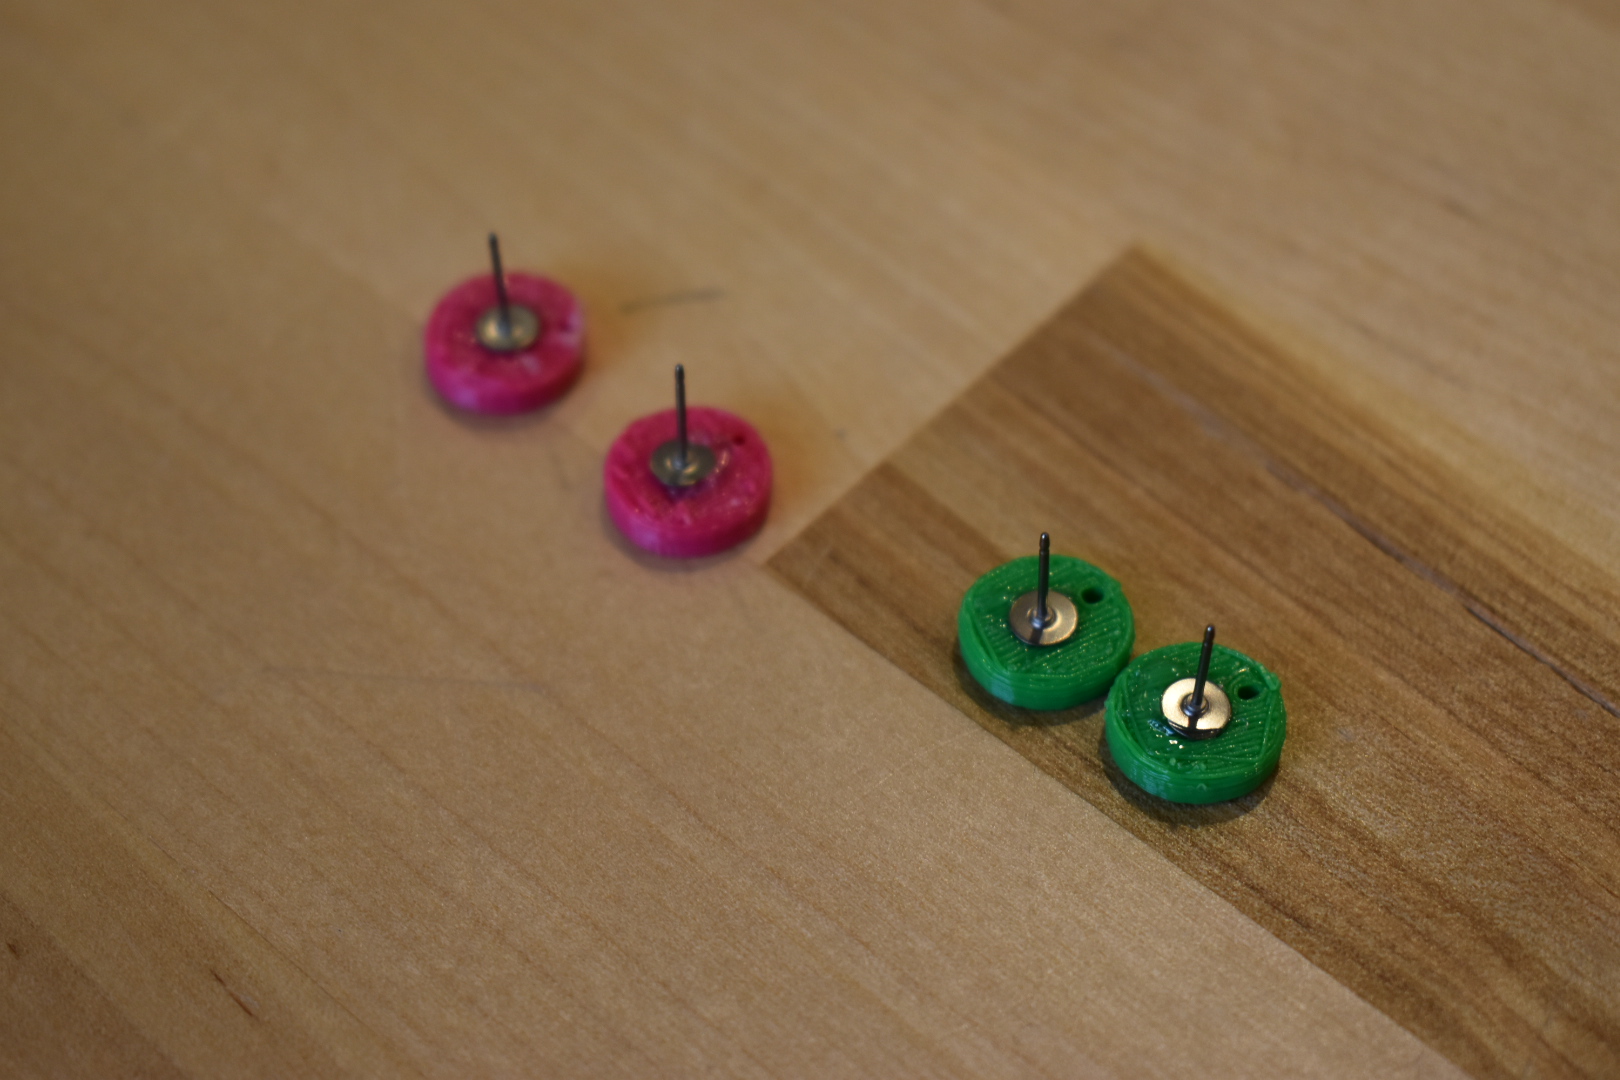
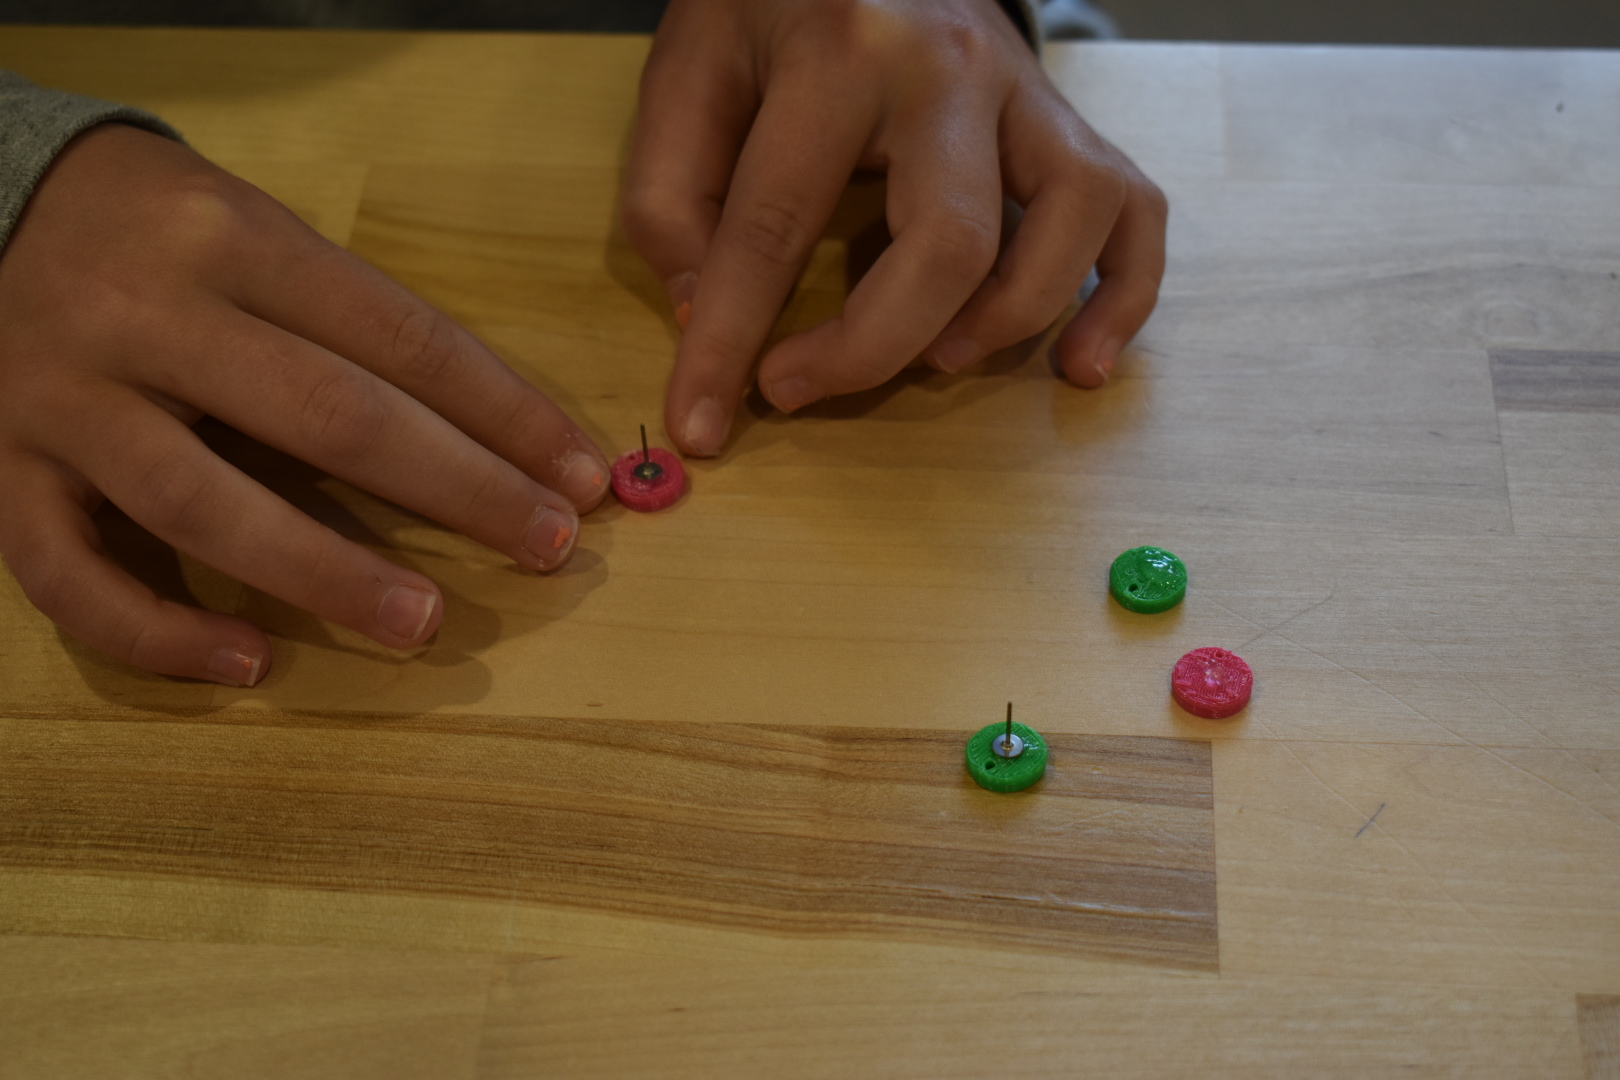
Use the jewelry adhesive to glue the earring posts to the back of the earring tops. Try to center as best you can. The earrings will have to dry a little before you can go onto the next step.
Assembling the Earrings
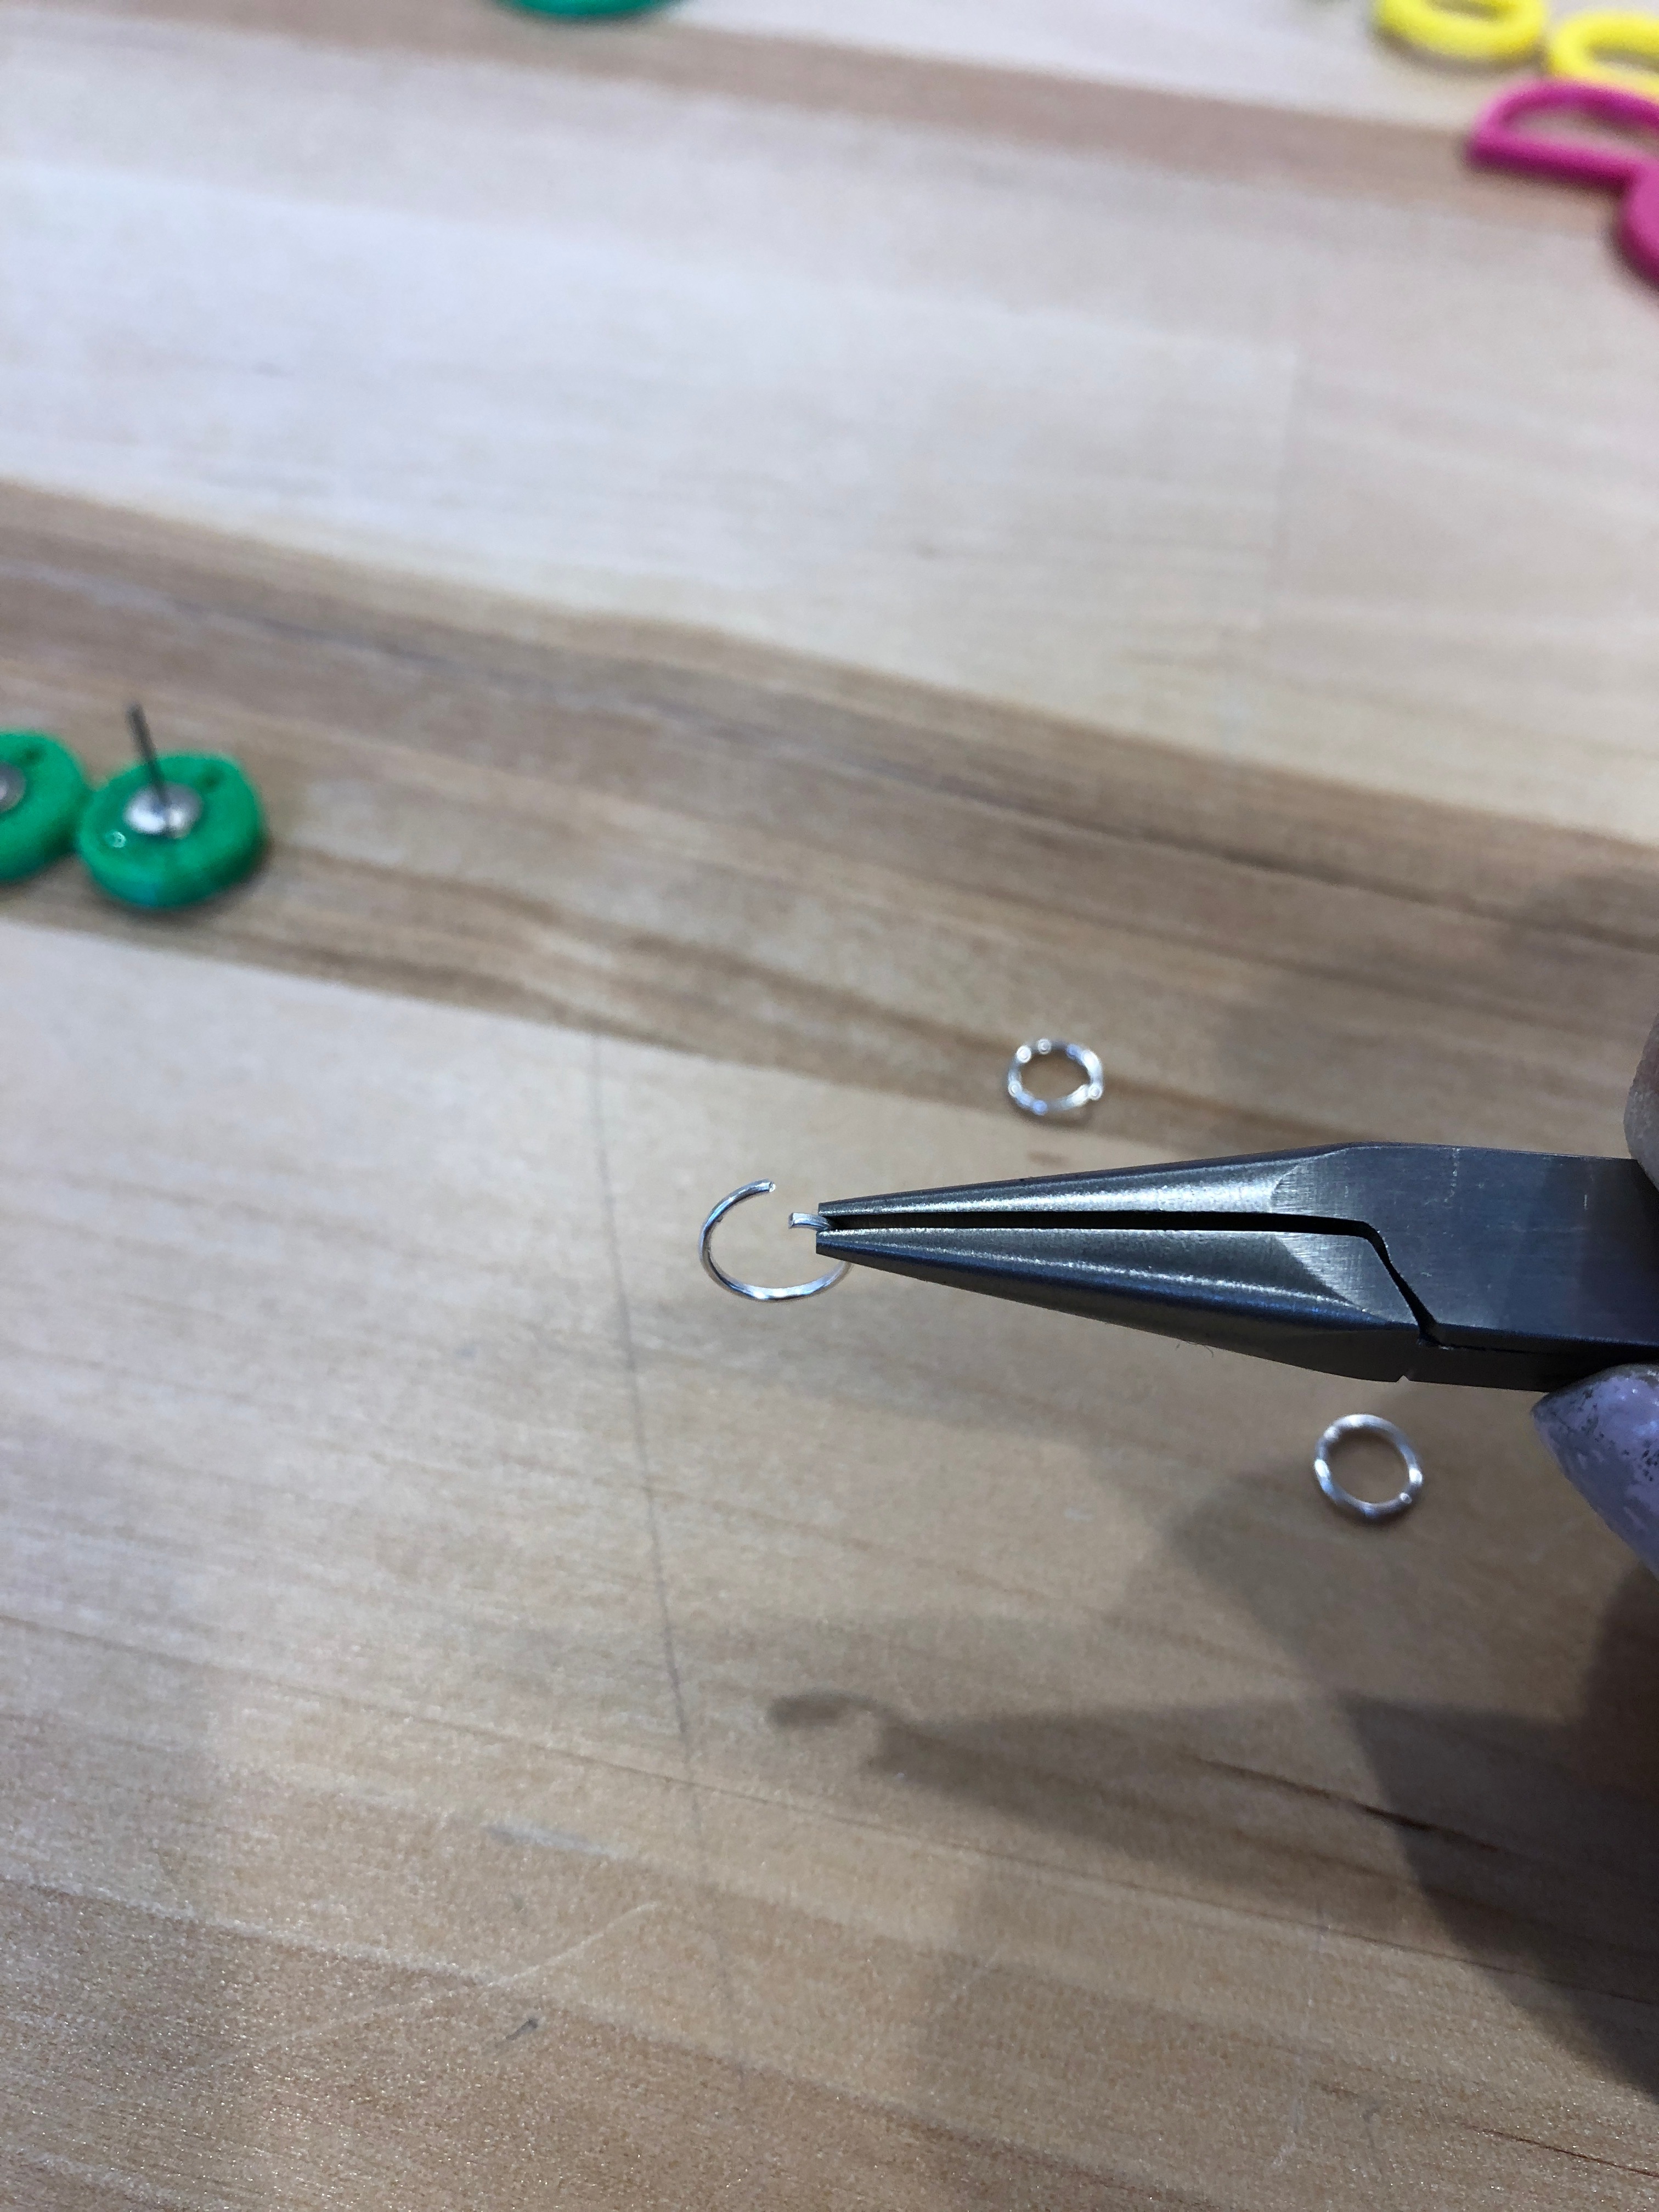
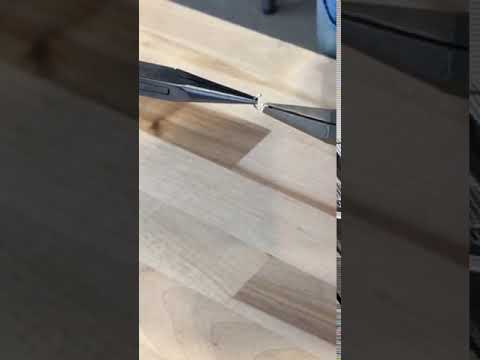
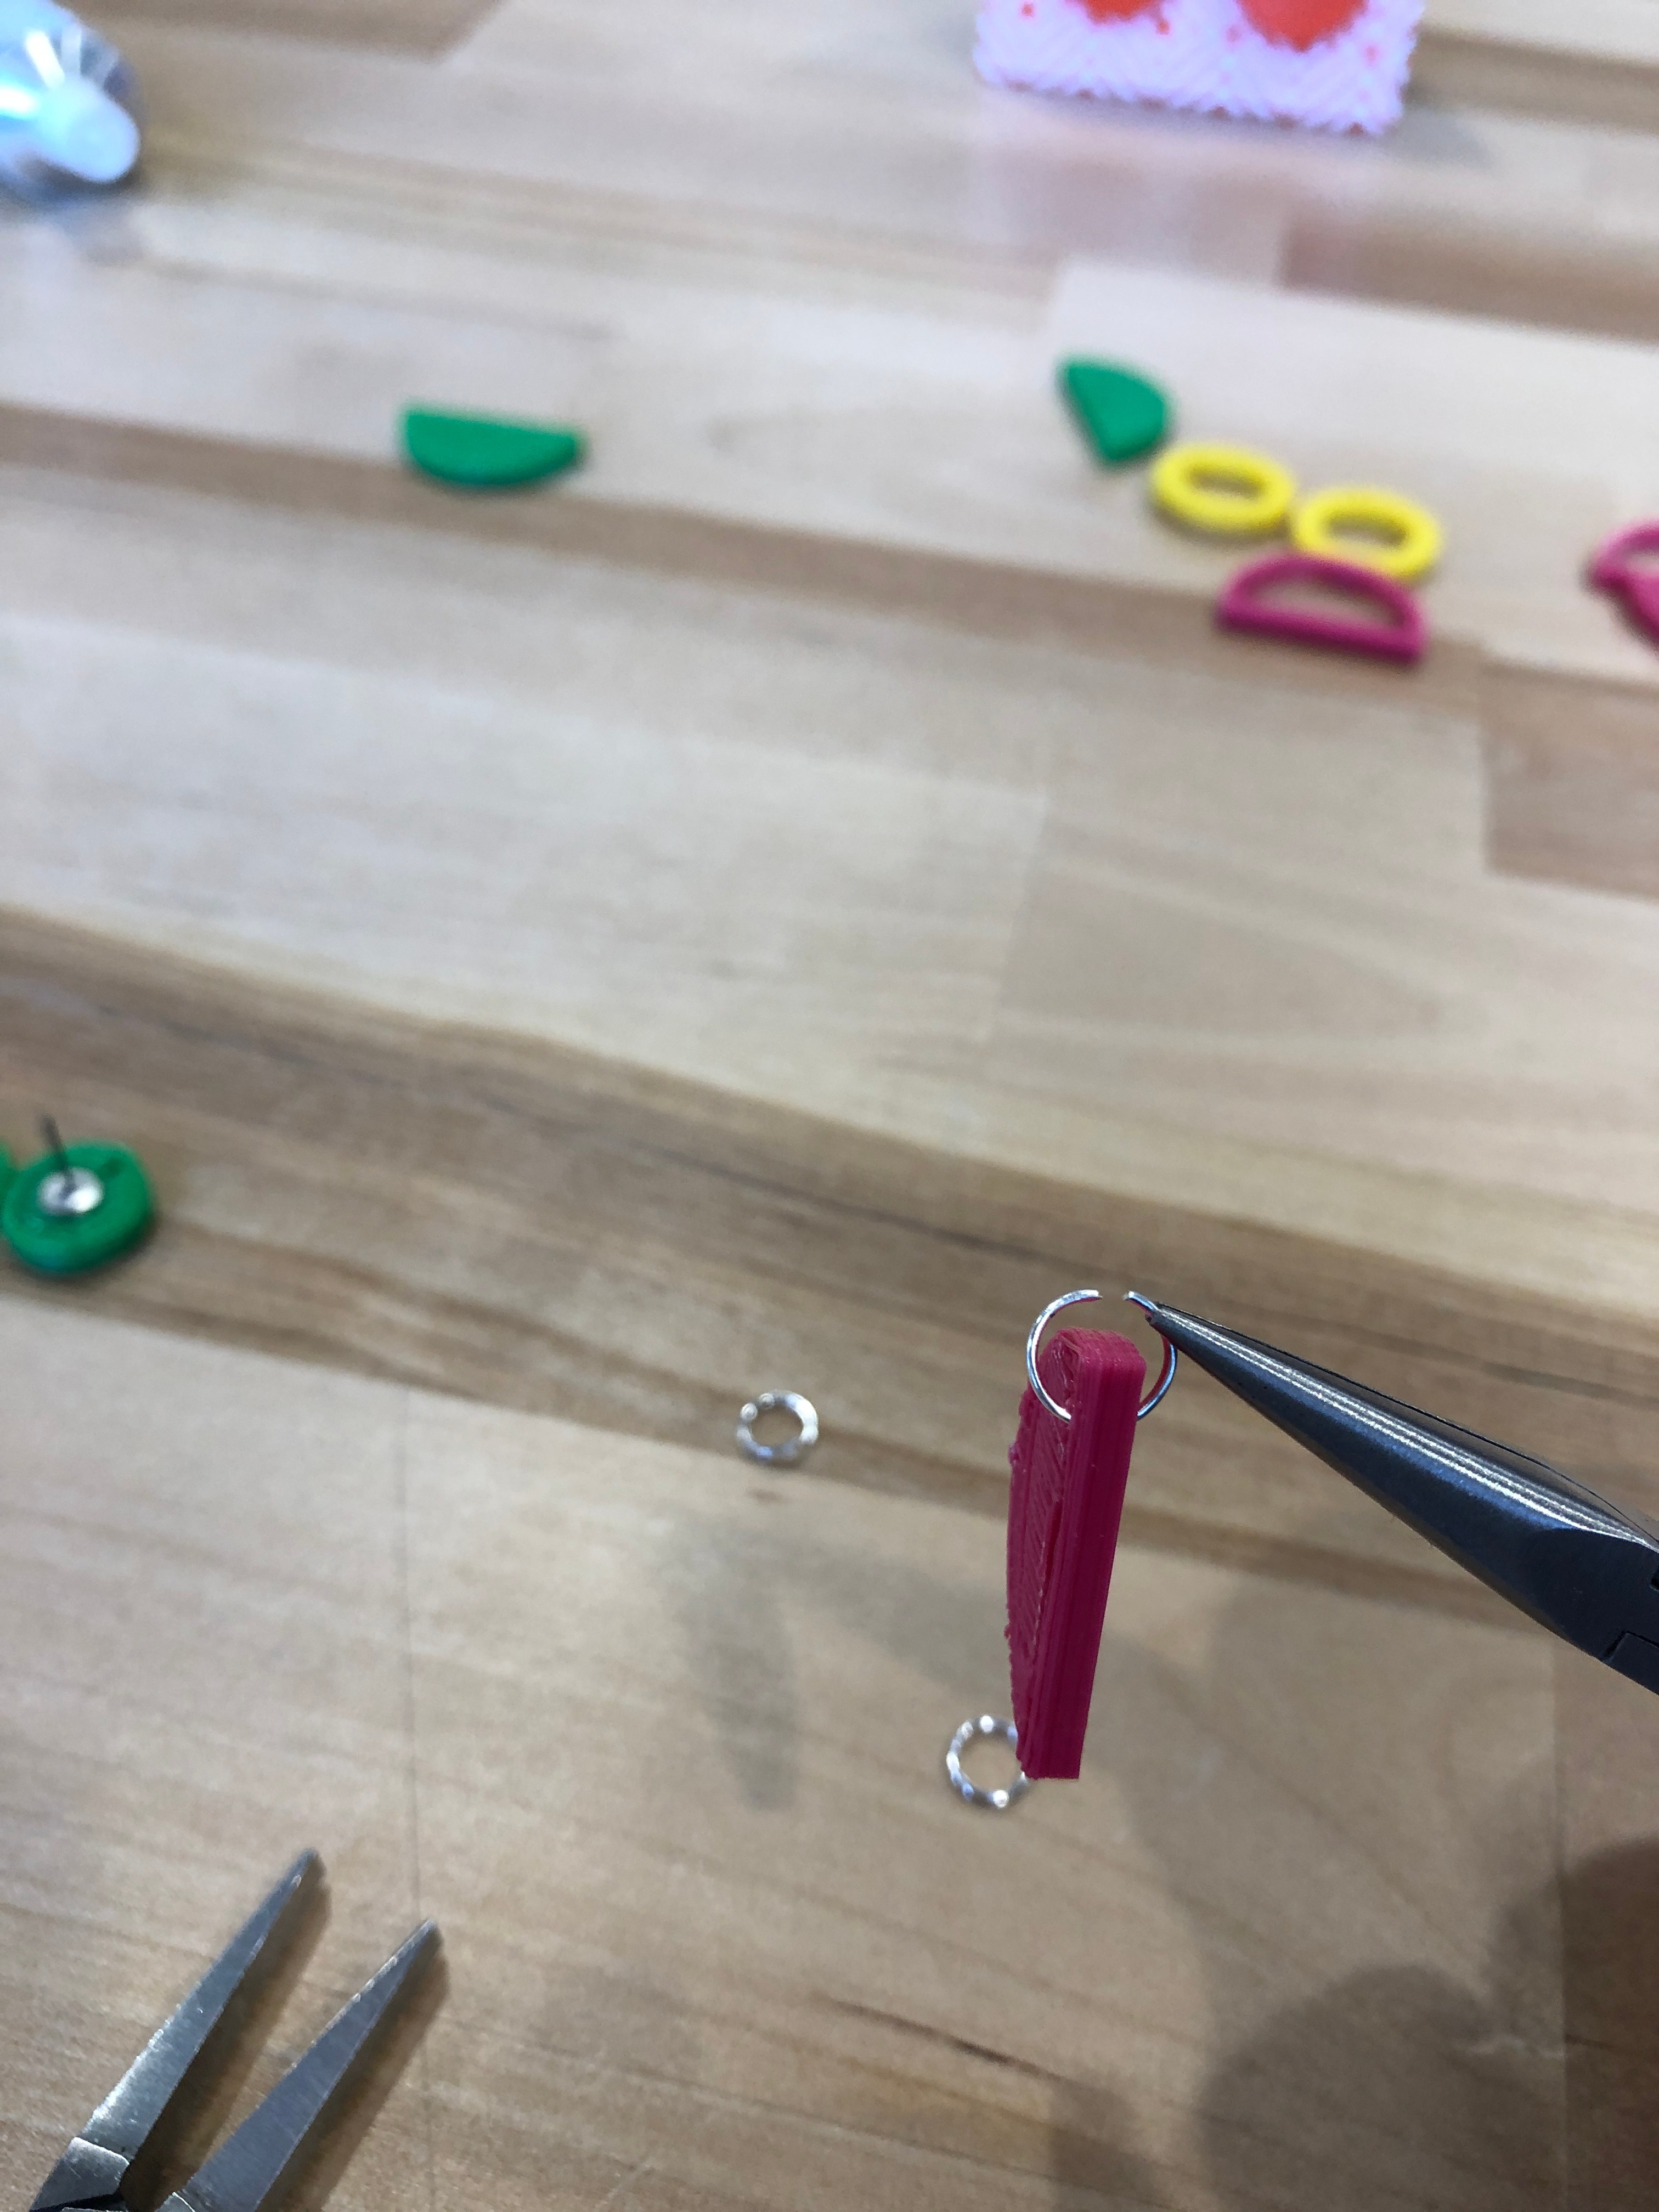
If you haven't worked with jump rings before, it is pretty easy to do - IF you remember one crucial thing: jump rings should be opened by moving their openings sideways to make a space for attaching pieces, NOT apart. Here is a quick explanation.
I suppose it doesn't really matter what order you connect your 3 pieces. I connected the middle ring to the bottom wedge, then connect that combined piece to the top piece with the earring post.
Display, Gift and Wear!
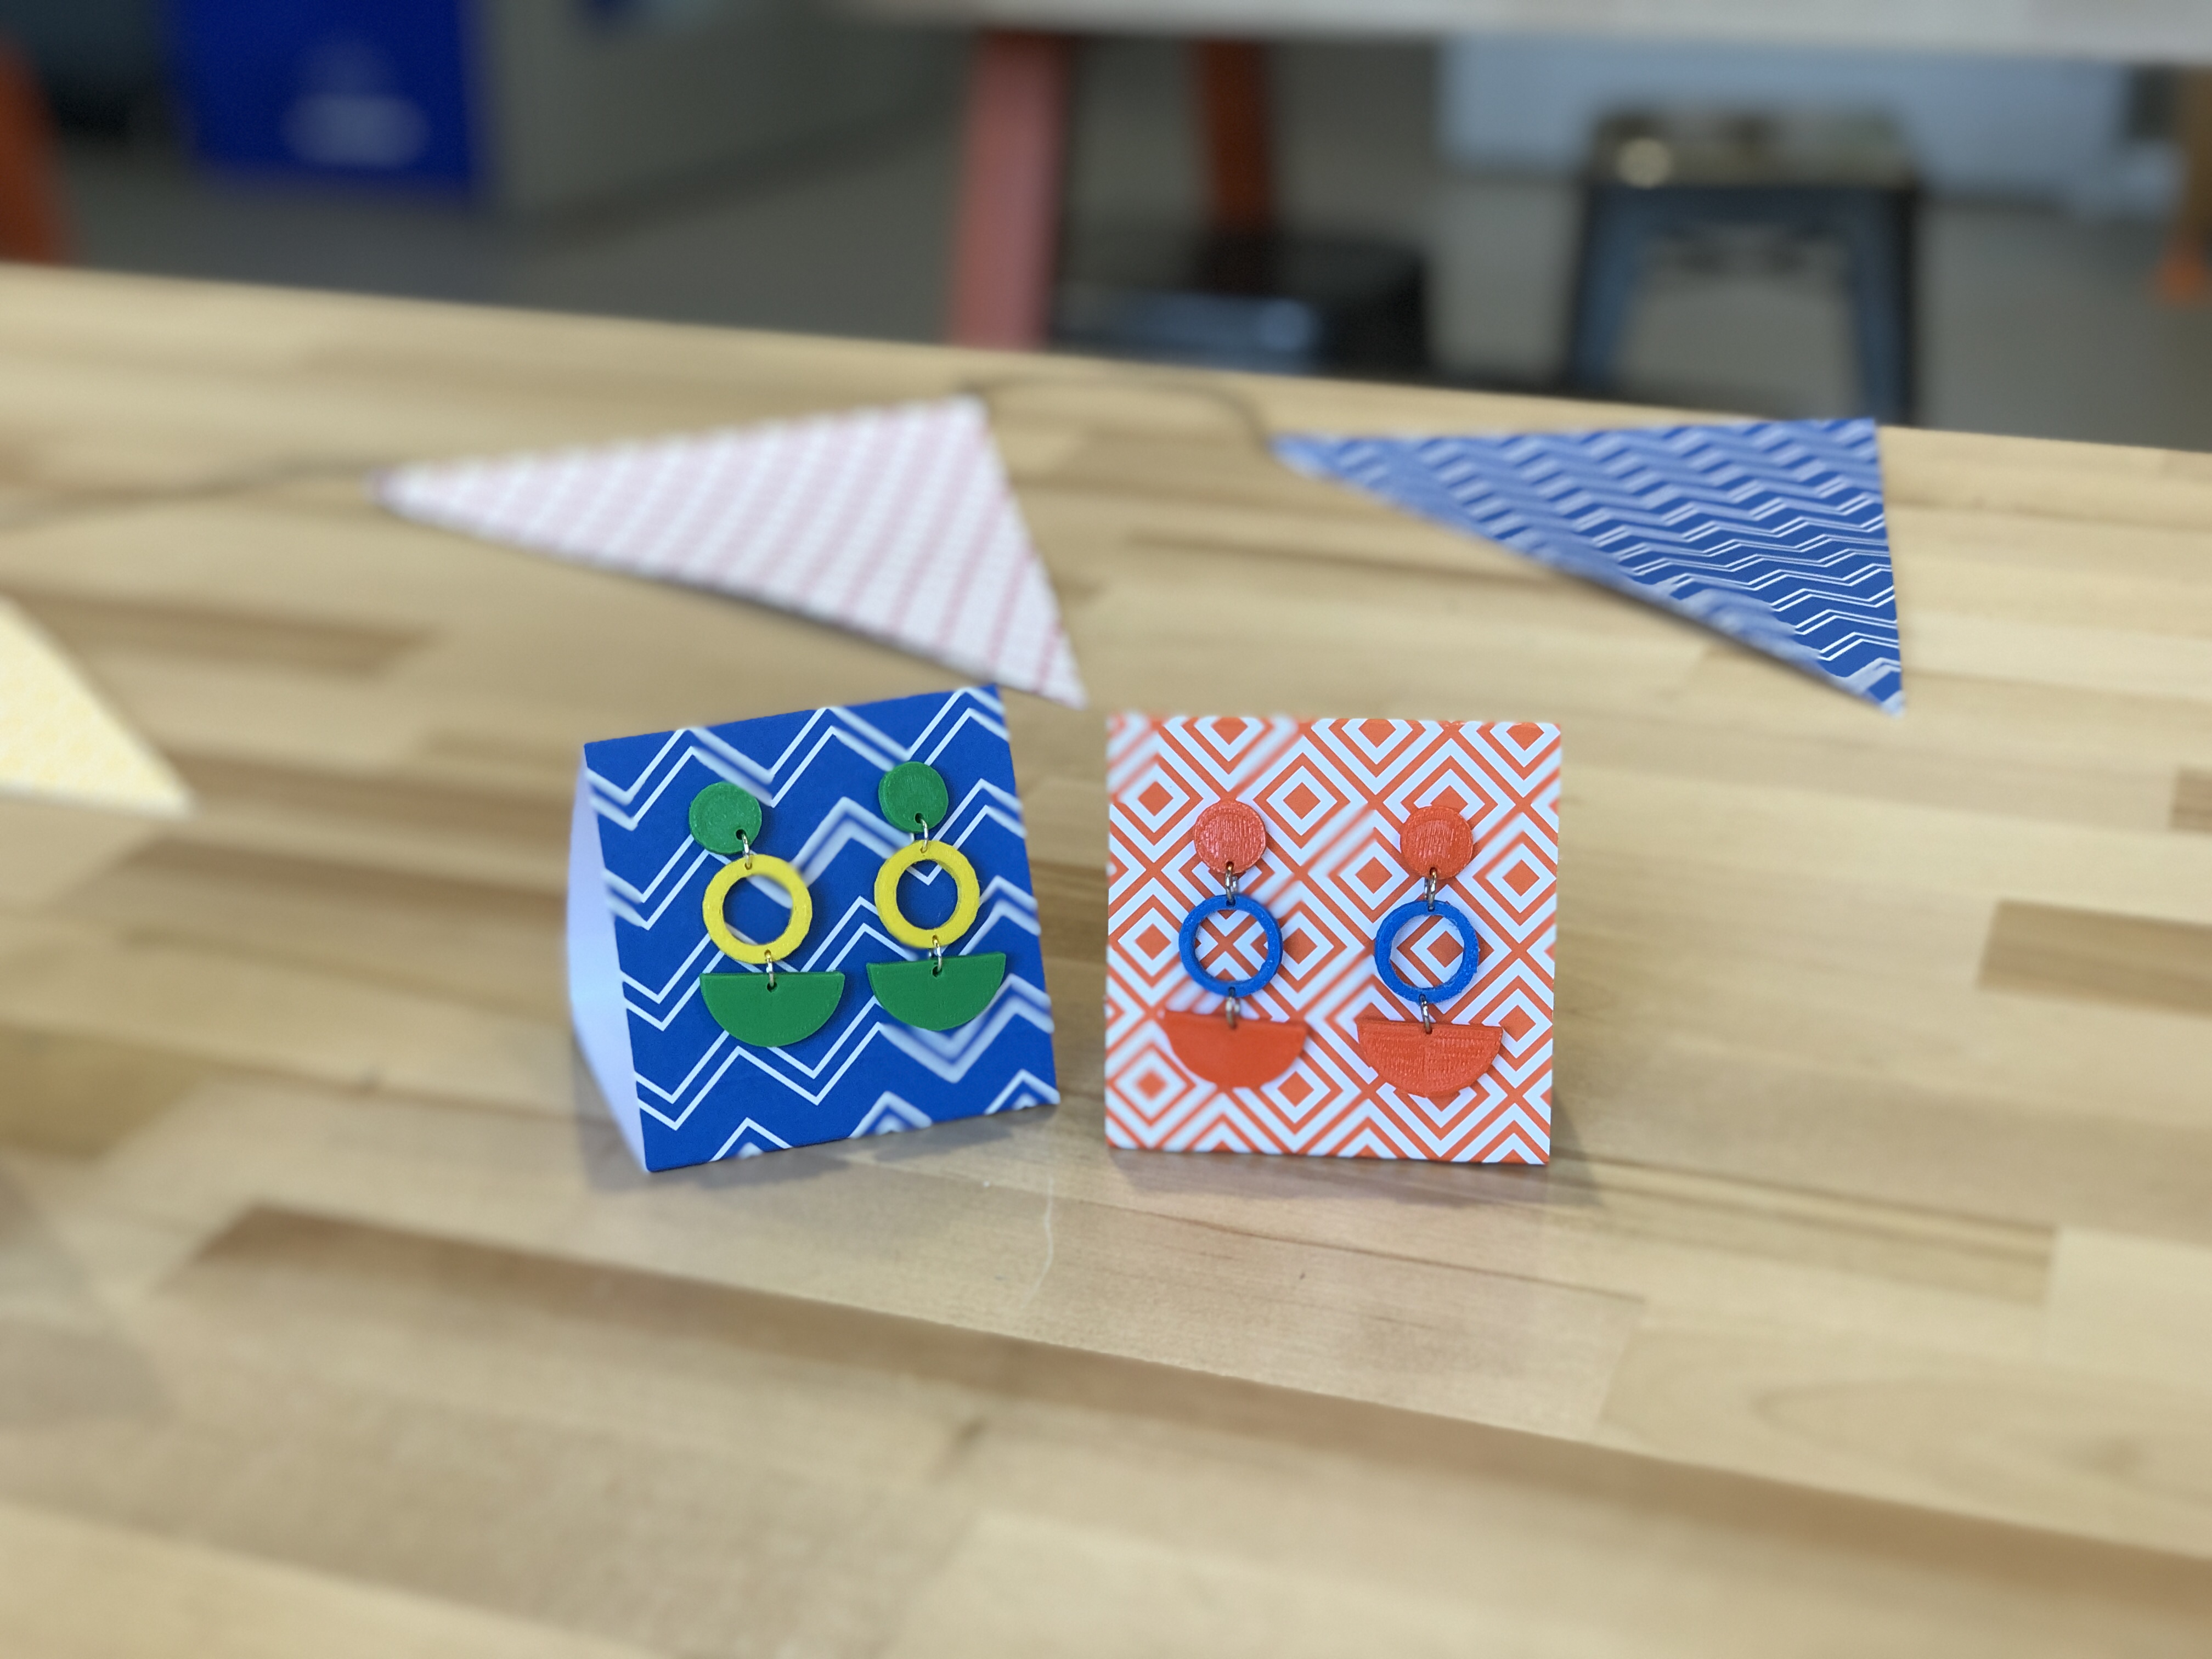
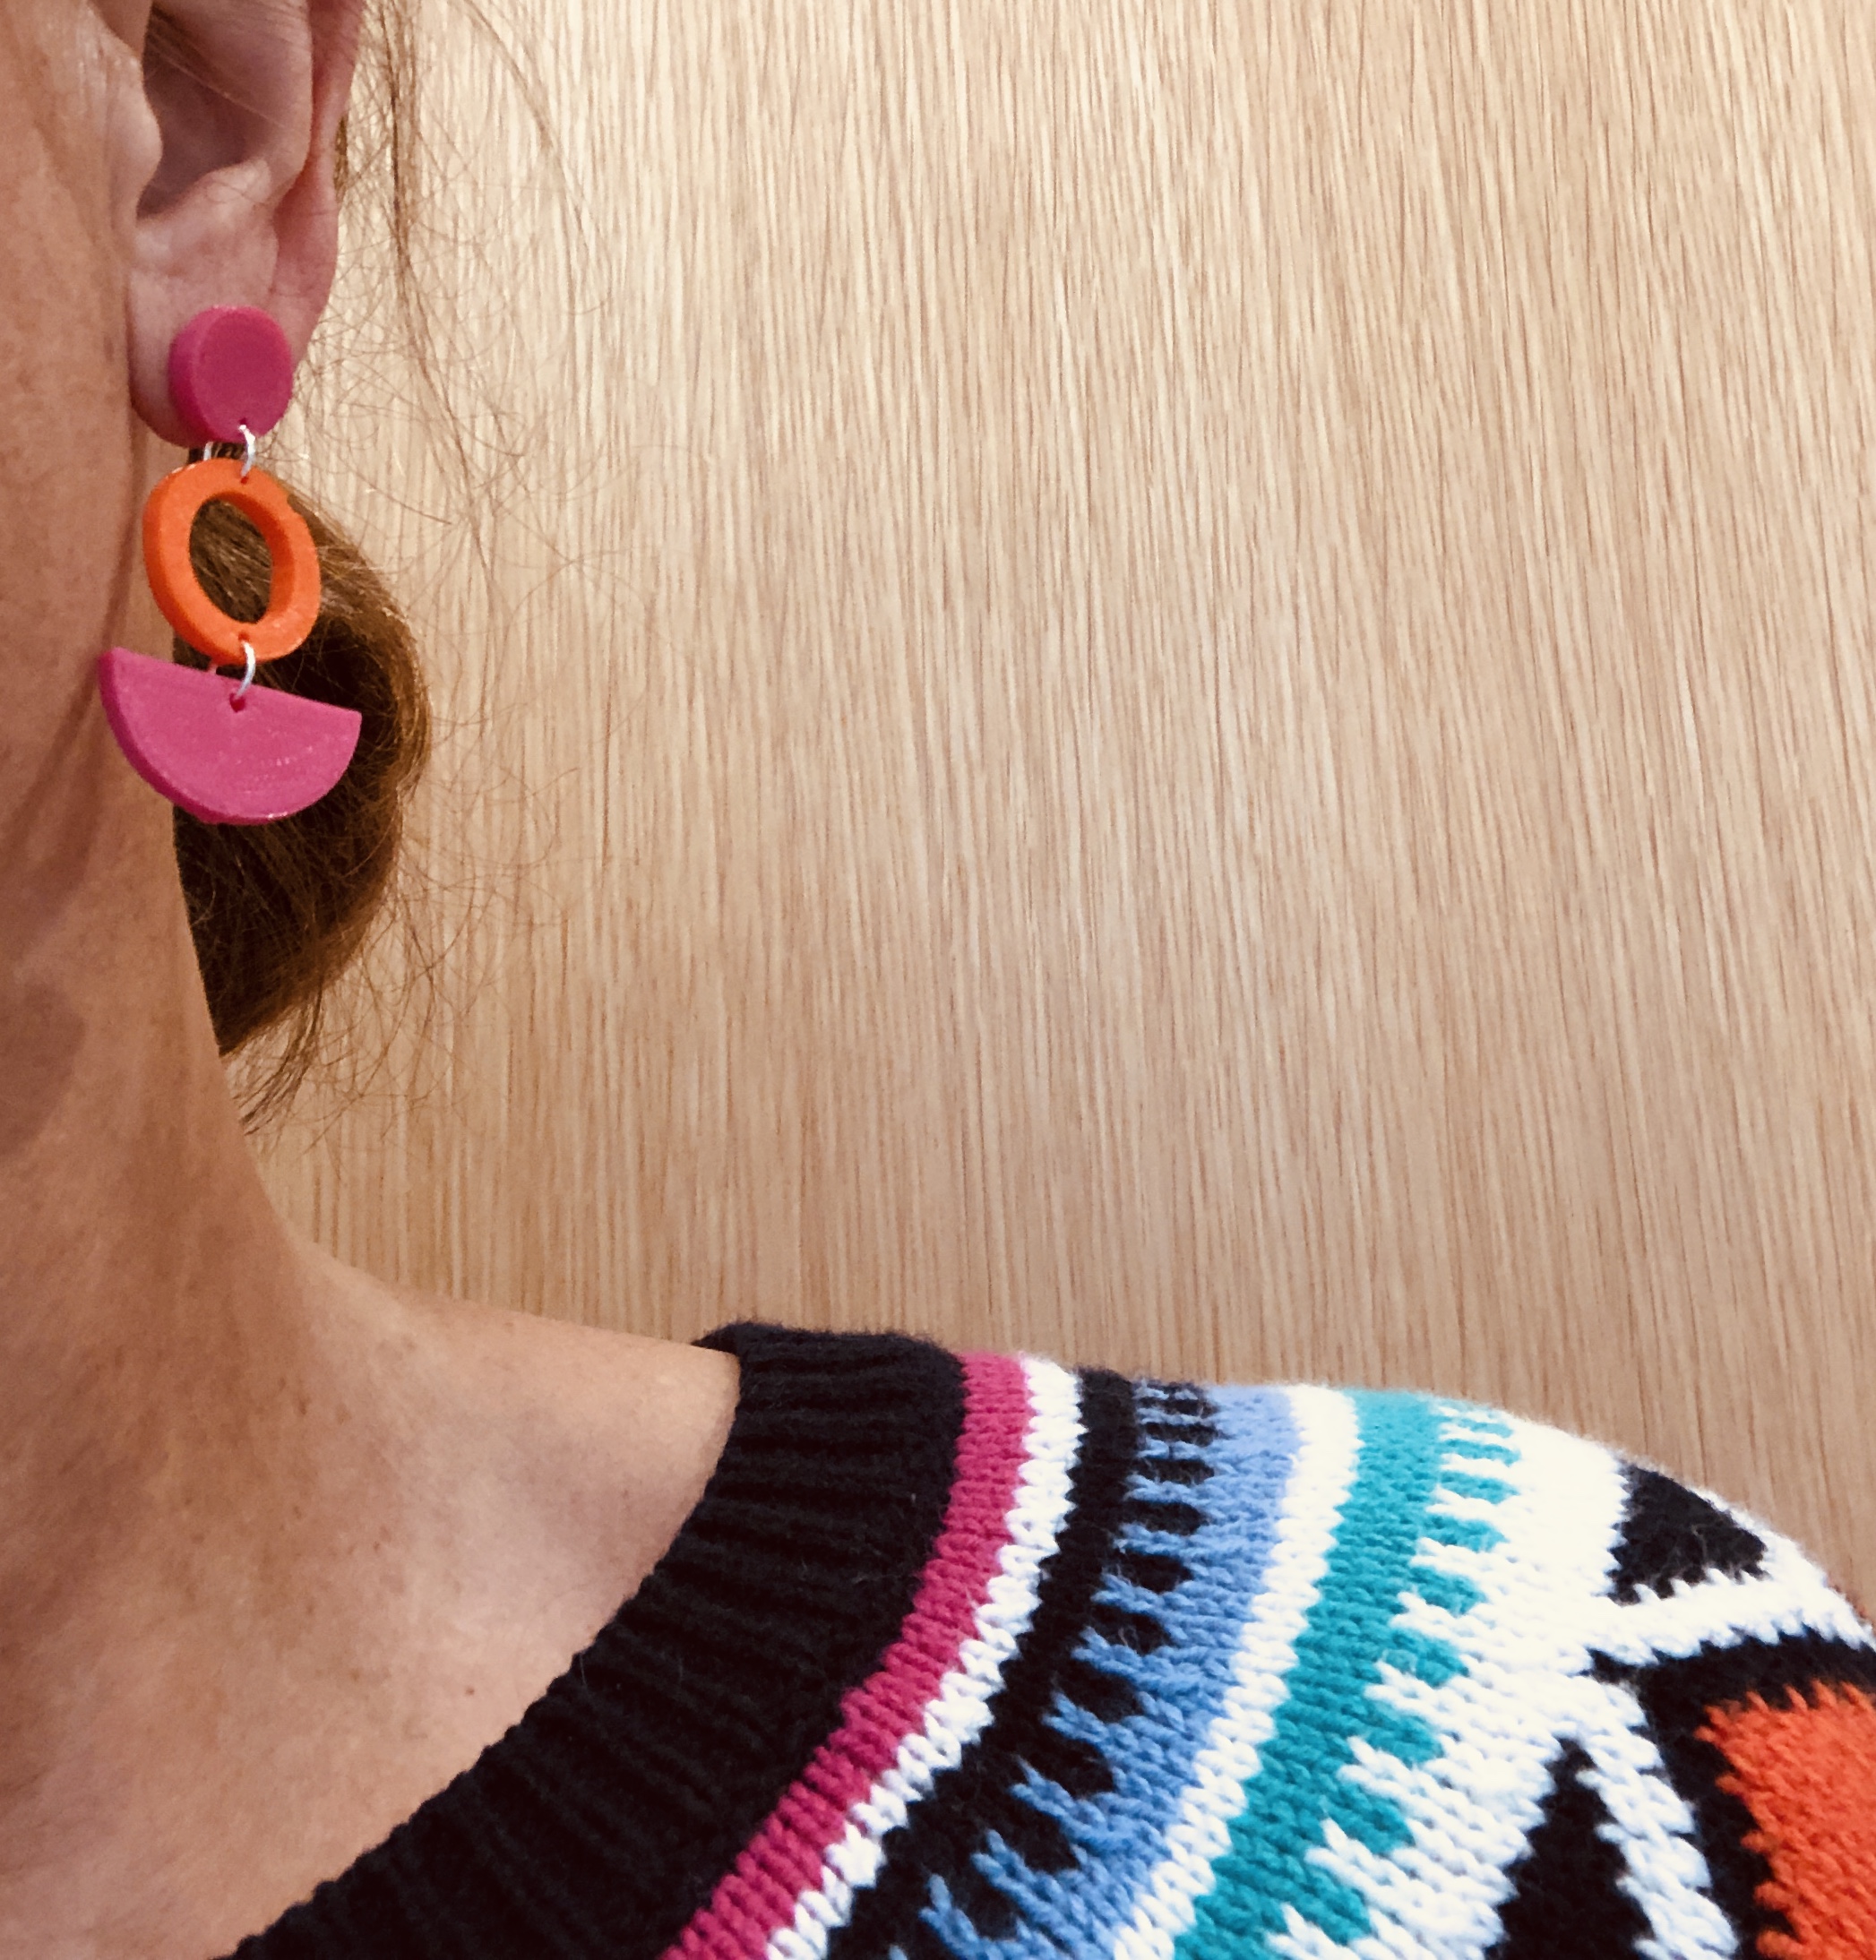
Your earrings are ready to go! They are lightweight and best of all, designed and built by you. Enjoy!