3D Printed Battletop With Launcher and Ripcord
by Dragon_Spinner in Living > Toys & Games
5271 Views, 48 Favorites, 0 Comments
3D Printed Battletop With Launcher and Ripcord
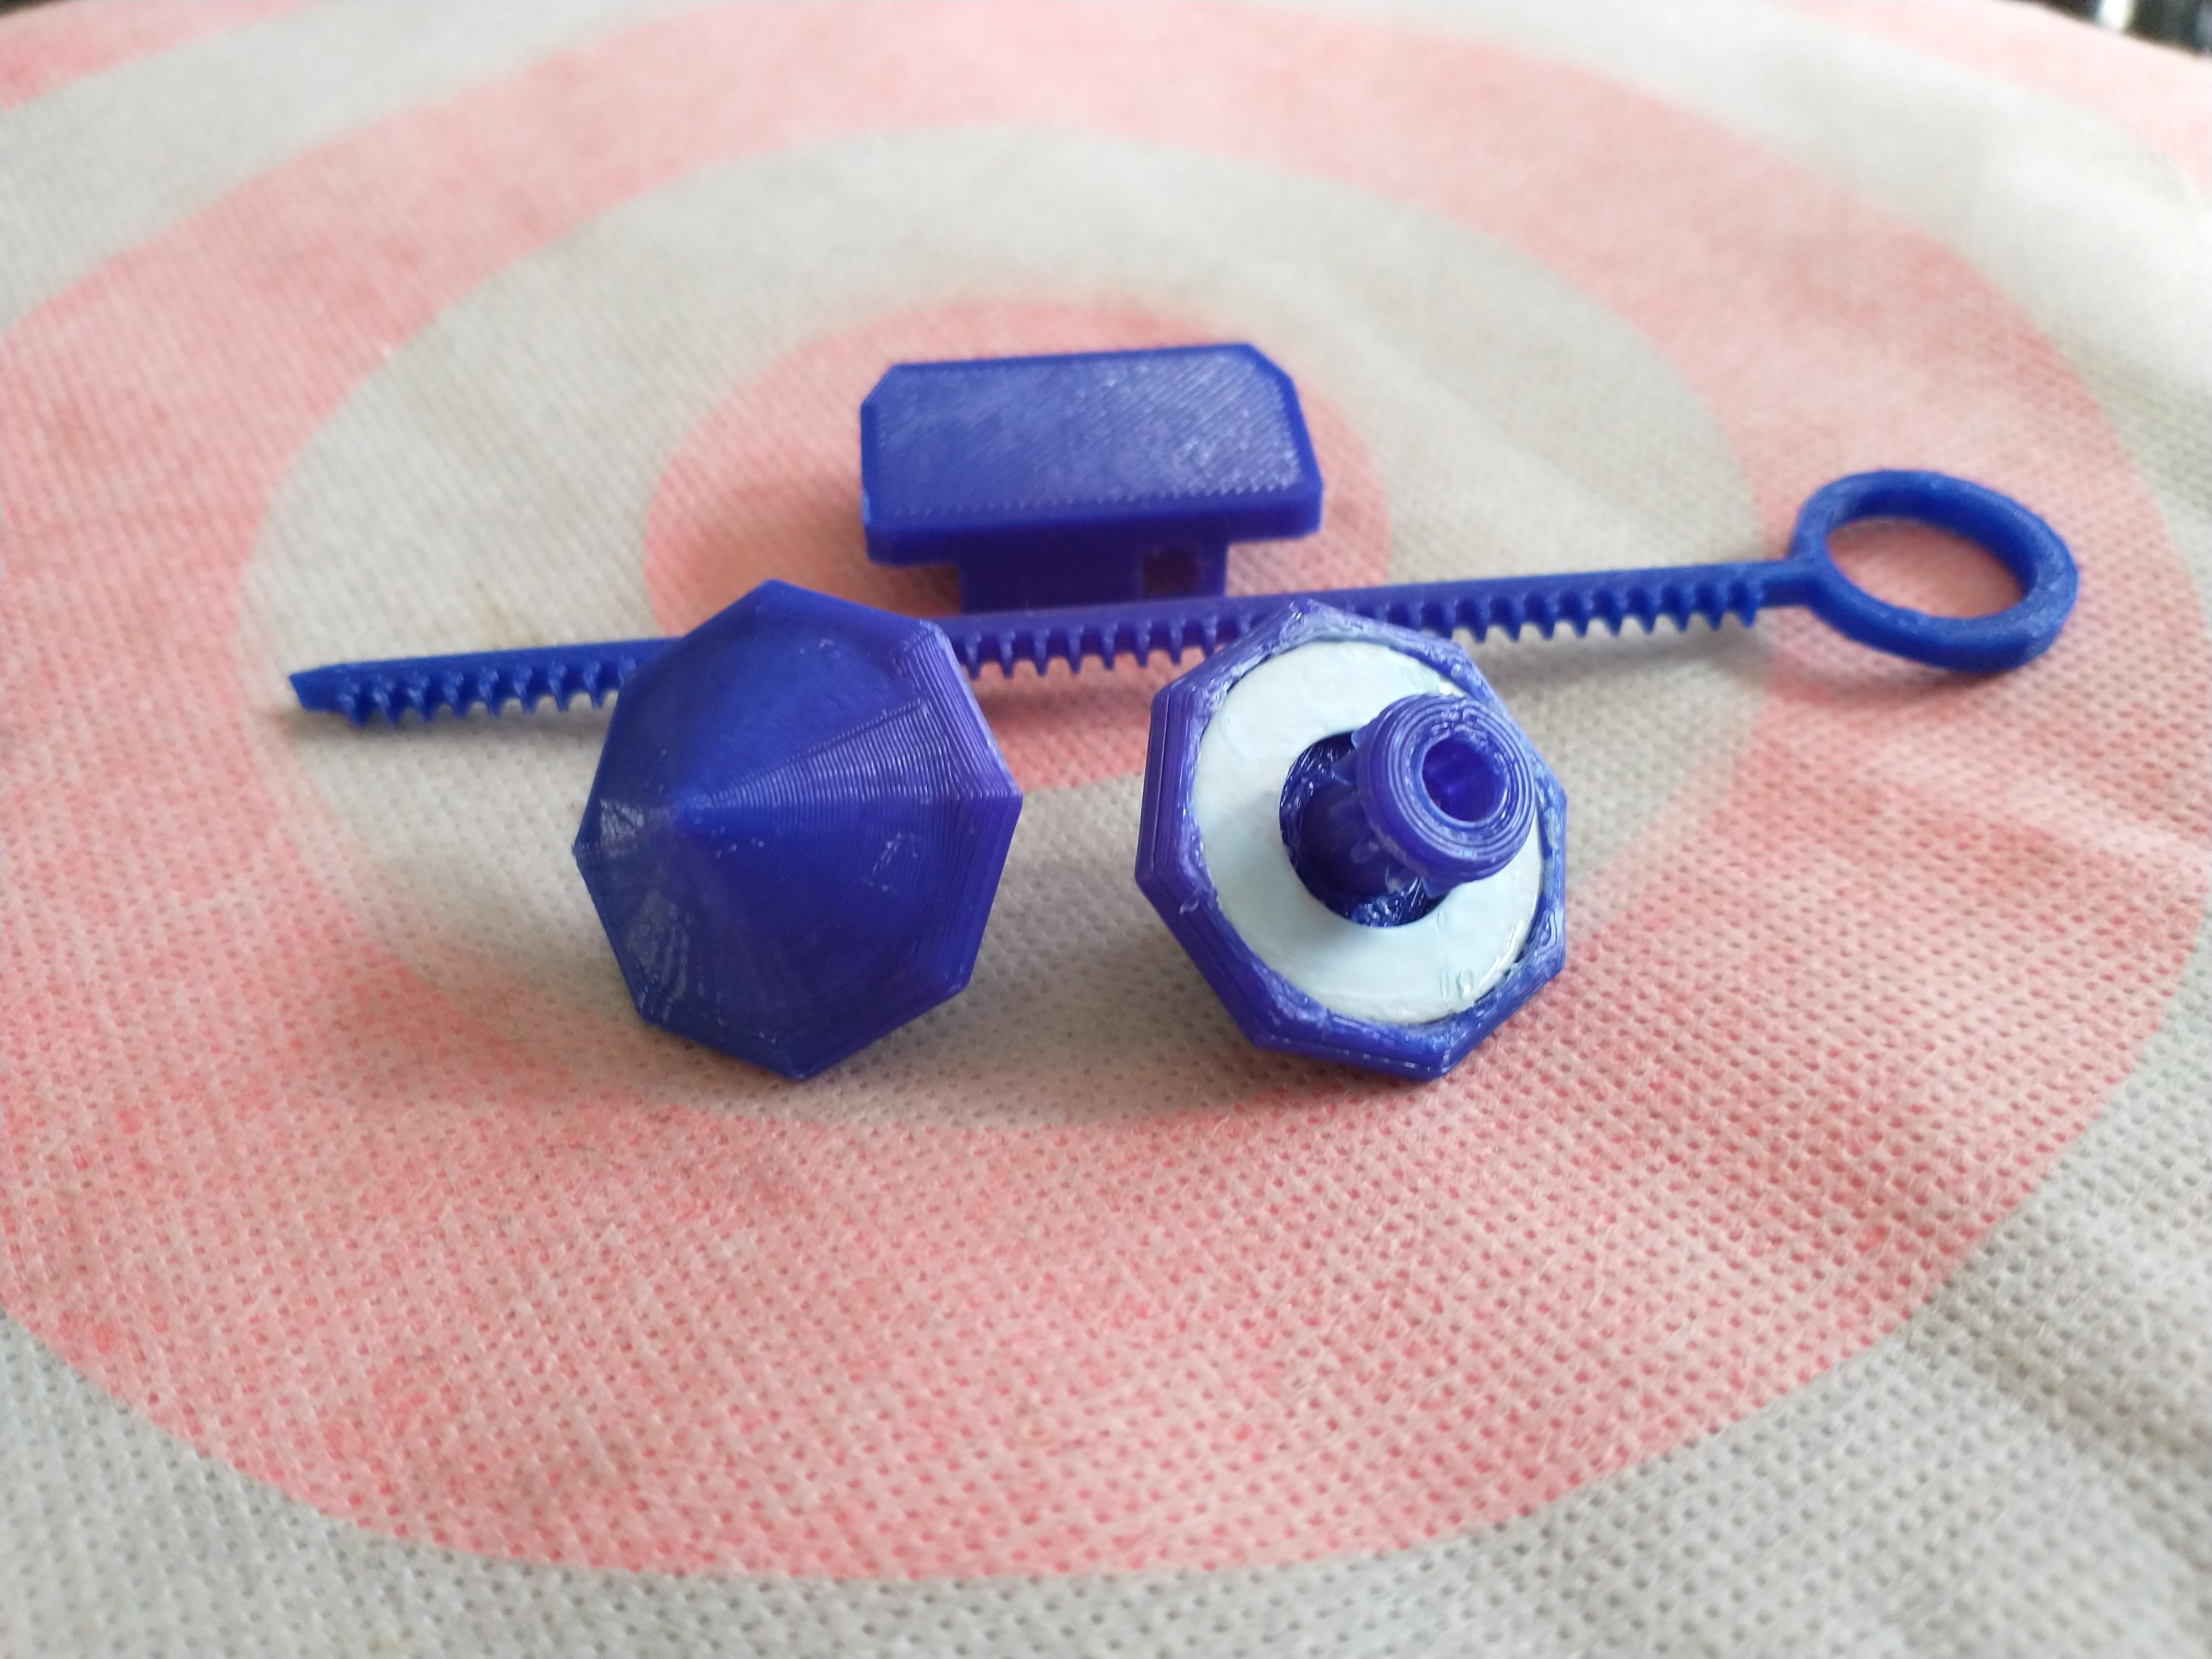
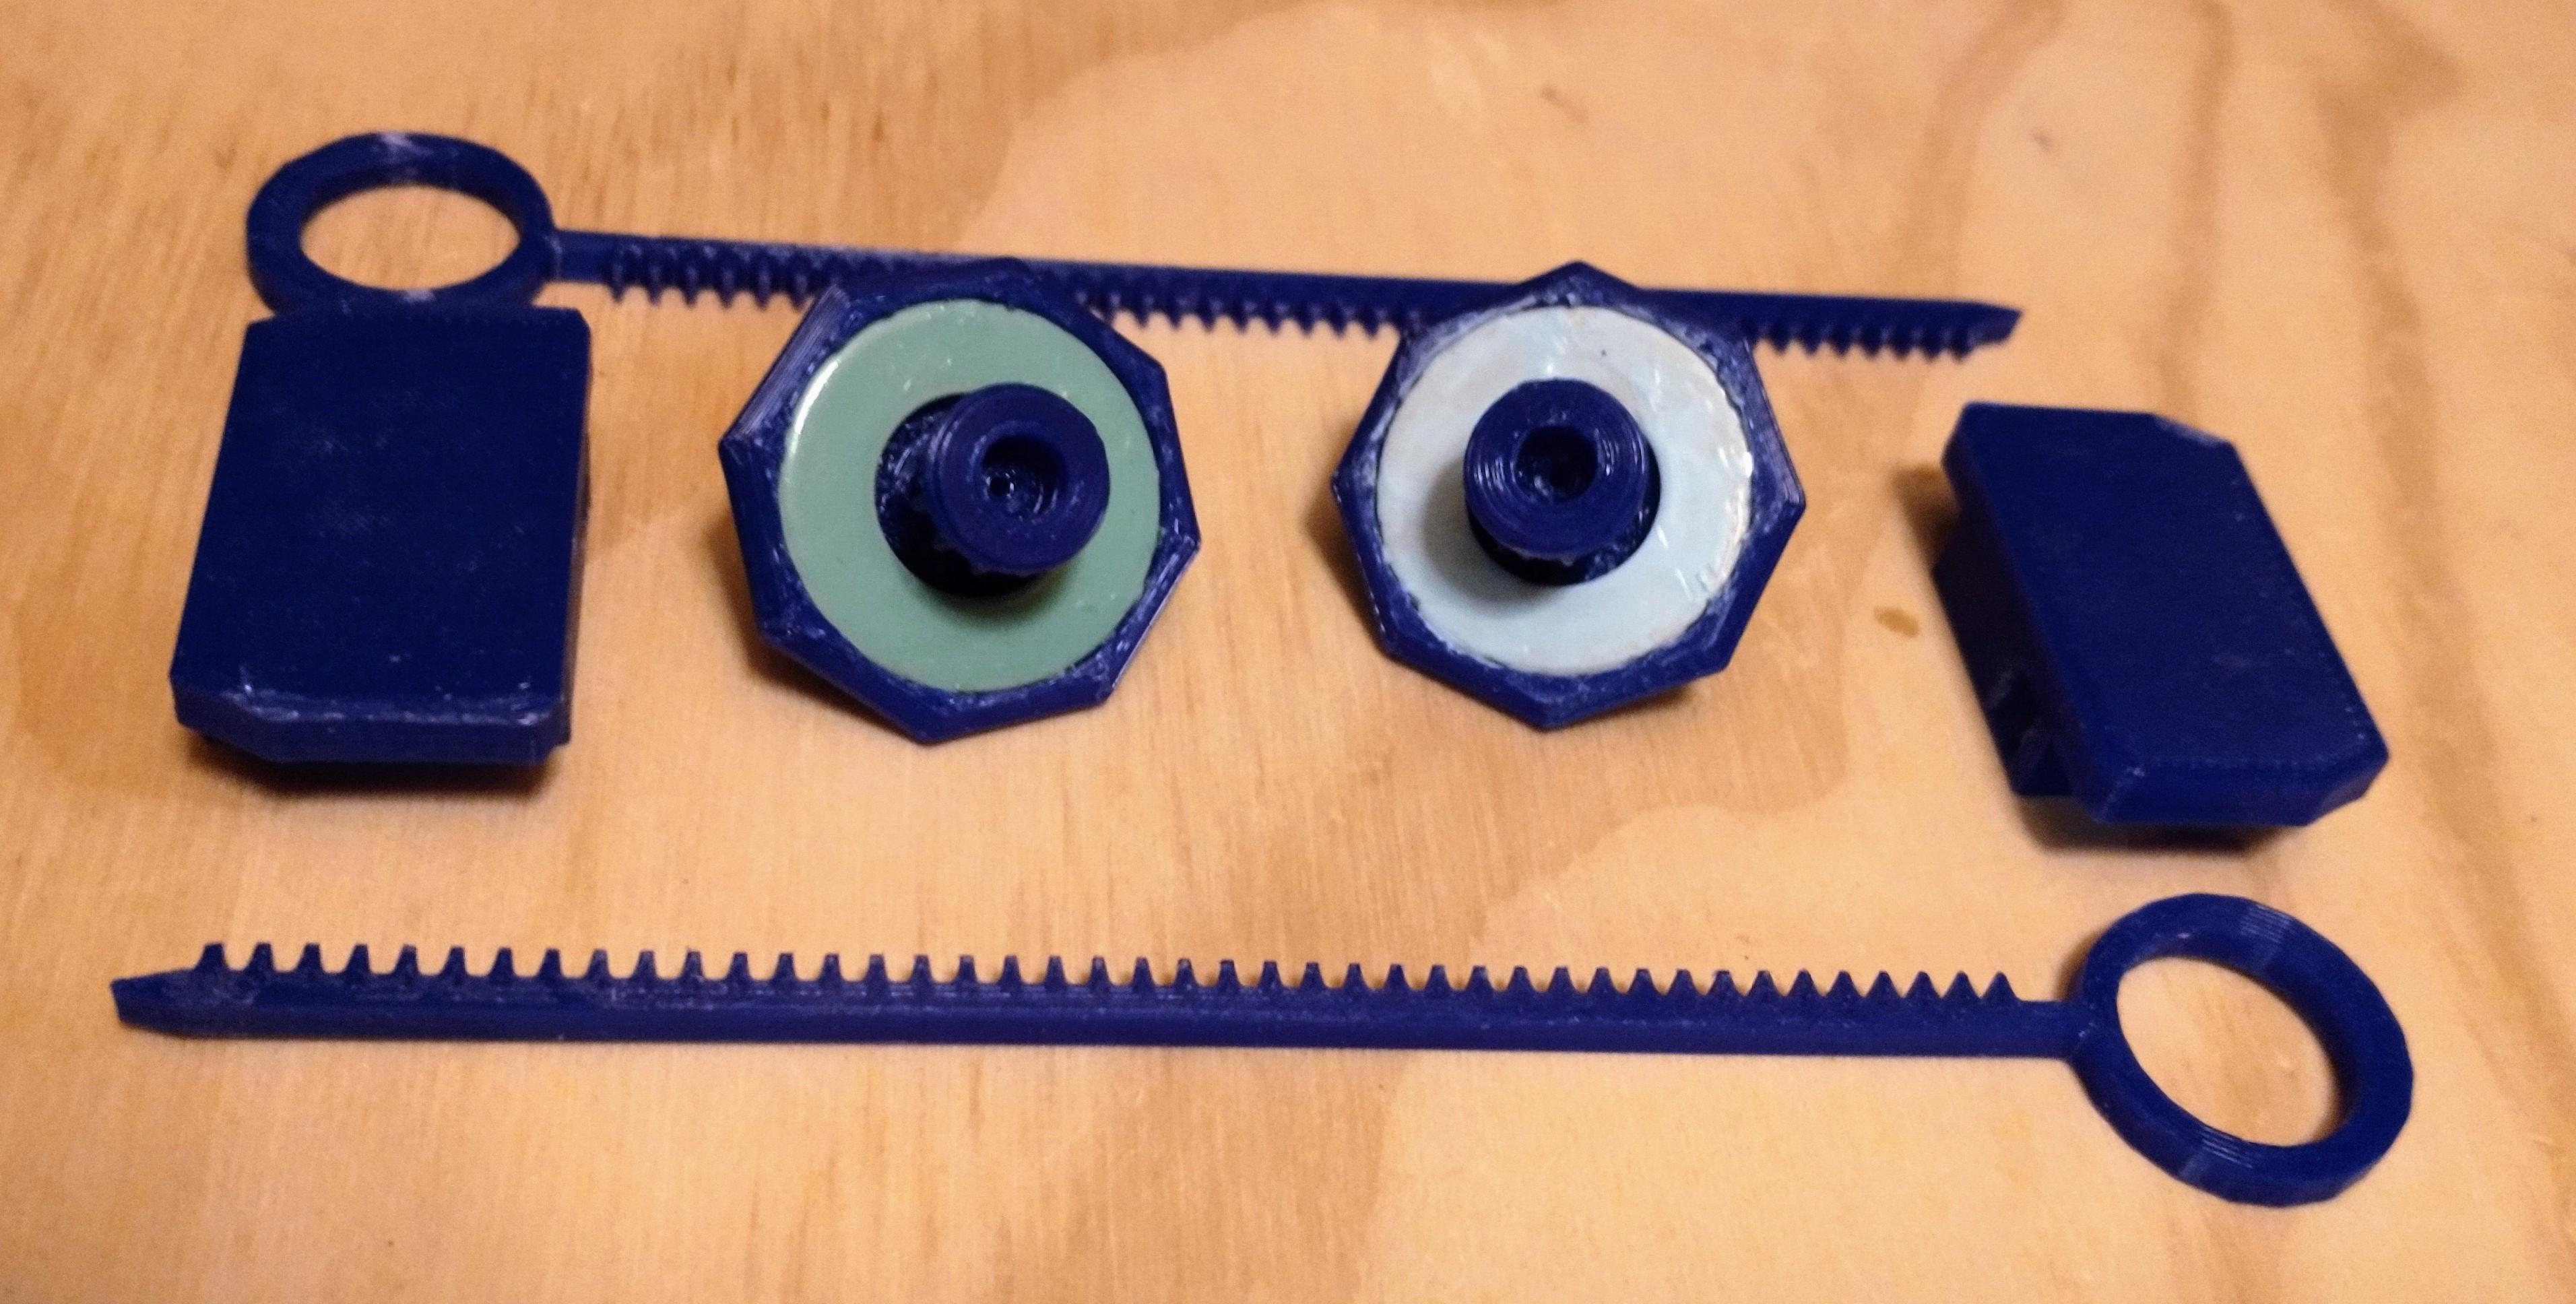
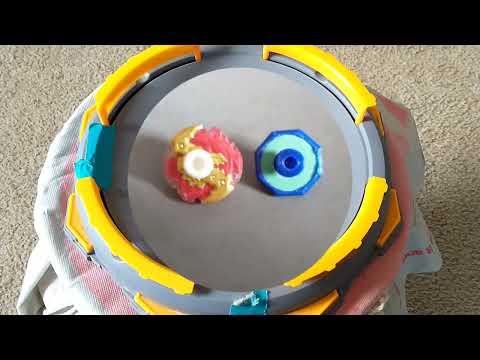
In a previous Instructable I showed how to make Beyblade Micros with paper and a 3D printed gear, see here. In this Instructable I have upgraded the paper Beyblade Micros to a fully 3D printed battletop of my own design. This time around the launcher and ripcord are included! Over the next several steps of this Instructable I will show how to put together my 3D printed battletop and how to launch it. So fire up the 3D printer and grab some plastic nippers because we're making some epic battletops!
Supplies
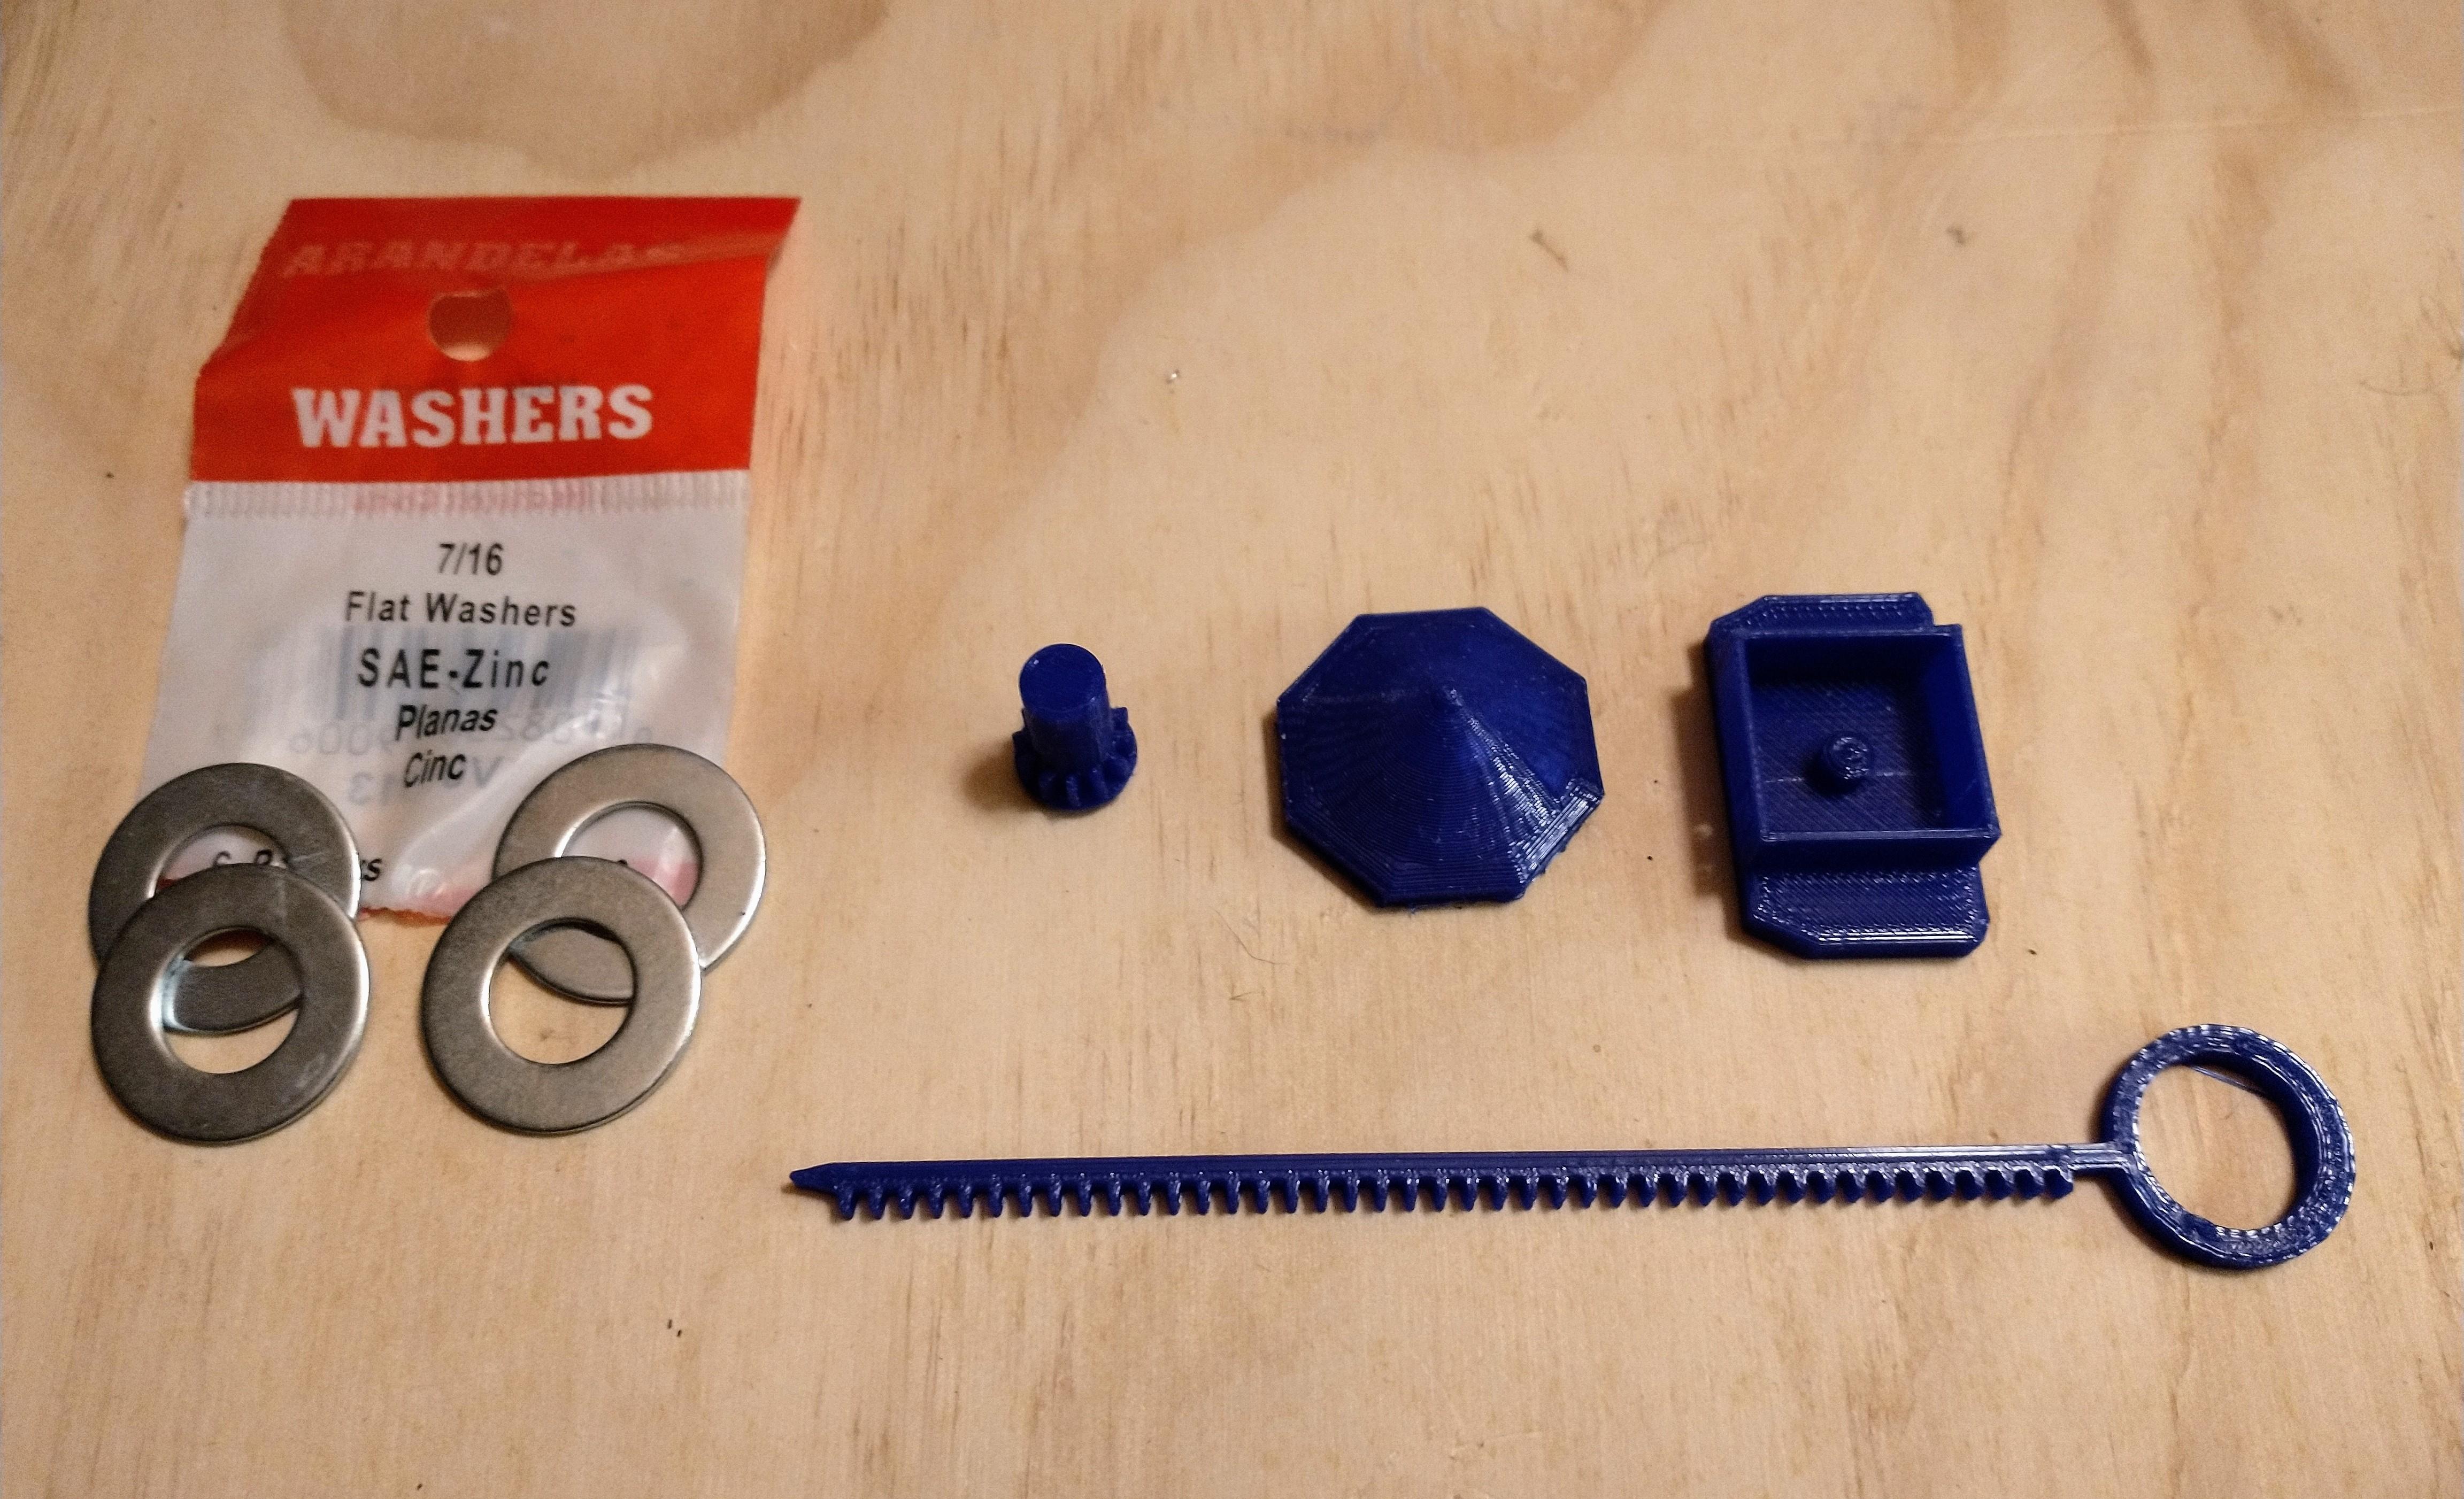
Material List:
- 7/16 washer. You will need one for each battletop you print.
- 3D print of Dragon_Spinner's Battletop. You can download the STL file for free at these links:
- Tinkercad: LINK
- MyMiniFactory: LINK
- No Support File: LINK. Note superglue is required for this set.
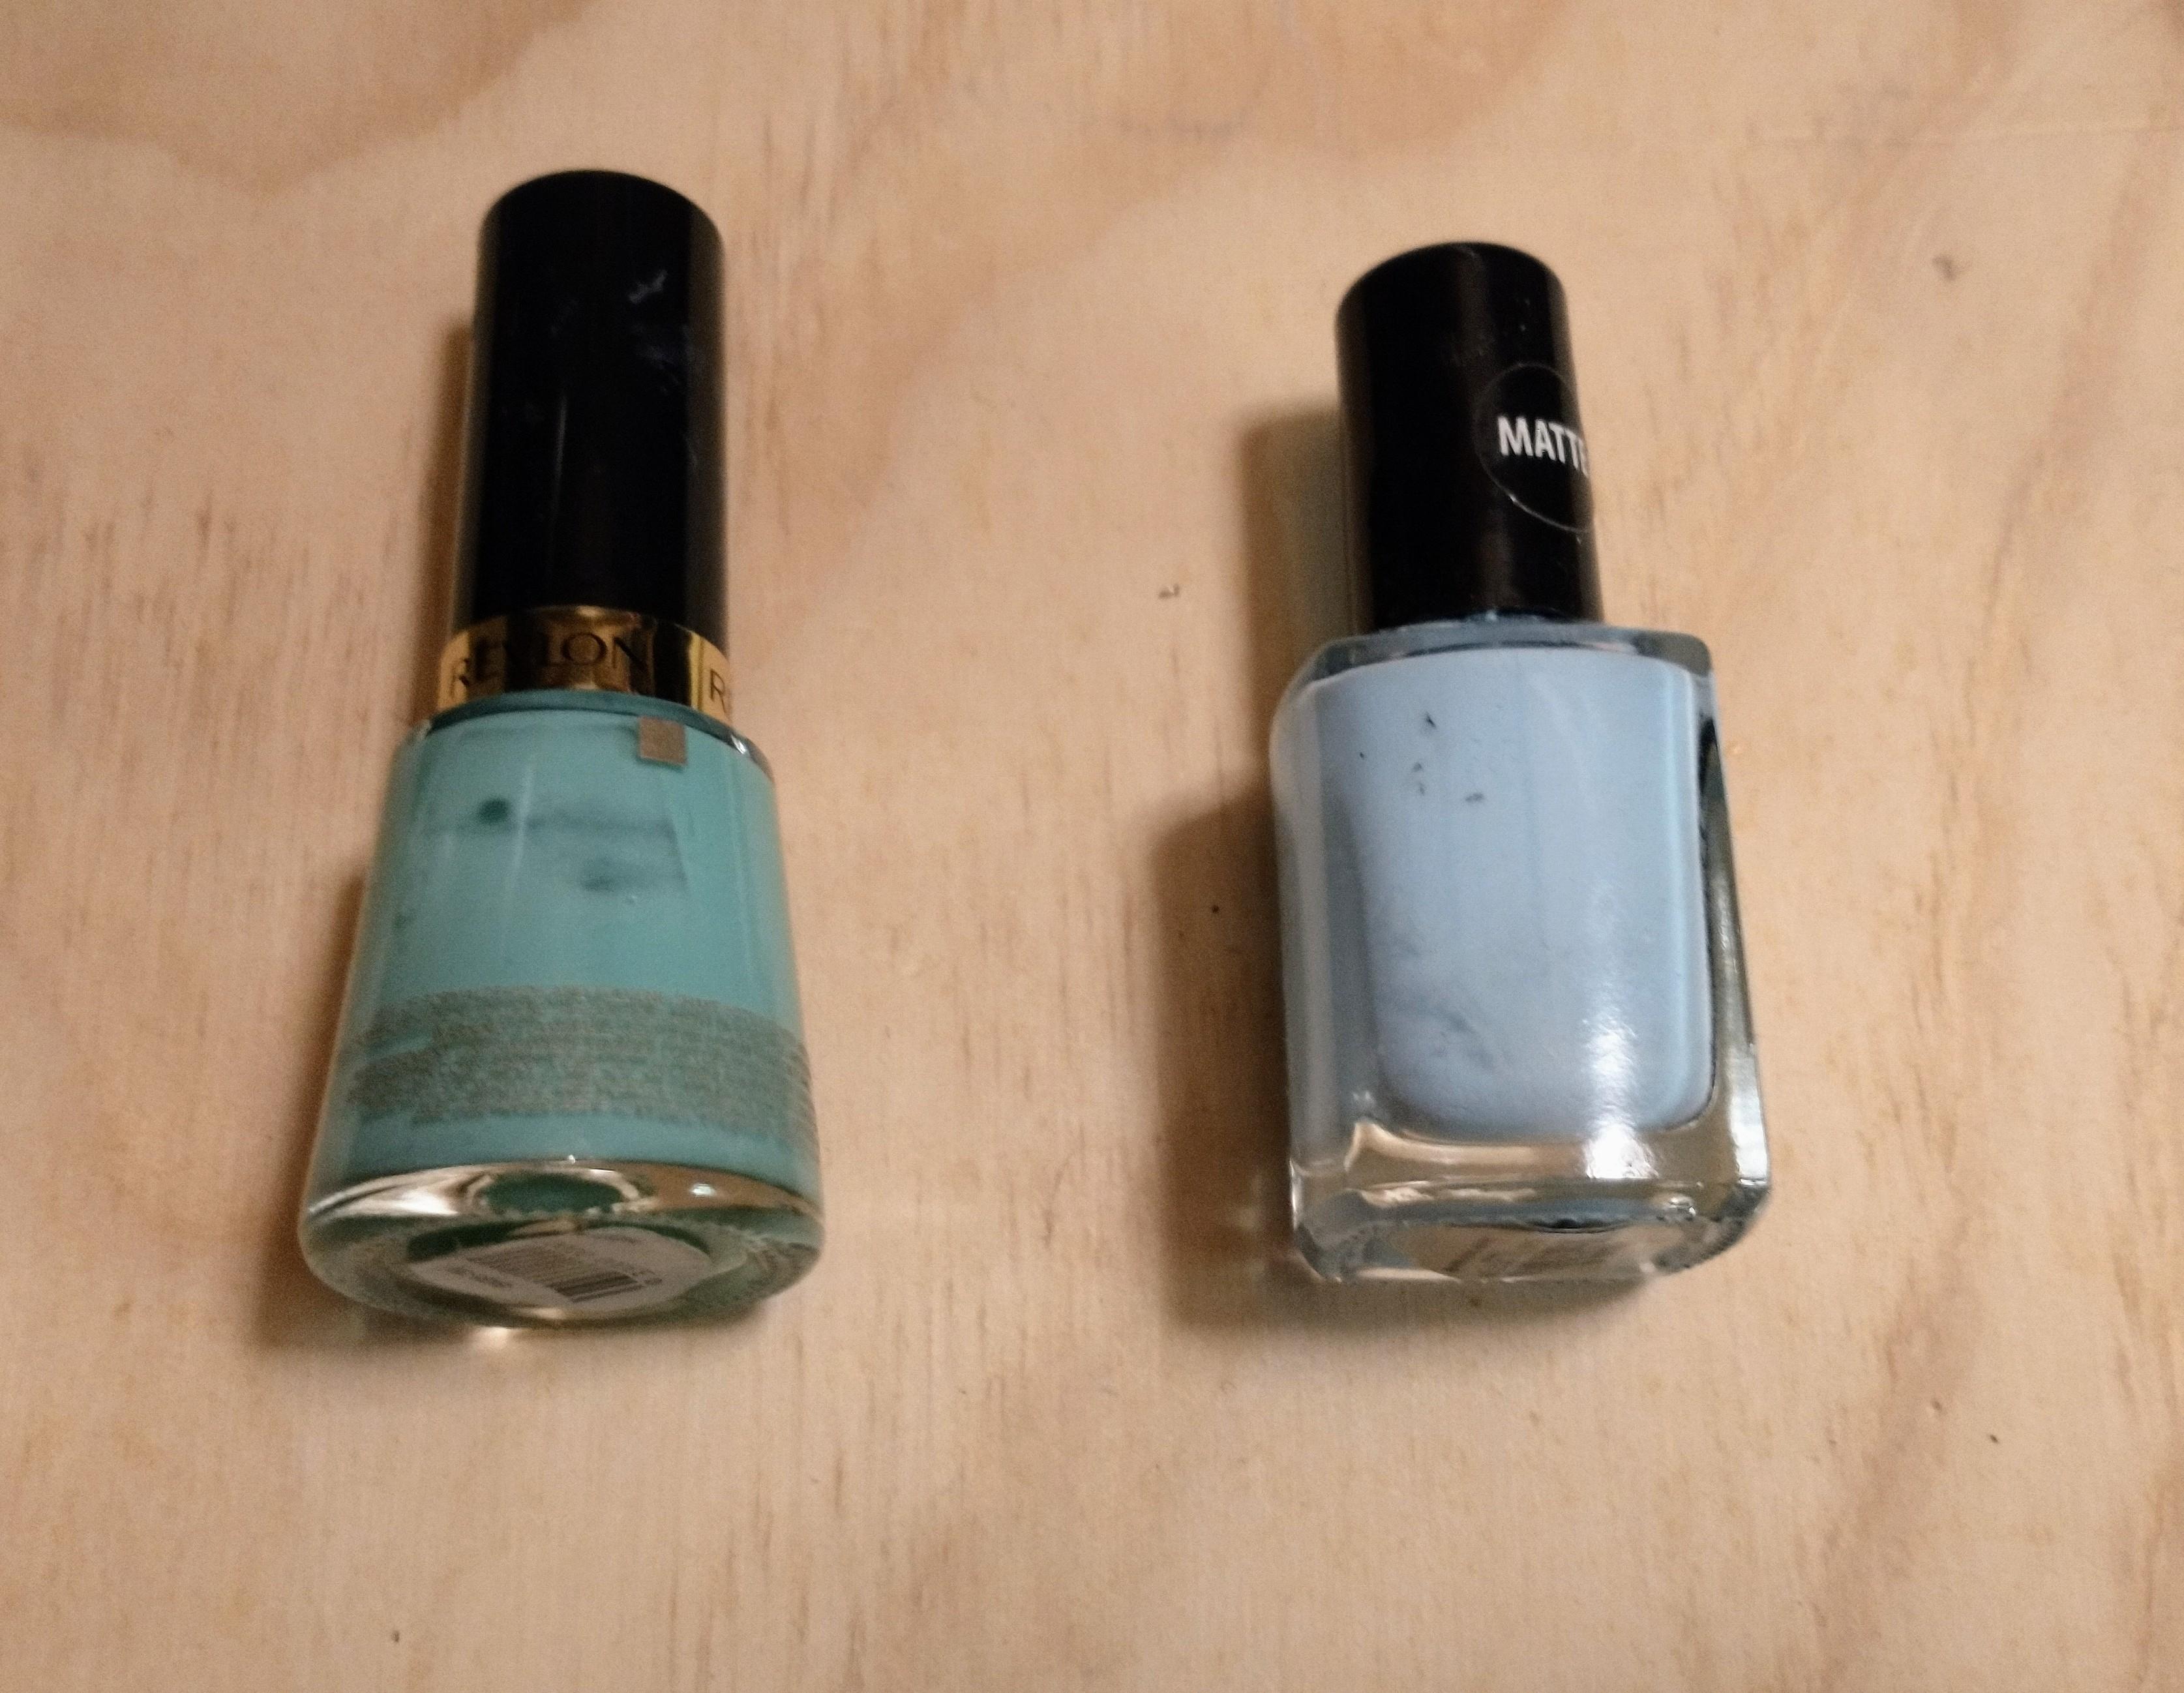
- (Optional) Nail polish. Nail polish is used to decorate the washer.
Tool List:
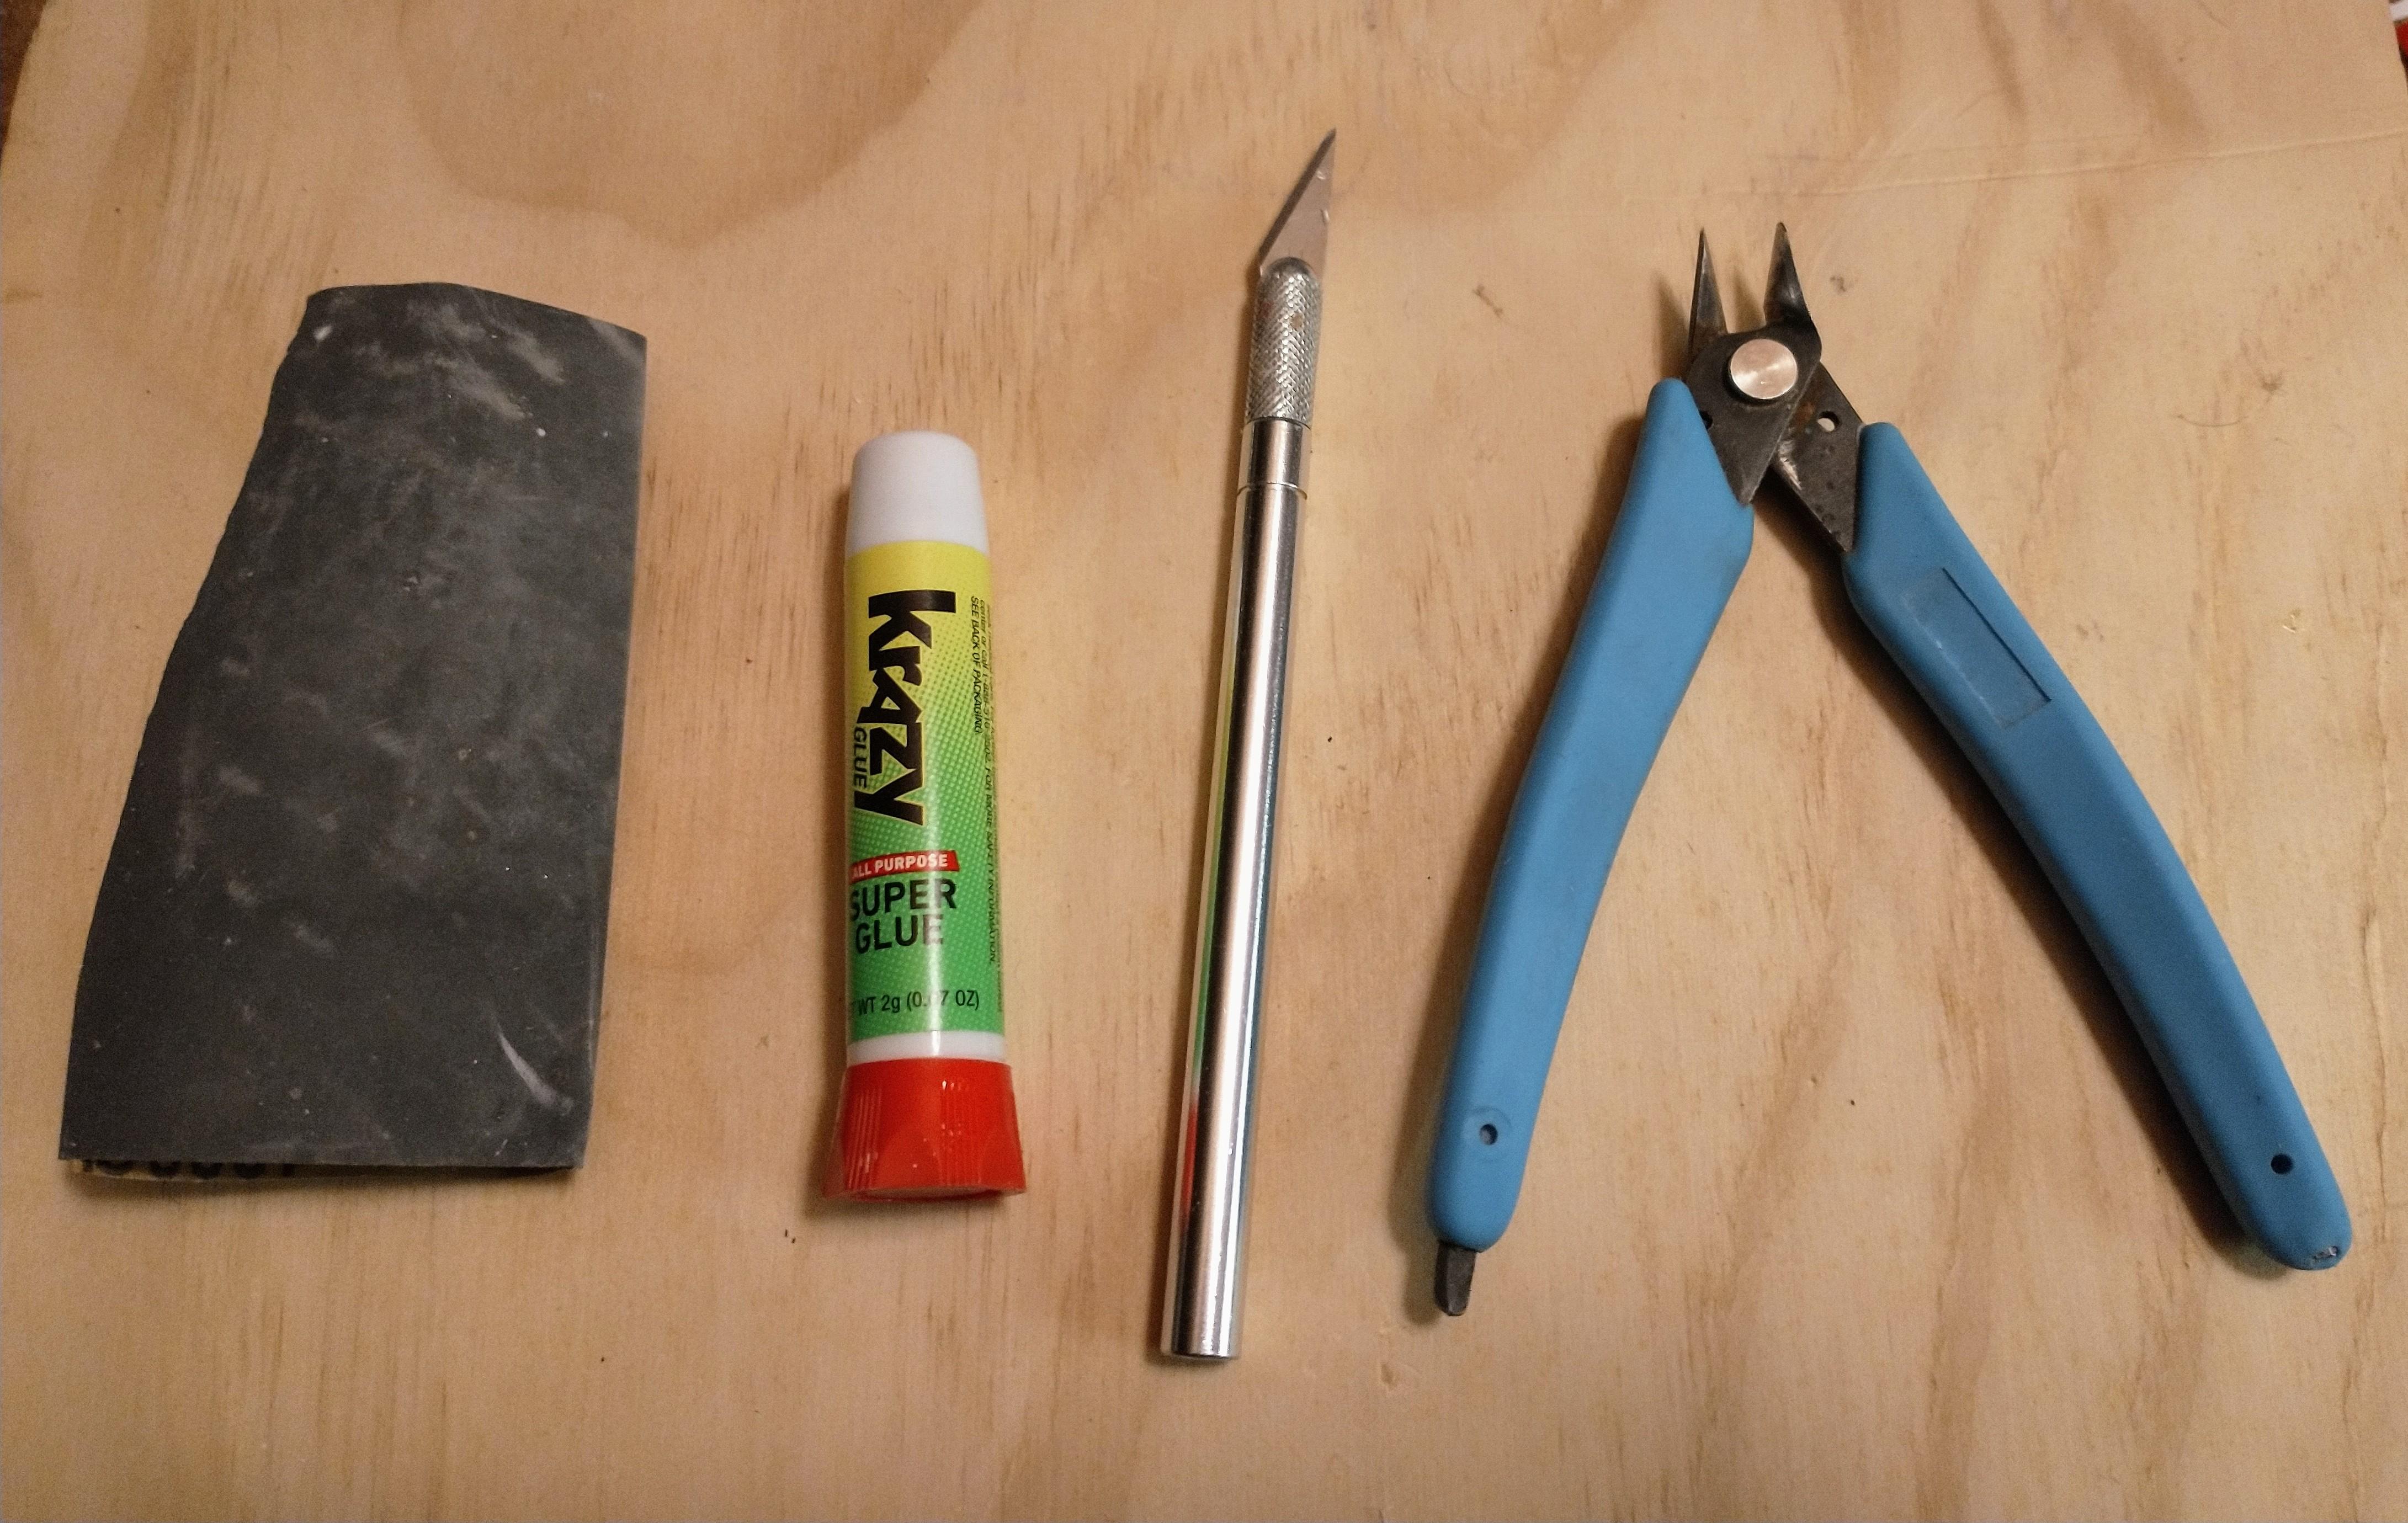
- Sandpaper. I used 800 grit for this project.
- Superglue. I included this due to the varying washer size. Washer's are usually slightly larger or smaller than advertised.
- Hobby knife. Used for removing supports and for making minor adjustments to the printed parts.
- Plastic nippers. Used to remove supports from printed parts.
- *3D printer. I used an Ender 3 for this project.
*Notes: If you don't have a 3D printer check with your local library, makerspace, or university. Where I live the makerspace and university charge about $5 per hour of printing. My local library offers free 3D printing for objects that only take an hour or less to complete. One battletop with launcher and ripcord should take about an hour to print. Another option would be to use an online service like Shapeways.
Print and Prepare Parts
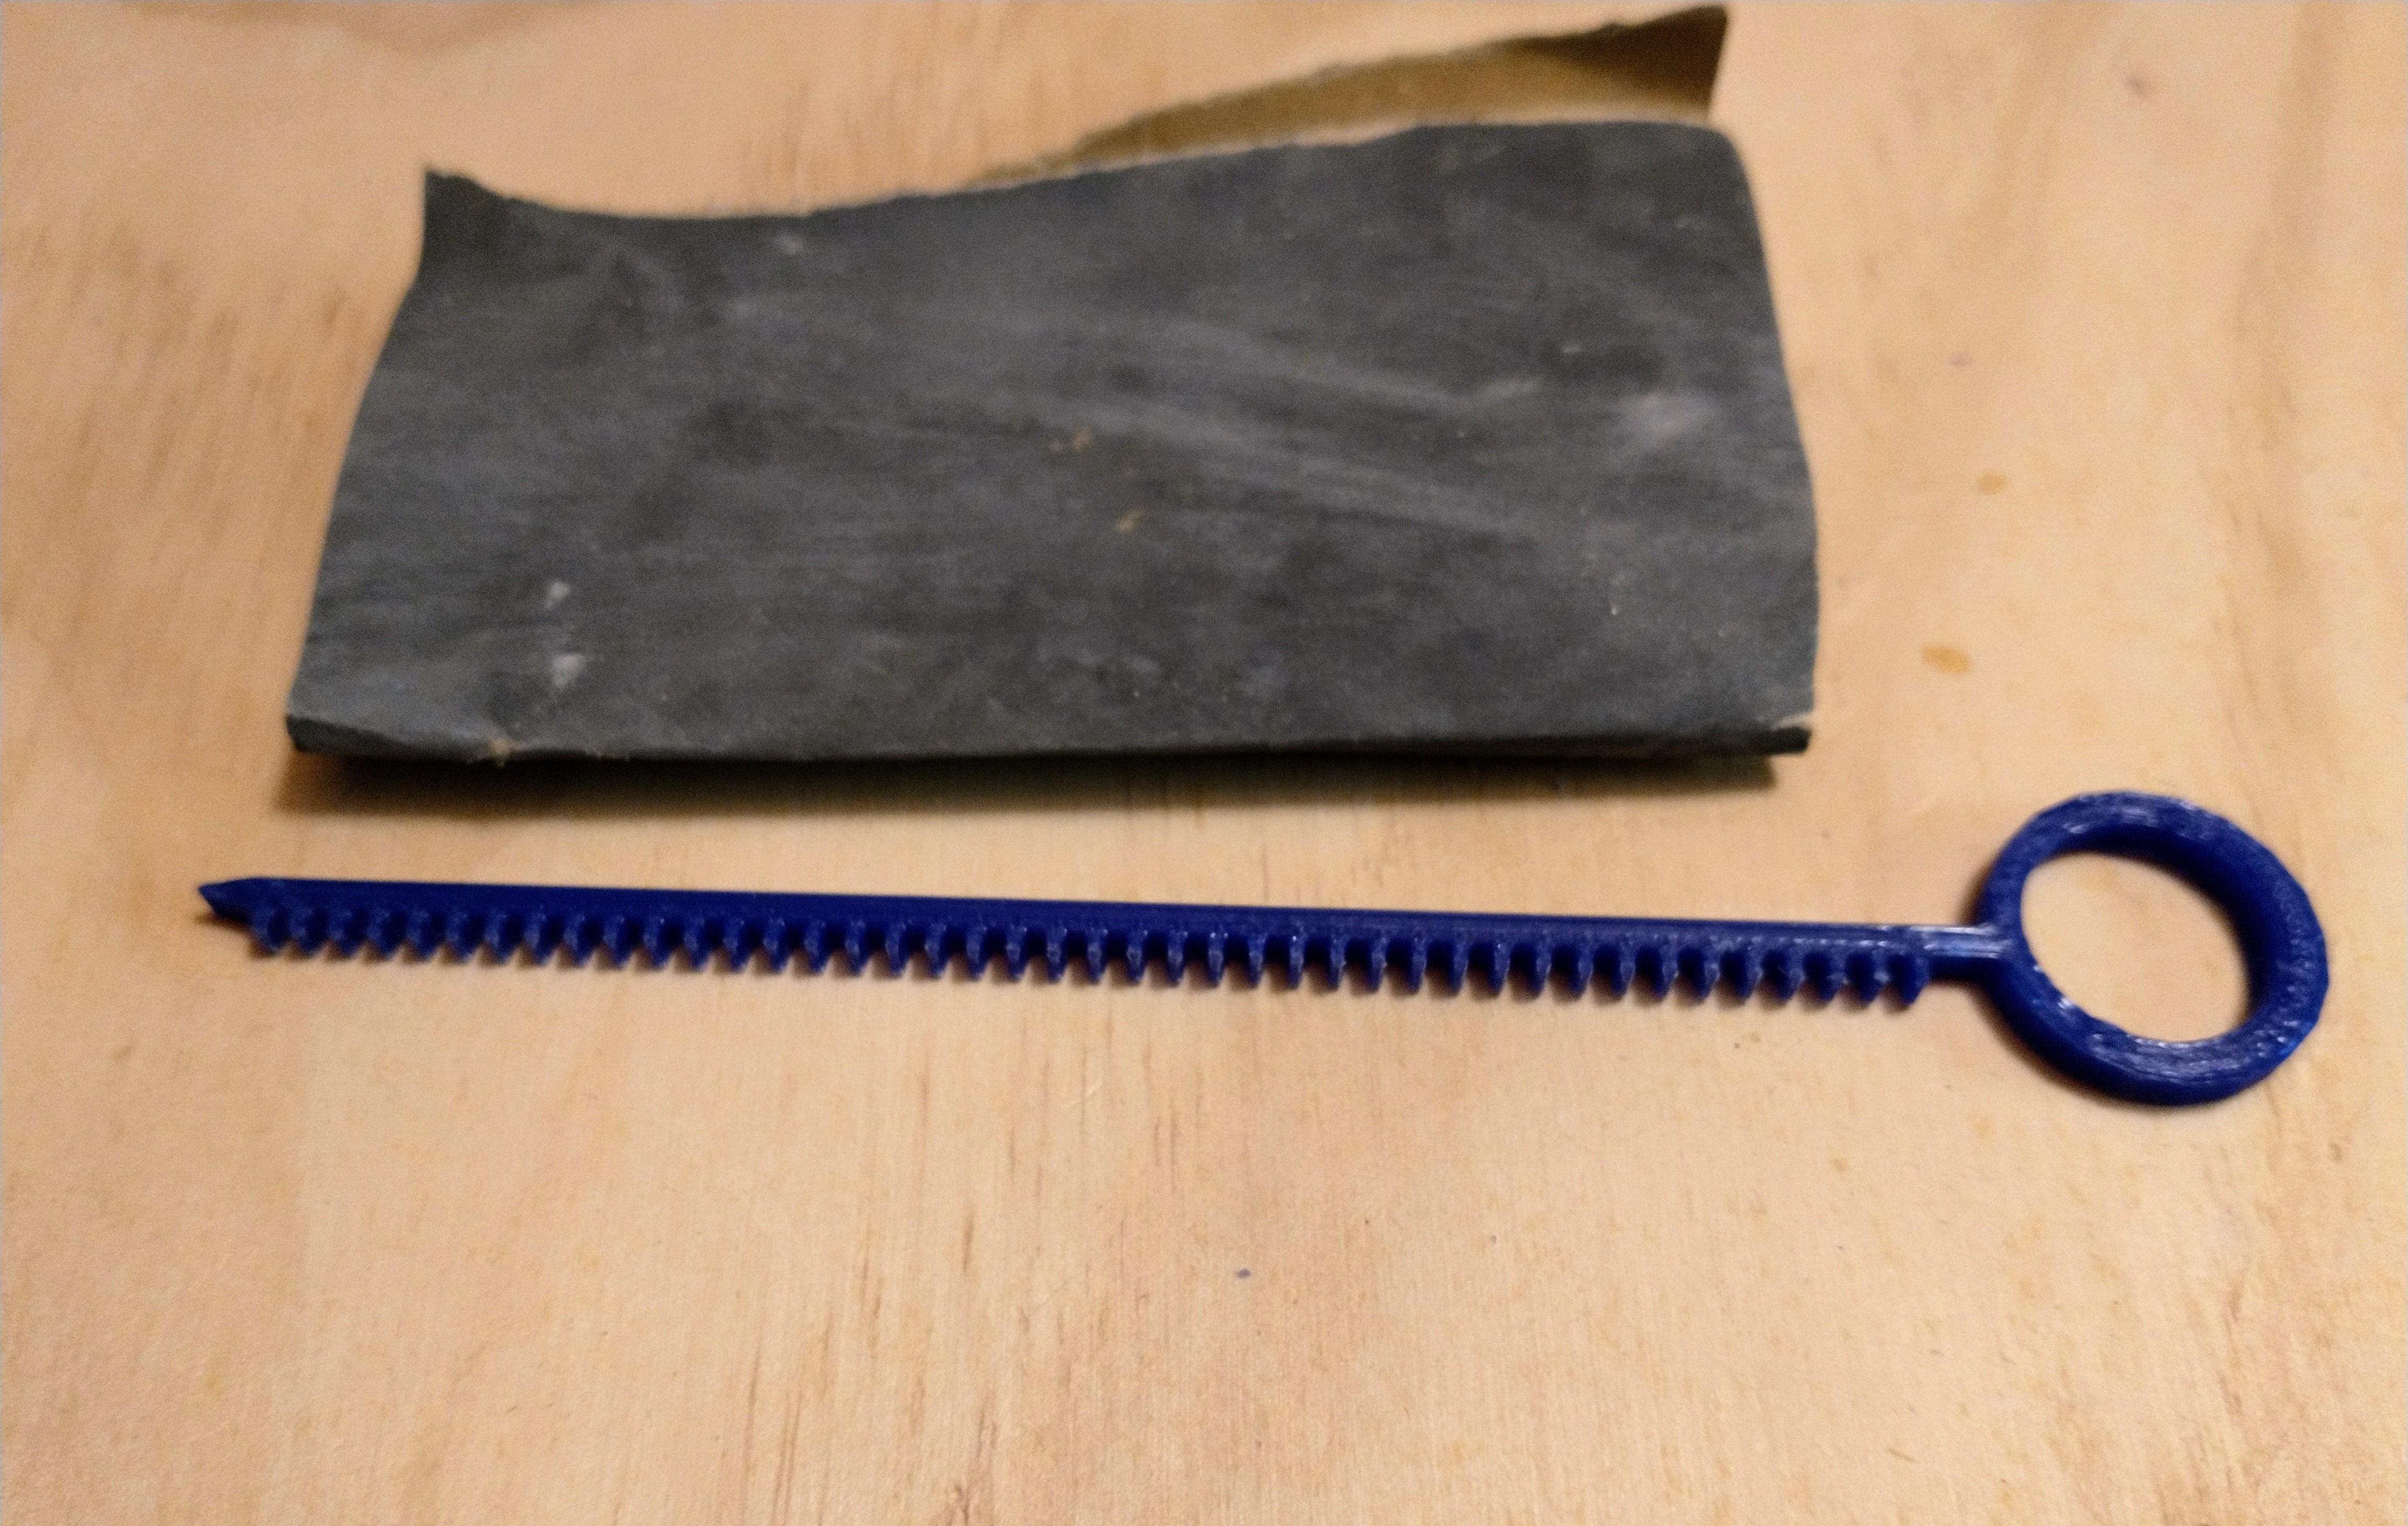
If you printed the no support set please skip to step 3.
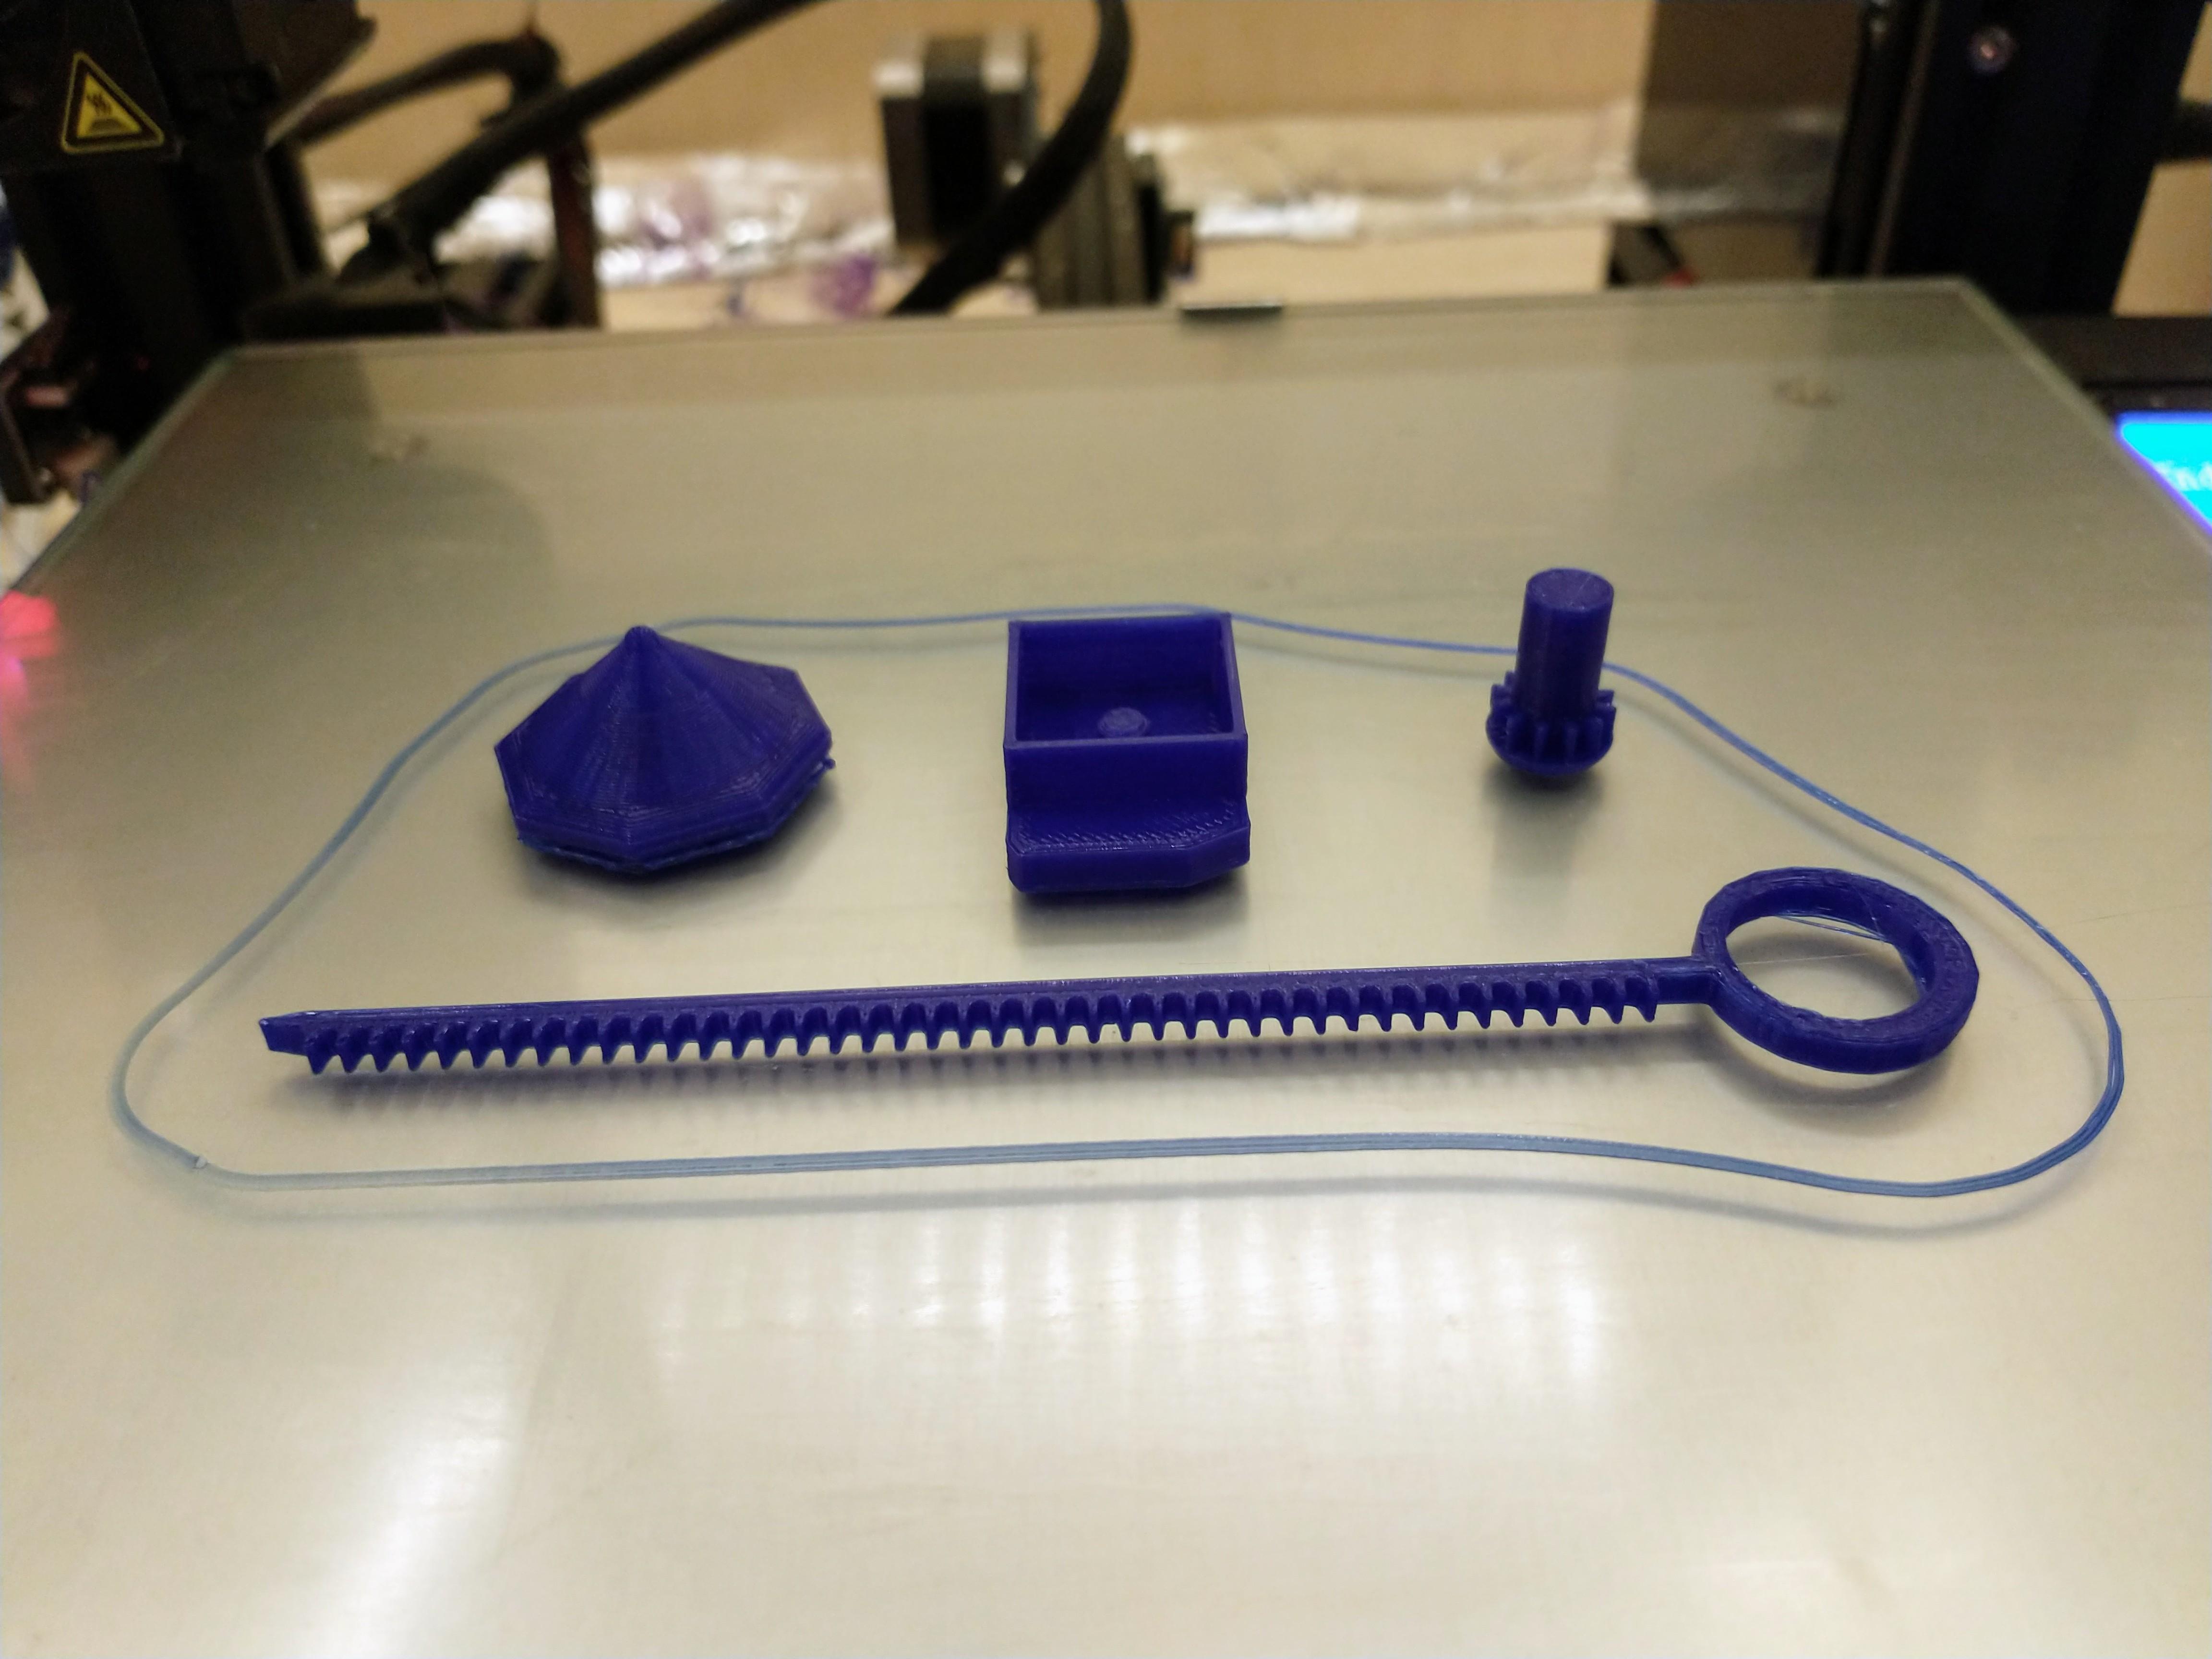
Once you've downloaded the STL file from the Supplies section upload it into your favorite slicer. I use Cura for slicing my STLs.
Here are the settings I used:
- Layer Height: 0.2mm
- Wall Line Count: 2
- Infill Density: 20%
- Infill Pattern: Try-Hexagon
- Print Speed: 90mm/s
- Generate Supports: yes
- Support Placement: Everywhere
I have also printed my battletop on a Makerbot and a Prusa printer. Whatever machine or slicer you use just make sure to turn on supports and the battletop with its launcher and ripcord should successfully print.
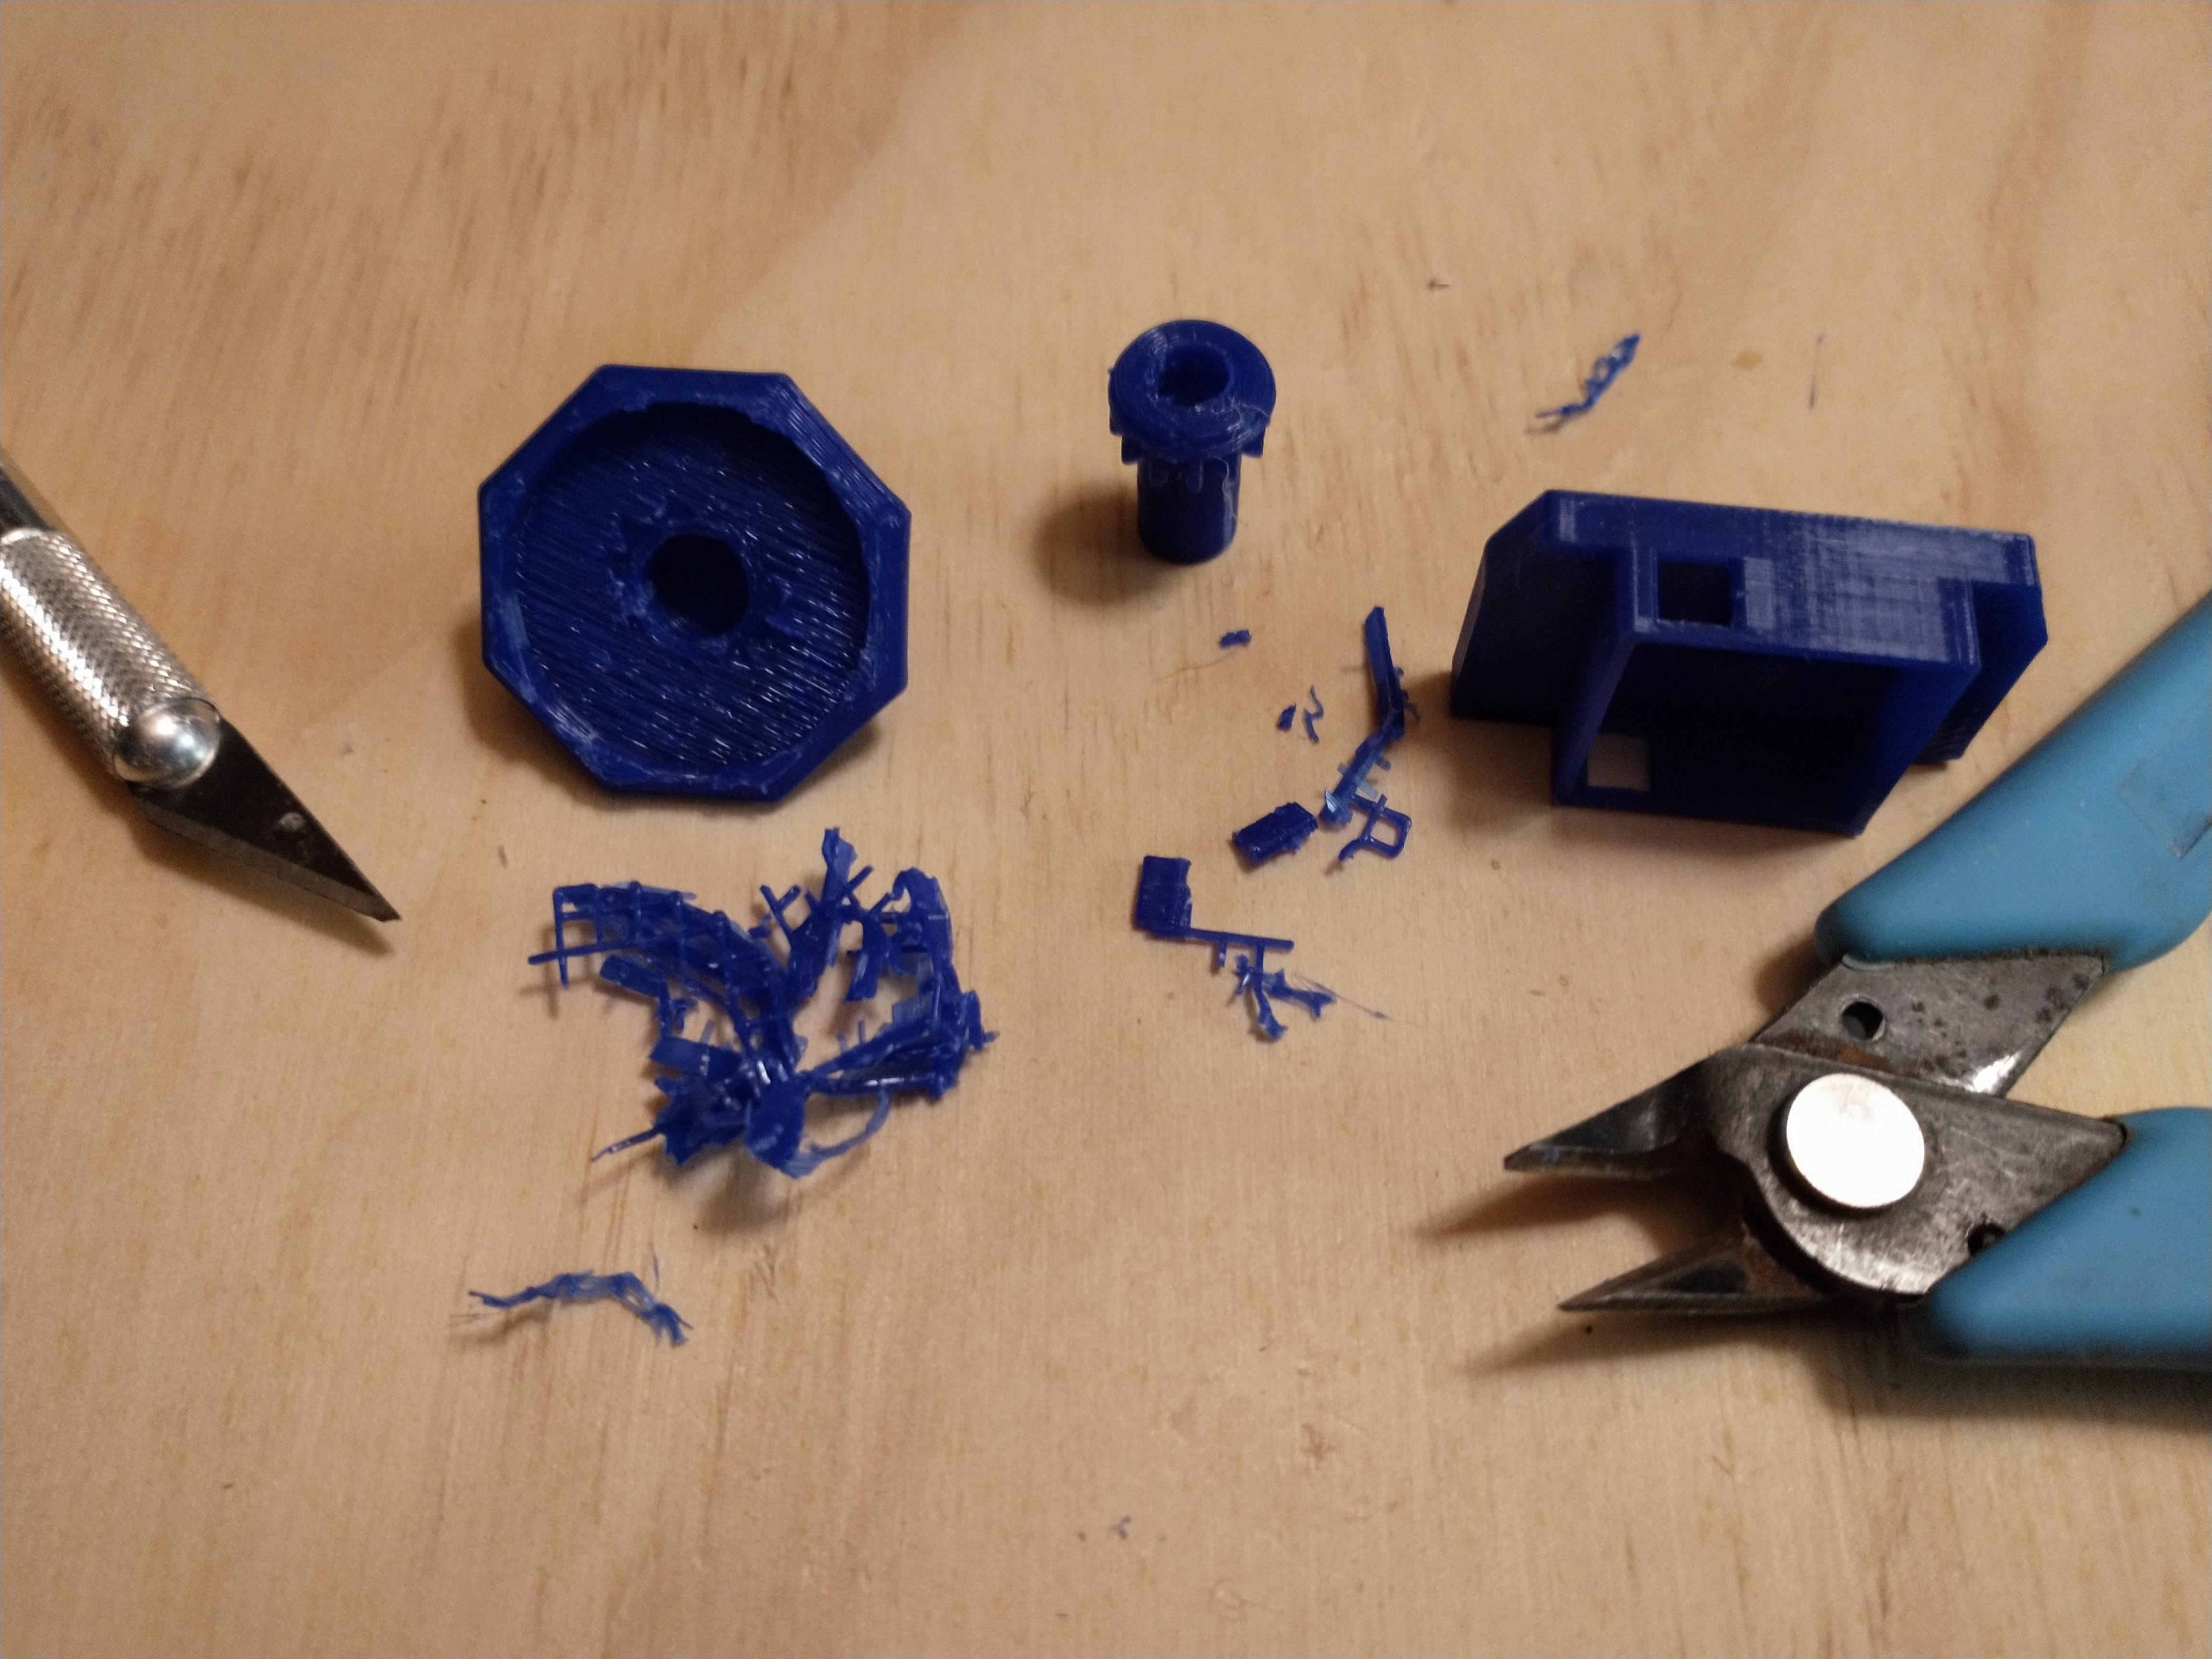
Once the print is complete carefully remove the pieces from the print bed. If you used adhesive on your print bed make sure to clean it off the printed pieces before proceeding. Take a pair of plastic nippers and remove all the supports from the battletop. Use the hobby knife to remove the supports from the gear and launcher. Note: make sure to carefully remove the supports from the launcher! If the holes where the ripcord is inserted breaks you will not be able to launch your battletop. Finally lightly sand the teeth of the ripcord with 800 grit sandpaper.
Assemble Battletop
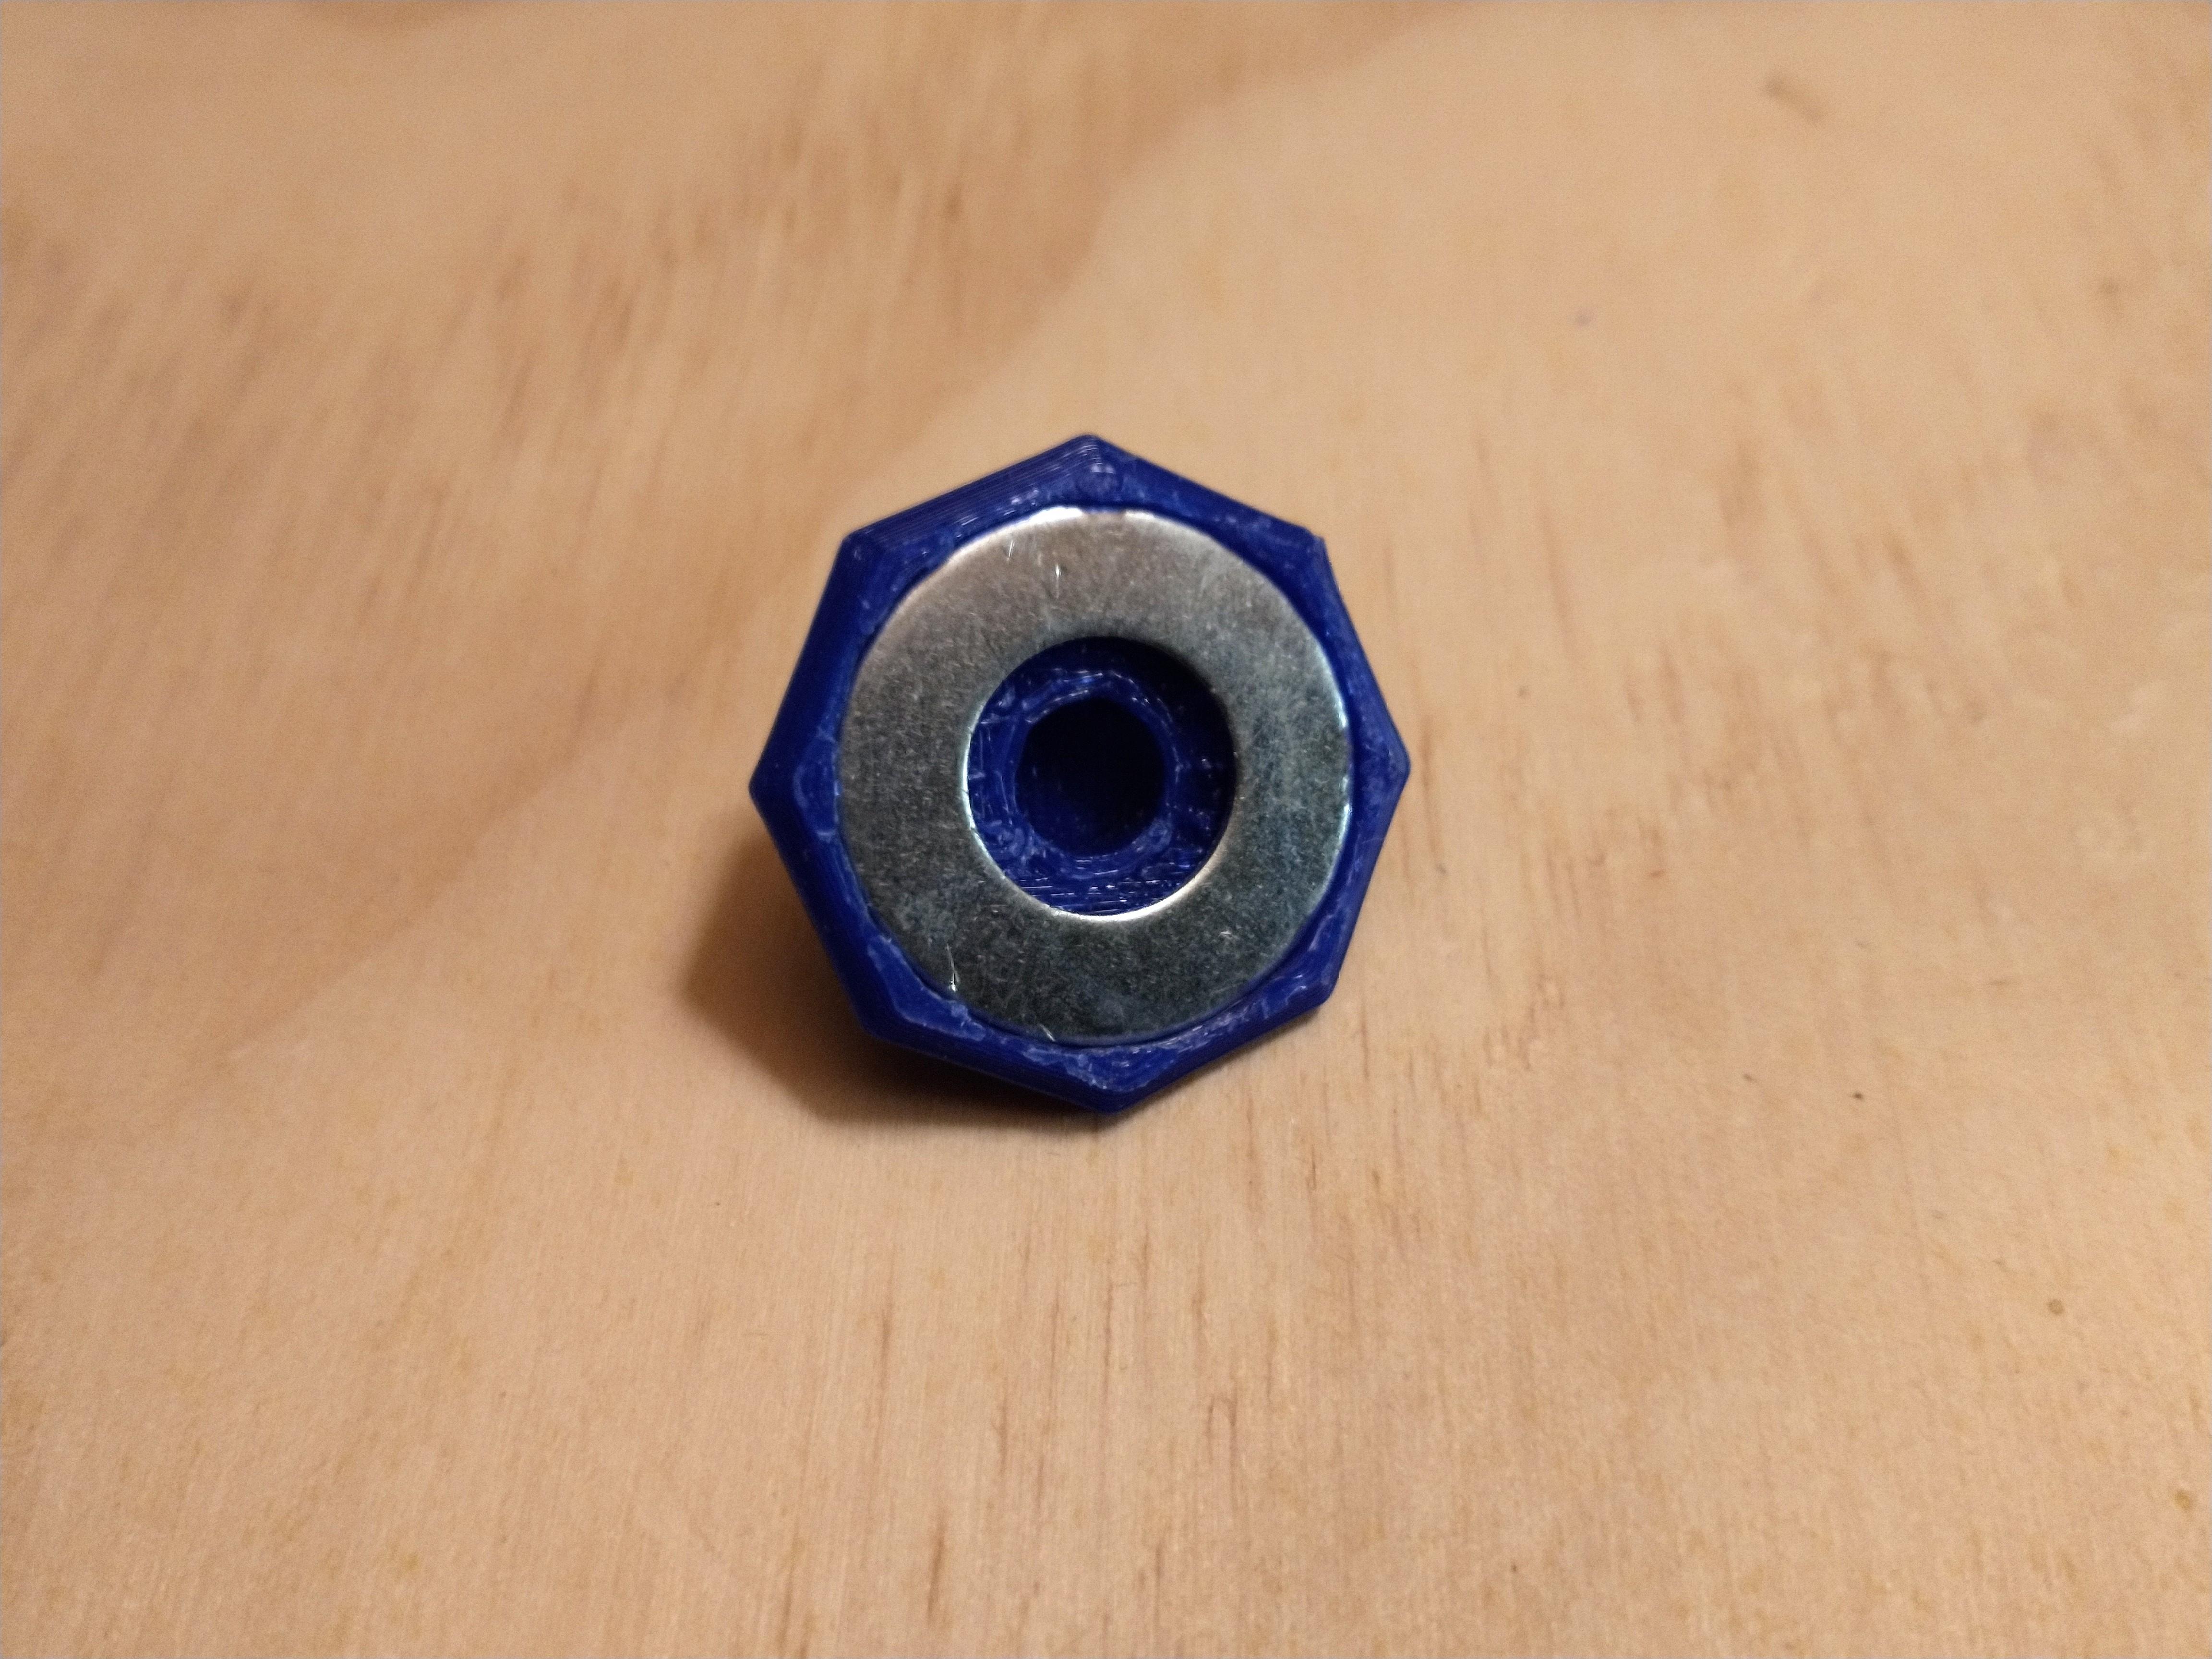
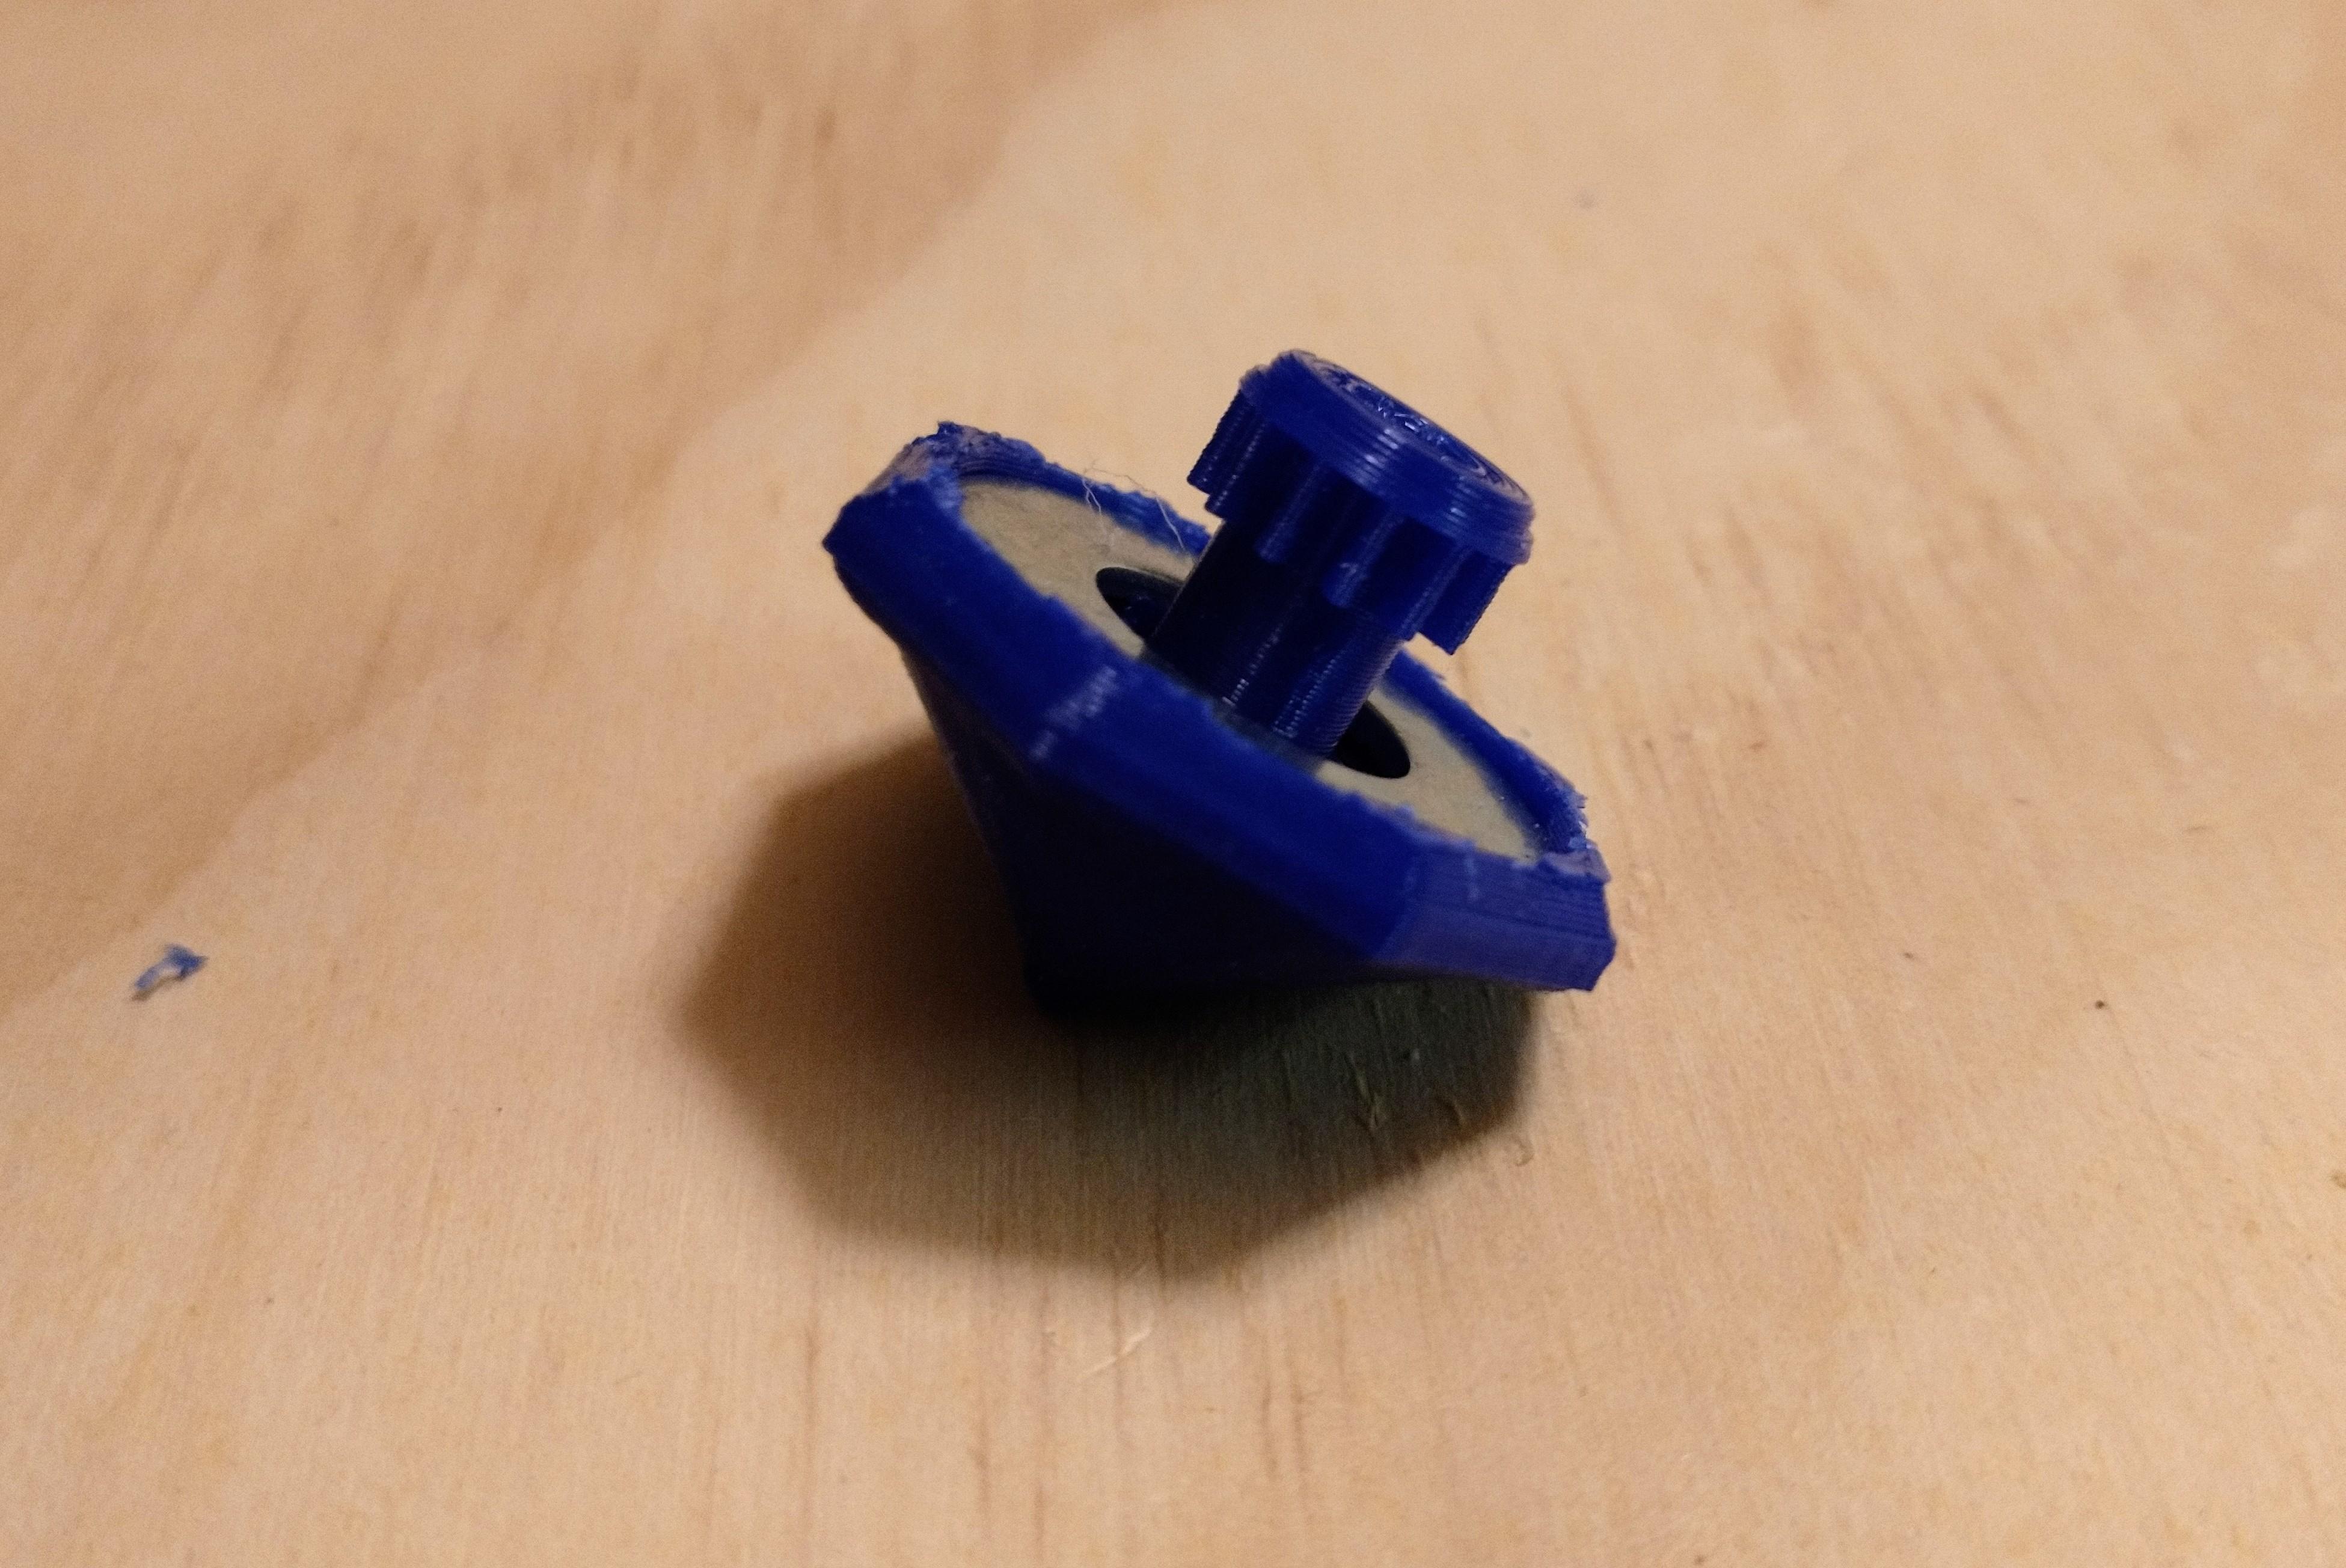
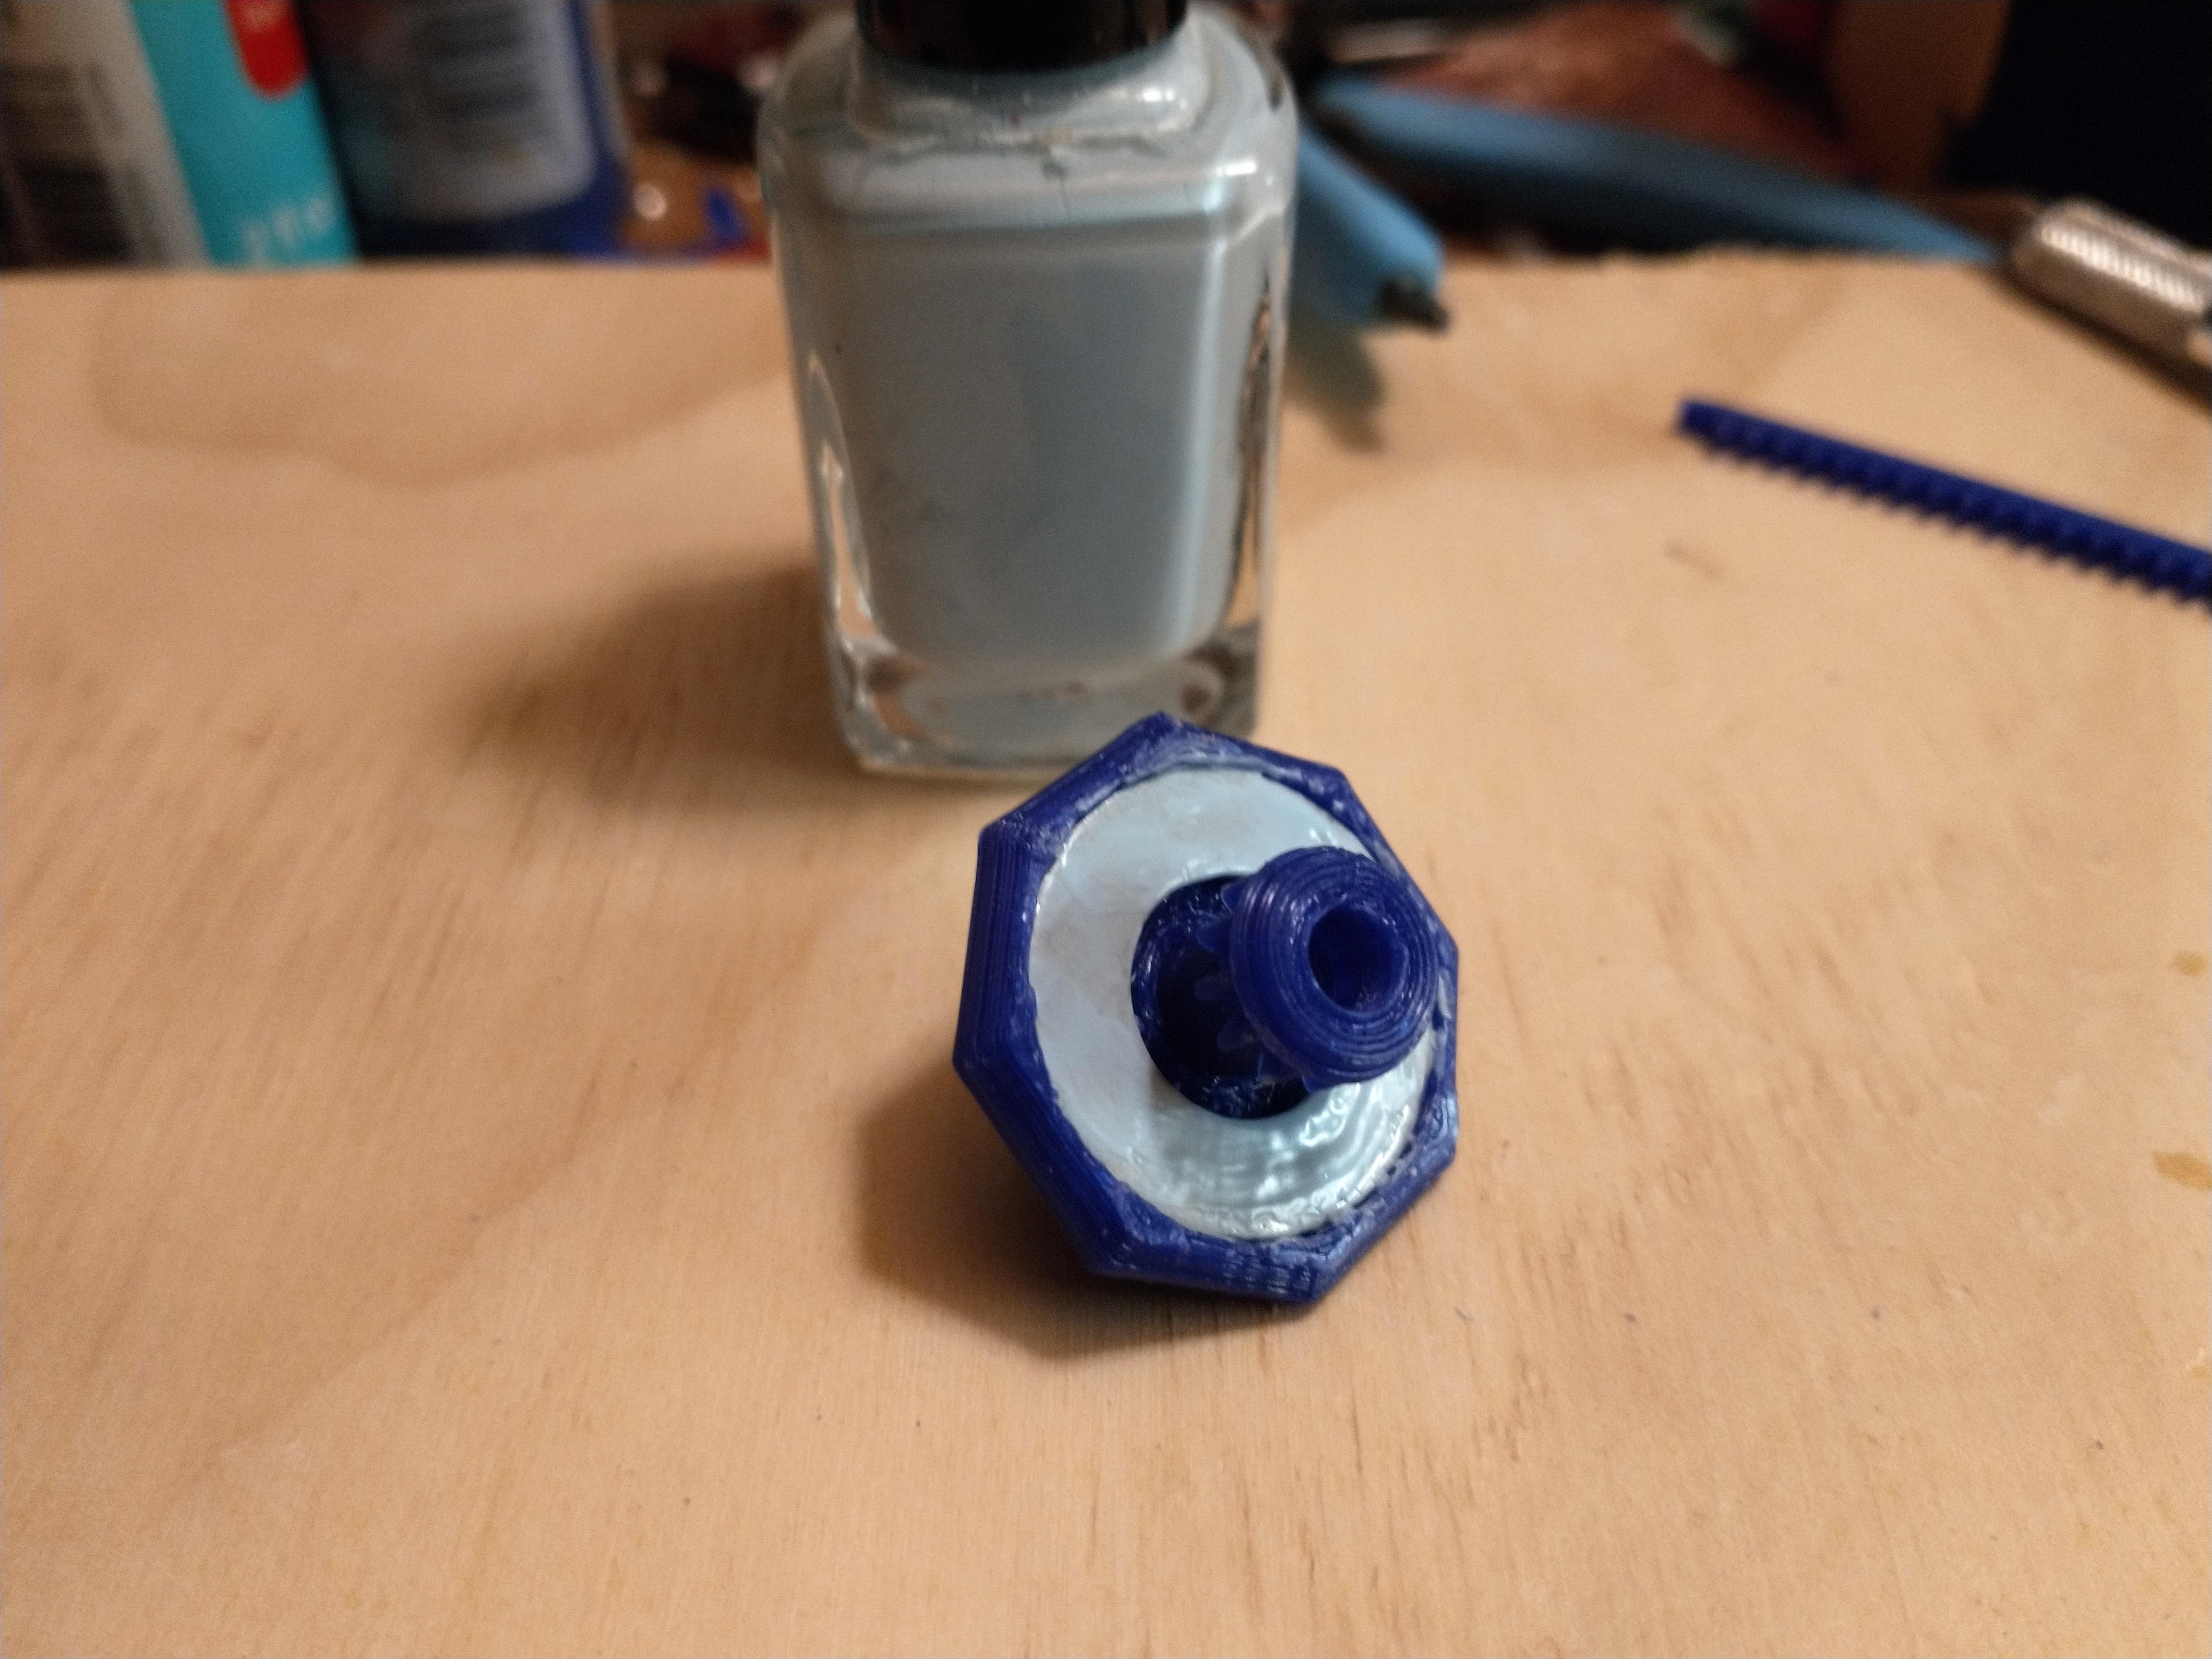
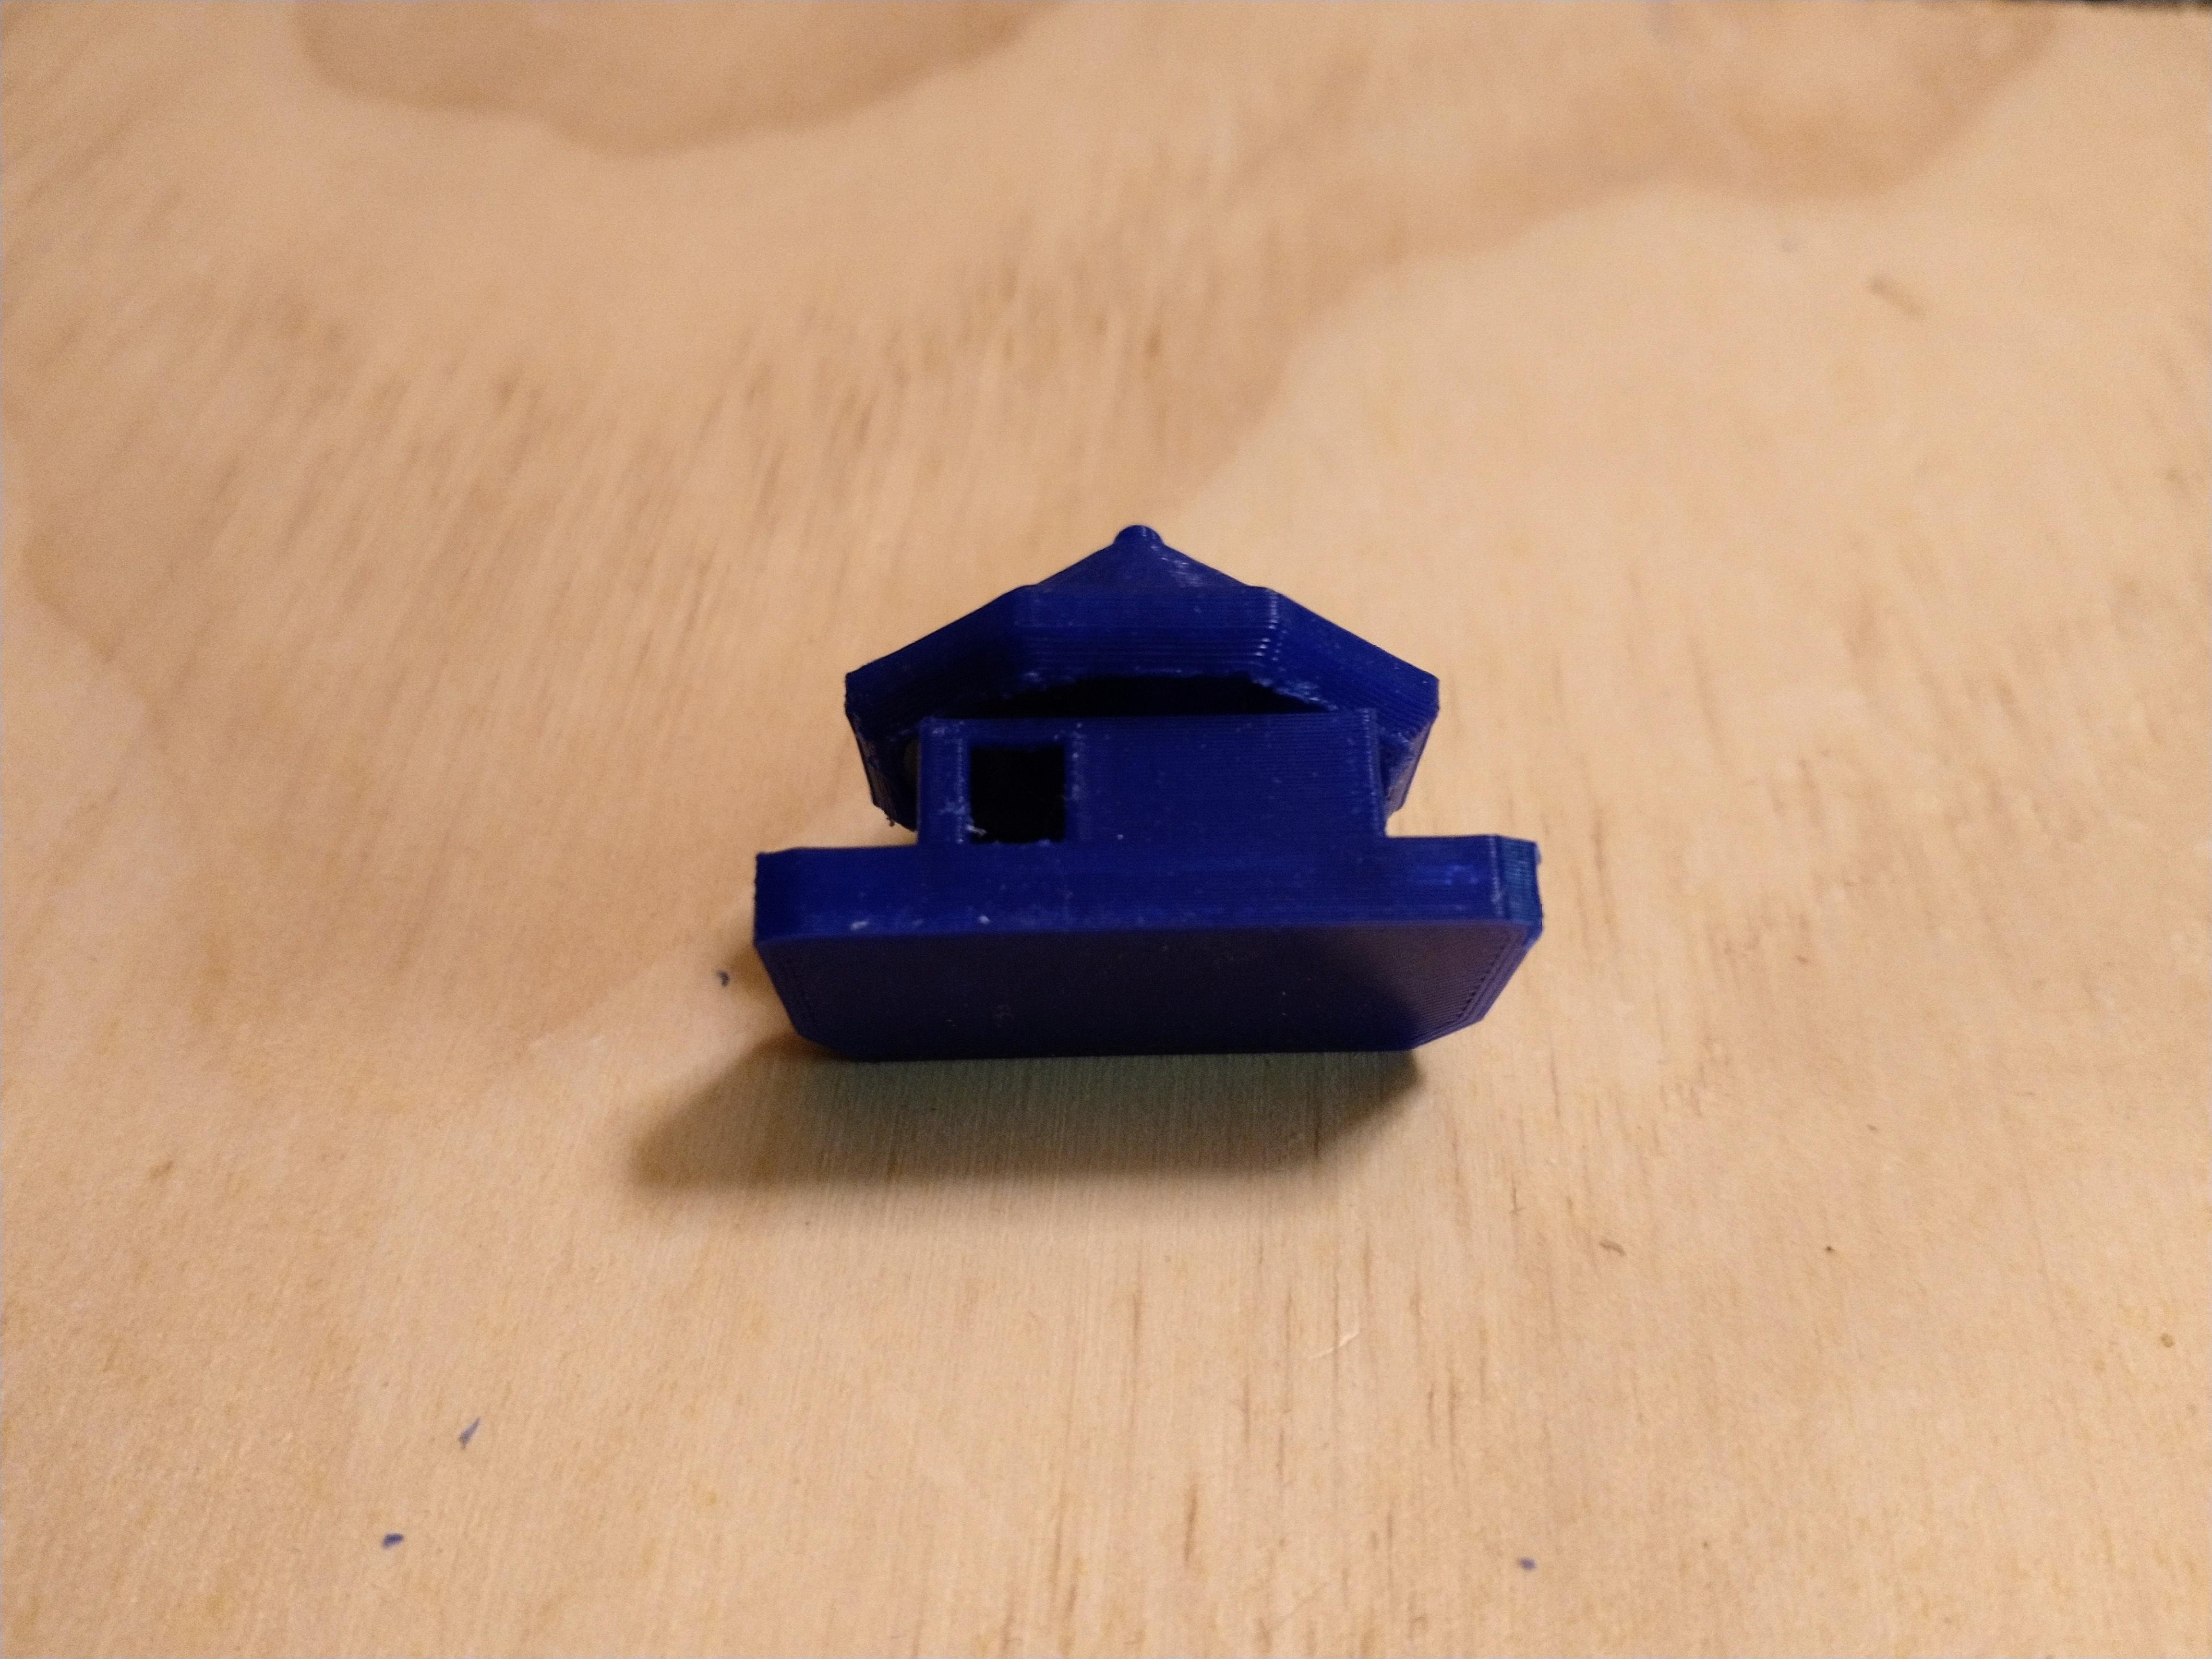
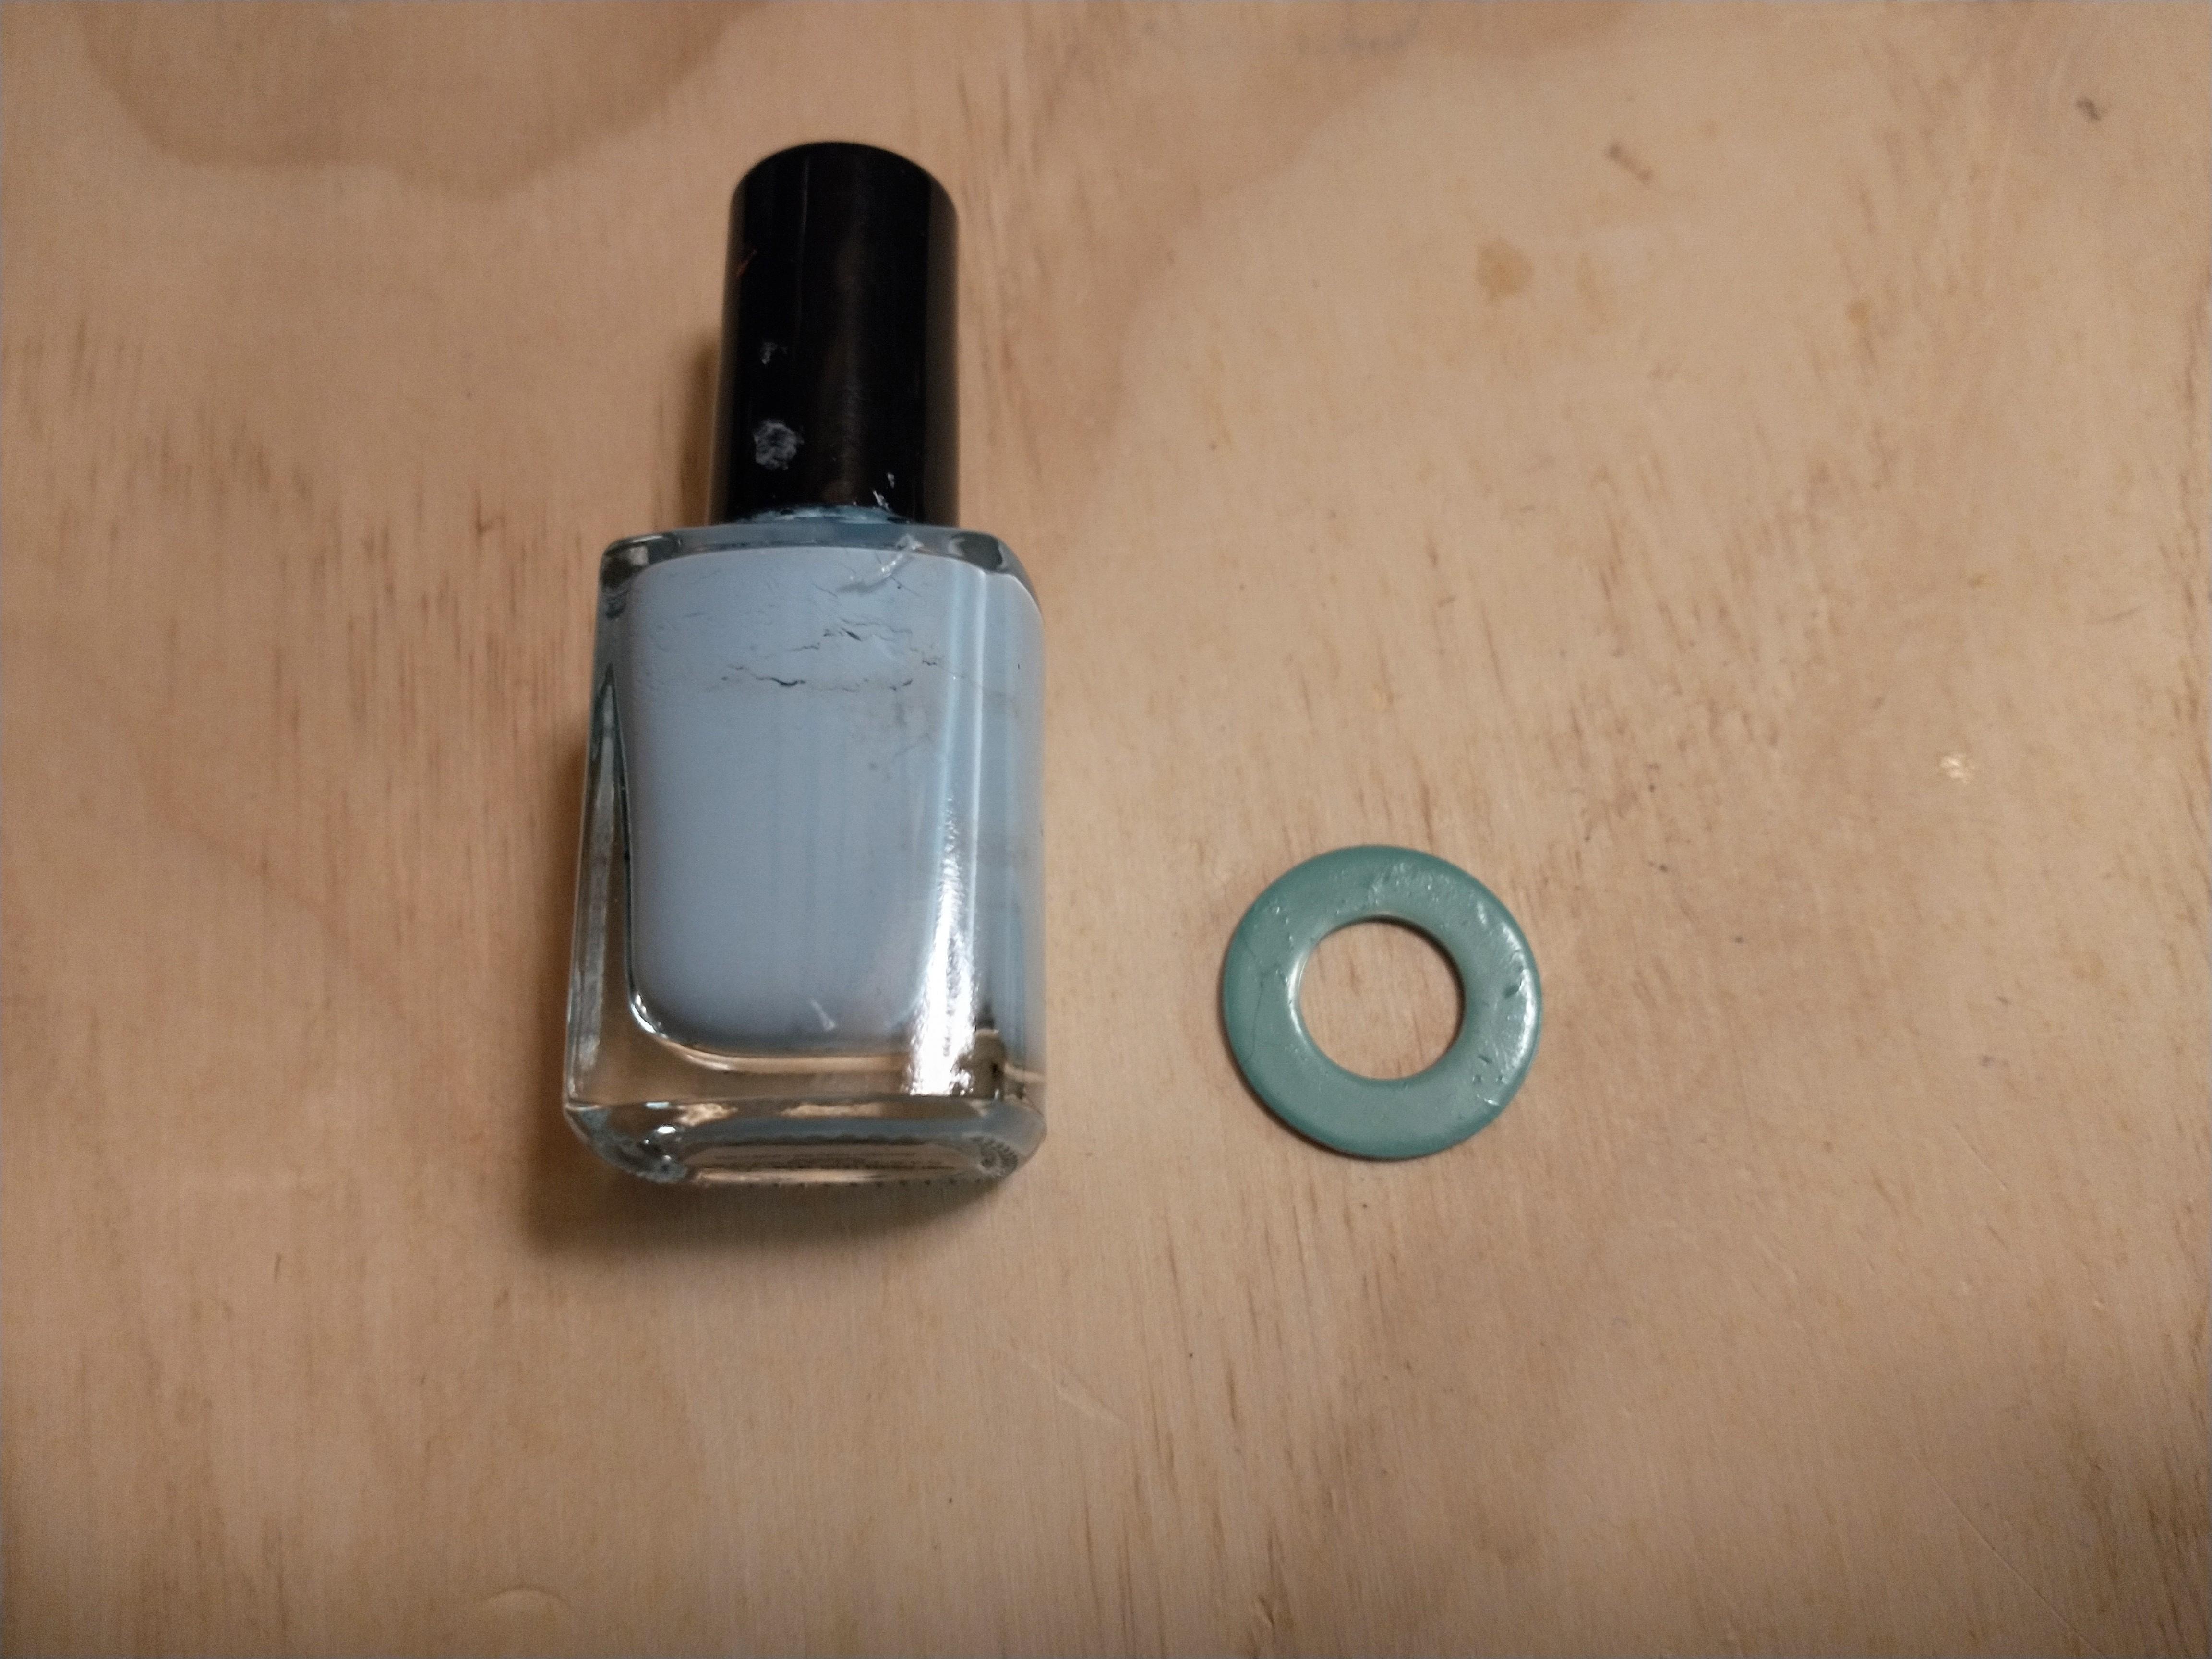
Before assembling the battletop you may want to paint the washer with a nail polish of your choice. Painting the washer is optional and only for decoration.
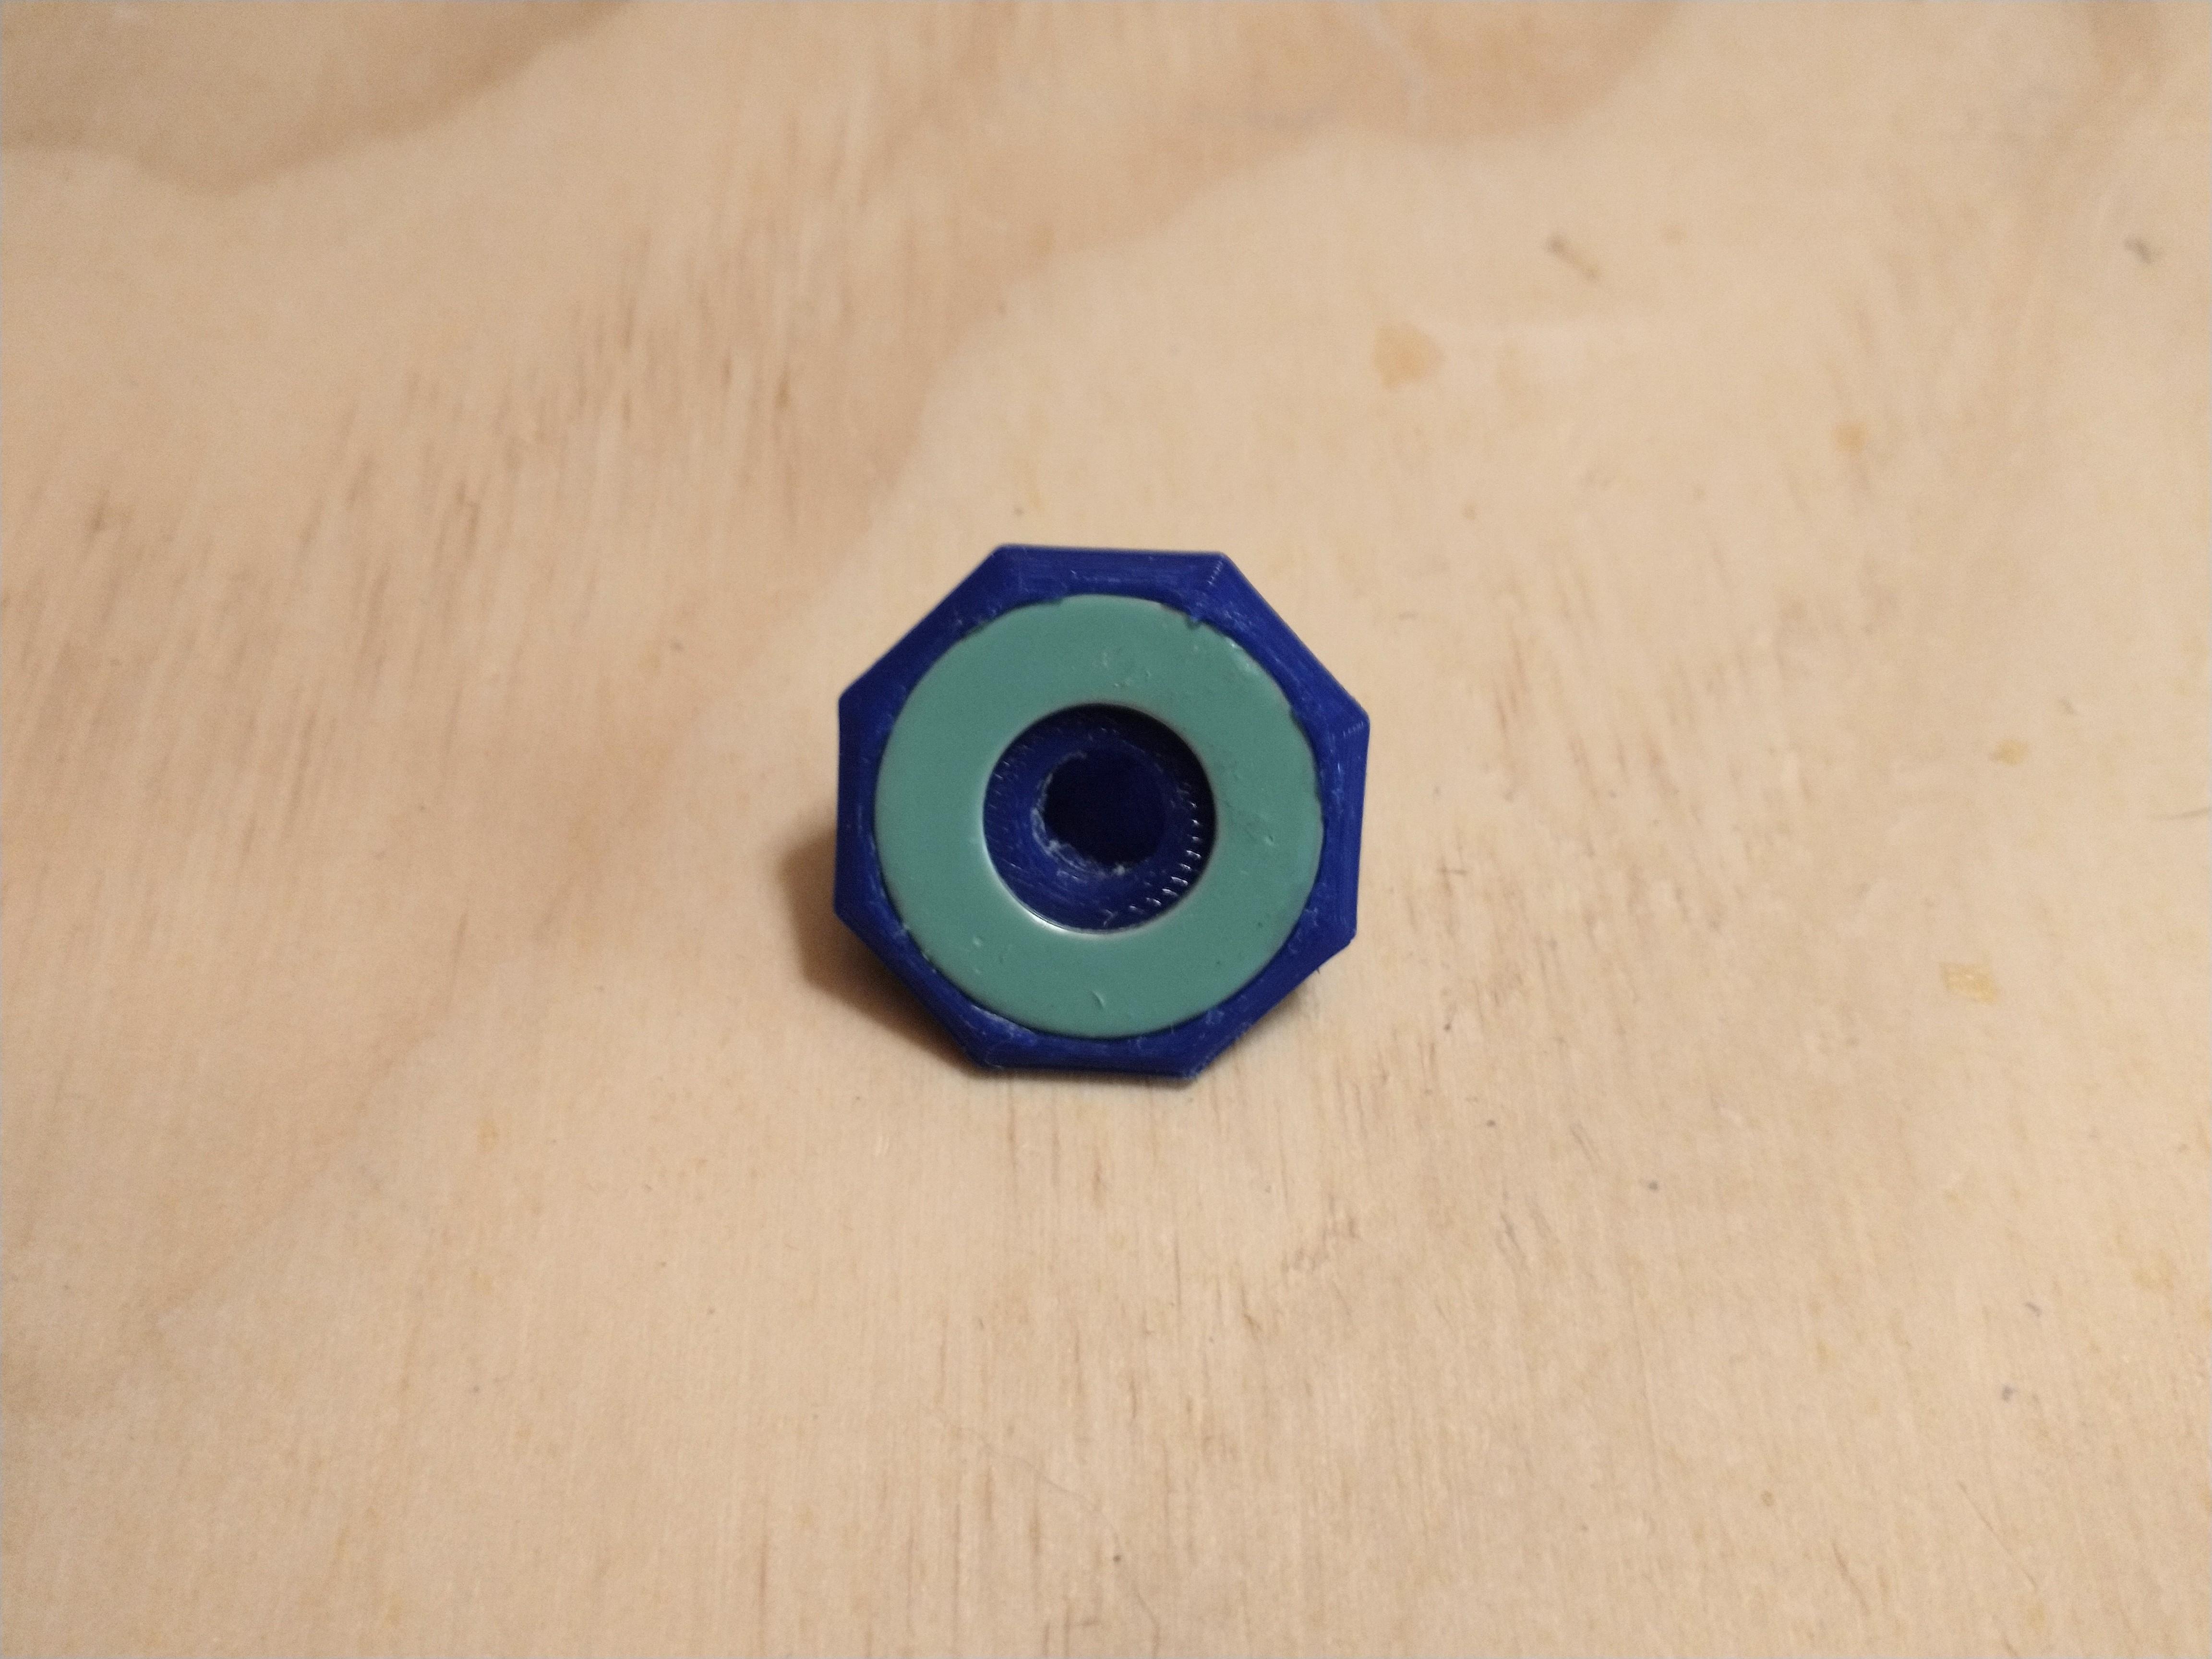
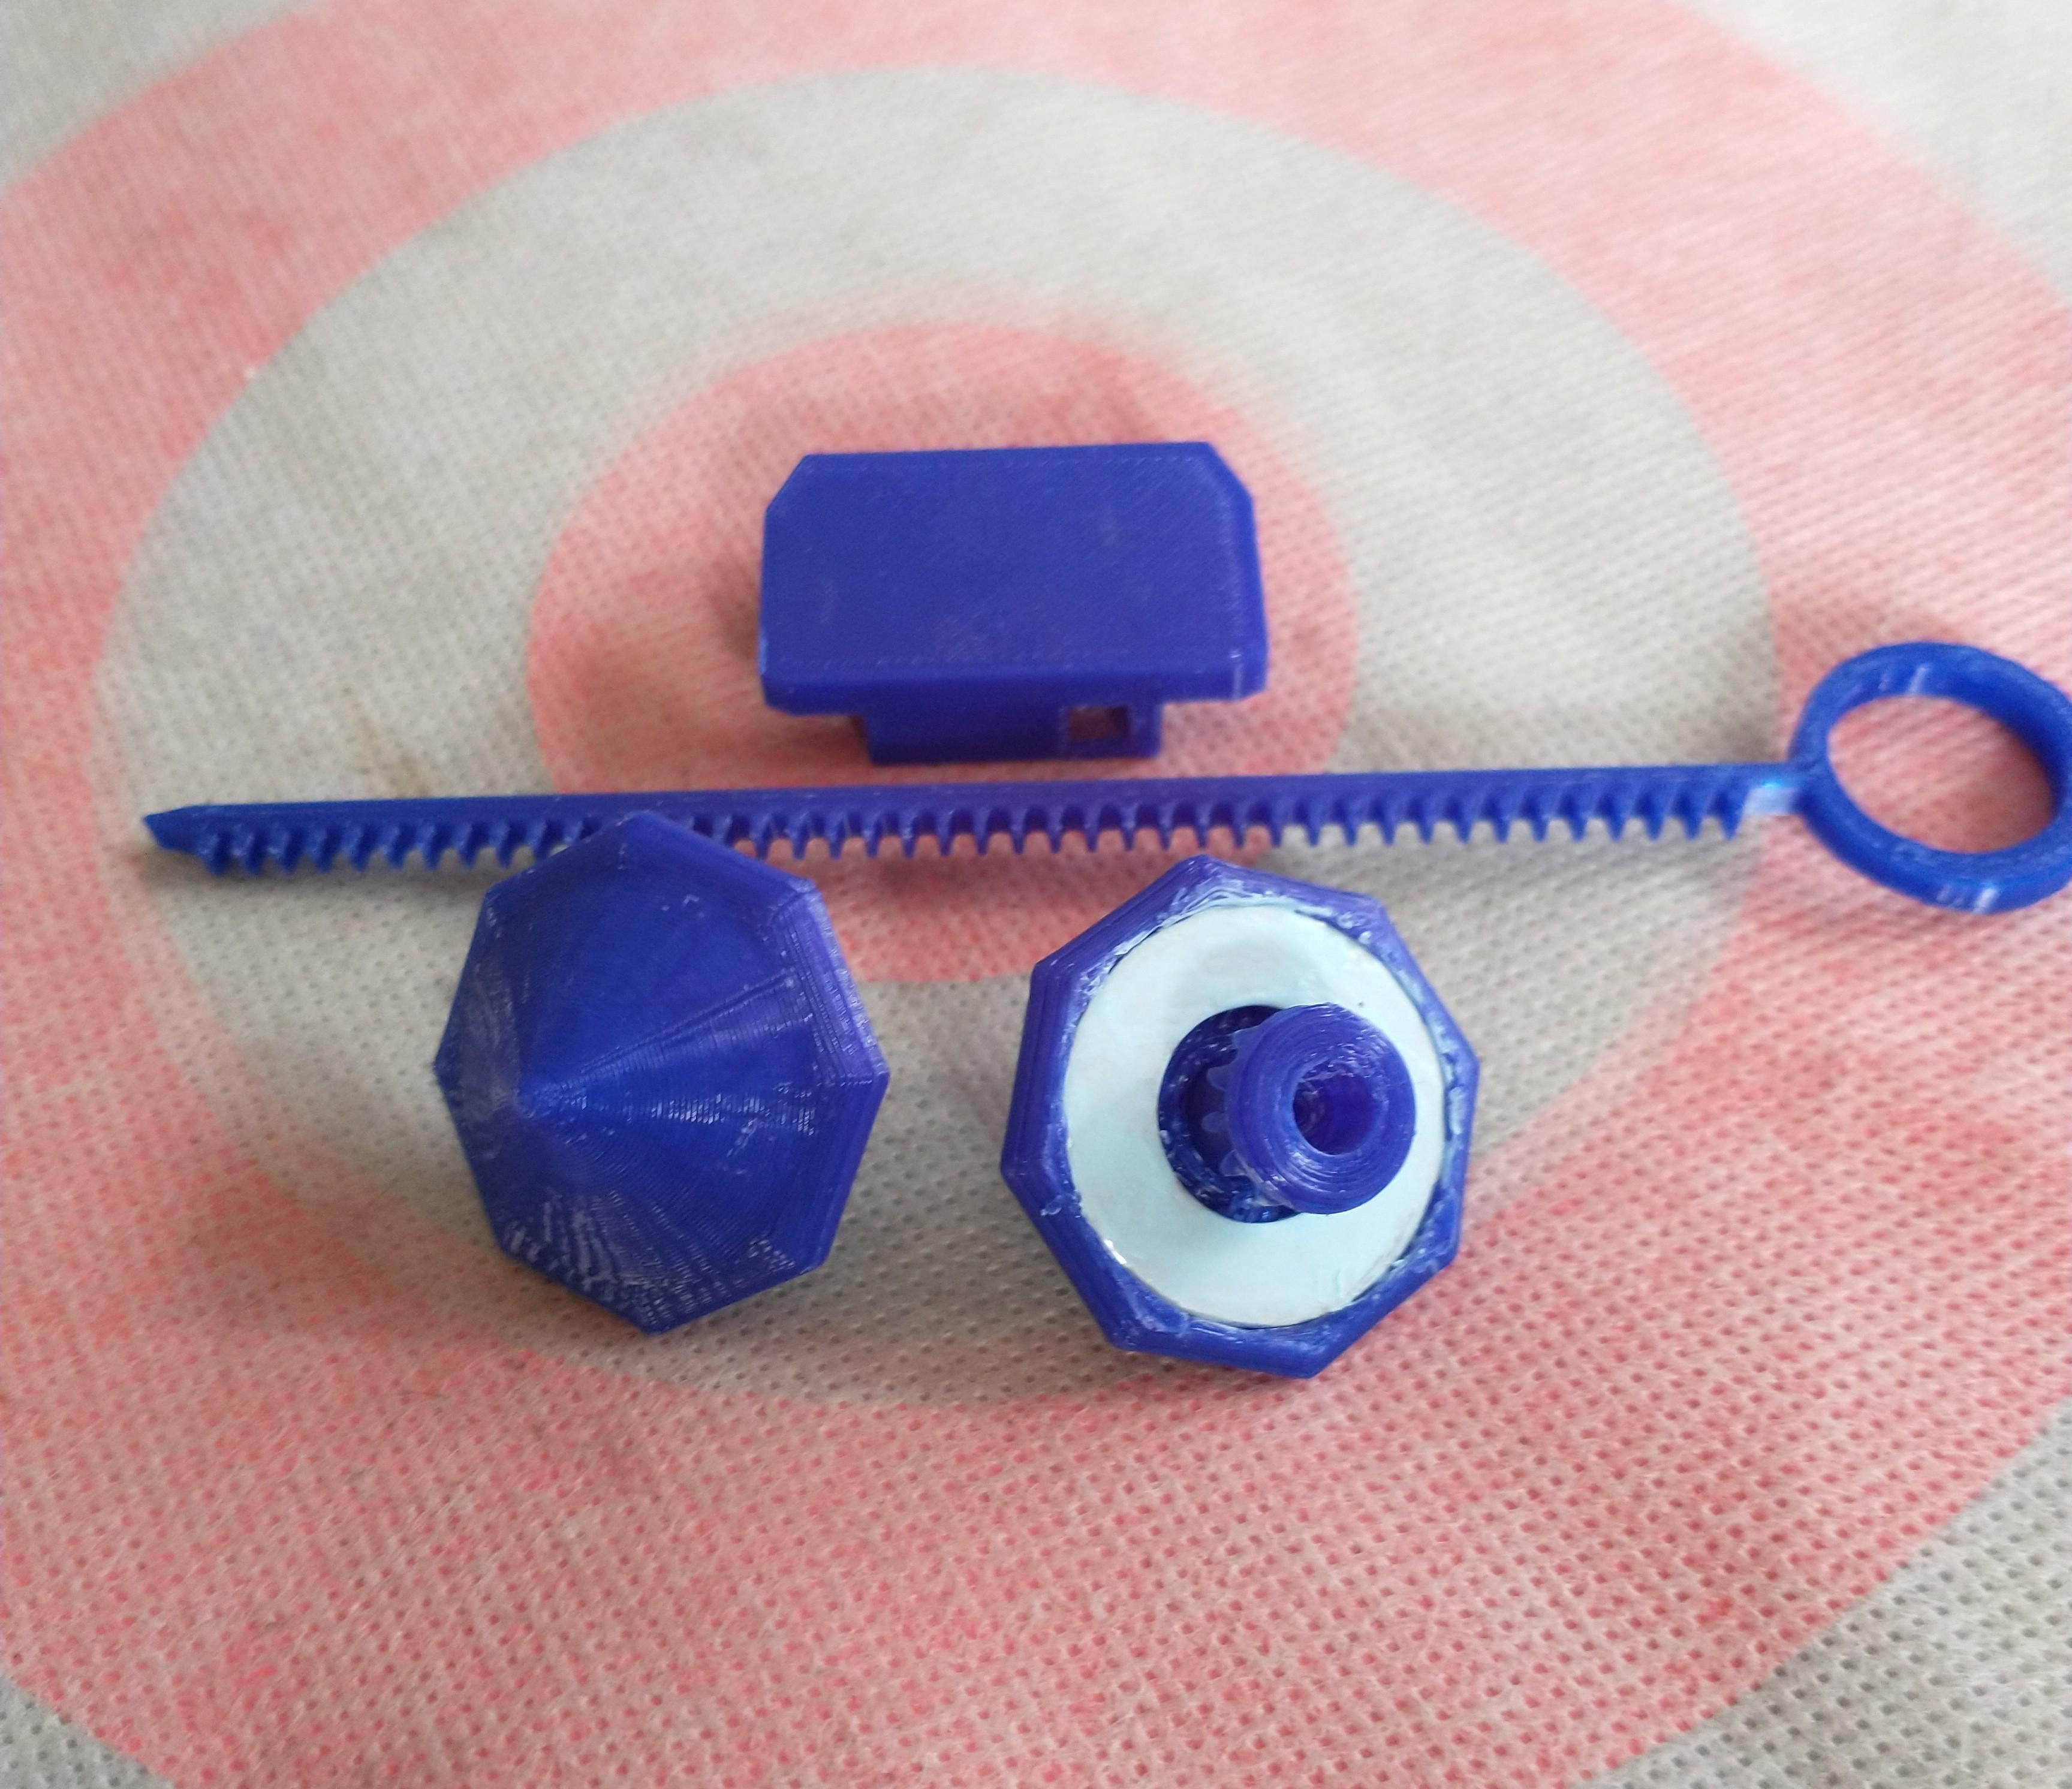
Take a washer and press it into the recess at the top of your battletop. If the washer doesn't snap in take a hobby knife and carefully scrape around the inner wall of at the top of the battletop. If the washer falls out after snapping it into the top recess of your battletop use some superglue to secure it.
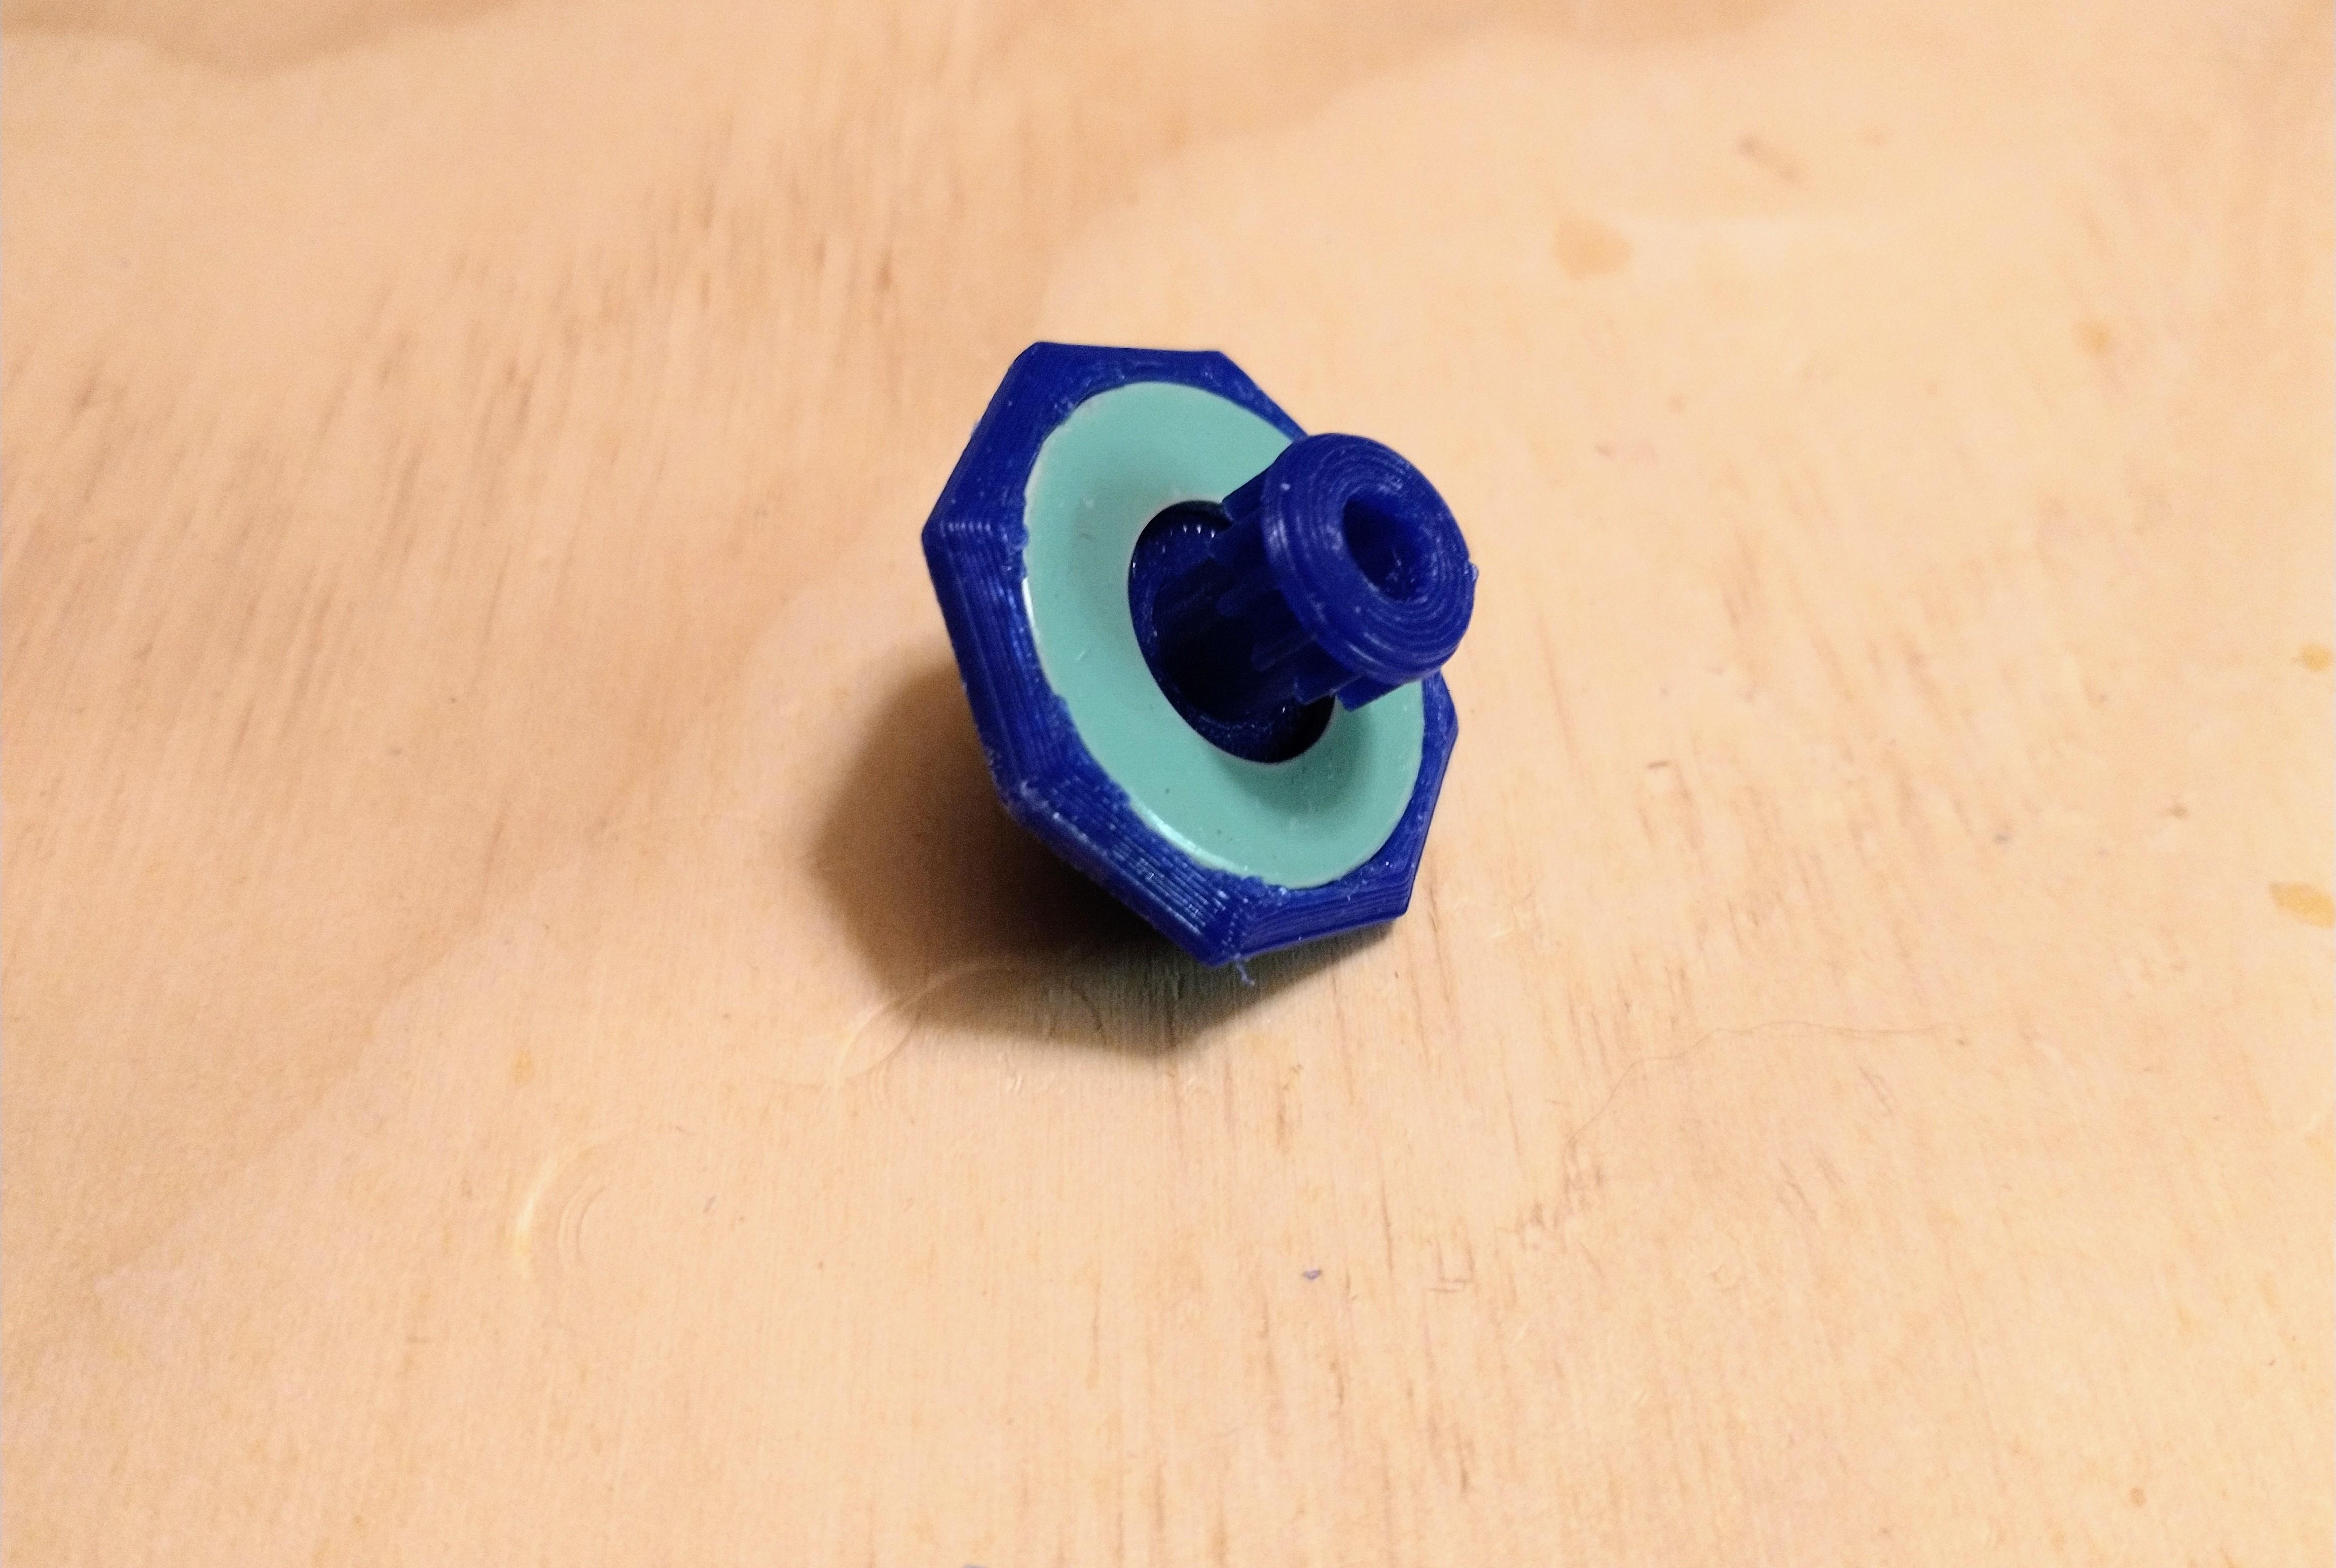
Snap the gear into hole at the top of the battletop. Make sure the gear is fully snapped in. There should only be about a 2mm gap between the spinning top and the launcher. It may be helpful to scrape out the hole with a hobby knife before attempting to press in the gear.
Print and Assemble No Support Battletop
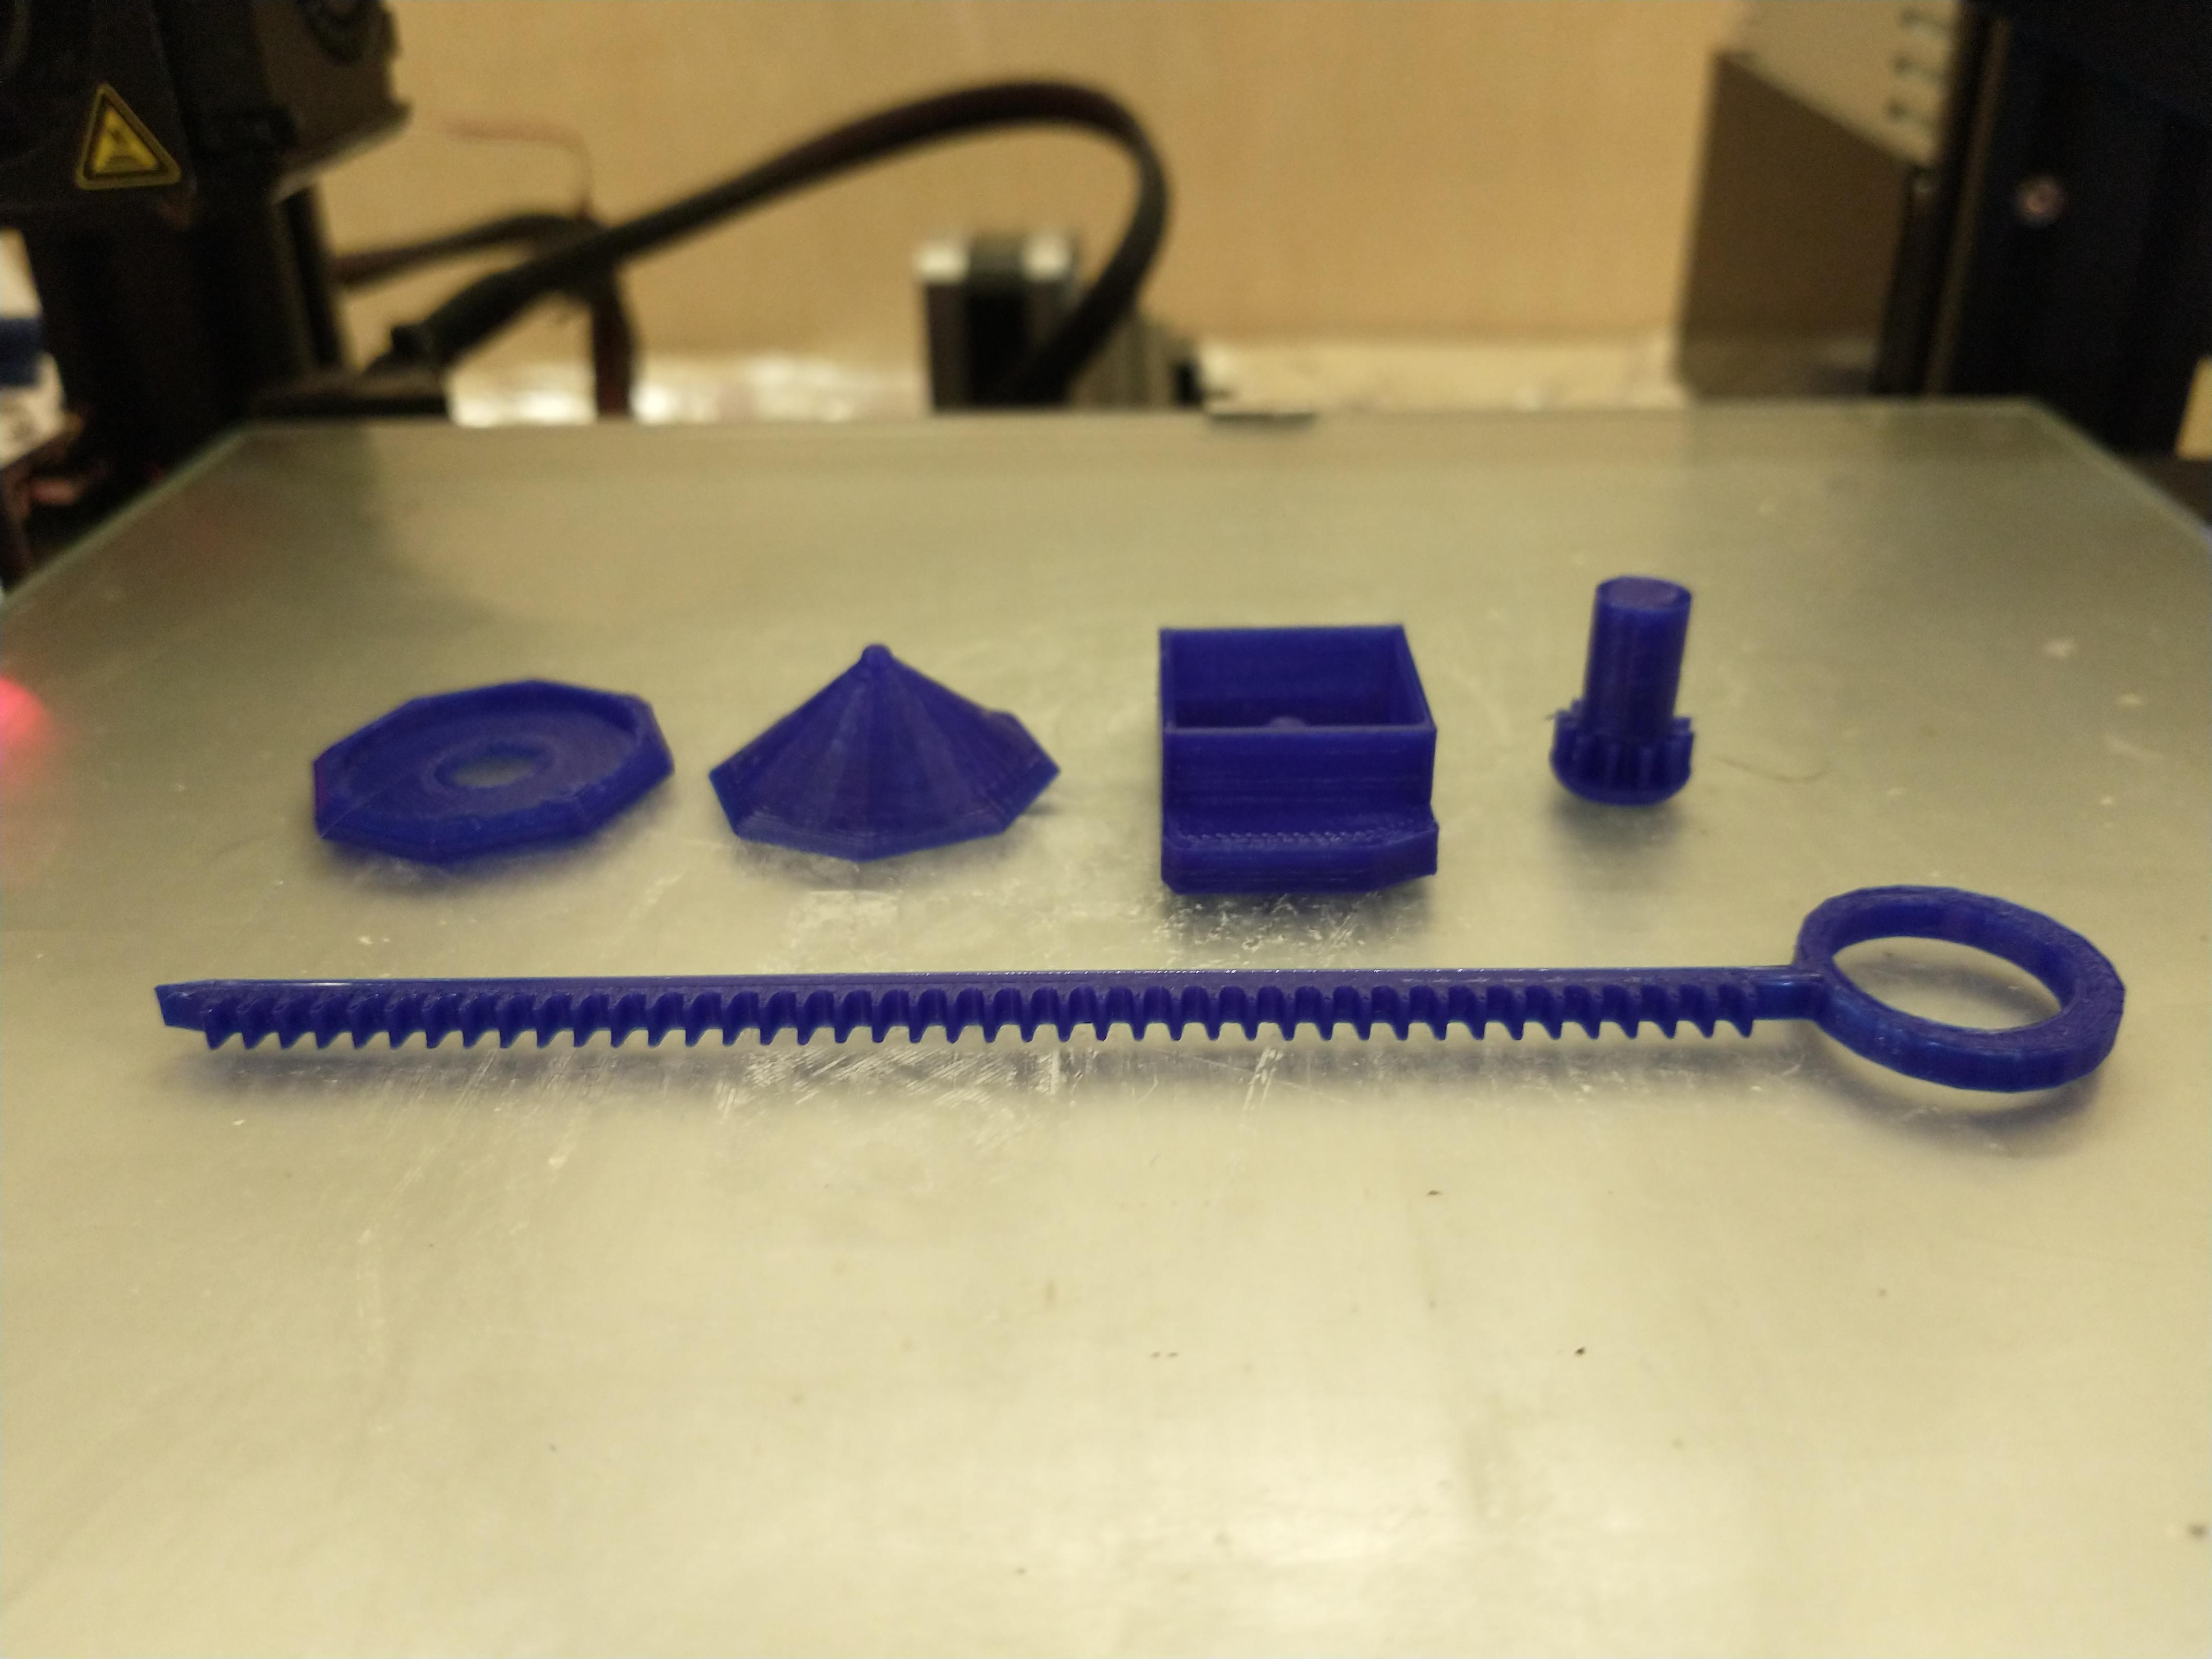
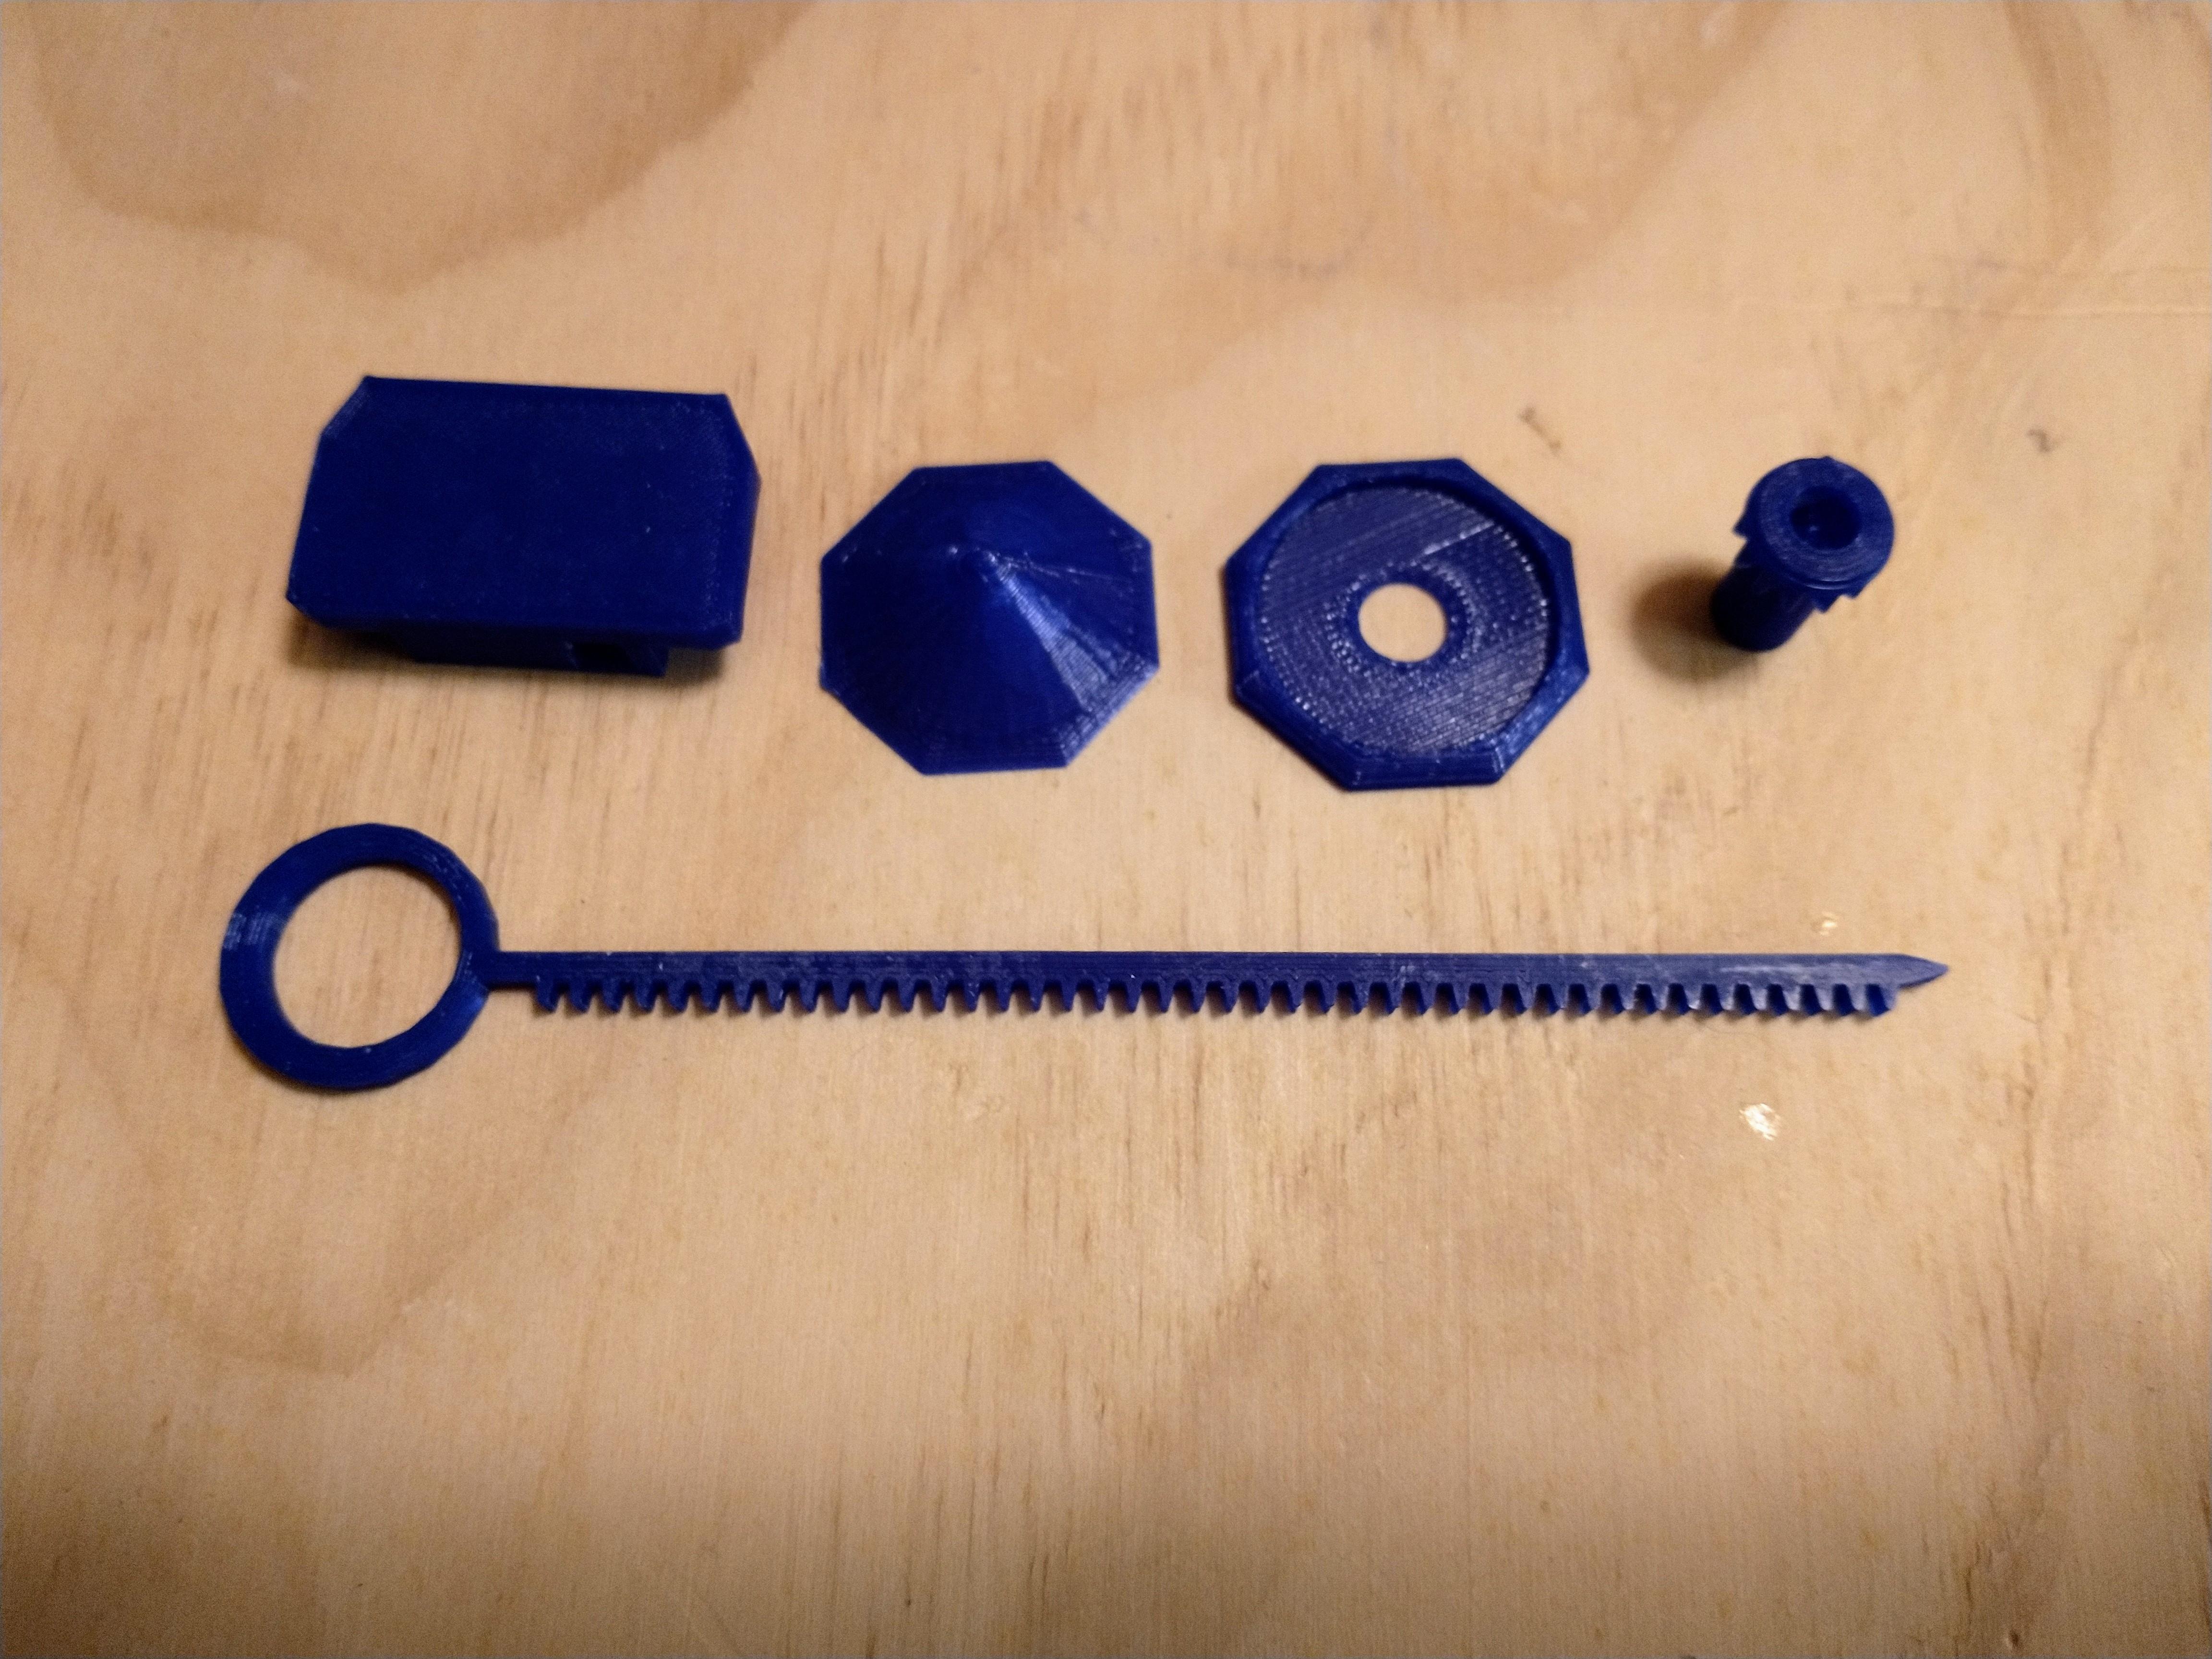
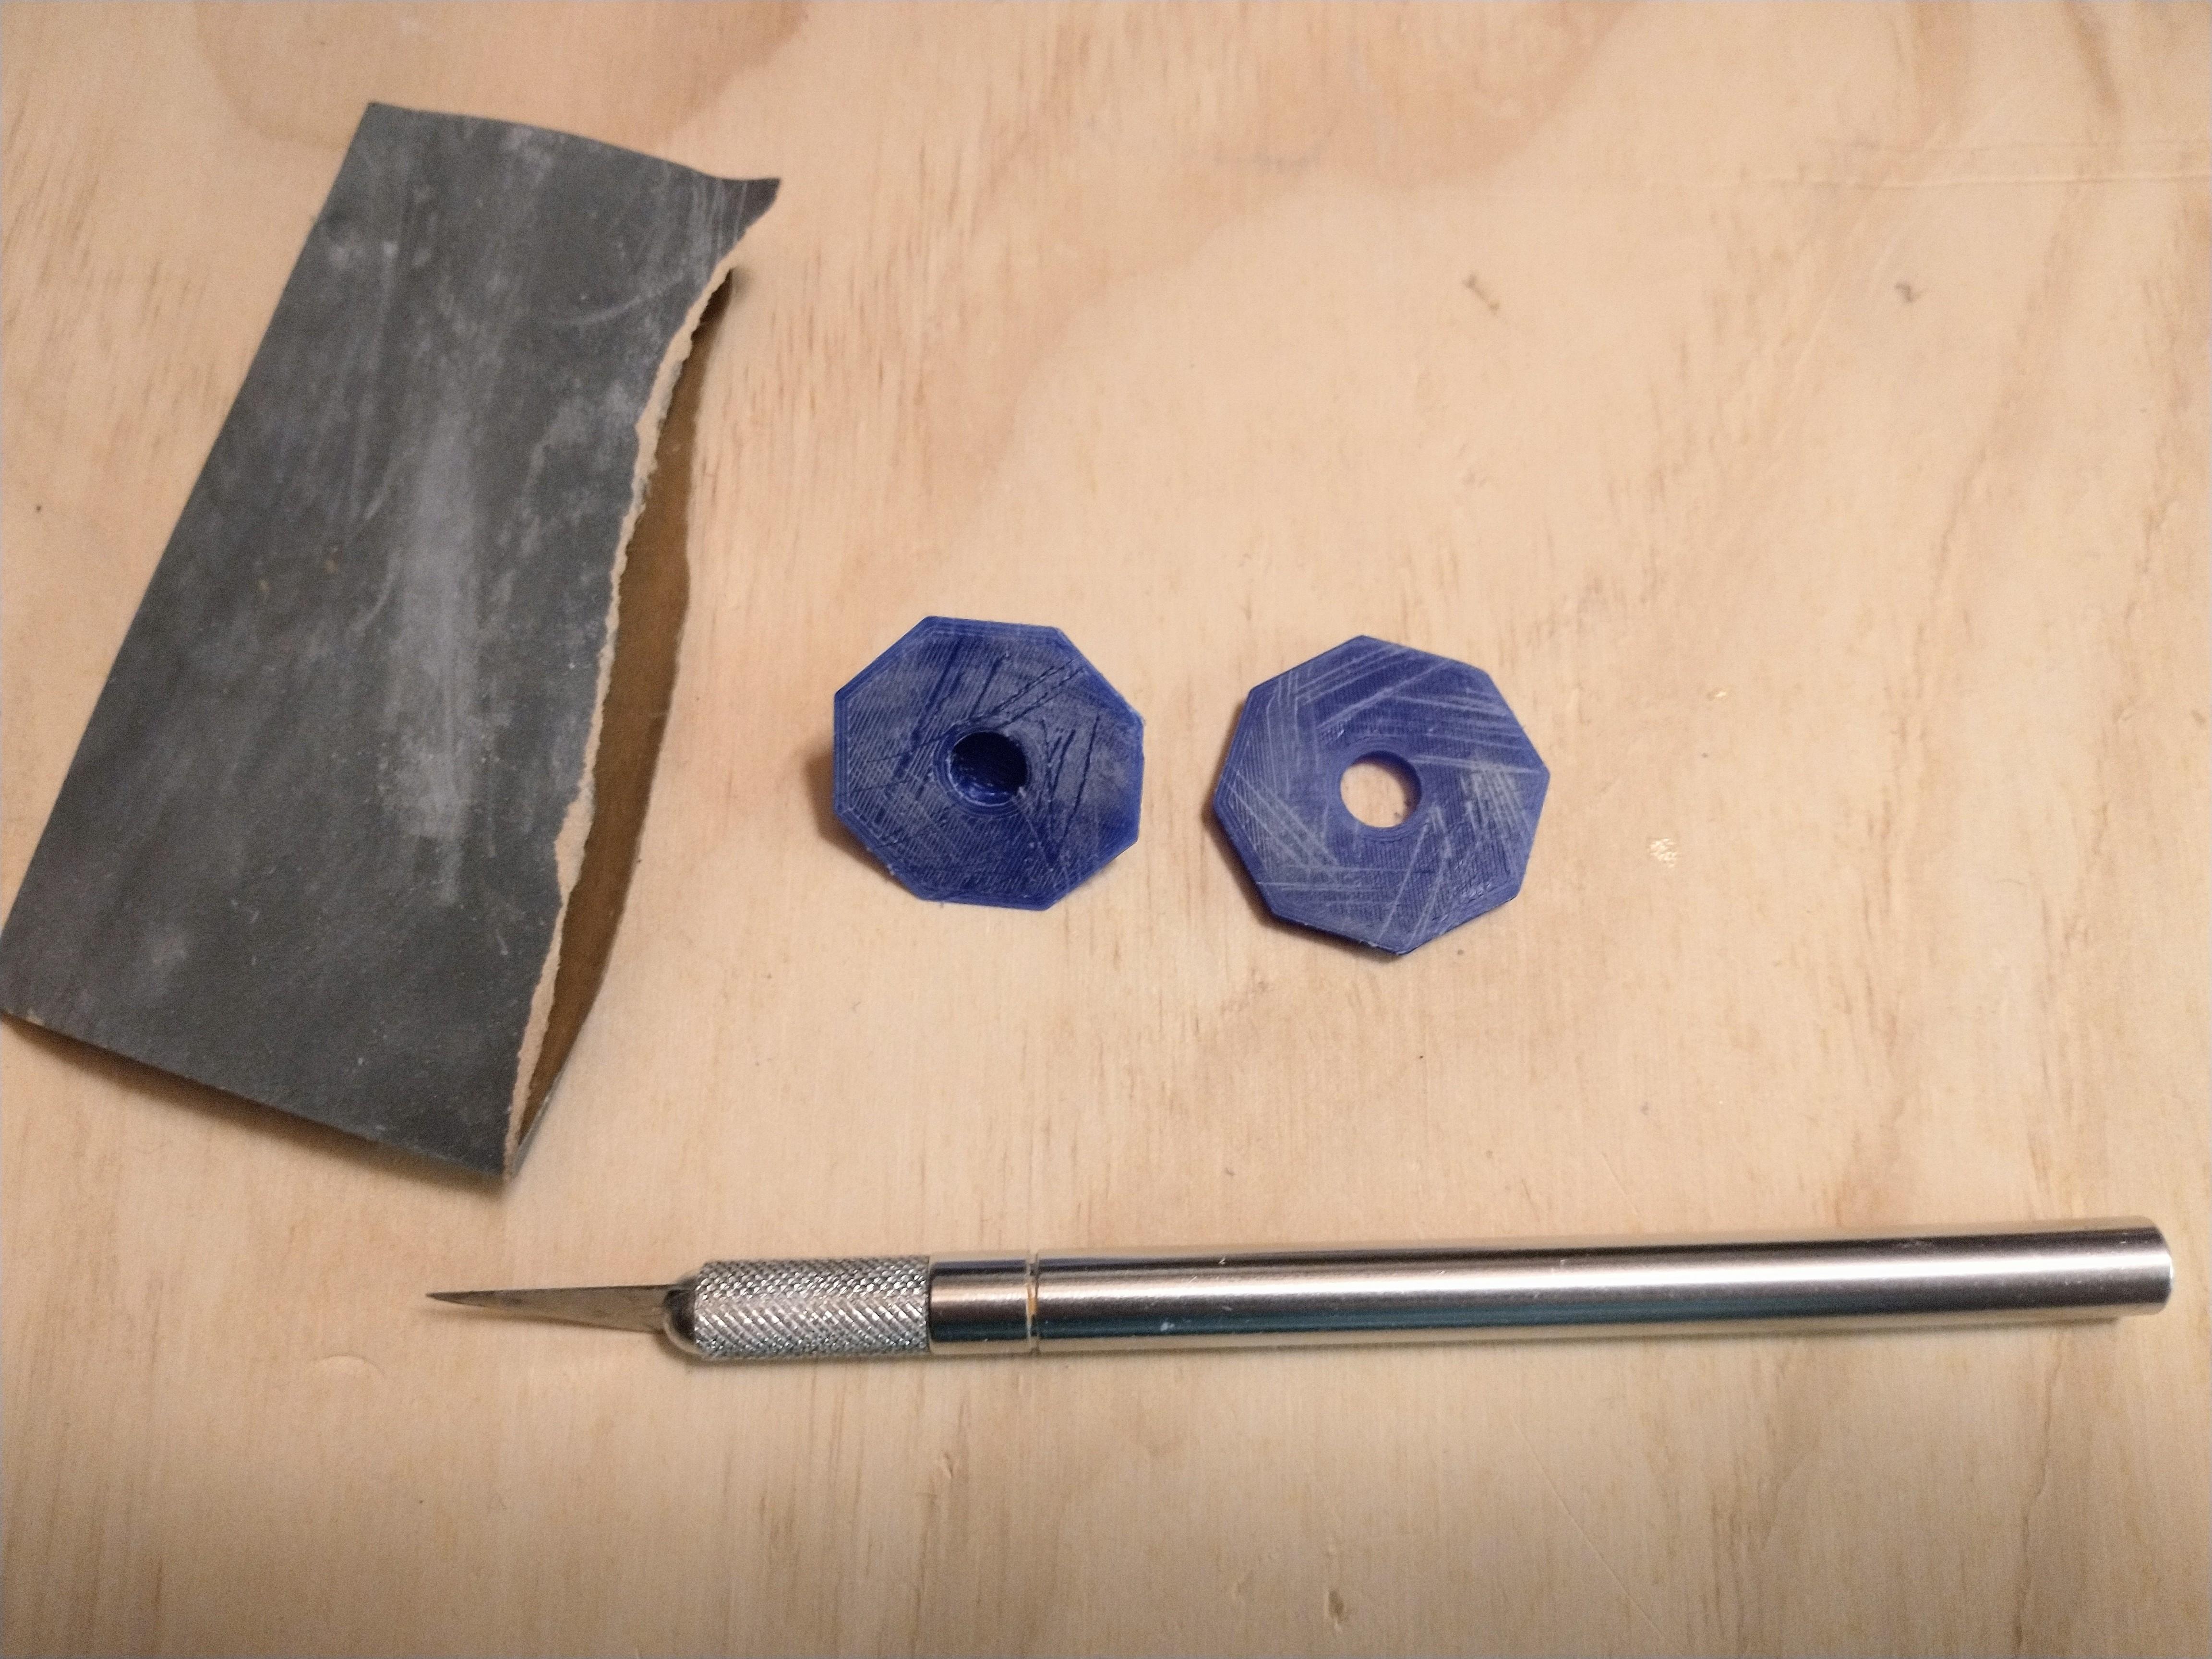
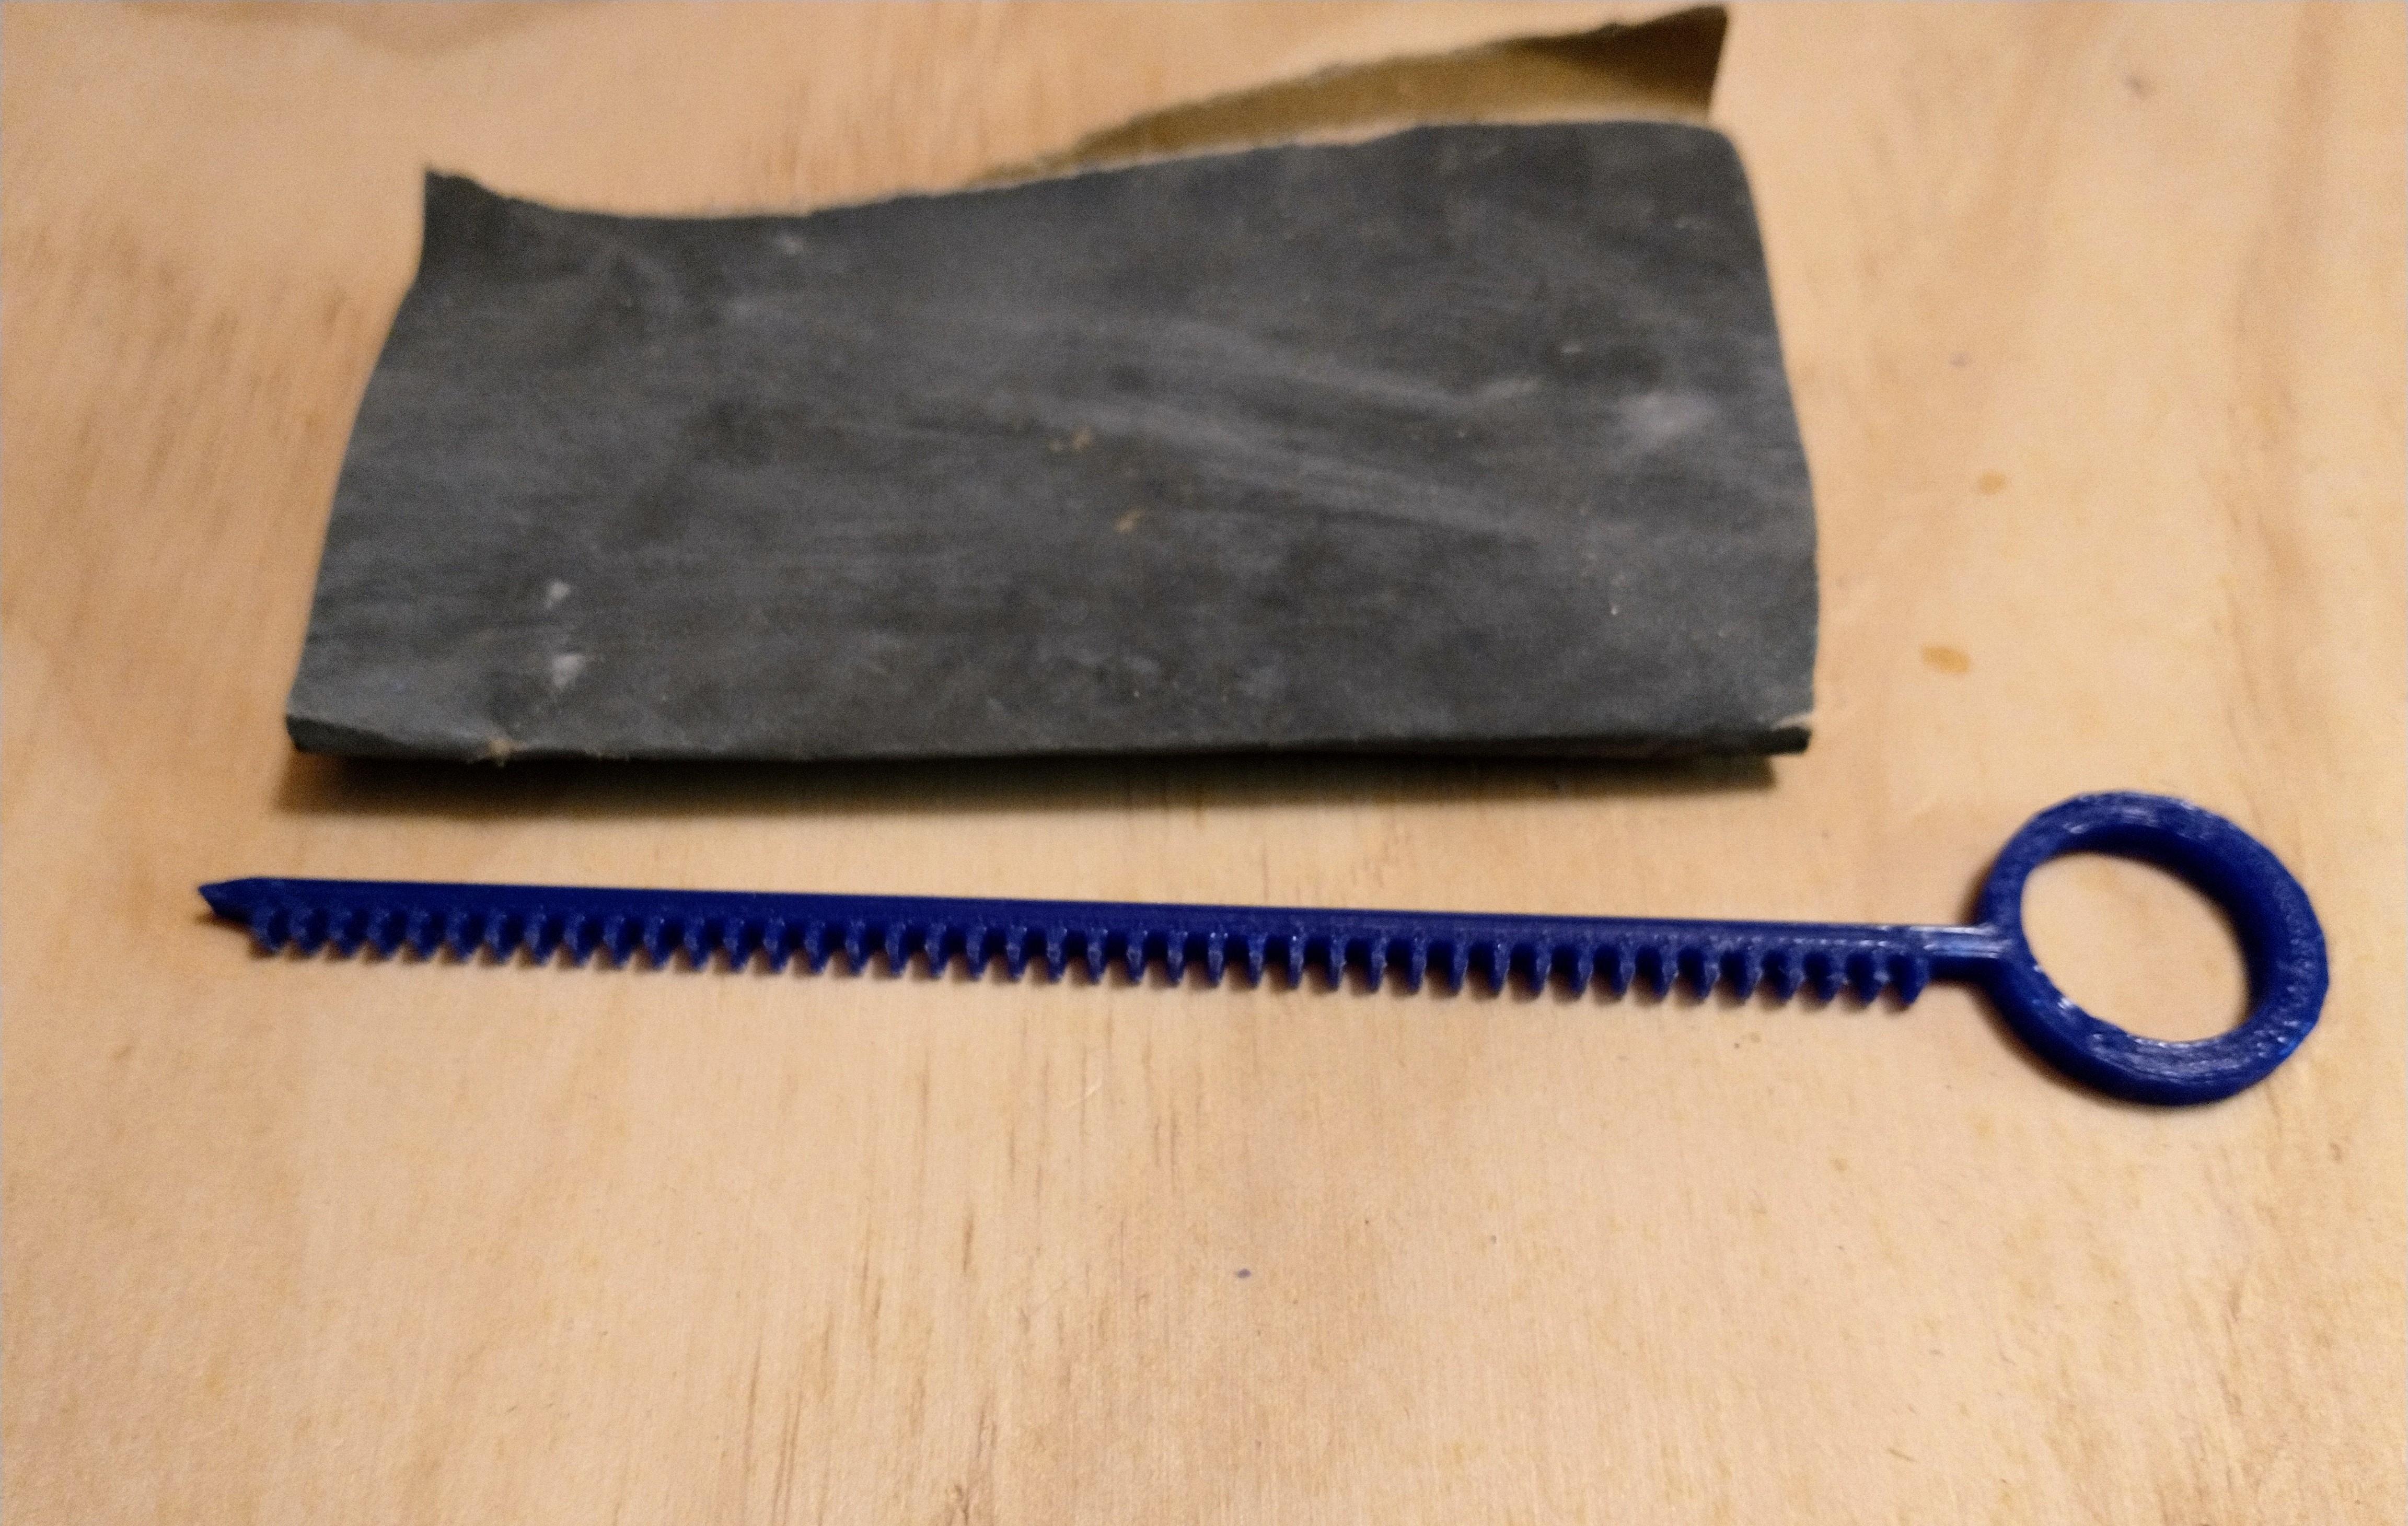
If you downloaded, printed and assembled the set that required supports skip this step and proceed to step 4.
Download and print the Dragon_Spinner's Battle: No Support Set.
Remove print from print bed.
If you used adhesive make sure to clean it off of each part.
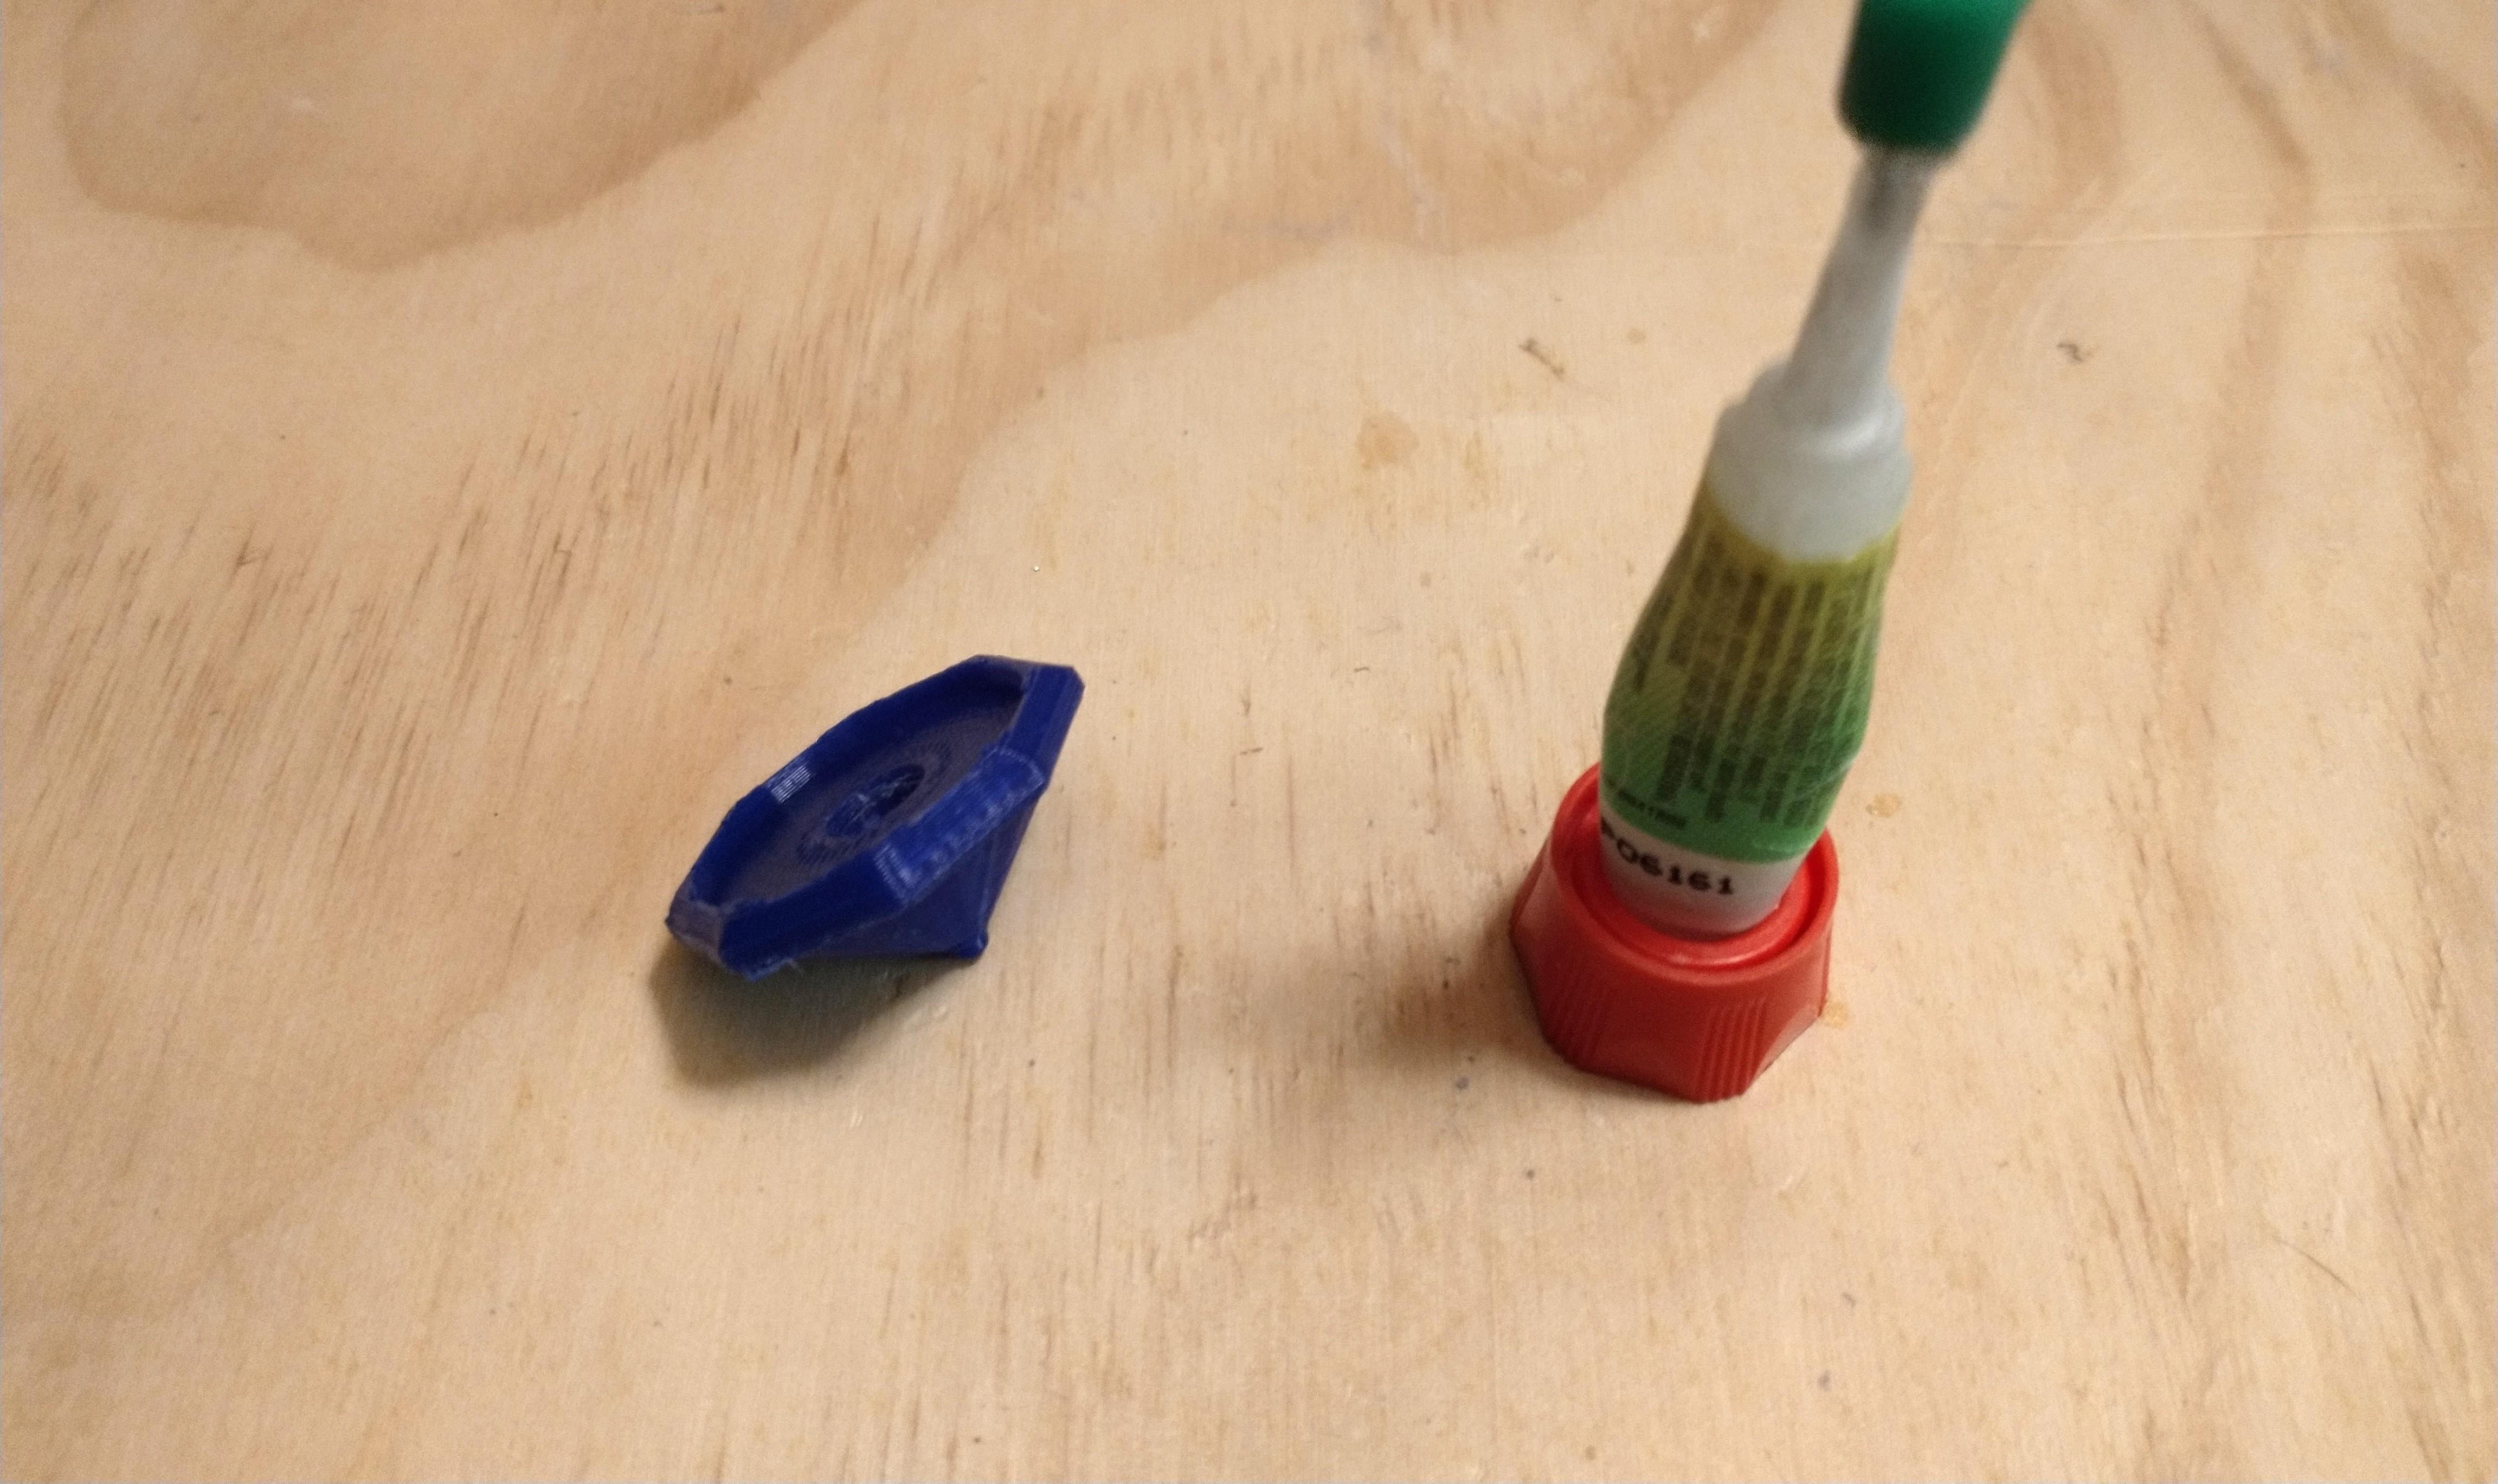
Rough up the bottom of the Battletop's ring with sandpaper or a hobby knife.
Rough up the top of the Battletop's base with sandpaper or a hobby knife.
The rough surfaces will allow the superglue to stick better.
Align and superglue the top of the base to the bottom of the ring.
(Optional) While the Battletop dries decorate the washer.
Once the assembly dries insert the washer into the Battletop's ring.
Insert the gear into the Battletop. You may need to sand the cylinder attached to the gear in order to make it fit. This will depend on your machine's resolution
Lightly sand the ripcord to smooth remove any rough patches.
Now your Battletop is ready for action head to the next step to learn how to launch it.
Launching the Battletop
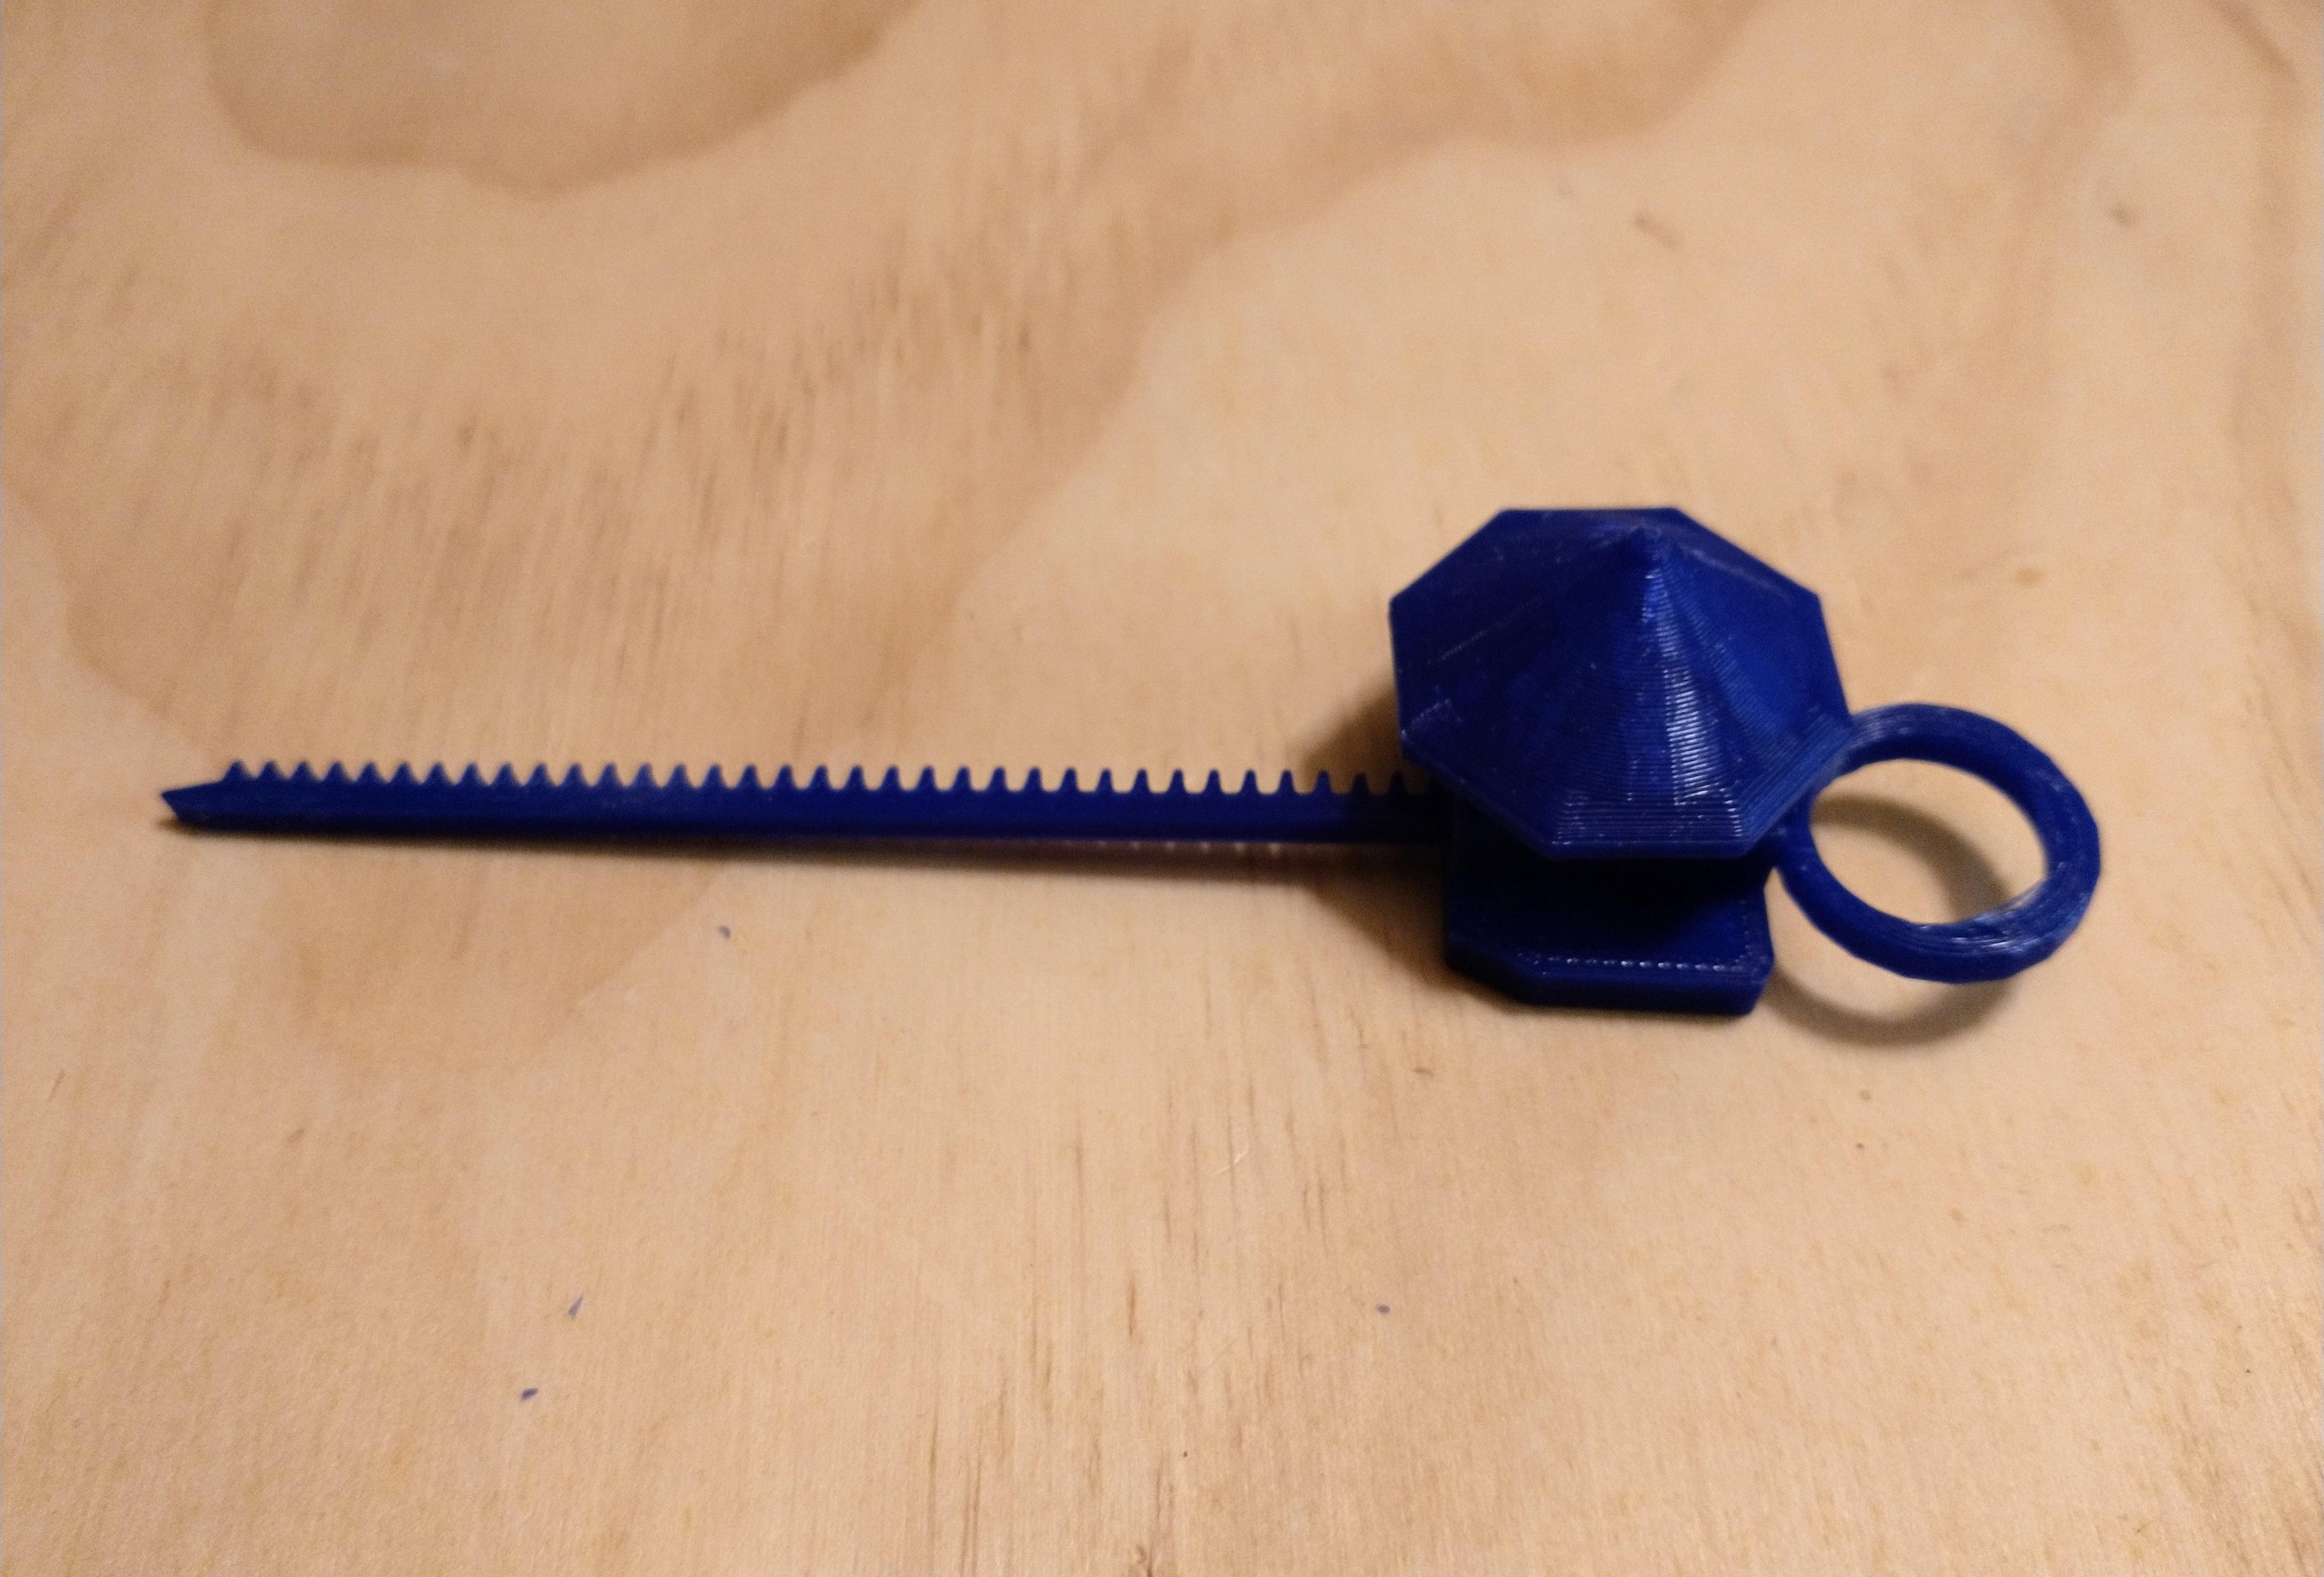
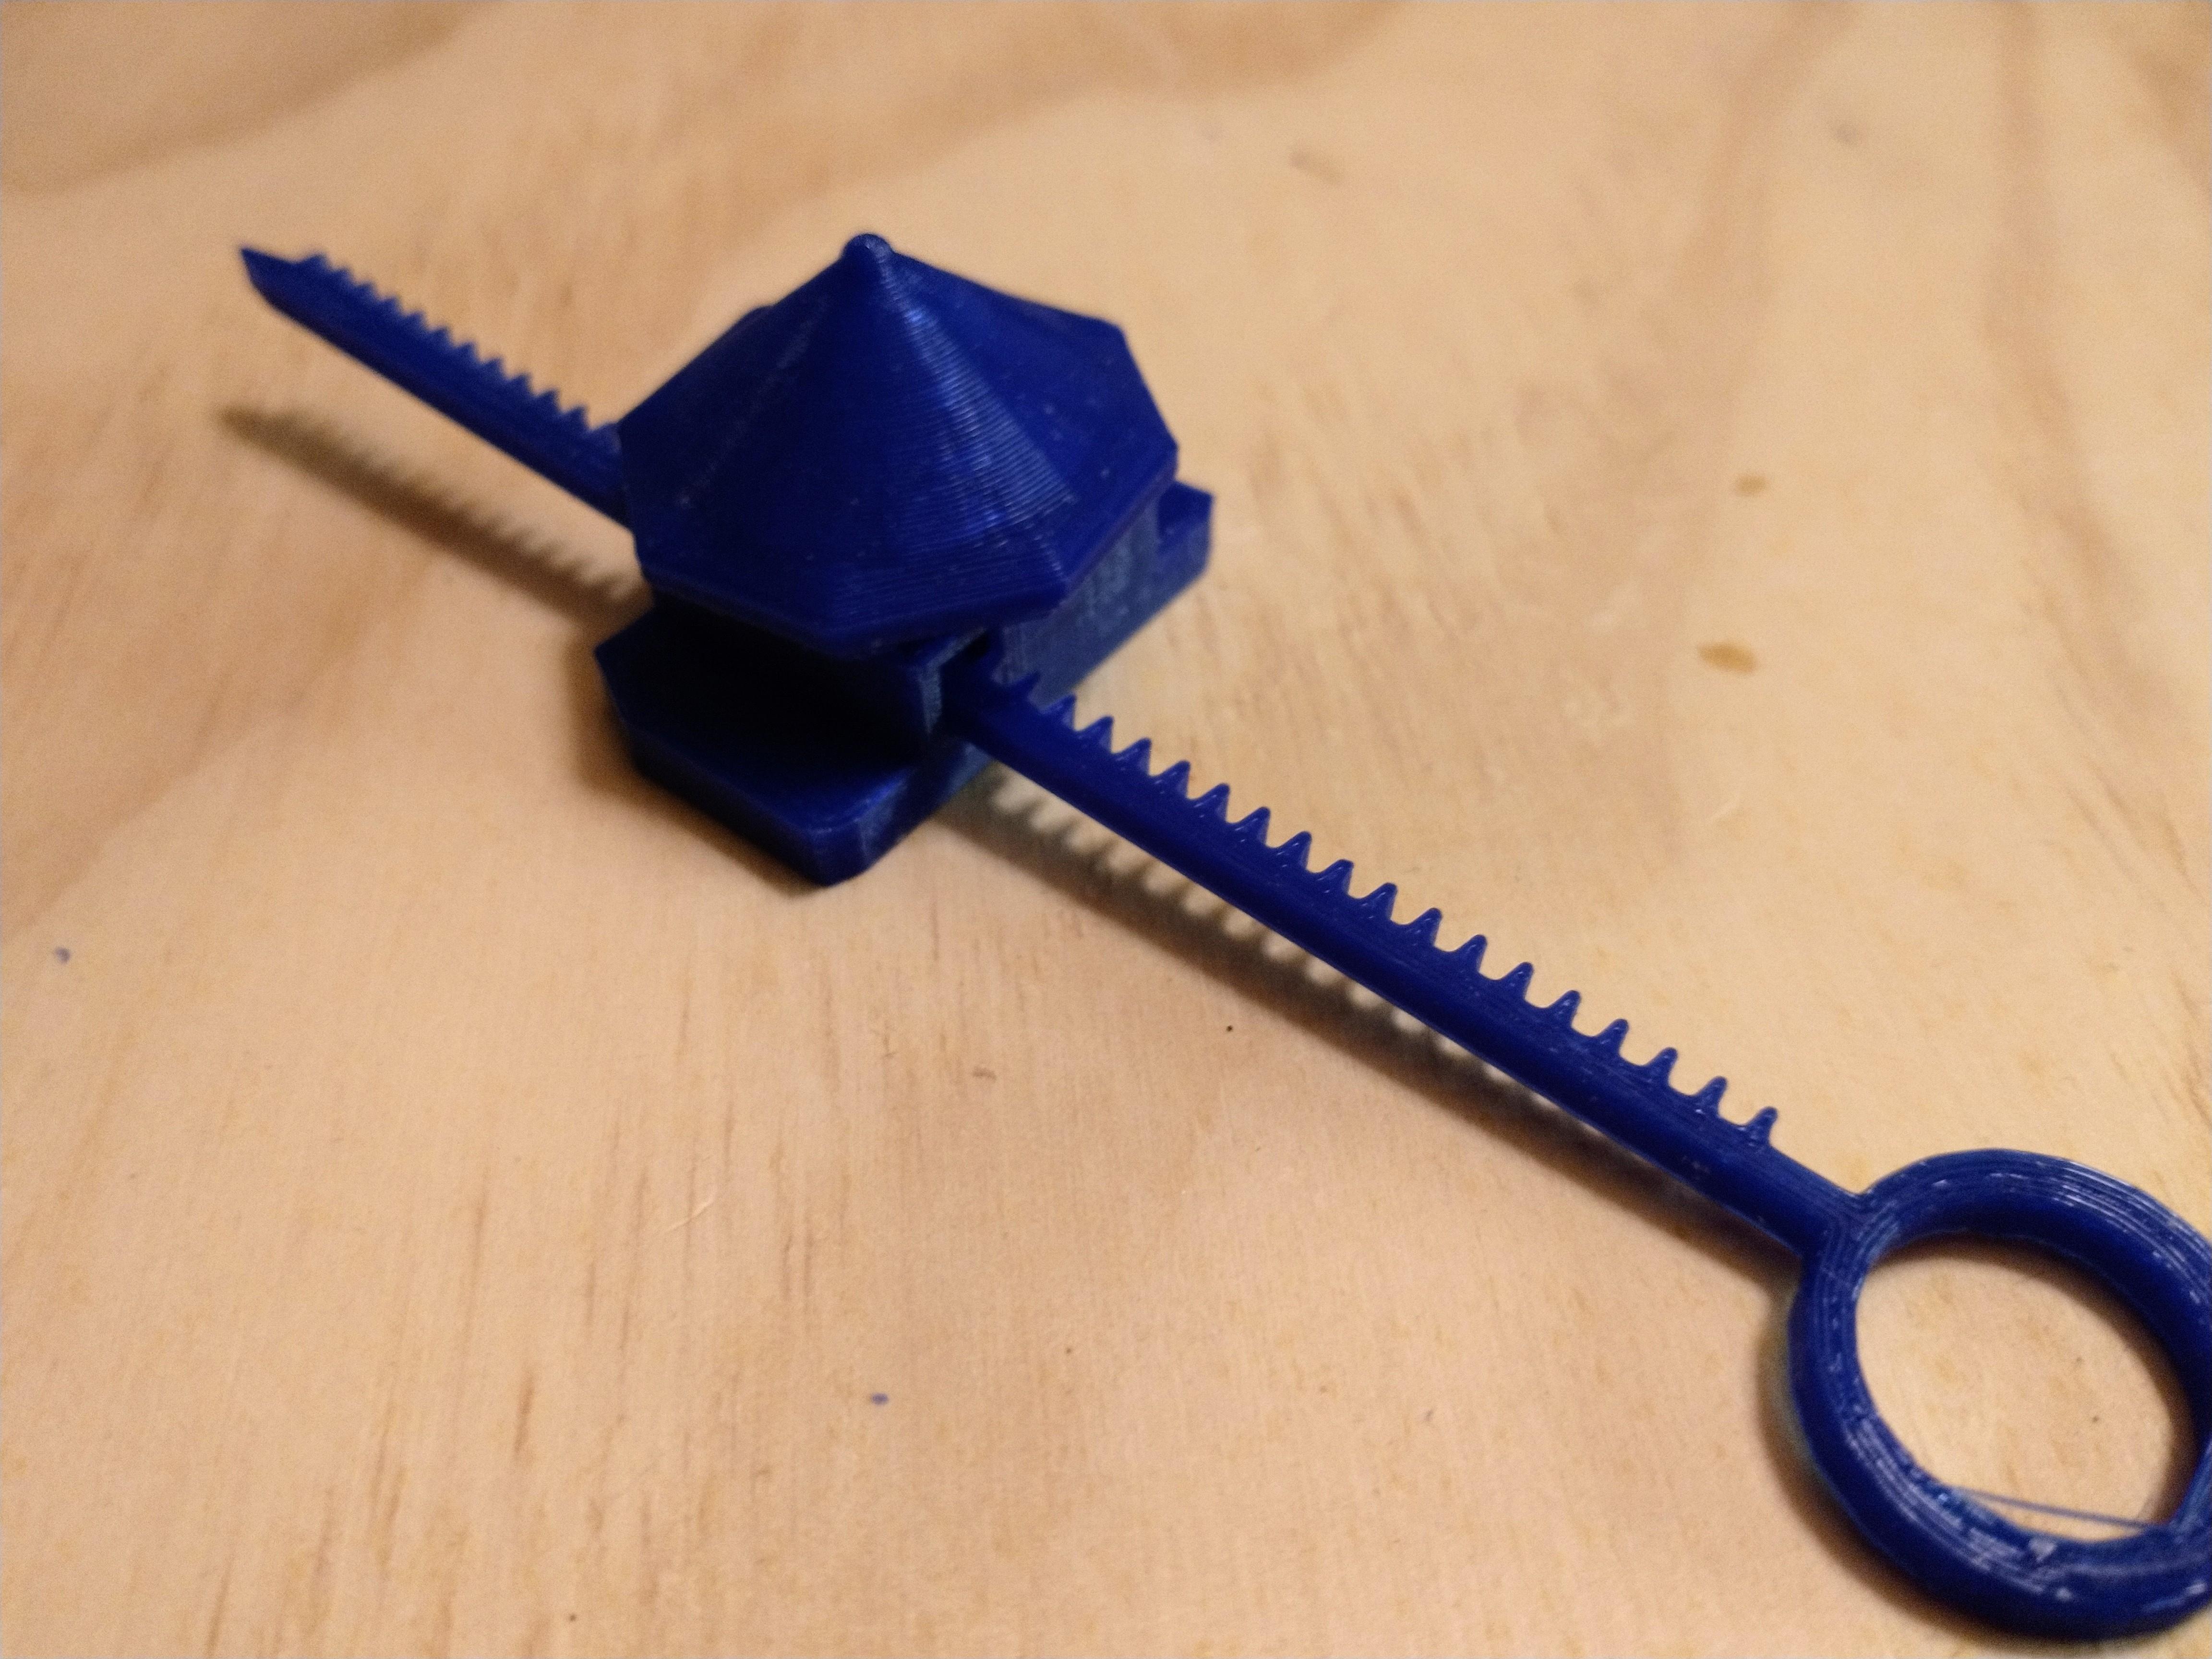
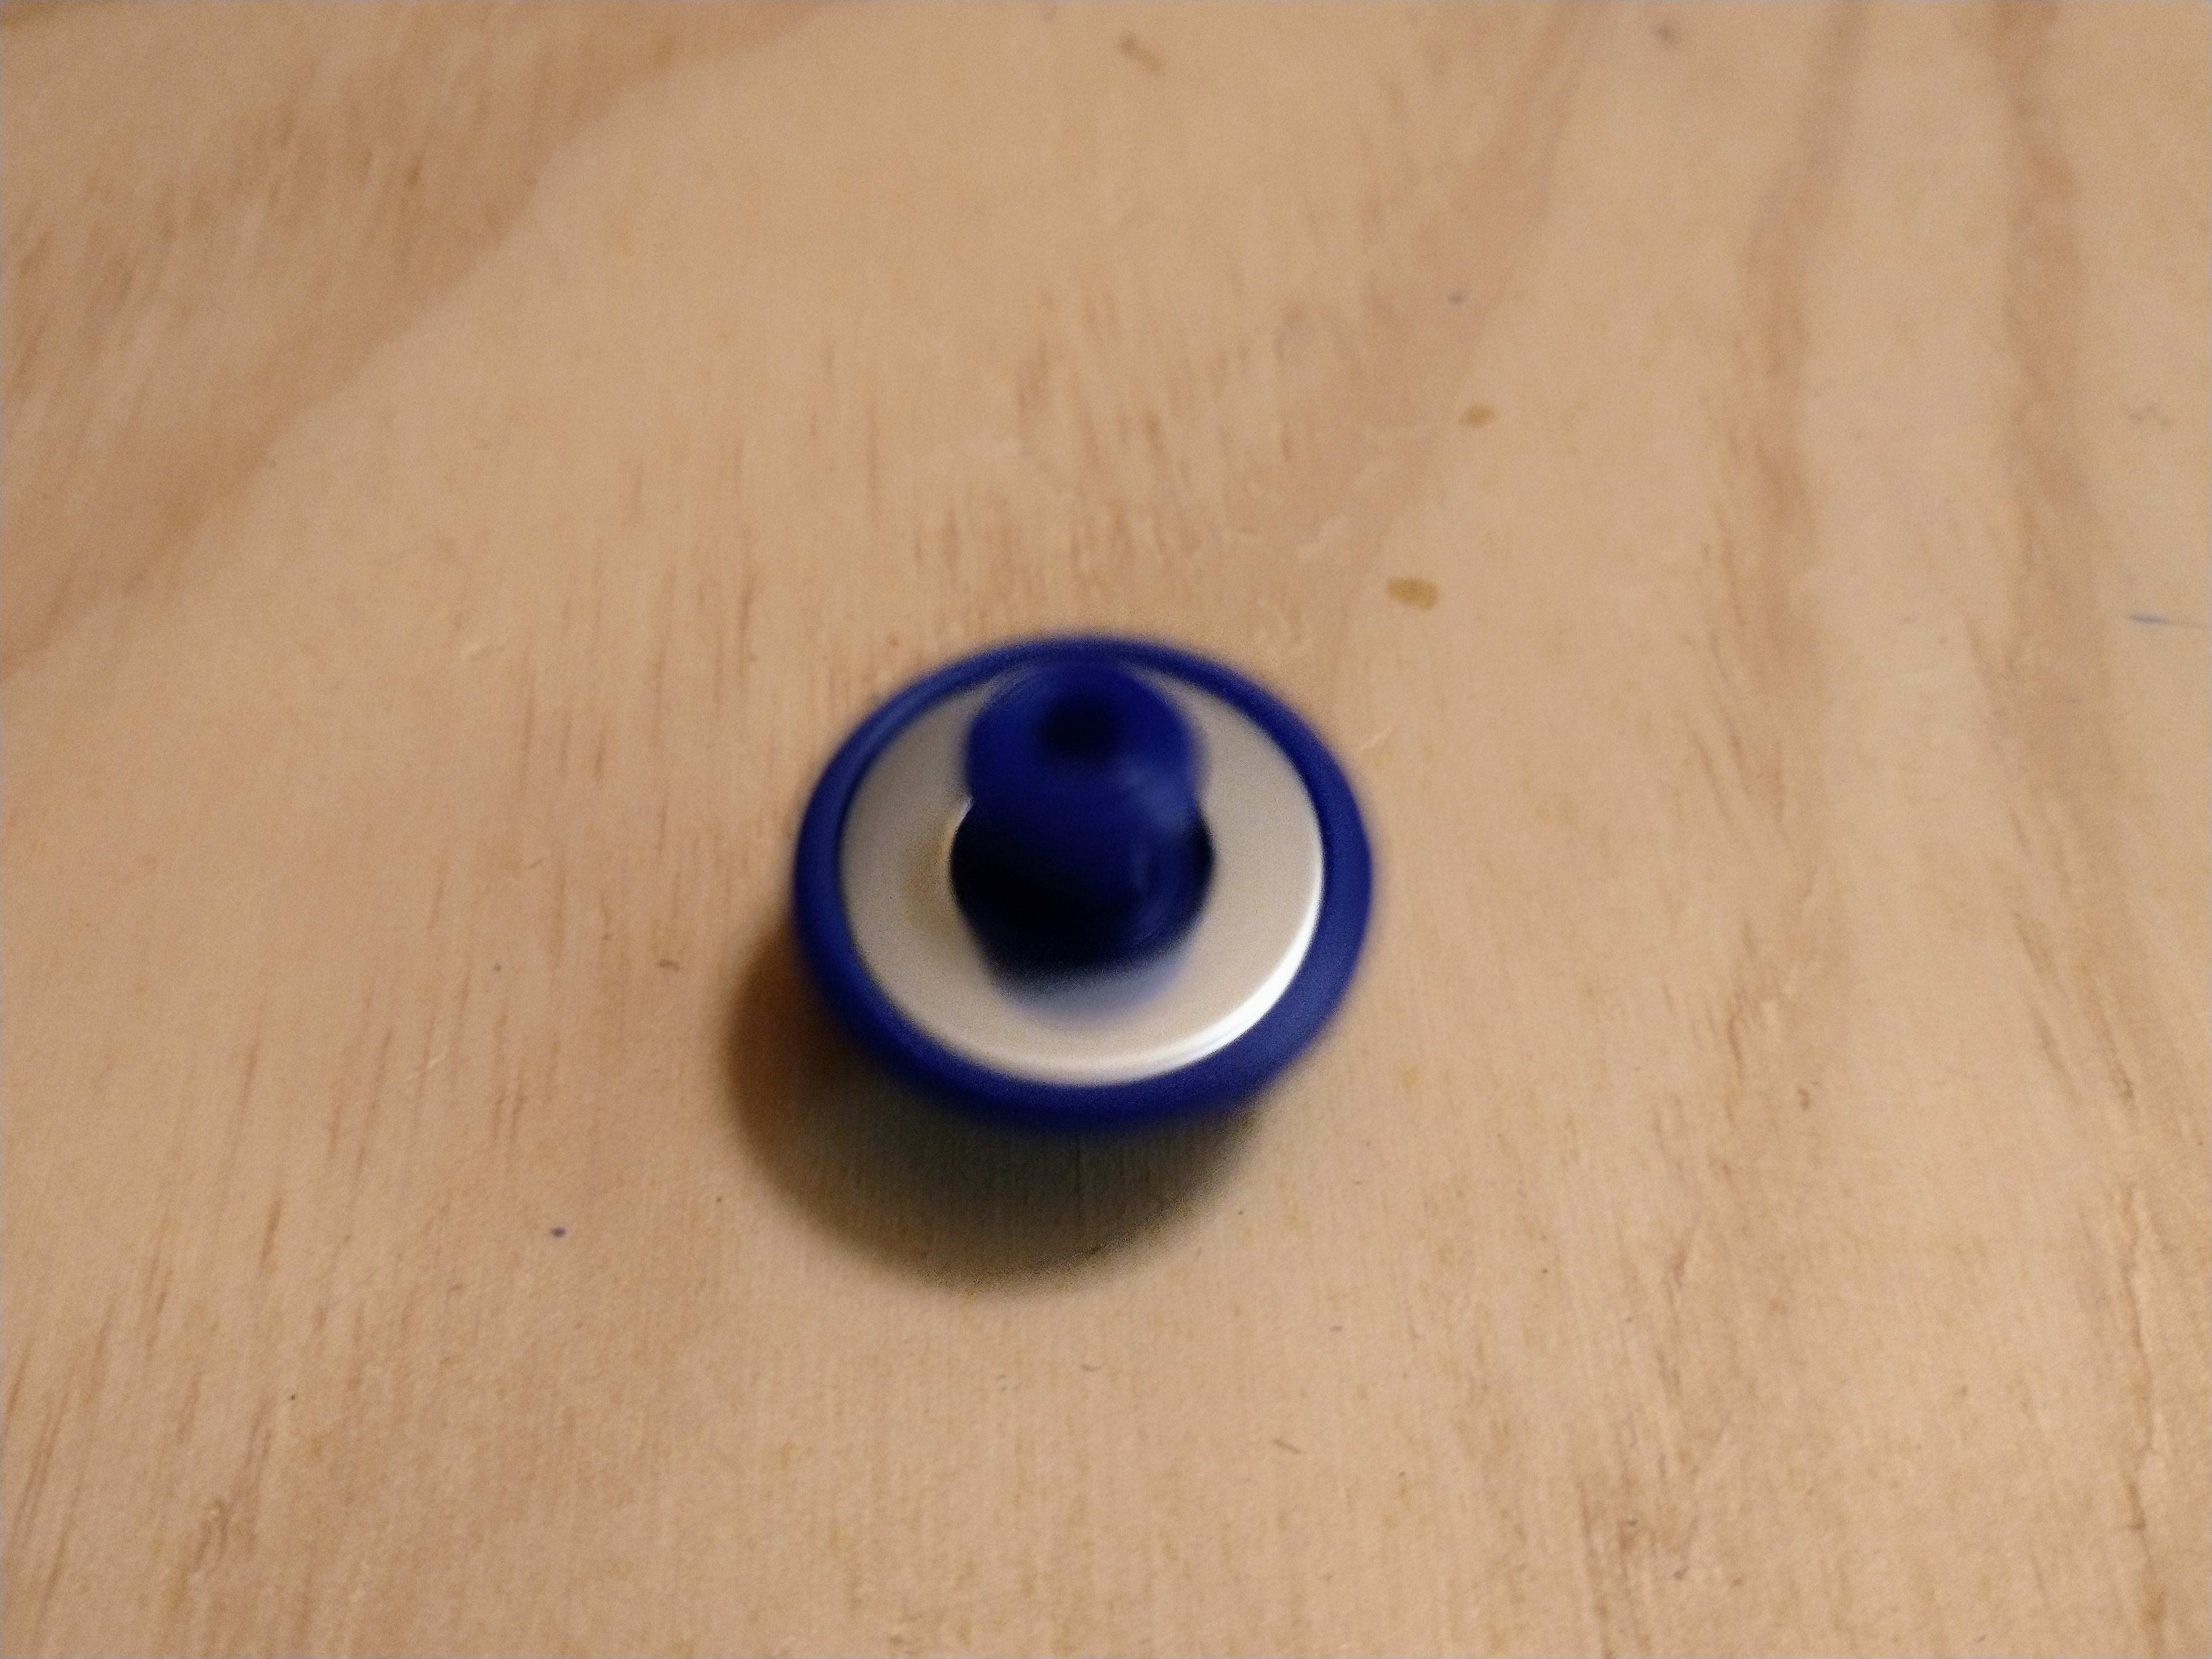
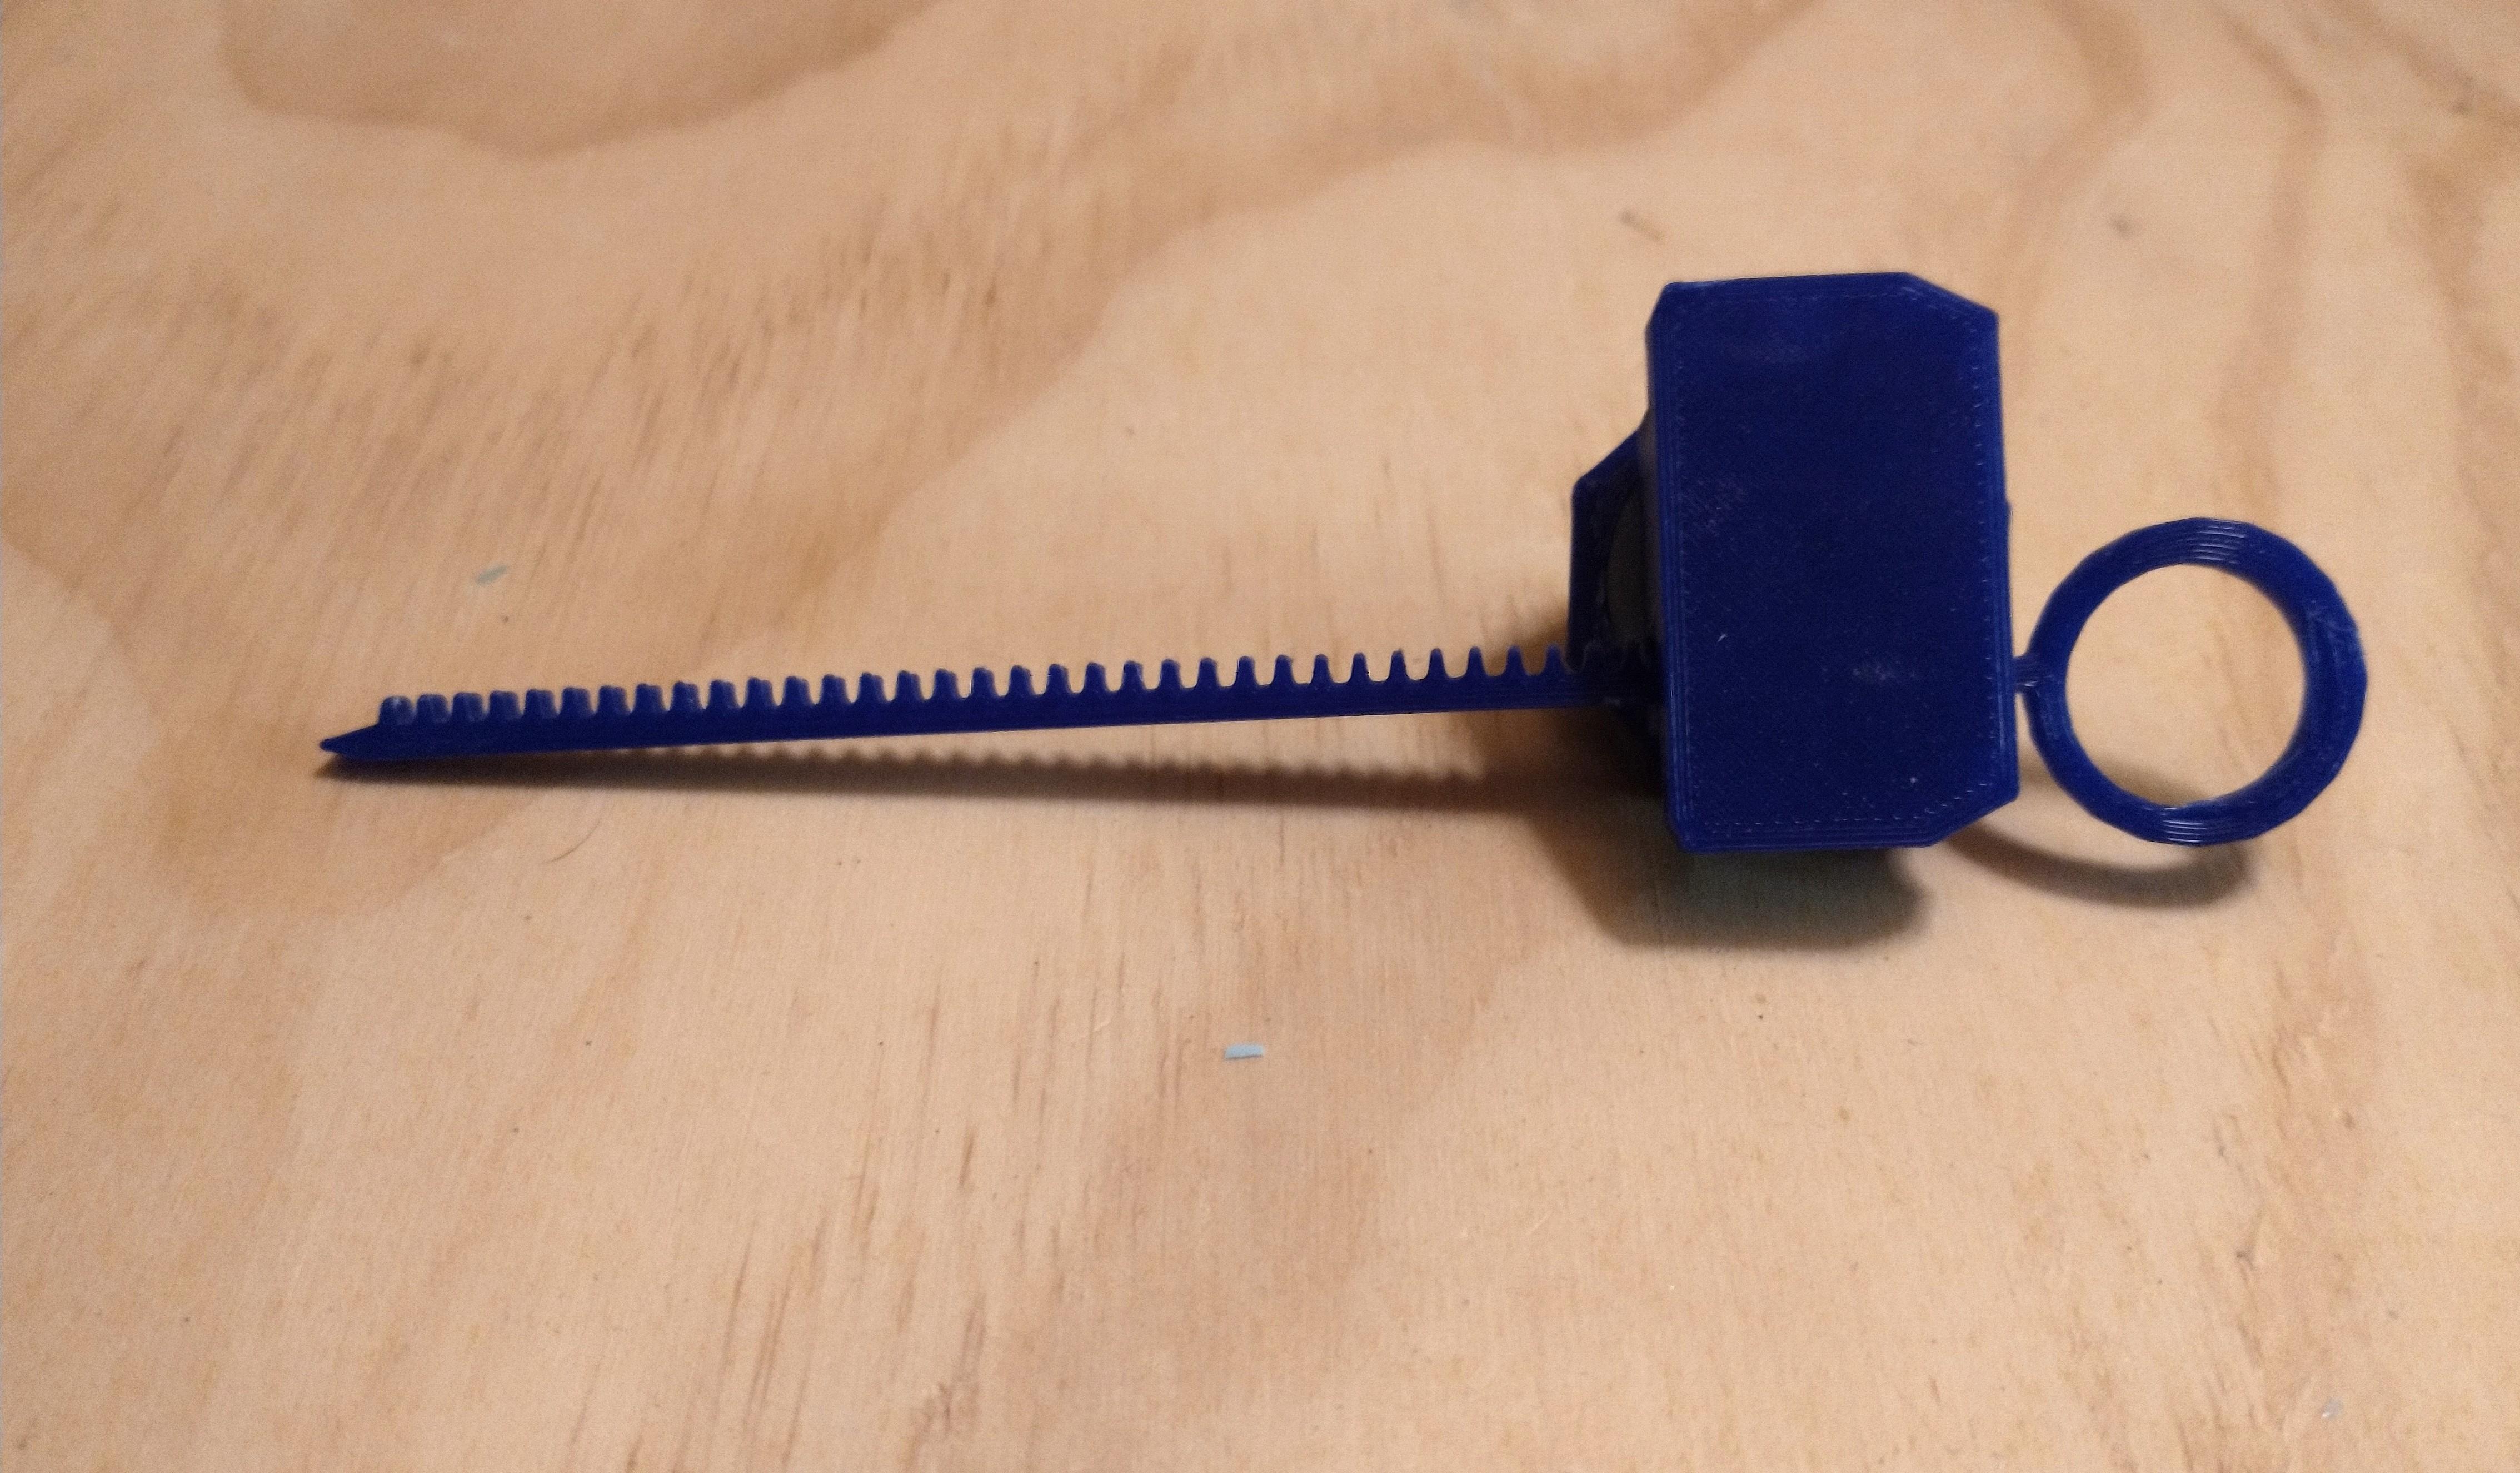
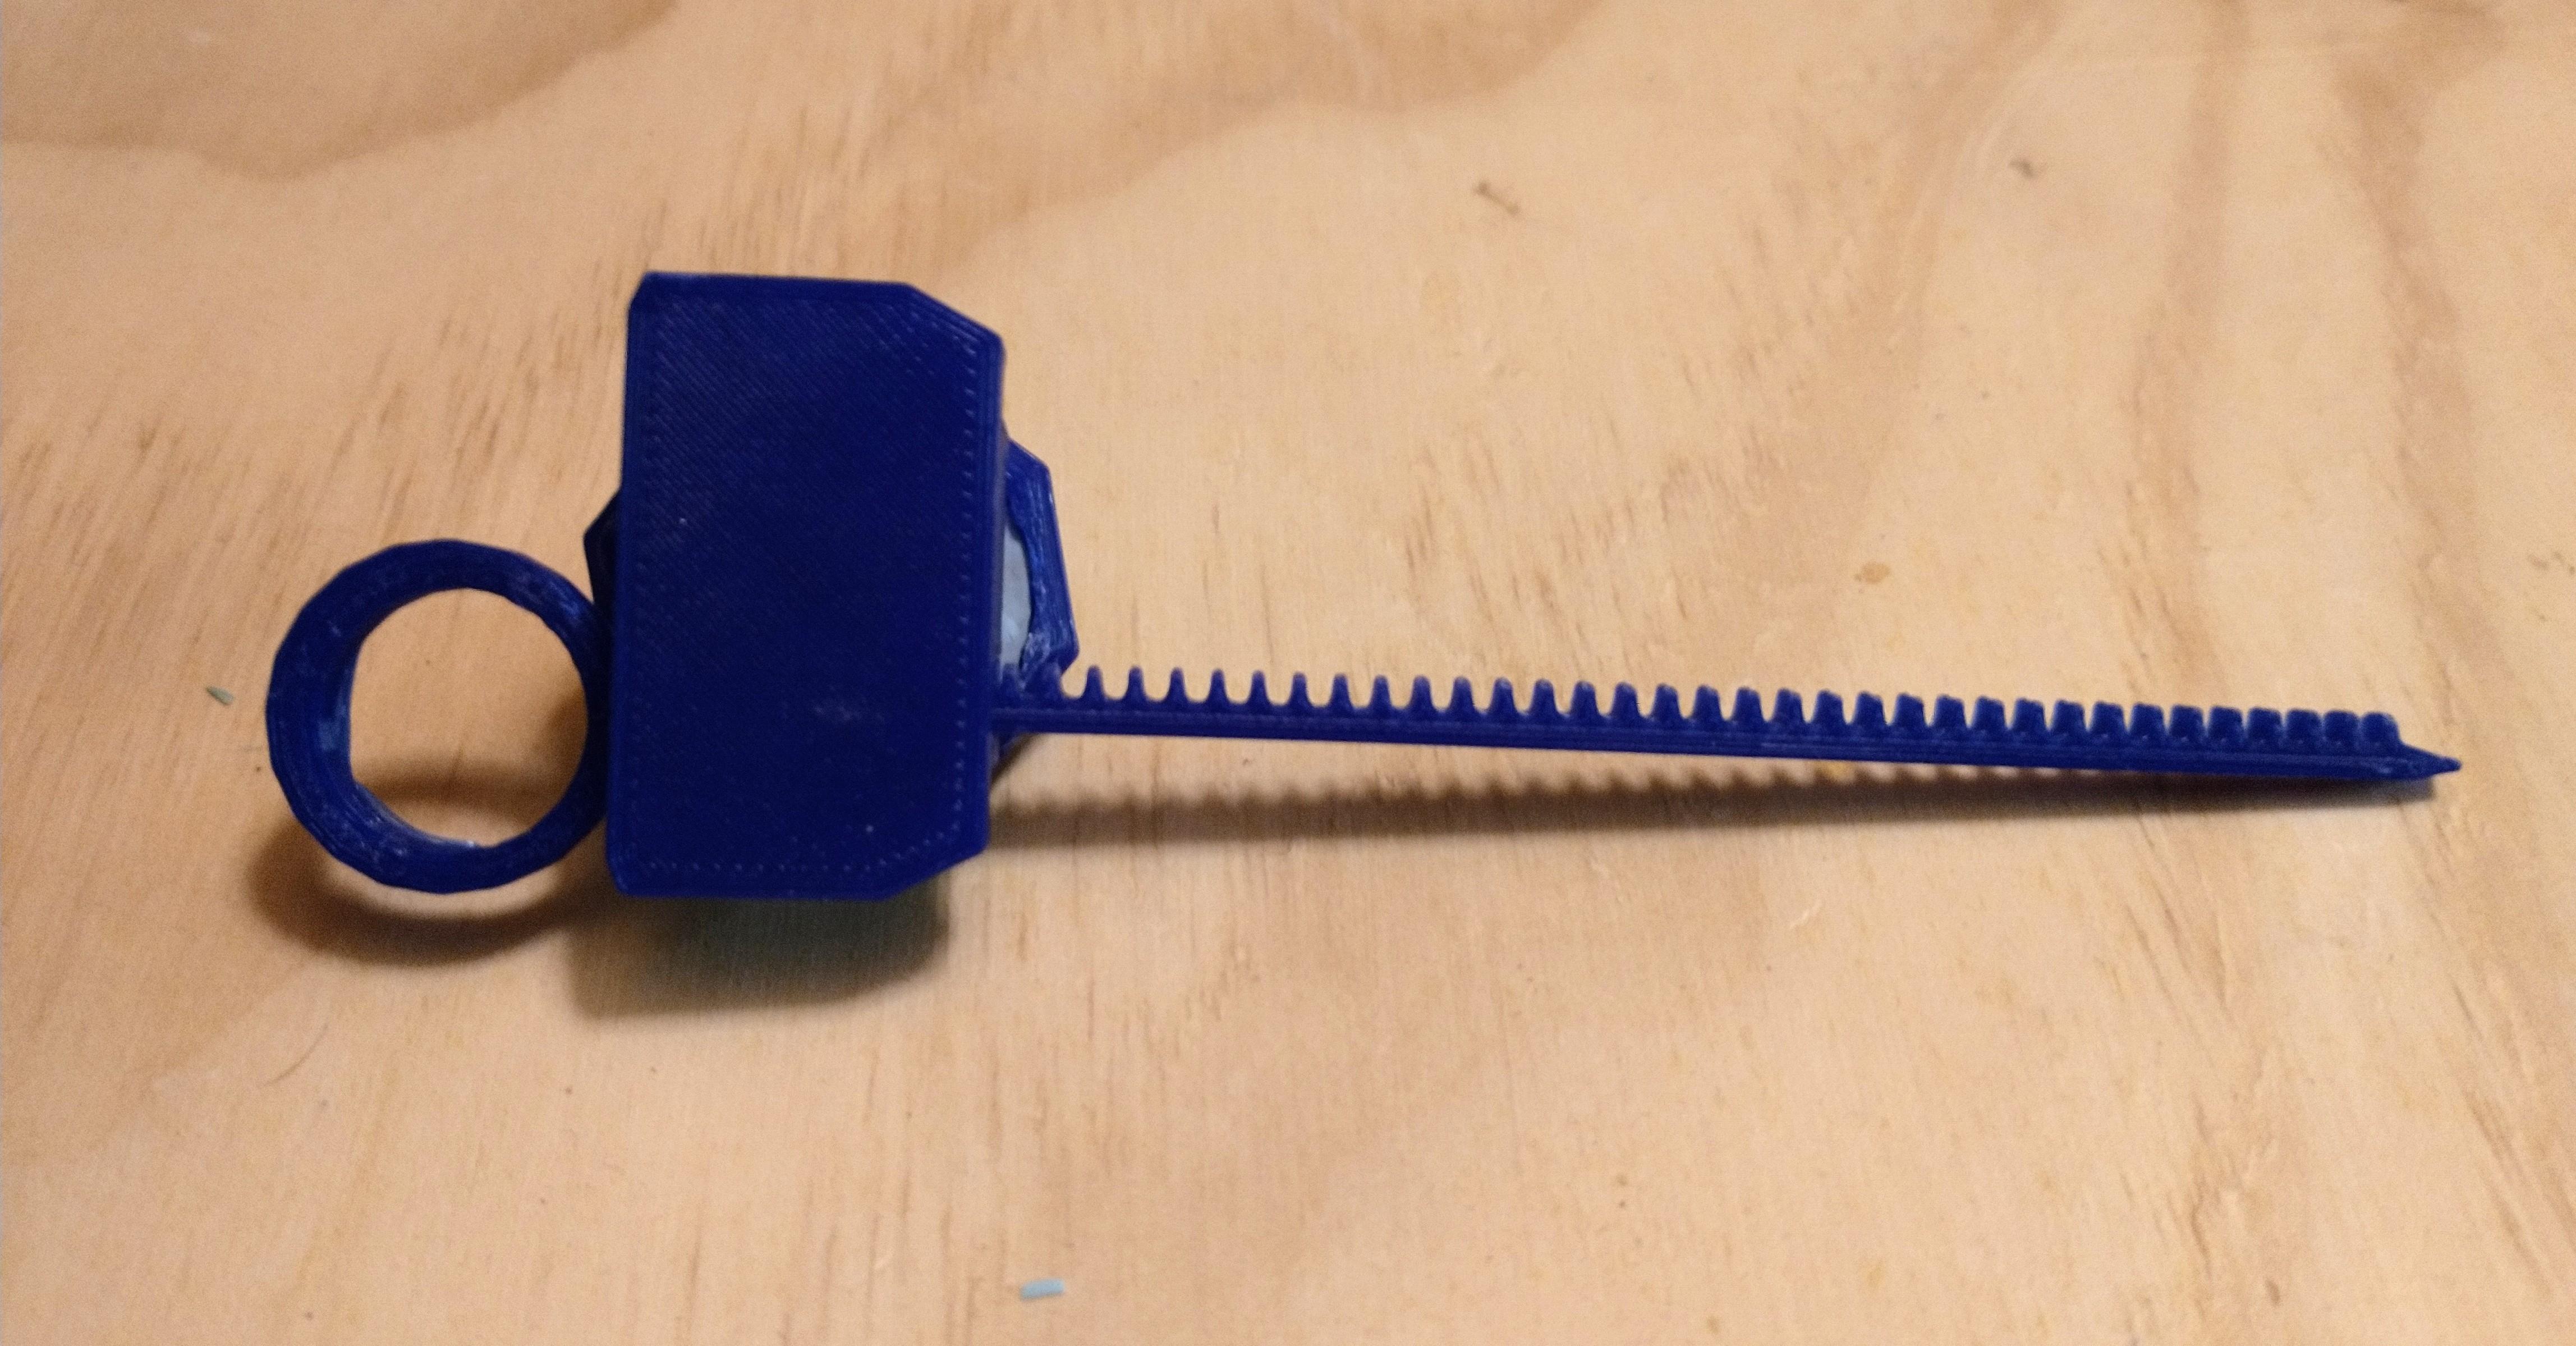
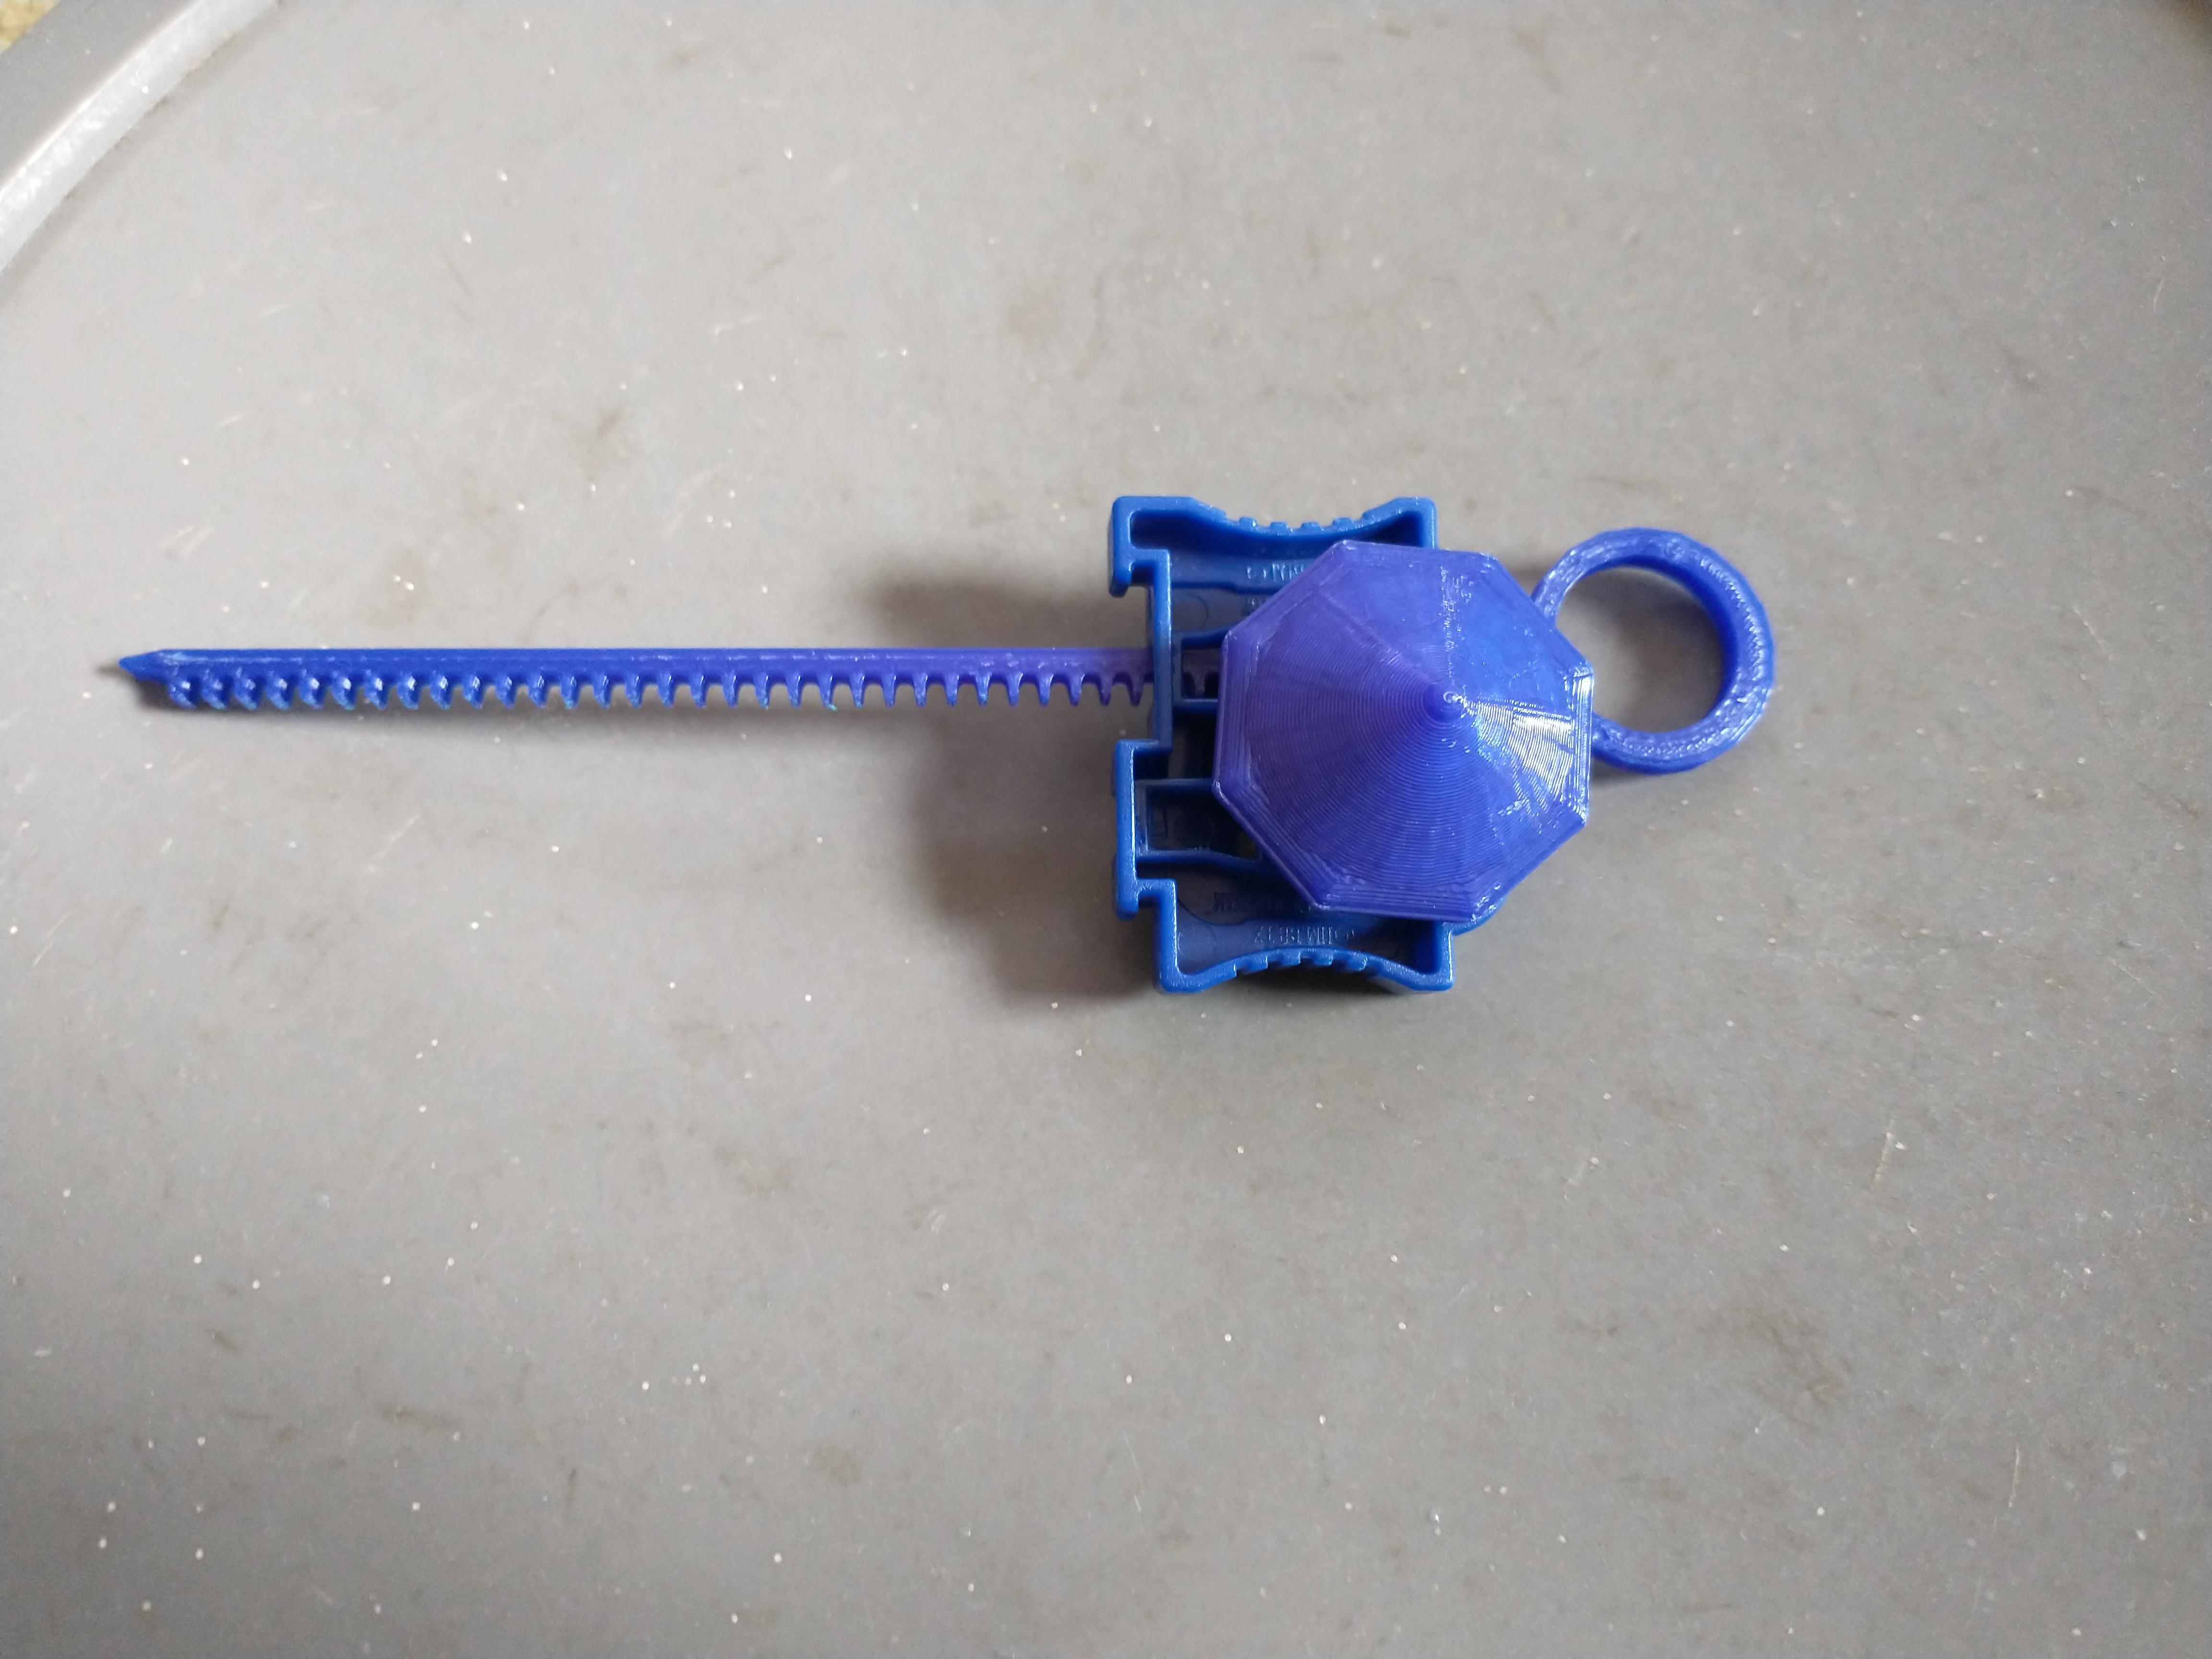
Rotate the launcher so cylinder at it's center is facing you. Rotate the battletop upside down and fit the gear's hole over the launcher's cylinder. Slide the ripcord into the holes on the side of the launcher. Make sure the ripcord's teeth are oriented so they align with the gear's teeth. Slide the ripcord into the launcher until the grip end touches the launcher. Rotate the launcher so the tip of the battletop faces the surface you want to spin it on. The ripcord and gear will hold the top in the launcher. Give a good pull on the ripcord and your top will be released from the launcher and start spinning.
Tip: If the ripcord feels tight sand it's teeth down again with some sandpaper.
You can choose the direction your battletop spins by changing the orientation of the launcher and ripcord. If you insert the ripcord on the flat side of the launcher it will spin right. If you insert the ripcord on the side of the launcher with the angled edges it will spin left. See the last two photos for examples.
Time to Battle!
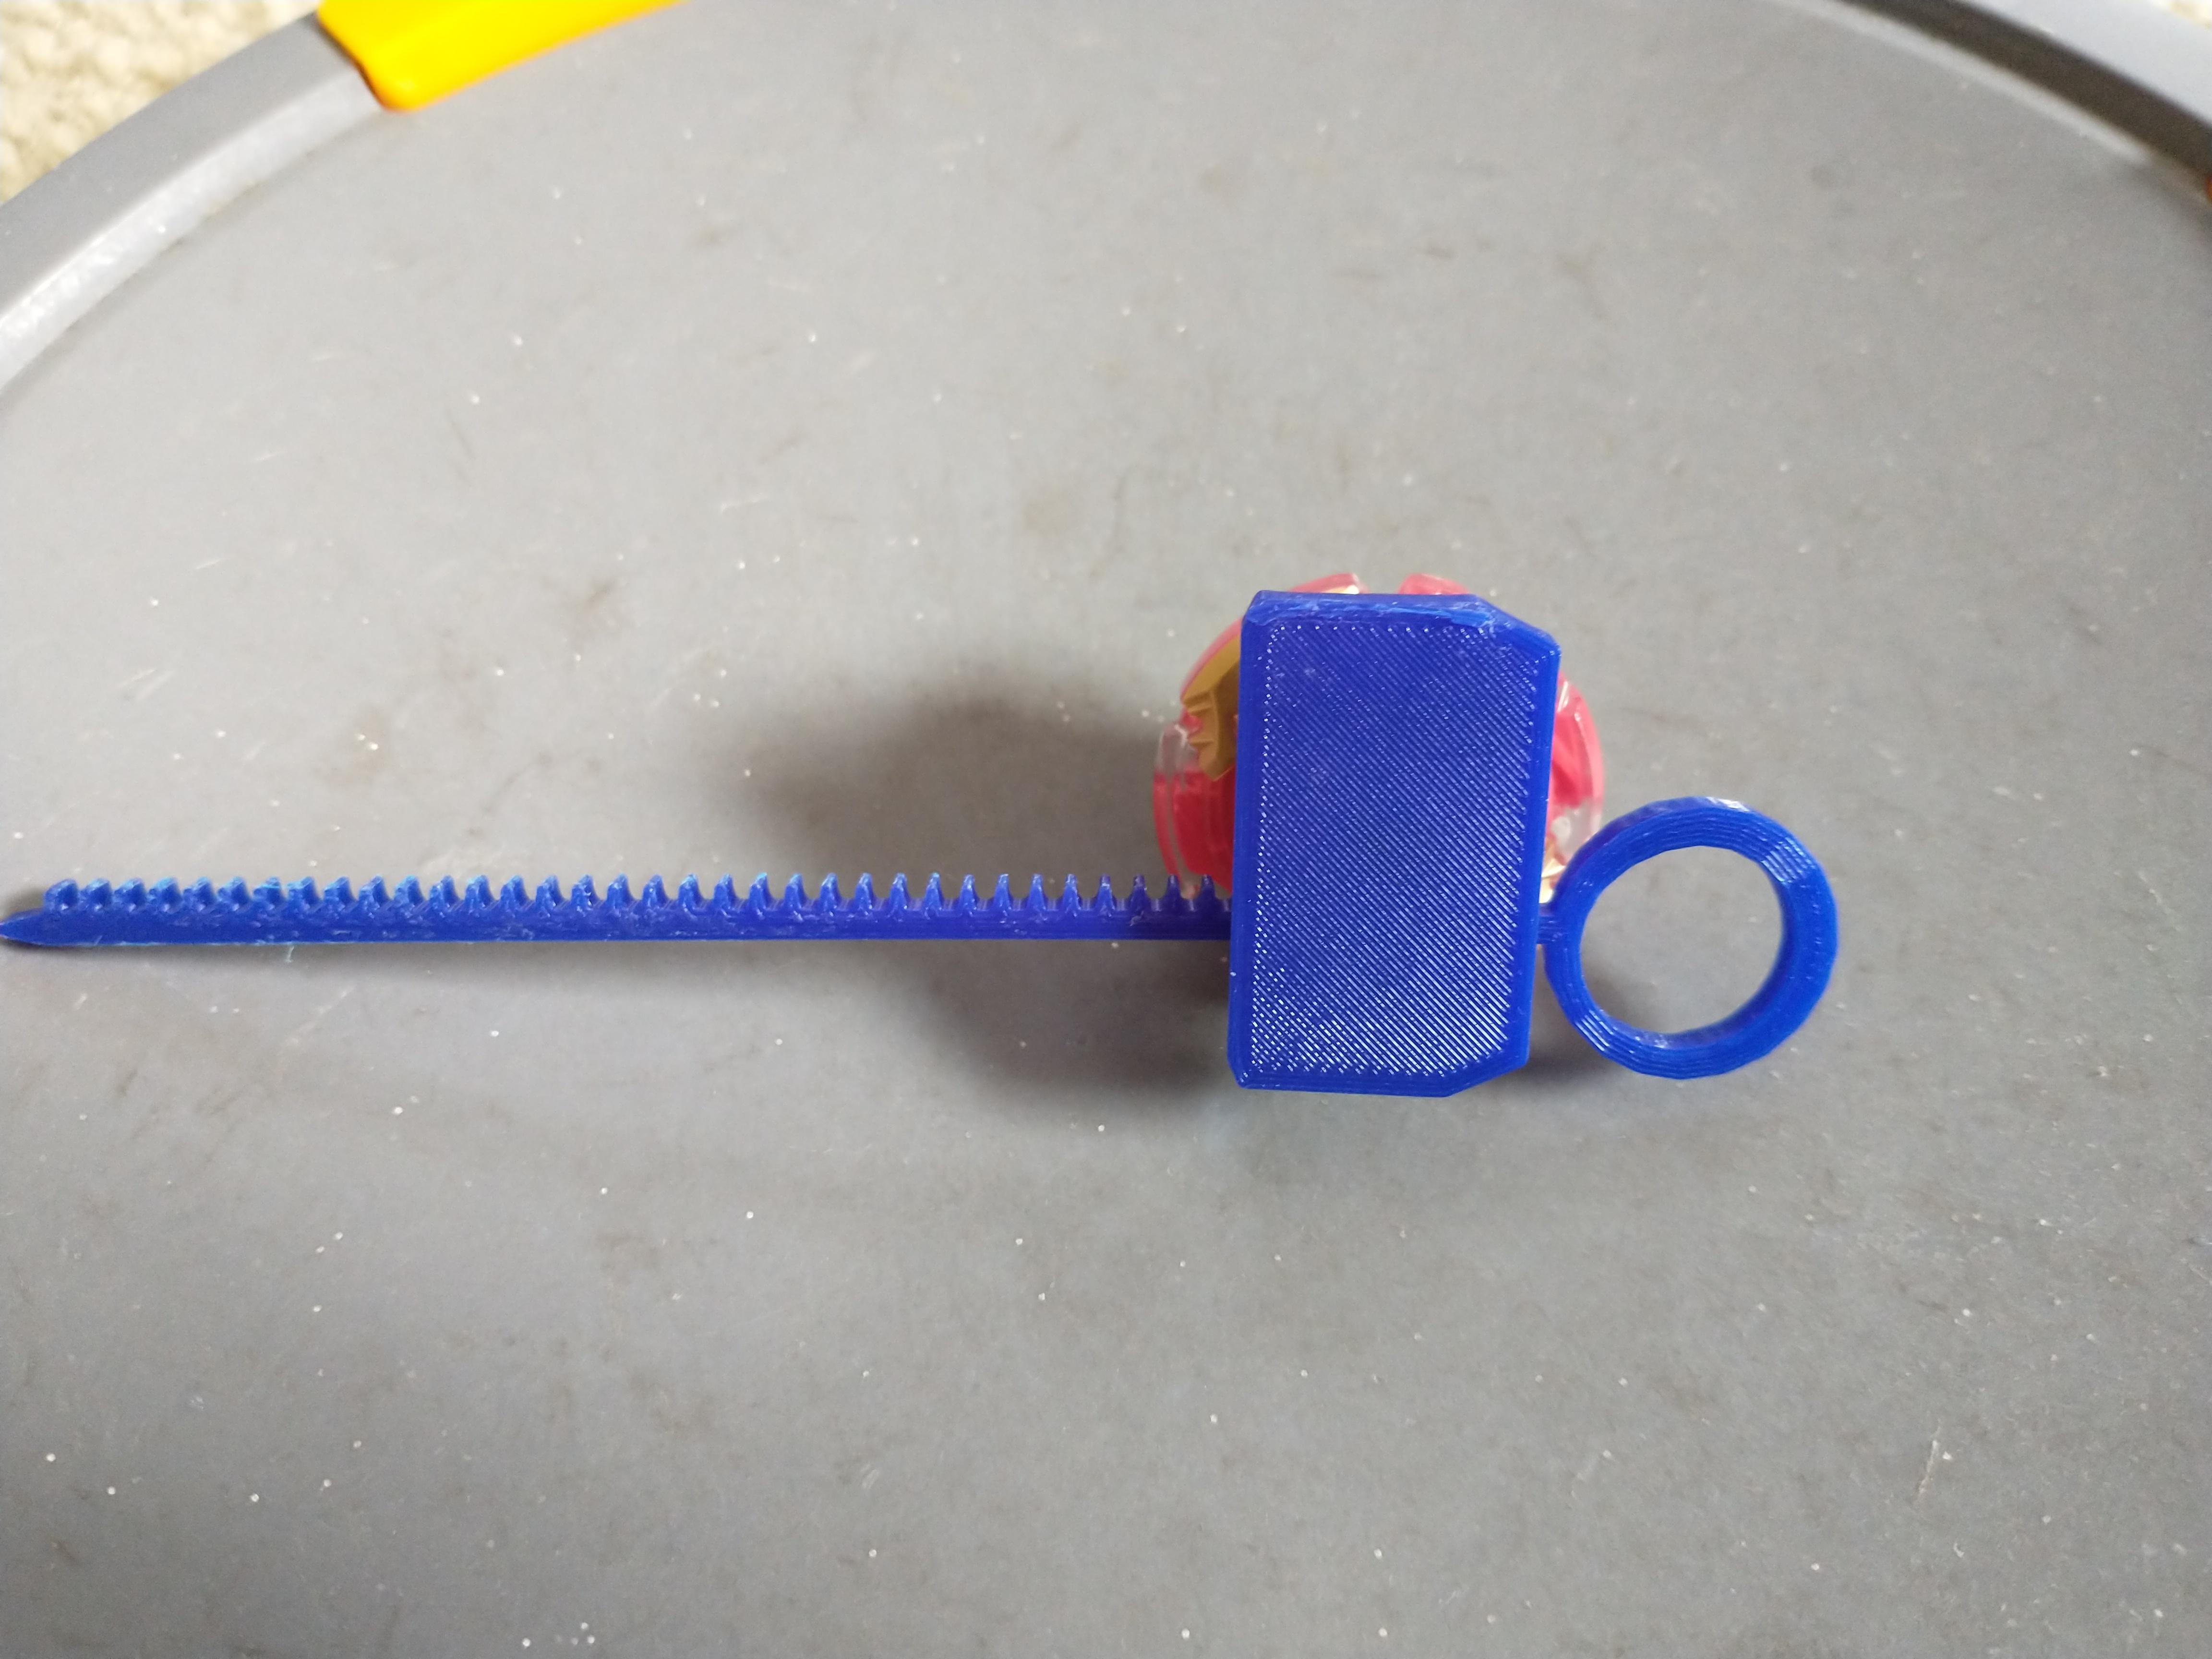
The battletop can be used on multiple surfaces:
- Bucket lids
- Beyblade stadiums
- Beigoma stadiums.
- To make a beigoma stadium stretch canvas or a tarp over a large paint bucket. Secure the material with rope and lightly press the surface down until concave.
The battletop's launcher and ripcord are compatible with Hasbro's Beyblade Micros series. You can swap launchers and ripcords between the battletop and Beyblade Micros.
In Case of Breakage
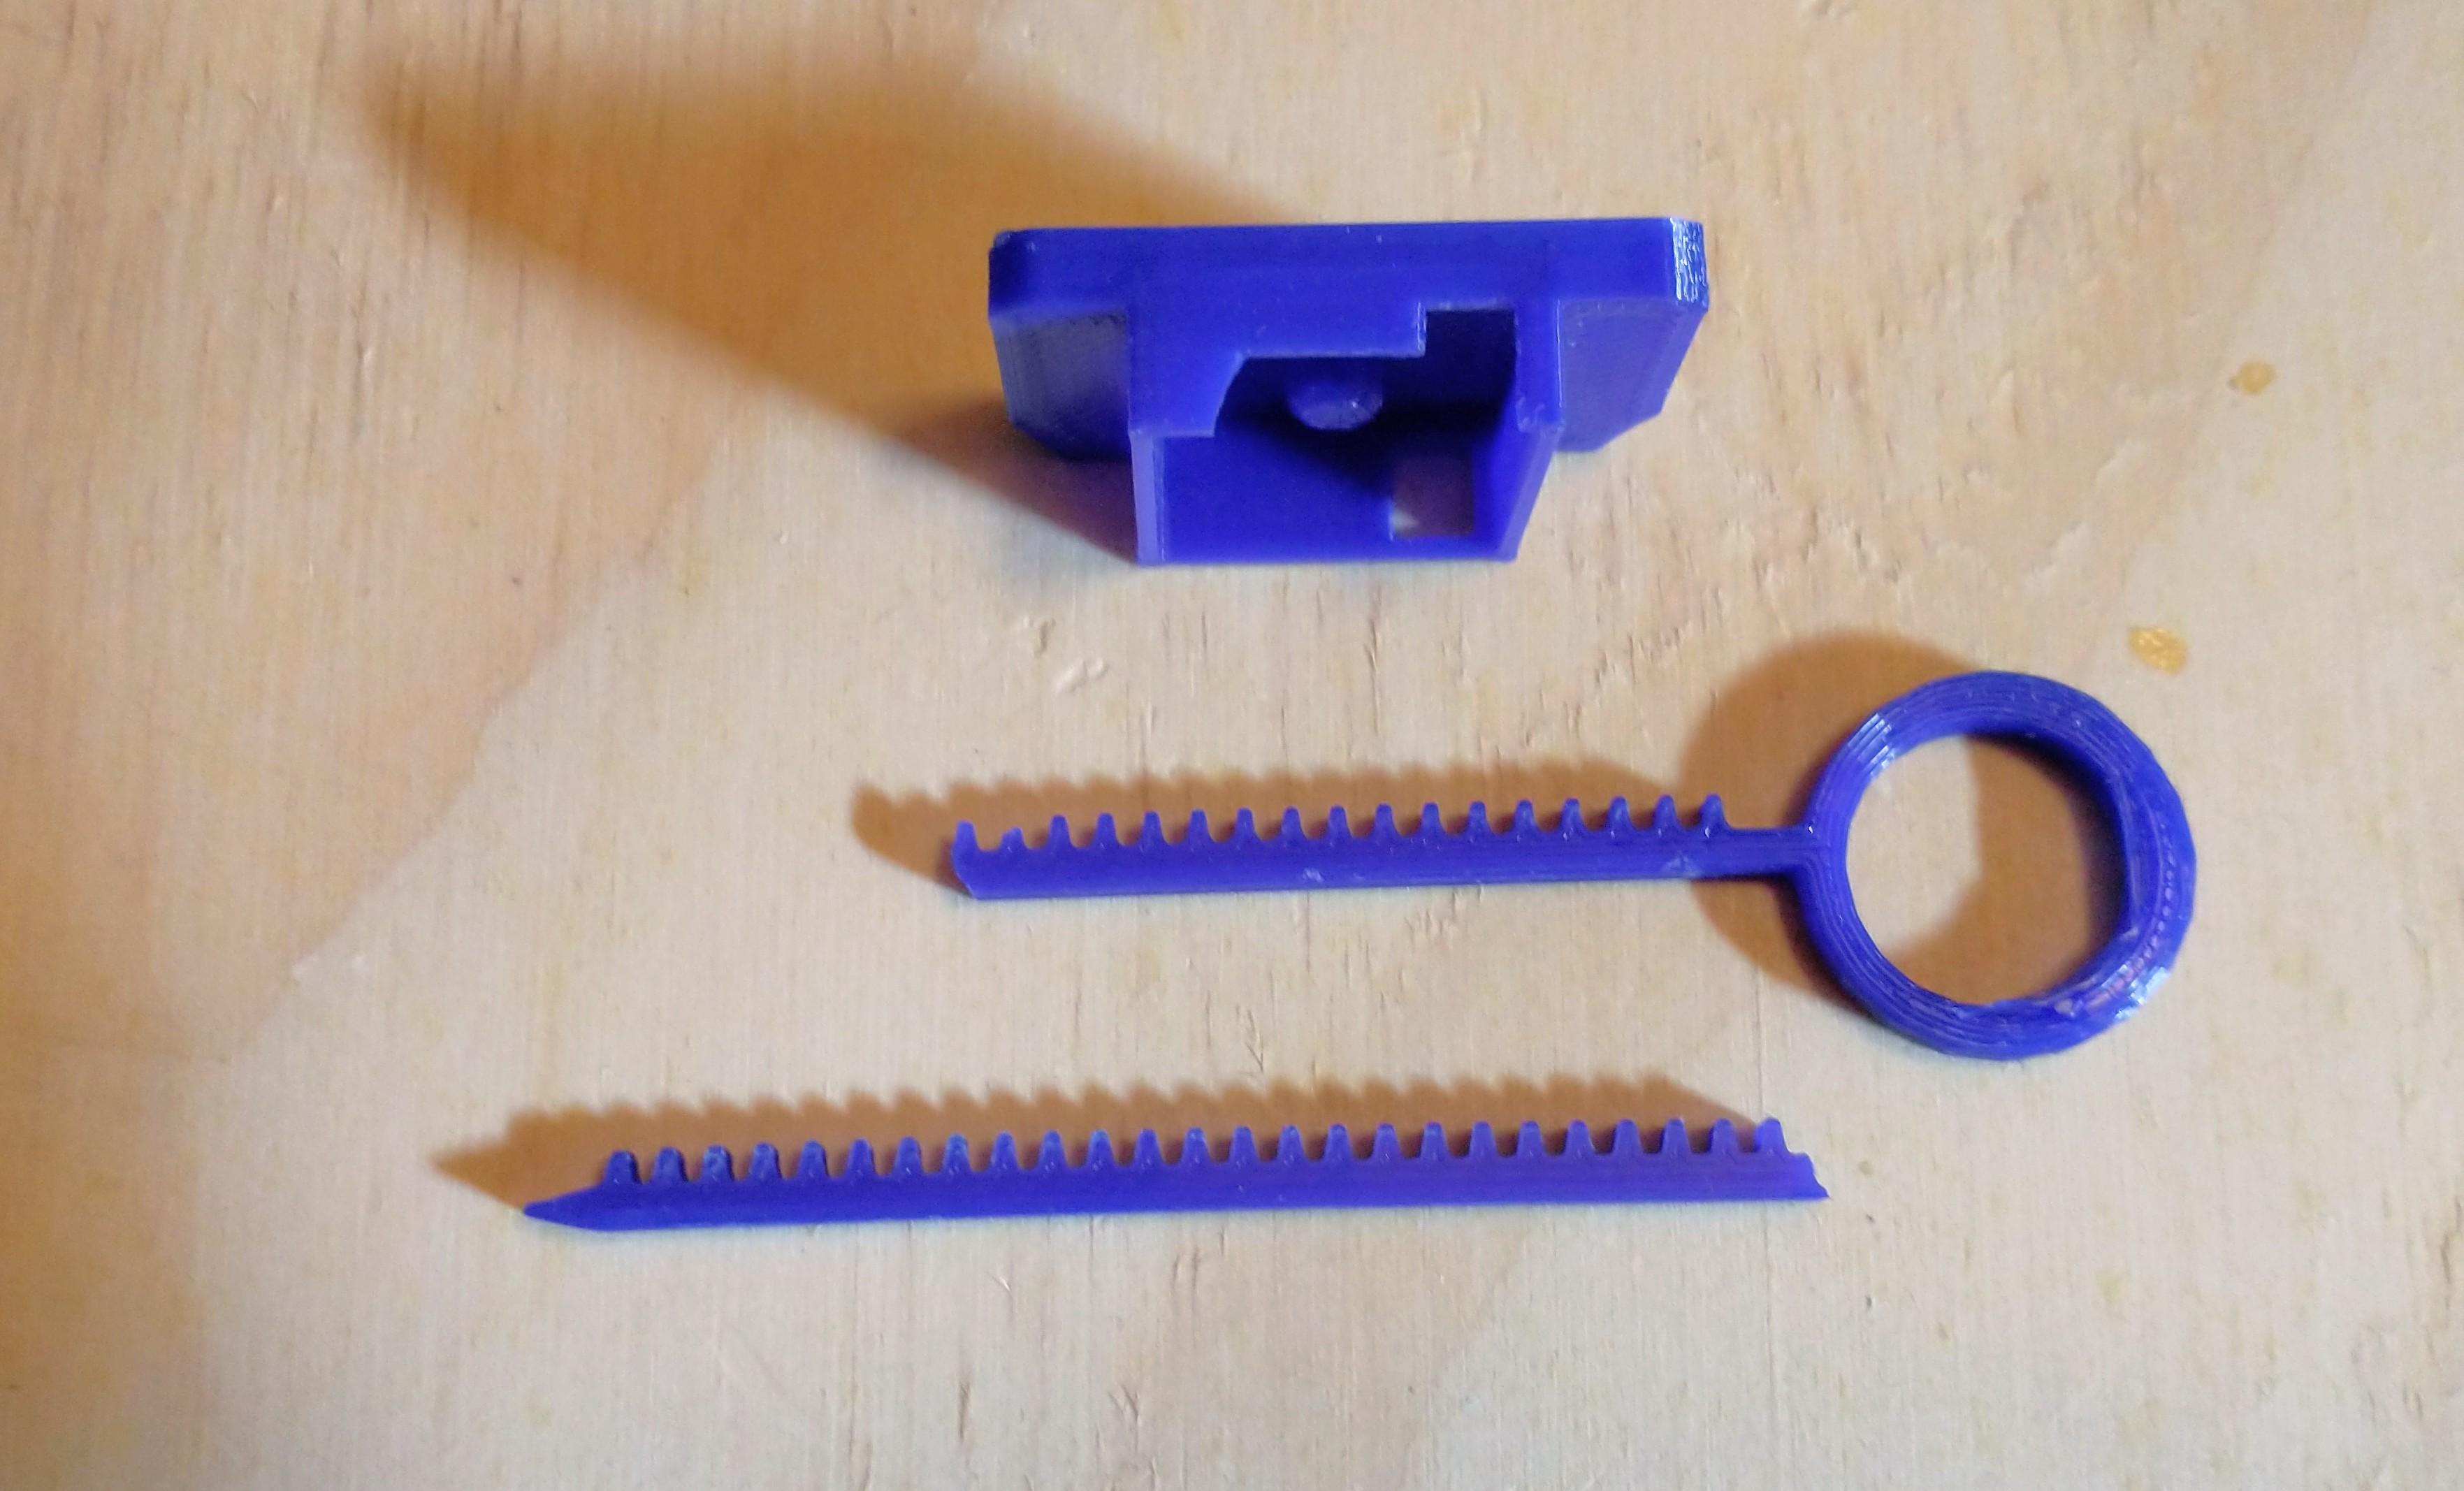
Breakage with the ripcord and launcher may happen after 40 or so launches. You can access the replacement part file here: LINK
You can print each part separately at the following links:
- Battletop: https://www.tinkercad.com/things/7kiXY0RsfL3
- No Support Battletop: https://www.tinkercad.com/things/e9sc0CXFYgT
- Gear: https://www.tinkercad.com/things/3OoqhuYHG1I
- Launcher: https://www.tinkercad.com/things/fWgHh99PE4I
- Ripcord: https://www.tinkercad.com/things/8RhqsNRxOQC
Conclusion
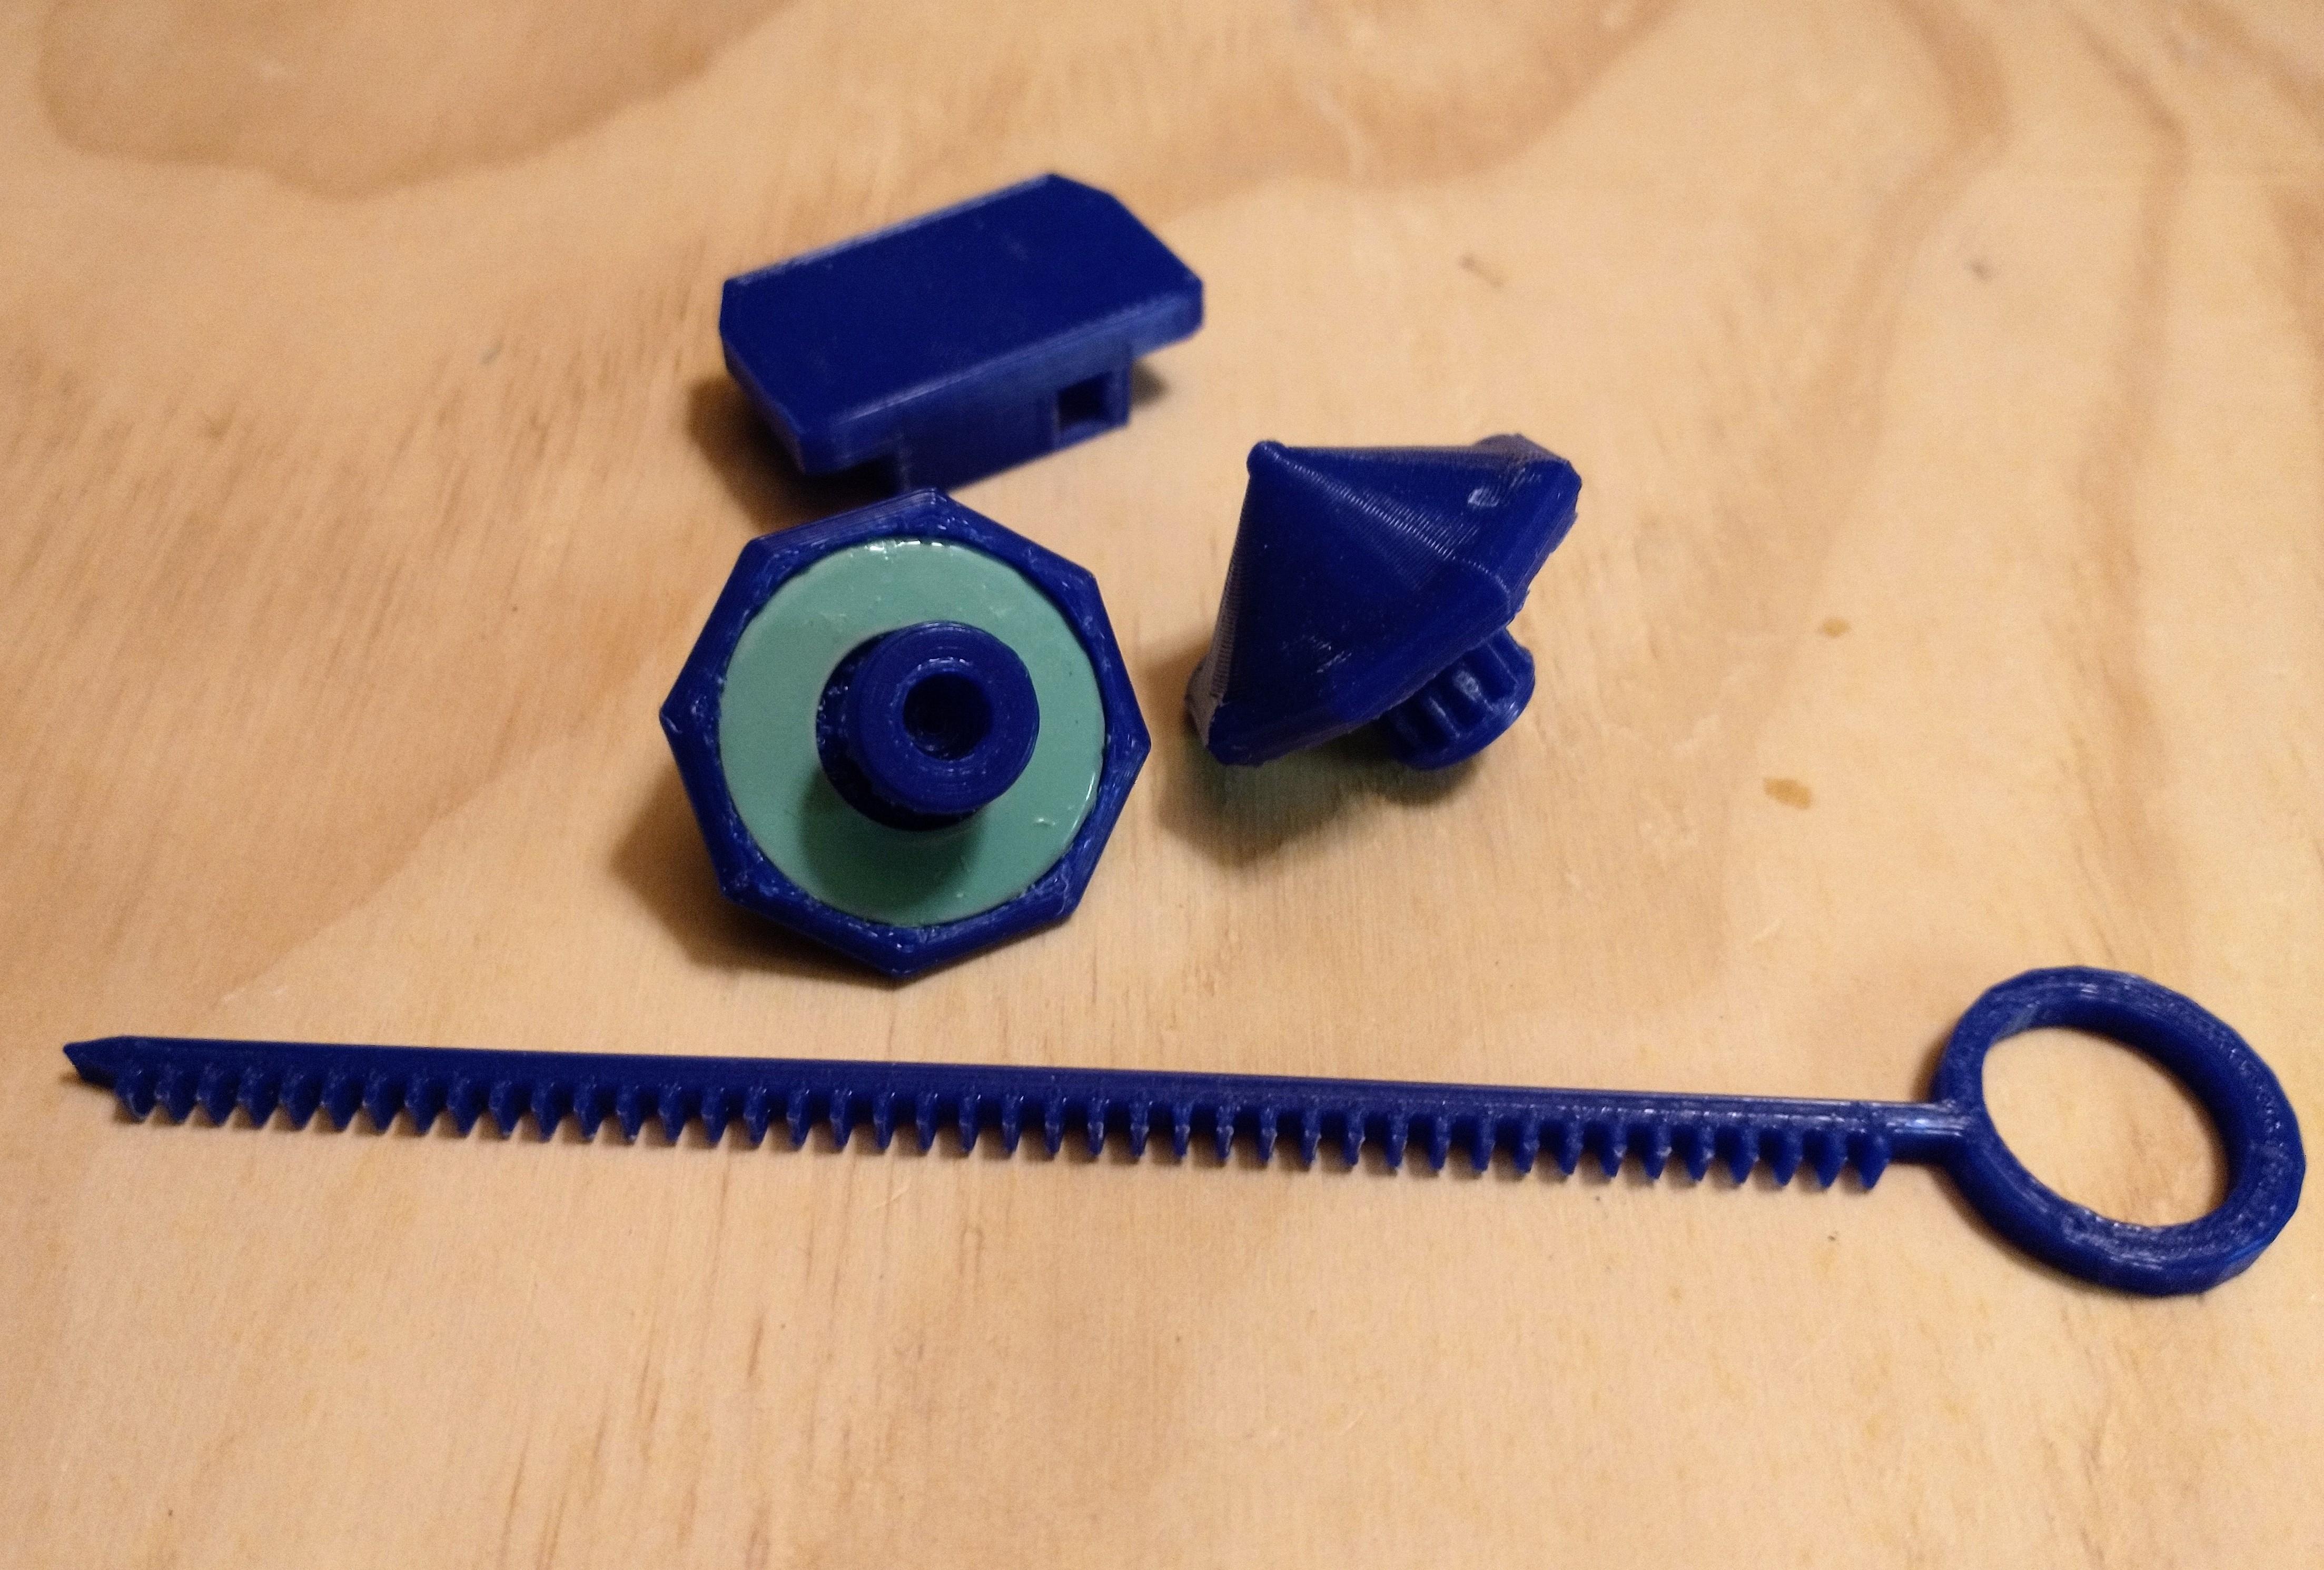
The Dragon_Spinner's Battletop is open source and encourages remixes. If you make a remix of the battletop I would love to see it. If you have any question leave a comment and I will respond ASAP.
Happy making!