3D Printed Audio Jewelry
by 10DotMatrix in Workshop > 3D Printing
27881 Views, 167 Favorites, 0 Comments
3D Printed Audio Jewelry
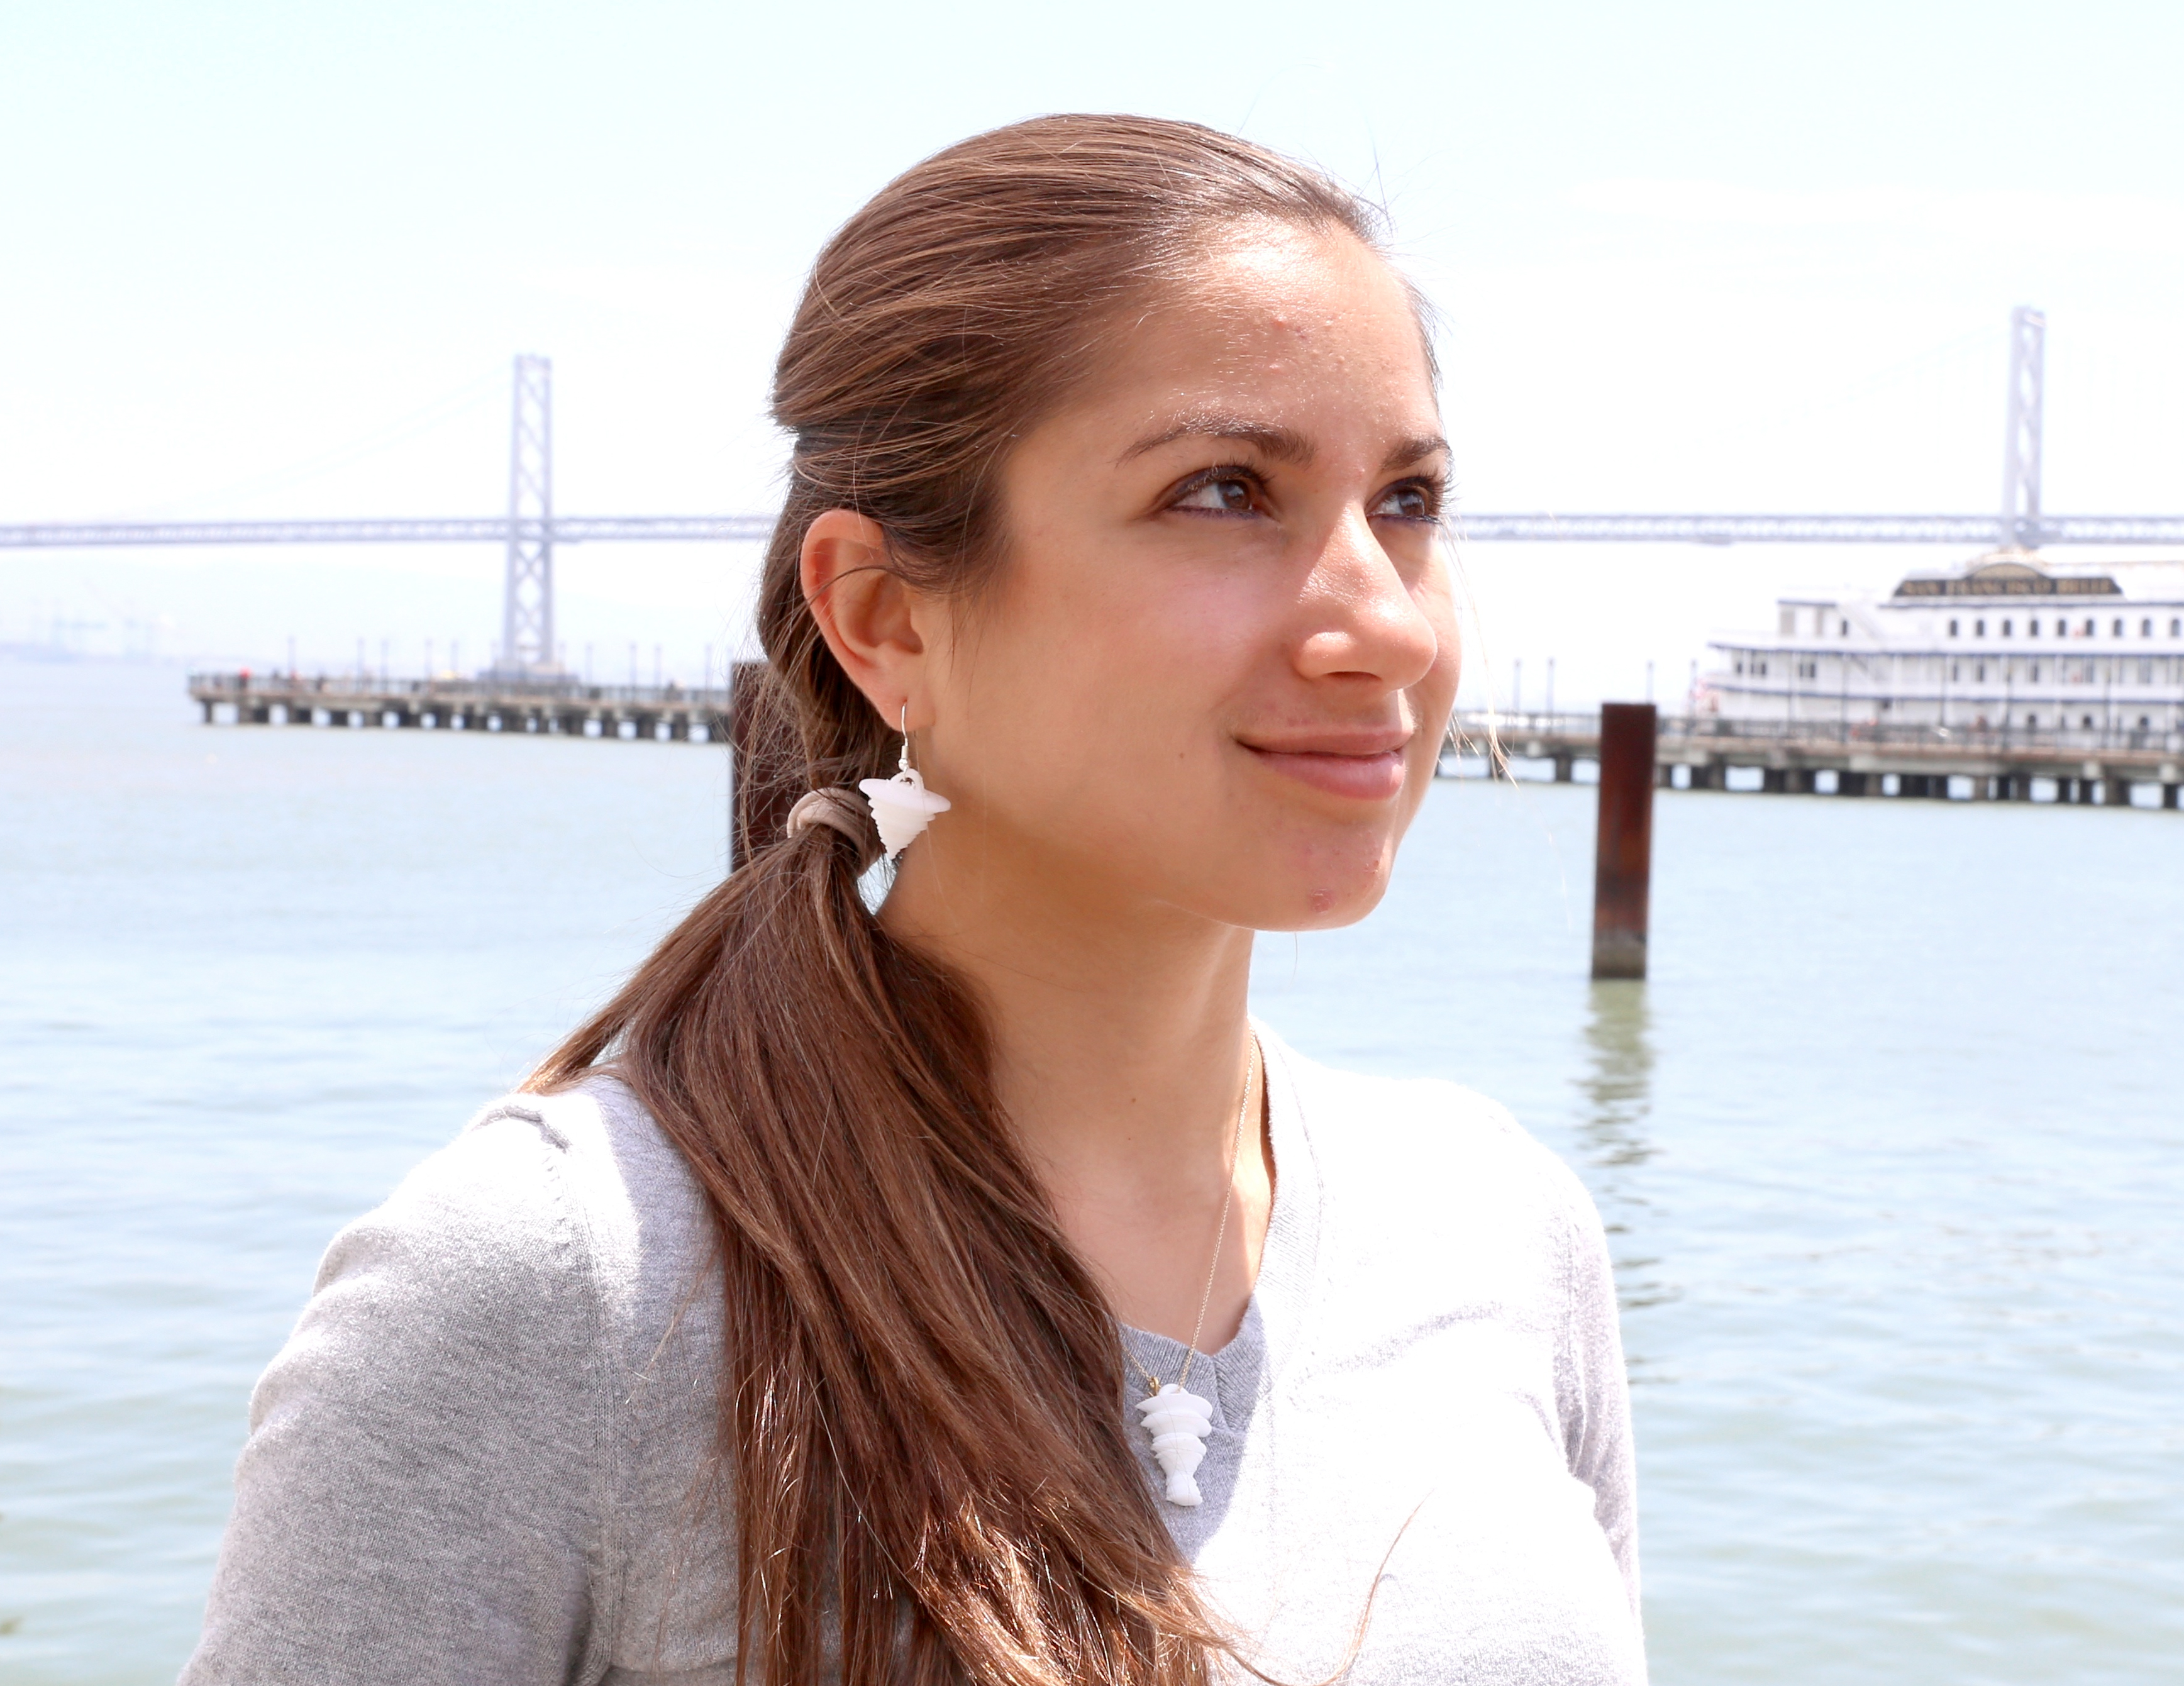
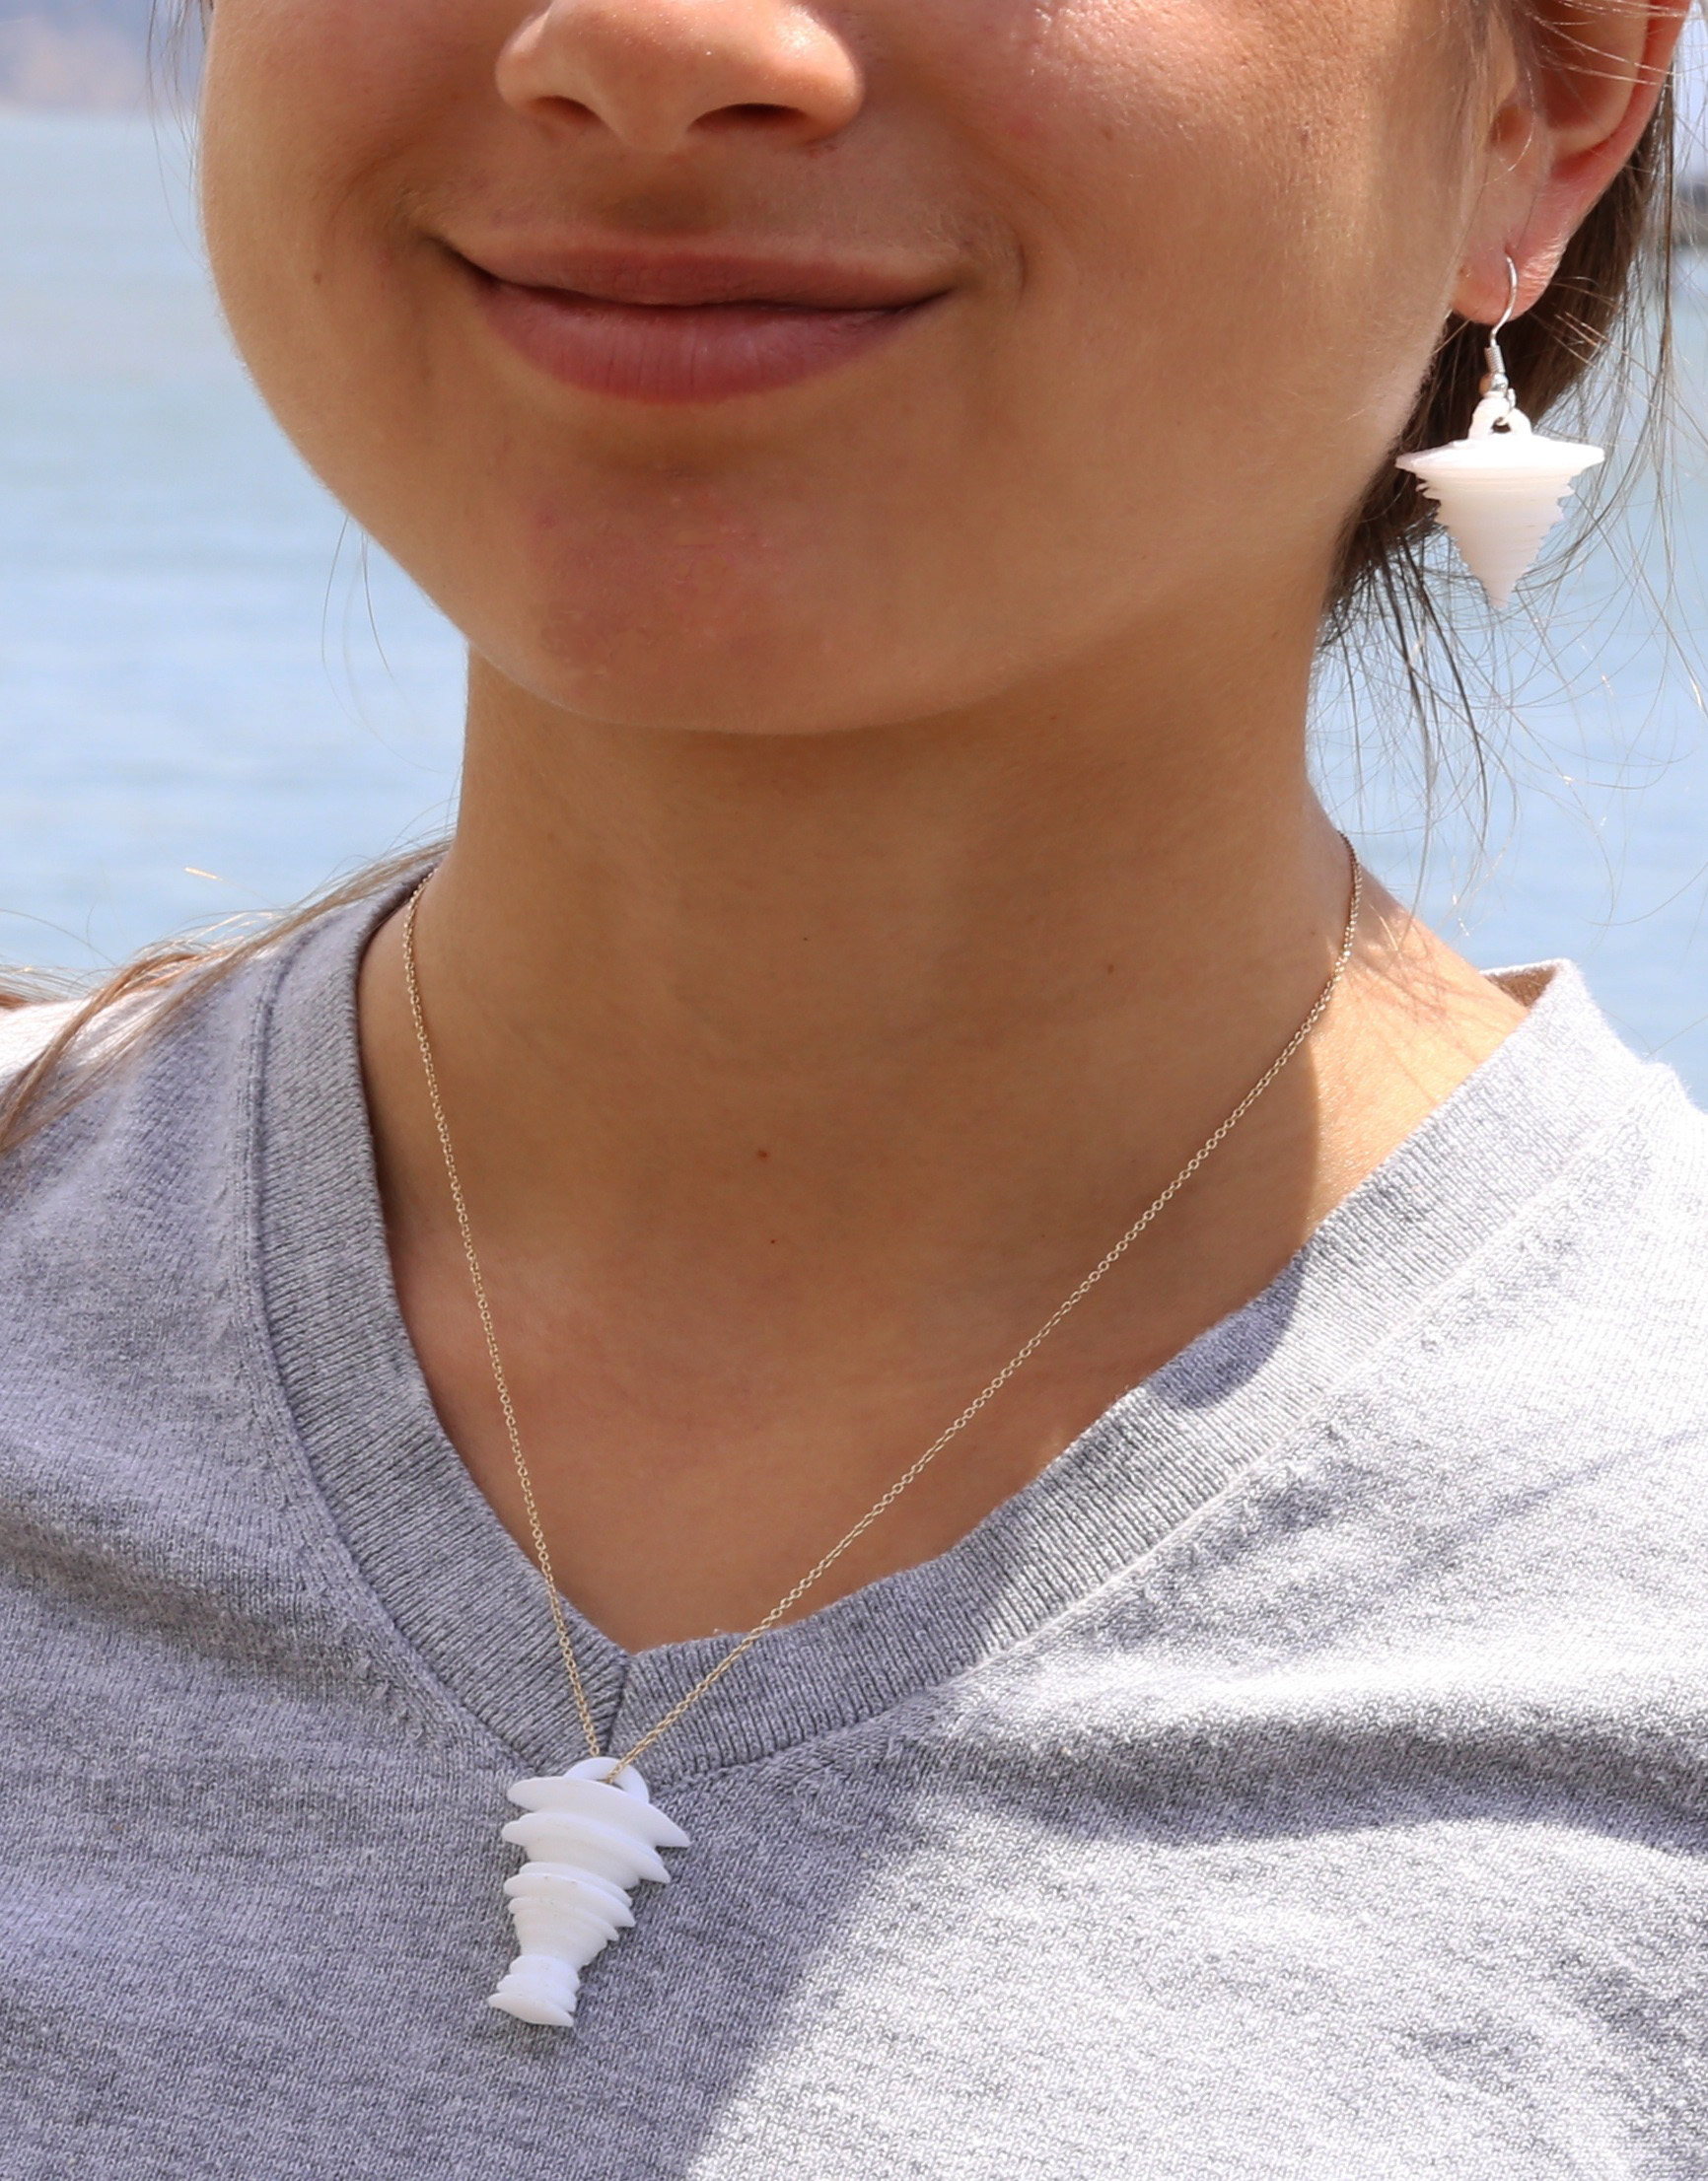
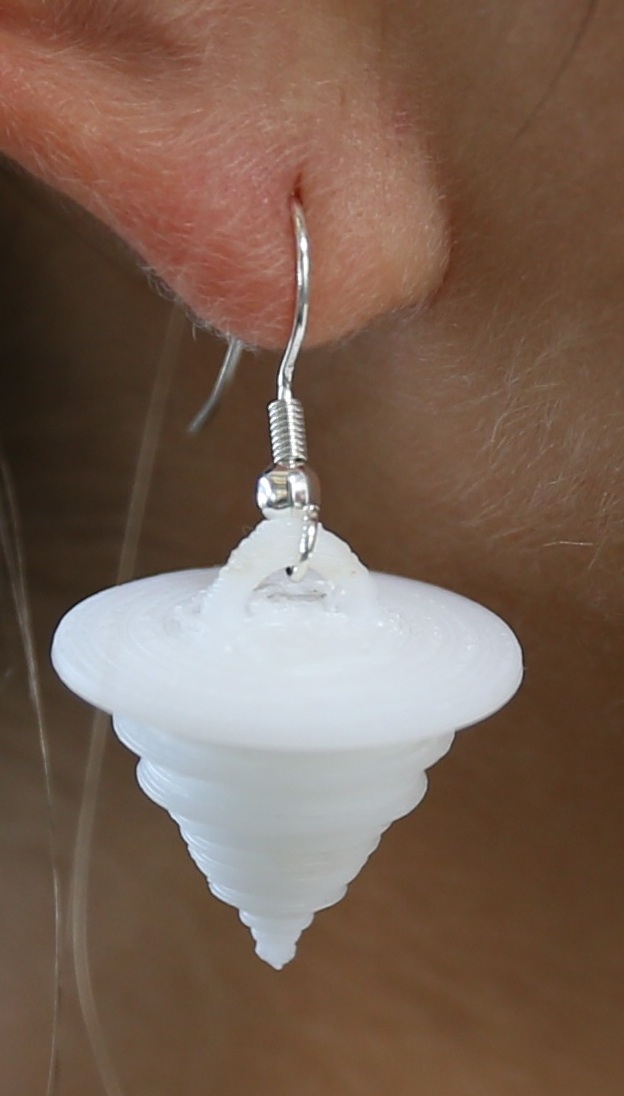
These pieces of jewelry look just as they sound. For example, the shape of these earrings is based on the shape of the sound I make when saying the word “earring”. You can also make a necklace by saying the word “necklace”. This project is inspired by Thiago Hersan’s Instructable Spoken Word Chess Pieces, and uses the same process to create 3D shapes. Change the volume, speed, pitch, and accent of your voice to make unique shapes!
Parts List:
- (1x) Afinia H480 3D Printer RadioShack 277-224
- (1x) Afinia 1.75mm ABS Filament for 3D Printers 700g RadioShack 277-183
- (1x) Packet of earring hooks (I bought mine from Artist and Craftsman Supply)
Software (all freely downloaded):
- Audacity
- Processing
- GIMP
- Fusion 360
Additional Material/Tools:
- Putty knife
- Wire cutters, pliers, or thick tweezers
- Roll of blue tape
Audio Recording
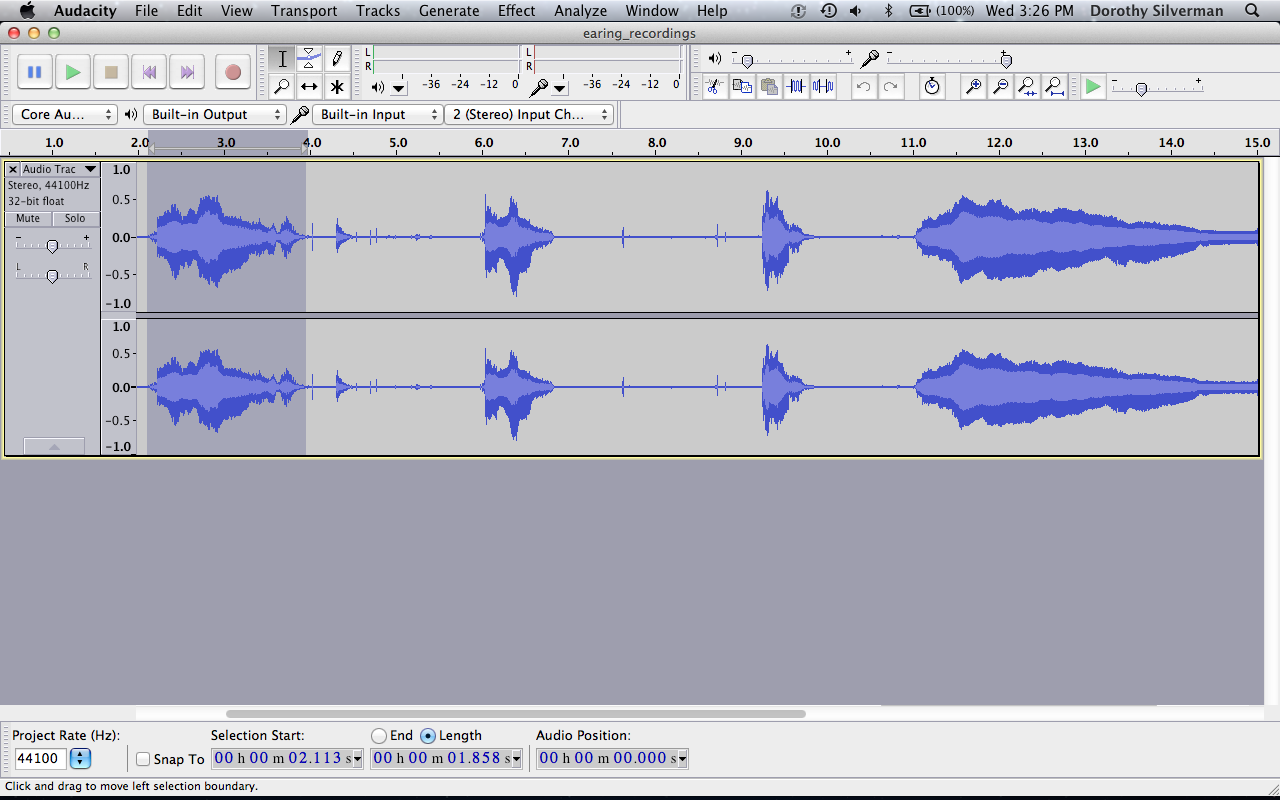
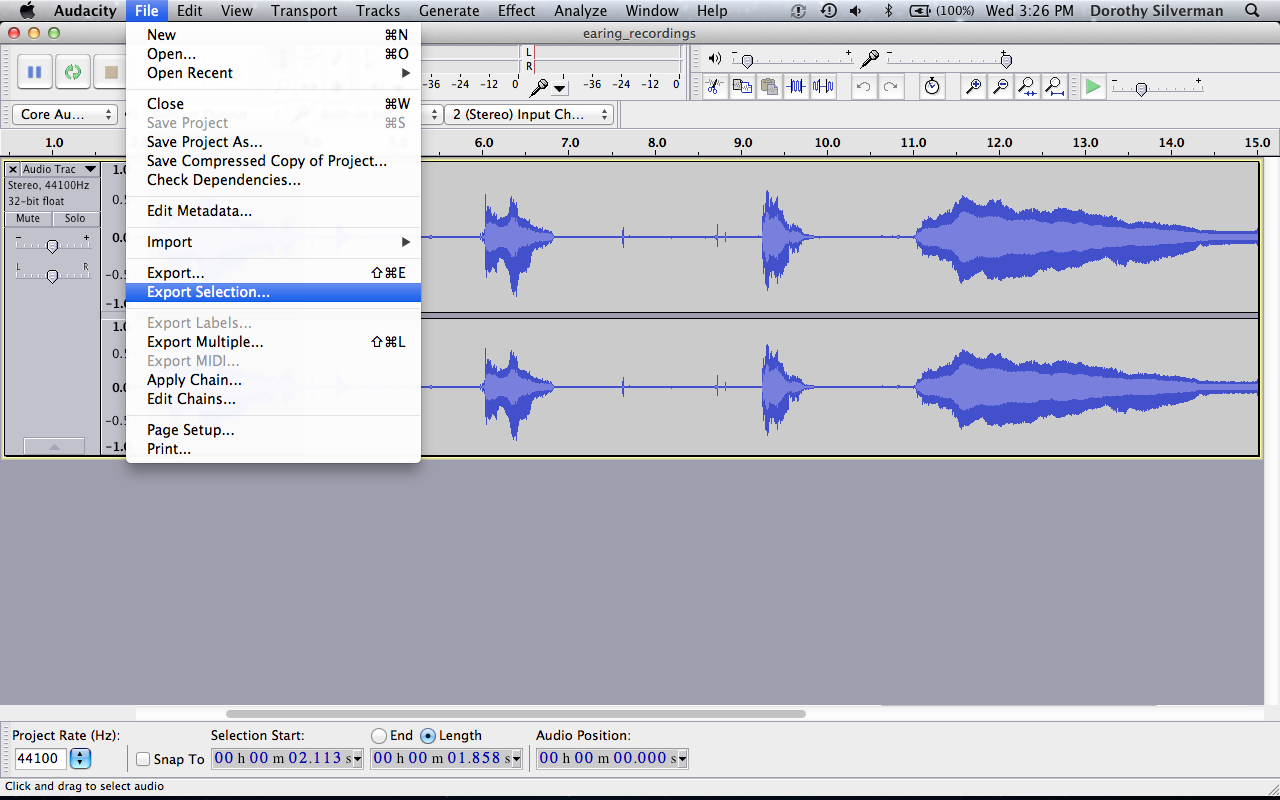
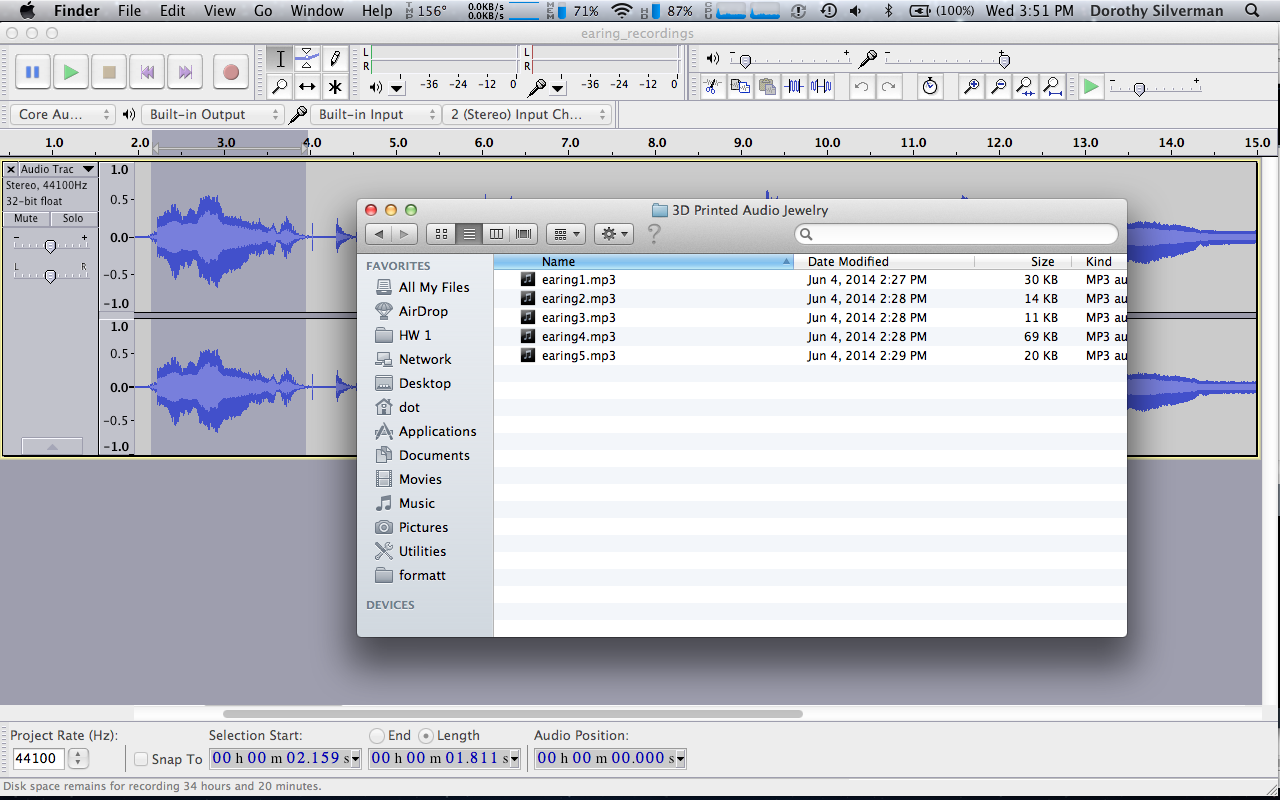
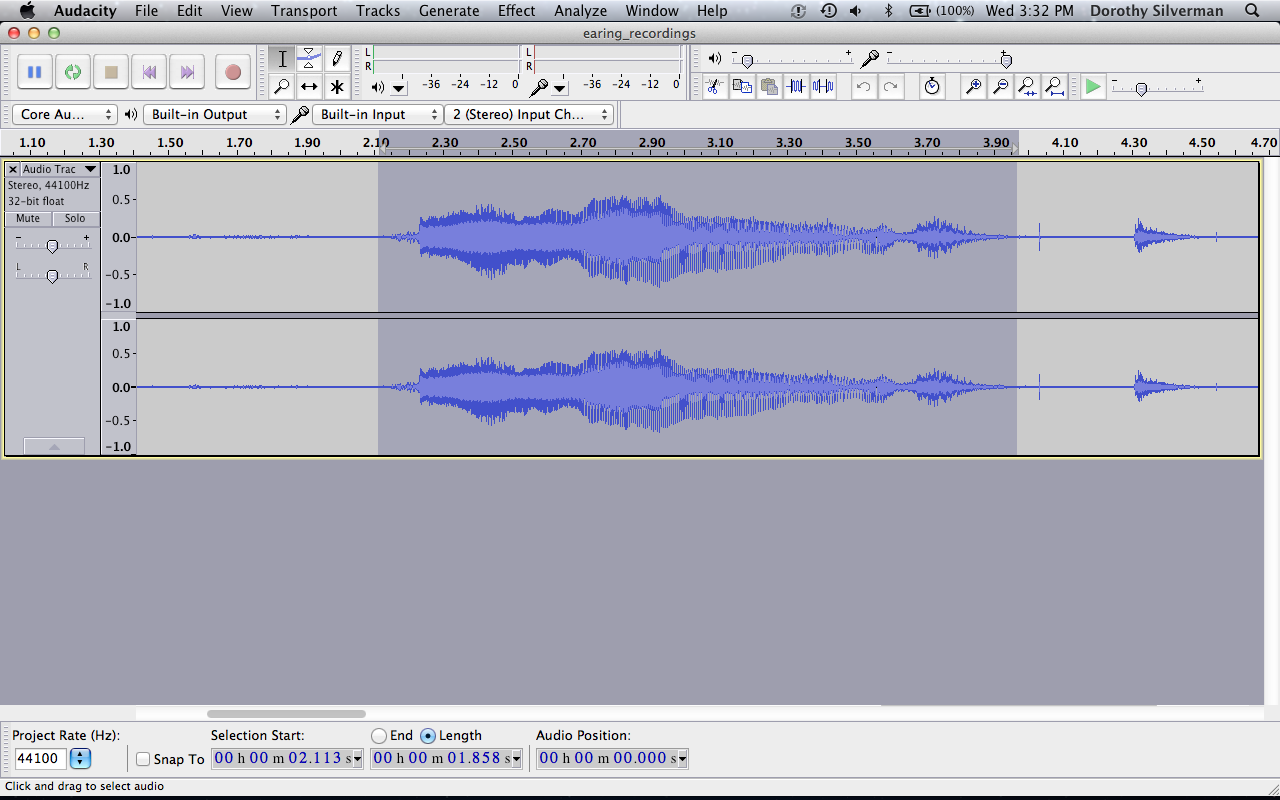
If you don't have it already, download Audacity here. Audacity is a free and easy-to-use audio editor that runs on any operating system. Also download the LAME mp3 encoder here so you can generate mp3 files through Audacity. Open Audacity and press the circular red button in the upper left-hand corner to begin recording your voice. Try saying the word "earring" a few different ways (maybe in a poor British accent) to make differently-shaped waveforms. When you are finished, press the yellow stop button in the upper left-hand corner. Save each section of sound as a separate mp3 file by selecting it with your cursor and using the 'File' -> 'Export Selection' command.
Note: The waveform displayed in Audacity uses two shades of blue, one darker and one lighter. The dark blue area displays the tallest peak that a pixel represents, which you can see when zoomed in on the waveform. The light blue area displays the average RMS (Root Mean Square) value for the same group of samples. This is a guide to how loud the area will sound, but there is no way to extract or use this part of the waveform separately. However, the method you will use next to convert the mp3 to a png file will output an image similar to the RMS waveform. This means that the shape of your earrings will look more like the light blue waveform in Audacity.
Processing
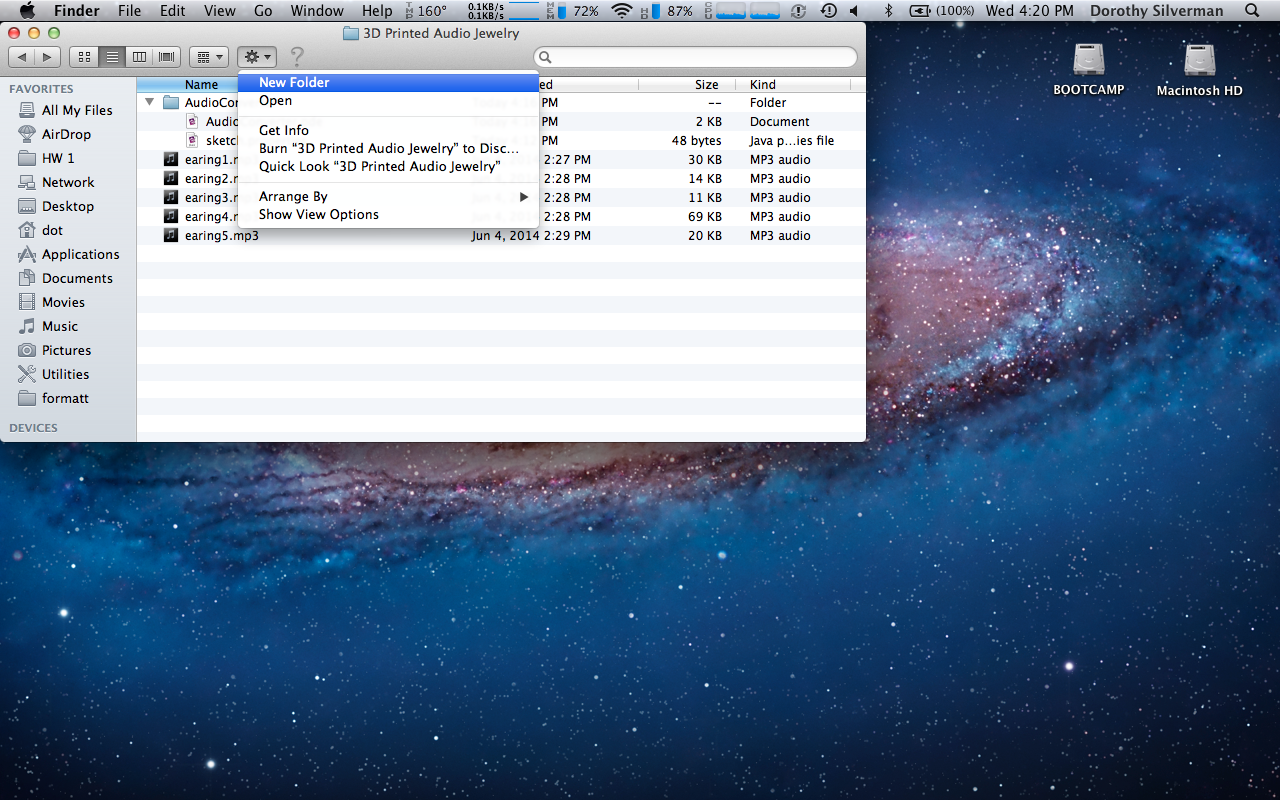
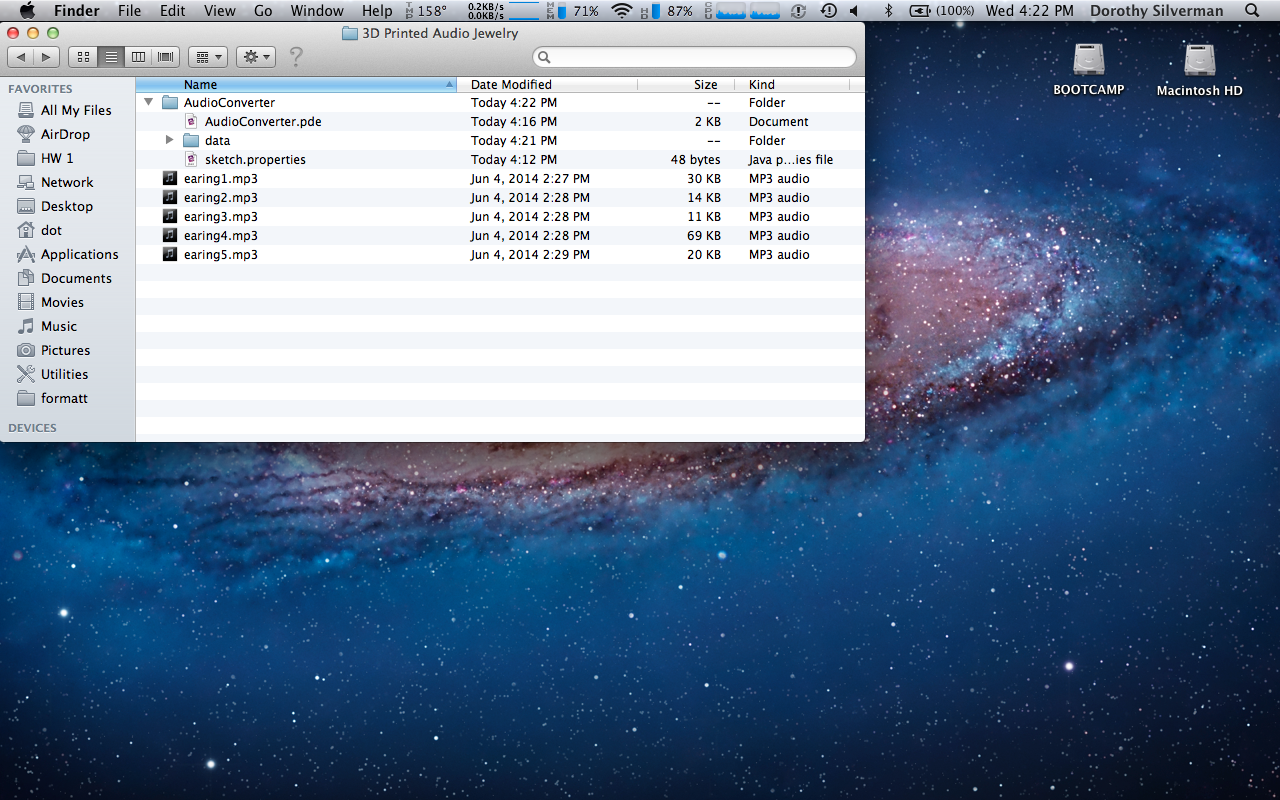
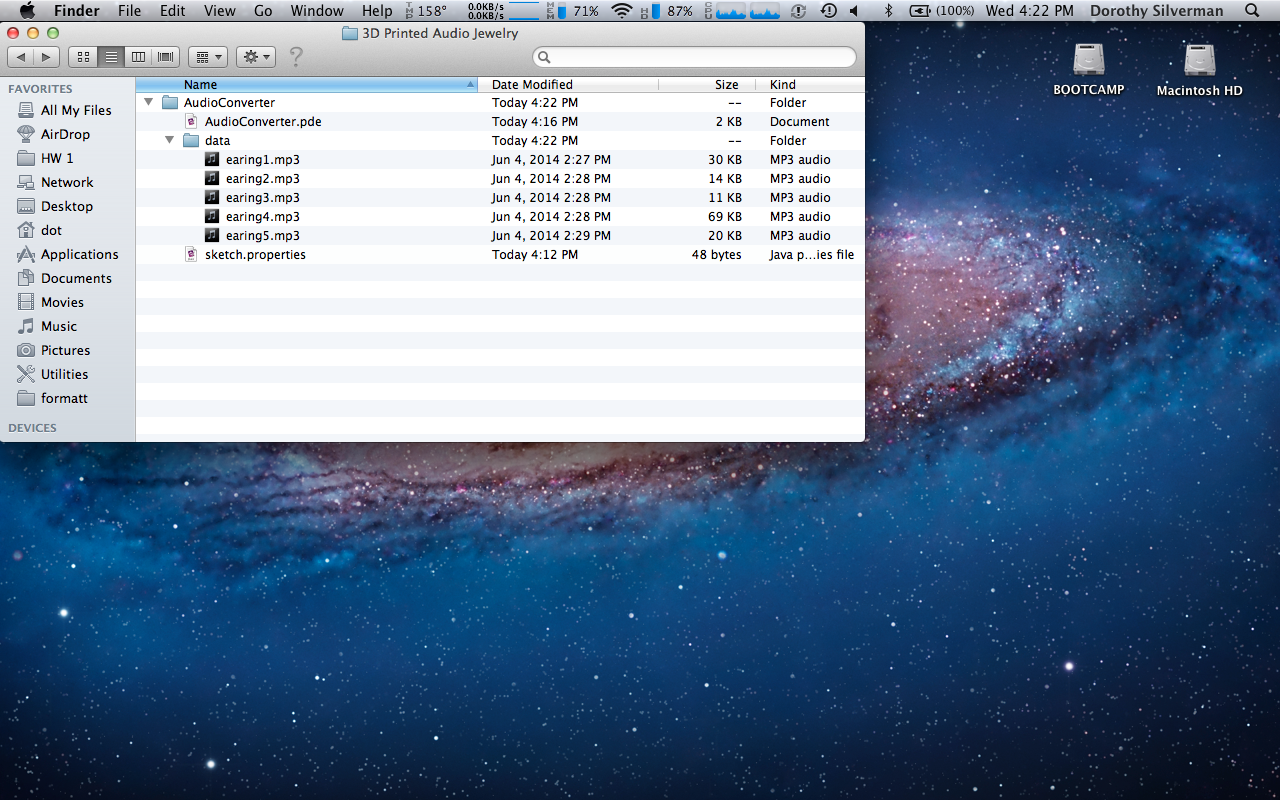
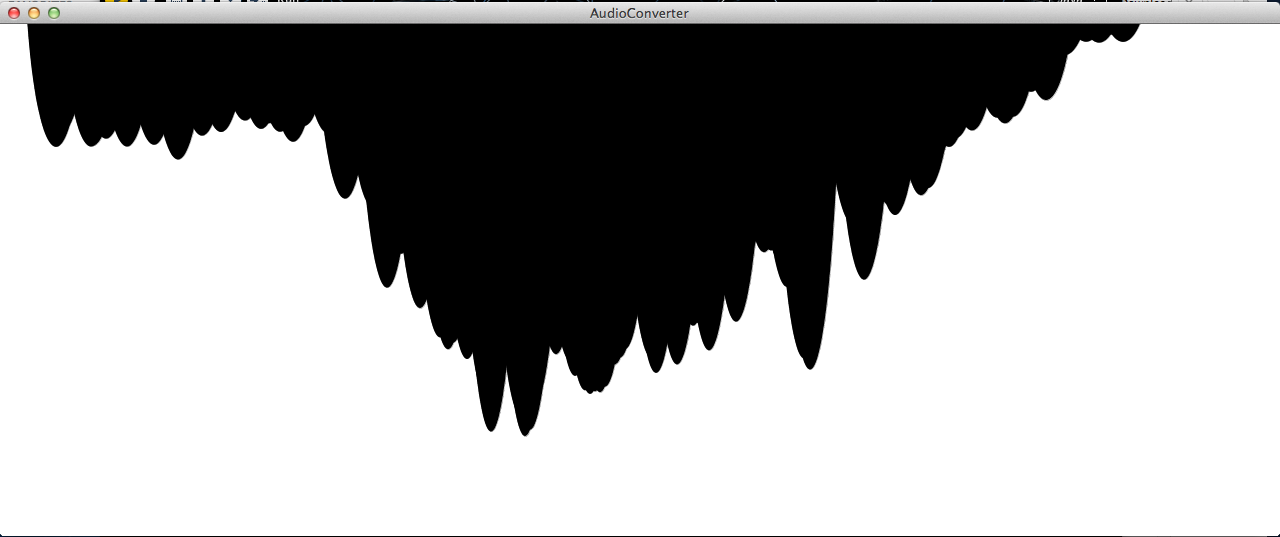
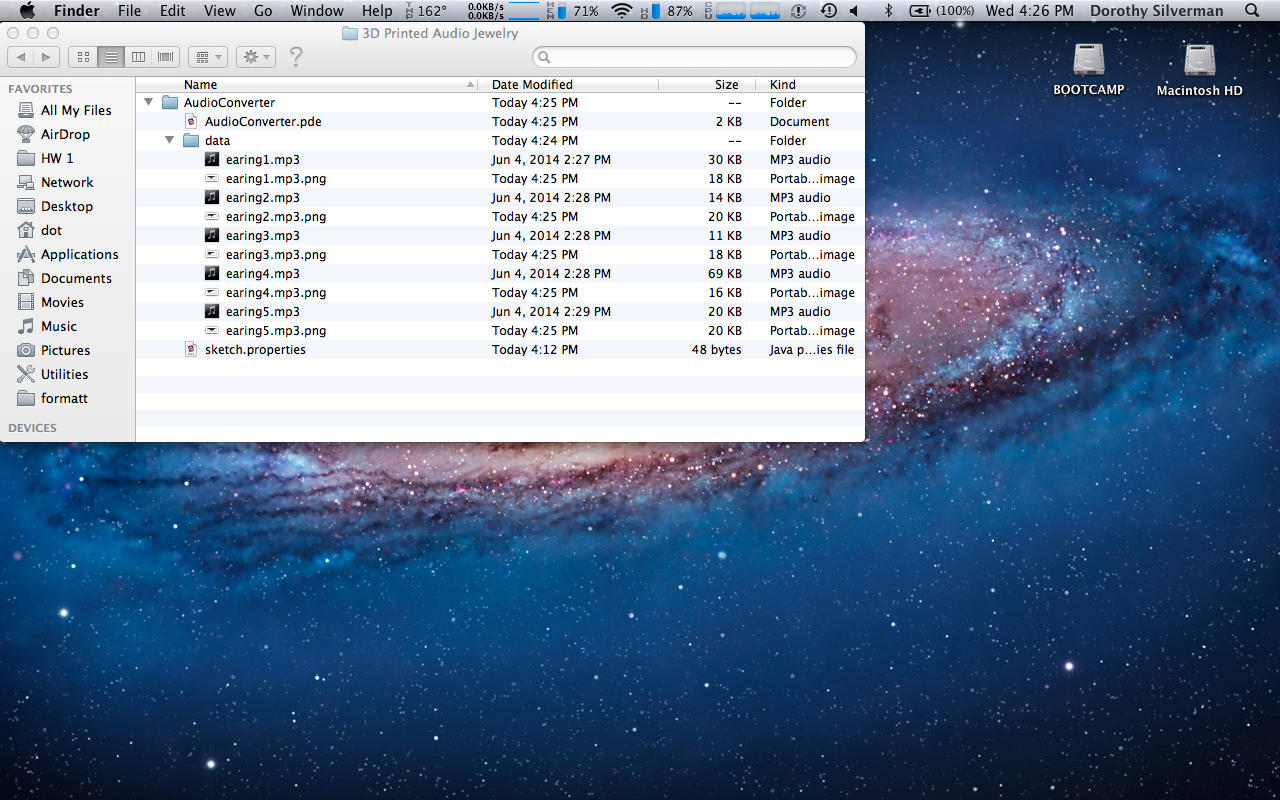
A simple Processing script written by Thiago Hersan generates images from audio files. I added commentary to his script for those wanting to understand it in detail. The script reads any mp3 file in its directory and returns a png. If you do not have Processing, download it here. Then download the folder 'AudioConverter' attached below.
Once the folder is downloaded, create a new folder inside it called "data". Move all your mp3 files inside "data". The script 'AudioConverter' is written to read mp3 files from this folder. Run the script, and png files corresponding to each mp3 file should appear inside "data".
Downloads
GIMP
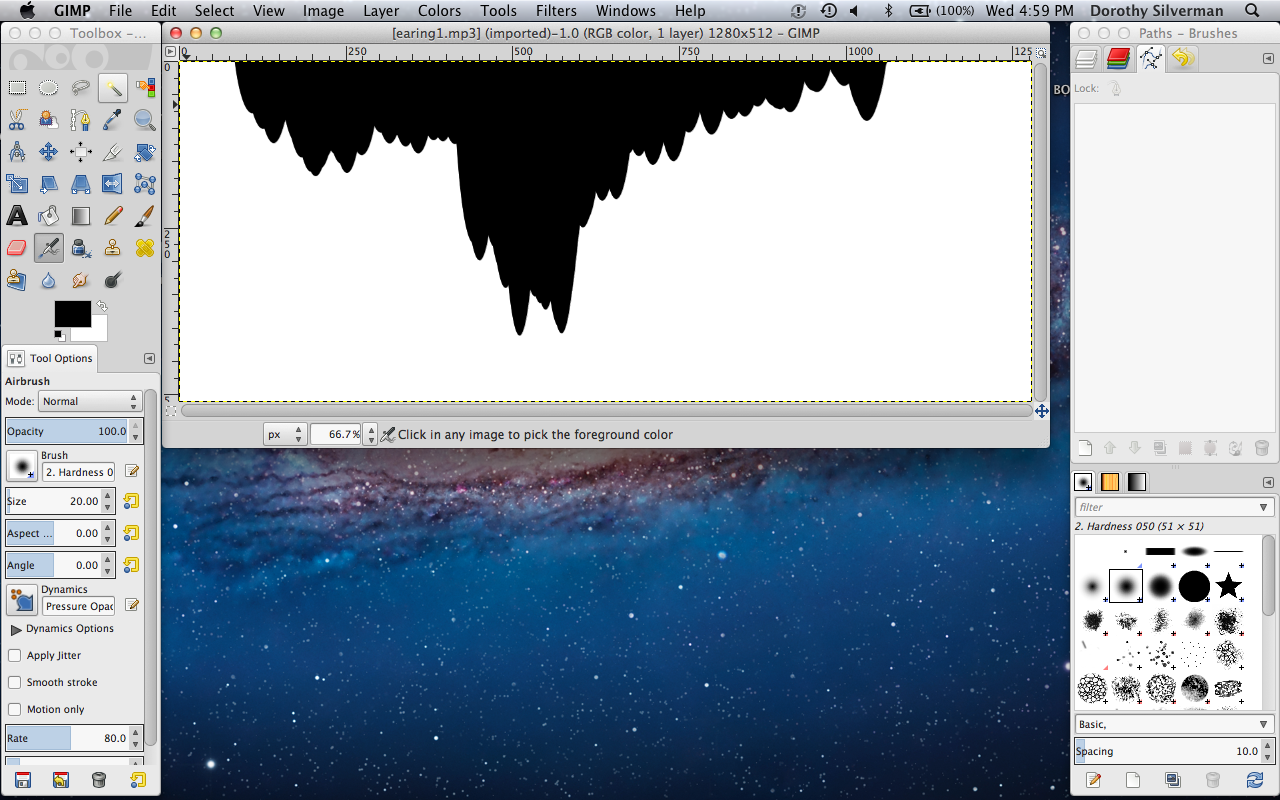
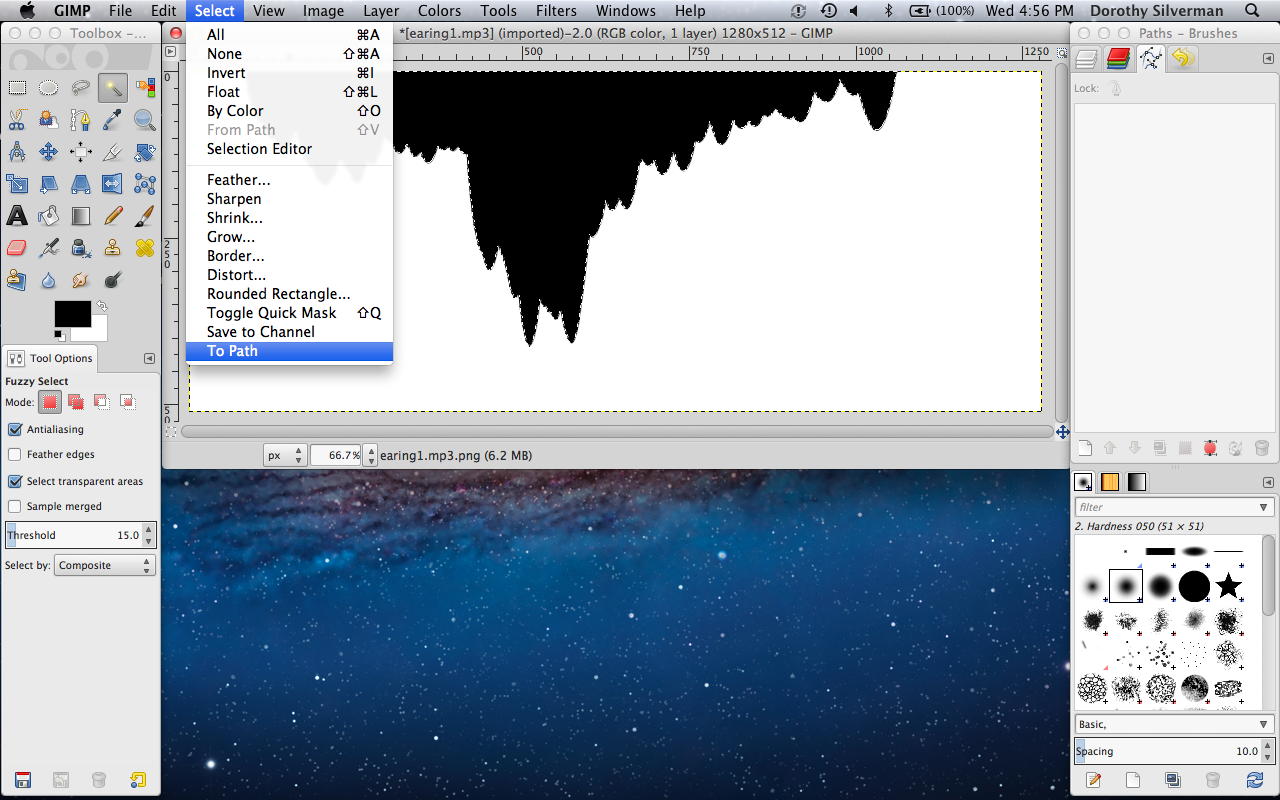
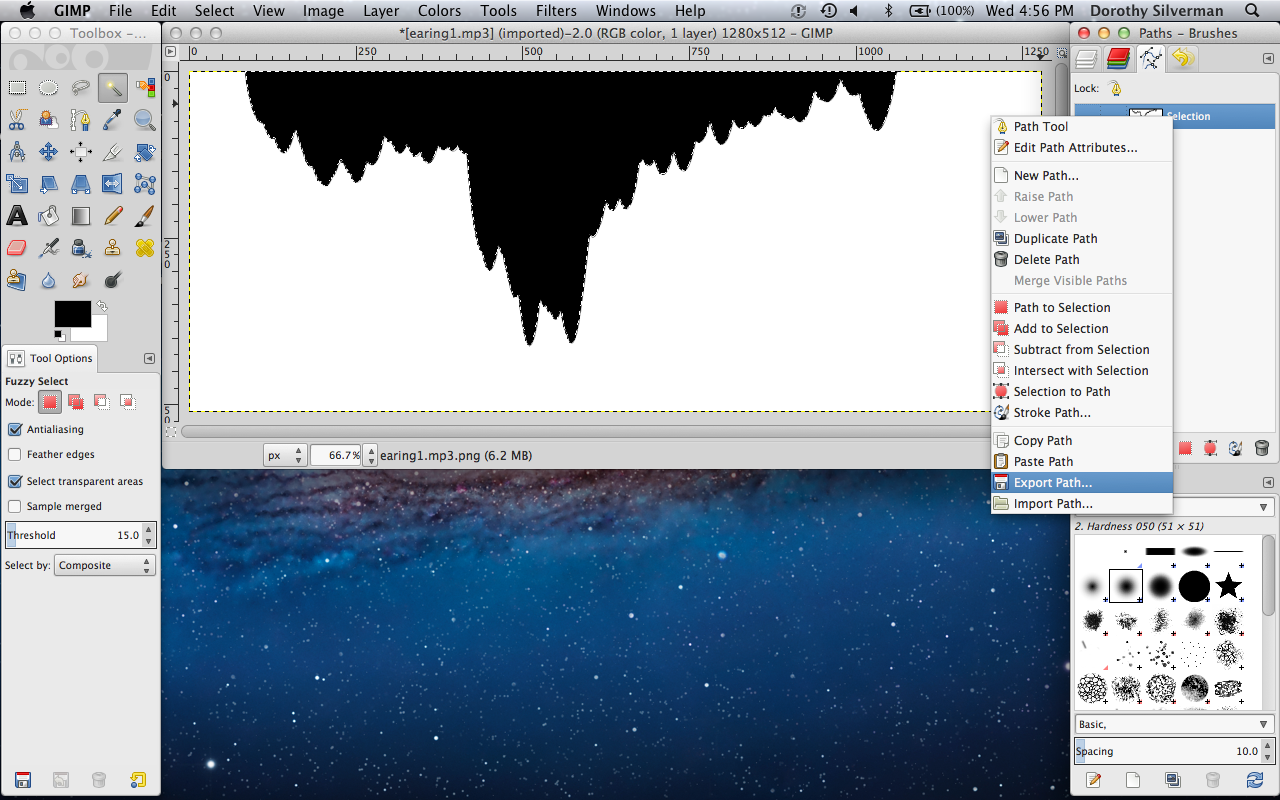
Next convert the images to svg files with GIMP. GIMP is a freely distributed software for photo retouching that can be downloaded here. Open each image file in GIMP and use the 'Fuzzy Select Tool' to select the black area of the image. Make a path using the menu option 'Select' -> 'To Path', and export the path by right-clicking the path in the Paths sidebar. Make sure to save the file as a '.svg'.
Fusion 360, Revolving the Audio Profile
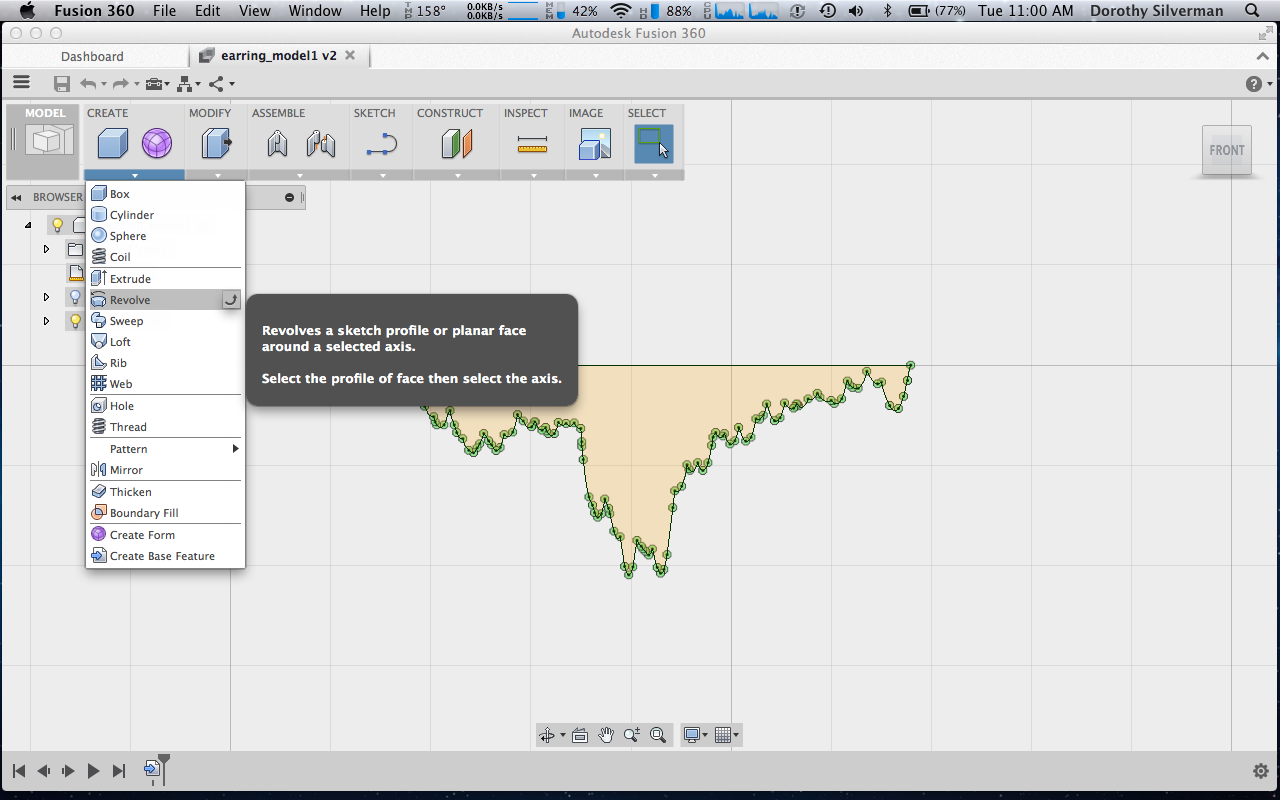
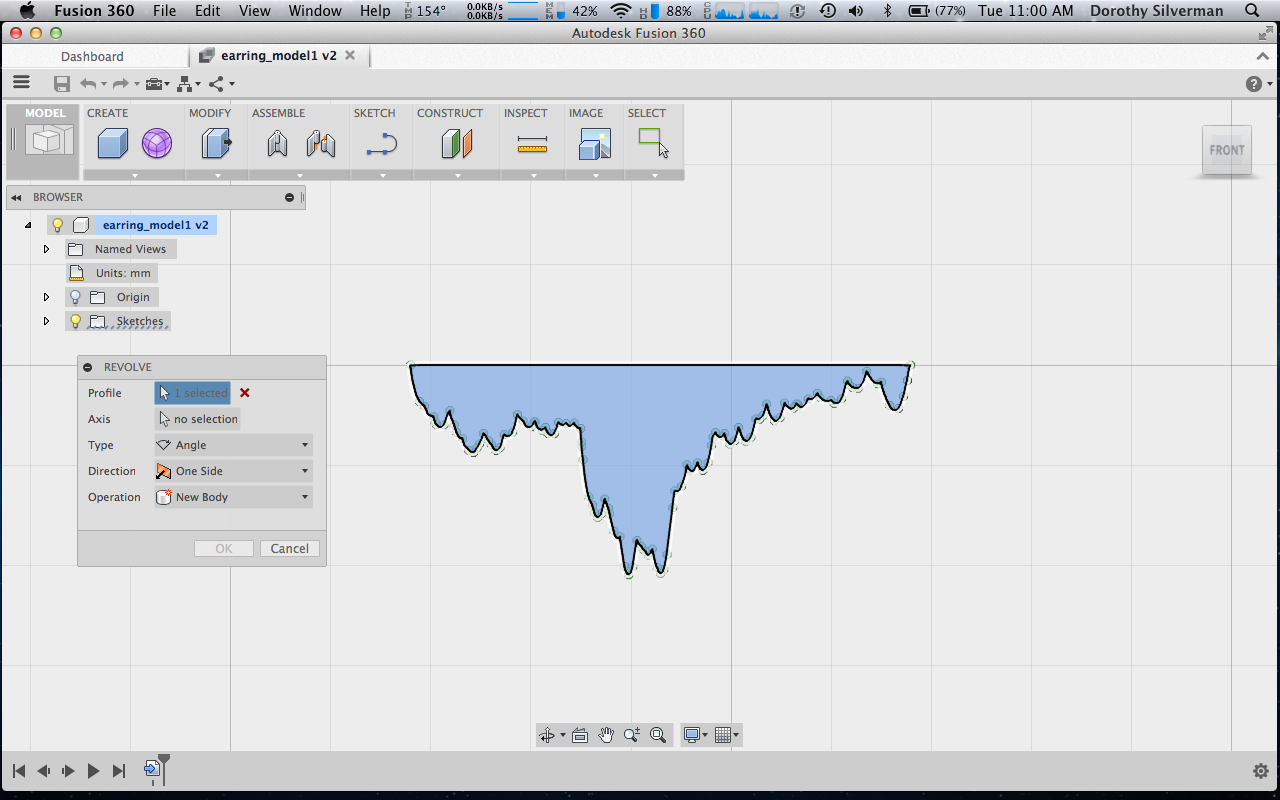
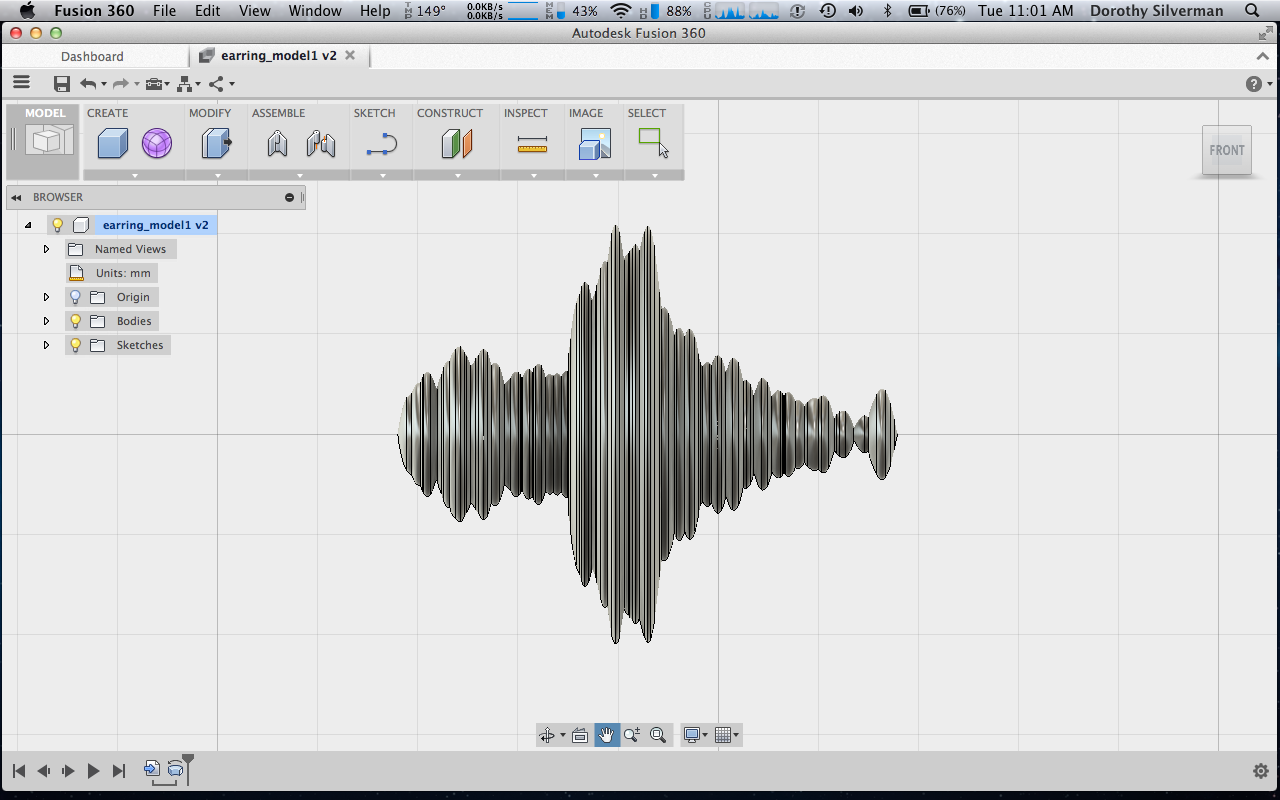
The next few steps outline how to take the svg file output by GIMP and create a 3D model of in Fusion 360. The Fusion 360 trial version is freely distributed to anyone not planning to use it for monetary purposes, and can be downloaded here. I am trying to be very detailed in my documentation to help those unfamiliar with modeling in Fusion 360, and I have also included videos of each step for reference. If you don't feel like learning Fusion then just download and print the attached stl files in Step 7.
Open Fusion 360 and click the "+" bar in the upper right-hand corner to create a new design. Follow the steps below to convert your waveform into a 3D form:
Importing and sketching the Audio Profile:
- Click 'Modify' -> 'Create Base Feature'
- Click 'Sketch' -> 'Create Sketch'. Click on a plane on the three-axis cartesian coordinate located in the workspace. This defines what plane the sketch will be drawn on.
- Click 'Sketch' -> 'Import SVG'. The profile of your waveform will appear in the workspace.
- Click 'Stop Sketch' in the upper right hand corner of the screen. Do not click the icon 'Finish Base Feature'.
Resizing the Audio Profile:
- The earrings should be about 25 mm in length, so the sketch must be rescaled.
- Click 'Inspect' -> 'Measure', then select the profile’s axis and take note of its length. To find the scaling factor: scaling factor = 25 mm/length. For example: if my length is 847 mm, my scaling factor is 0.029 (0.029 = 25mm/847mm). Then click 'Close' on the measure box.
- Click 'Modify' -> 'Scale'. For 'Entities' click on the sketch in your workspace, then insert the scale factor in the input box.
- To double check that the sketch properly rescaled, go back to 'Inspect' -> 'Measure', click on the profile's axis and make sure that its length is about 25 mm.
- Now click the 'Finish Base Feature' icon located in the upper right hand corner of the screen.
Revolving the Sketch
- Click 'Create'-> 'Revolve'. In the revolve box, for 'Profile' click on the audio profile in the workspace, for 'Axis' click on the line we just scaled, and for 'Angle' type 360. Then click 'Ok'.
By now you created a solid body from your sketch. Hurray! However, this is not enough to make an earring, so read on for more.
Fusion 360, Splitting the Body
To split the body just created to make a flat surface for an earring or necklace hook, follow the steps below:
- Invoke a sketch on any plane along the body's length.
- Draw a straight line perpendicular to the length of the body. It will be used for splitting. Then click 'Stop Sketch'.
- Click 'Modify'-> 'Split Body'. For the prompt 'Body to Split' select the rotated body in your workspace and for 'Splitting Tool' select the line just drawn. Under 'Bodies' on the left-hand side of your workspace you will see two bodies listed. Delete the smaller body. Now you have a body with a flat surface.
Downloads
Fusion 360, Making the Handle
- Click 'Sketch'-> 'Make Sketch' then click on the flat face you just formed.
- Draw a line through the center of the face. Click the 'esc' key to finish the line.
- Draw a circle in the center of one of the two new semicircles. It should be about 2 mm in diameter.
- Click 'Stop Sketch'
- Click 'Create'-> 'Revolve. For 'Profile' select the circular sketch just drawn, for 'Axis' select the line bisecting the flat face, and for 'Angle' insert 180.
Downloads
Fusion 360, Finishing the Model
You have completed your earring design! To take it from digital form to high fashion, right click on its name on the left side panel and select 'Export STL'.
In case you don't feel like designing your own earrings, I've included five different versions here. Just follow the next few steps to print them.
Printing
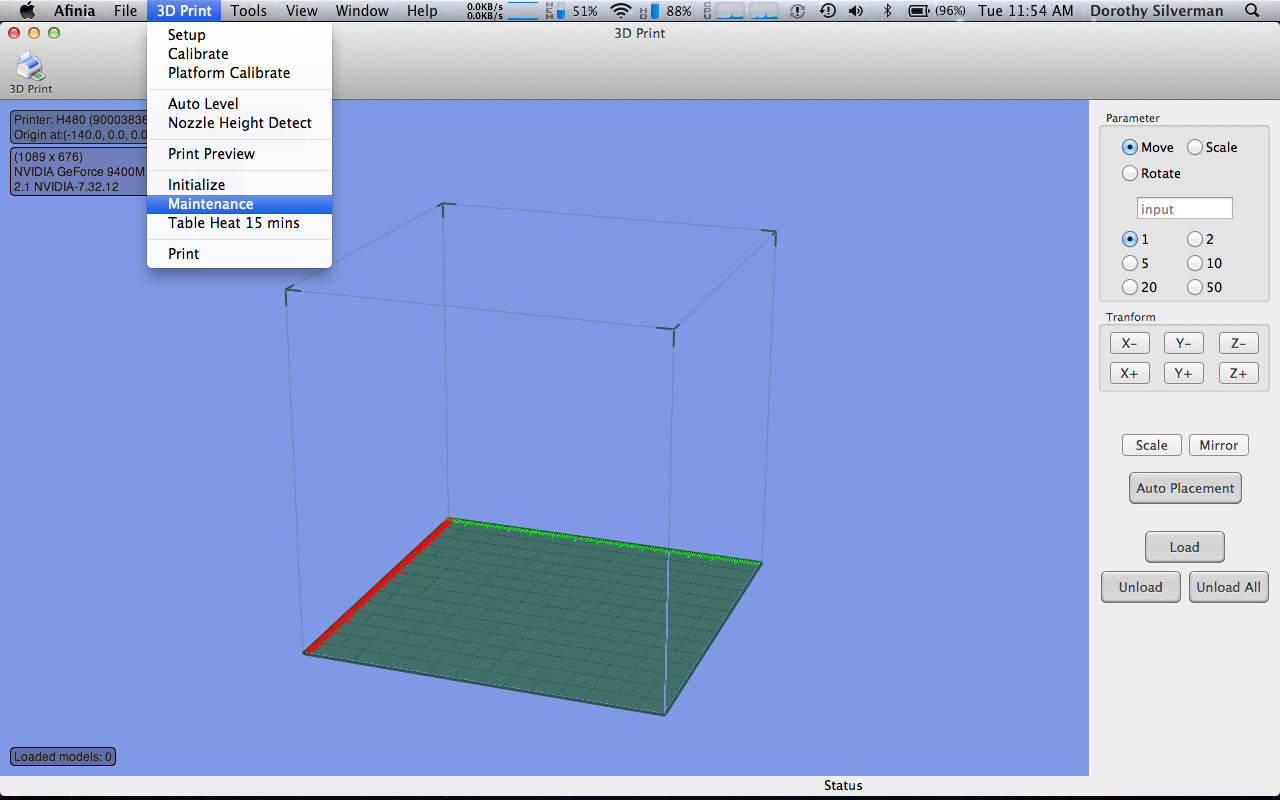
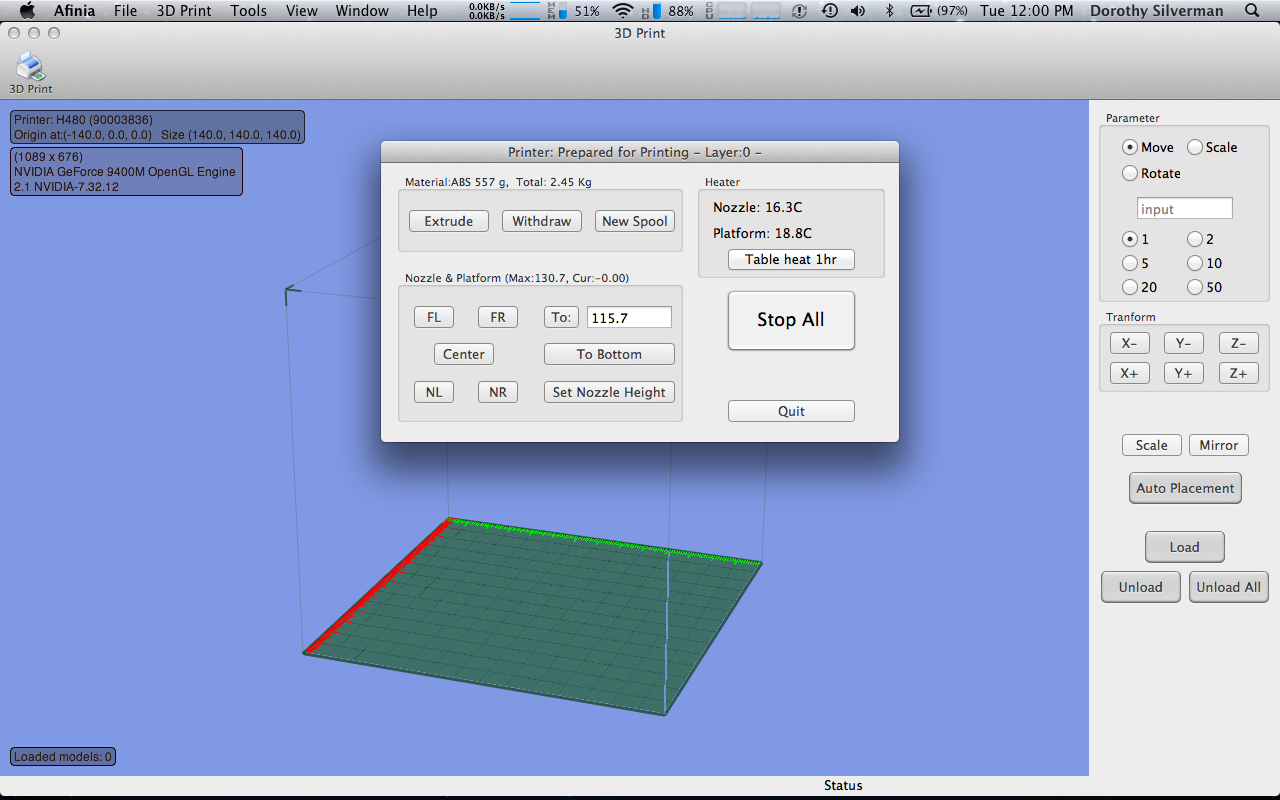
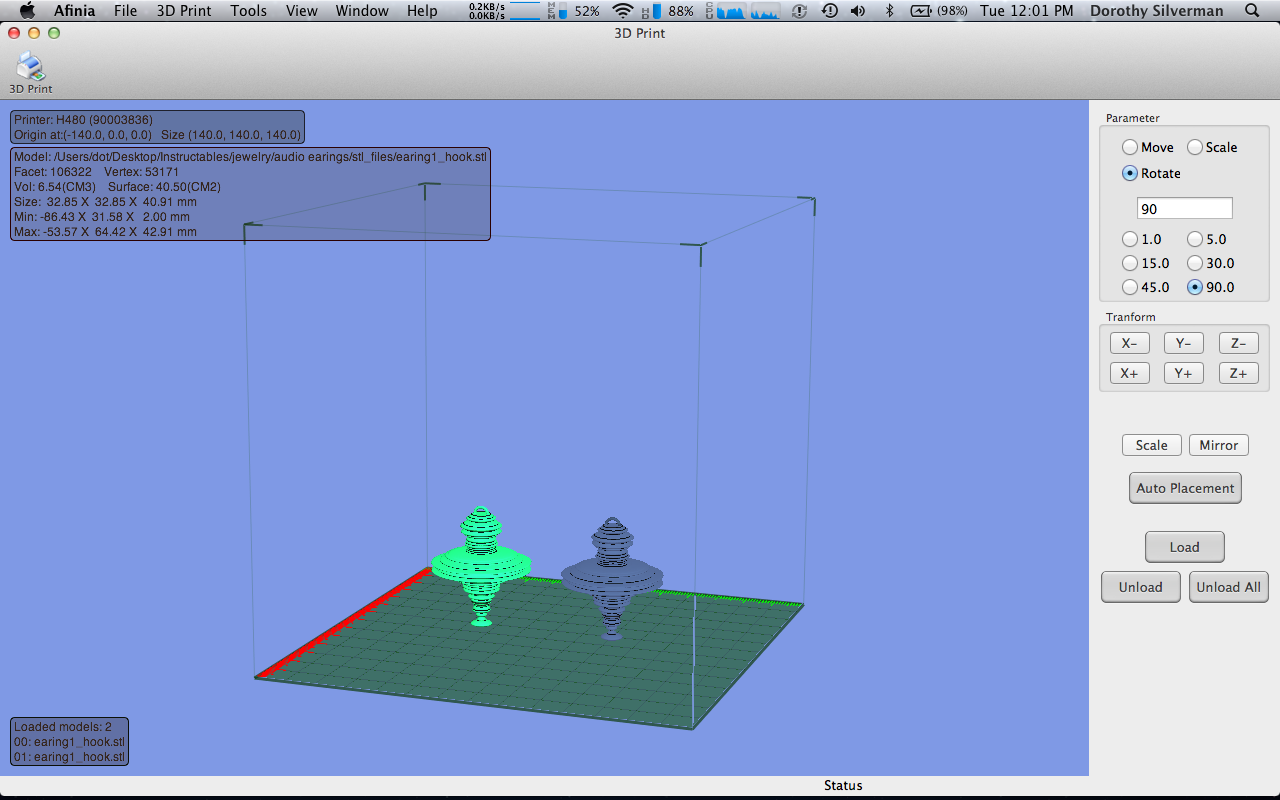
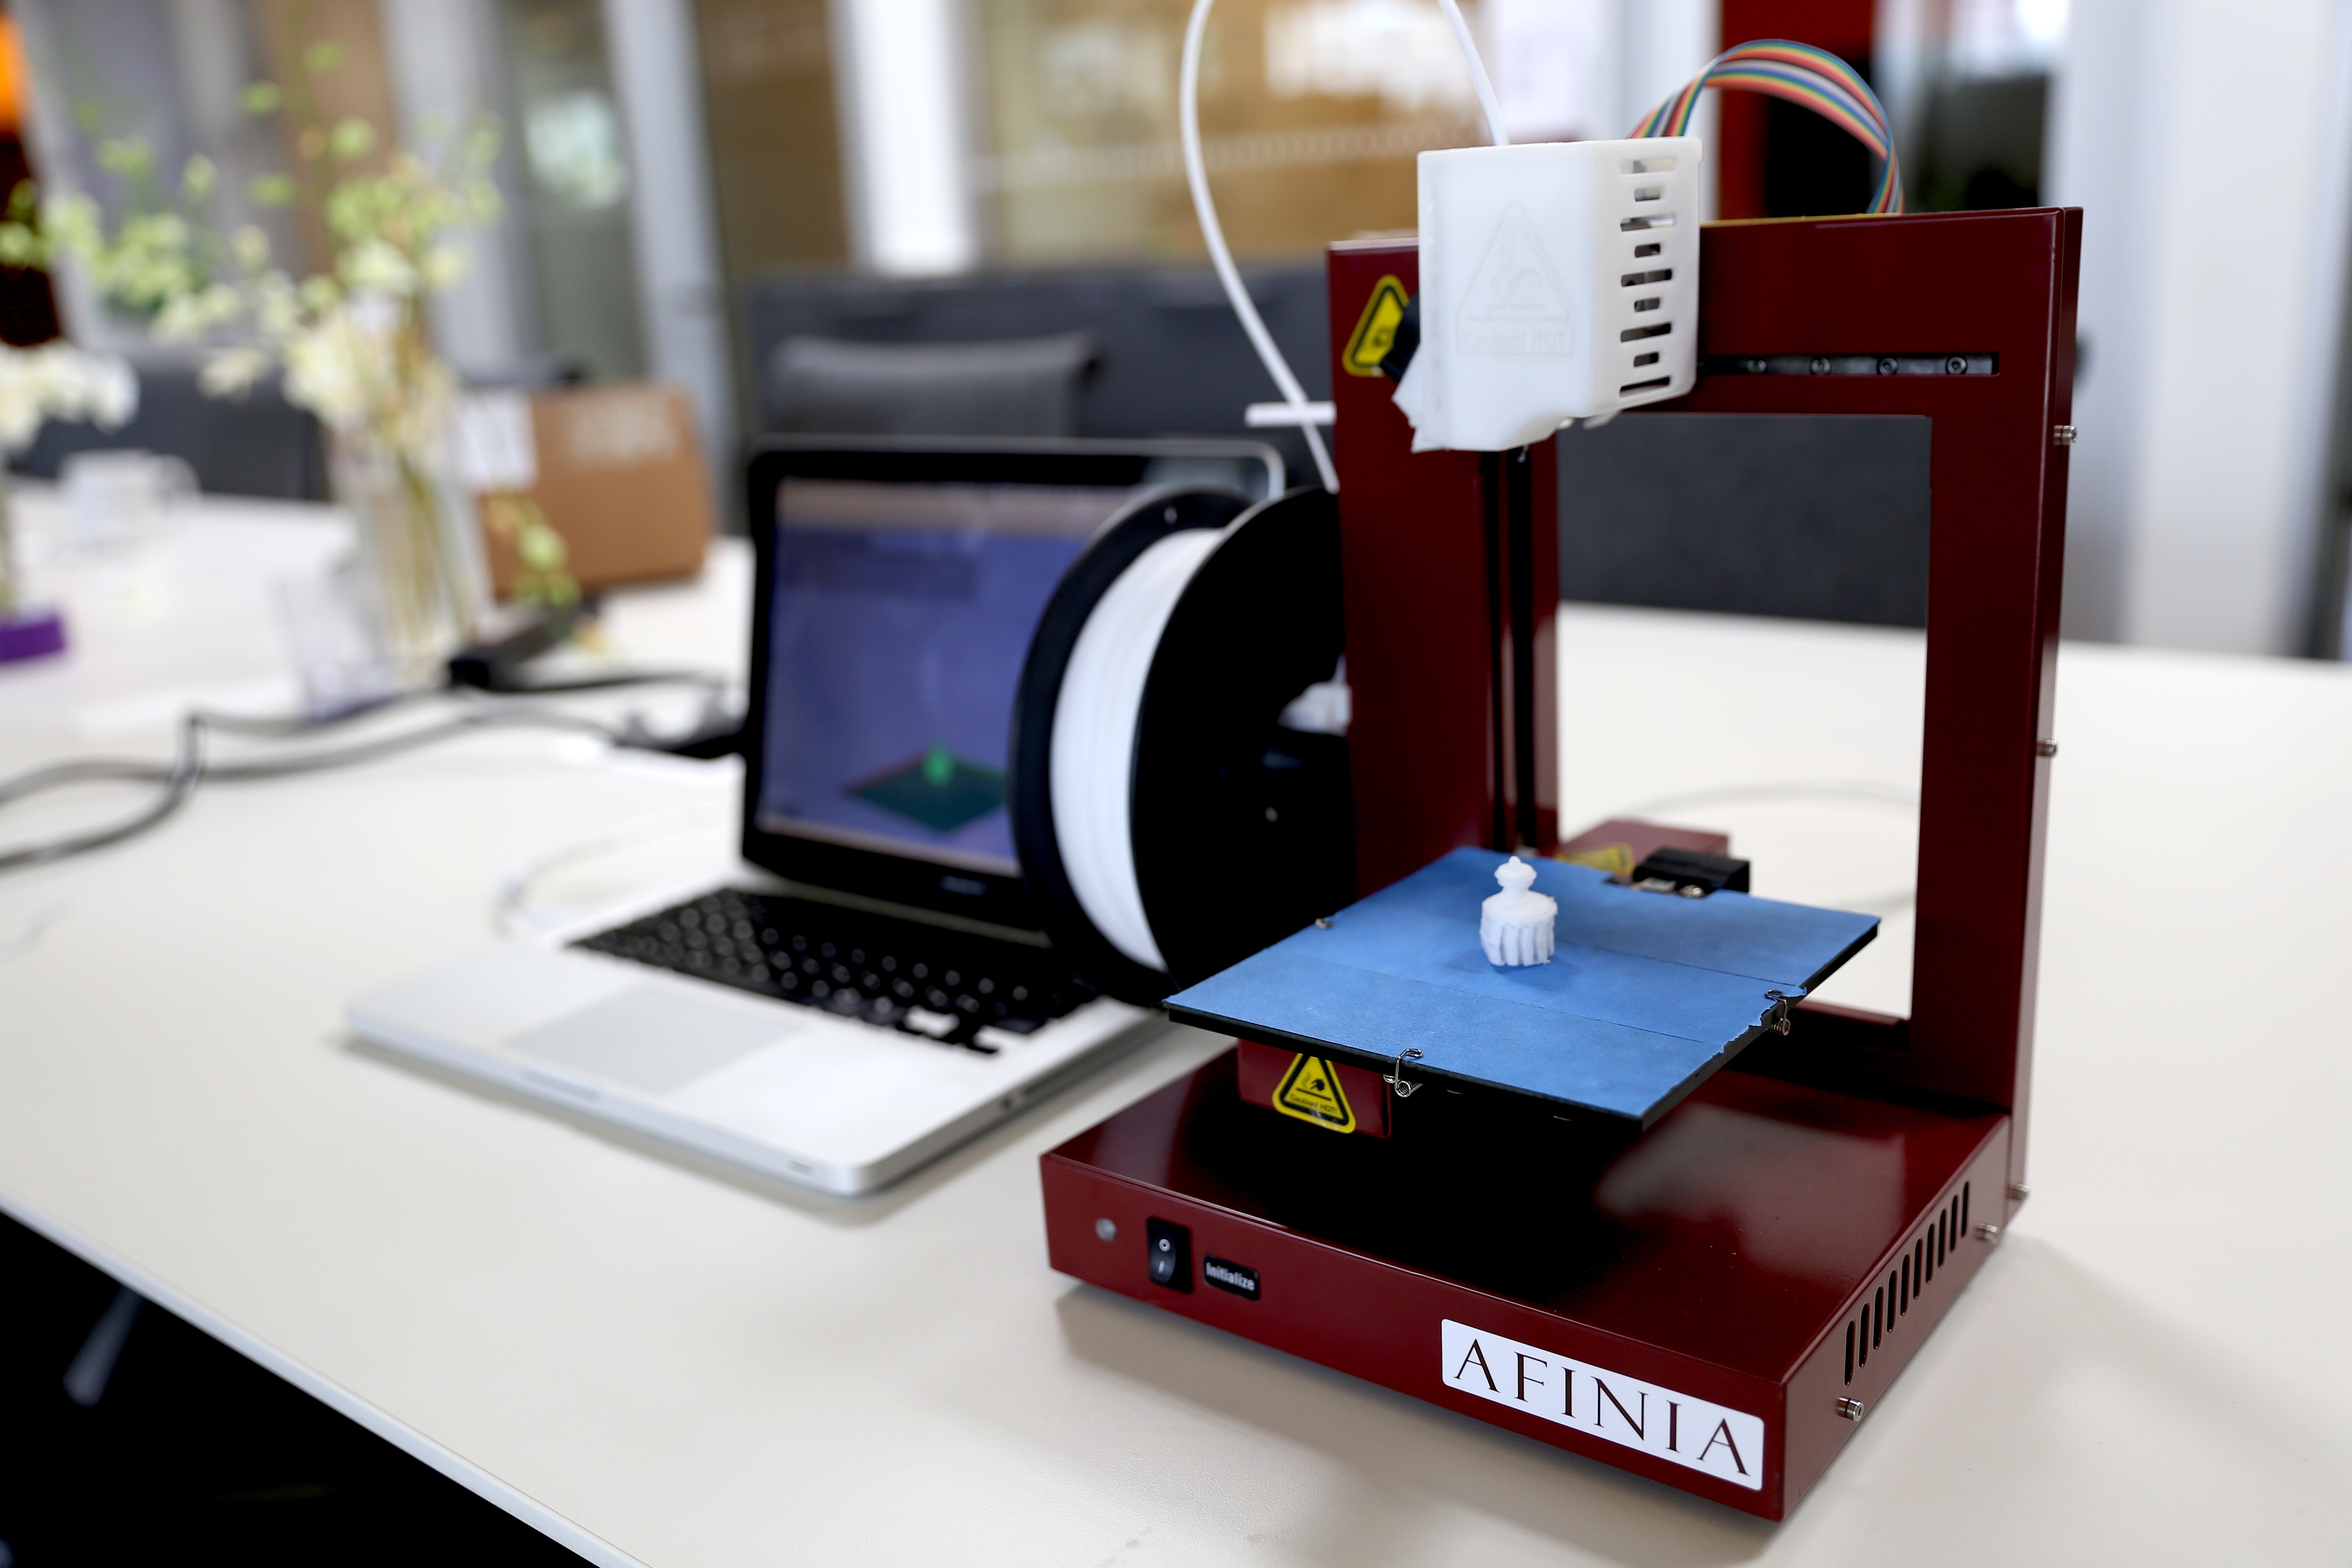
If you don't have experience using the Afinia printer, I recommend reading the manual here. Otherwise, open the Afinia environment on your computer and click load to import your earring stl files. These earrings print best under certain conditions. First, cover the printer platform in blue tape to ensure the earrings don't stick to its surface. Also preheat the platform to a minimum of 90 degrees C (very important). I recommend printing these guys with ABS plastic rather than PLA because it gives them a smoother look. I printed mine with white ABS, but you can buy many more colors here.
Assuming you have two pierced ears, you'll want to print two of the same earring. In the Afinia environment, make a copy of your earring model by selecting 'Tools' -> 'Copy' -> '1'. Rotate them both 90 degrees on the board so their hooks are positioned down into the board. Trust me, other configurations end up making spaghetti earrings!
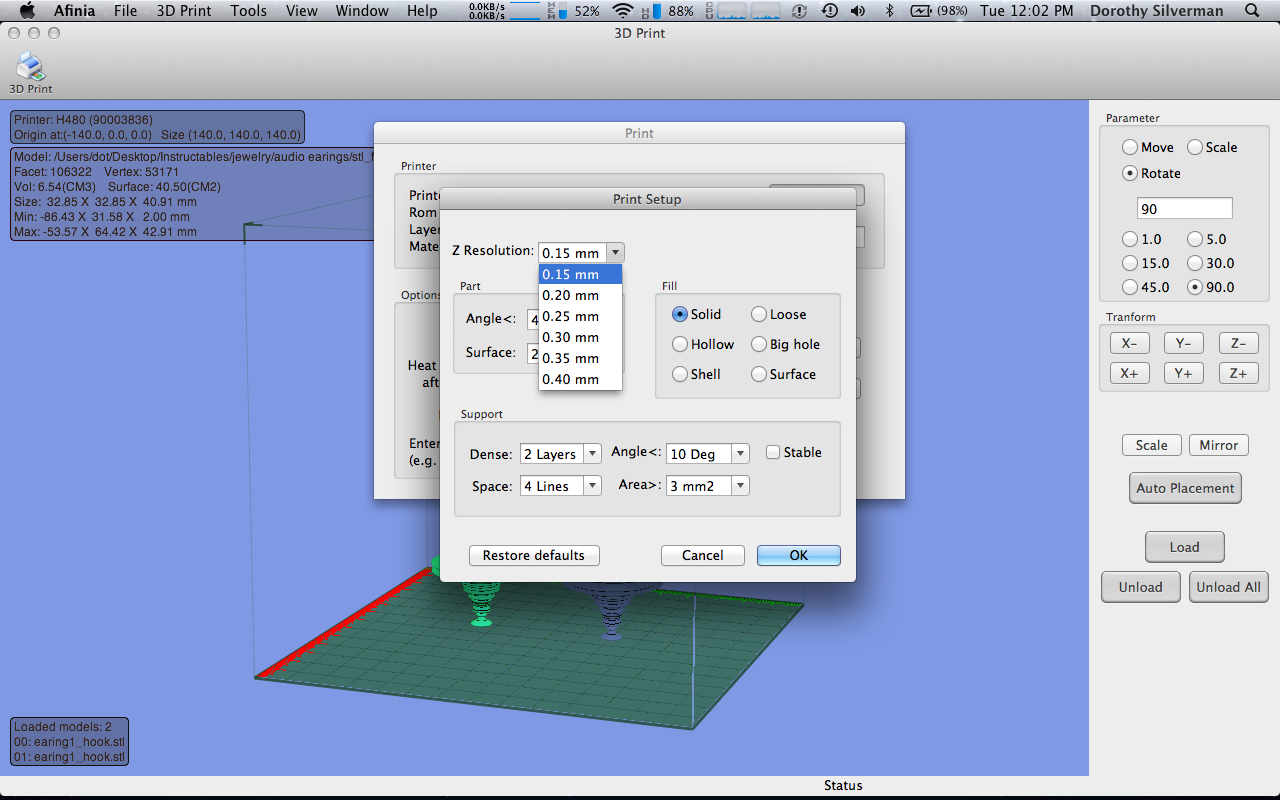
You'll also need to tweak a few more settings in the Afinia environment to get the best-looking prints. Under '3D Print'-> 'Print Setup', set 'Z Resolution' to 0.15 mm and 'Fill' to Solid. The other default settings are fine. Then click 'Ok'.
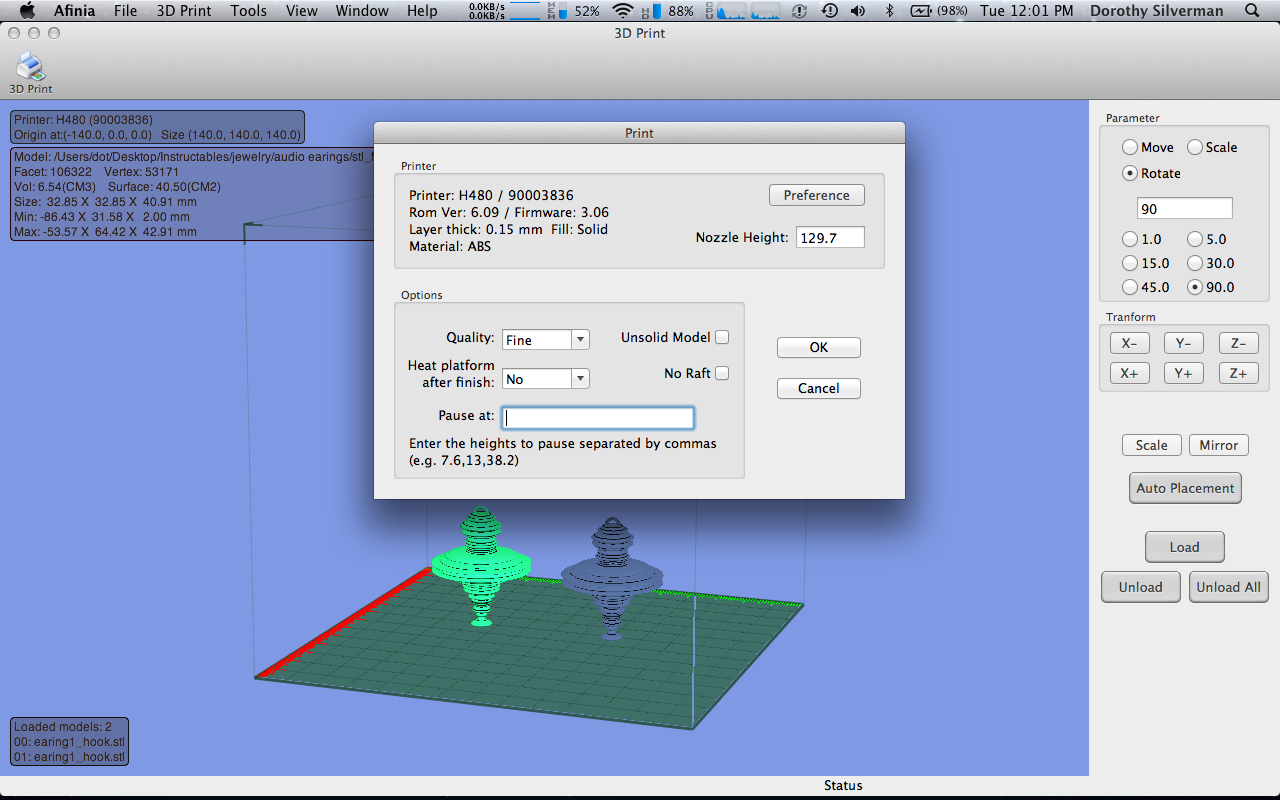
When you are ready to print, hit the little print icon in the upper left-hand corner of the screen. An info box will appear. Under 'Options' set 'Quality' to 'Fine'. Then begin your print.
Finishing Touches
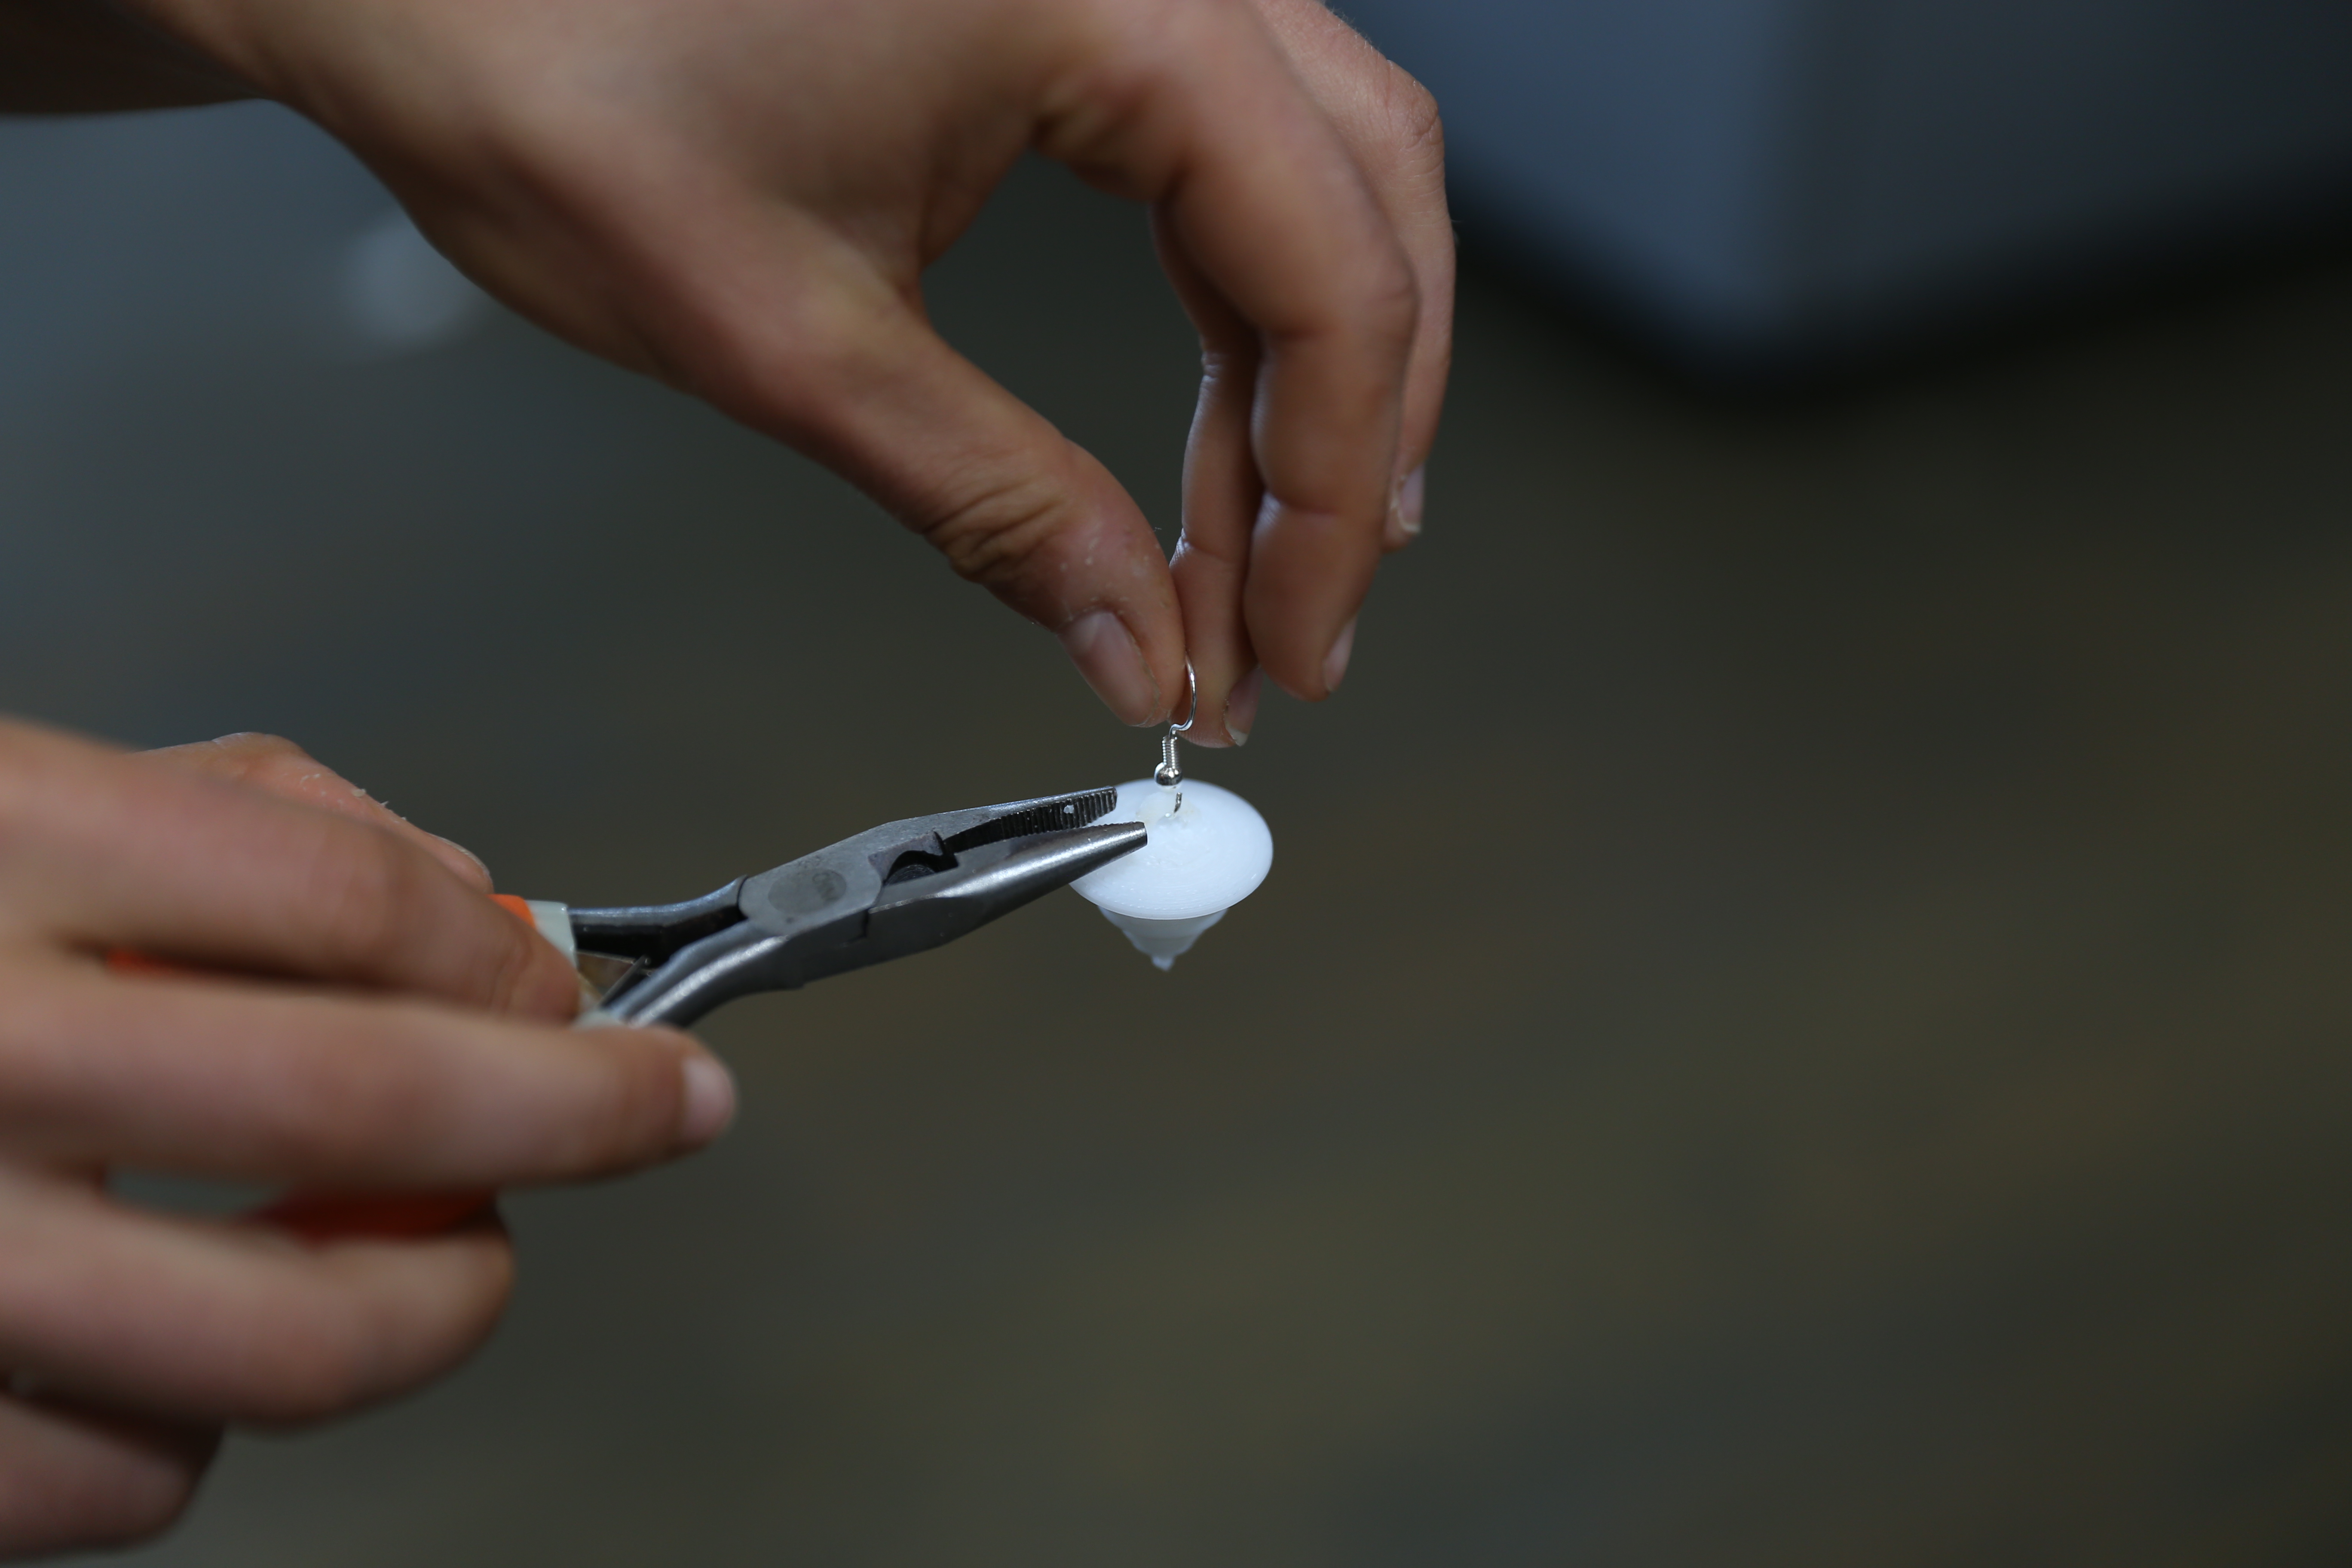
When your print is finished, use a pair of small needle-nose pliers or cutters to clean away the support material. Next, use the needle nose pliers to open the jumper of an earring hook. Slip your print onto the jumper, and press inward to close.
Audio Necklace
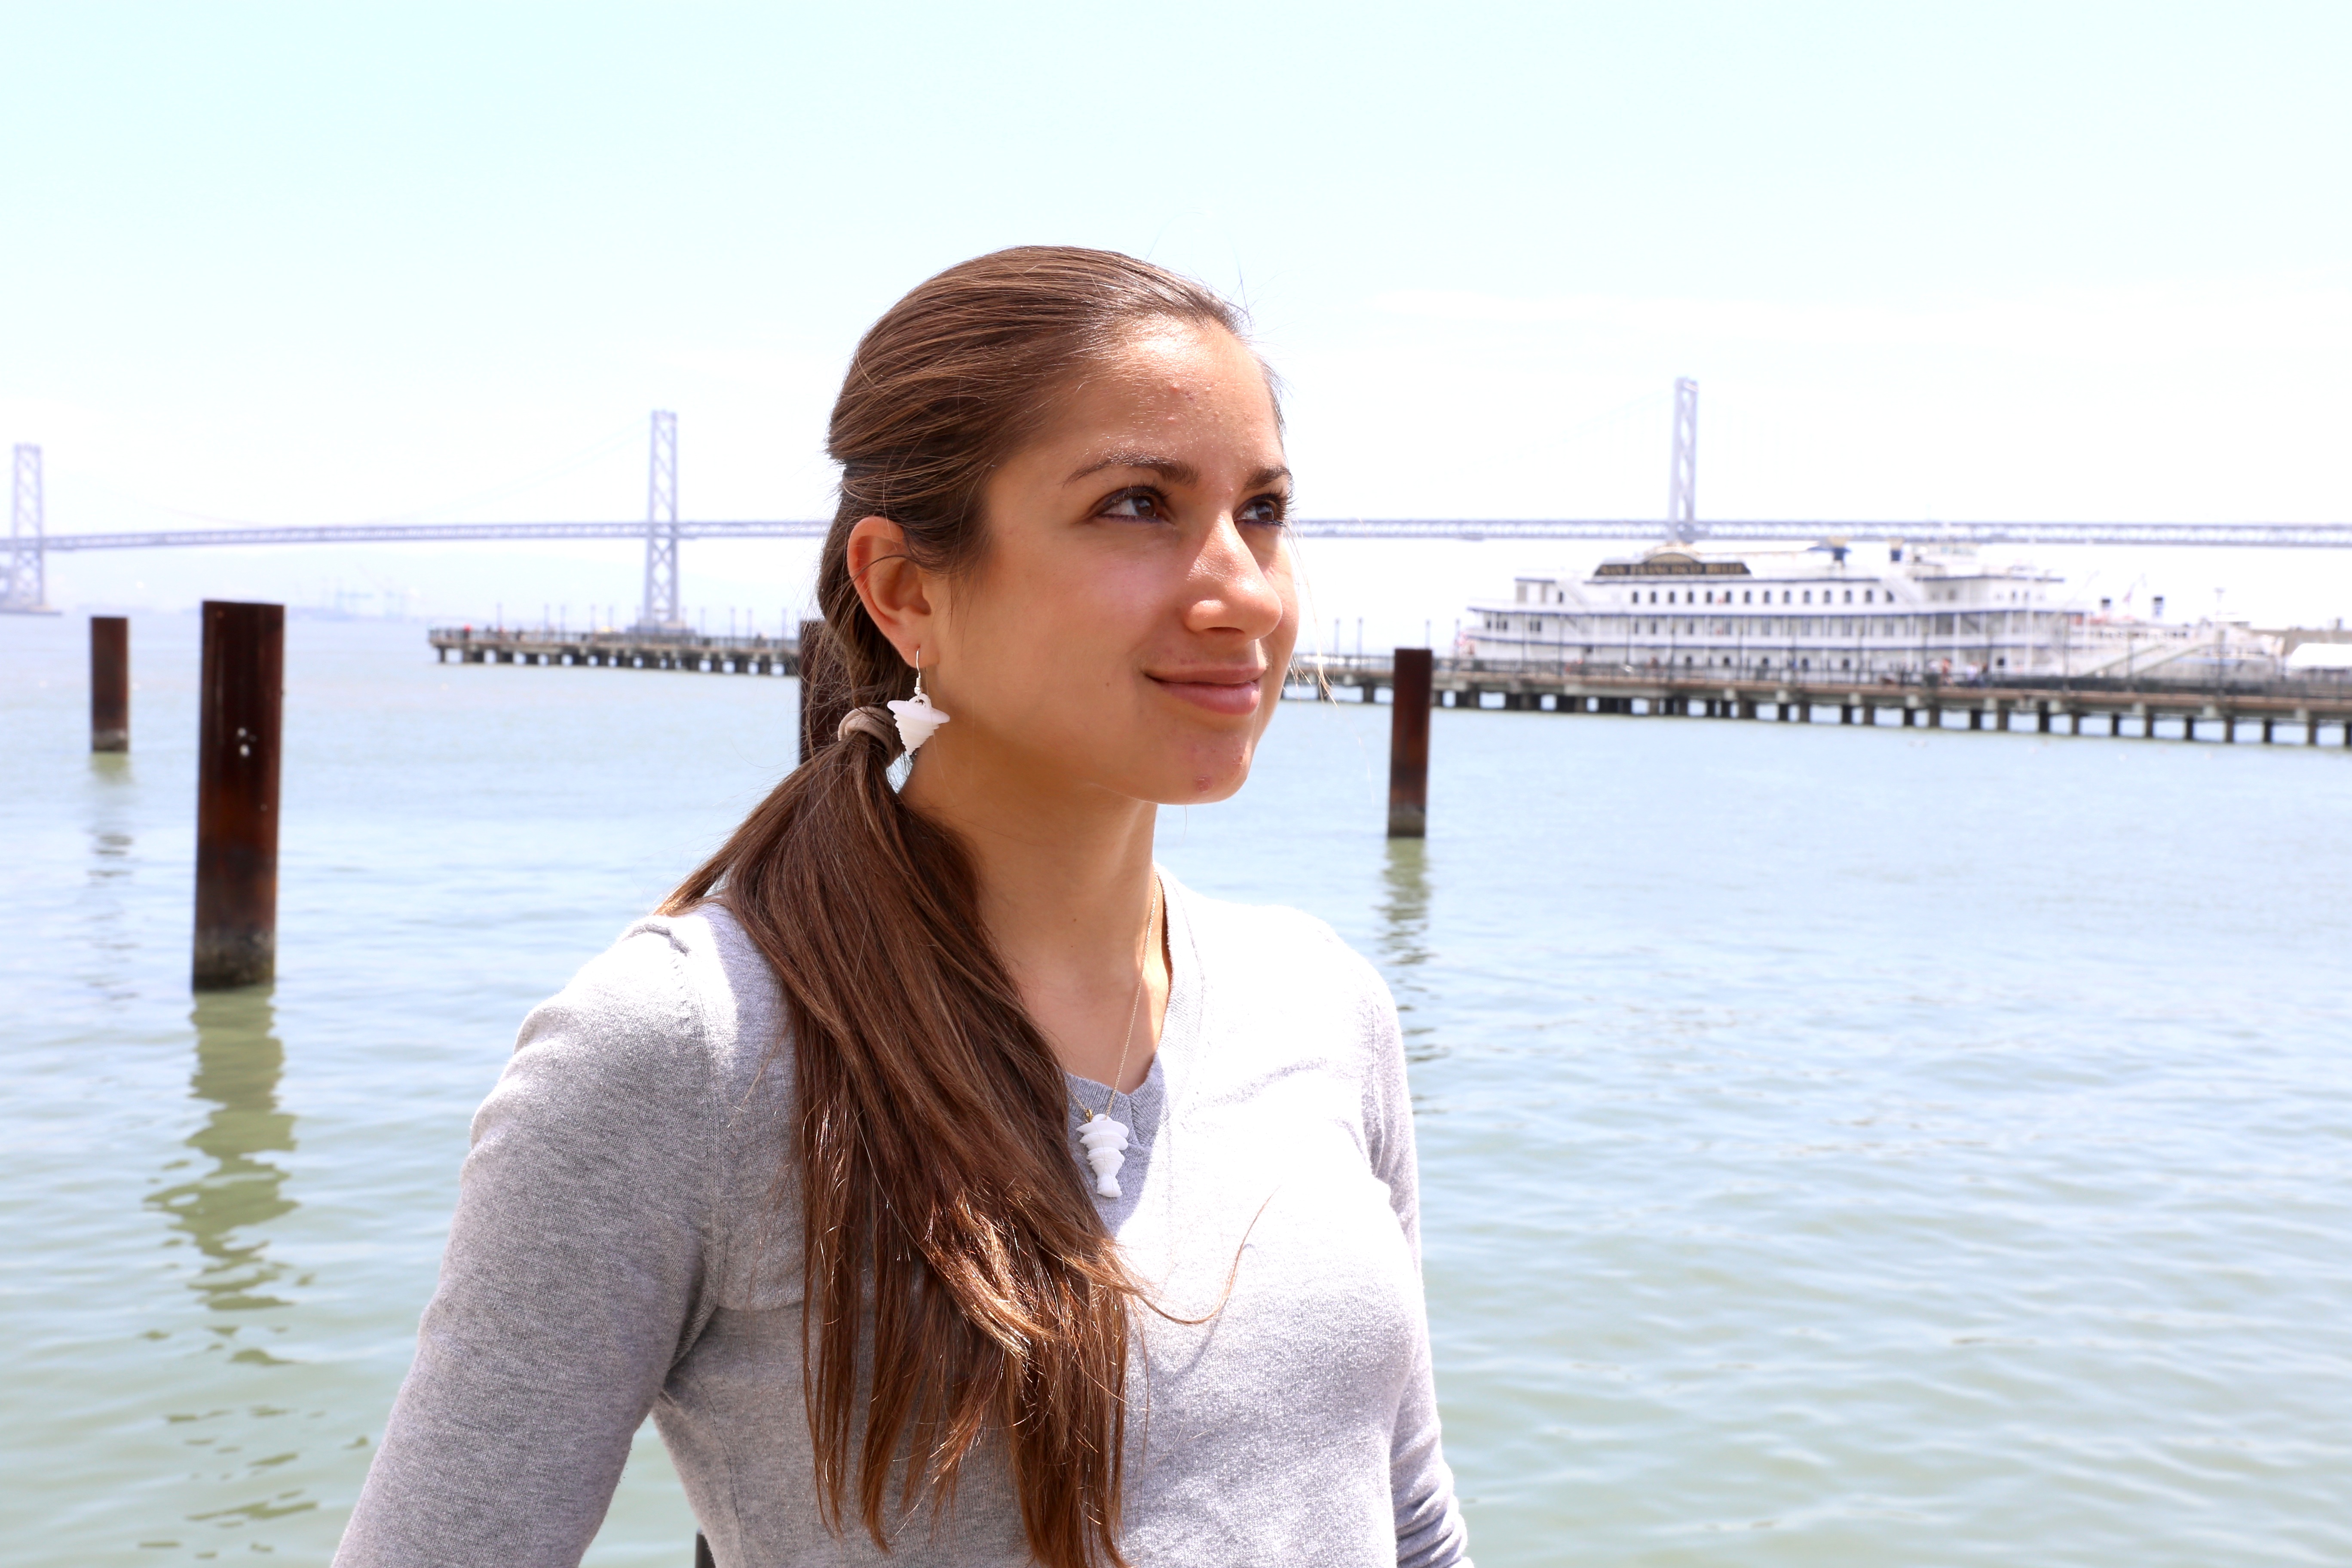
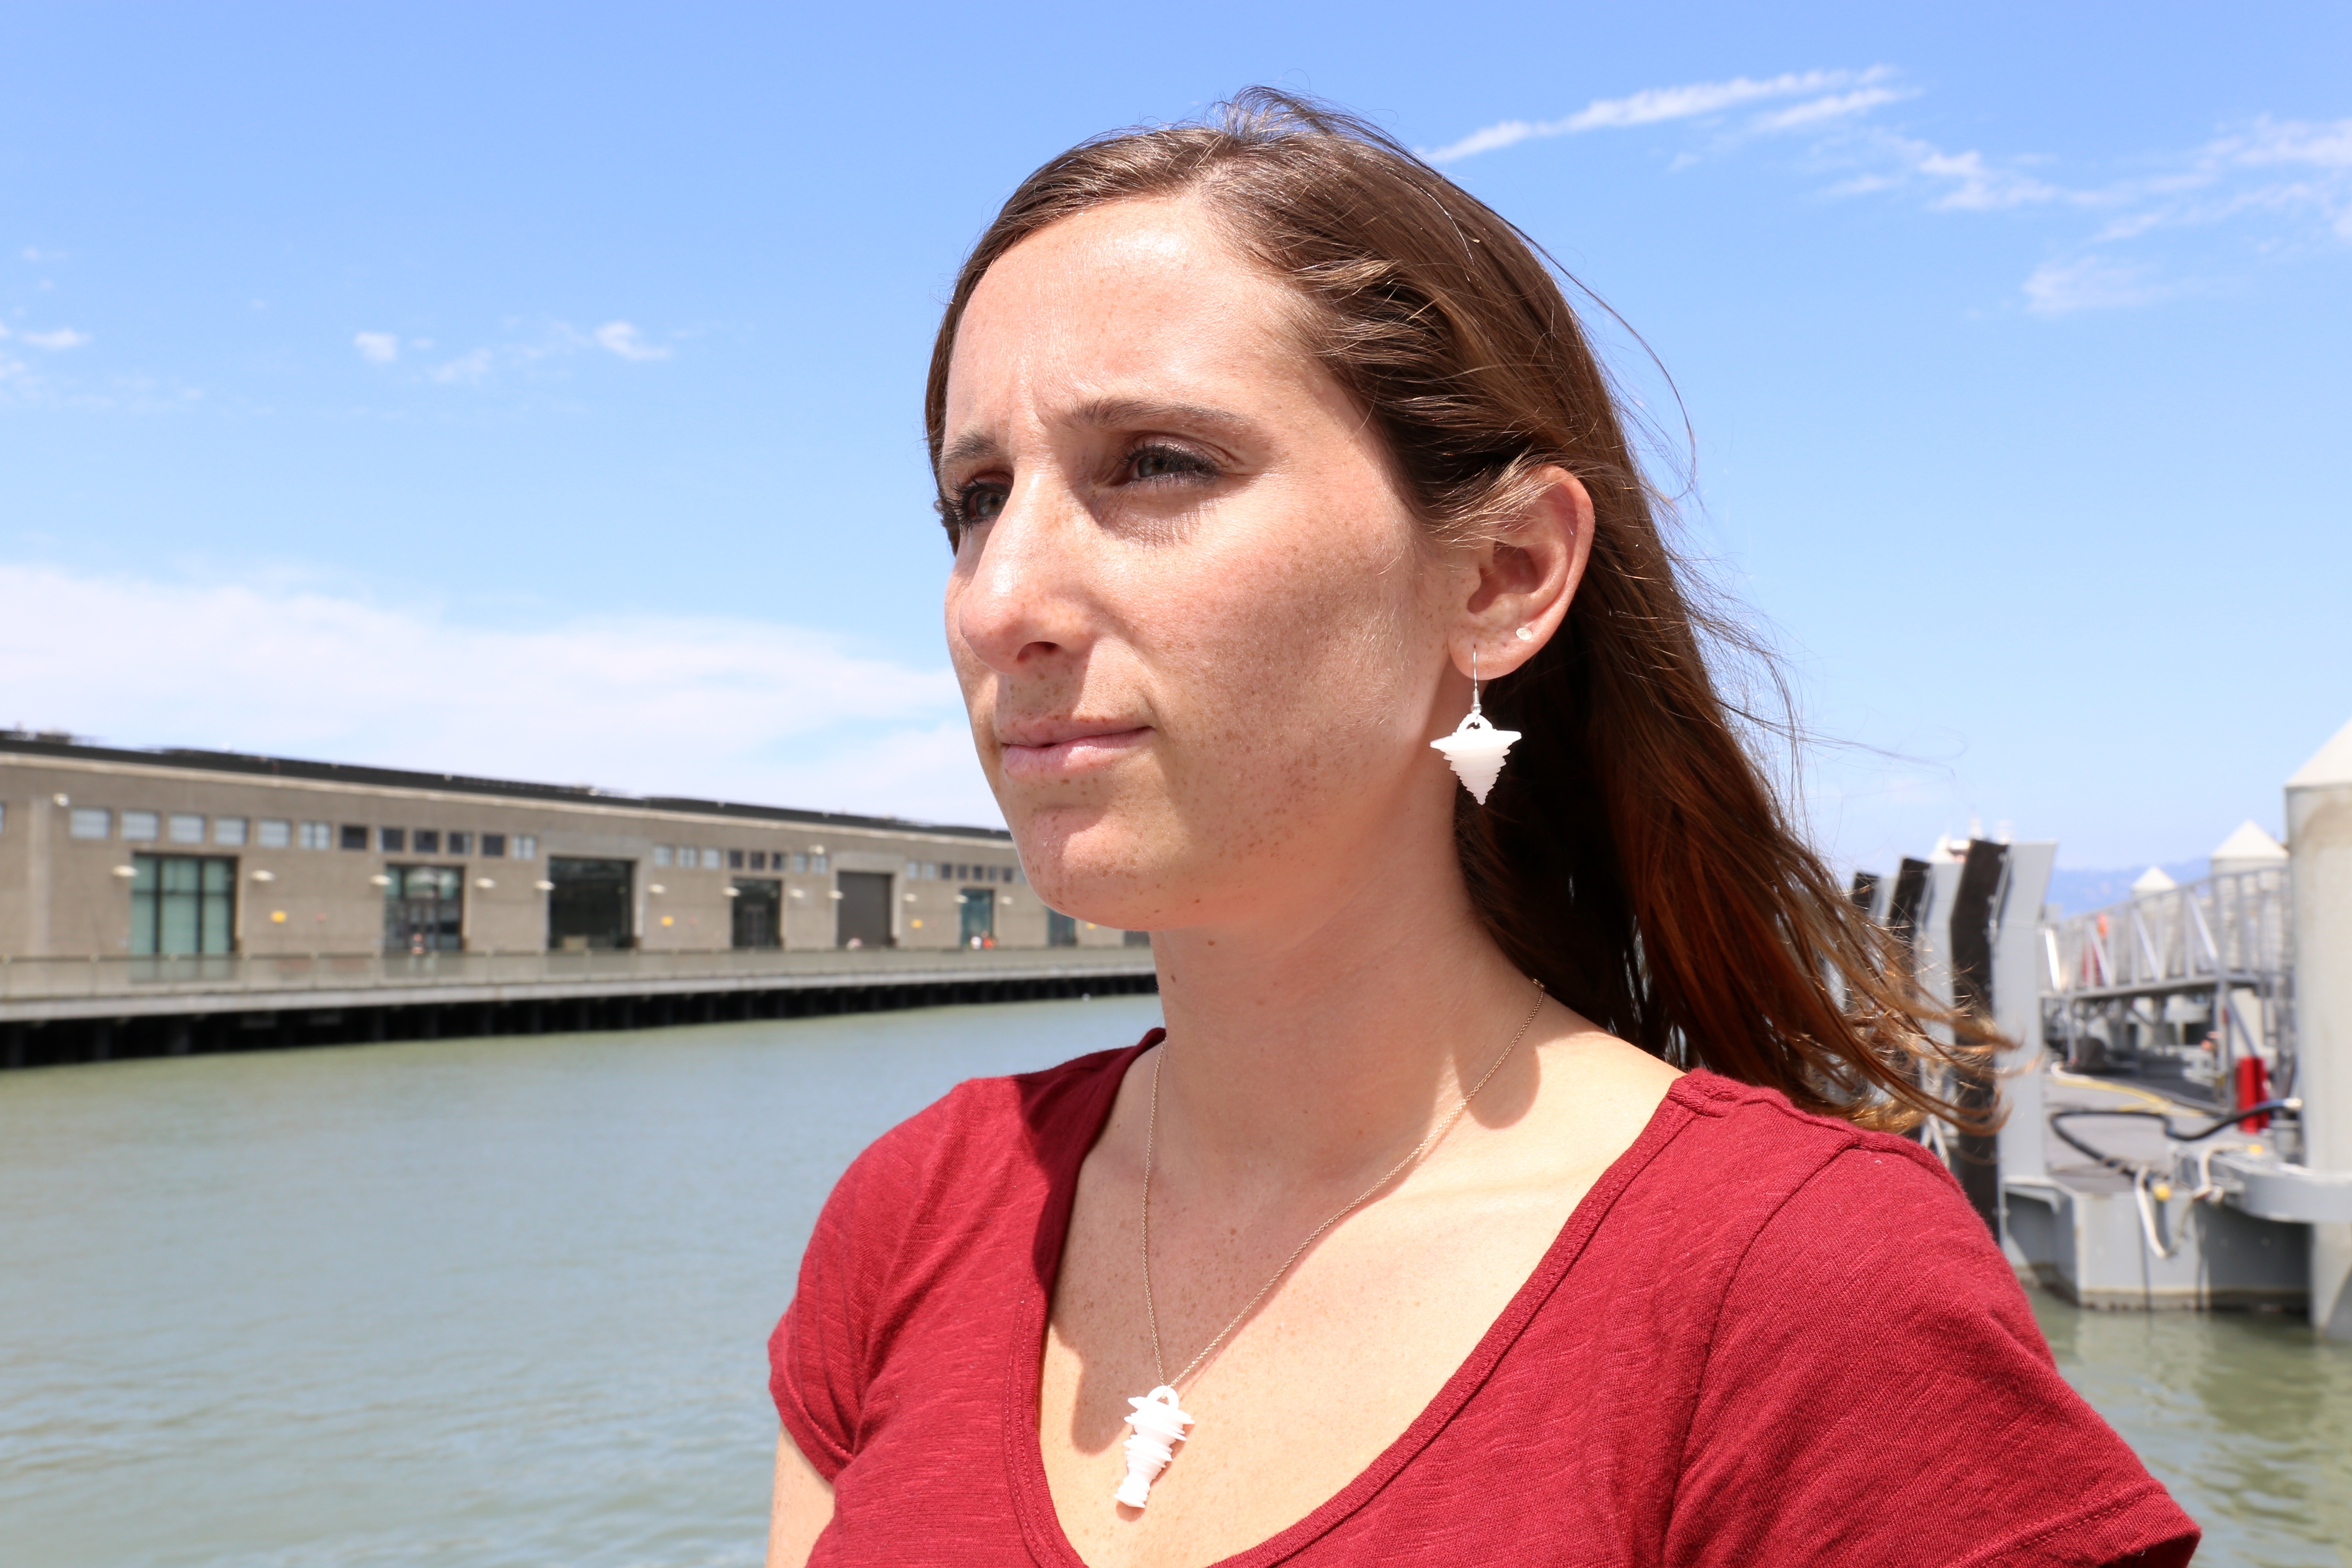
Earrings just not enough for you? Go through the same steps to make an audio necklace, or you can download a stl file of my audio necklace here.