How to 3D Print a Robotic Worm Segment
by nwlauer in Workshop > 3D Printing
788 Views, 2 Favorites, 0 Comments
How to 3D Print a Robotic Worm Segment
.jpg)
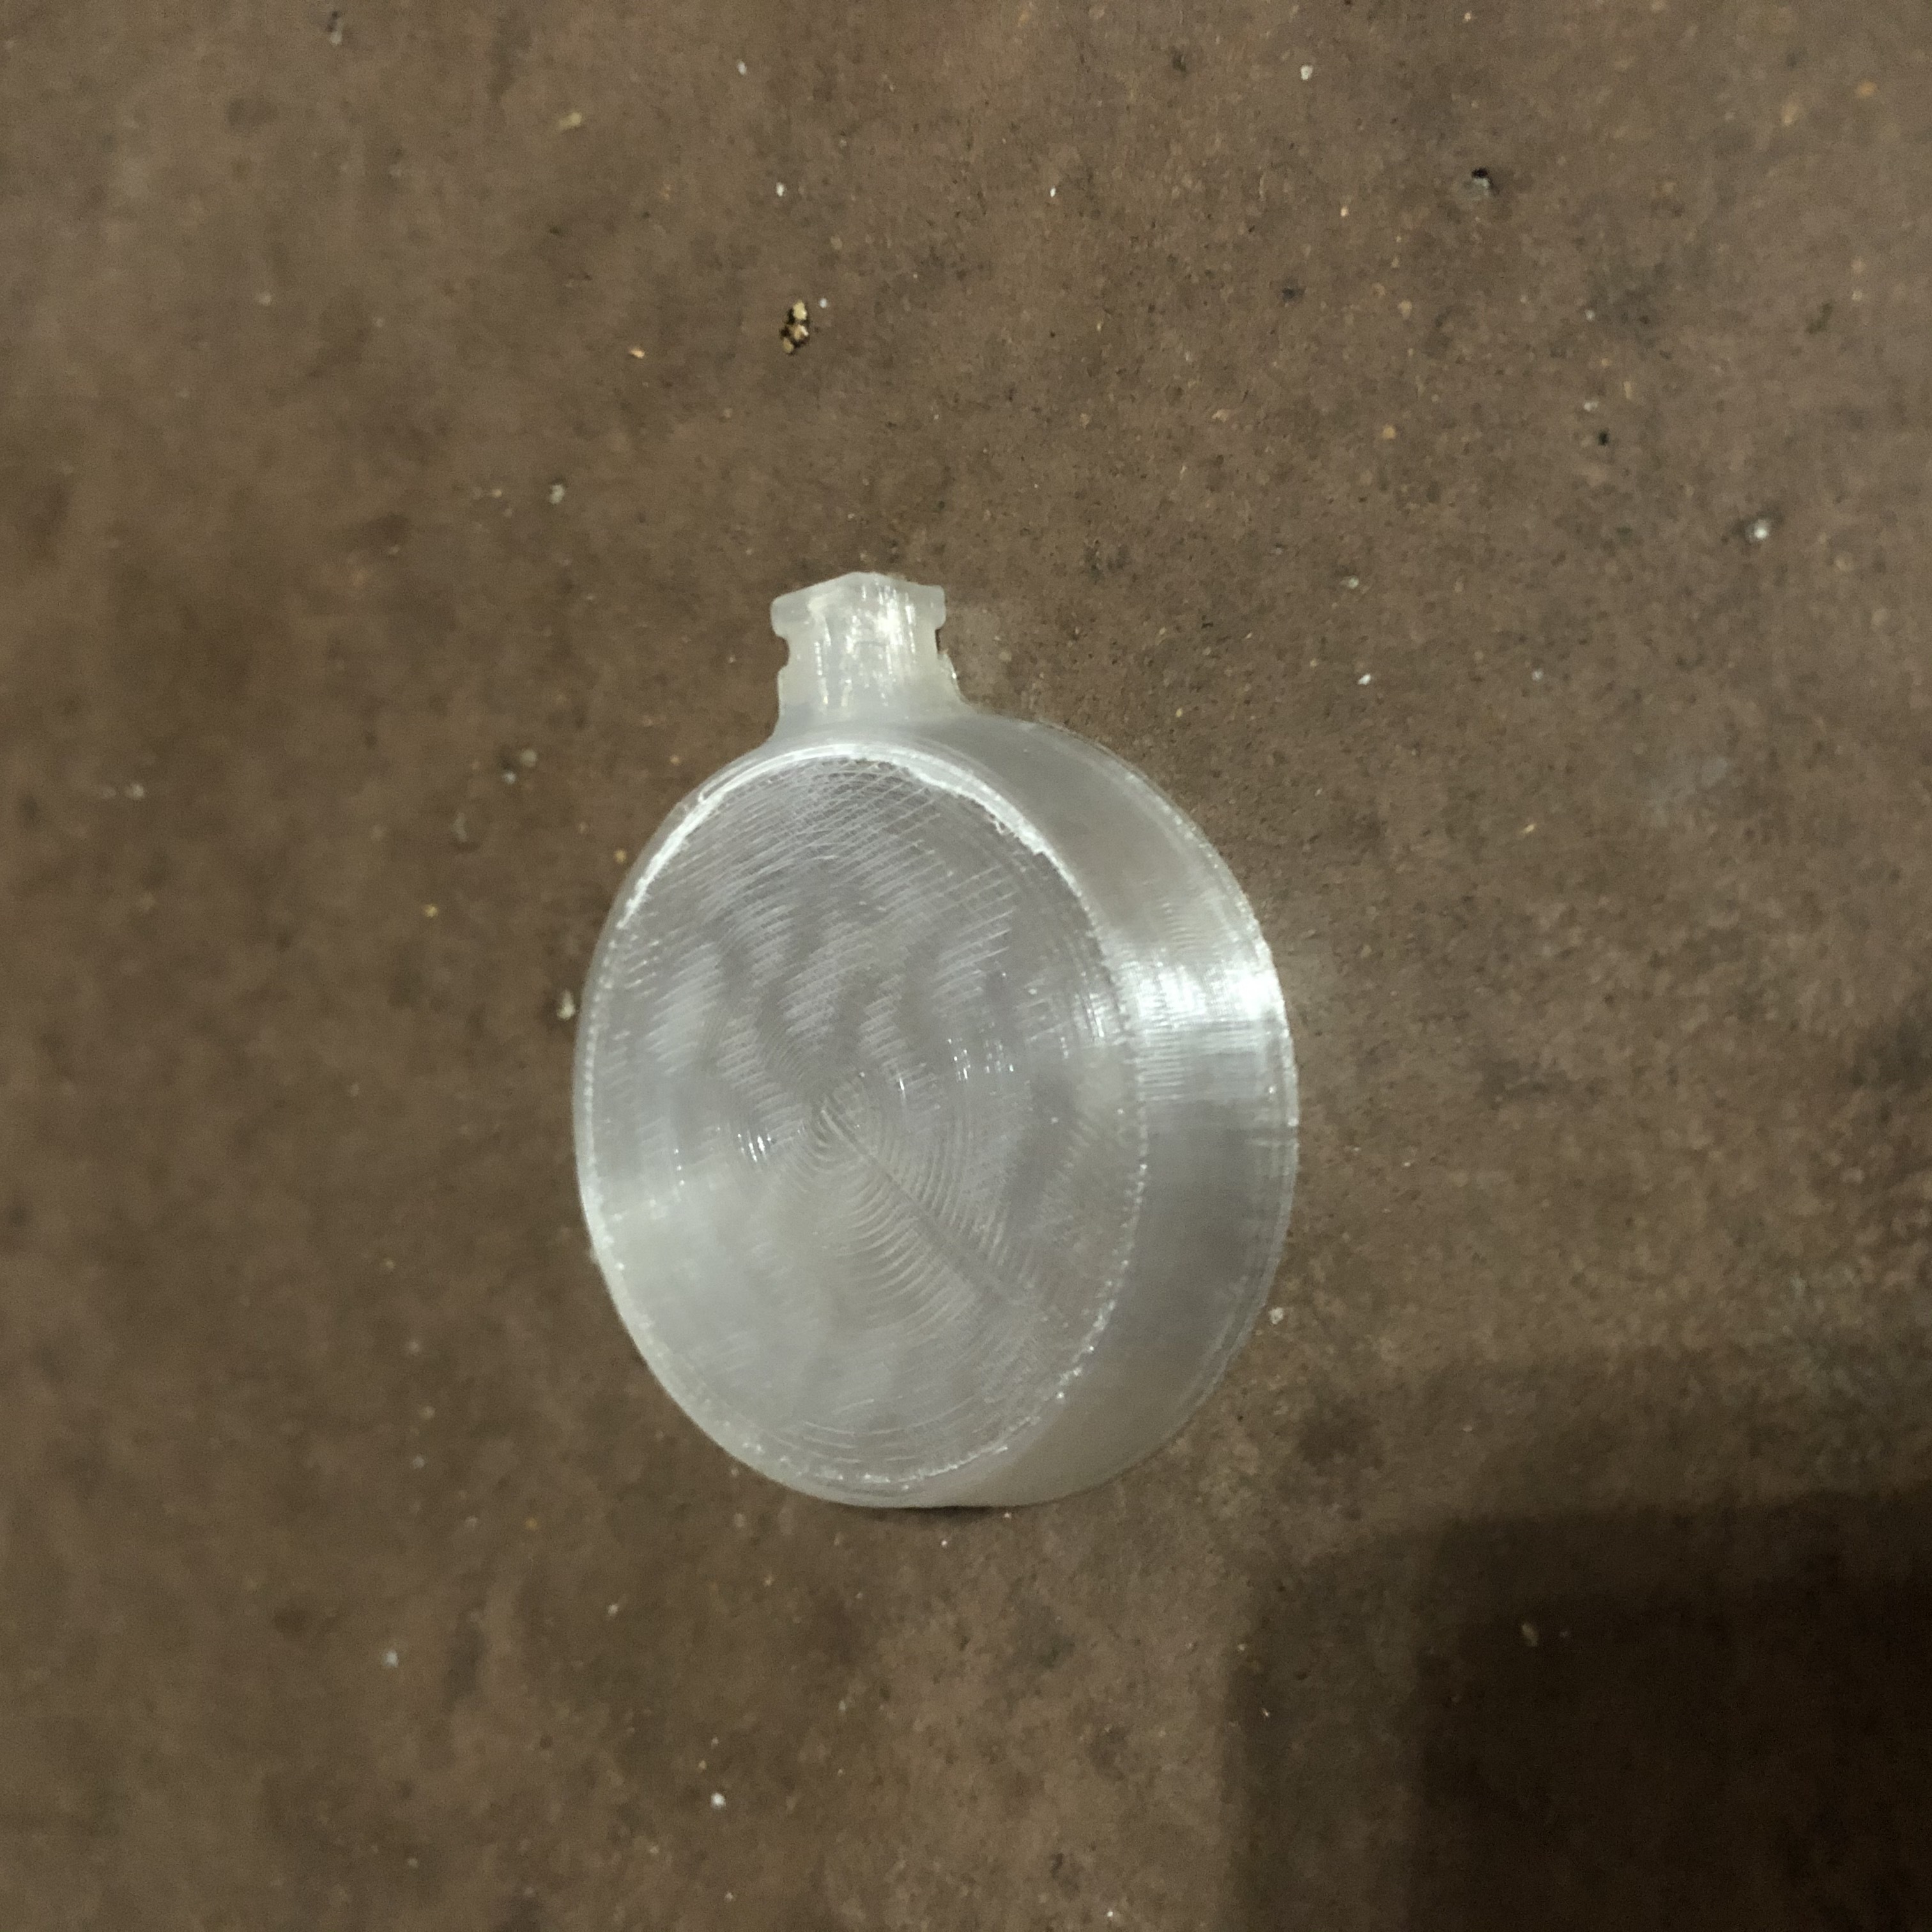
The idea of this project is to create a soft robotic segment to use in a robotic worm.
This instructable will guide you through the printing of 1 segment.
Supplies
1. A 3D Printer(Must be capable of printing standard NinjaFlex)
2. Ninjaflex Filament
3. PVA Filament
4. A Pick
5. 4mm OD Silicone Tubing
6. 4 inch Zip Tie
Optional: A pump and valves for activation
Slicer Settings
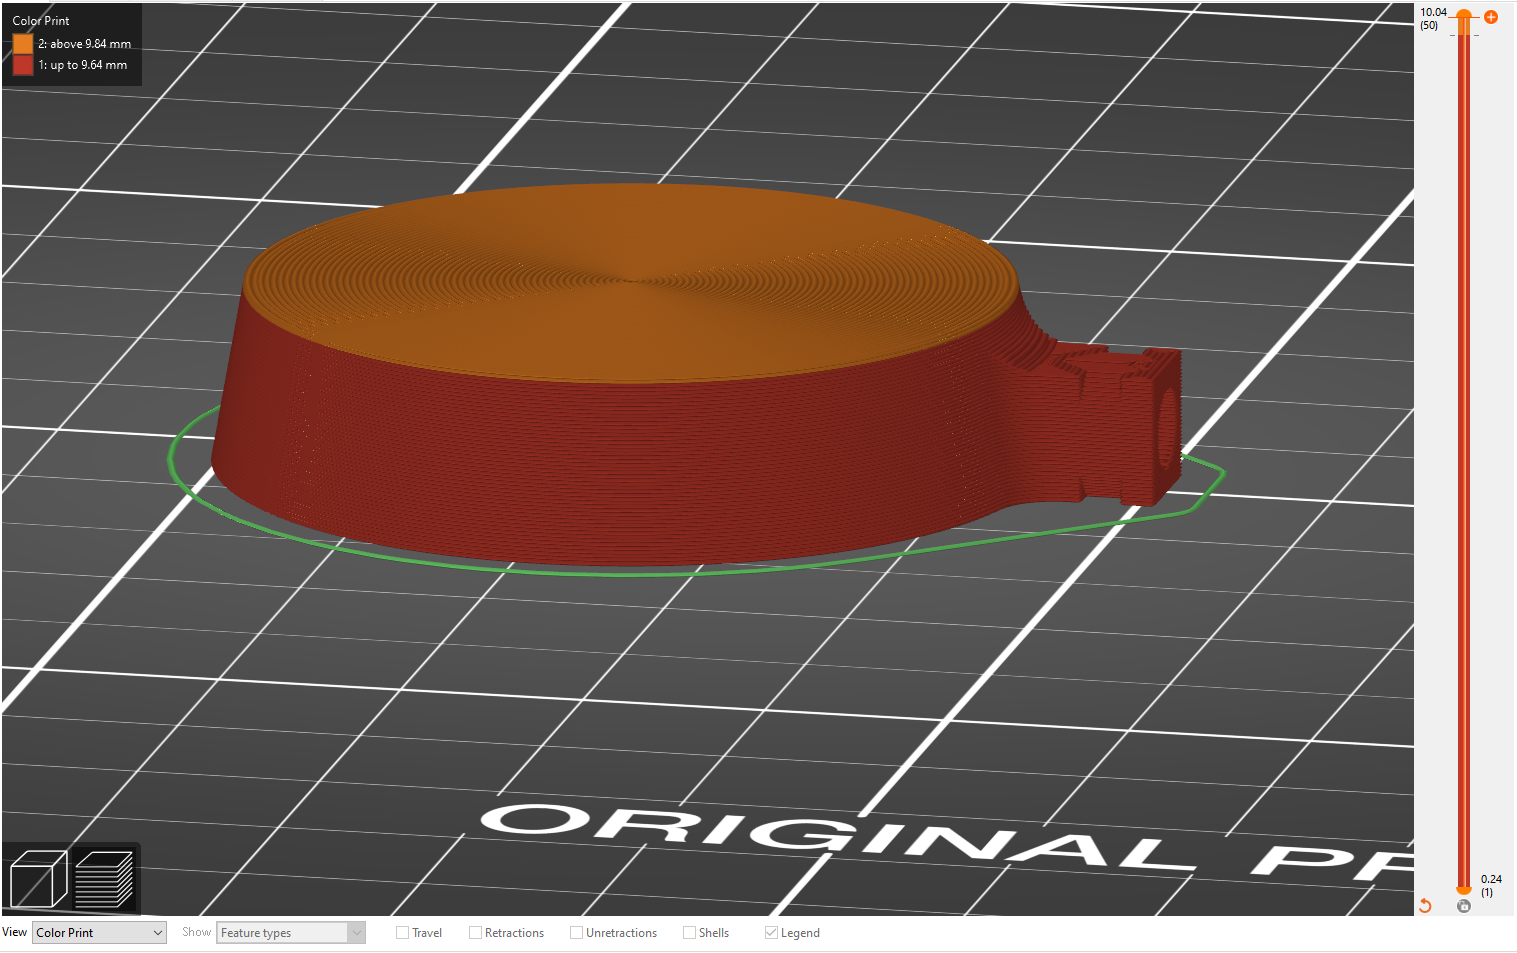
You will need to start with a working NinjaFlex profile on your printer in order to dial it in to be semi-airtight:
For Prusa MK3/MK3s start with this
For Prusa MK2/2s with Bondtech start with the MK2S_Soft_Robot_Profile ini on my GitHub
For other printers use this Adafruit guide to get you started
As long as you can get smooth outlines and there is little to no under extrusion, you will be fine. The segment does not have crazy overhangs and some stringing does not affect the functionality.
Next change the following settings:
Perimeters: 2
Top and Bottom Layers: 2
Layer height: 0.2
Infill: 100%
Solid Infill patterns: Concentric
Now that you have a good starting point you can start to dial in some settings. Adjust the following in order:
1. Extrusion Multiplier: To test this use the pillow-actuator-v2 stl file and just print the bottom two layers to ensure there is no holes or gaps (you can use a light and shine it through one side to check). Start with 1.2 and go up from there in increments of 0.05. If there seems to be a gap that always appears in a certain spot you may need to look at the infill overlap or extrusion width.
2. Extrusion Width: To test this use the same file but this time print up to a few layers where you can see the side perimeter of the actuator. There should be no gap between the two perimeter lines at any point. Start with 0.4 and go up in increments of 0.01.
For reference I have listed all of the print settings that work on my Mk2s with a bondtech bellow.
Ninjaflex:
Layer height: 0.2 mm
Initial Layer Height: 0.24 mm
Extrusion Width: 0.45 for perimeters and 0.4 for top solid infill
Perimeters: 2
Top and bottom layers: 2
Infill: 100%
All Infill Patterns: Concentric
Speed: 20mm/s everywhere
Extrusion Multiplier: 1.3
Filament Settings
Nozzle Temp: 240
Bed Temp: Ambient
Cooling: Auto
Retraction Length: 0.4 mm
Lift Z: 0 mm
Downloads
Printing
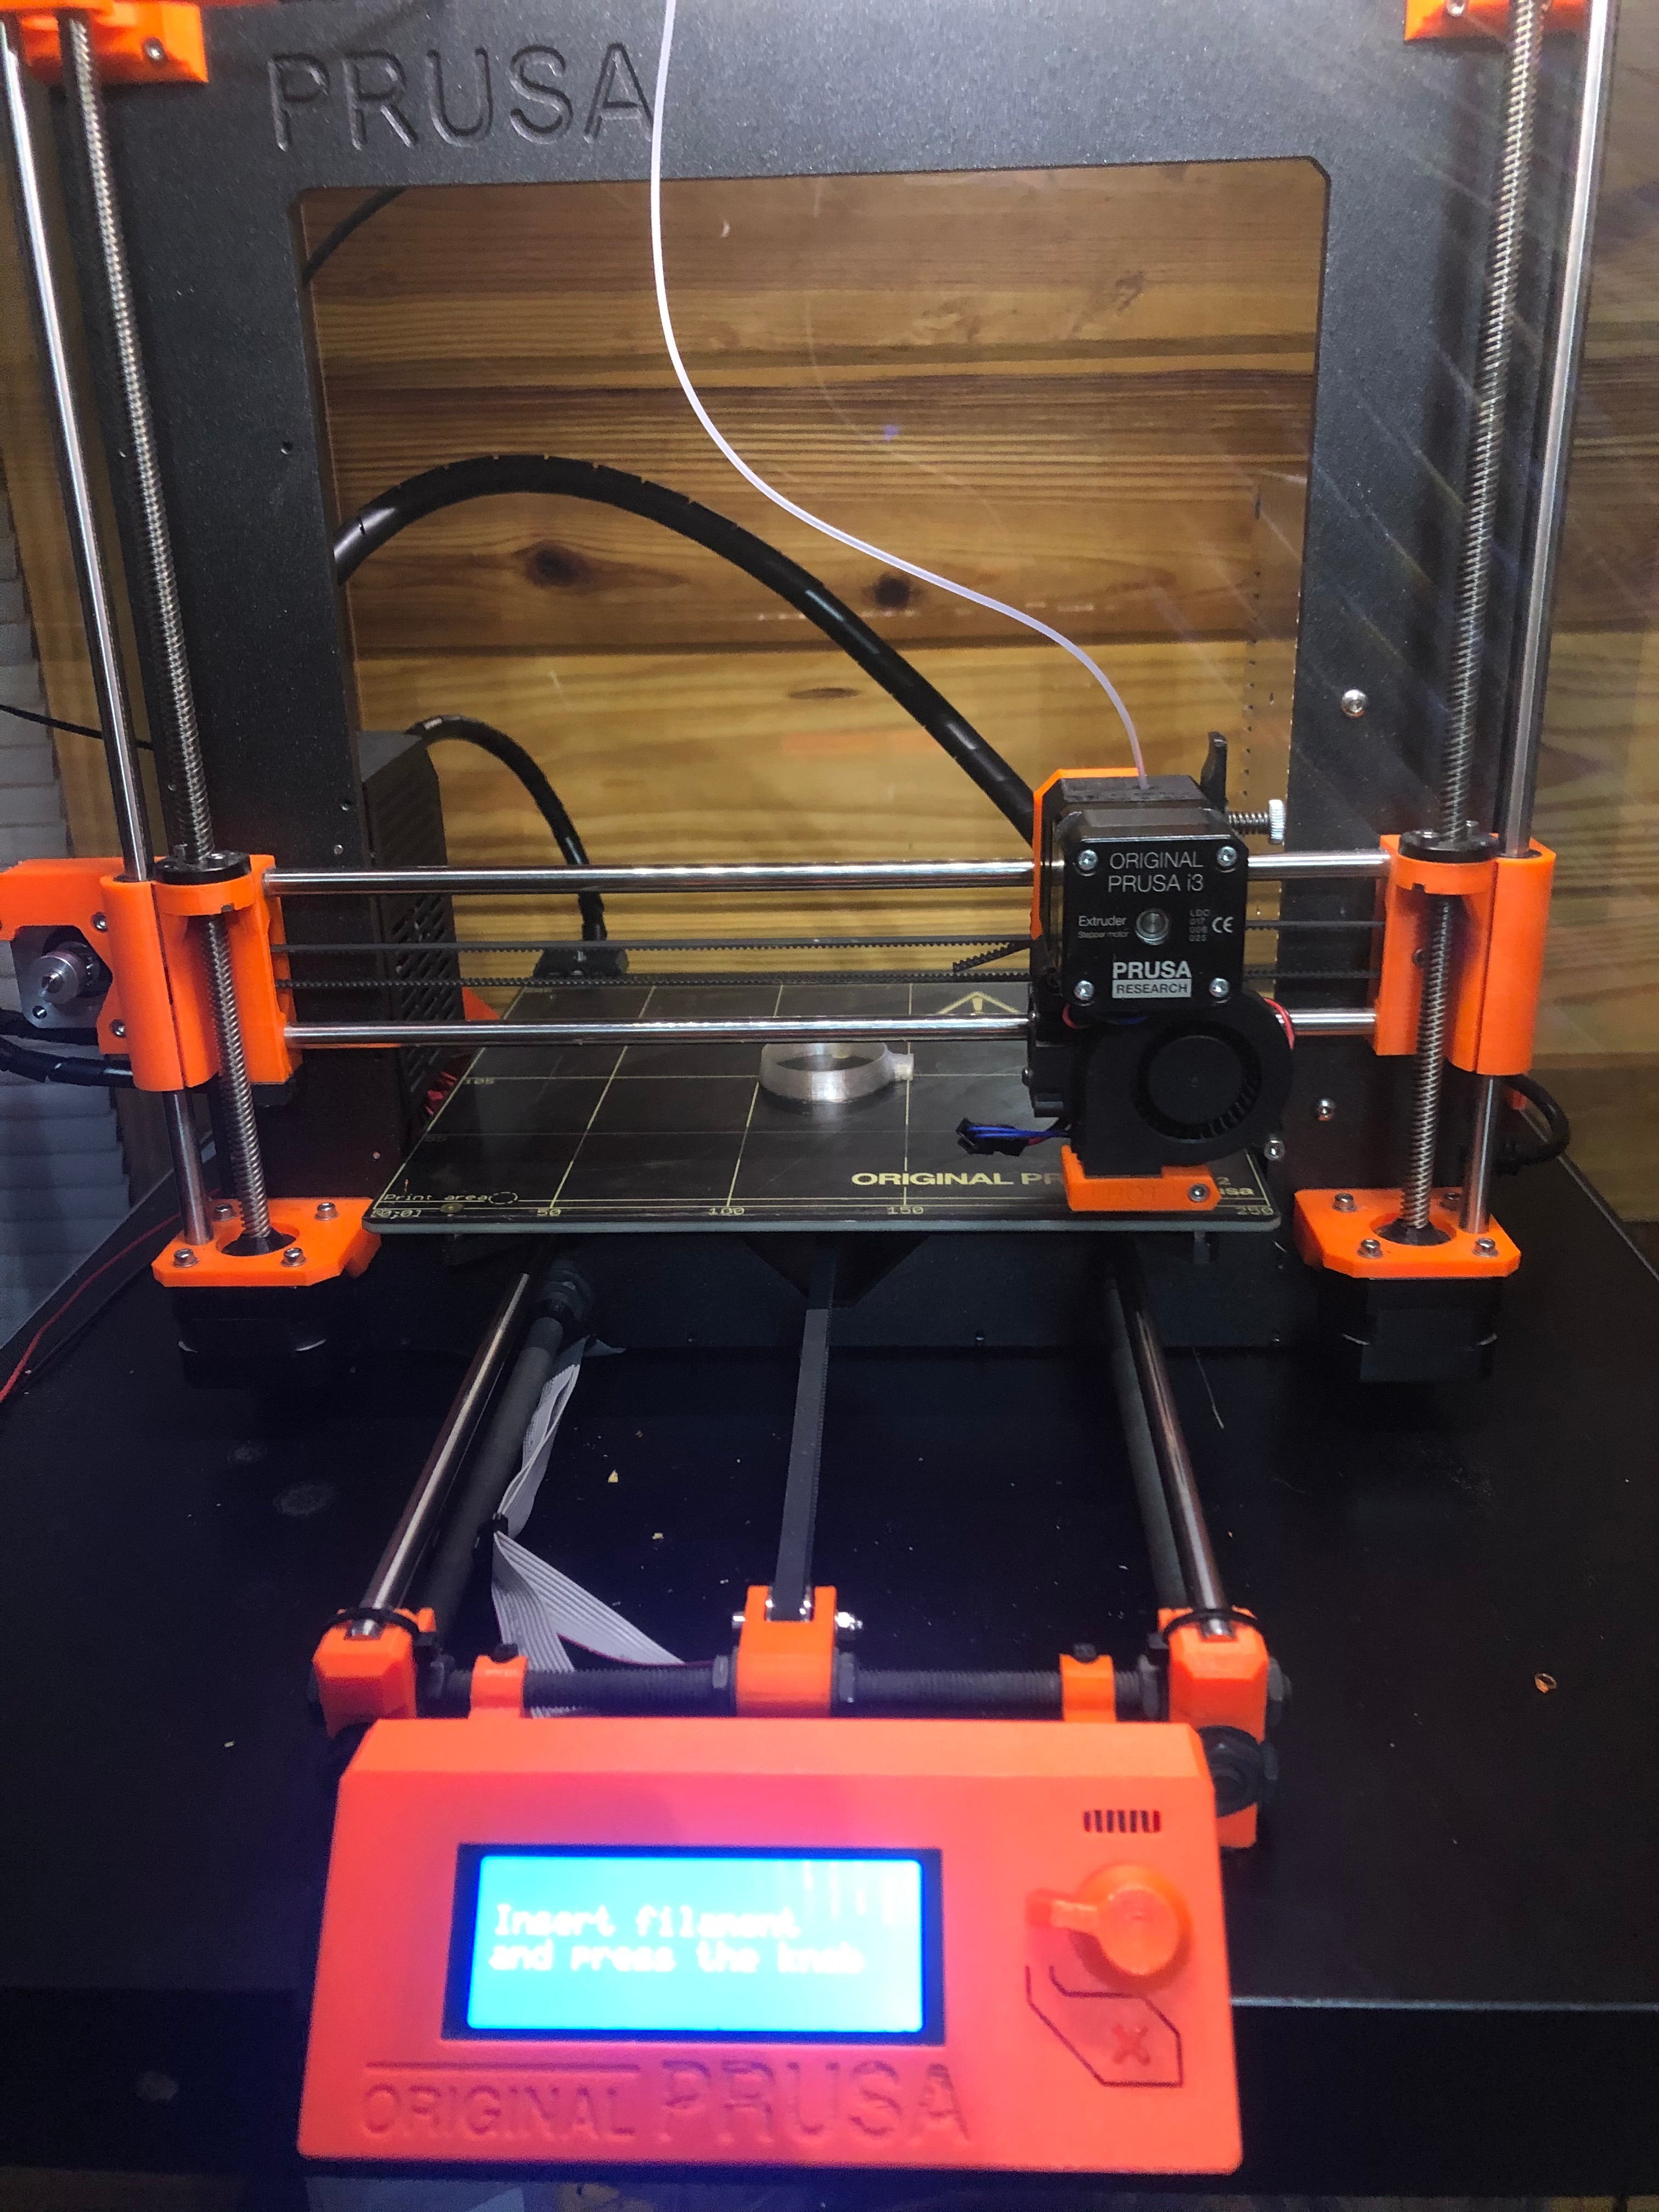
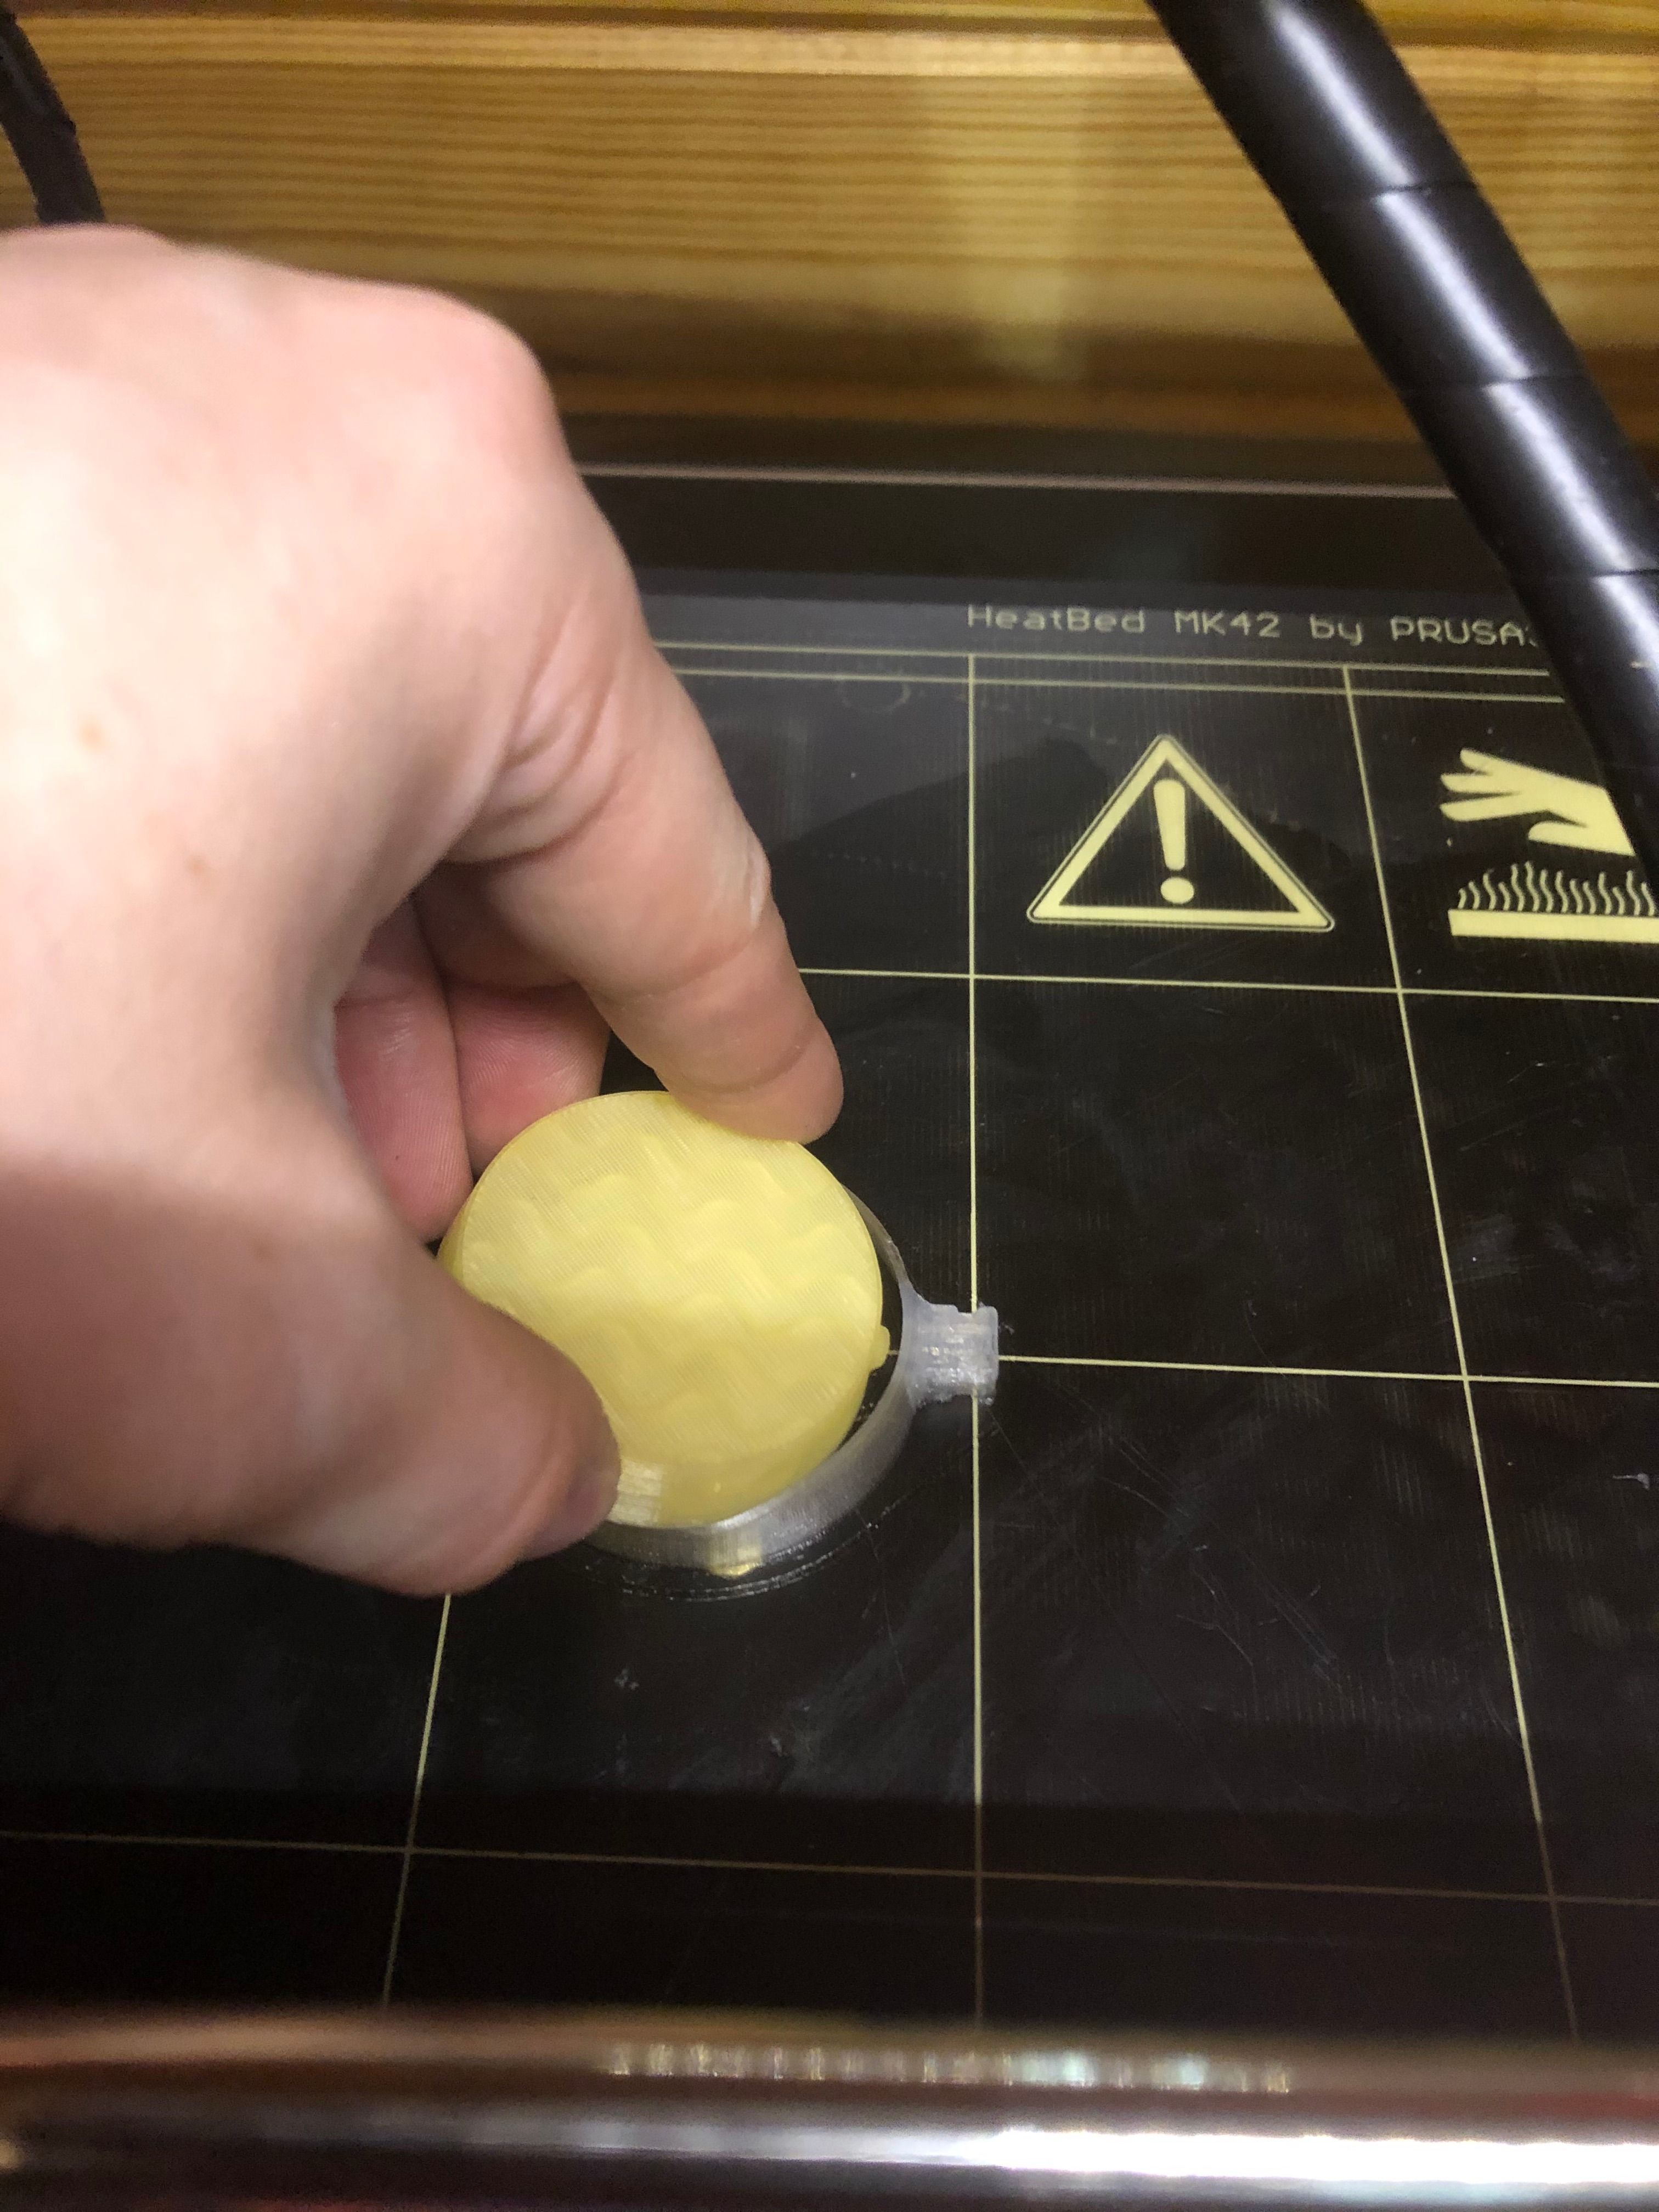
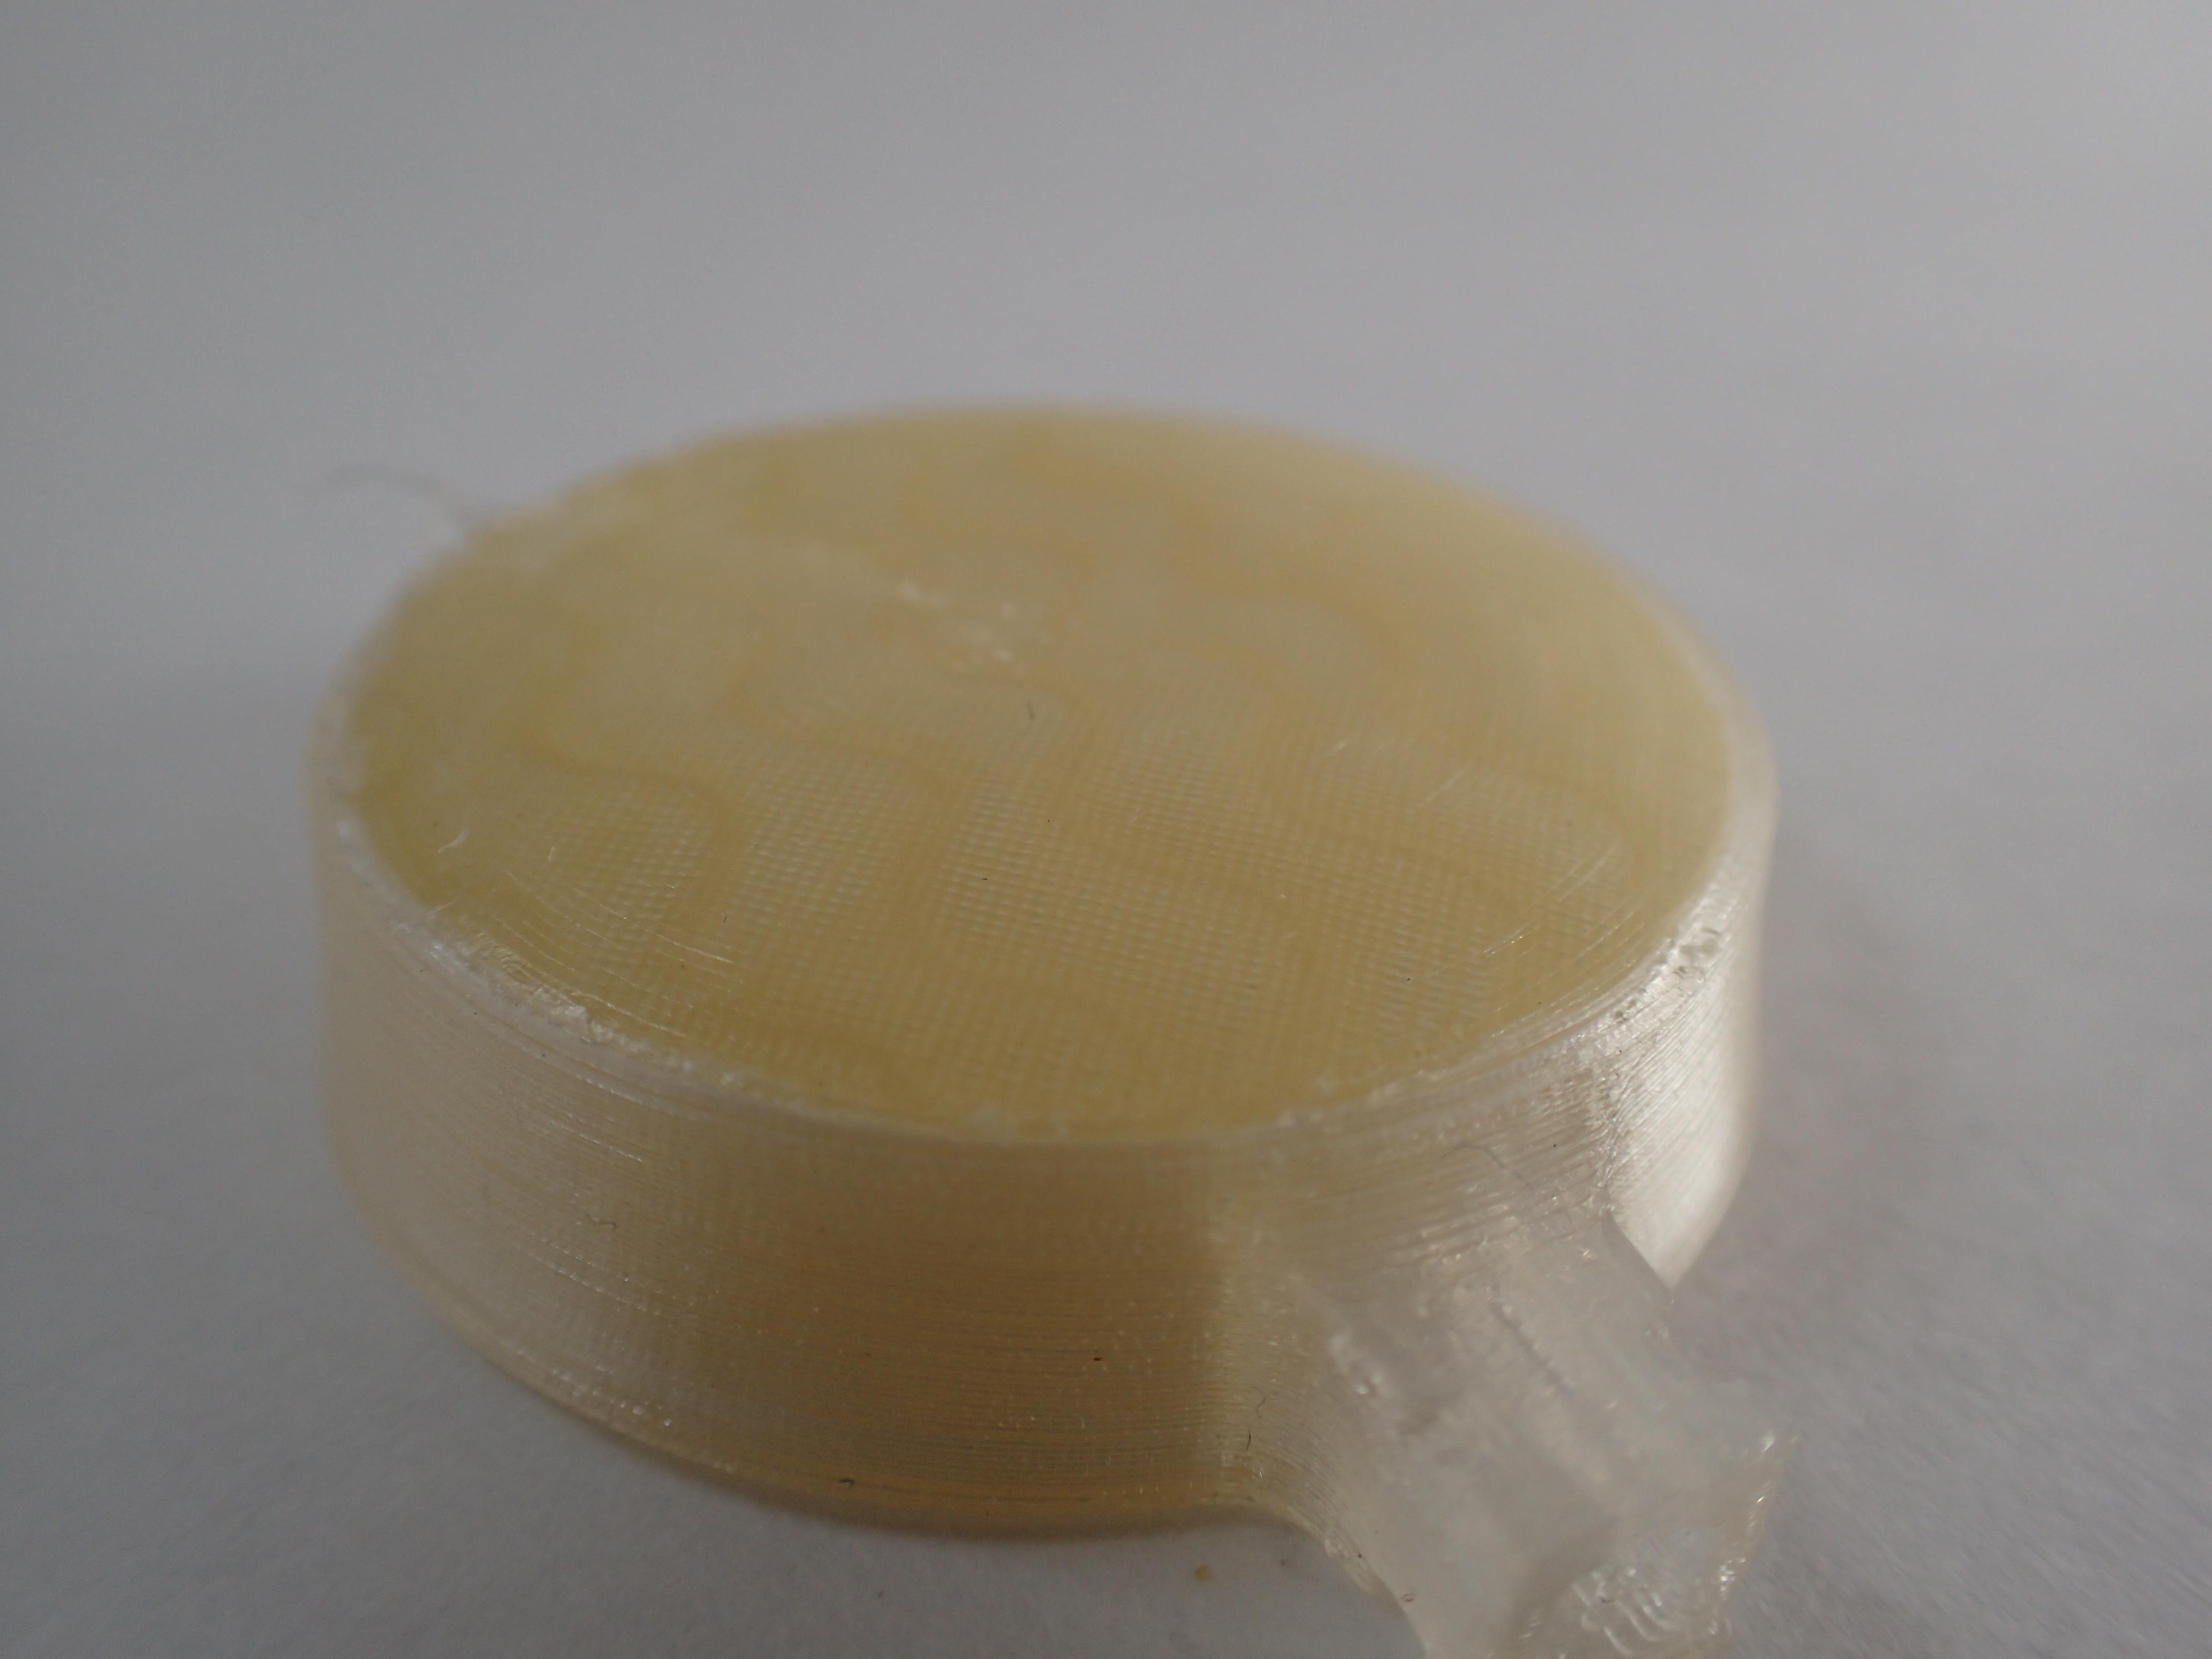
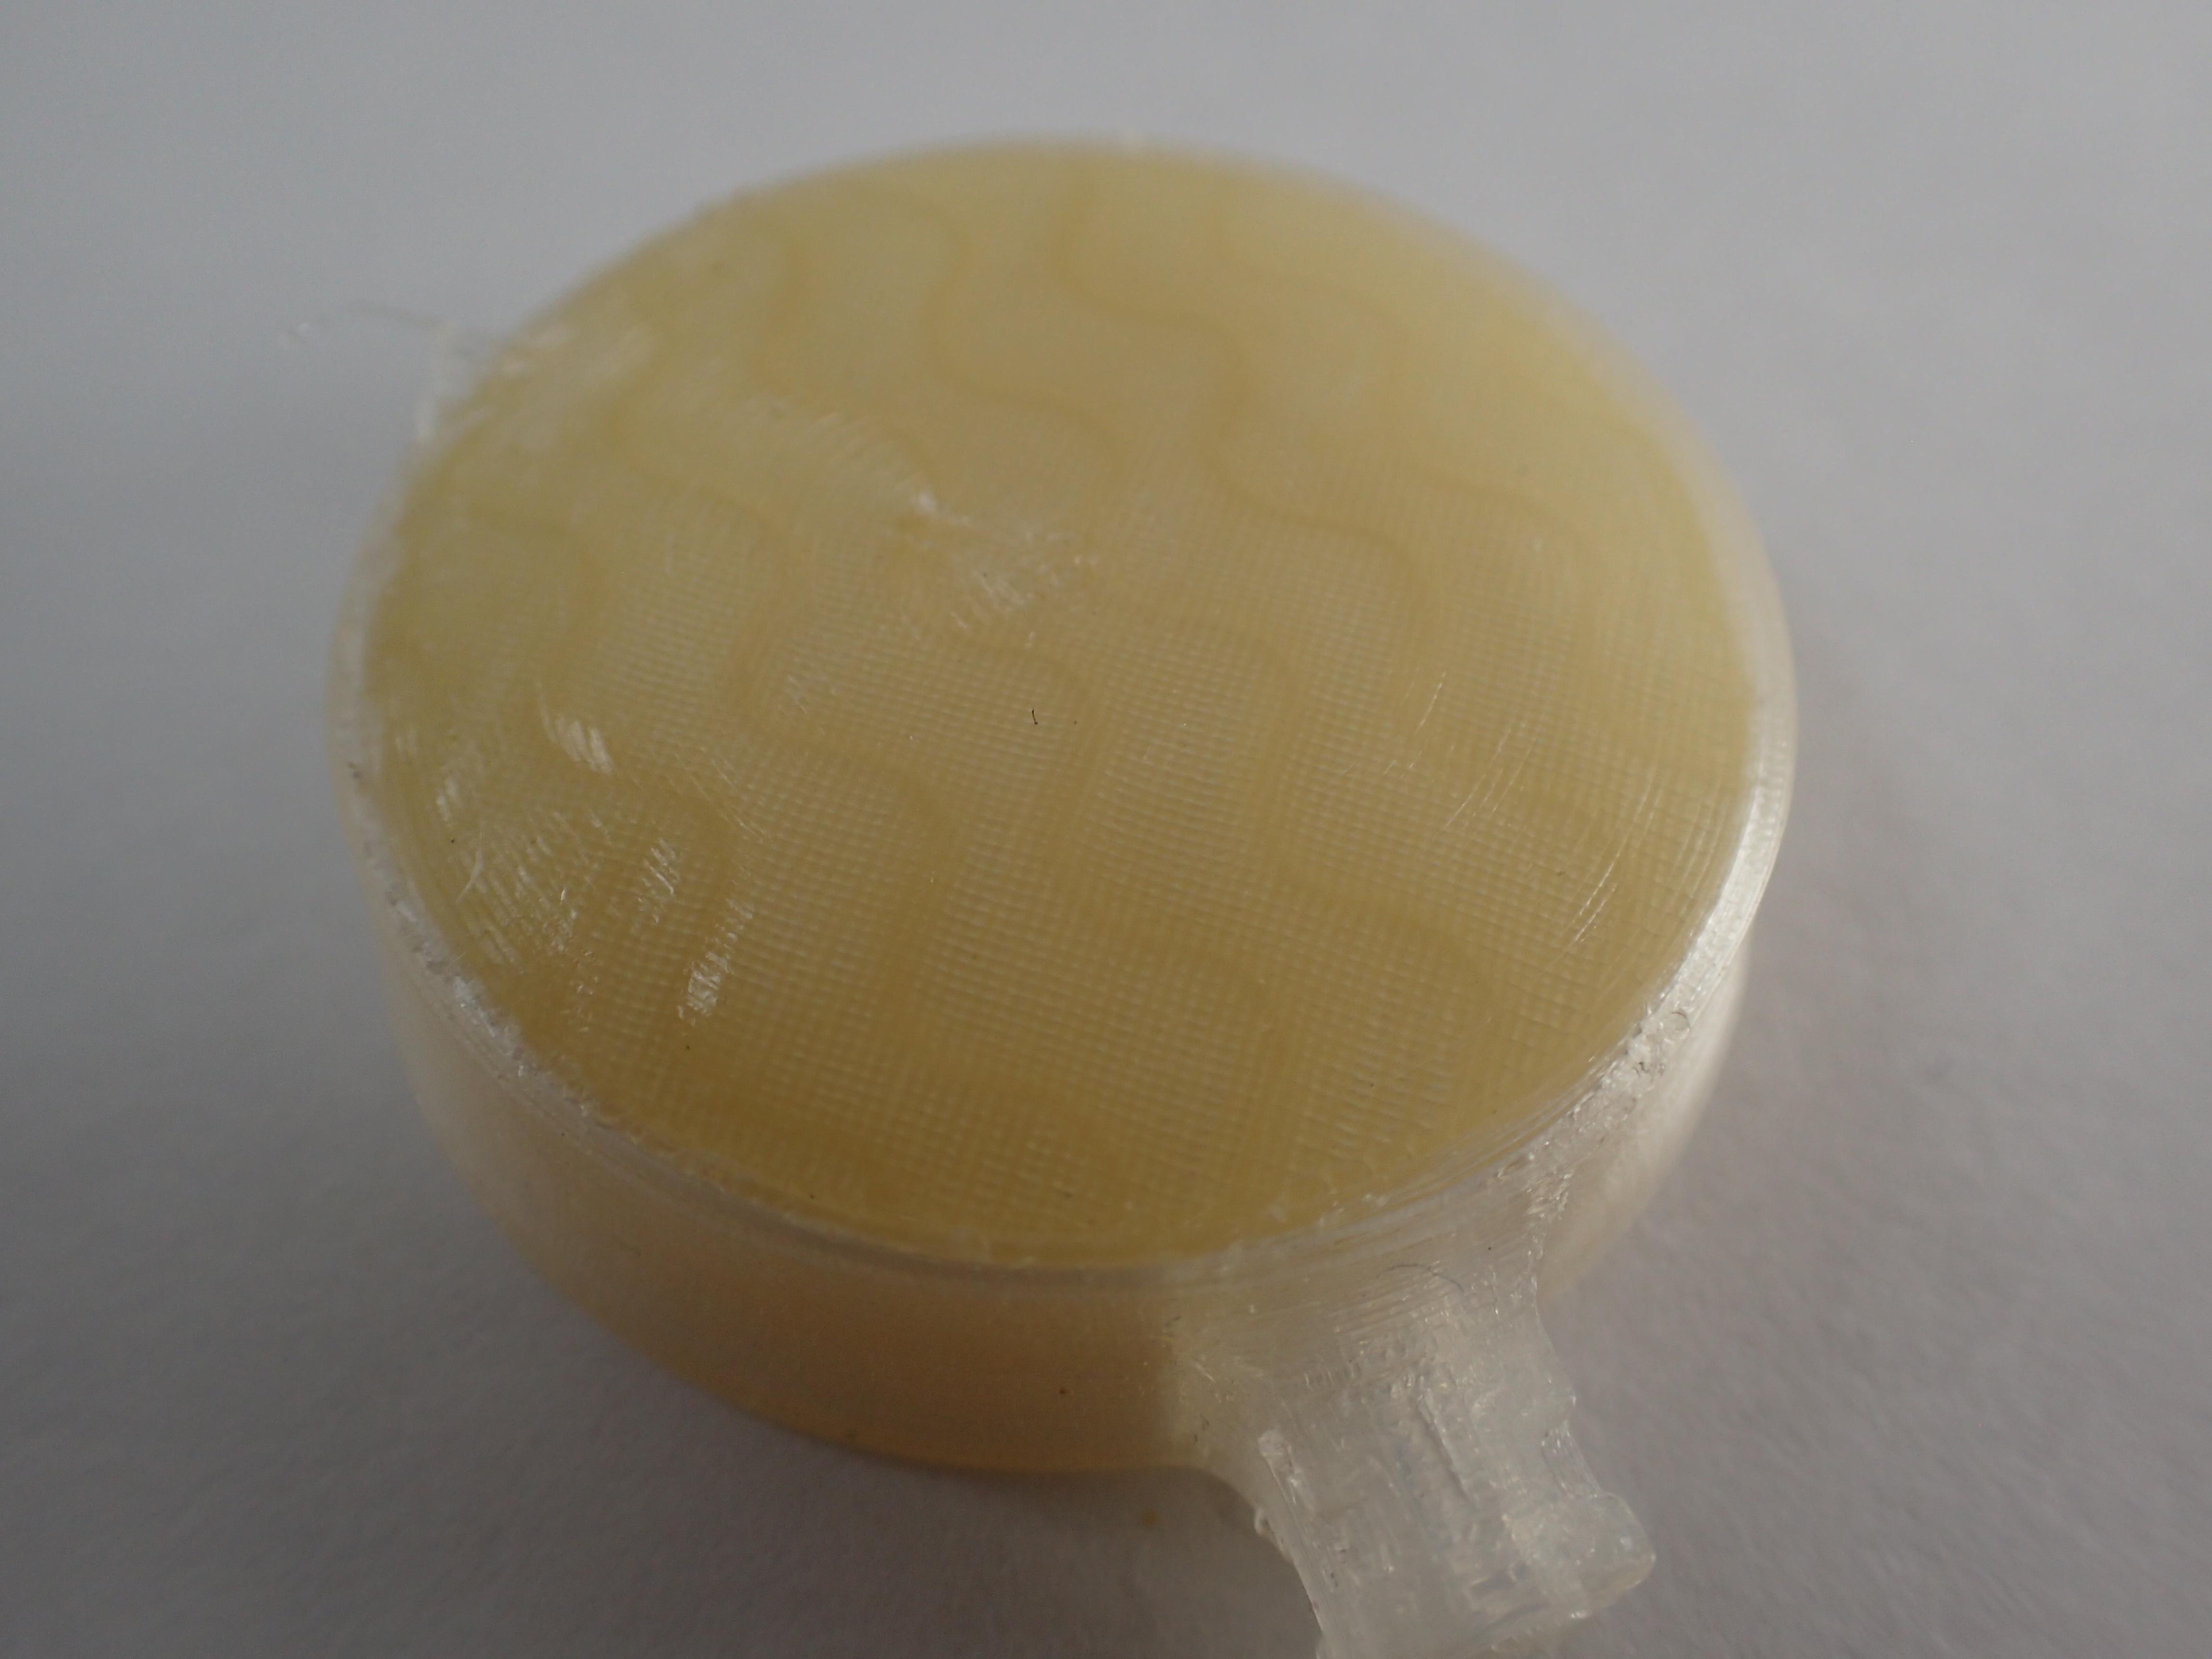
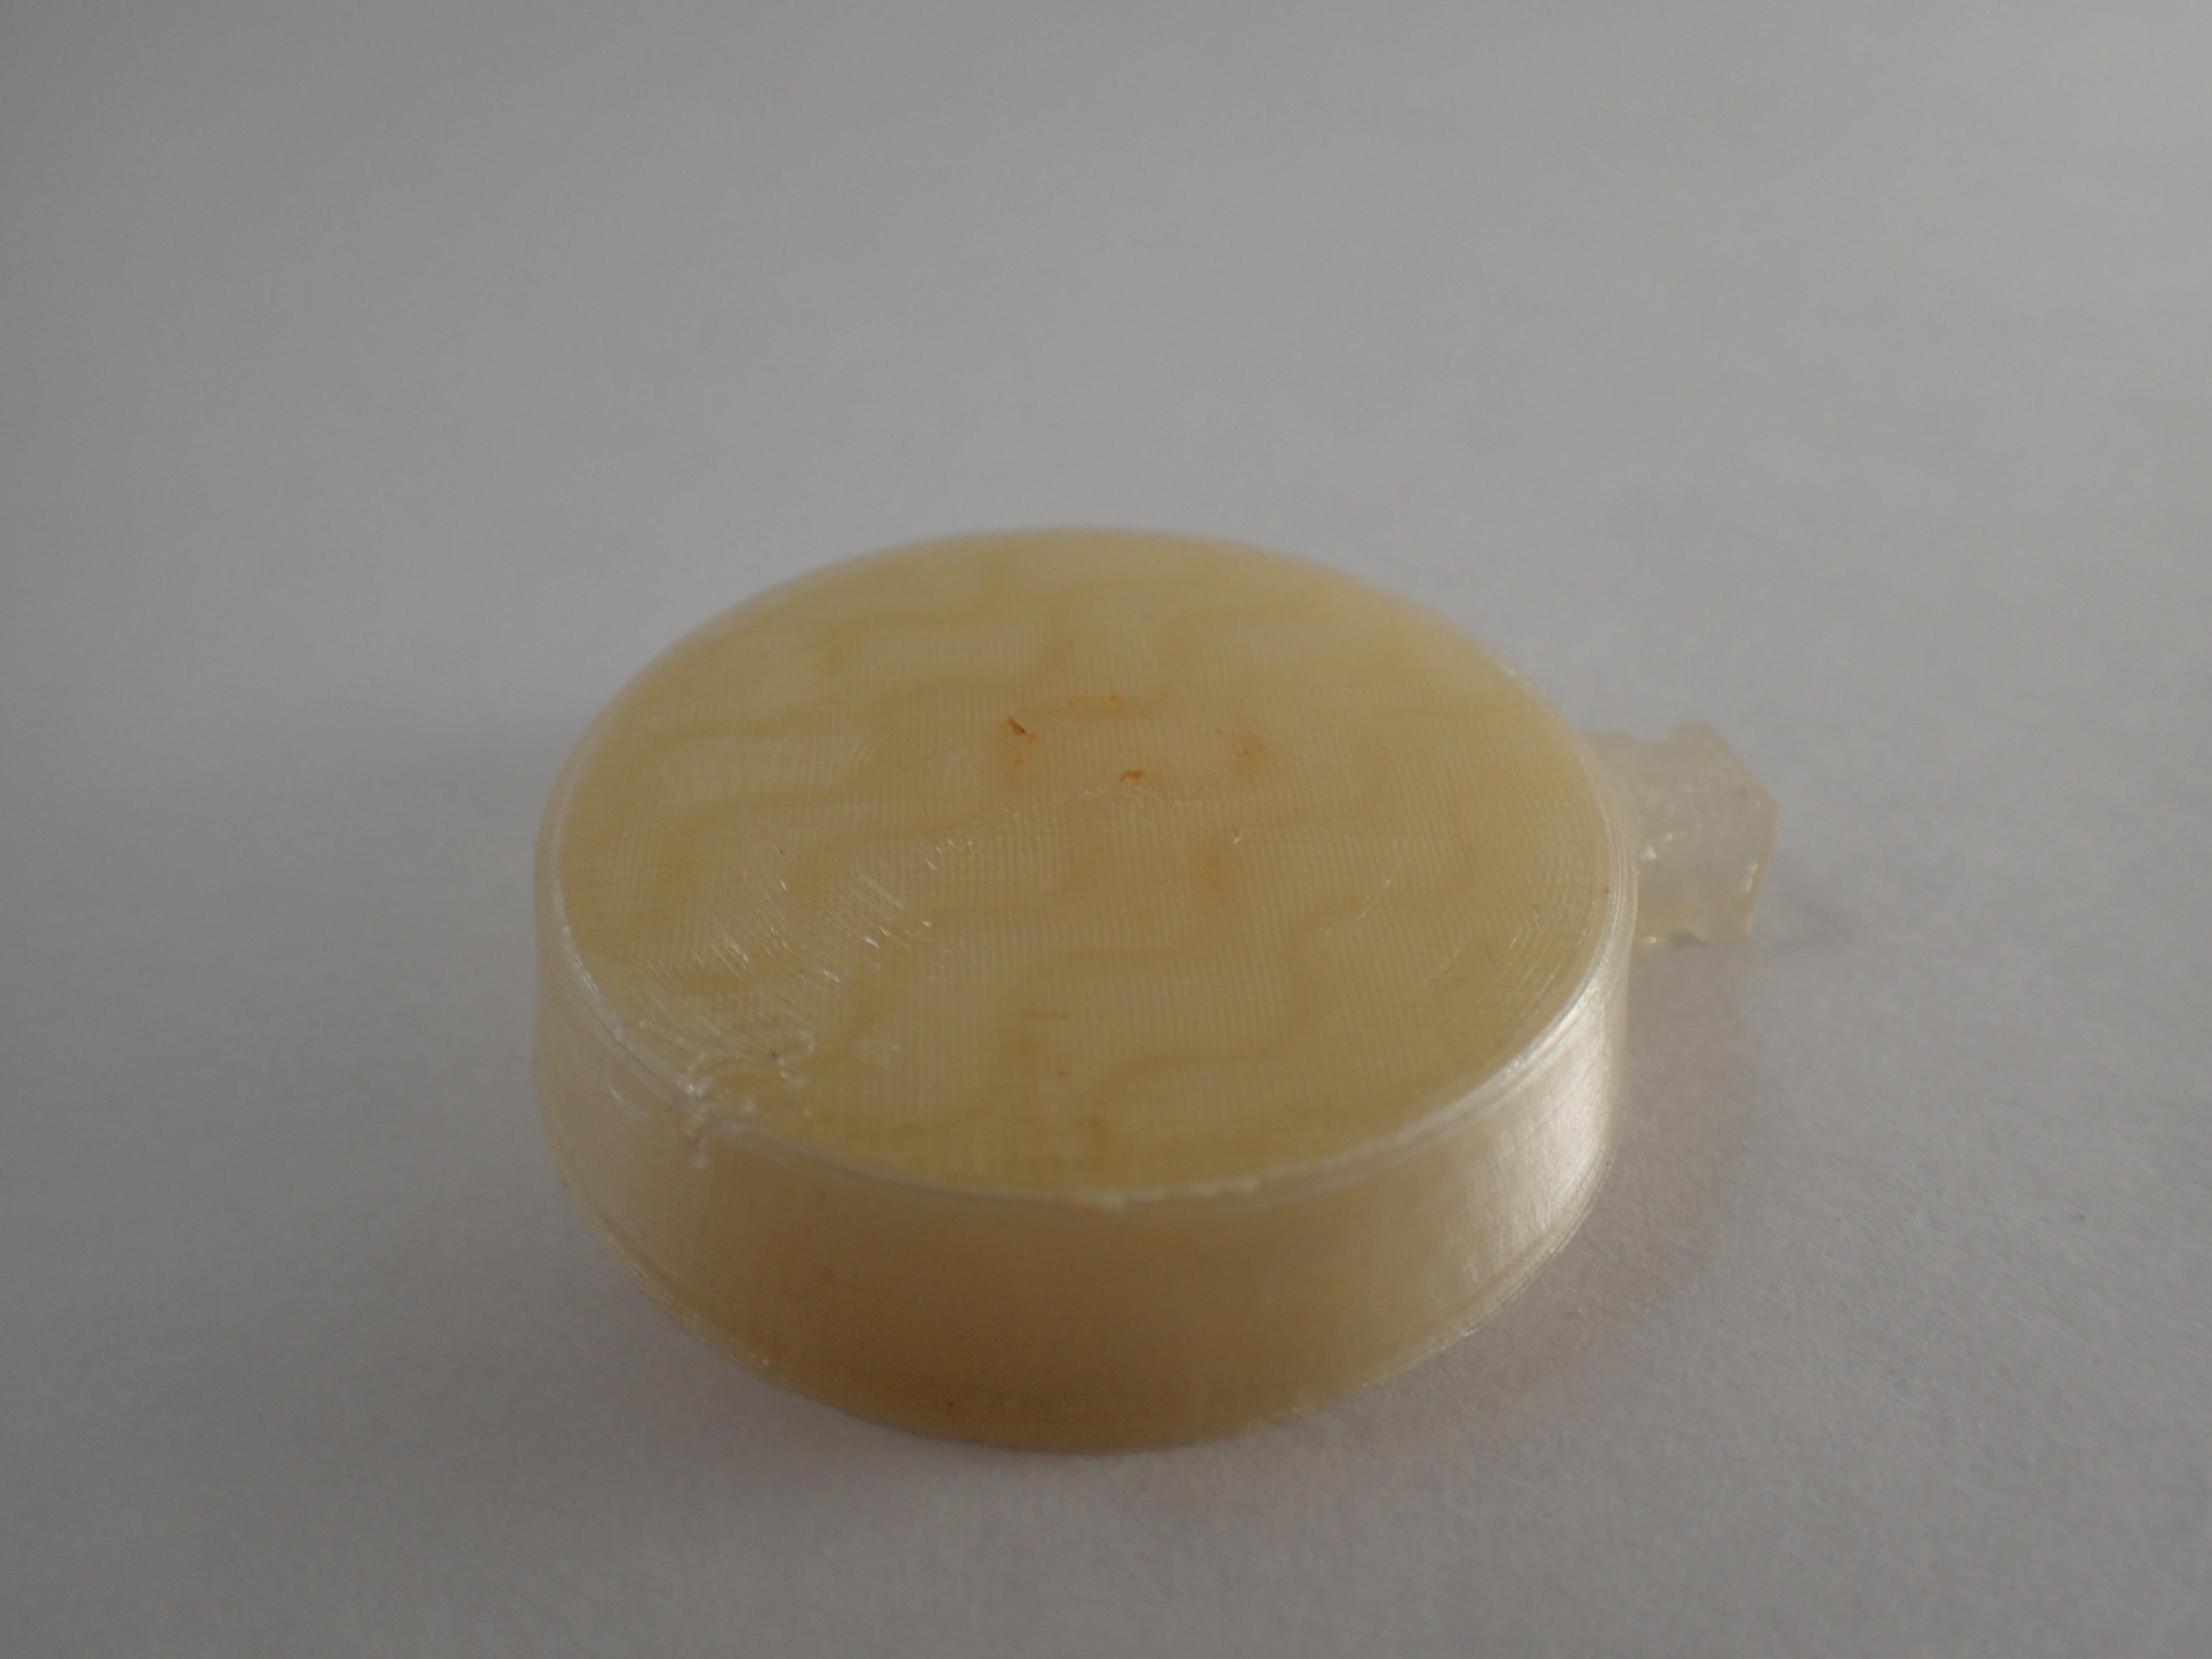
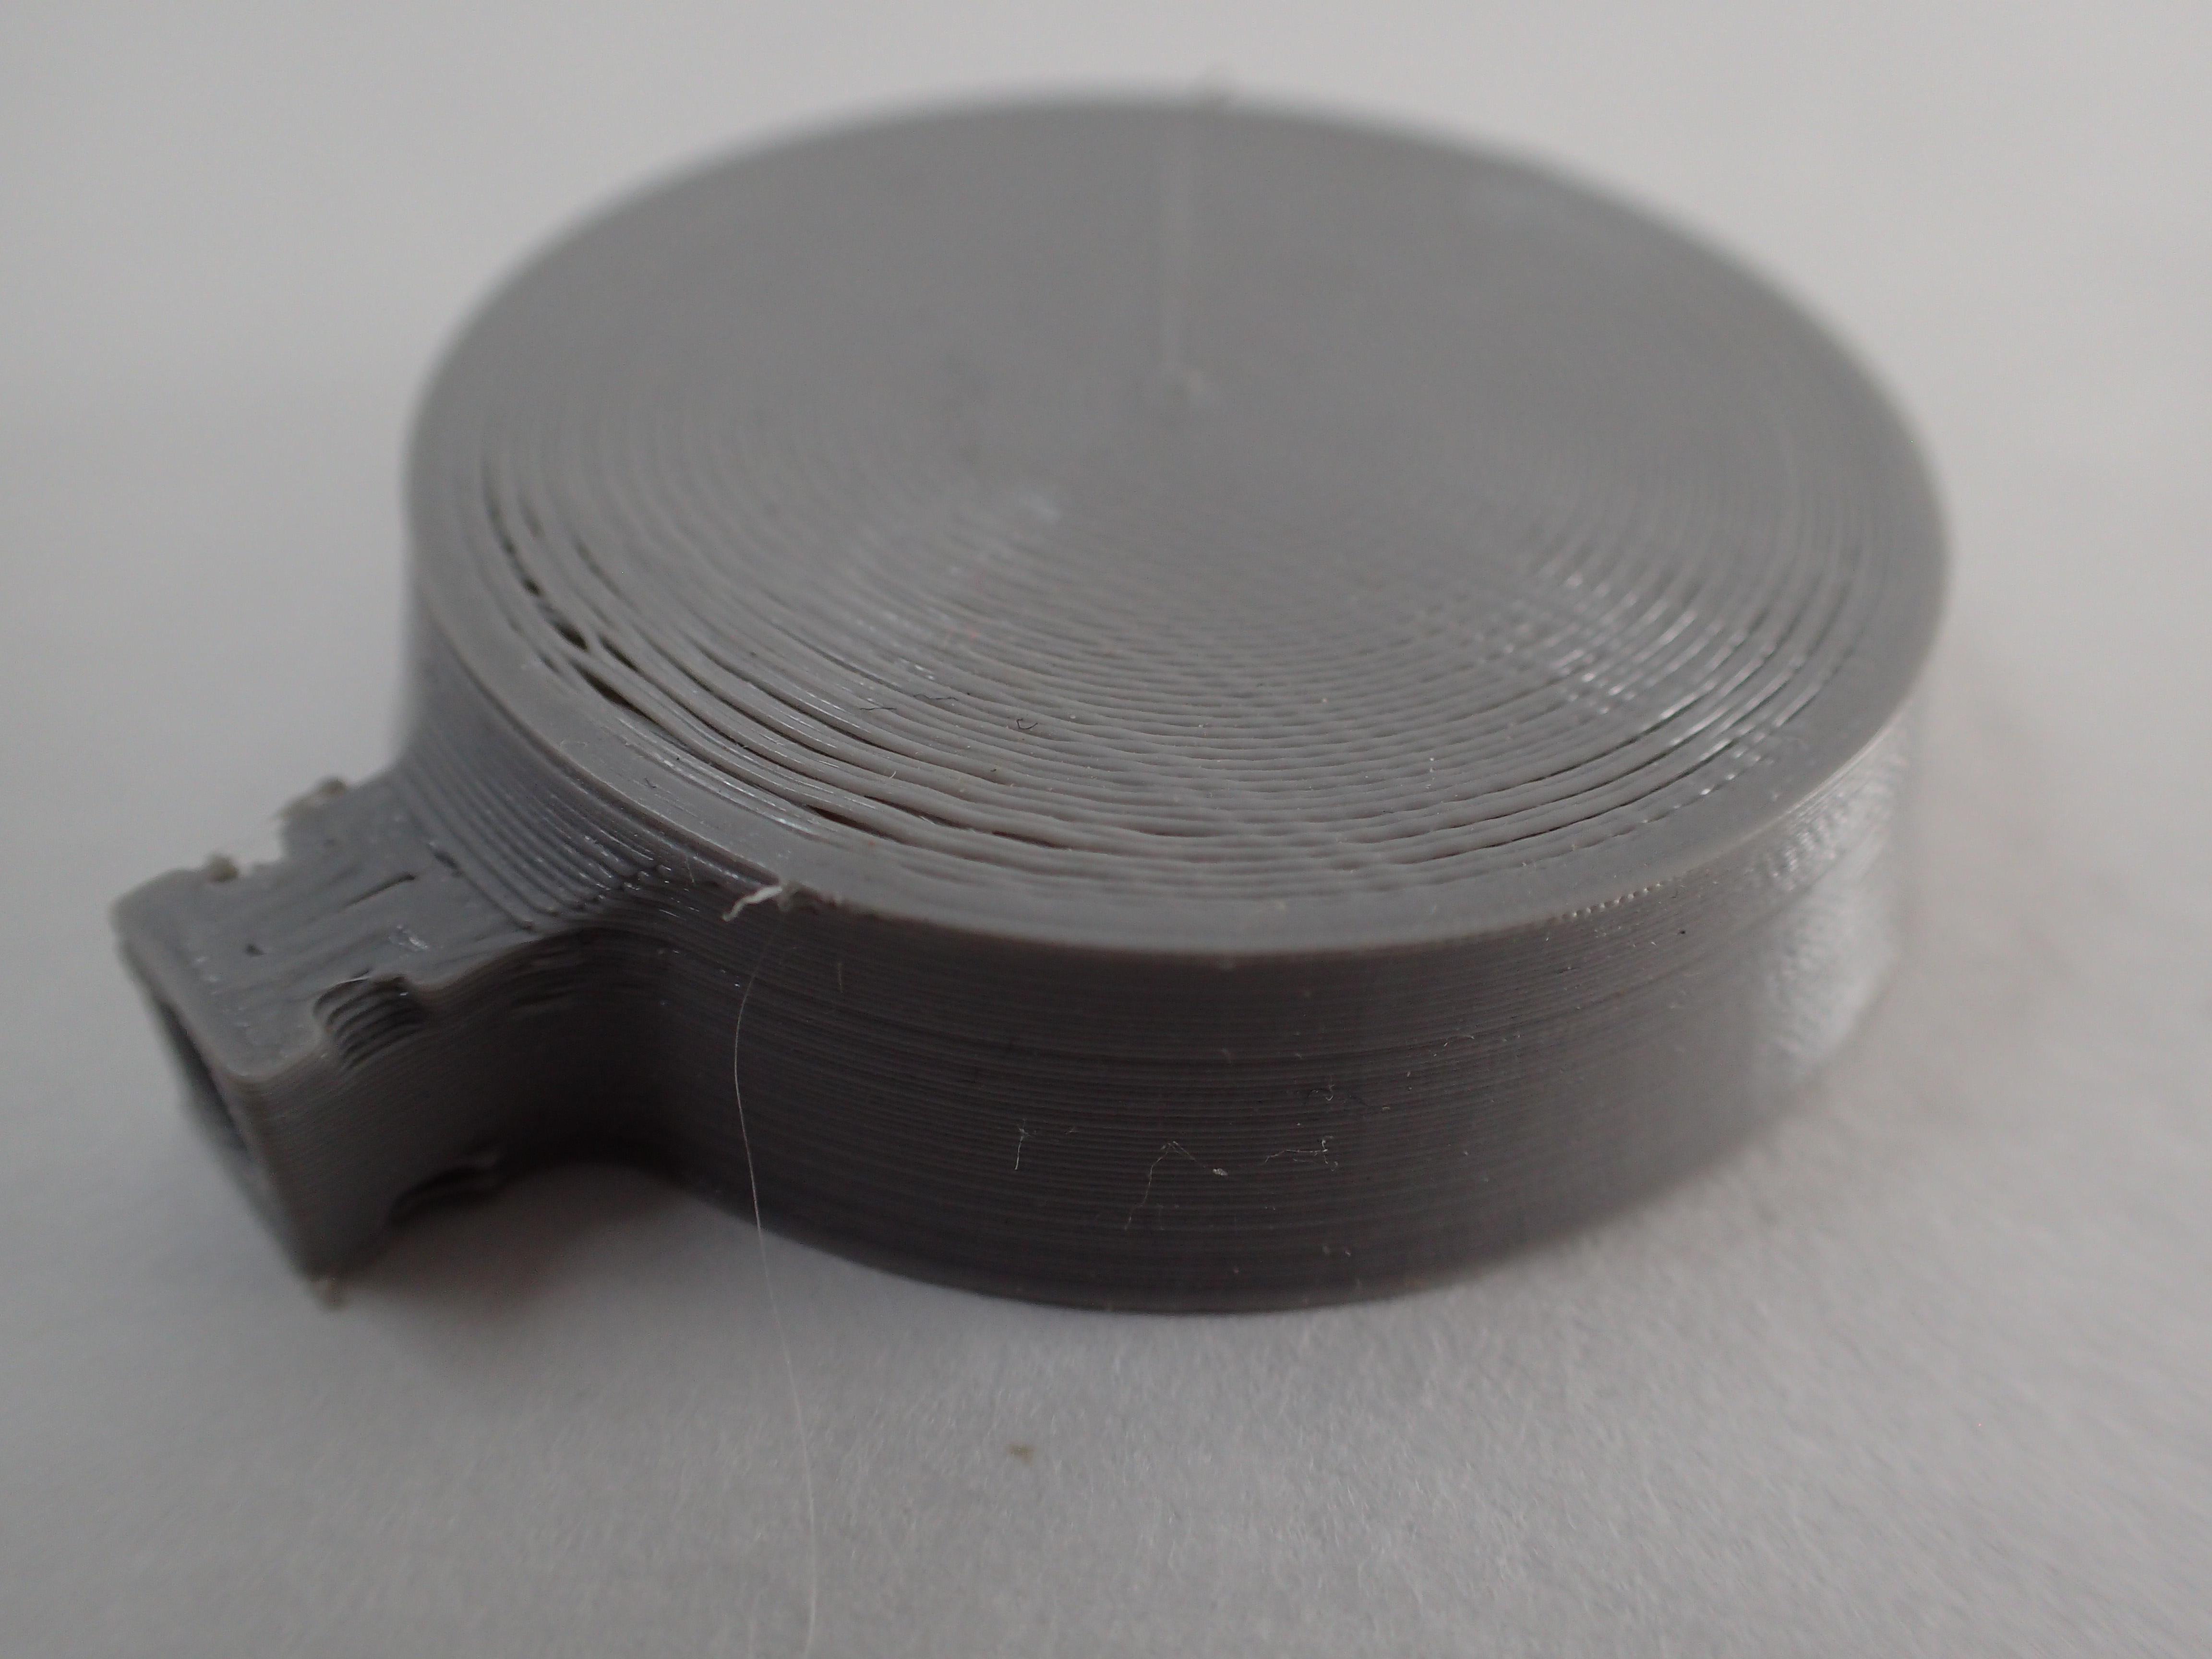
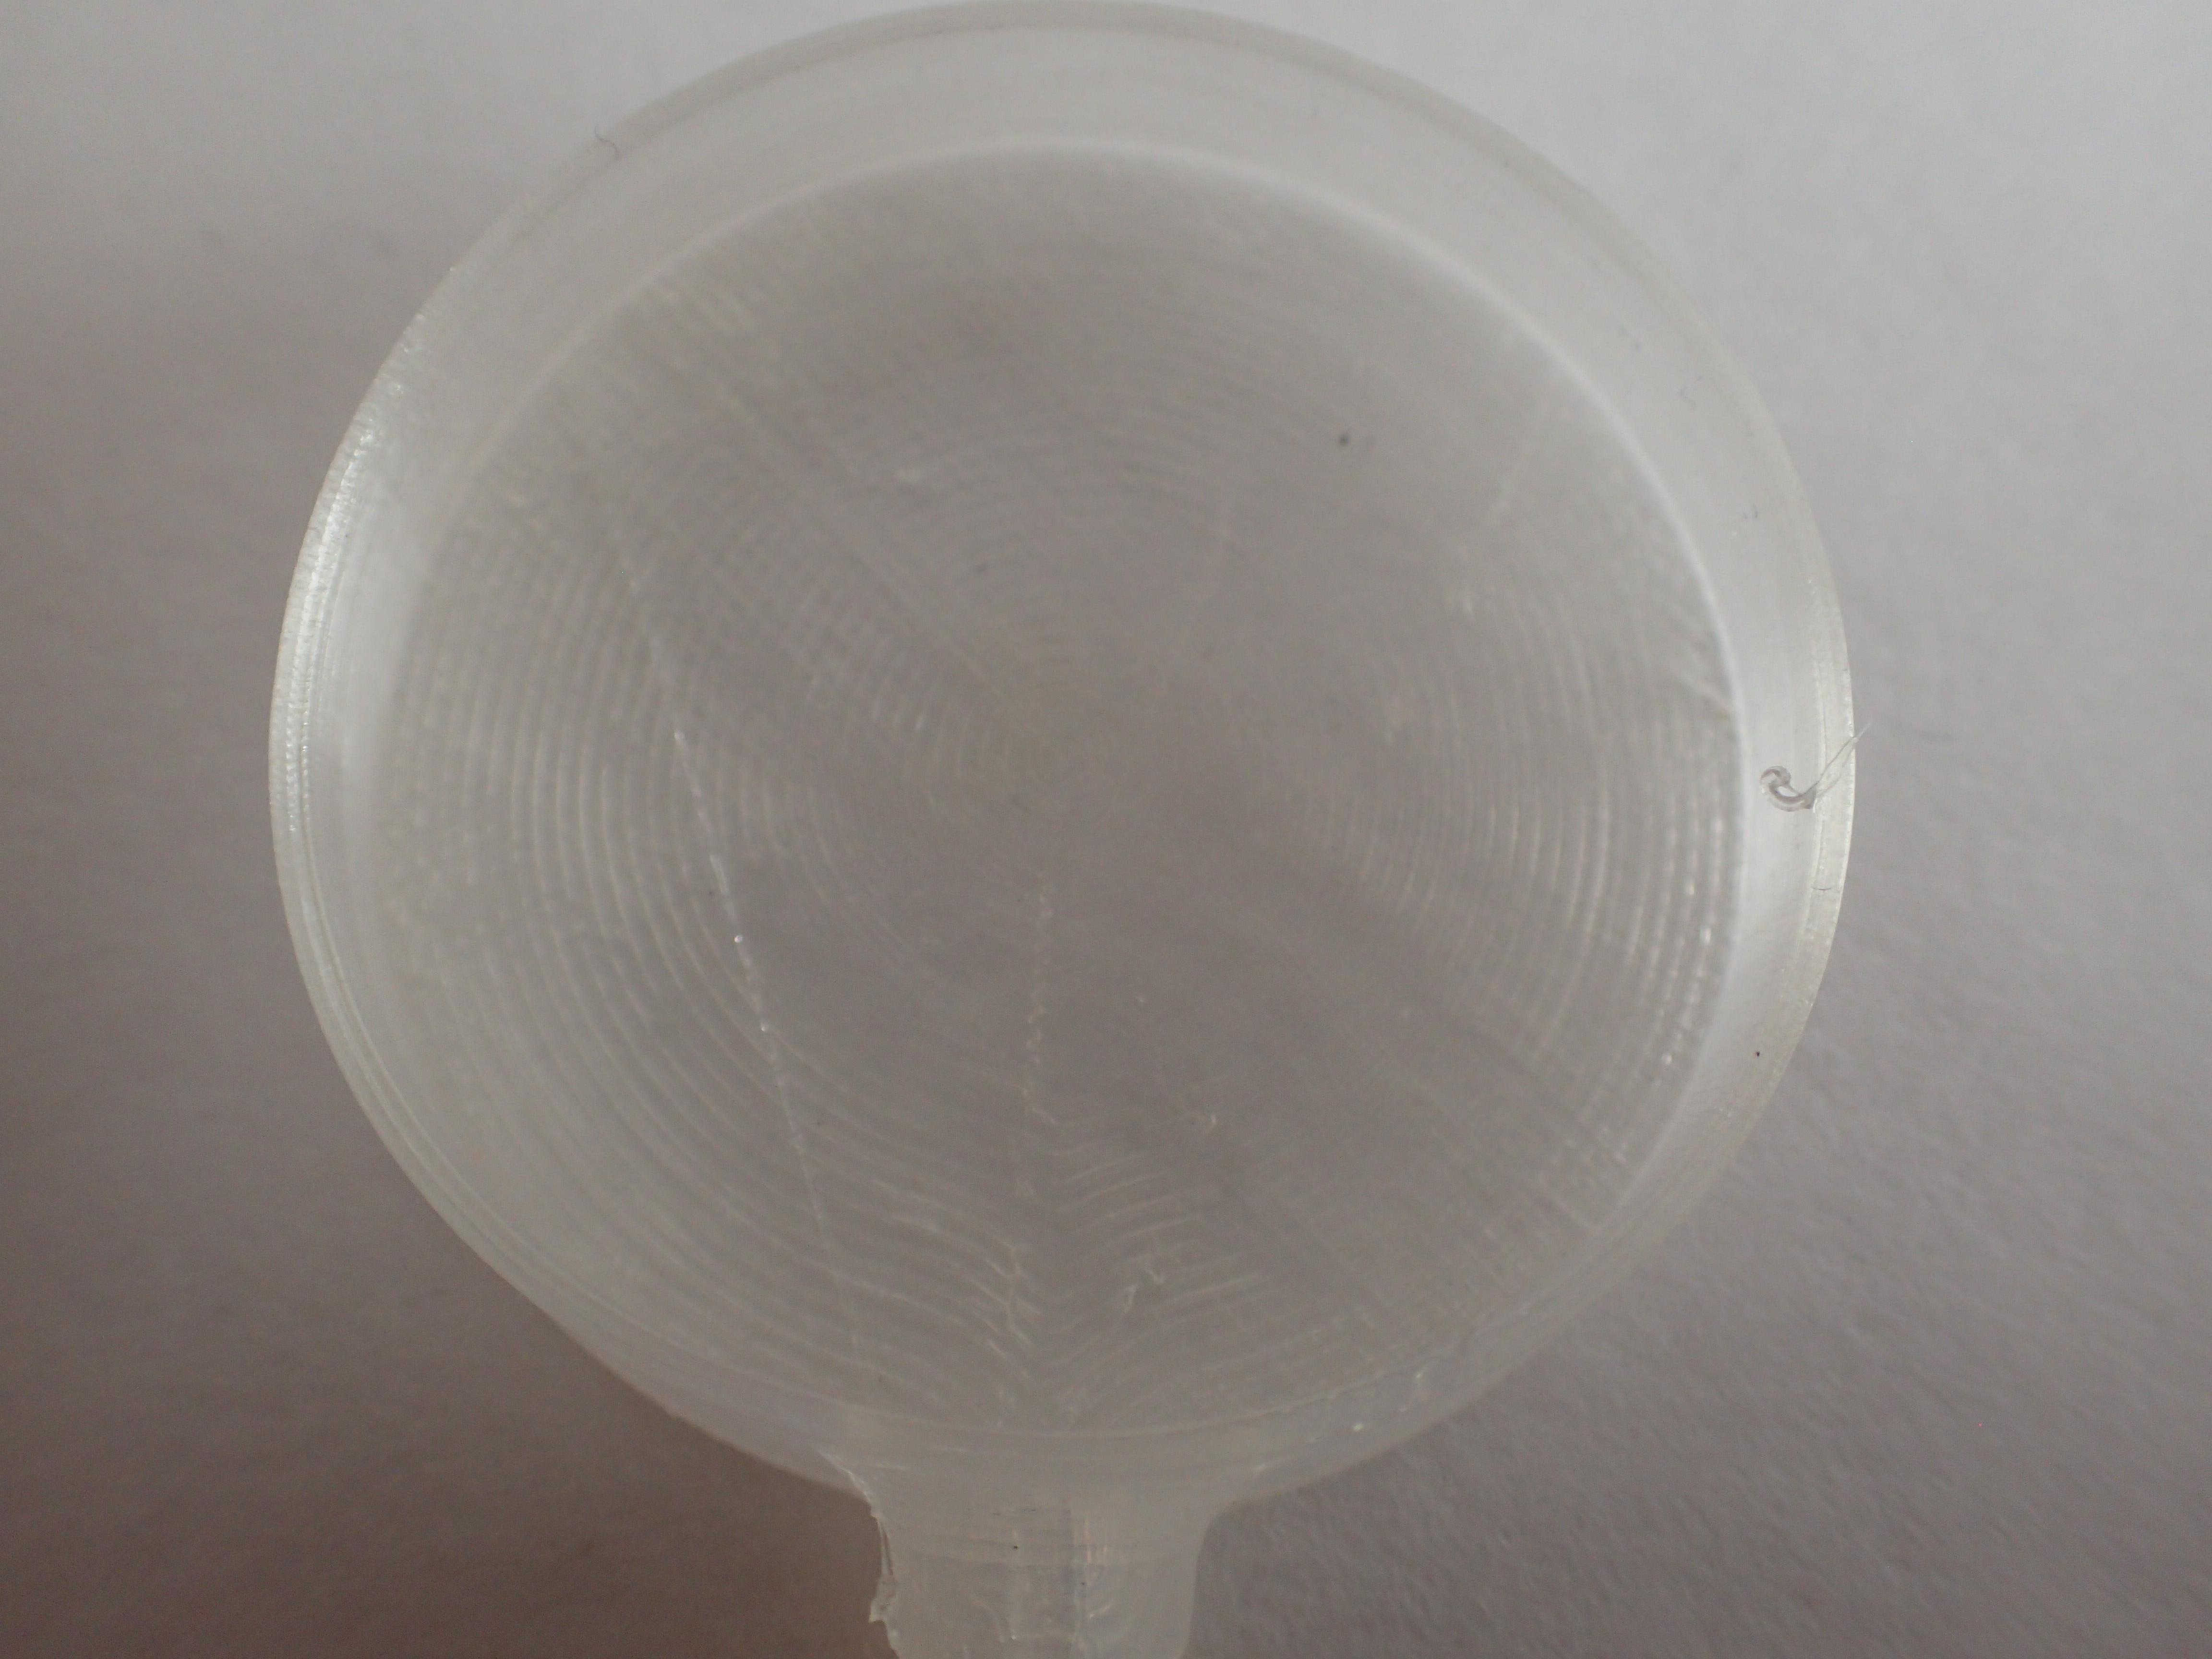
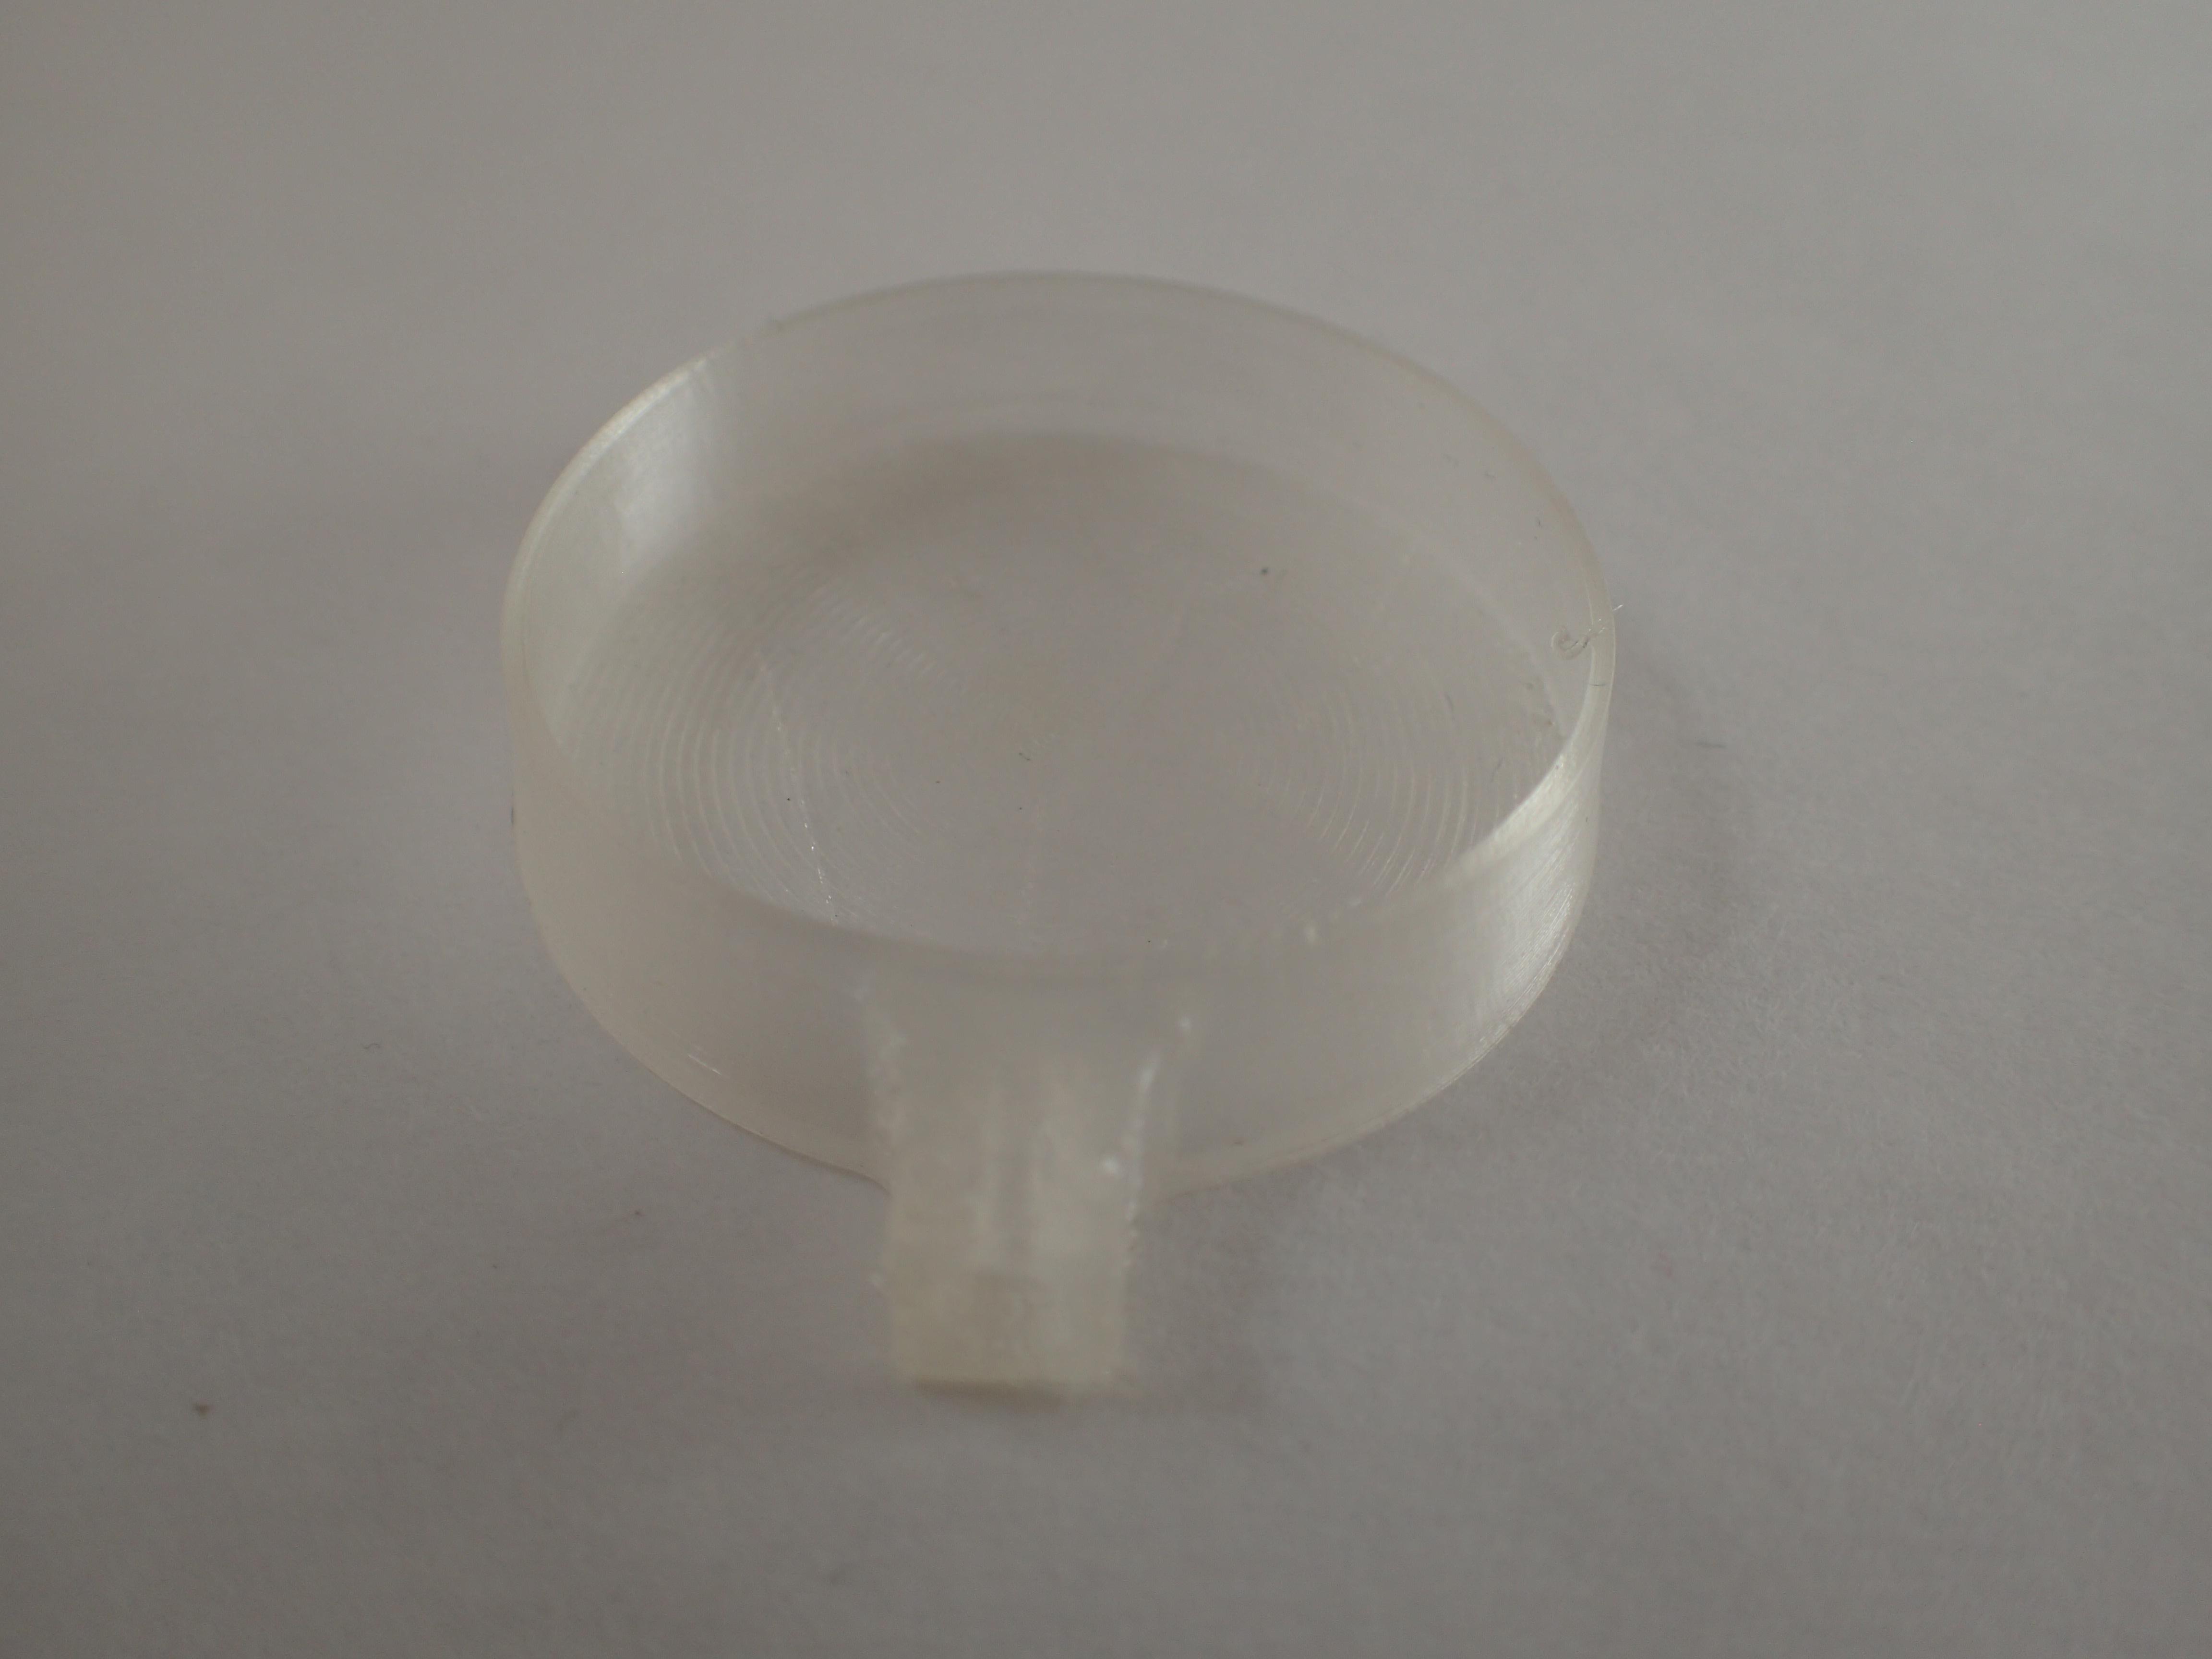
Once you are happy with your Ninjaflex settings it's time to print the actuator!
First thing to print is the PVA insert. It is a 0.1mm offset of the internal volume of the actuator so to ensure dimensional accuracy make sure that your PVA is dry. I recommend gyroid infill to get a the smoothest top layer possible.
Next is the actuator itself, slice this with the settings you have optimized and add a color change two layers from the top(Just before the top starts to print). When the printer stops for a filament change, line up the nib on the insert with the hole in the actuator and push it in. It may require some force but the ninjaflex will give. The top should sit either flush with the current layer of the print or be very slightly below it. If it is too high the nozzle will crash into it, if it is too low the top layer will droop. The other tricky part of the color change is making sure the nozzle is free of any filament strings and "primed"(there is no delay in filament coming out of the nozzle when it starts printing) when it starts printing again. If there is any strings or delay of extrusion when the prints starts again it will leave a small hole for air to escape in the print. You may have to try a few times to nail this technique down.
Downloads
Piercing the Hole and Dissolving the Support
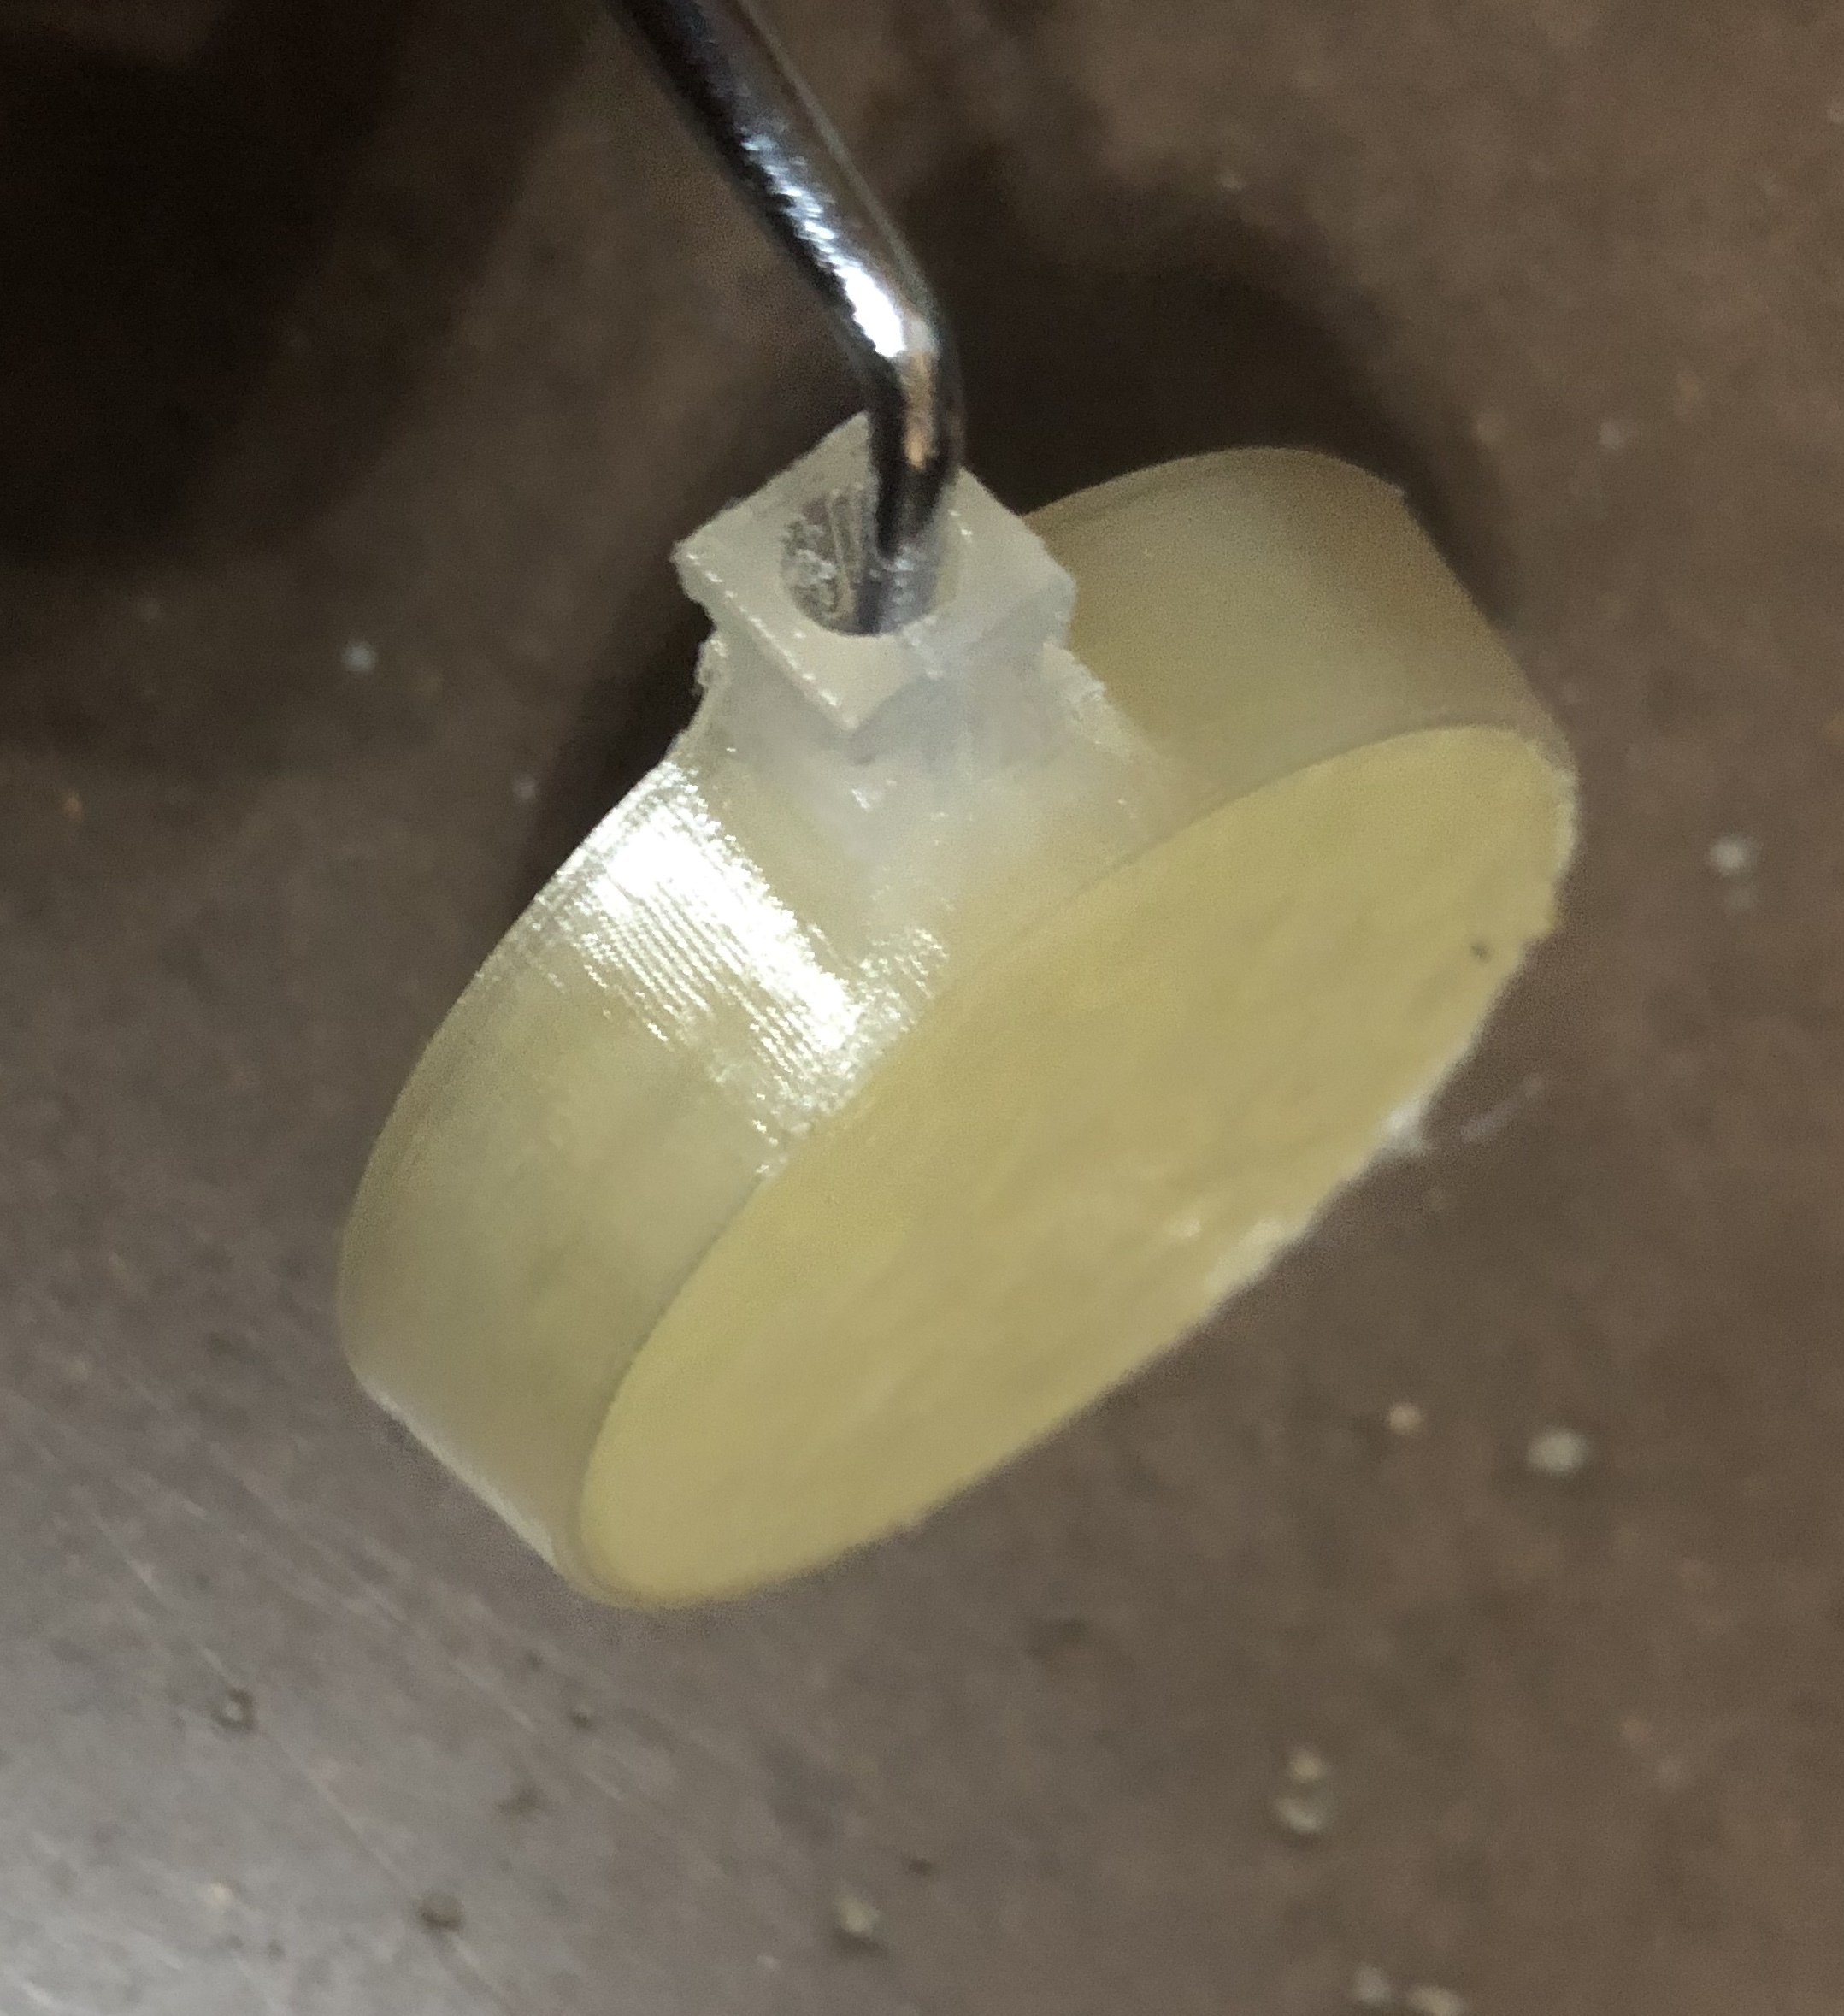
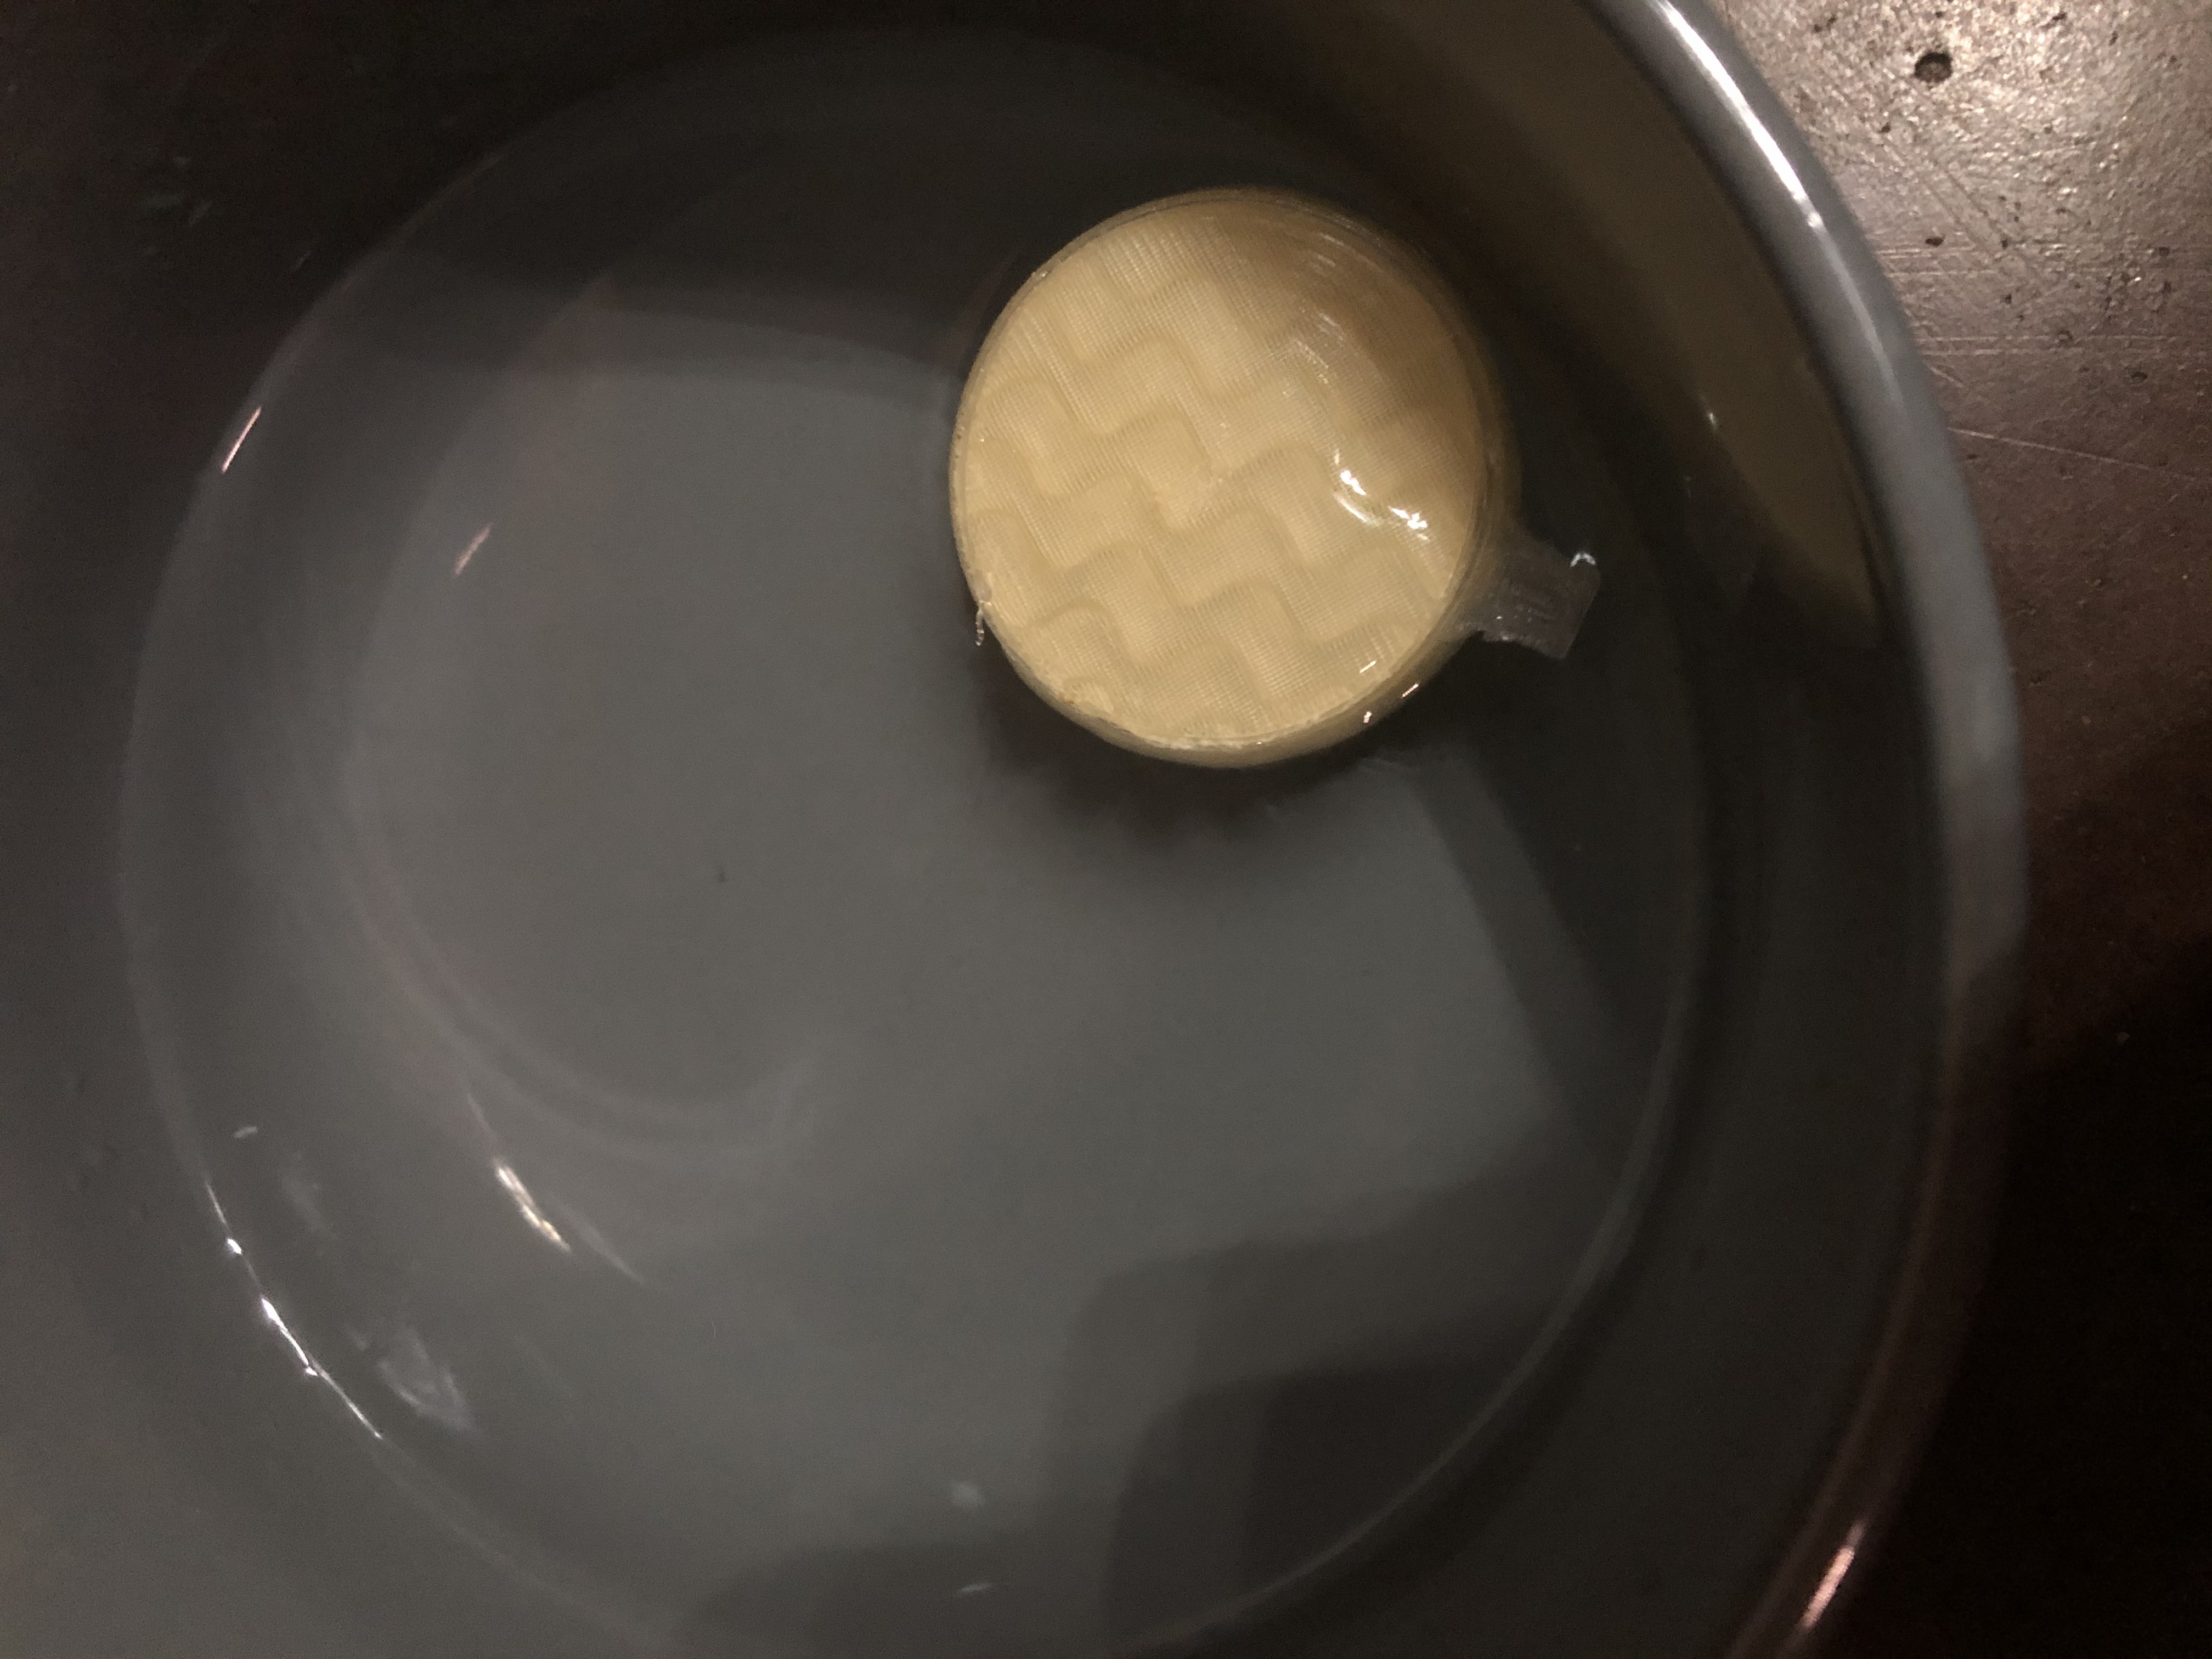
NOTE: If you are planning to assemble the actuators into a robotic worm then wait to dissolve the support until the they have been all glued together and assembled(It is possible to assemble them after dissolving the supports but it is easier if you wait.)
Depending on your print settings there might be some blockage of the hole for the tubing from stringing, if there is use a pick to make sure that air and water can get into the actuator.
Leave in warm water over night or until the insert fully dissolves.( Regular water changes help speed up the process)
Inserting the Hose and Securing It
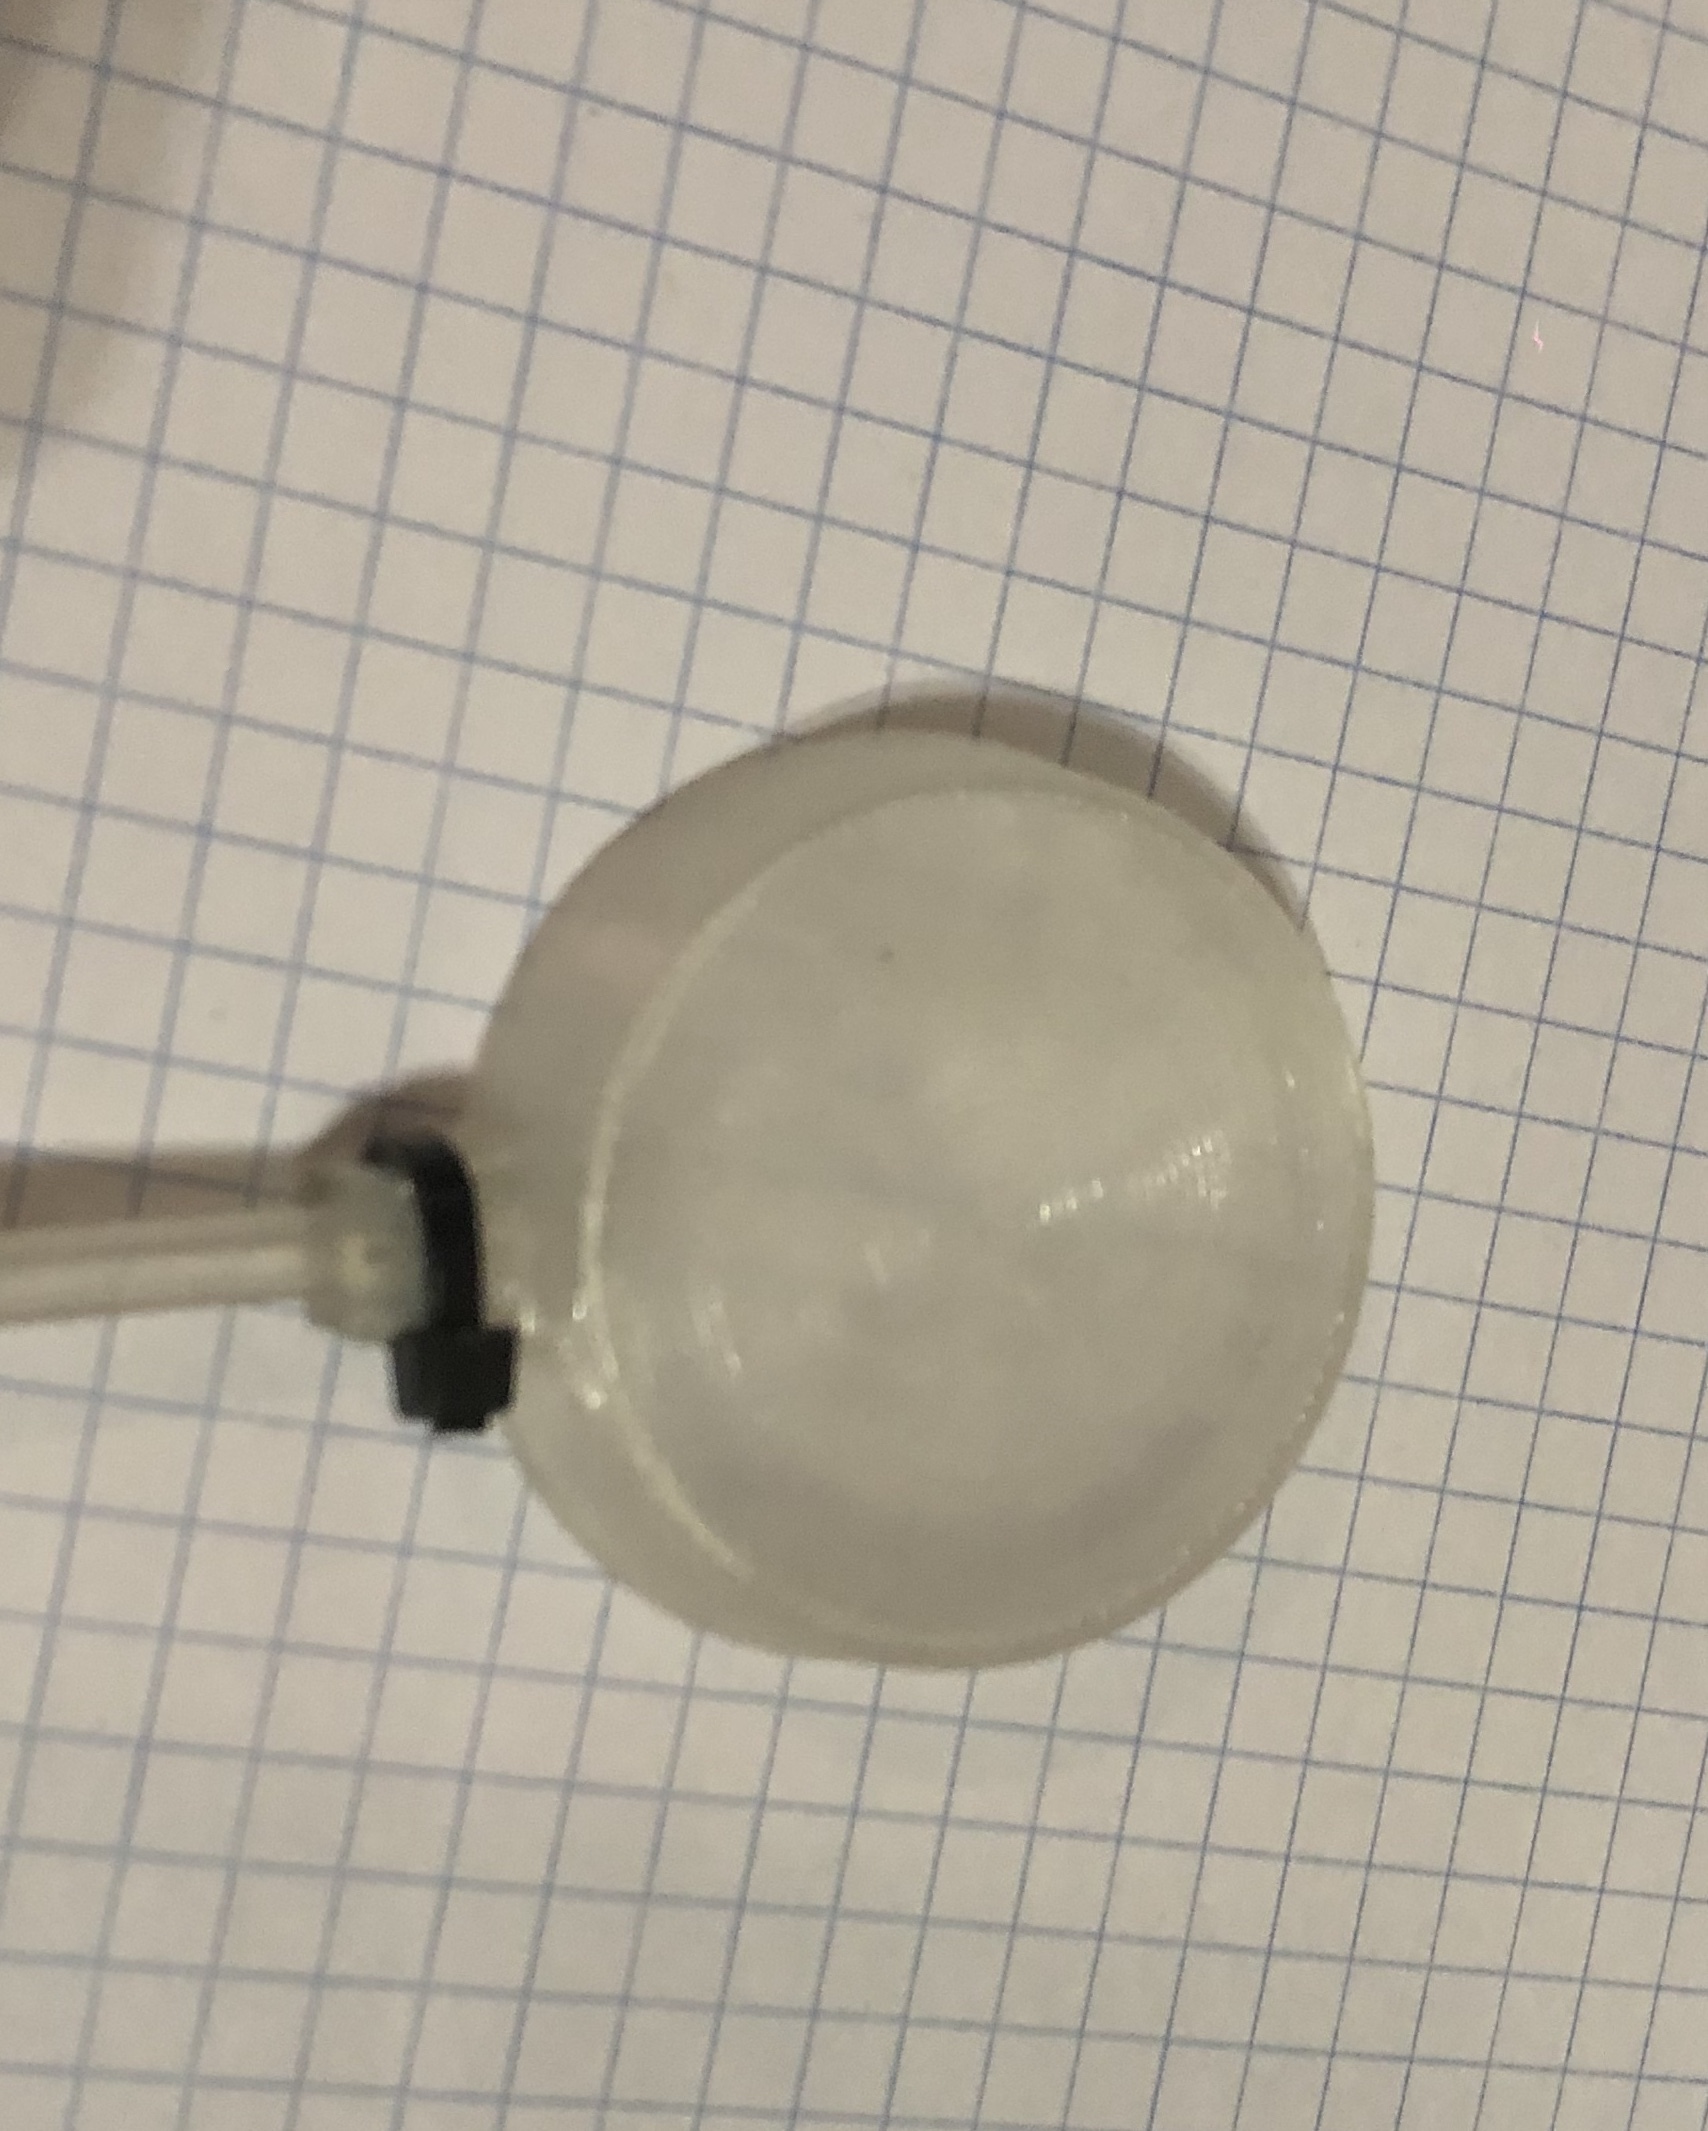
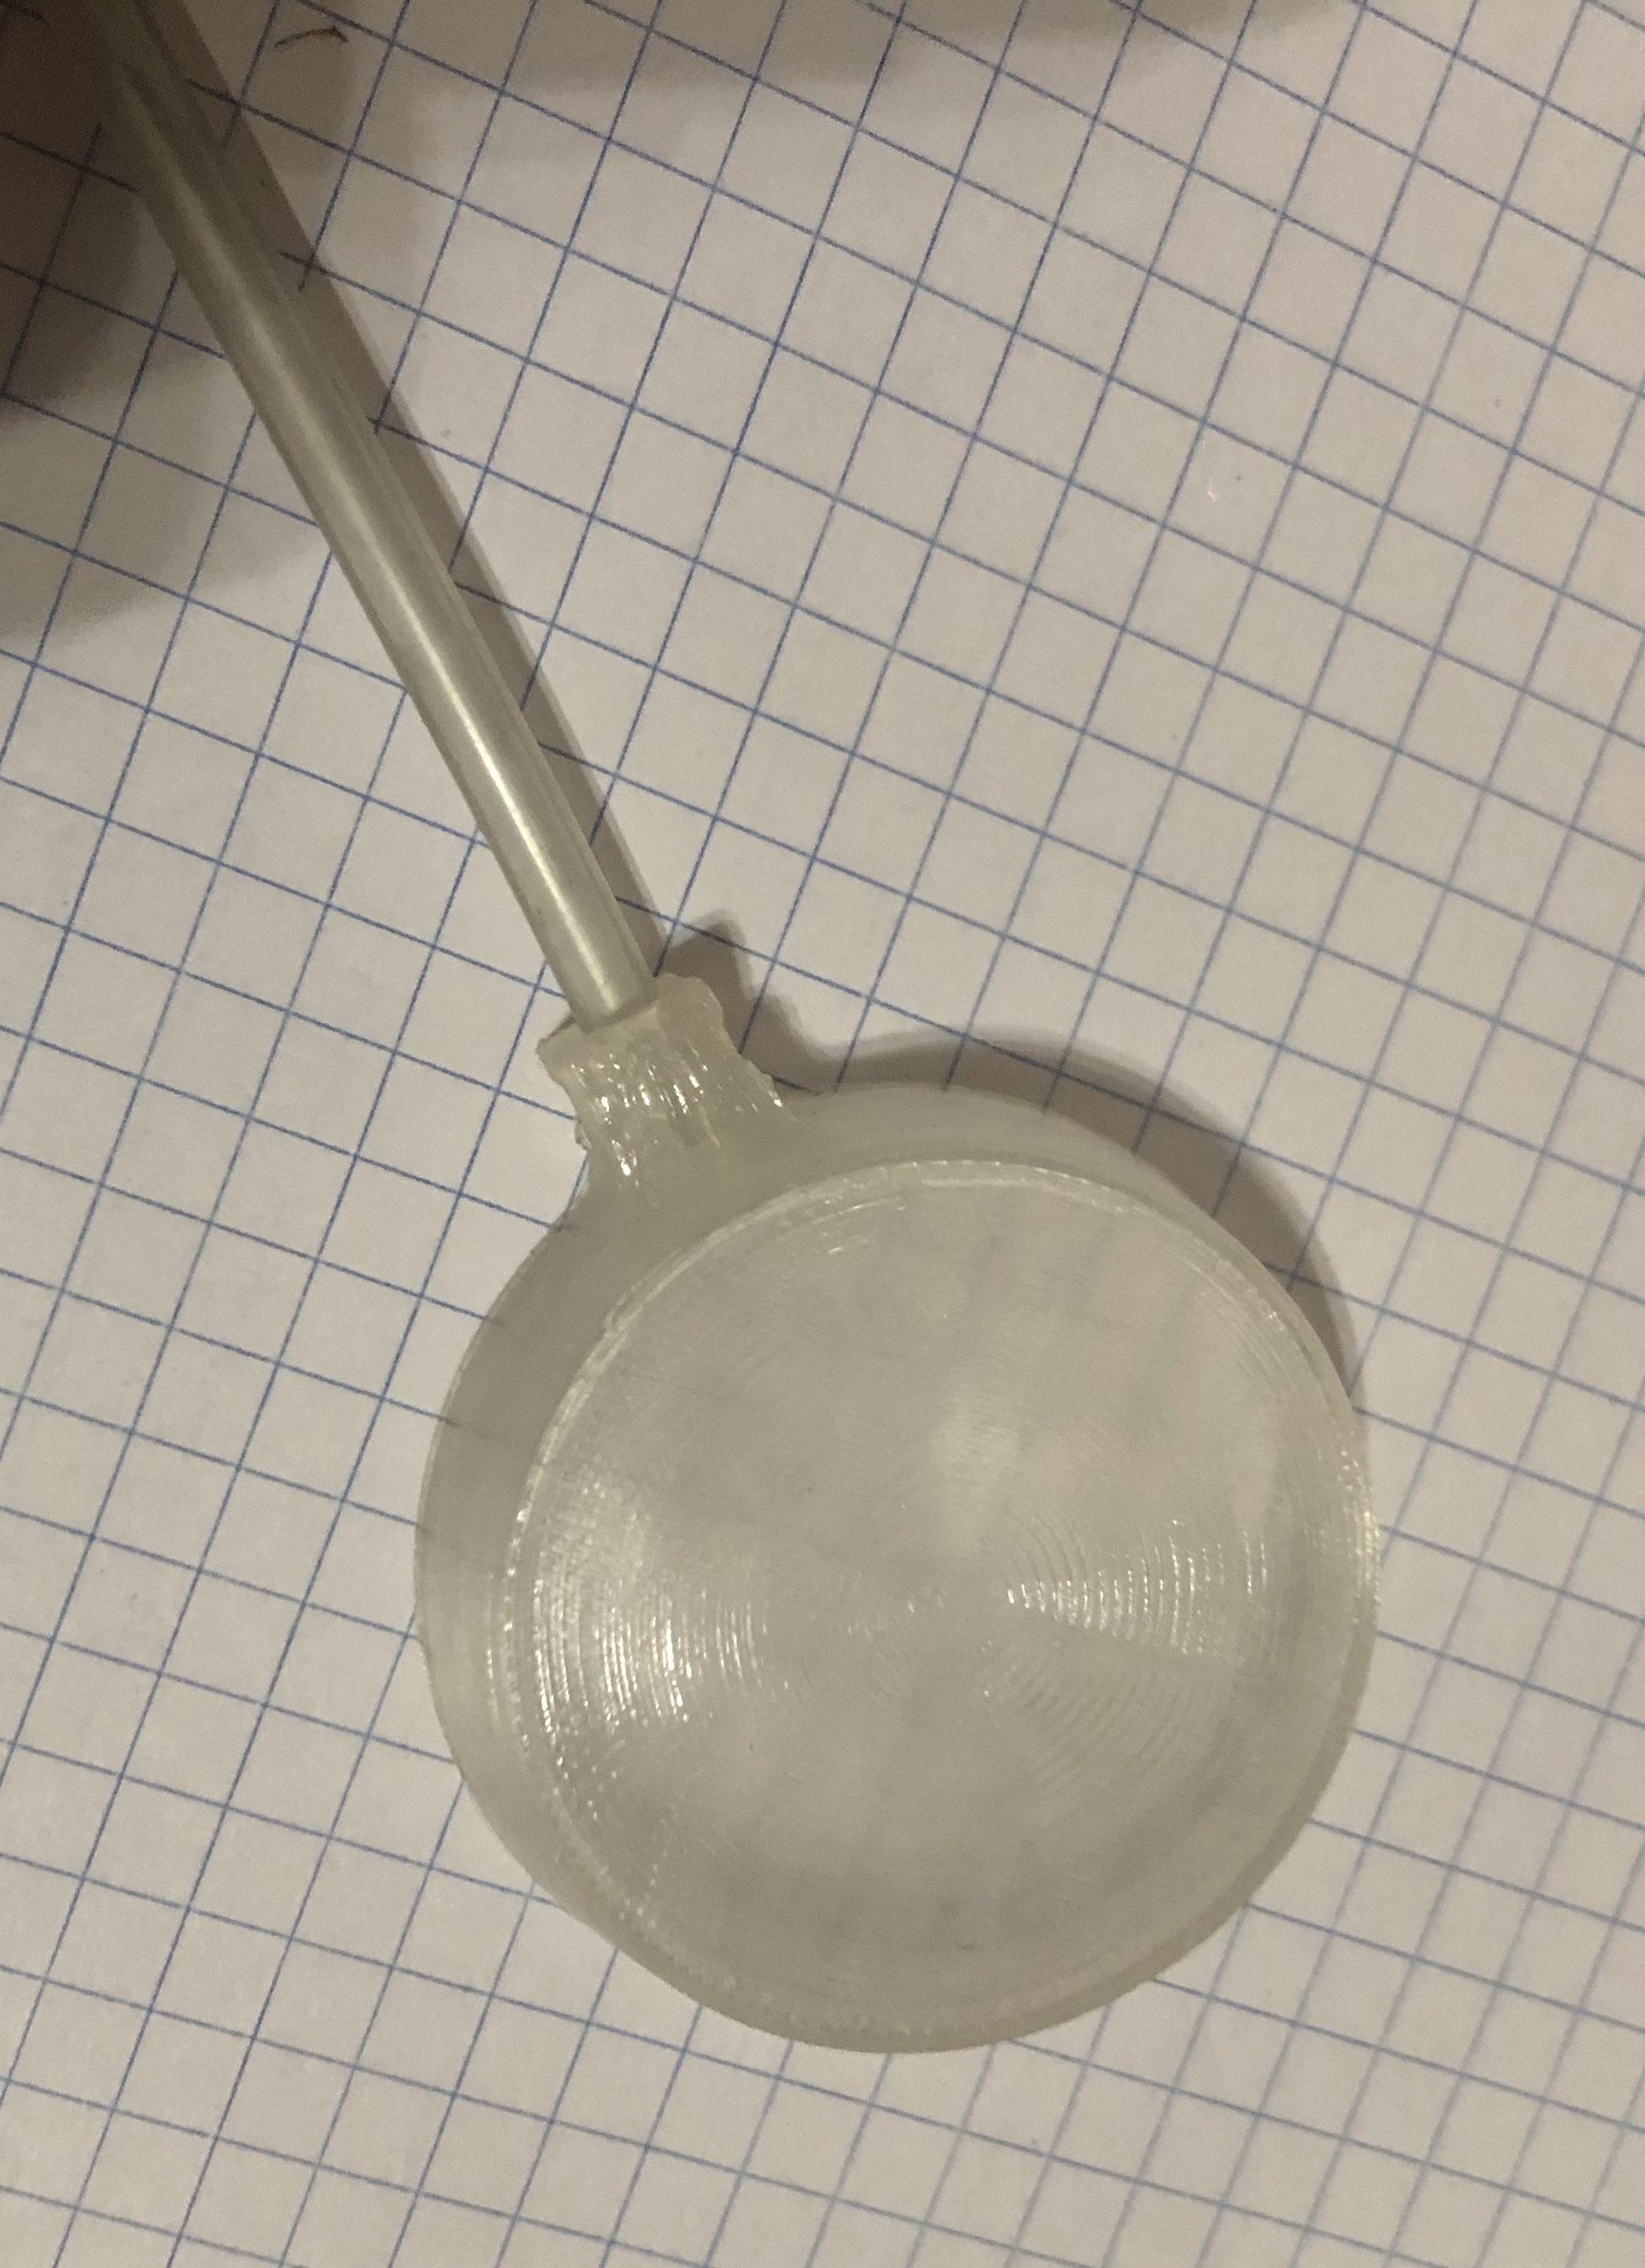
Insert the hose so it is flush with the main chamber opening and use a zip tie to secure it into place.
Blow or Pump
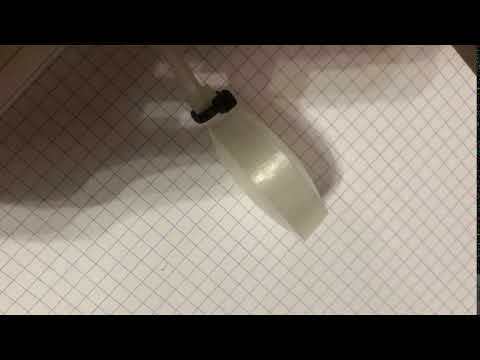
Blow into the host or use a pump to activate the actuator!