3D Printed Air Plant Necklace
by BarbMakesThings in Craft > Jewelry
2892 Views, 48 Favorites, 0 Comments
3D Printed Air Plant Necklace
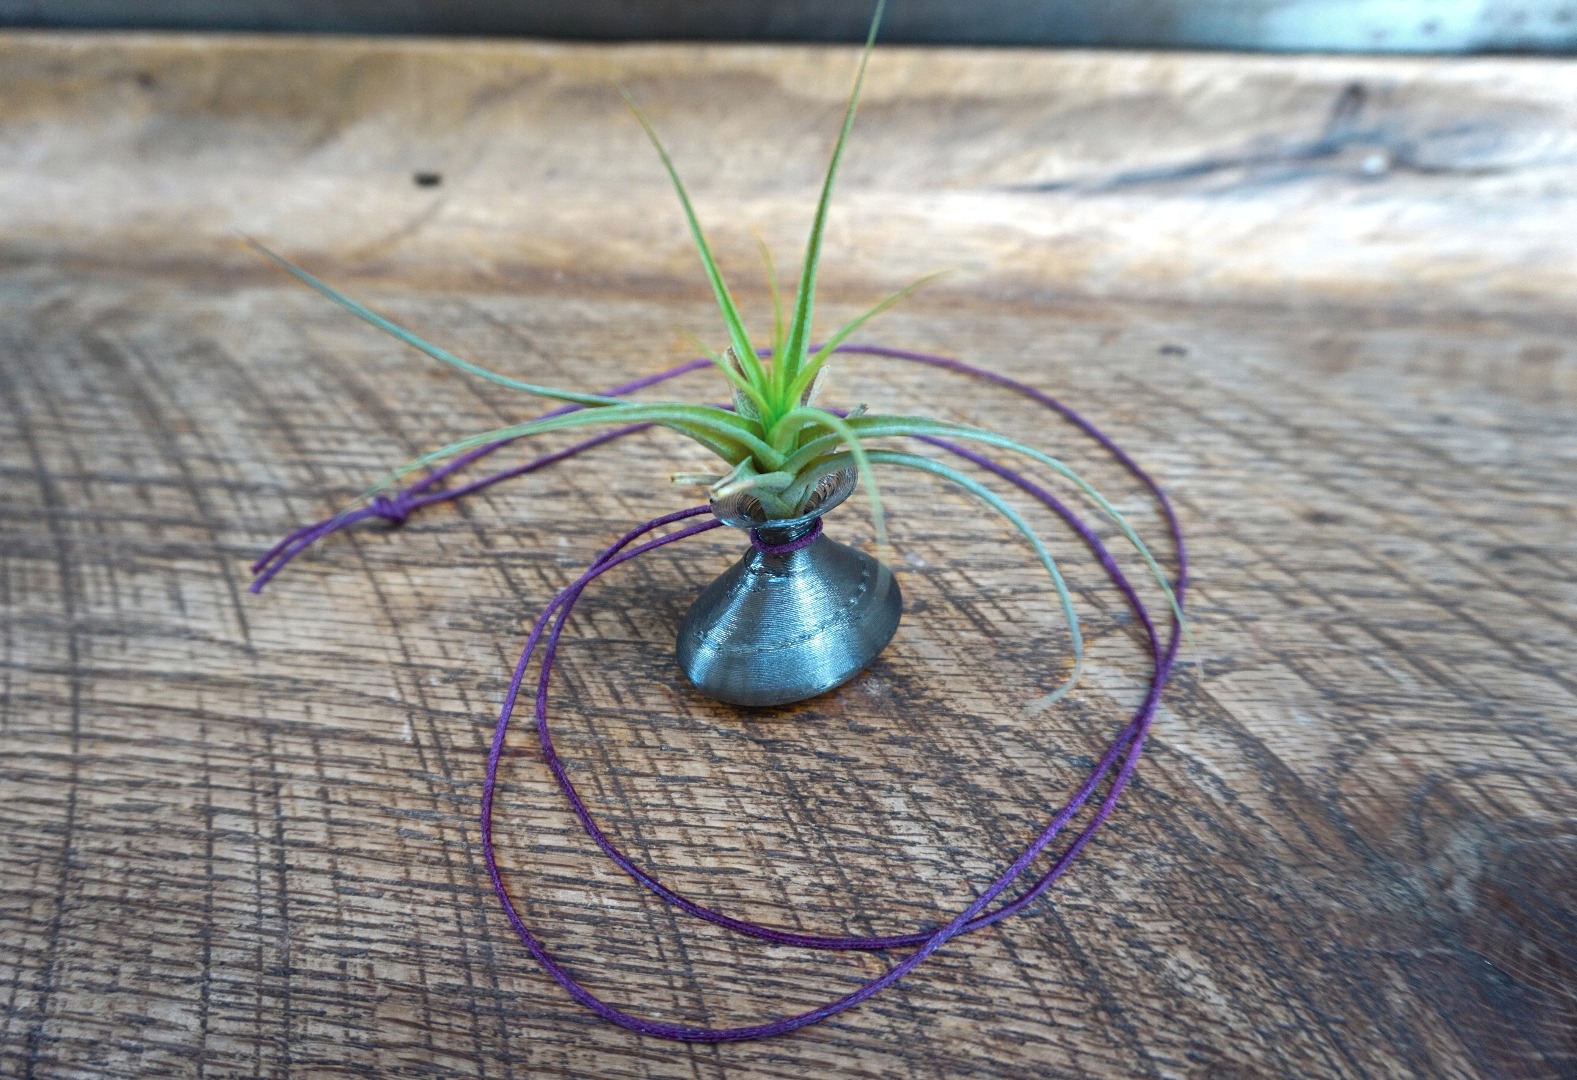
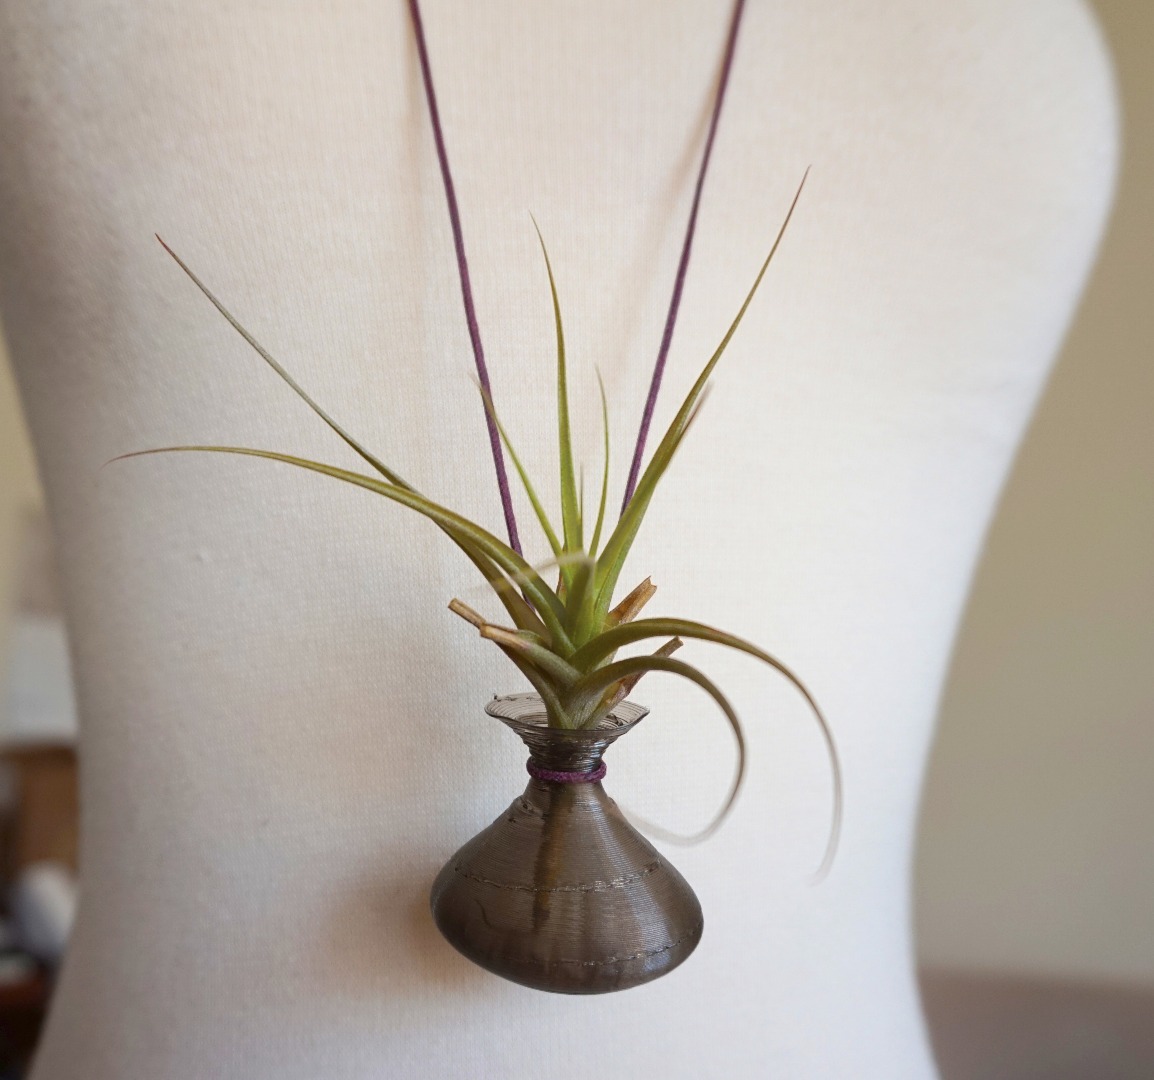
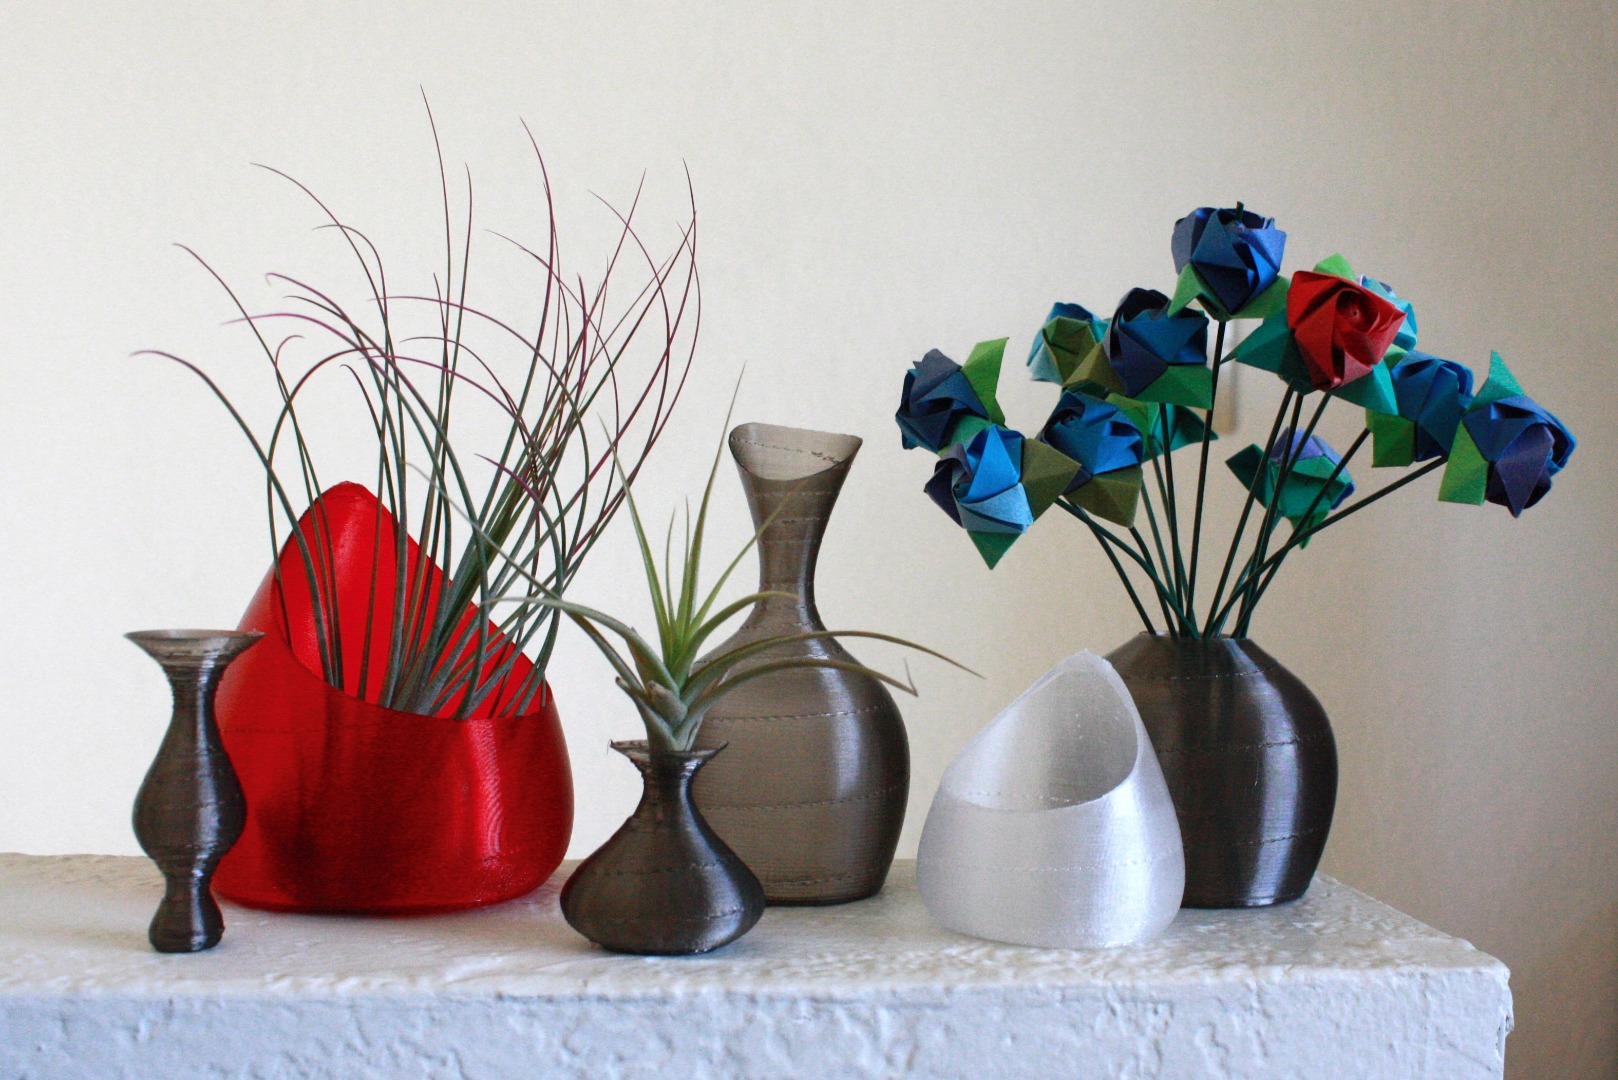
Air plants (aka Tillandsia) are plants that don't require sitting around in soil or water to survive. They get the nutrients they need from dust in the air, and when kept by people, they just need to be soaked and/or sprayed with water periodically. Because of this neat trait, they work well in hanging globes. And they're portable enough to be worn on a necklace.
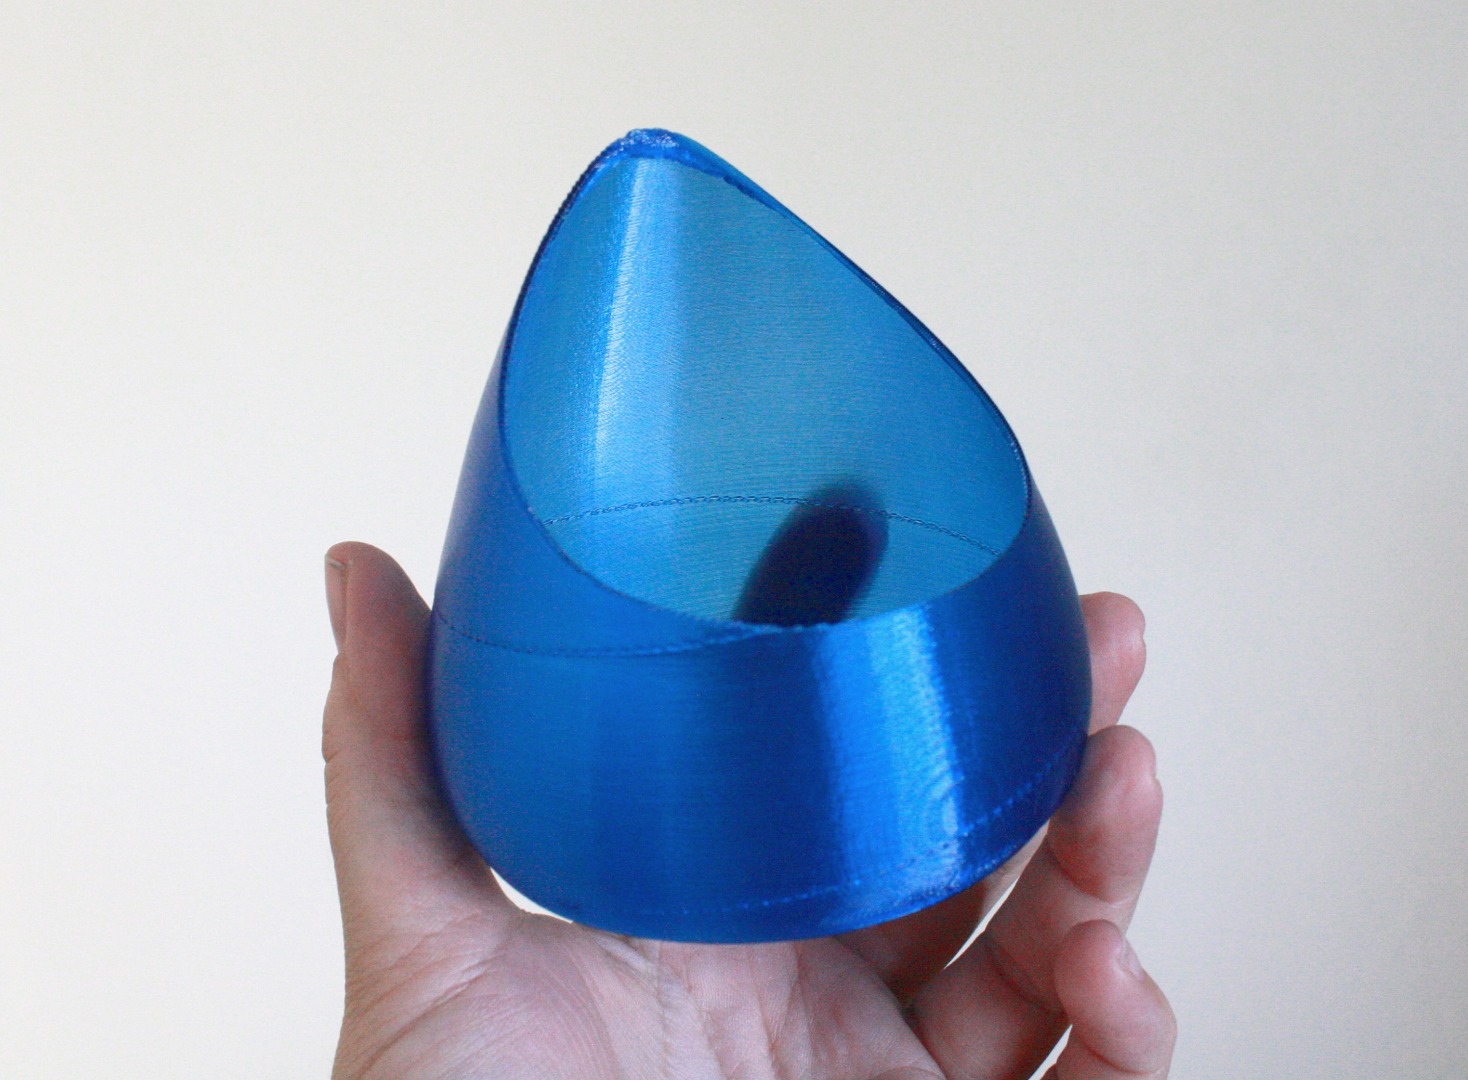
I've been experimenting with some 3d modeling techniques that result in fun, curvy shapes, which lend very well to containers (see pictures), and finally I decided to try shapes that work as pendants.
Materials
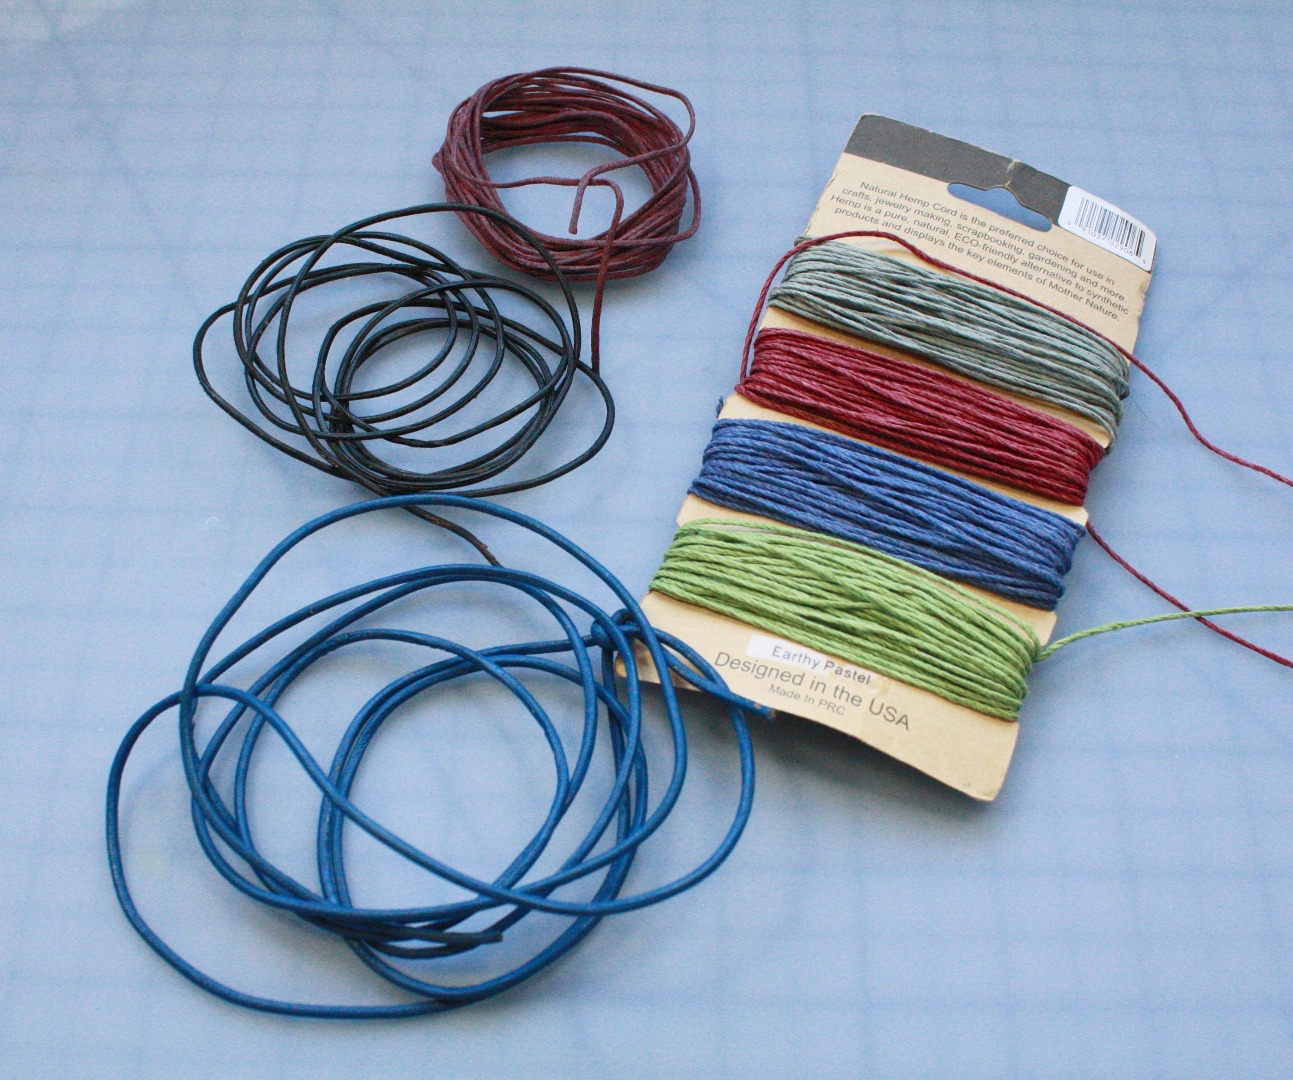
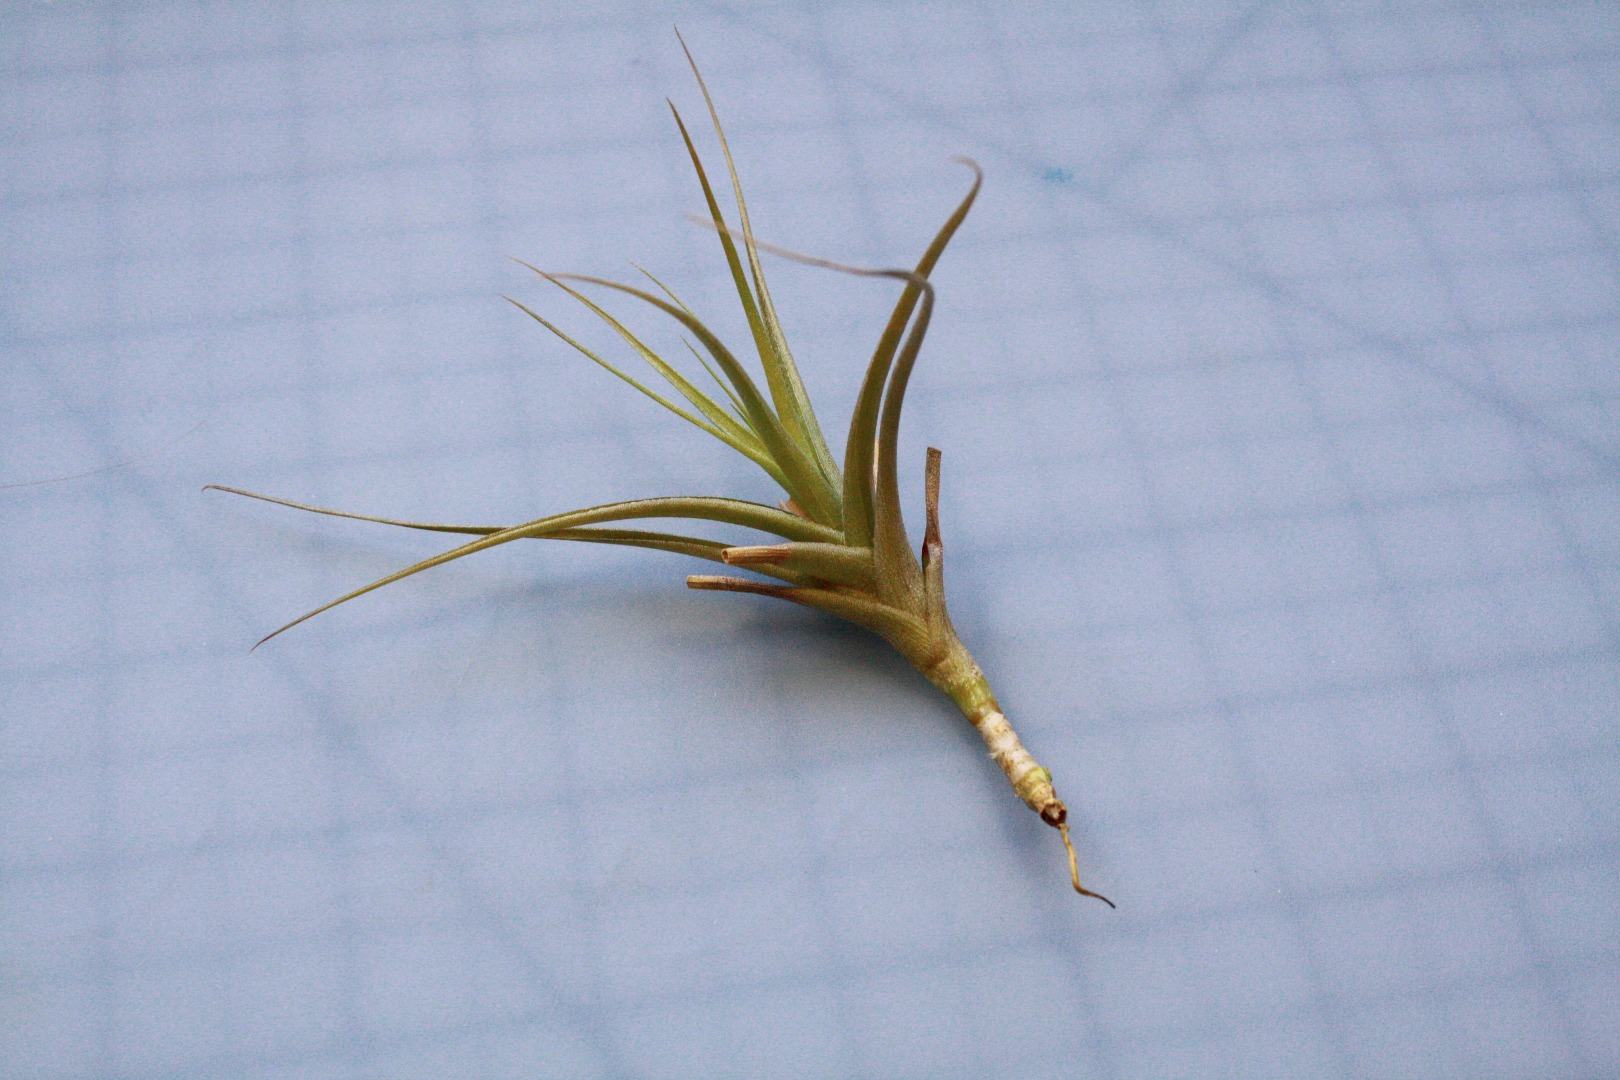
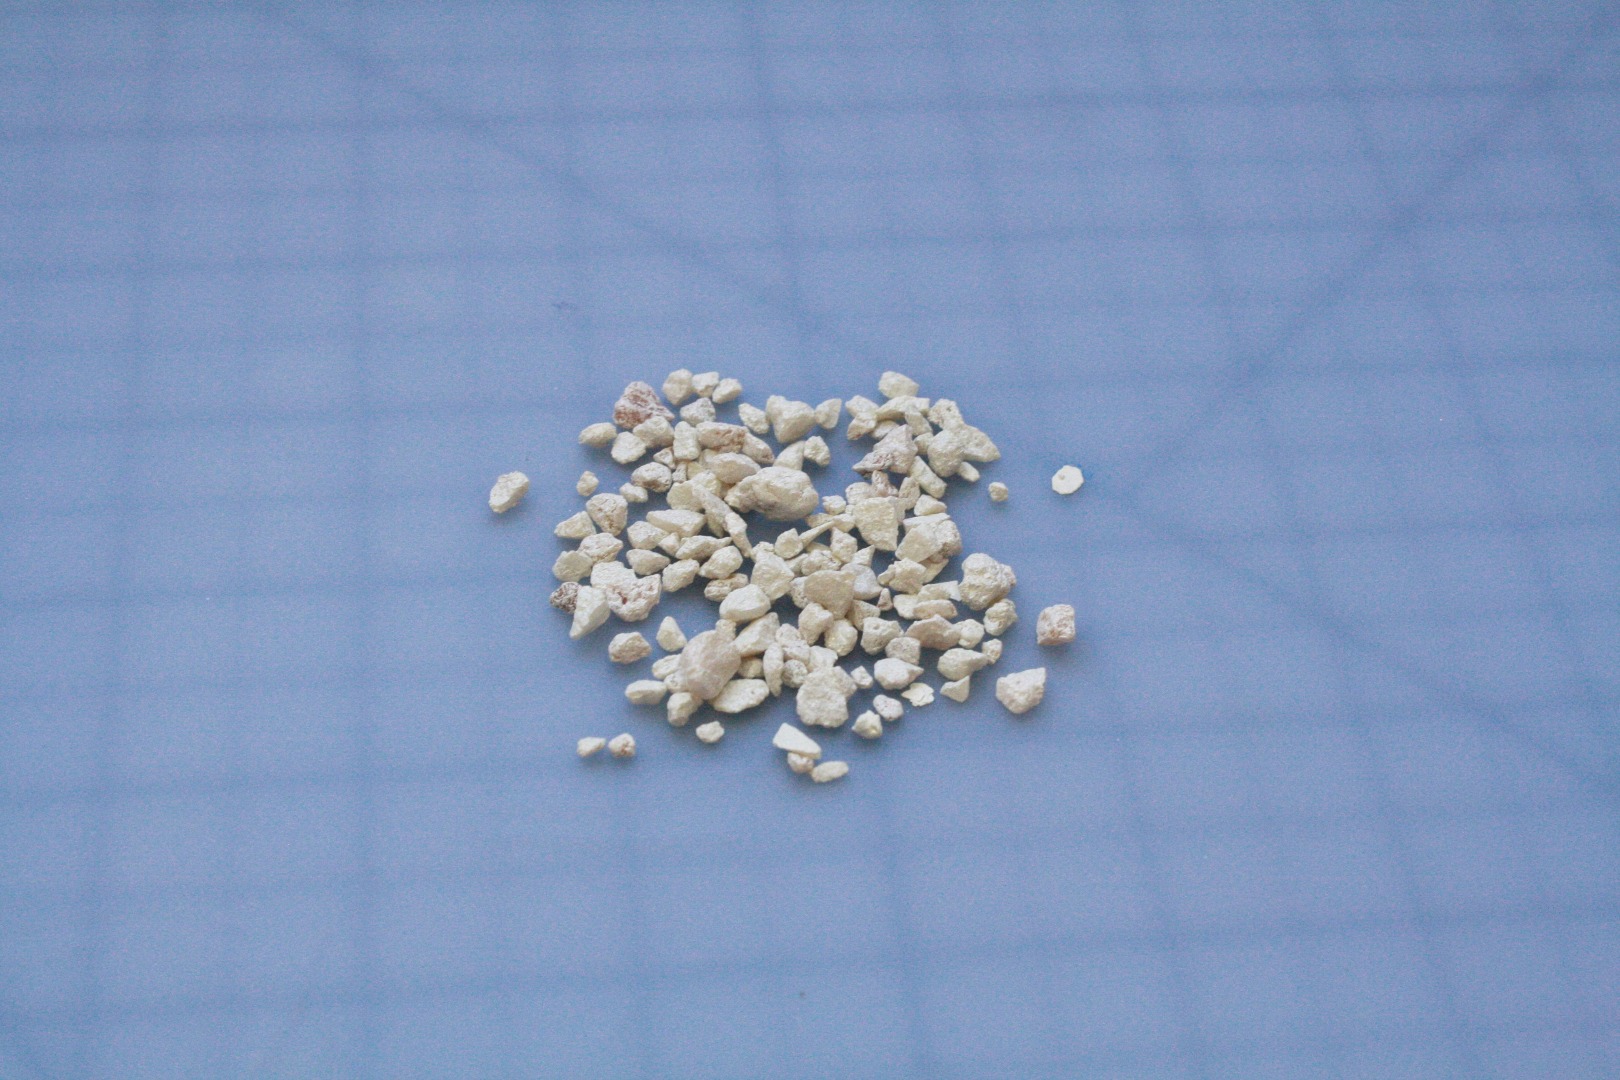
You'll need:
- A small air plant - these can be found in a number of places, I frequently get Tillandsia on etsy
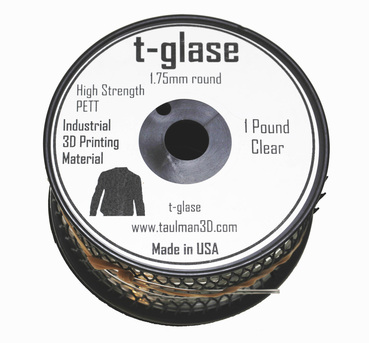
- Access to a 3D printer and filament - I used a Bukito with t-glase black PETT filament, which looks really great in a single-layered wall like I'll show in a couple steps.
- Pebbles or sand to weigh down the bottom of the container
- Glue (I used Tacky)
- Cord for the necklace
3D Modeling the Vase
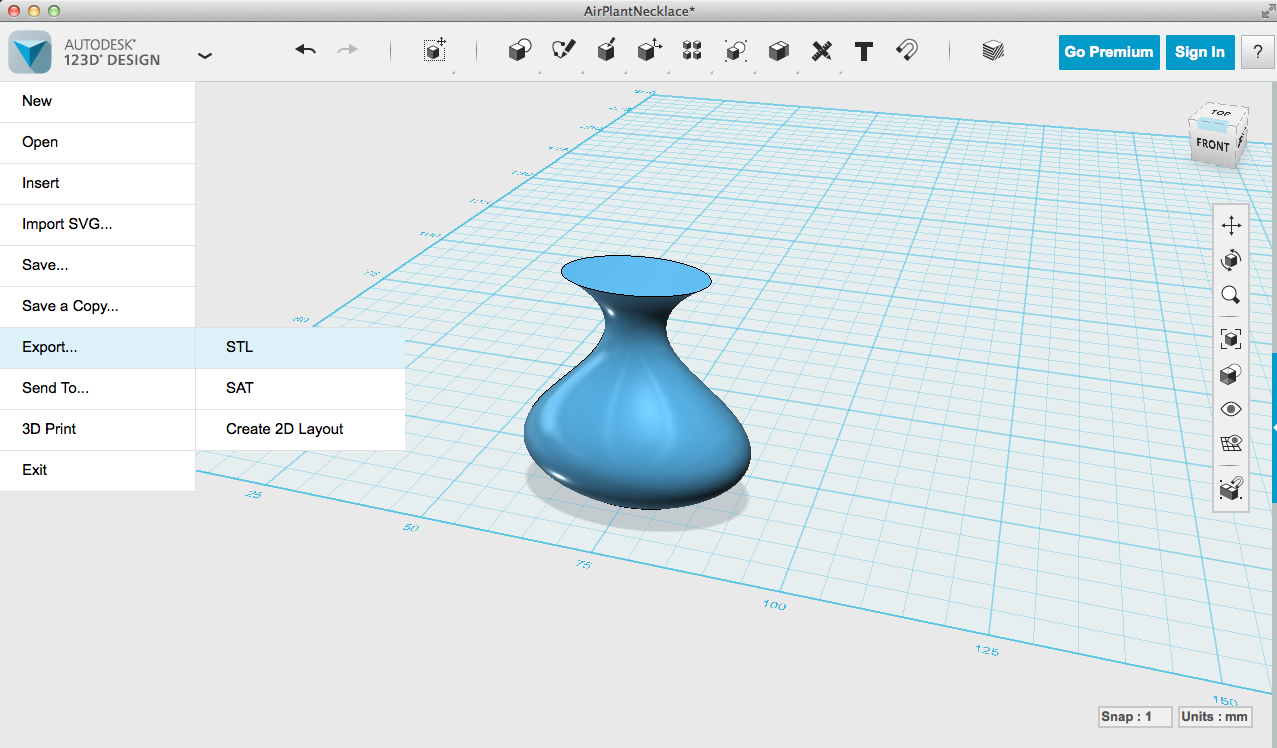
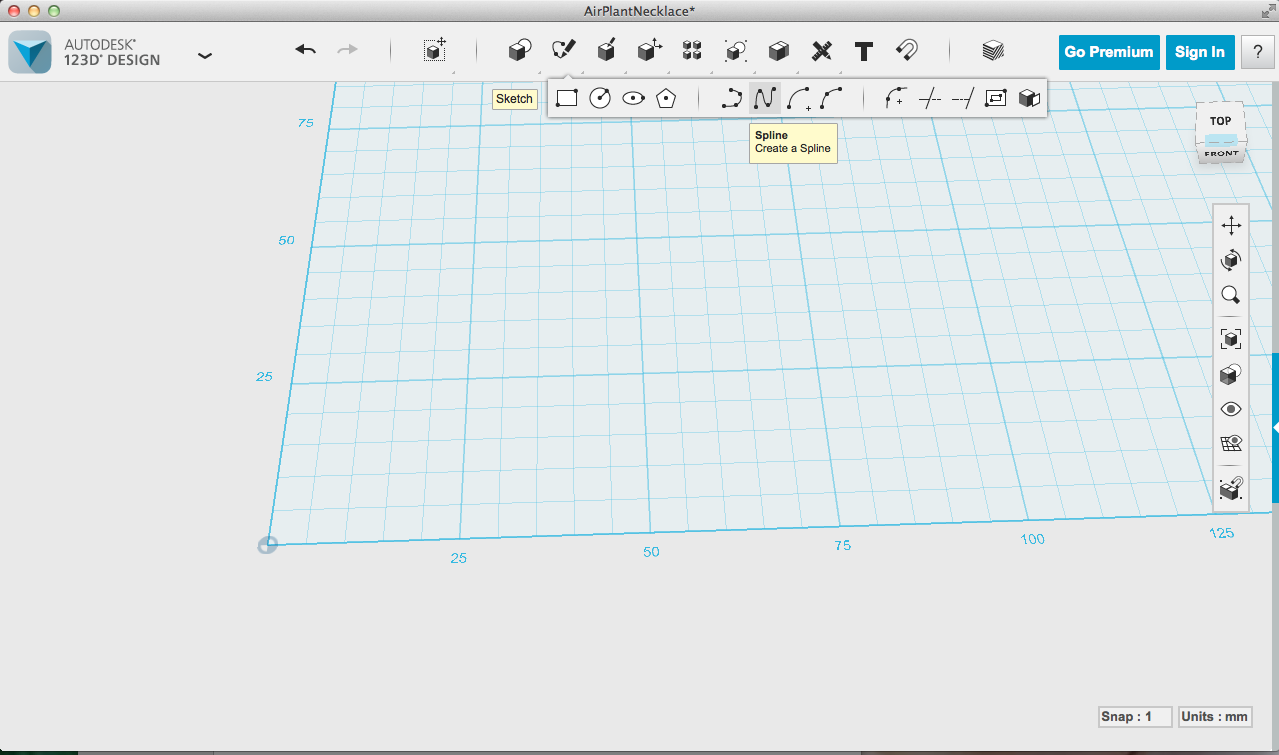
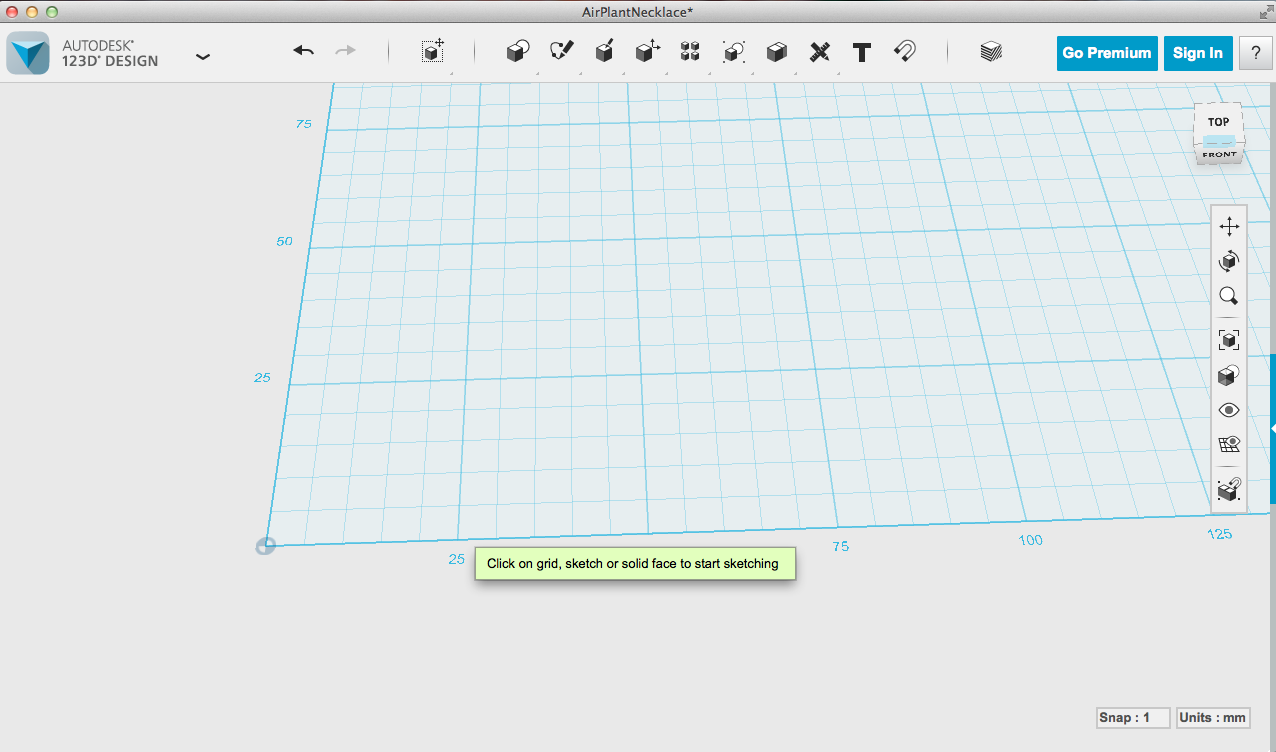
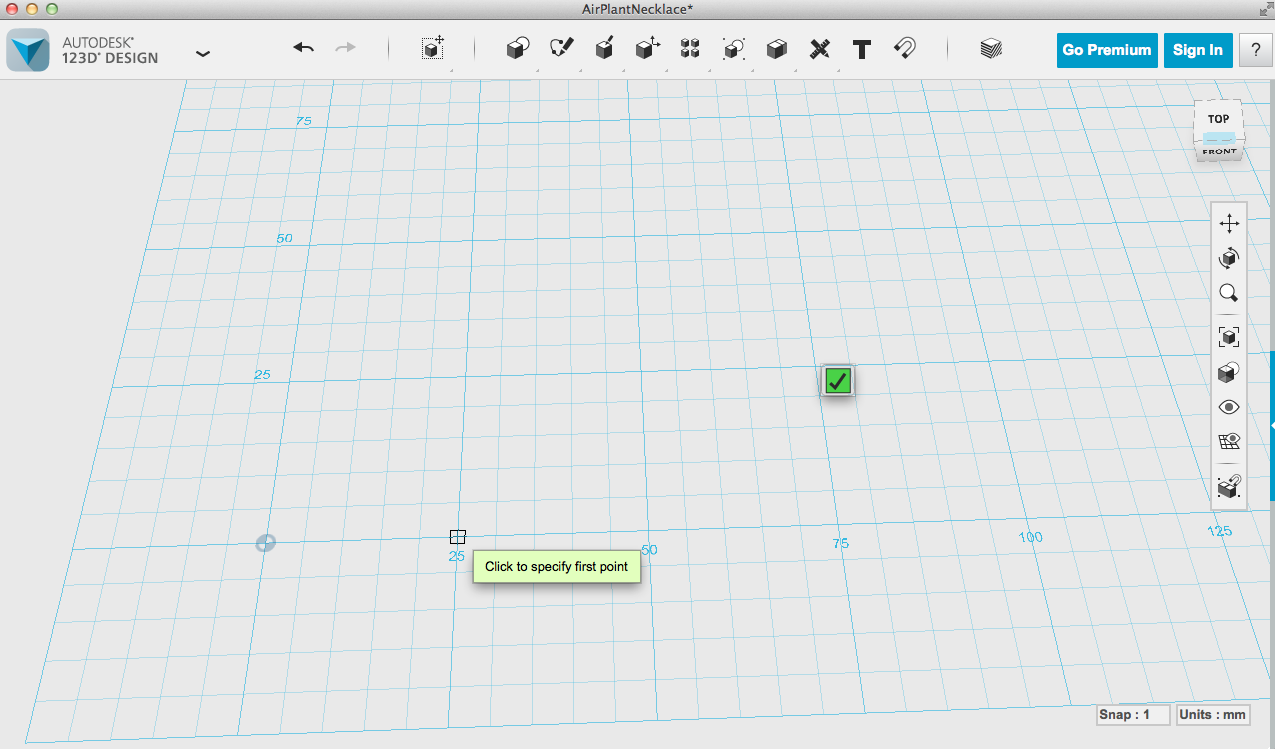
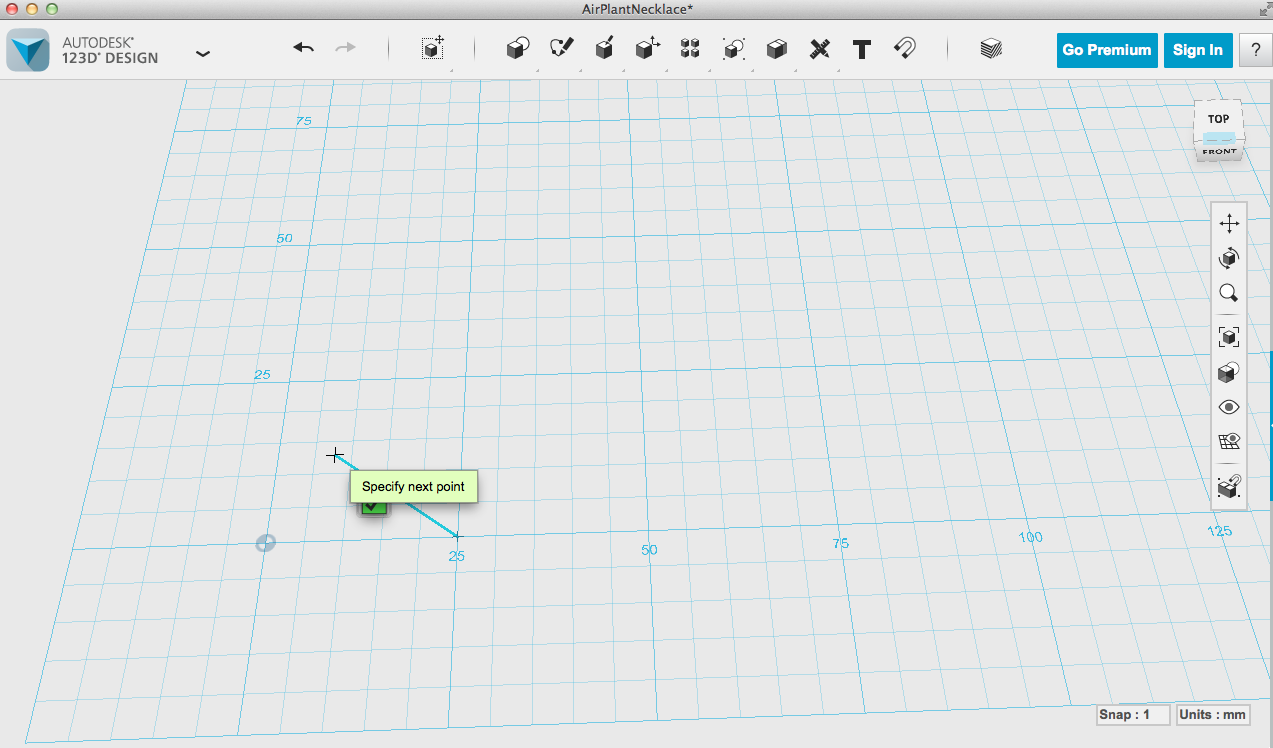
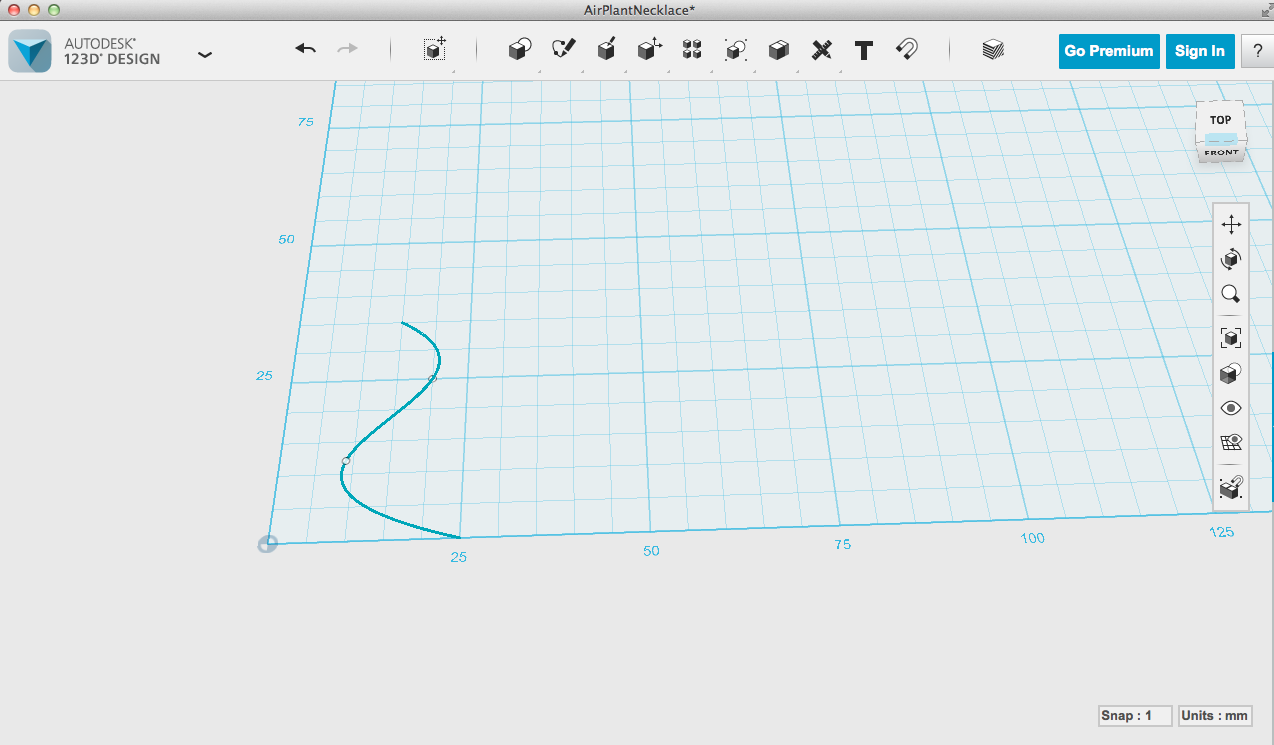
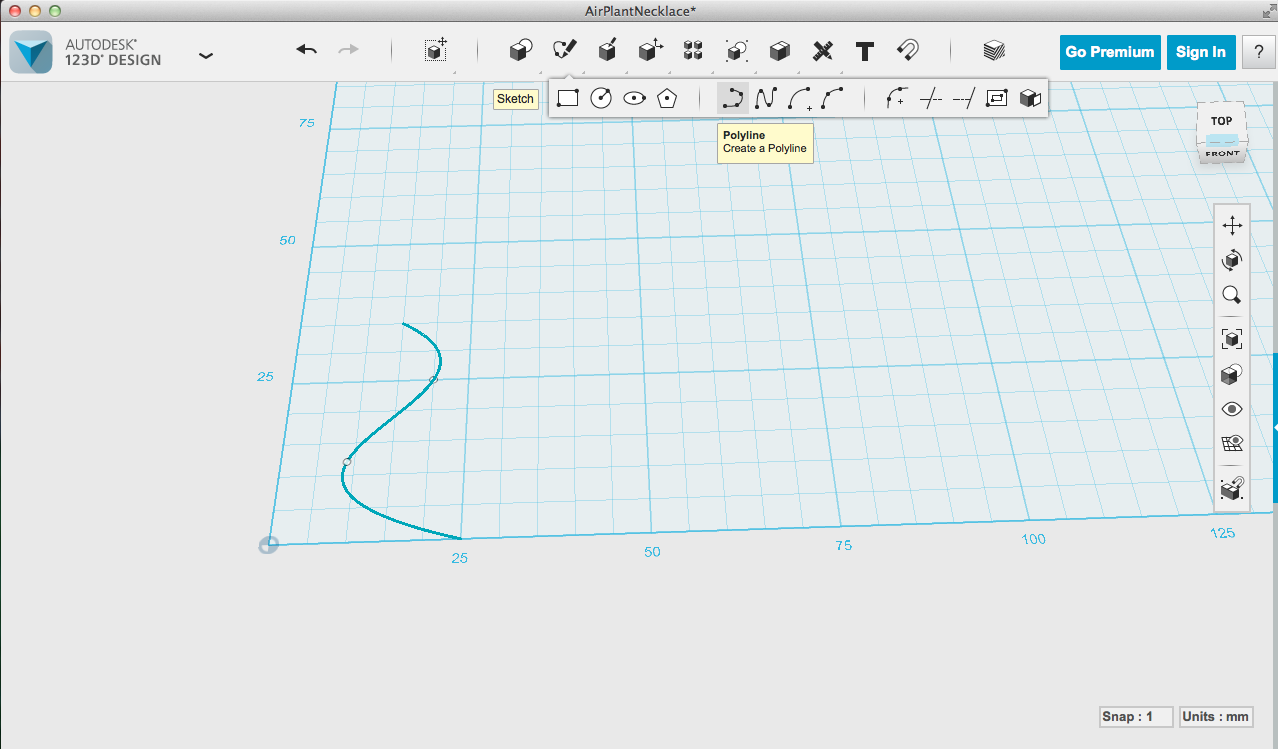
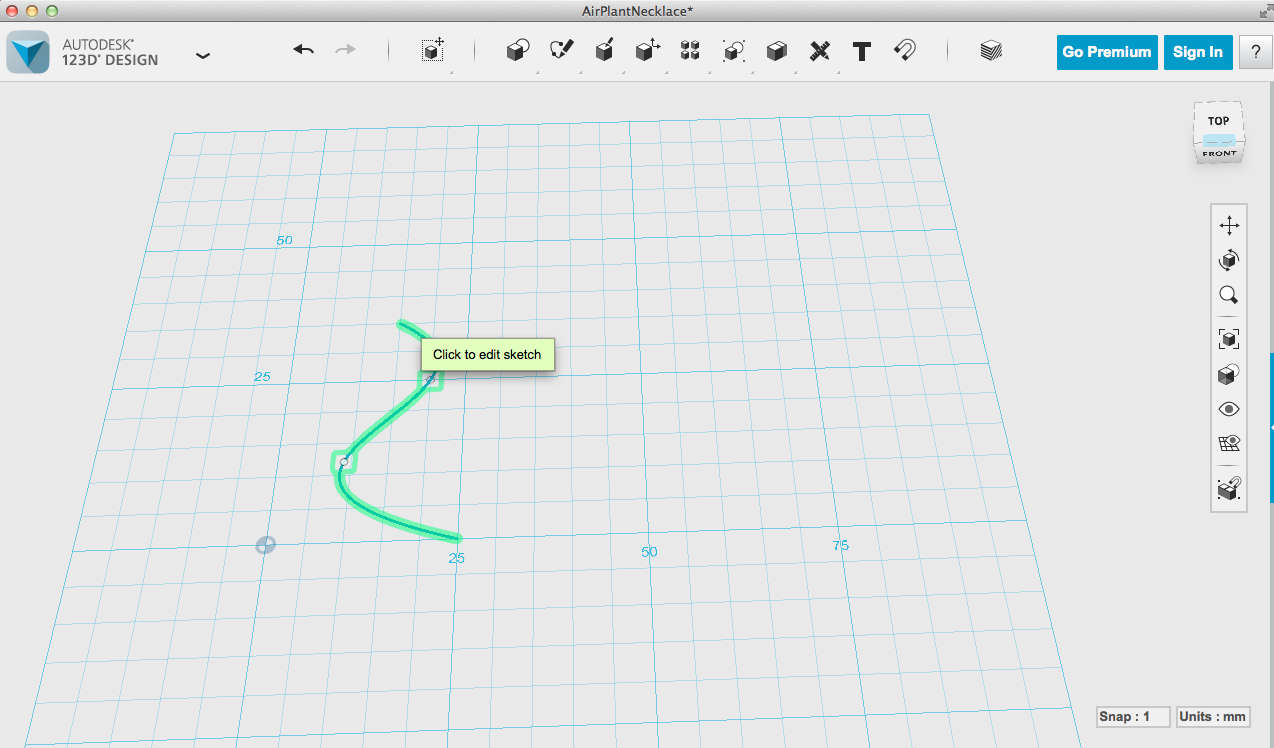
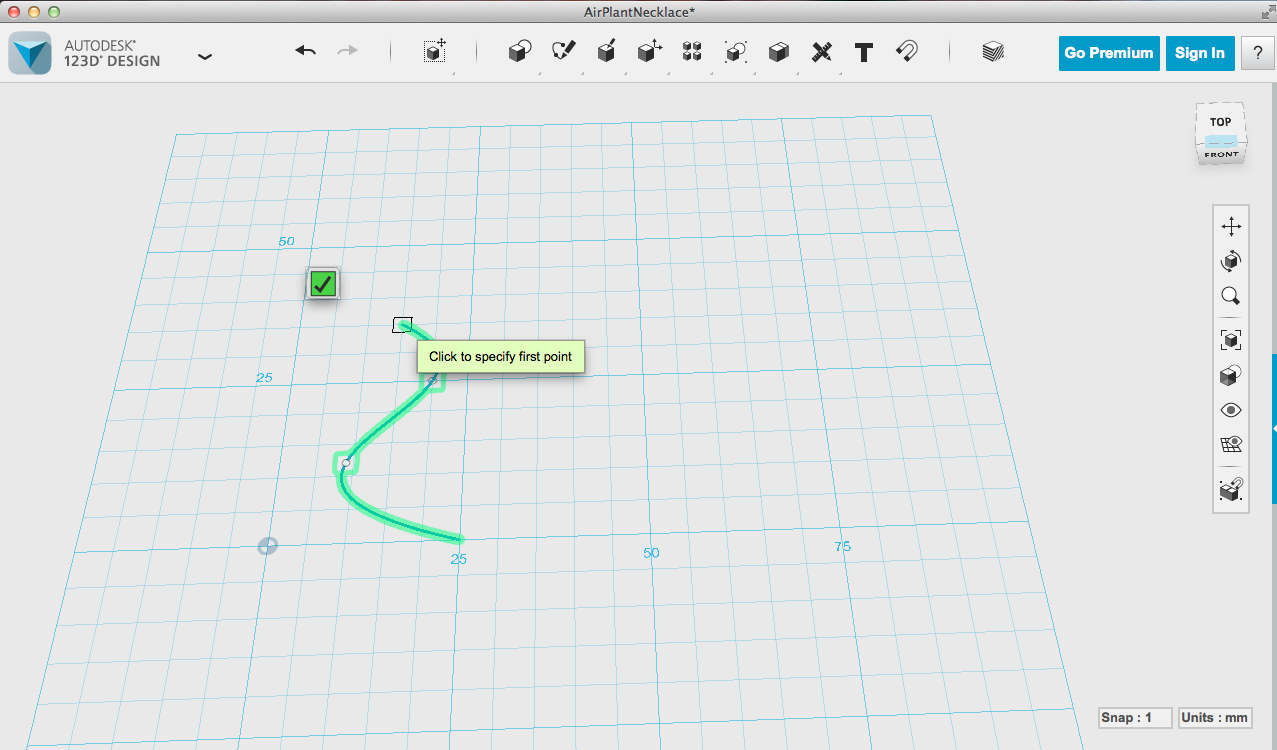
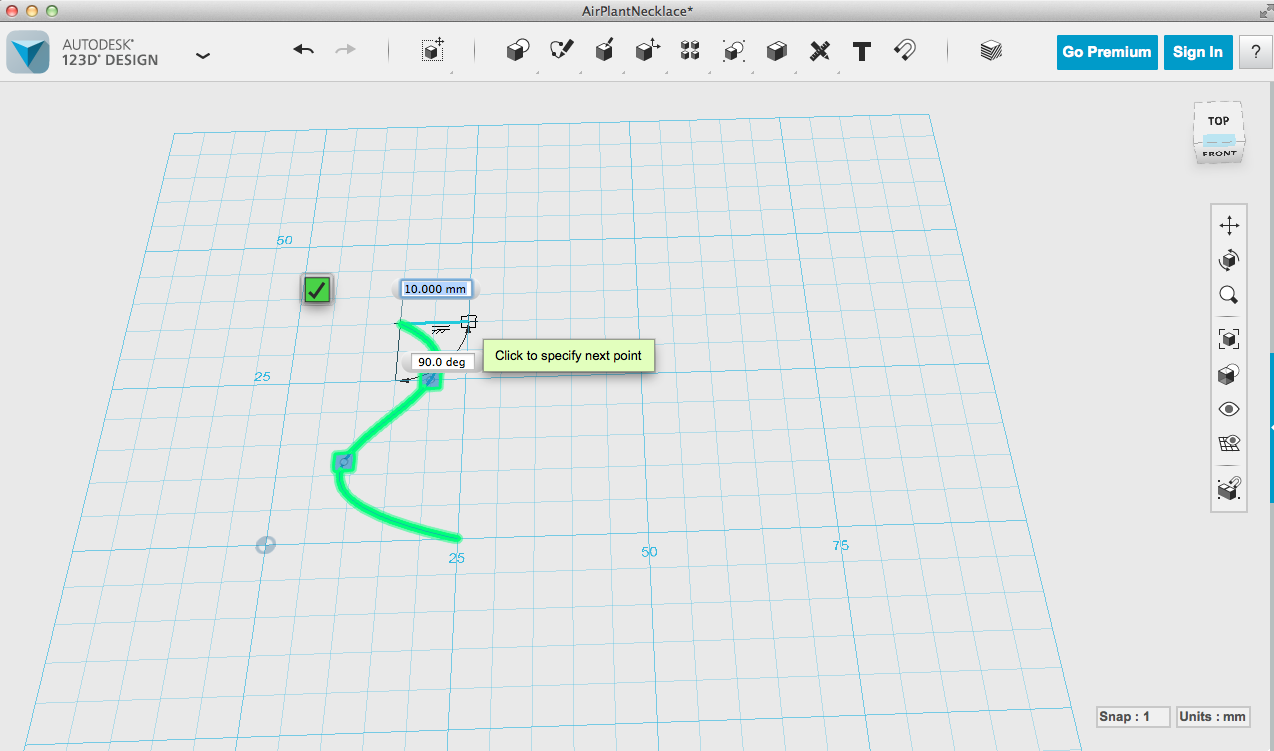
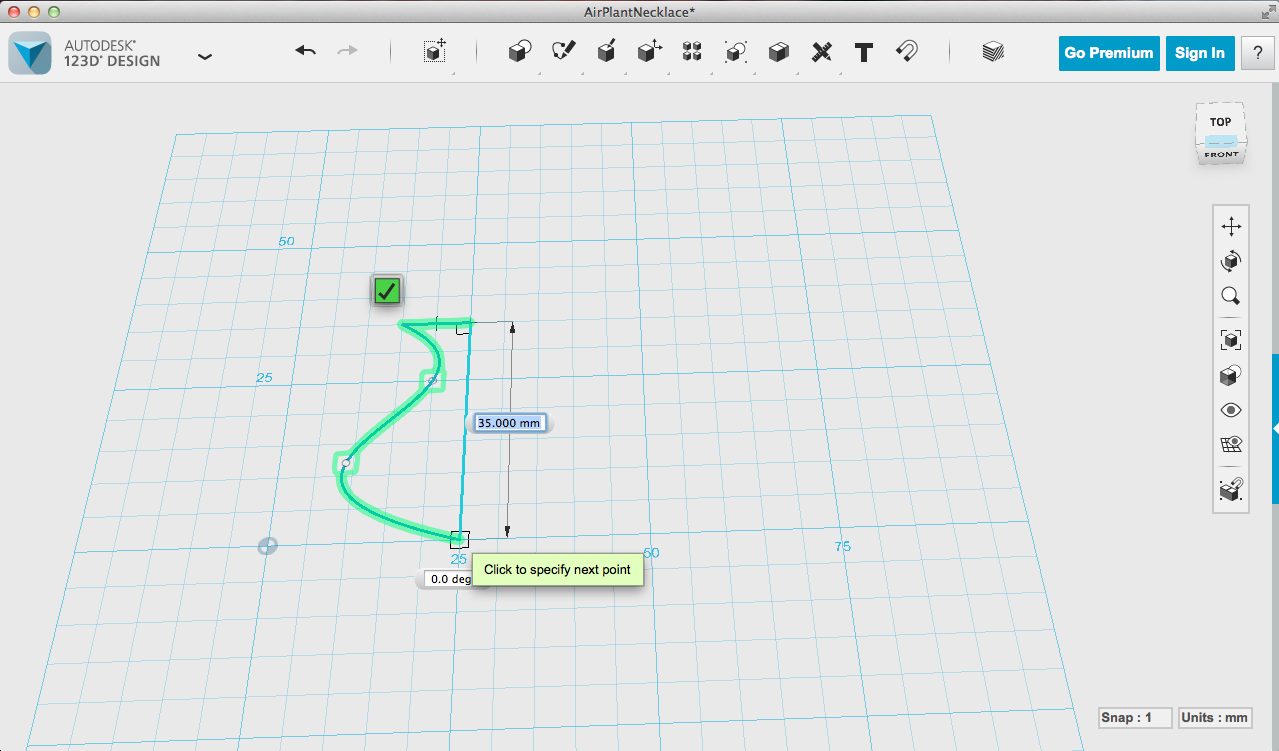
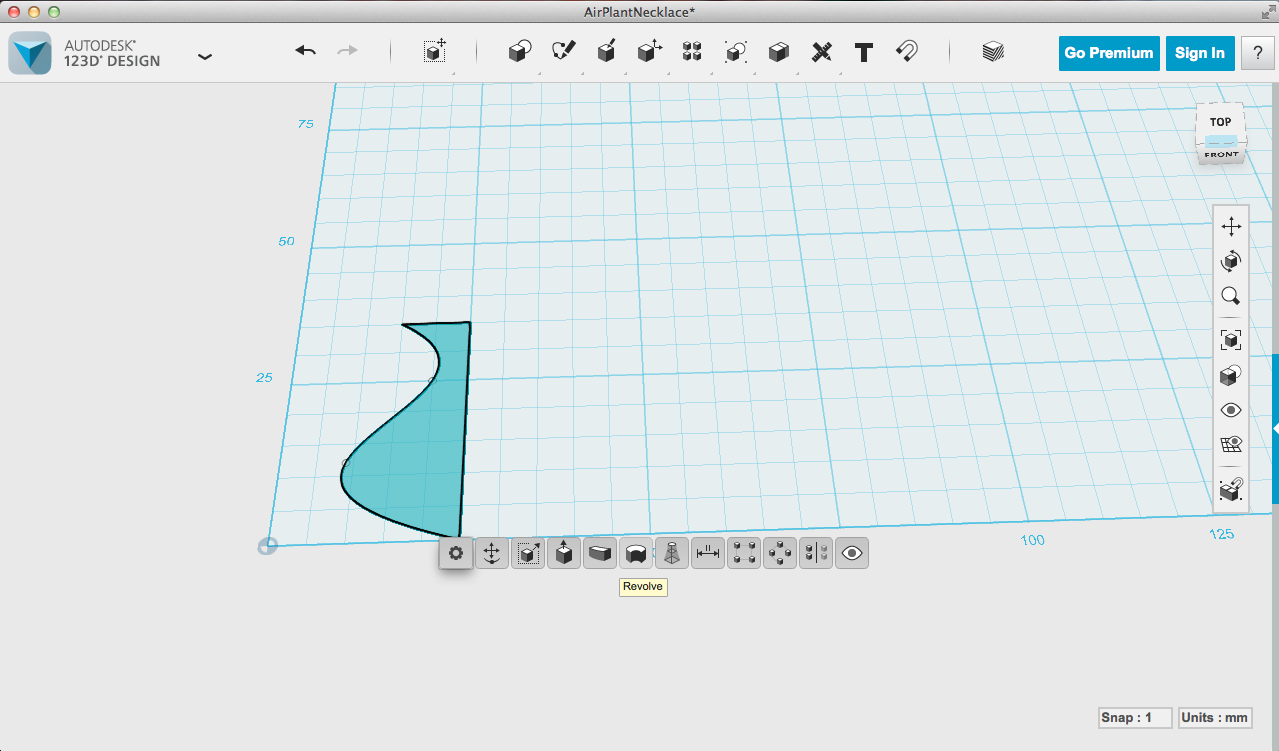
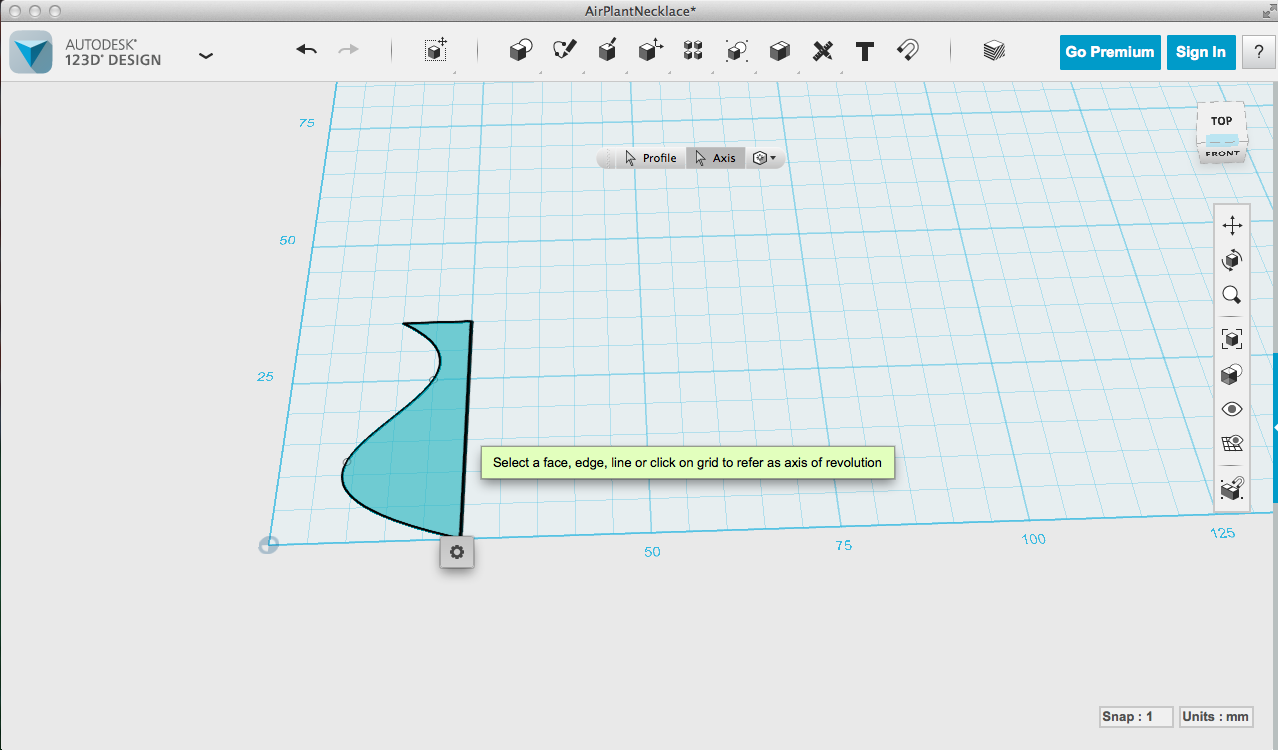
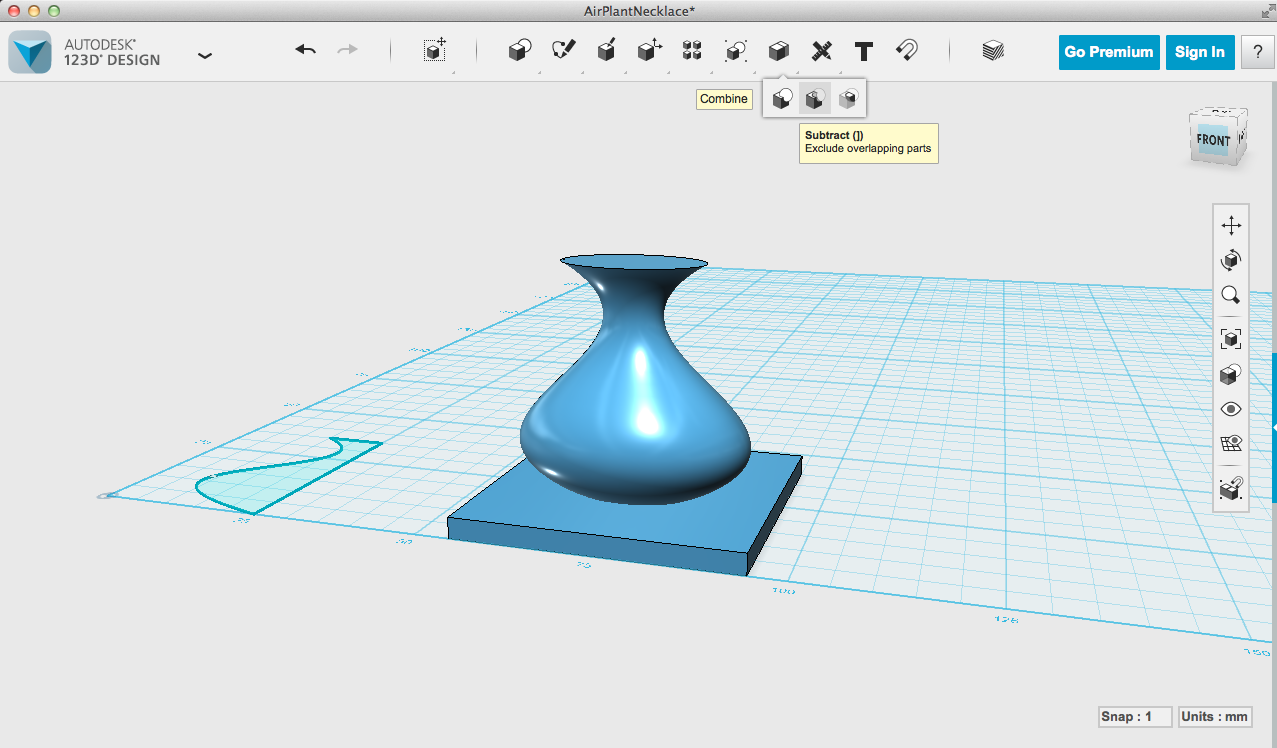
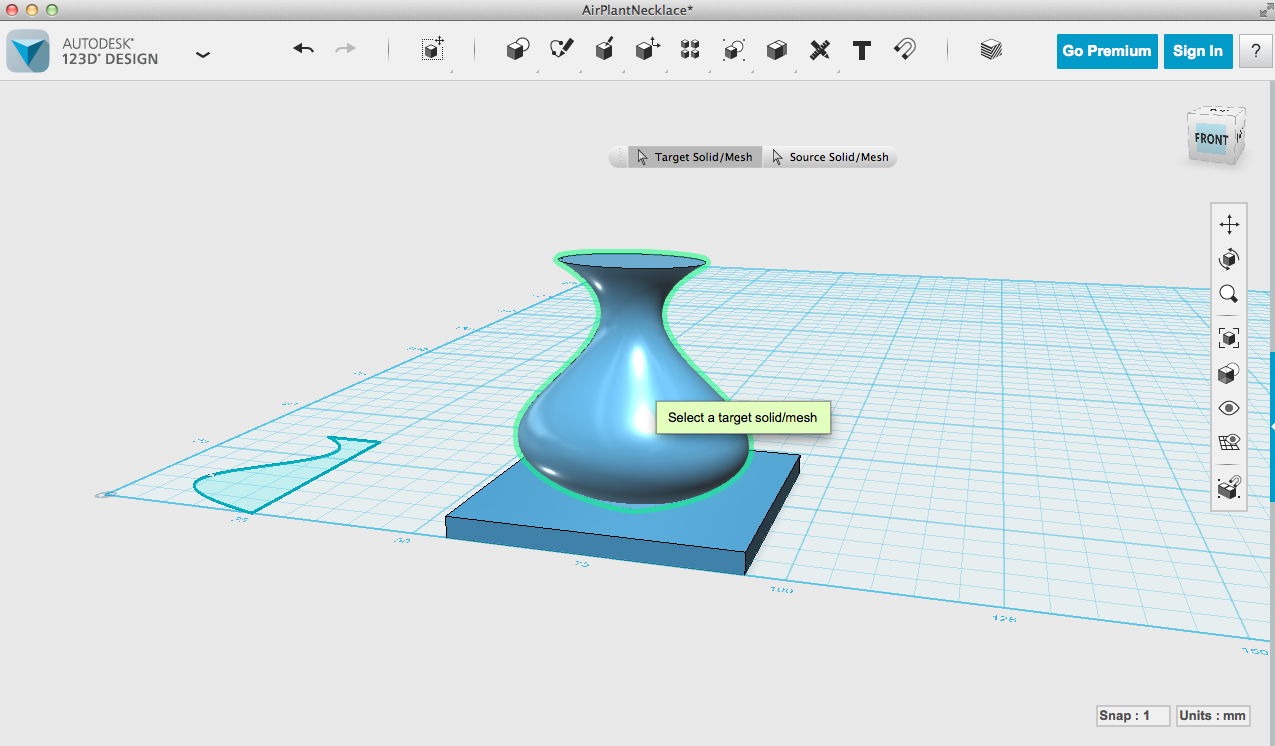
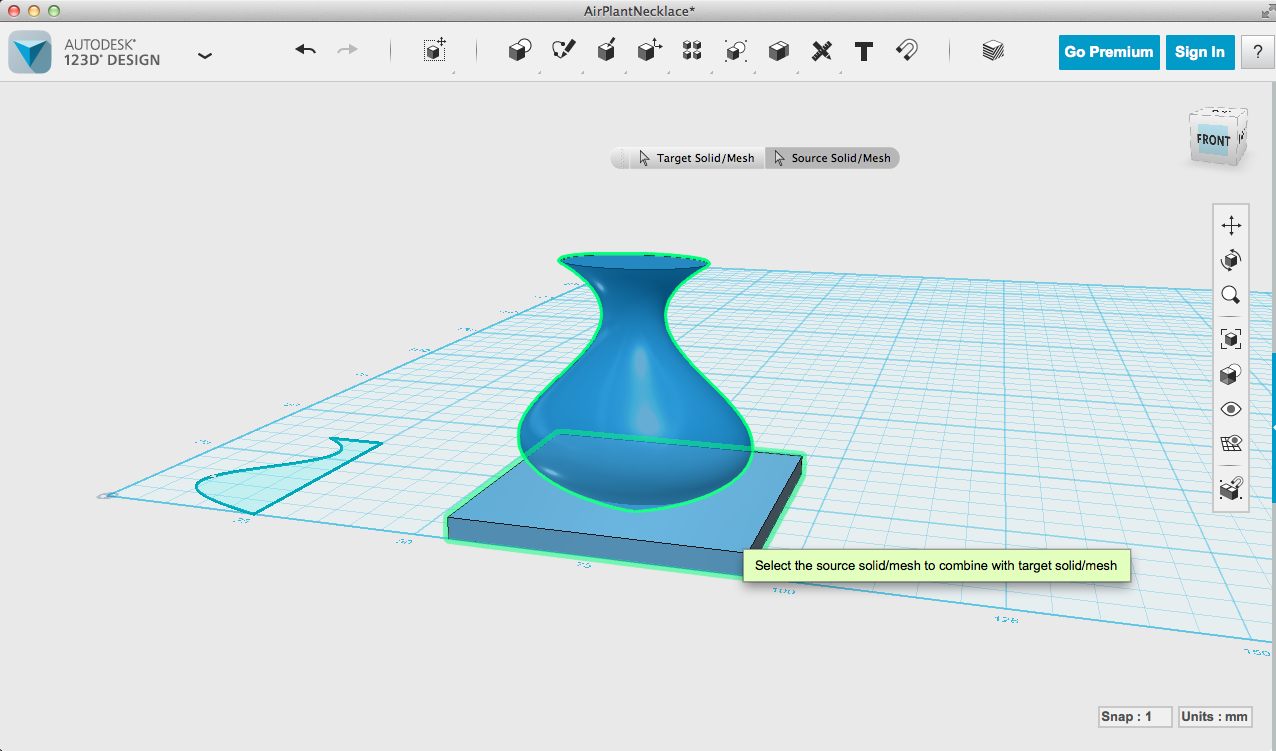
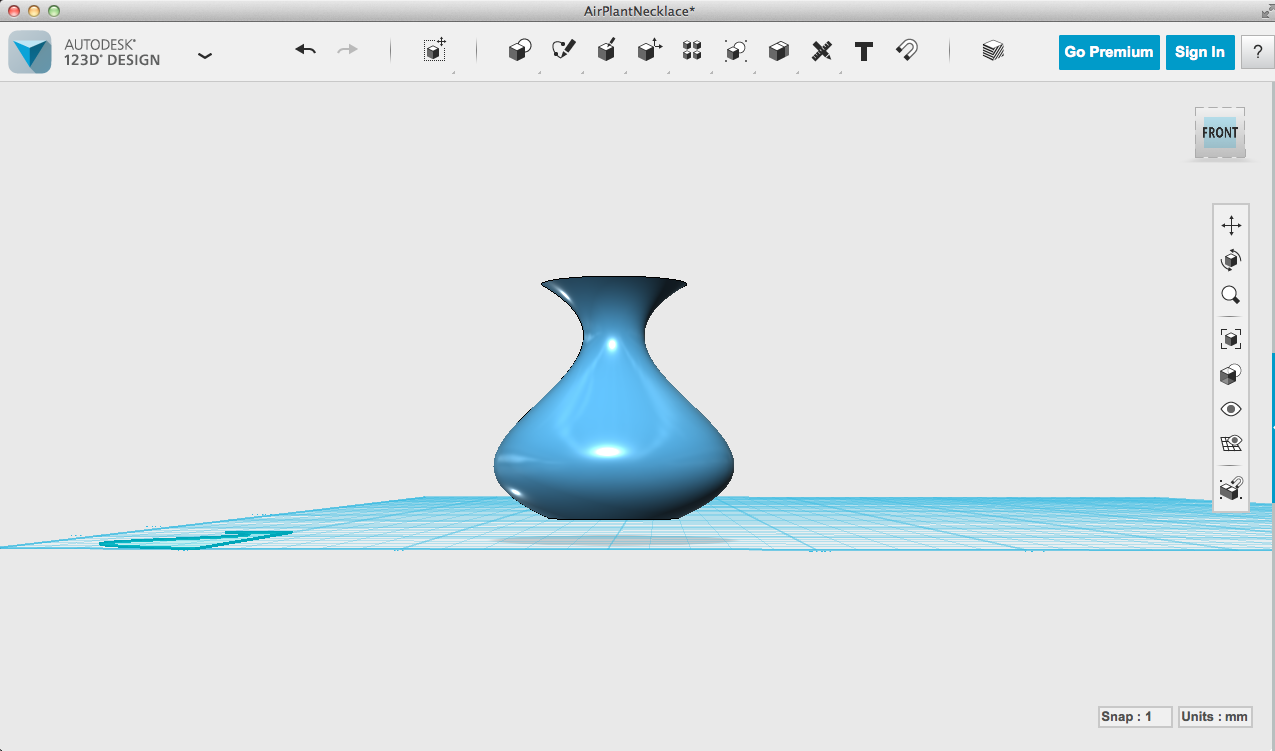
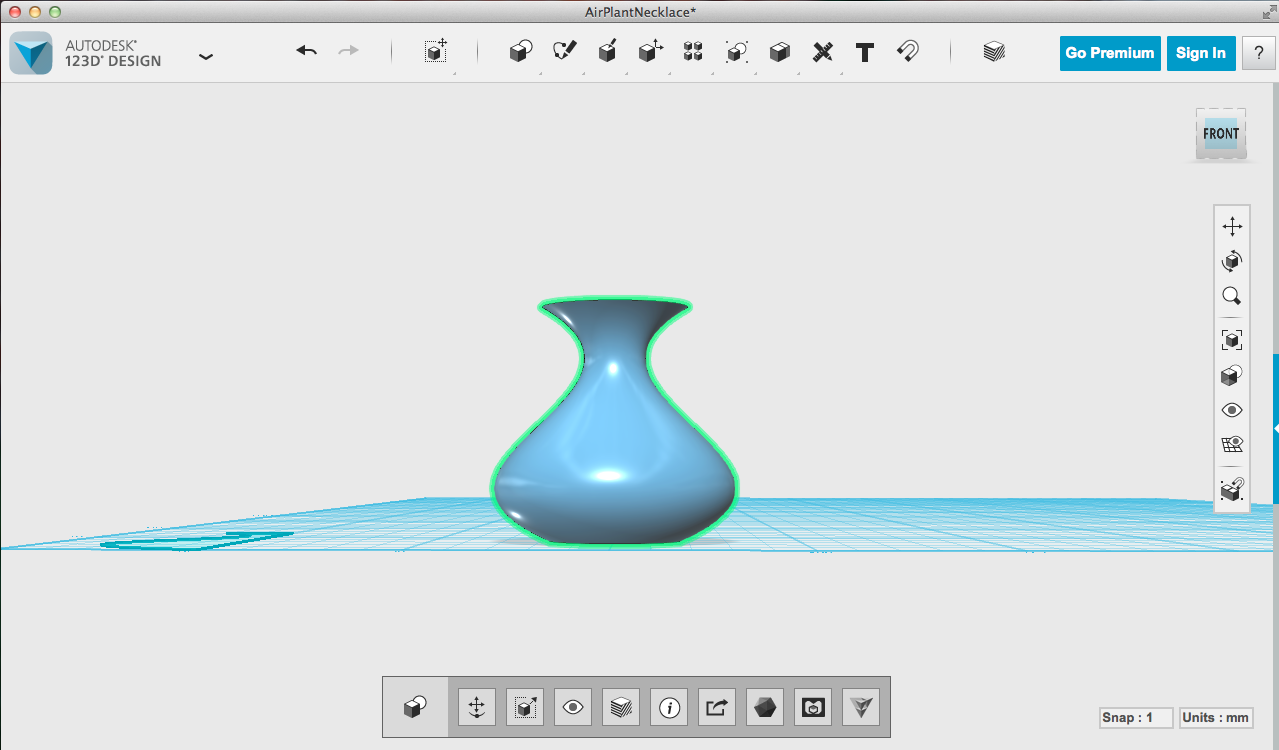
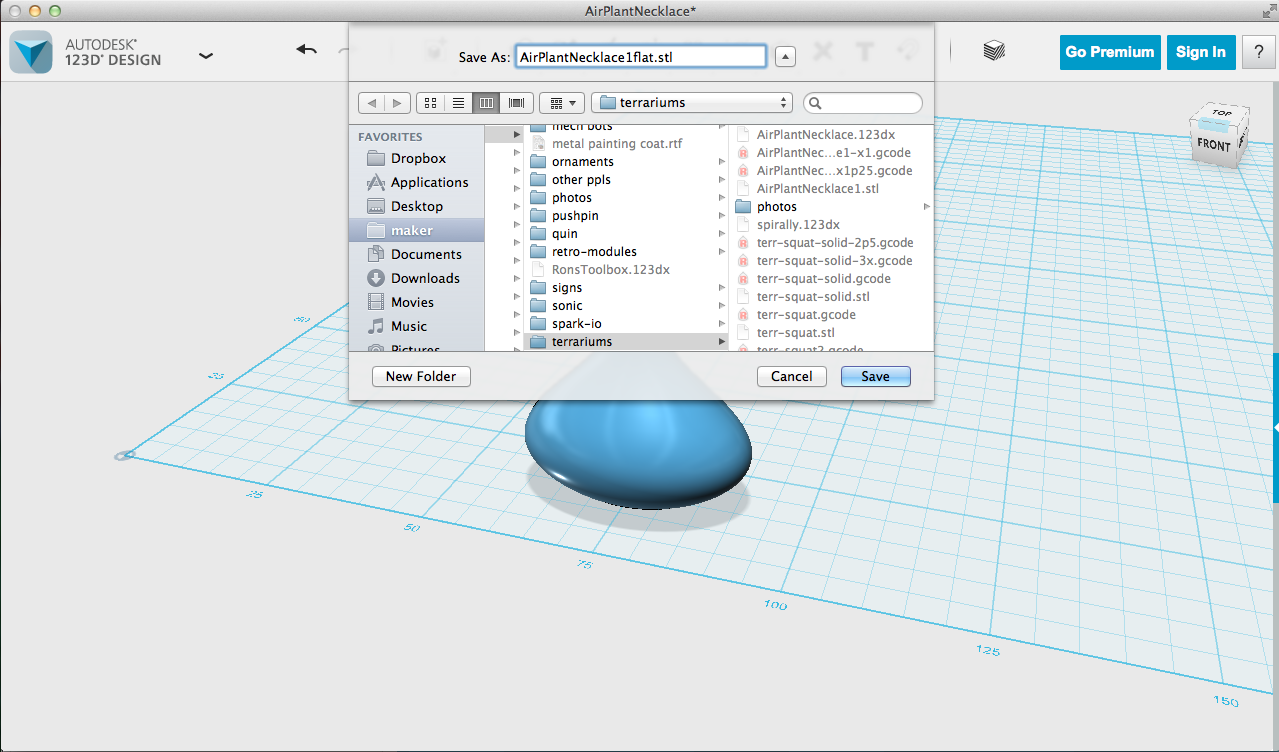
I frequently teach 3d modeling in 123D Design, as the barriers to entry are low. There are plenty of programs that are more flexible and powerful, but they can get pricey, and of the free ones, this has one of the most straightforward interfaces.
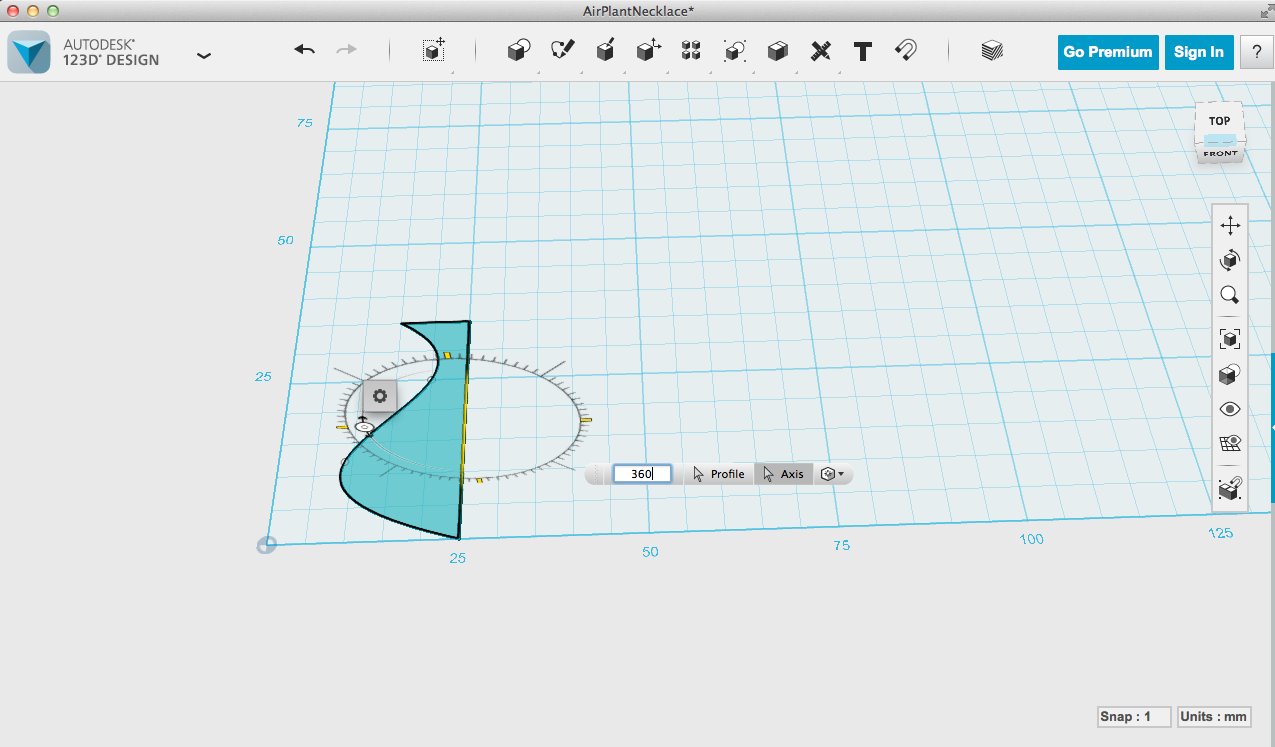
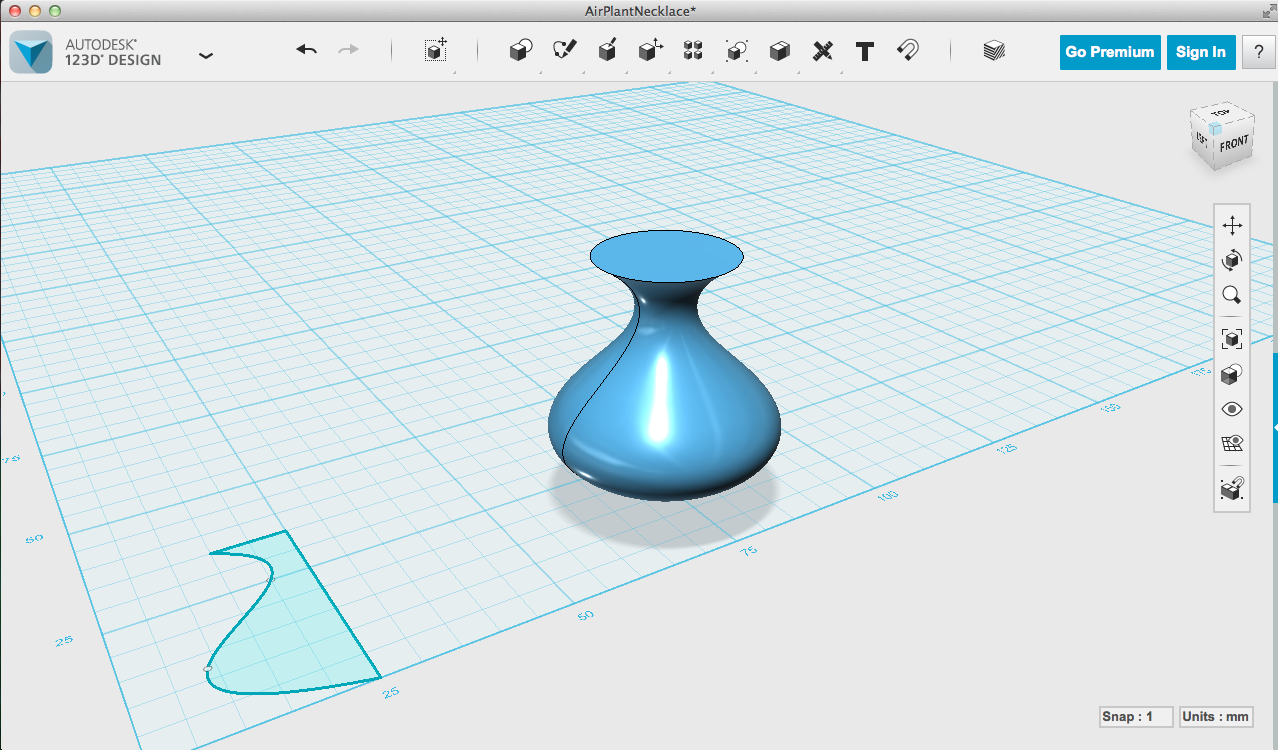
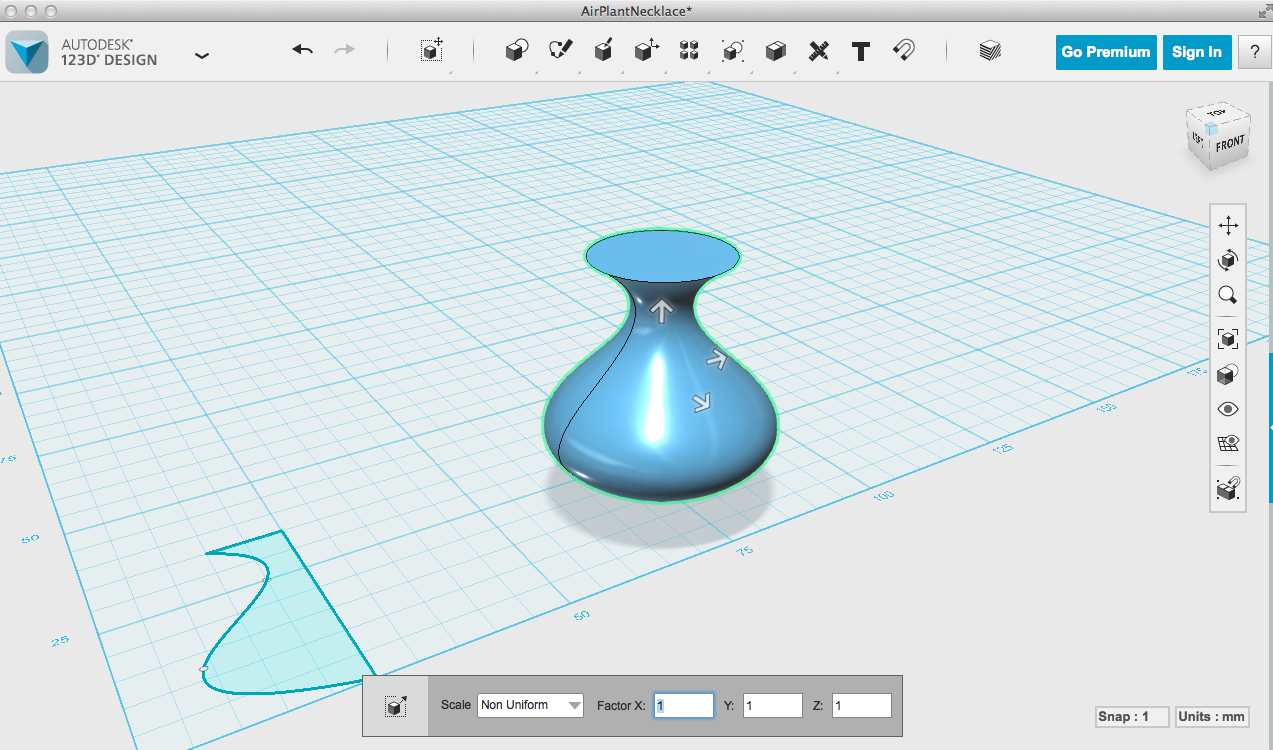
I made the profile of the vase using Splines and Polylines. Splines will give you curves, Polylines will give you straight-sided polygons. Select the Spline tool, and click on the grid so you can draw directly on the lines. Start your first point on an intersection (they like to click in place when you mouse around), and then try making more points in a shape you like. I wanted a flared neck to hook the necklace knot beneath, so I made the last point further out than the previous one. Click in the same place twice, or hit enter to finish drawing. To complete the shape, select the Polyline tool, click on the last point you made, and draw lines along the grid until you've returned to the first point. See pictures for how to do this and give yourself an axis.
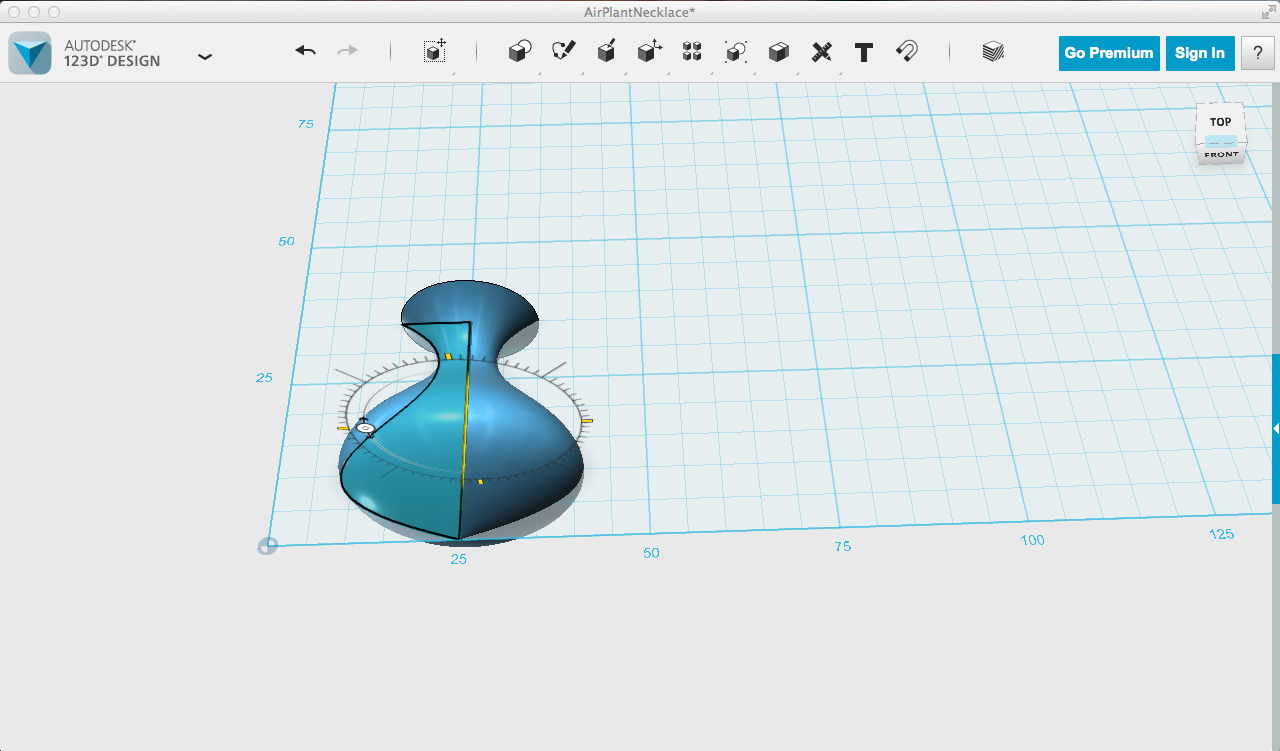
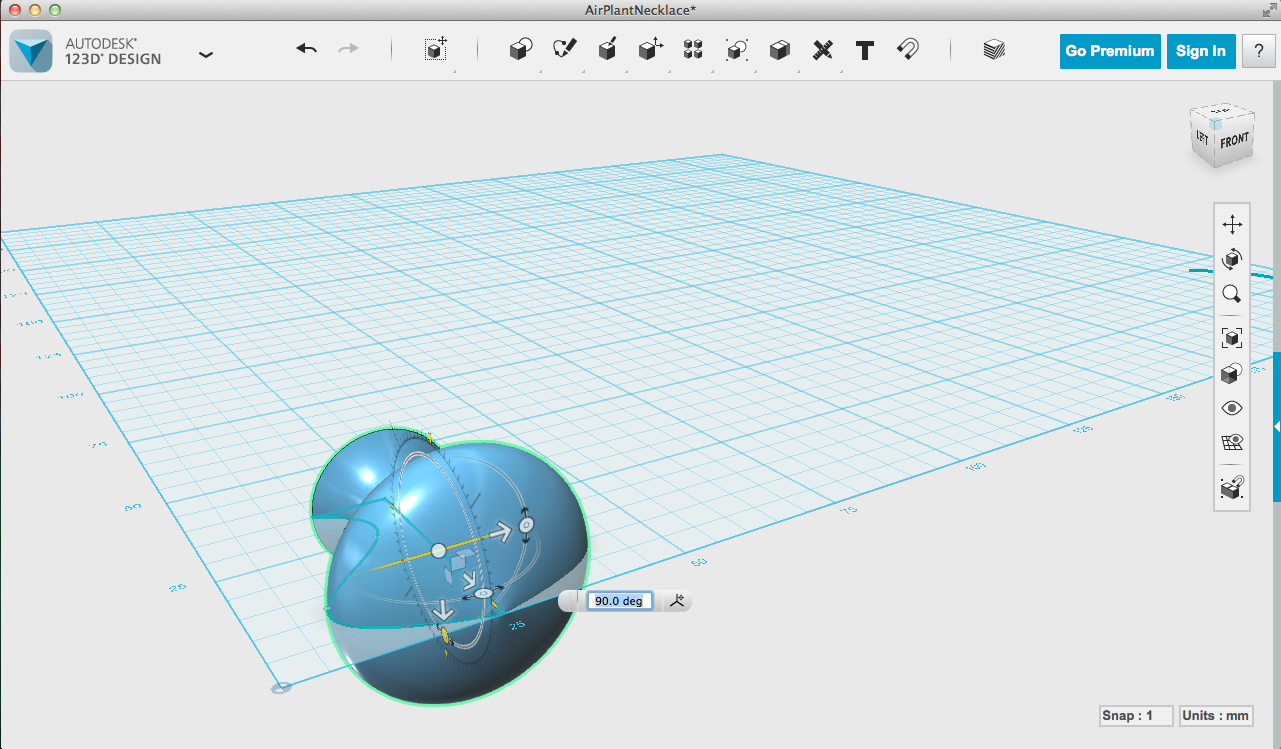
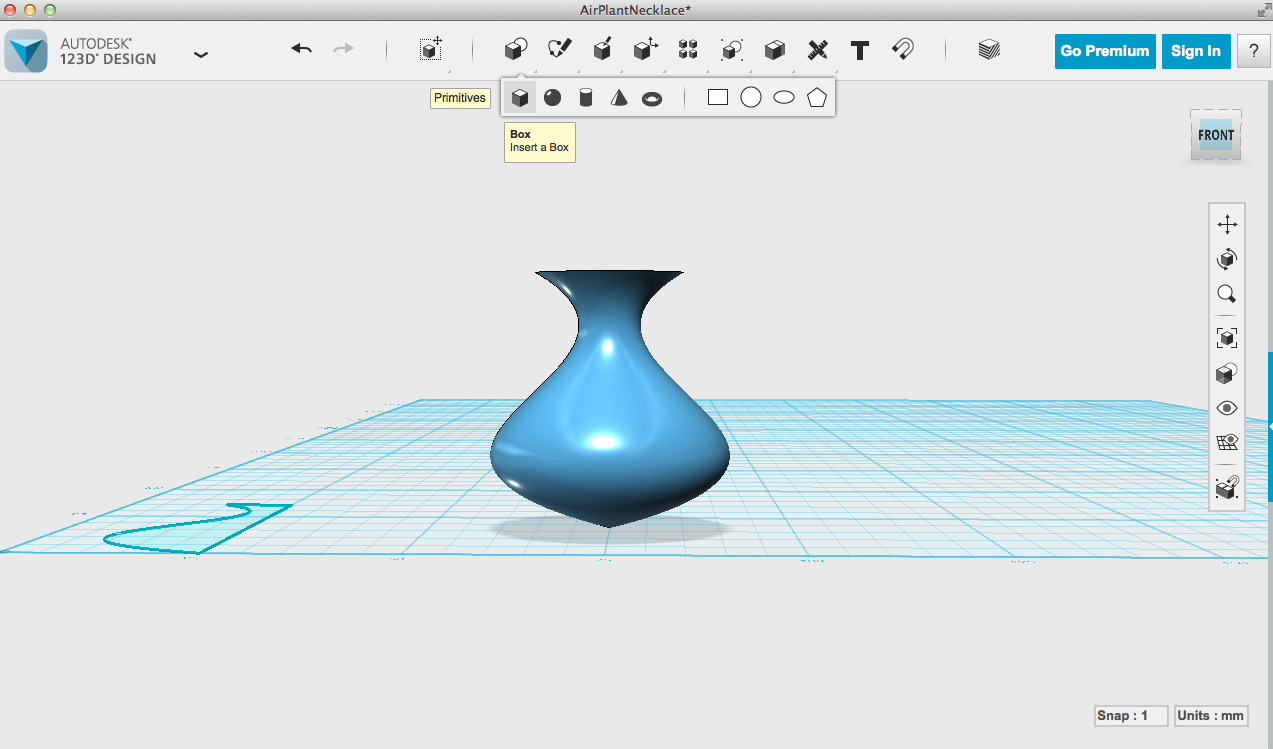
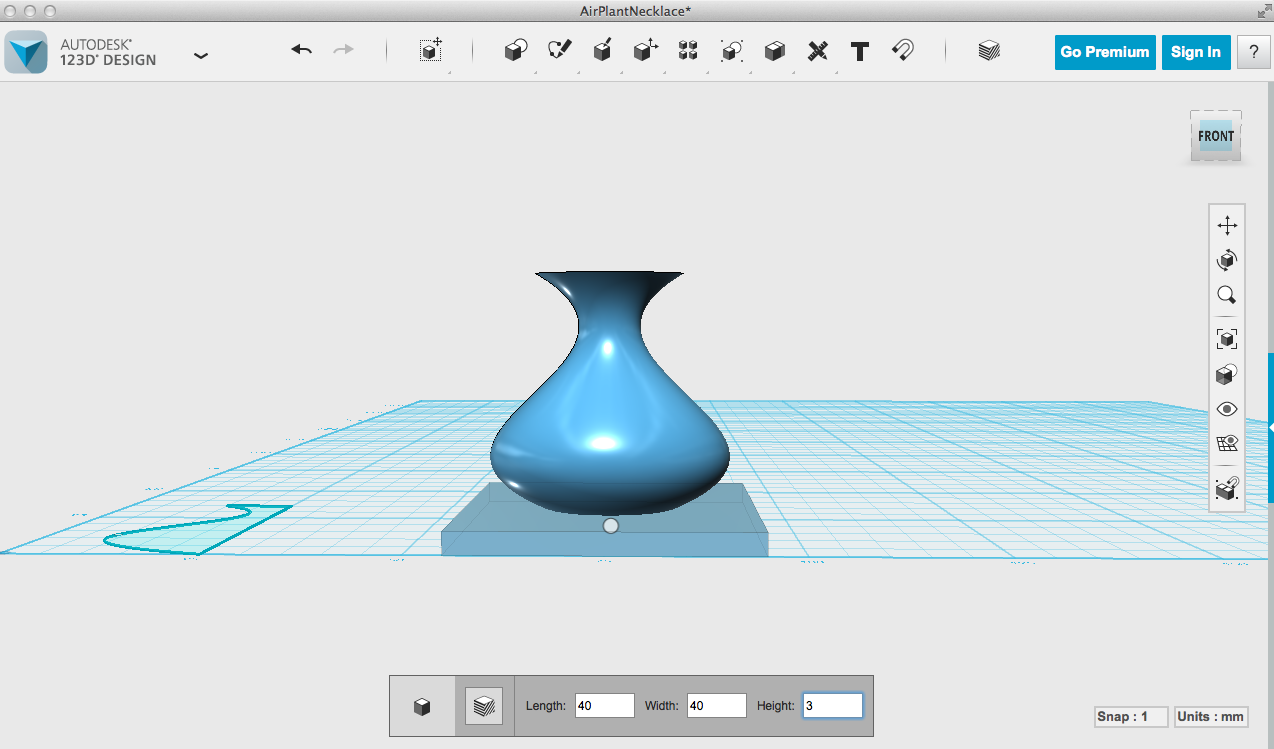
When you have a completed 2d shape, click it, select Revolve from the little gear menu, click on the straight side that will be your axis, and enter 360 into the number box. This will create your rounded shape. Move and rotate it until it is upright. I wanted to have the bottom of it be flat for ease of printing, so I placed a low box overlapping it at the base, and Subtracted the overlapping parts.
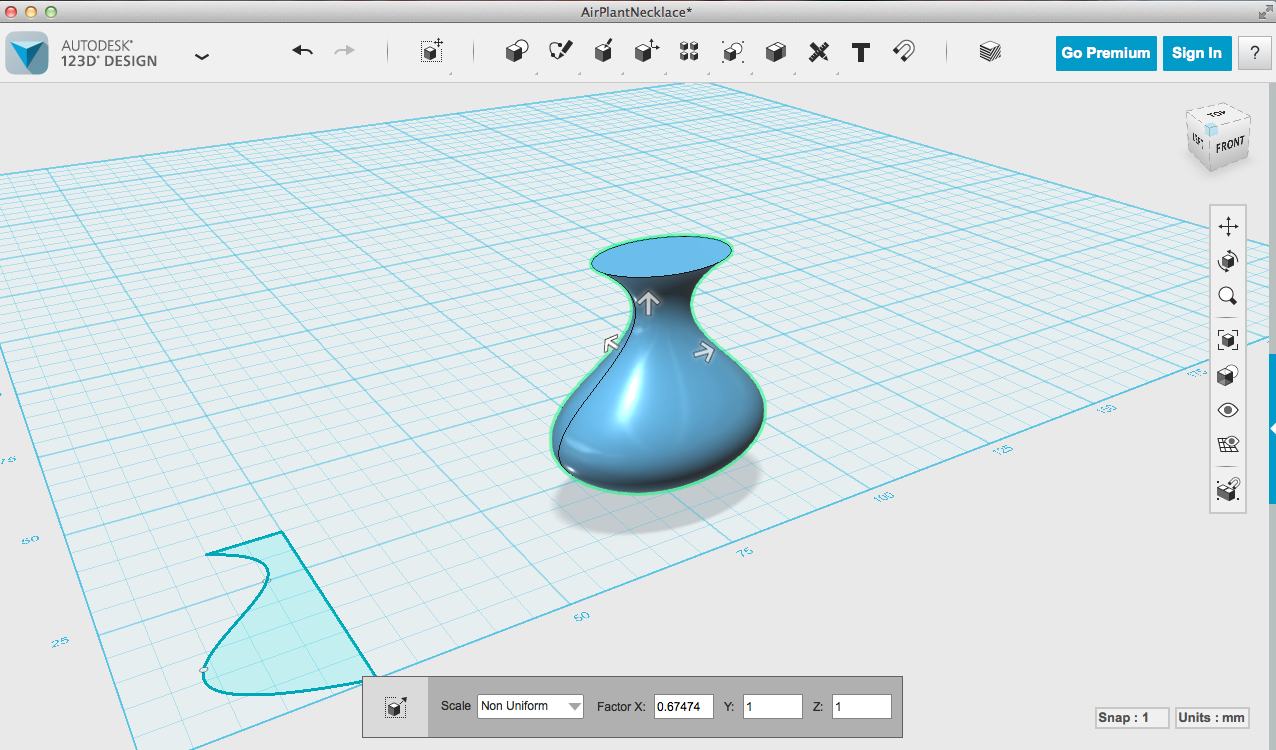
As this is meant to be a necklace, I wanted it a little flatter than usual, which is easily accomplished with non-uniform Scale.
3D Printing
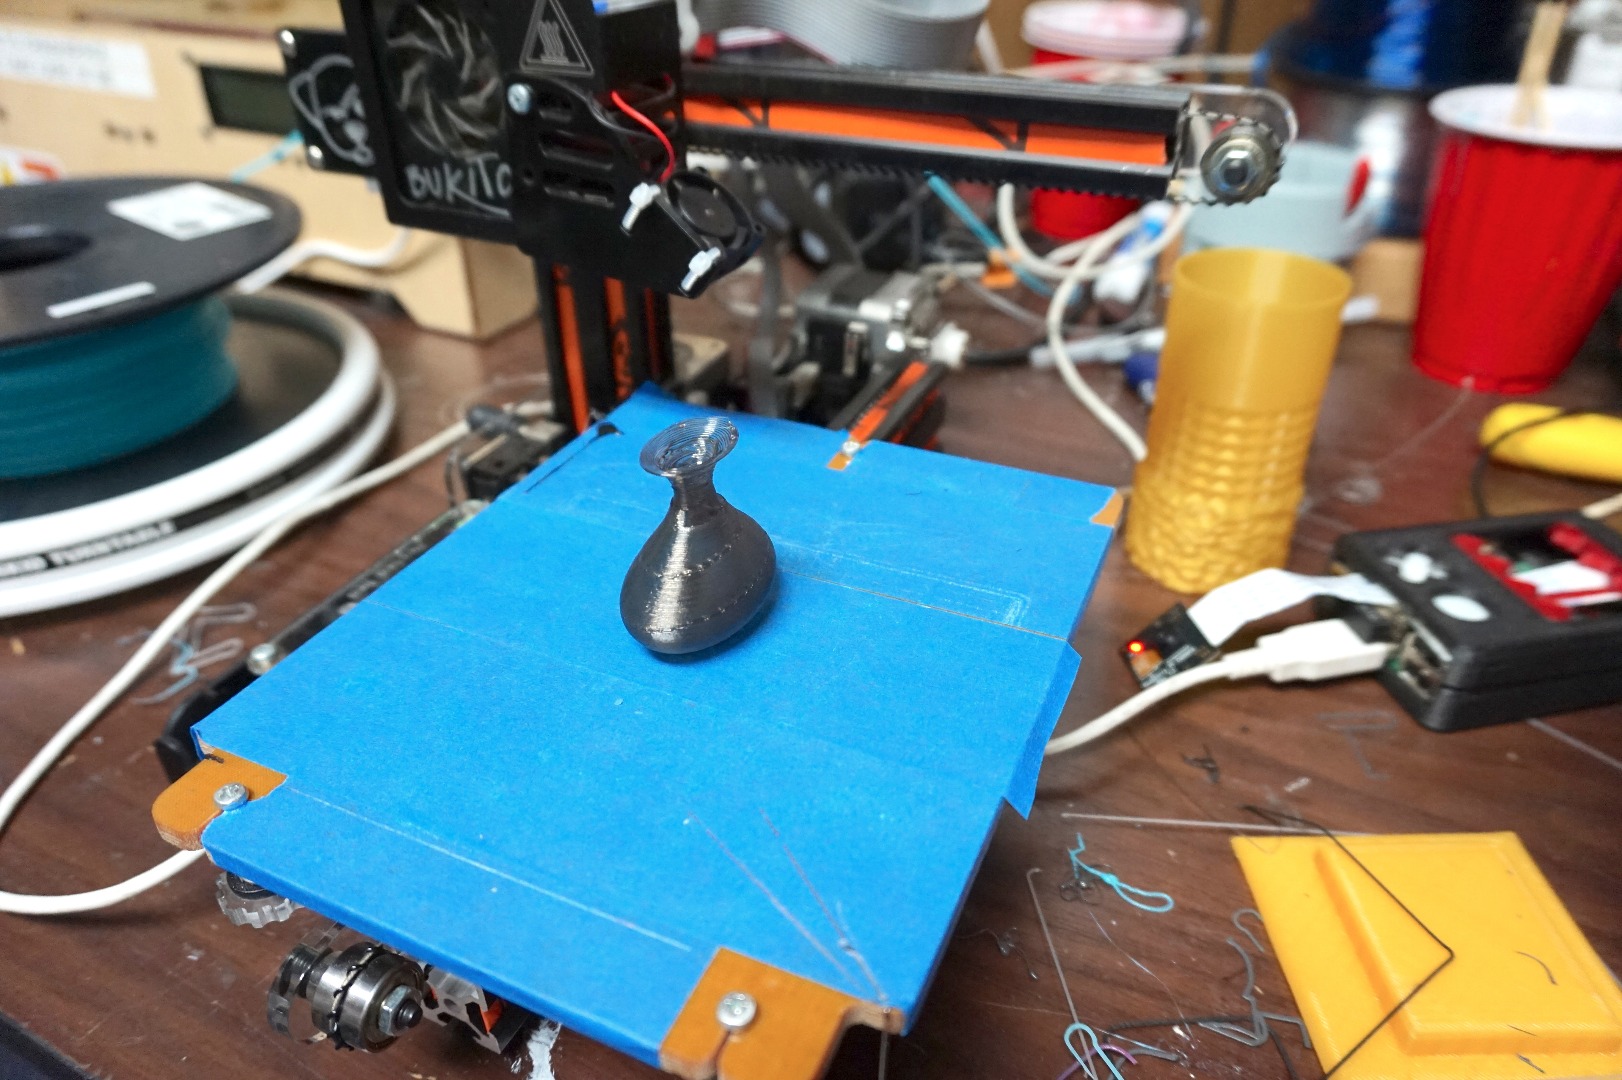
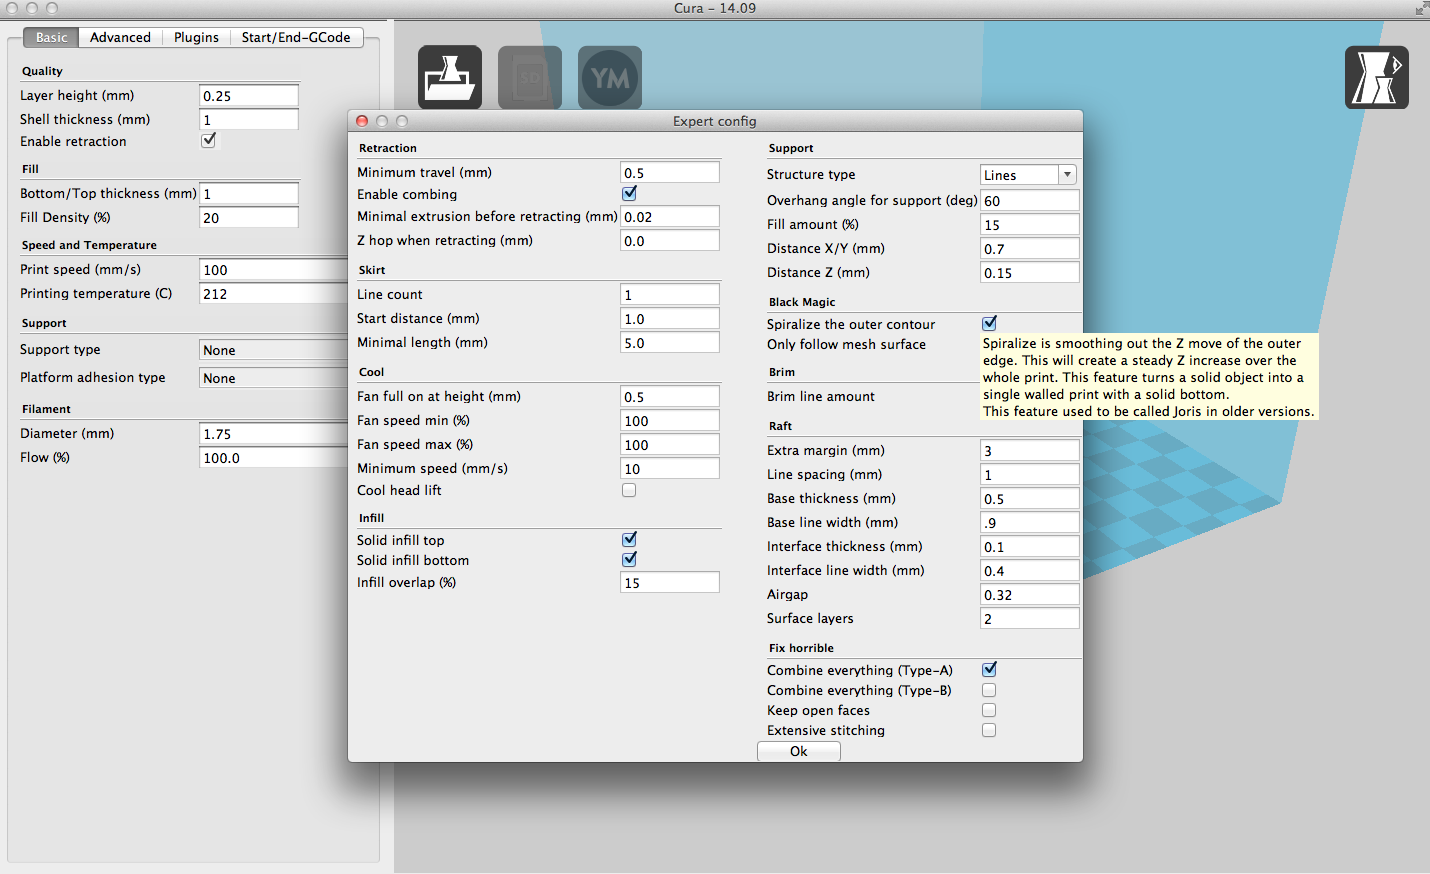
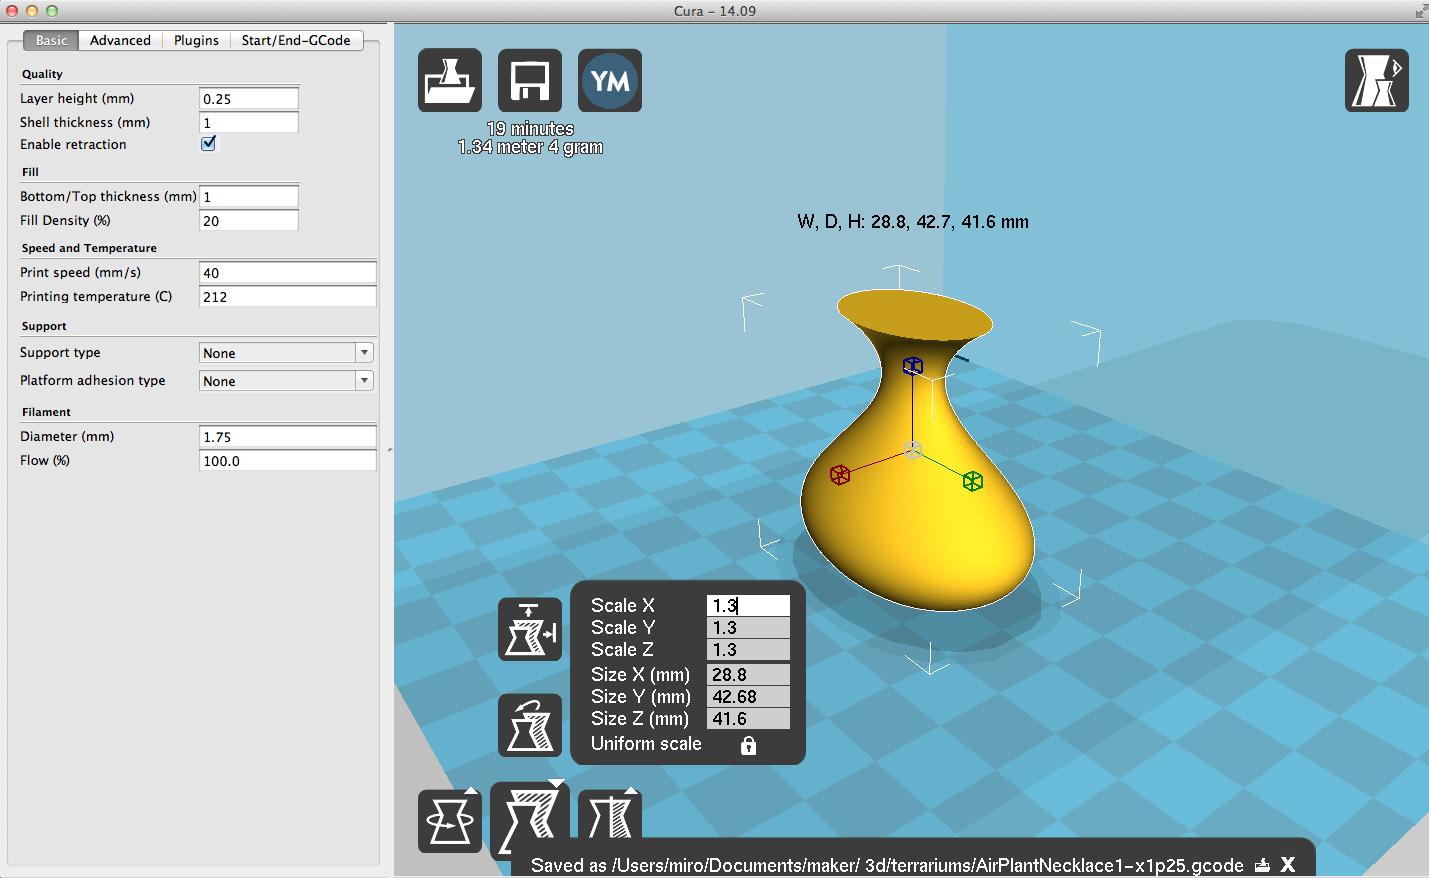
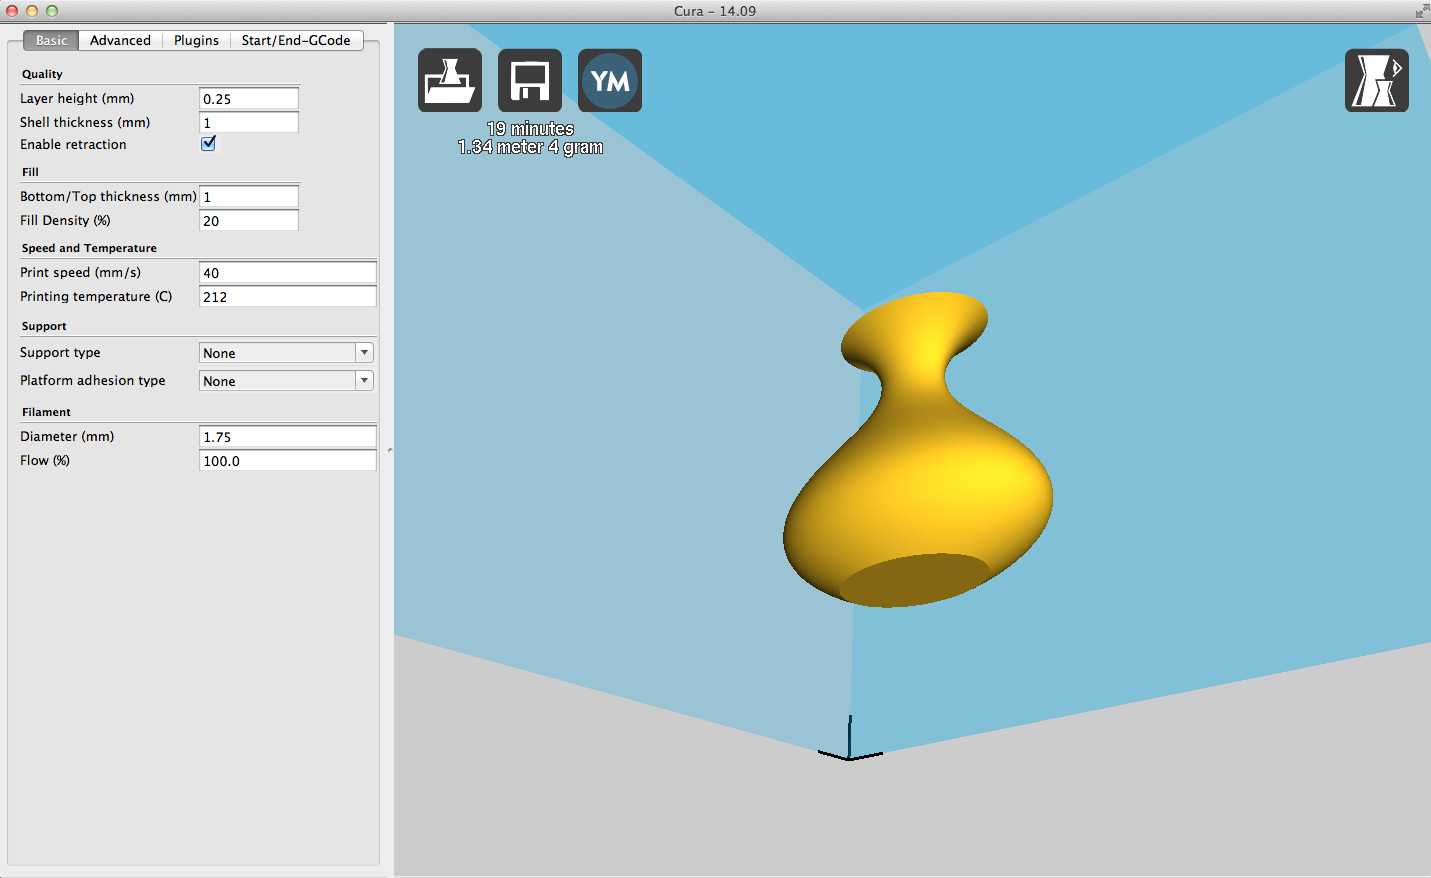
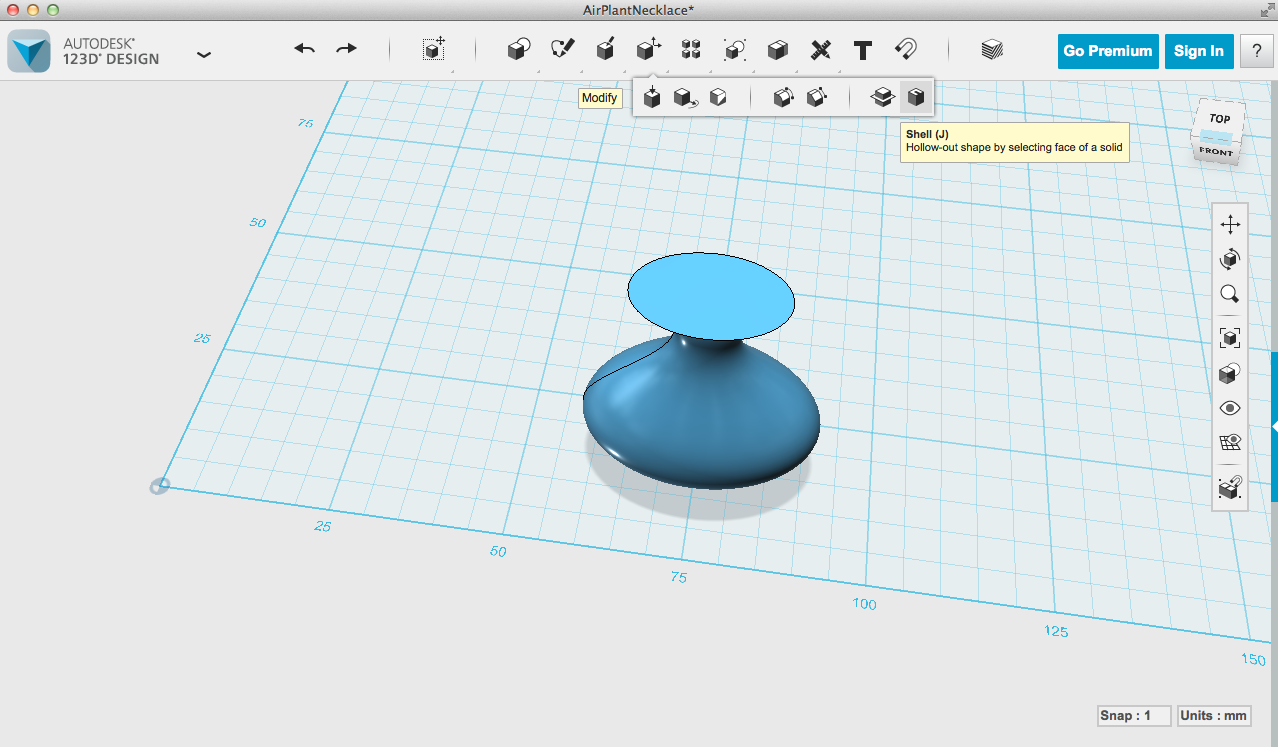
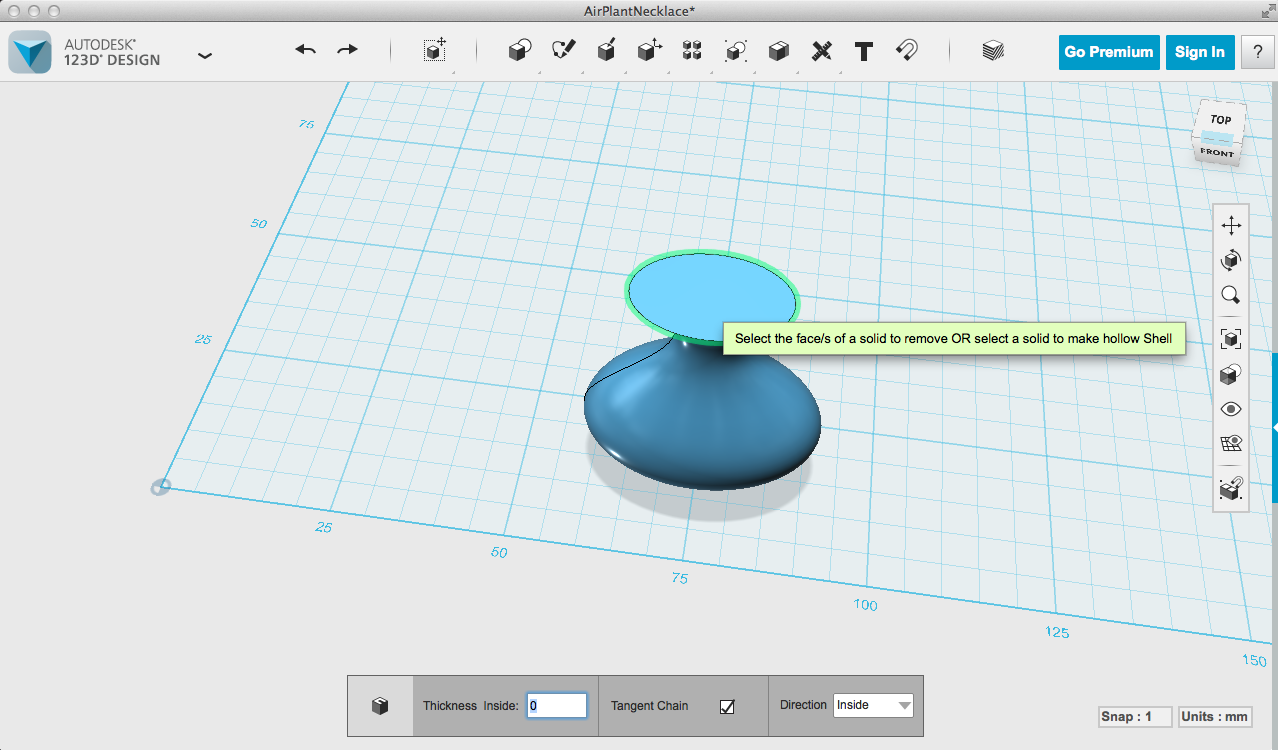
You'll notice that I just created a solid object in the 3d modeling software, rather than a hollow one. Instead of hollowing out the object, I decided to use Cura's Spiralize setting (found in Expert Config) to give it a nice, thin, single layer wall. Especially using a clear filament like t-flase, this looks pretty slick. Slic3r's spiral vase setting should accomplish the same thing, though I haven't tried it out myself.
If you don't have this option, you can also use the Shell tool in 123D Design to make the shape into a hollow vase.
Print it! You might need to experiment with the speed to get your filament to print smoothly on the thin neck portions. Try out different kinds of filament. We have clear, blue, red, and black t-glase at Crashspace, and I like the shimmery look of the black for this, but PLA would do nicely too.
Assemble
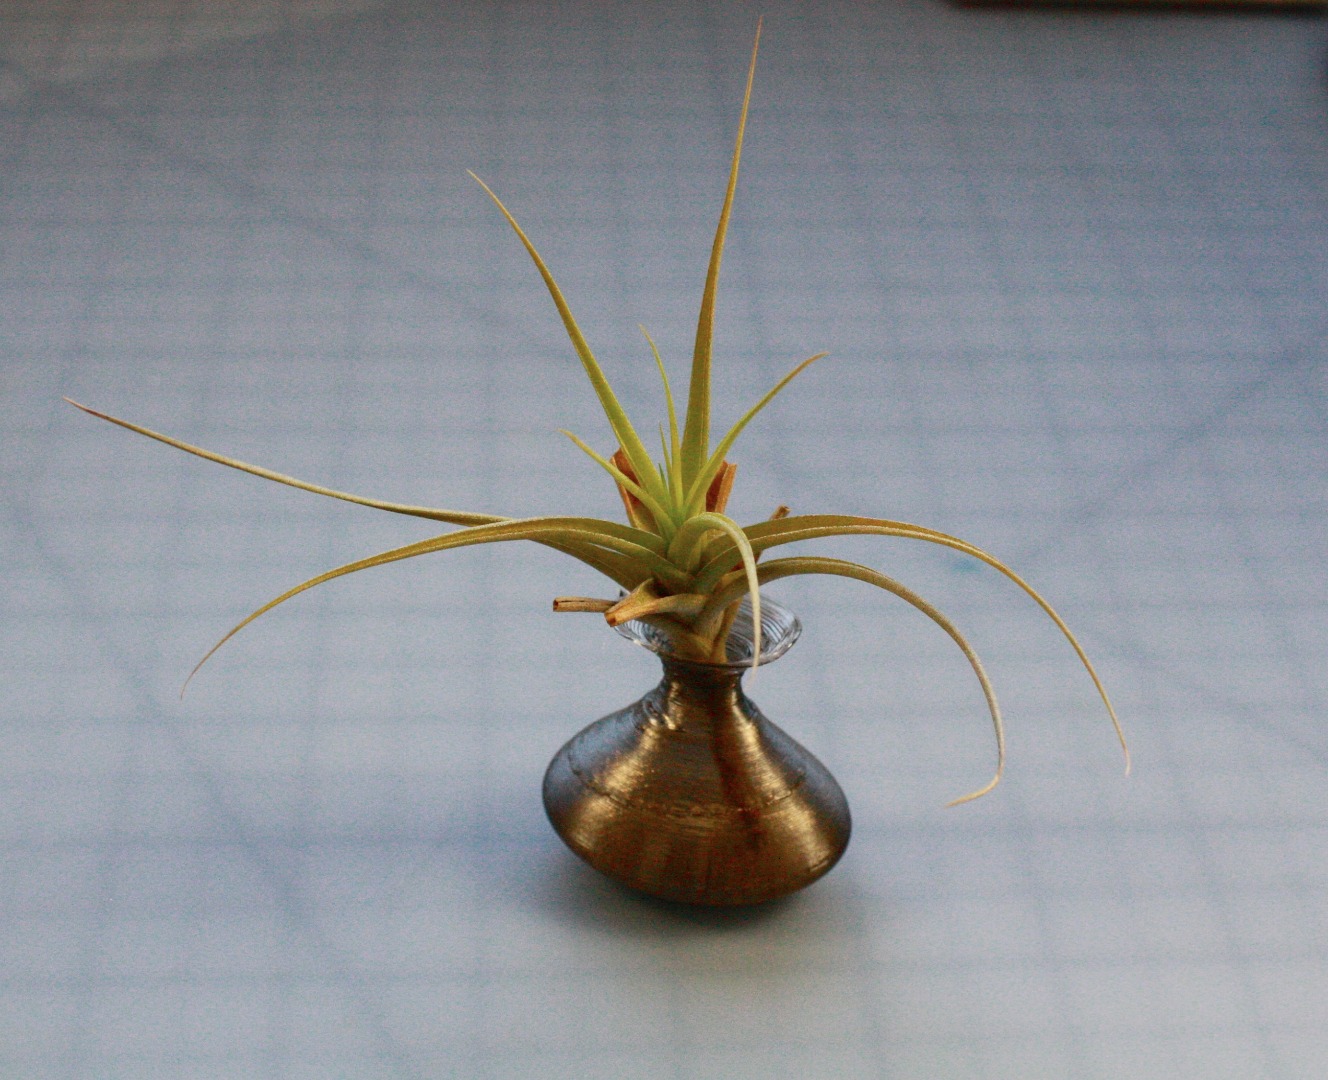
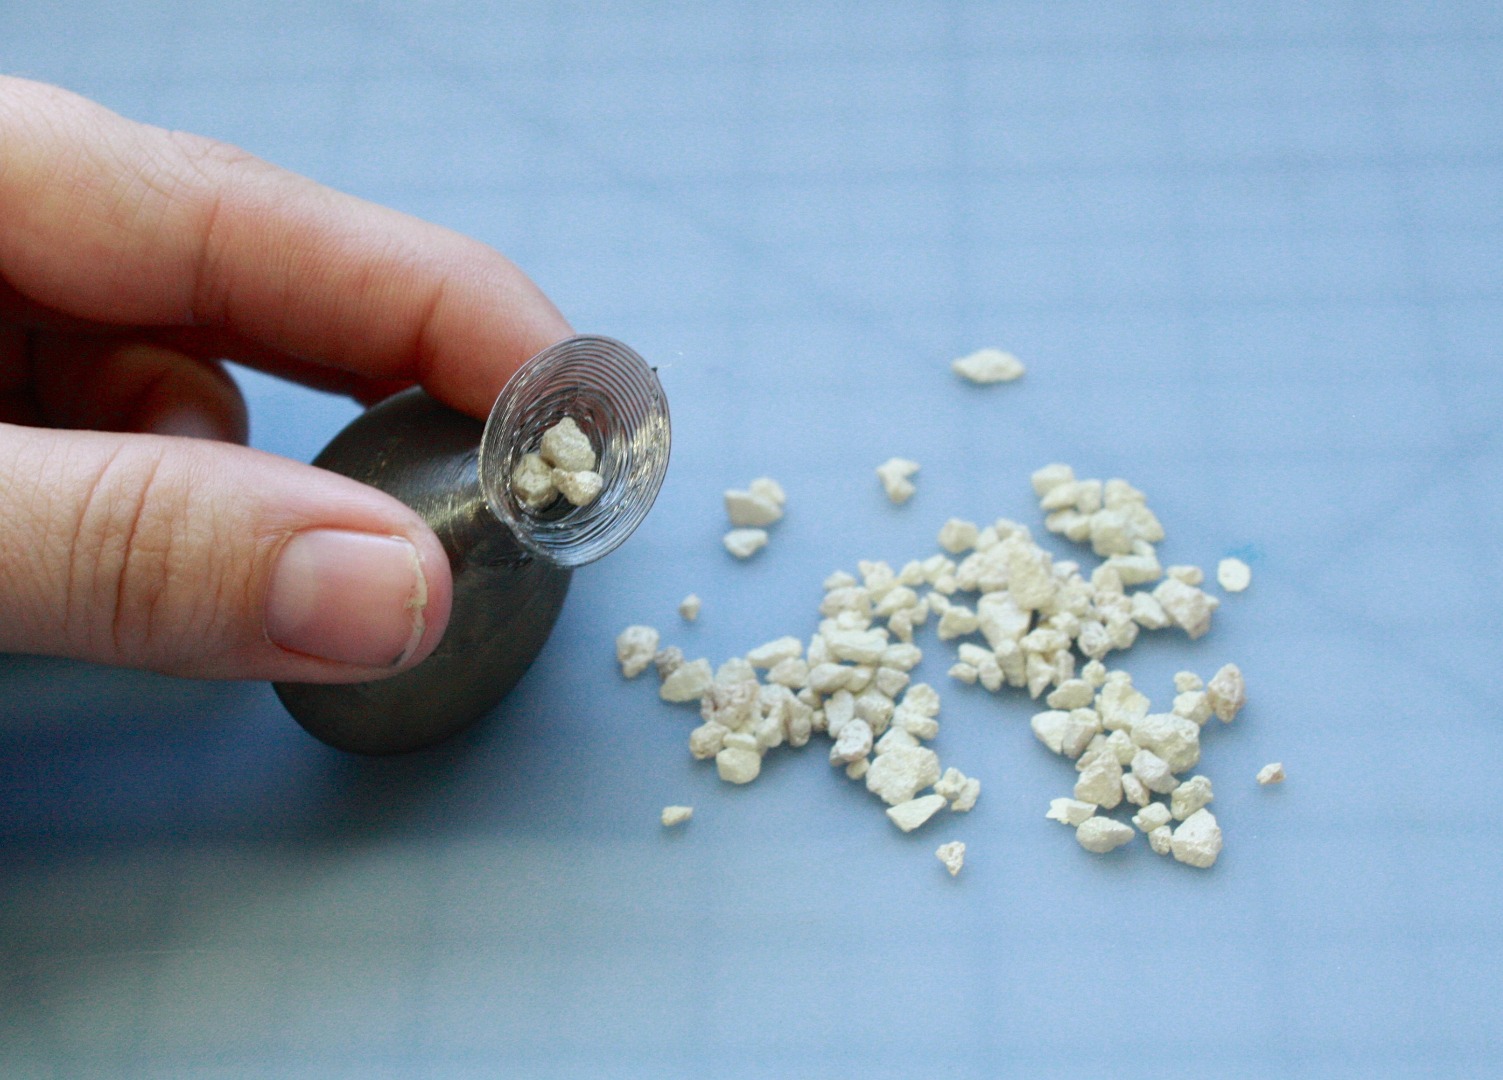
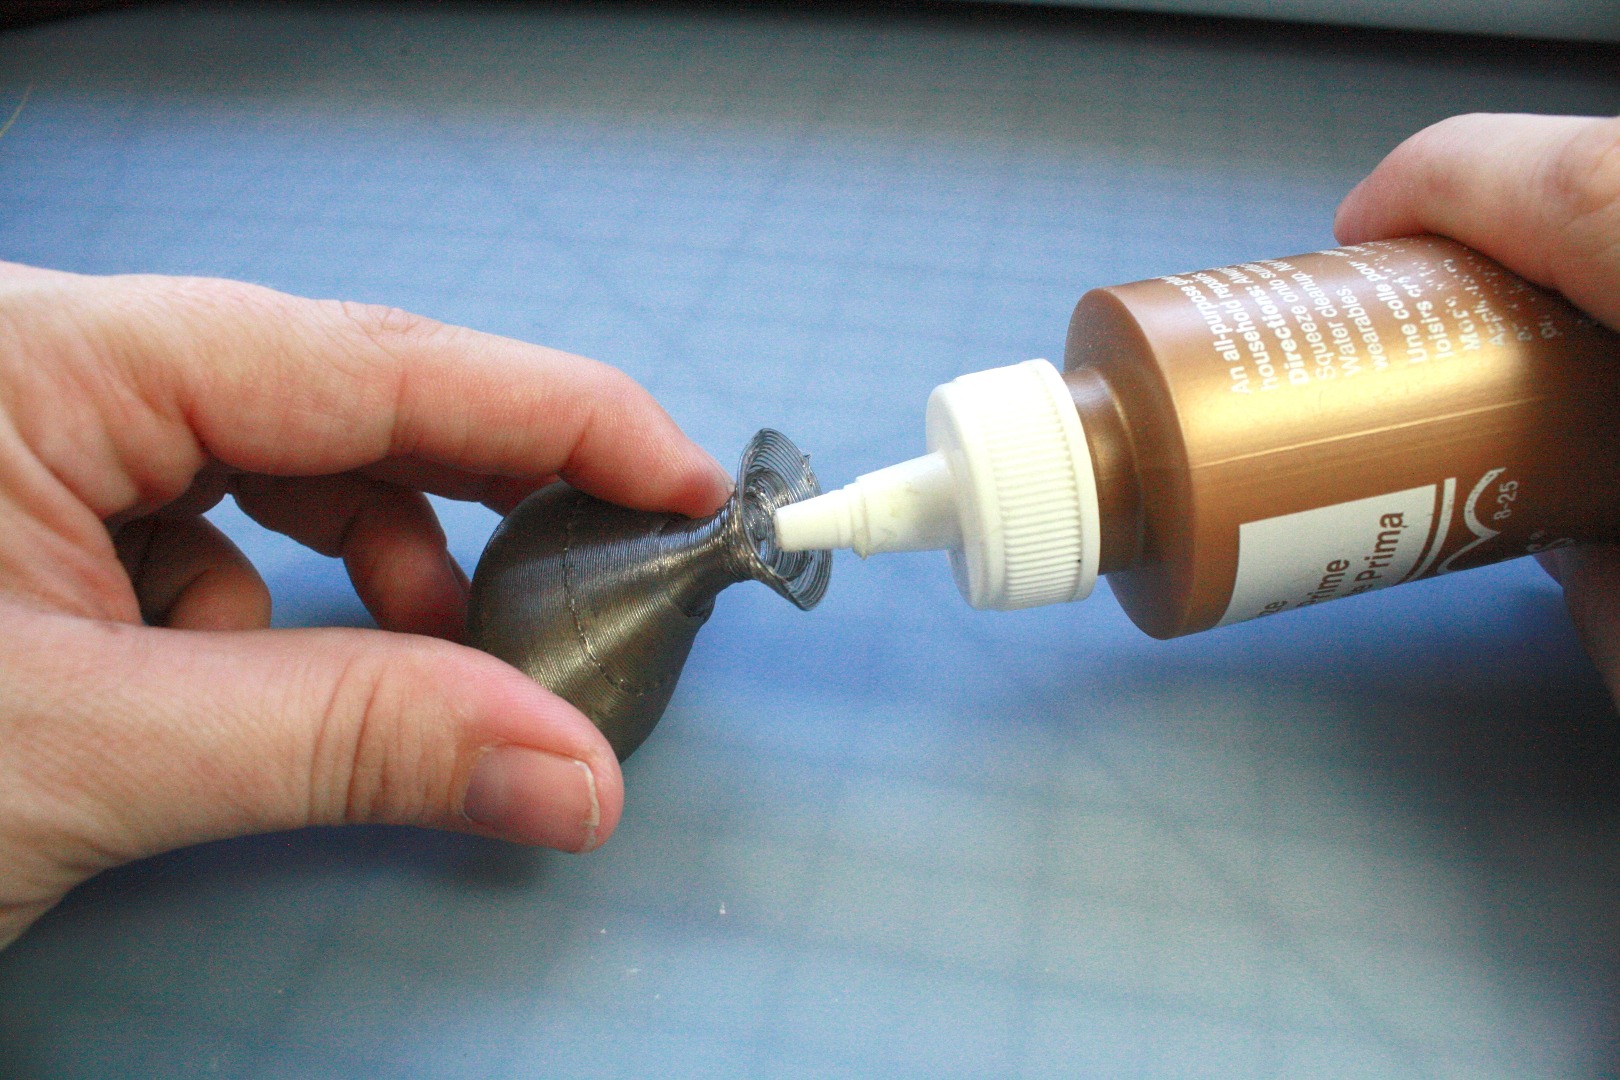
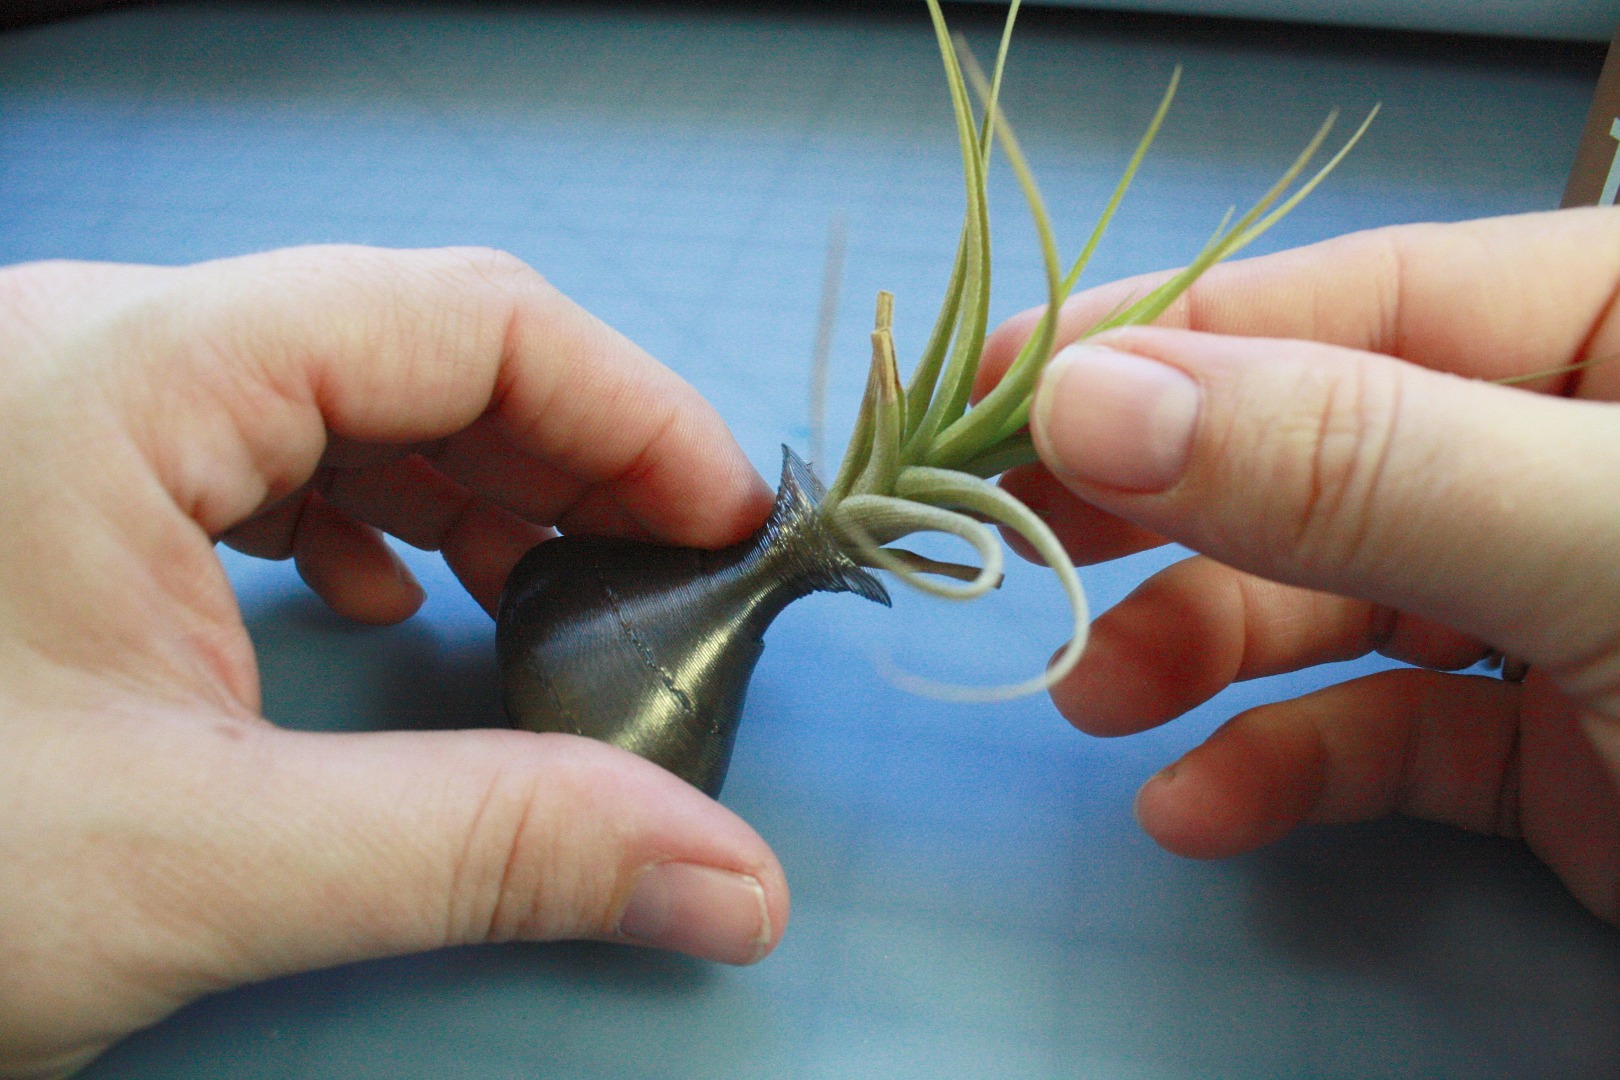
Once you have a printed vase you're happy with, it's time to put it all together. You can make a larger base like I've done, but the plant coming out the top will still make it top-heavy. I put some small pebbles into the bottom of the vase to help keep it aligned properly. Sand could work too, or anything small and heavy.
Before inserting the air plant, put a glob of glue in the opening to help keep the pebbles and plant in place.
Necklace Cord
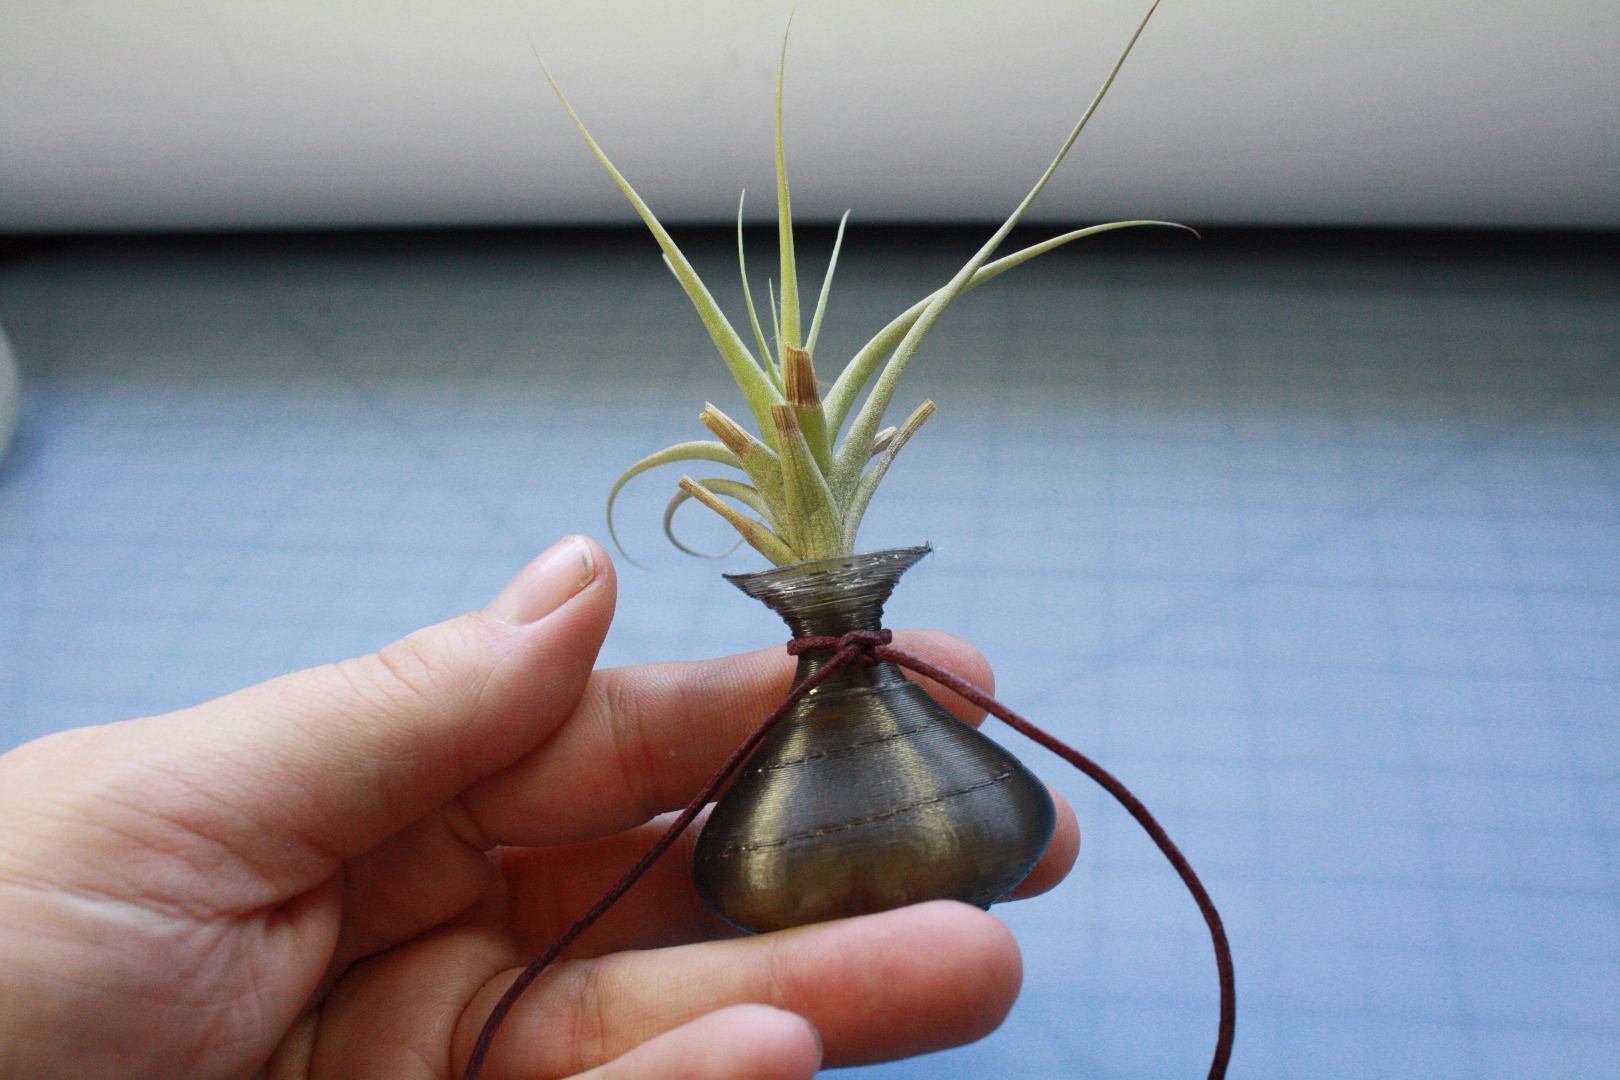
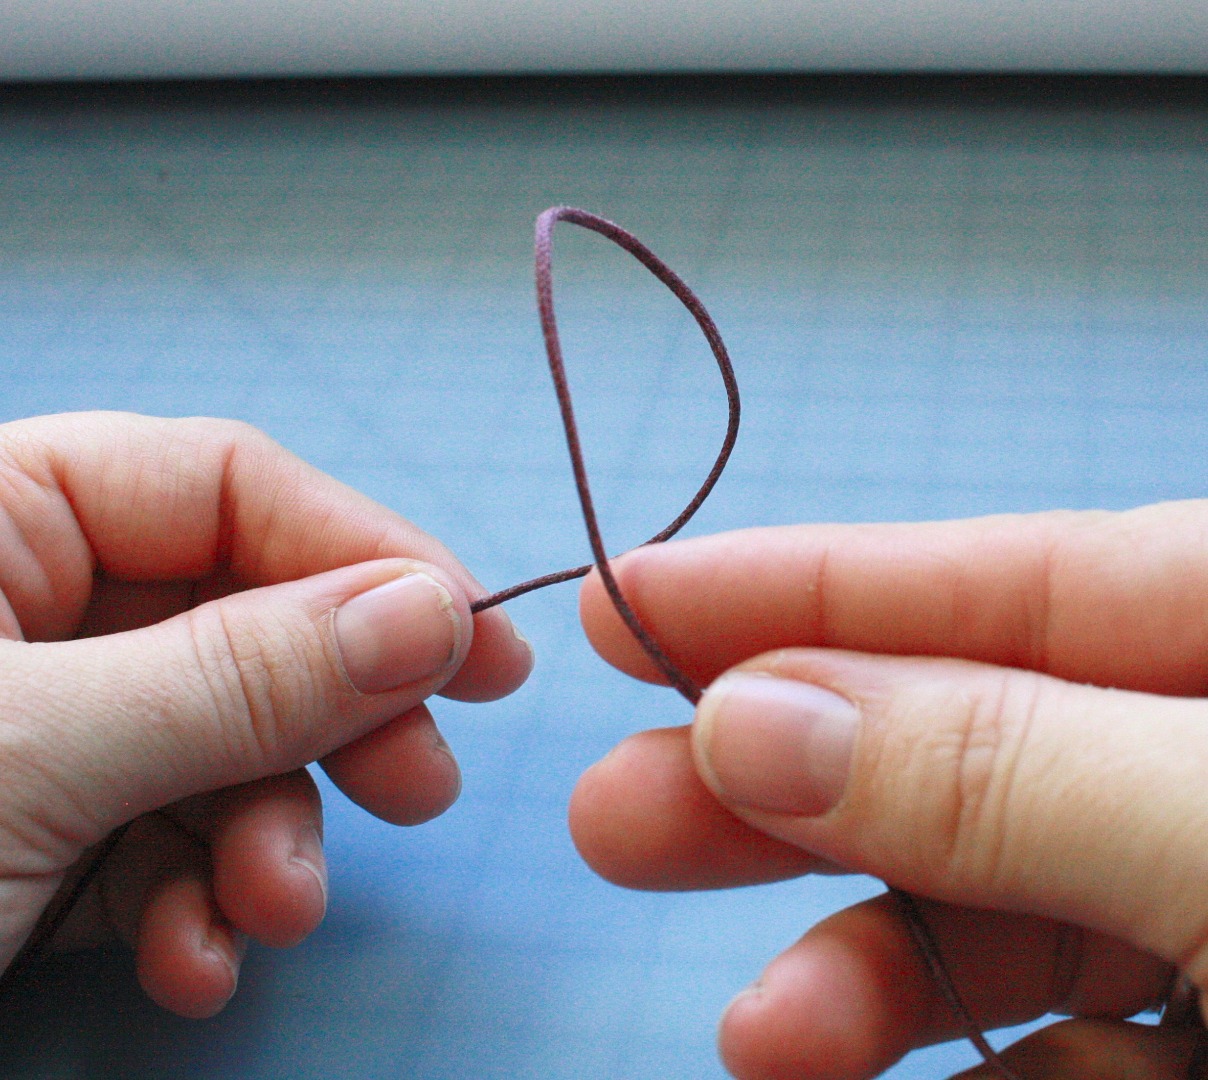
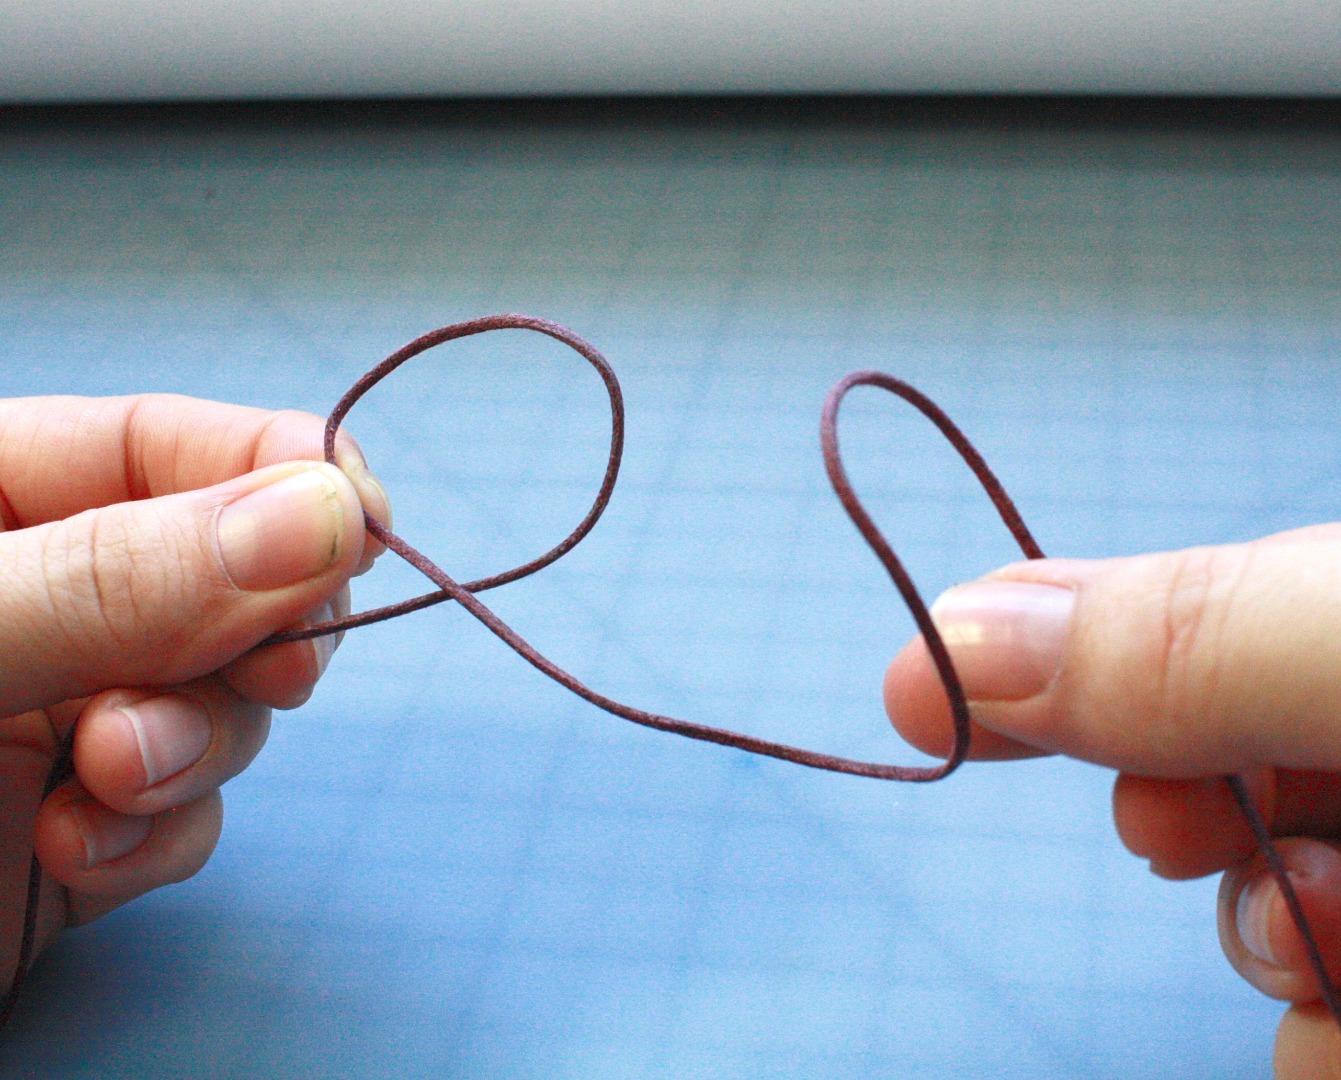
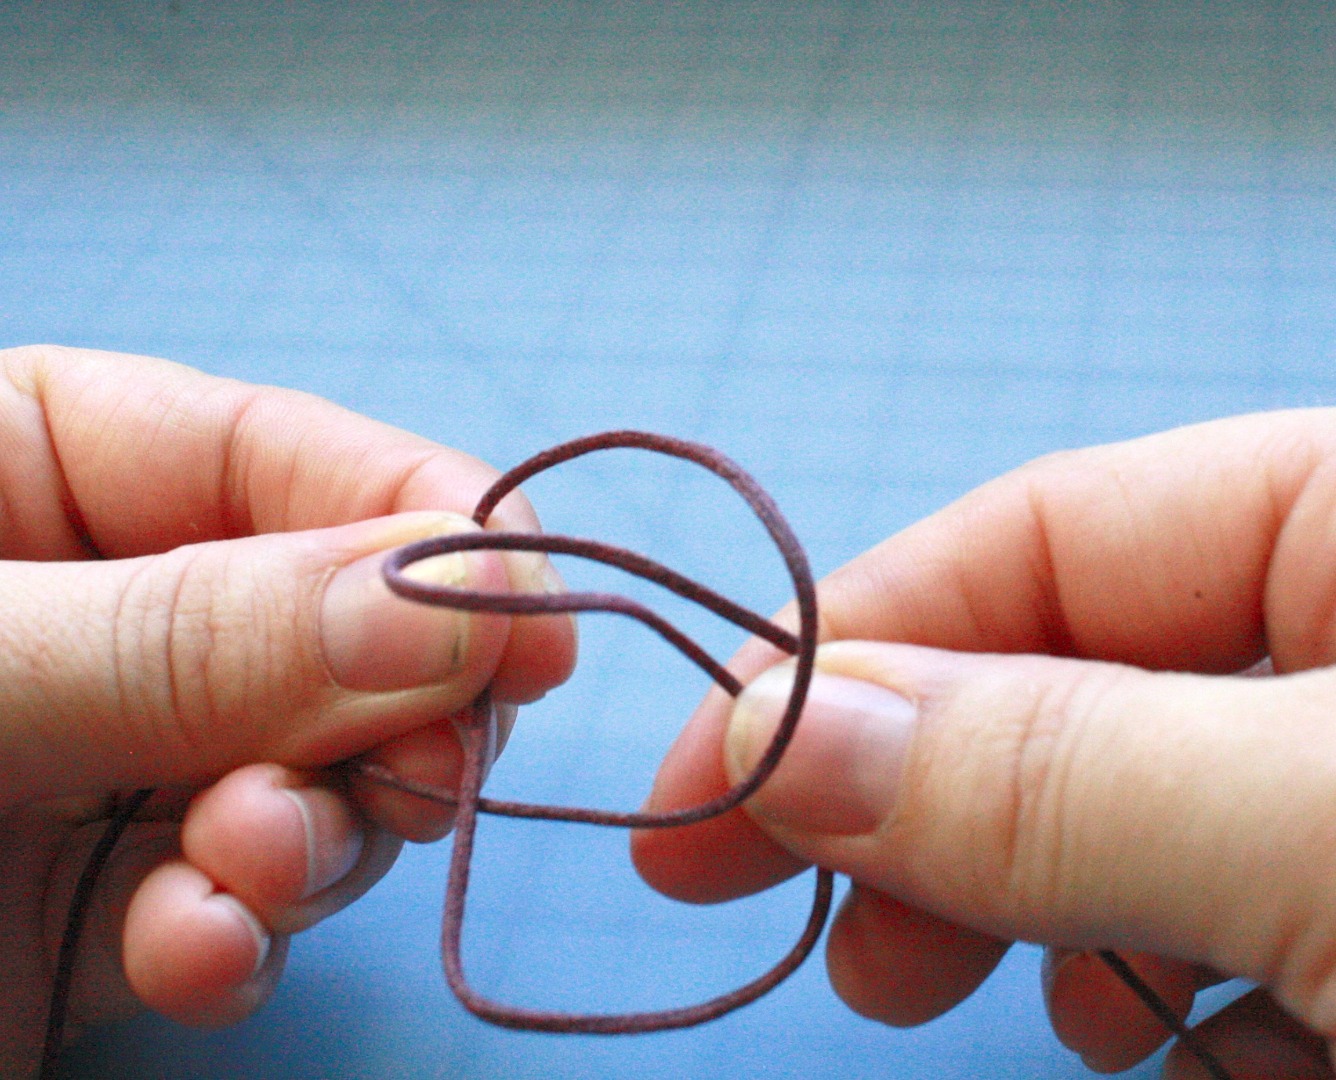
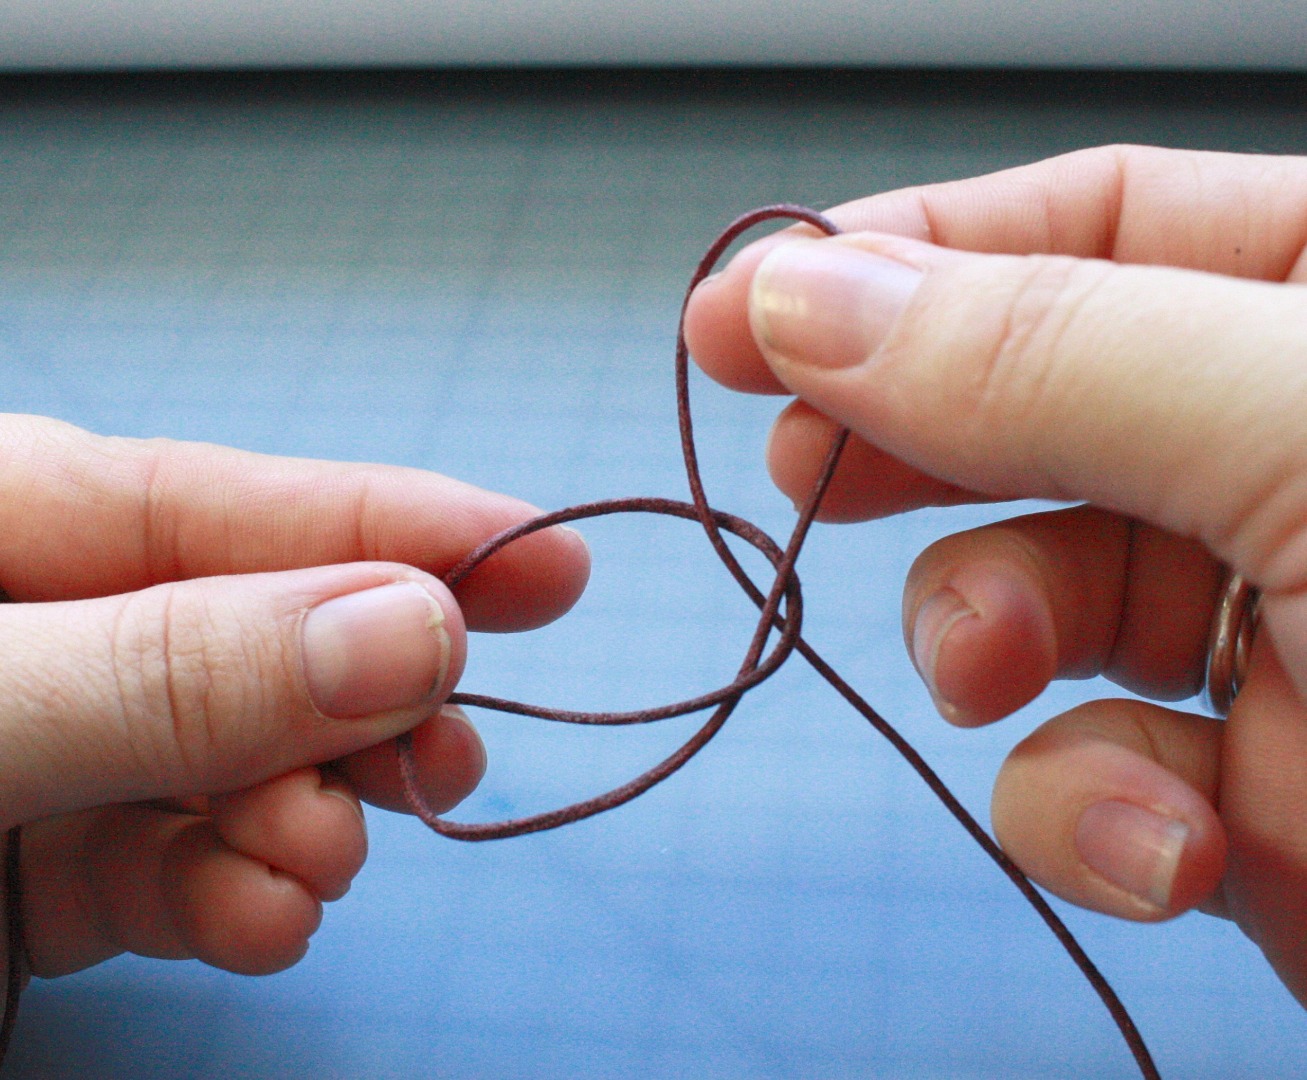
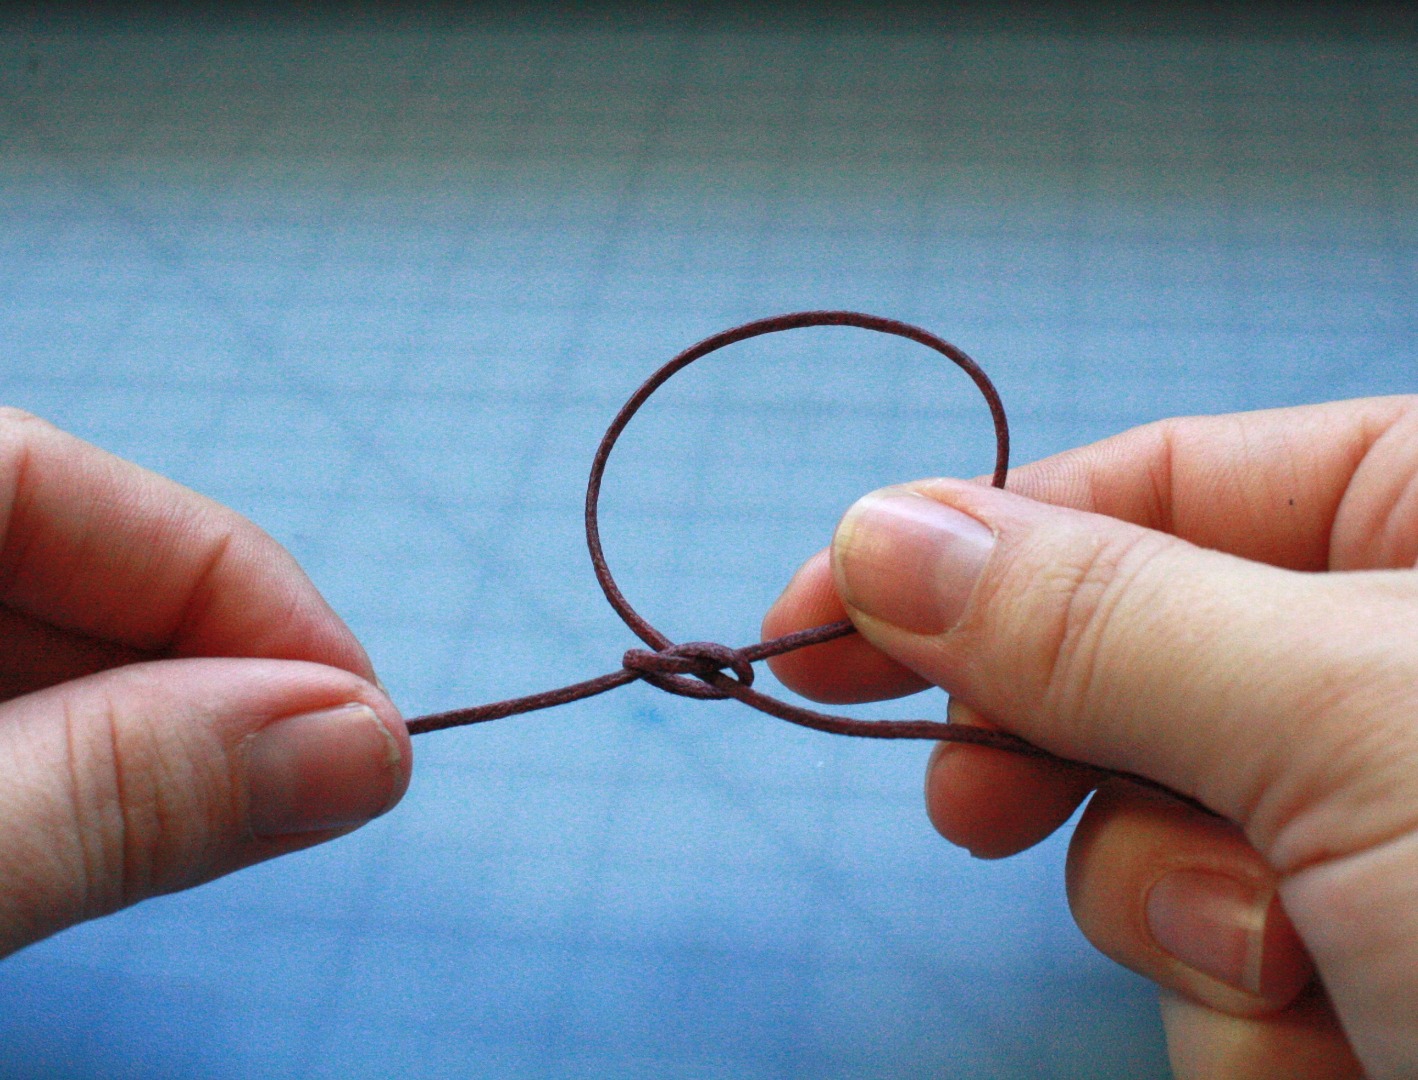
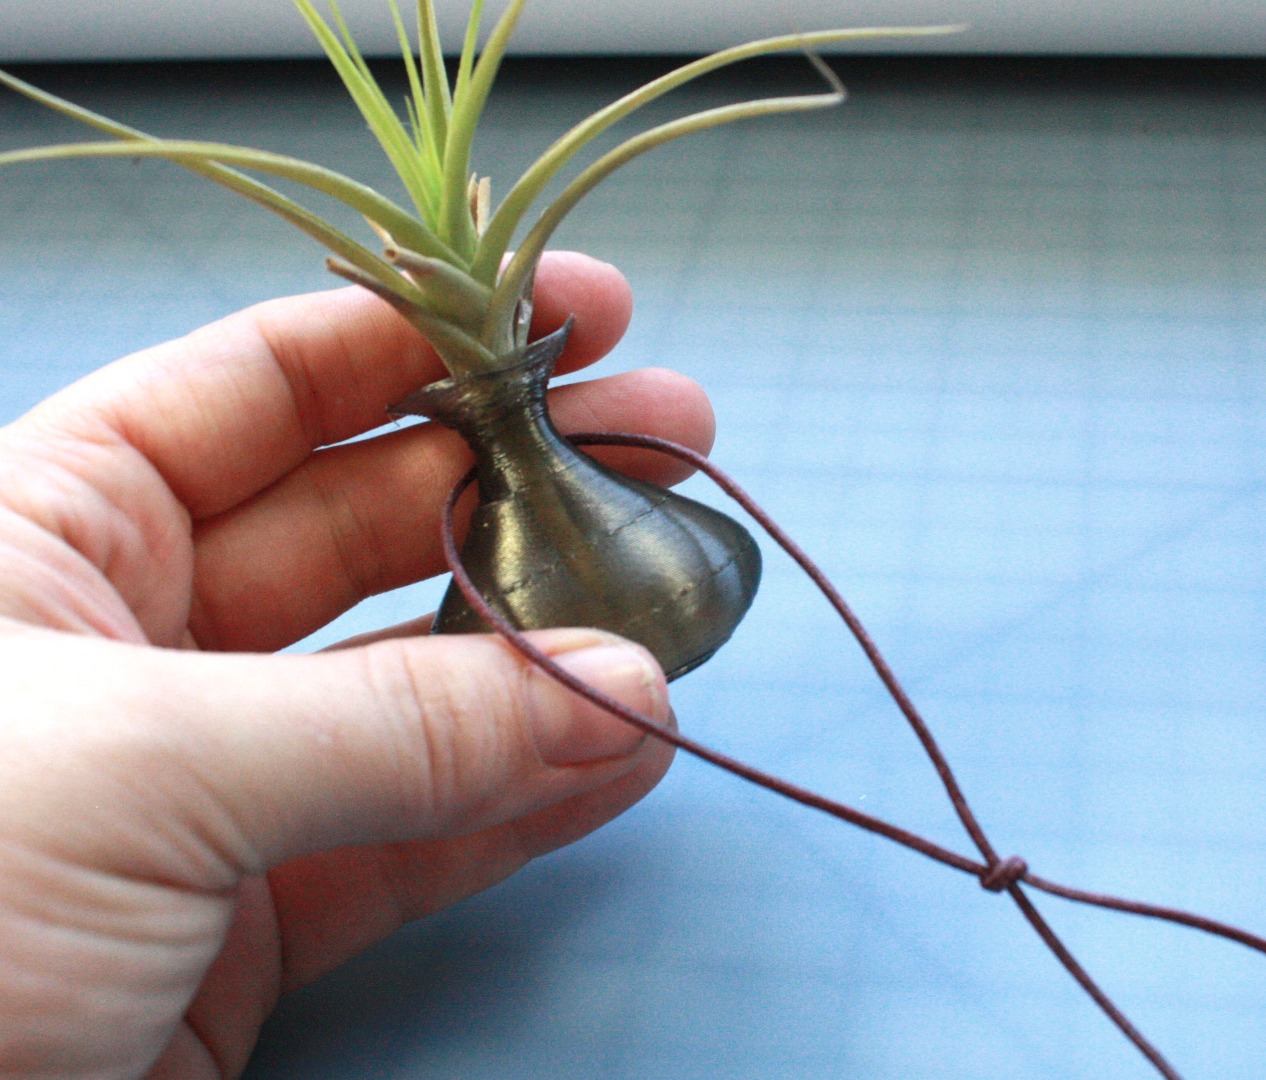
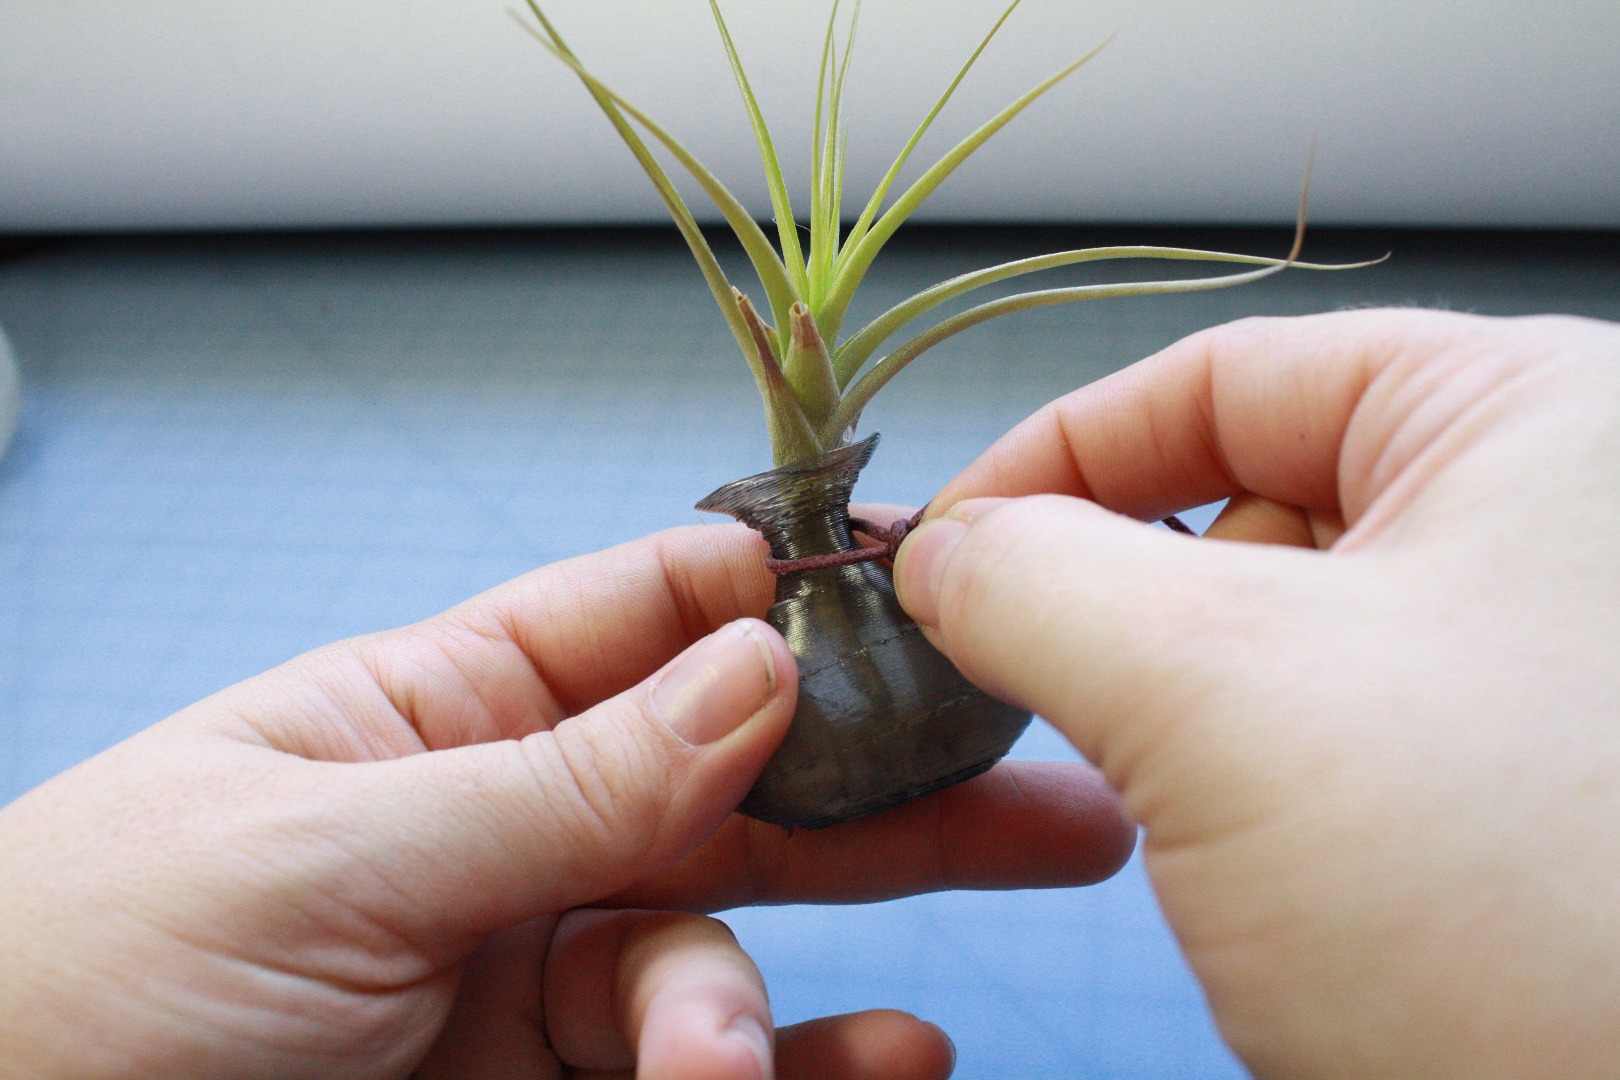
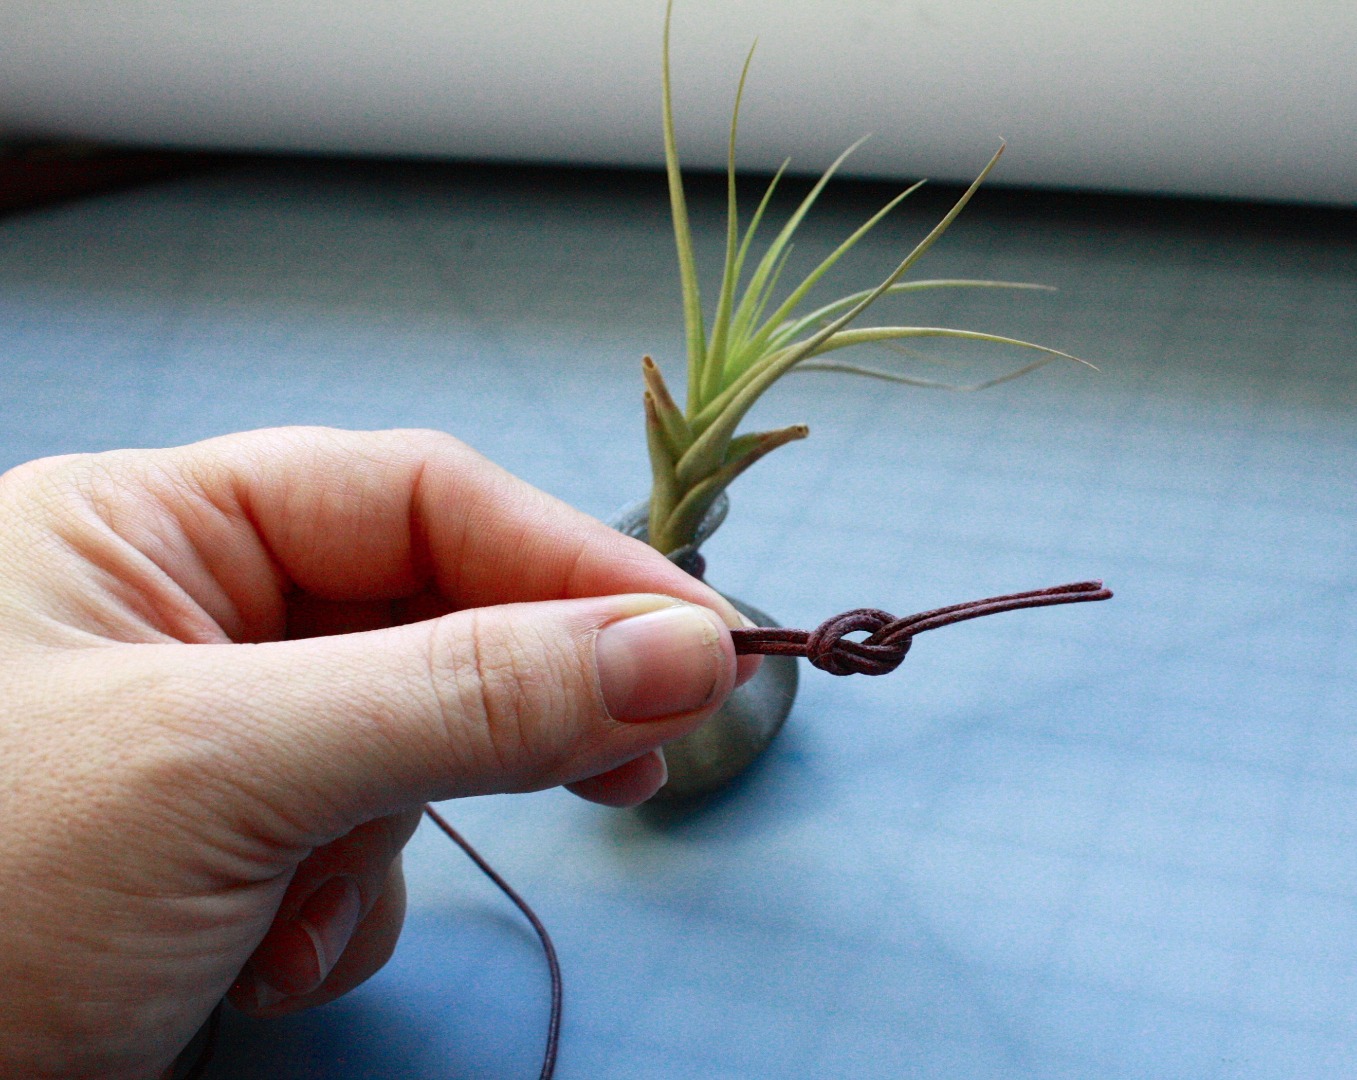
There are obviously plenty of methods for making this wearable. I opted for a simple cord and a hitching tie, which is very good for keeping it hanging upright. See the pictures for a demonstration of how to make this knot.
A few other alternatives:
Wire wrapping
https://www.instructables.com/id/Wire-Wrapped-Sea-G...
https://www.instructables.com/id/Wire-wrapped-stone...
Friendship-Bracelet Style
https://www.instructables.com/id/DIY-Friendship-Bra...
https://www.instructables.com/id/Friendship-Bracele...
https://www.instructables.com/id/Wrapped-Friendship...
And this beautiful rope creation...
Fin
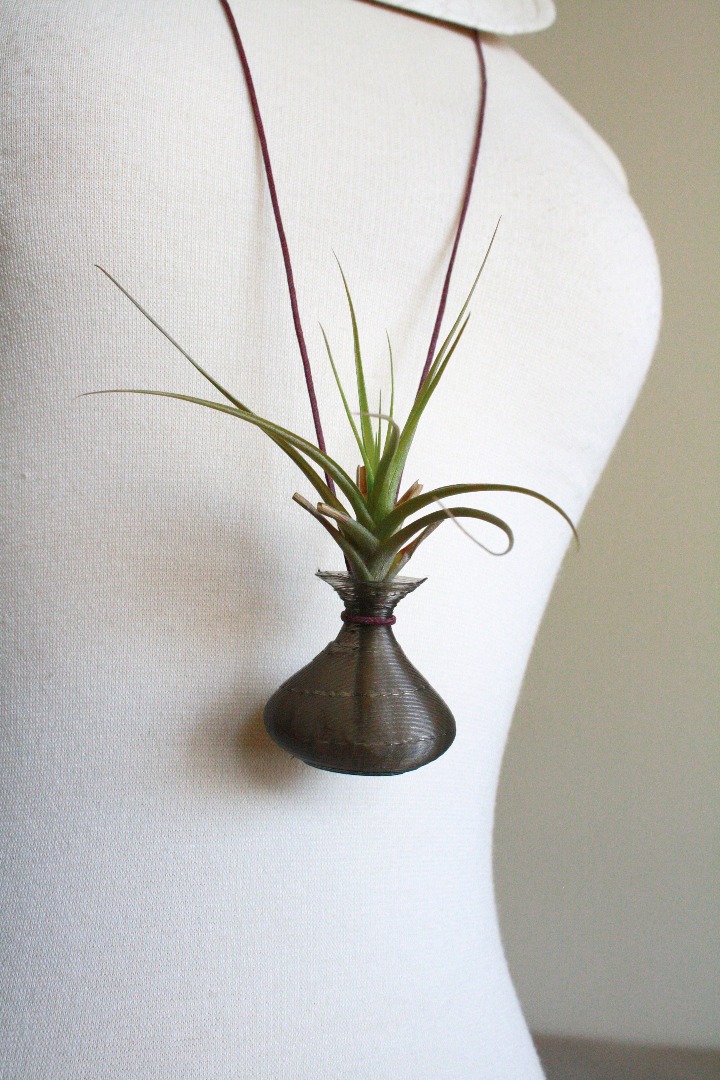
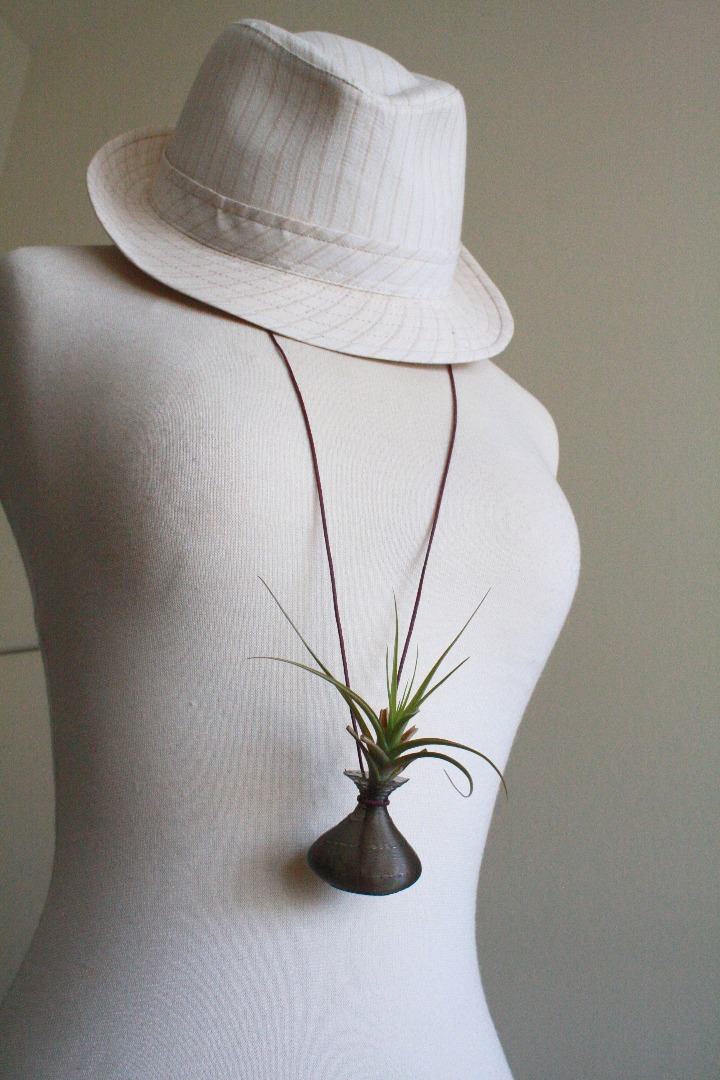
Wear, enjoy, and field all of the questions from strangers about where you got such a different necklace. It's definitely a conversation starter. :)
Remember to take care of your plant! Try not to let it get beat up too much, and remember to water it. The vase is plastic, so it's easy to turn upside down and soak the plant without damaging the pendant. And as always, do share pictures if you make one!