3D Printable Vernier Caliper Attachment
by Harshvardhan Mandhana in Design > Art
283 Views, 2 Favorites, 0 Comments
3D Printable Vernier Caliper Attachment
Wondering what to do with all that leftover 3d printer filament?
let’s put it to some good use and make something productive and unique out of it
let’s design a 3d printable Vernier caliper attachment which you can use with any standard scale, just by simply slotting both the attachments on
Supplies
1. TinkerCAD Account
2. 3D Printer
3. A lot of Time and Patience
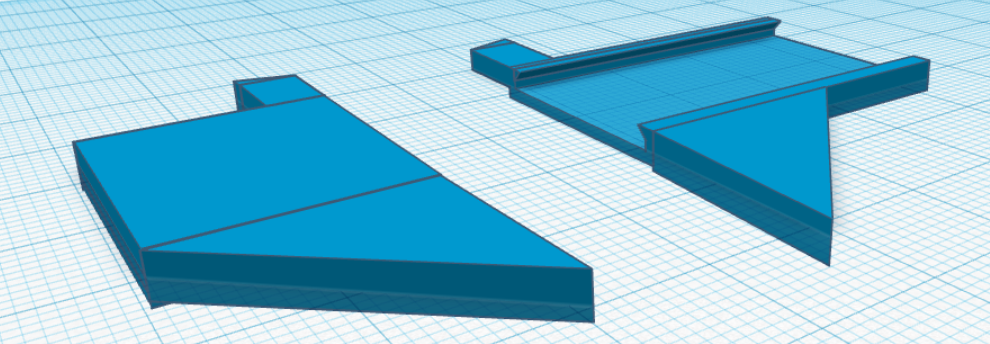
The entire attachment will be made in 2 parts, a top stationary head and a bottom, movable, slider.
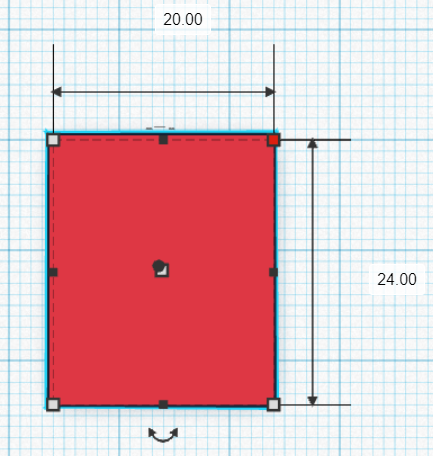
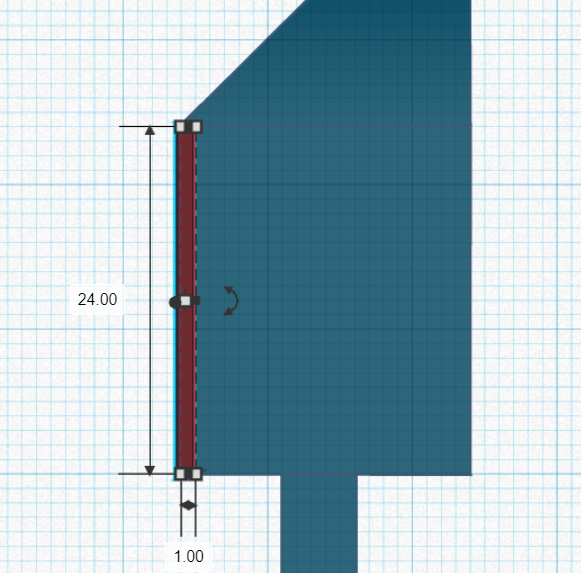
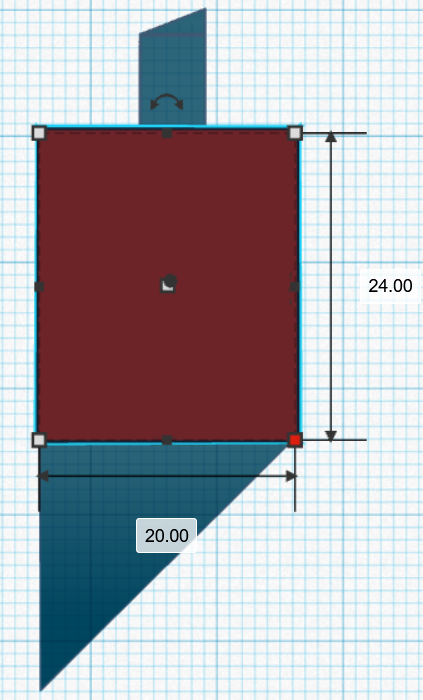
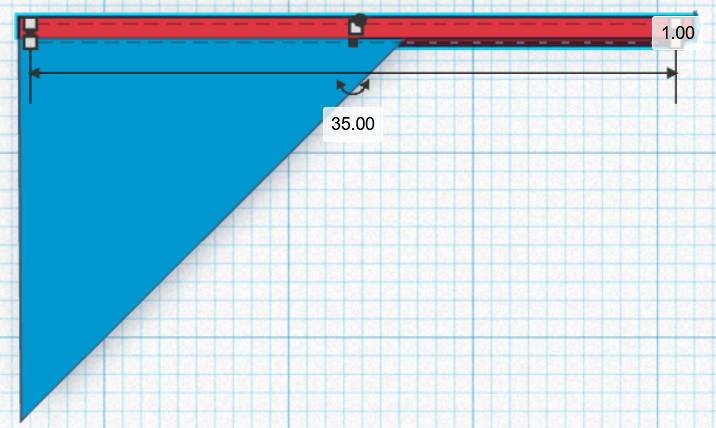
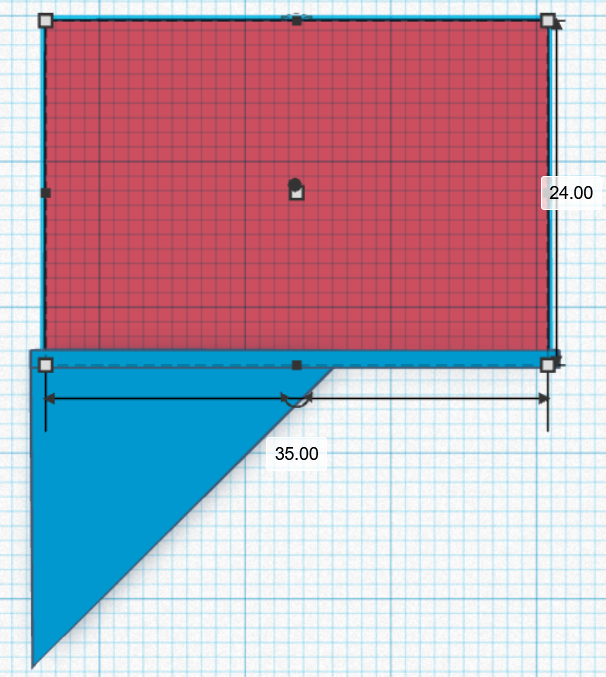
We will first be making the head of the attachment. This part will attach to the top of the scale and be stationary. Select a cube from the basic shapes menu onto the work plane and alter its dimensions as shown: The thickness of the cuboid is 2 units.
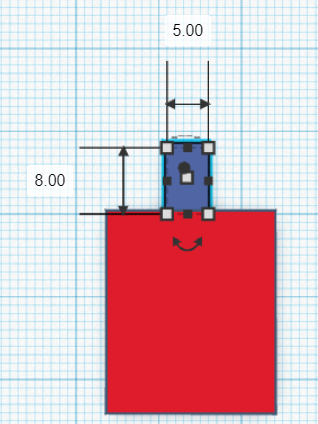
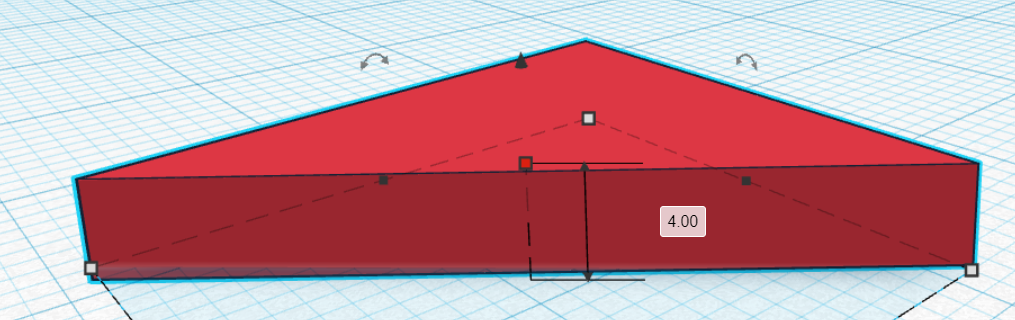
Place another small cuboid on the top of the previous one as shown (Thickness = 4)
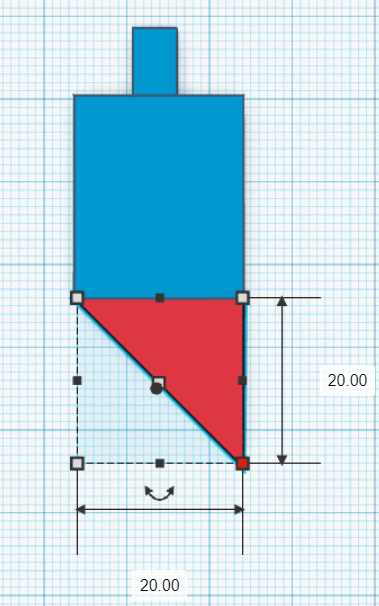
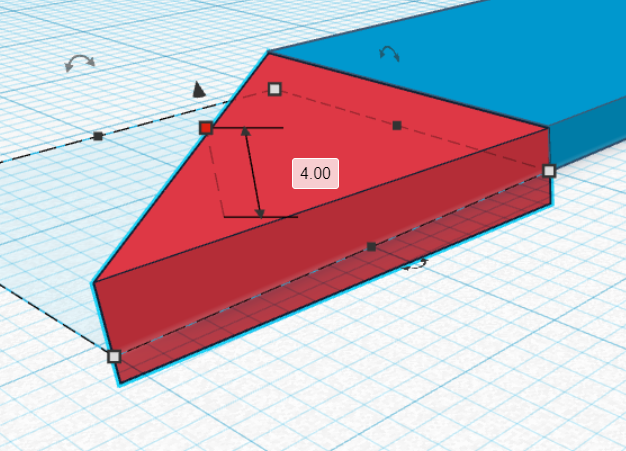
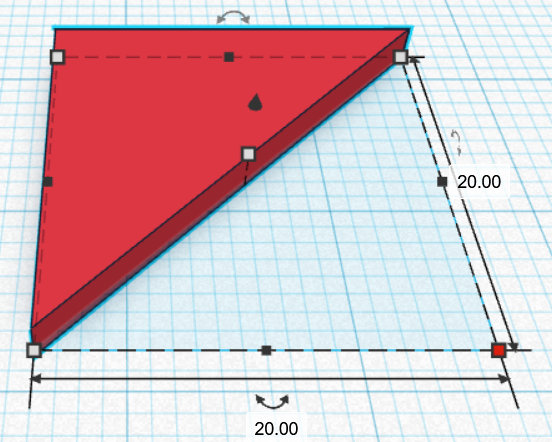
Select the wedge shape from the menu and place it as shown below:
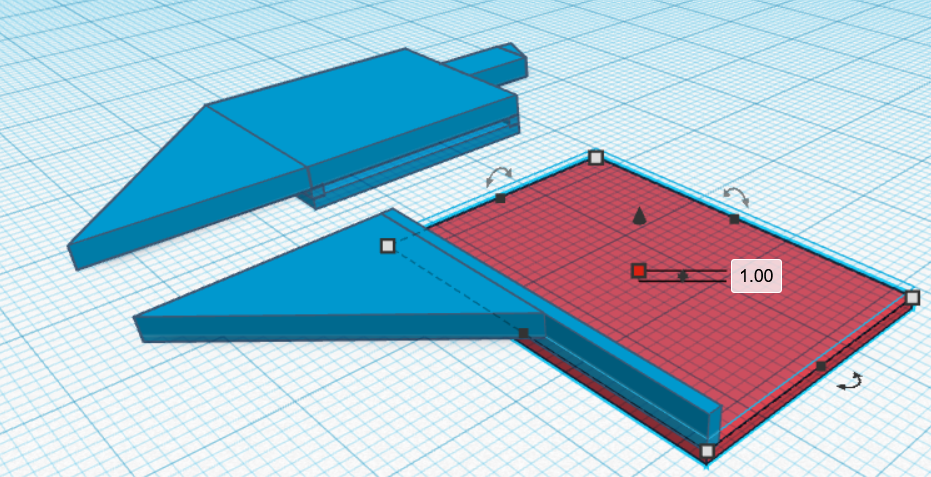
Place another wedge on the opposite side of the attachments as shown:
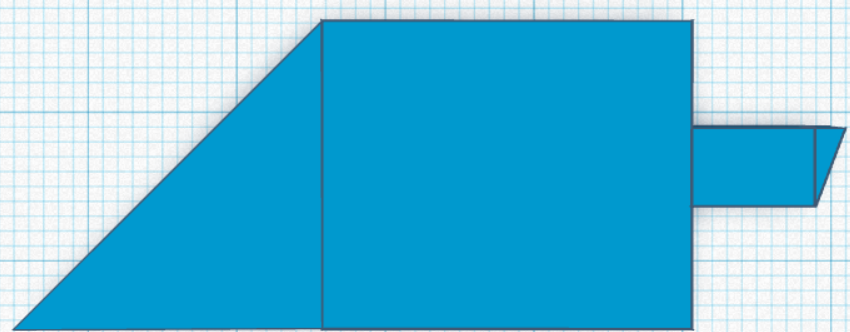
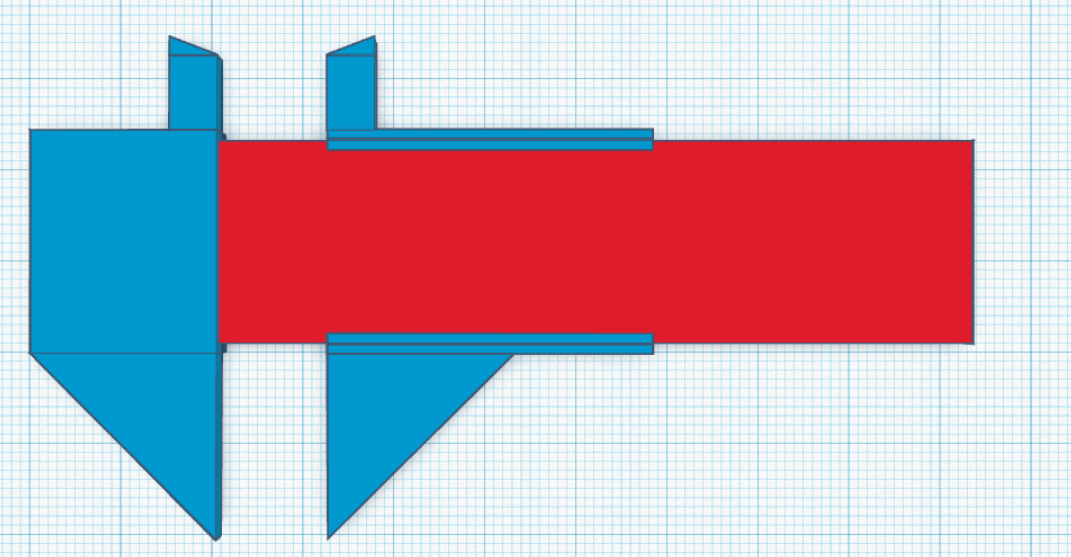
We should now be left with something like this:
To make the attaching mechanism, we shall be closing off the
bottom of the attachment after leaving a thin slot into which the scale can slide into.
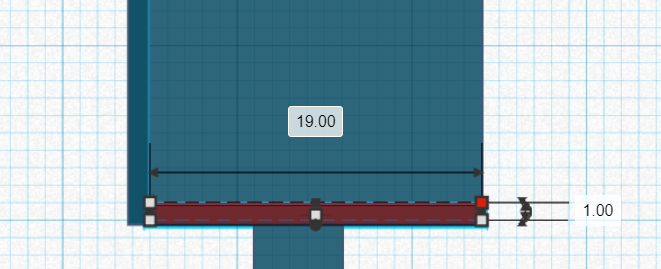
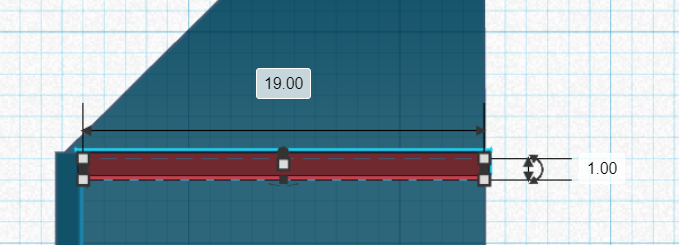
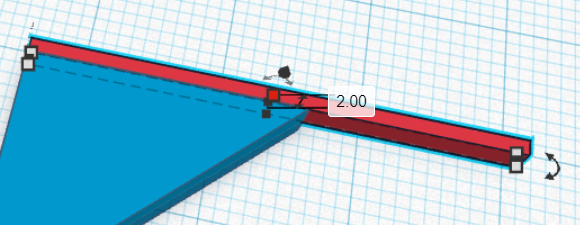
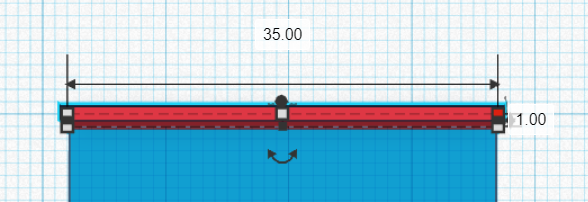
Start out by placing the three cuboidal sticks on the BOTTOM of the main body as shown below:
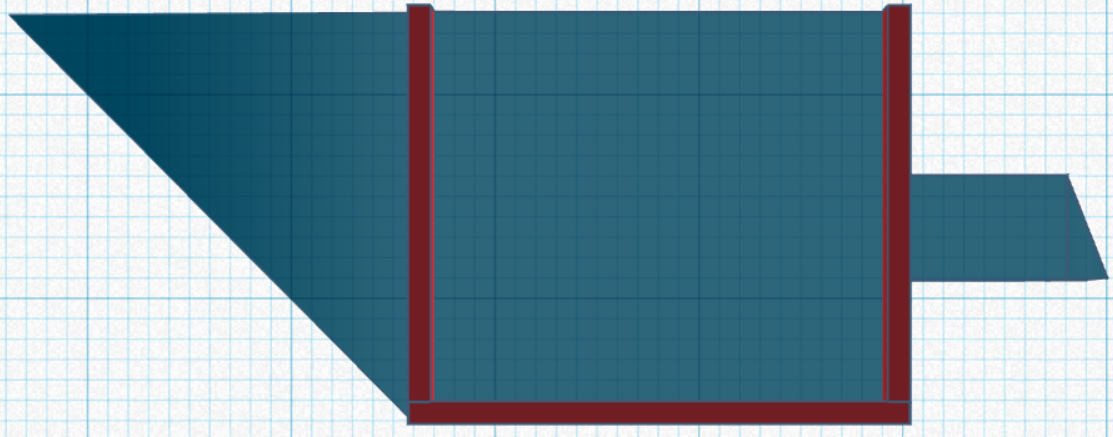

The bottom of the top attachment should now look as follows:
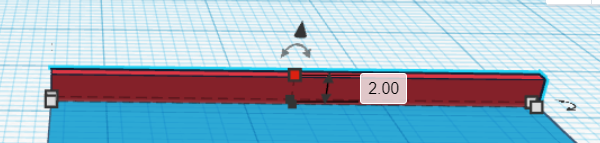
Close off the bottom with a cuboid as shown below to complete the slot:
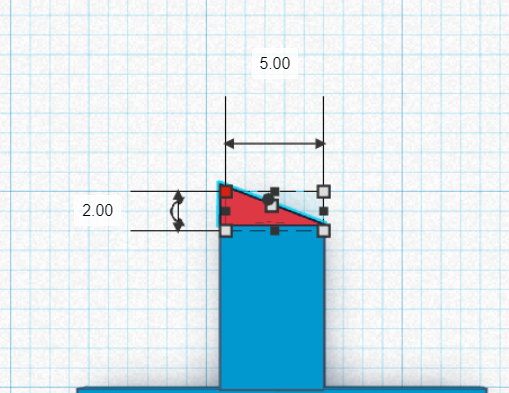
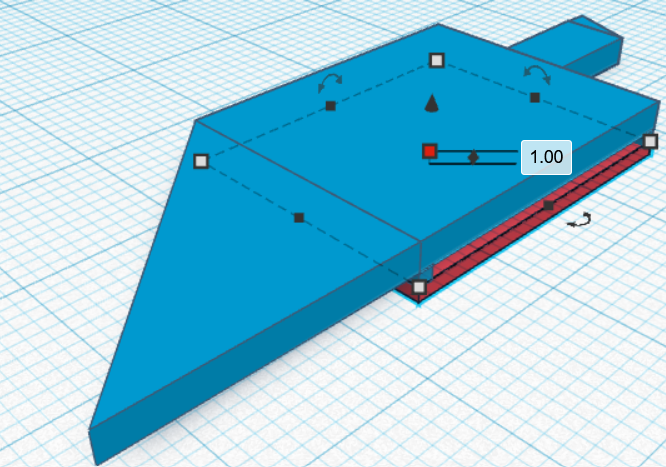
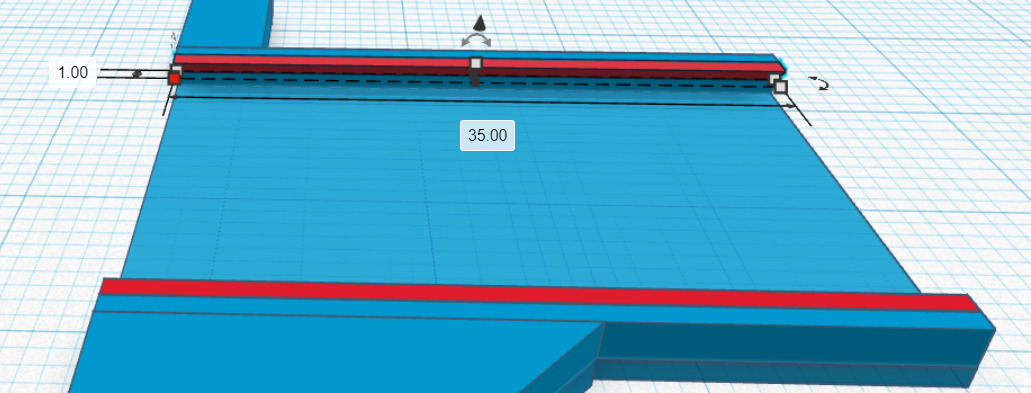
Making a minor correction,
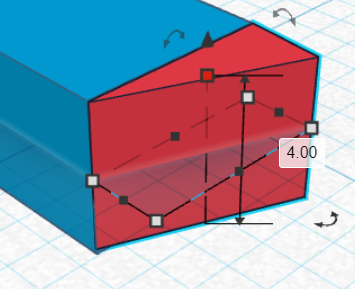
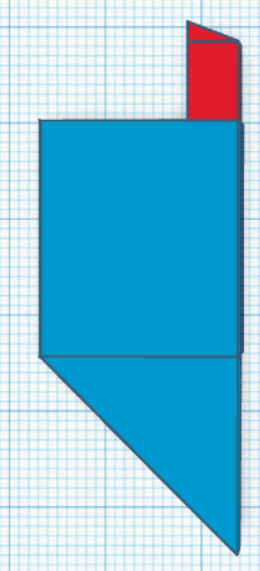
Select the smaller wedge and cuboid and shift them to the edge of the attachment as shown (this will allow us to measure even smaller internal diameters):
With that, the top half of our attachment is complete!
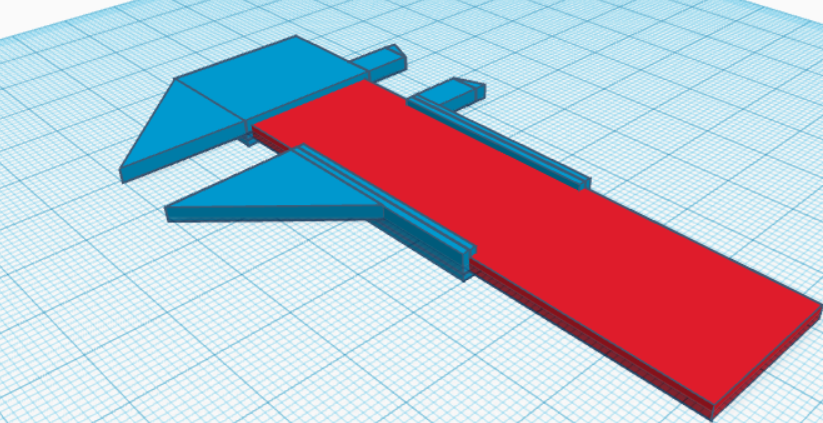
Let us now move on to the bottom (movable) half. Start out by placing a wedge in the following manner:
Place a cuboidal stick on top of the wedge with the following dimensions:
Place another cuboidal plate to make the plate of the bottom half as shown:
Place a similar cuboidal stick on the opposite side of the base plate to serve as a wall to hold the scale in:
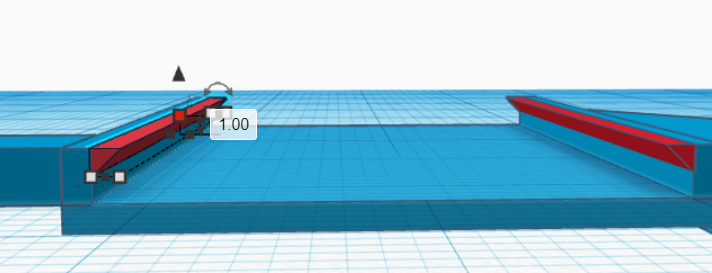
Place two roofs one on each side, to form front lips to prevent the attachment from falling out of the scale.
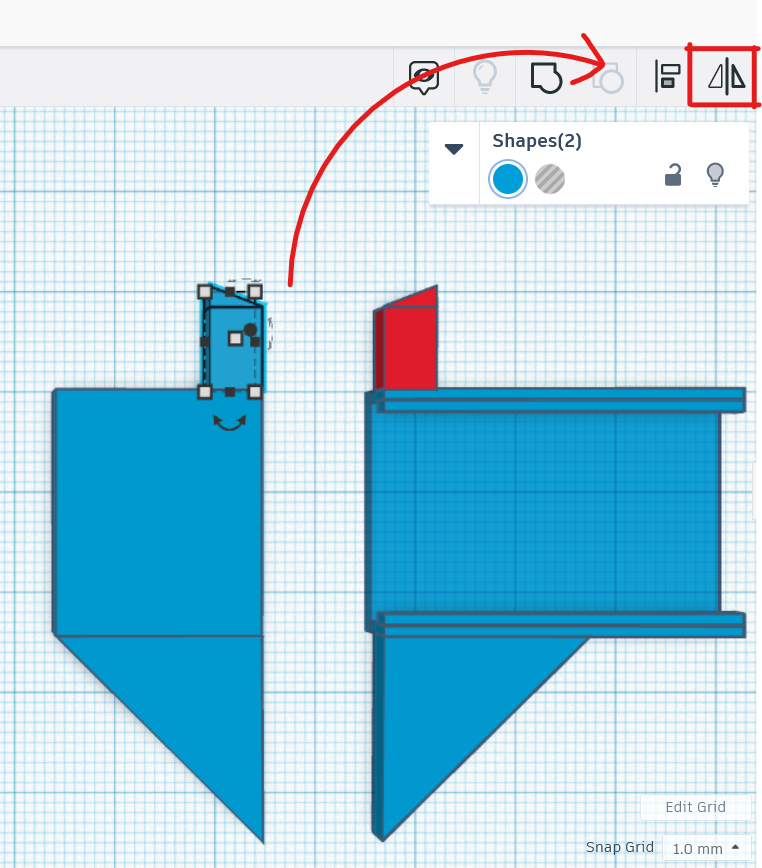
Select the 2 small bits from the top attachment, select the mirror option, mirror them and place them onto the bottom attachment as shown:
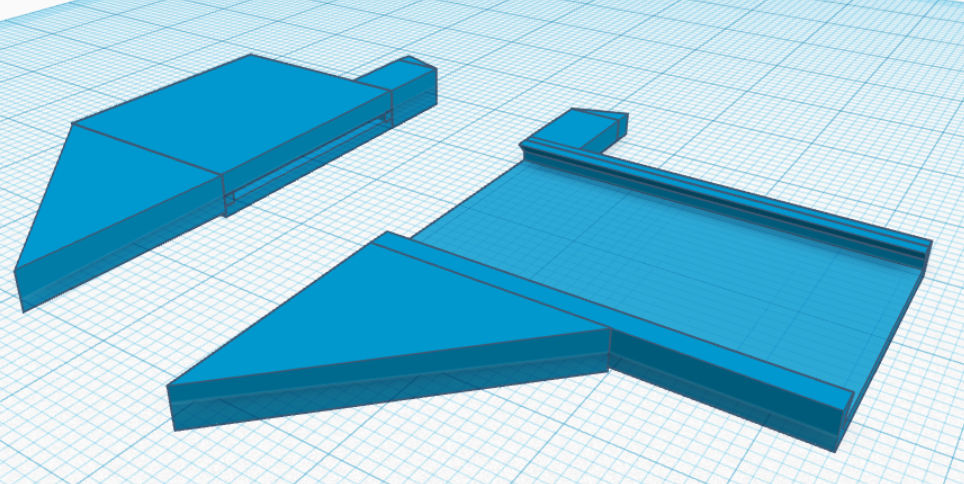
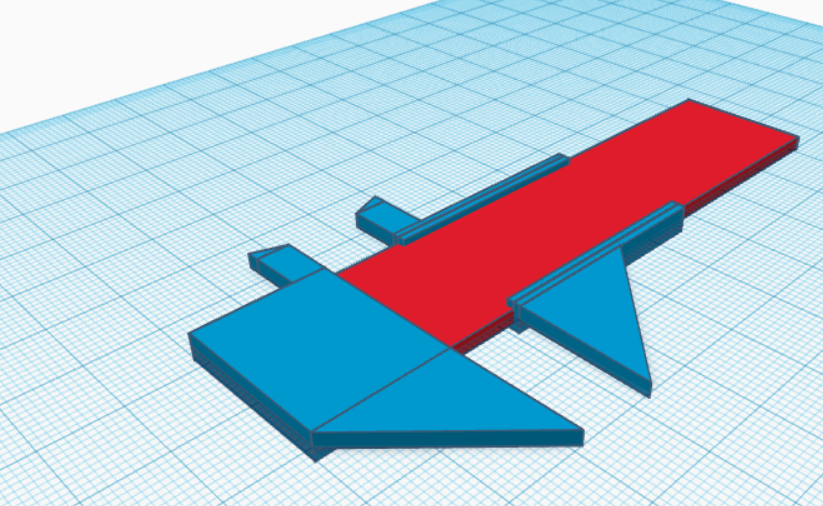
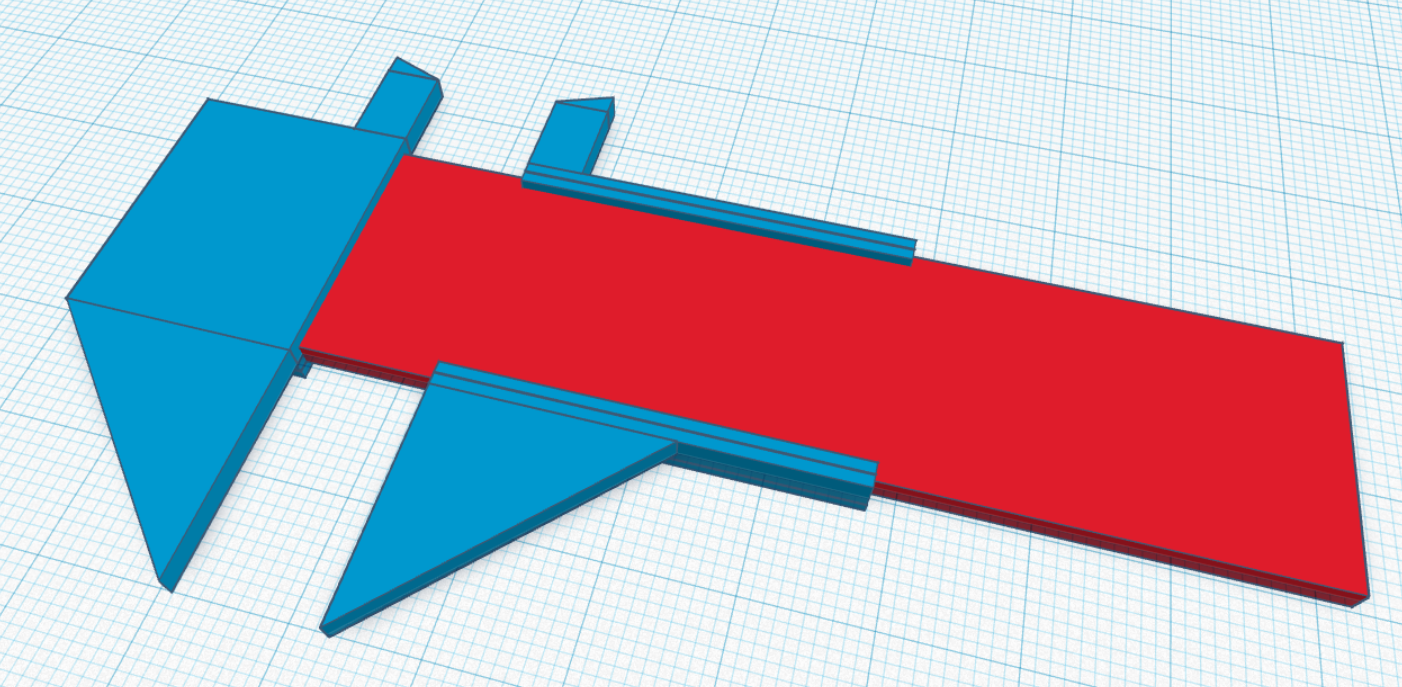
With that out of the way, we ae done with our Vernier caliper attachment! We can 3D print this and attach it to a metal ruler to easily measure tiny values such as internal and external diameters, sheet thicknesses, and more!