3D Printable Screwdriver With Tinkercad
by Josiah Miller in Design > Digital Graphics
1536 Views, 12 Favorites, 0 Comments
3D Printable Screwdriver With Tinkercad
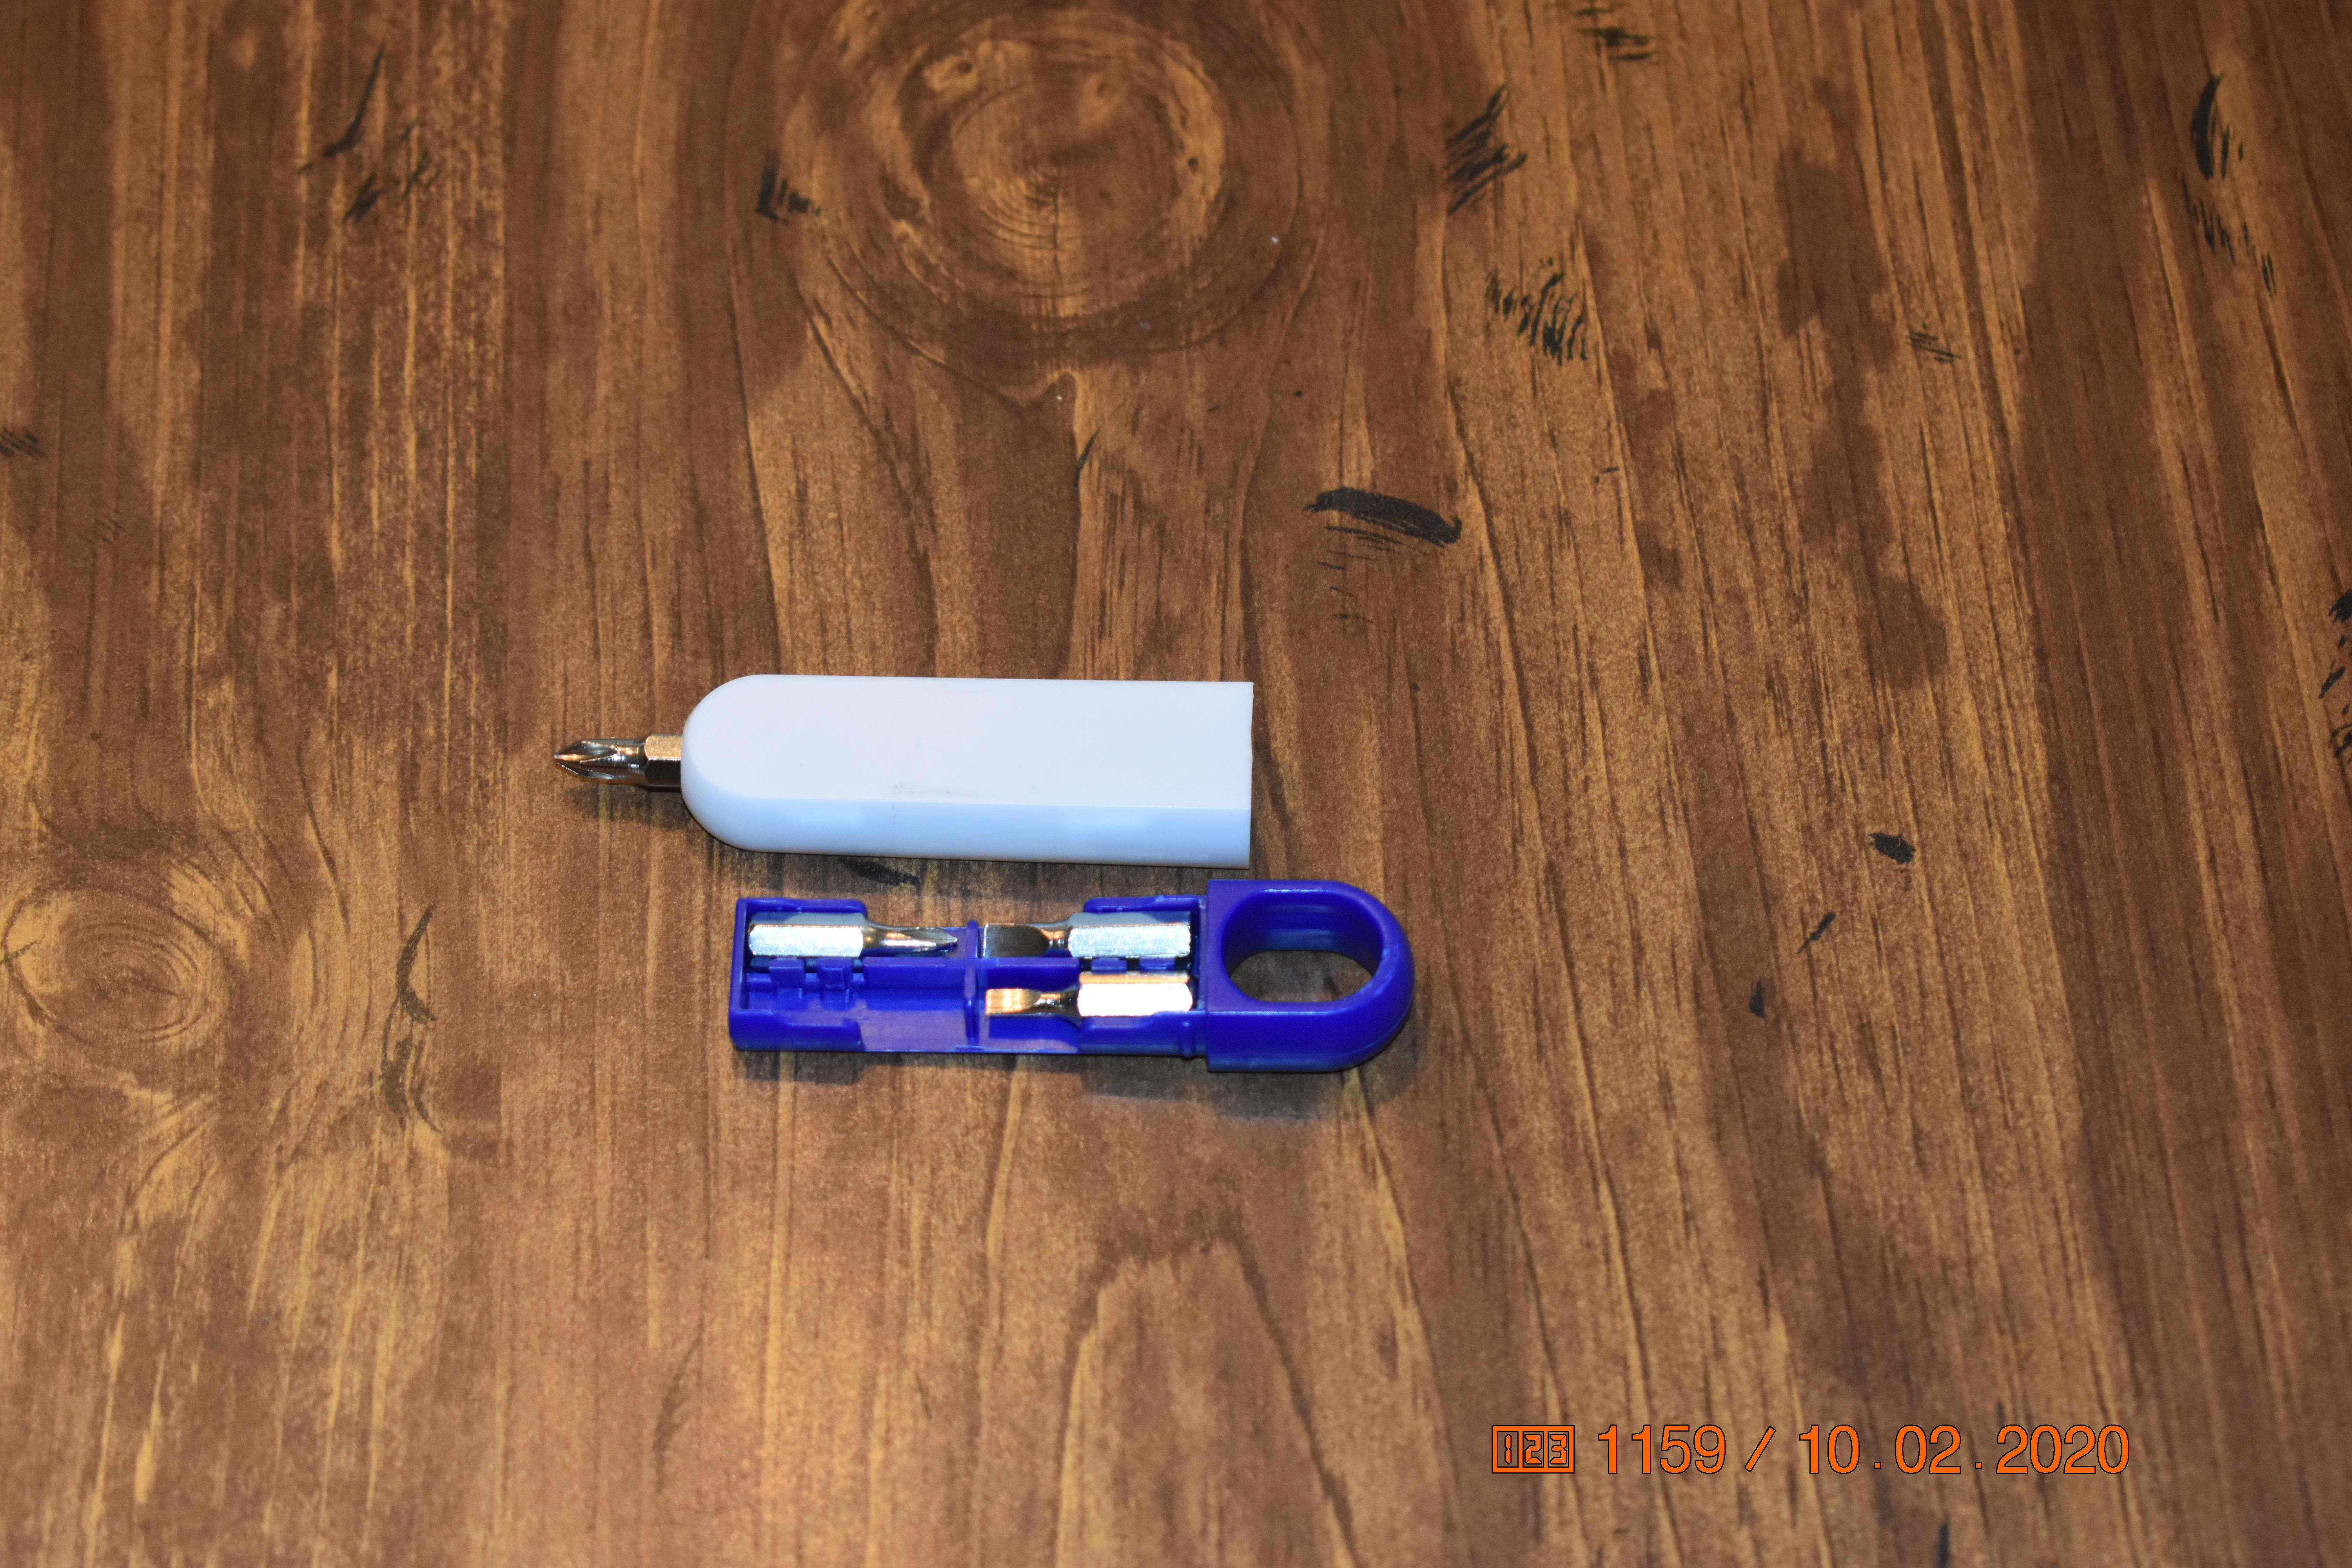
This is an easy to build design, I made in Tinkercad and you can 3D print. It is a screwdriver with changeable heads, (you can have any type you want as long as they are the standard size) and I find really useful for random everyday jobs. I hope you like my Instructable.
Supplies
Computer, 3D printer, (your local library may have one, and some businesses allow people to use theirs for a really small fee) a little circular magnet, and the 4 screw
Basic Body
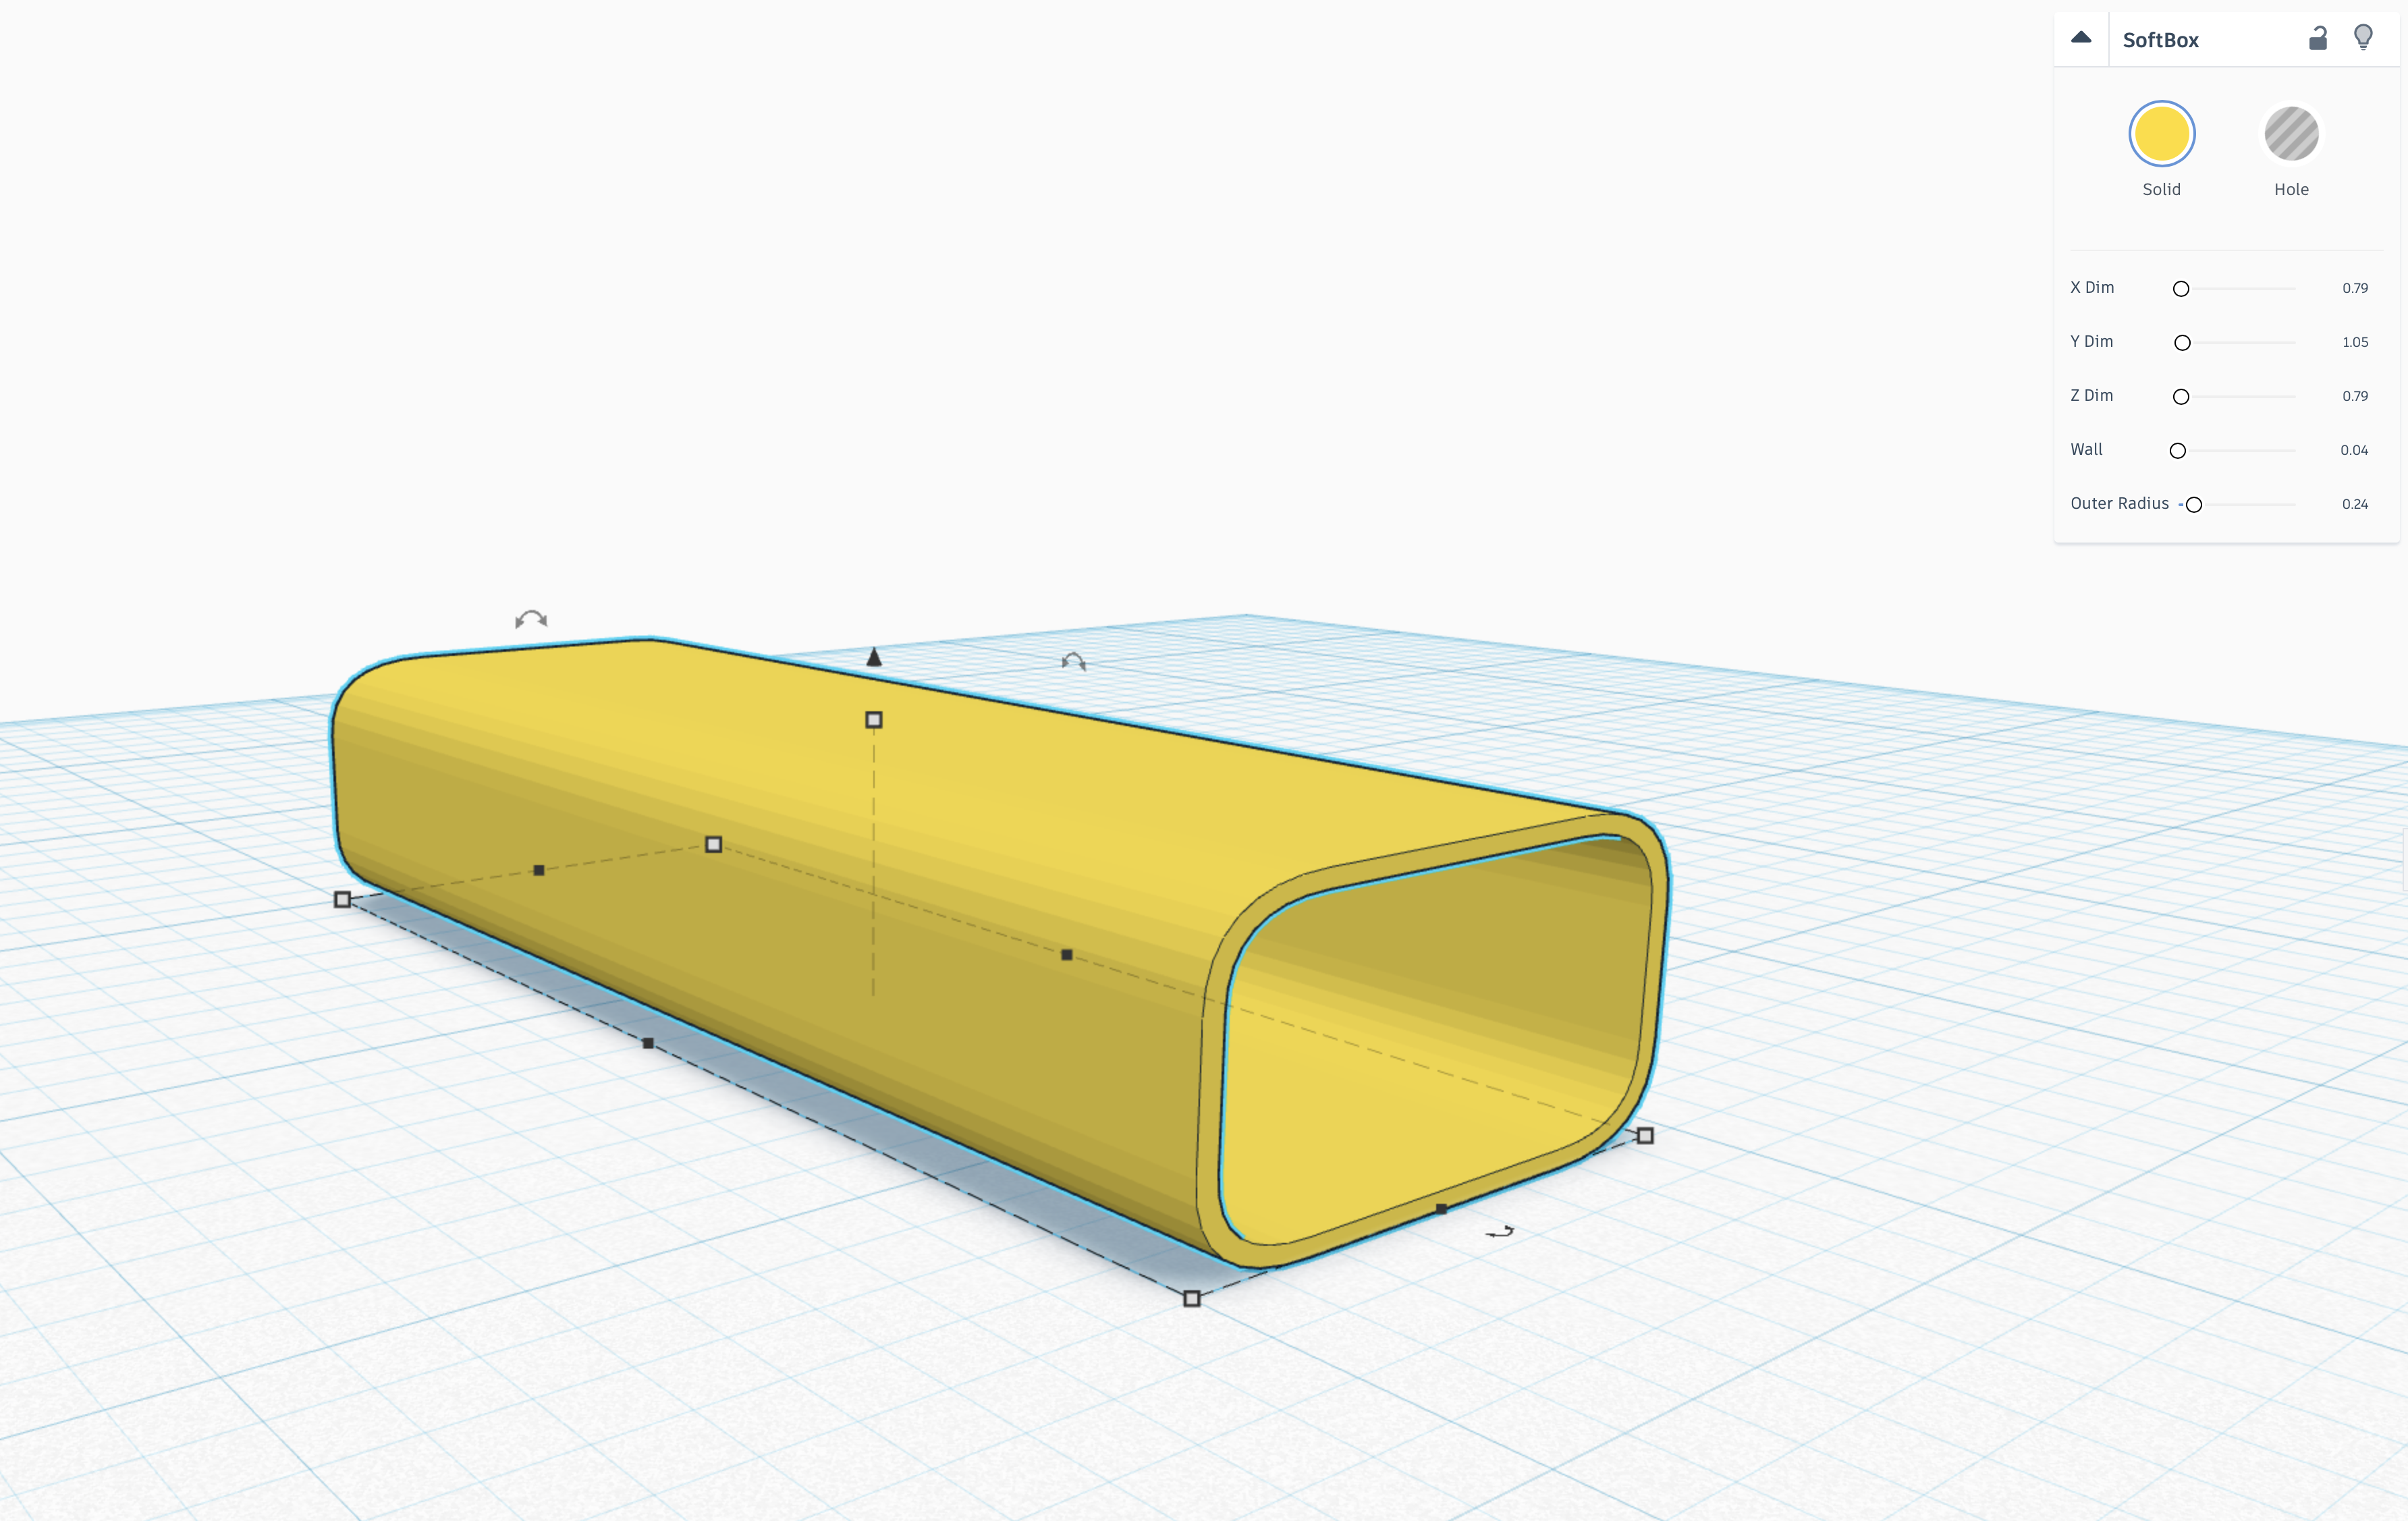
Start by getting the soft box item from the features parts list. extend it to the dimensions shown on the left hand side of the picture. you may have to click on the picture.
Cube (wait Really?)
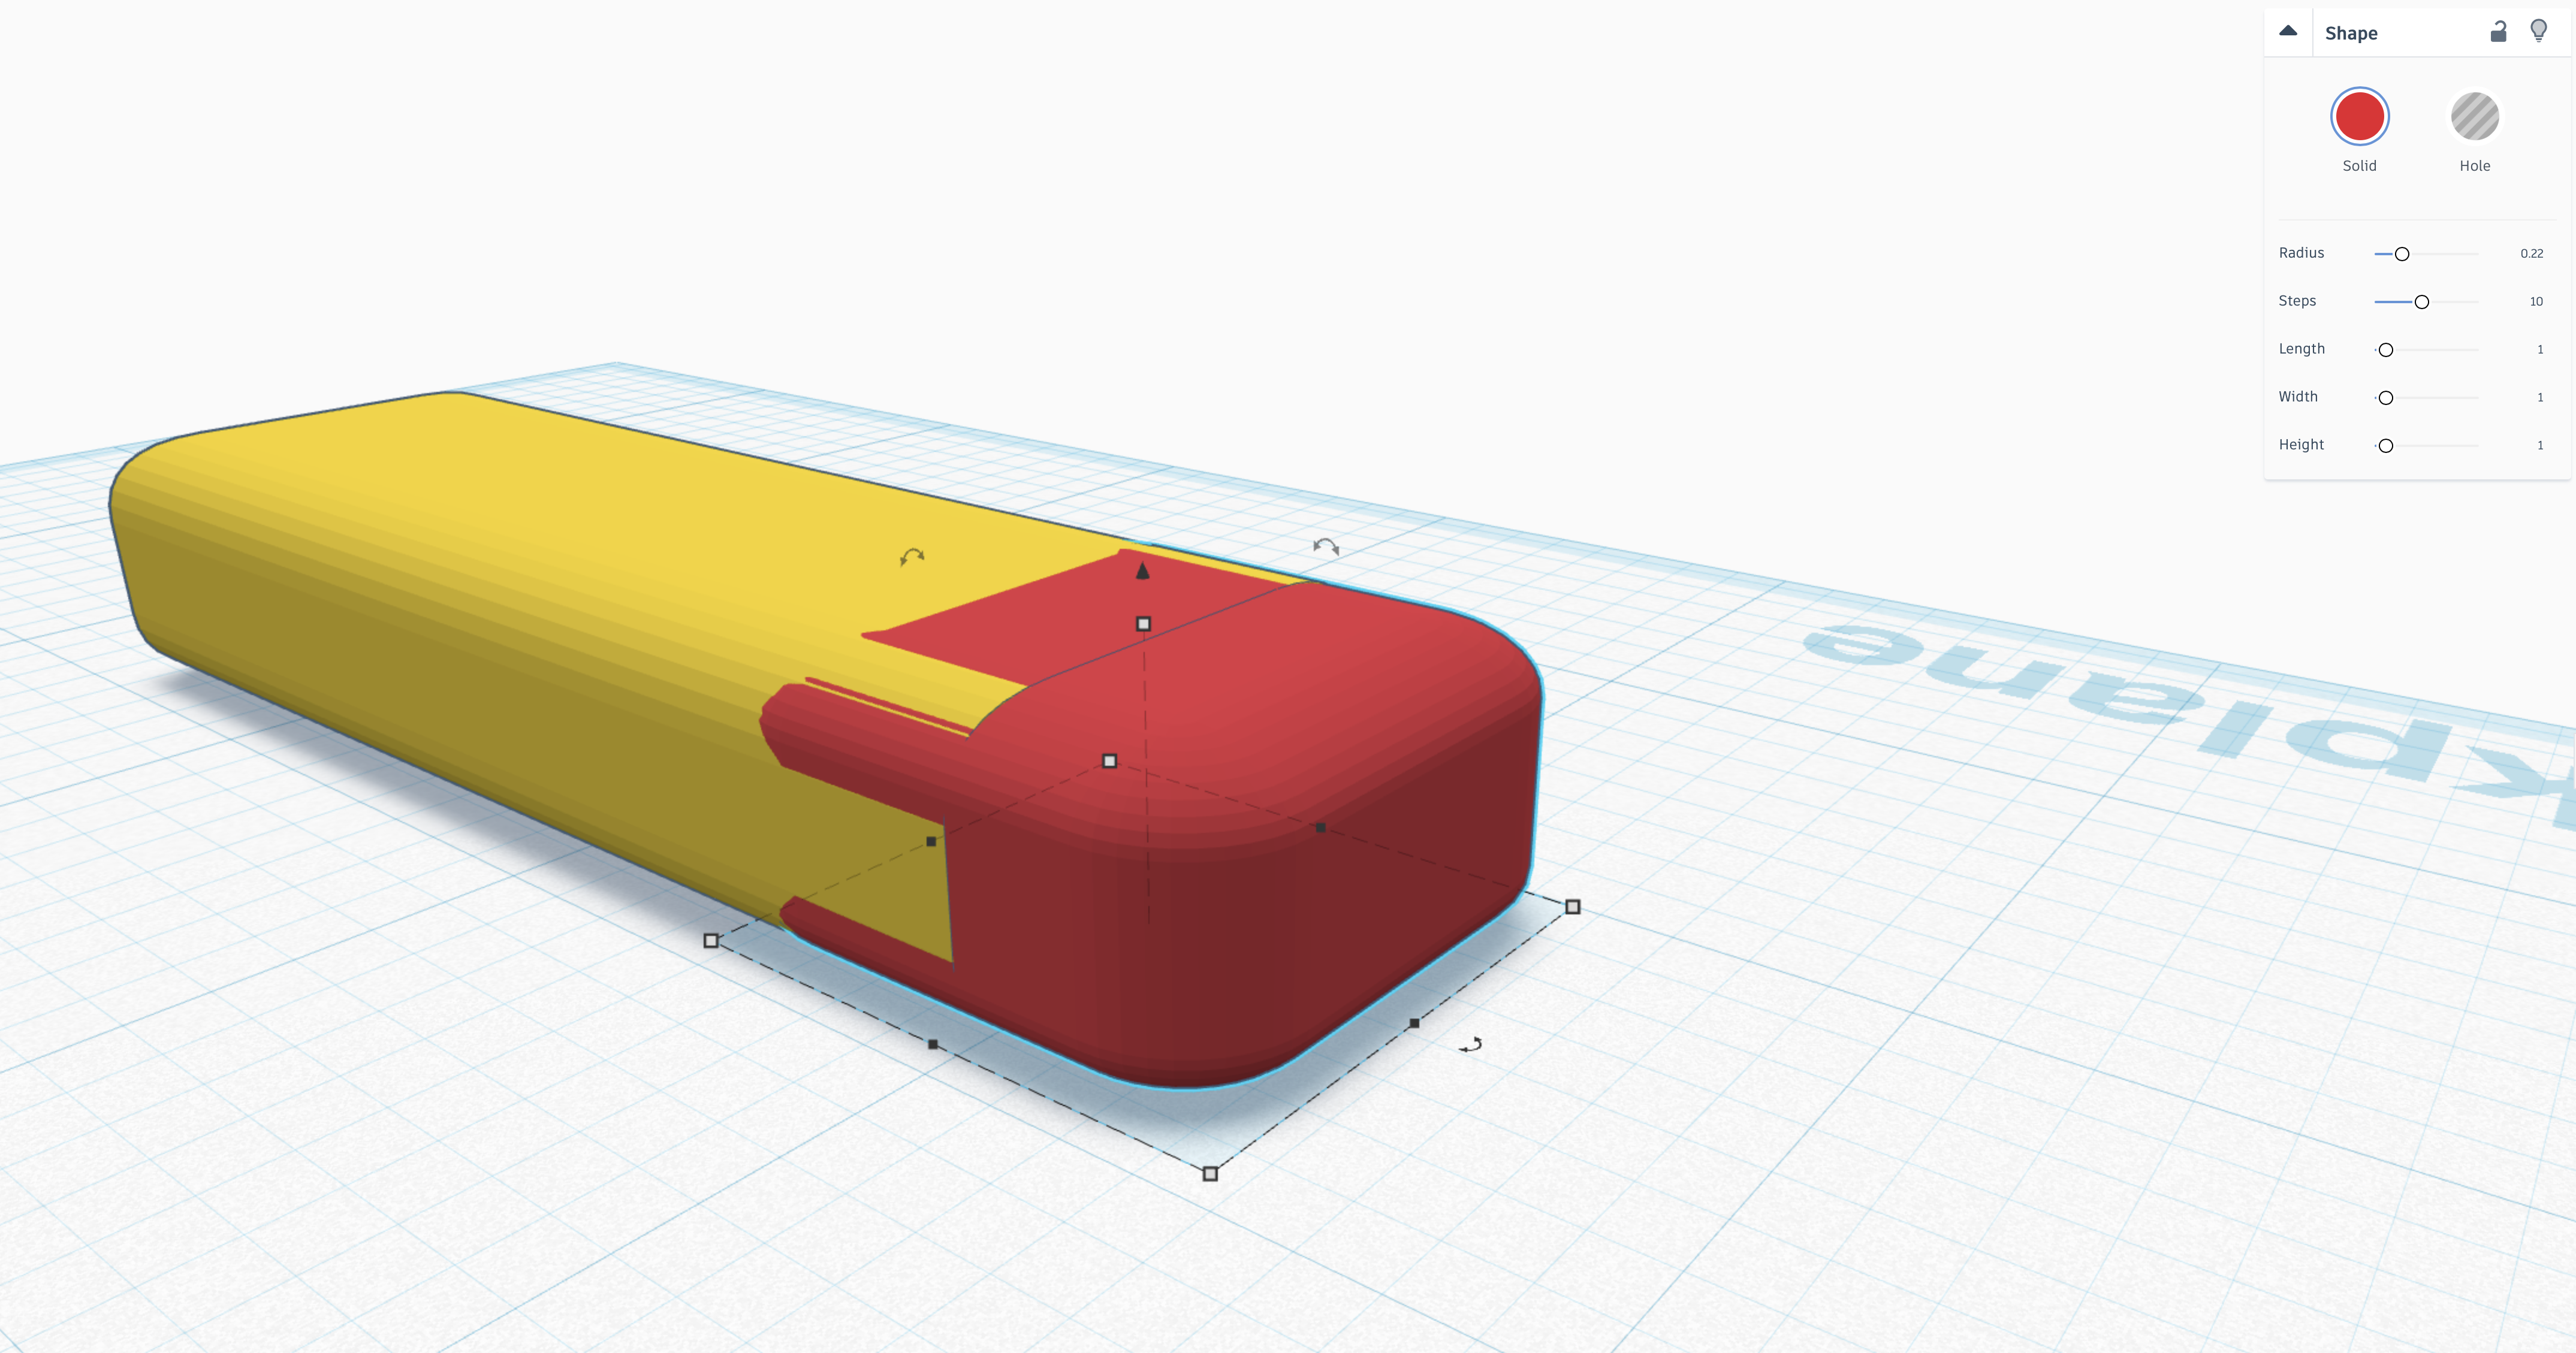
yes this is a cube. You need to round the edges using the parameters in the upper right hand corner, until they fit the other shape. this may take some trial and error.
Hole
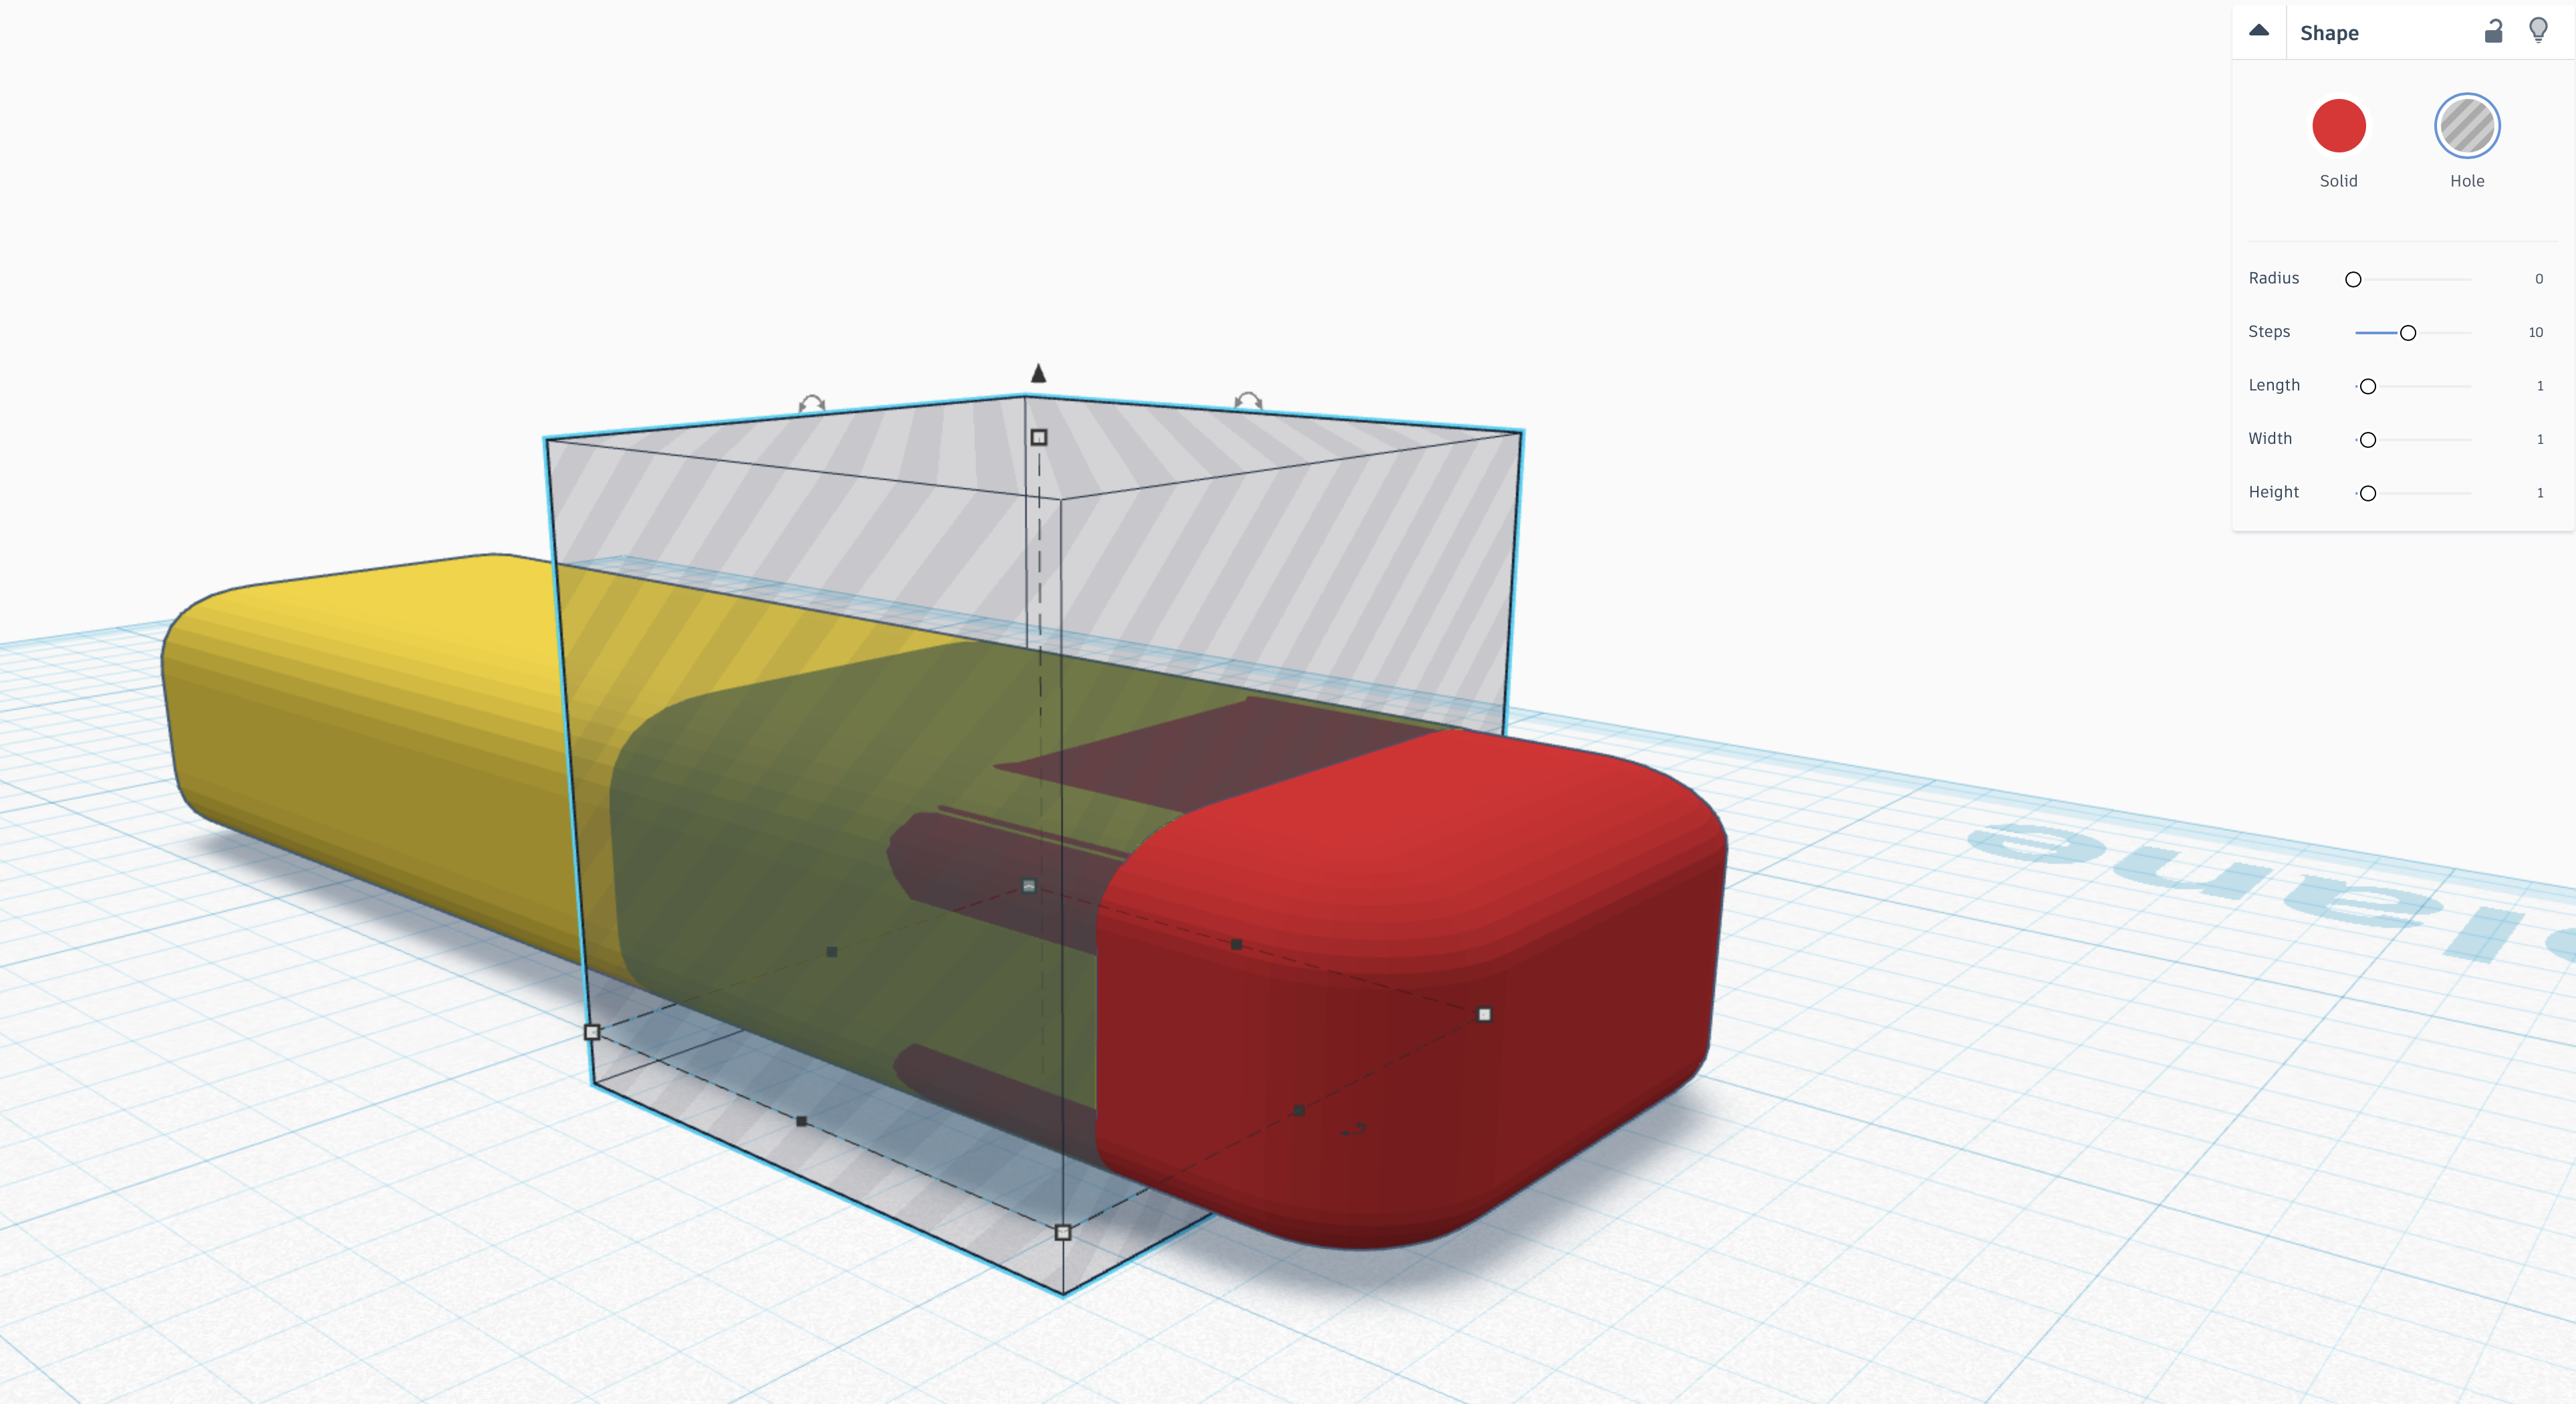
make a hole, so that you will be cutting off just a little less than half the cube. the cube should be centered on the yellow shape so that the top of the yellow shape is at the halfway mark.
Group
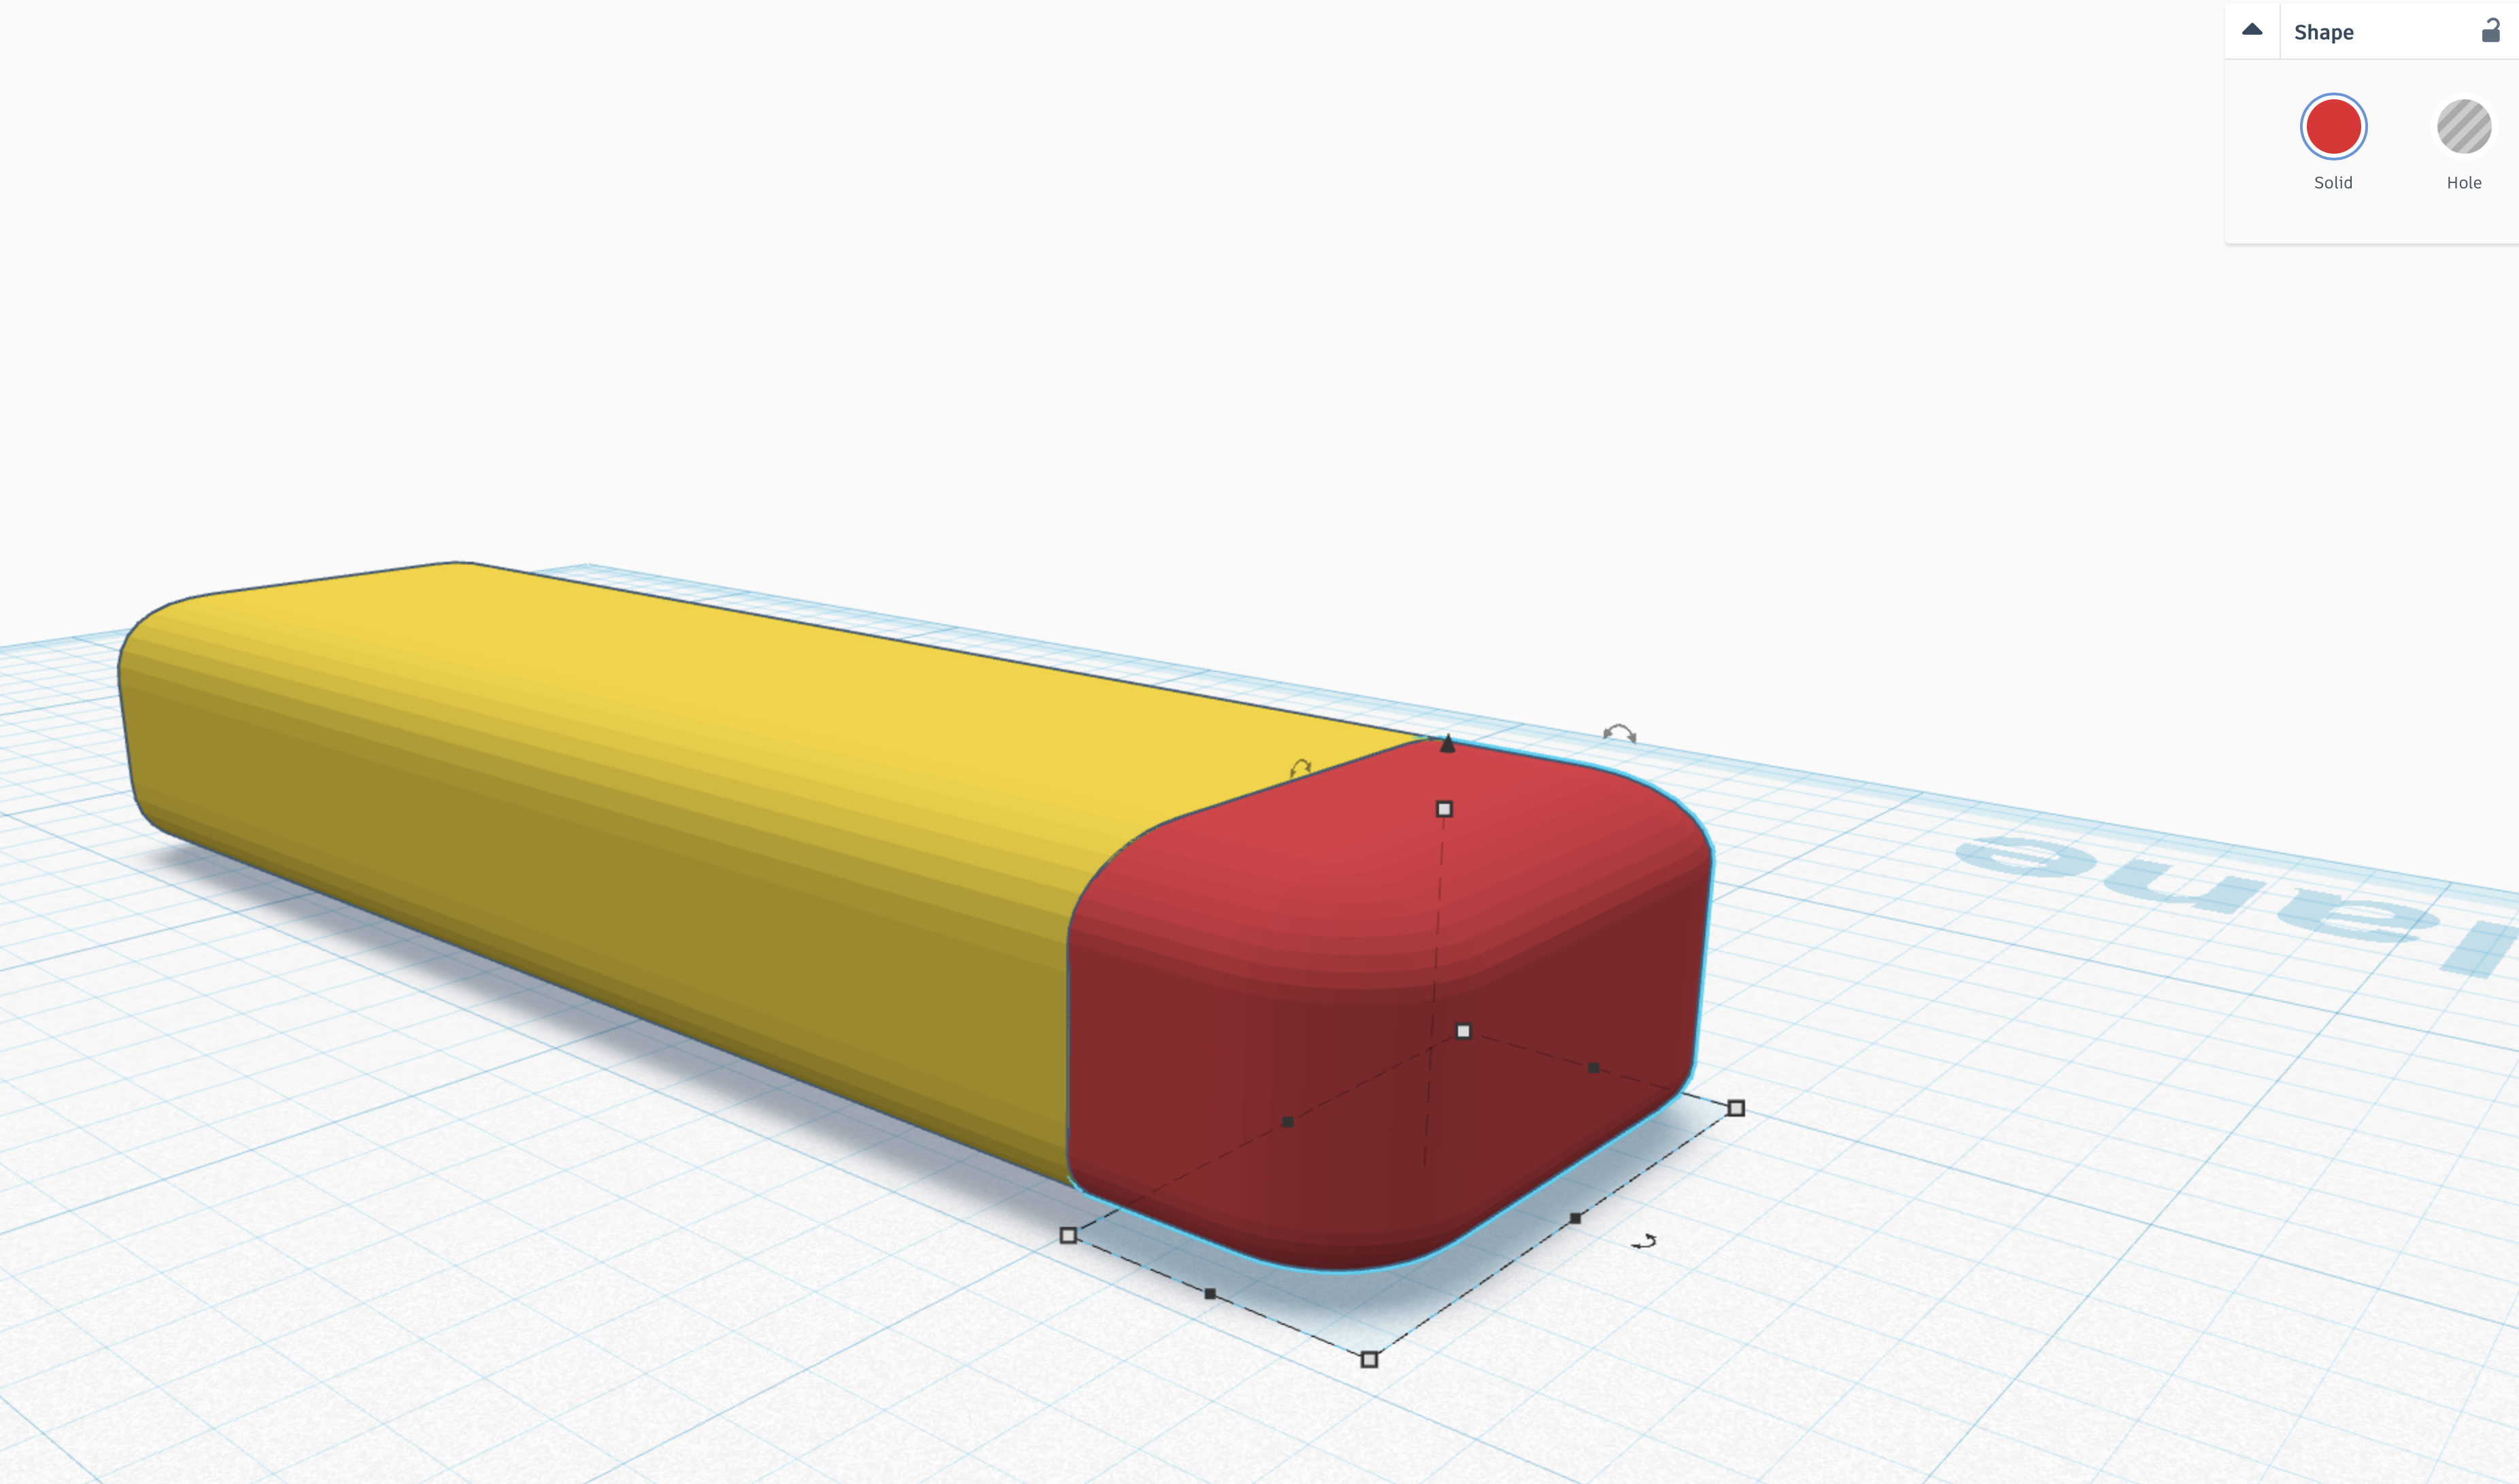
group the hole shape and the cube. it should result in a cut cube. If you did not cut all the cube, you didn't make sure the hole covered it completely. Its ok, just ungroup it and try again :)
Hole
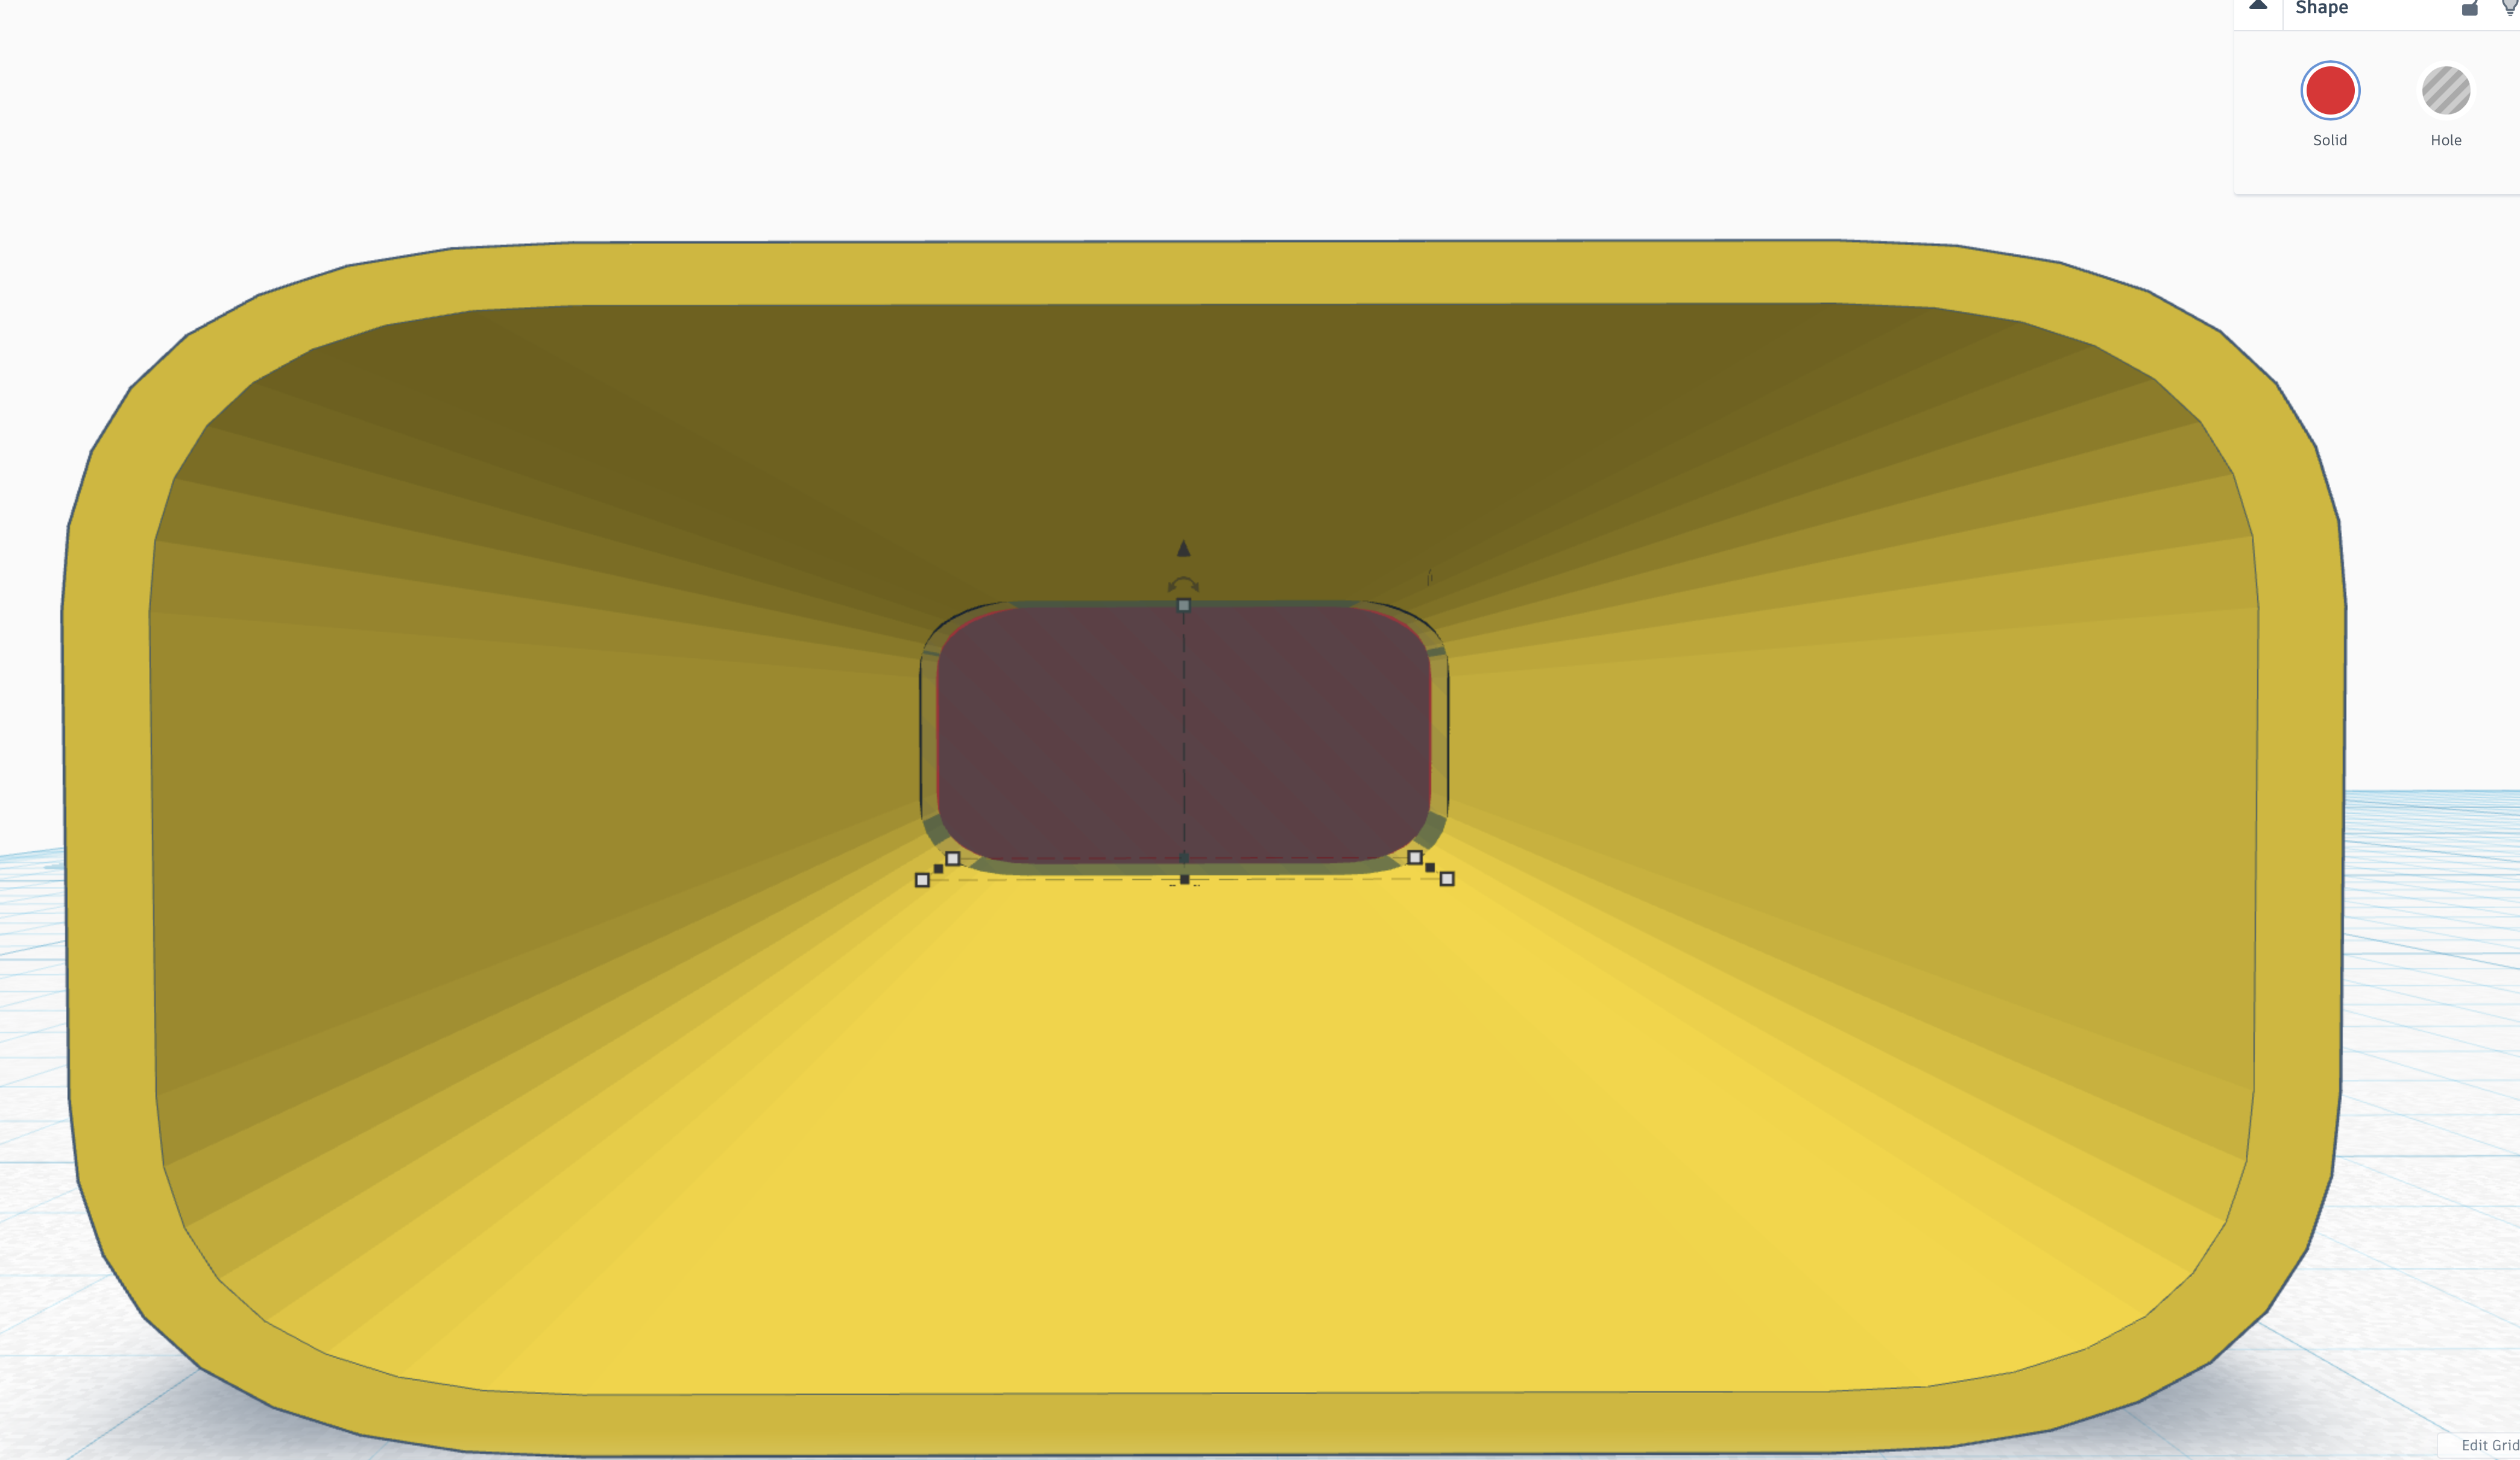
make a little hole the size of the cut cube, and add it to the inside. This is so that you create a dome shaped end, so that the entire shape (when completed) can be stood on the opposite end and it can be printed. This step is purely so that this little tool can be printed. This shape will take a lot of trial and error to get correctly. I can't give you any hints, except try try again, you will never succeed until you try, but the end result is worth it. :)
Group (again)
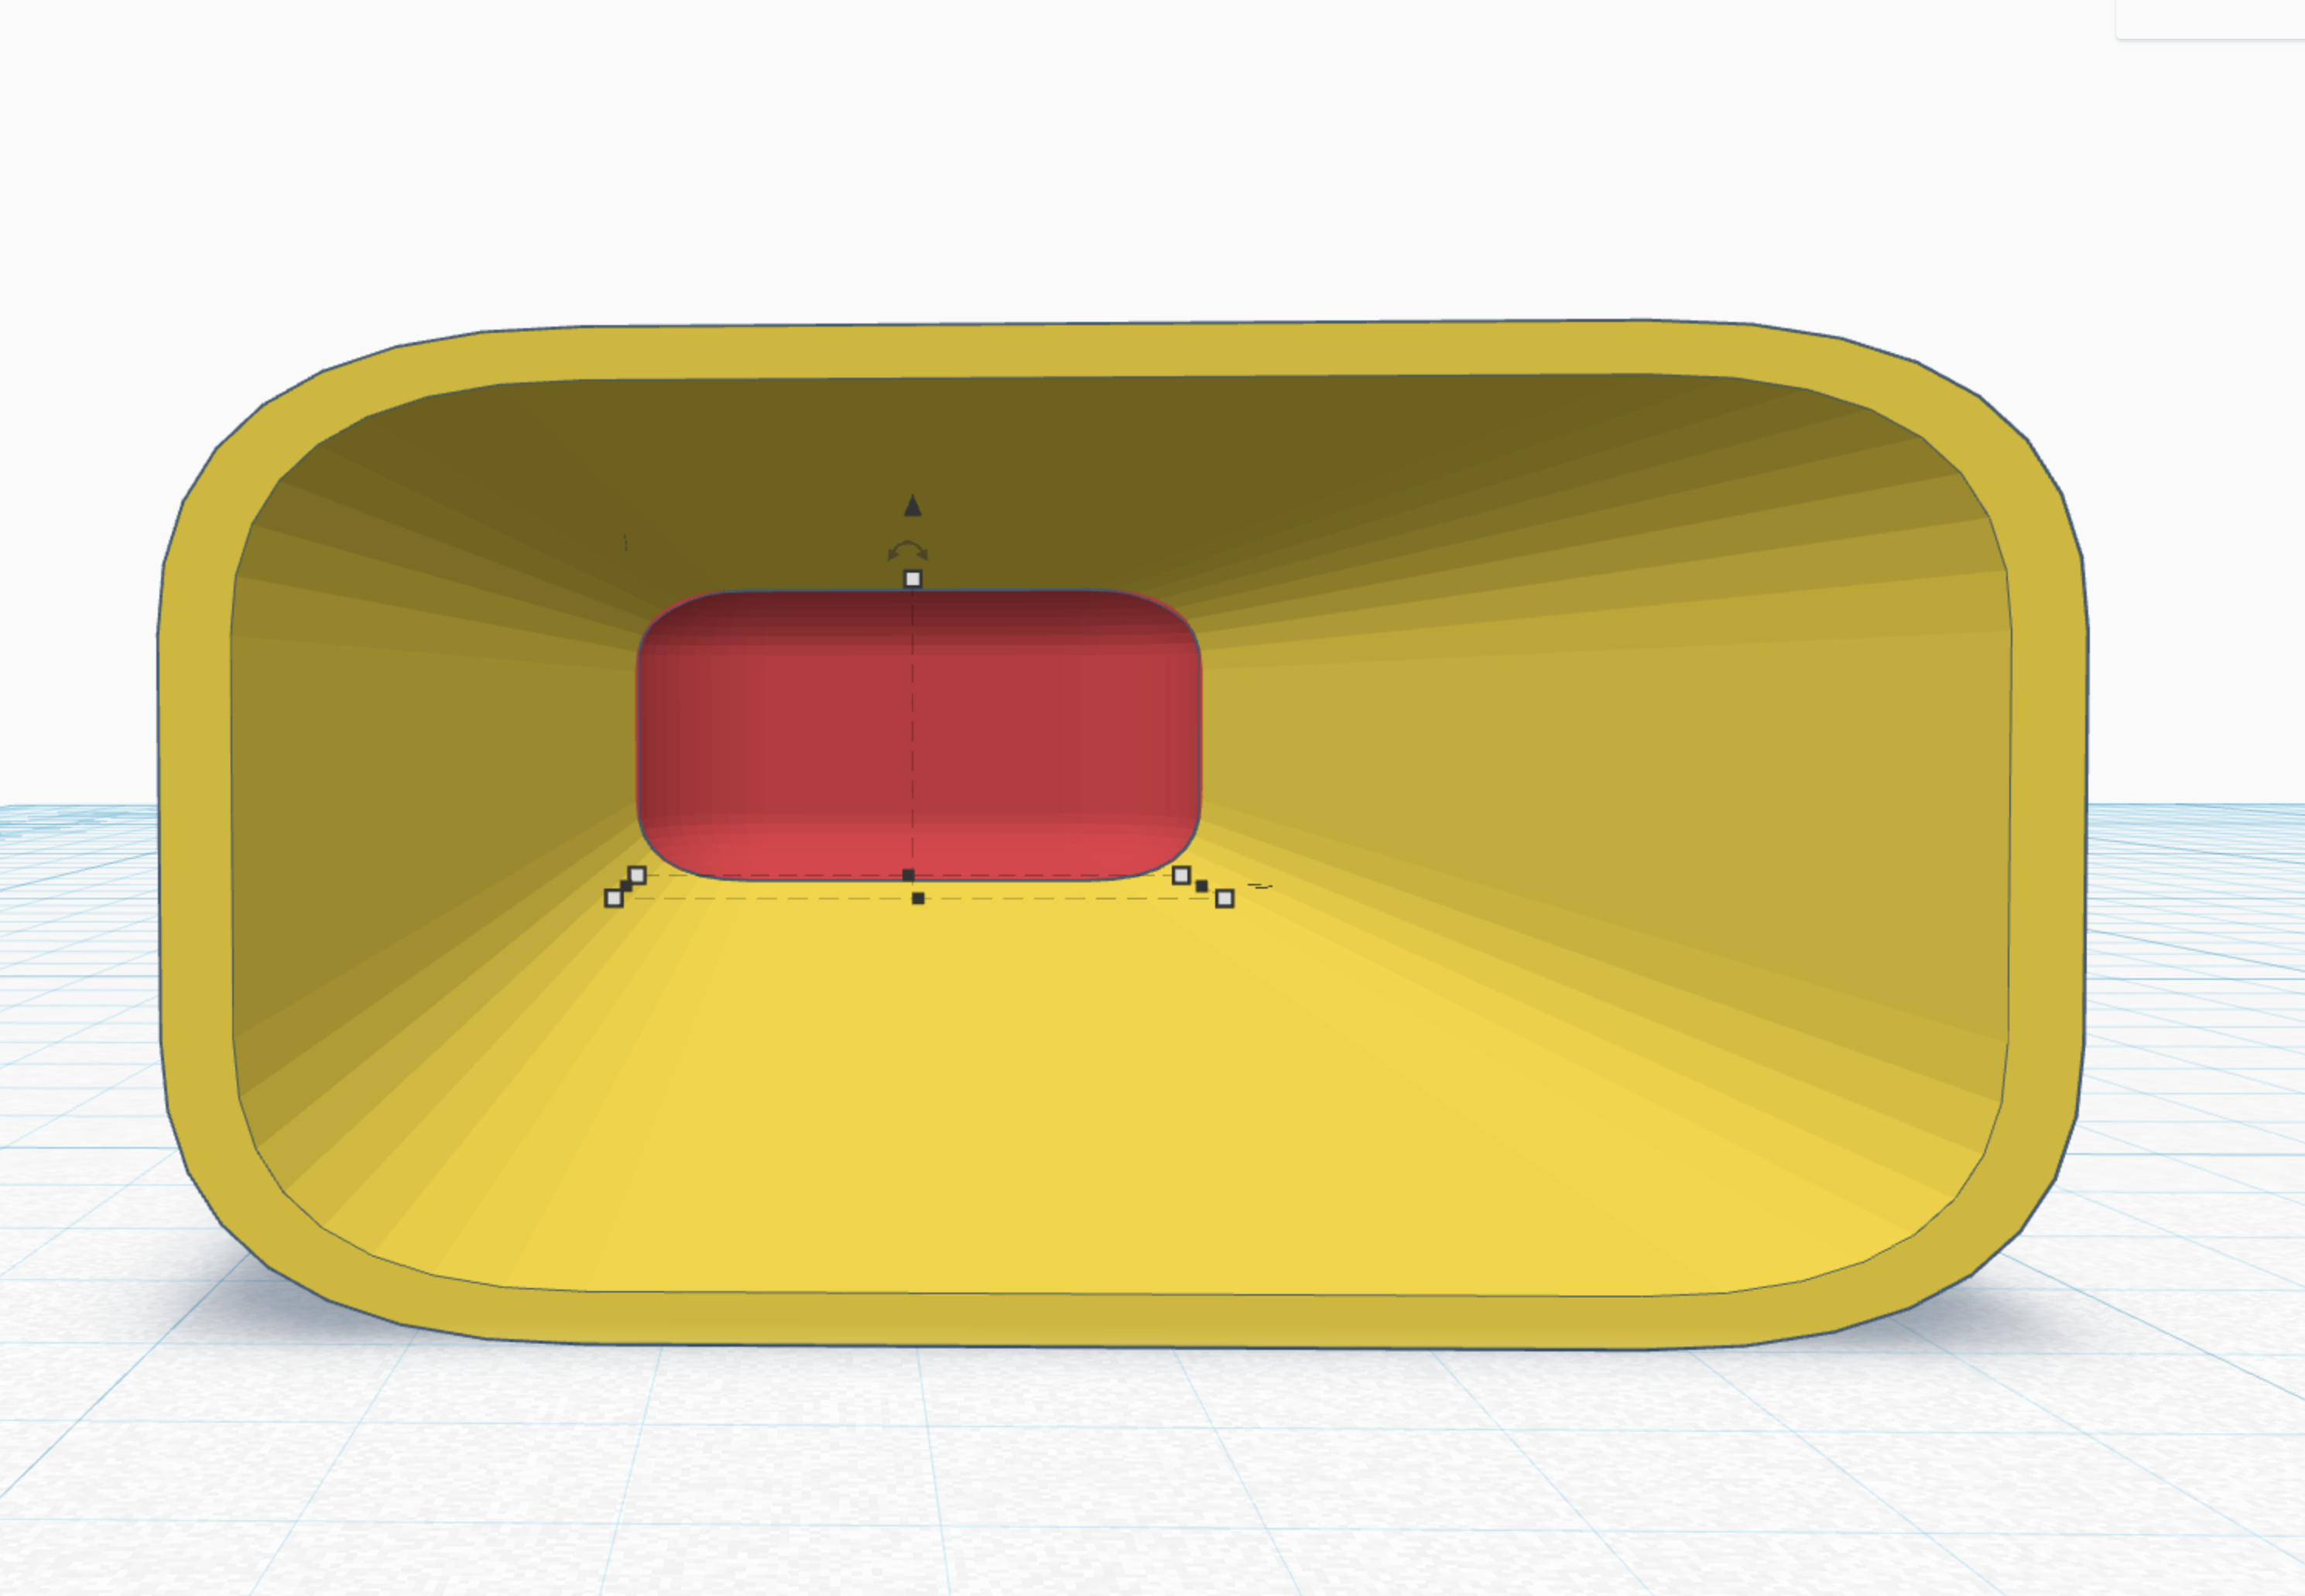
yes do it again. group the hole and the red cube. it makes the arch (easy enough)
In case you do not know how to group. hit command/ control G
to ungroup hit command/ control + shift +G
Hexagon.
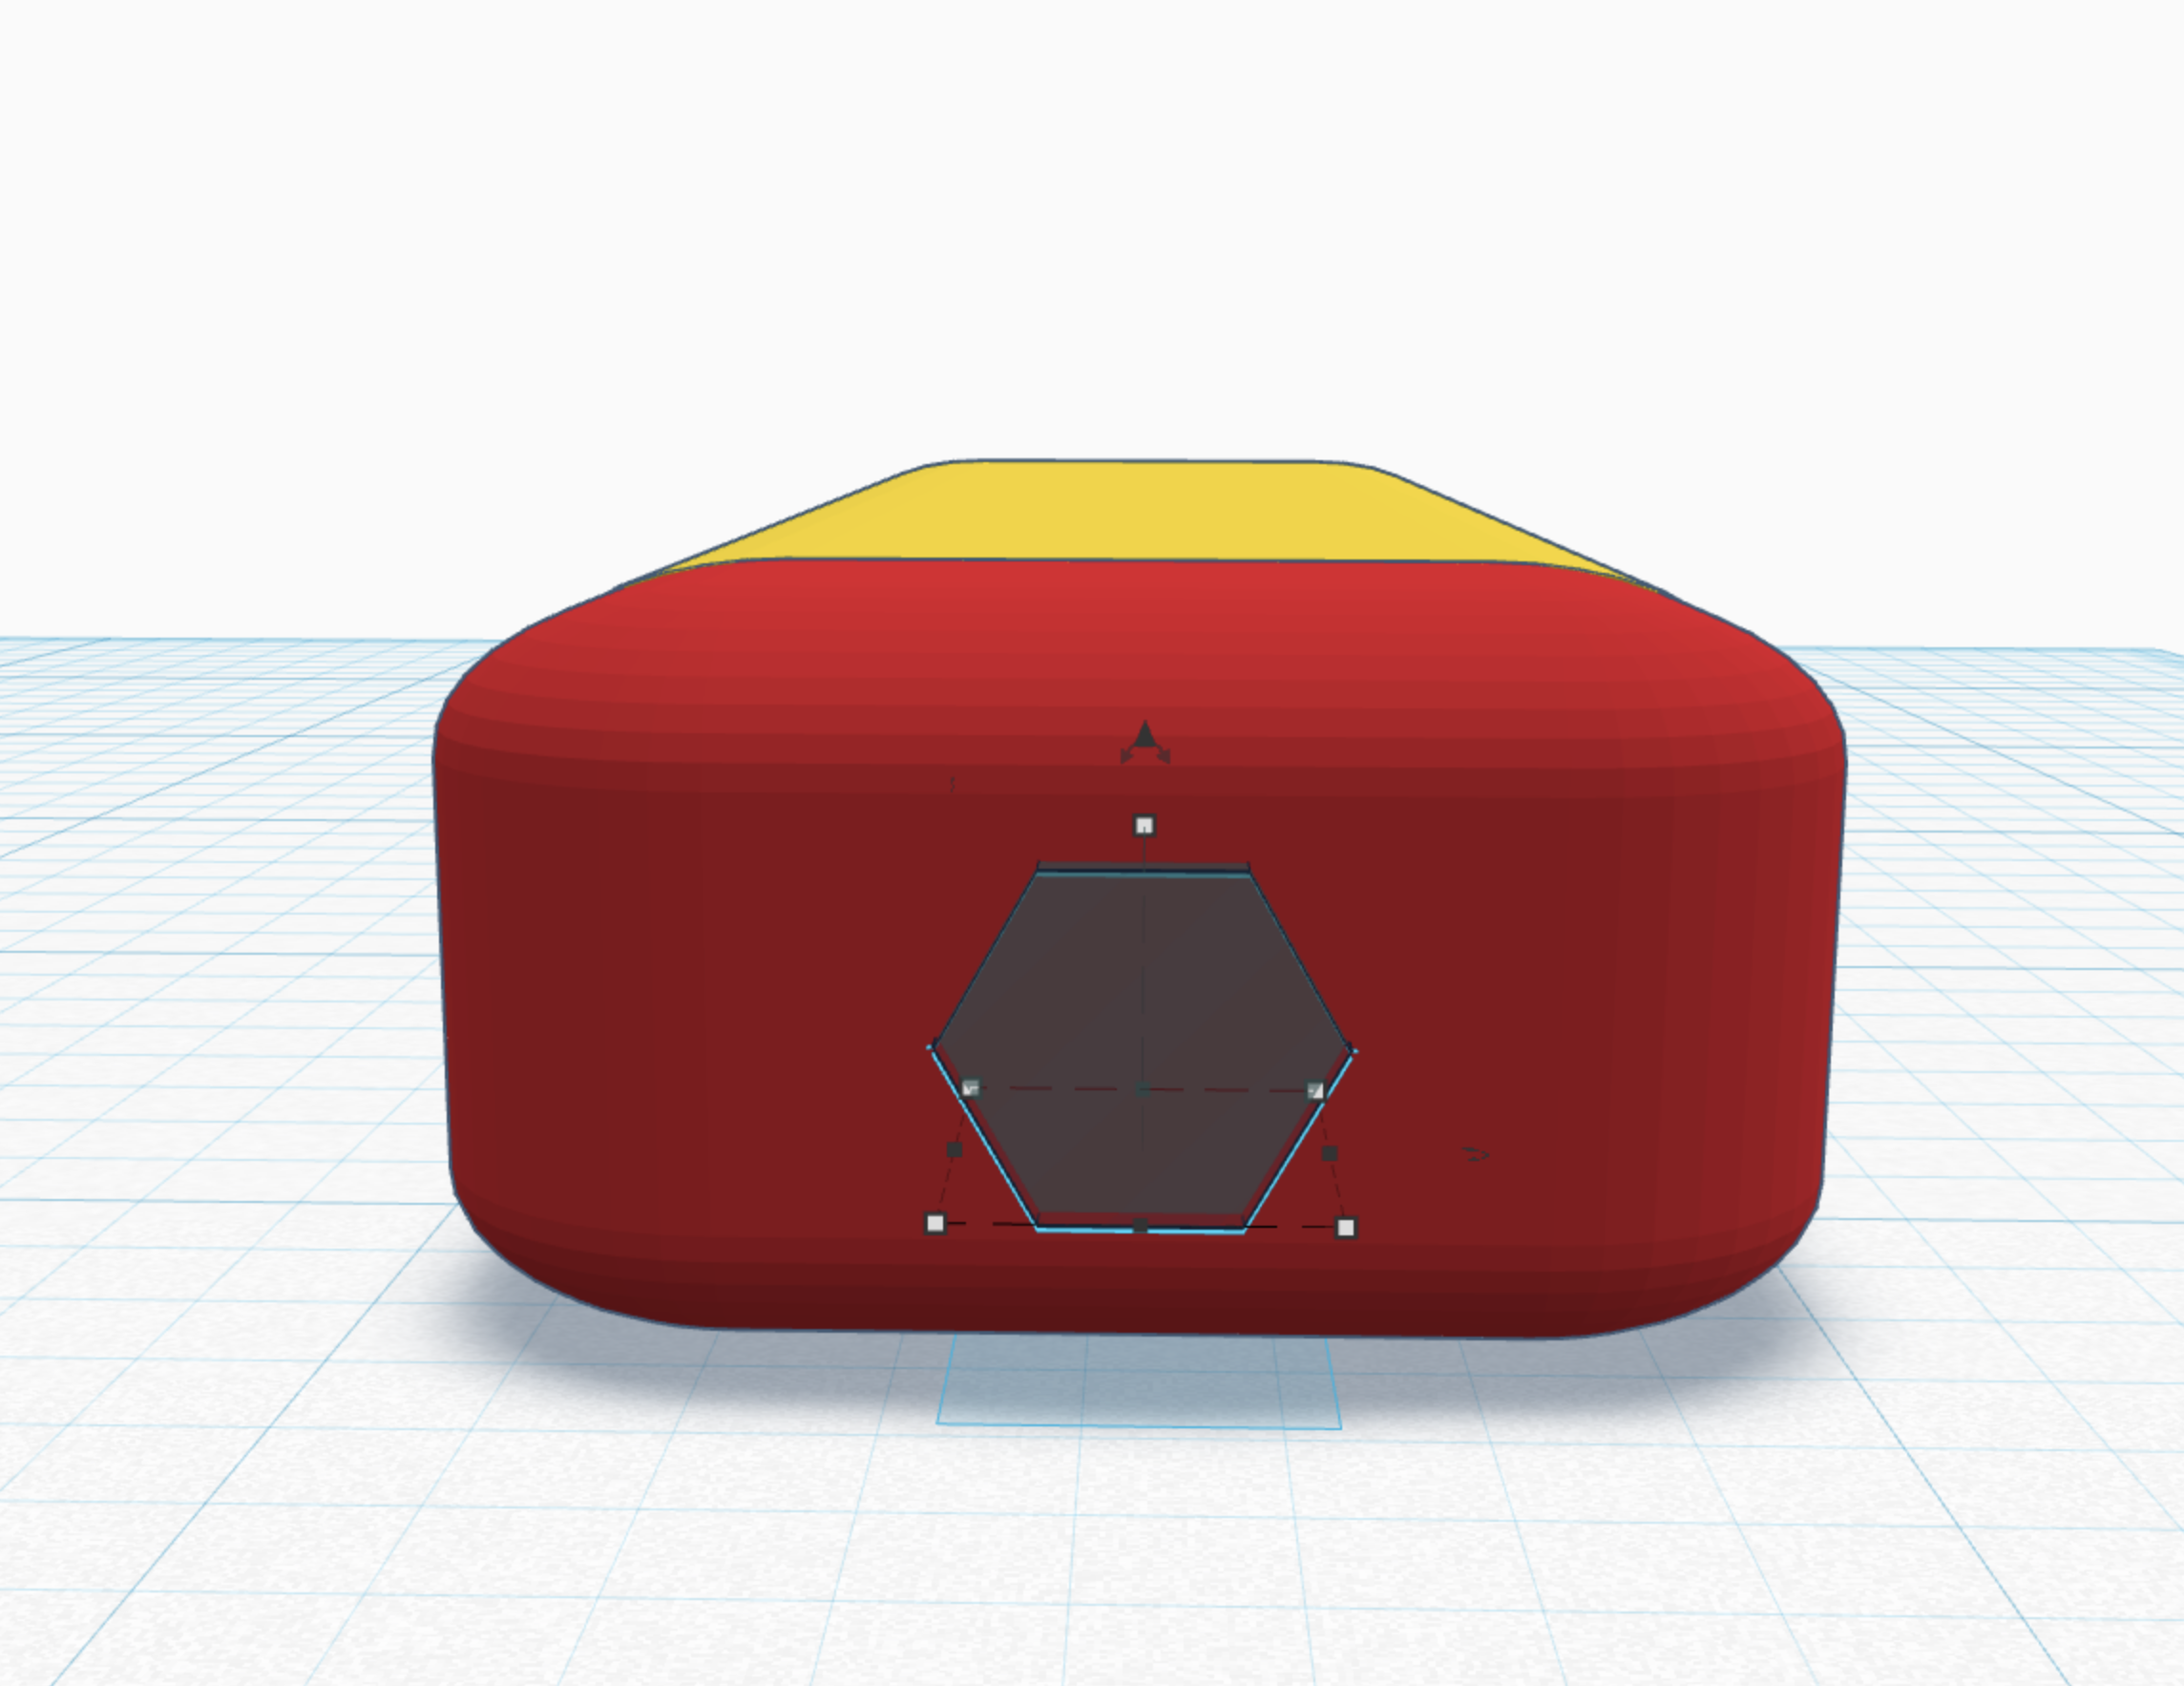
make sure the hexagon is the size of the bits you will be putting into this tool or it will NOT work. honestly its not hard. all hexagons are the same proportional, so hit shift and then scale the object until you make one side the correct size. That will ensure you have done the right thing. next change it into a hole.
Group (yet Again)
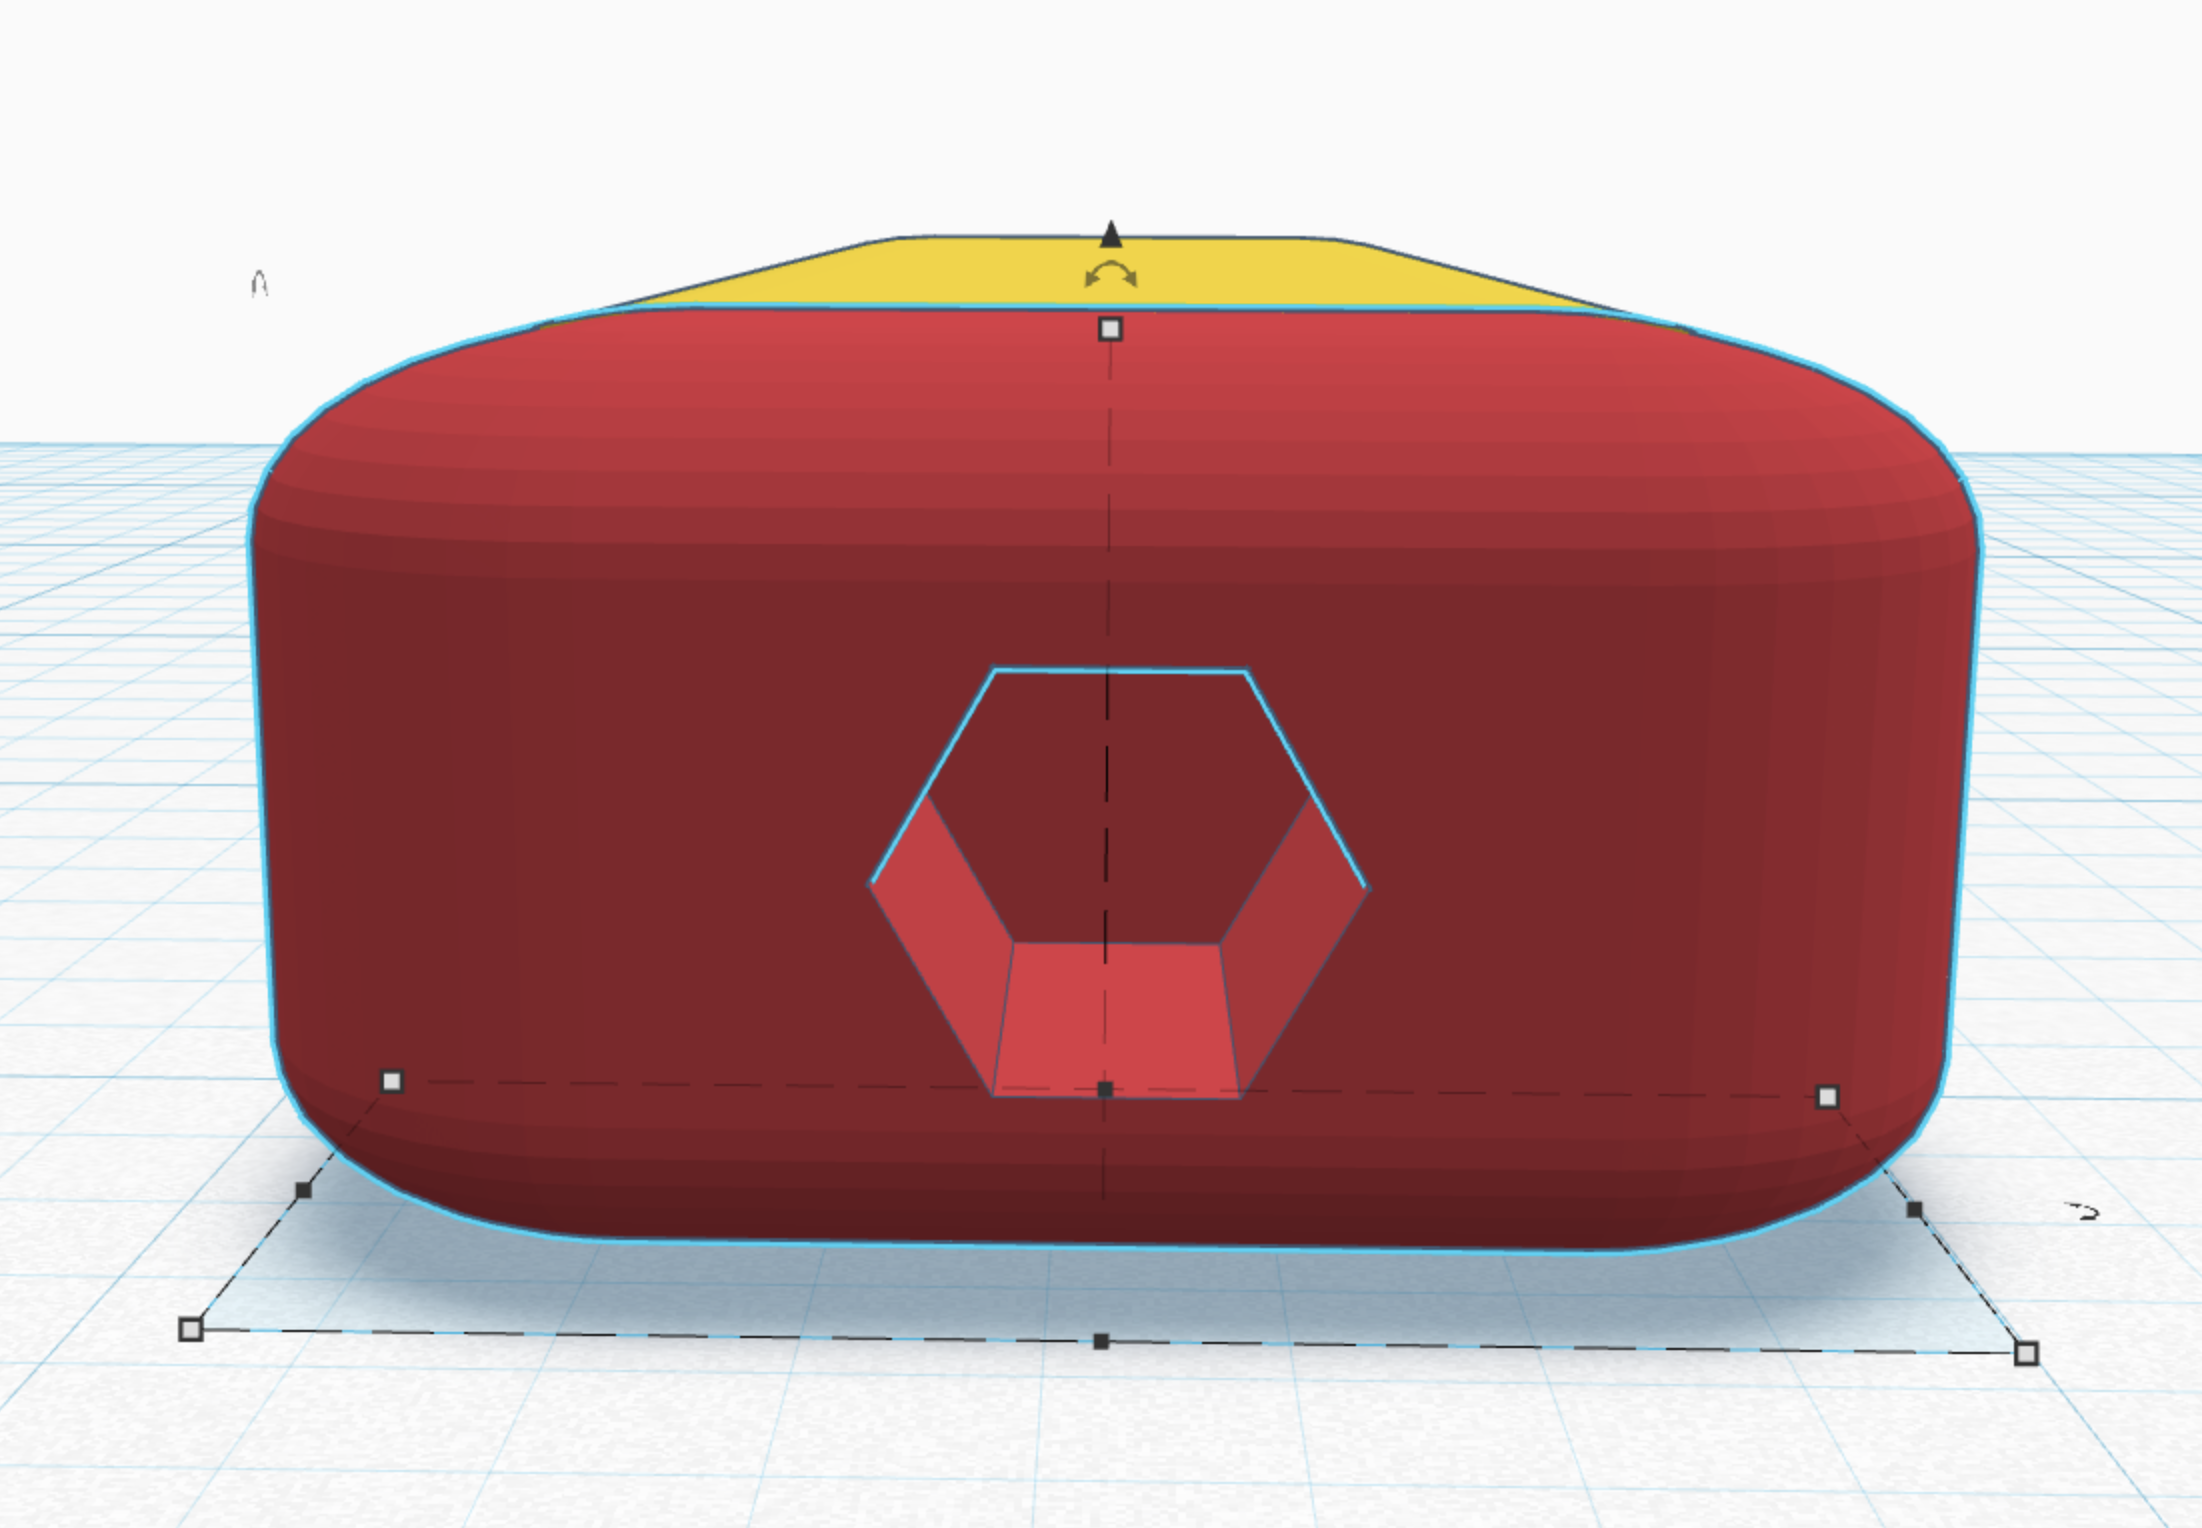
there is a lot of grouping. always remember to group the hole and the shape you want to cut. nothing else.
Cylinder Hole
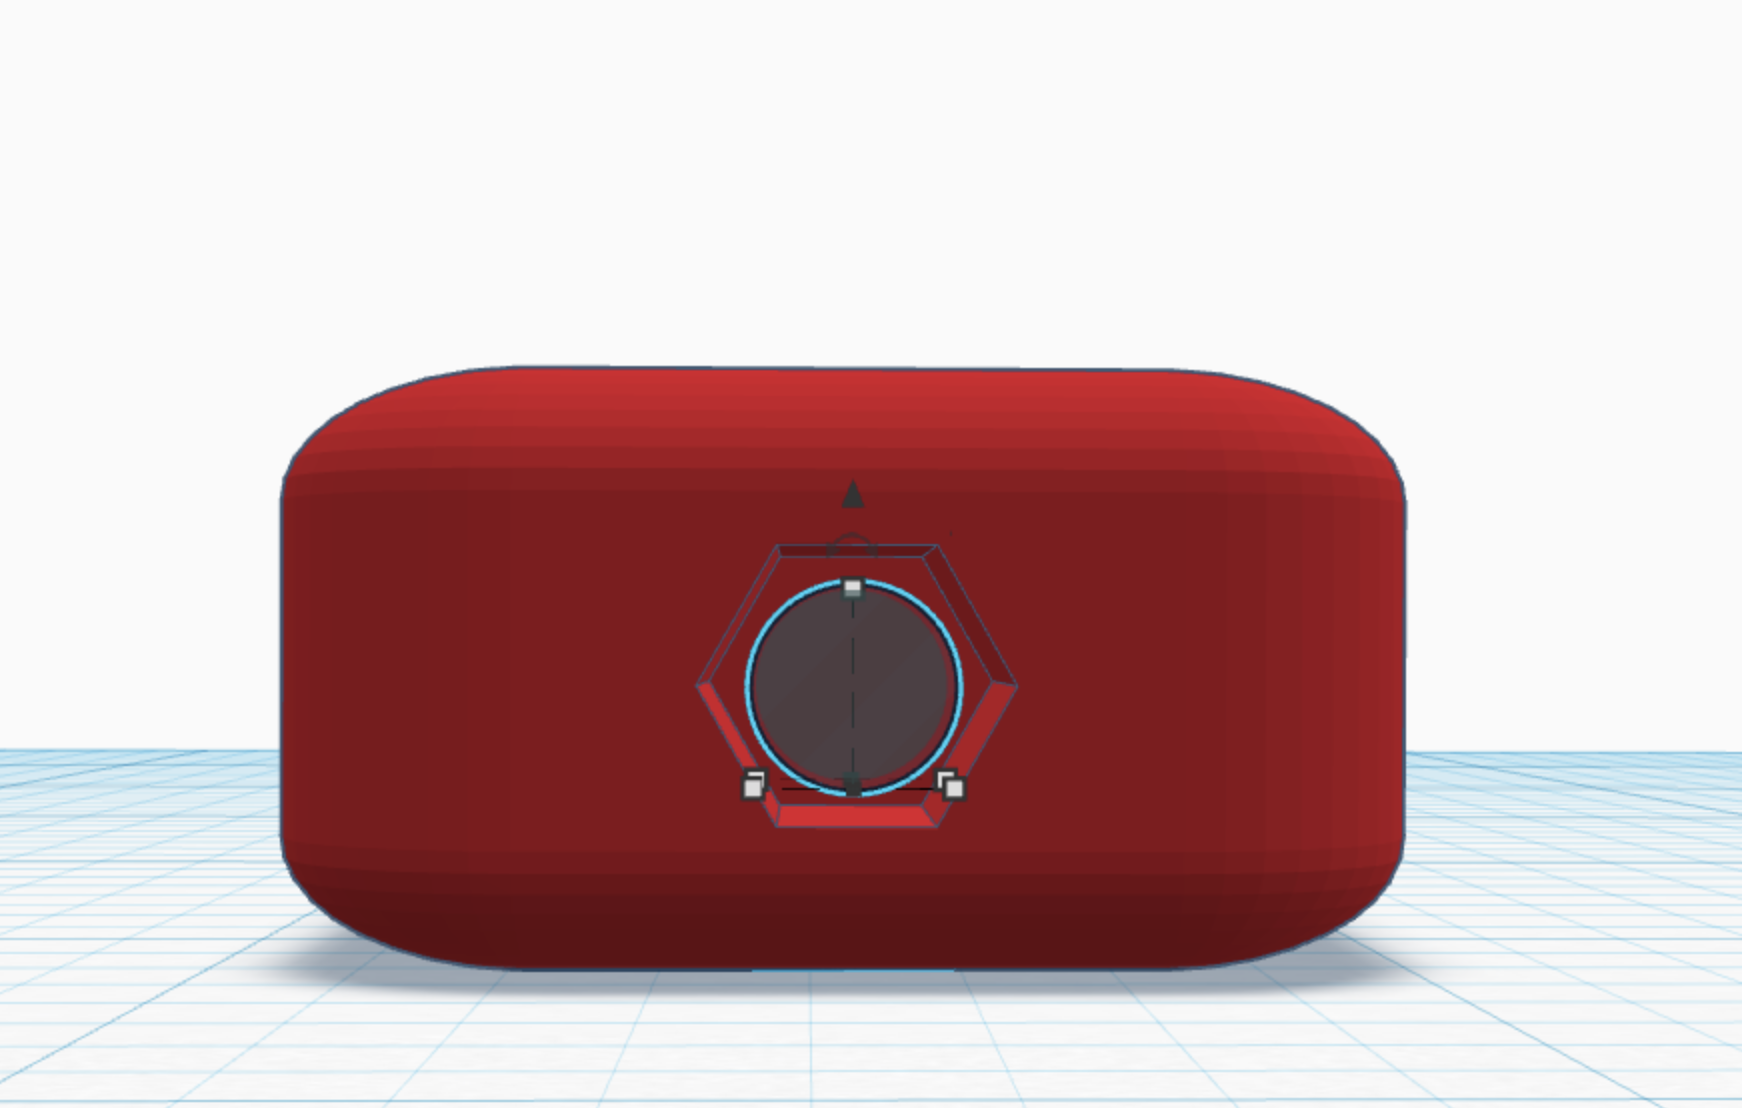
make a small cylinder hole big enough to fit the small magnet that you bought, (or found) you will glue it in place so that your screwdriver is magnetic.
remember shift plus scale with mouse, keeps the shape completely in scale.
Group (yes I Said You Had to Do It a Lot :)
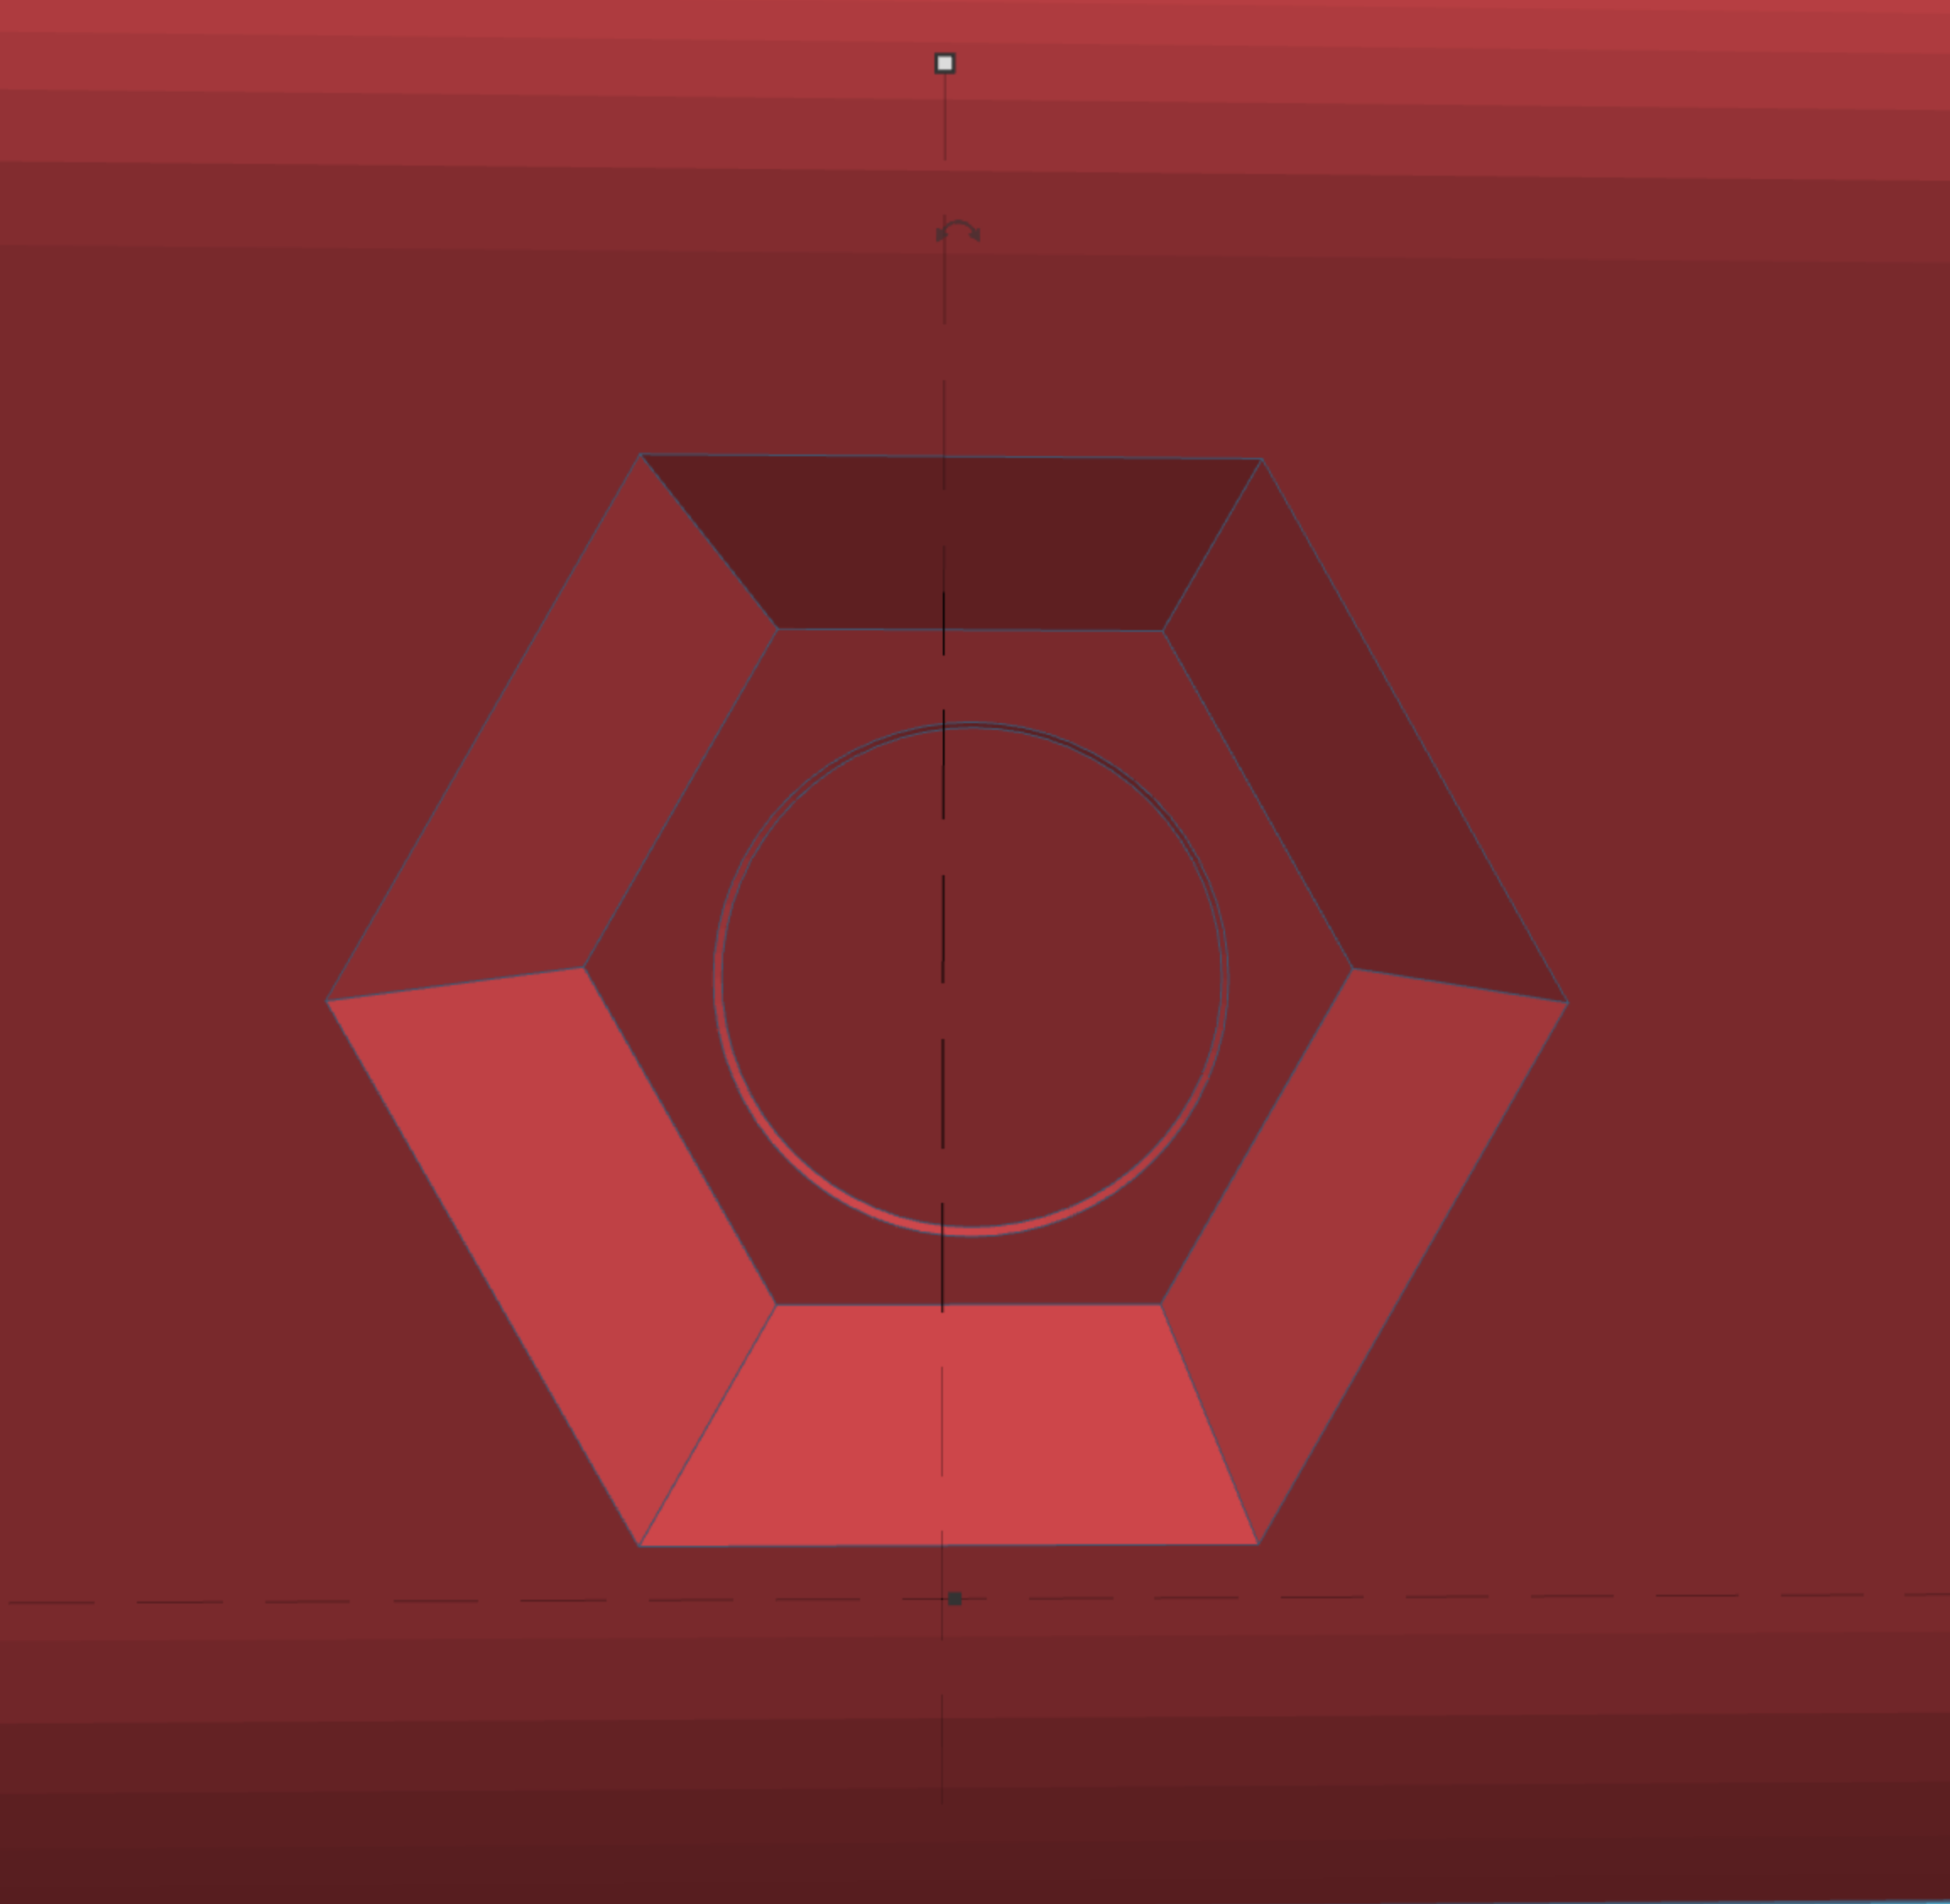
group the cylinder and the former cube.
Finally You Have the Outer Casing Done :) Congrats! Time for the Hard Stuff
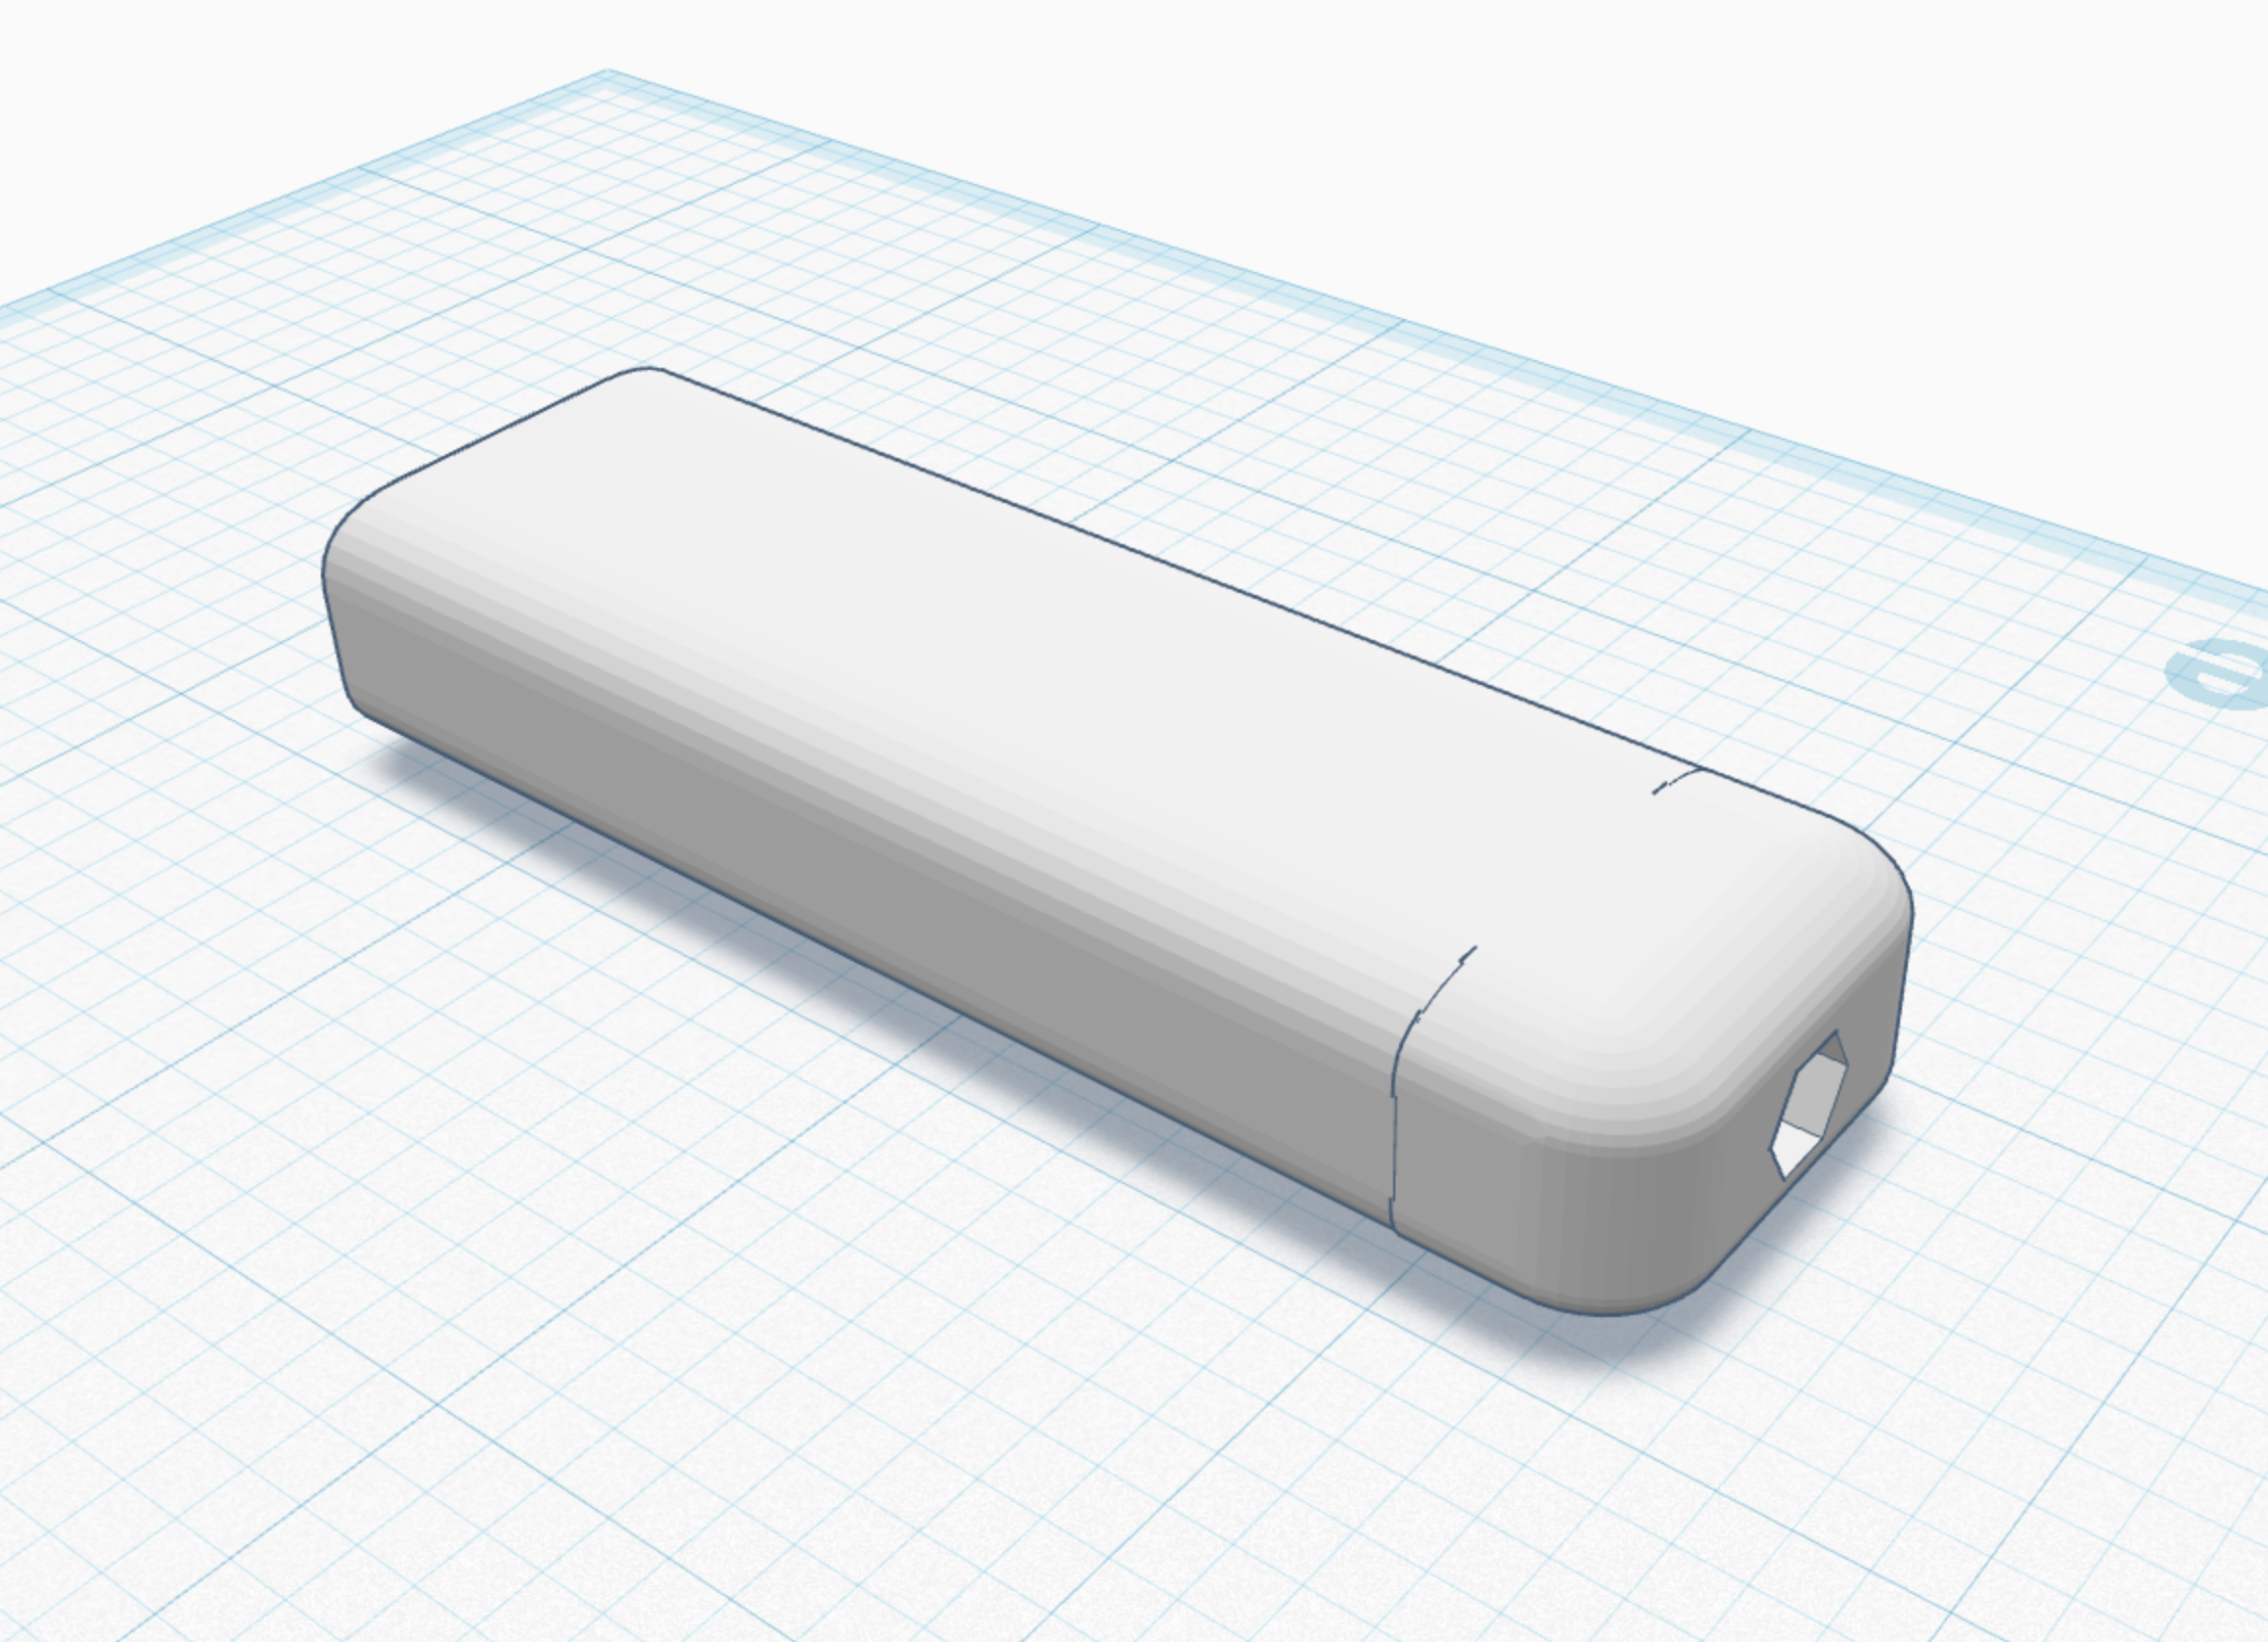
group the cube and the soft box. there will be a grouping line like you see here, it will not show in 3D print don't worry about it.
Cube
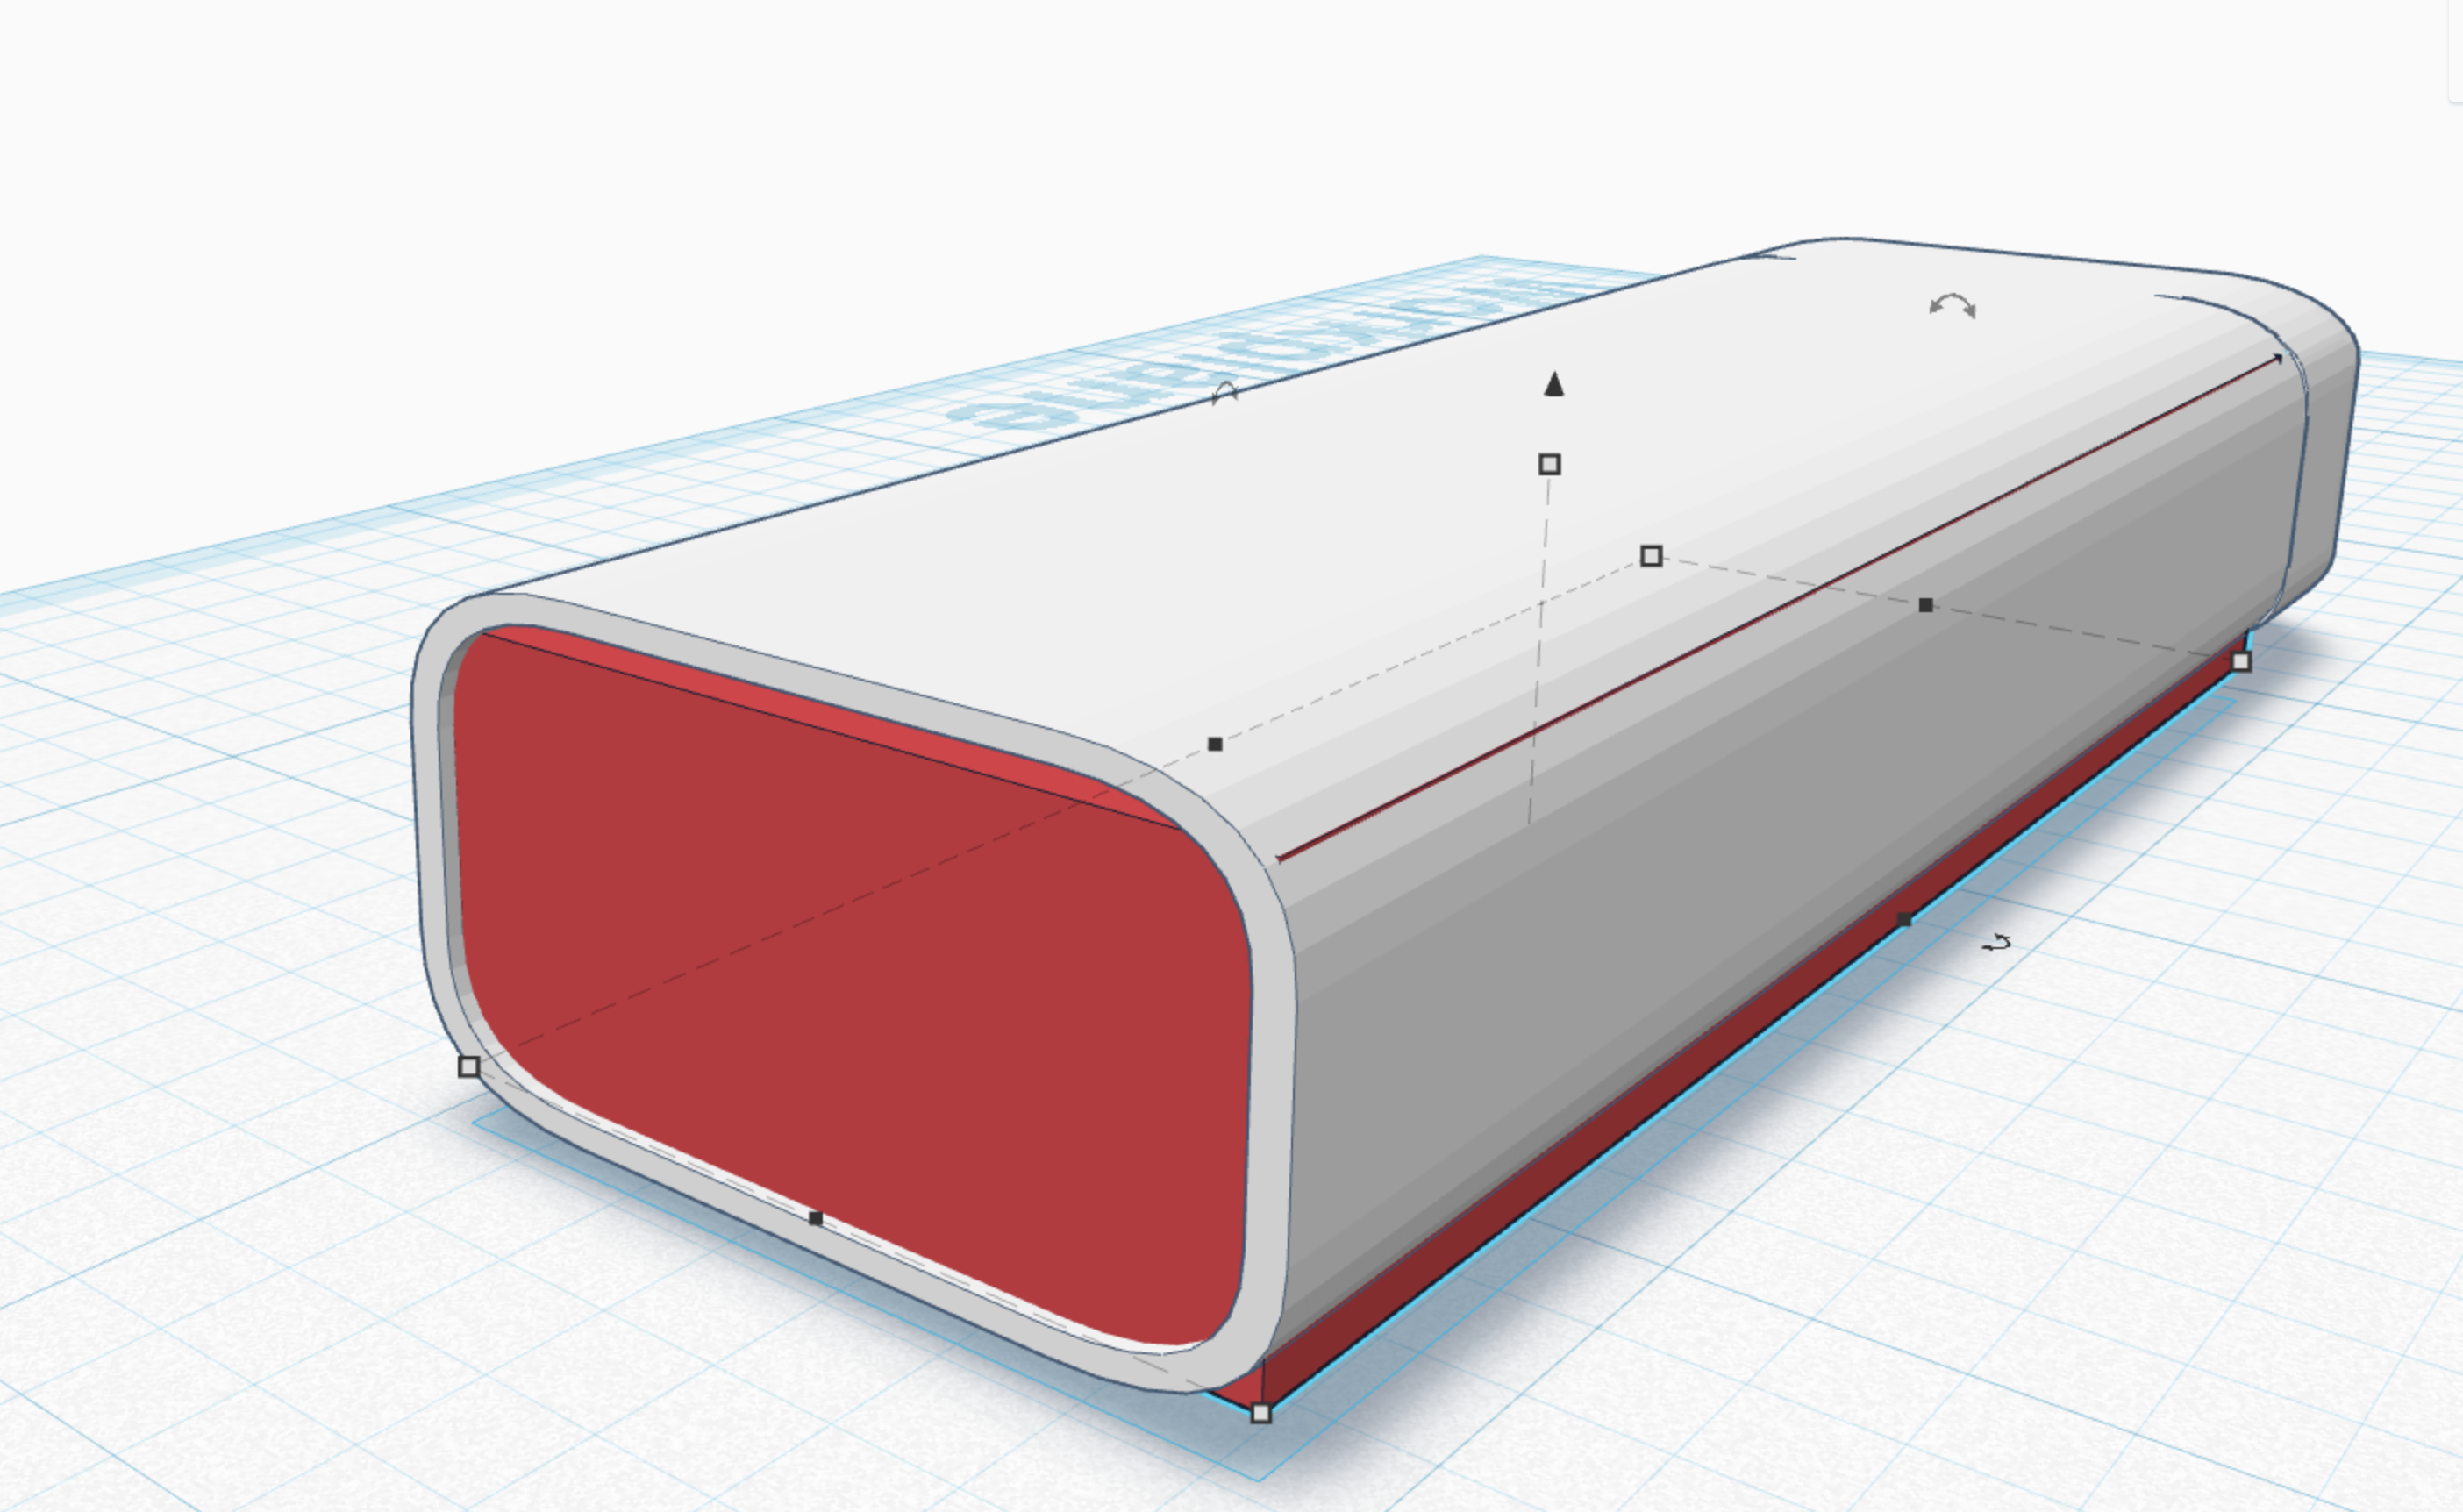
make a cube that fills the hole in the soft box.
Hole
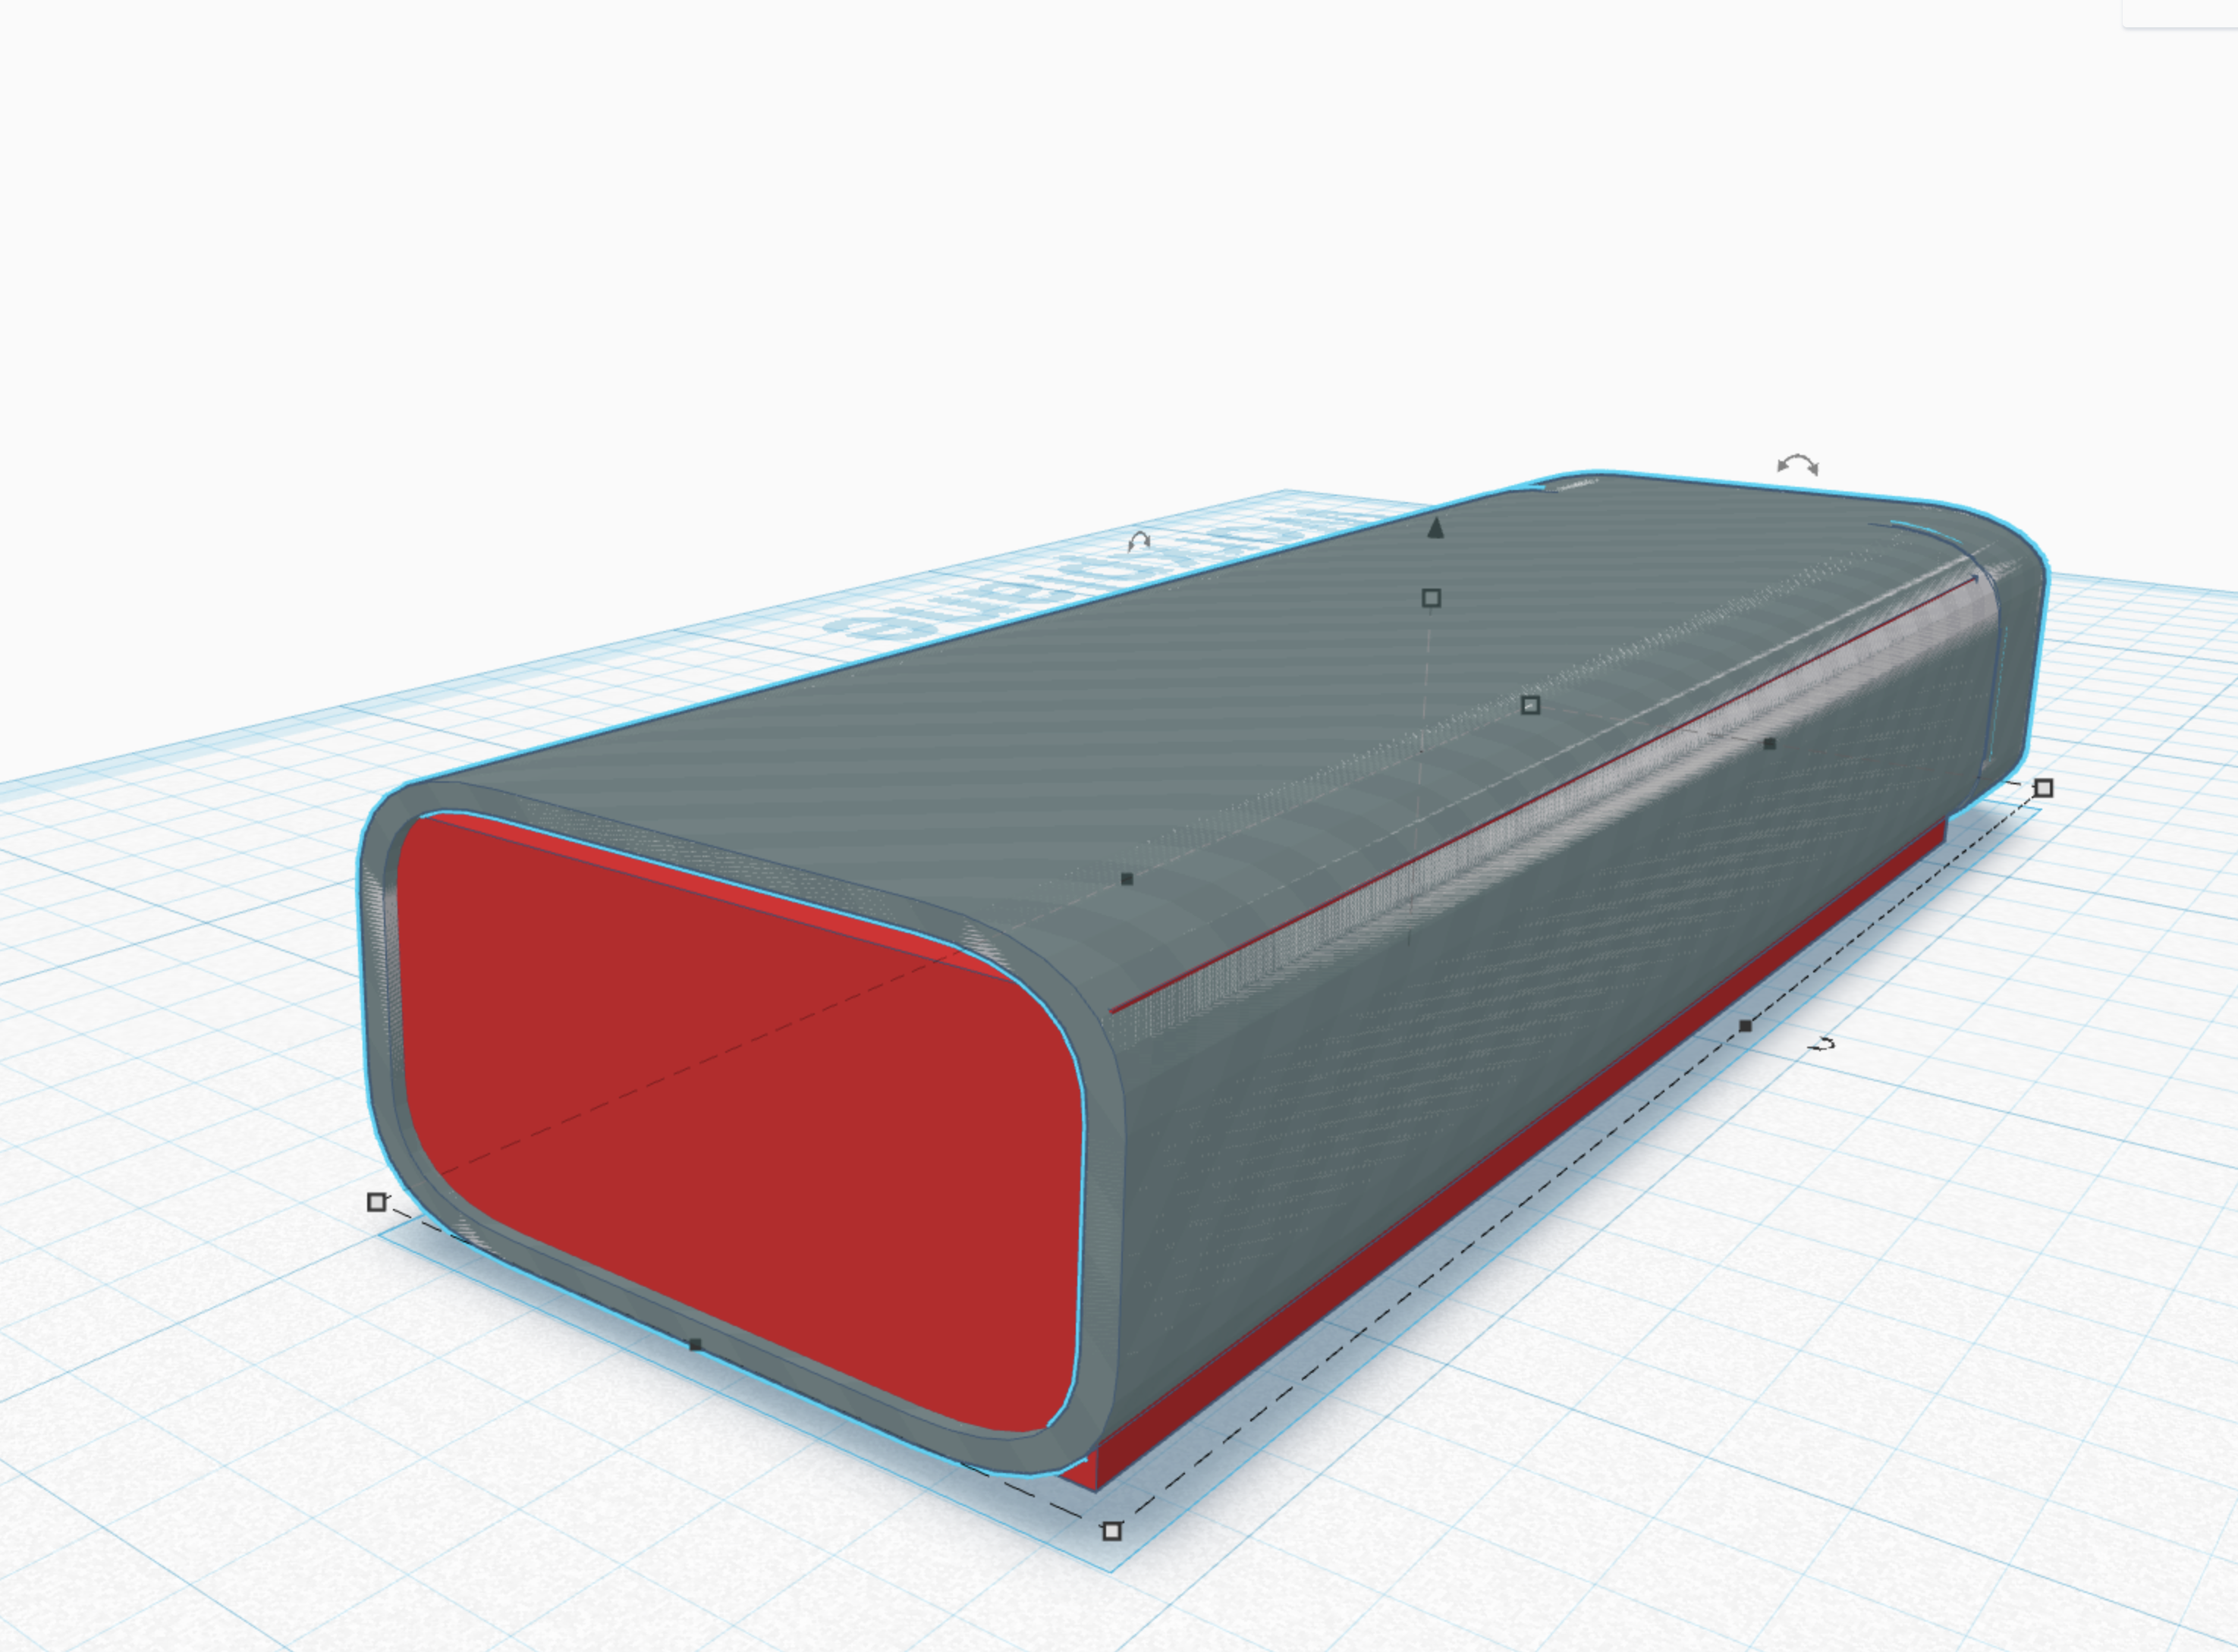
duplicate the soft box shape and turn it into a hole. If you don't know how to do that hit H. then group the cube and the hole.
End Result Error (its Ok)
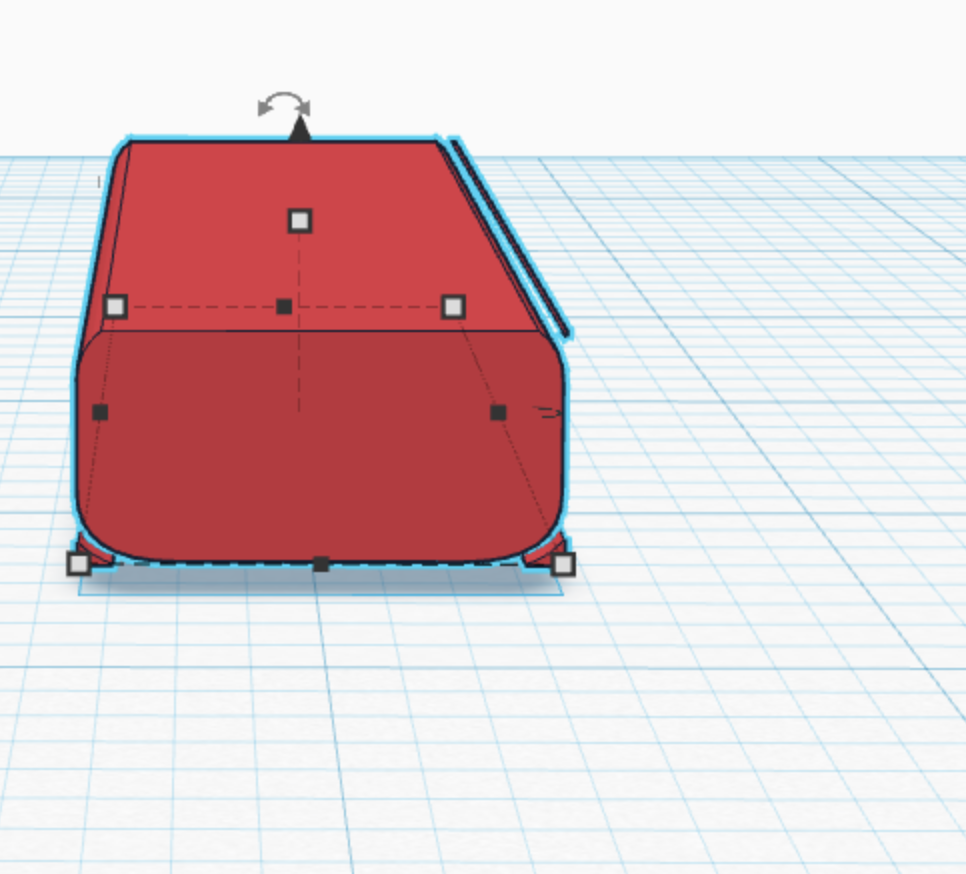
you should get this. notice the ends have not been cut off because they extend past the soft box, its ok, create some holes, and do the grouping process over again its no big deal. (be sure to get all the extra material.)
End Result. :)
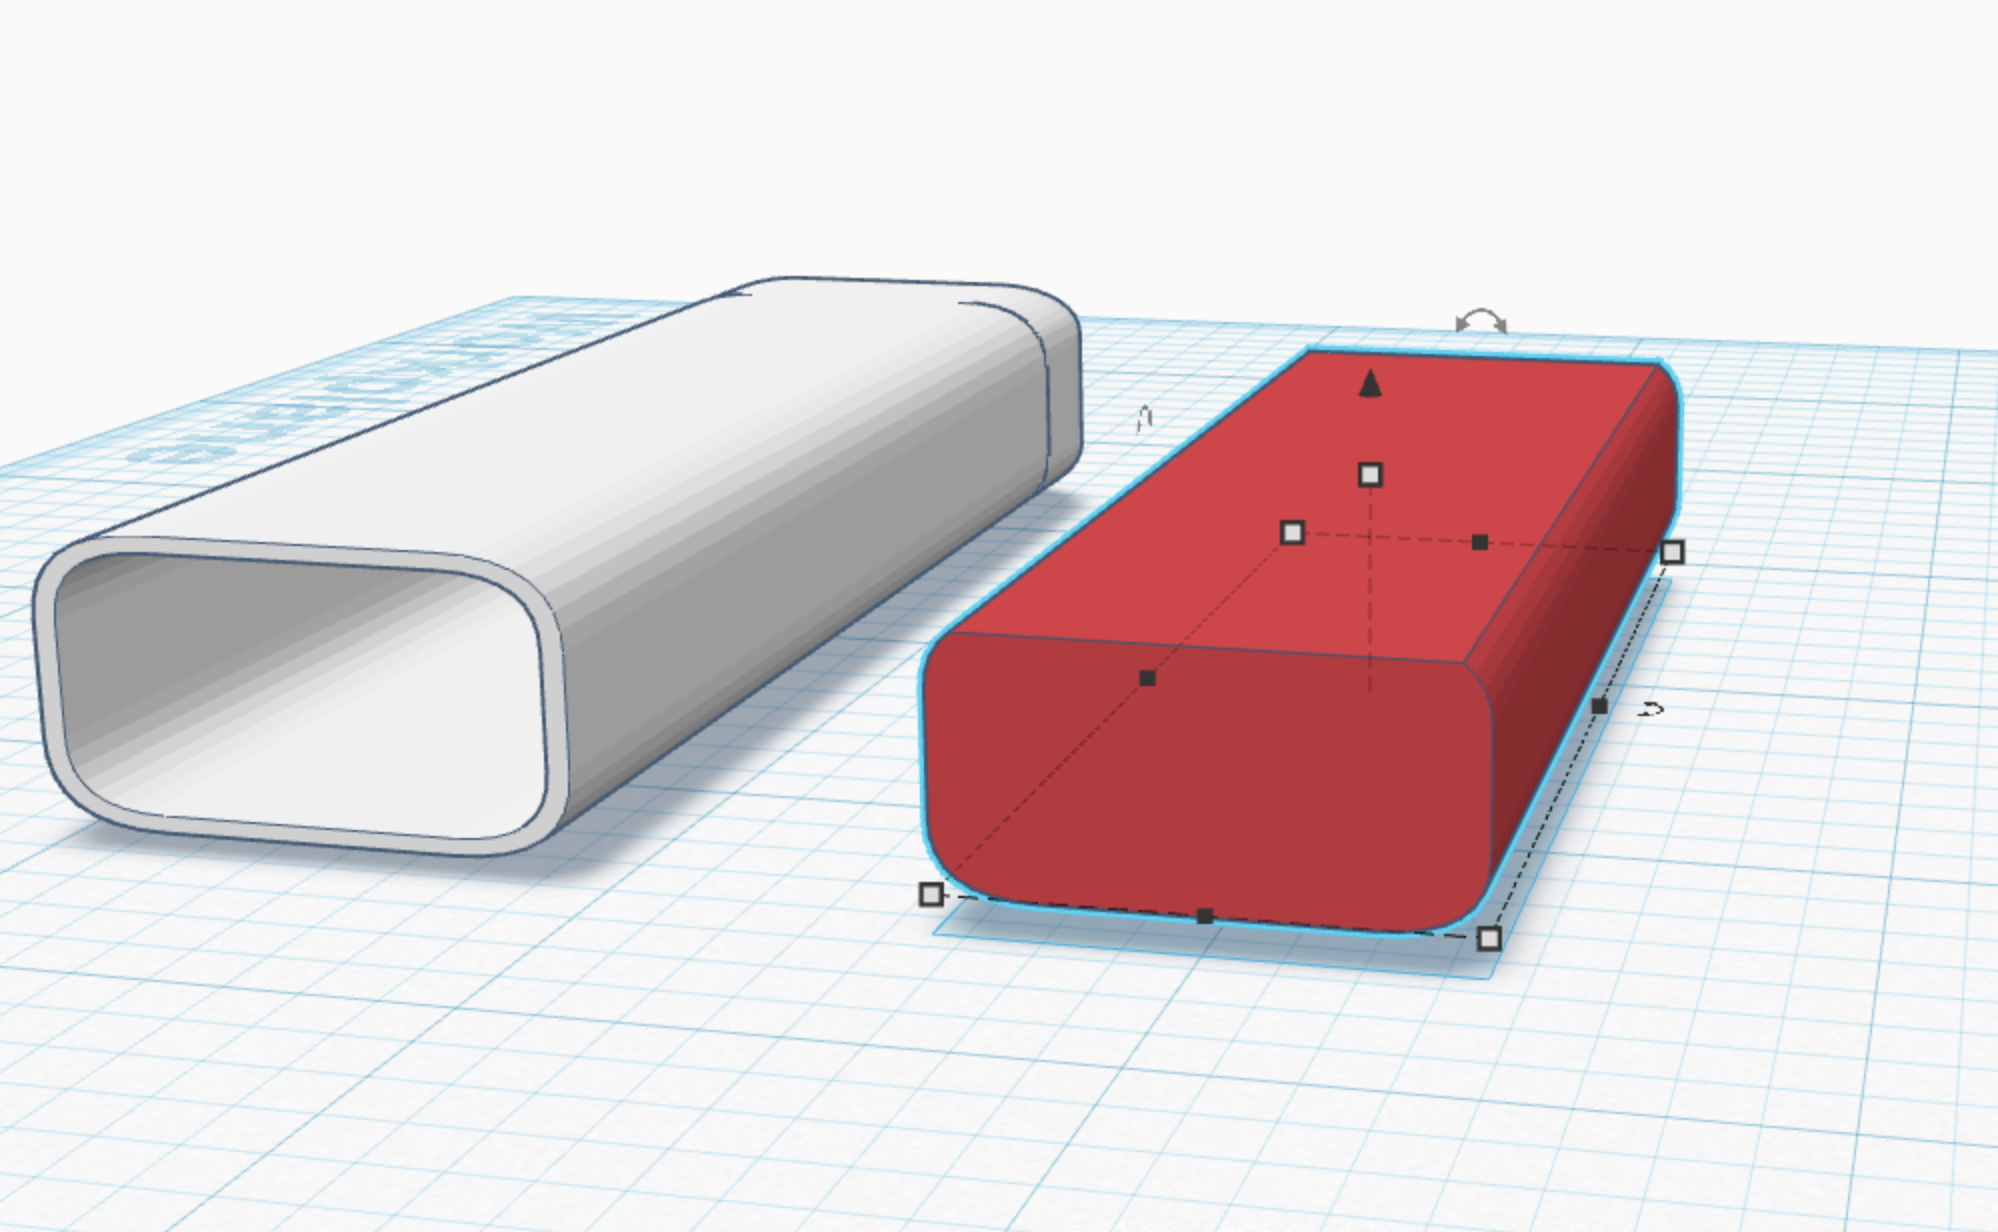
heres what you should have gotten.
Hole
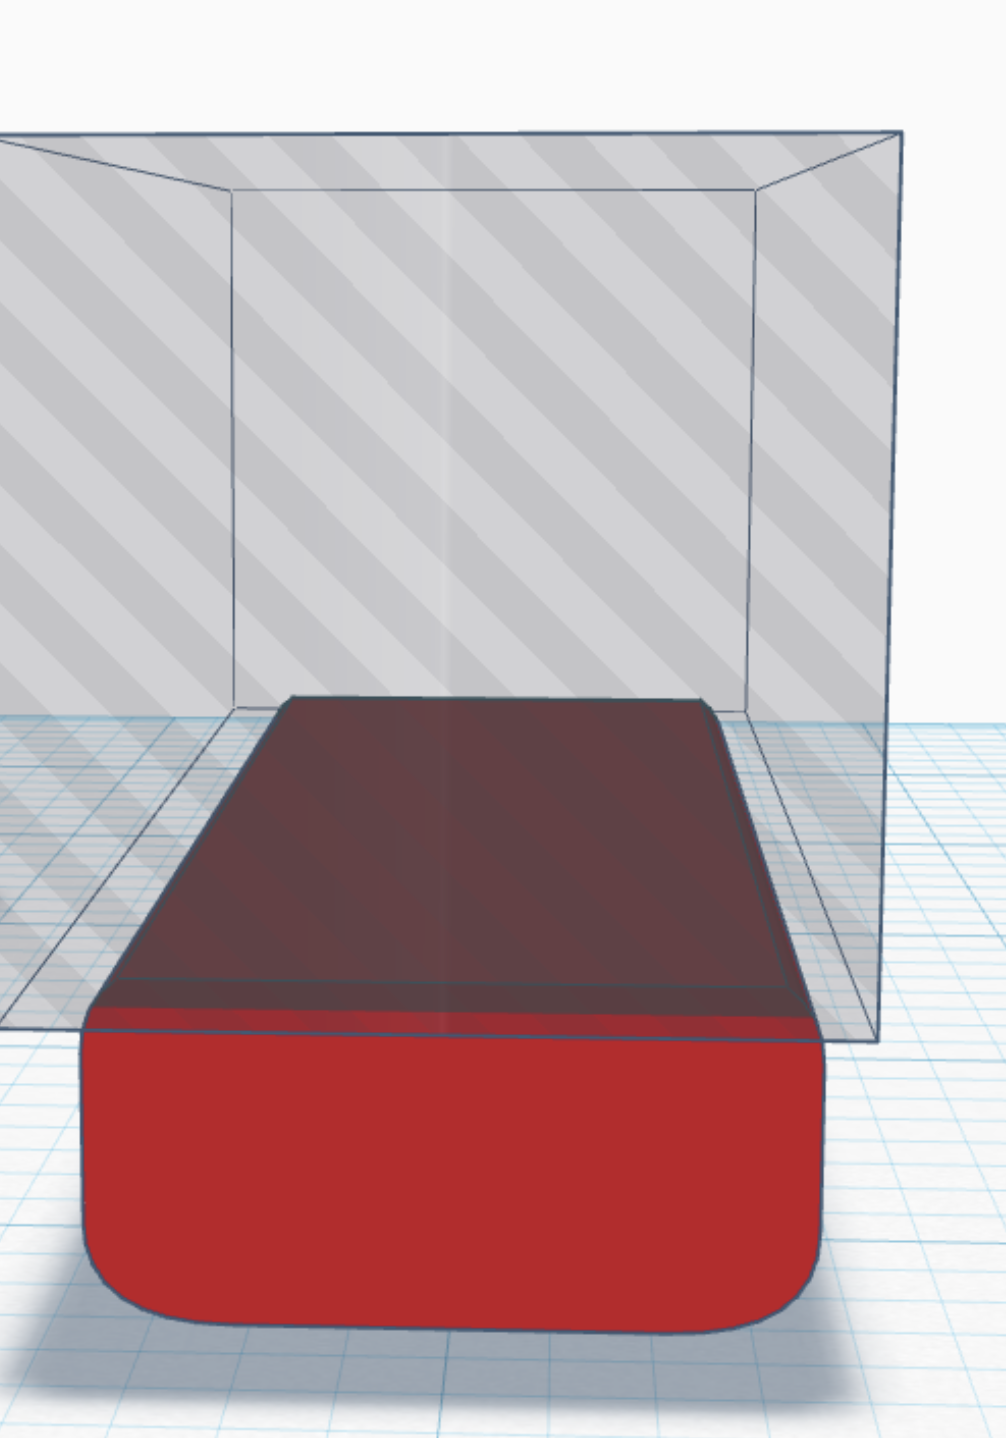
this hole will be used to make sure that the bottom section fits in well.
Group and End Result
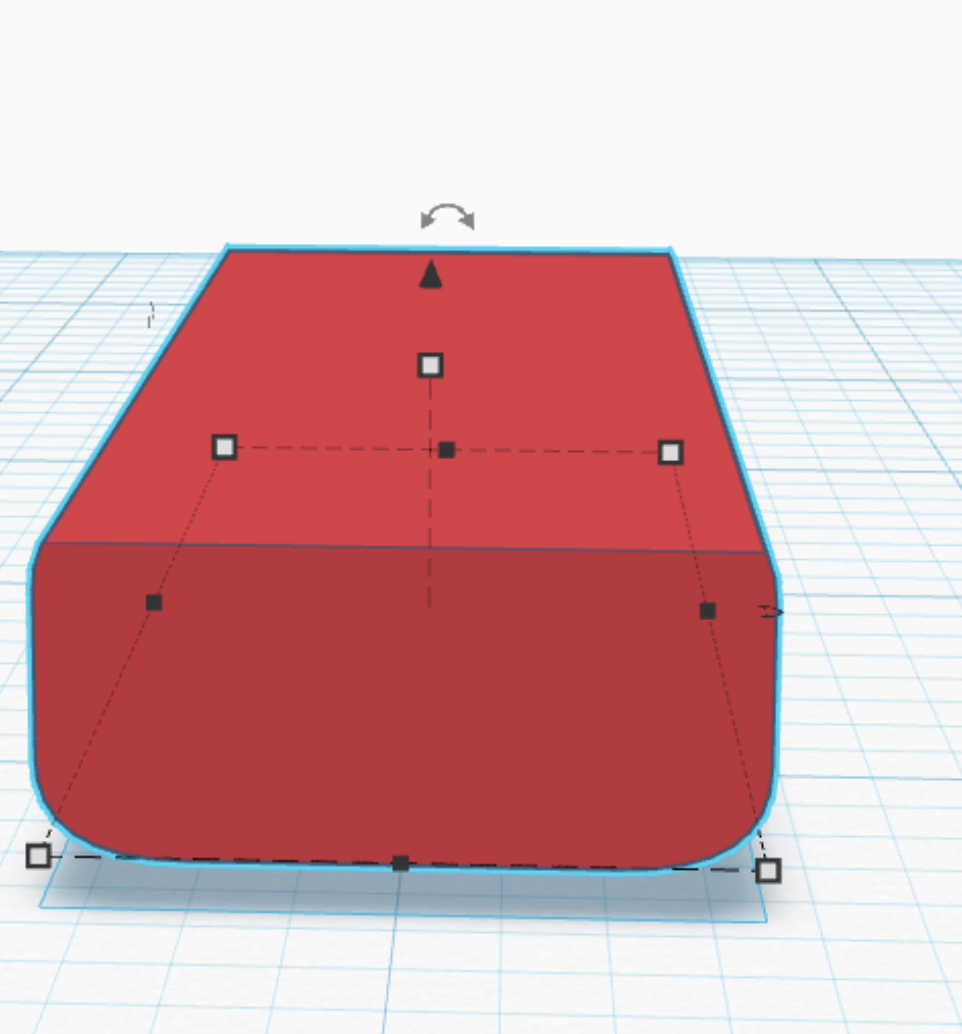
you should have gotten this after the grouping.
Duplicate the Shape.
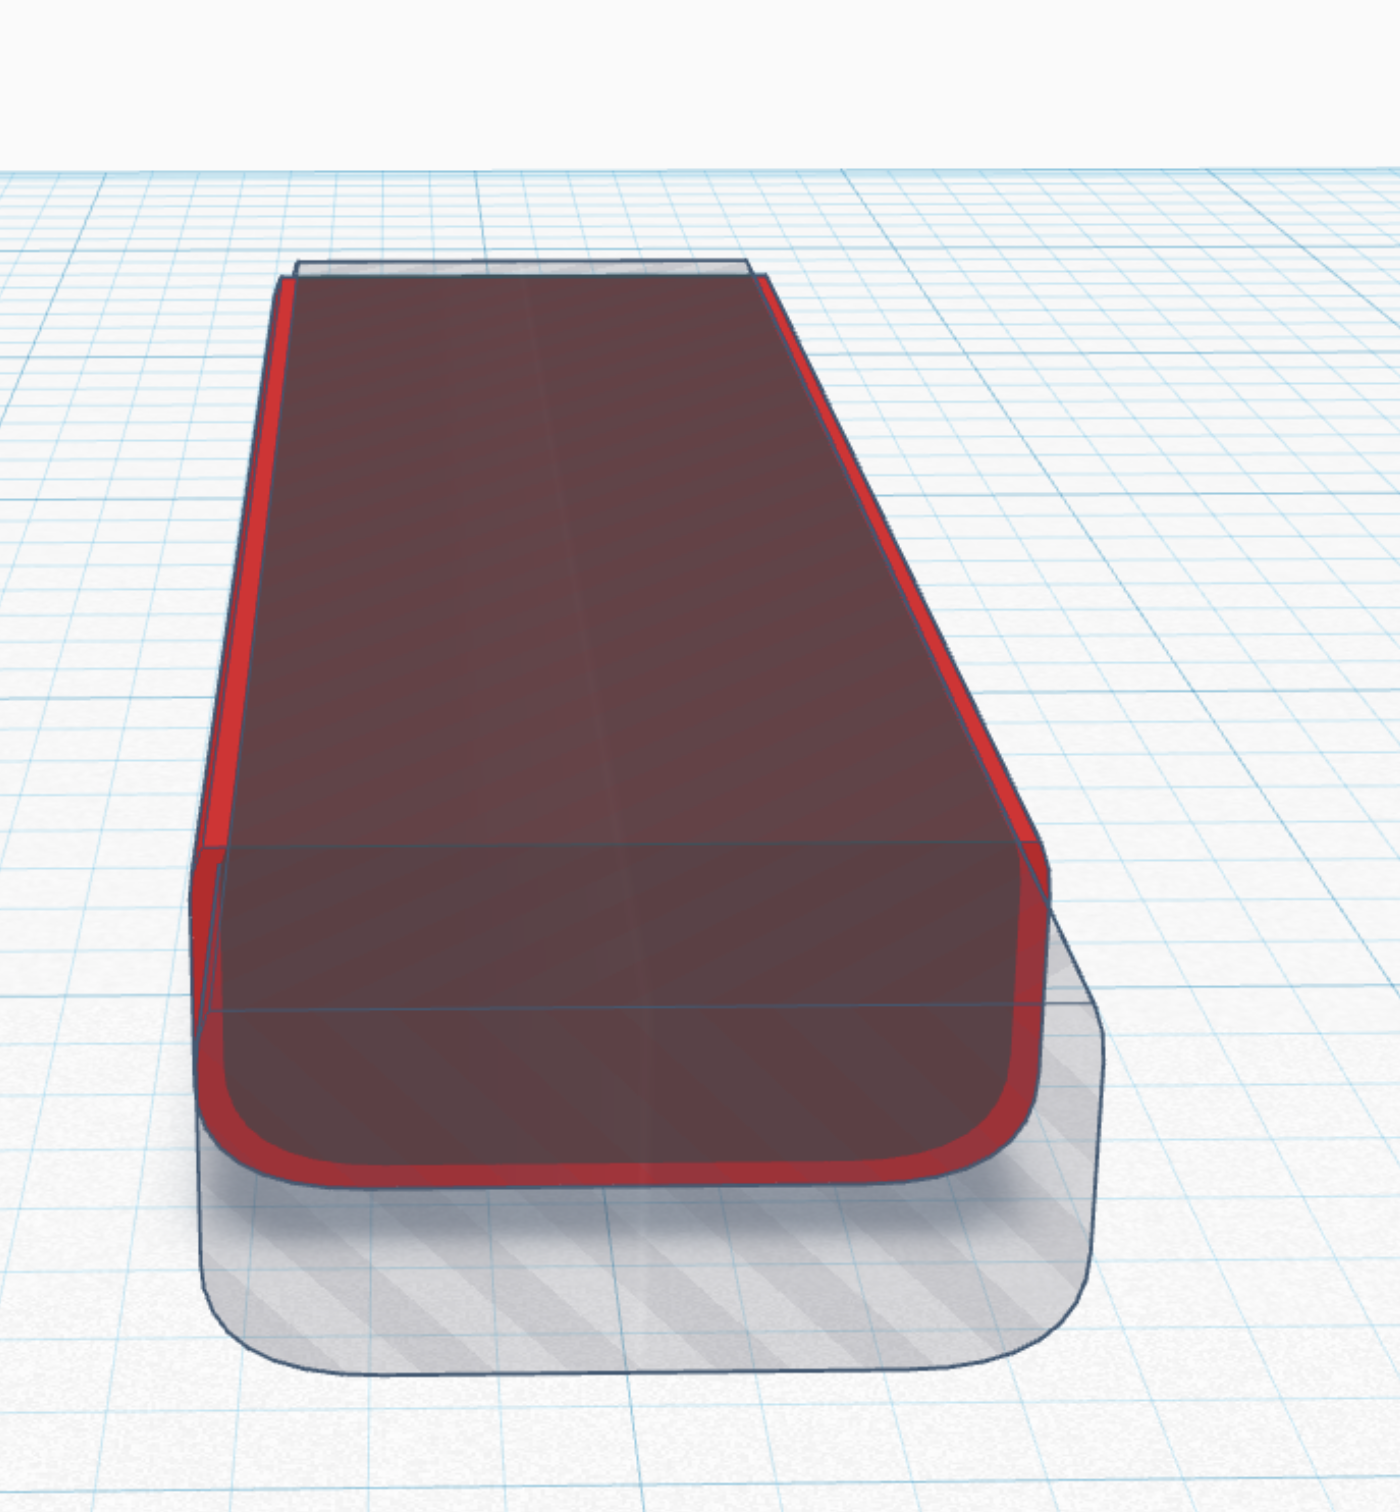
raise it a little off the workplace, and then shorten it to fit inside the solid shape. sorry picture is a little bit off here.
After Grouping, New Hole
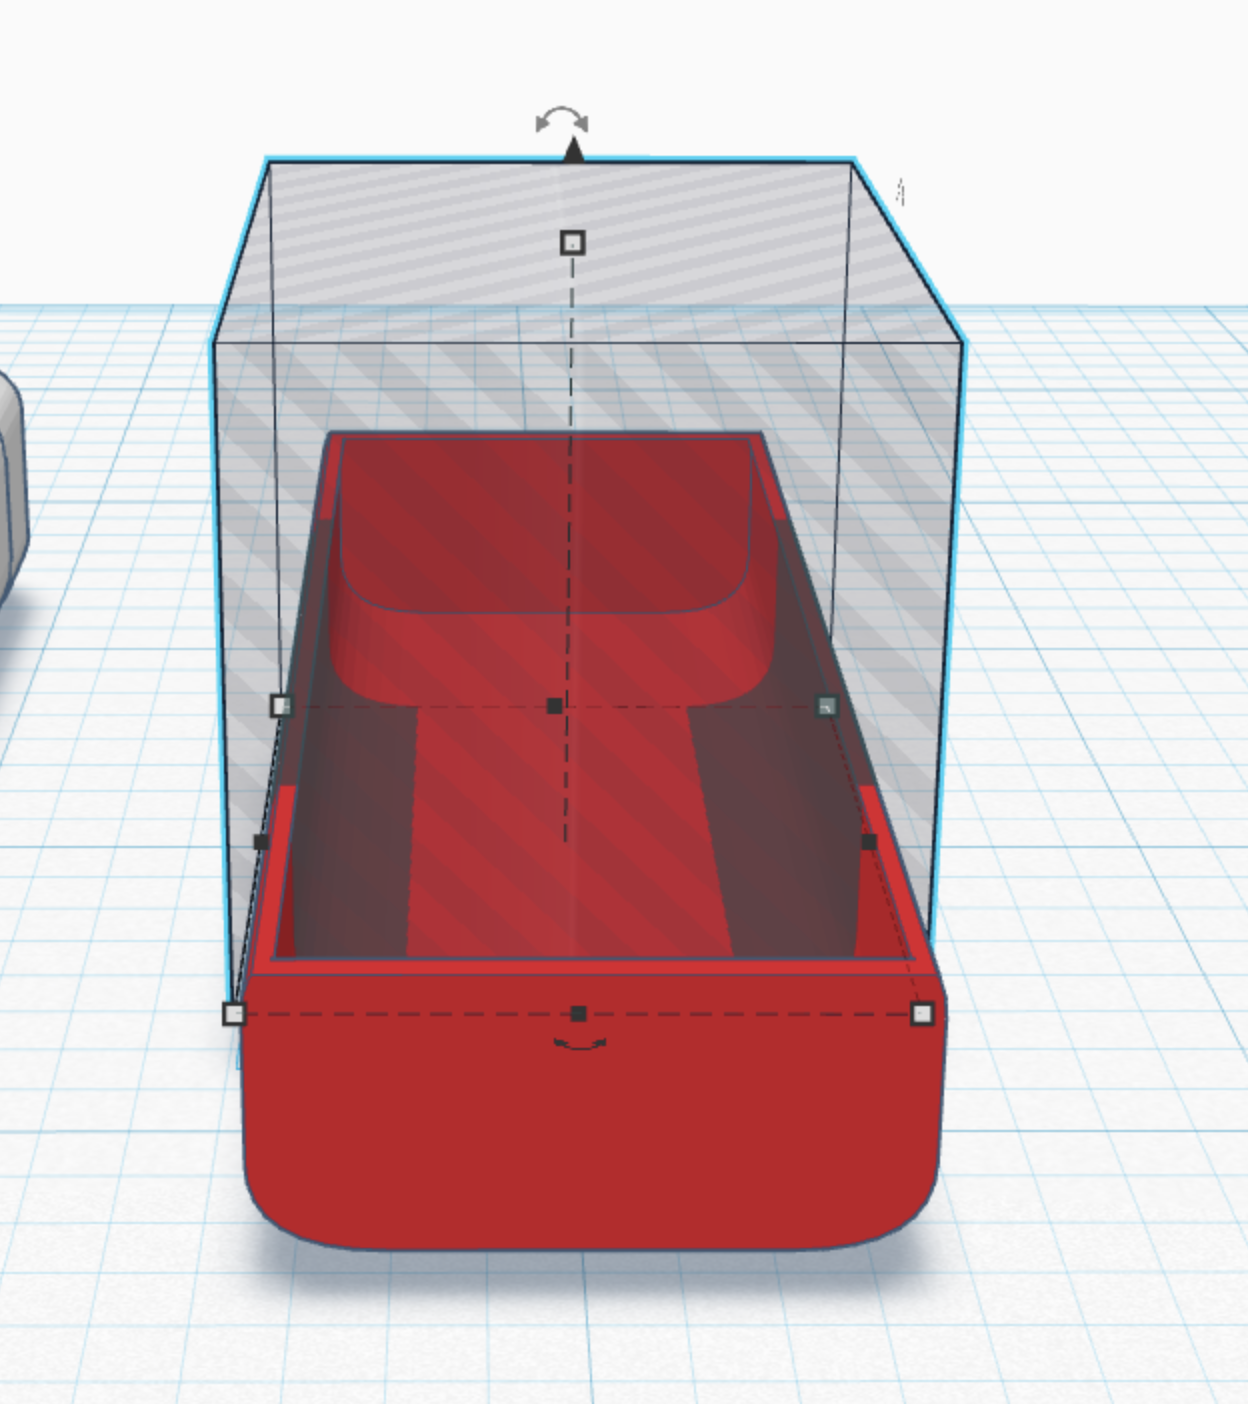
after grouping you should have gotten this. then add the hole as shown.
Group It
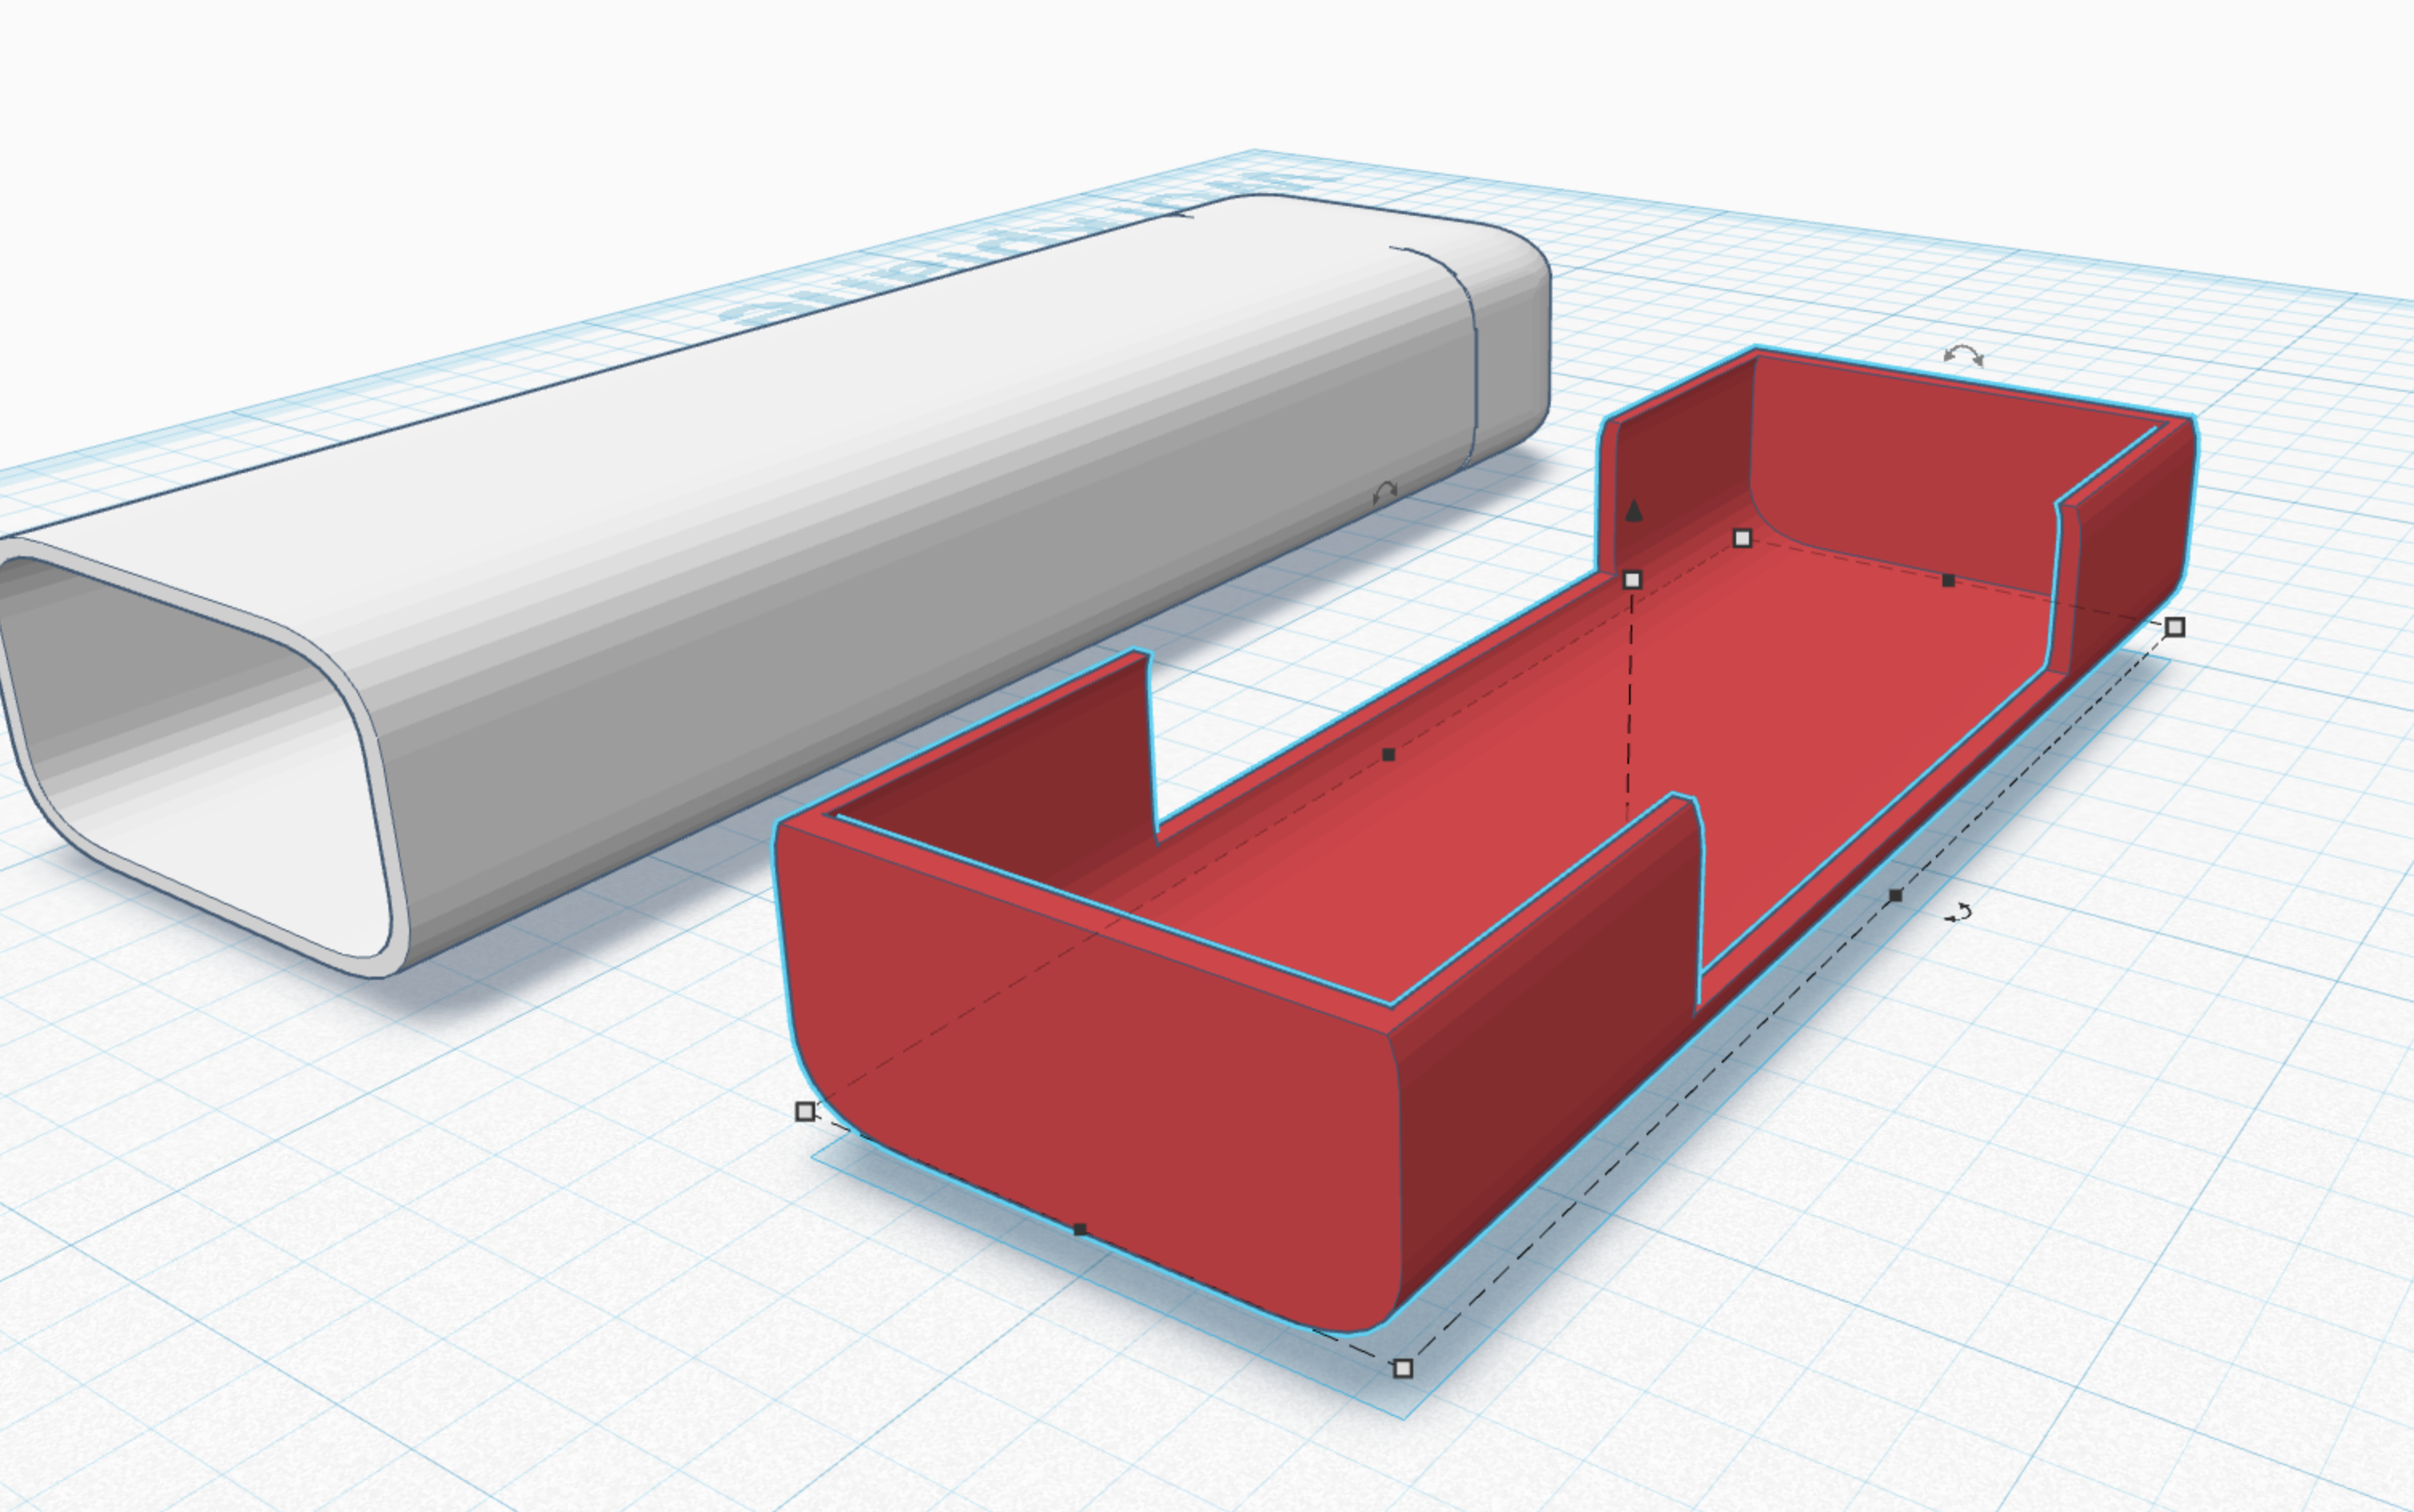
you should have gotten this now.
Cube
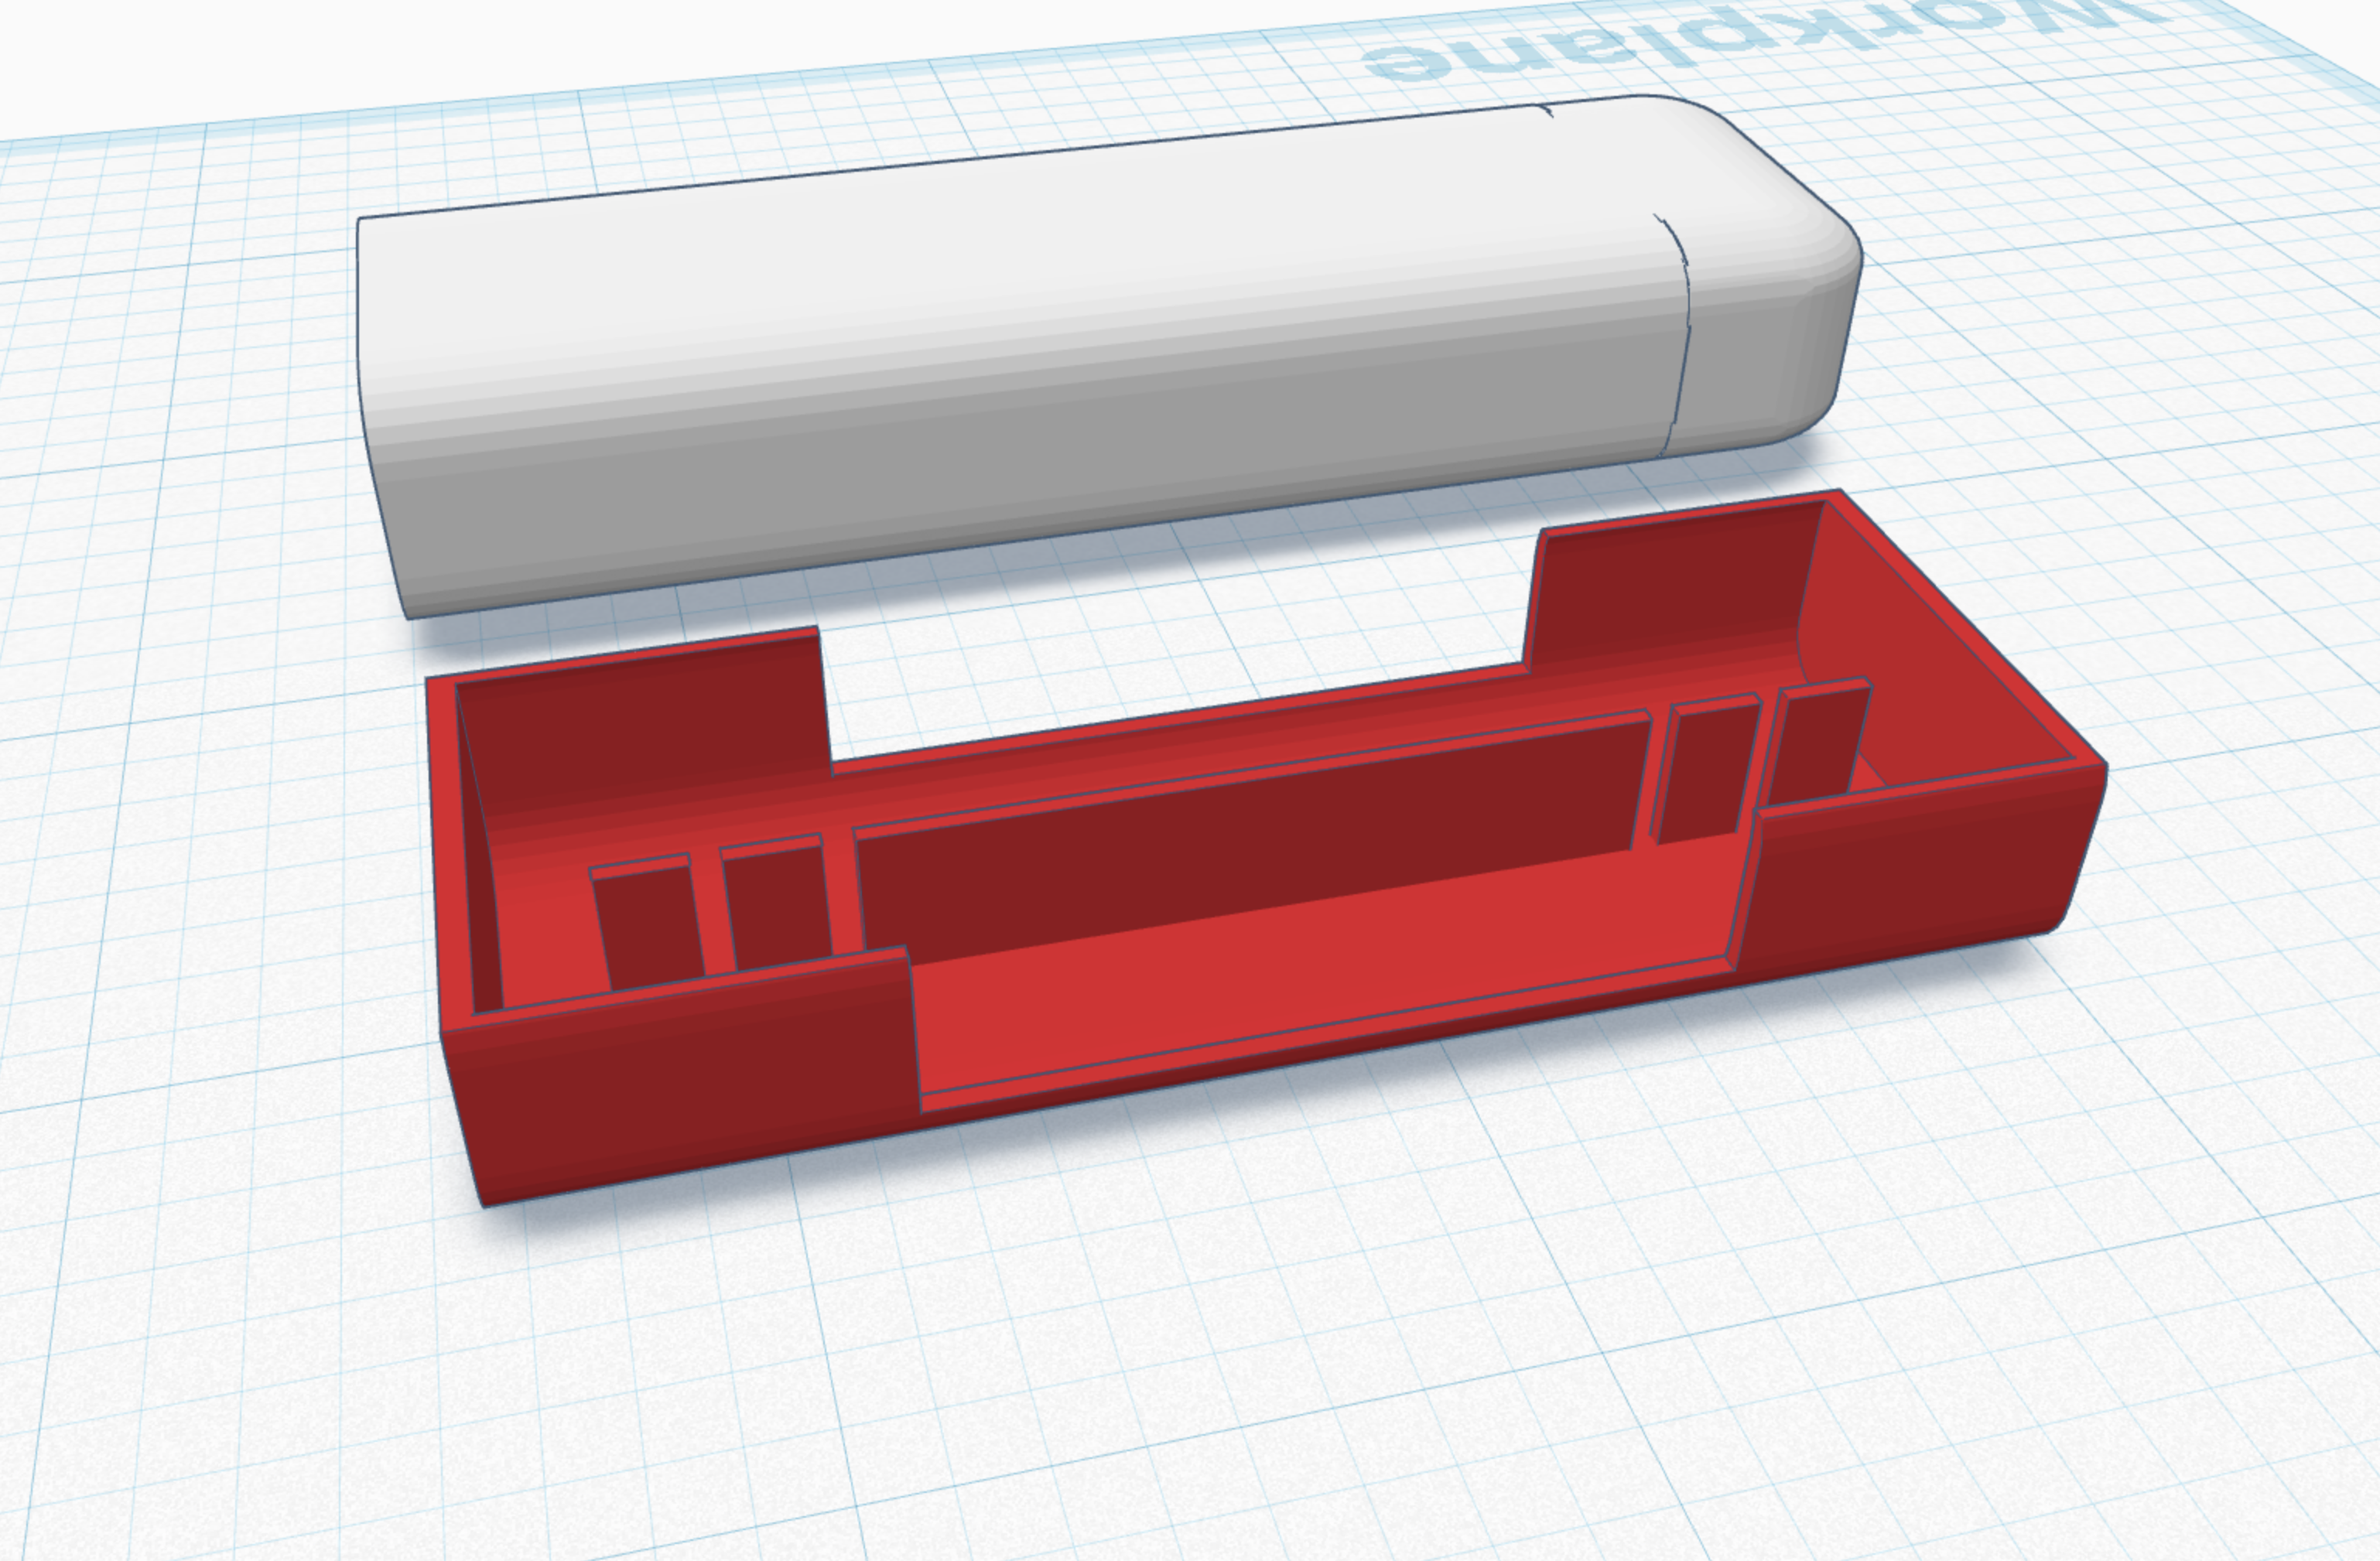
use cubes to build the interior like this. the reason for the gaps is so that the whole thing does not crack and break if you accidentally jam the bits in wrong. I had this problem on an earlier model because I wasn't careful. so be careful.
Overall this tool is actually pretty resilient.
Use a Half Cylinder and a Cube
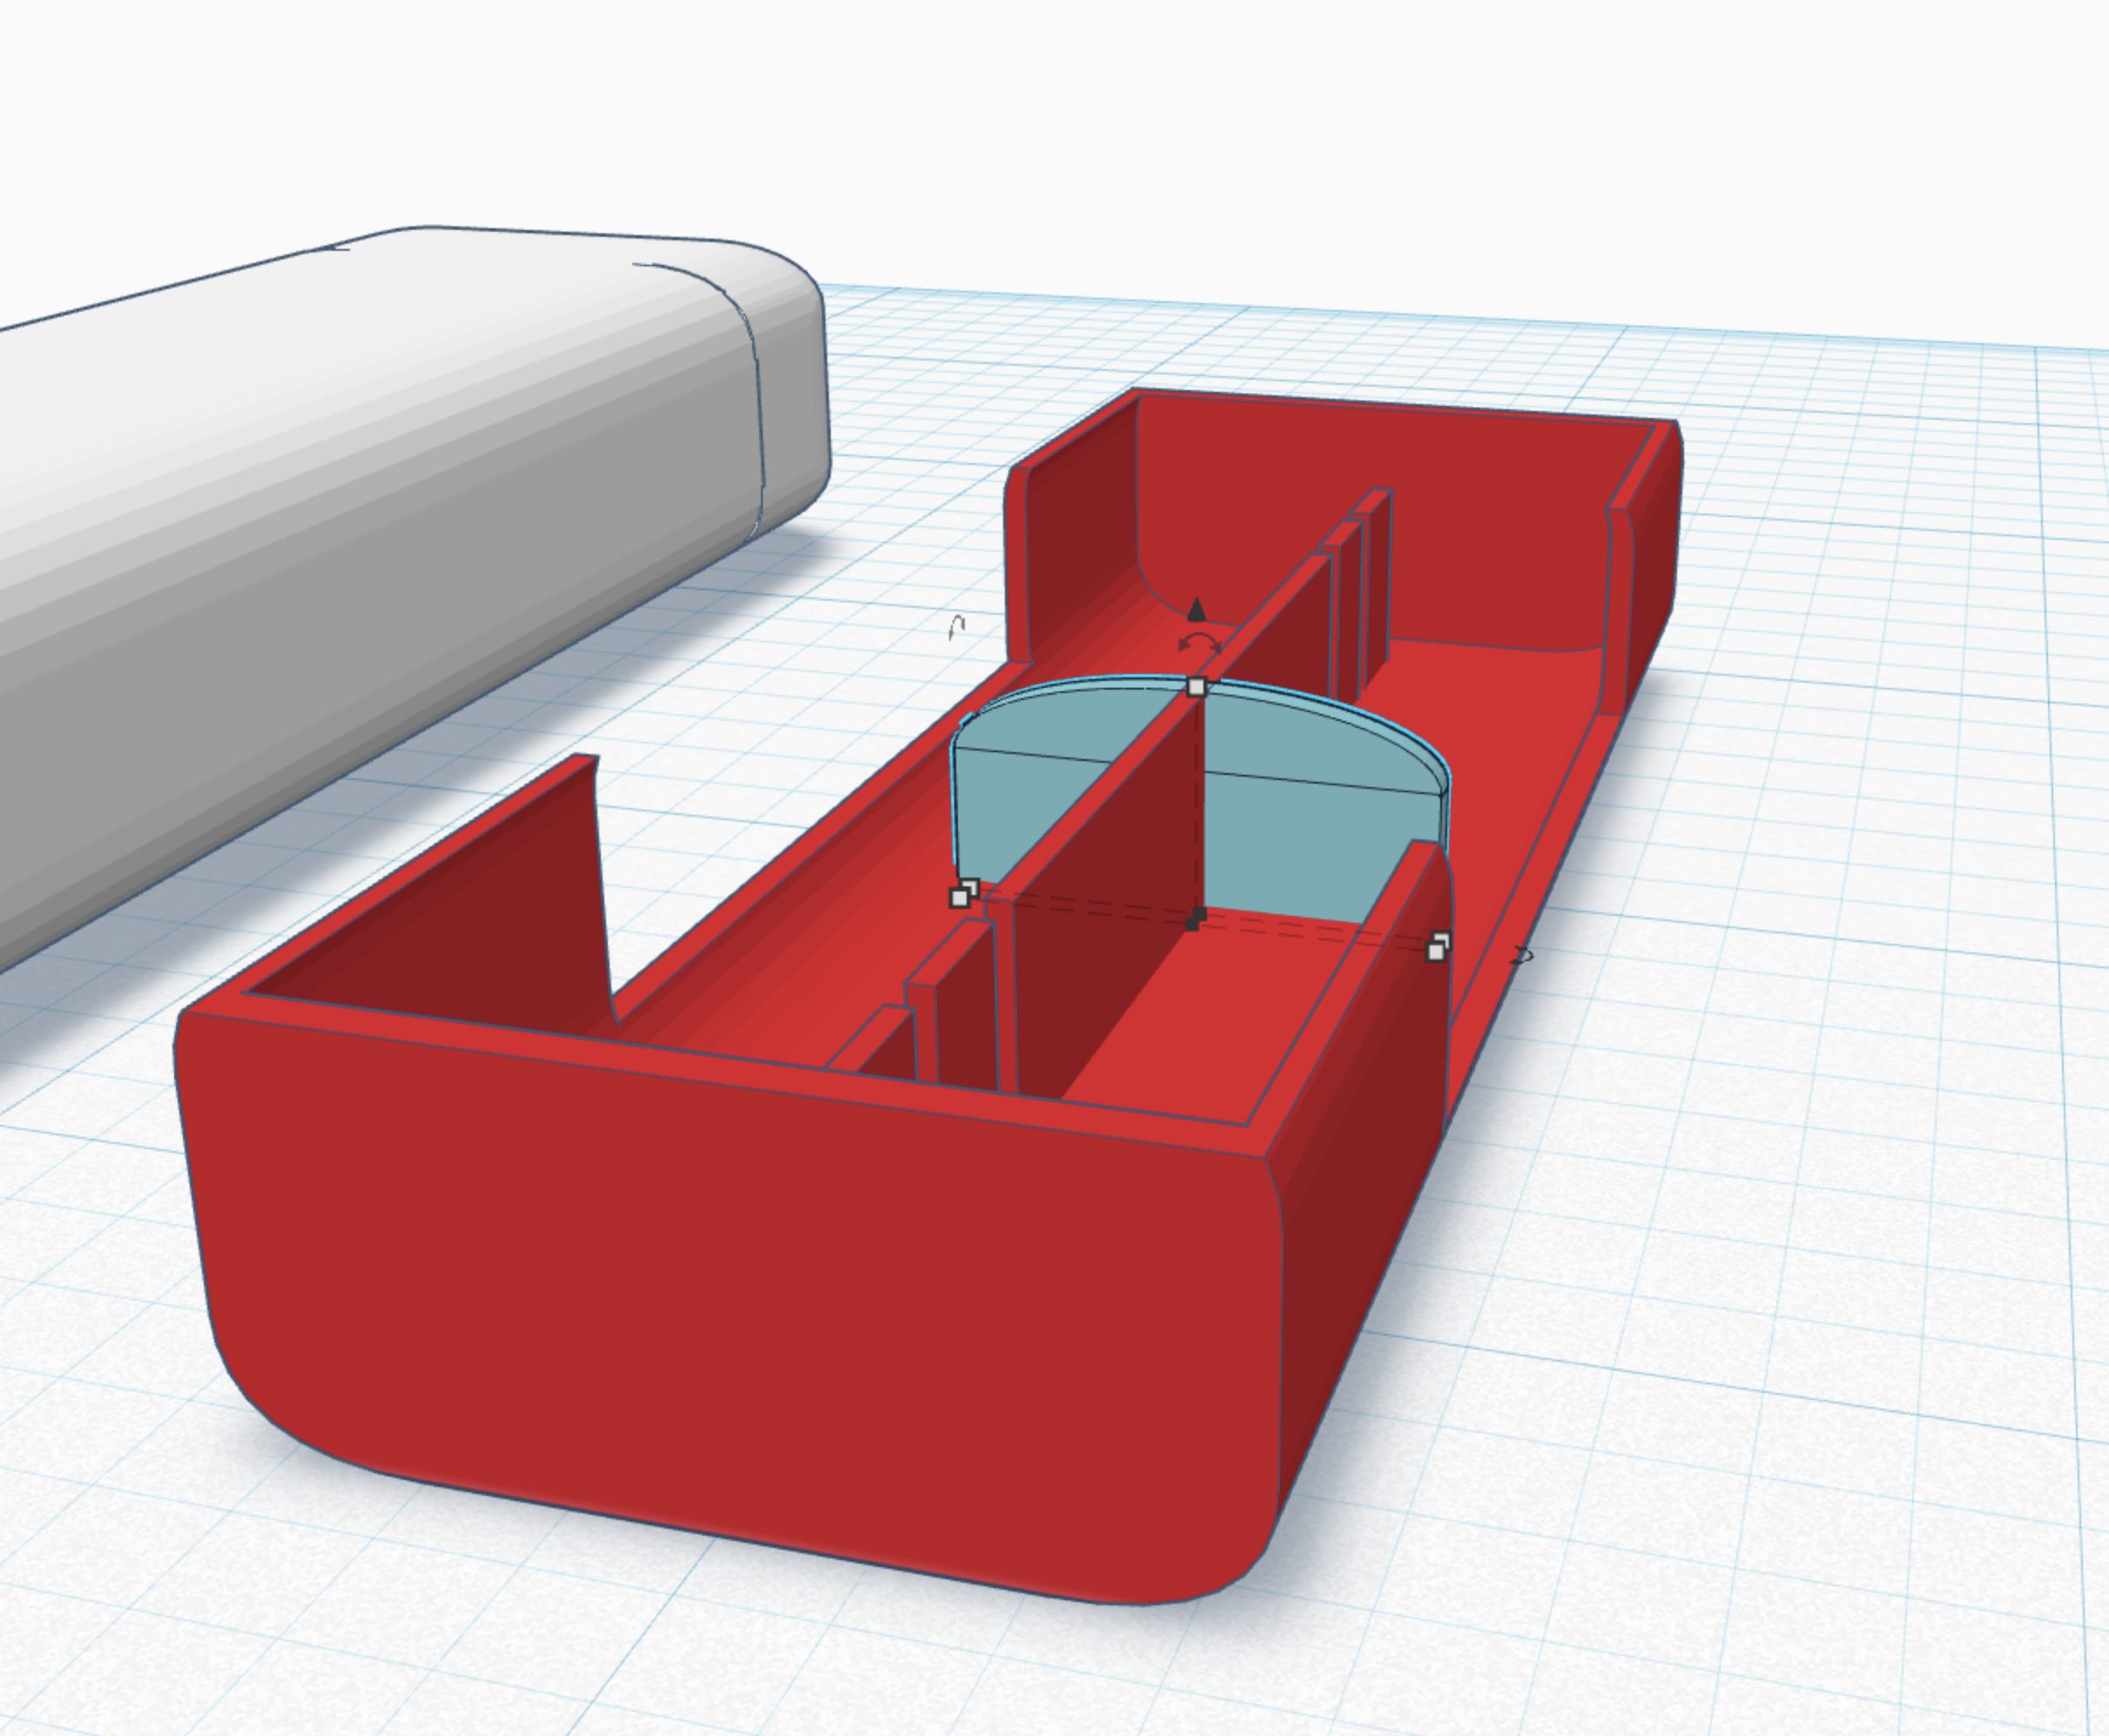
use a half cylinder and a cube to make the shape sown here. make sure it touches the bottom of the design.
2 Cylinder Holes
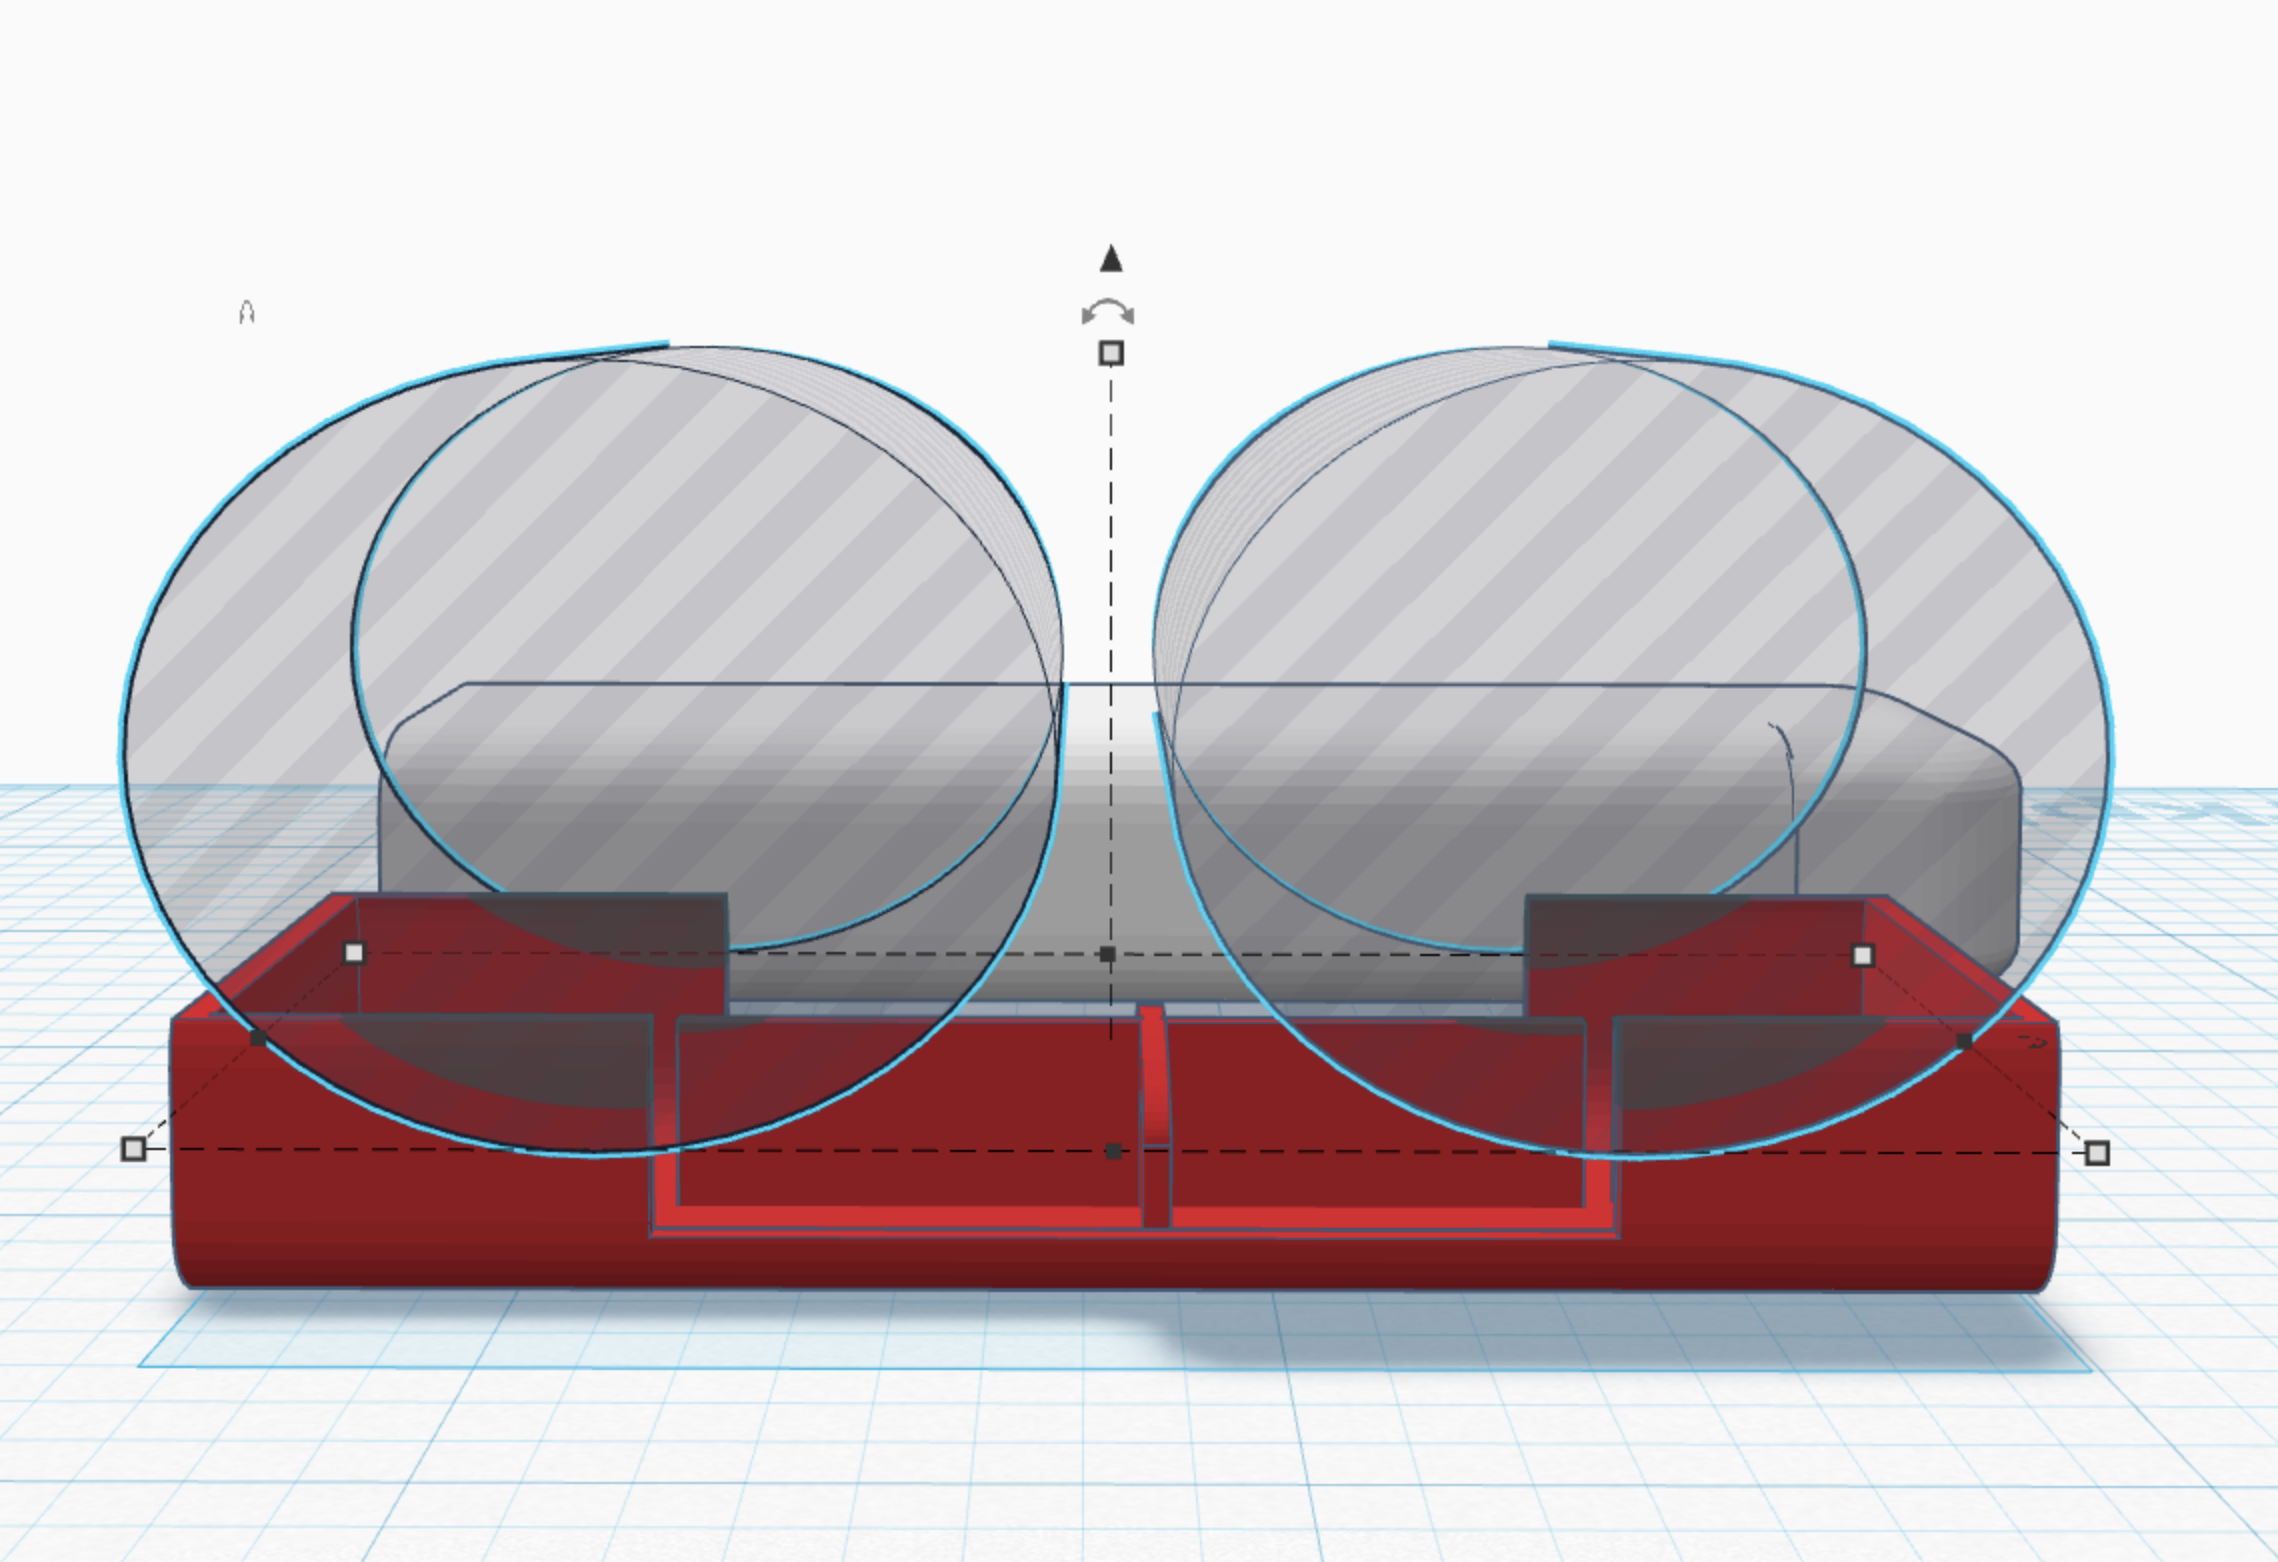
place them as shown. if they are not exact it is ok, this is more for decoration and fun, than use.
End
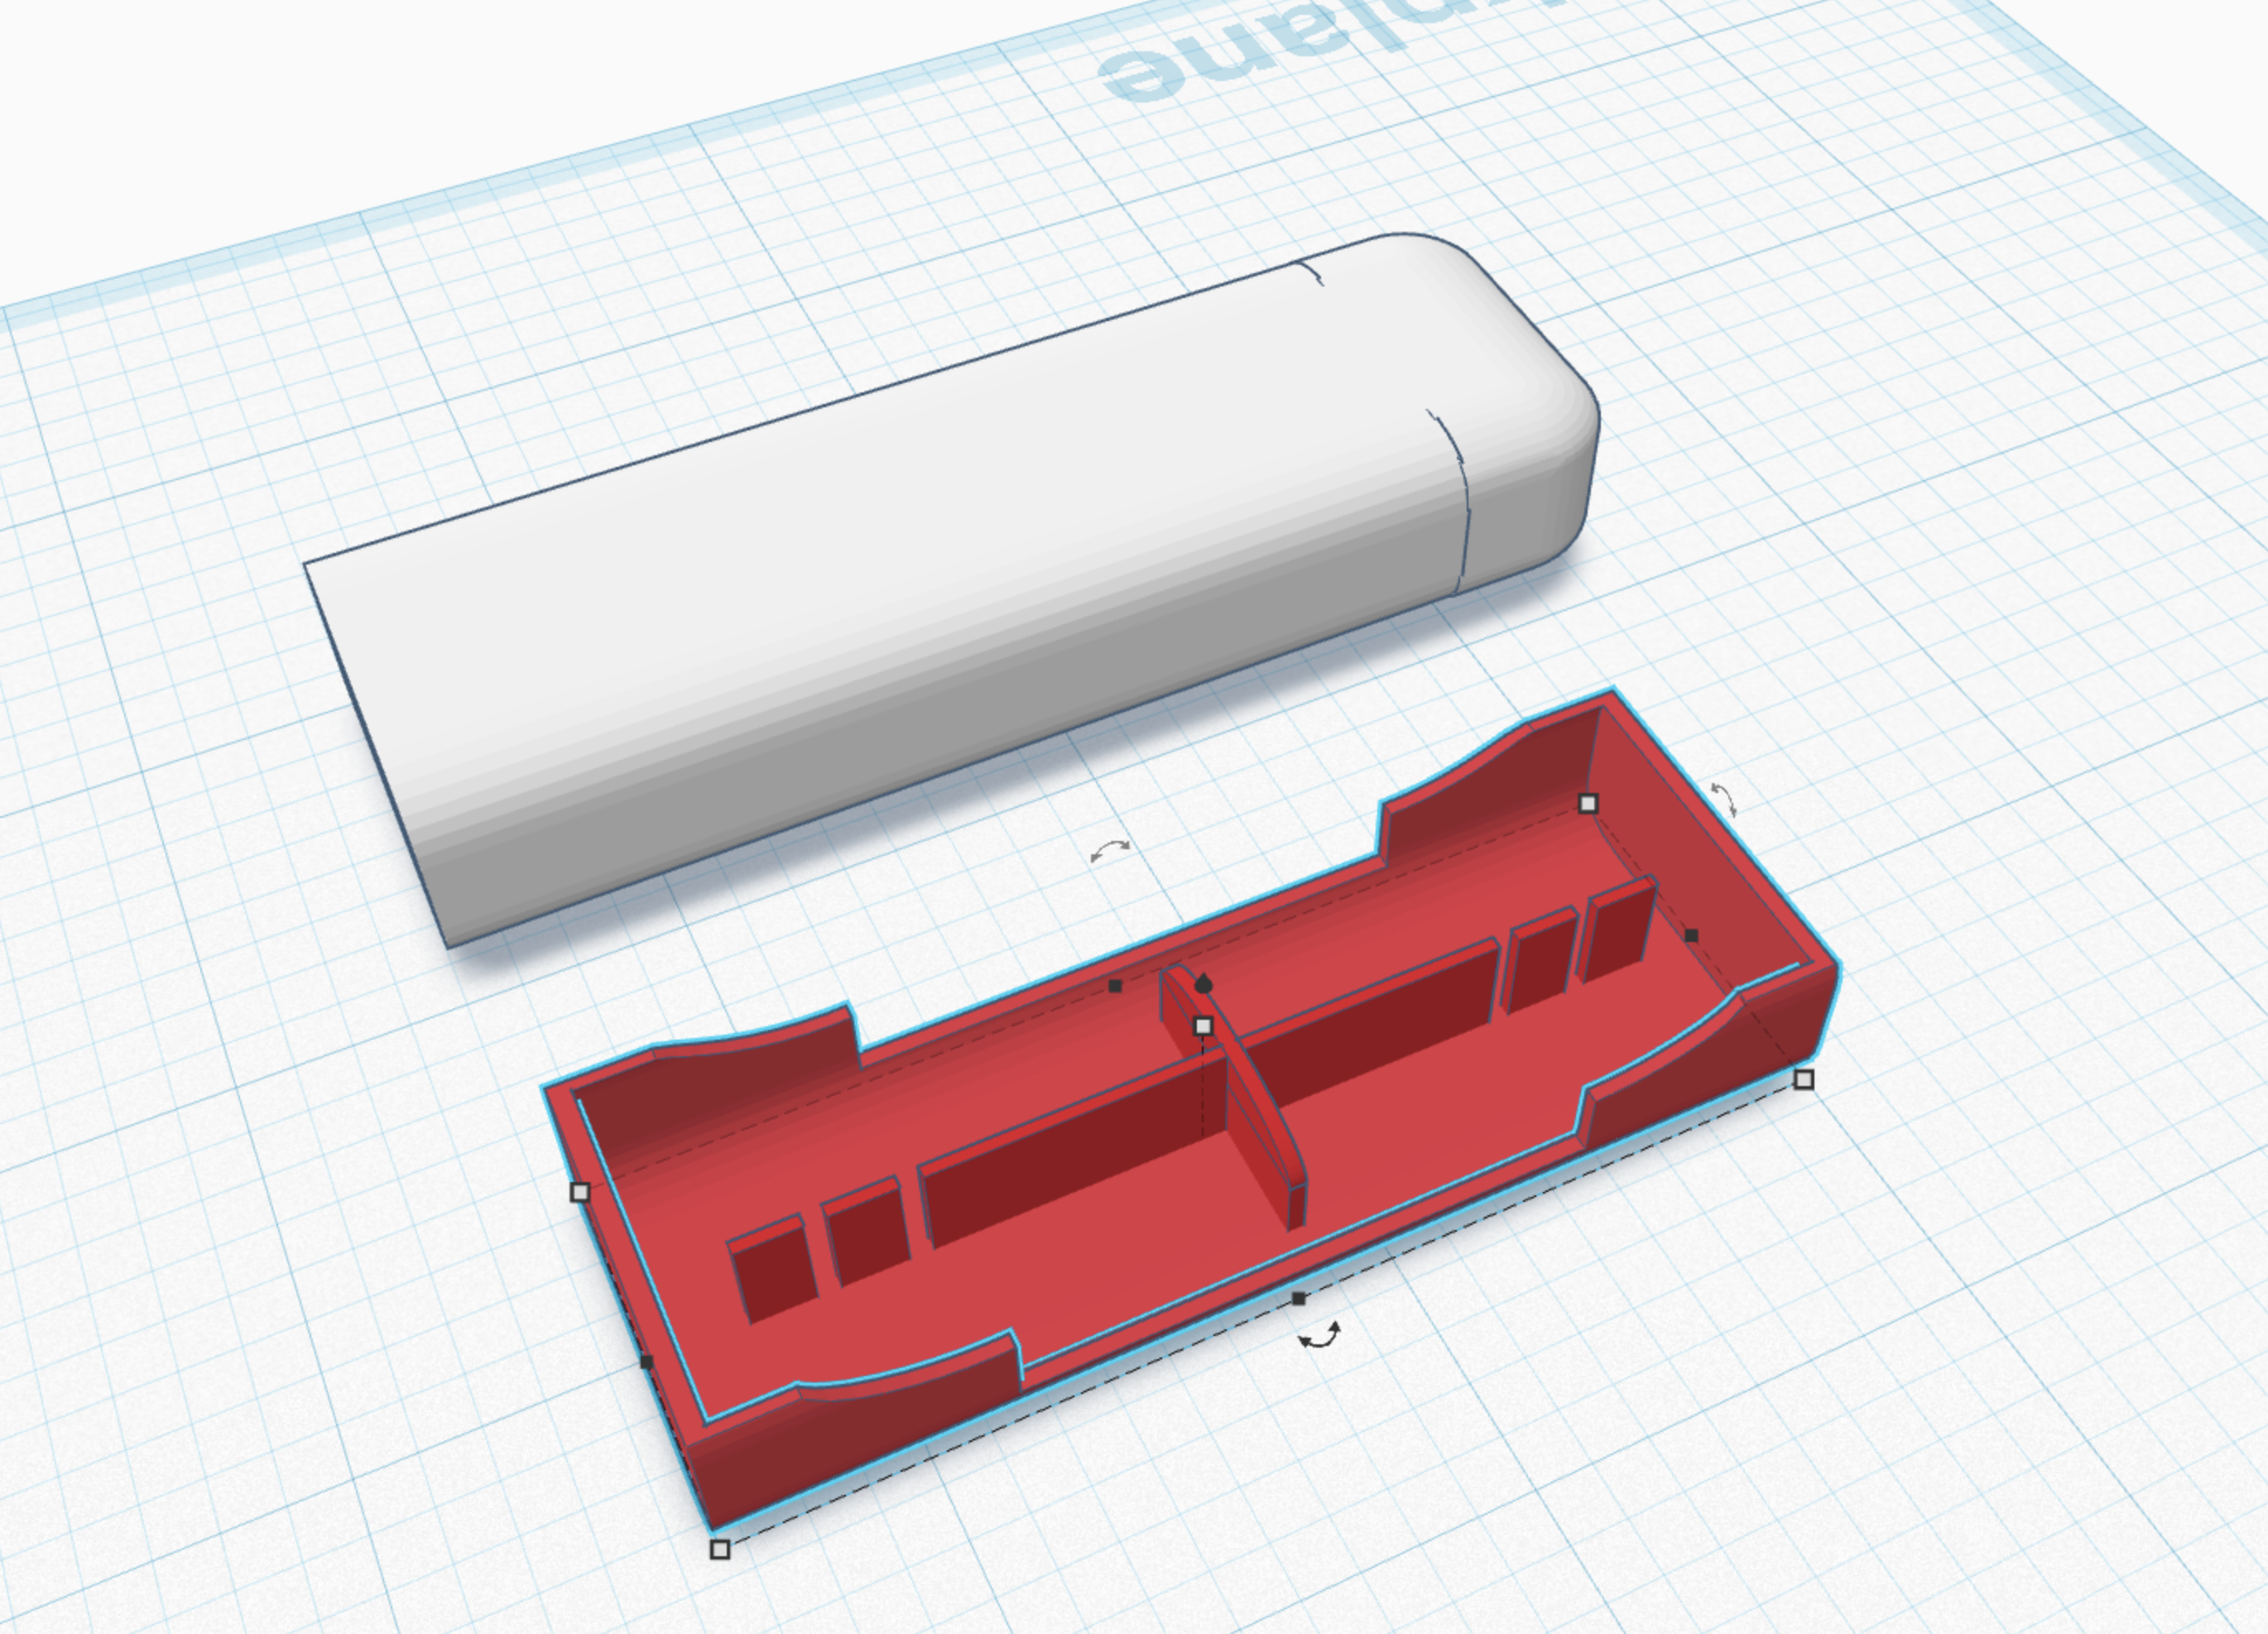
you should have this.
Duplicate and Repeat
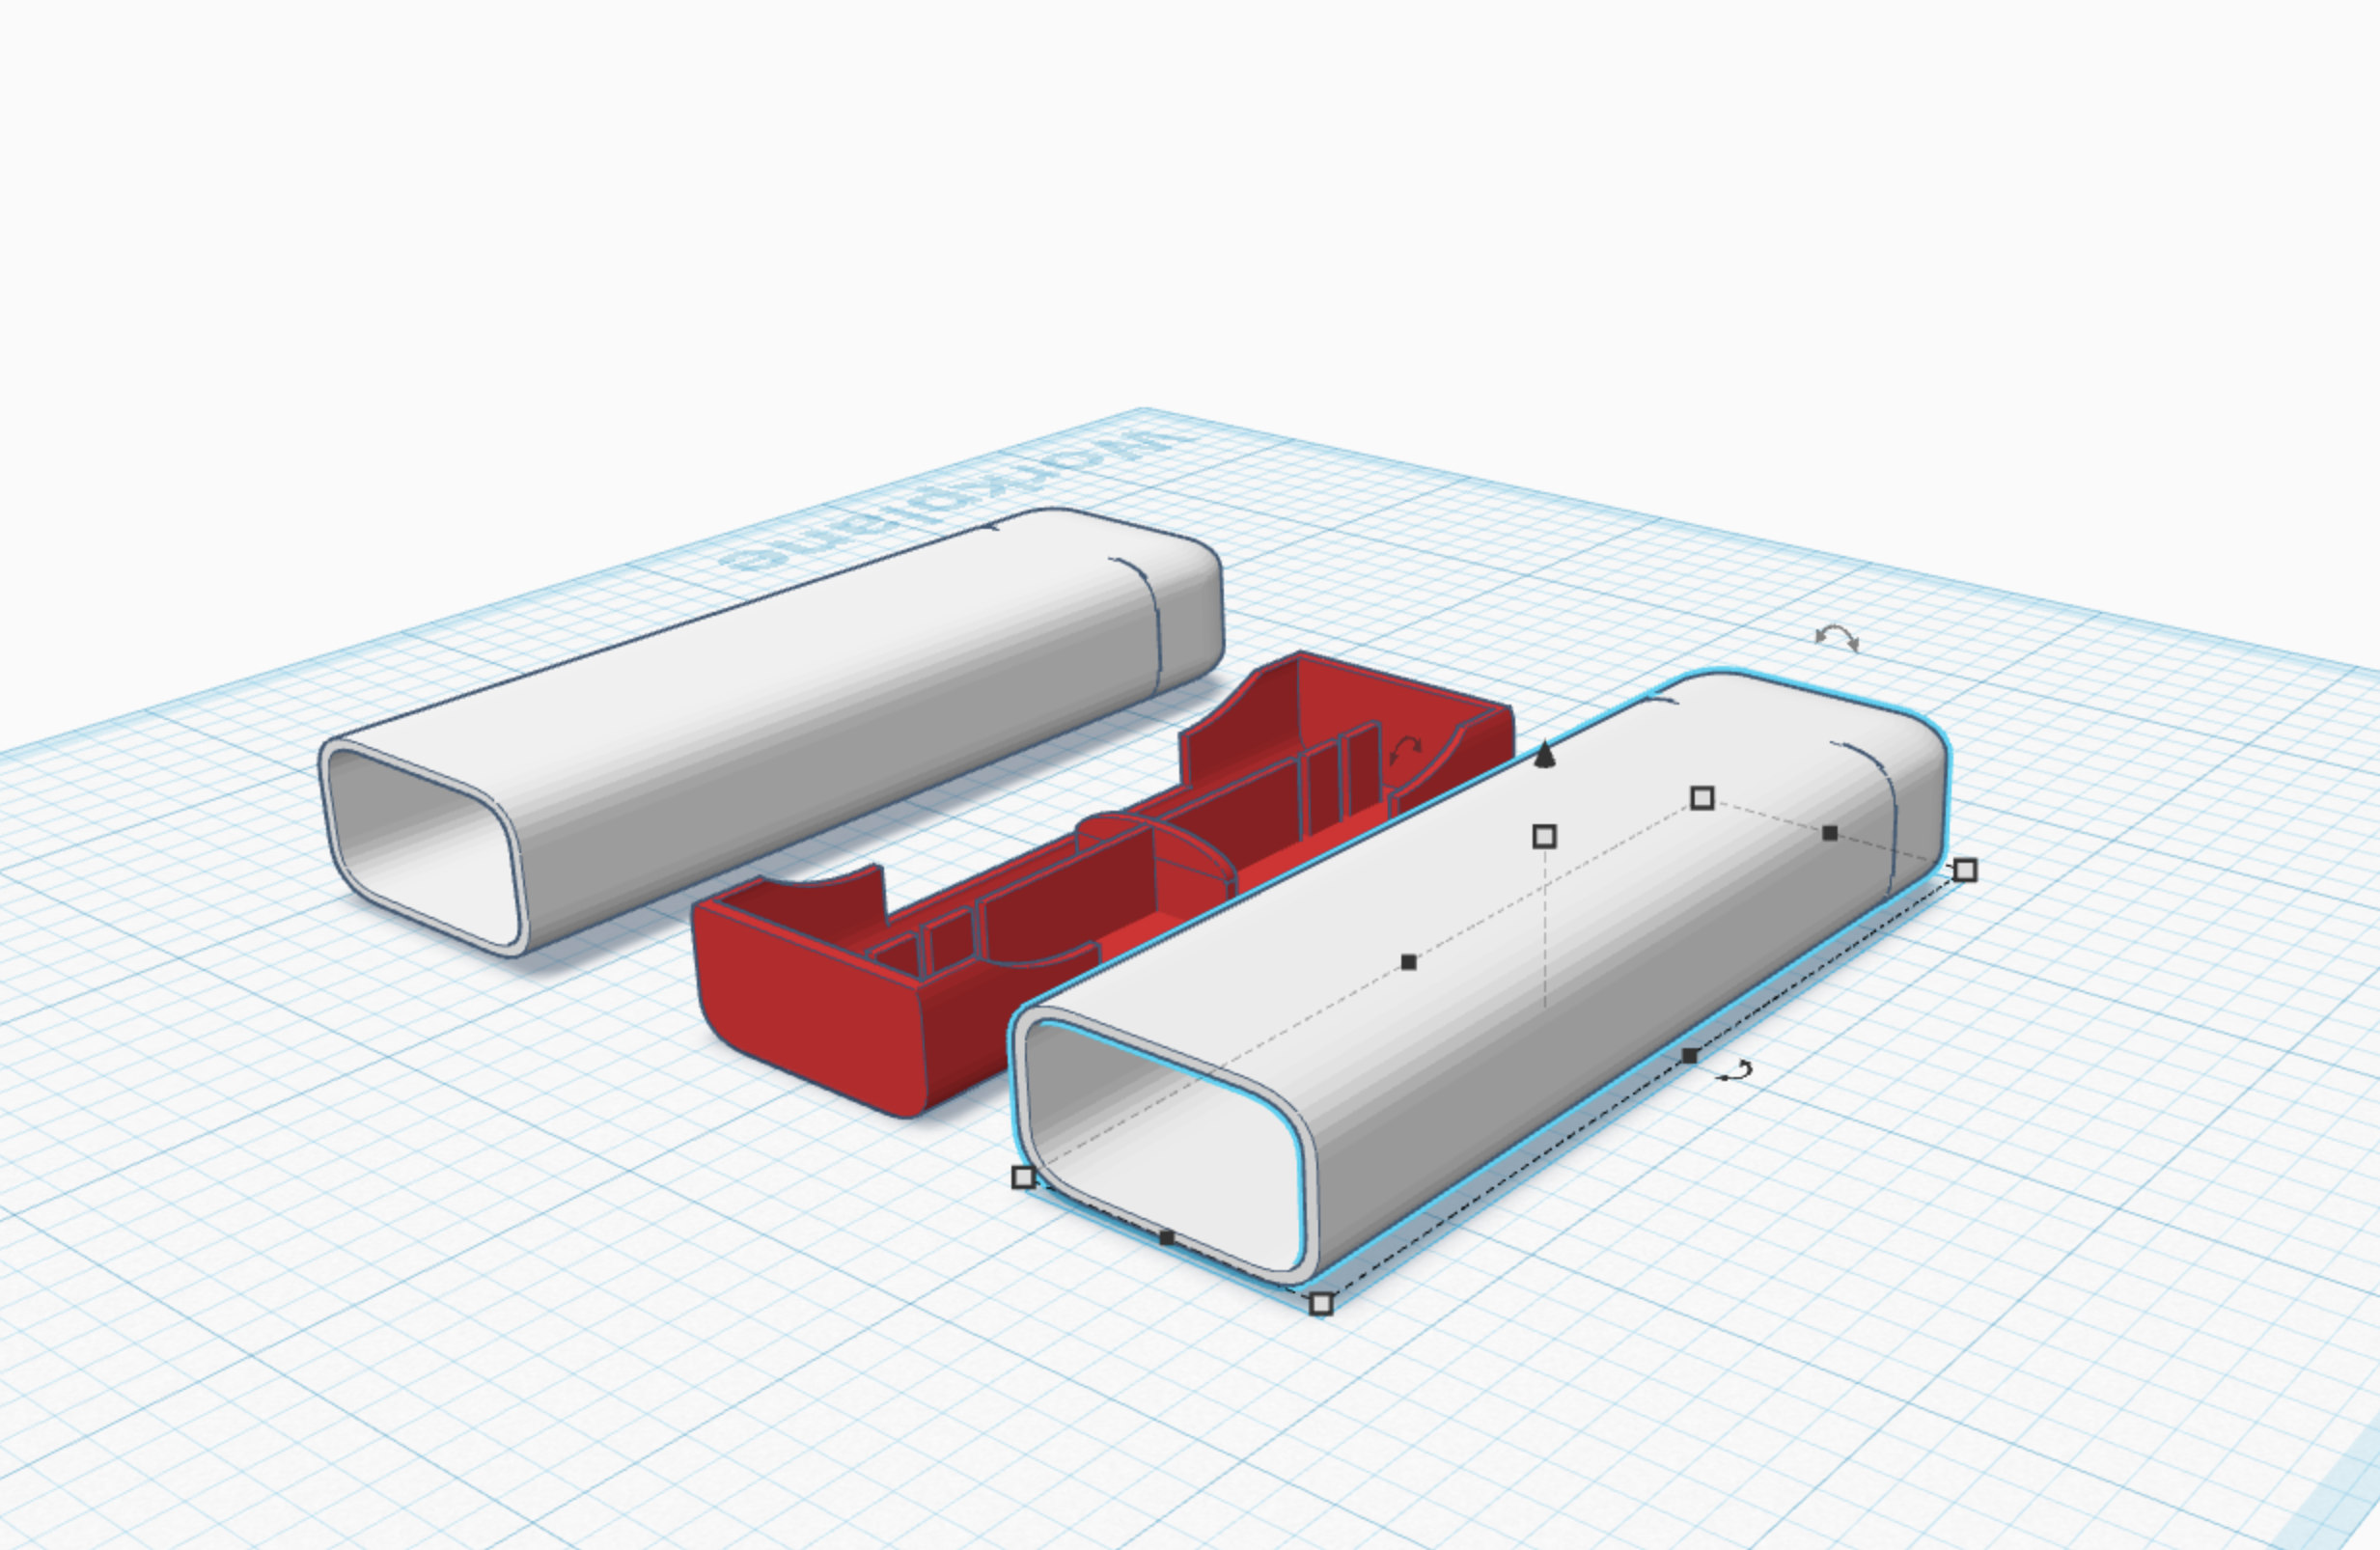
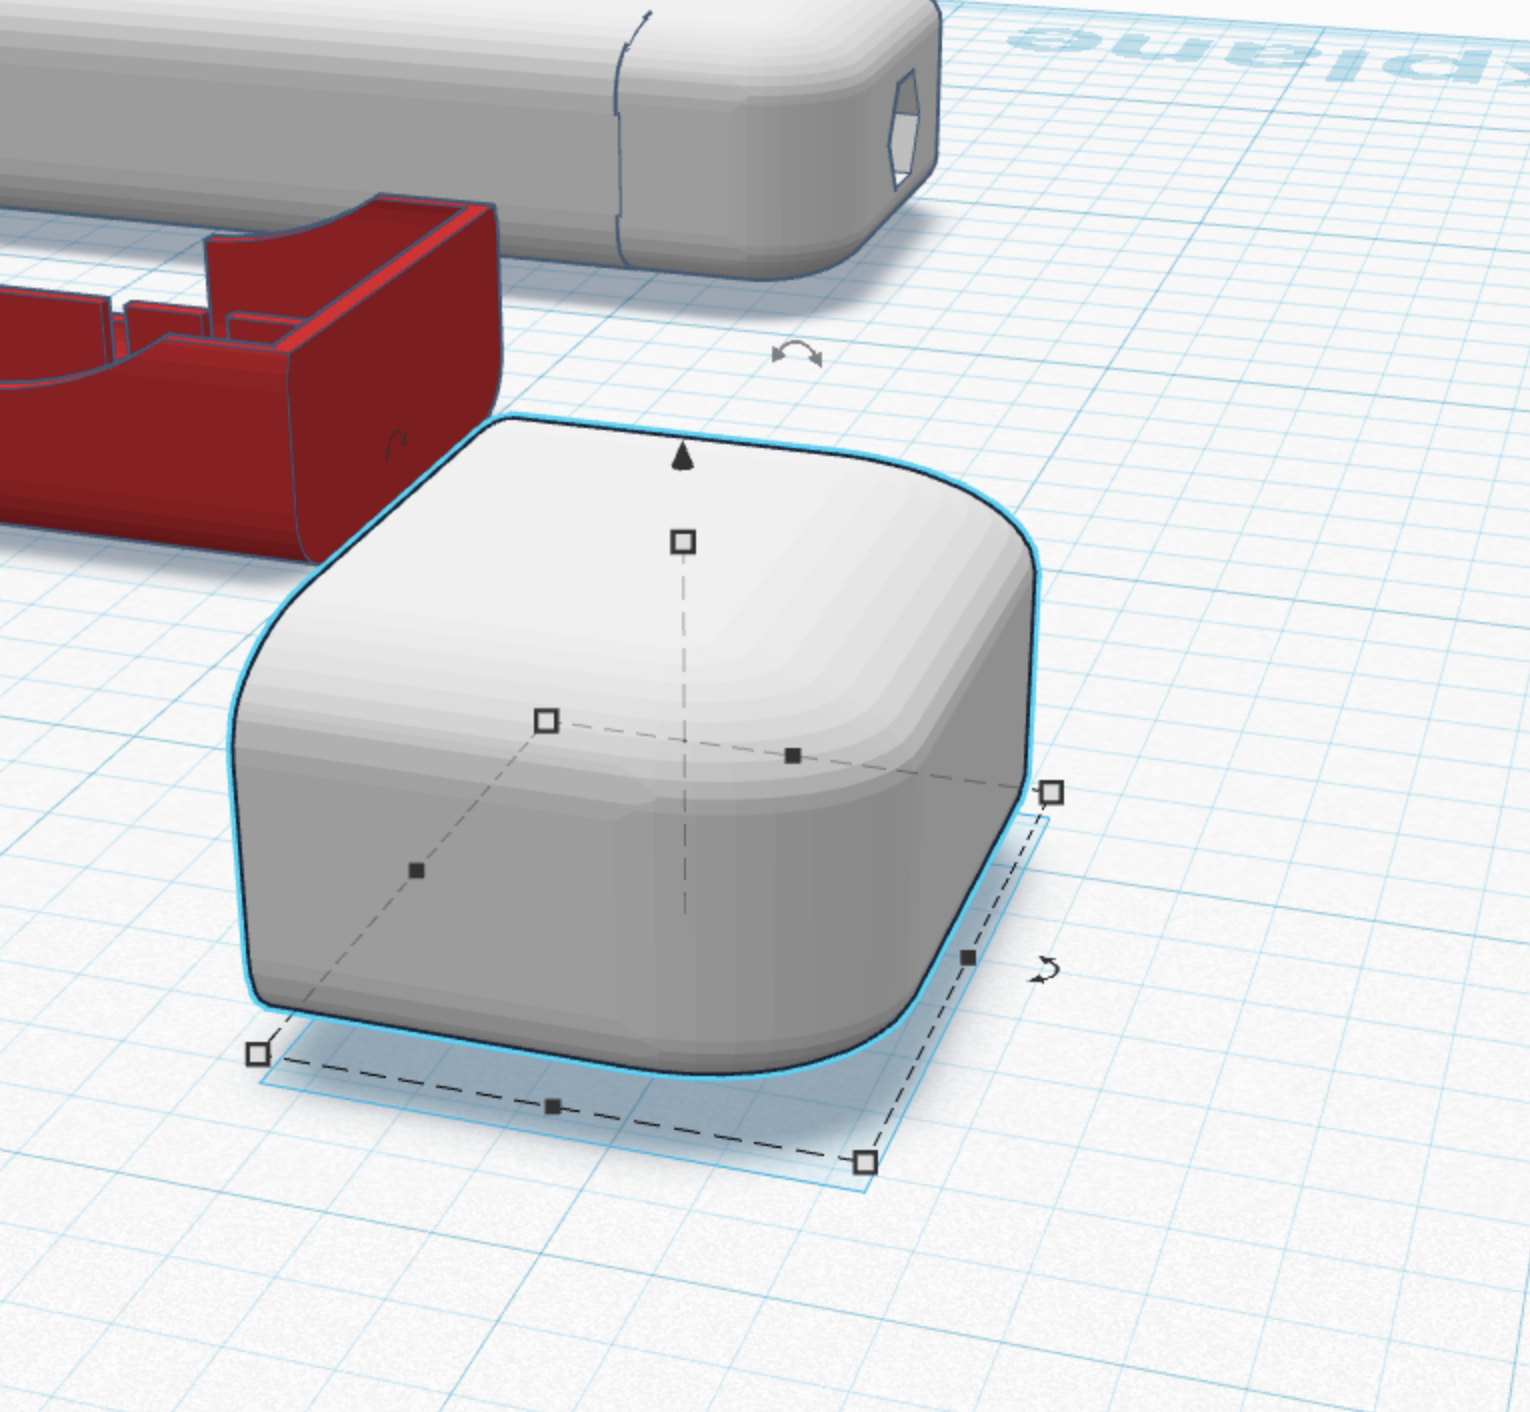
duplicate the soft box shape, and cut off the end. elongate it a little bit, as shown.
Use a Cylinder Hole to Cut the Profile As Shown
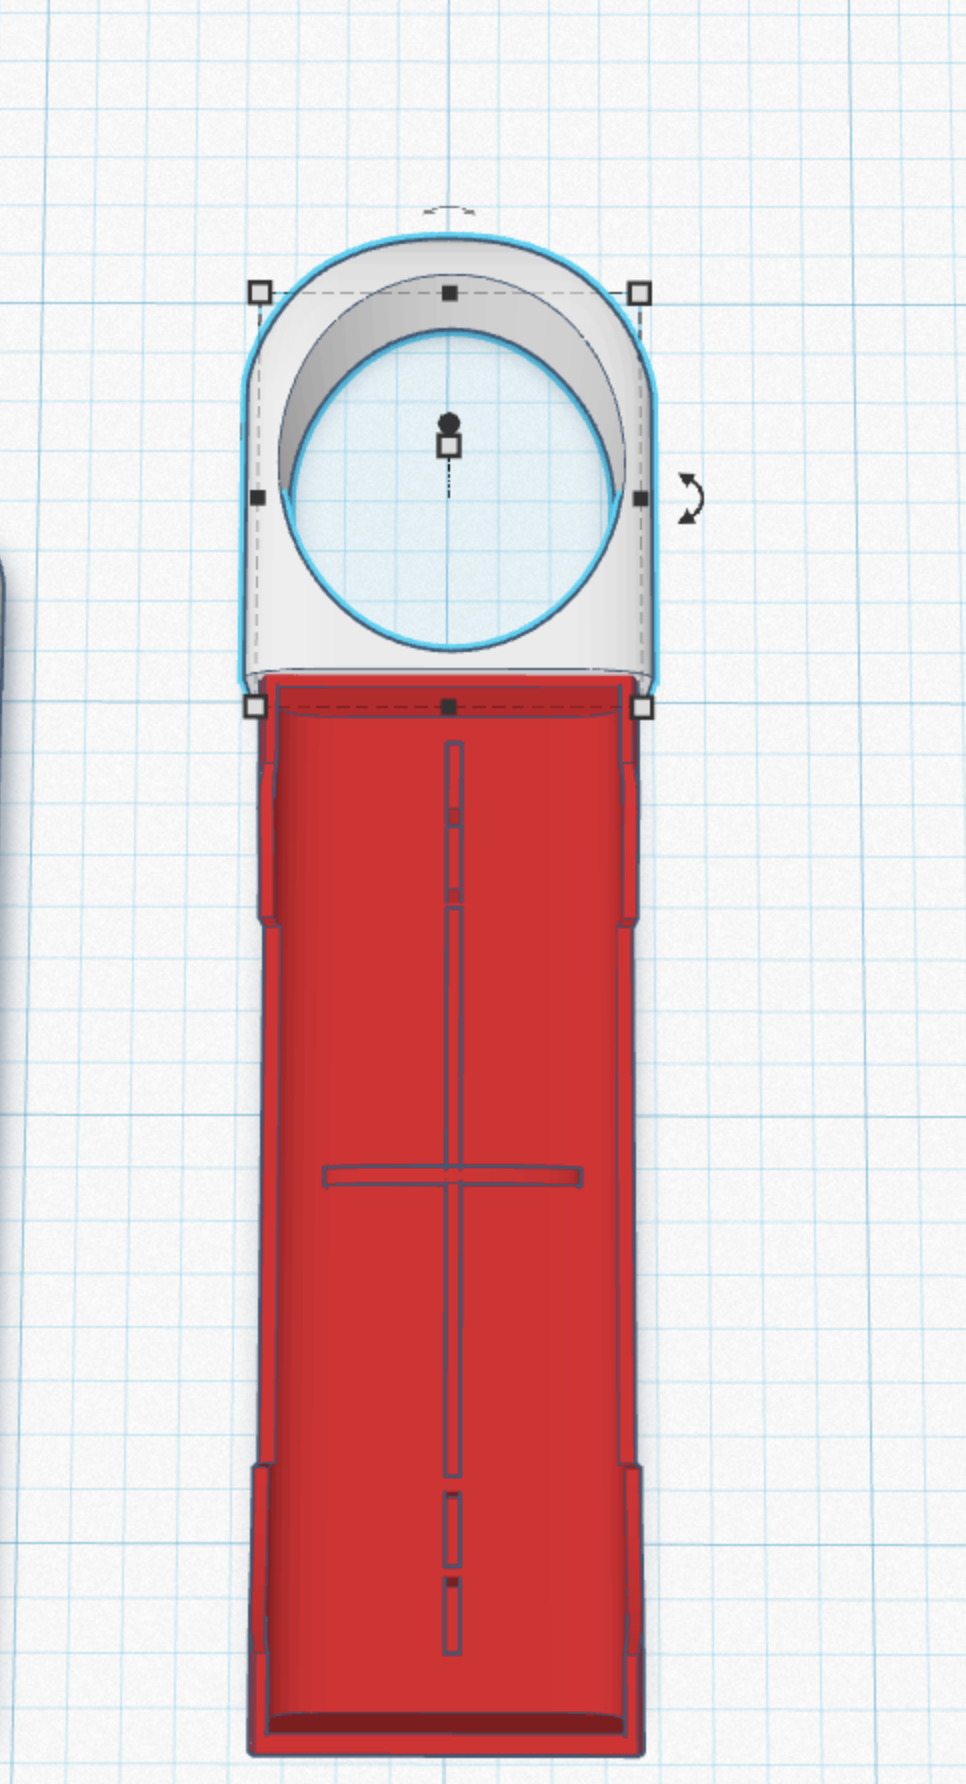
use a cylinder hole to cut the profile as shown. its really easy. then attach what is left to the interior part of the screwdriver.
Here Is the End Result.
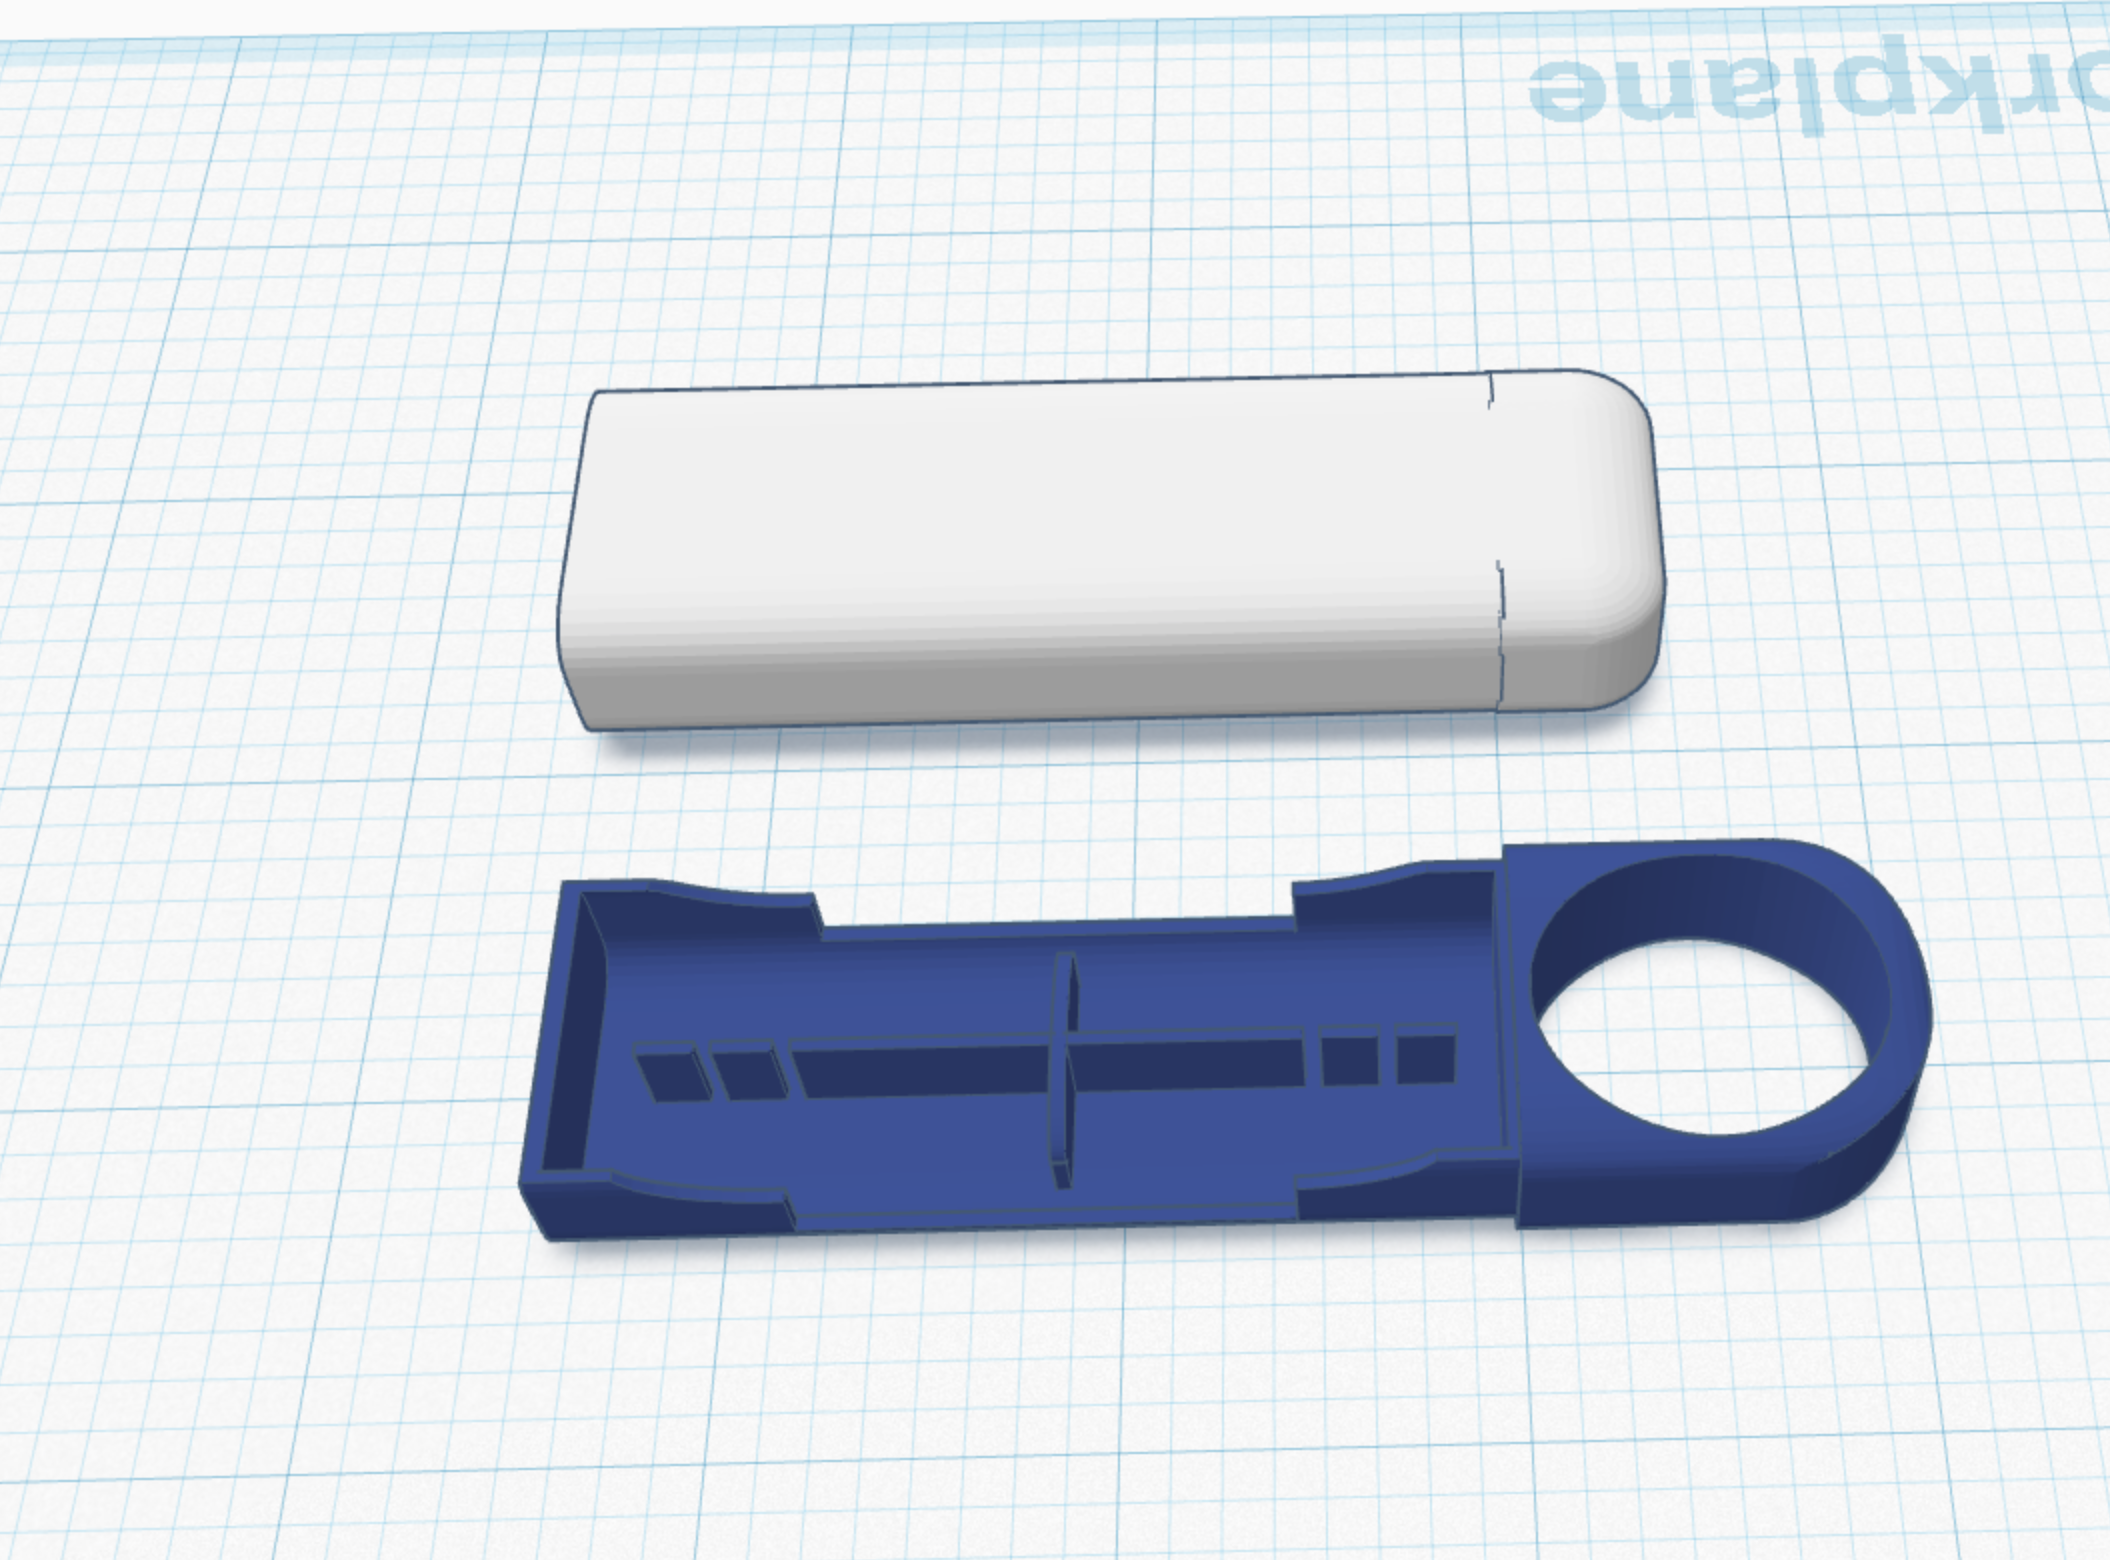
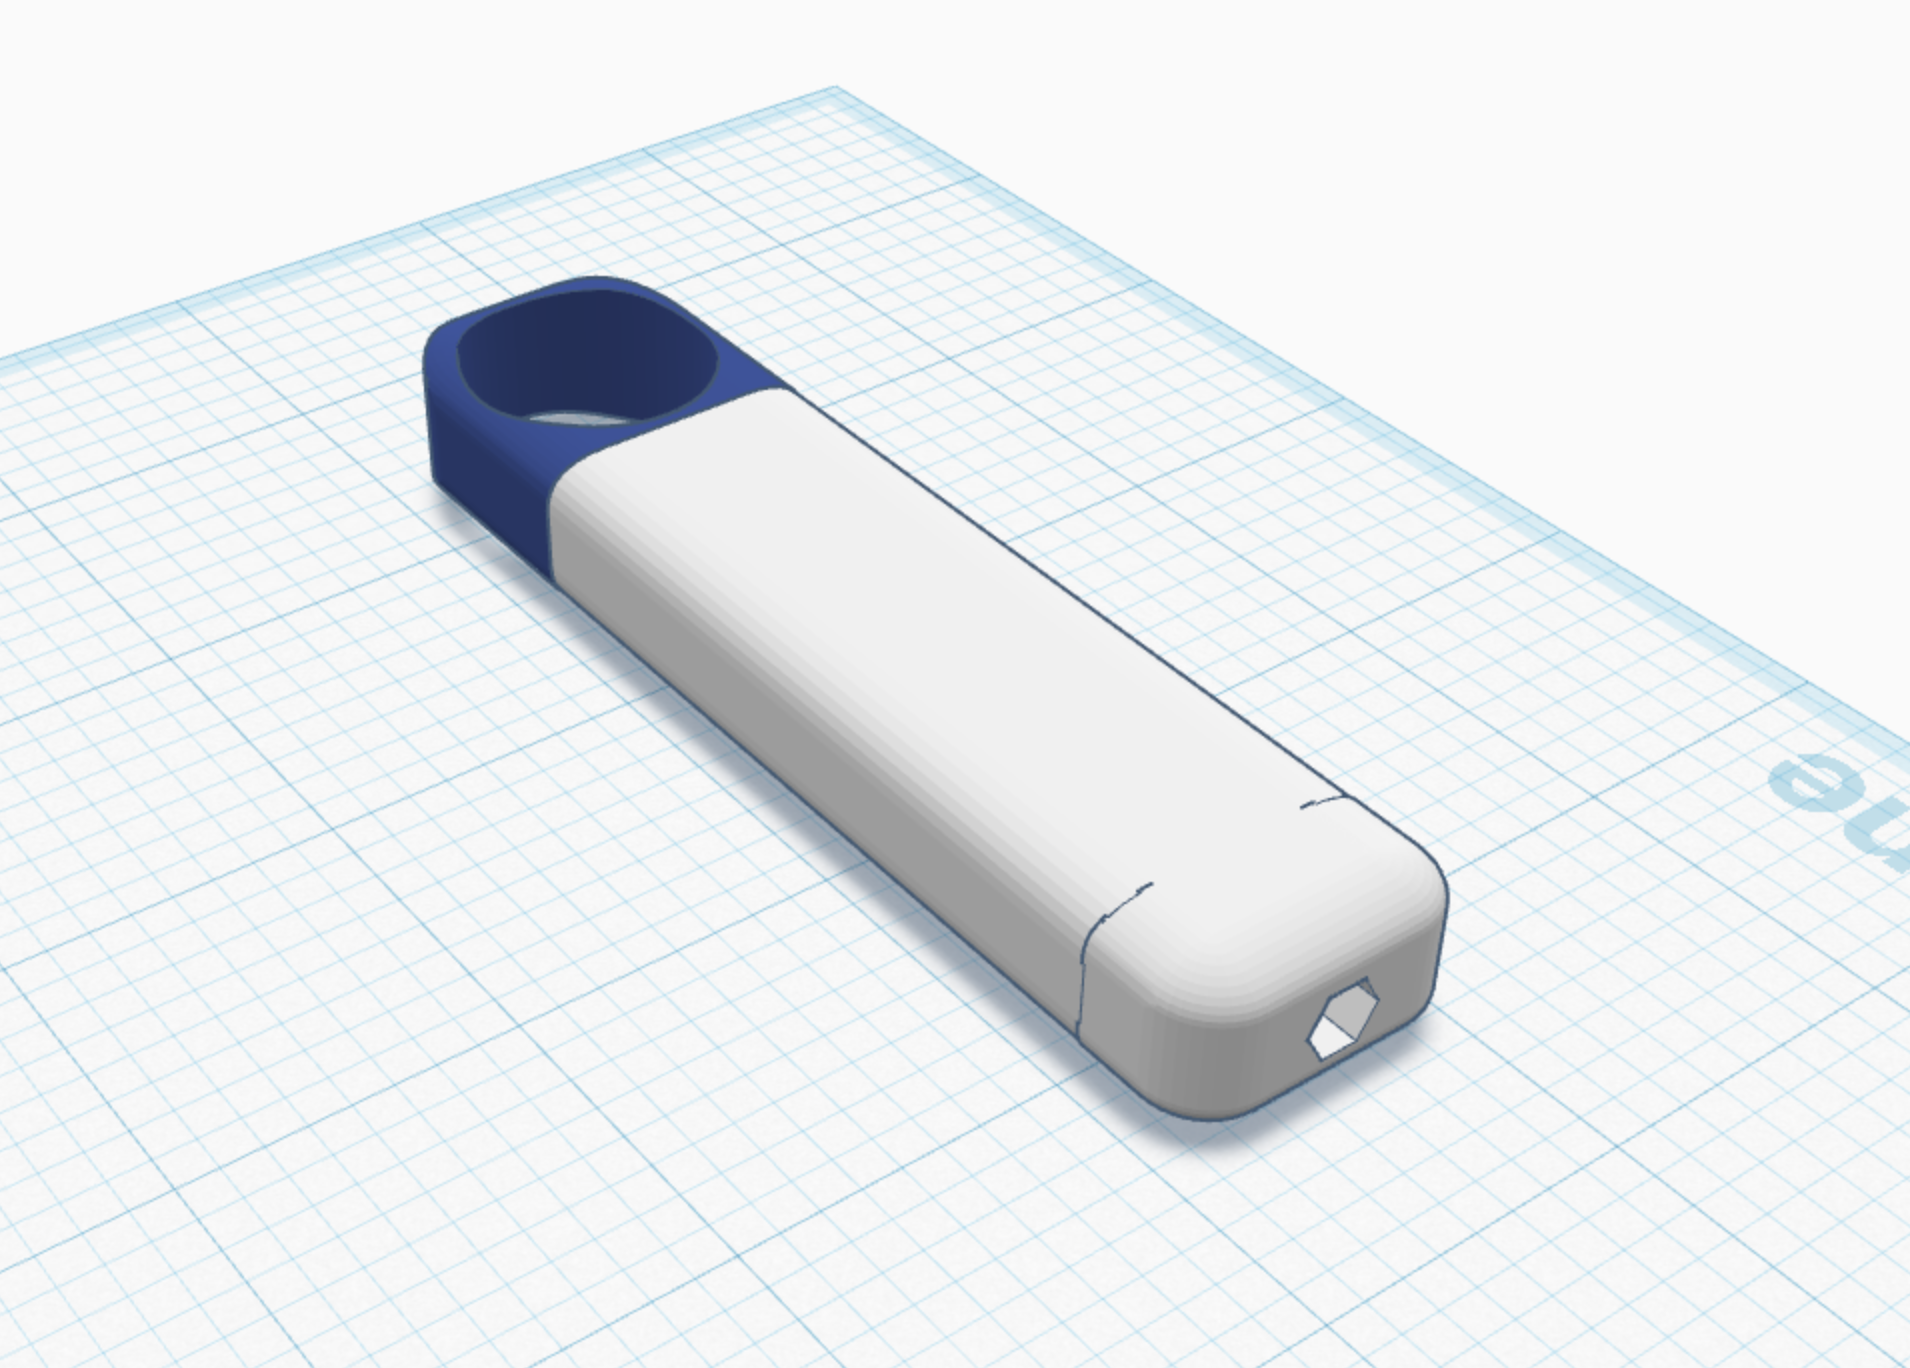
end result open and closed. overall this should have been pretty easy. If you want the stl files, download them here https://www.tinkercad.com/things/aUdZ130izEa-screwdriver-3d-printable though I would ask that you try to do it yourself first. Tinkercad is entirely free.
What It Looks Like Printed
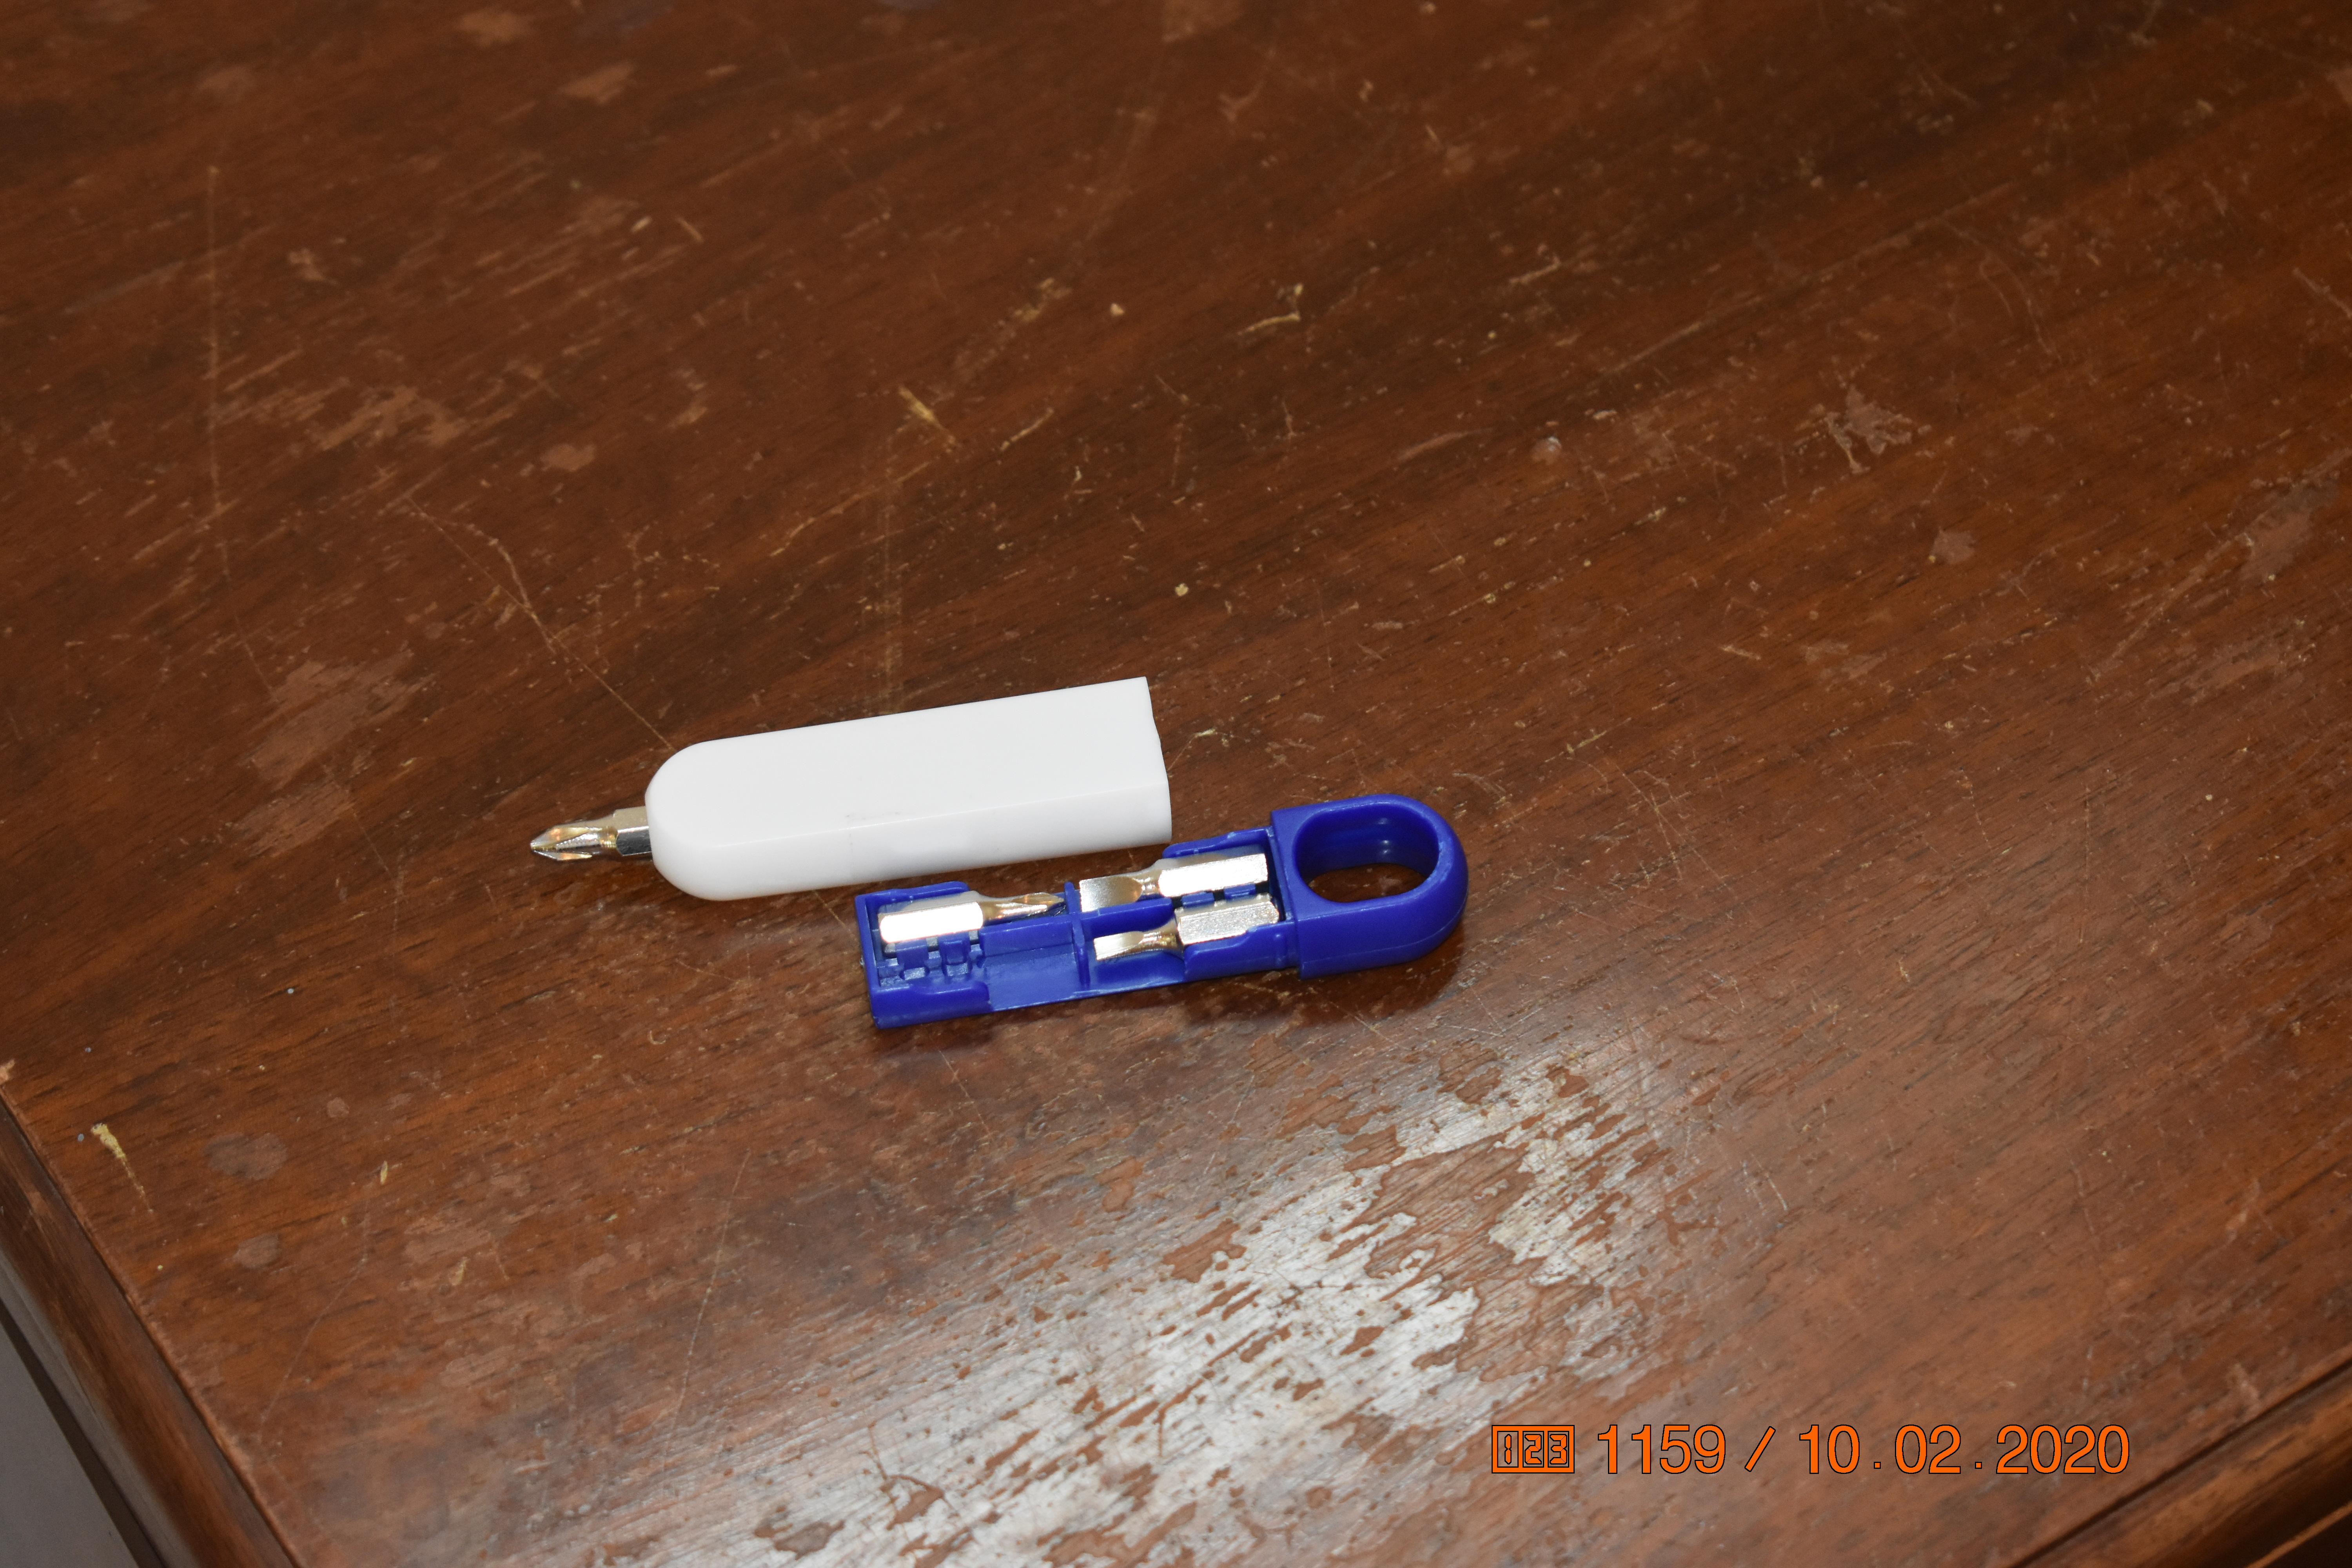
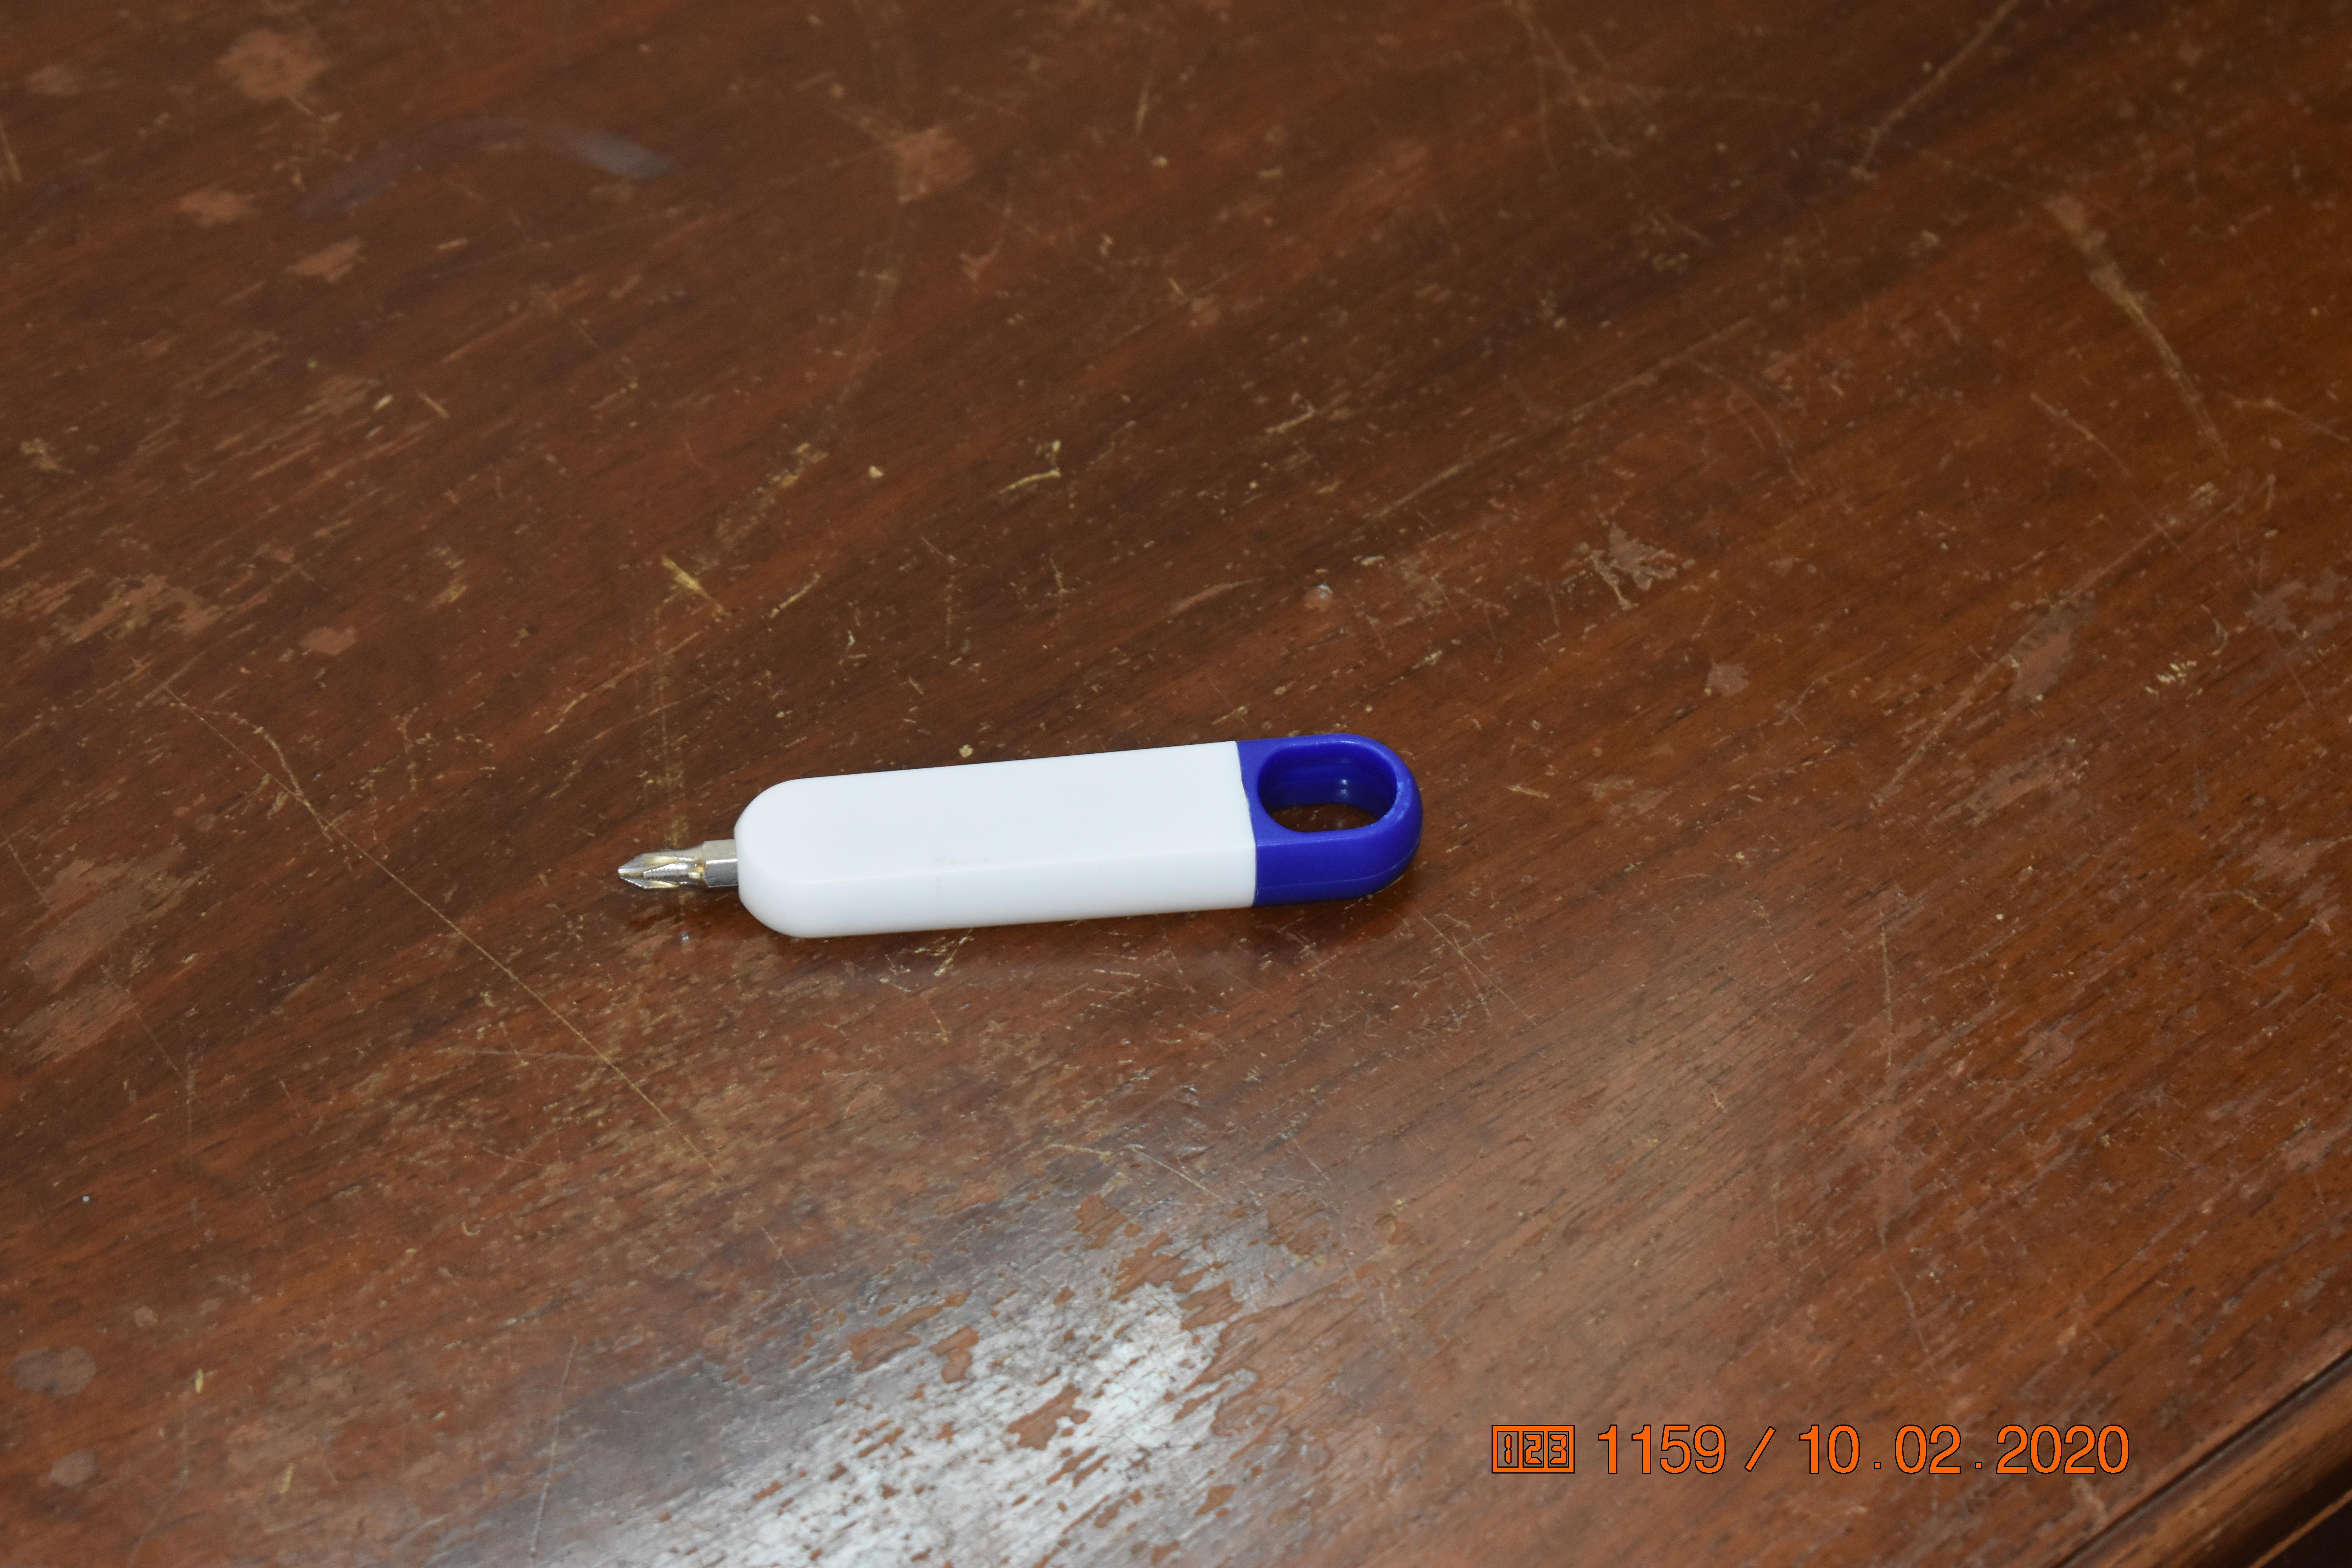
hope you like ti!