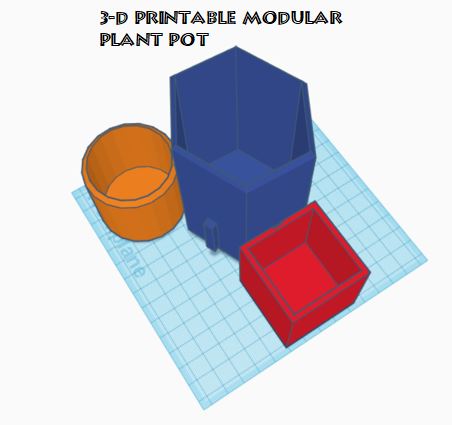
3D-Printable Modular Plant Pot With TINKERCAD
by mechatronix22 in Workshop > 3D Design
737 Views, 1 Favorites, 0 Comments
3D-Printable Modular Plant Pot With TINKERCAD
Hi guys and girls. Firstly this is my very first Instructable so please bare with me as English is not my first language. Today I'm going to show you how to design a 3D-printable "modular pot" in TINKERCAD. It is very simple and straight-foward instructable and you don't require any prior experience with TINKERCAD whatsoever. I will guide you step-be-step. SO let's jump into it!!
Creating the Main Pot
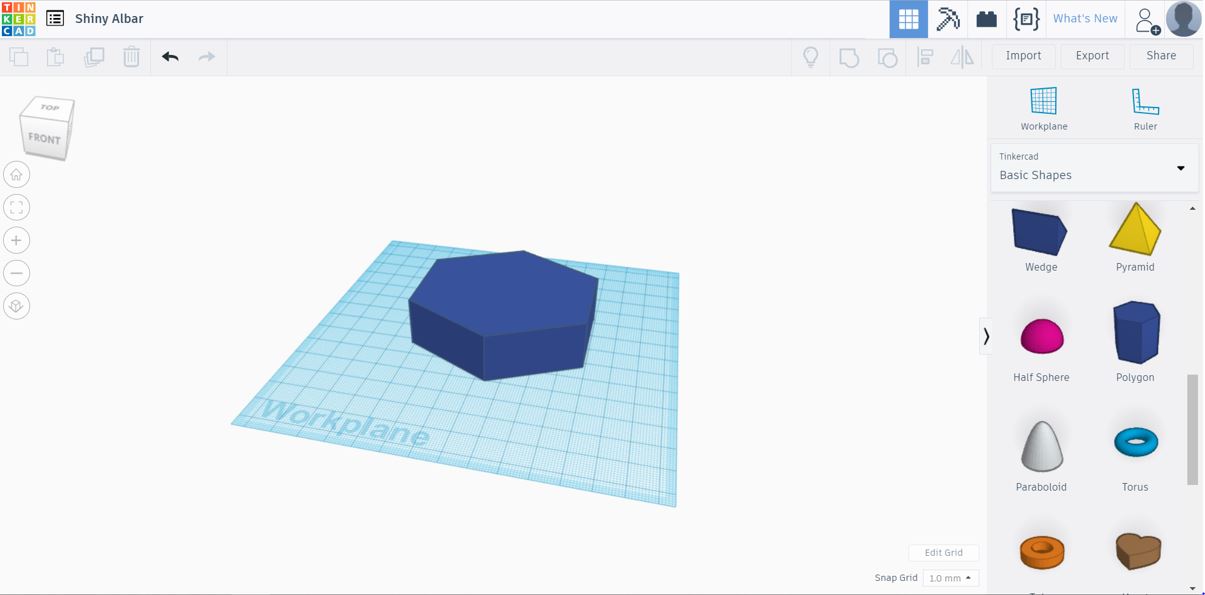
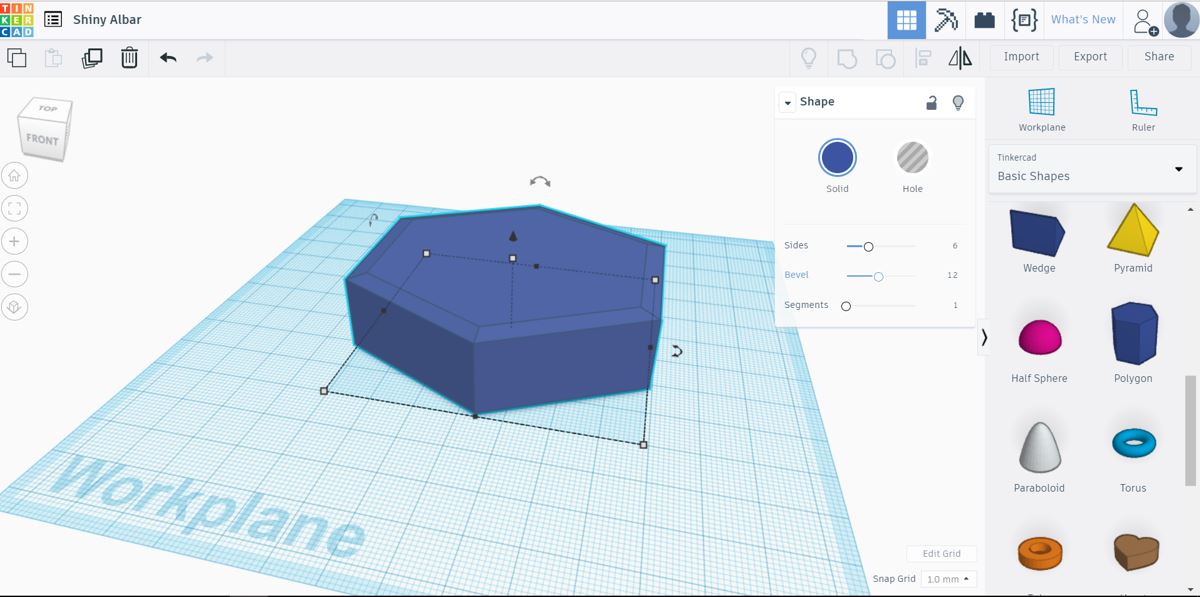
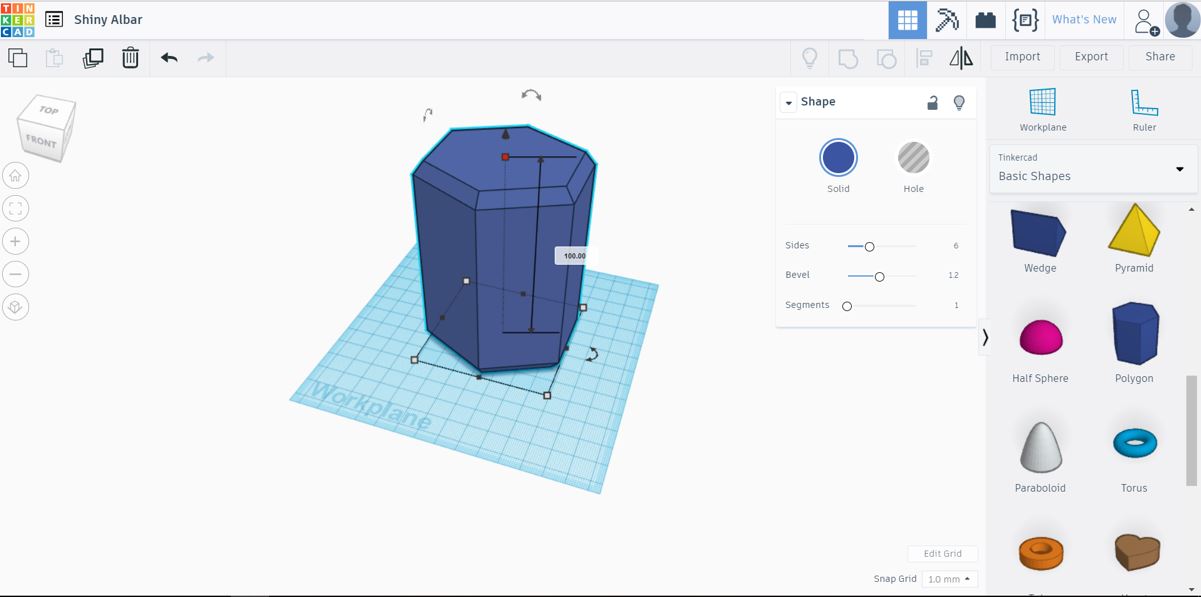
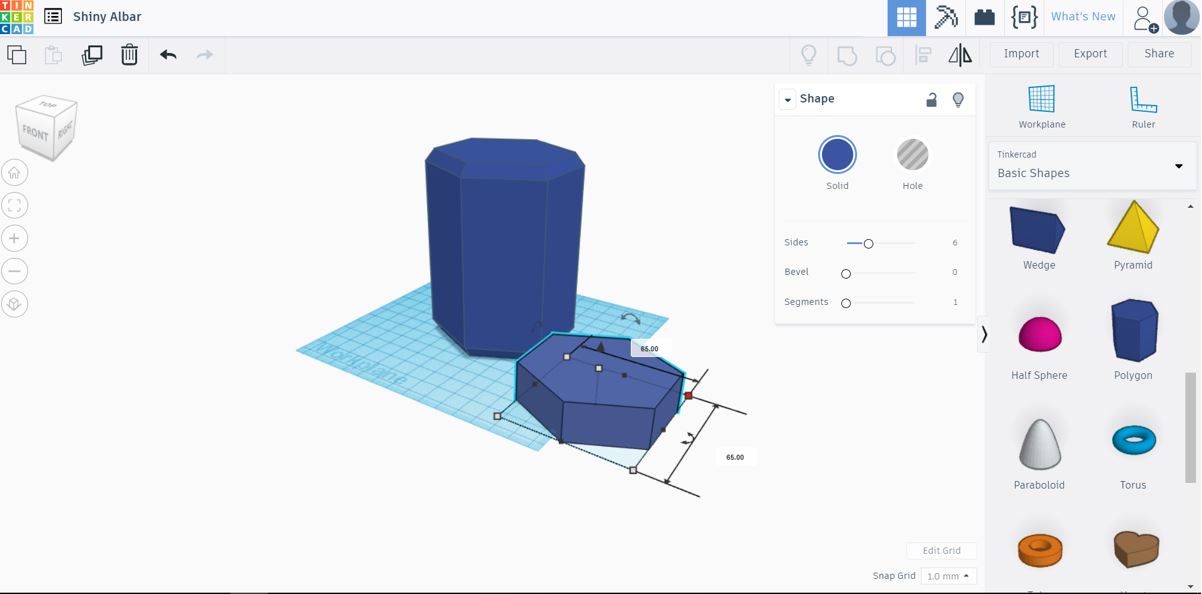
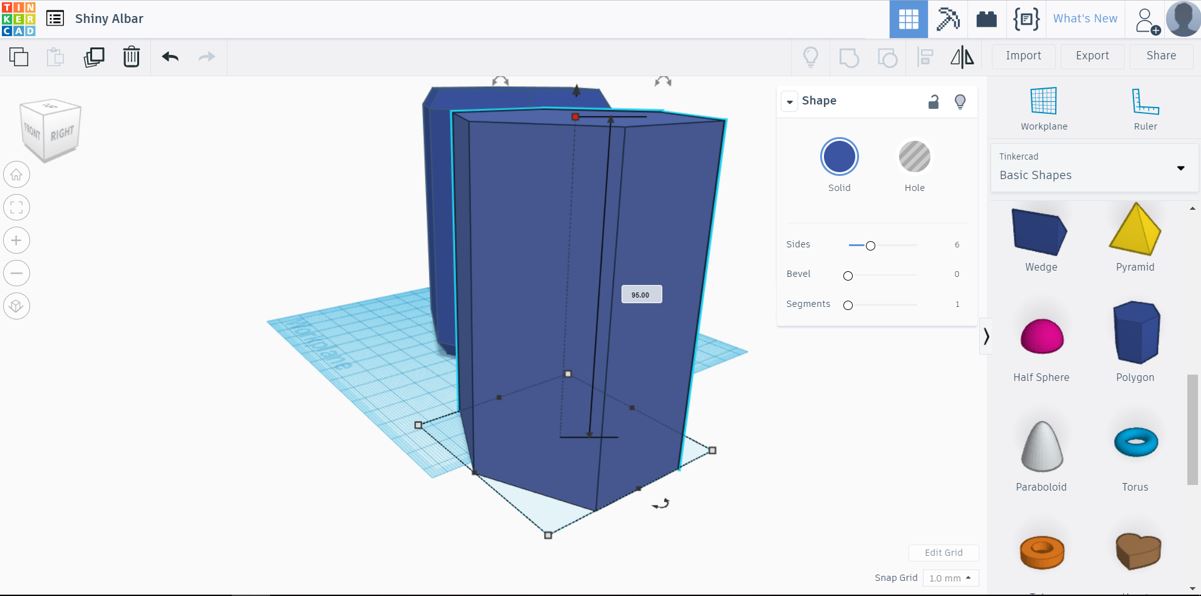
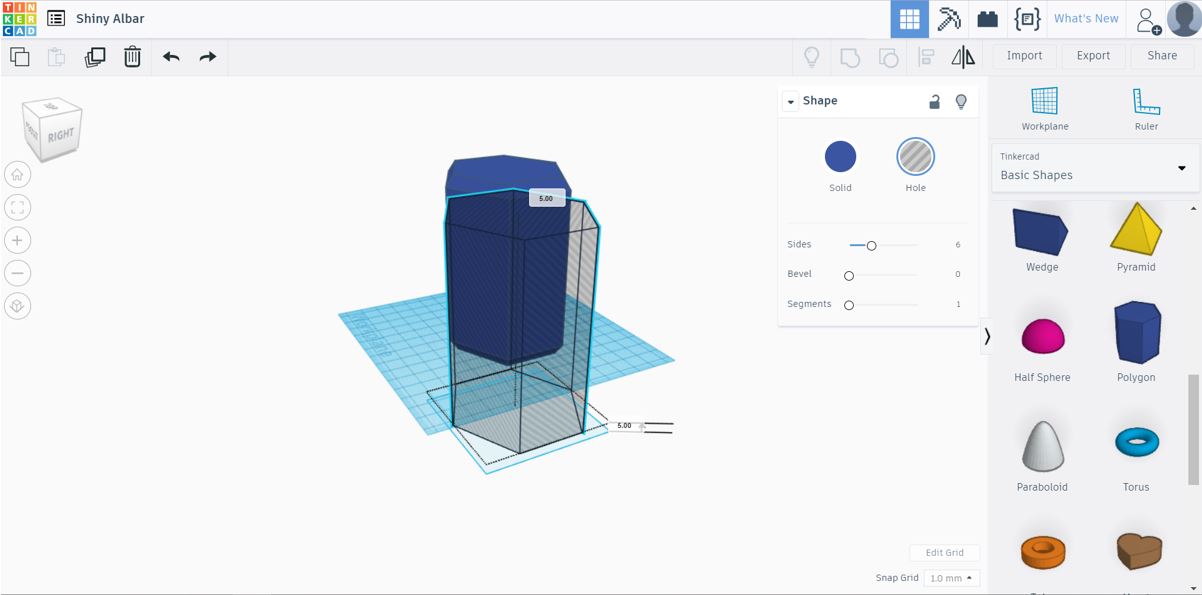
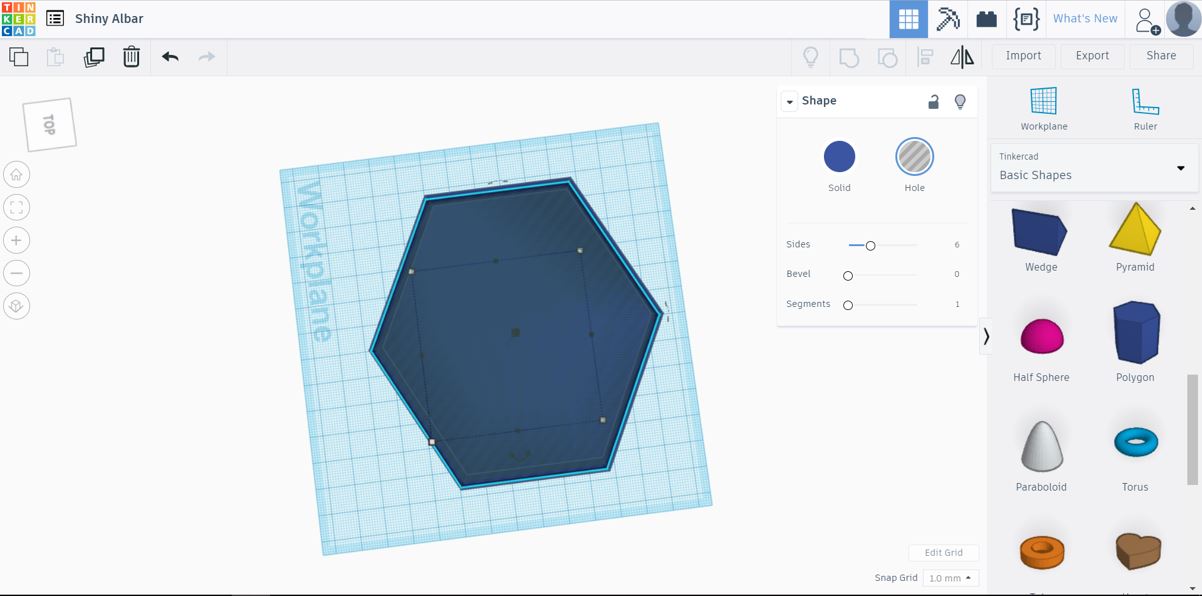
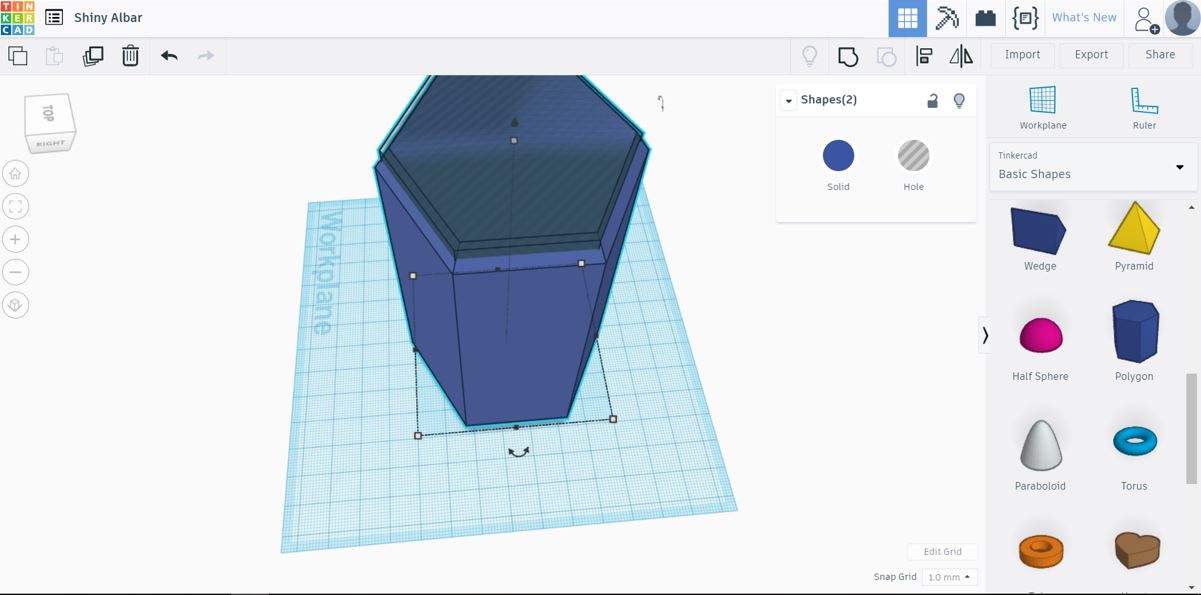
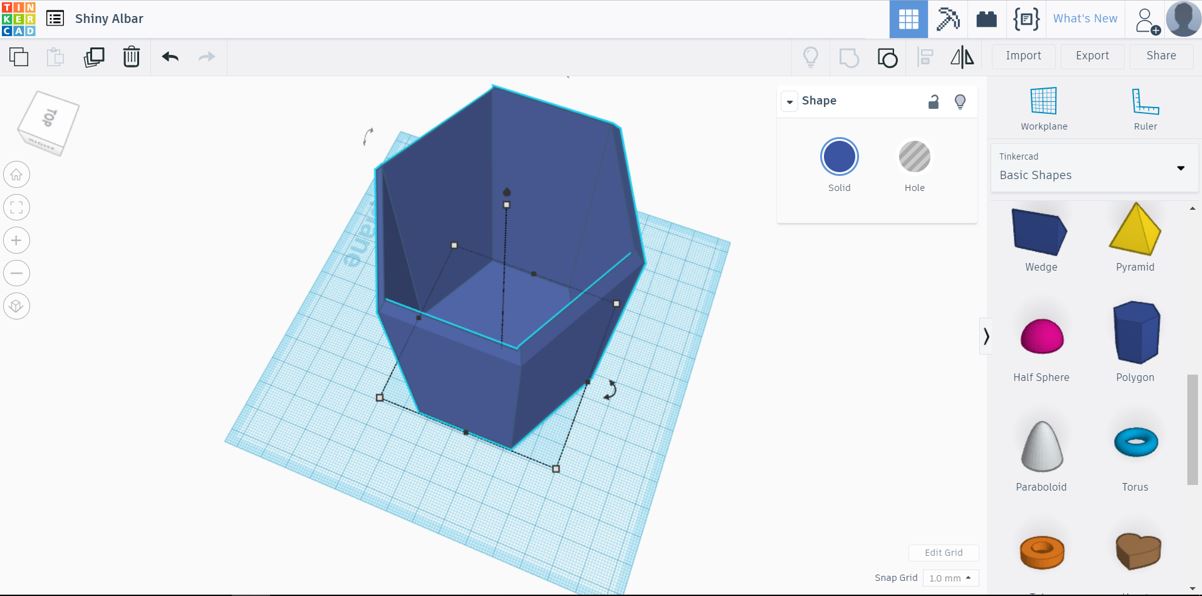
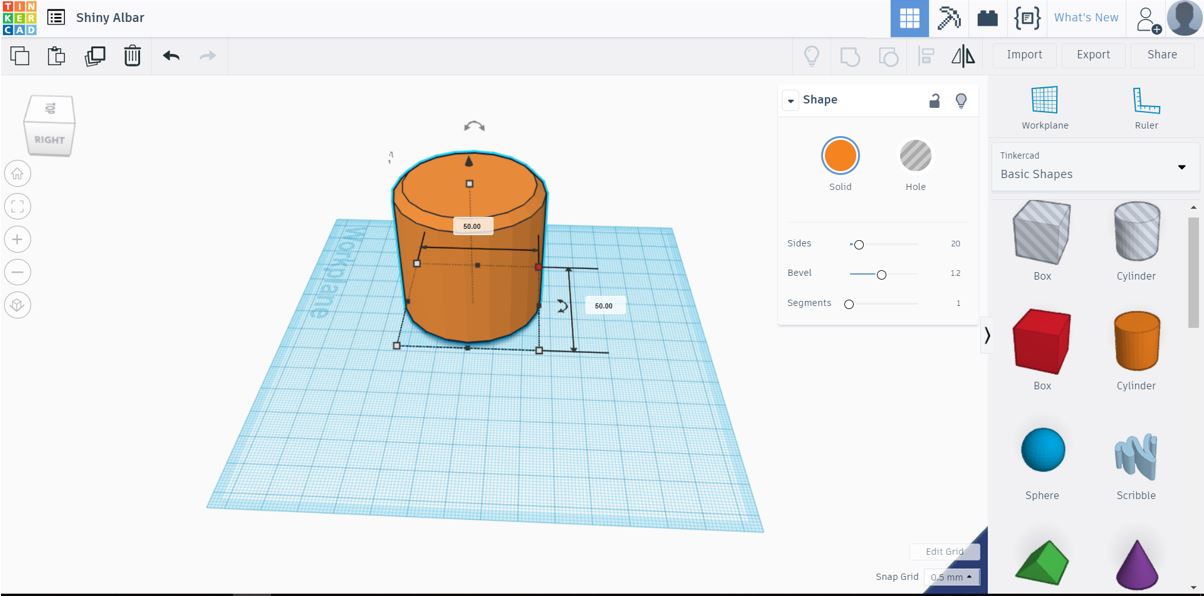
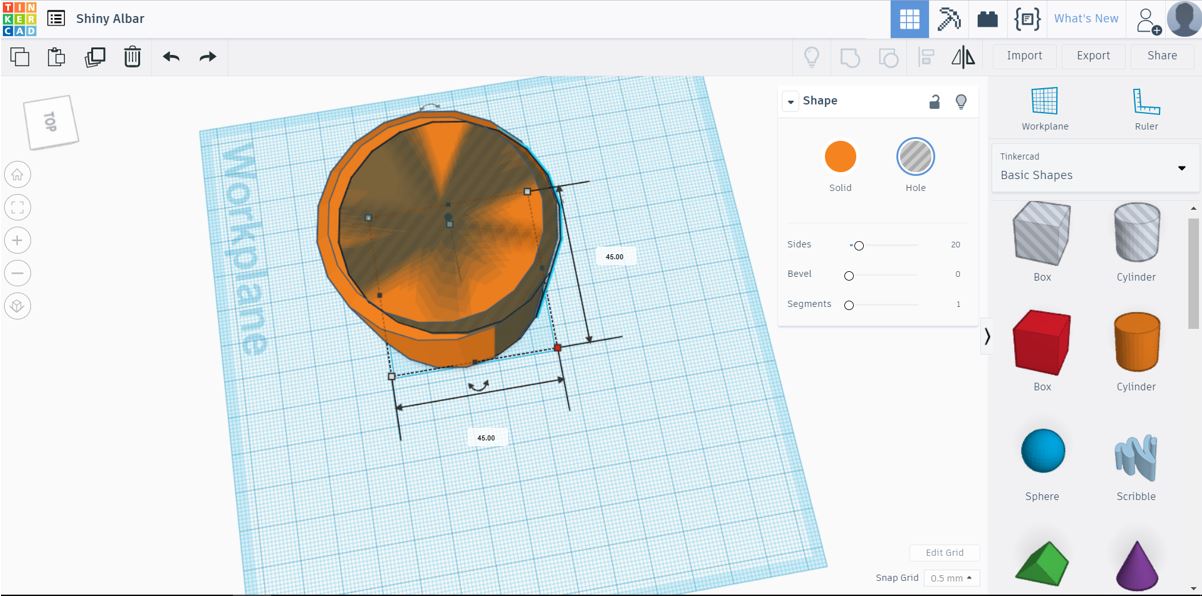
Please be aware that the dimensions are not necessarily the same dimensions you would use. These dimensions are just used to demonstrate the process, of-course you can create pots of any size and shapes The first step would be to select a shape you would like to be the 'main pot'. this can be any shape, I personally like the polygon as it has many flat surfaces one could use to 'attach' the smaller pots to. Size the pot to the height you would like, in my case it was 100mm. Adjust the 'Bevel' of the shape to give it a nice chamfer. After the shape has been sized to your specific needs, grab another shape from the menu and size it slightly smaller than the first one. With this polygon we will hollow out the 1st polygon, creating the pot. To hollow out the 1st shape the 2nd shape should be shorter than the 1st. 5mm should be more than enough. On your right hand side you'll see a tab that opens when you select a shape. Choose 'hole'. (This will subtract the volume from the second shape when they are grouped.) Lift the polygon by dragging the arrow that points up. The 'gap' created will be the thickness of the base. Adjust it for your specific needs. Drag the 2nd polygon into the 1st one and center it. Make sure that the 'hole' polygon goes through the top of the first one to ensure it will hollow out correctly. Now left-click and hold, and select both shapes. in the top right corner "Group" should be highlighted. Right-click on group and viola! you have your first pot
Creating the 'protrusions'
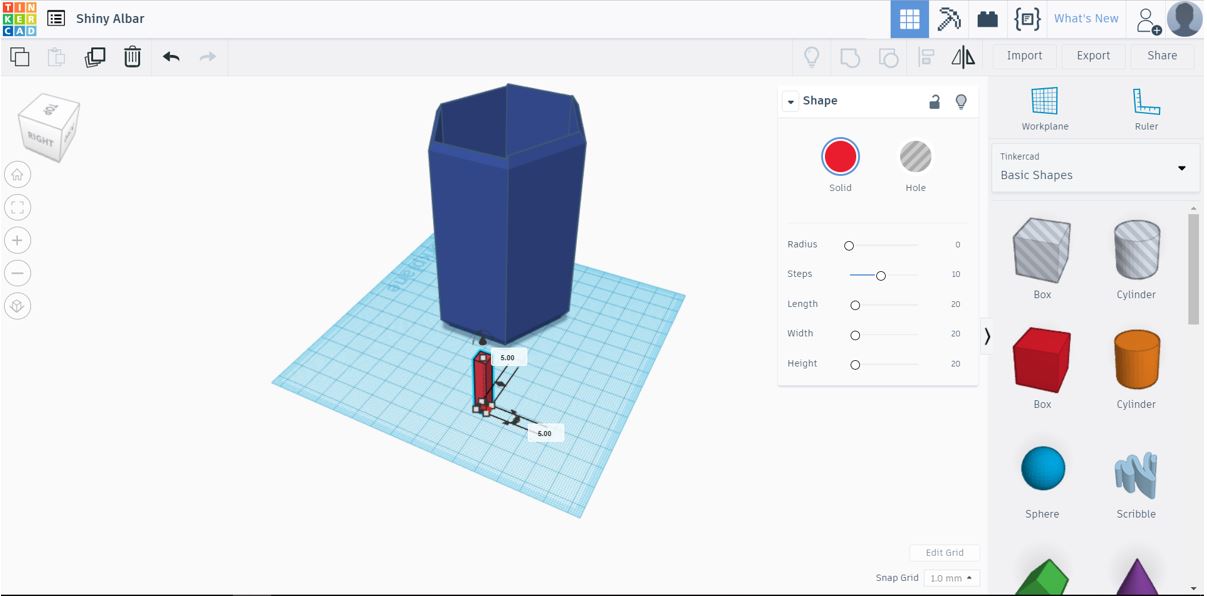
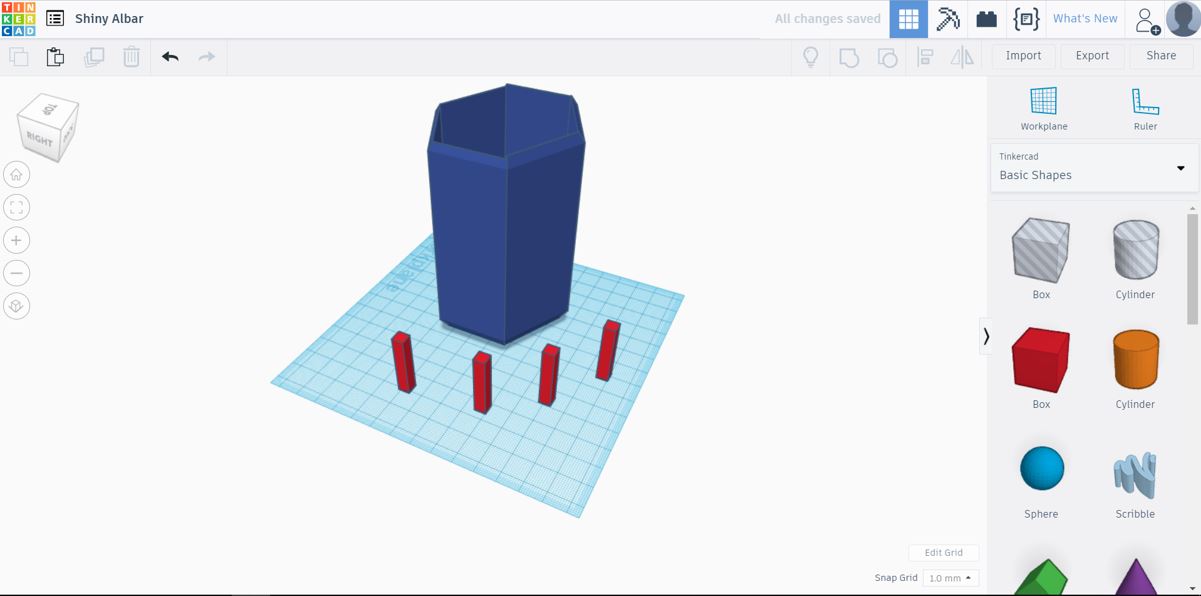
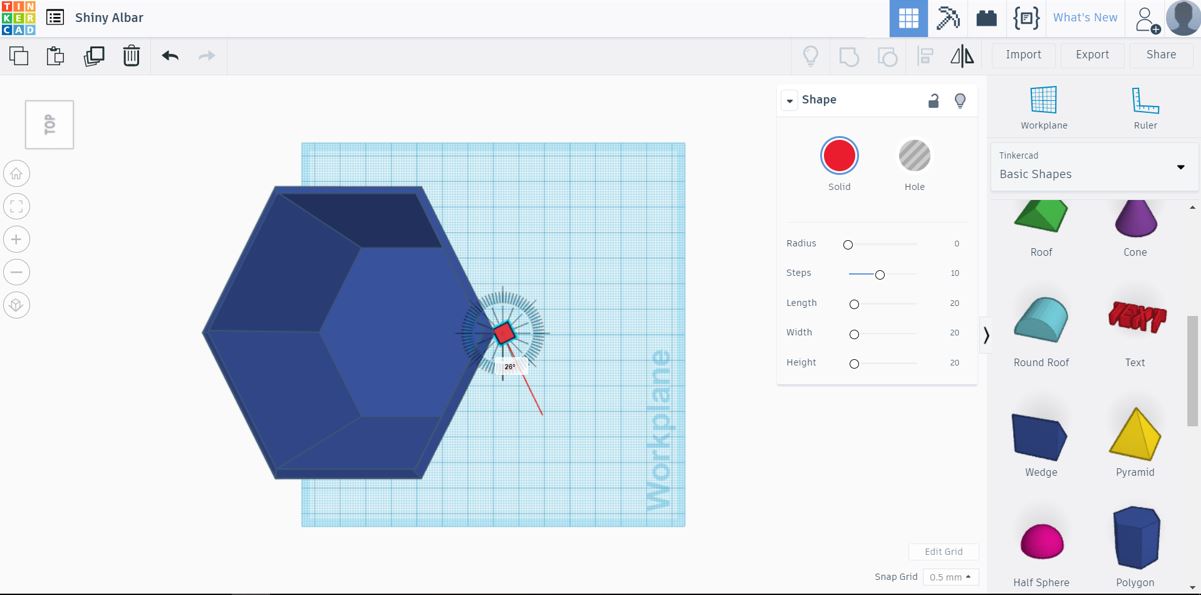
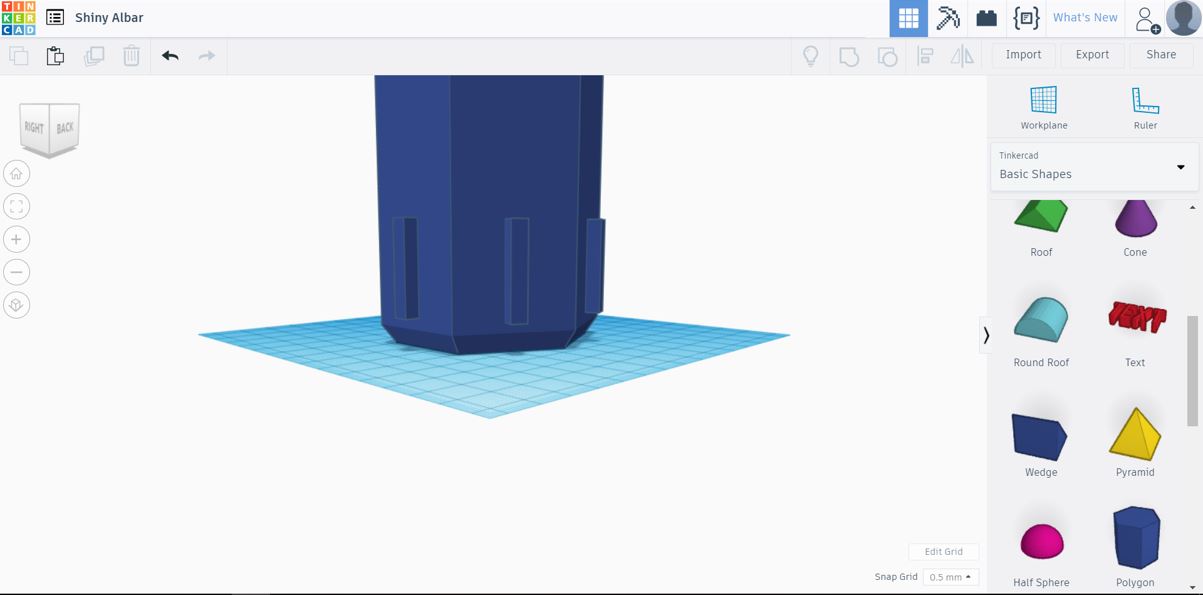
Now that the main pot is done we have to create the protrusions that would fit into the slots on the smaller pots. To create the protrusions select a normal box and shape it to whatever size you like. Cope and paste as many as you would like to attach to the main pot. Drag them upwards, so they are we above the chamfer at the bottom. Position them at the correct angle,in my case 26 degrees. and move them towards the middle of the face you would like to attach to. Move the shape till it touches the pot. Select both shapes and group (same as before). Repeat this as much as you like, just remember, the more your have the smaller your 'side-pots' will be. In my case I made protrusions on each face of the polygon.
Creating the 'side-pots'

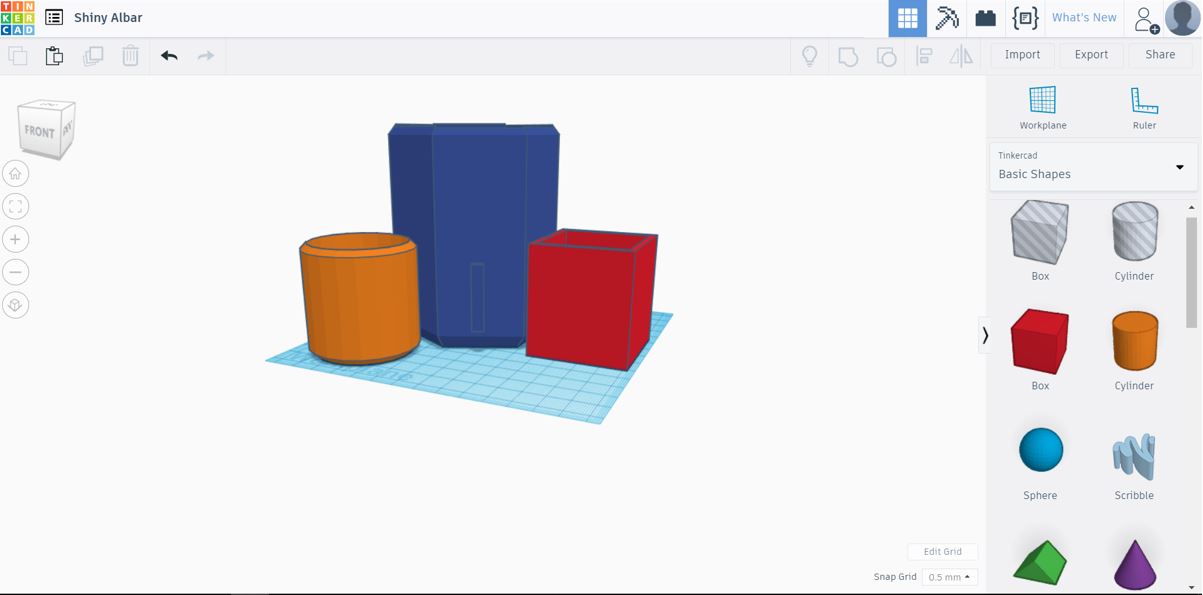
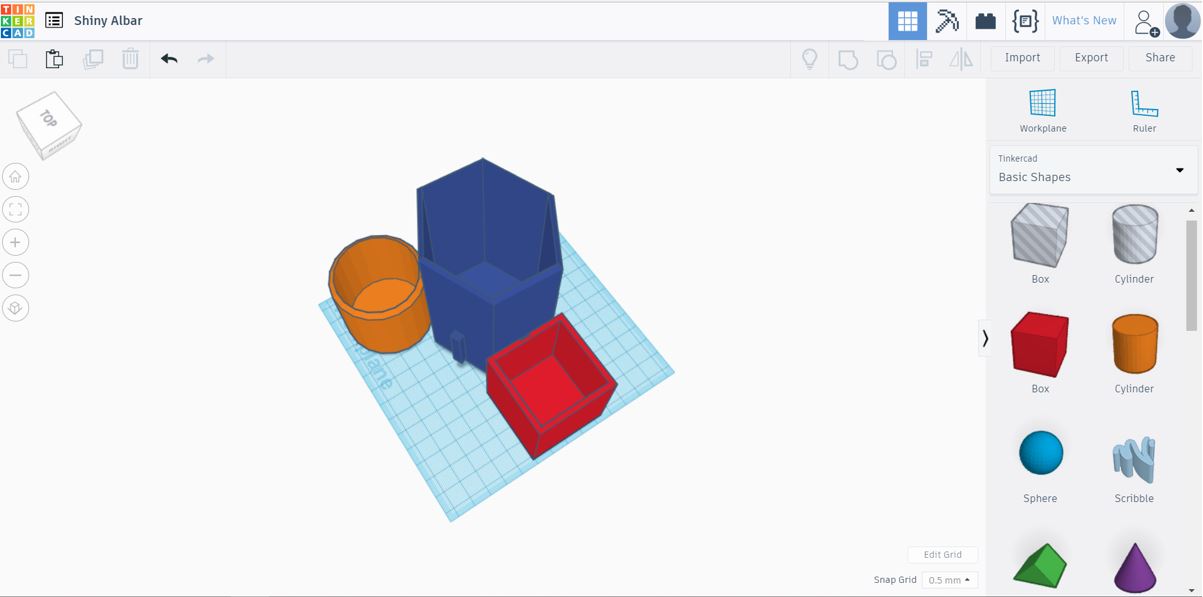
The final thing that is left to do is to create the small 'side-pots' you would like to attach to the main-pot. Feel free to use any shape, size and color. This is where you get to customize your 'mini-garden' however you'd like so let your imagination run wild. The steps would be the same as step 1. Select a shape and hollow it. Now select a box shape and size it to be slightly bigger that the protrusion previously made, as the protrusion will have to slide in. less that 0.5 mm should give you a nice snug fit. Select 'hole' for the box, more it towards the surface of the shape you would like to add and group the two shapes. You should now have a slot for the protrusion you made. Repeat with different shapes to give your 'mini-garden' a nice variety of different shaped pots. In turn these smaller pots can link onto another 'main-pot', by creating another slot in the 'side-pot', extending your 'mini-garden'.
Thank you for your time. I hope you enjoyed it :D