3D Printable Cookie Cutters With Inkscape and OpenSCAD
by arpruss in Cooking > Cookies
14565 Views, 43 Favorites, 0 Comments
3D Printable Cookie Cutters With Inkscape and OpenSCAD
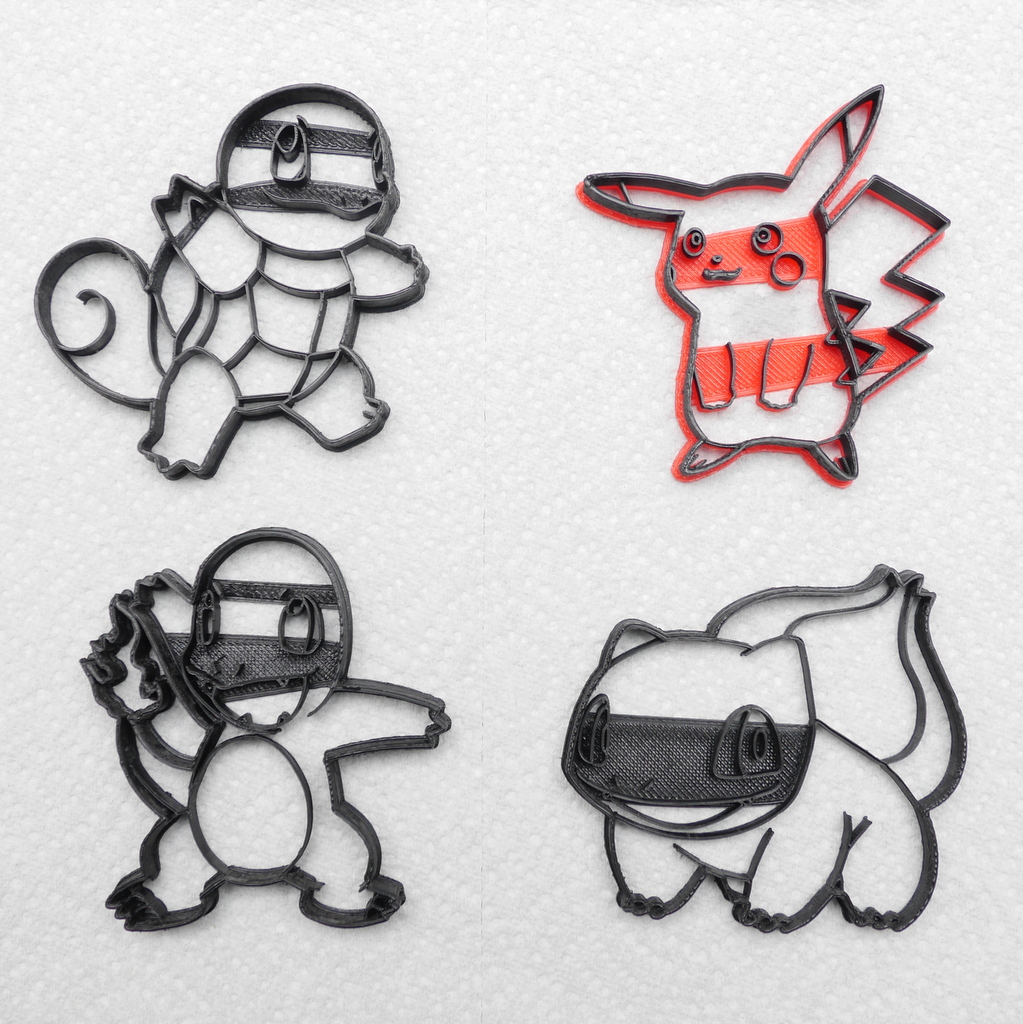
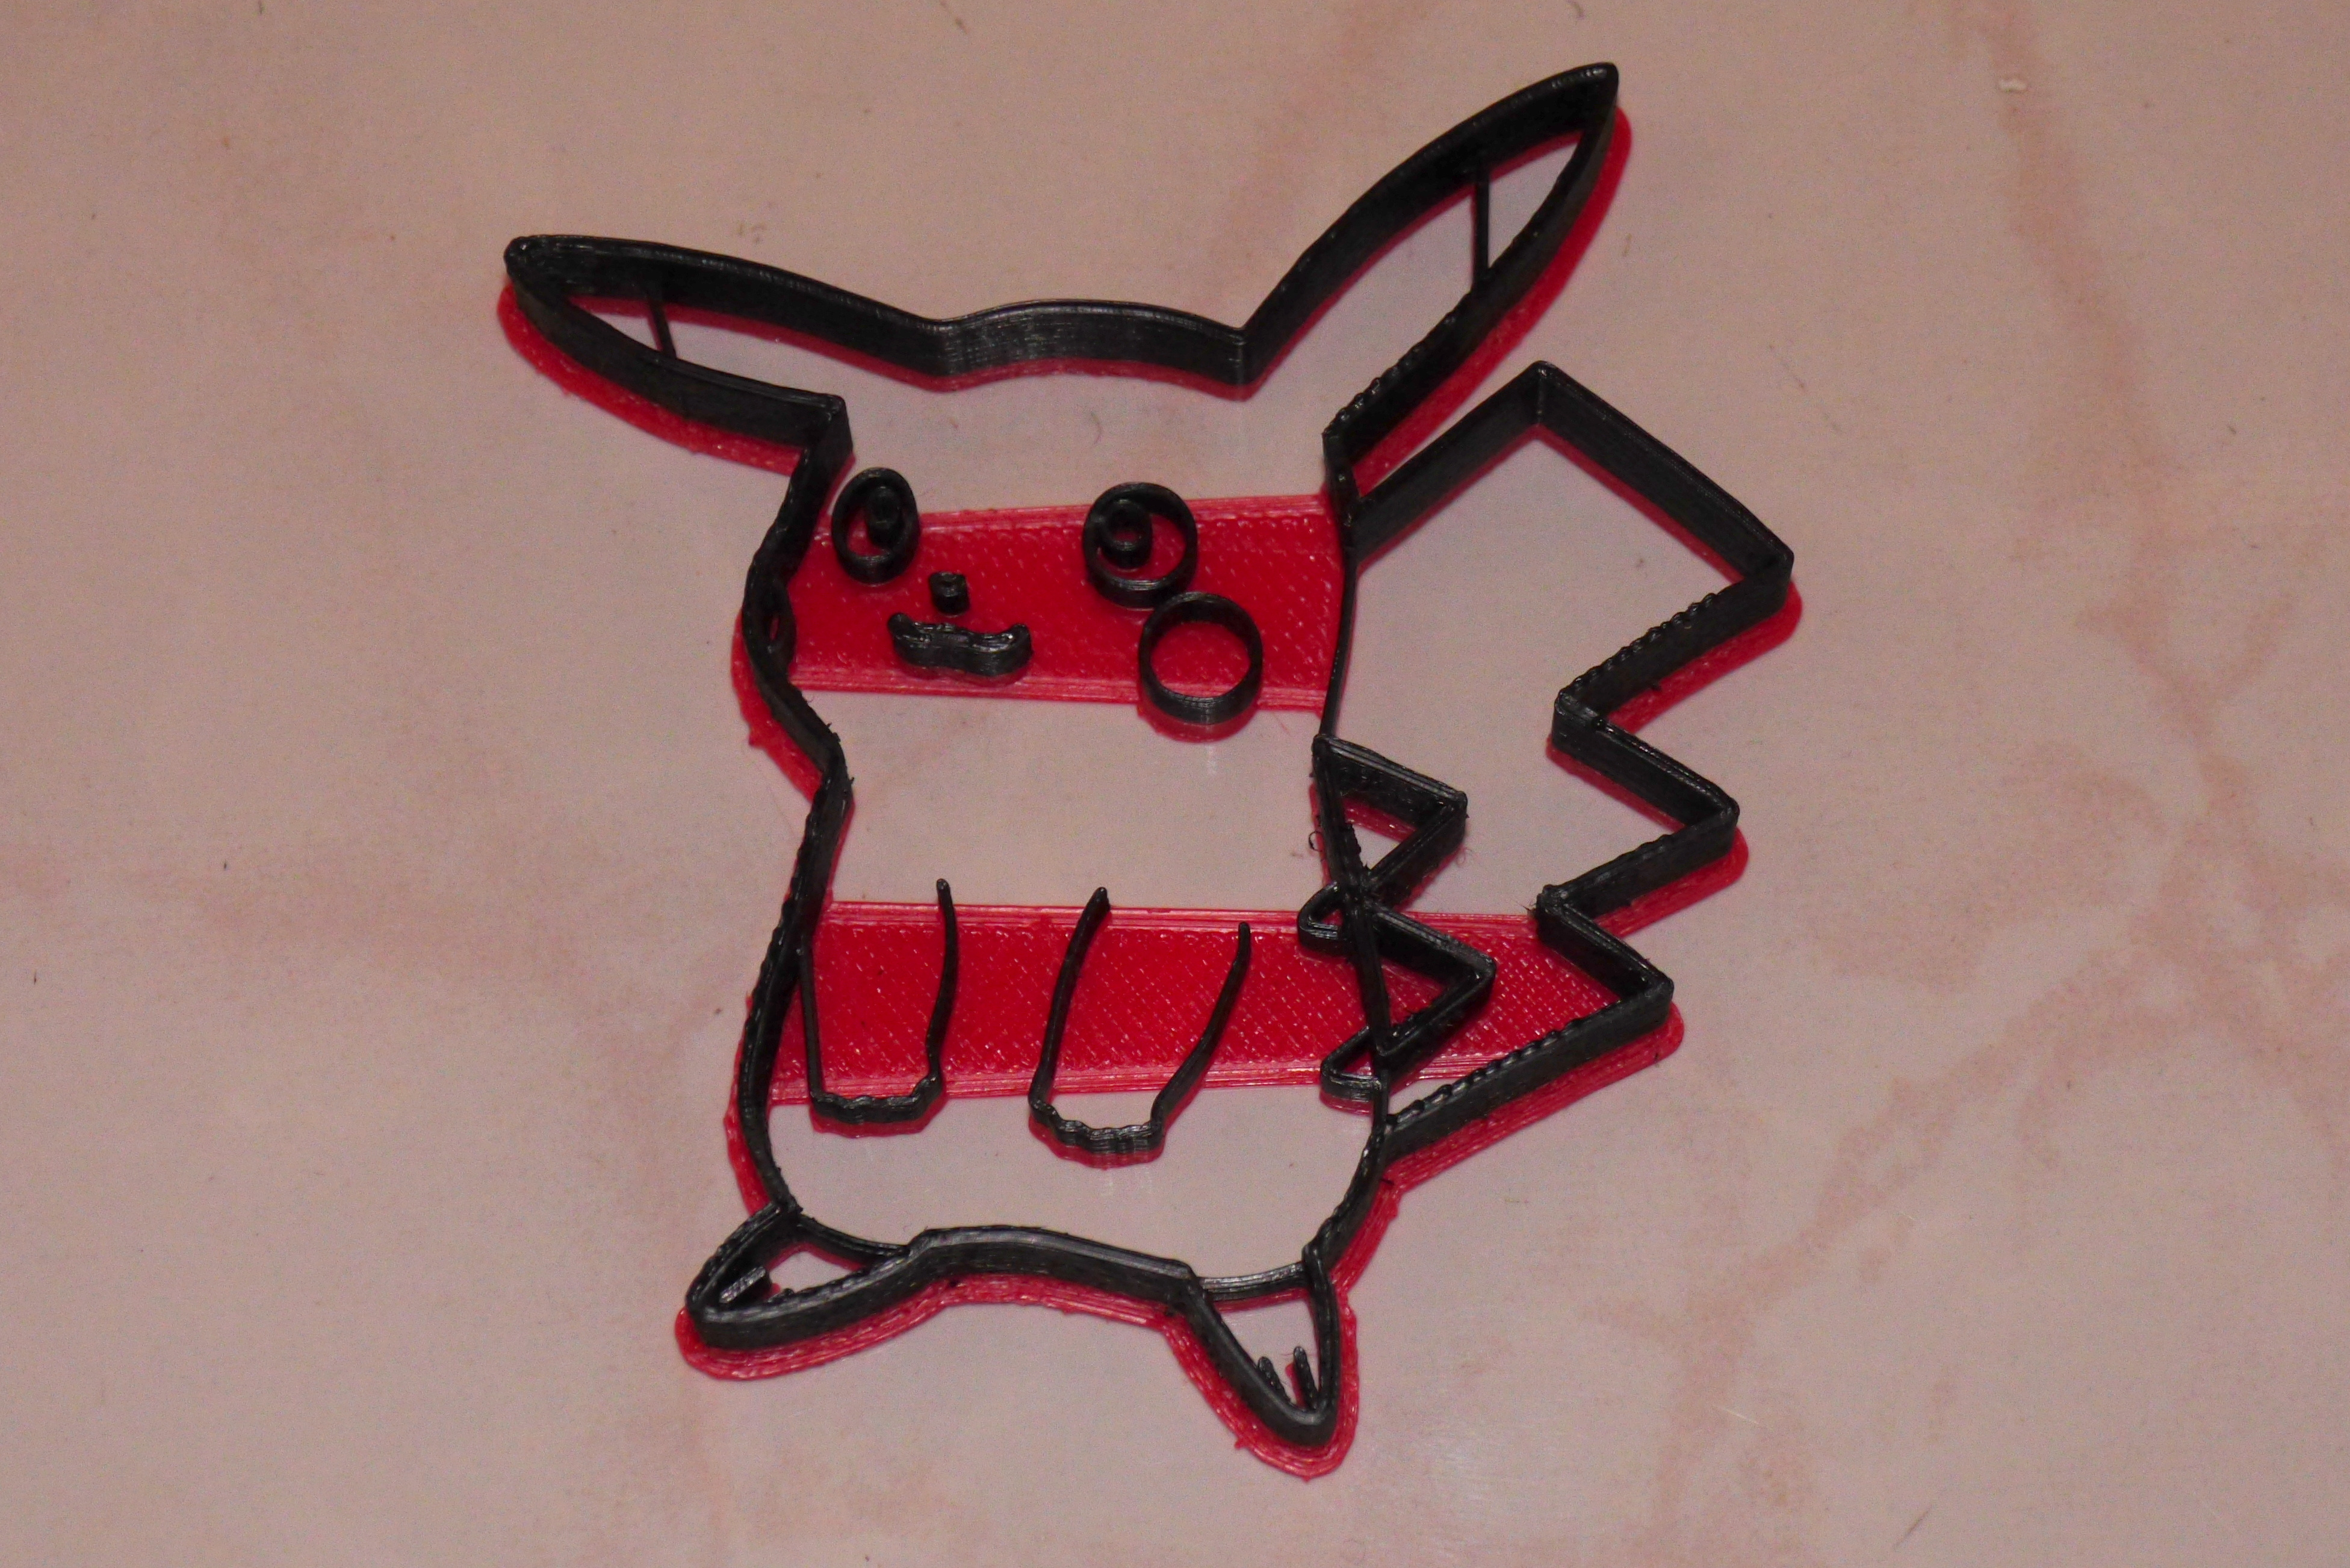
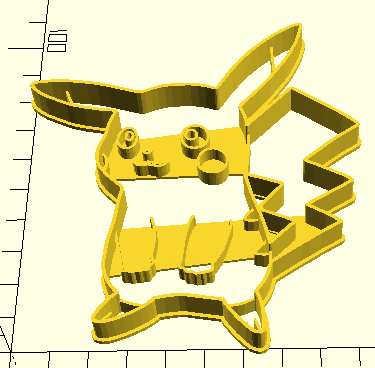
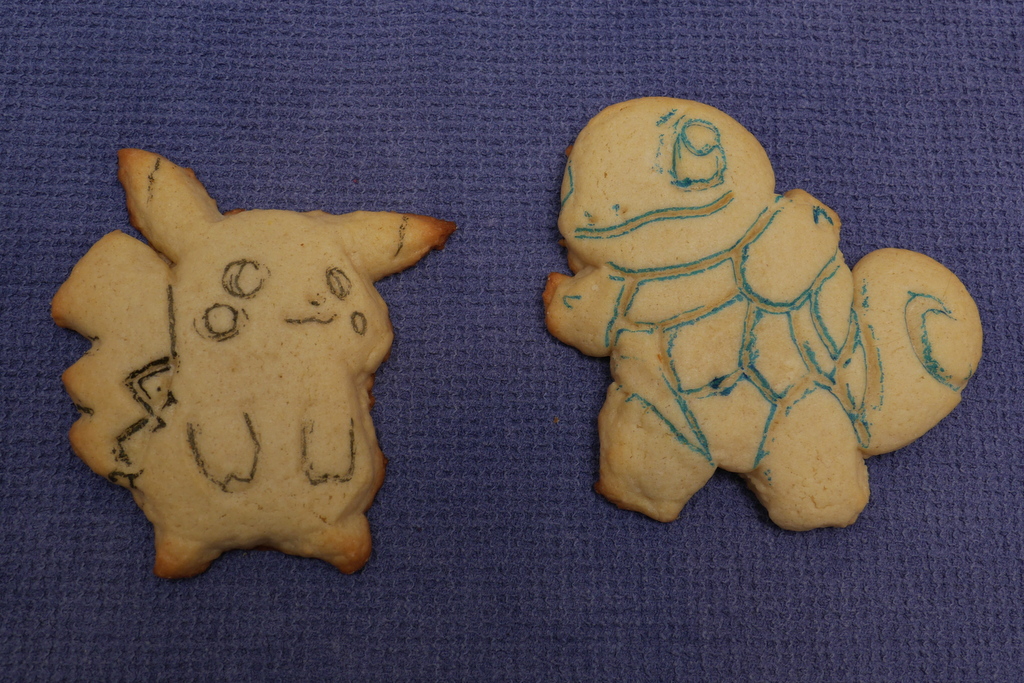
I wanted to print some Pokemon cookie cutters as a Christmas present for our four-year-old, but I didn't like any of the Pikachu cookie cutters on Thingiverse.
So I wrote an Inkscape extension that takes a specially drawn SVG path file, and generates a customizable OpenSCAD file with a cookie cutter design made from the SVG file. You can then use OpenSCAD to generate an STL file that you can send to the printer.
The Inkscape extension supports:
- connections for features that would otherwise fall off
- flange and customizable thickness for inside and outside walls
- shorter walls for inside detail.
If you just want to print the Pikachu cookie cutter, you can get it from Thingiverse. I also made some other Pokemon ones with the same extension.
Install Software
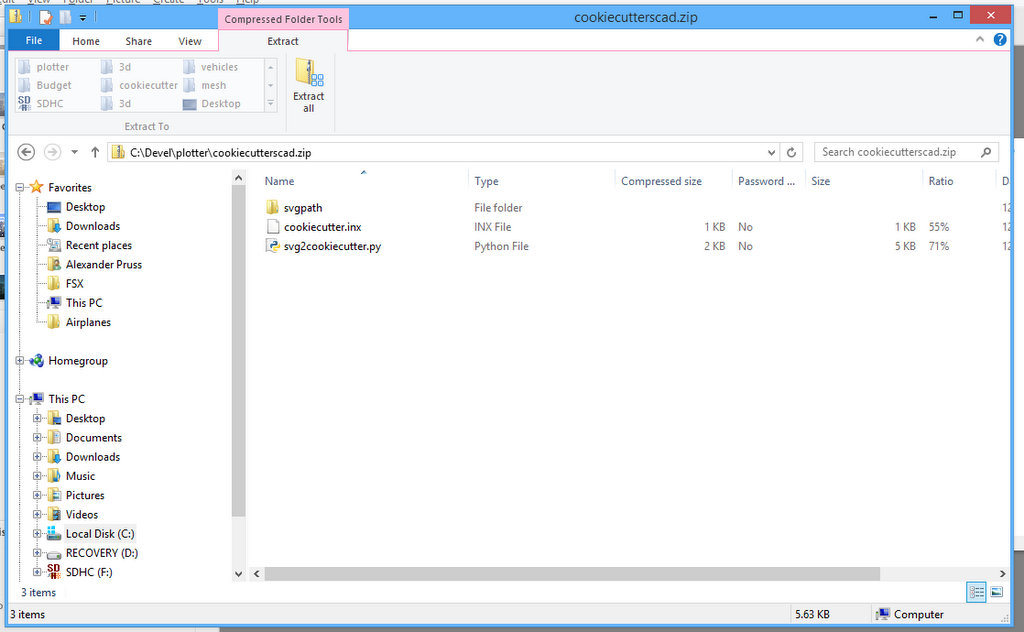
Install:
Download my cookie cutter export extension zip file for Inkscape. Copy the contents of the ZIP file into your Inkscape/share/extensions directory (on my Windows system, c:\Program Files\Inkscape\share\extensions).
Create SVG File
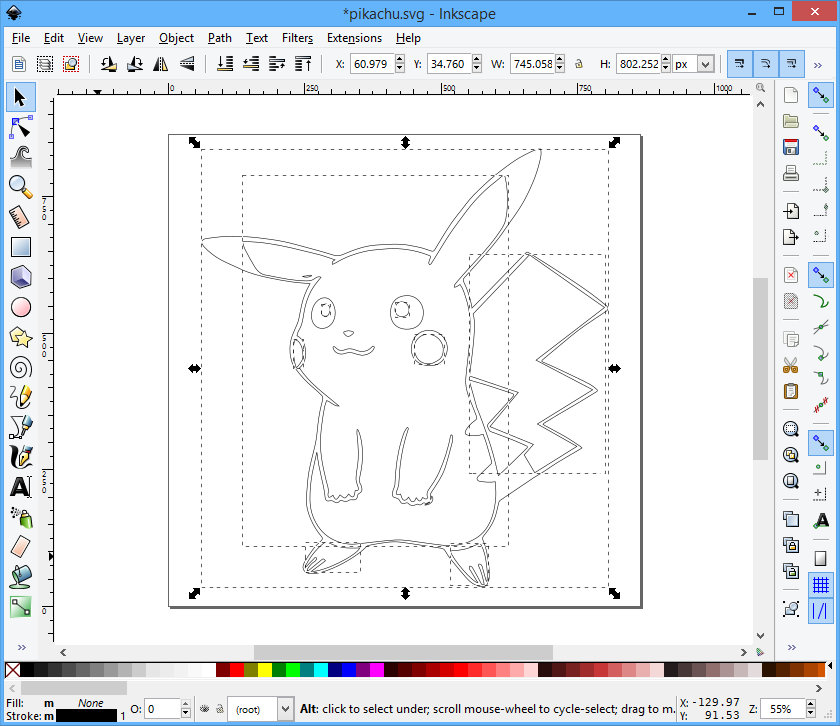
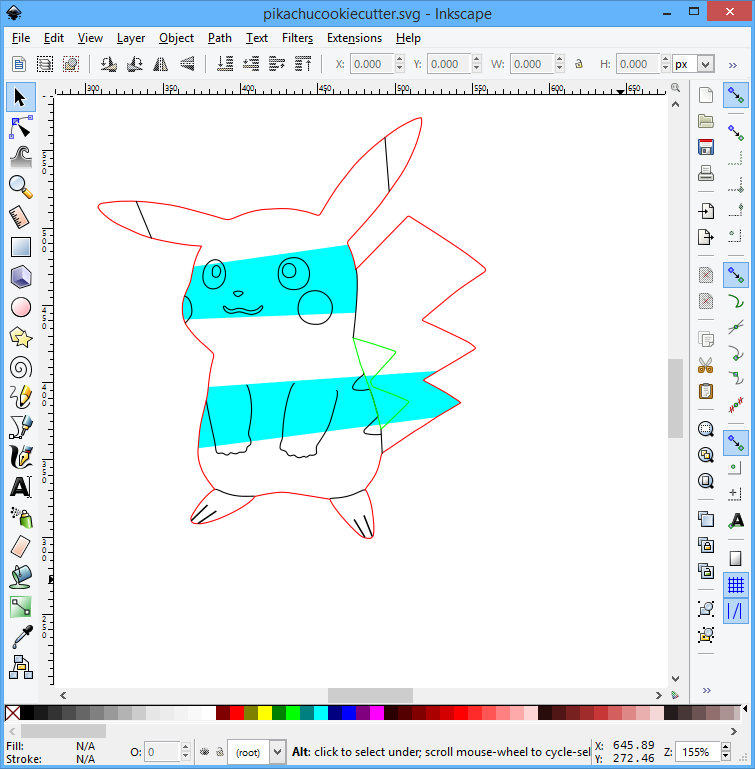
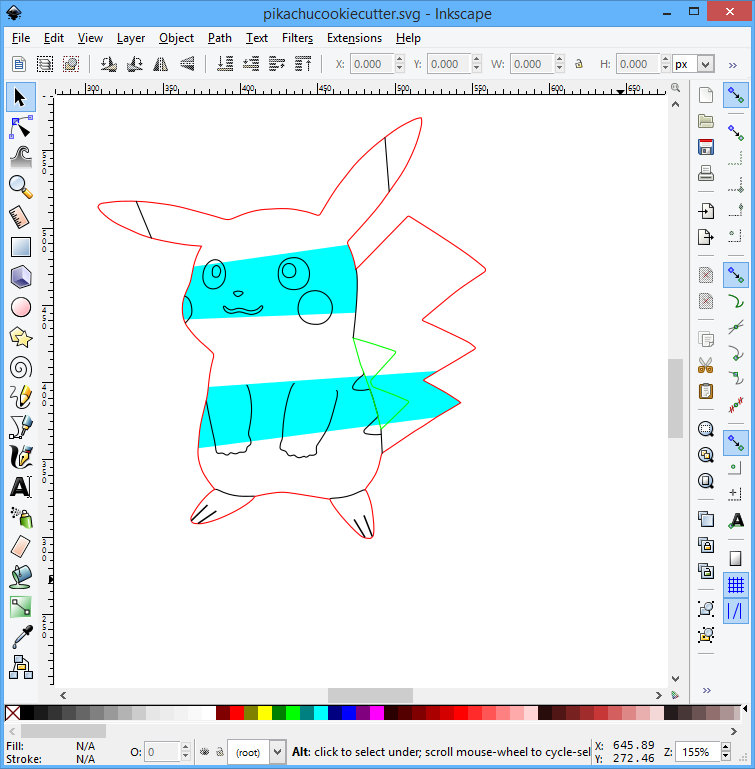
The cookie cutter extension expects an SVG file satisfying these conditions:
- everything converted to paths
- use red outline on outside walls
- use green outline on any inside walls (holes)
- use black outline on inside detail (this generates a wall that doesn't reach all the way through, so it marks the cookie but doesn't cut it)
- use red or green fill on areas you want filled in at full wall height
- use black fill on areas you want filled at inside detail height (walls that don't reach all the way through)
- use blue or cyan on inside connection polygons which keep inside detail and inside walls connected to the outside walls.
I started with a lovely pre-made Pikachu SVG file which I downloaded from the Internet (the creator asked me that I not give them credit so I am not linking back). However, that file had too much detail.
Load file into Inkscape. Then:
- Select all. (Ctrl-A)
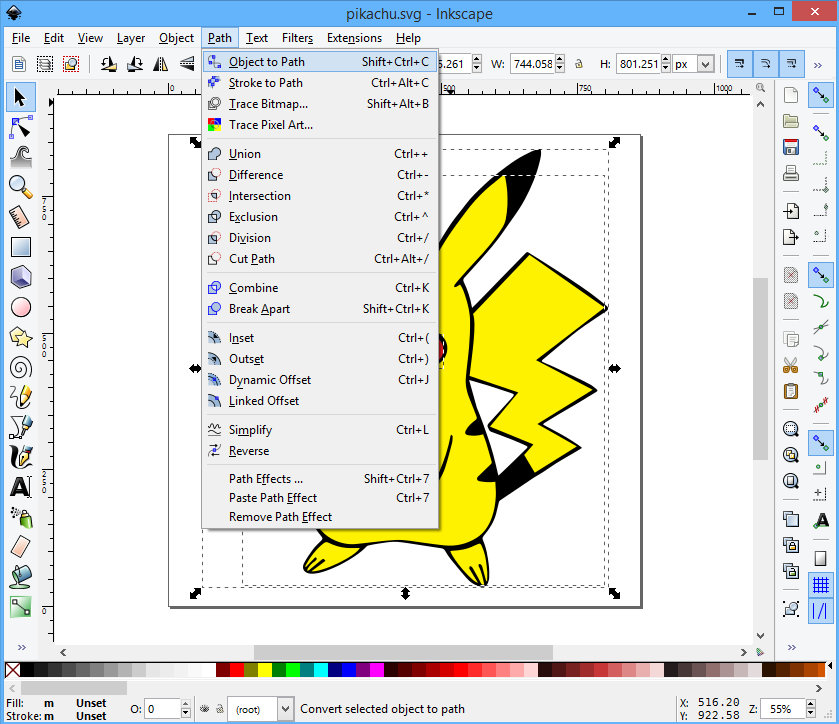
- Path | Object to Path.
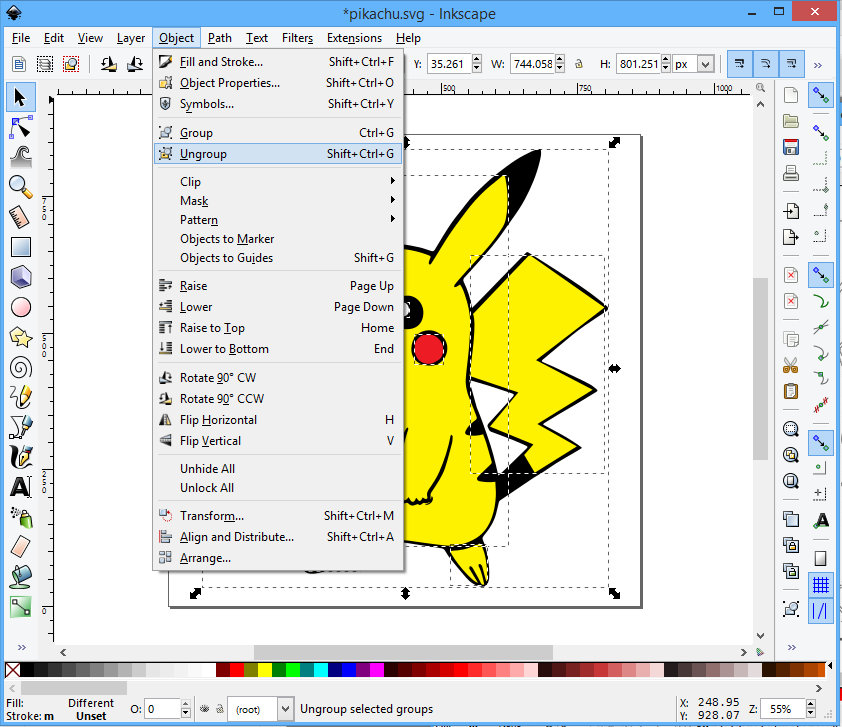
- Object | Ungroup.
- Remove all fill. (Click on X in color palette in lower-left corner of Inkscape screen)
- Turn on all outlines to black. (Shift-click on black square in color palette.)
- Delete duplicate lines, remove fine detail that won't work well in a cookie.
- Turn outside outline red. This should be a single polygon.
- Turn outline of any inside walls (holes) green.
- If there are any details or inside walls not connected to the outside wall, add filled-in polygons connecting the details to the outside wall. I did this by duplicating the outside walls, so I could re-use parts of their paths.
Generate 3D Files
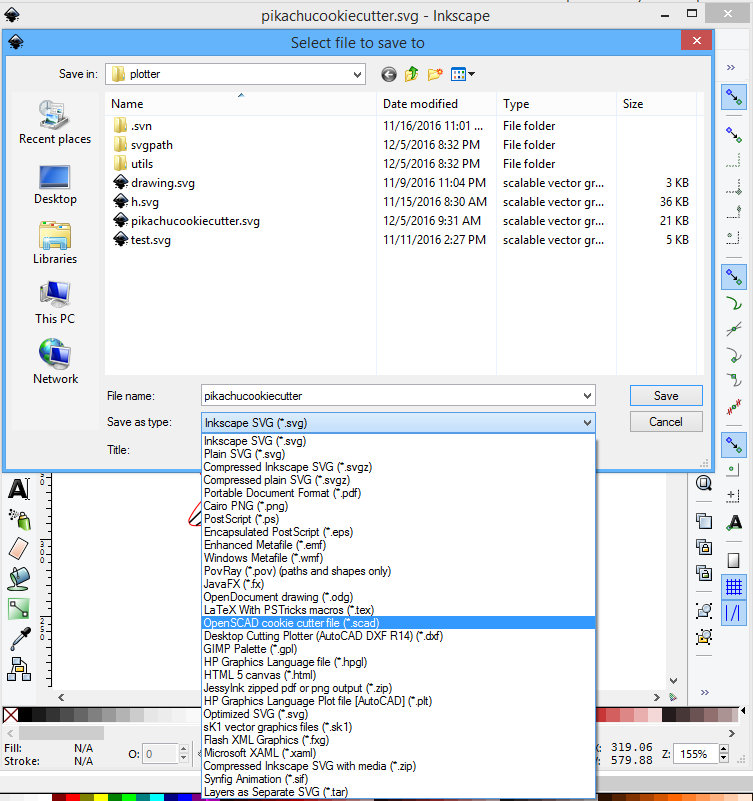
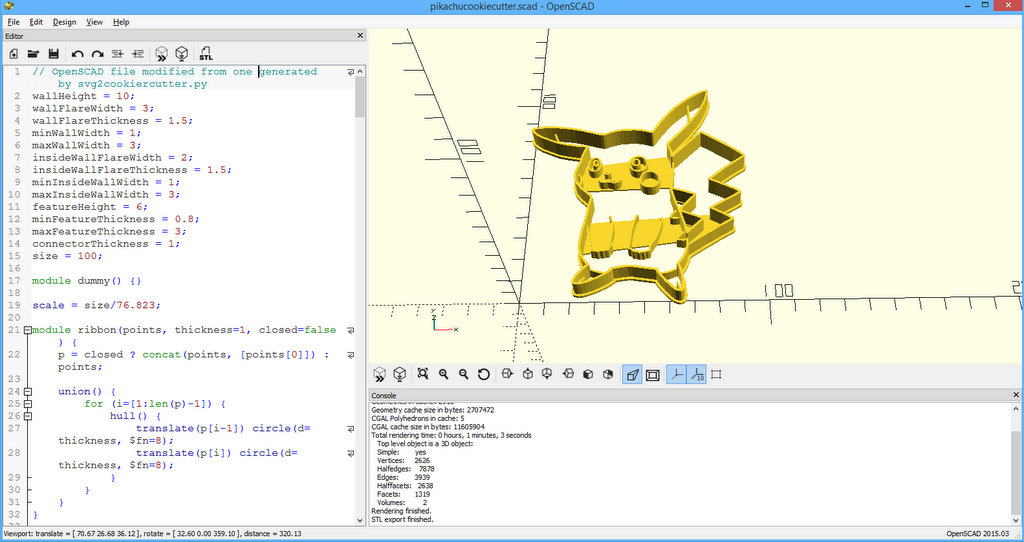
- In Inkscape, go to File | Save As... and choose "OpenSCAD cookie cutter file". Save the file. Make sure you give it a .scad extension.
- Load file into OpenSCAD.
- Adjust parameters at the top of the file to taste. The size parameter is the size of the cookie cutter in millimeters. Adjusting this will resize the cookie cutter without changing wall thickness, which is handy.
- Press the cube+hourglass icon at the top of the code to generate mesh.
- When done, press the STL button to generate an STL file.
- Print! I recommend ABS, with 0.2mm layer size.