3D Print on FlashPrint With FlashForge
by zhang107099 in Workshop > 3D Printing
2064 Views, 3 Favorites, 0 Comments
3D Print on FlashPrint With FlashForge
This tutorial will show how to use FlashPrint to slice your 3D models.
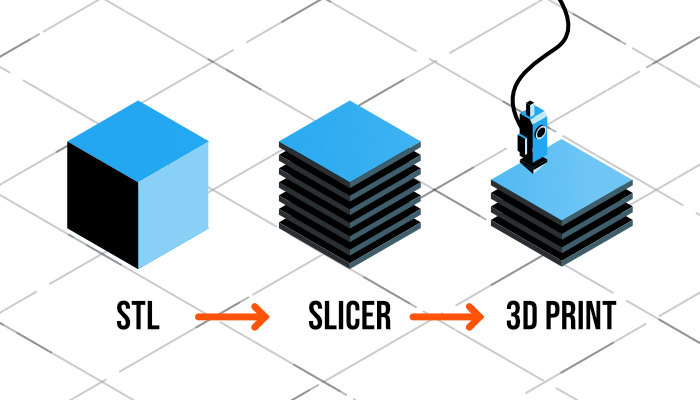
There are 3 stages in 3D printing.
1 The 3D model as a STL file
2 Slicing the STL into instructions for the 3D printer, regarding the order that the layers should be printed in.
3 Sending the slice to the 3D printer
Supplies


As stated before, you will need 3 main supplies
1 You will require a 3D modeling software of your choice (I am using Autodesk Fusion 360, but whichever you use does not affect the 3D printing process)
2 FlashPrint application
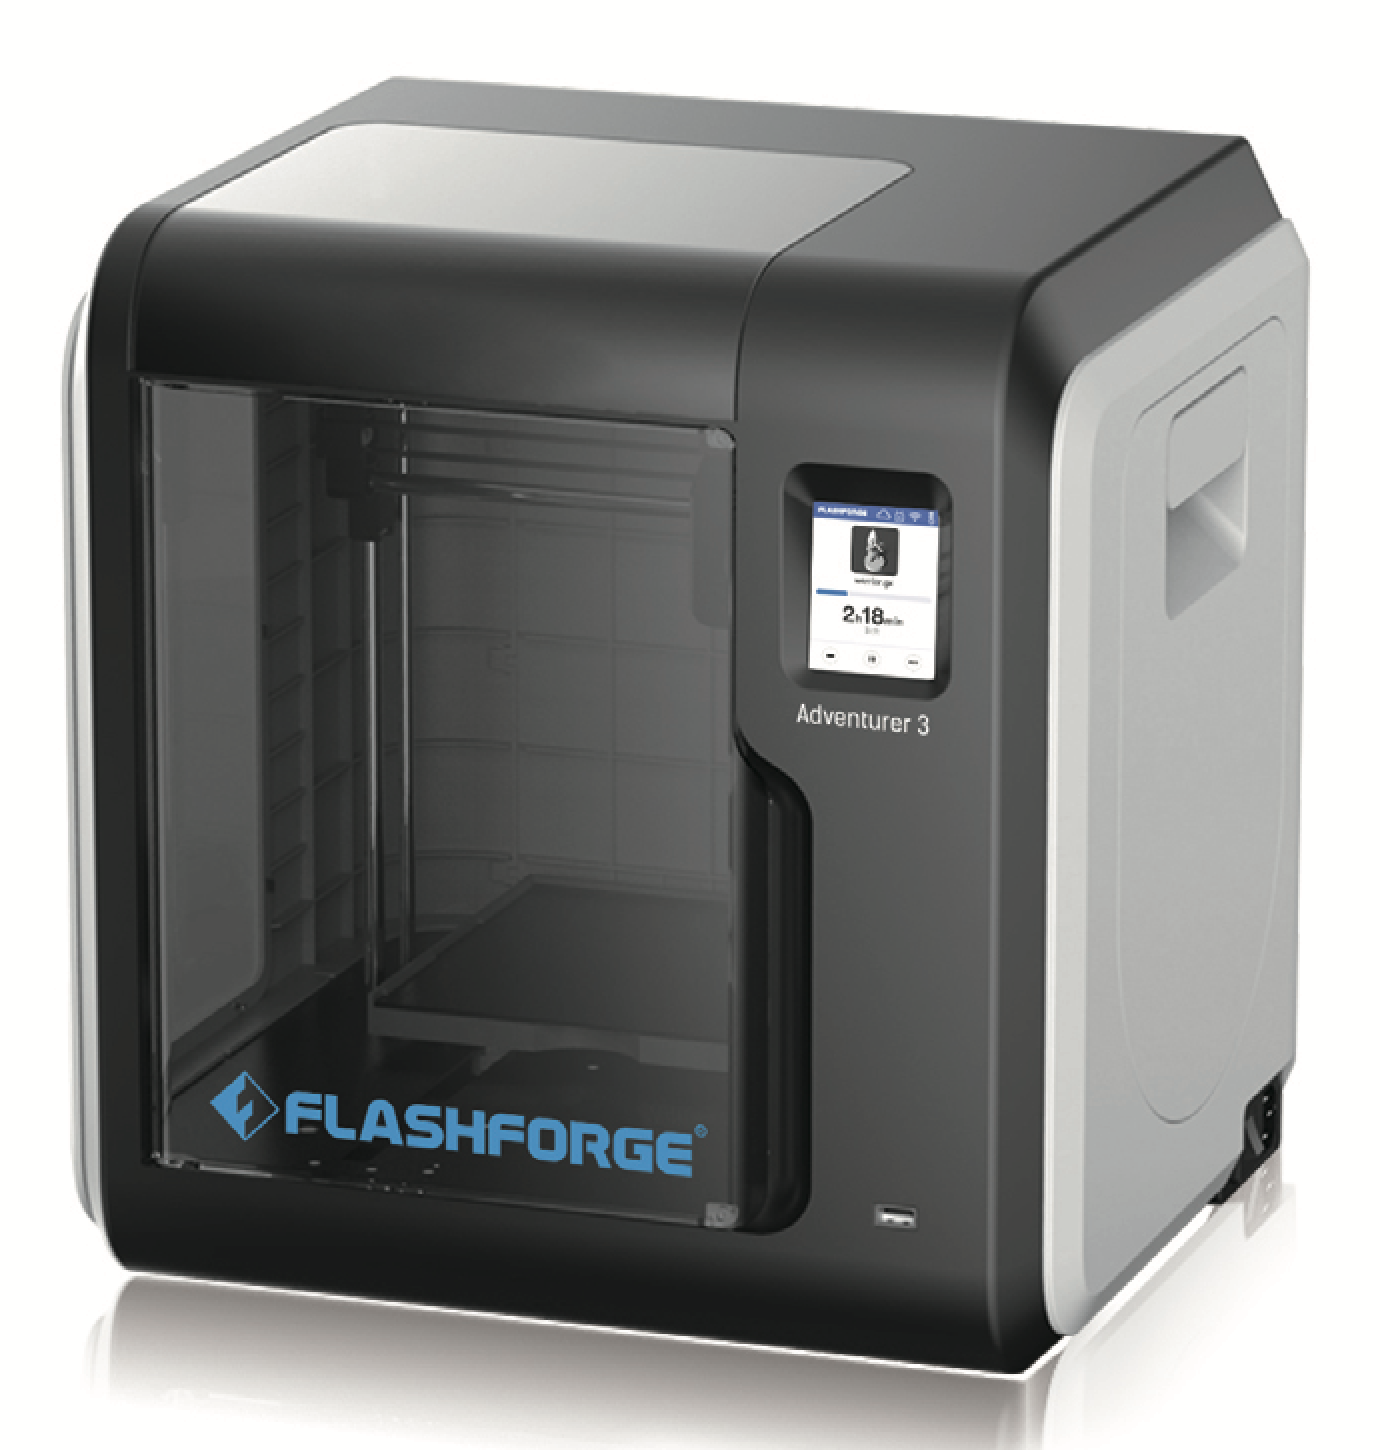
3 FlashForge 3D Printer
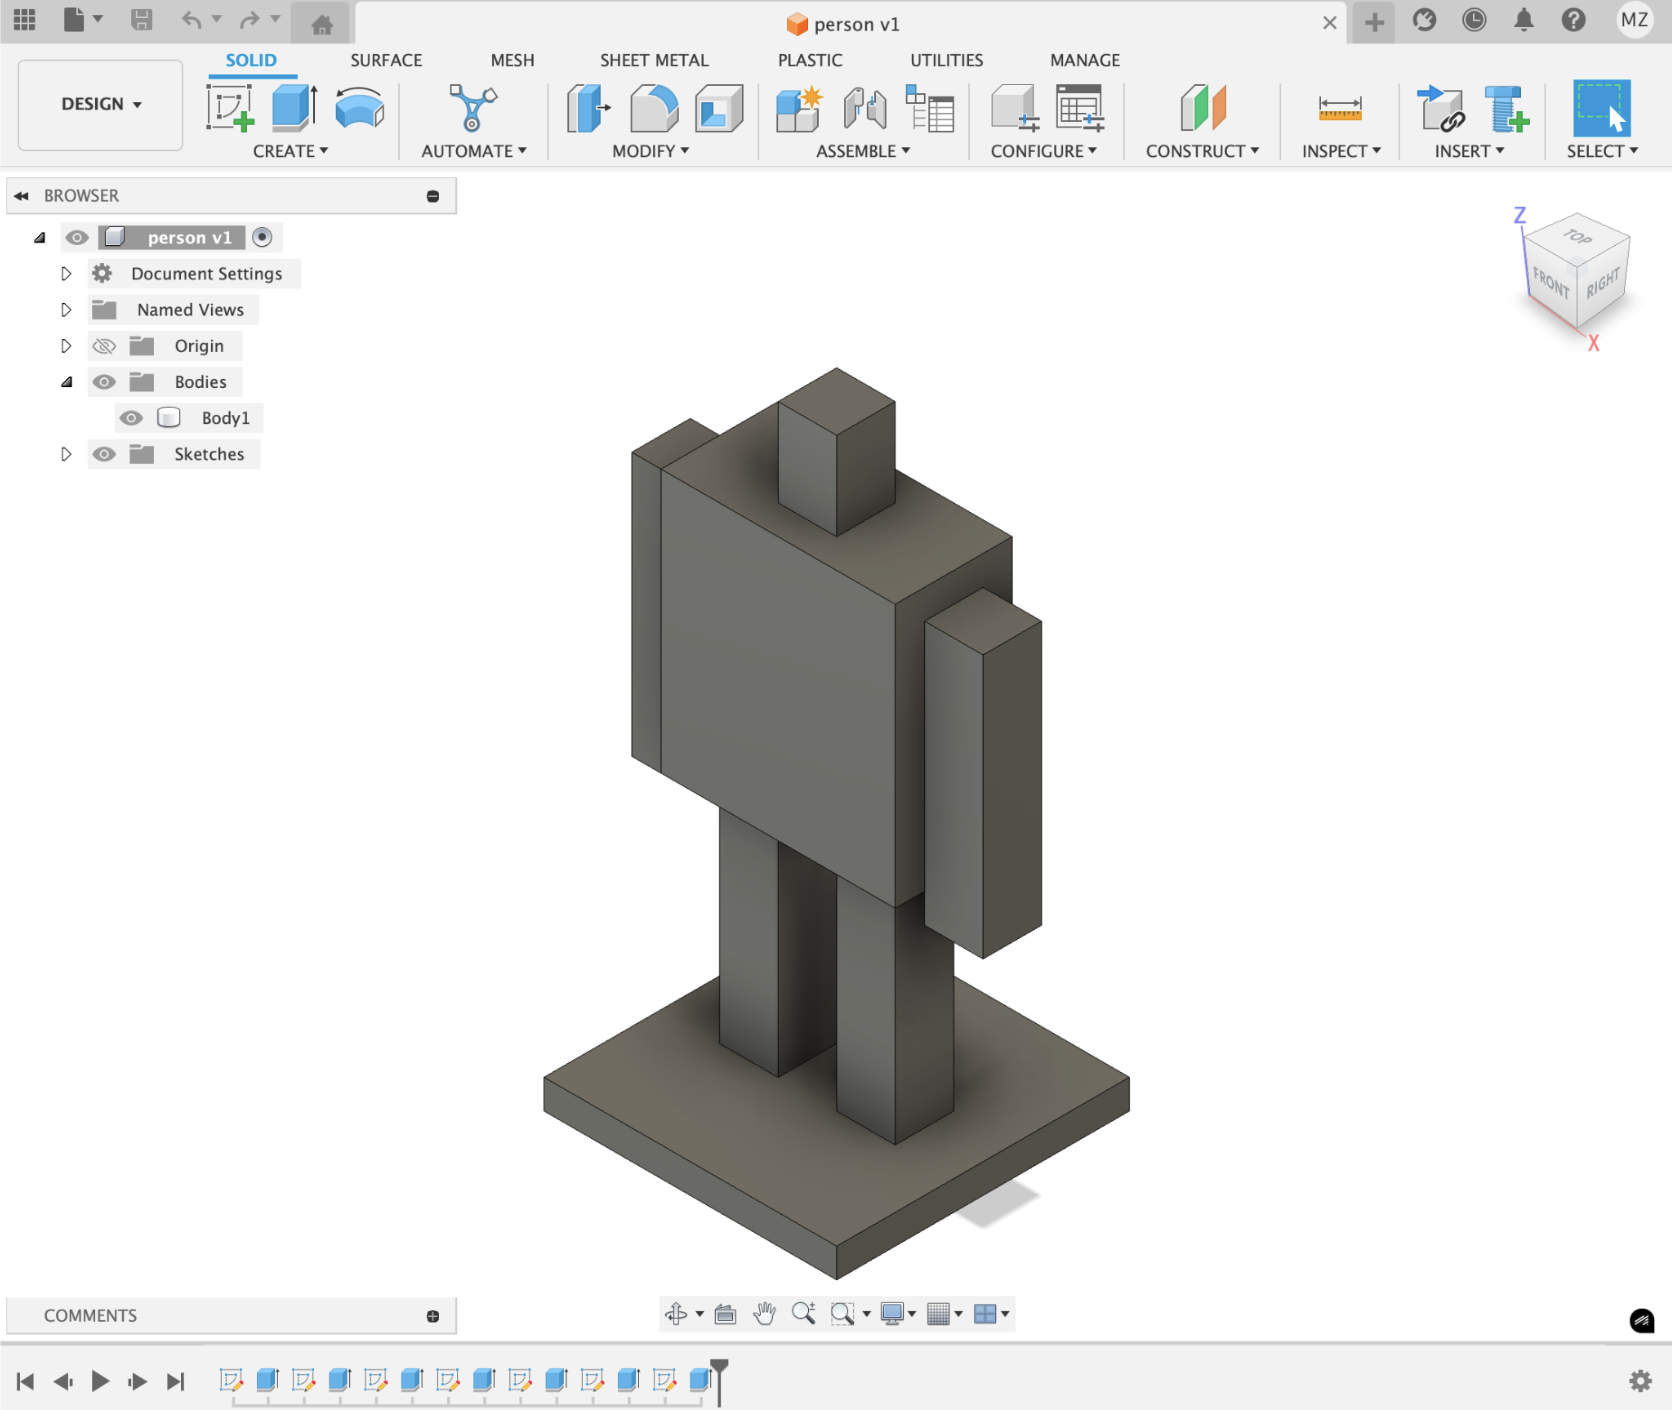
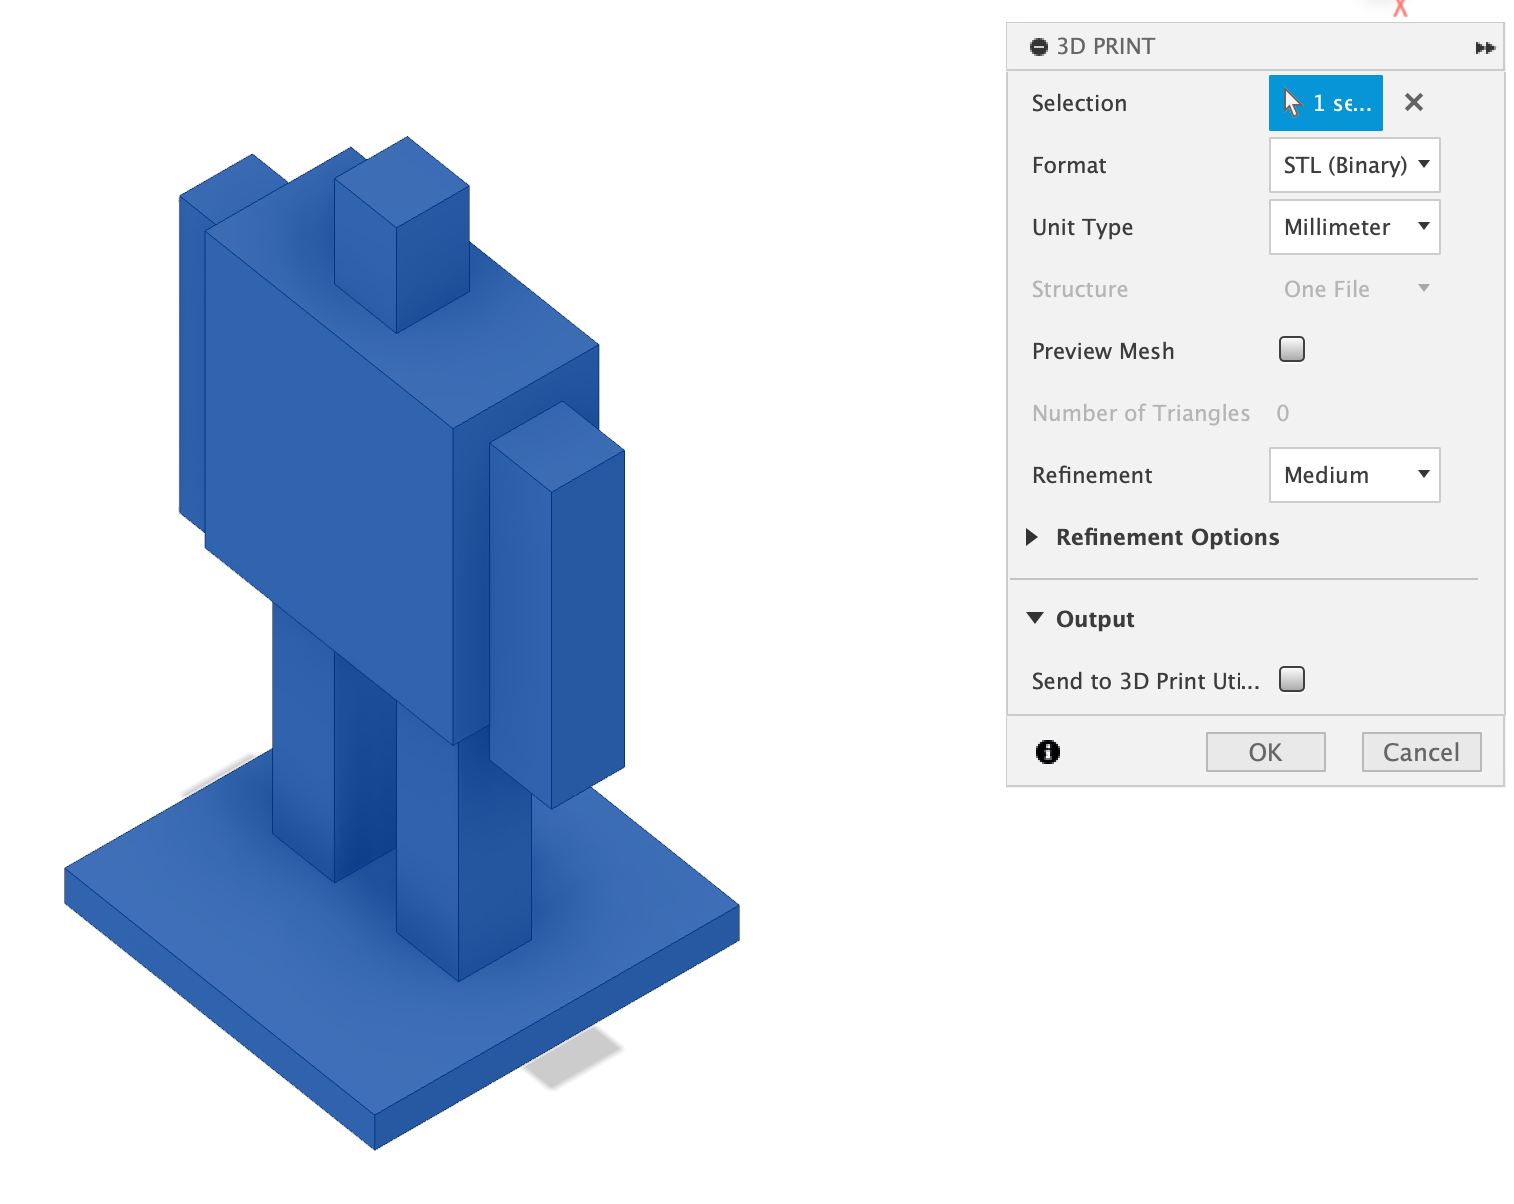
Attached down below is the basic 3D model that I created for the purpose of this demonstration (as an STL file type)
Downloads
3D Modelling
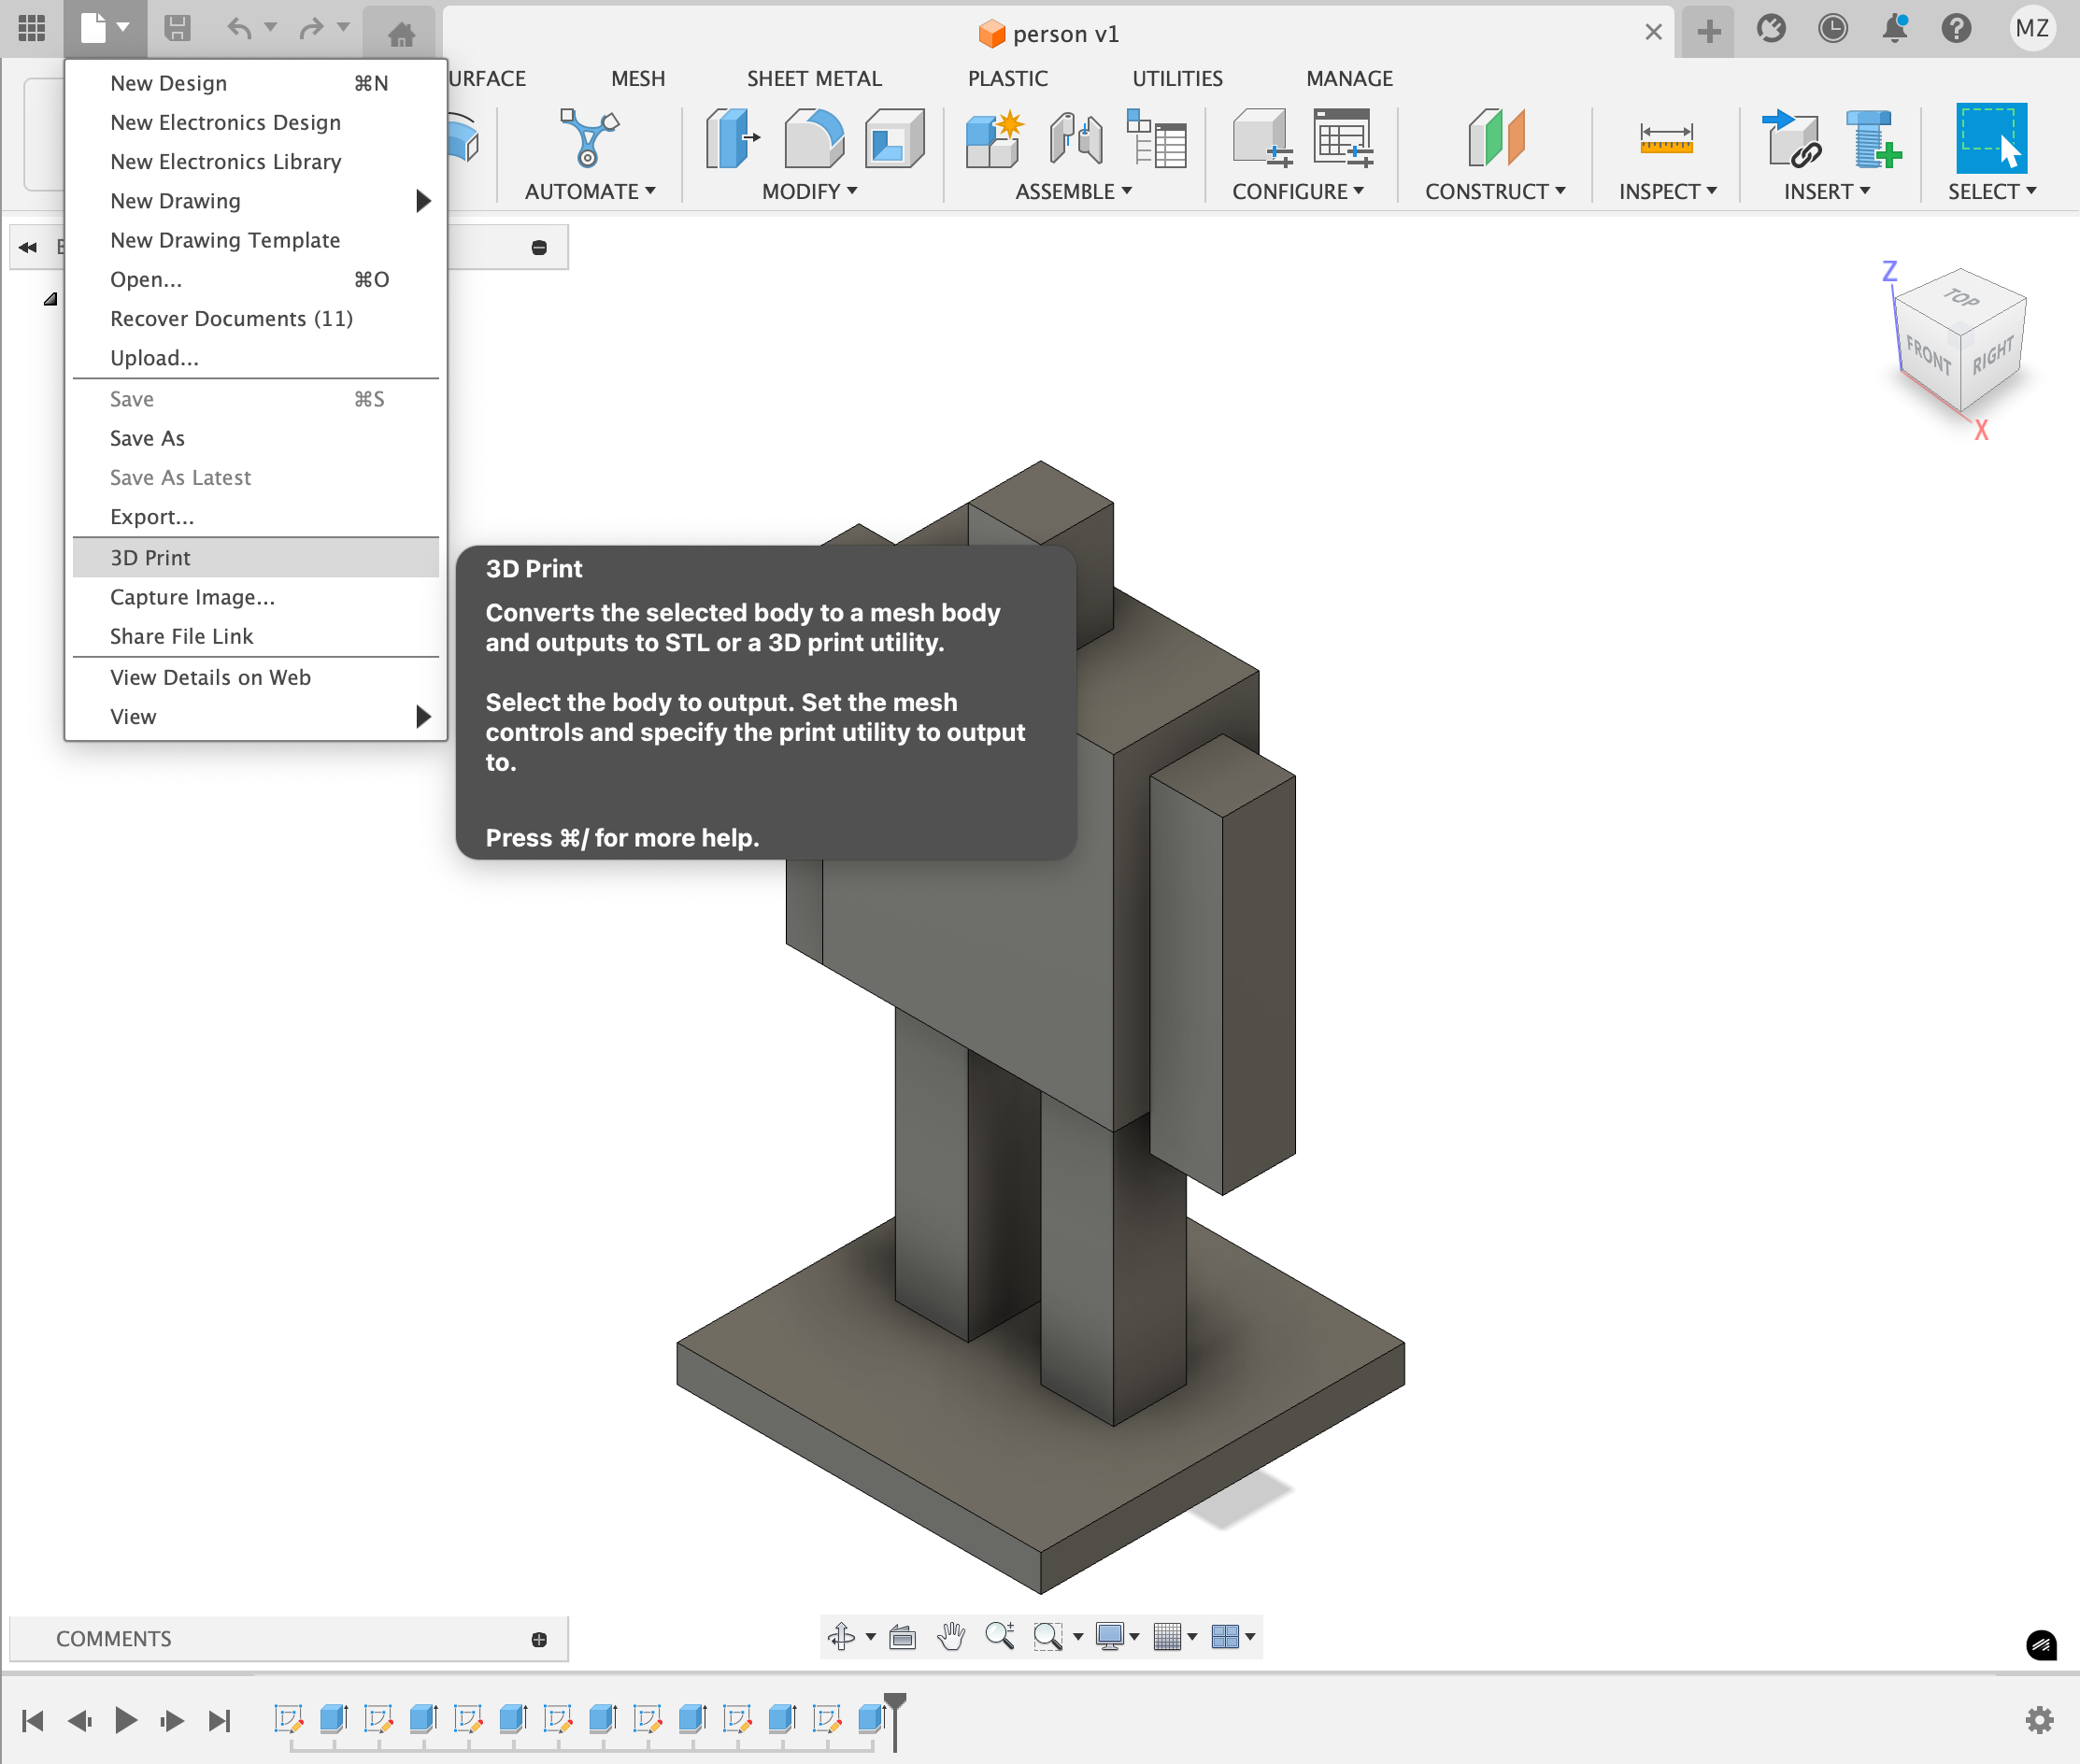
1 Using the 3D modeling software of your choice, select the parts you intend to 3D print. This converts the body to a mesh which can then be outputted as an STL.
2 Save the mesh as an STL type. This file type is understood by slicing softwares and 3D printers.
FlashPrint UI
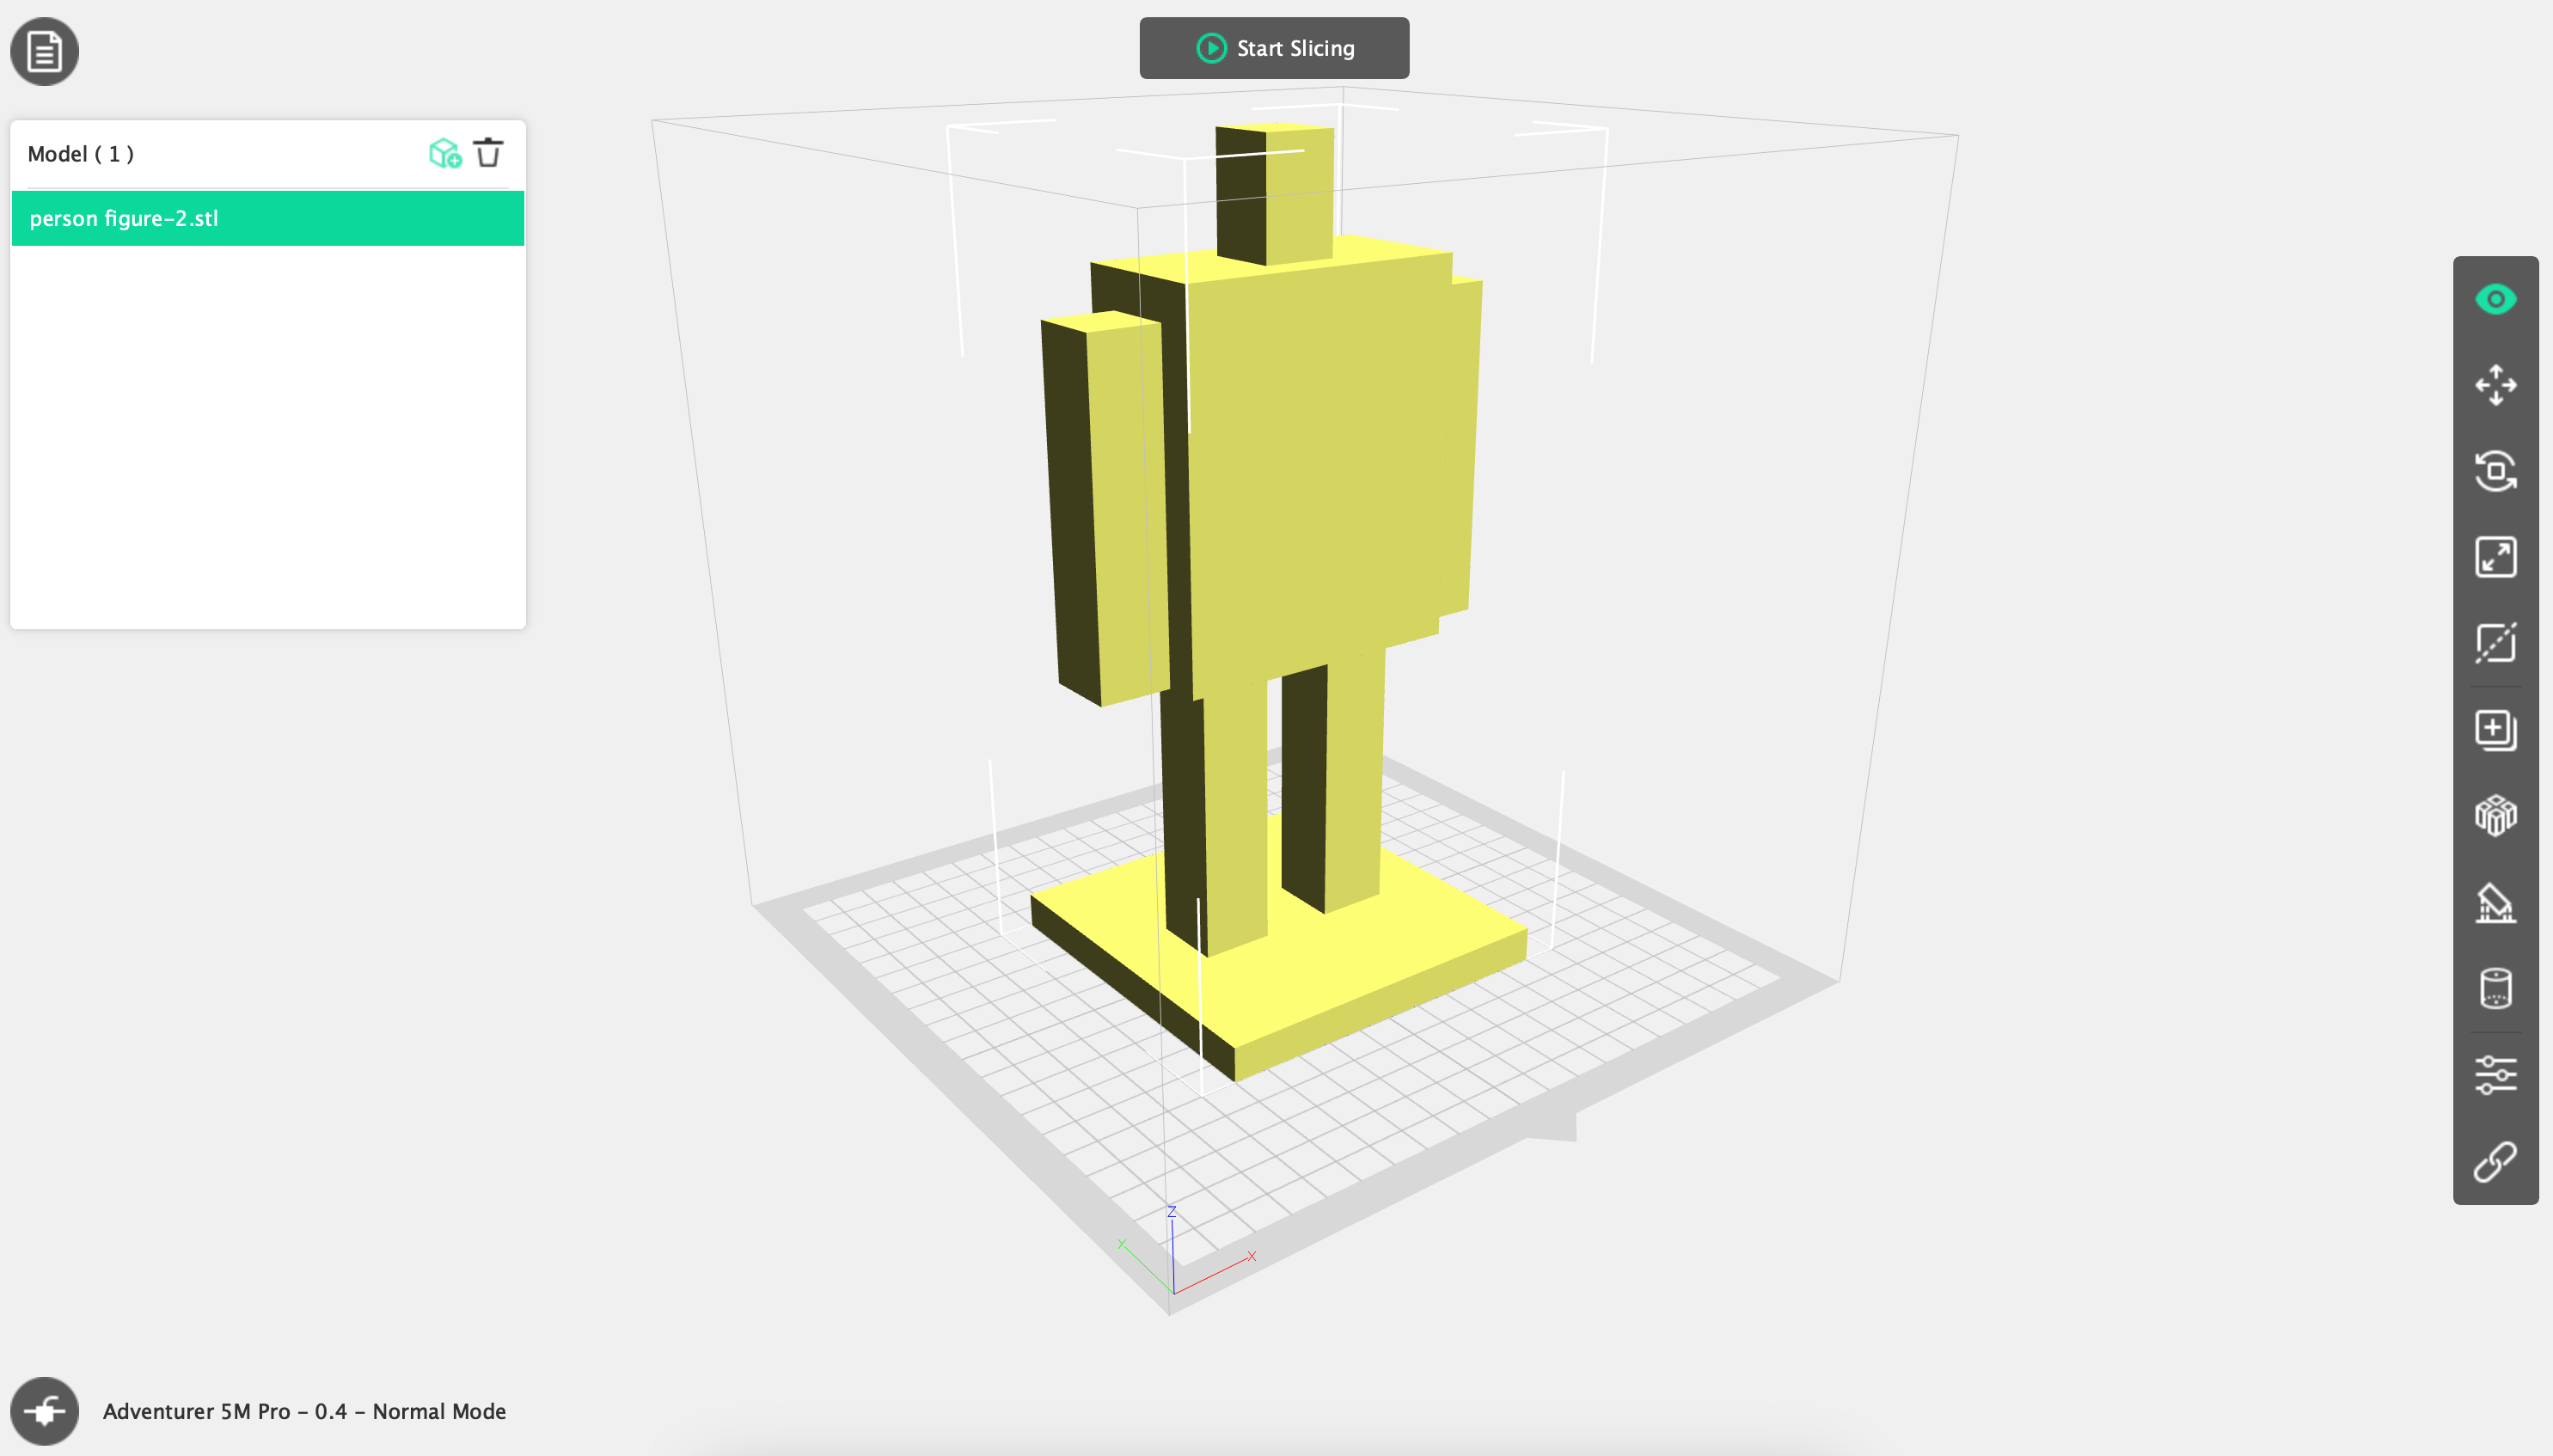
This is the Flashforge specific 3D slicer
It slices the 3D model into layers and generates the instructions (called G-code) which when sent to the 3D printer, knows how to print the layers in the correct order the most efficiently, like a list of instructions.
1 The Flashprint software is the slicer that serves Flashforge printers.
2 In the middle of the screen is a preview of how the model will be printed on the print base.
3 Panel on the right contains the different functions you can apply to manipulate and modify how the print will look.
4 Insert your STL files on the panel on the top left.
5 Select your 3D printer model on the bottom left
Modifying With Flashprint
The first 7 buttons from the top on the right panel are basic functions.
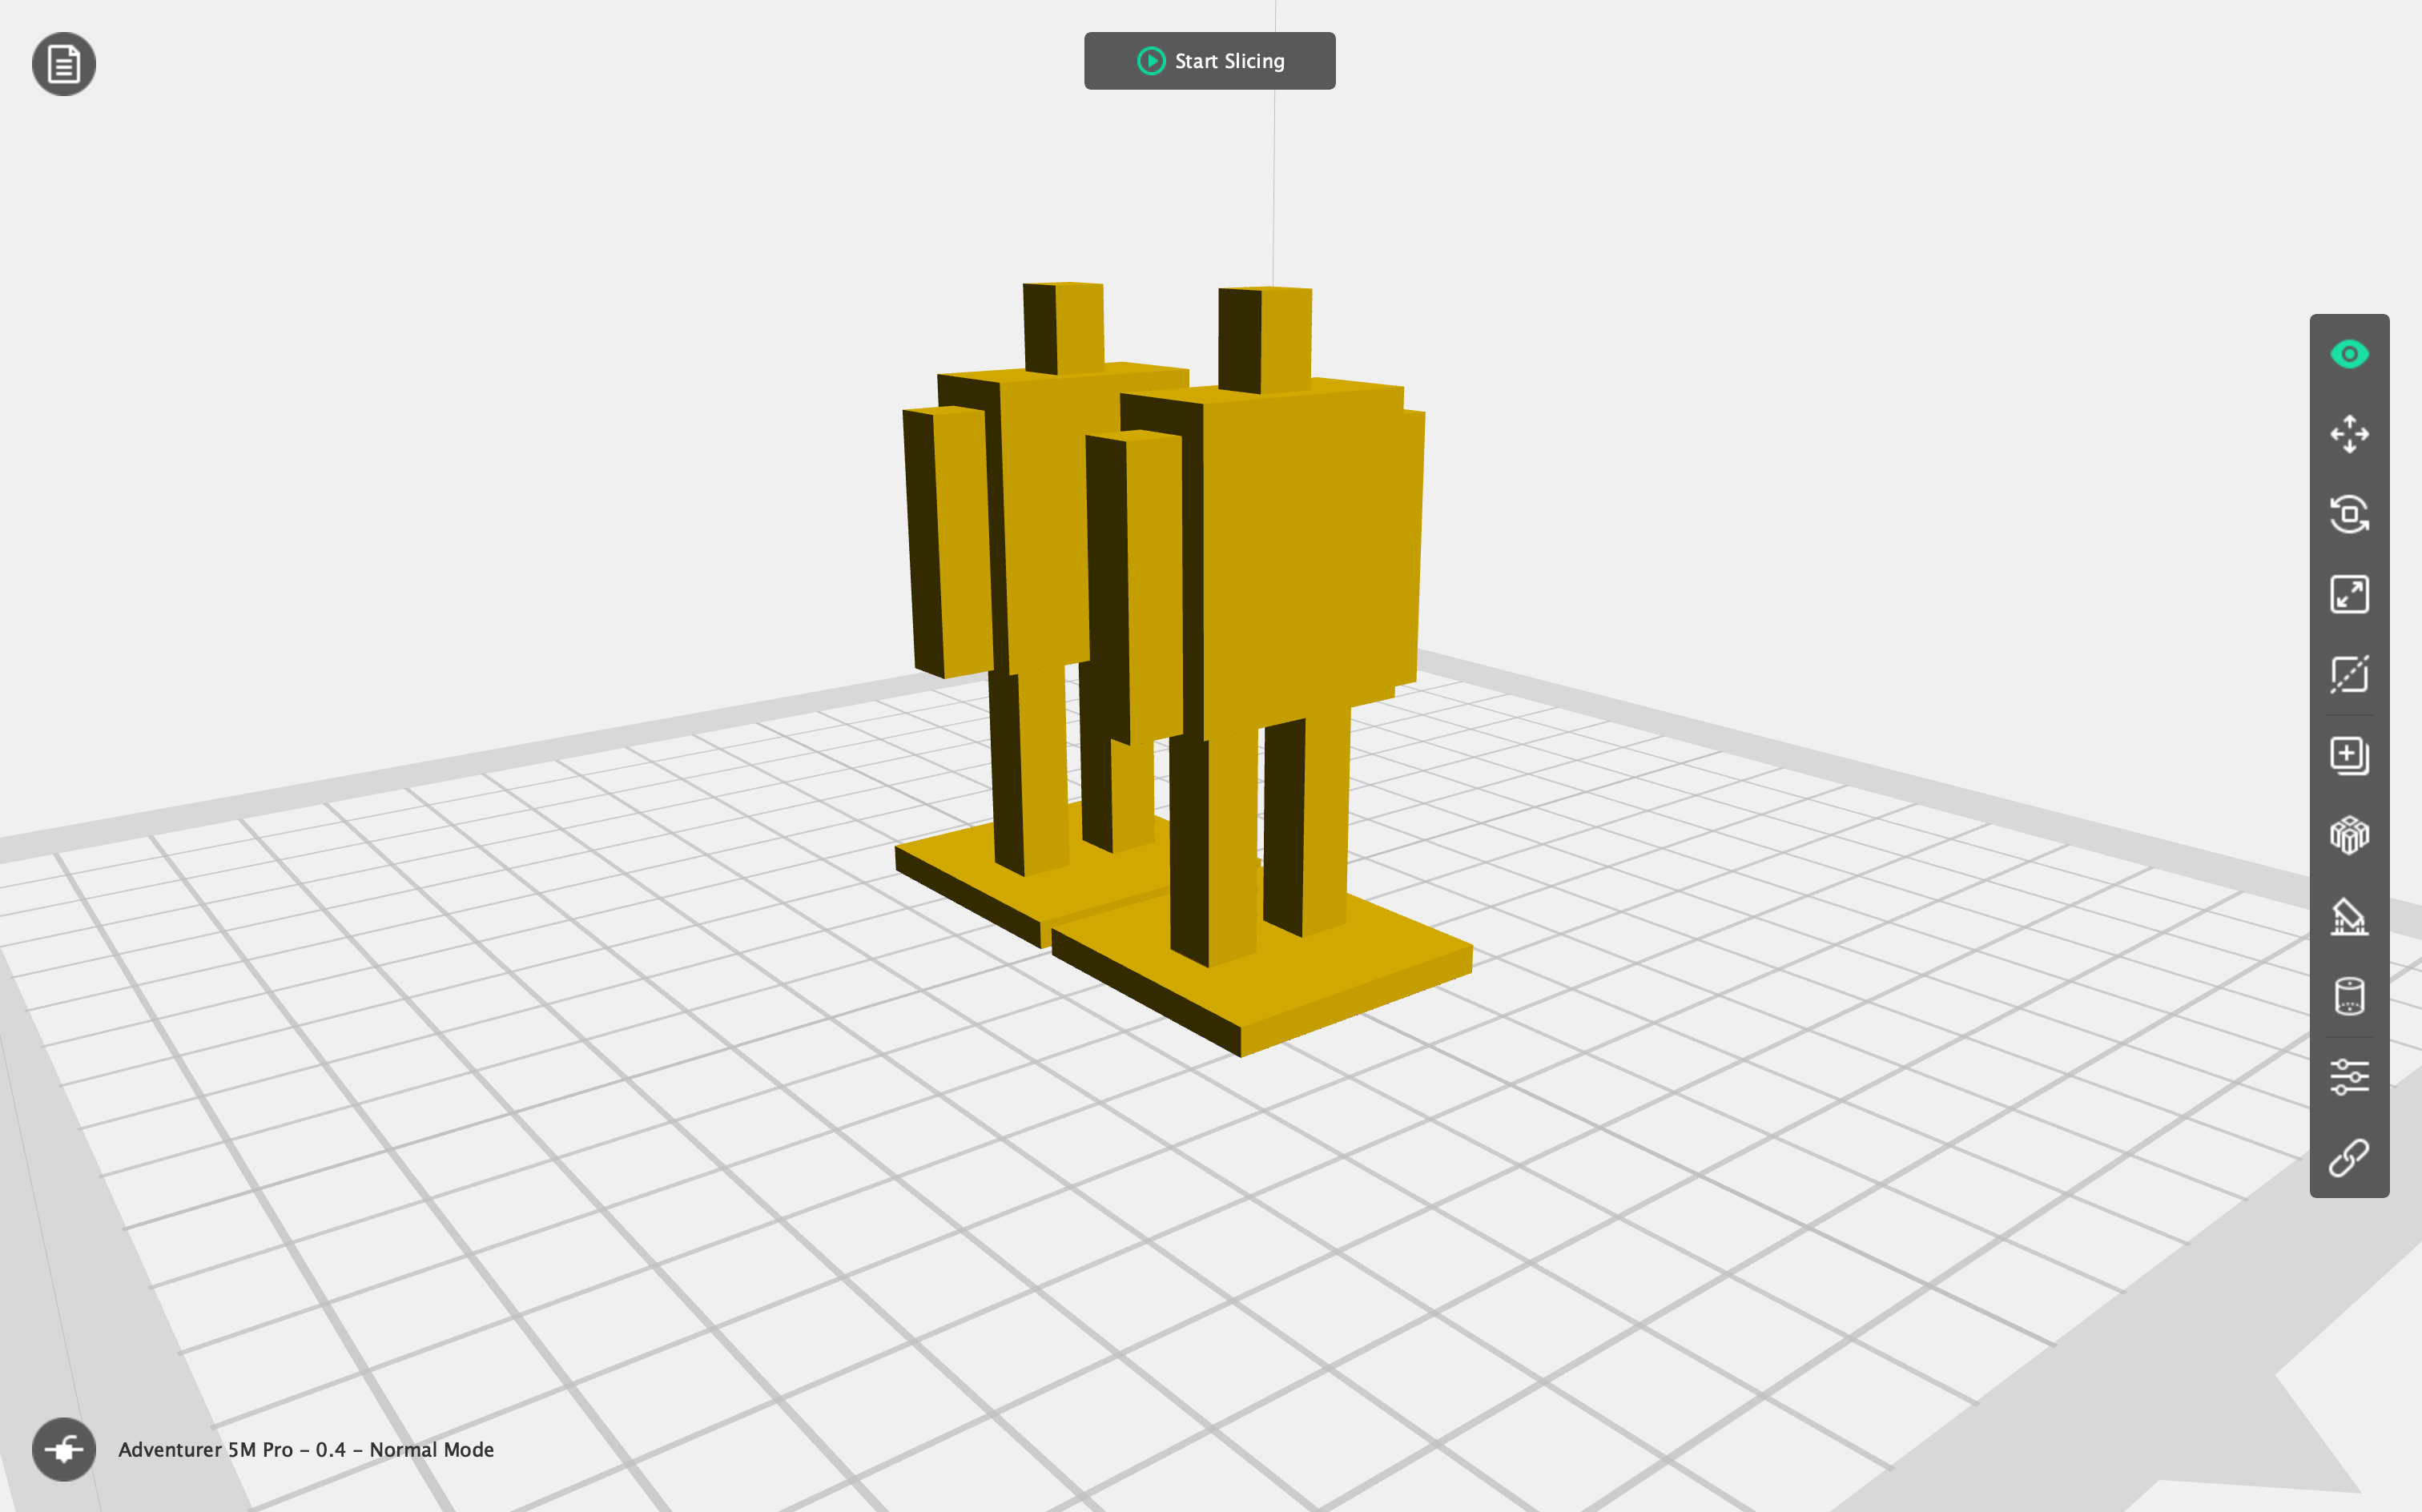
My modifying process
1 Scale down the Model
2 Move my perspective with the scroll on your mouse.
3 Duplicate the Model
4 Move the multiple models neatly using the Auto Layout All (or use the manual Move button)
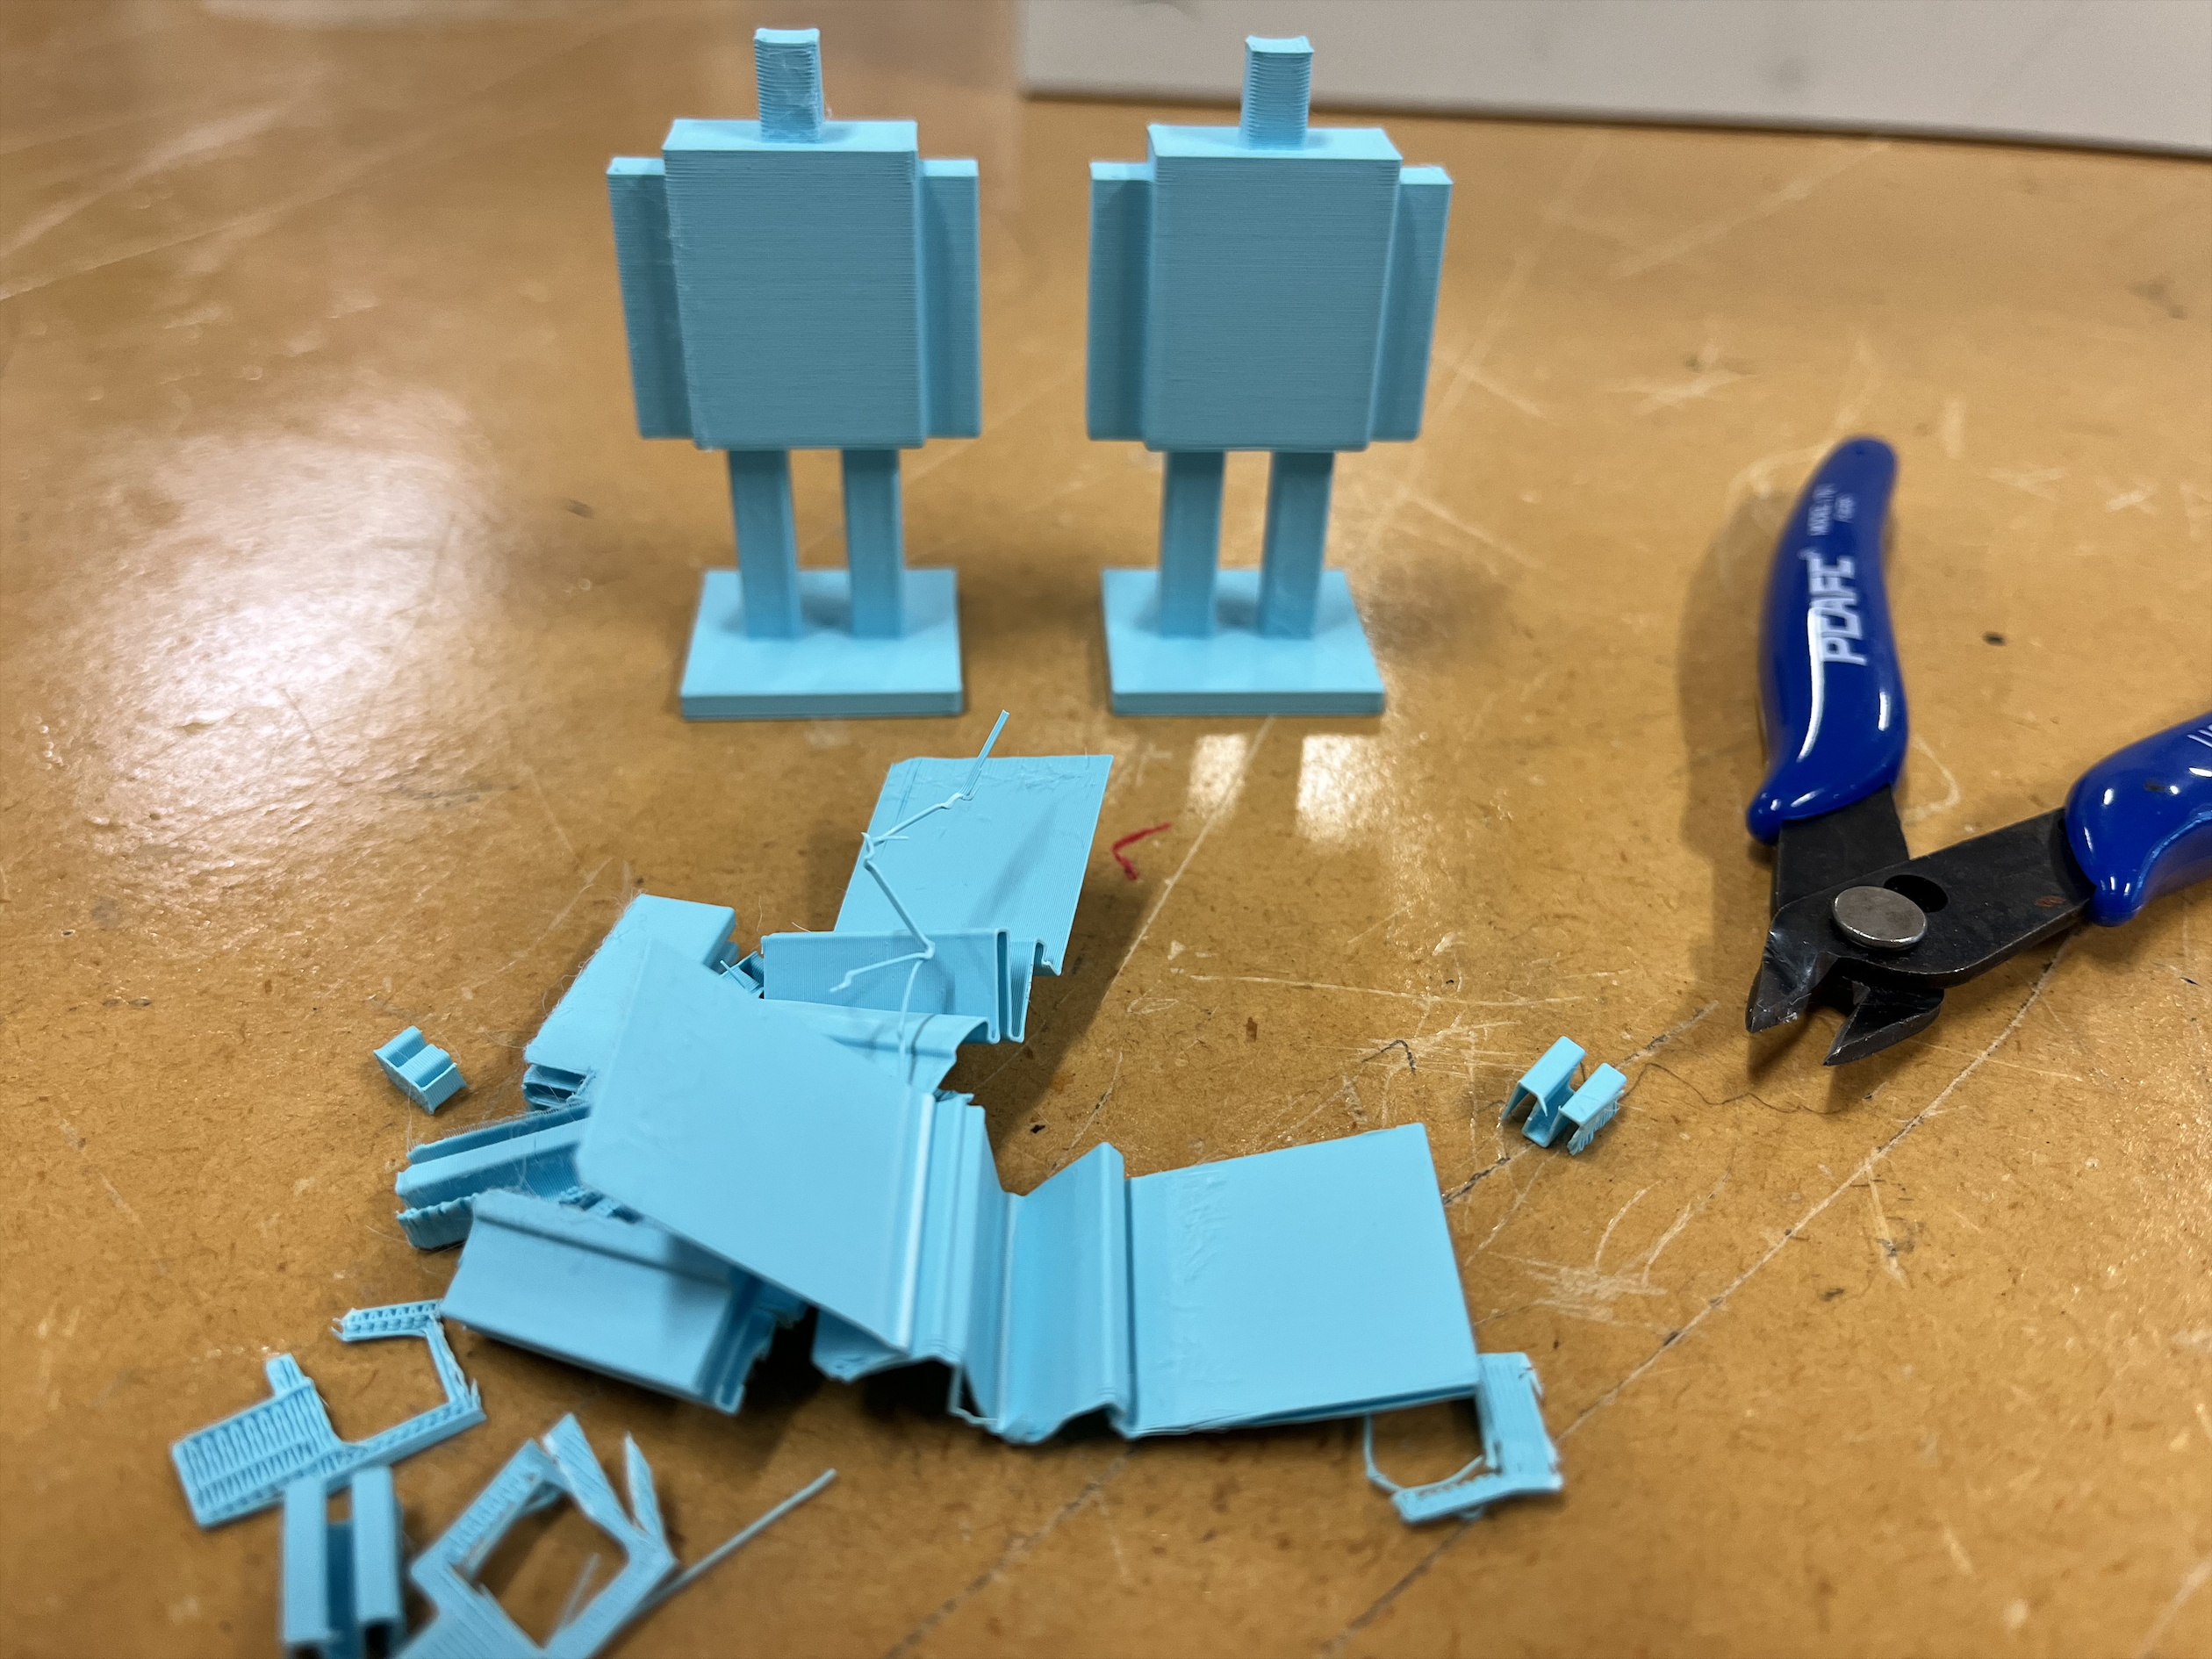
Supports

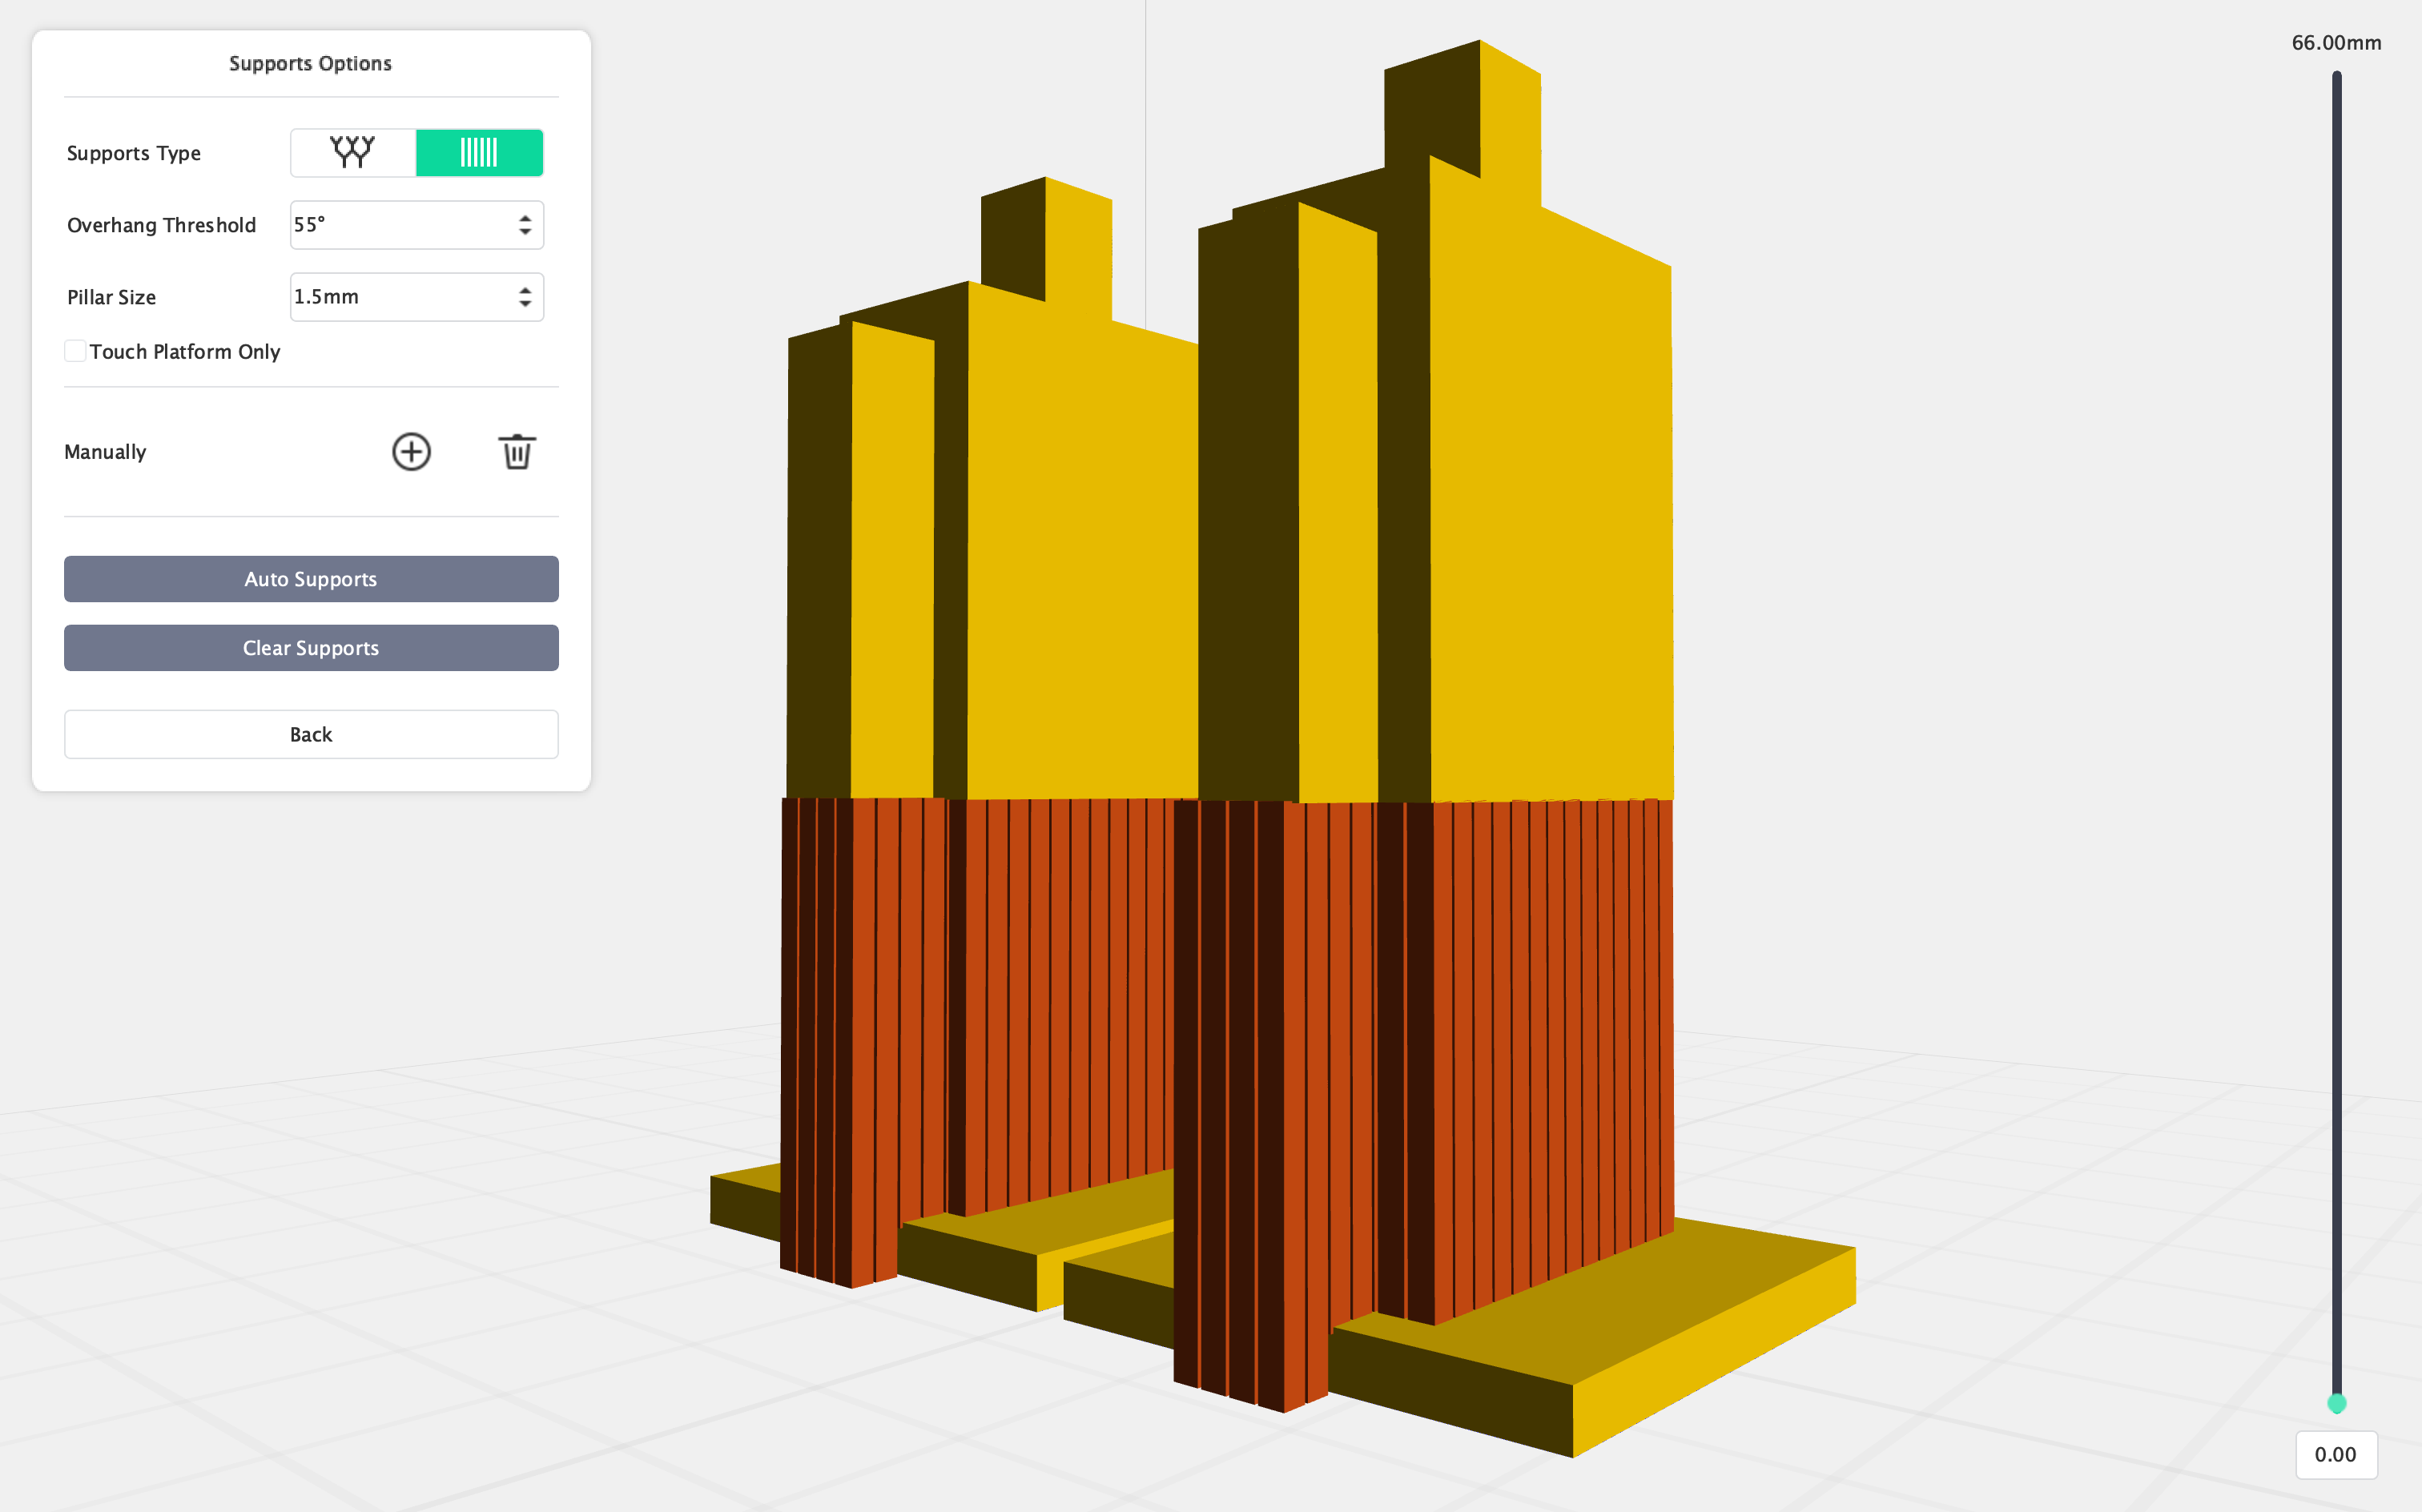
Some models require supports.
Down below are ways you can identify if your model requires them.
1 Perpendicular cliffs of 90°, such as bridge-like shapes require supports underneath to prevent collapse
2 Overhangs, they occur when part of your model extends outwards at an angle of 55° or more without direct support underneath
3 Exceedingly thin or tall structures, to prevent collapse
There are 2 types of supports, as shown in the images.
Tree-like supports are generally used for organic shapes with many complex details.
1 Uses less material, since the branches of the tree supports only places where necessary
2 Easier to remove supports, since less material
3 Less scarring of the surface after removal due to less volume it occupies
4 Longer slicing time due to complexity
5 Doesn't work with tiny or dense models
Linear supports are generally used for boxy shapes with flat surfaces and little detail
1 Good for geometric shapes, since they align with 90° corners, common in boxy shapes
2 Fast to slice, they have simple shapes
3 Uses more material, inefficient material usage
4 Scarring due to more contact with object's surface
5 Hard to remove due to more volume it occupies
Slicing
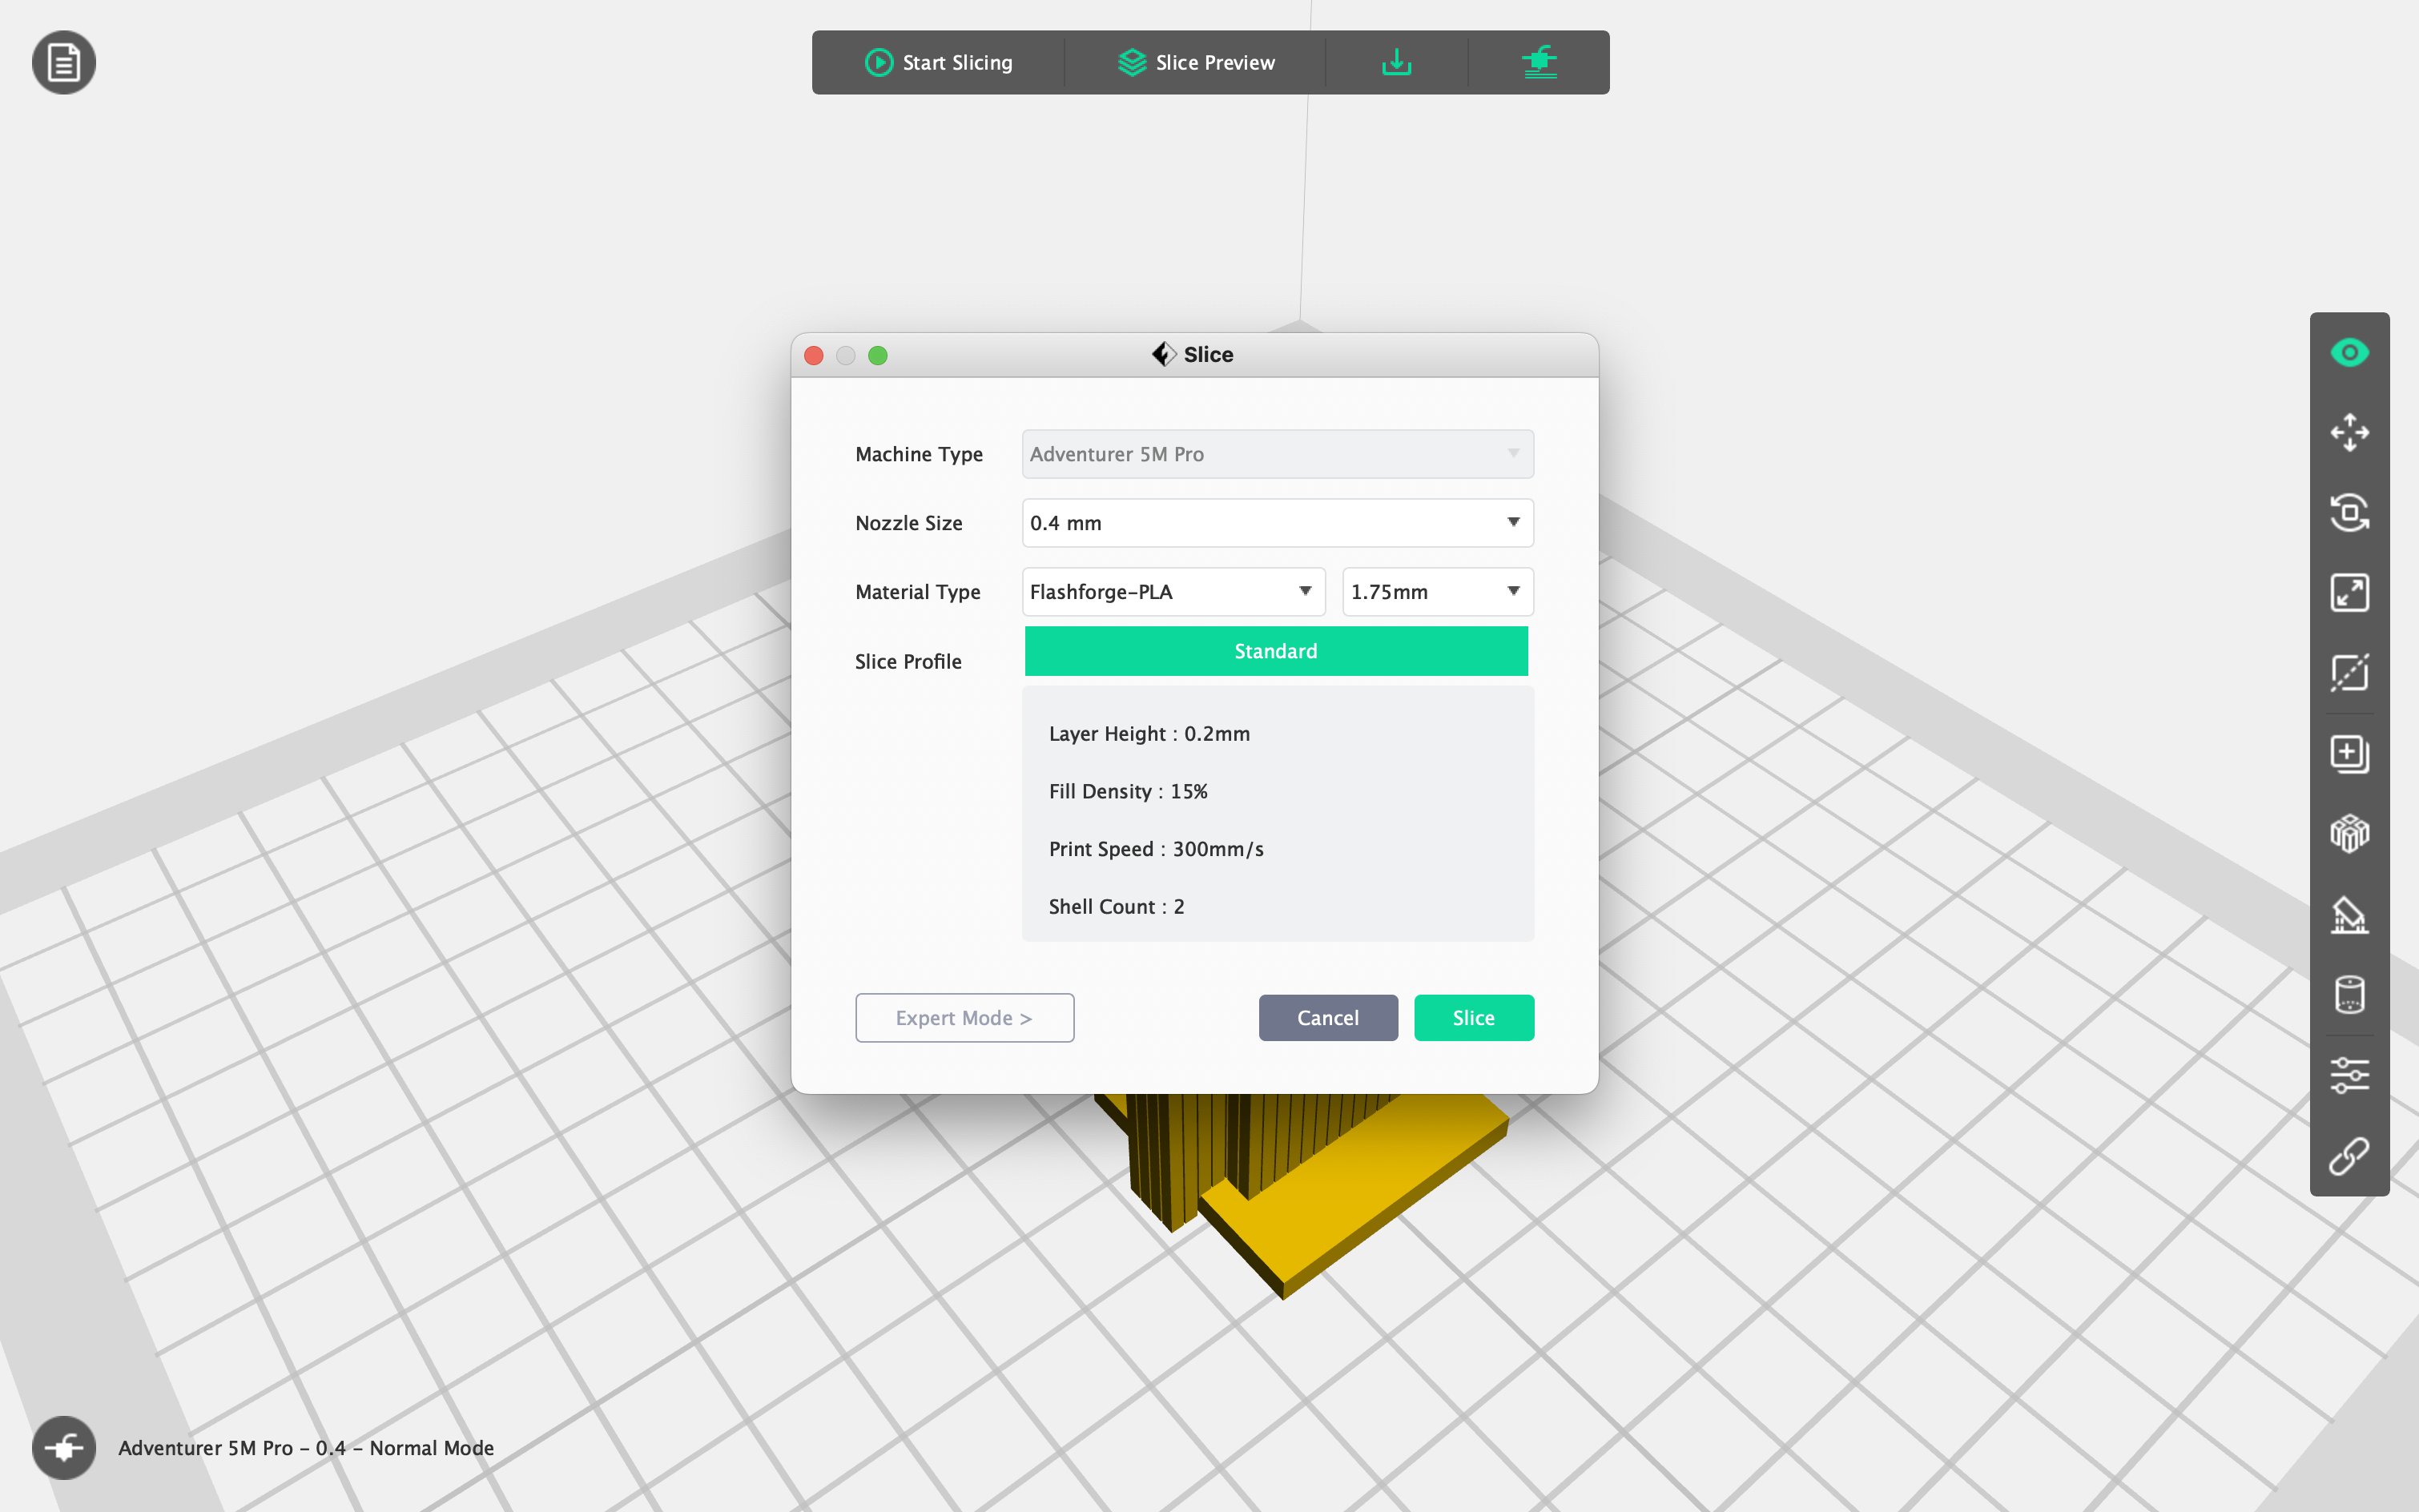
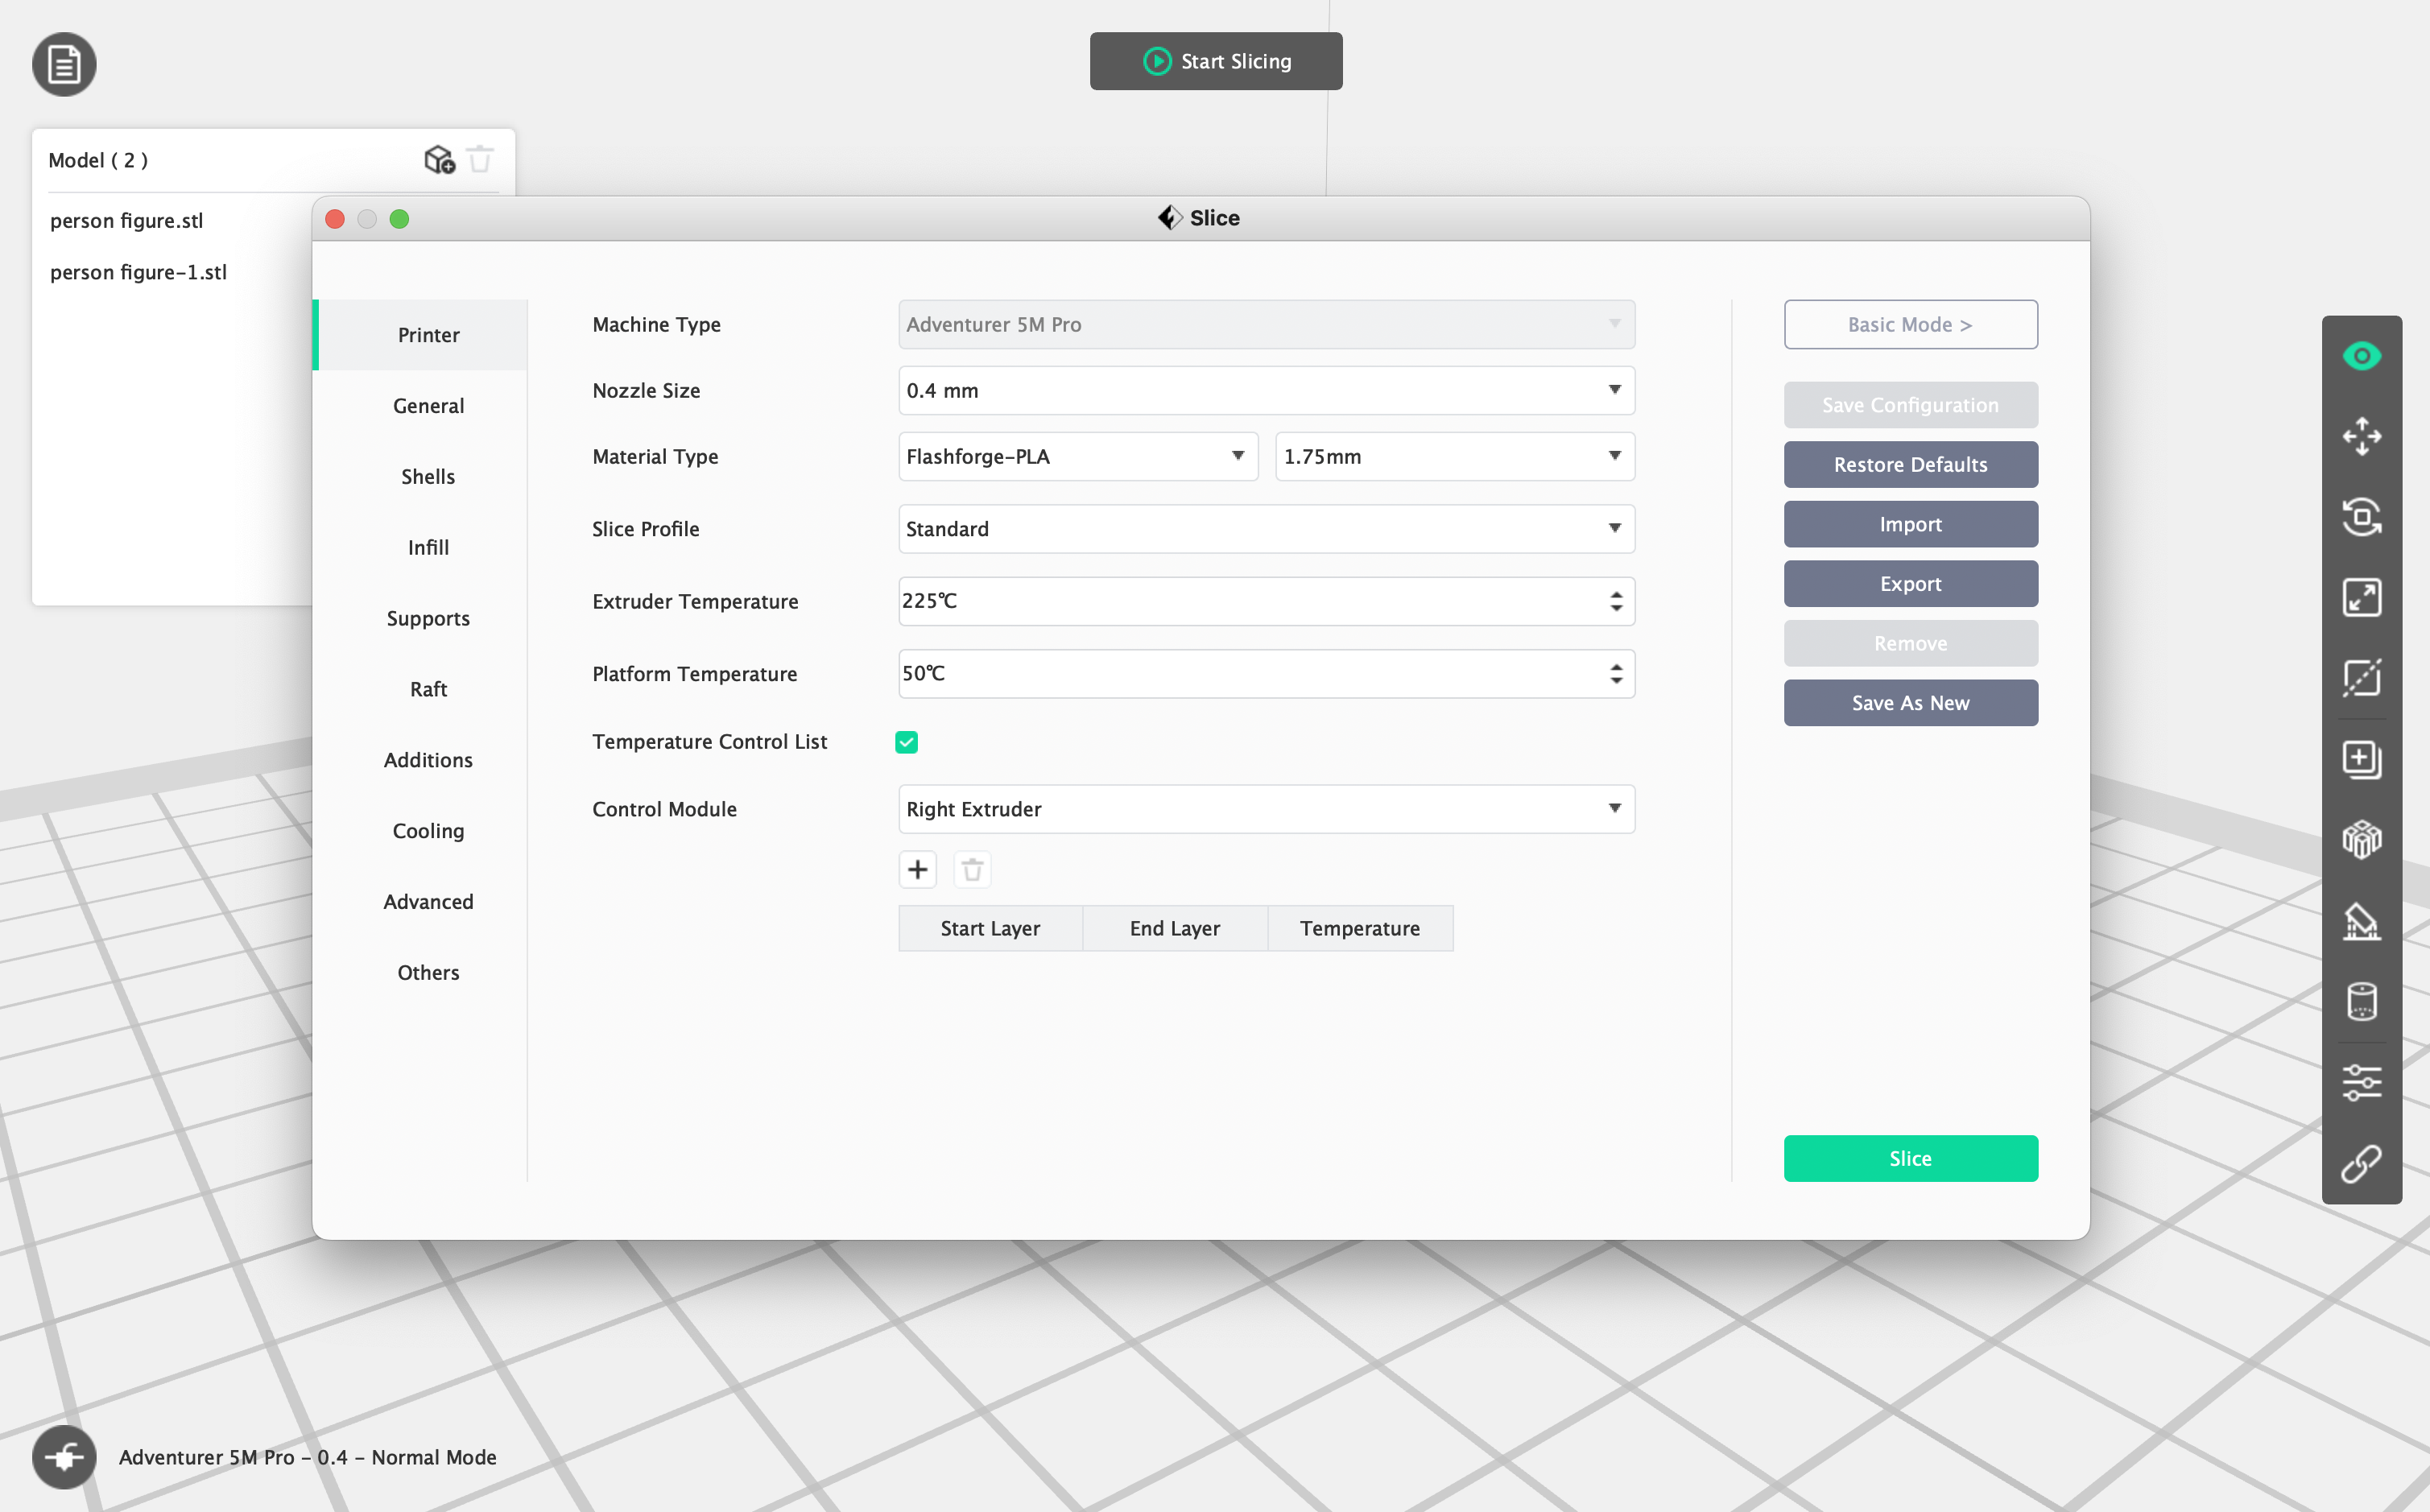
I recommend using the standard settings which have been preset based on your printer.
But if you have any specific requirements for your print, you can likely find a tab which can fulfill your desired configuration on the 'expert mode' tab. Each settings on that tab should be self explanatory, if you hover your curser over the input bar. You can restore the default settings, so don't be afraid to modify these settings.
3D Printing
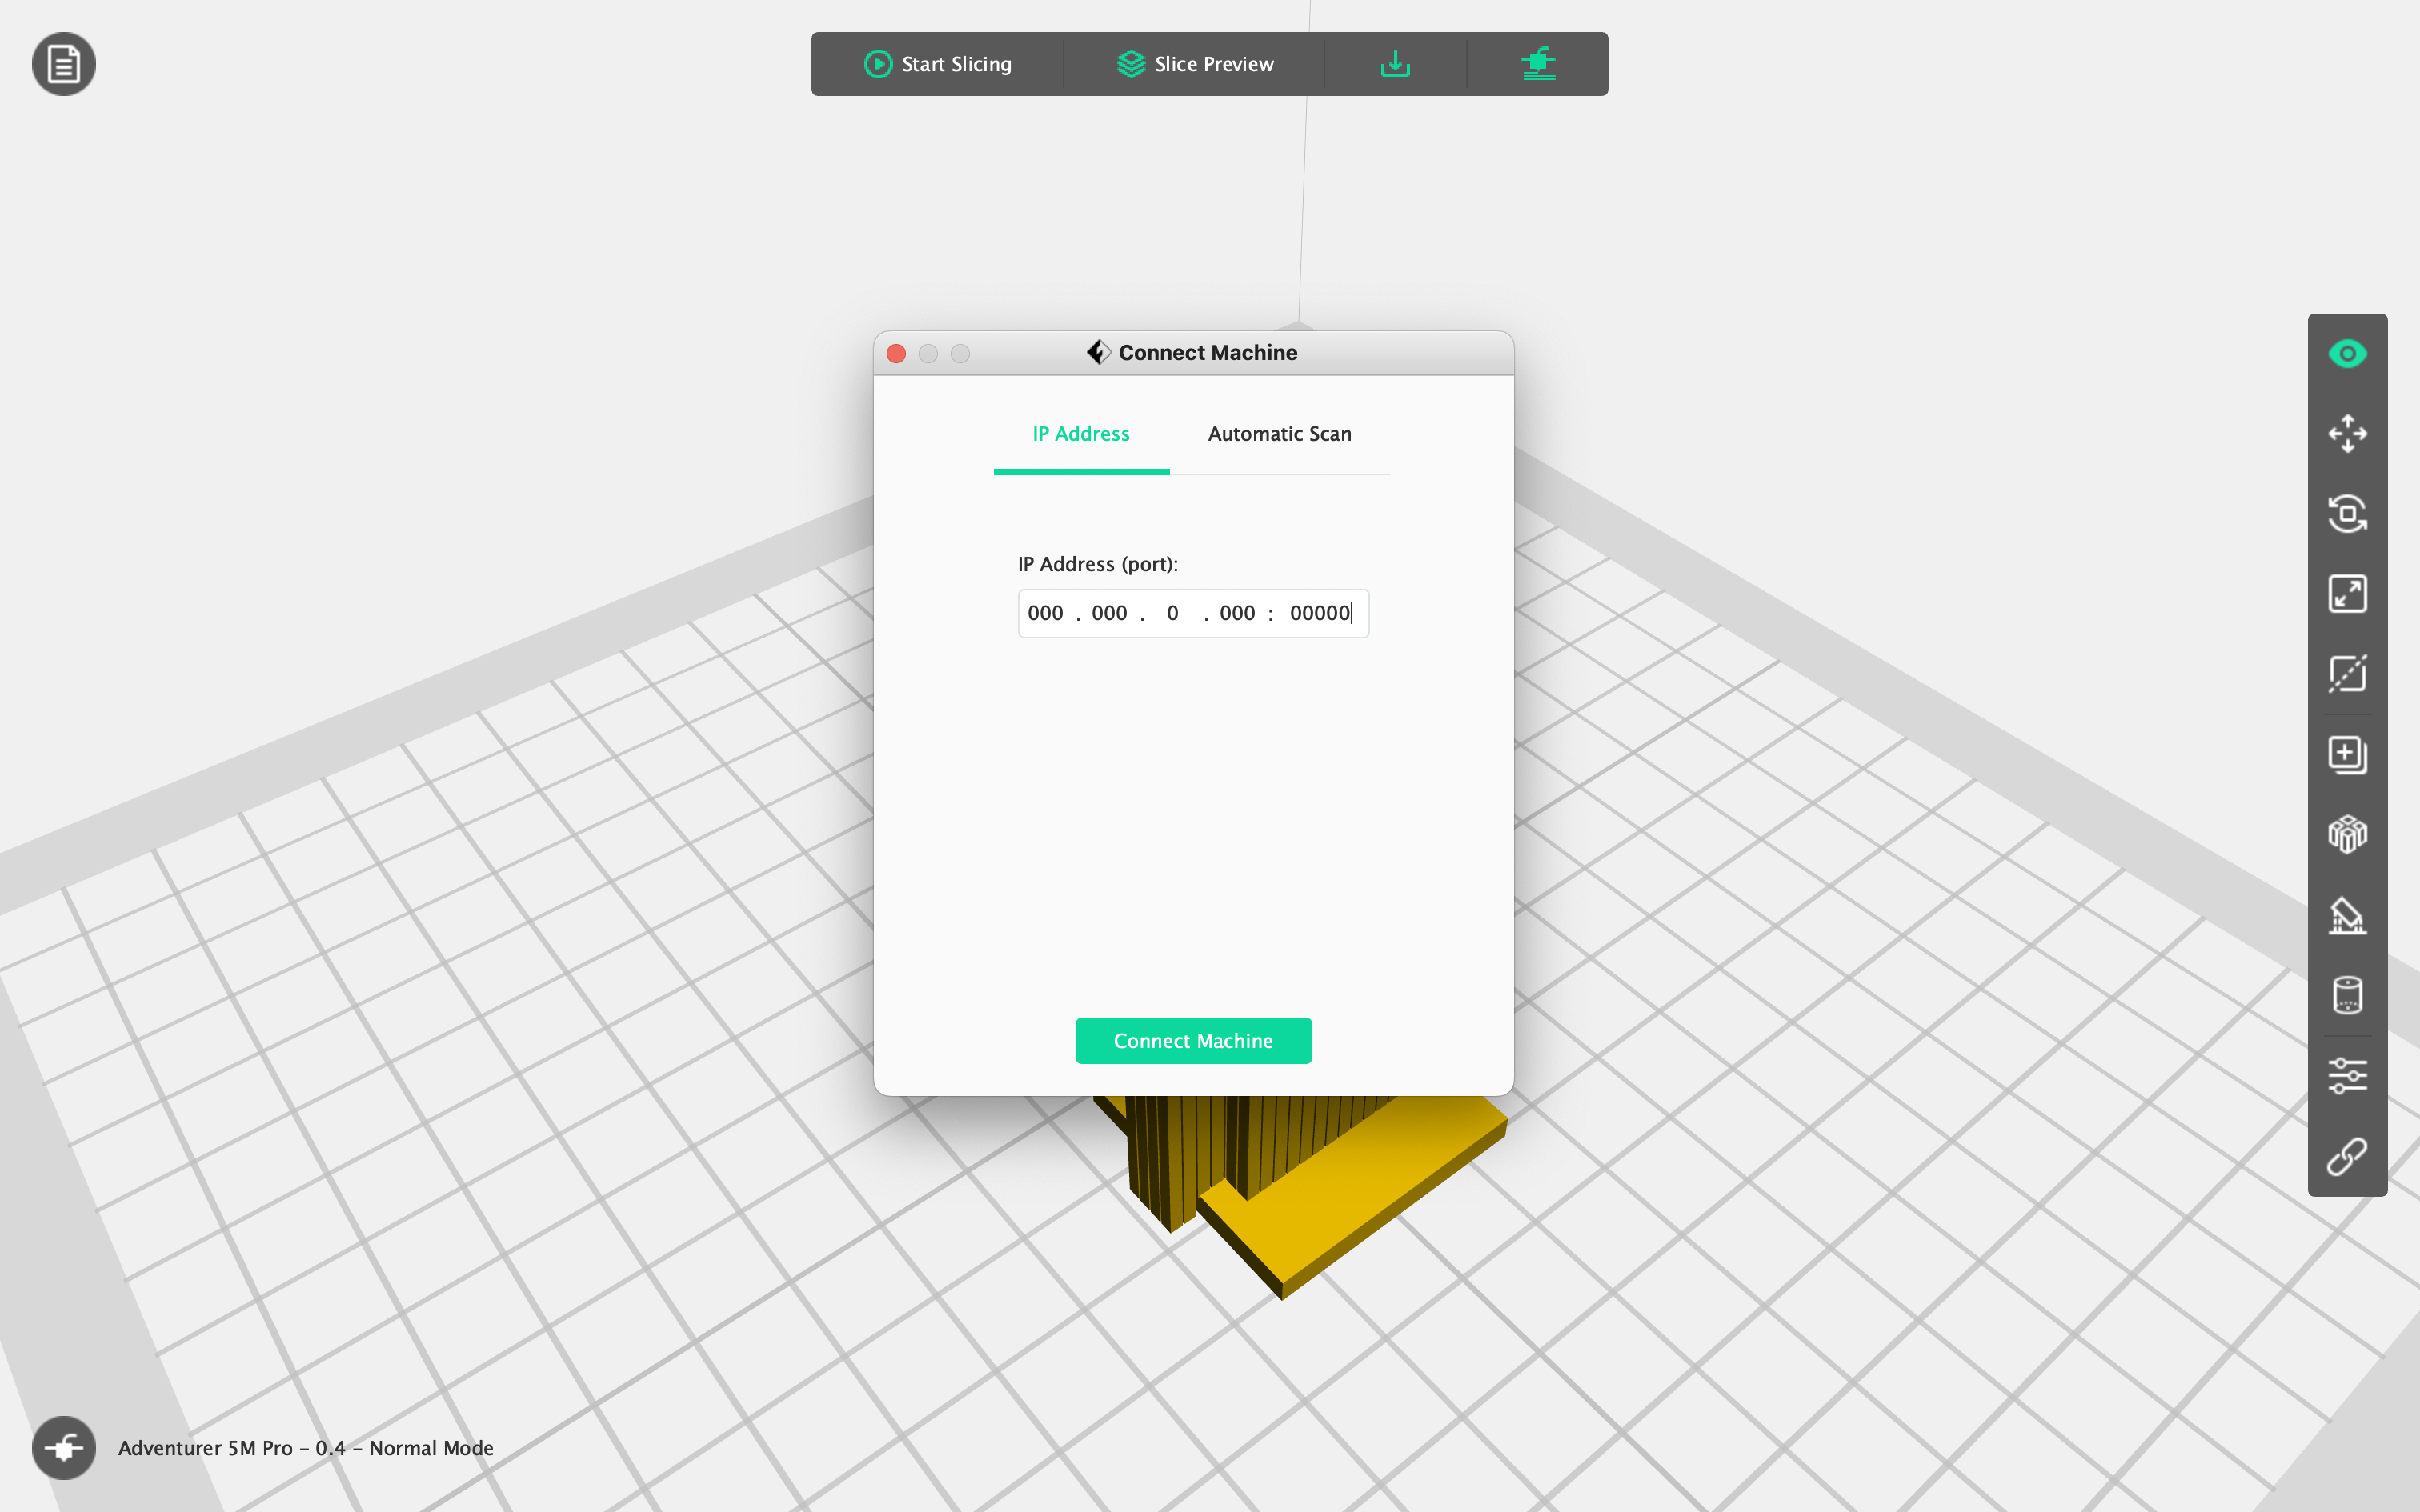
Manually connect your printer's IP address or automatically connect it.
Once your print is finished, the supports should fall out will little pressure.