3D Print-based Molds for Glass Slumping
by ajjarchi in Workshop > 3D Printing
3457 Views, 16 Favorites, 0 Comments
3D Print-based Molds for Glass Slumping
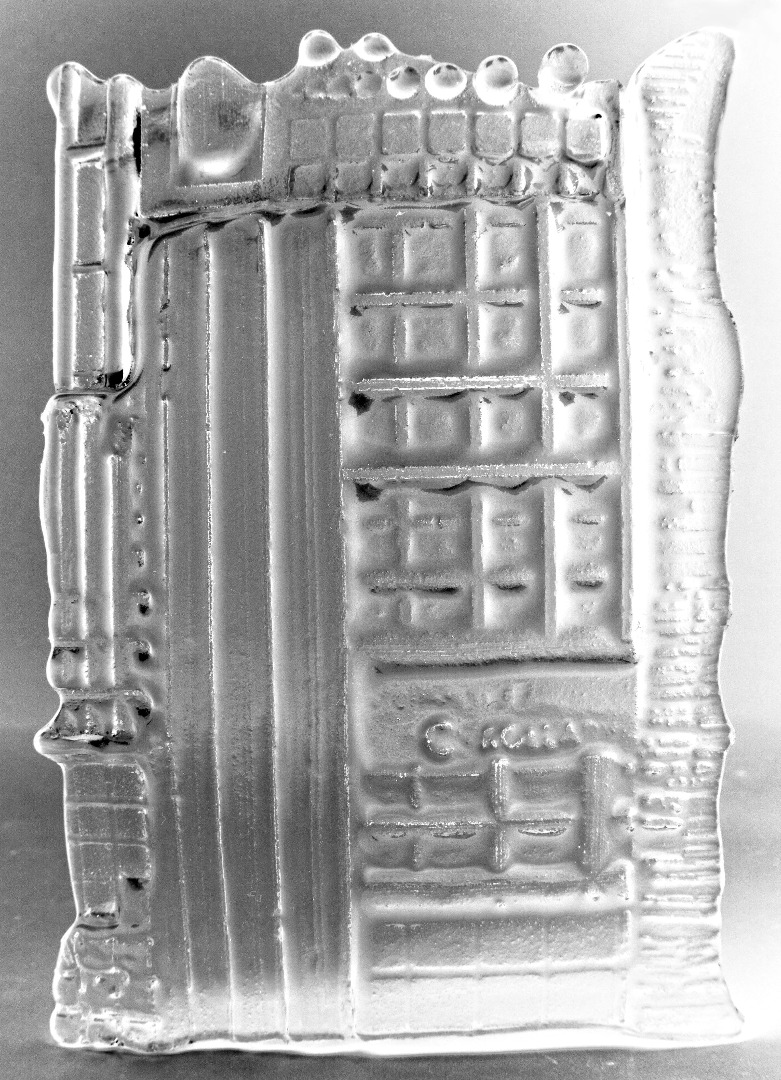
This is an ongoing research project looking at ways to utilize digital fabrication in glass slumping and casting processes. This process was conducted with graduate research assistant Dustin Schipper.
Create Geometry
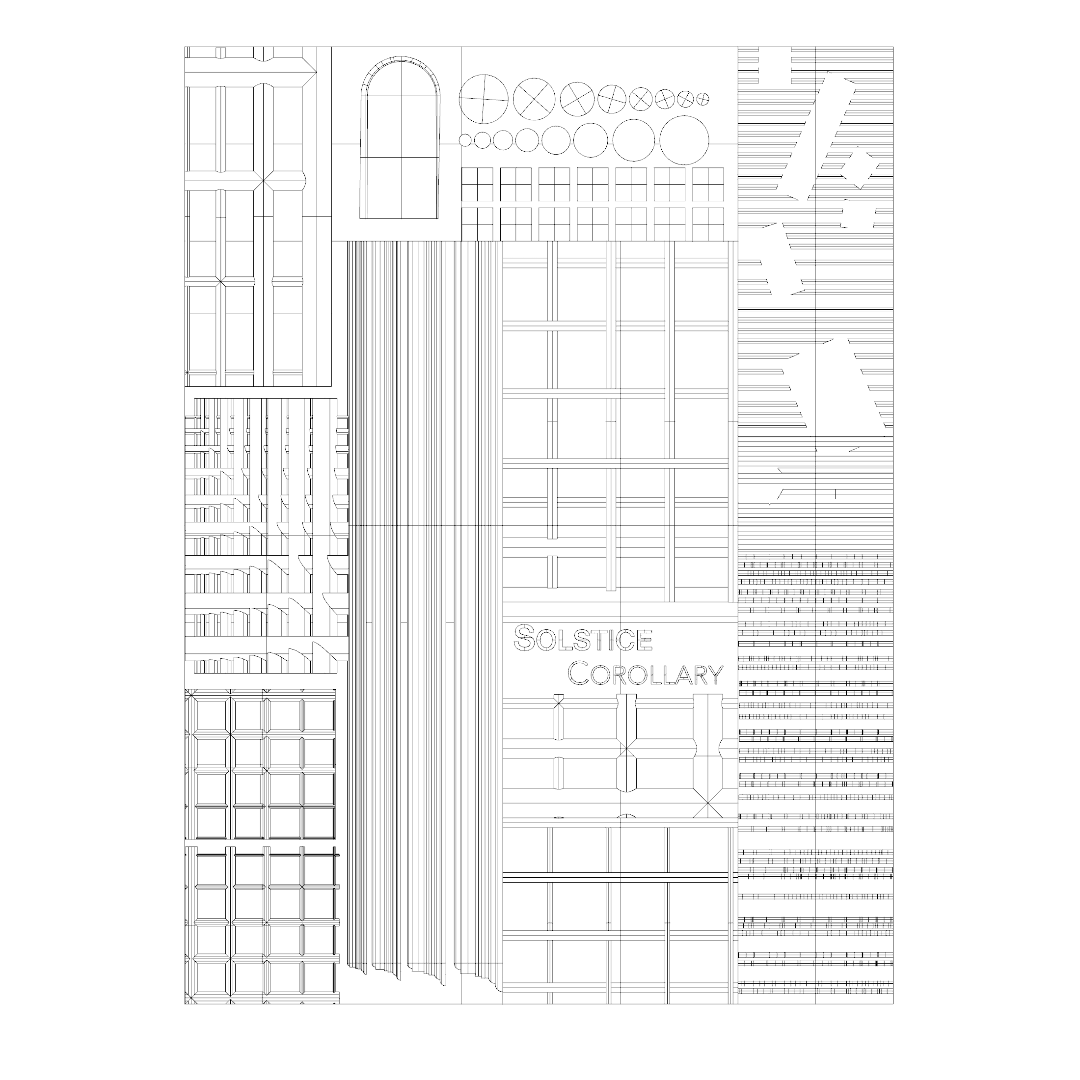
Use the software tool of your choice to generate the geometry you intend to send to a 3D printer.
Account for Steps
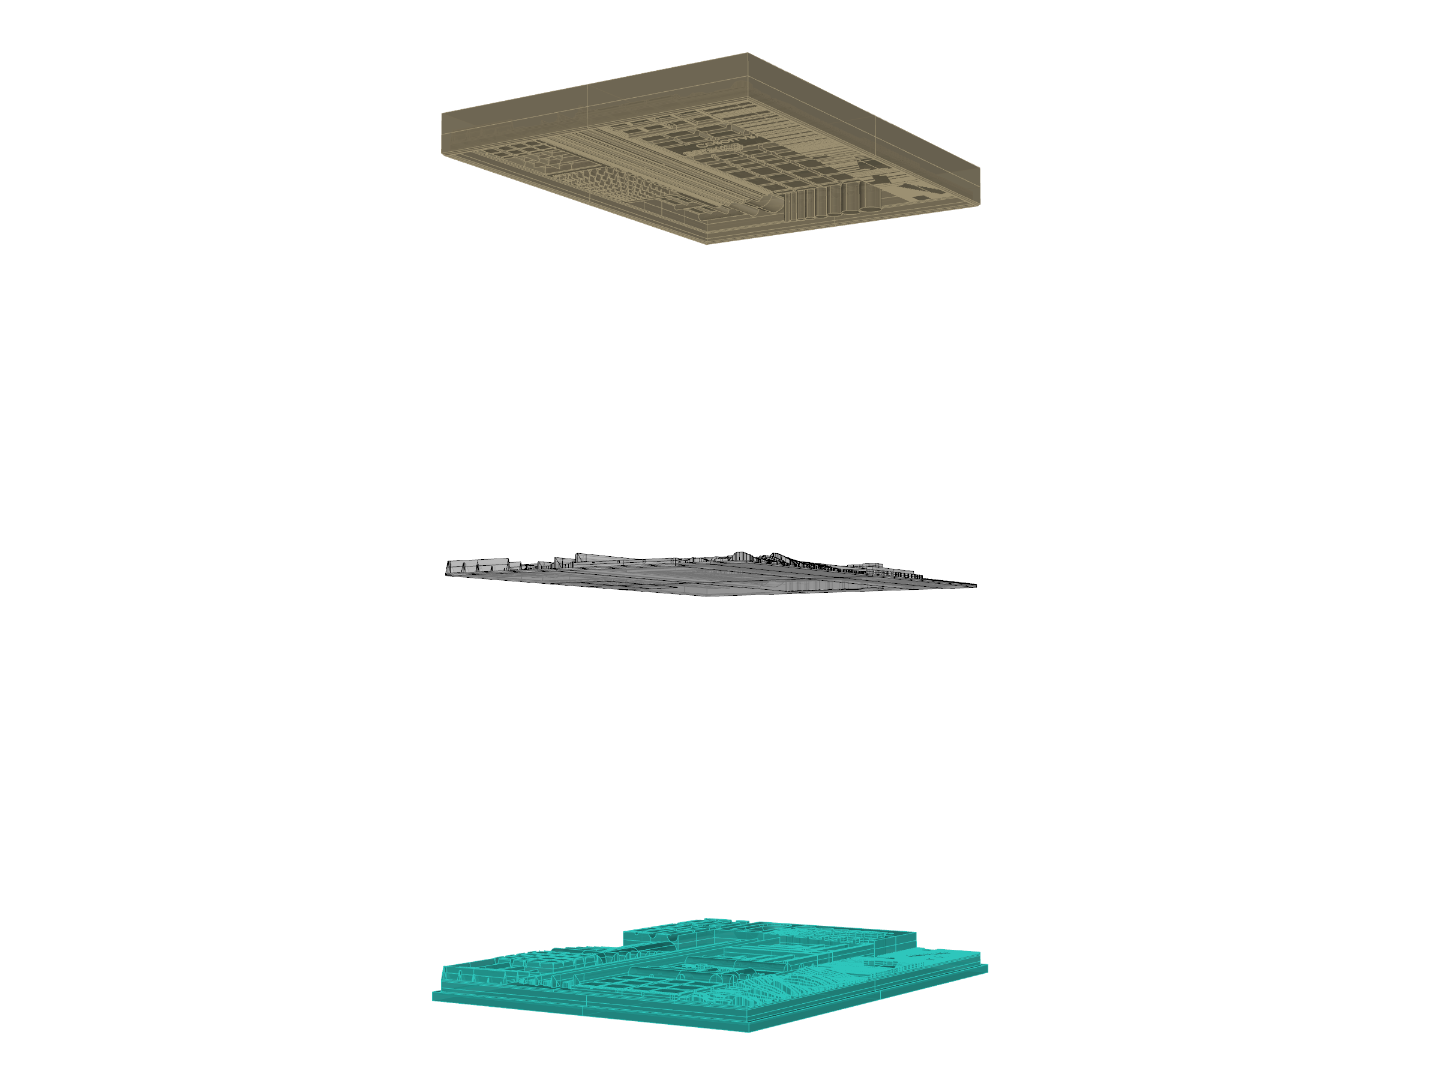
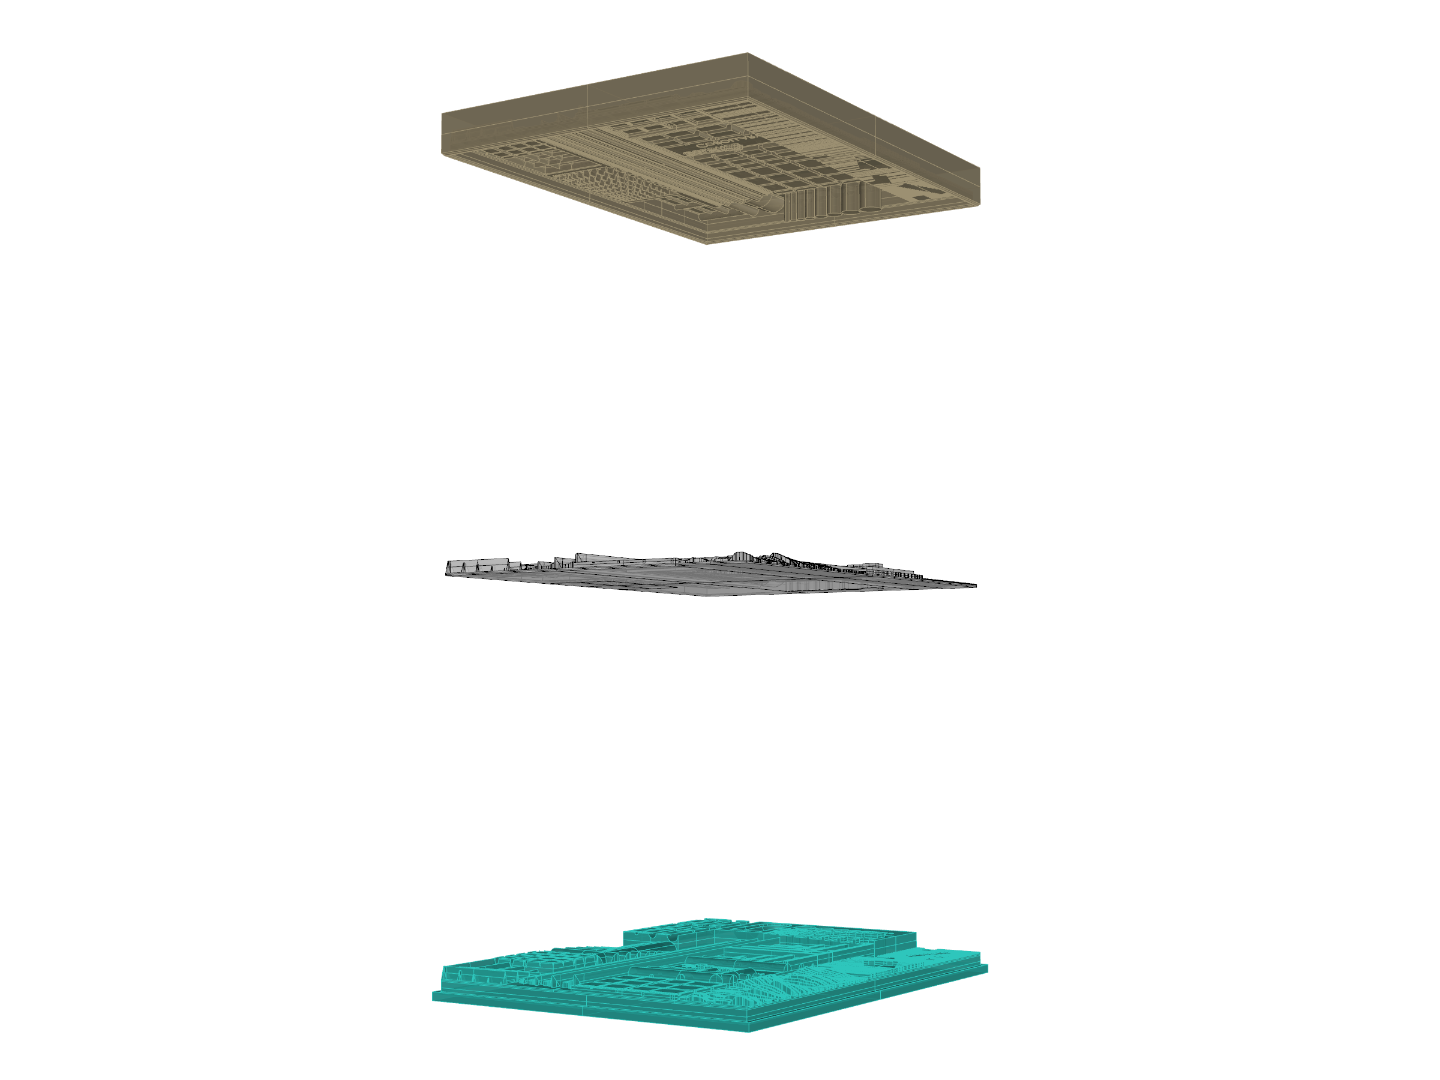
The process shown here requires the 3D print be a negative of the cast. It is advisable to account for each step in the process by modeling the geometry of the final glass cast and working backwards using Booleans or other comparable commands.
If you intend to follow our directions from start to finish the order of geometry you will need to model it as follows:
1) final glass cast object
2) plaster negative of the final cast
3) latex / mother mold positive of the final cast
4) 3D printed negative of the final cast
It is worth considering as you model that certain types of casting will require edges to contain the casting material. These should be carefully planned into your workflow before you 3D print any geometry.
Check Mesh Quality
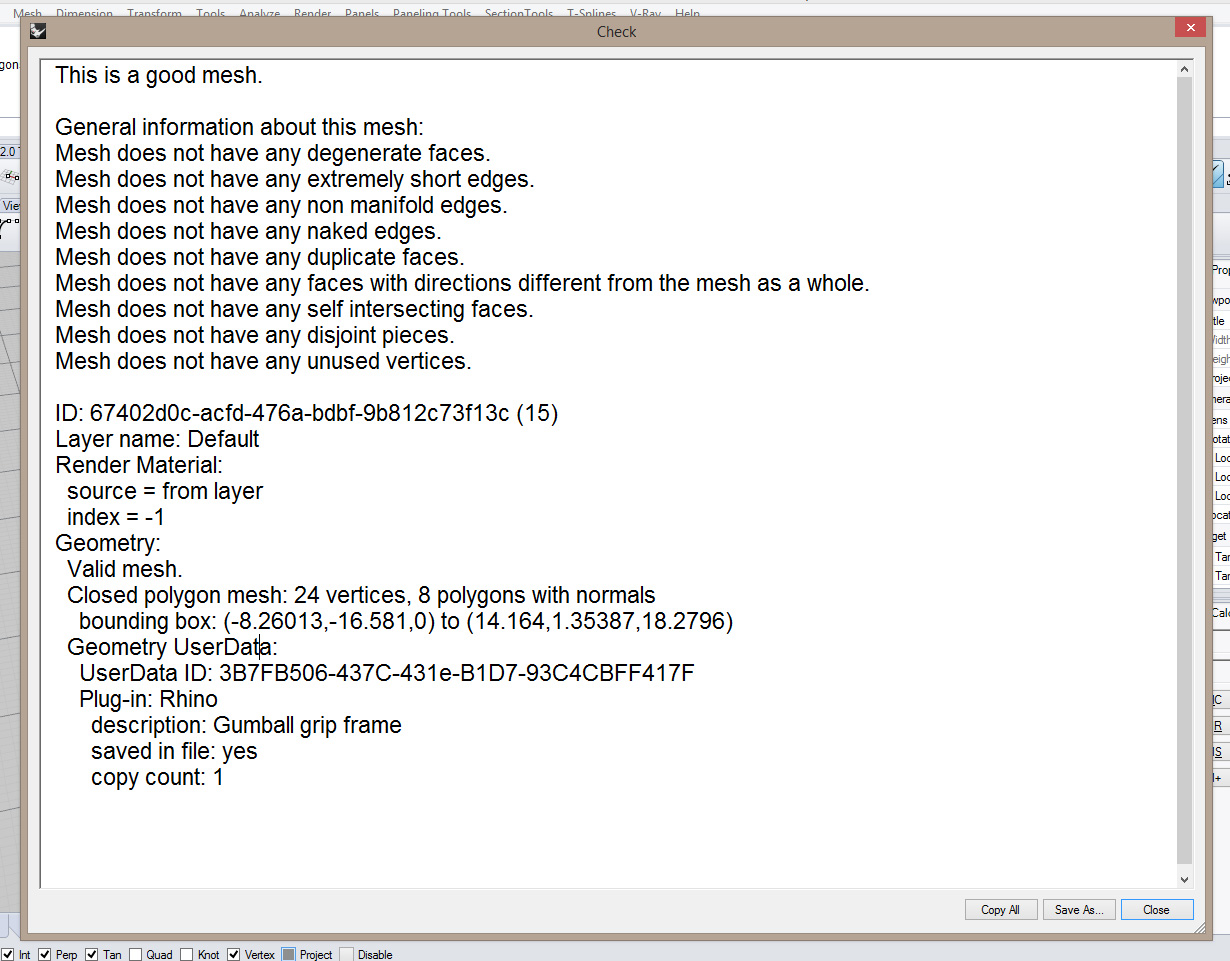
Whether the geometry you've generated is a mesh or a solid, it should be exported as a .stl (stereo lithography) file. Once exported, it is advisable to open this file and certify that it is both a valid and closed mesh.
If the mesh is not valid or closed, you should consider repairing the original mesh/solid; an open or invalid mesh can result in artifacts or outright failure of your 3D print.
Print Your Work
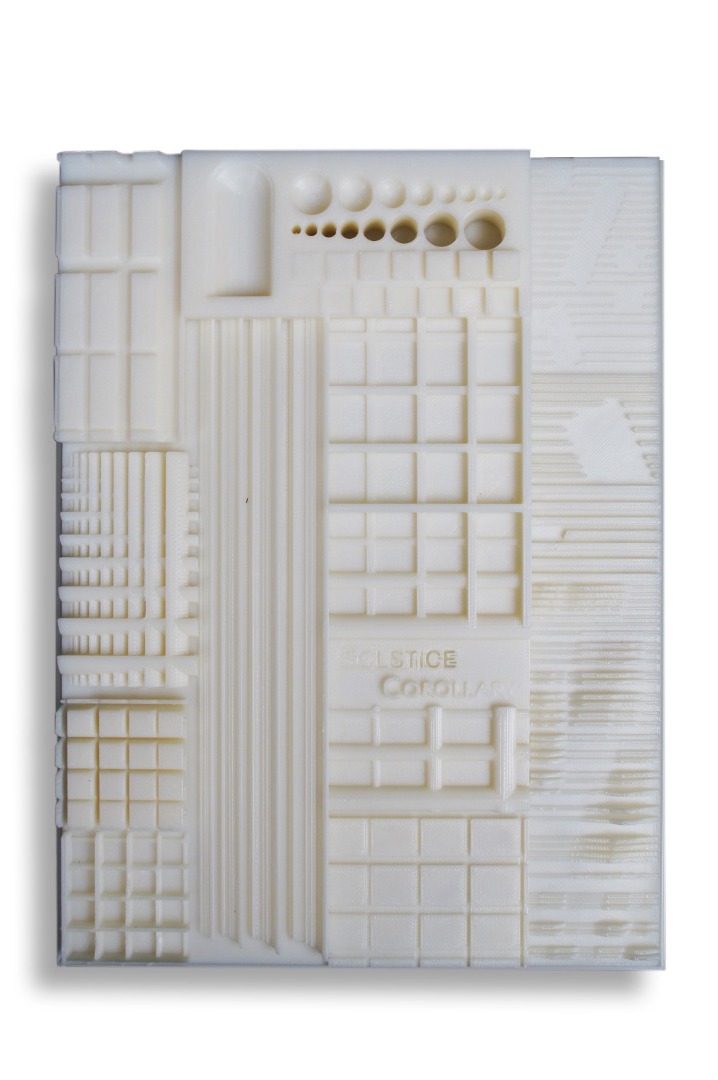
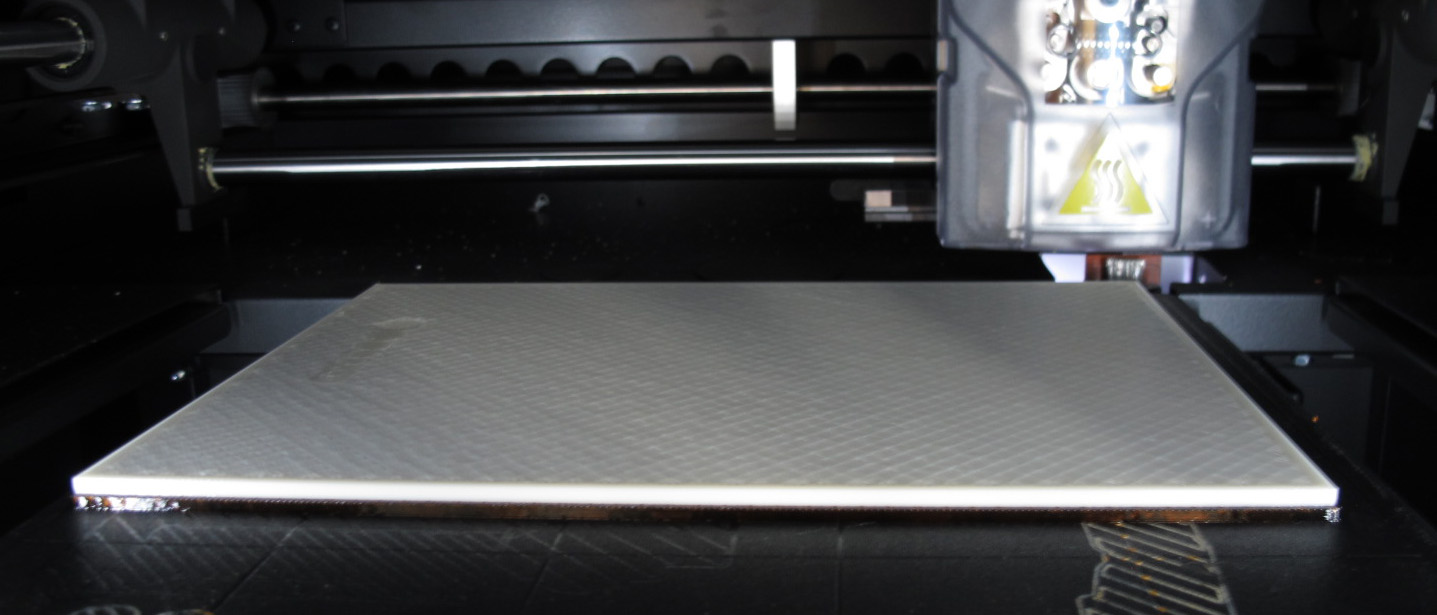
Using the tools available to you, generate tool paths and print the .stl file
Build a Jig
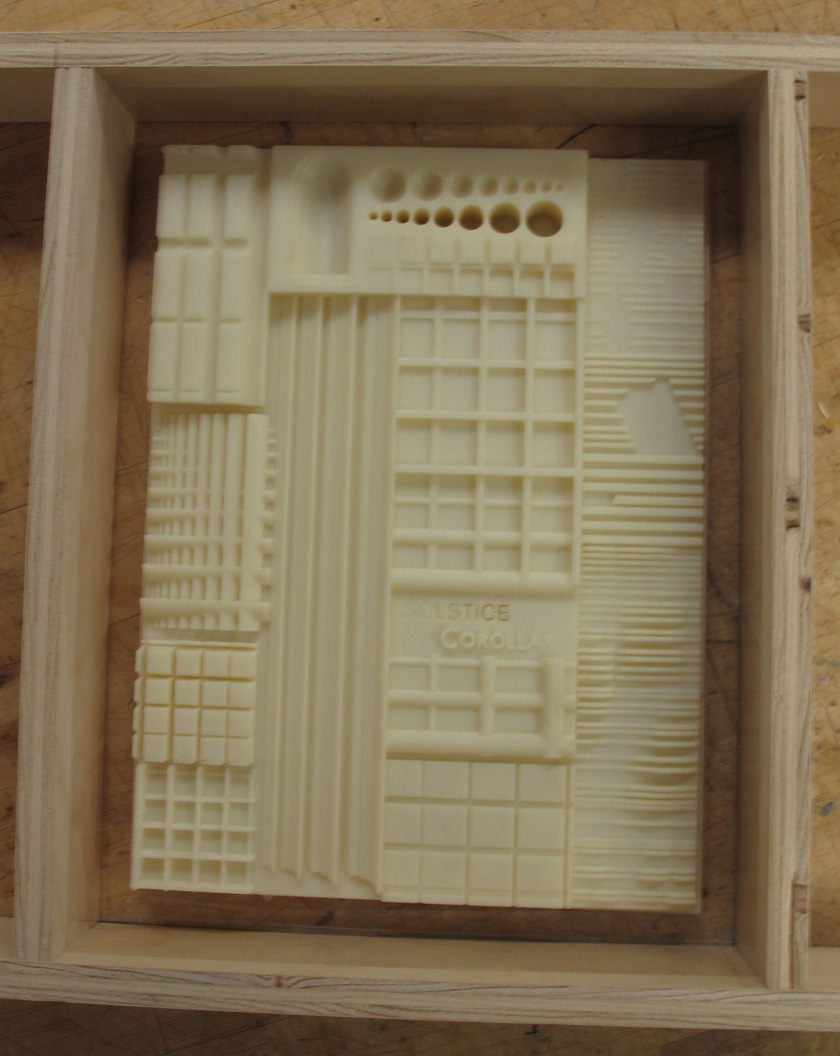
The next major casting phase is a latex / mother mold combination which will require the creation of a latex skin over your print and a sturdy plaster cast which provides structure to the latex.
This process will require a two-part jig; a plastic impermeable backing, and a deconstructable frame that's tall enough to contain the liquid plaster.
The jig shown above makes use of a petg sheet and a wood frame. Because the frame must also be impermeable, its interior has been layered in packaging tape. To ensure easy disassembly once the plaster has been poured, the jig frame is held together with screws as opposed to glue or nails.
Glue Print to Jig Base
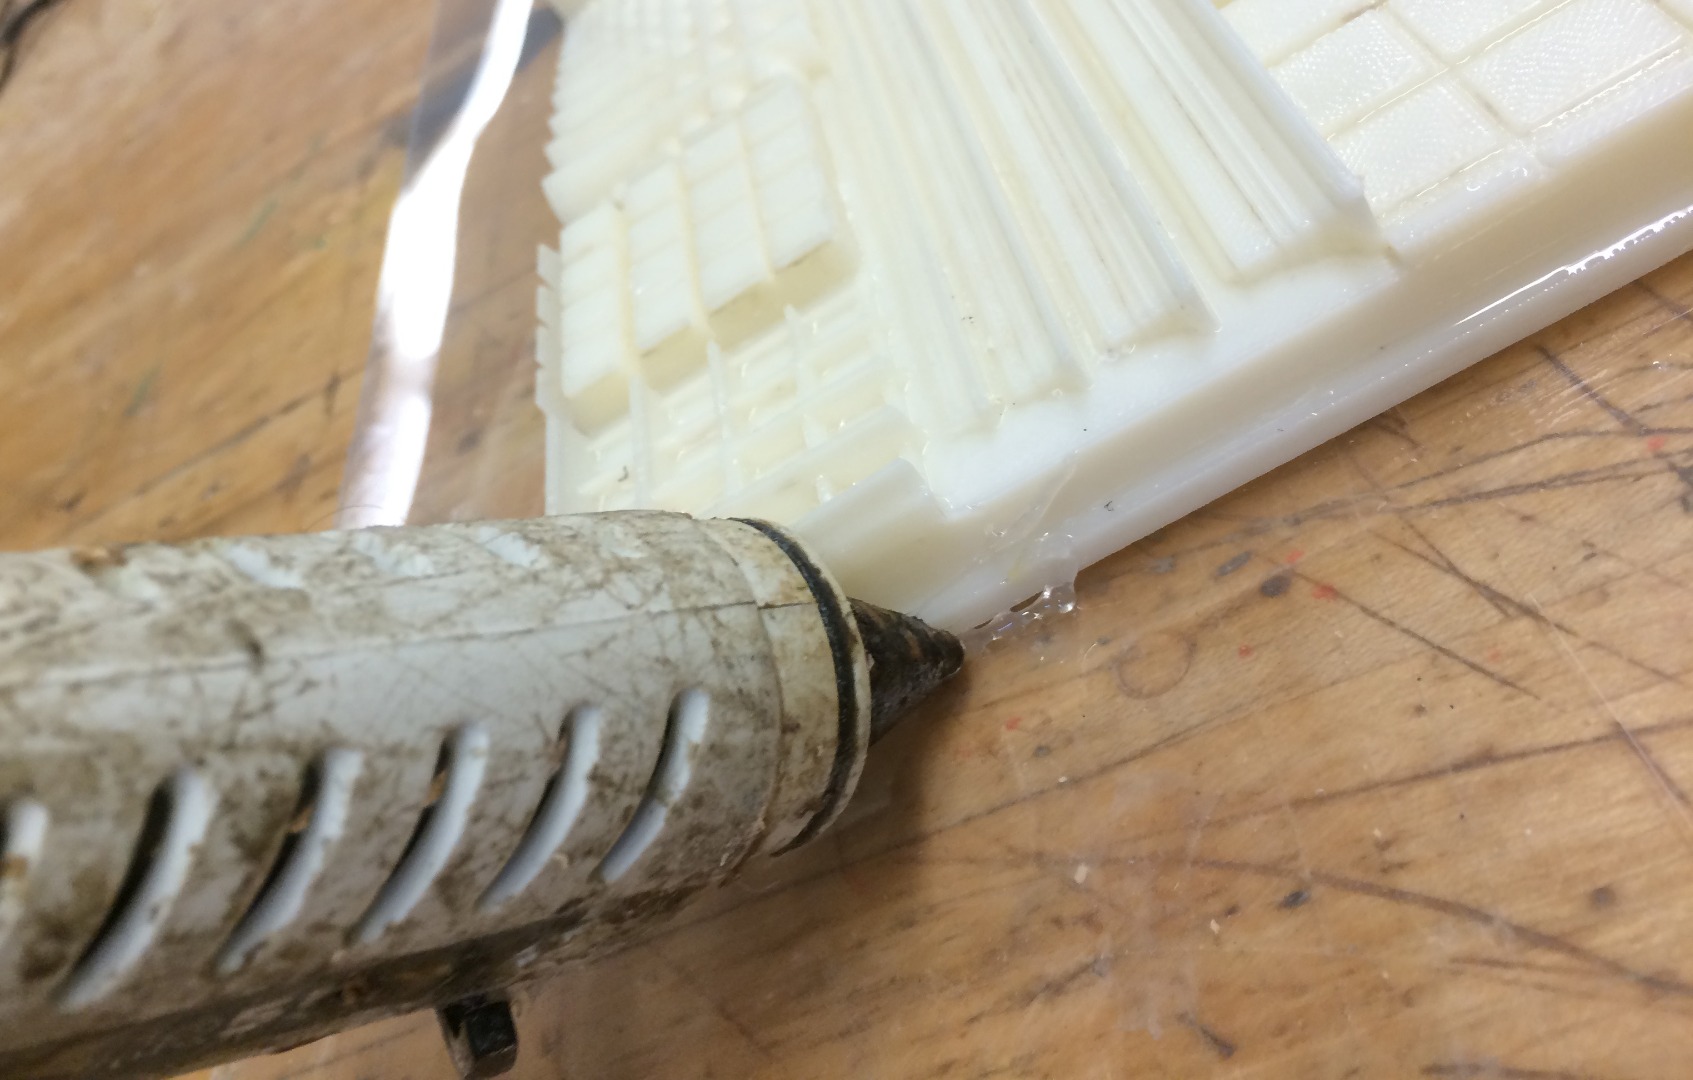
Hot glue provides a nearly watertight seal with minimal consequences on the overall shape of the cast object. It also can be pealed off with relative ease.
Glue the 3D print to the petg sheet and carefully seal its exterior edge to prevent plaster or latex from seeping underneath.
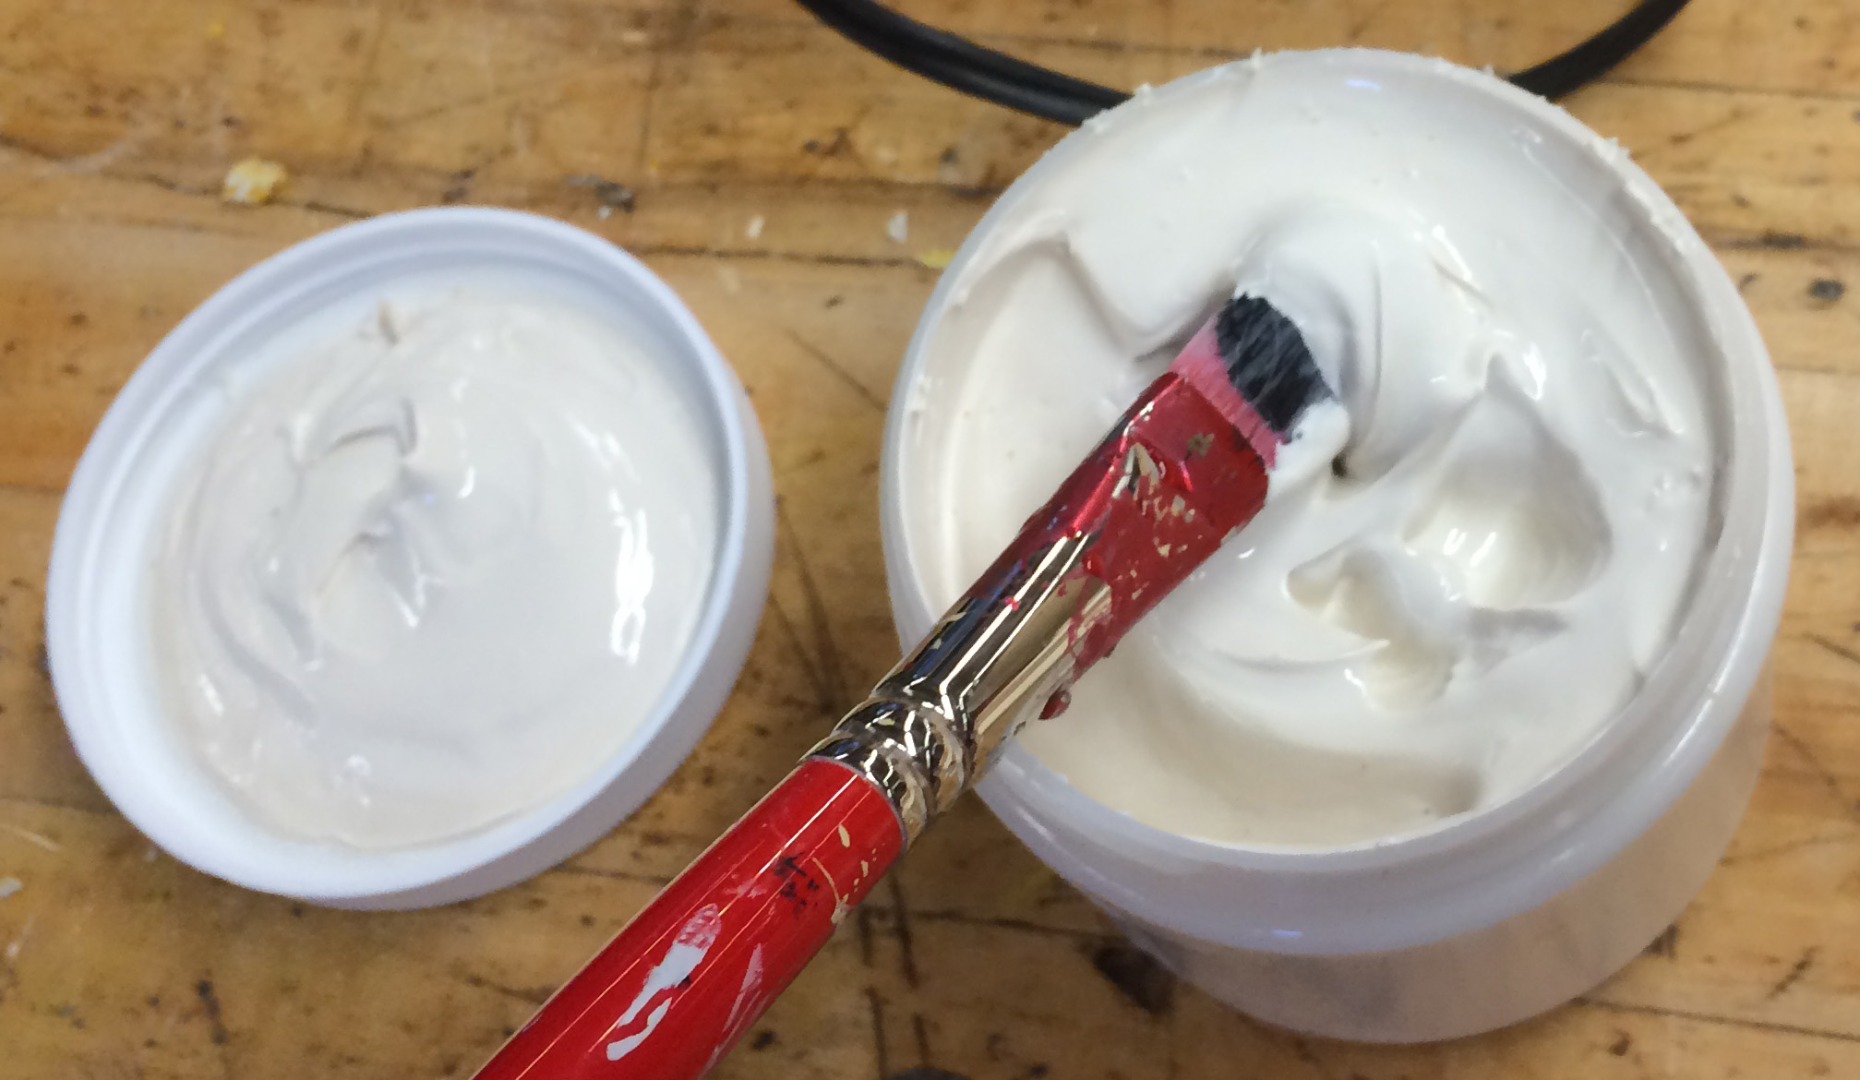
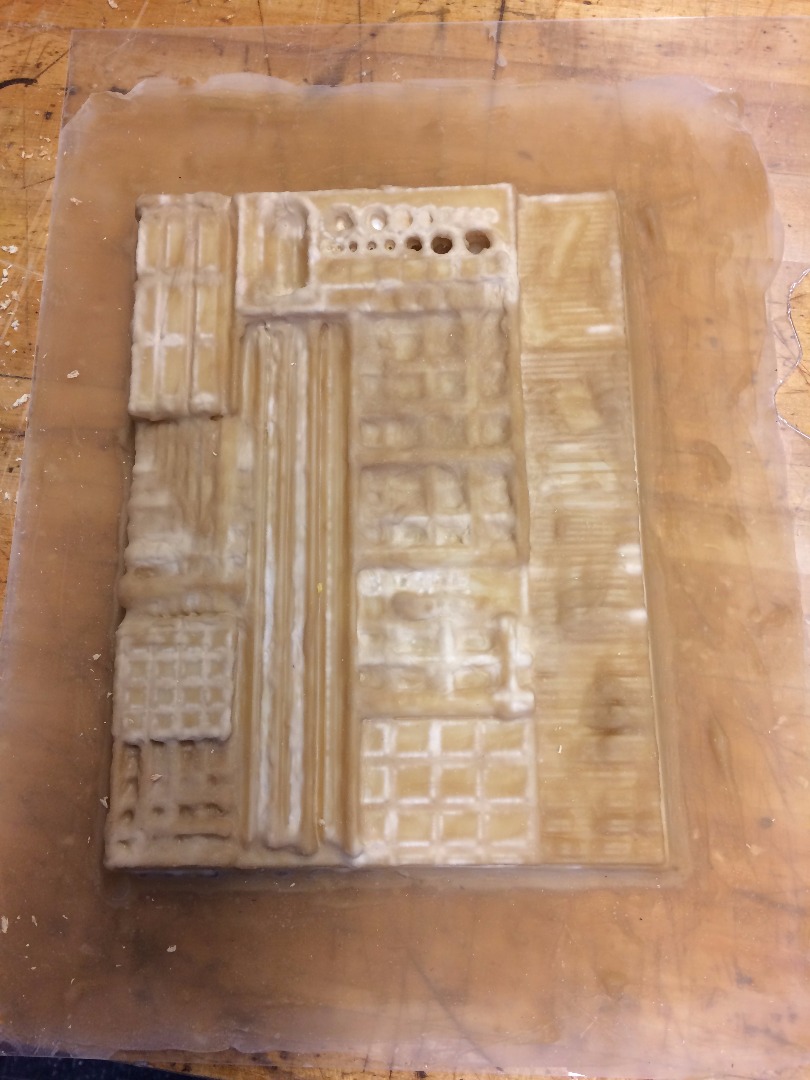
Layer Latex Onto Print
.JPG)
Using an old paintbrush, layer latex onto the 3D print. It is important to apply the latex in thin even layers. Depending on the thickness of the layer it will take different lengths of time for the latex to dry.
The first layer is the most crucial to the finished cast object as this layer will transfer the finest detail of the printed object.
Wait until the latex is dry to the touch before applying the next layer, but avoid lengths of time greater than 24 hours between individual layers as they may not adhere to each other.
A minimum of 8 layers should be applied, but more would be preferable.
Use Proper Safety Equipment
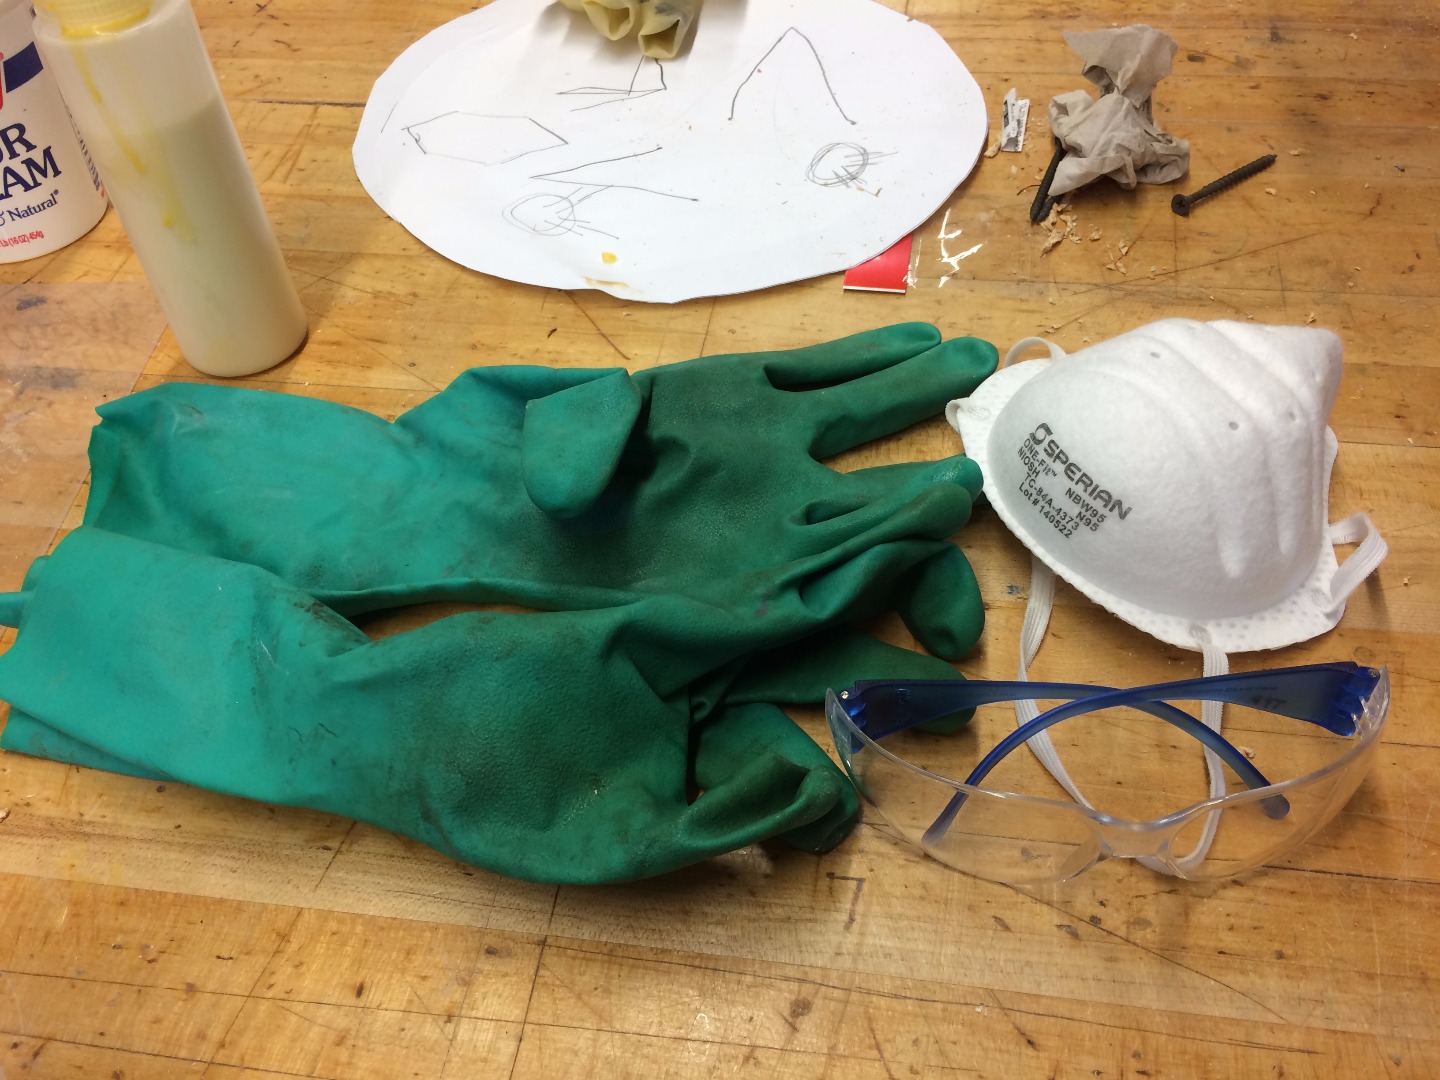
When working with plaster it is suggested that you make use of safety equipment. An appropriately rated dust mask, safety glasses and impermeable gloves should be employed.
Carefully Mix Plaster
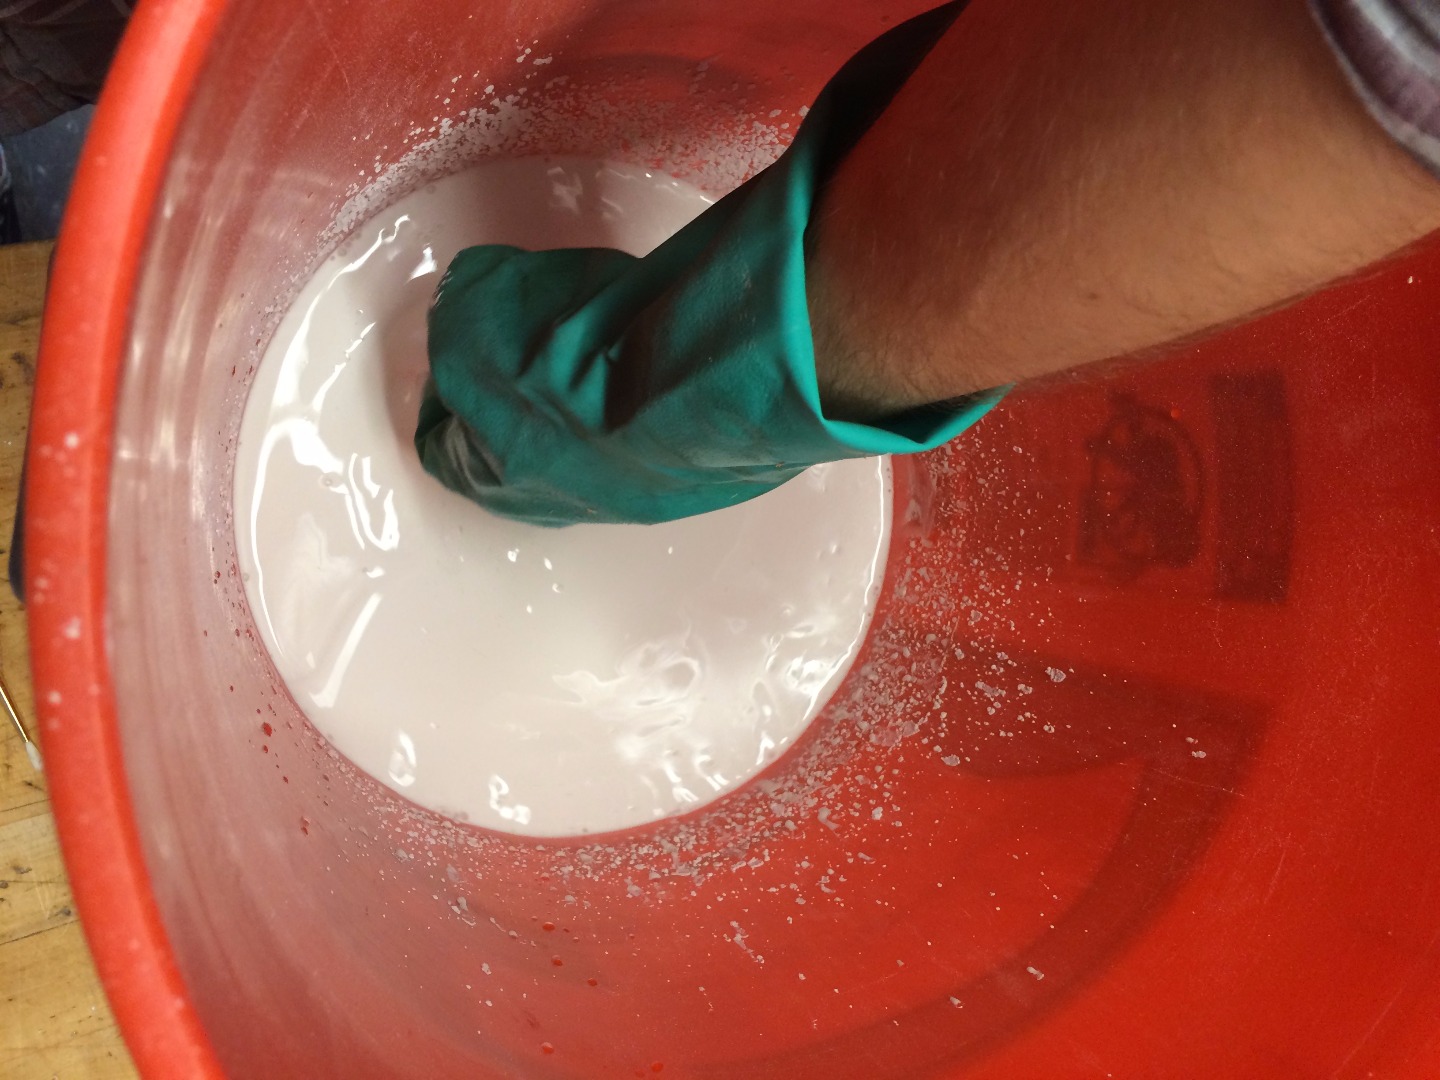
When mixing the plaster, add the dry mix to water. Slowly mix by hand, stirring carefully and removing your hand from the mix as infrequently as possible to avoid adding air bubbles.
Use Jig to Cast "Mother Mold"
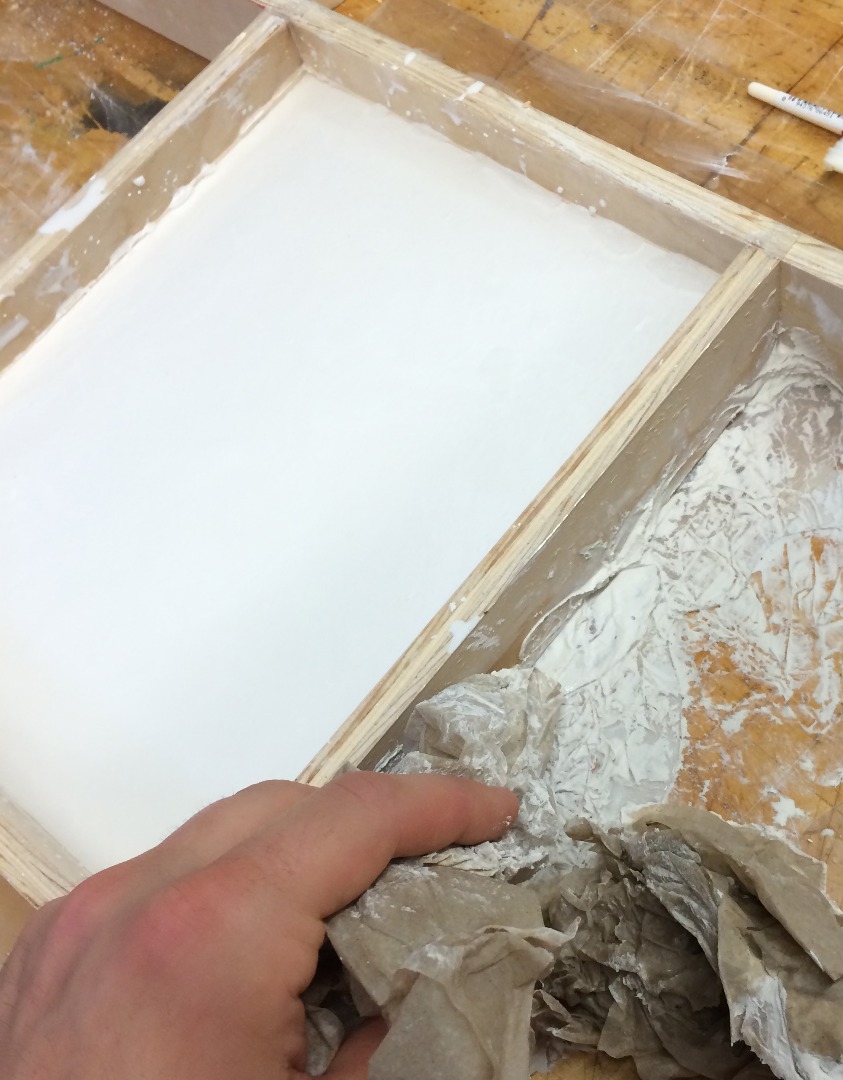
Pour mixed plaster into jig.
Thoroughly Clean Bucket
.JPG)
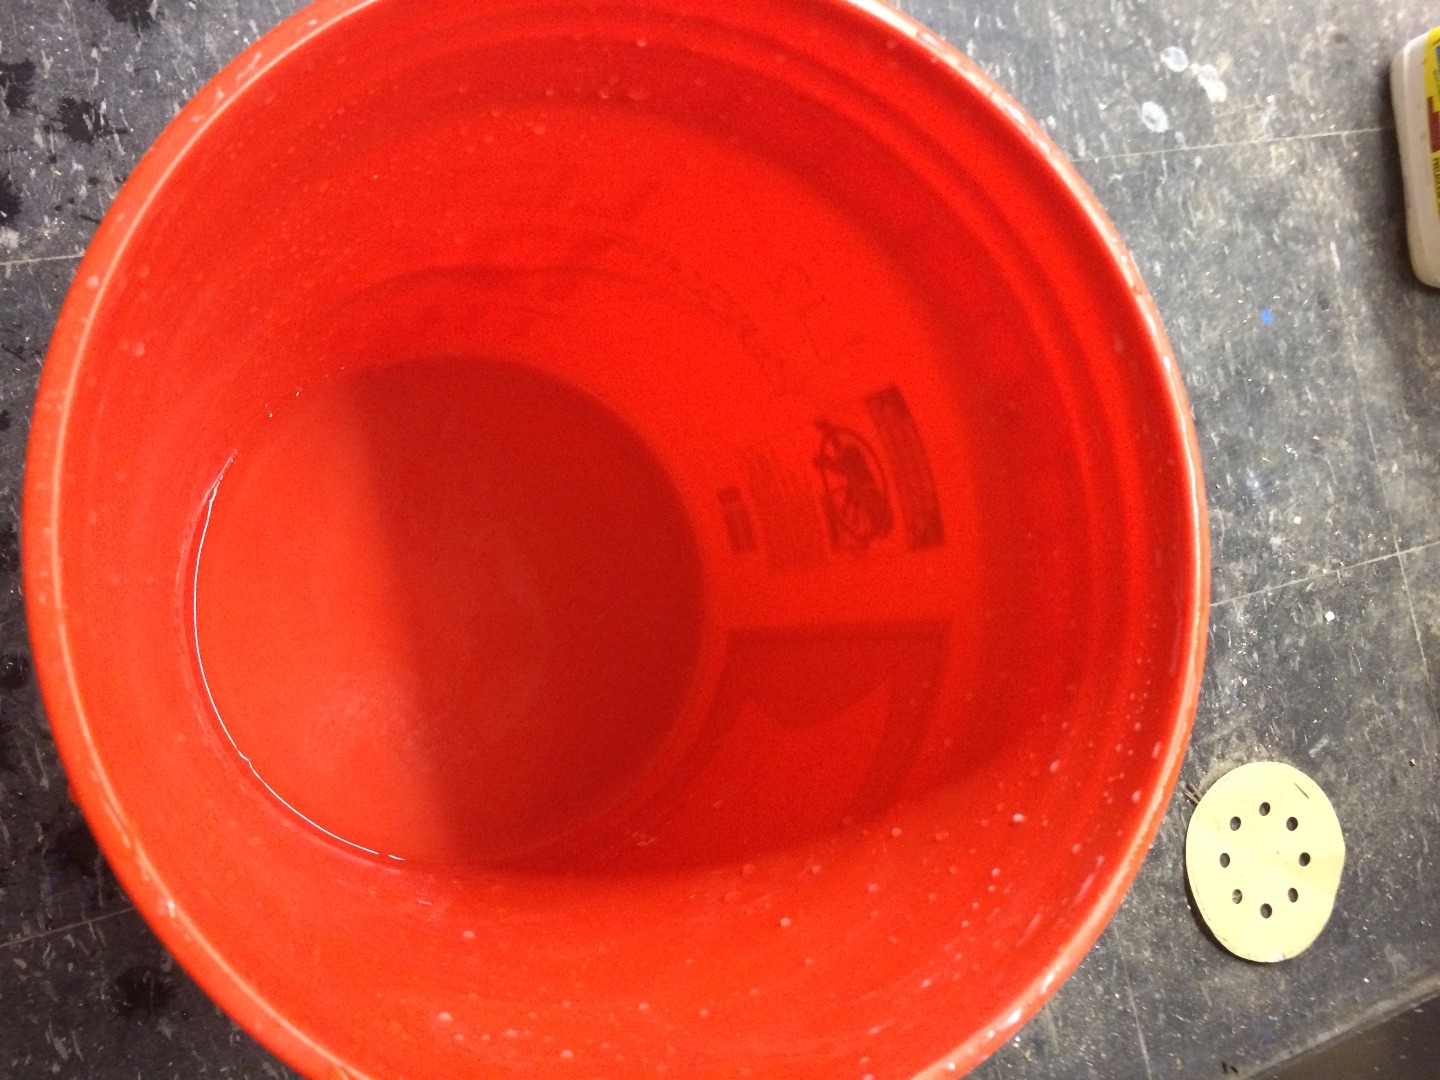
Immediately clean the mixing bucket after pouring plaster to ensure your next mix is pure.
Remove Jig
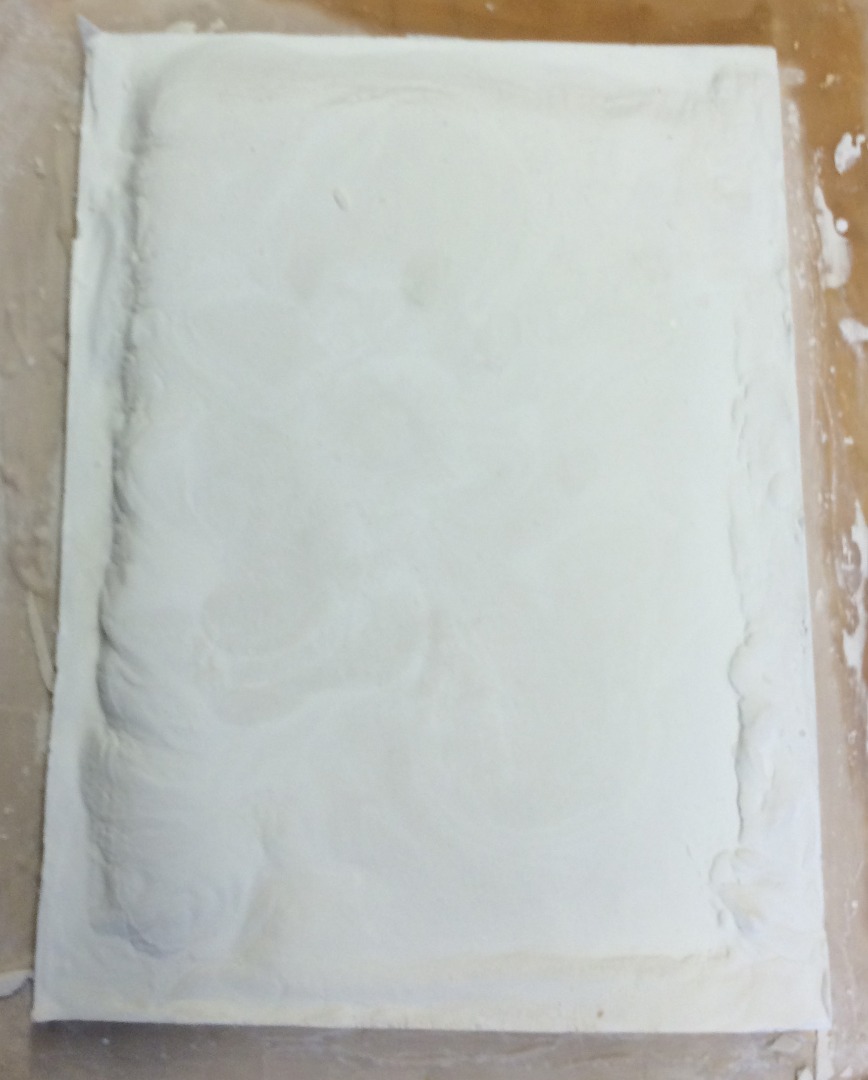
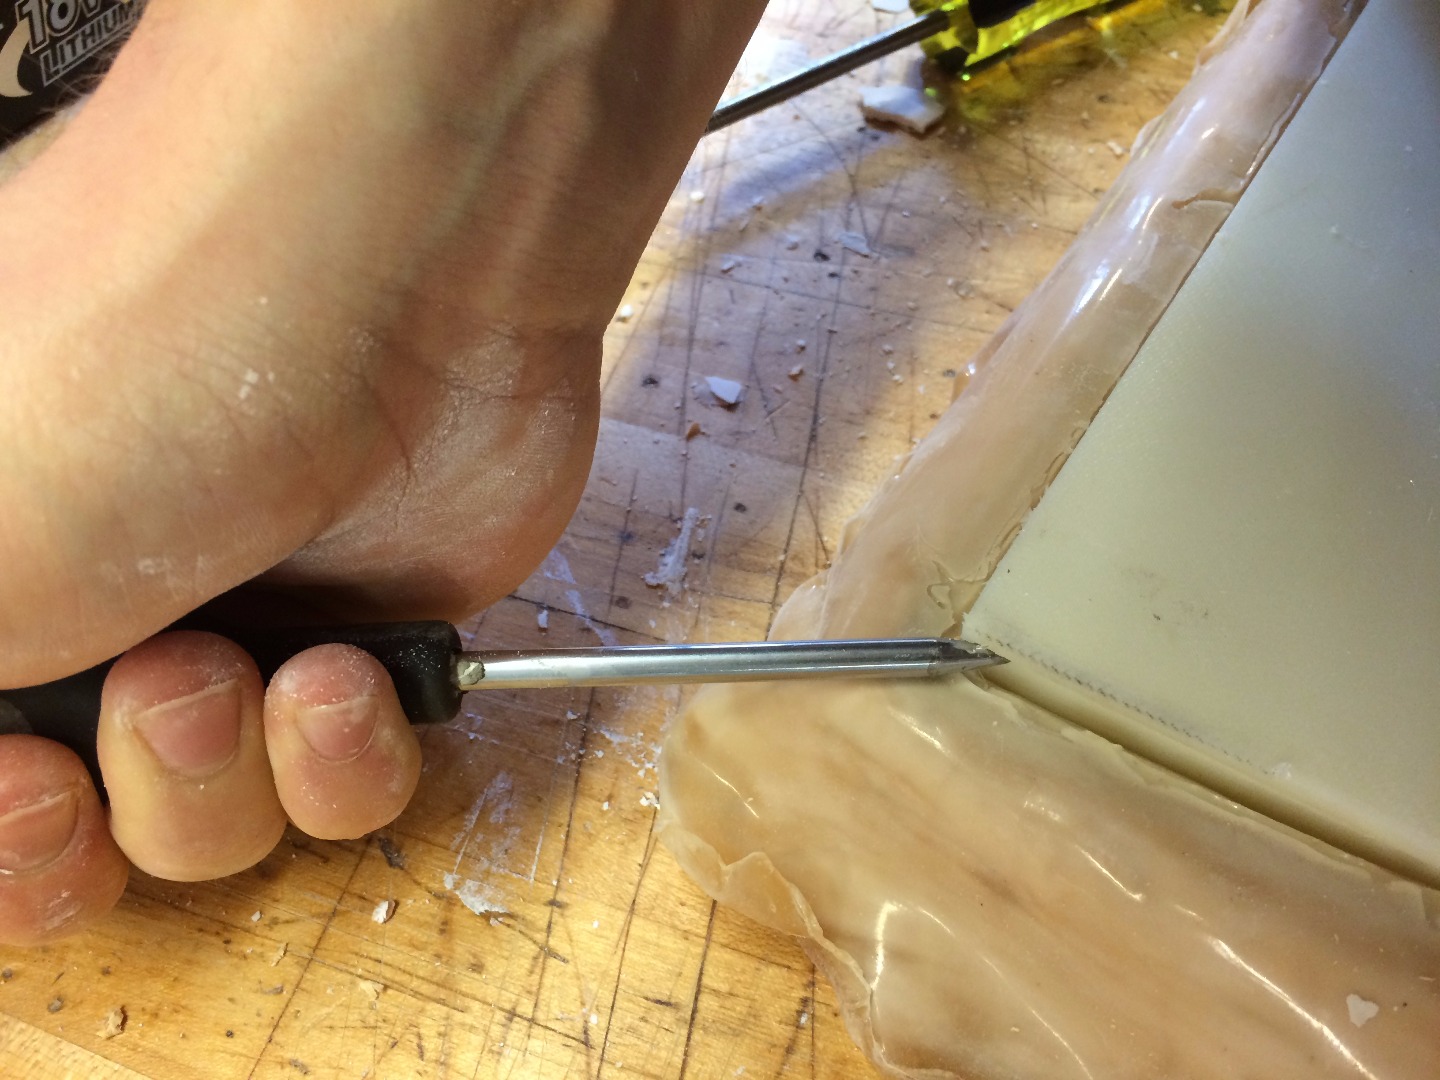
Carefully Remove Print From Mold
.JPG)
A screwdriver or comparable tool may be helpful, but be careful not to puncture the latex.
Carefully Remove Latex From Print
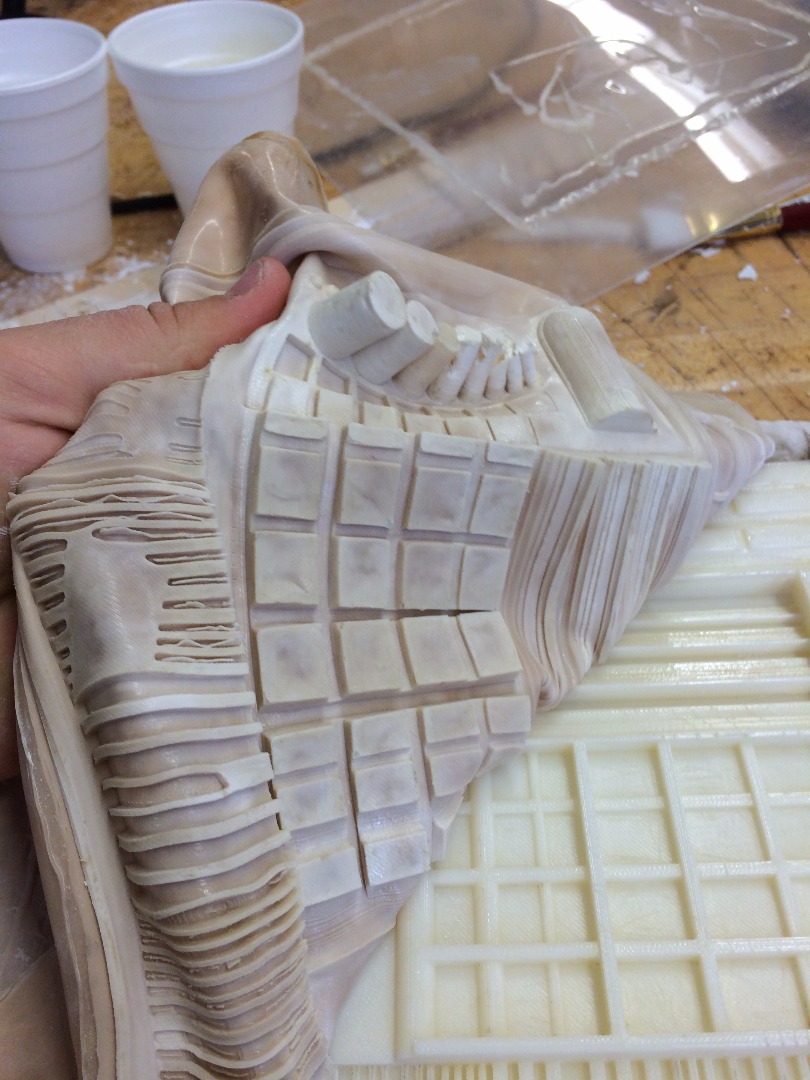
This can simply be pealed off the print, but do so slowly and carefully.
Reusable Mold
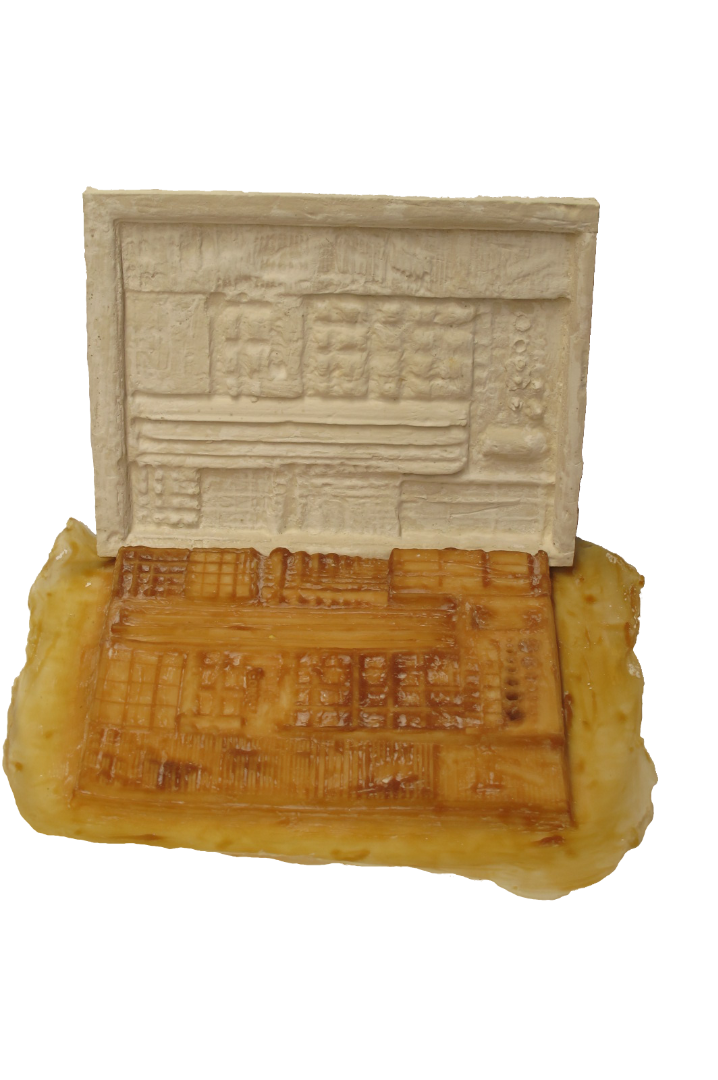
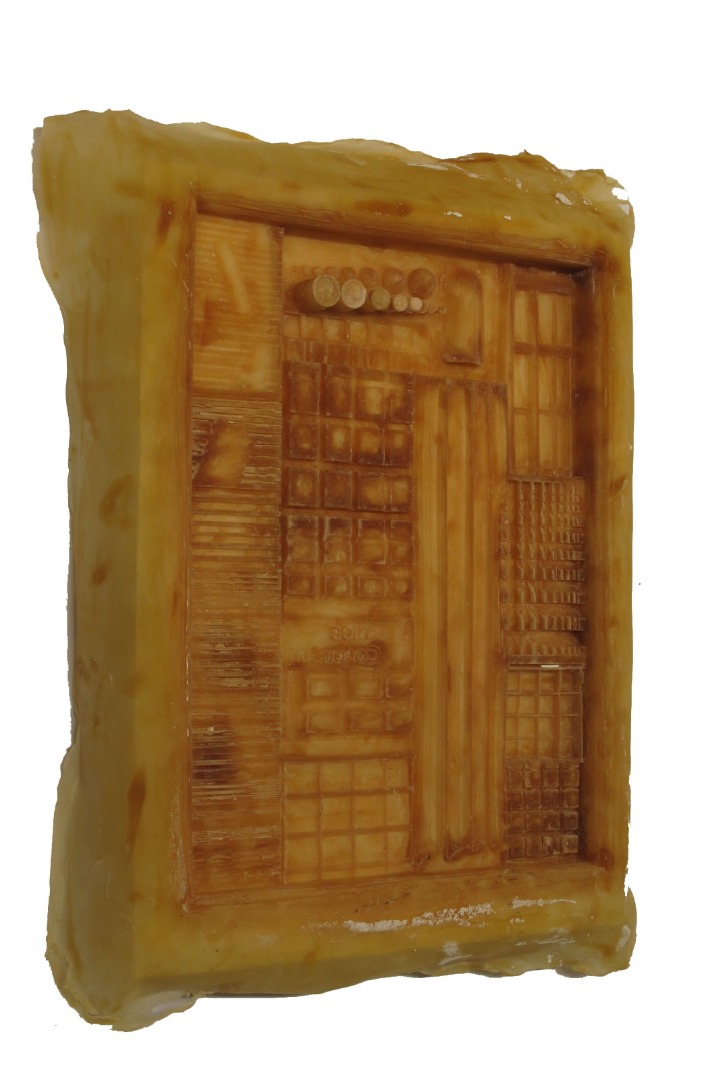
The latex and Mother Mold can now be used to cast a plaster surface that exactly resembles the 3D print. This mold can be reused several times, though it is worth noting the resulting quality will decrease incrementally with each use.
The mold cast from the latex / mother mold will be the refractory mold used to fire the glass.
Plaster Cast From Mold
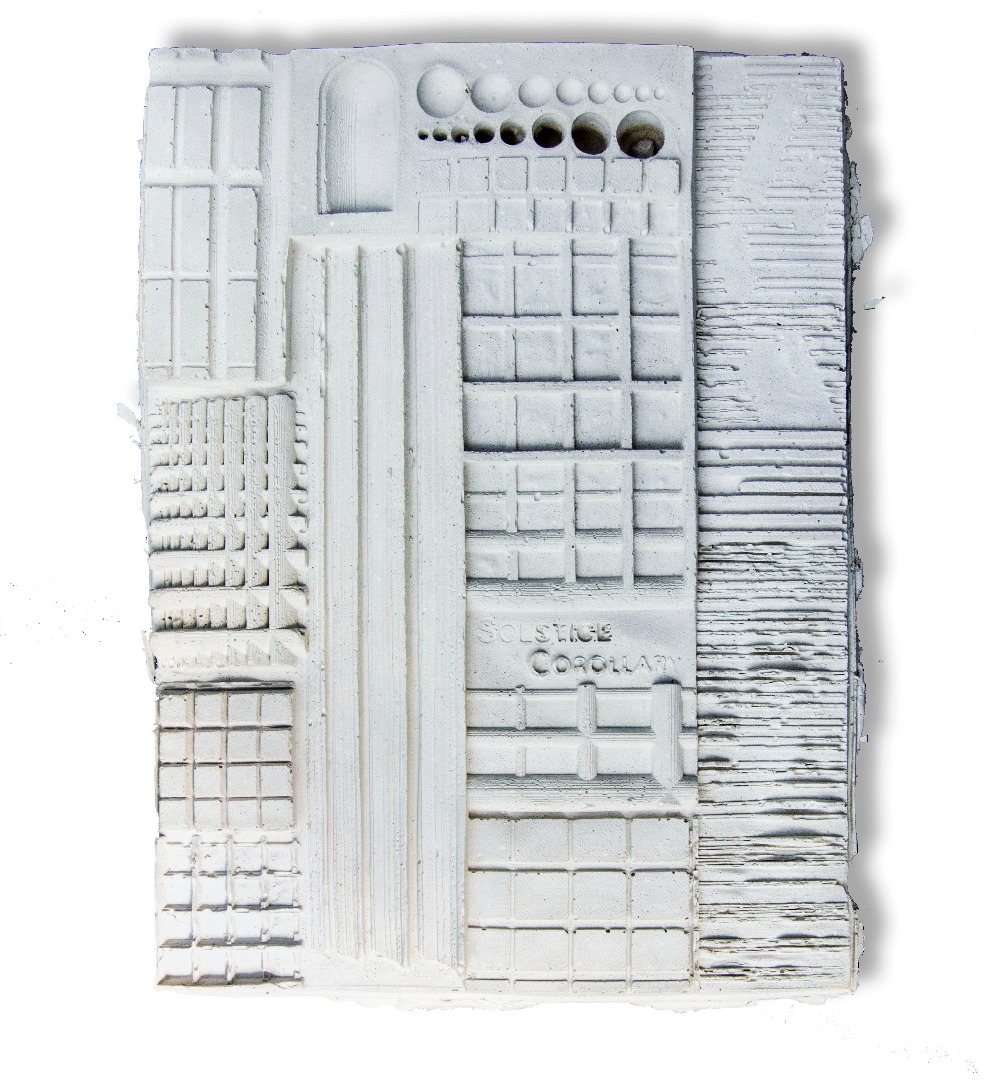
Use the mother mold to cast a plaster refractory mold that will be used for firing.
You should conduct outside research to determine which plaster compound is best for your personal application. The primary casting compound used in this example was Castalot, but if you would like to develop your own custom mixes, the book Mould Making for Glass by Angela Thwaites thoroughly covers the topic.
Prepare Mold
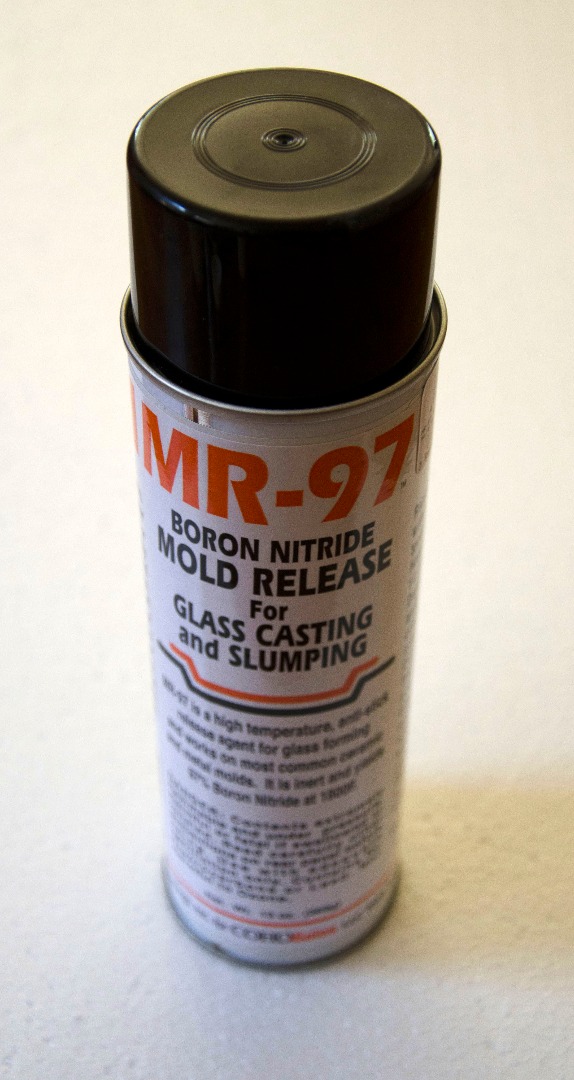
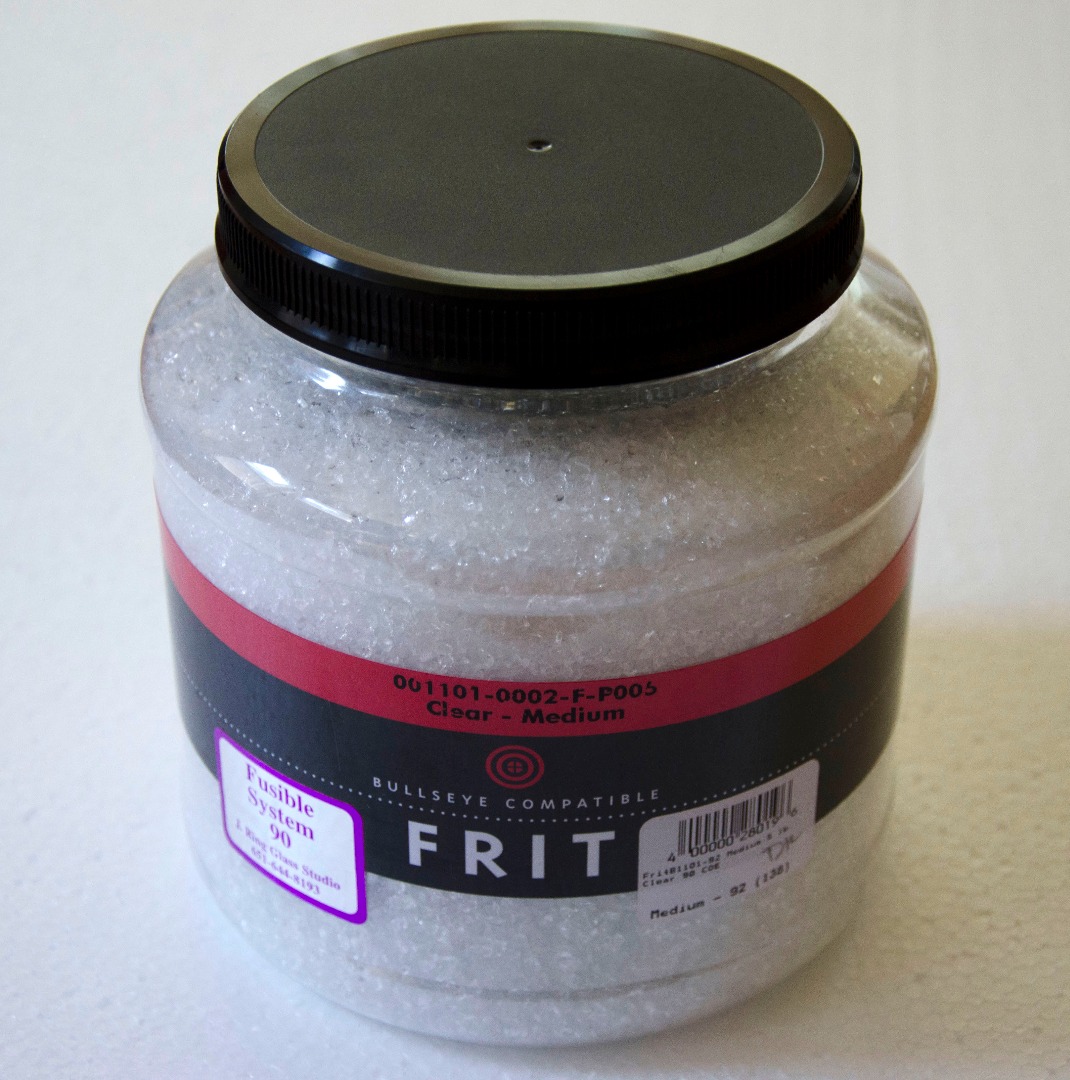
Fire Glass Frit or Plate Glass
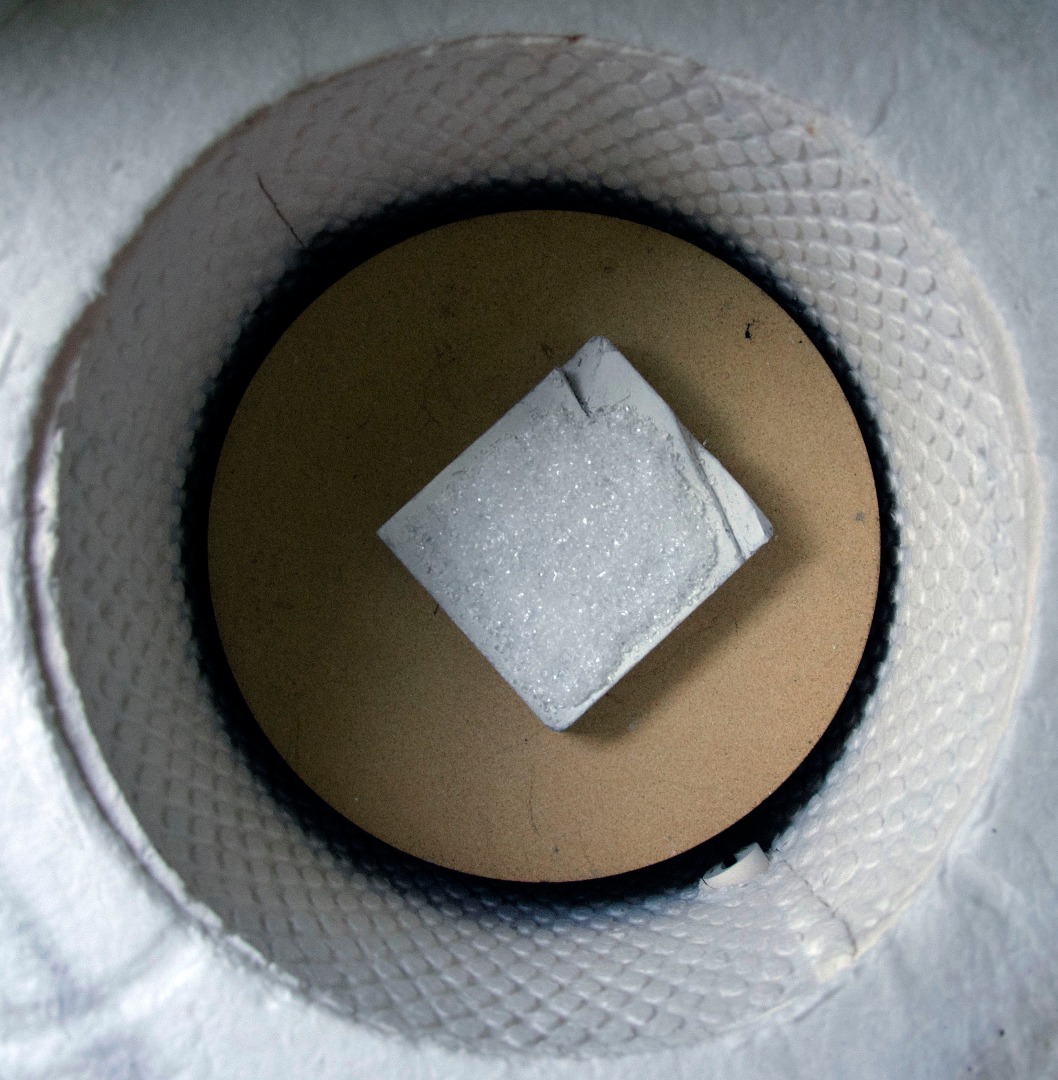
Resulting Glass Slump
