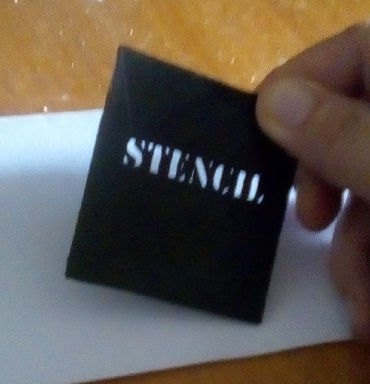
3D Print a Stencil
In this Instructable, You'll learn how to take Inkscape, with any Stencil Font, take to Freecad, and make a 3D printed Stencil.
Write the Blurb
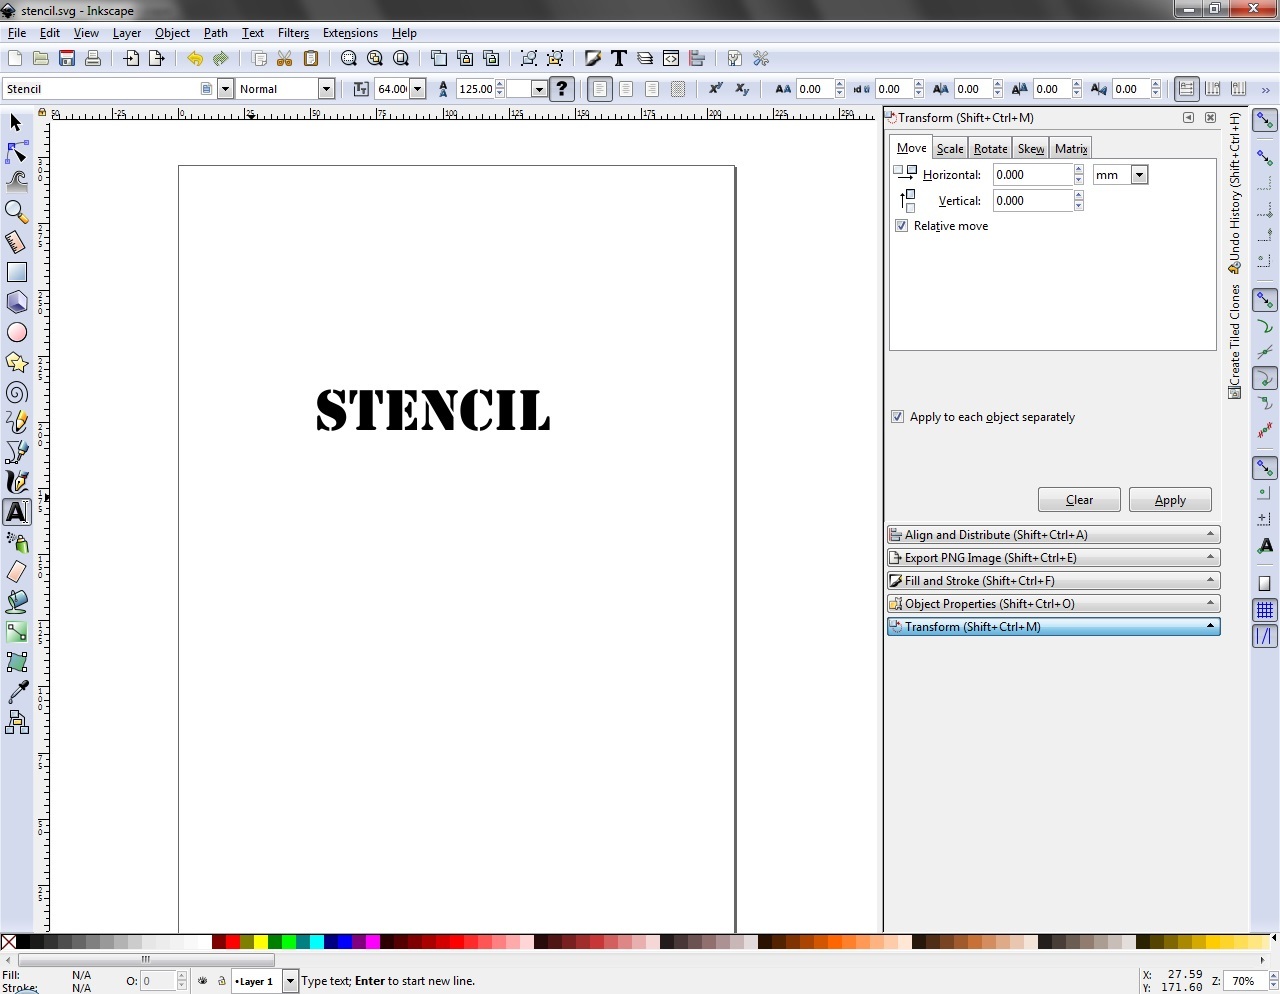
You just write the words...
Make It a Path
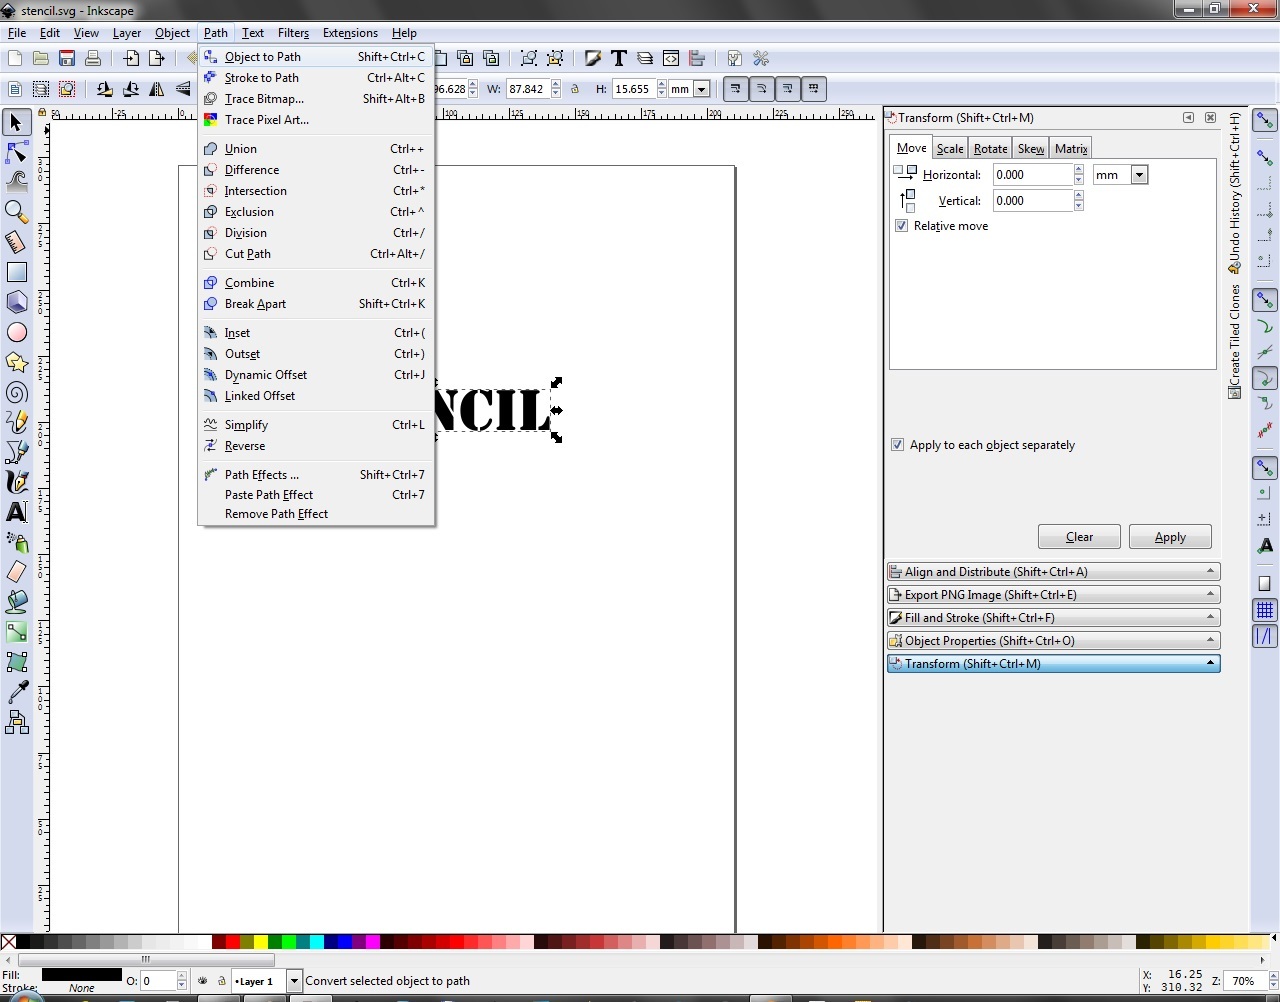
Select Object to Path
Break Apart

Then, break it
Back to Object, Ungroup
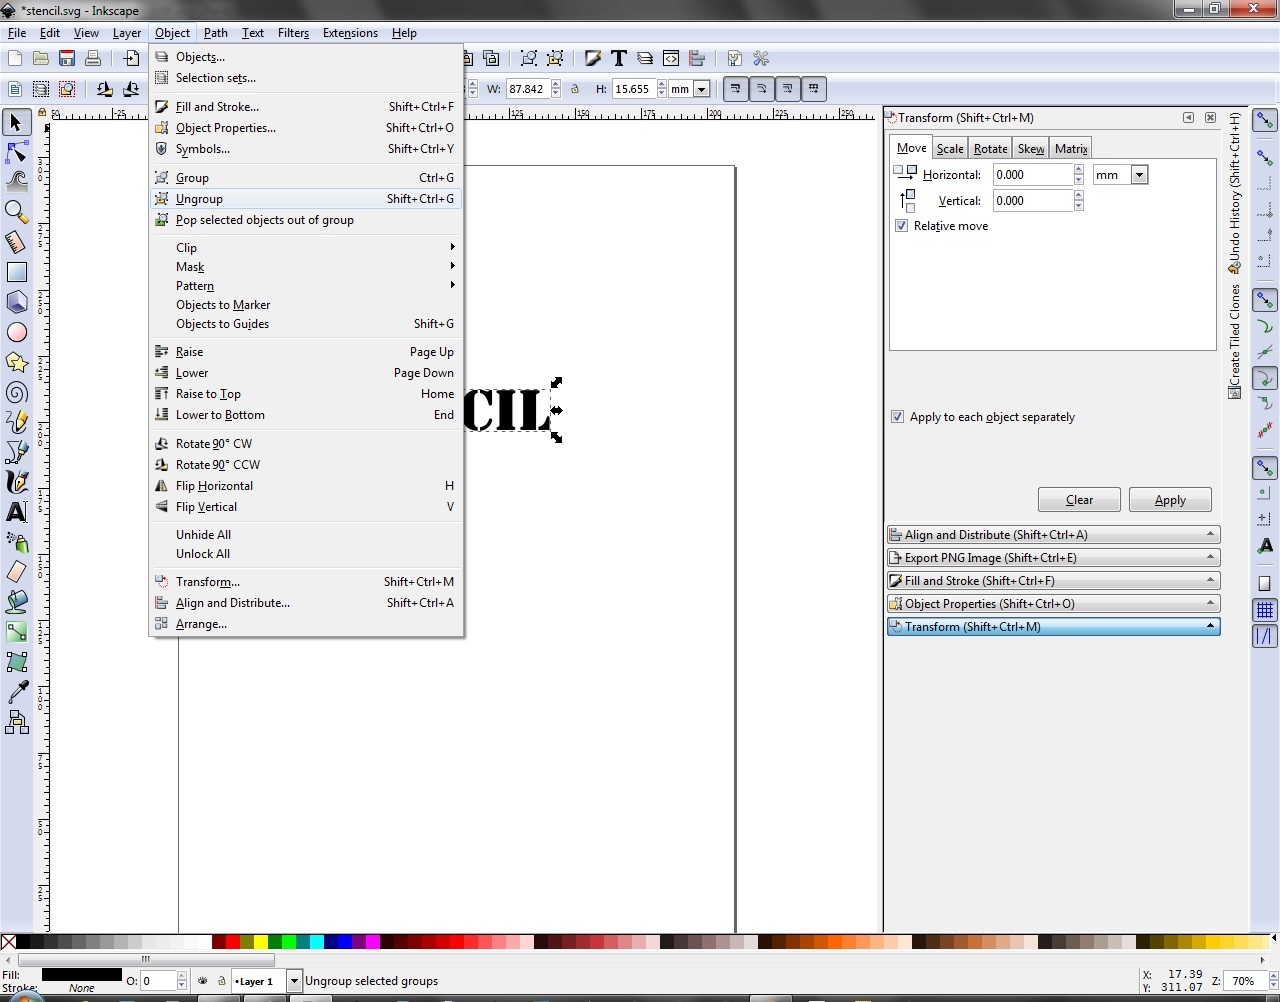
Out of the Menu Part, back to the Menu Object, ungroup, for good measure...
Save That As SVG
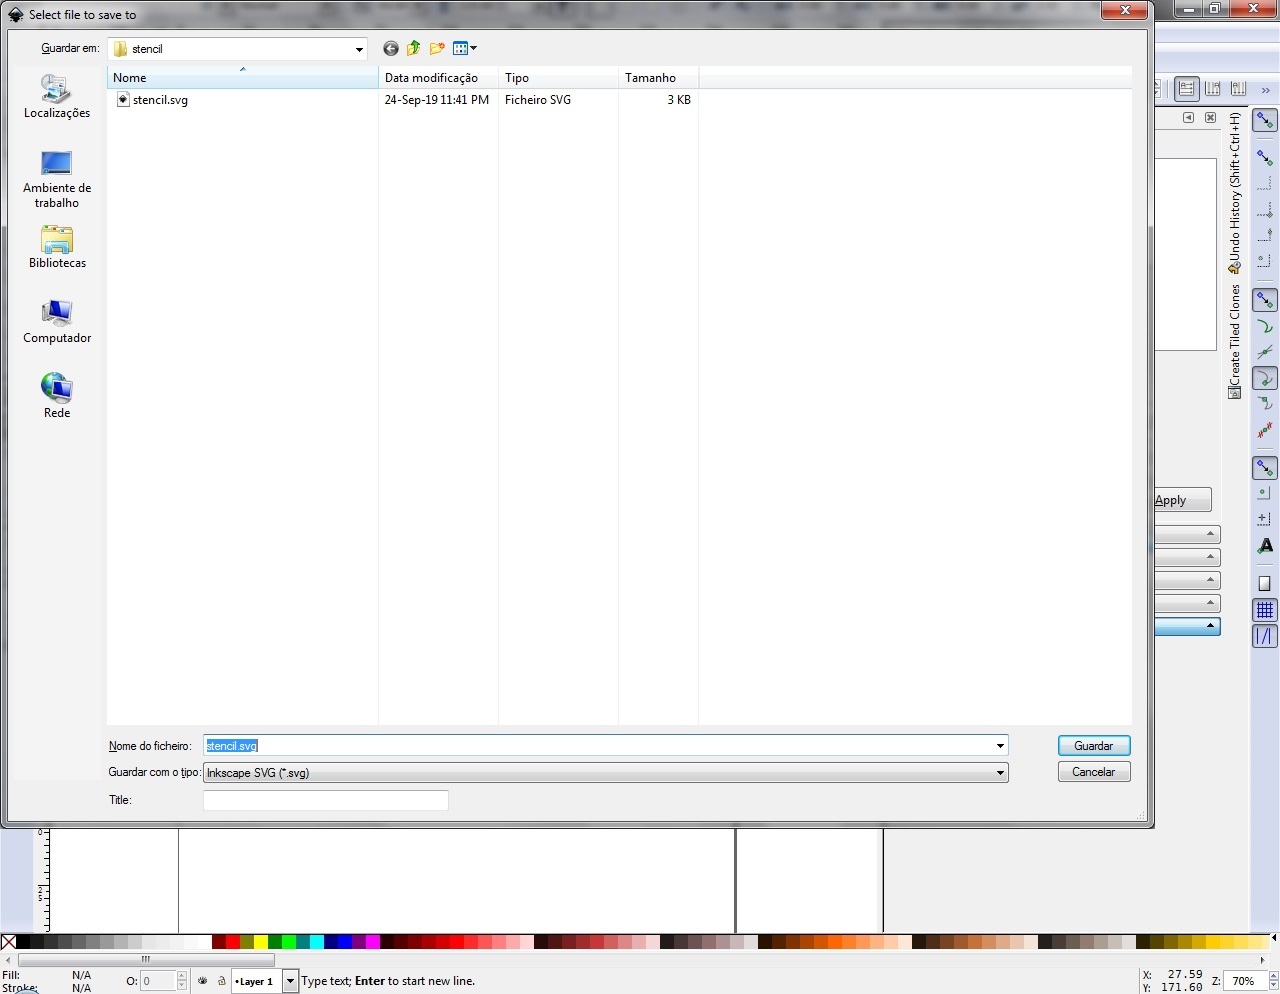
Just save your text as a SVG file, and out to FreeCad, next!
Import to FreeCad
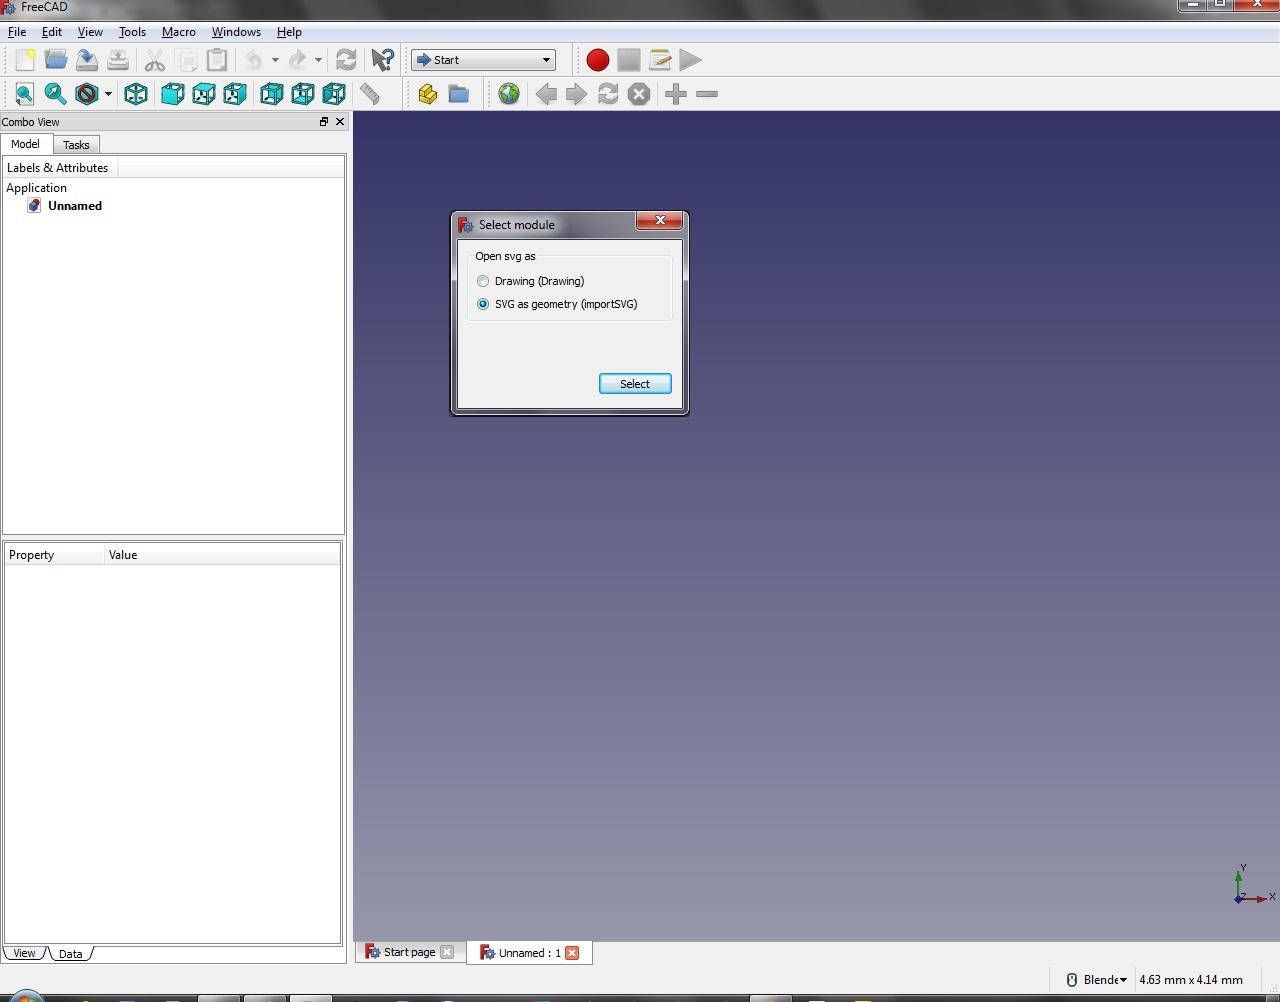
Take that SVG, and import it as Geometry
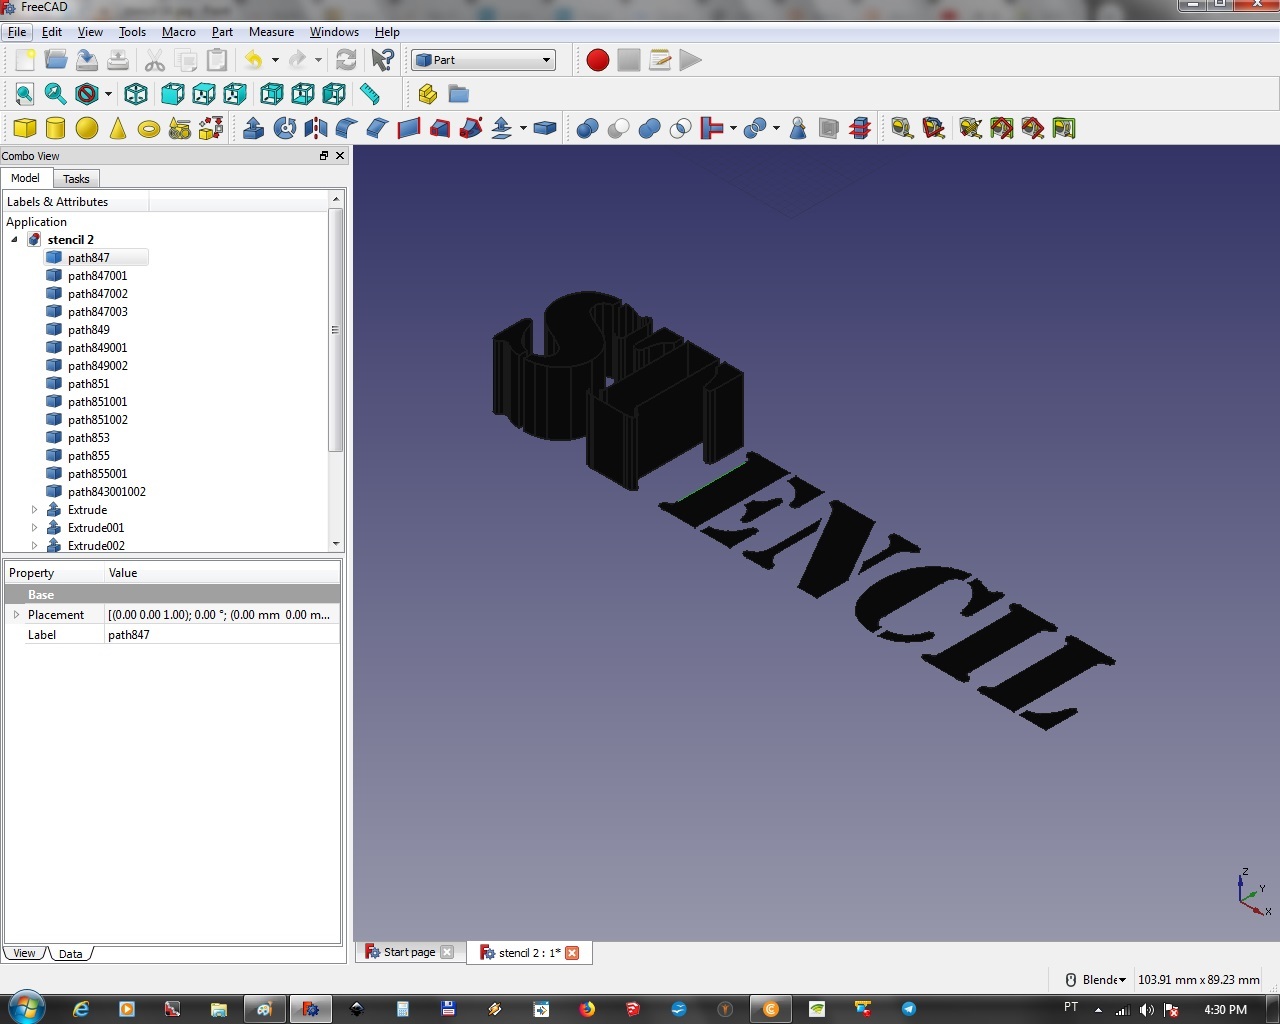
Here It Is

Now, the letters should be a bunch of Paths...
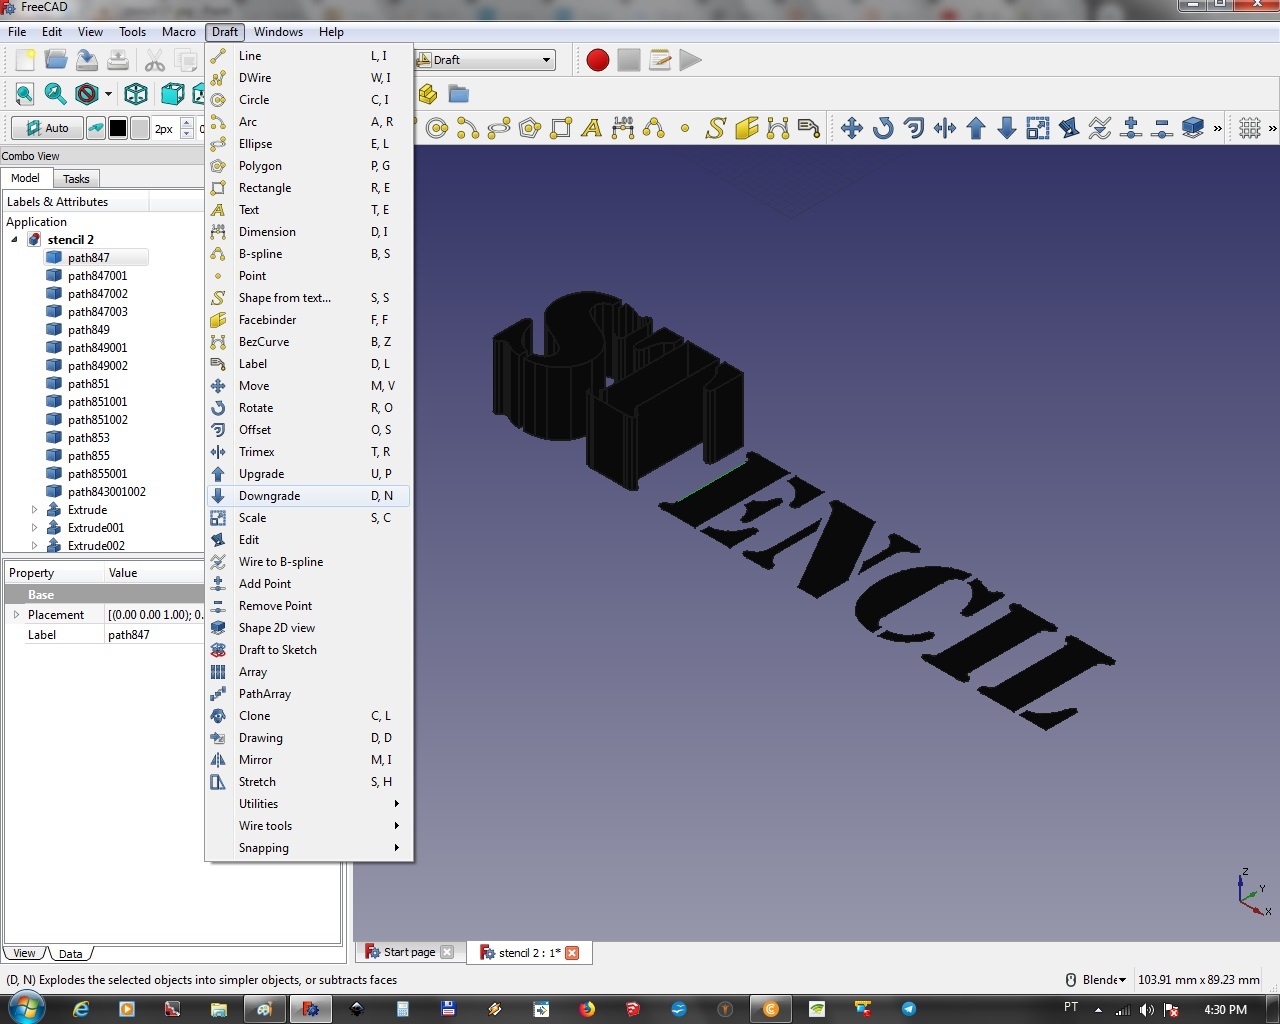
Draft Menu

Go to the Draft Men
Select Each Part

Start to select each separate part...
Draft Menu, and Upgrade It

Go top the Draft Menu, and upgrade the parts
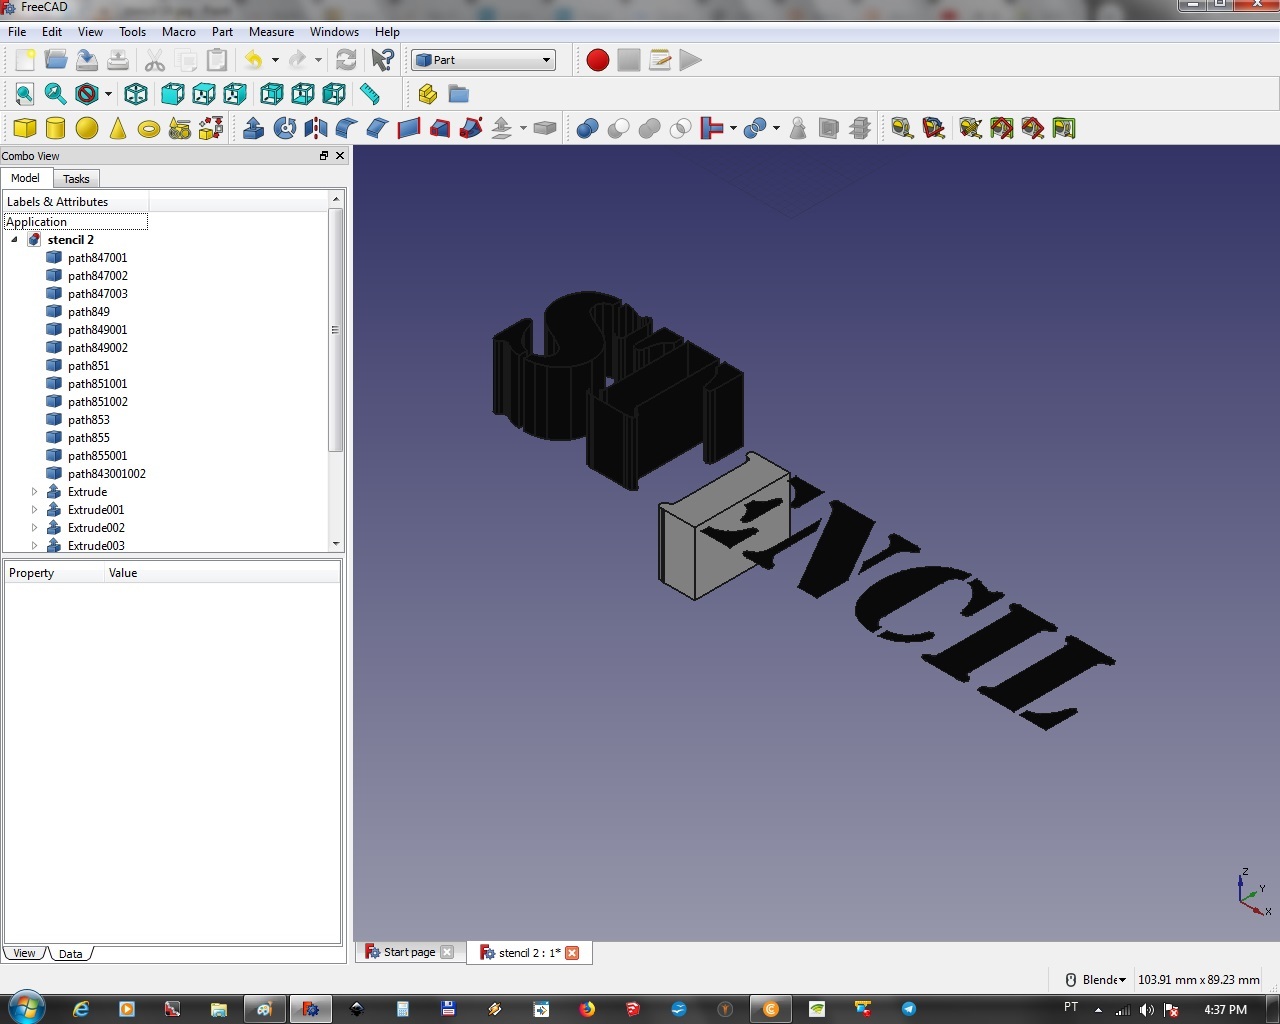
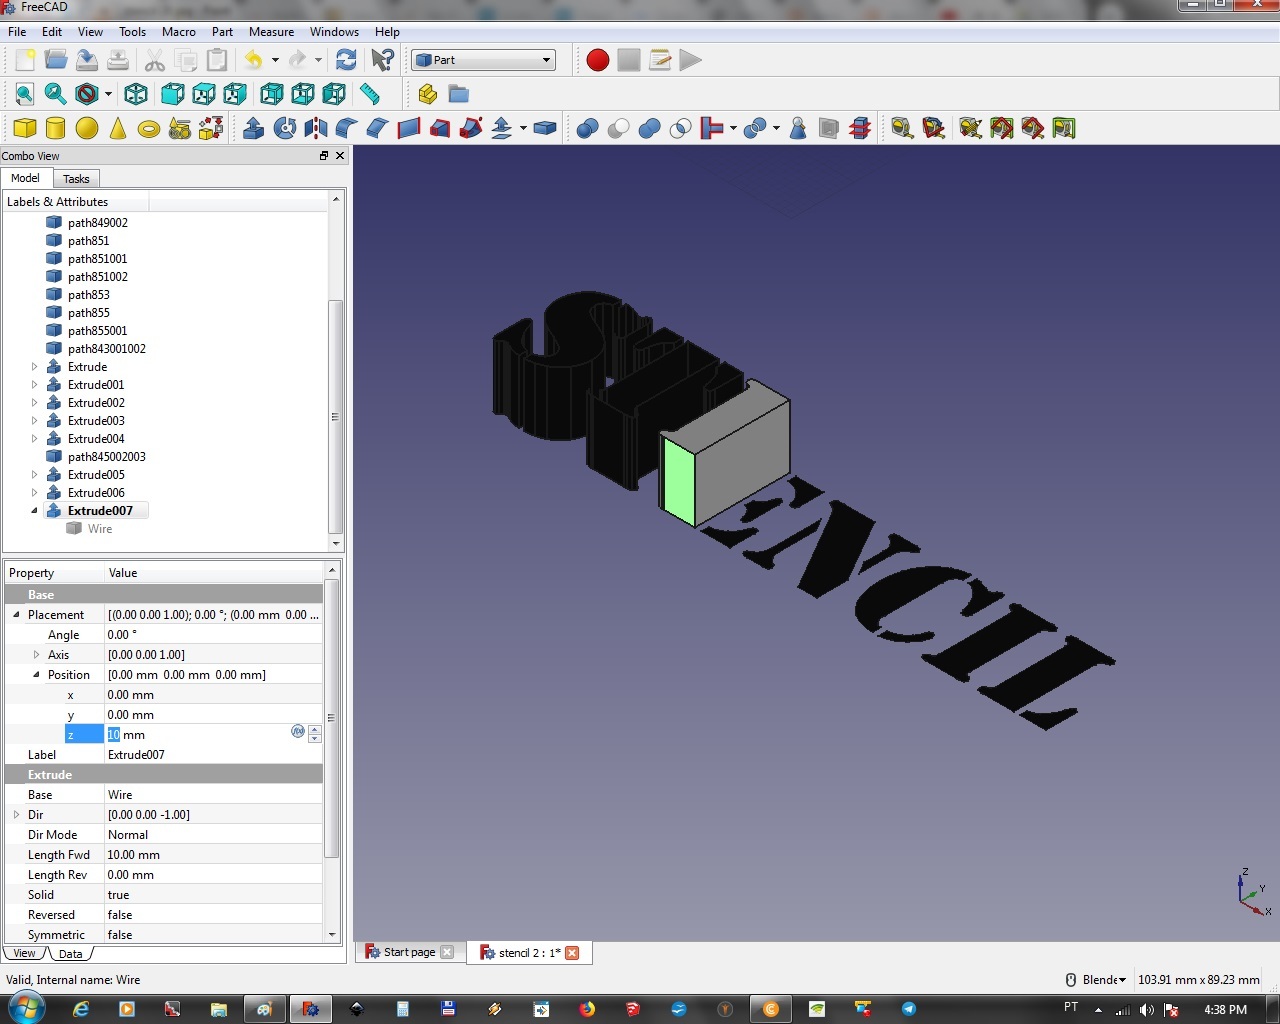
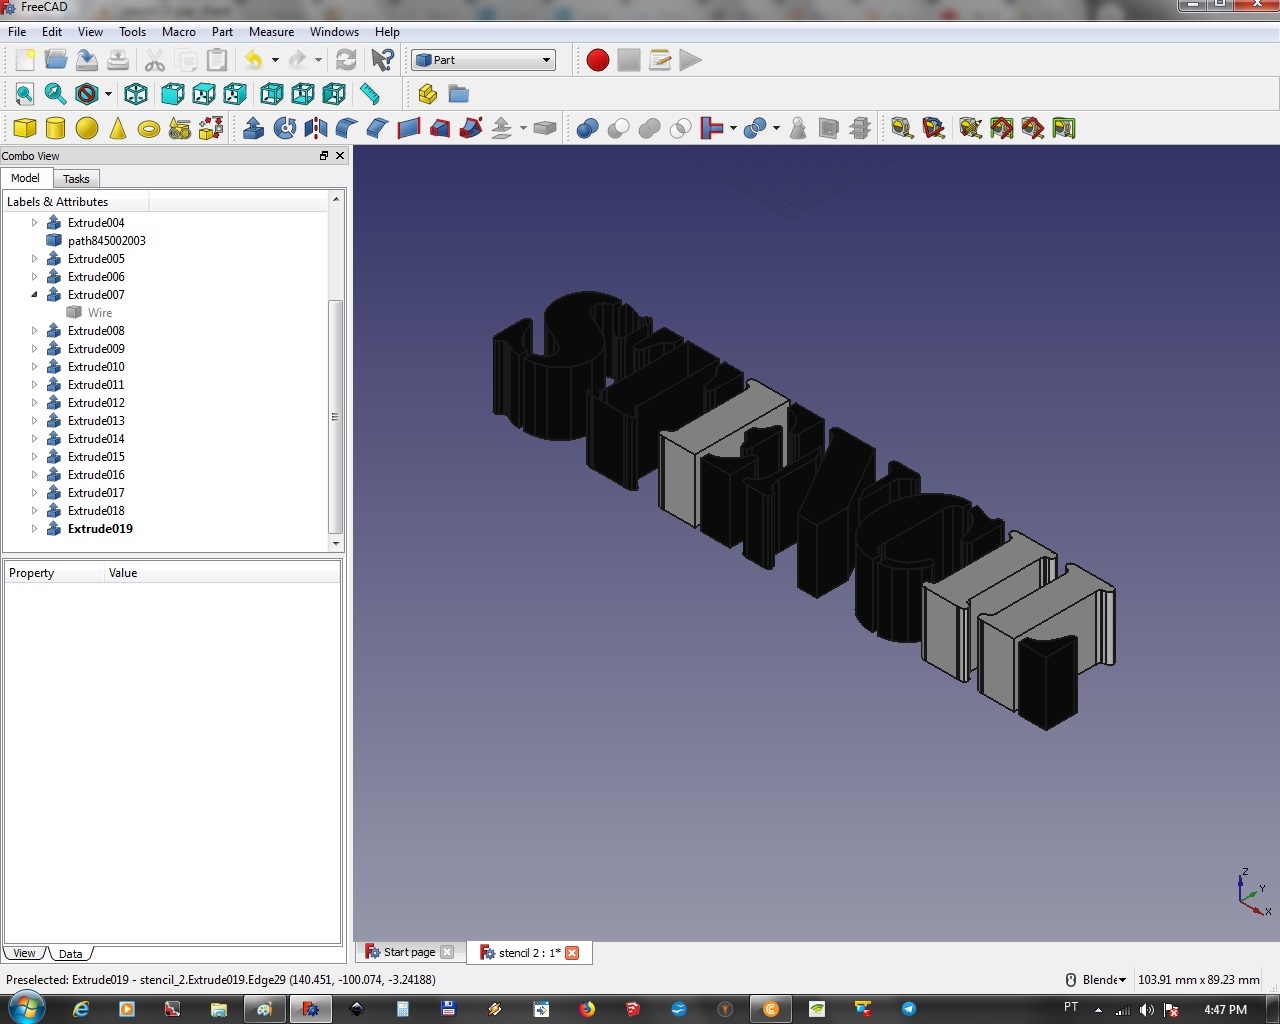
Select and Extrude
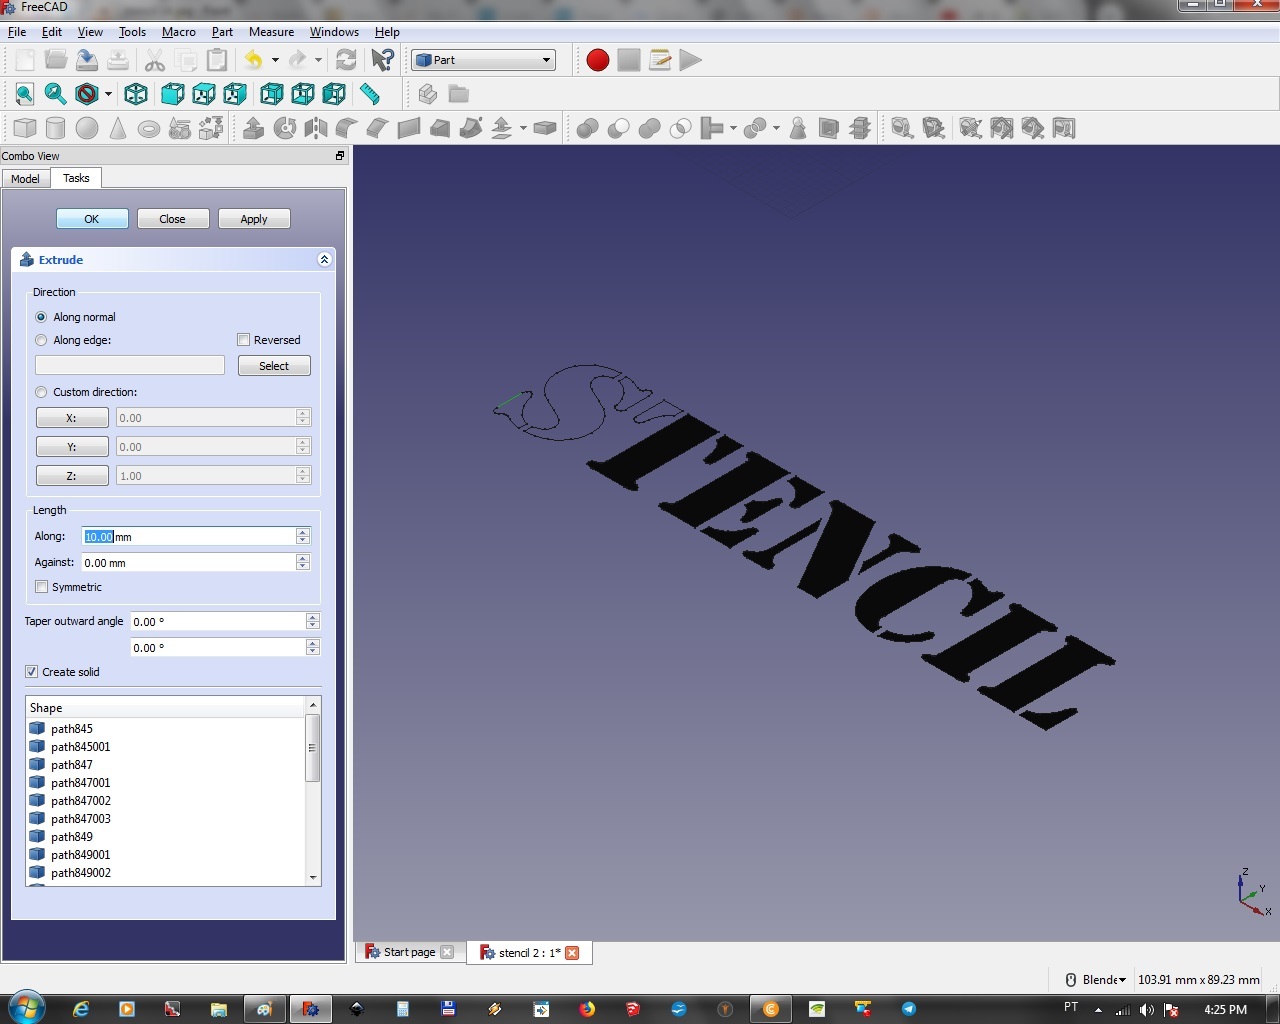
On the Part Menu, extrude the selected part
It Goes Up!
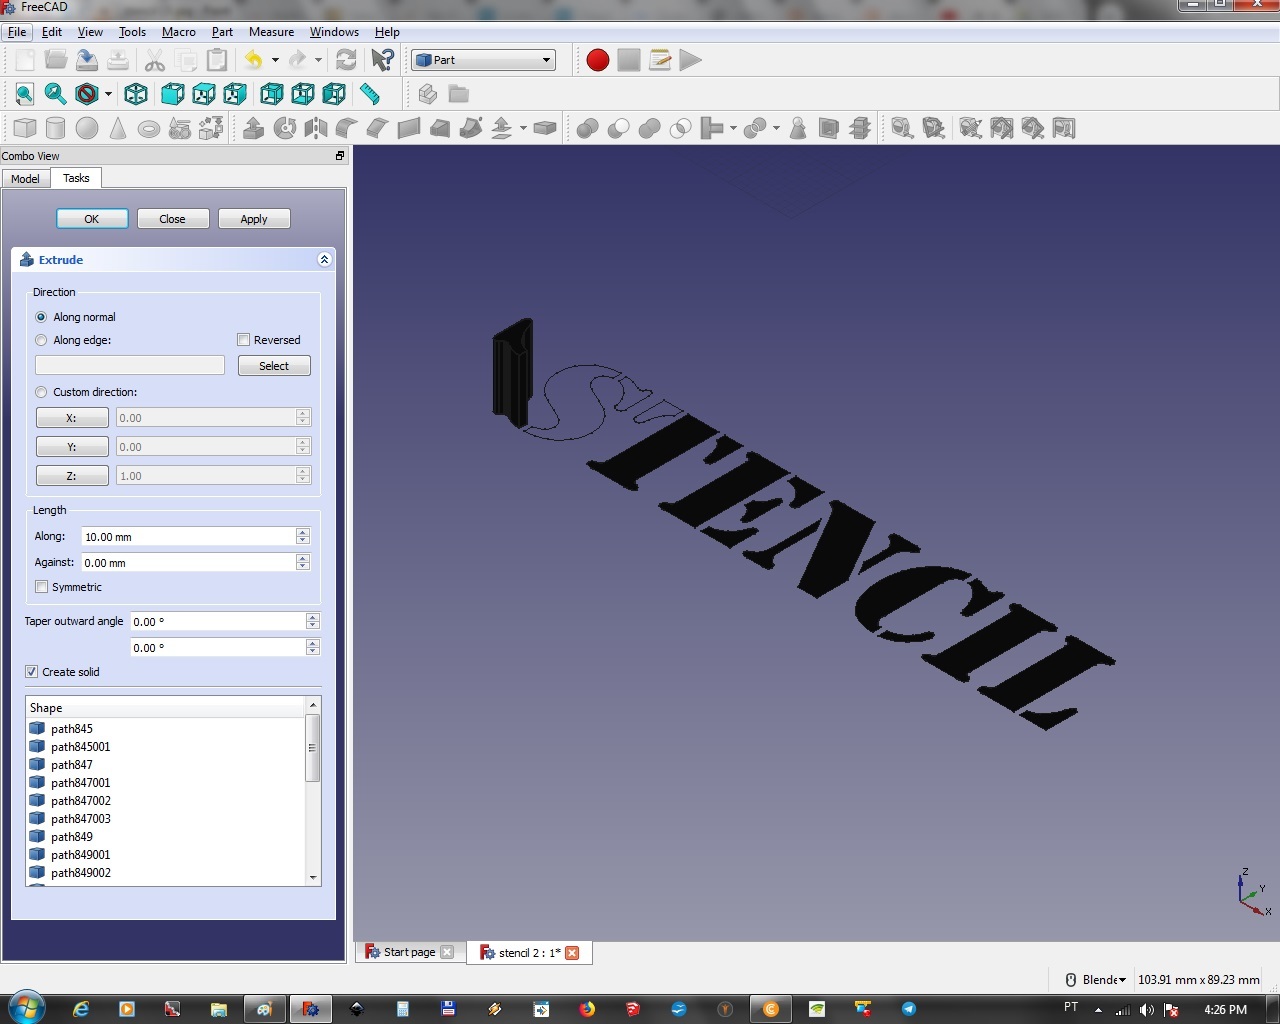
The part is extruded, exaggerated height, just for demo
It Goes On...
You get this, MOST of the time...
These That Won't Upgrade...
But some parts might NOT Upgrade... Stinkers.
Just go and Downgrade!
It Goes Down!
It's extruded
Move It
Just move the thing now, to align to the others...
All Extruded, and Moved, If Need
Will look like this
Make the Back
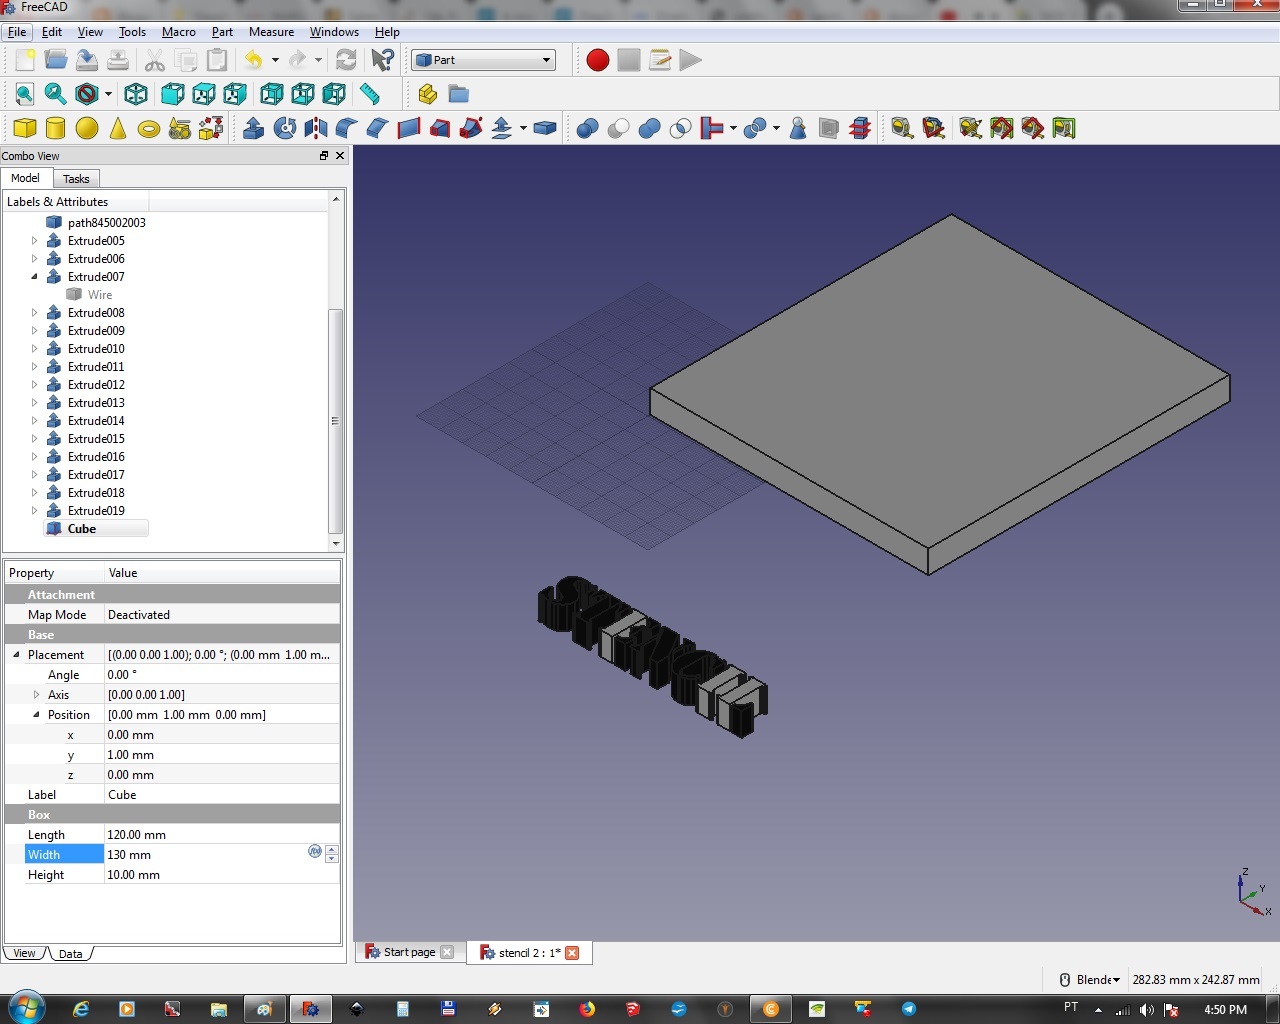
Make a Cube, and sized it at need, DON'T make that on Inkscape, it will be a pain to extrude.
Align All
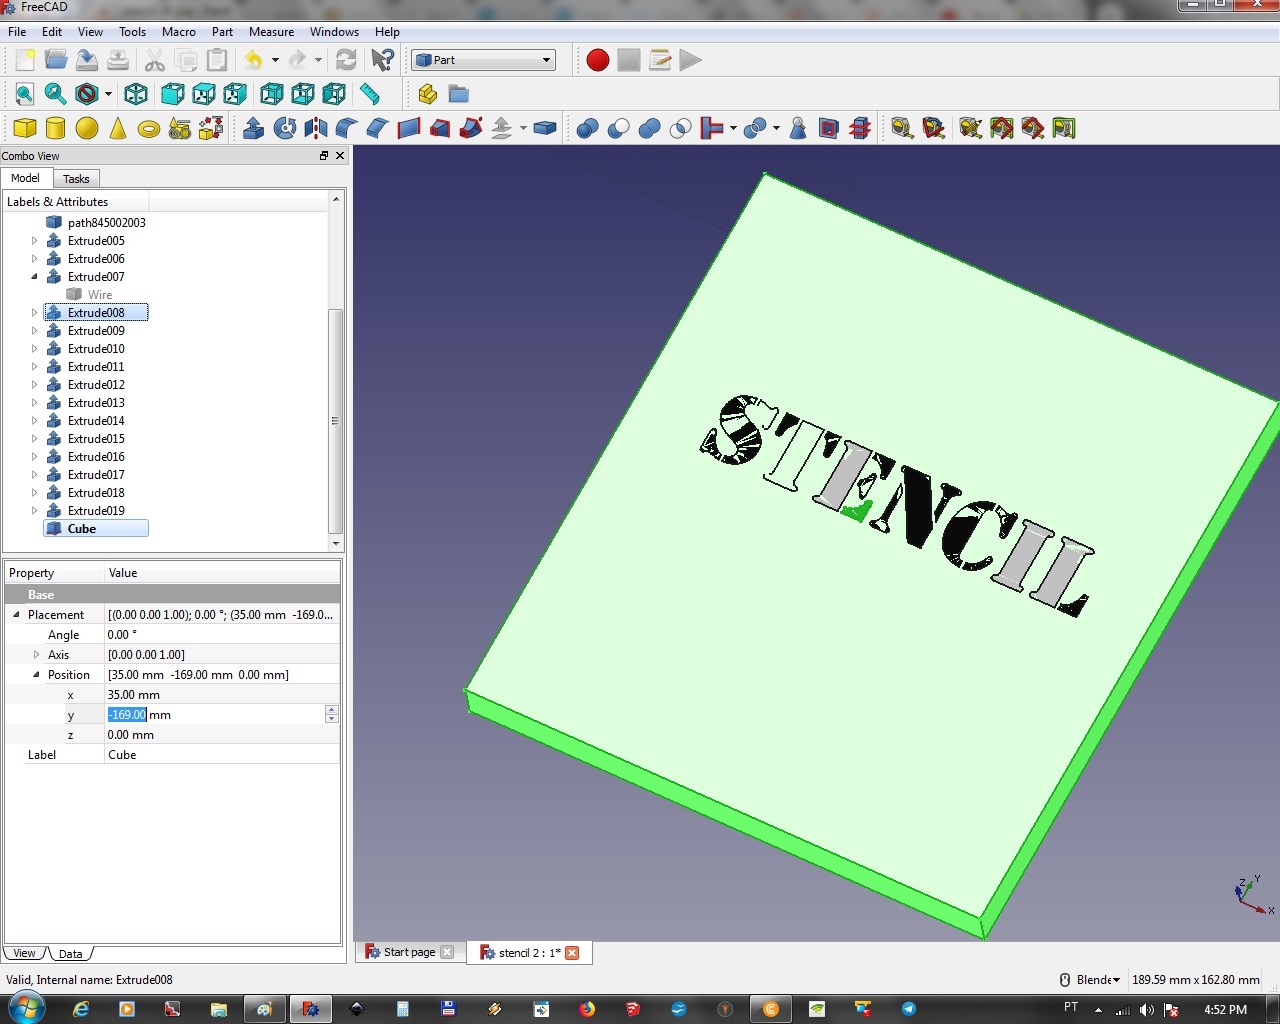
Align all parts, ready for the cutting...
Select and Cut

Chose first the back, then the part, and select Cut
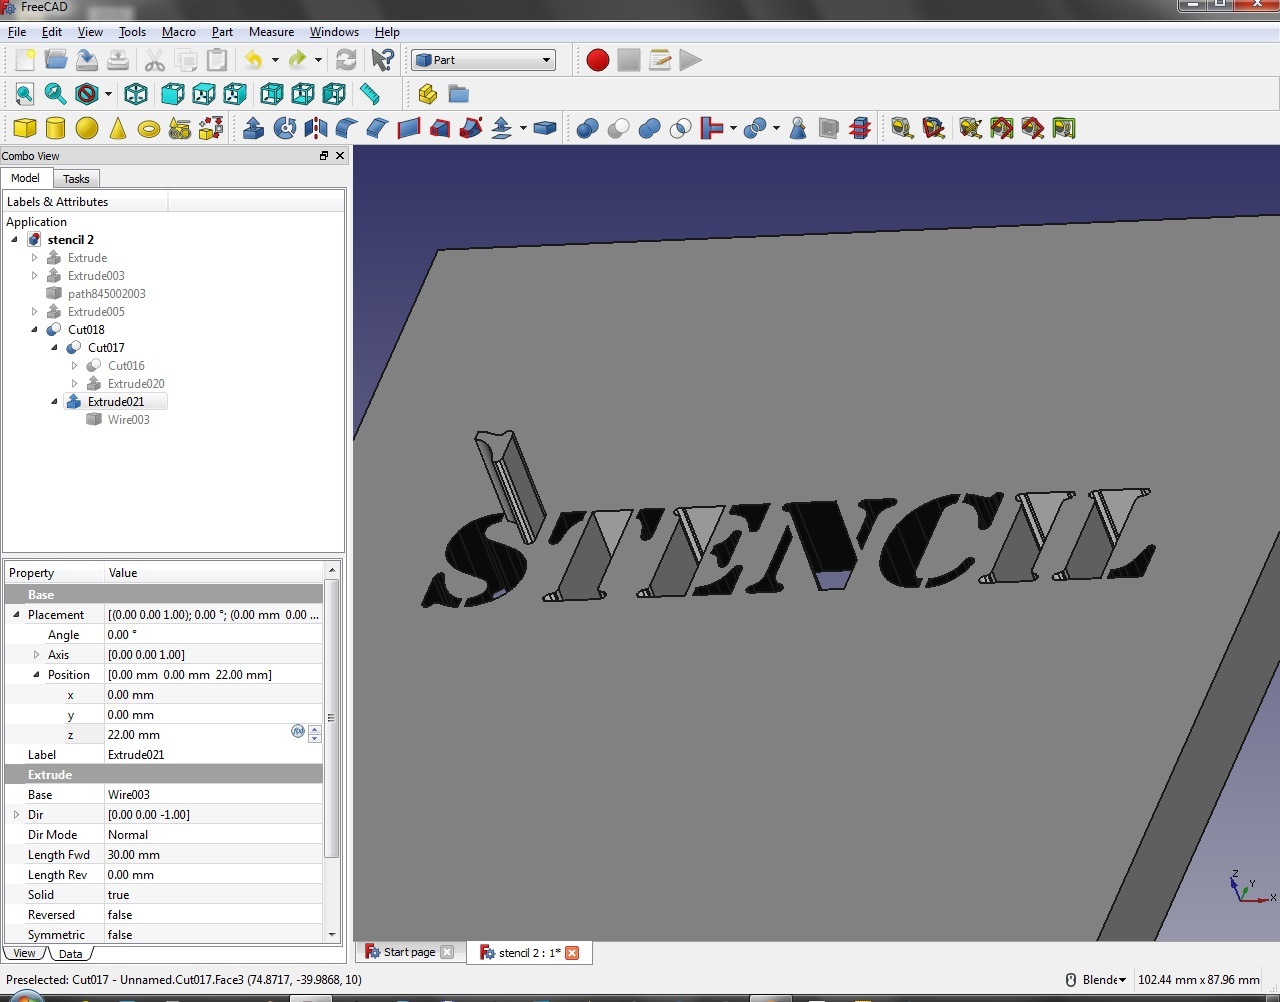
It Should End Up This Way...
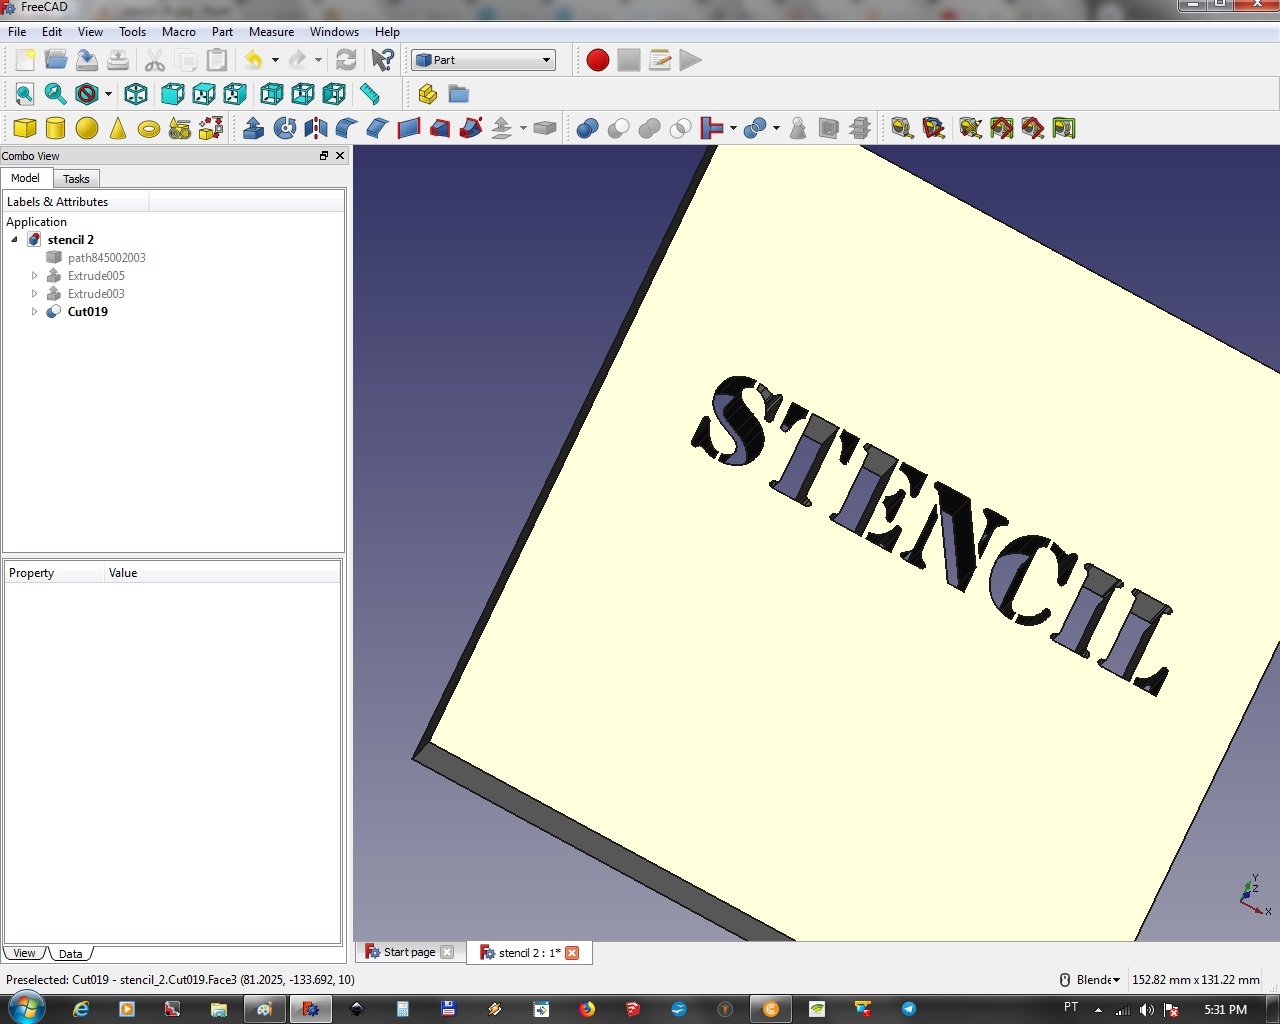
Yes, it SHOULD, but if one part won't cut...
Exaggerate
If some won't cut, make the part very higher than the back, so it goes out of it, up and down,and it will cut!
Select the Finish Stencil, and Export As Stl
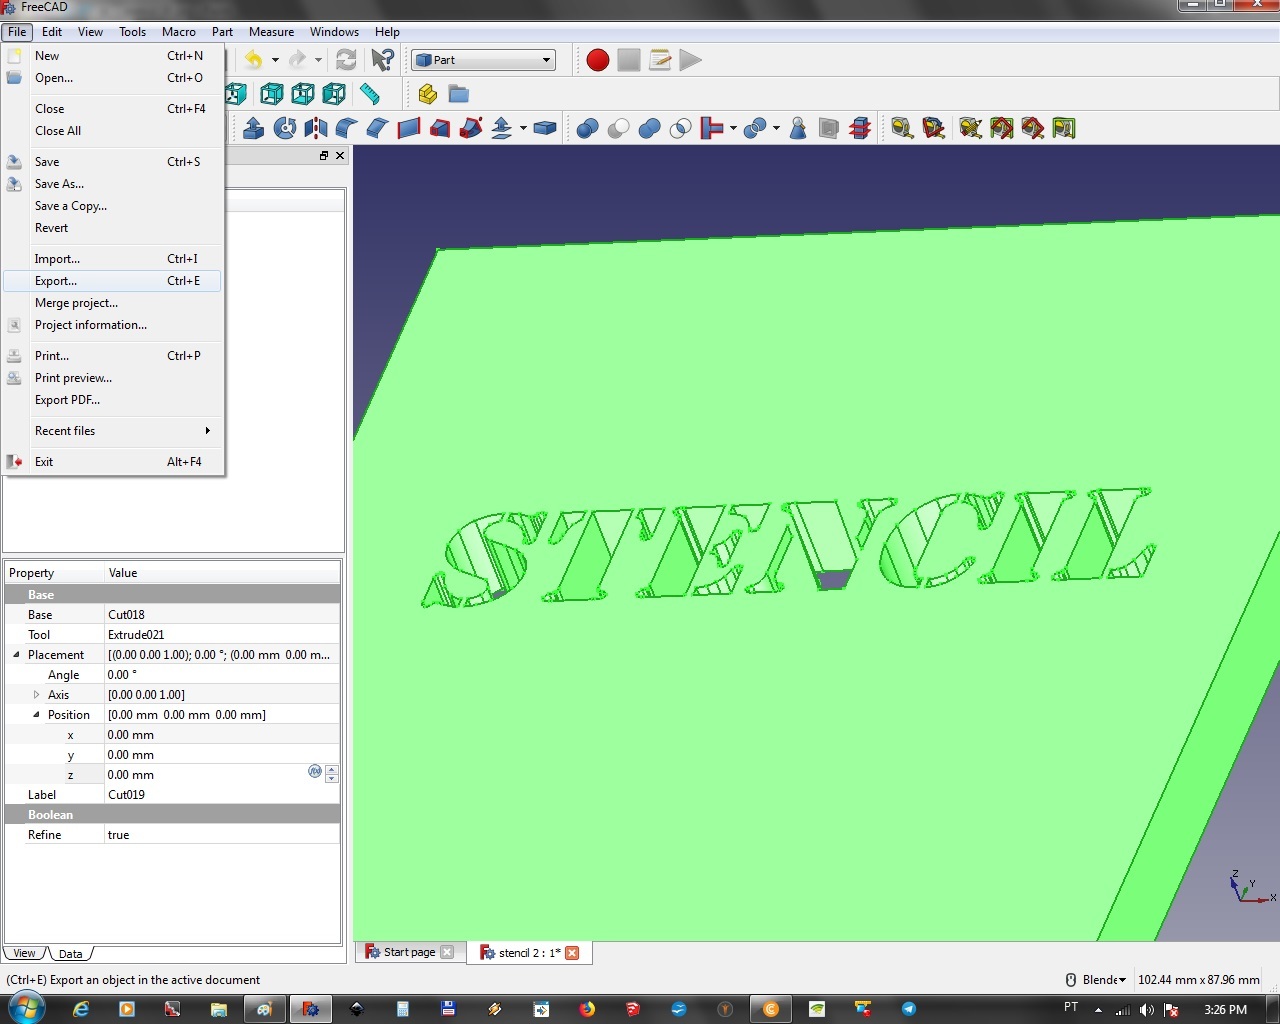
Now, export it, and take it to your Printer
There You Have It!

Frankly, print it larger, but hey, it's this that you'll get!
Happy Stenciling!