3D Print a Custom 2-Color Game Piece
by adamwatters in Workshop > 3D Printing
9245 Views, 6 Favorites, 0 Comments
3D Print a Custom 2-Color Game Piece
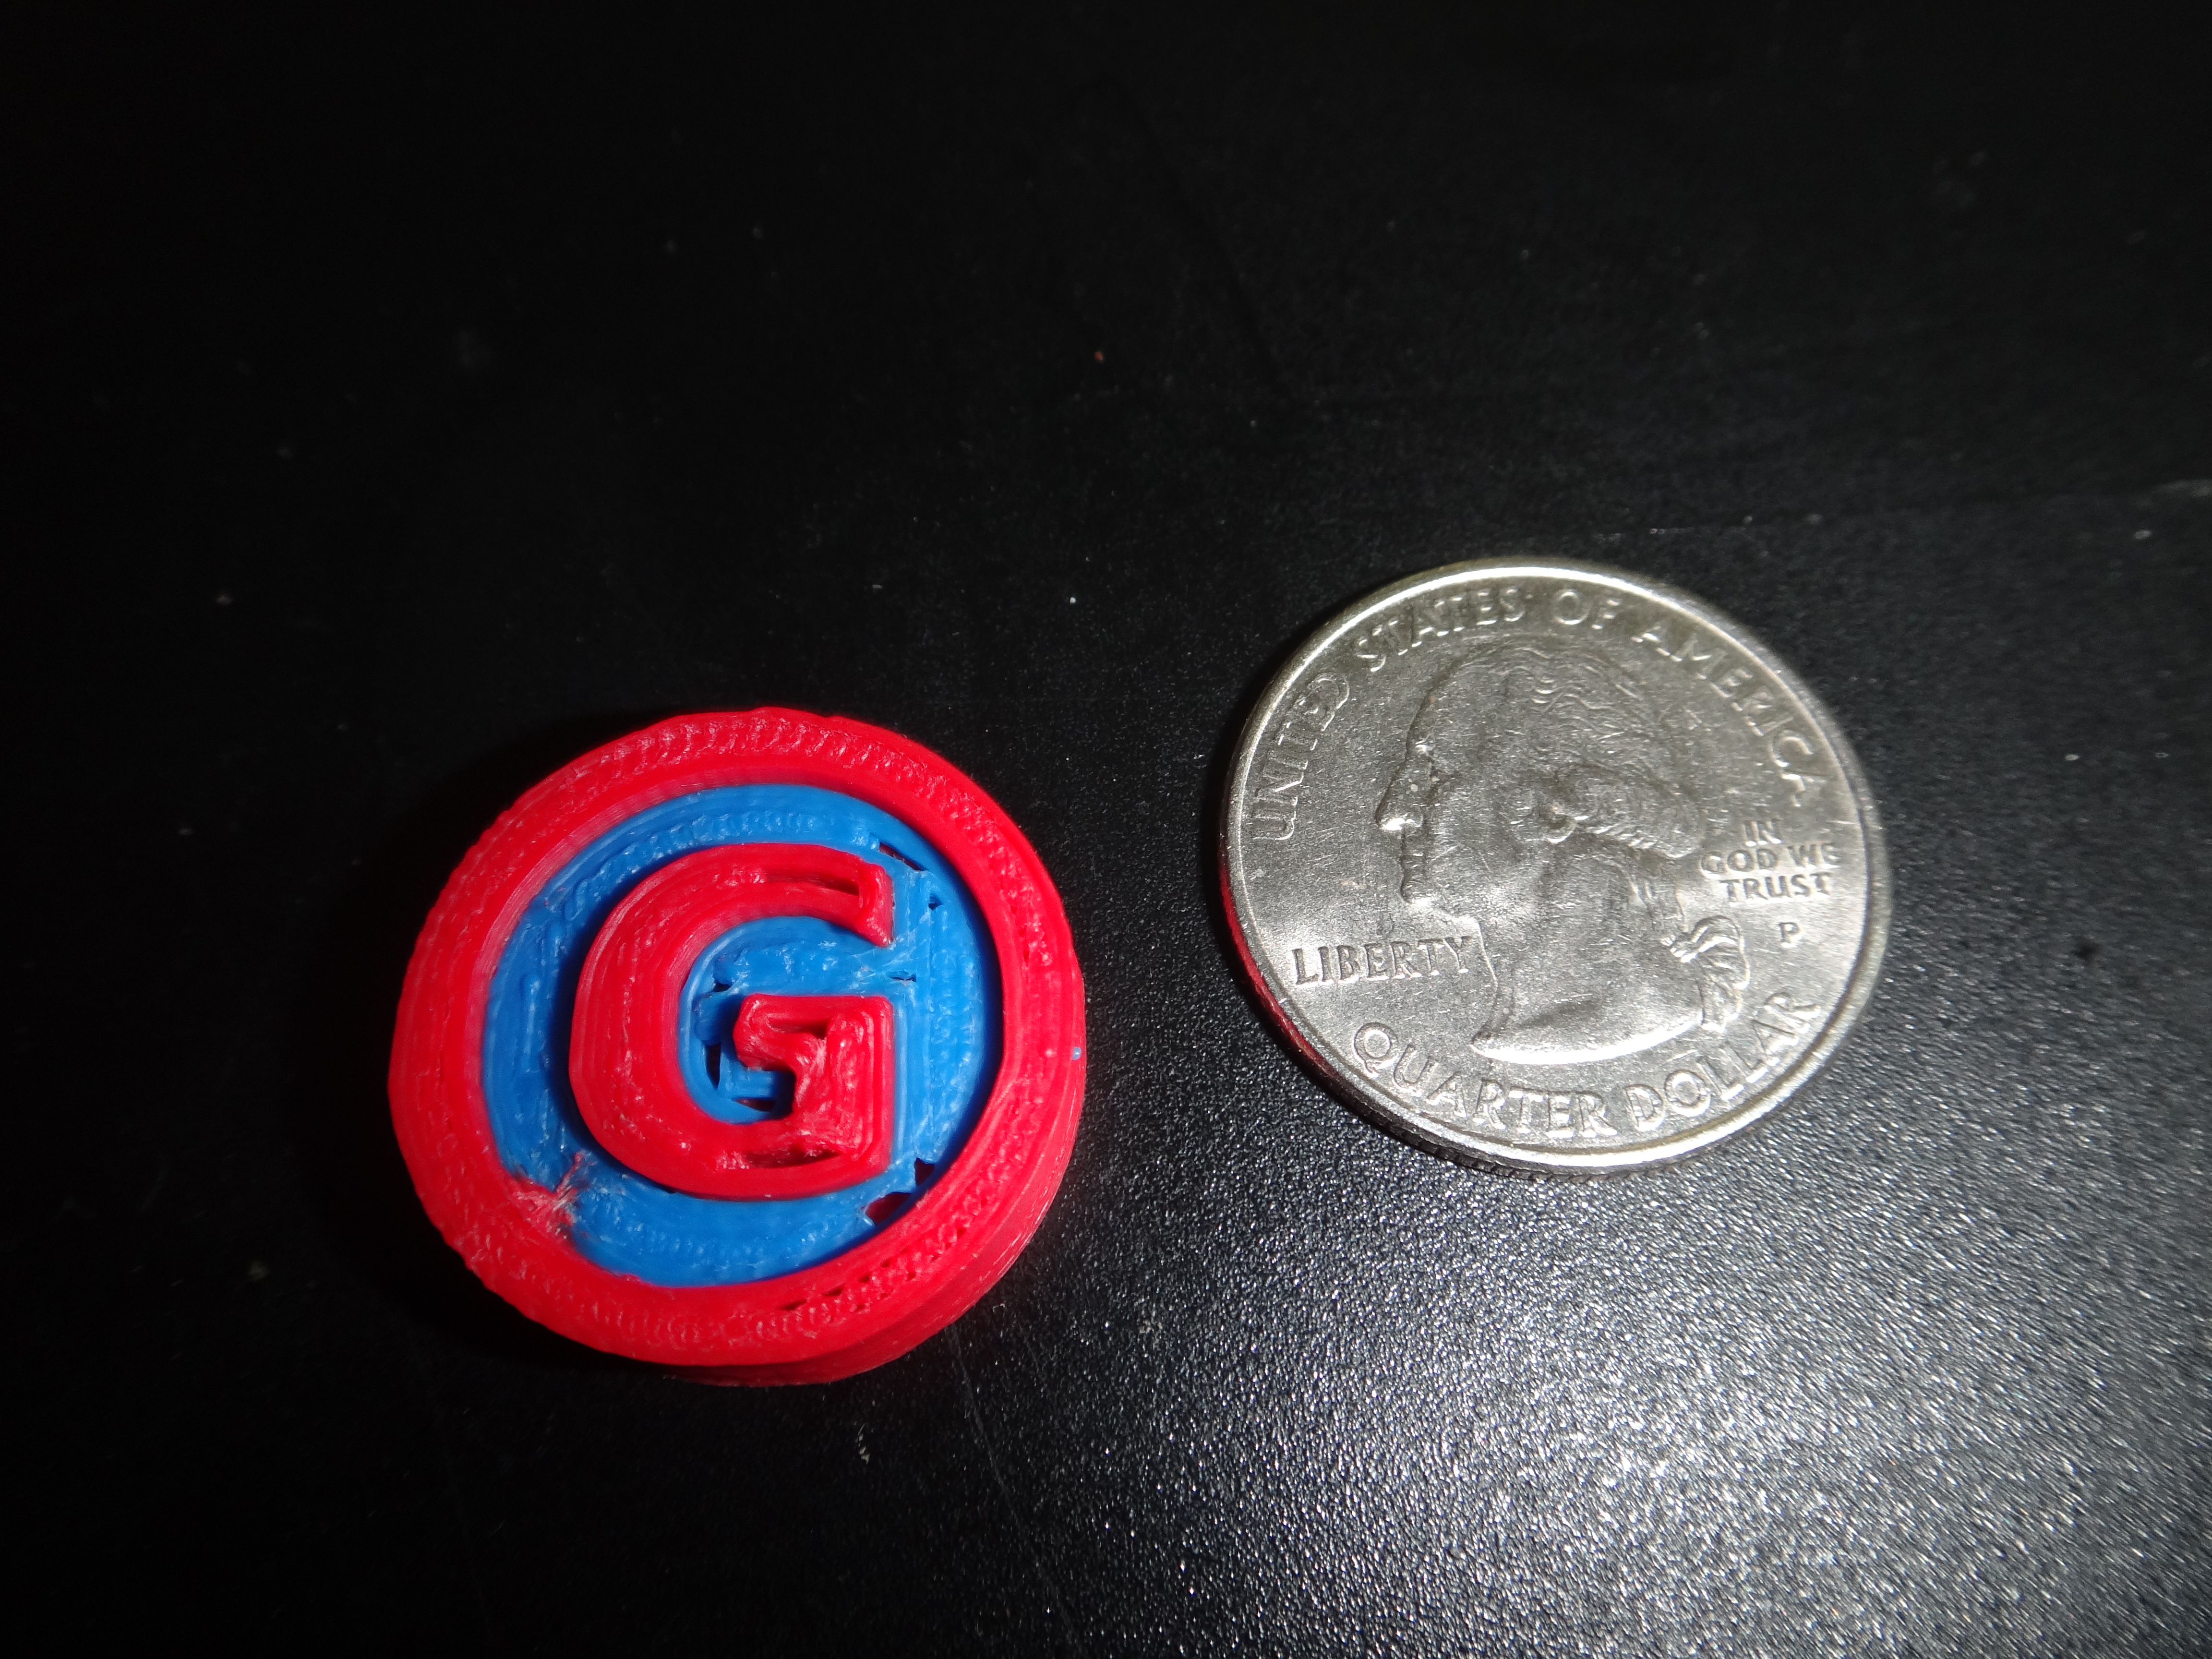
I made it at TechShop
http://techshop.ws
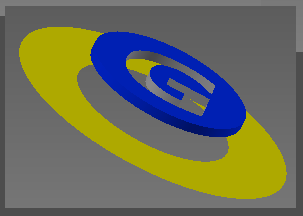
This is a custom 2-color game piece. It was designed in Autodesk Inventor 2013, imported to Makerware, and printed on the Makerbot Replicator 2x using ABS plastic.
My original plan was to make a set of Xiangqi pieces using this method, but at approximately 20 minutes printing time per piece, printing a 32 piece set doesn't seem very practical. So now it's a custom monopoly game piece... or whatever you want it to be.
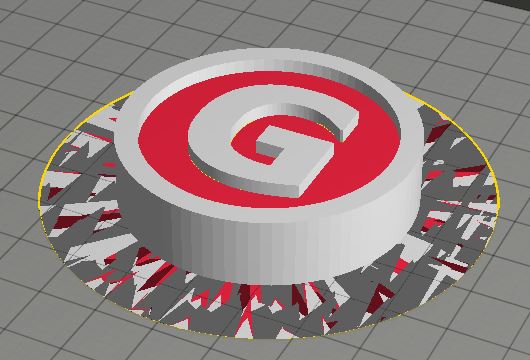
This was also an experiment to figure out the best way to design something in Inventor to be printed in two colors using the Makerware software and Replicator 2x - the process isn't as straightforward as you might expect. To print using both extruders Makerware requires a separate object for each extruder. If one of these two objects is not in contact with the platform, as in this case, keeping the objects properly aligned for printing can cause difficulties, particularly if they have been rescaled. The two objects that make up this piece include a common base so they can be aligned using the CENTER and ON PLATFORM commands in Makerware. This common base is extremely thin (.00001), so it is not printed.
This is my first project using any of this software or the printer - if I did anything in a dumb way please give me some tips!
Make an Extremely Thin Base - Useful for Printing From Makerware!
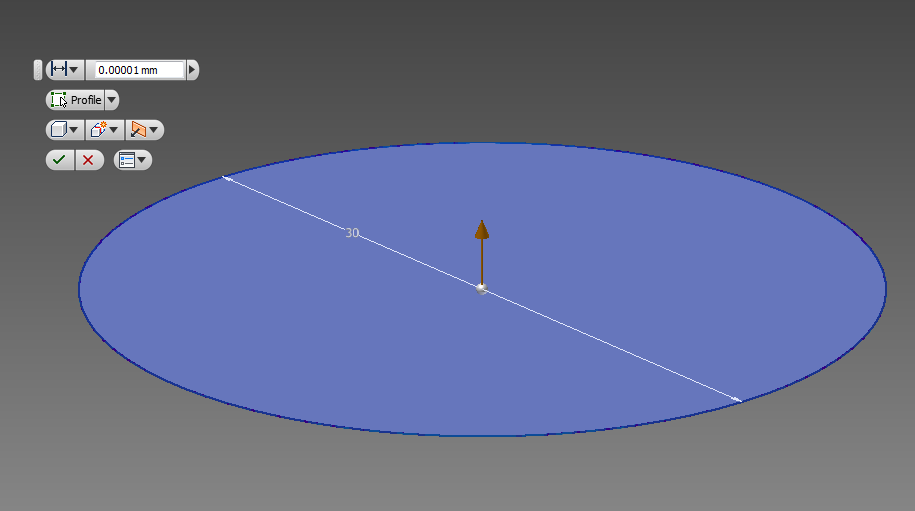
In Autodesk Inventor, sketch a circle and extrude it to a very small depth (for example, .00001 mm). The two parts that make up the game piece will be modeled in relation to this base. It should be clear why this is important later.
Design for Main Part (RED in My Picture)
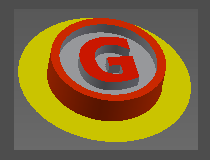
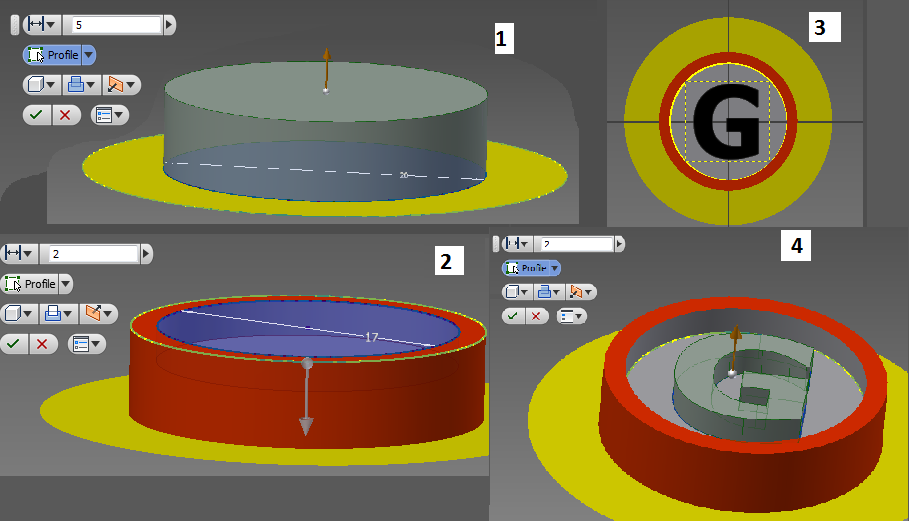
First I made the bottom part of the game piece.
1) Sketch a circle on the base using the origin point as your center, extrude.
2) Sketch another circle, use extrude to cut down into the object, but not all the way back down to the base.
3) In sketch mode, use the Text tool to make an appropriately sized letter (or get really crazy and use a Webding).
4) Extrude the letter out so it is flush with the ring around the outside of the piece.
Save a copy as an .stl file
Design for Top Part (BLUE in My Picture)
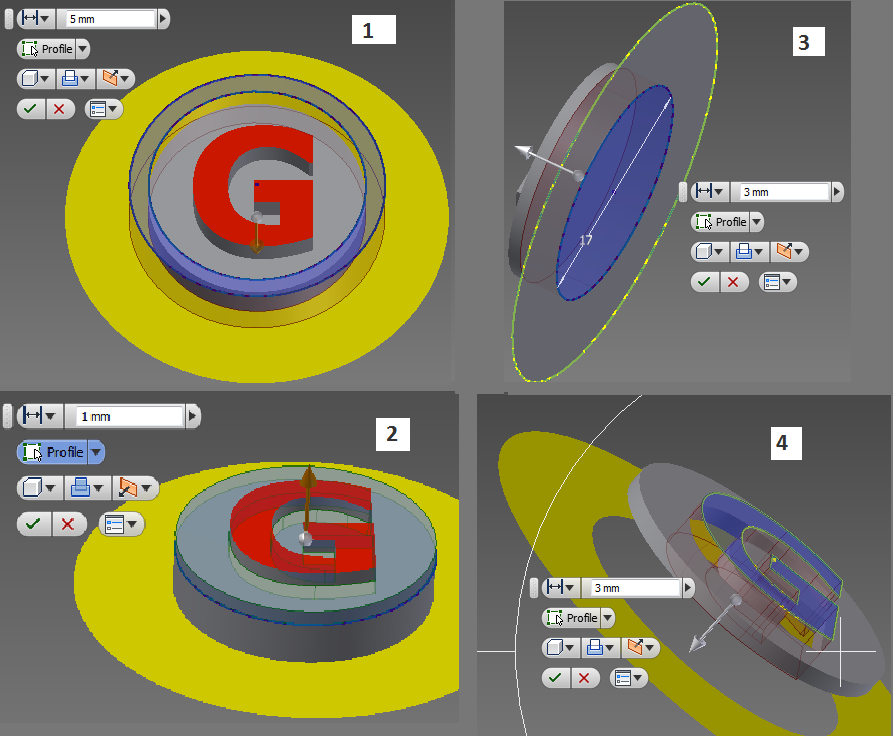
Next, starting from the bottom part, I made the top part of the game piece.
I'm sure there is a better, more efficient way to get the same results - send me tips please!
1) Create a new sketch, make concentric circles around the outside ring of the piece, cut back to the base using extrude.
2) Extrude the remaining area around the G halfway to G, so it is recessed into the piece when finished.
3) Create a new sketch on the underside of the part base, make a circle with a circumference equal to the circumference of what is left of the part. Cut away from the underside of the part using extrude.
4) Create a new sketch, trace the edge of the letter, and extrude it back through the part, leaving a letter shaped hole.
Save a copy as an .stl file
Autodesk Inventor to Makerware
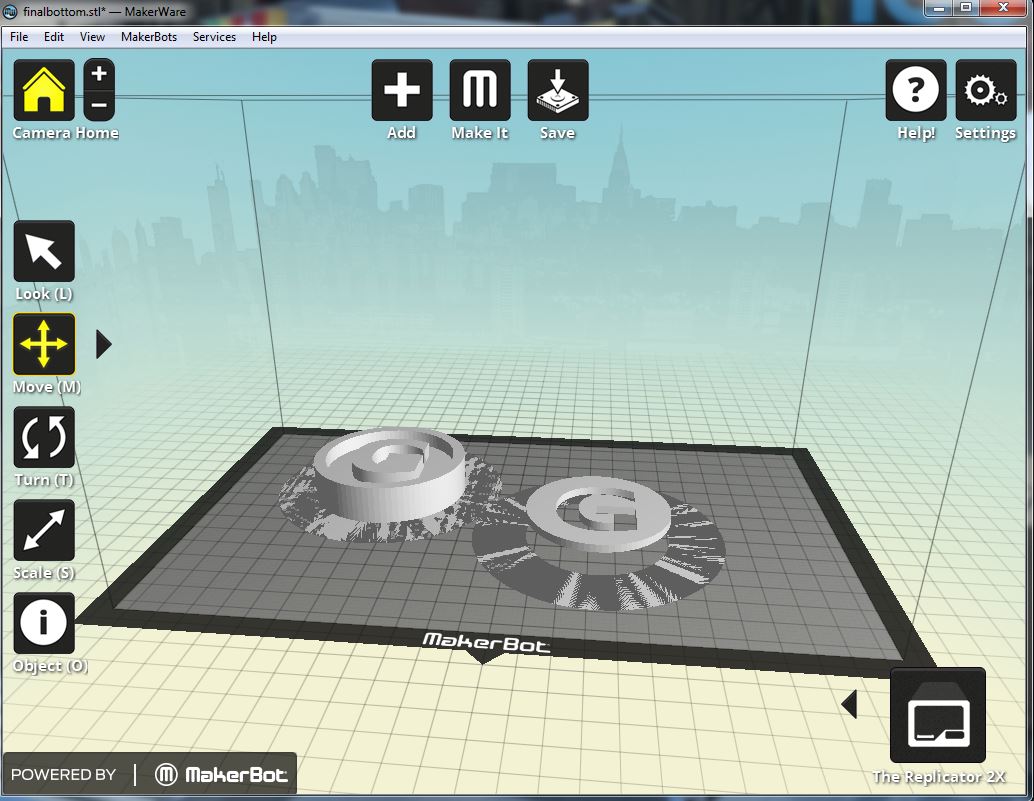
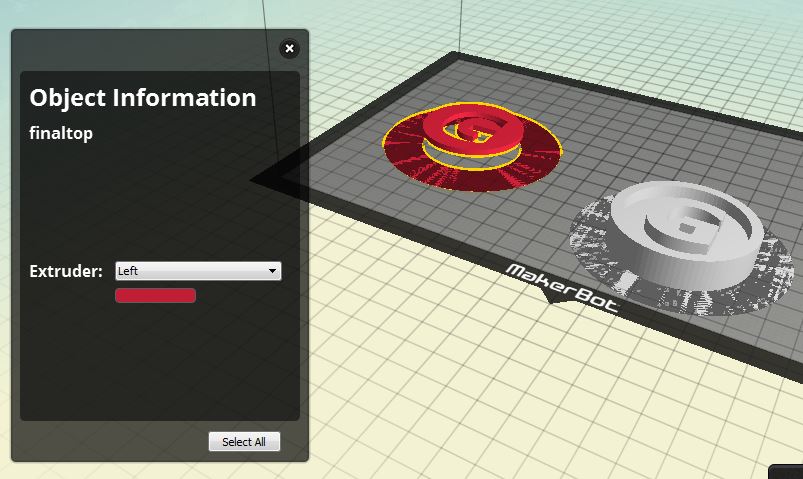
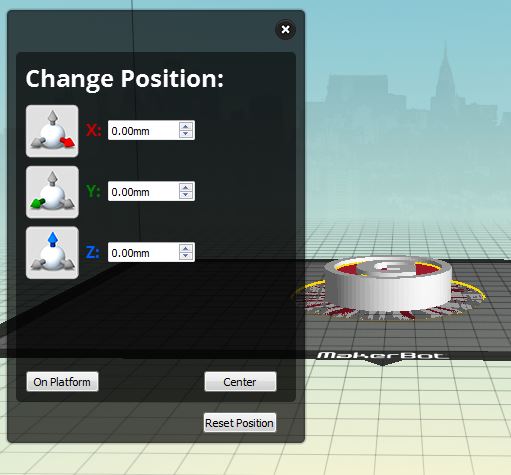
1) In Makerware, use the Add command to load the stl. files for the two parts of the game piece.
2) Select one of the objects, change the color.
3) Use the ROTATE menu to set the objects so that the bases face the platform.
4) Use the CENTER and ON PLATFORM commands in the MOVE menu to align the pieces in the middle of the platform.
Notice that if you rescale by the same magnitude, they can still be aligned using the CENTER and ON PLATFORM commands in the MOVE menu.
Print It
Hit MAKE IT and watch your game piece print. Mine took about 20 minutes. As noted before, the .00001mm base on the models won't be printed.