3D Print: Rio Headphone Stand
by reevamish in Workshop > 3D Printing
967 Views, 6 Favorites, 0 Comments
3D Print: Rio Headphone Stand


As part of 5th week's assignment, we had to design a 3D printed stand using the "Generative Design" feature of Fusion360.
Generative design is an iterative design process that involves a program that will generate a certain number of outputs that meet certain constraints, and a designer that will fine tune the feasible region by selecting specific output or changing input values, ranges and distribution.
It was really exciting!! With a variety of tools available, it was like bringing imagination into reality. There was a lot of learning from the generative design which auto generates structures based on conditions provided. With changes in conditions, it produces a new structure every time.
So, let's make it happen!!
Supplies
Software used:
1. Fusion360
2. Ultimaker Cura
Printer Used: Creality Ender Pro 3 + Hatchbox PLA filament (Color - Blue as inspired by Rio)
The Ideation Process


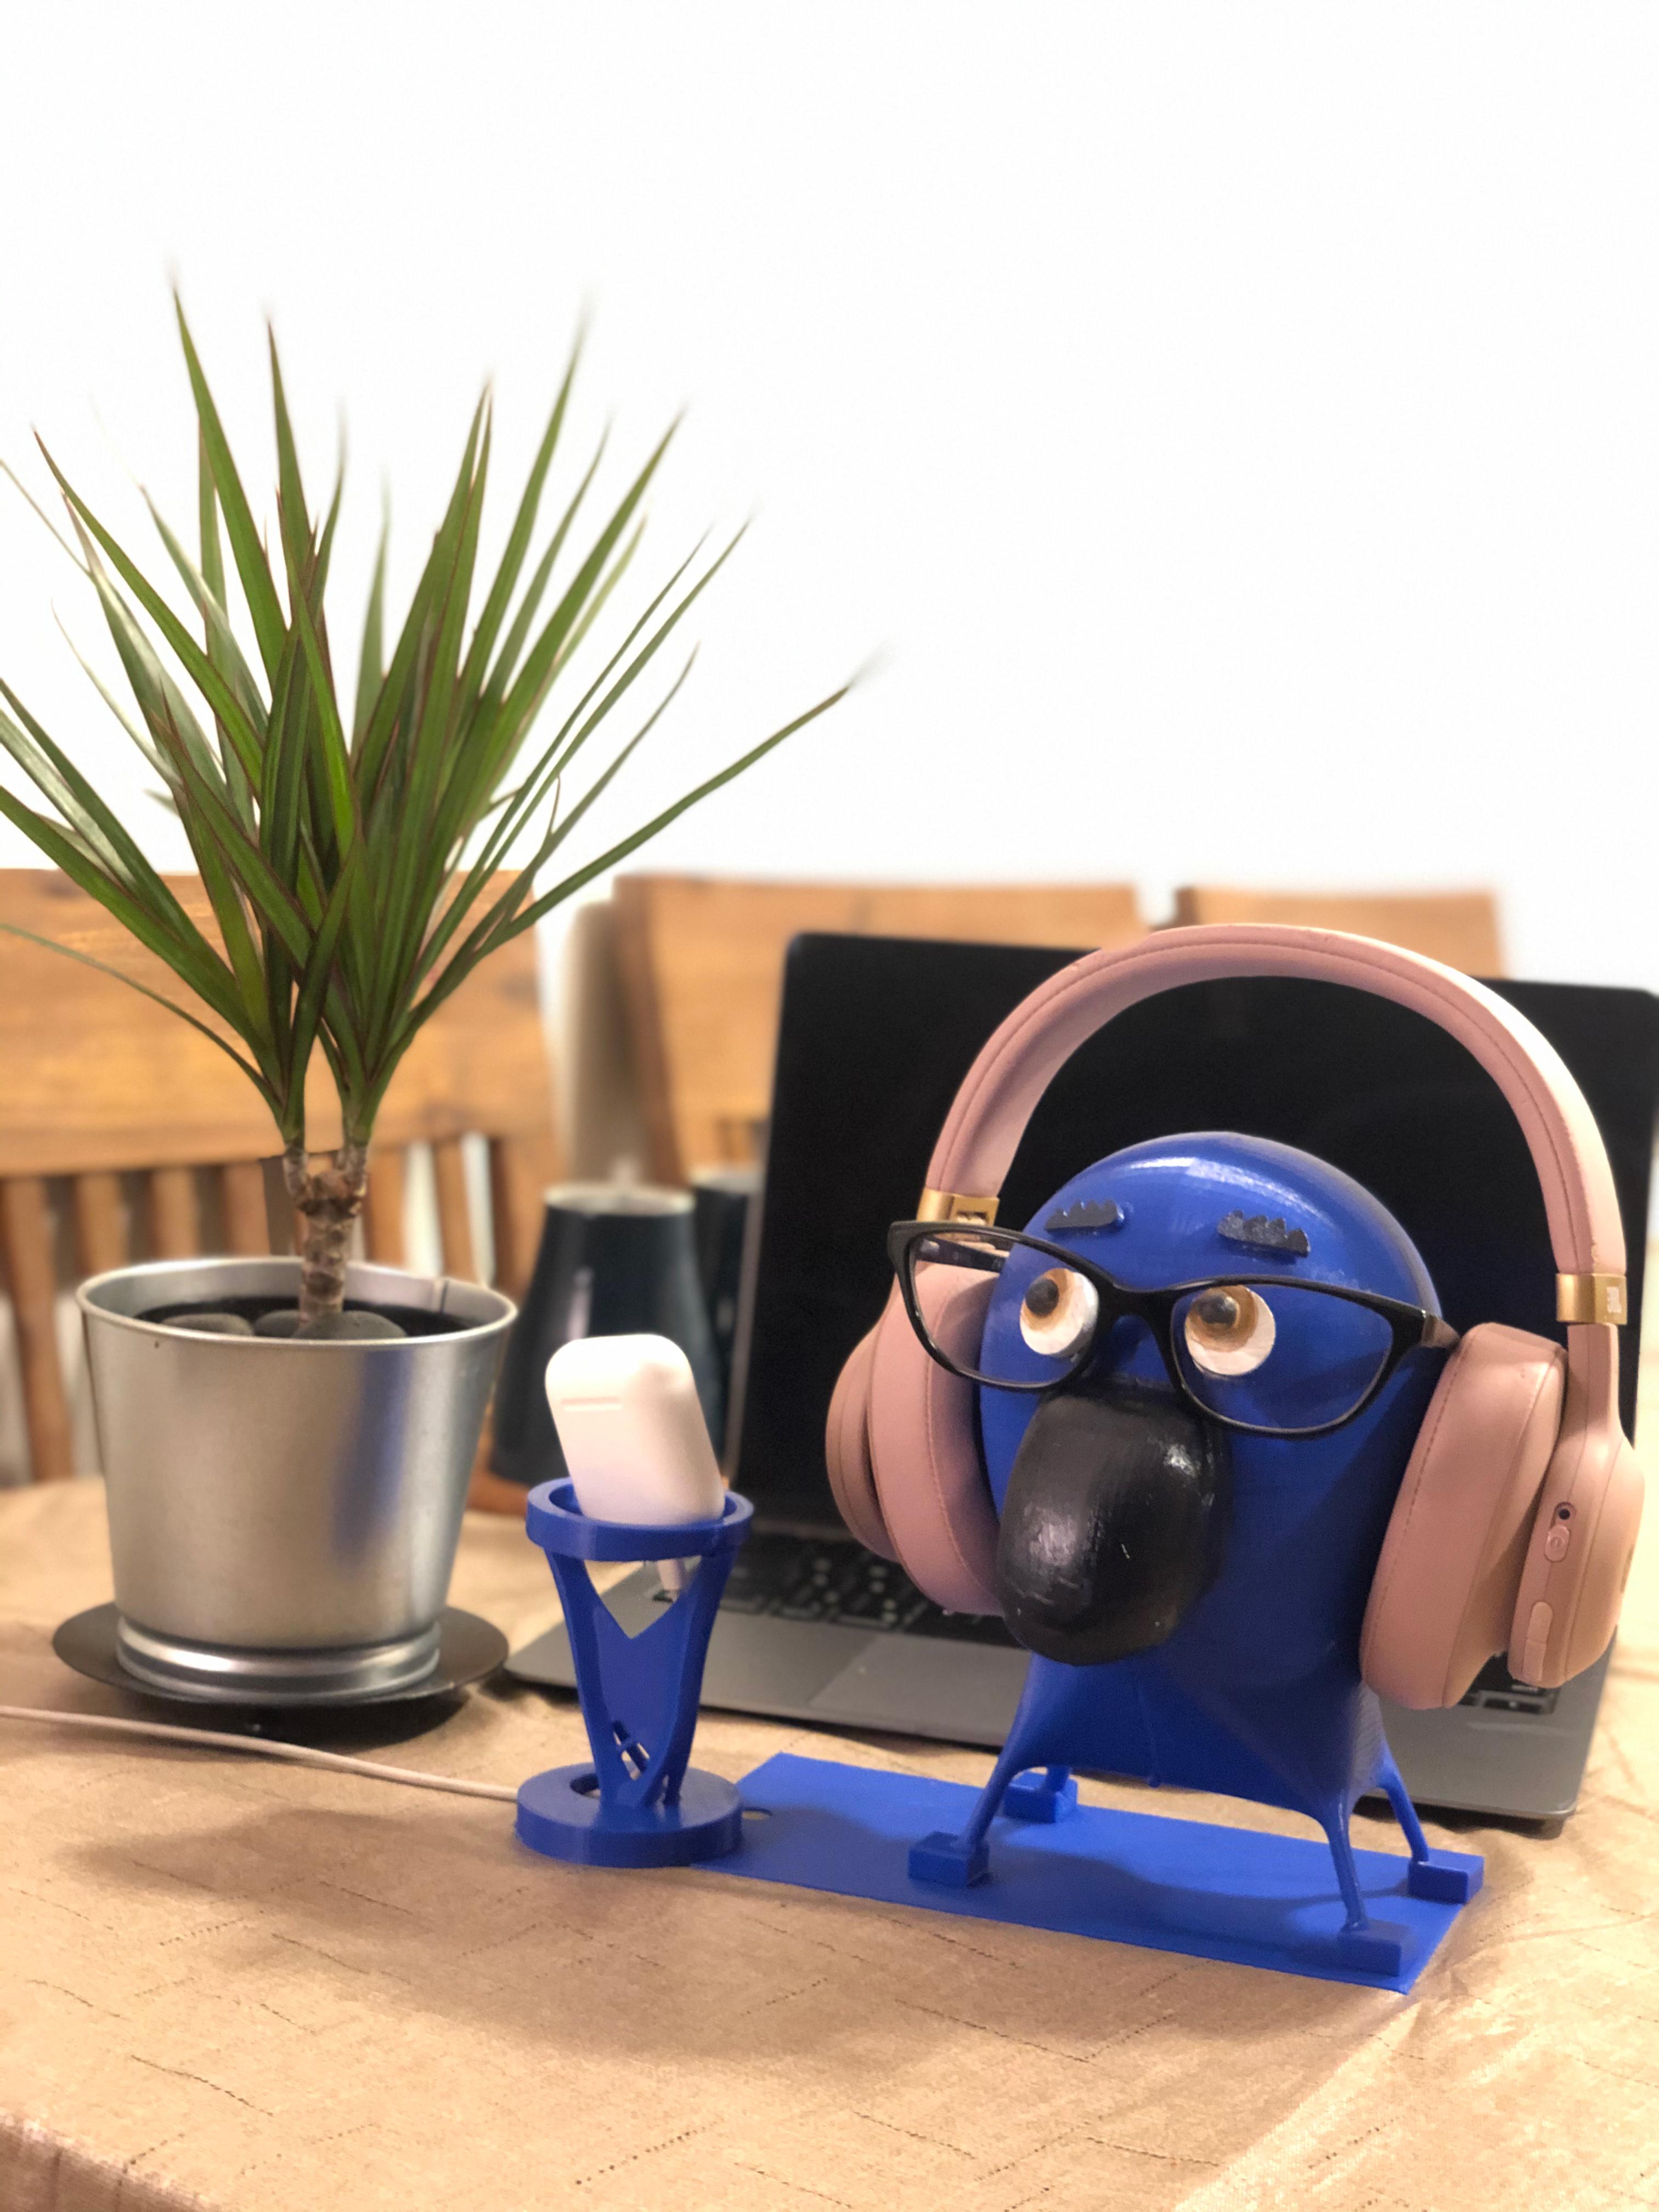
First, I started exploring various tools in Fusion360 and designed a modern chair (pic above). The assignment gave me an idea to design something for my headphone and AirPods (second pic above) as I already had a phone stand. I watch animated movies a lot, and considering the filament color I have at home (i.e. blue), I thought of designing a Rio (picture above, movie: link) inspired headphone stand.
Designing on Fusion360


After taking measurements of my headphone (length, width and height), I started designing the base model. I designed the cartoon as per my requirement with a big head to support the headphone and two extension on either side of the bird's head to carry the headphone (first pic above). Then, through generative design, I applied the necessary structural loads on the required points as per the weight of my headphone (15 N at the legs and 5 N at each of the ears), preserved the bodies whose geometry I wanted to retain, applied structural constraints on the faces in which I didn't want any changes and started the simulation study.
Similarly for the air pods stand, I designed the base model and applied structural constraints, preserved geometries and triggered the simulation study.
Results of the Generative Design Simulation


After a looooong time, finally the results were out. I got a bunch of options which gave me an option to select. Also, the results were accurate. Most of the outcome models seemed valid. The results were symmetric, well designed aesthetically and structurally and it fitted the body really well!
I moved further with one of the designs and edited it quick (such as a hole on the edge of the base circle for the wire to be inserted) to start with the printing process as it was huge and required splitting of bodies to be printed in parts.
Printing Starts...


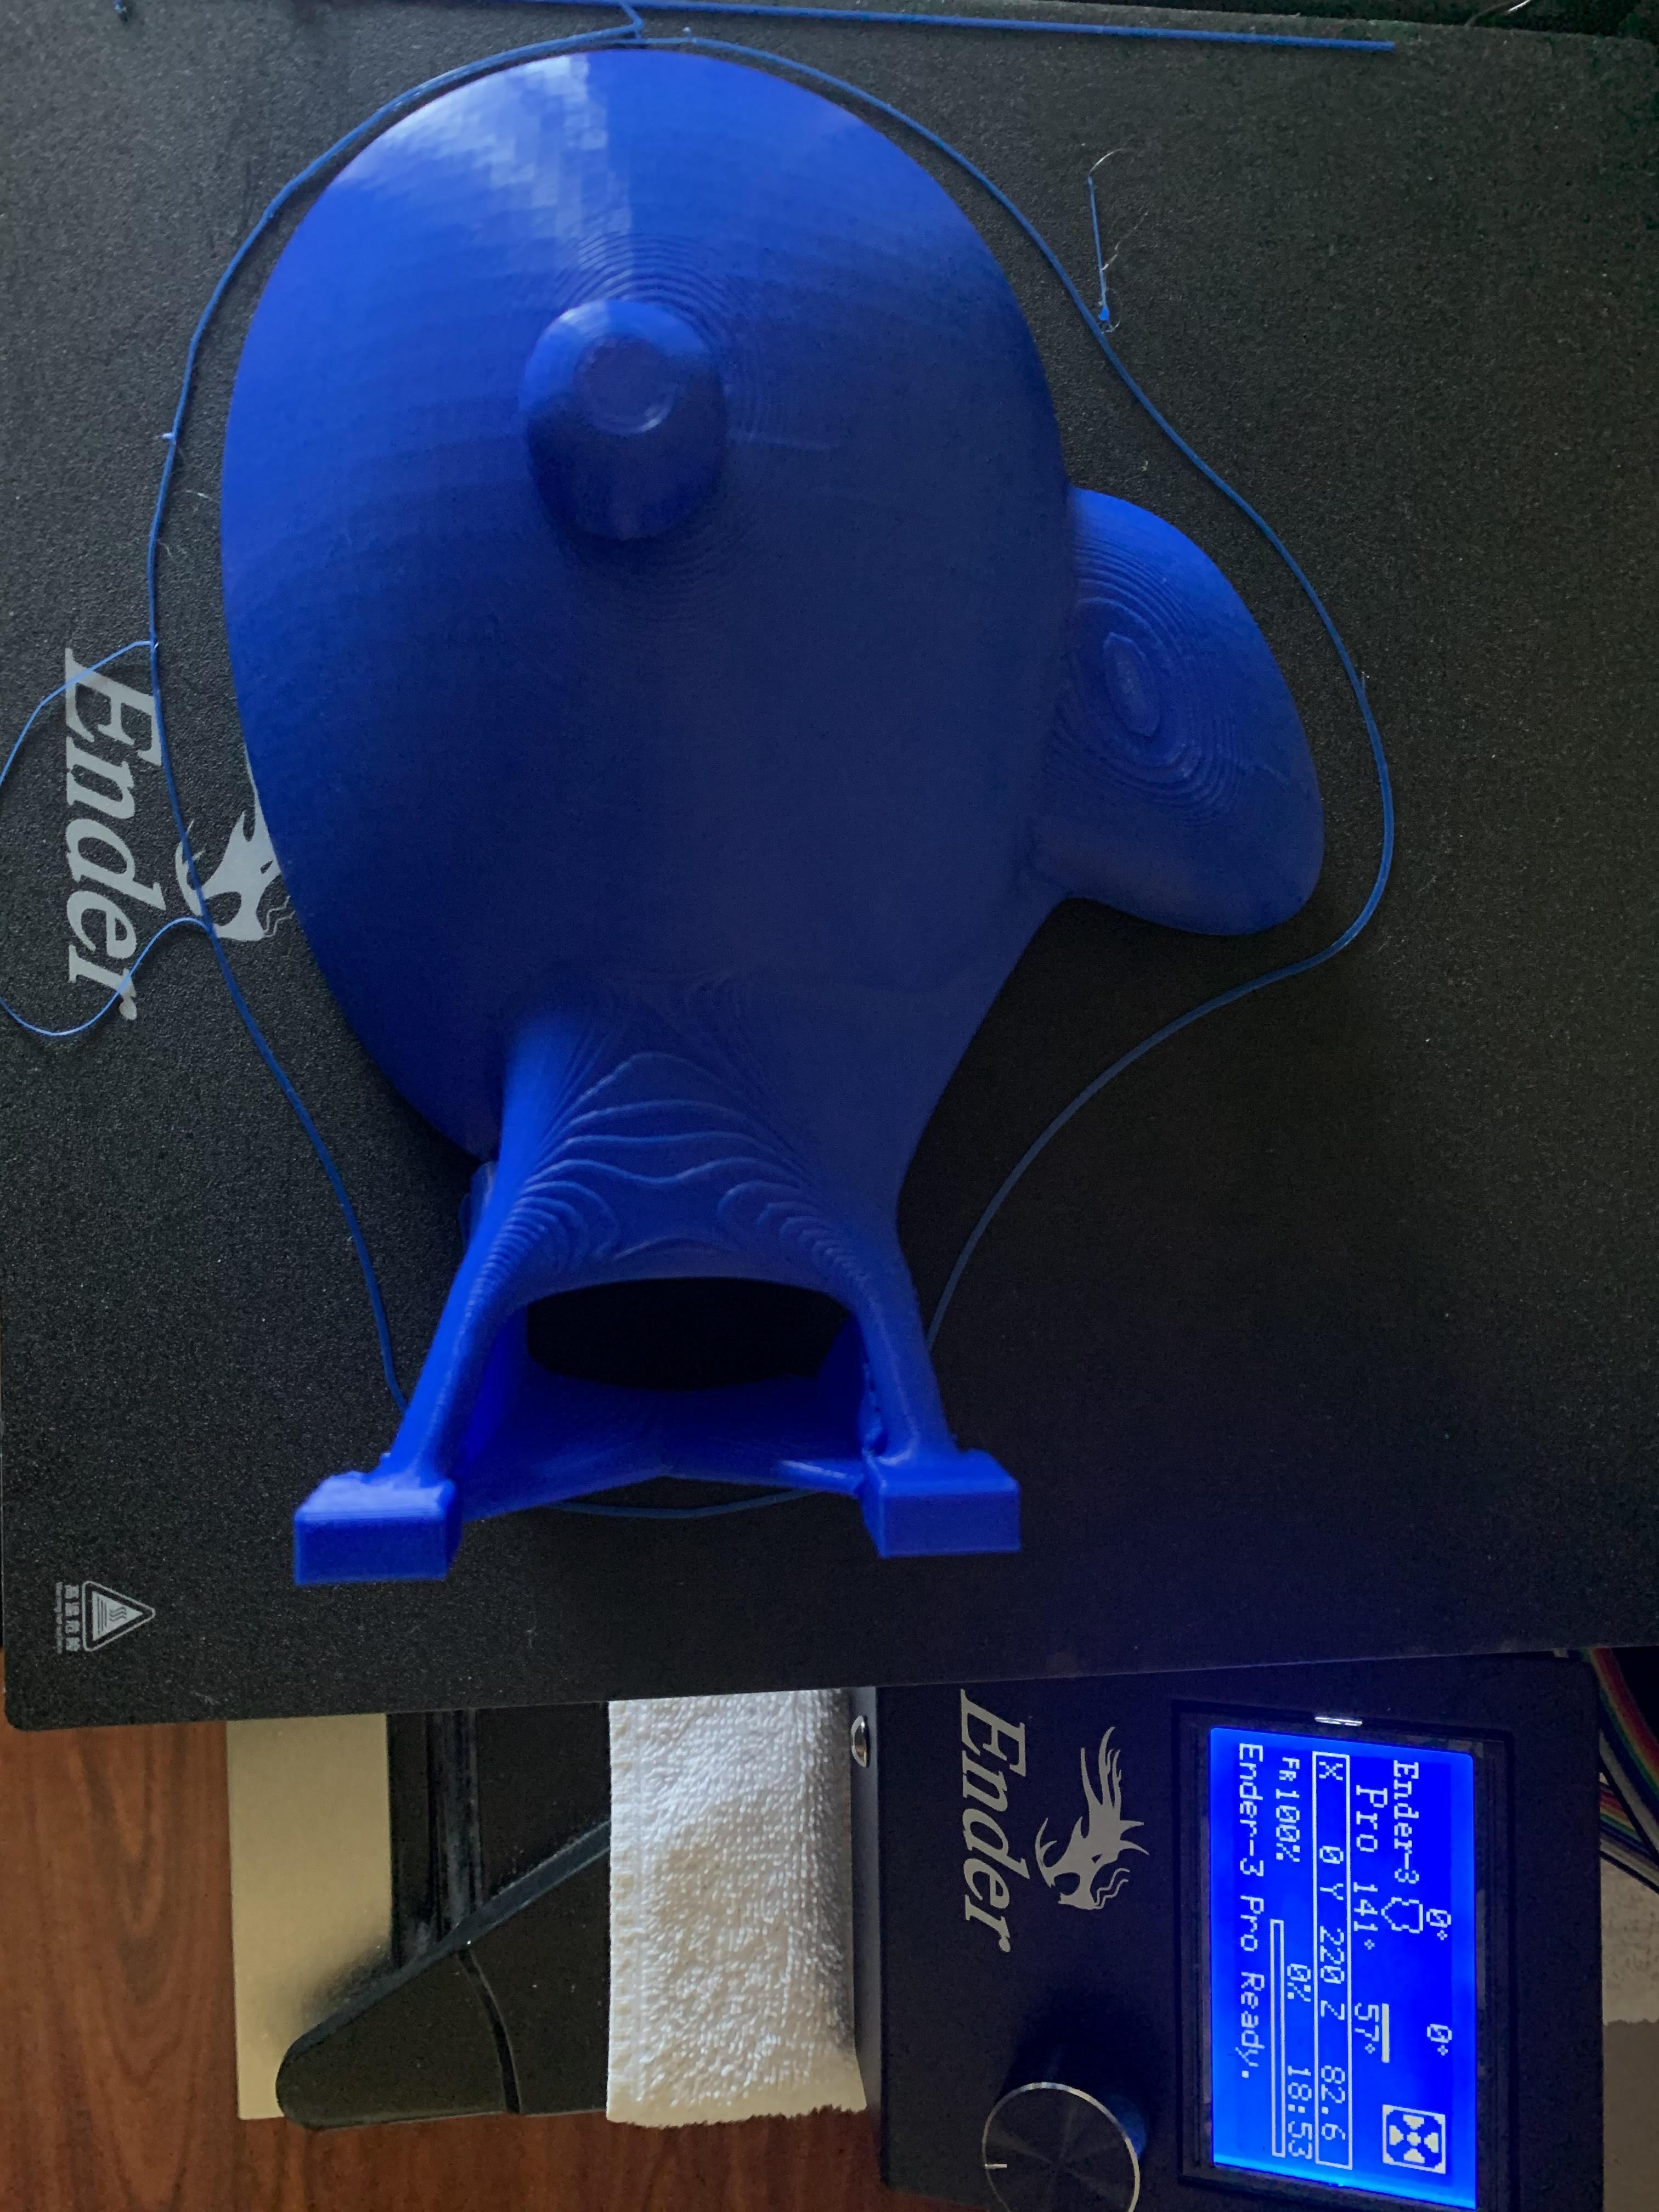
So, I split the headphone stand with the split body tool in Fusion360 as the structure was very large as compared to the printer bed (picture above).
Each half of the headphone stand took around 18.5 hours to print.
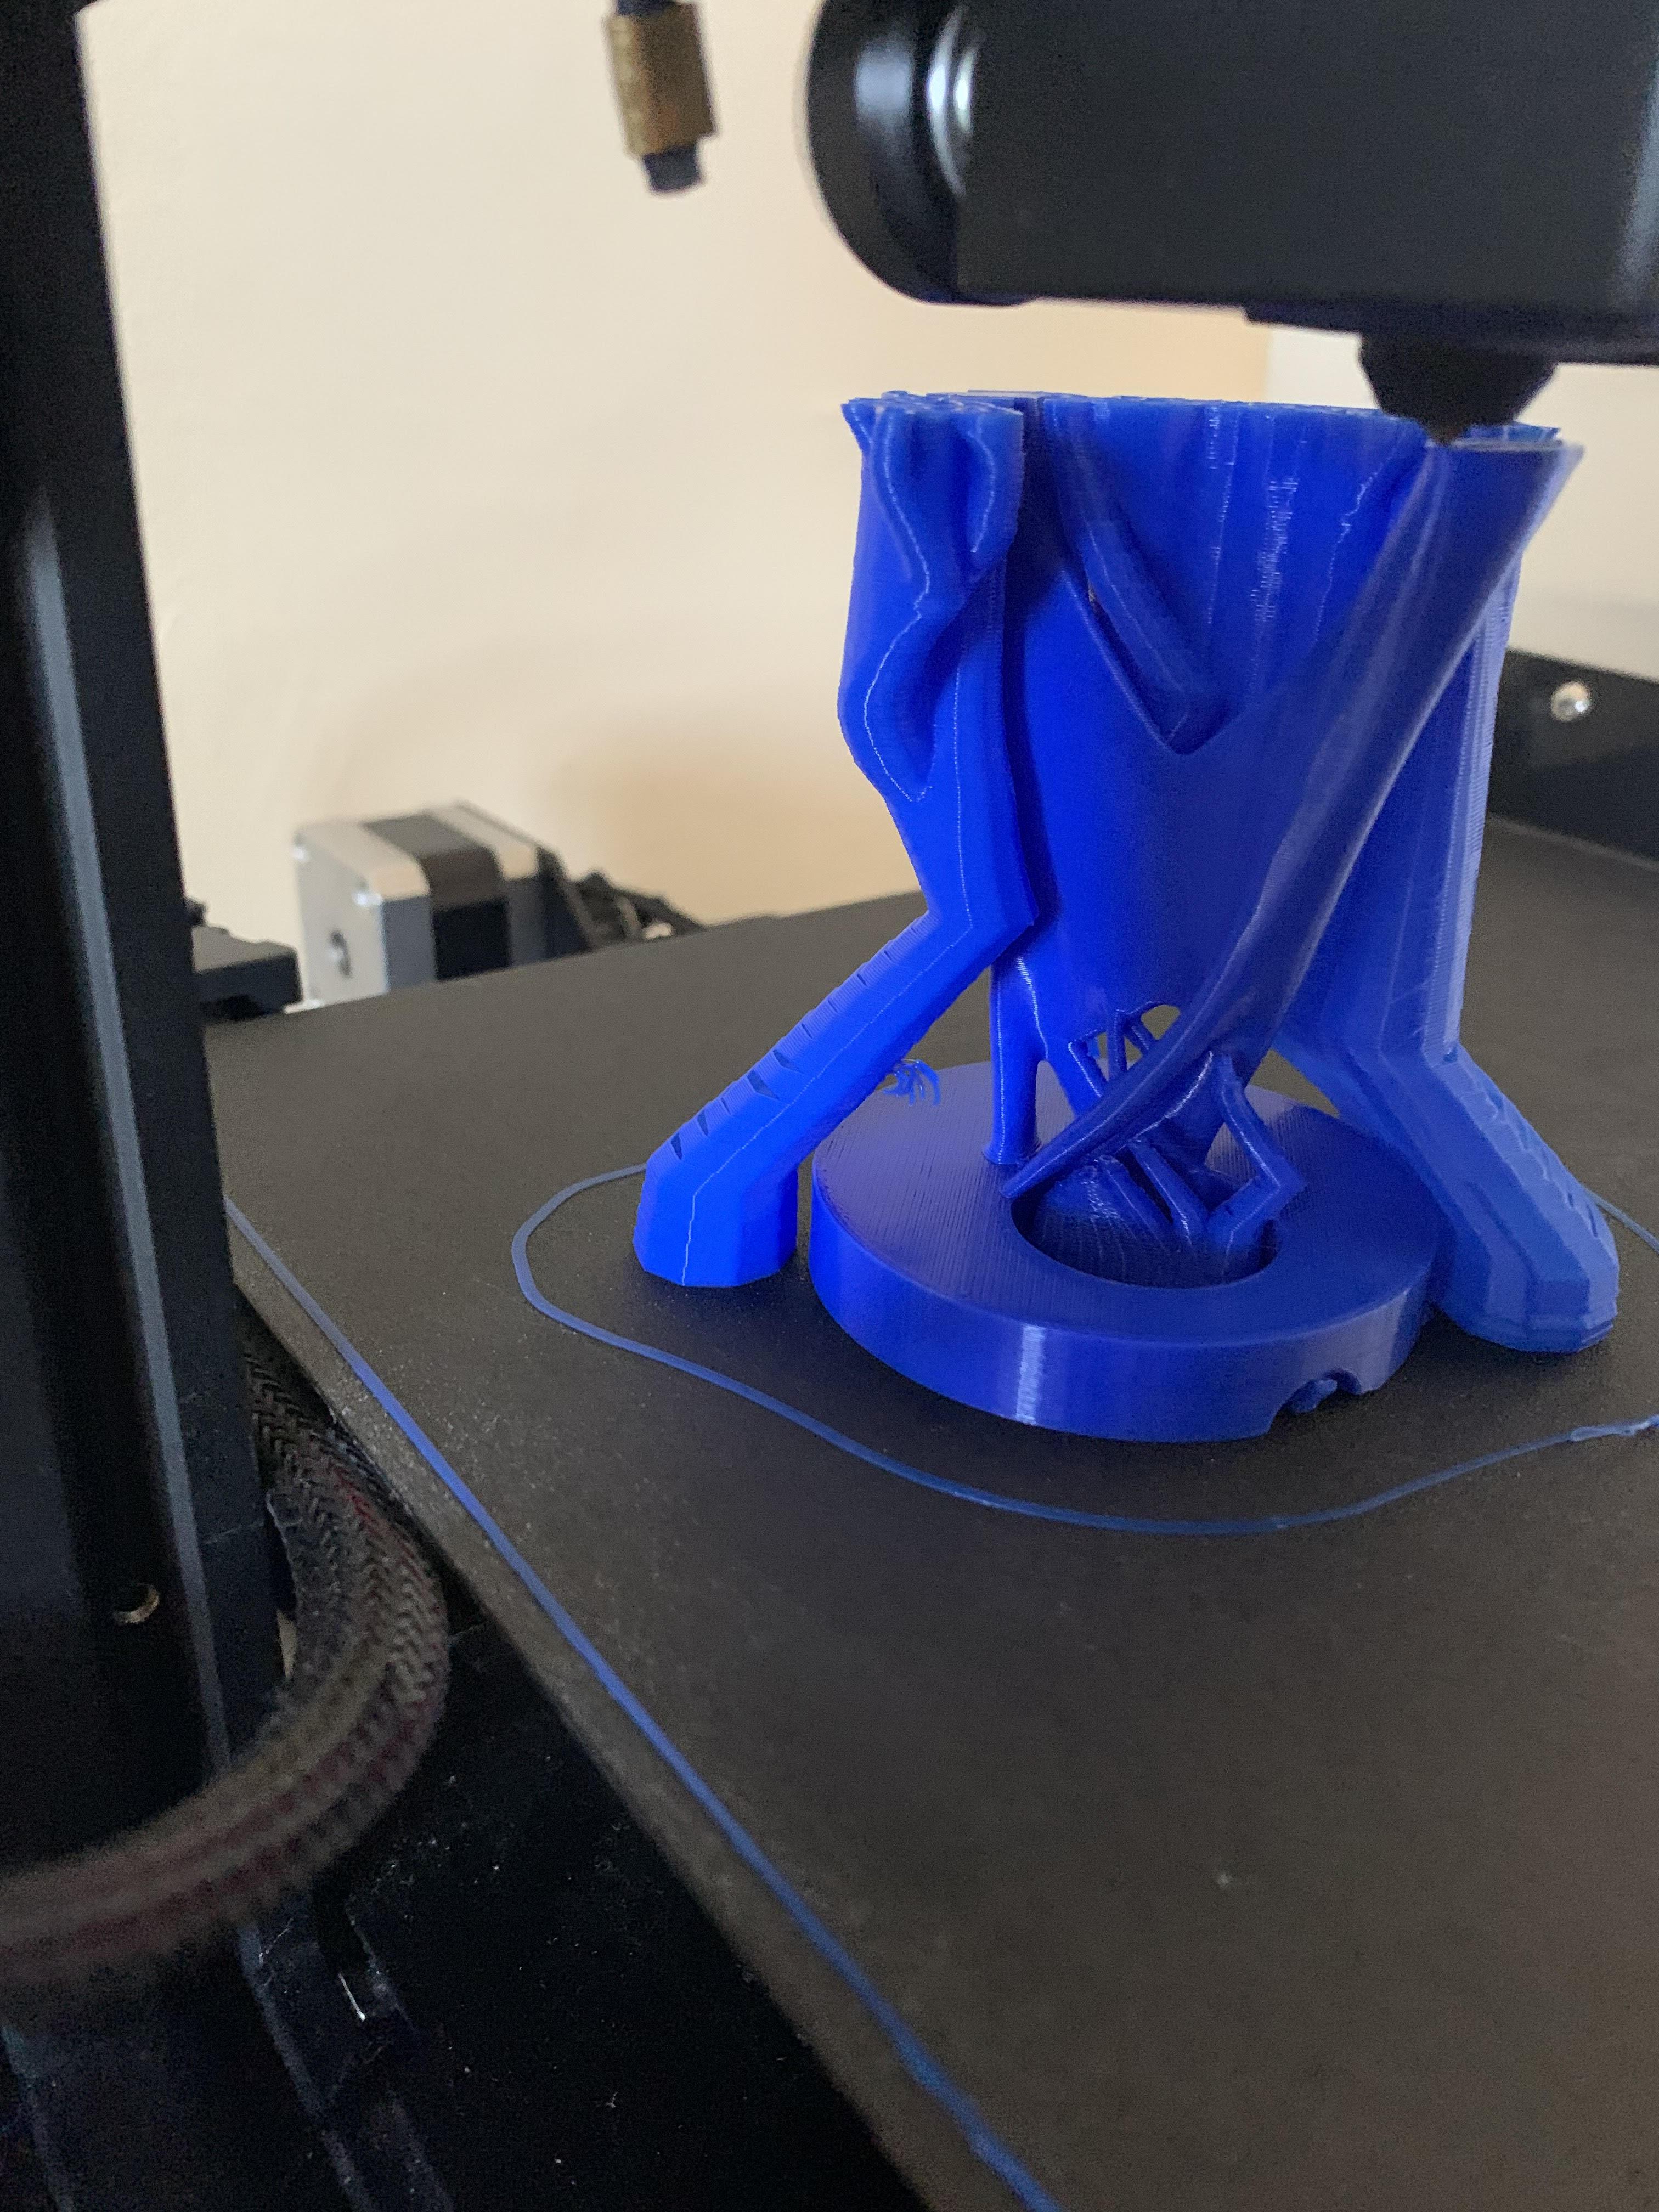
The AirPods stand could be printed once altogether and it took around 6.5 hours to be printed.
After 2.5 Days of Printing: Assembly Time

So, now I had 2 halves of headphone stand, an AirPods stand, some add-on 3d-printed accessories to design the headphone stand and a base plate (3d printed), Gorilla super glue and some acrylic paints.
Final Result


After the assembly and some playtime with colors to add to the beauty, finally the product was ready.
It acts a stand to my reading glasses as well!
P.S. My headphones suit Rio more!!