3D Print Maple Leaf Earrings!
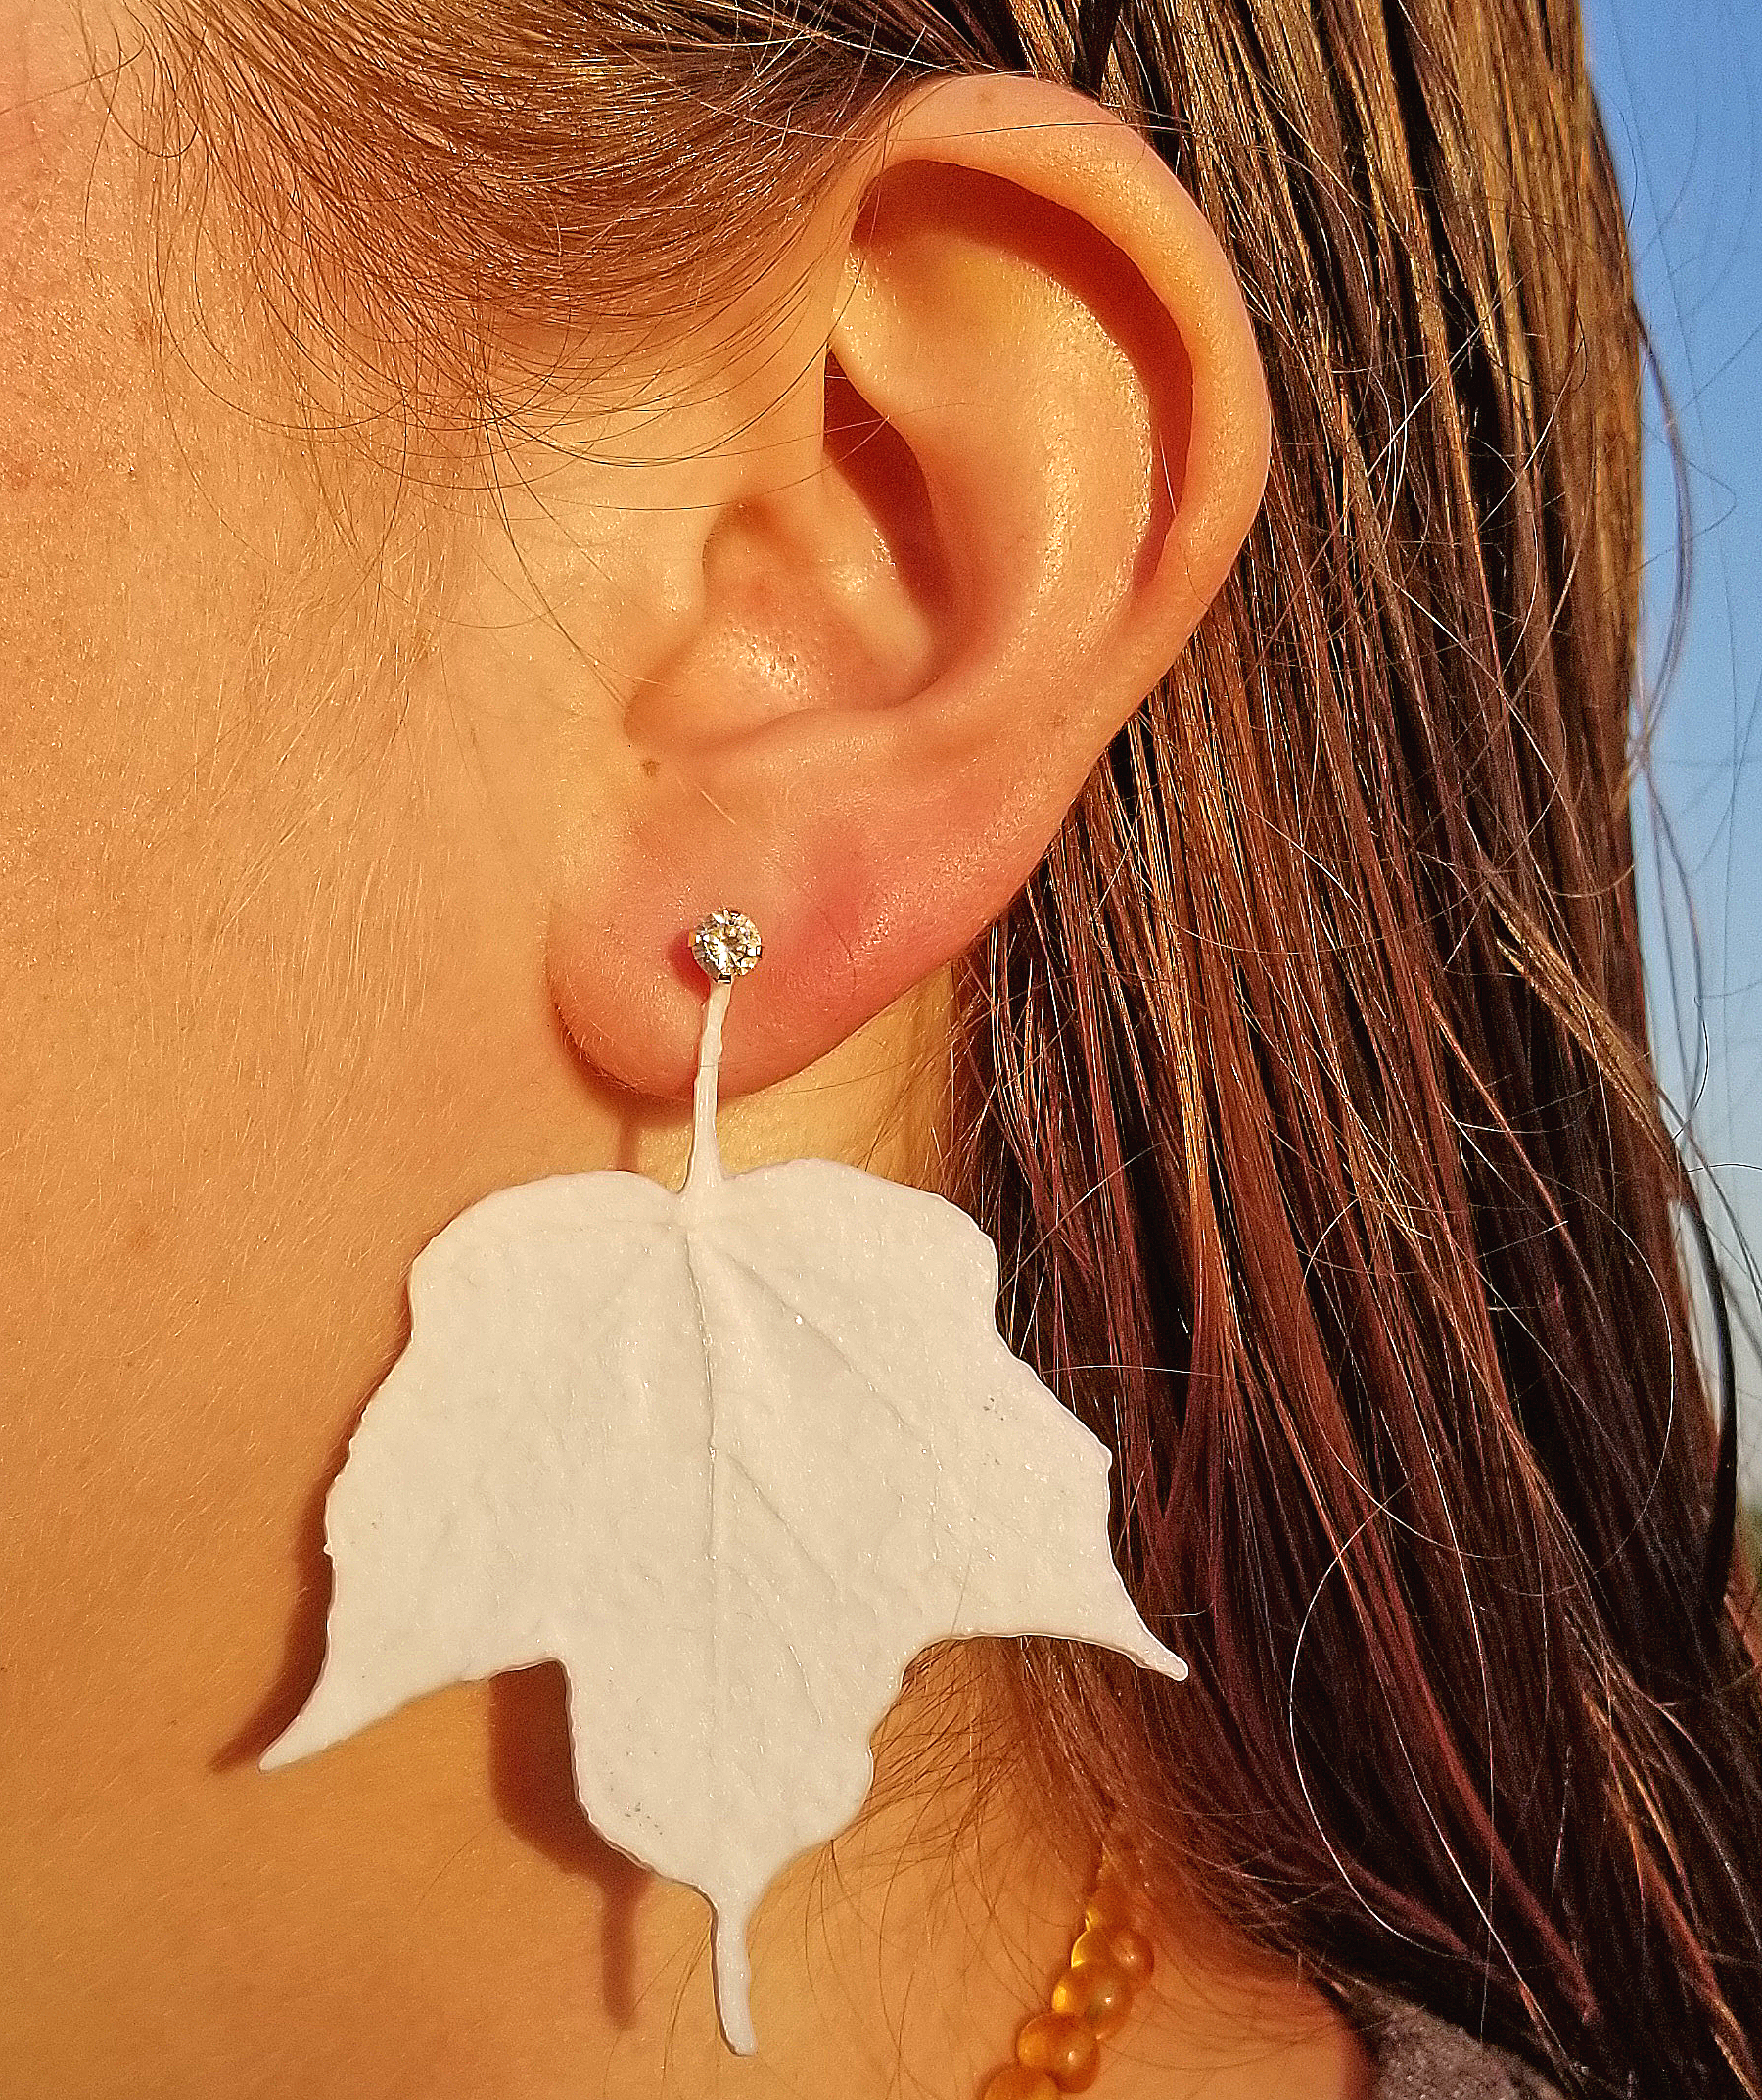
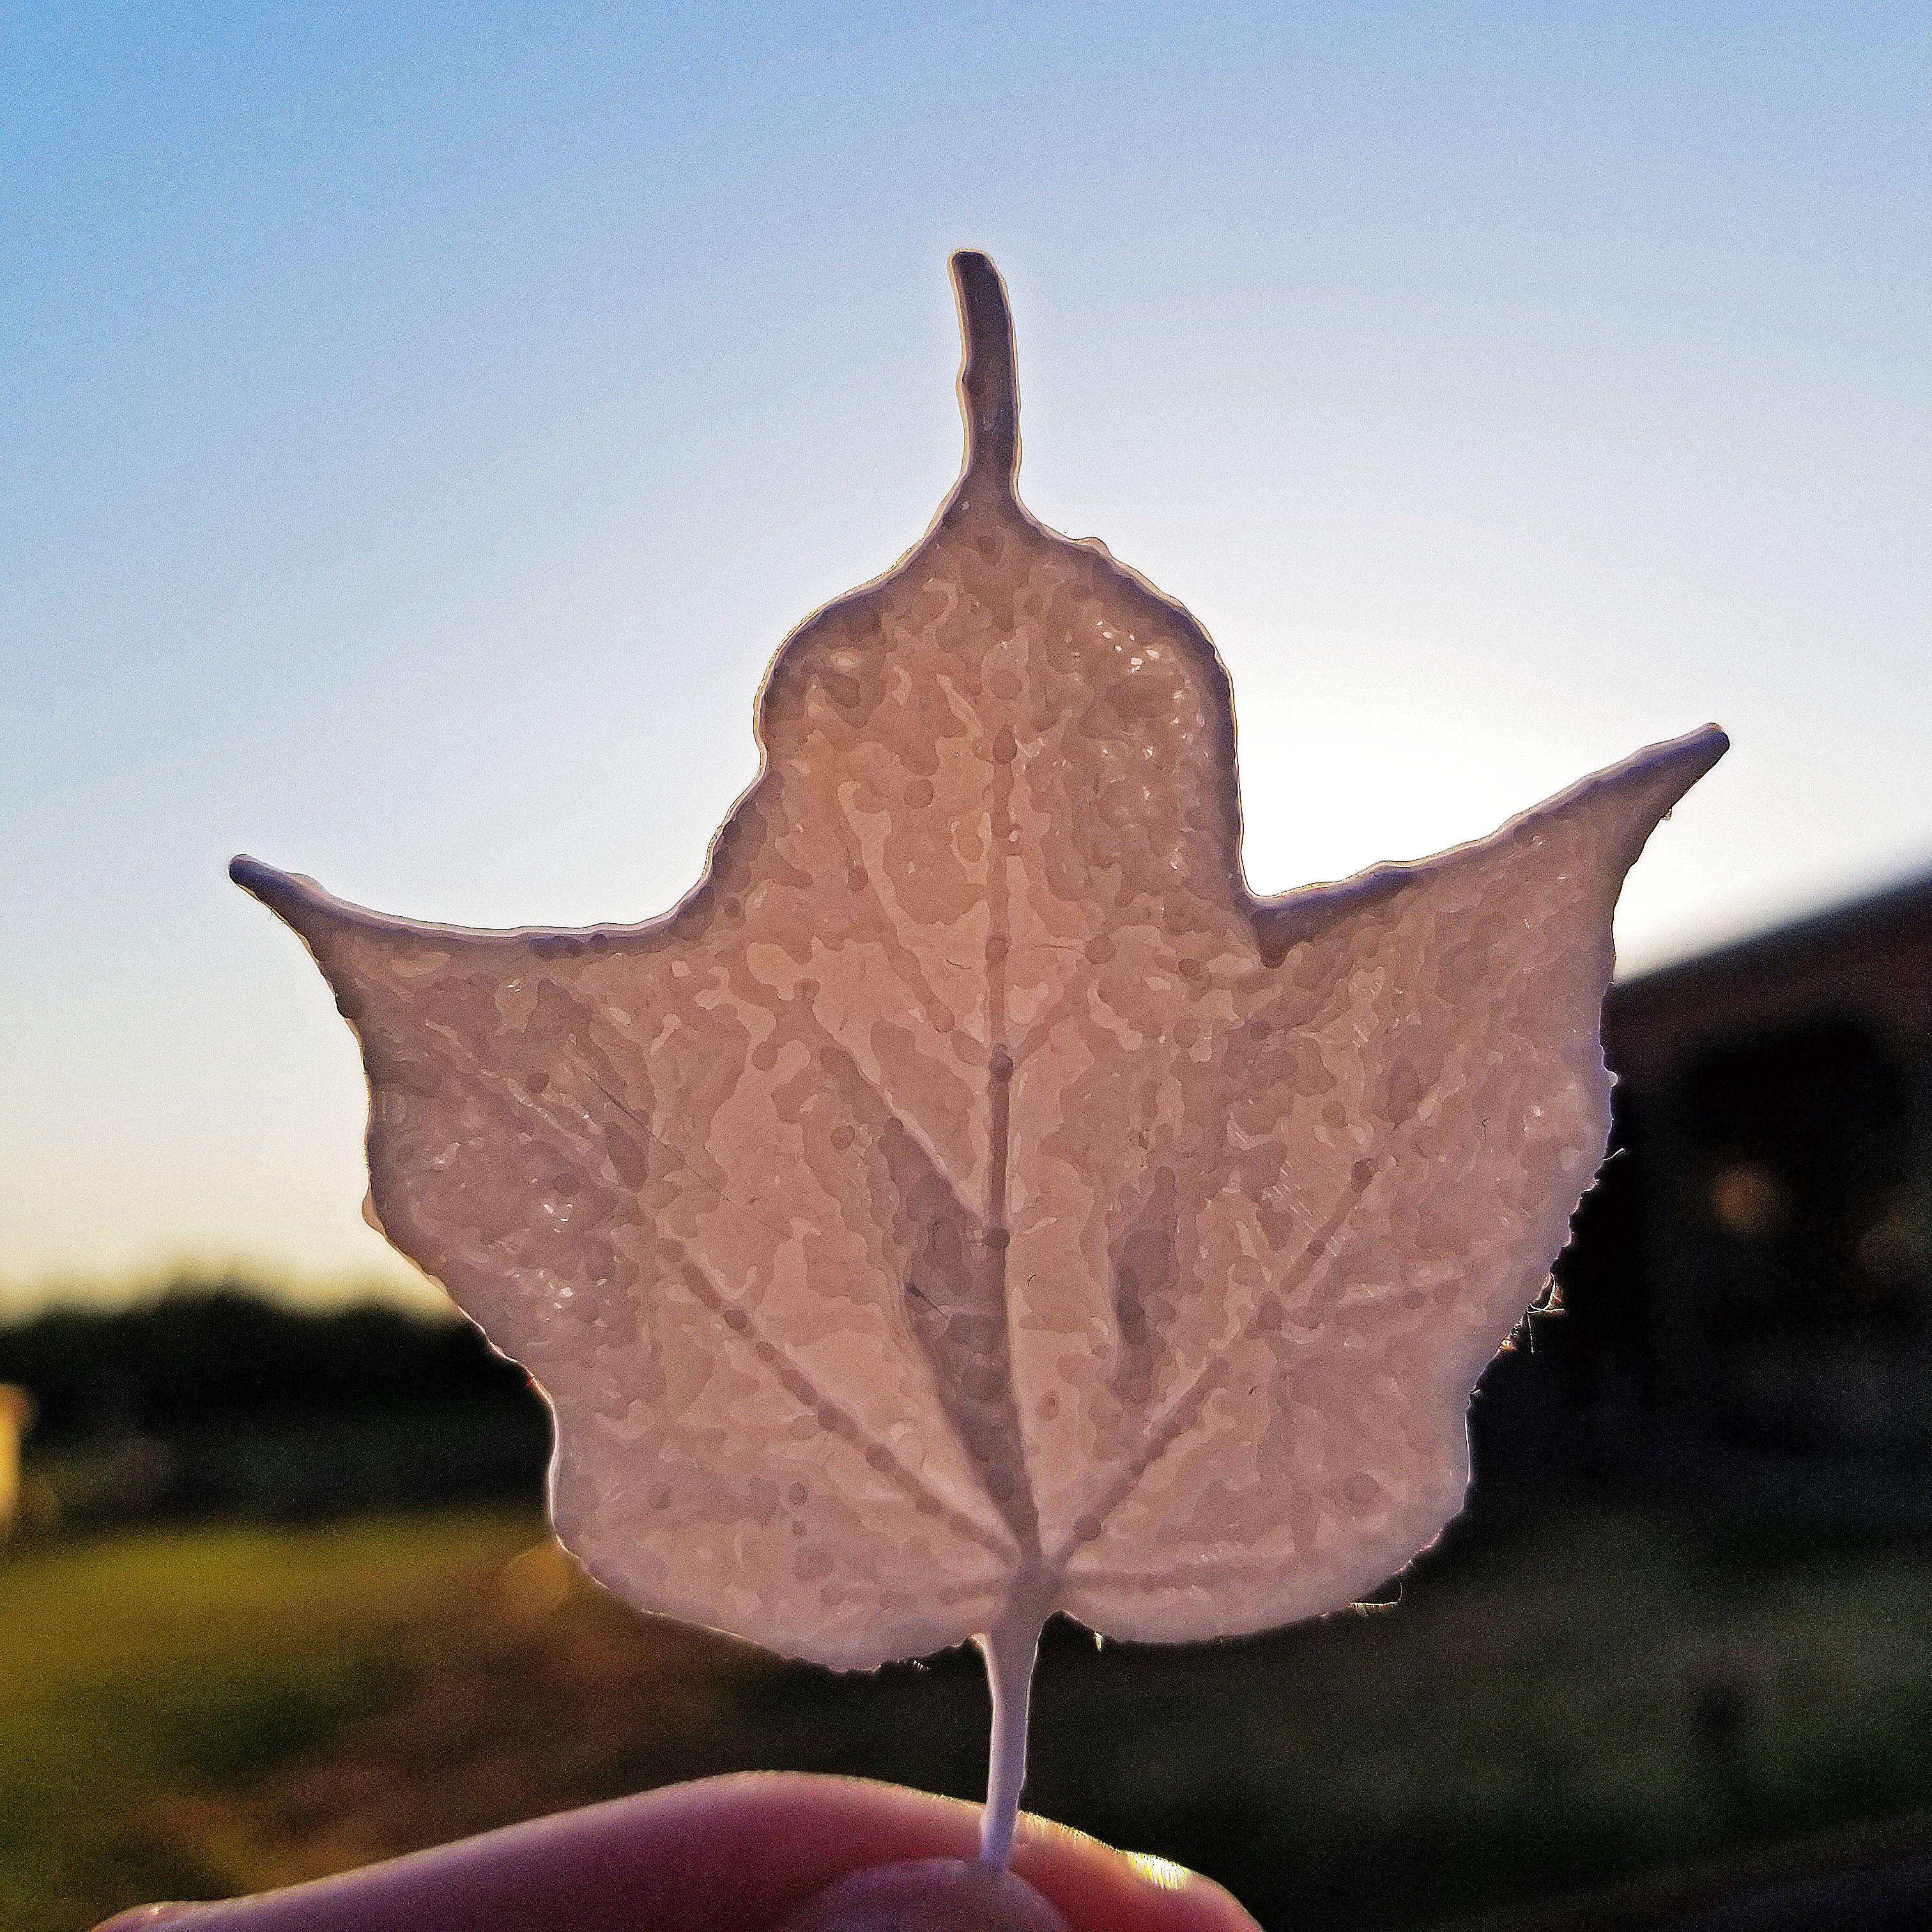
This fun and easy project will walk you through how to design and 3D print your very own earrings from a simple 2D photo! You can use any camera you'd like as long as you can transfer it to your computer for editing:)
Supplies
- Camera (or Phone Camera)
- Computer
- 3D Printer + Filament
Adventure!

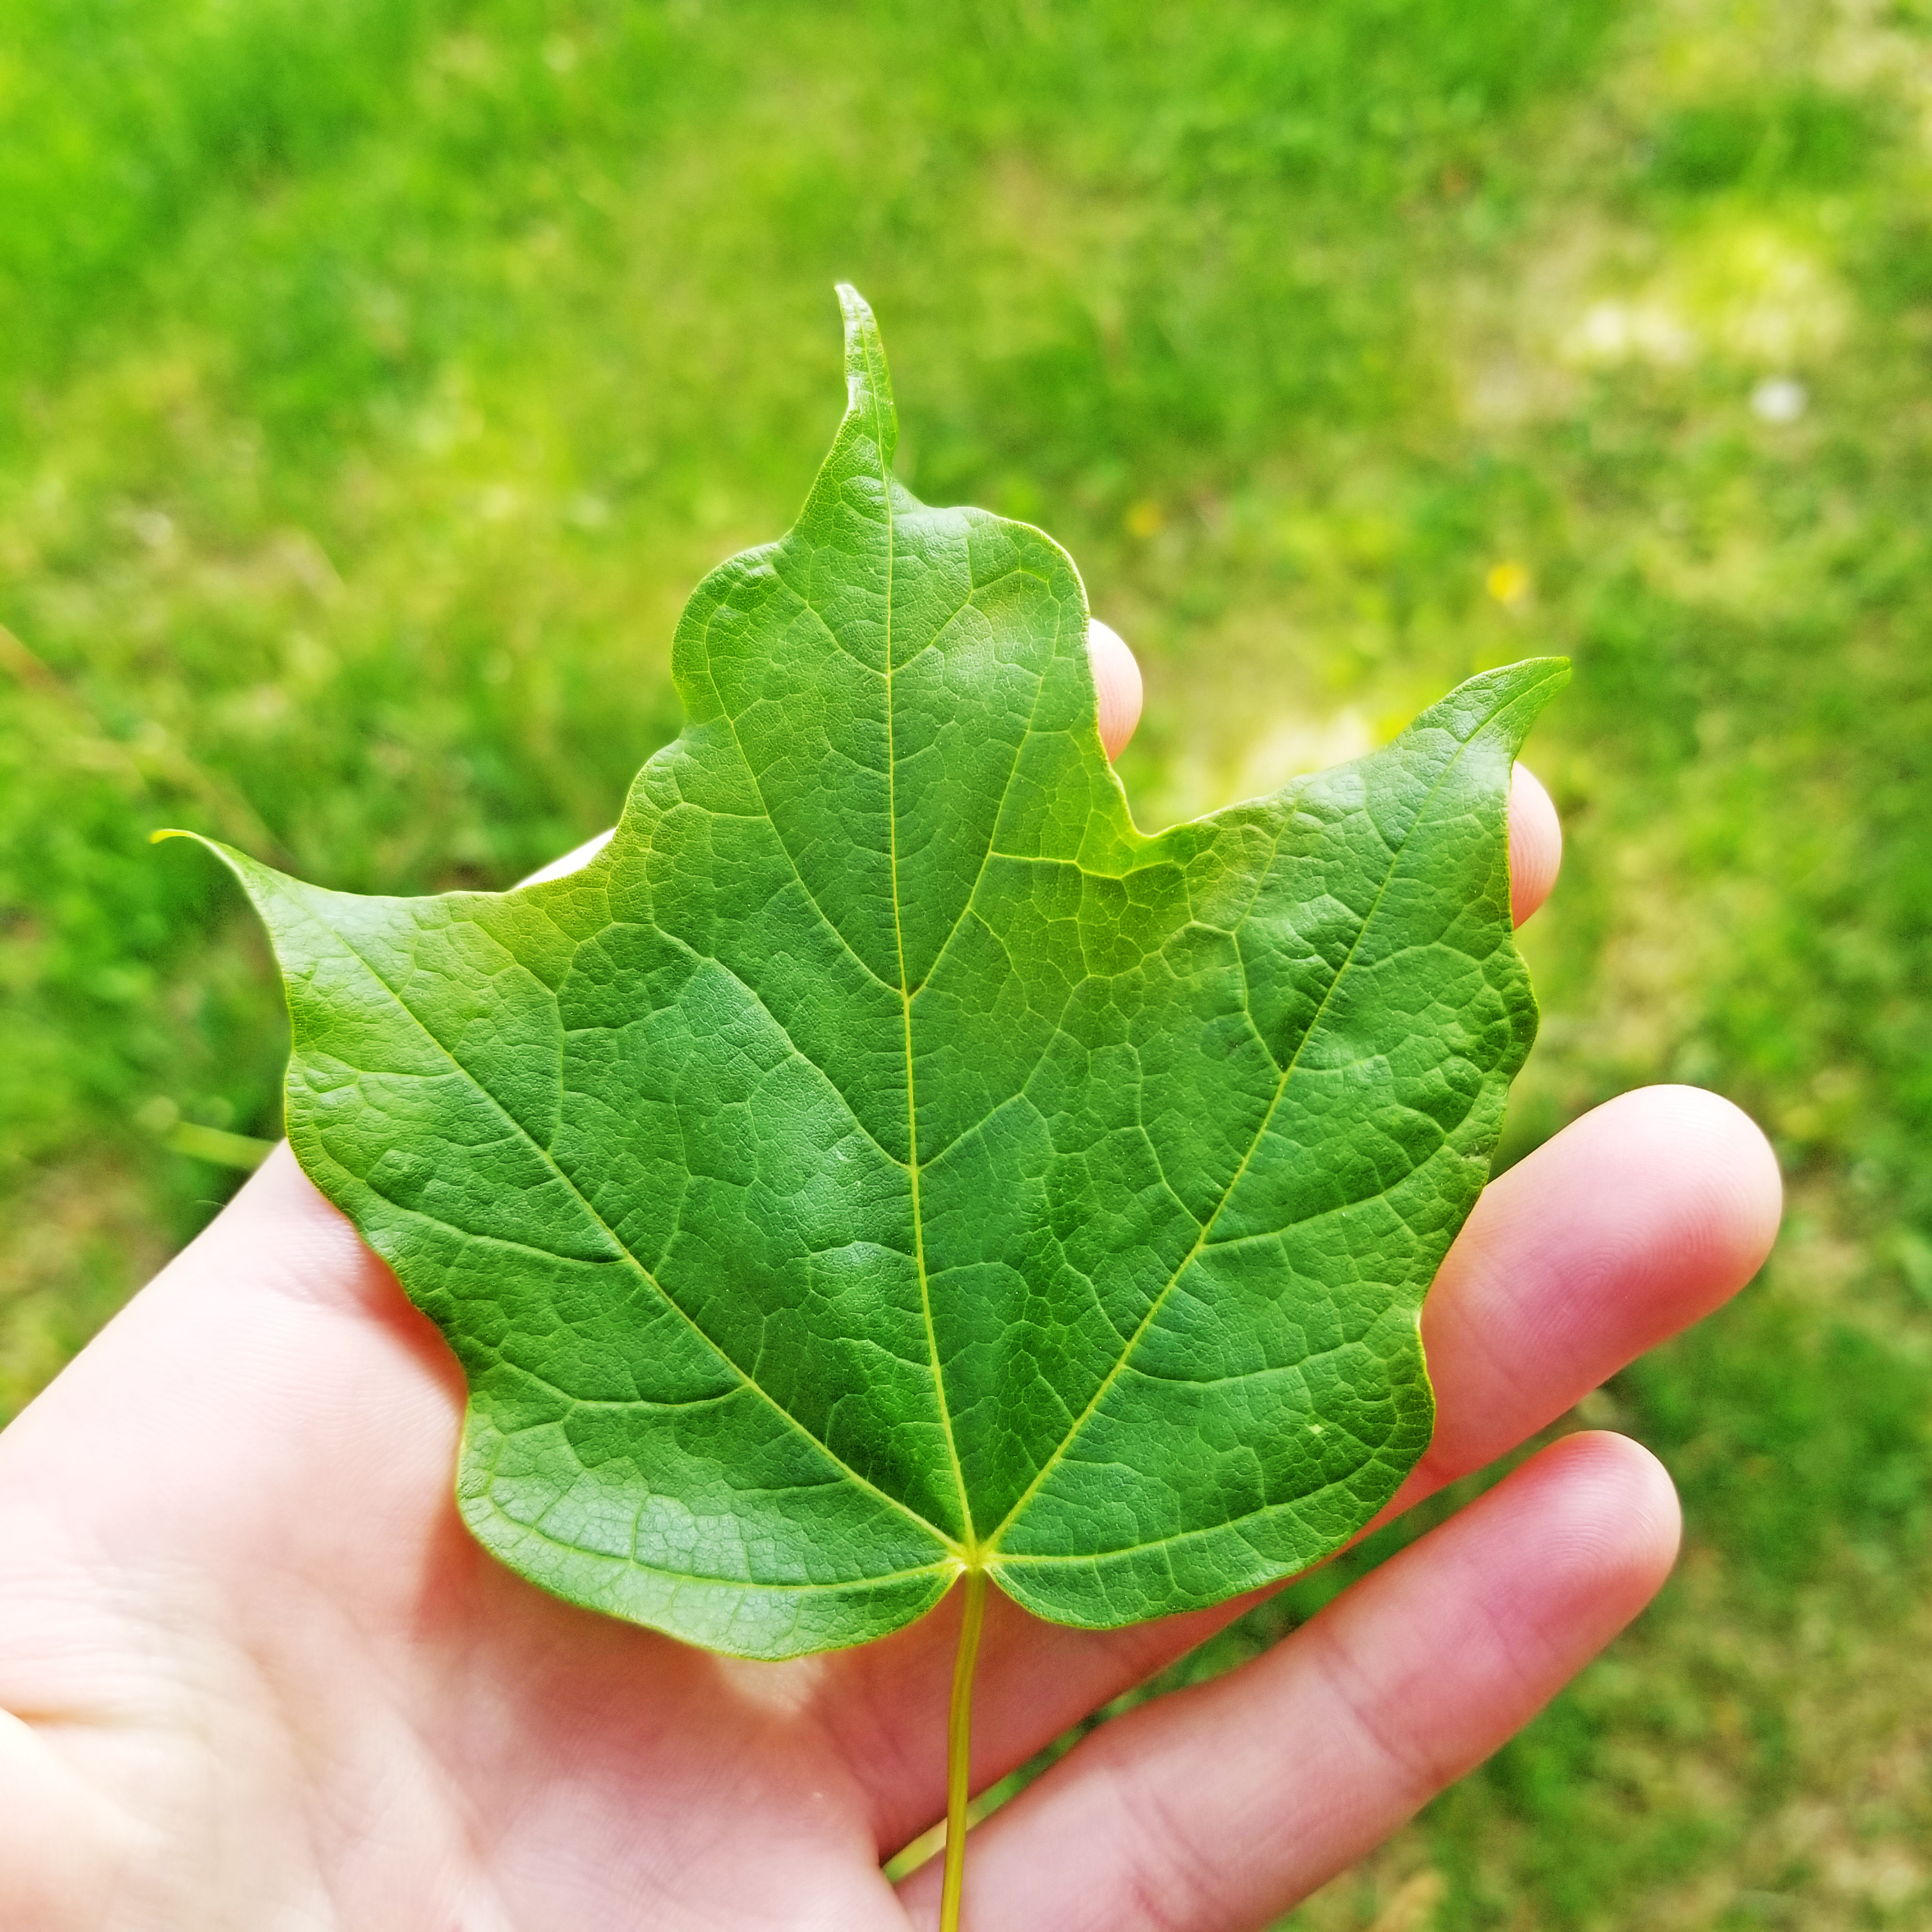
Before we start 3D modeling, we need a basis for our object! Go out and find a leaf that catches your eye. I chose a Maple leaf from my favorite tree!
You will need to pick the leaf and bring it inside with you.
Prepare Your Photo
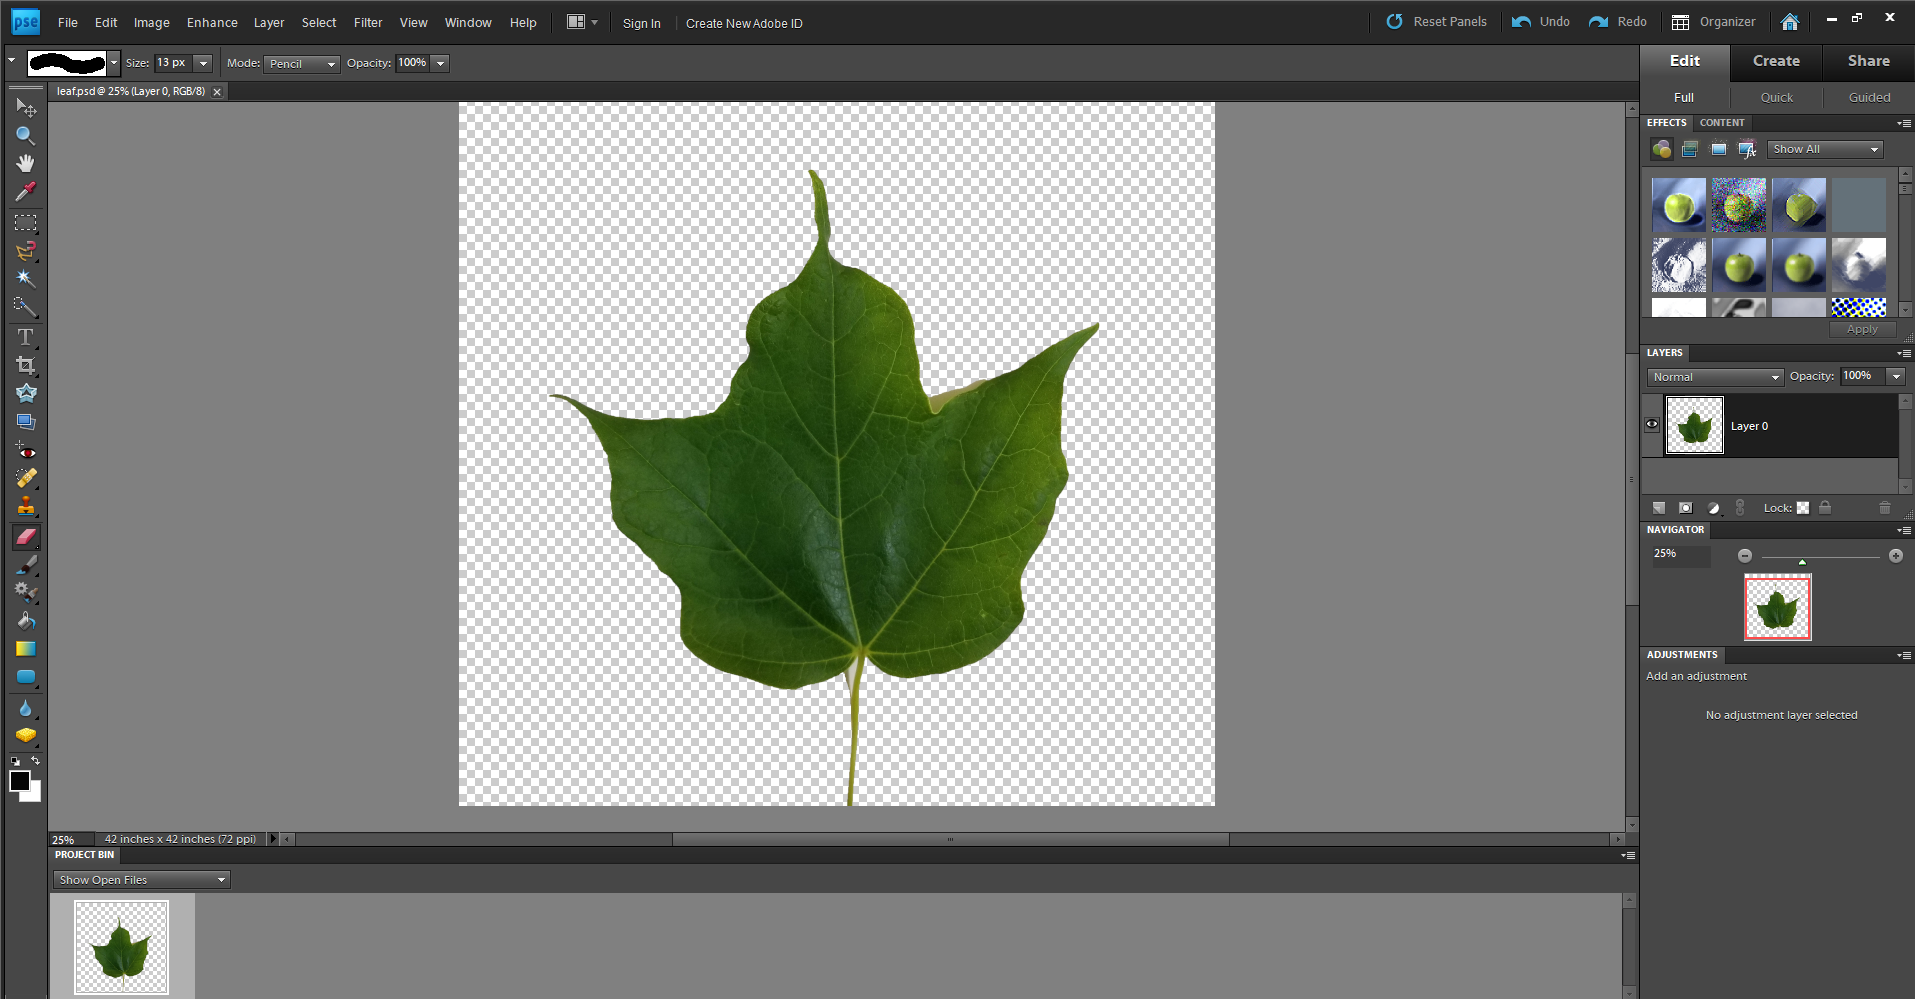
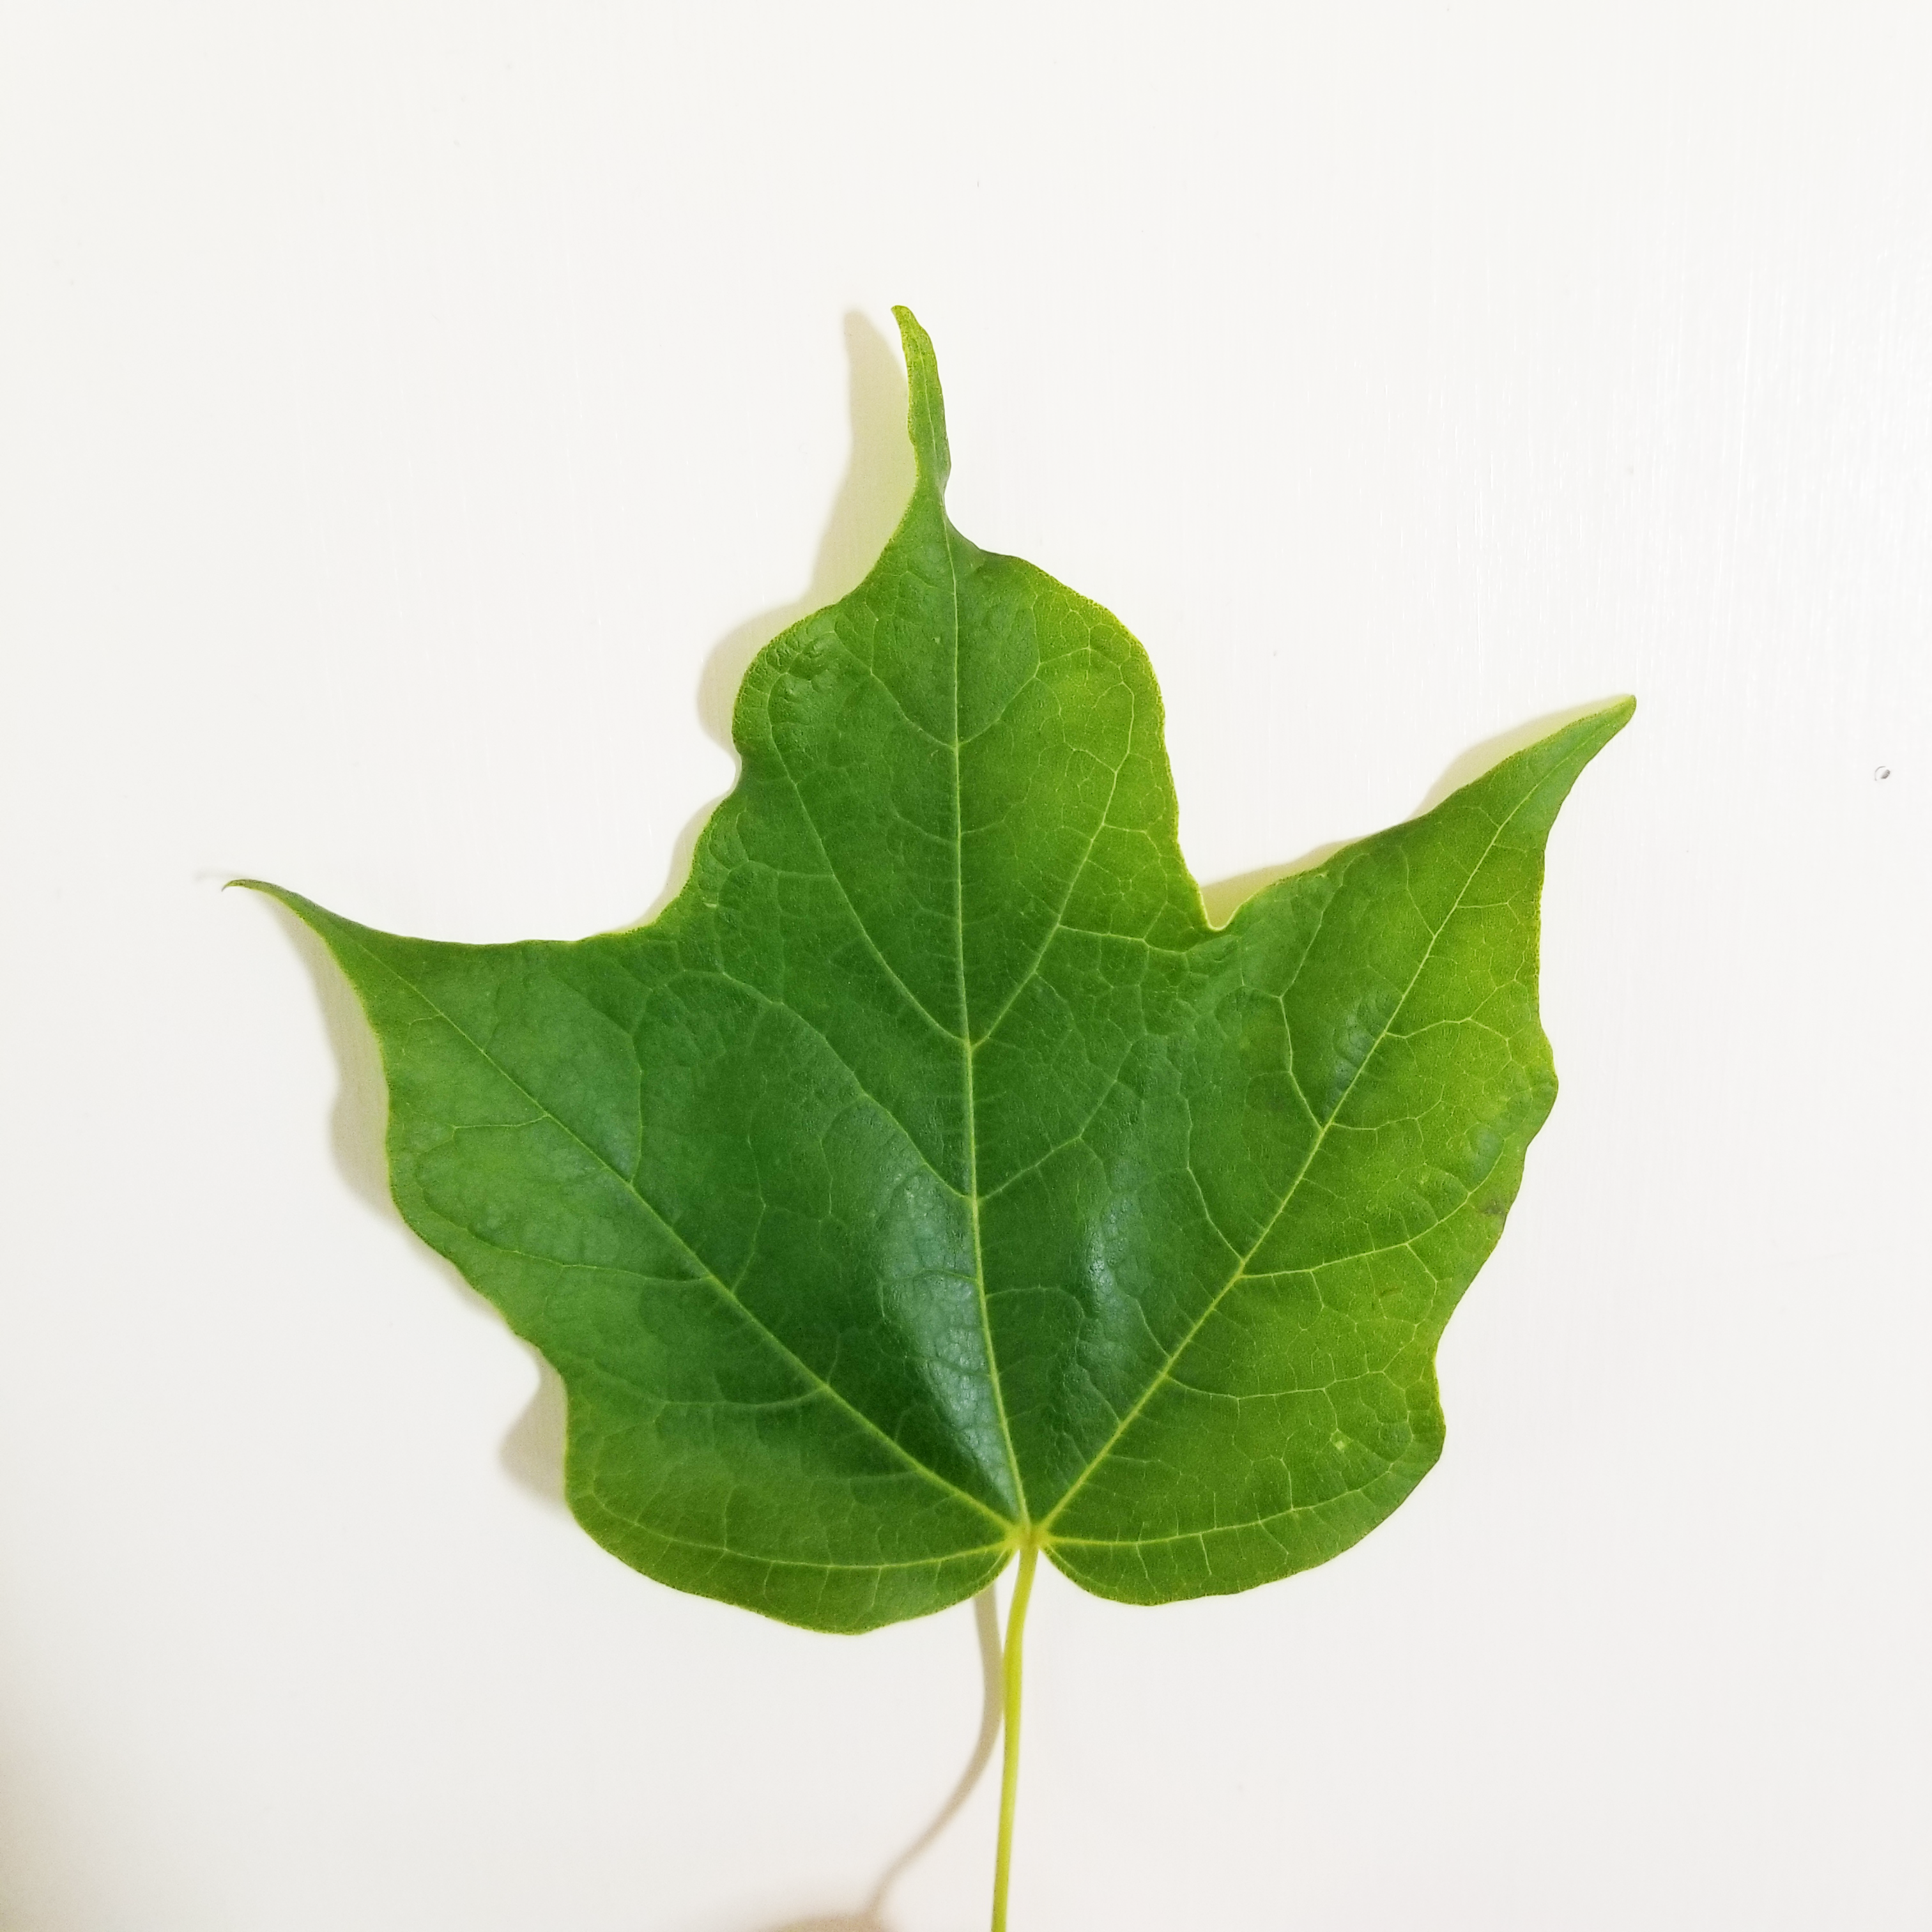
After finding your leaf, we are going to take a picture of it with a solid background. This will make our job easier when we edit our photo. You can use any camera you'd like! (just as long as you can transfer it to your computer for editing...)
Once you have taken a picture of your leaf. Open Photoshop, or your preferred photo editing software. Highlight around the leaf and delete the background: you will want it to be transparent. If you are working in Photoshop, be sure that the background is unlocked so that you can have a transparent background.
Once you have deleted the background of your image, save your image as a png file.
Turn Your Image Into a 3D File
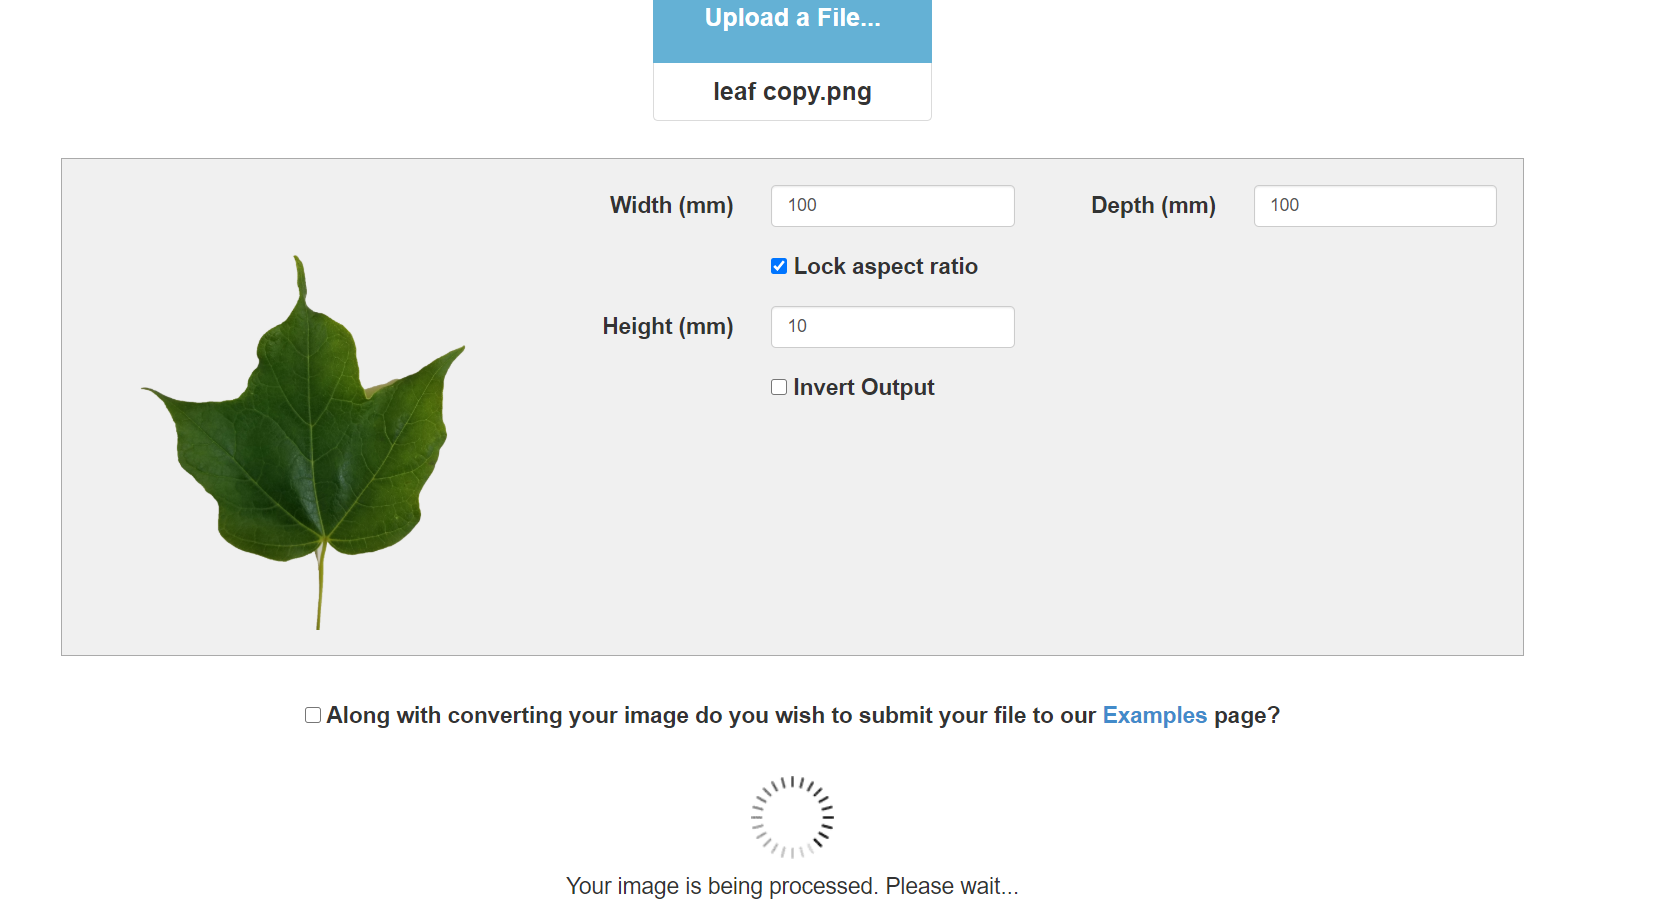
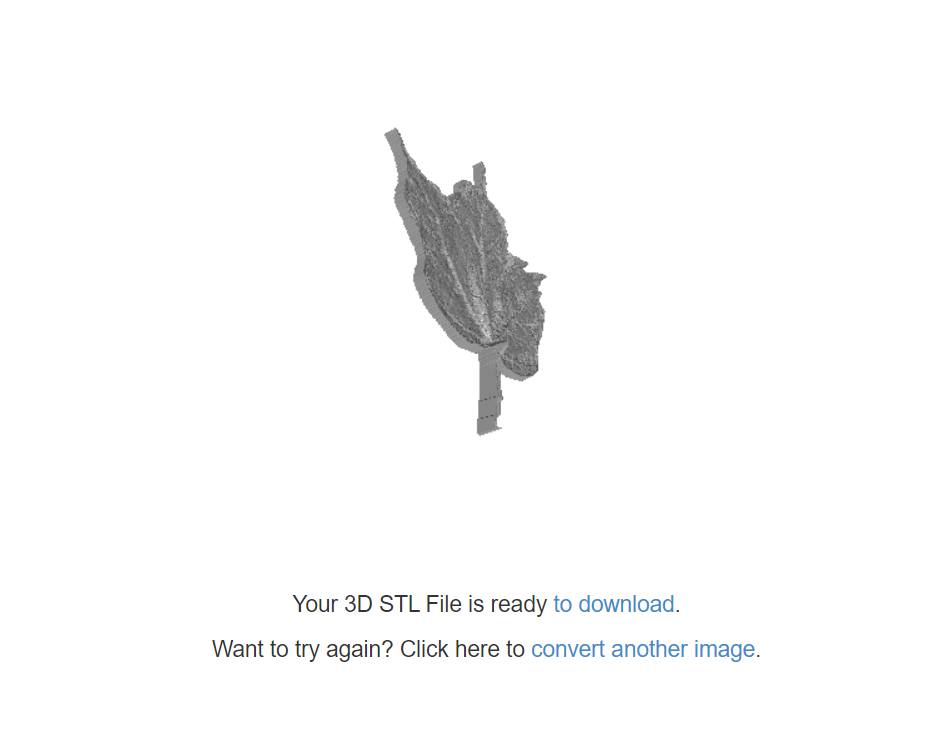
After you have saved your image as a png file, we need to convert the file into an stl file. Doing a simple Google search, we can find an app that can do the work for us! Search: convert png to stl. I clicked on the third link that came up (https://imagetostl.com/).
Once the conversion is done, download your stl file.
Edit Your 3D File
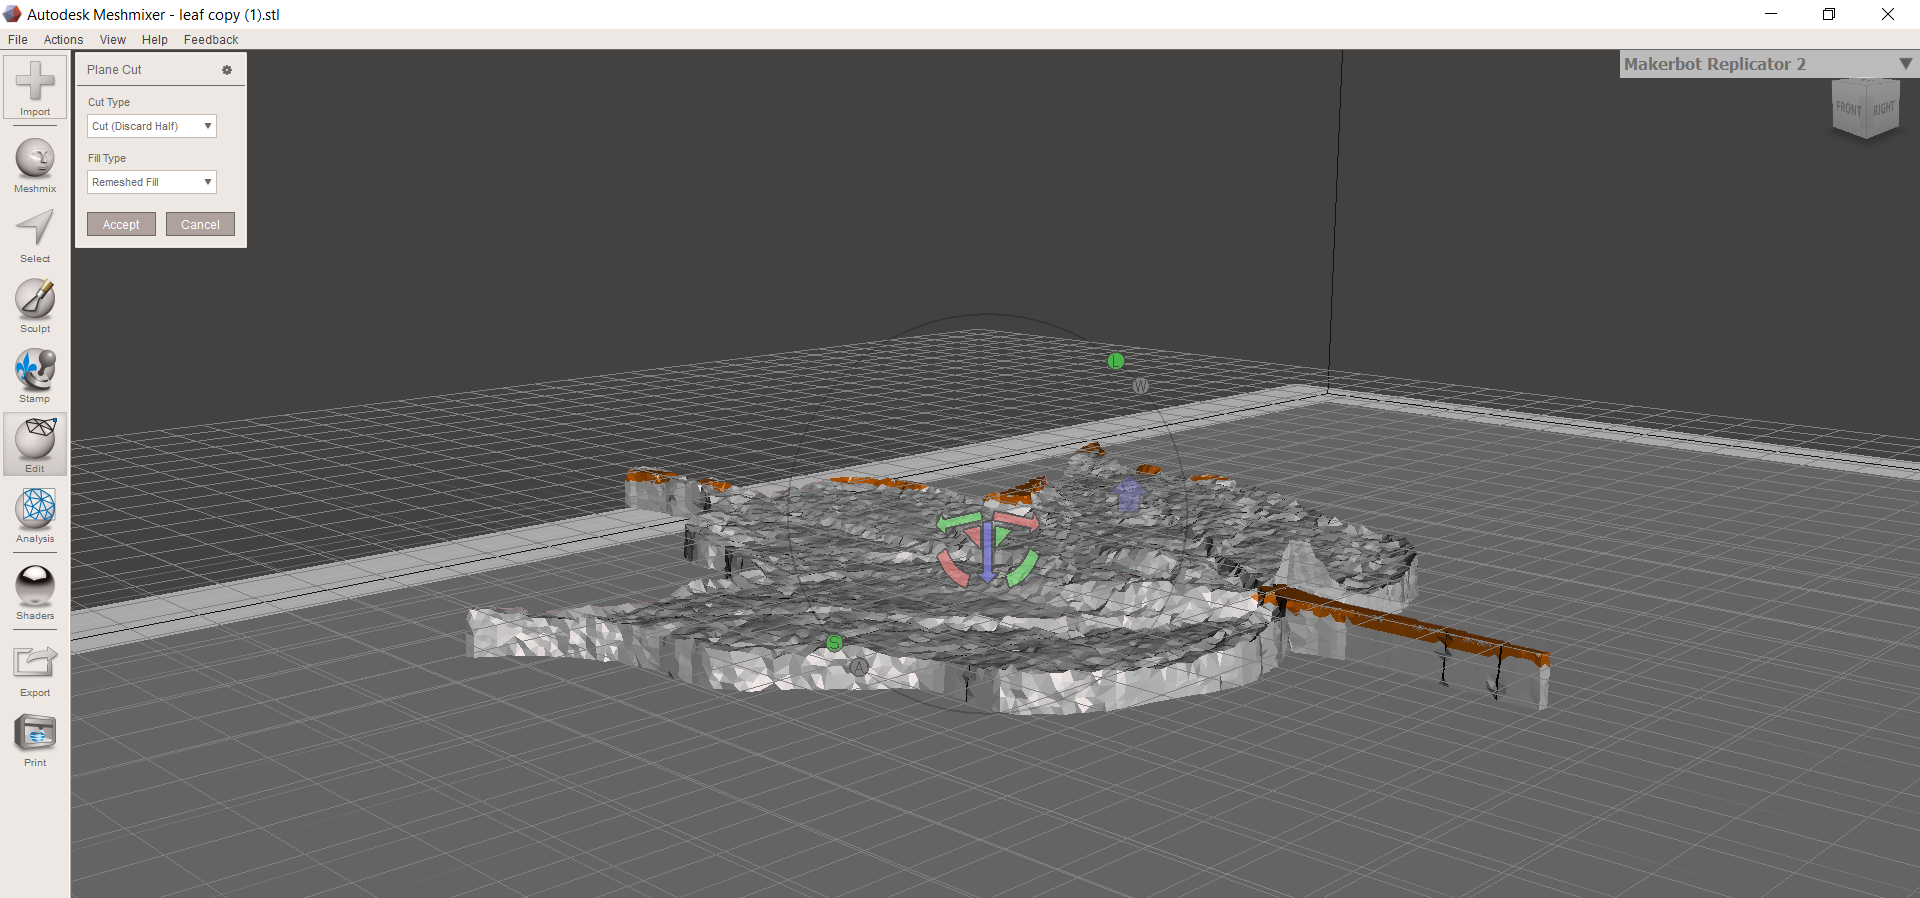
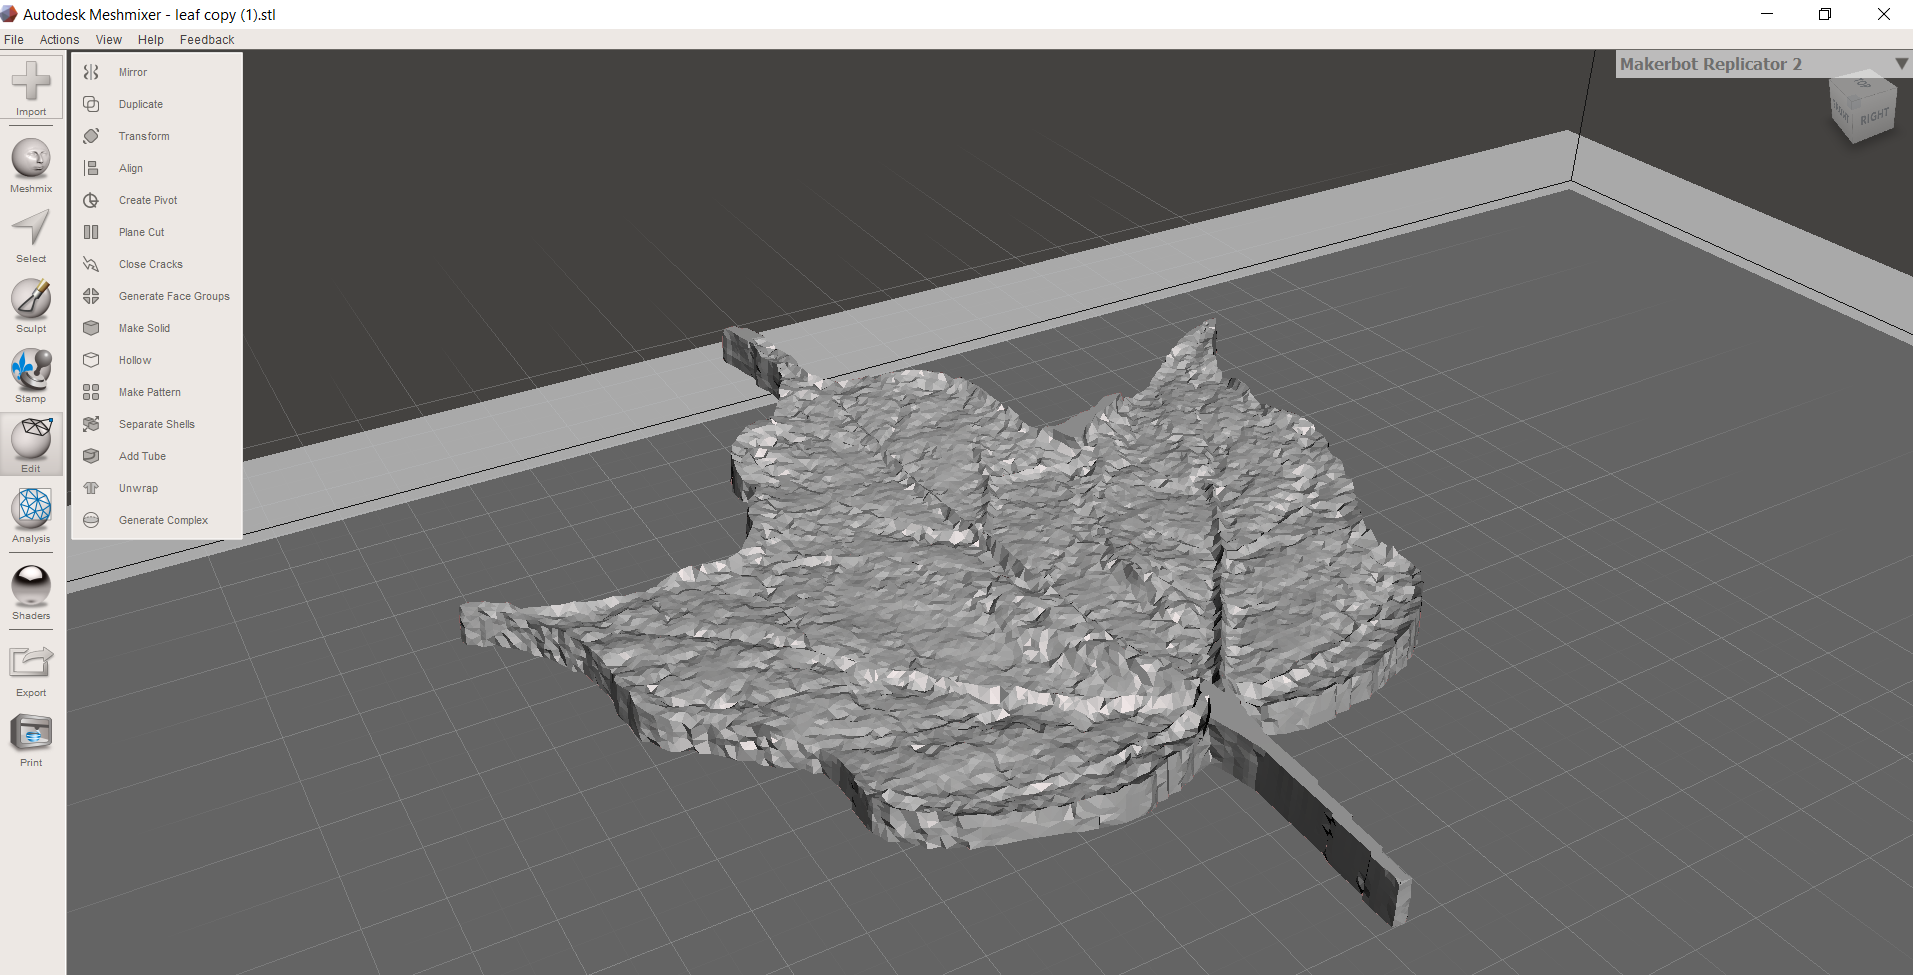
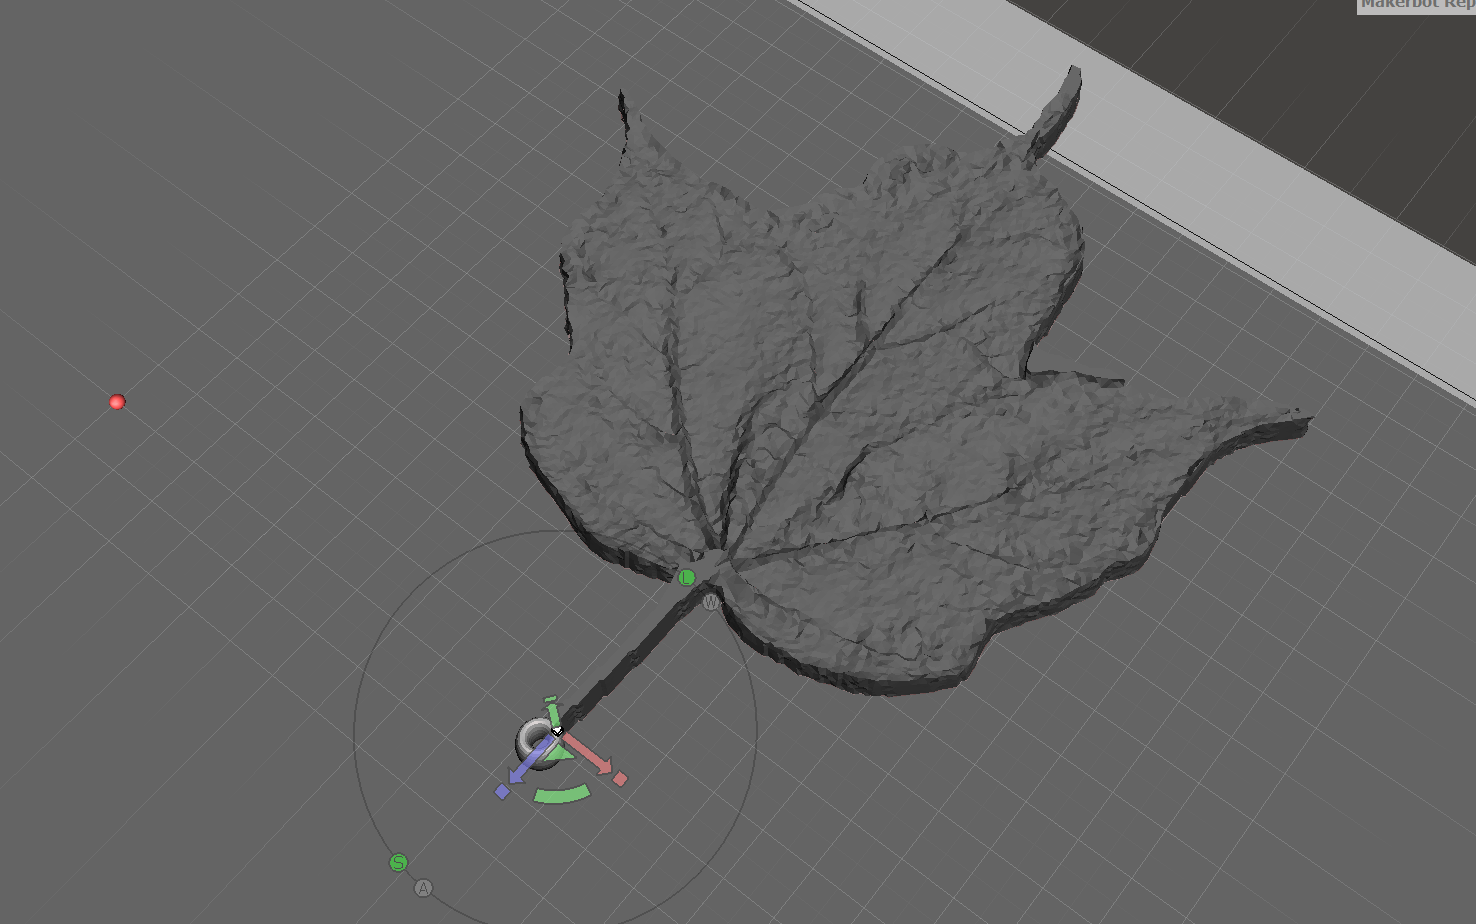
Most likely, your 3D file isn't perfect...but that's okay! For this step, we are going to upload your stl file into a 3D editor.
I like to use Meshmixer, but you can edit your file with whatever program you feel most comfortable with! Clean up any odd-ball edges or protruding glitches. I used a Plane Cut to chop off the top bumps off my leaf.
In order to easily add our metal earring hook, we will need to create a hole. In Meshmixer, click on Meshmix and append a Torus object onto the Workplane.
Resize the Torus object so that it fits at the end of the leaf stem.
Using the Object Browser, combine the object. Hold the Shift key and select the items to combine them. If you cannot find the Object Browser, click on View on the top bar and select Object Browser.
Once you are satisfied with your leaf object, export your file as an stl.
Print!
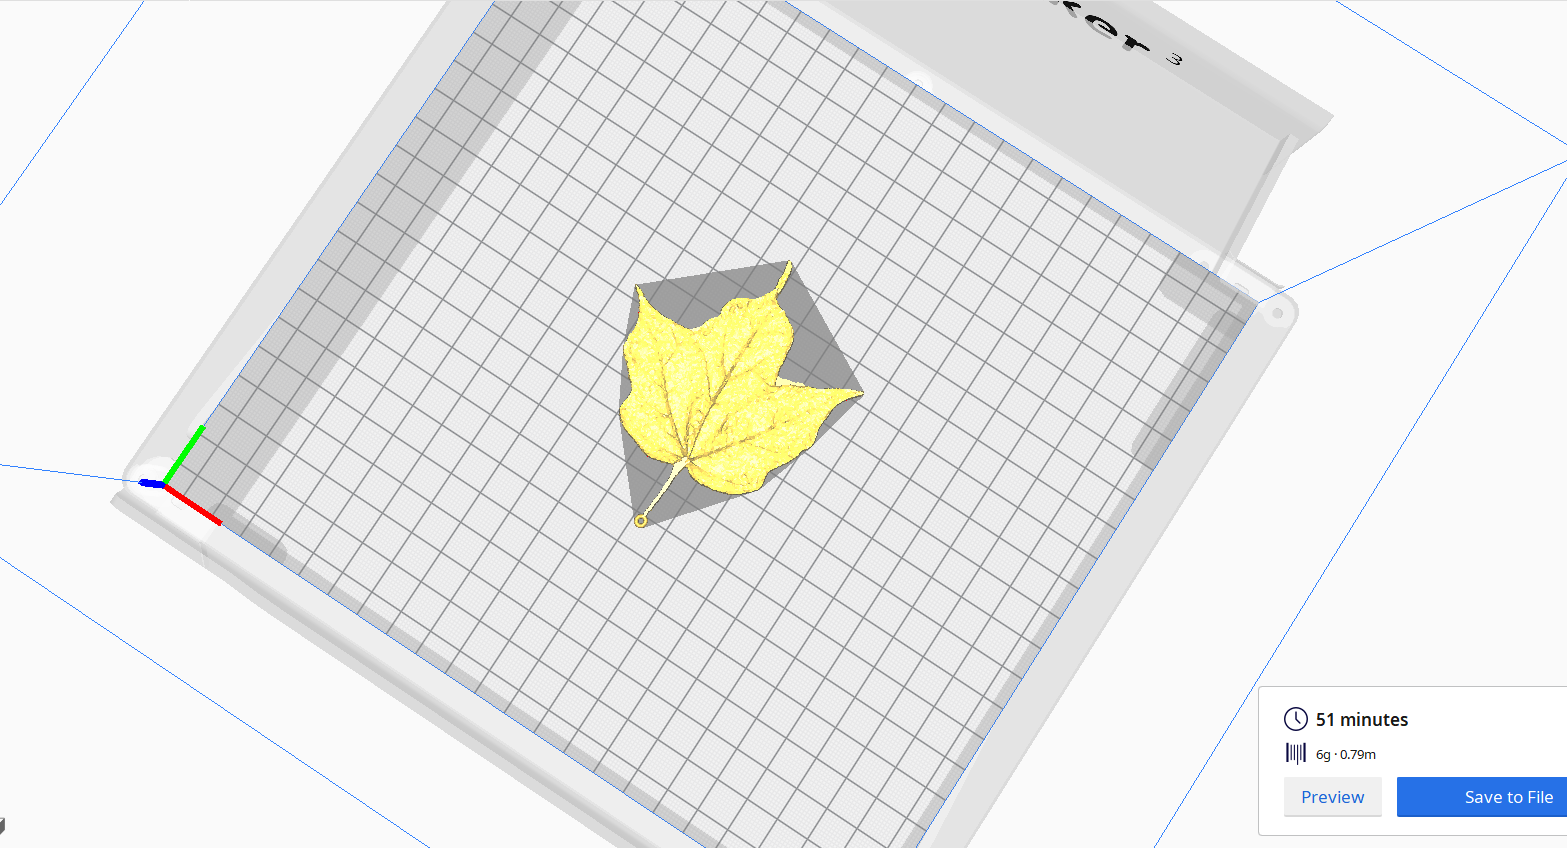
Once you are done editing your 3D model, upload your stl file into your favored slicer program. I uploaded mine into Ultimaker Cura, available for download here.
You will need to resize your leaf object before printing. Resize your object to your preferred size. If you want smaller earrings, you will need to change the diameters of the object.
My prints diameters are: 32.0 x 38.9 x 1.6 mm, which is a smaller earring.
For higher quality prints, change your layer height to 0.06mm. You may want to change your infill and line width to increase your quality:)
Get Creative!
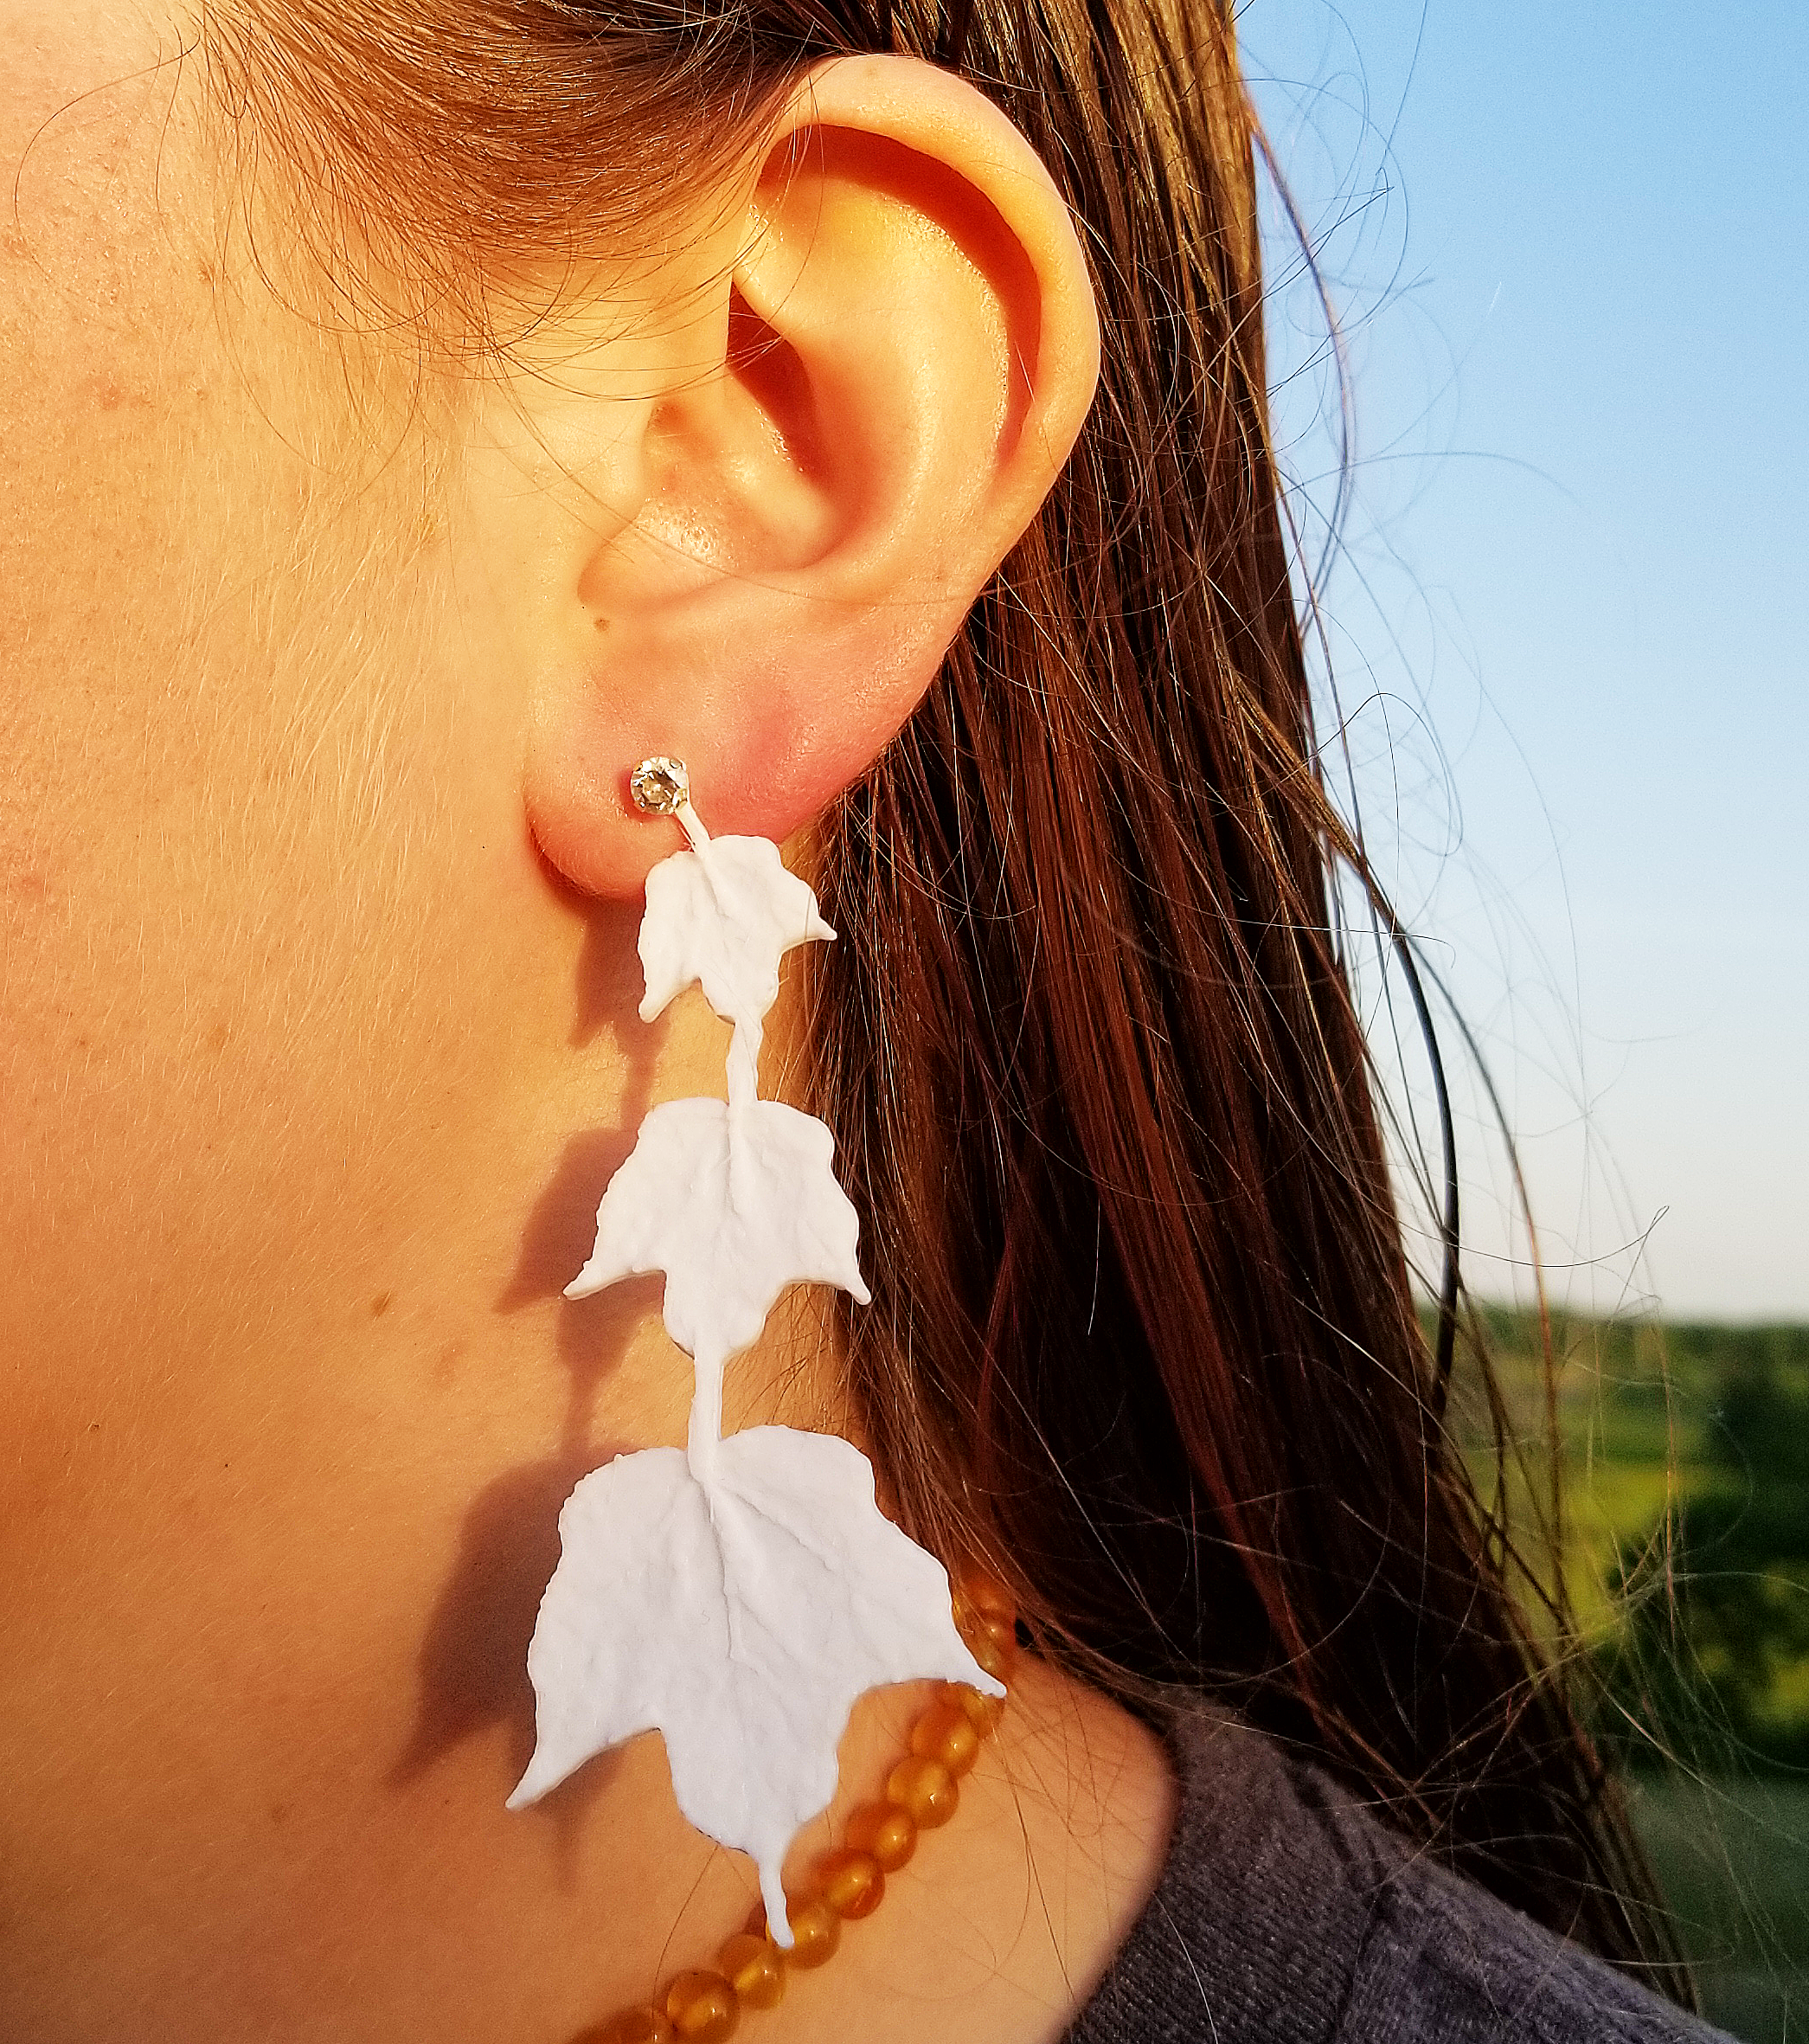
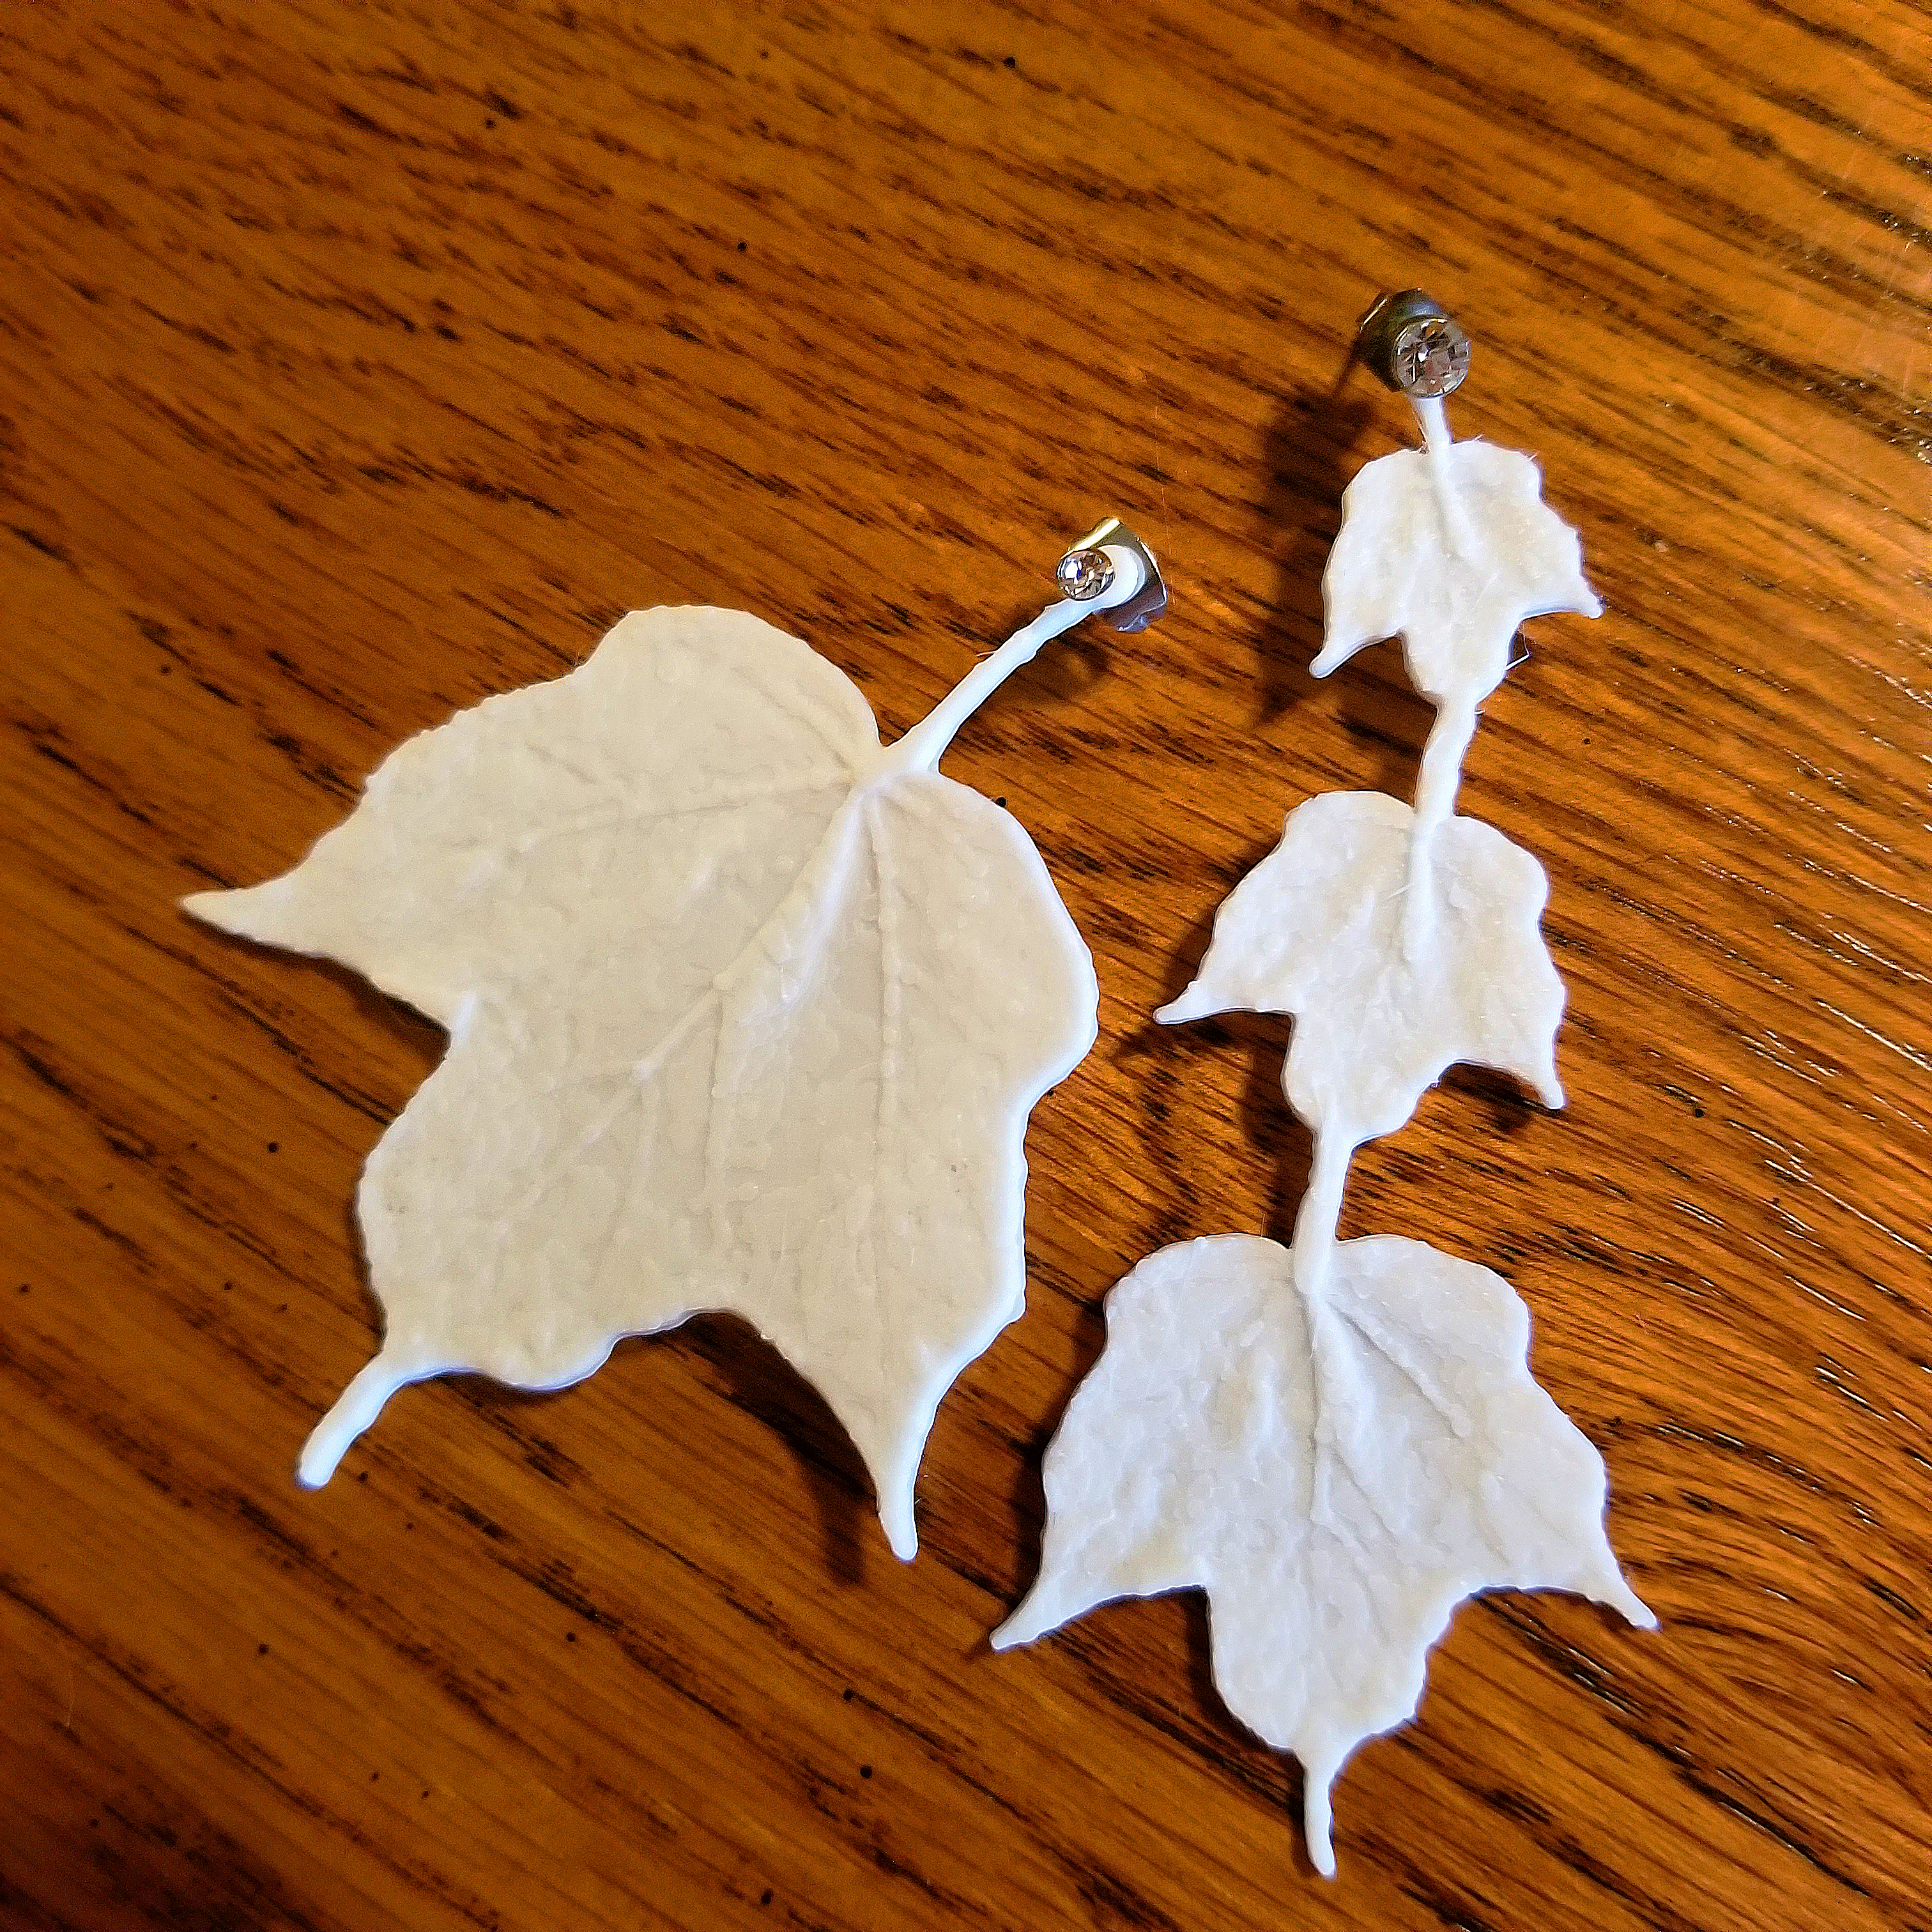
If you're feeling extra creative, make some more changes to your earrings! You can add more leaves or perhaps add some color! (You can also paint your earrings; acrylic paints are probably the best on PLA filament.)