3D Print: Geometric Design Lamp Shade
by reevamish in Workshop > 3D Printing
495 Views, 2 Favorites, 0 Comments
3D Print: Geometric Design Lamp Shade

As a part of 3rd week's assignment, we had to design and 3D print a shade for an existing lamp in home. I went through a couple of designs online and this geometric design really attracted me. So, in this instructable, we will see how to design it.
Software Used:
1. Rhino6
2. Ultimaker Cura
3D Printer Used: Creality Ender Pro 3
Using Grasshopper Environment to Construct Our Design
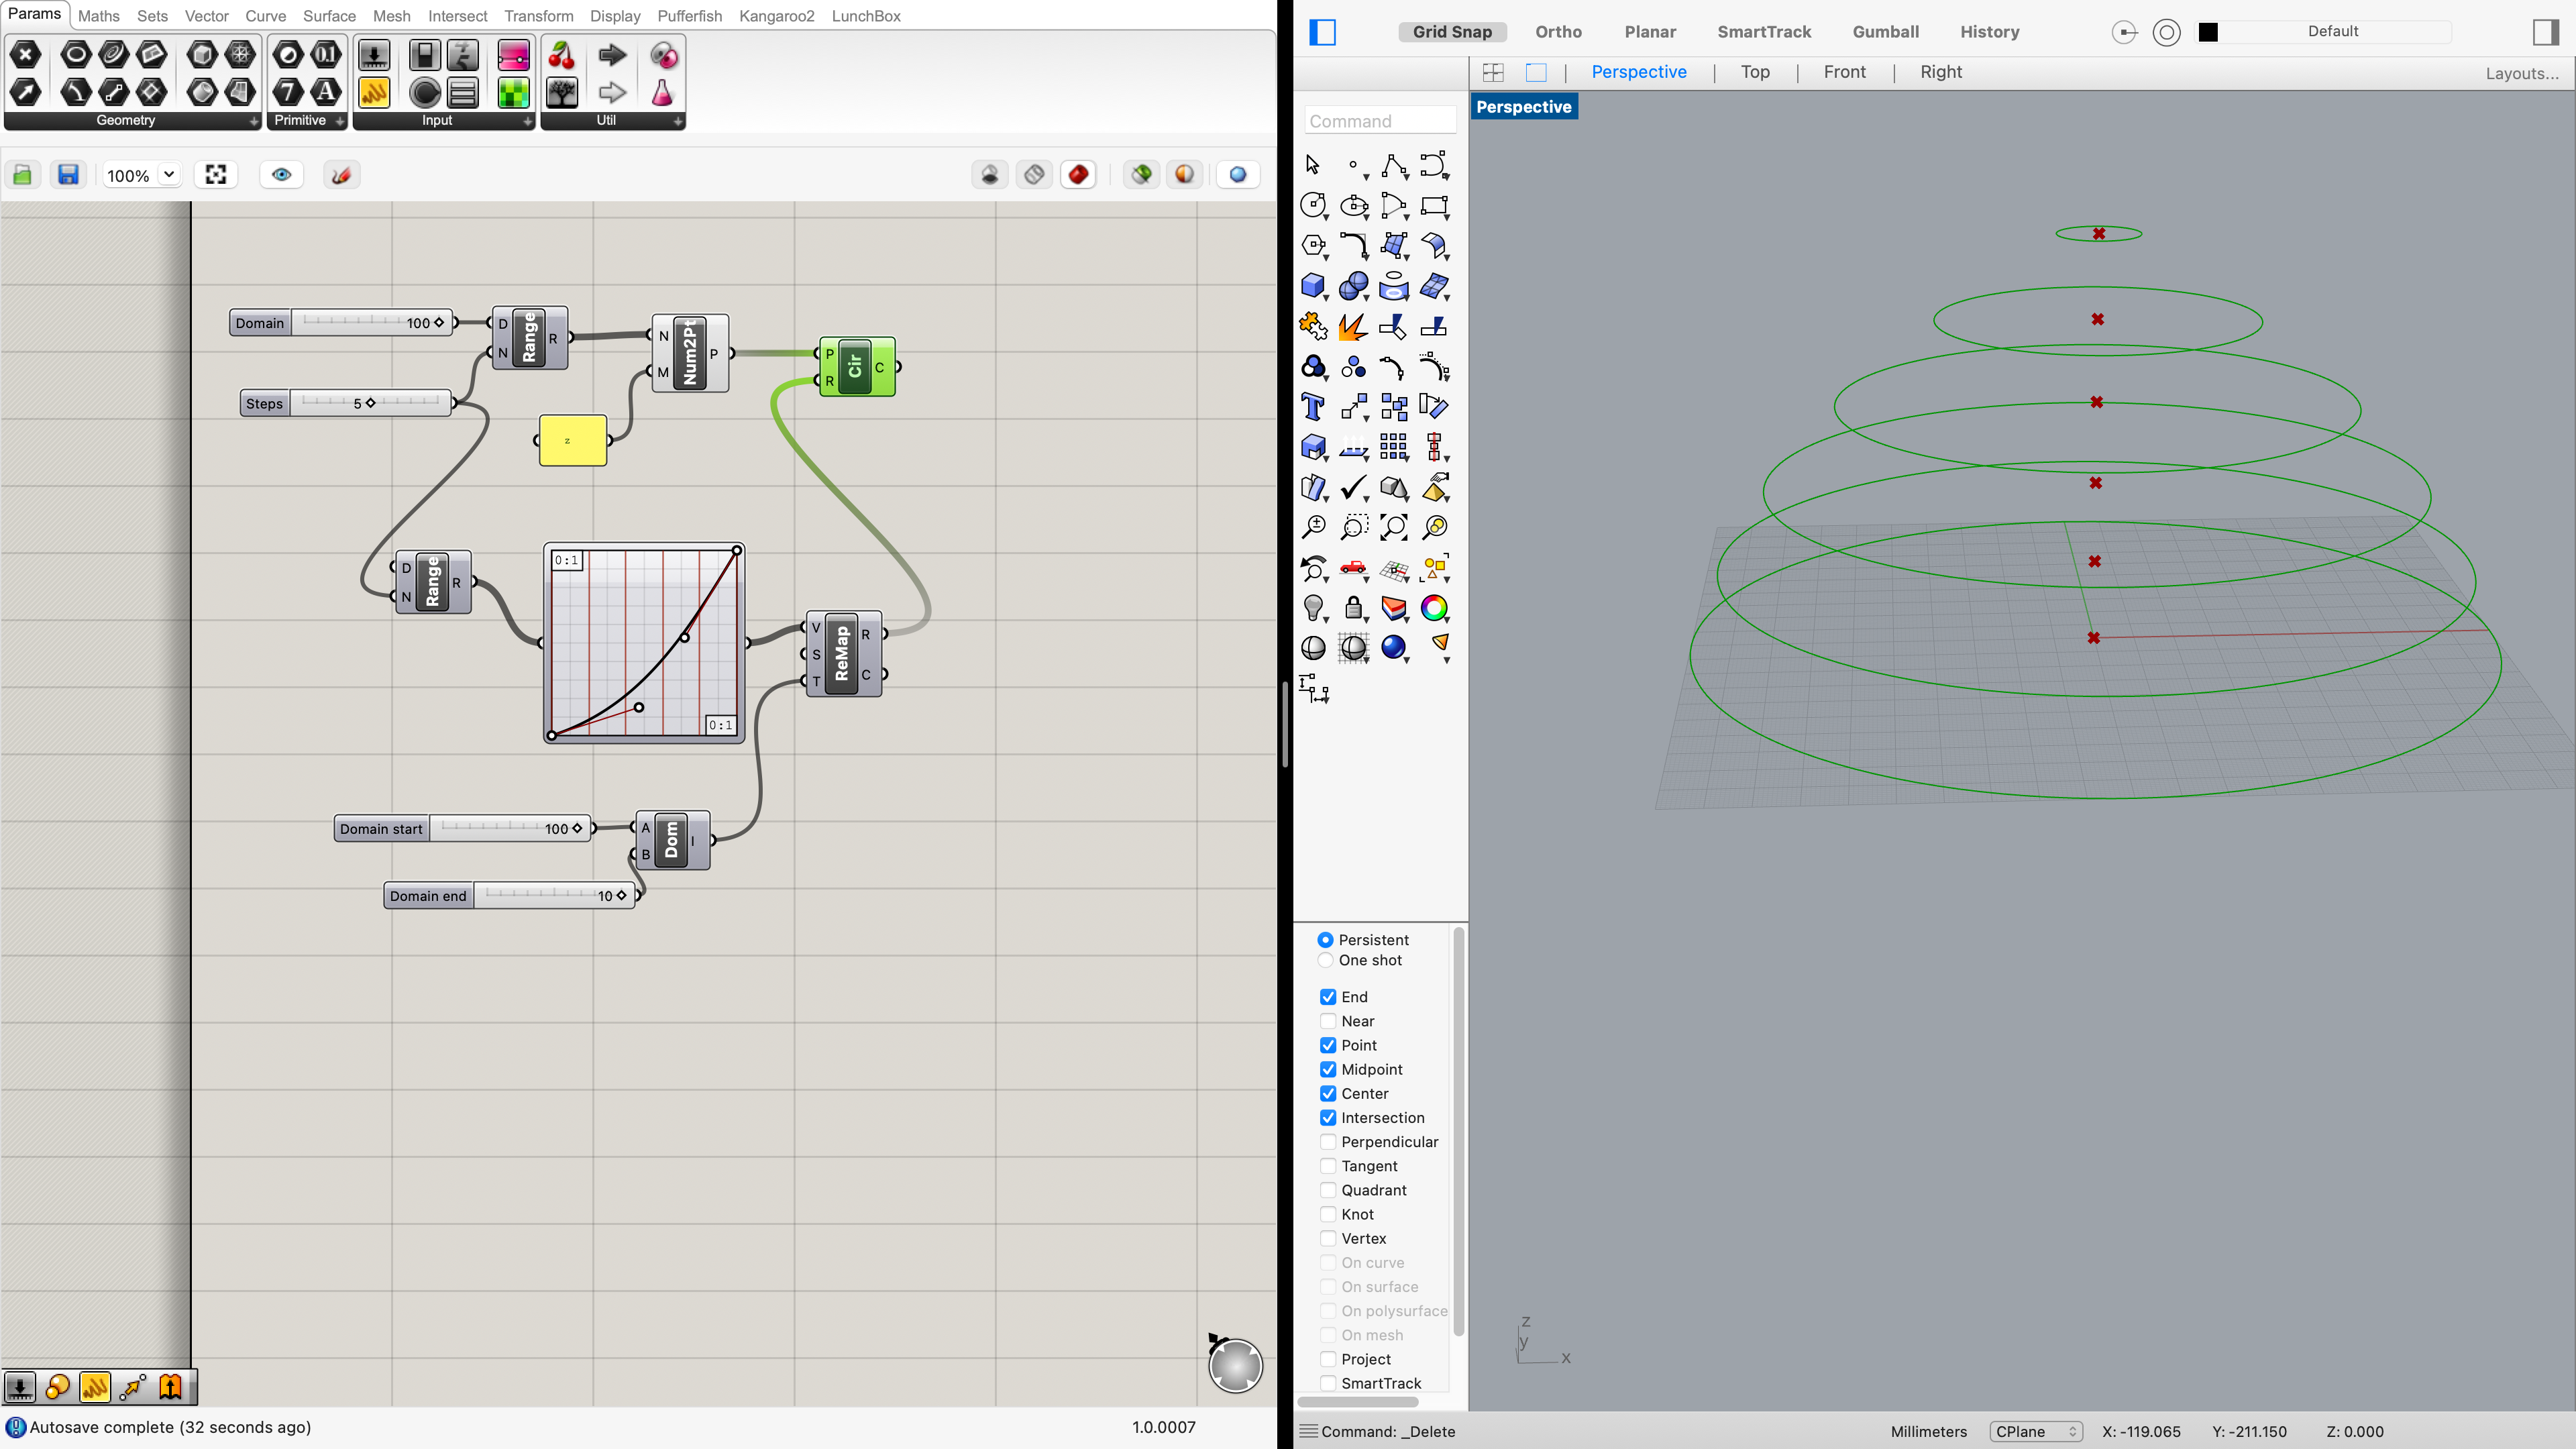
I played around a lot with Jennifer's given code and learnt about surfaces and patterns generated by varying the functions. This time I wanted to generate a pattern of my interest. So, I went through Grasshopper tools online to understand its various components. Some of them which came to my use are:
1. Range - To create a range of numbers that are spaced equally inside a numeric domain
2. Num2Pt - To convert a list of numbers to a list of points
3. Graph Mapper - These objects allow to remap a set of numbers
4. ReMap - To remap numbers into a new numeric domain
5. Dom - To create a numeric domain from 2 extremes
6. Cir - To create a circle defined by base plane and radius
So, using these components of grasshopper, I designed structure of lamp shade first and adjusted its opening as per the size of the base of my lamp.
Getting the Desired Pattern on the Surface
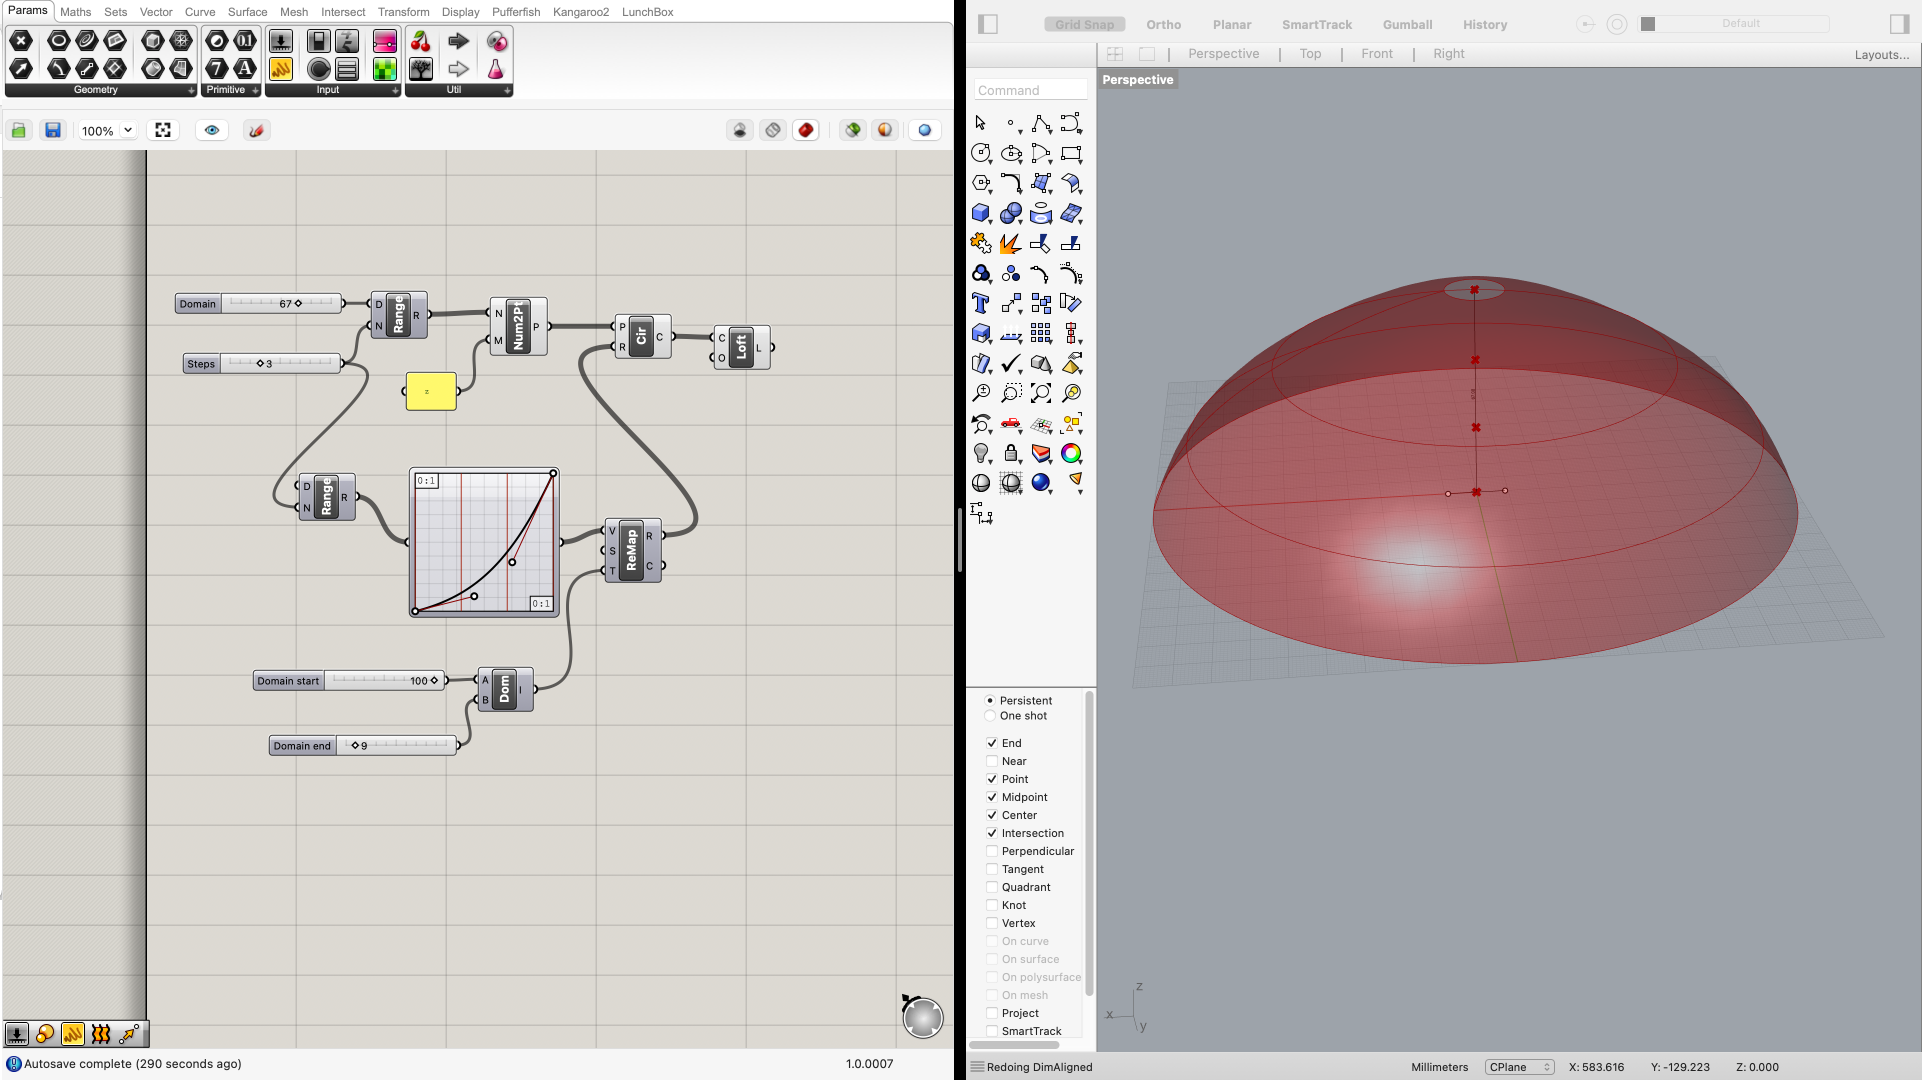
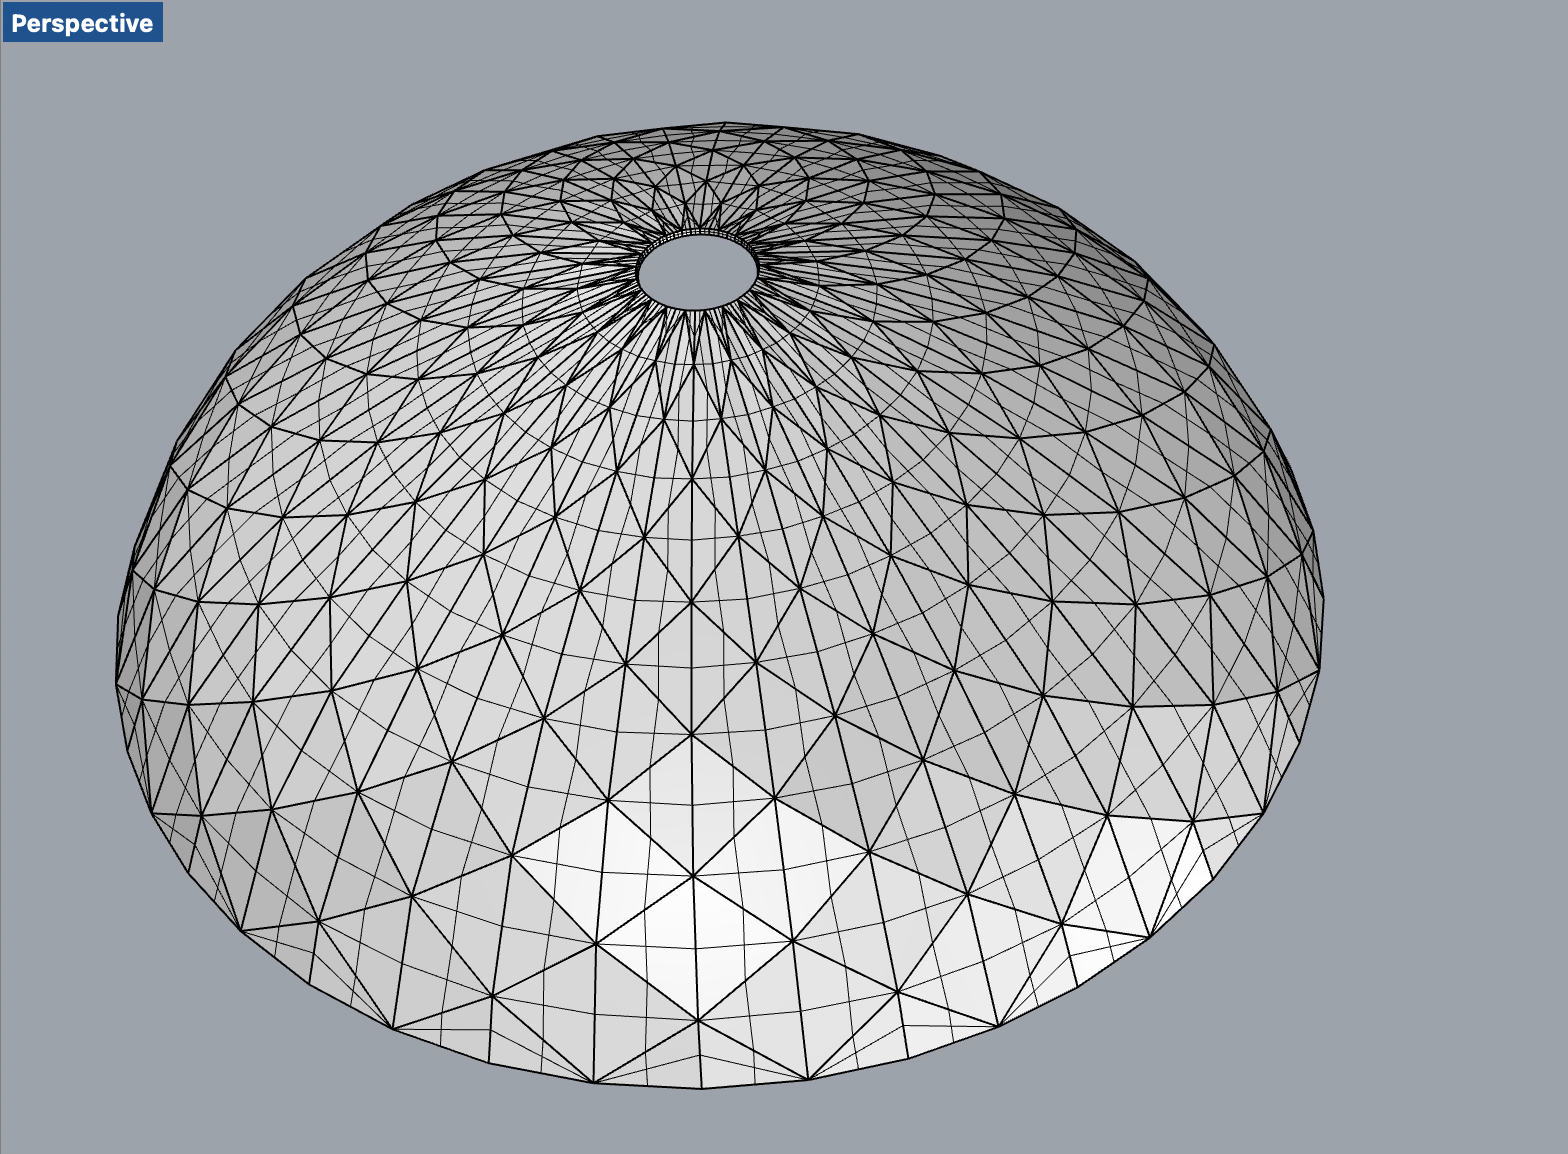
Further, using the loft component, I framed the surface from the circles.
Using TriB (that creates triangular panels on a surface) and some other components such as MJoin (To join a set of meshes into a single mesh) and weldVertices (To merge identical or vertices in threshold range), I got my desired pattern as can be shown in the diagram. Finally, I converted the mesh to surface using Msh2Psrf (To convert a mesh into a nurbs polysurface).
Designing the Cap of Base of Lamp
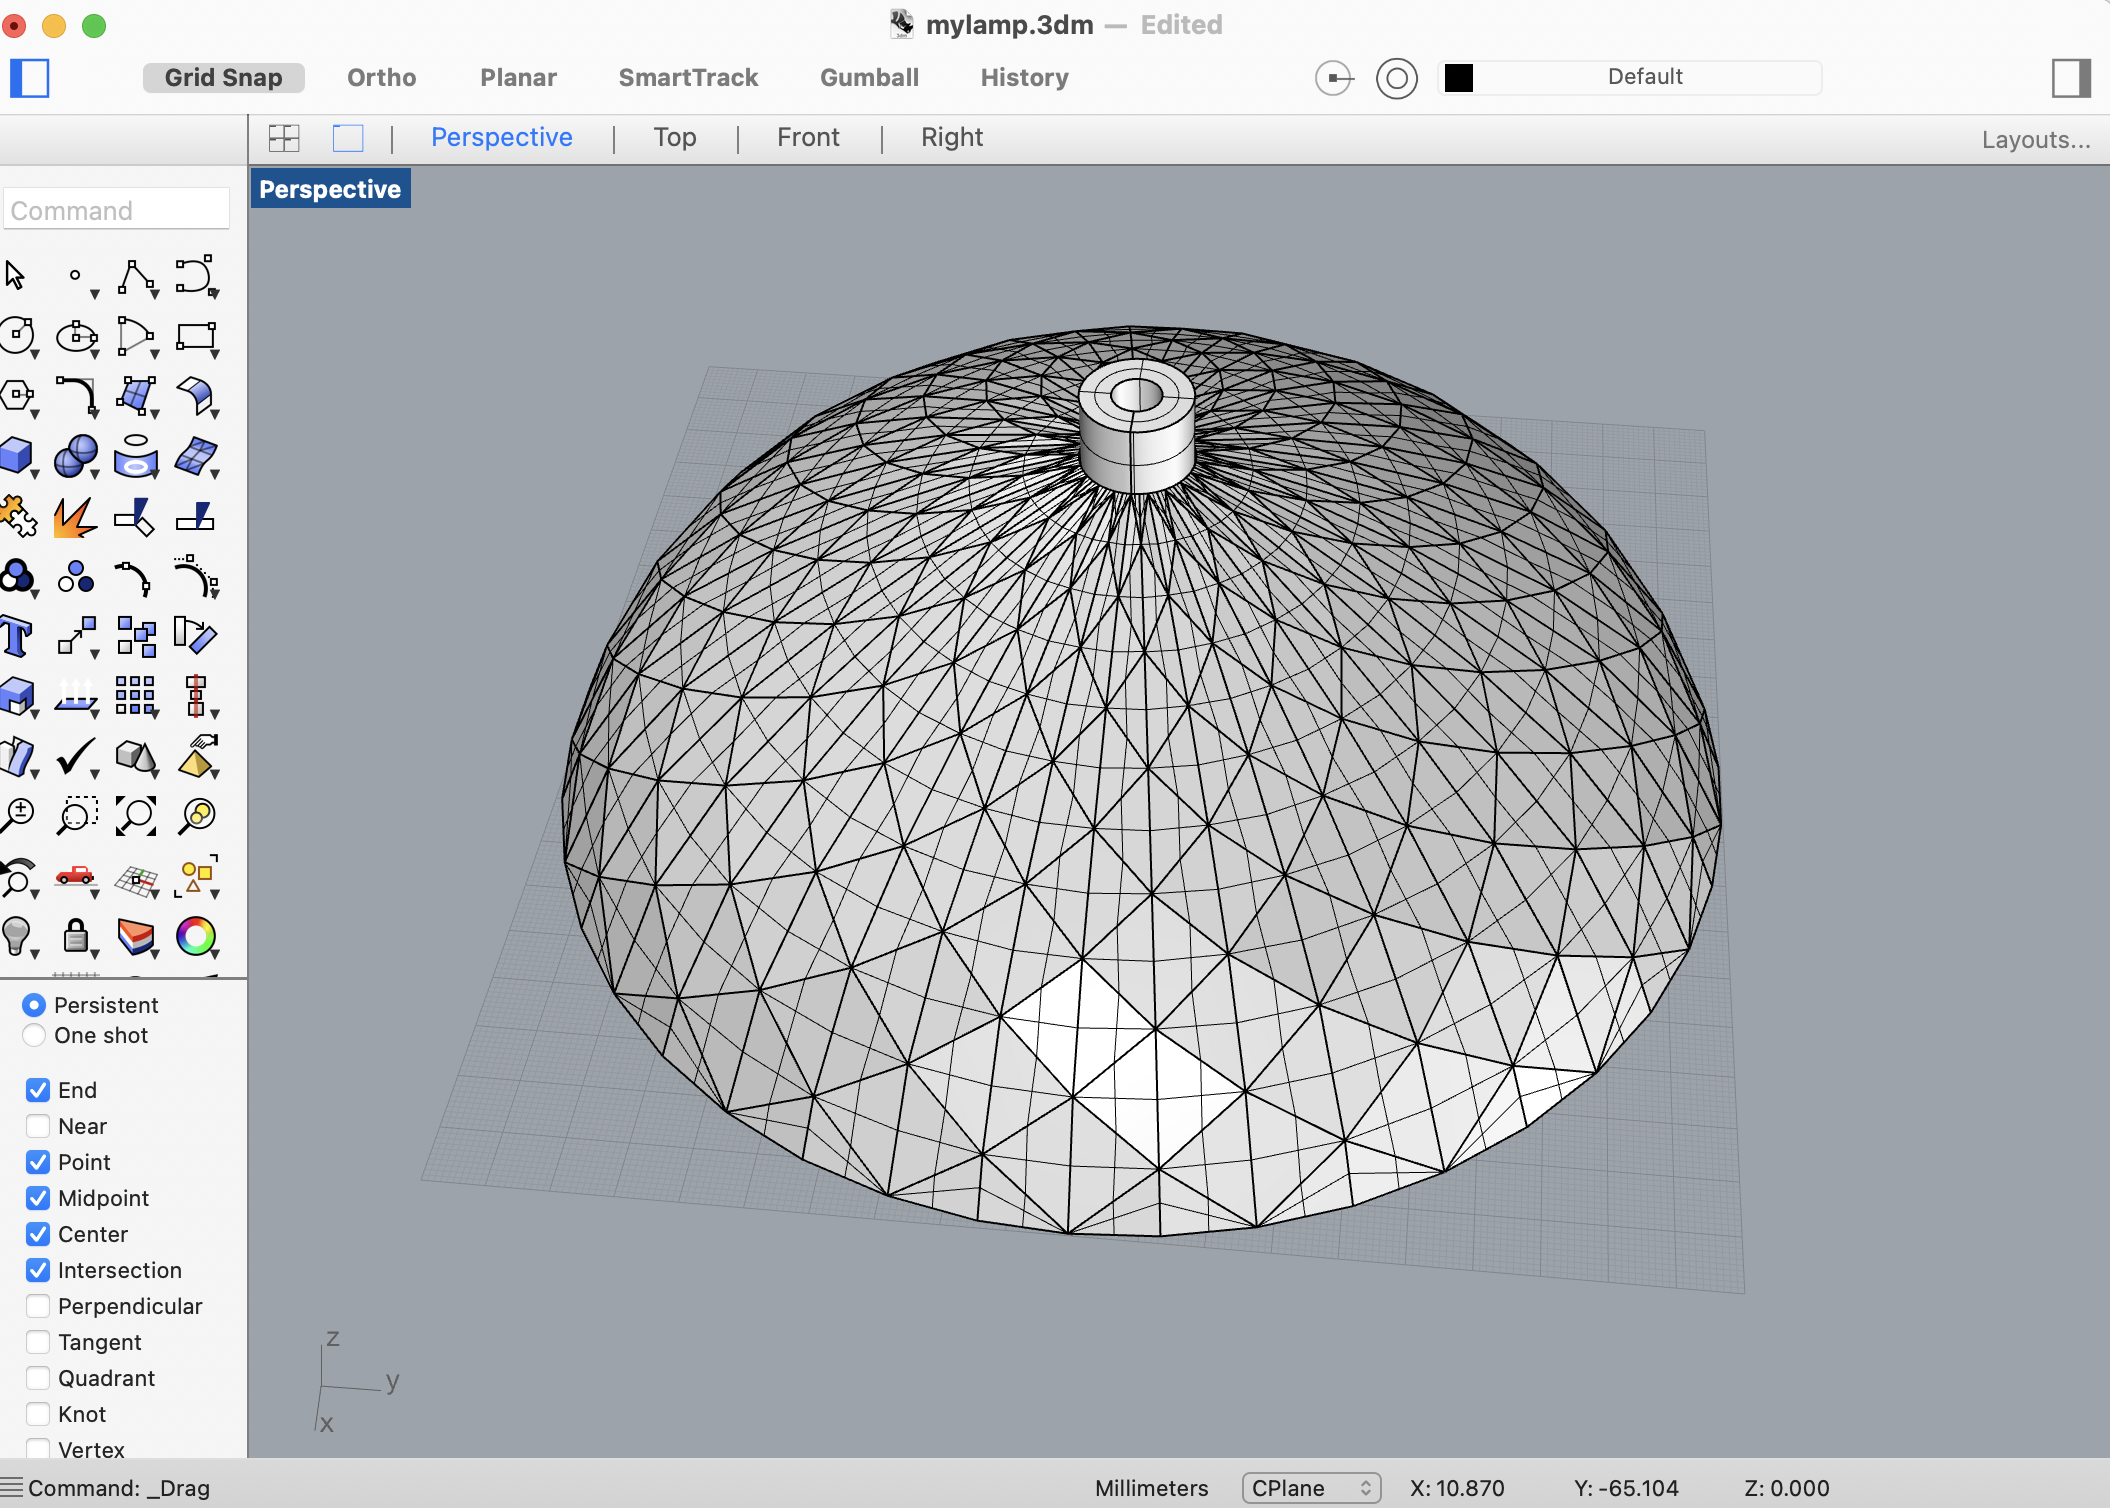
As per the collected measurement, I designed the cap by "revolution of a profile curve" method in which I drew the curve and with RevSrf component of grasshopper, my solid cap was ready.
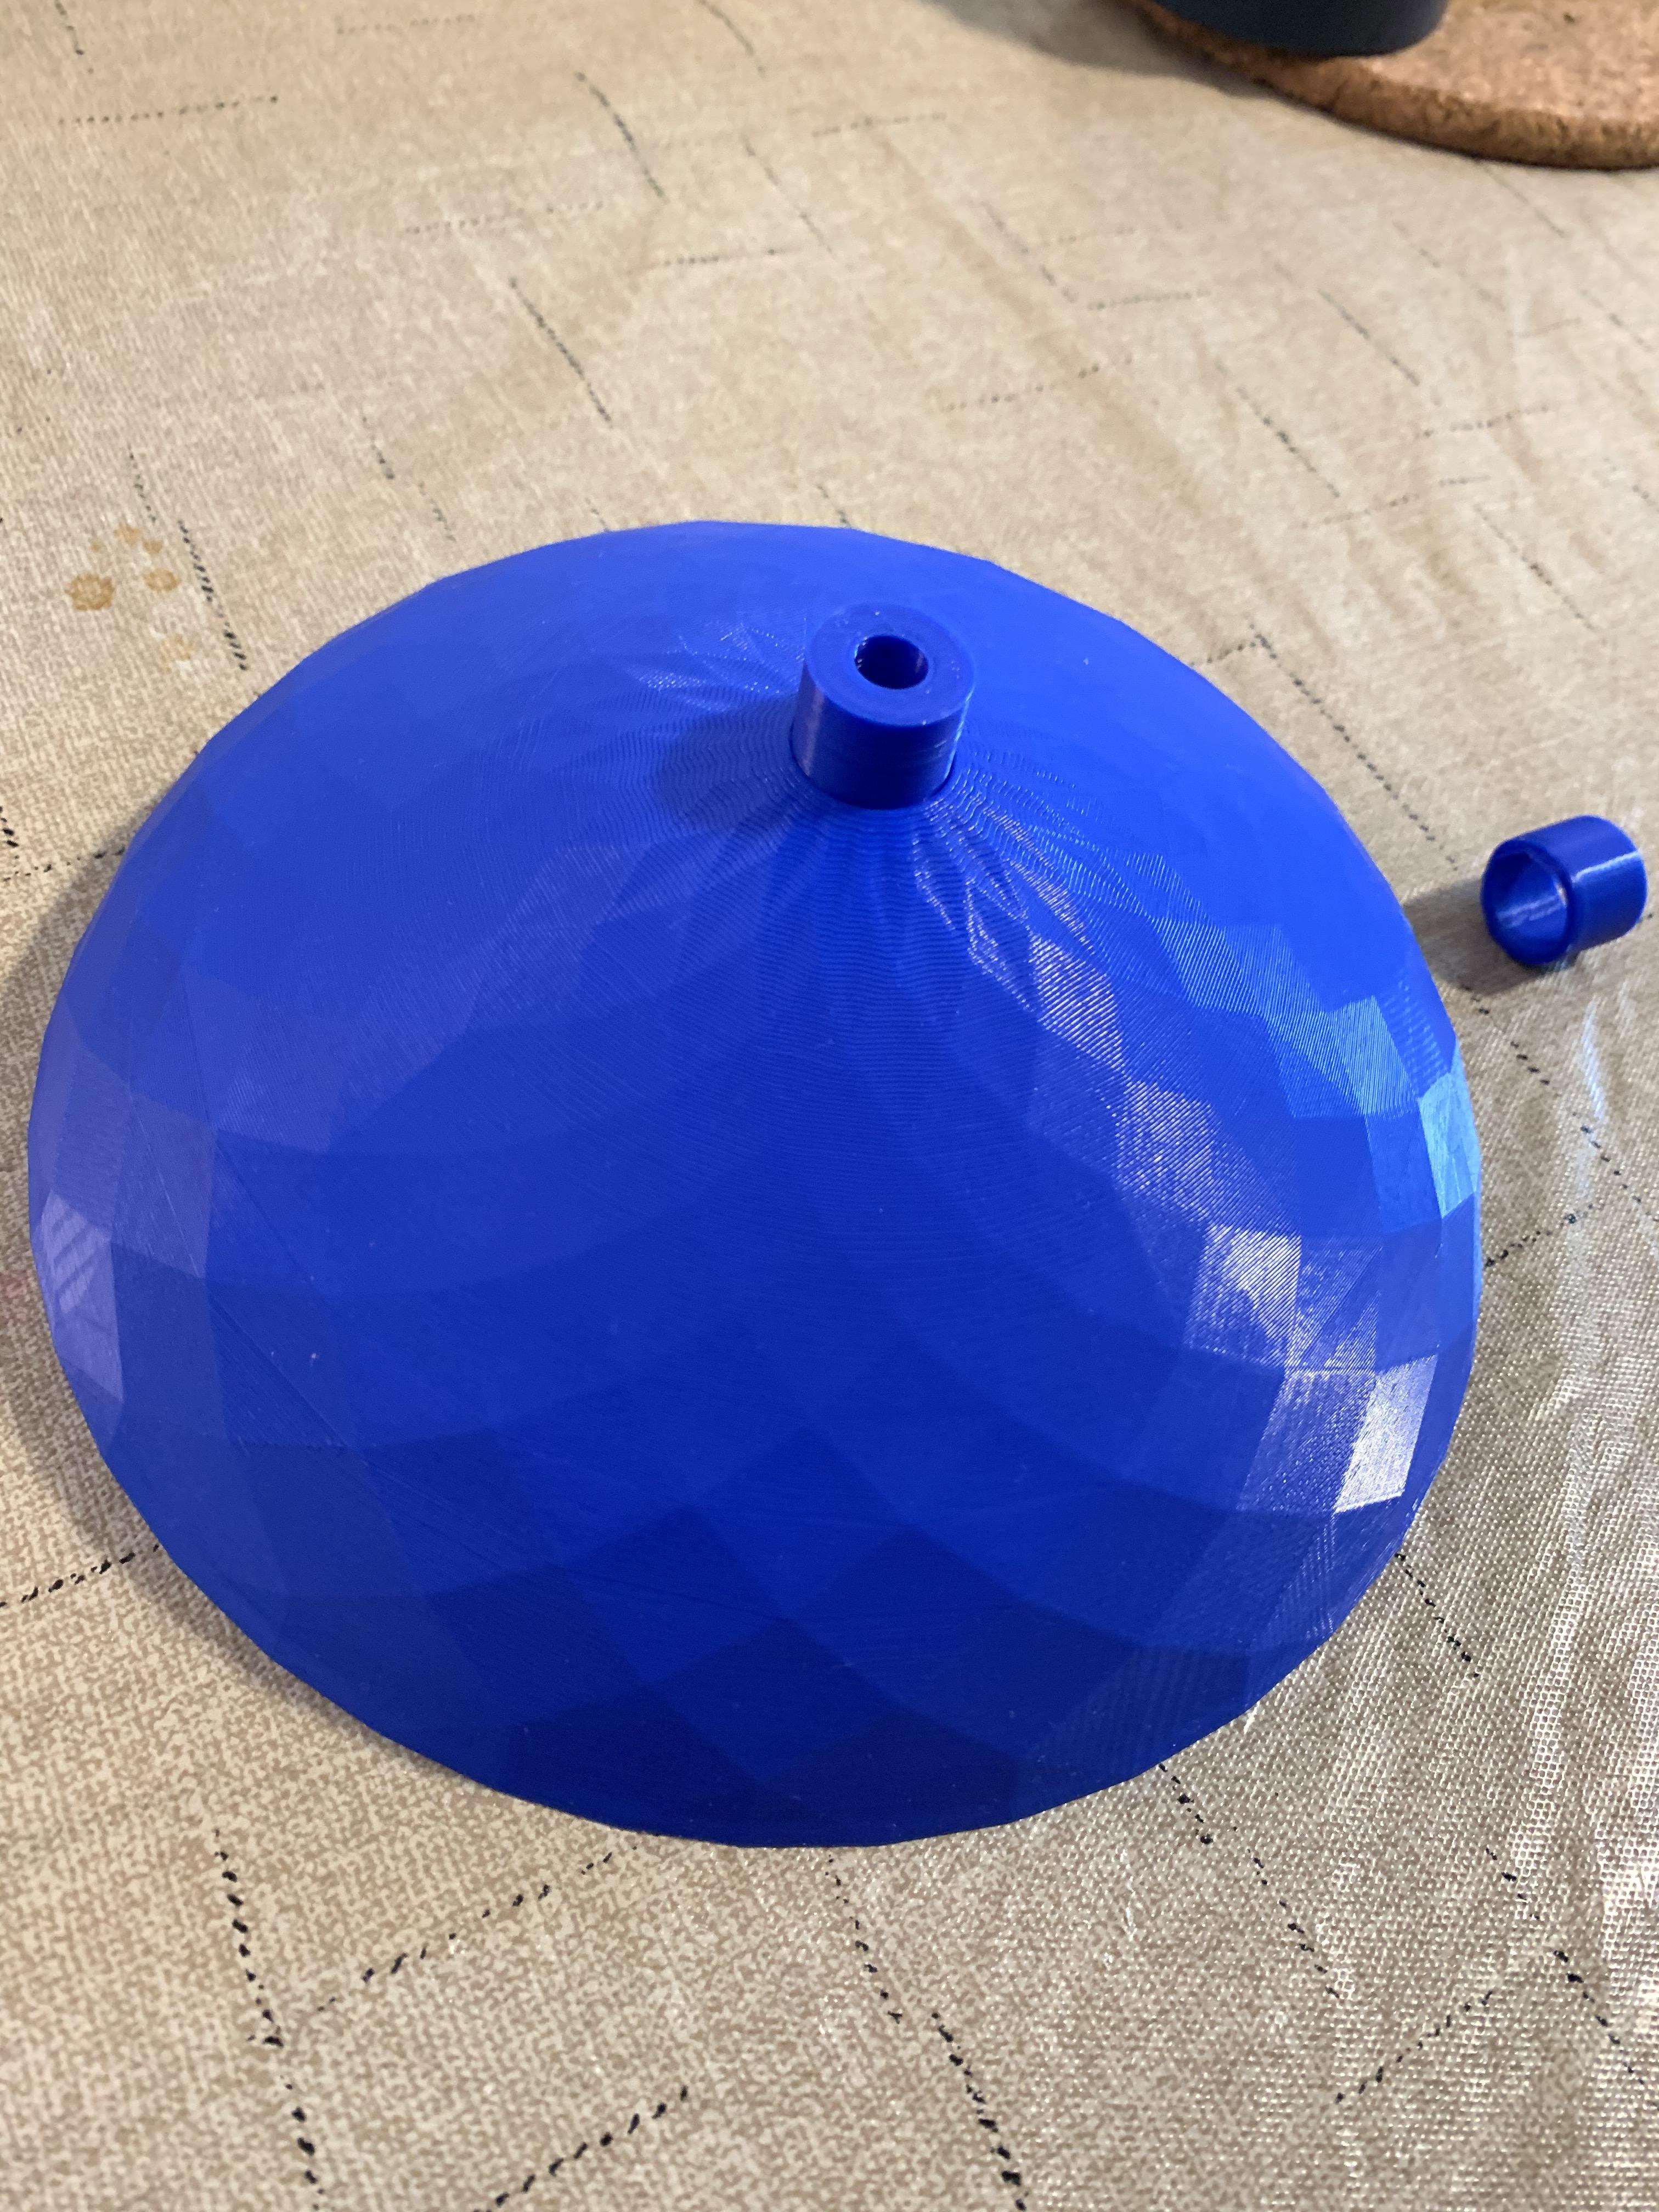
Printing the Cap First
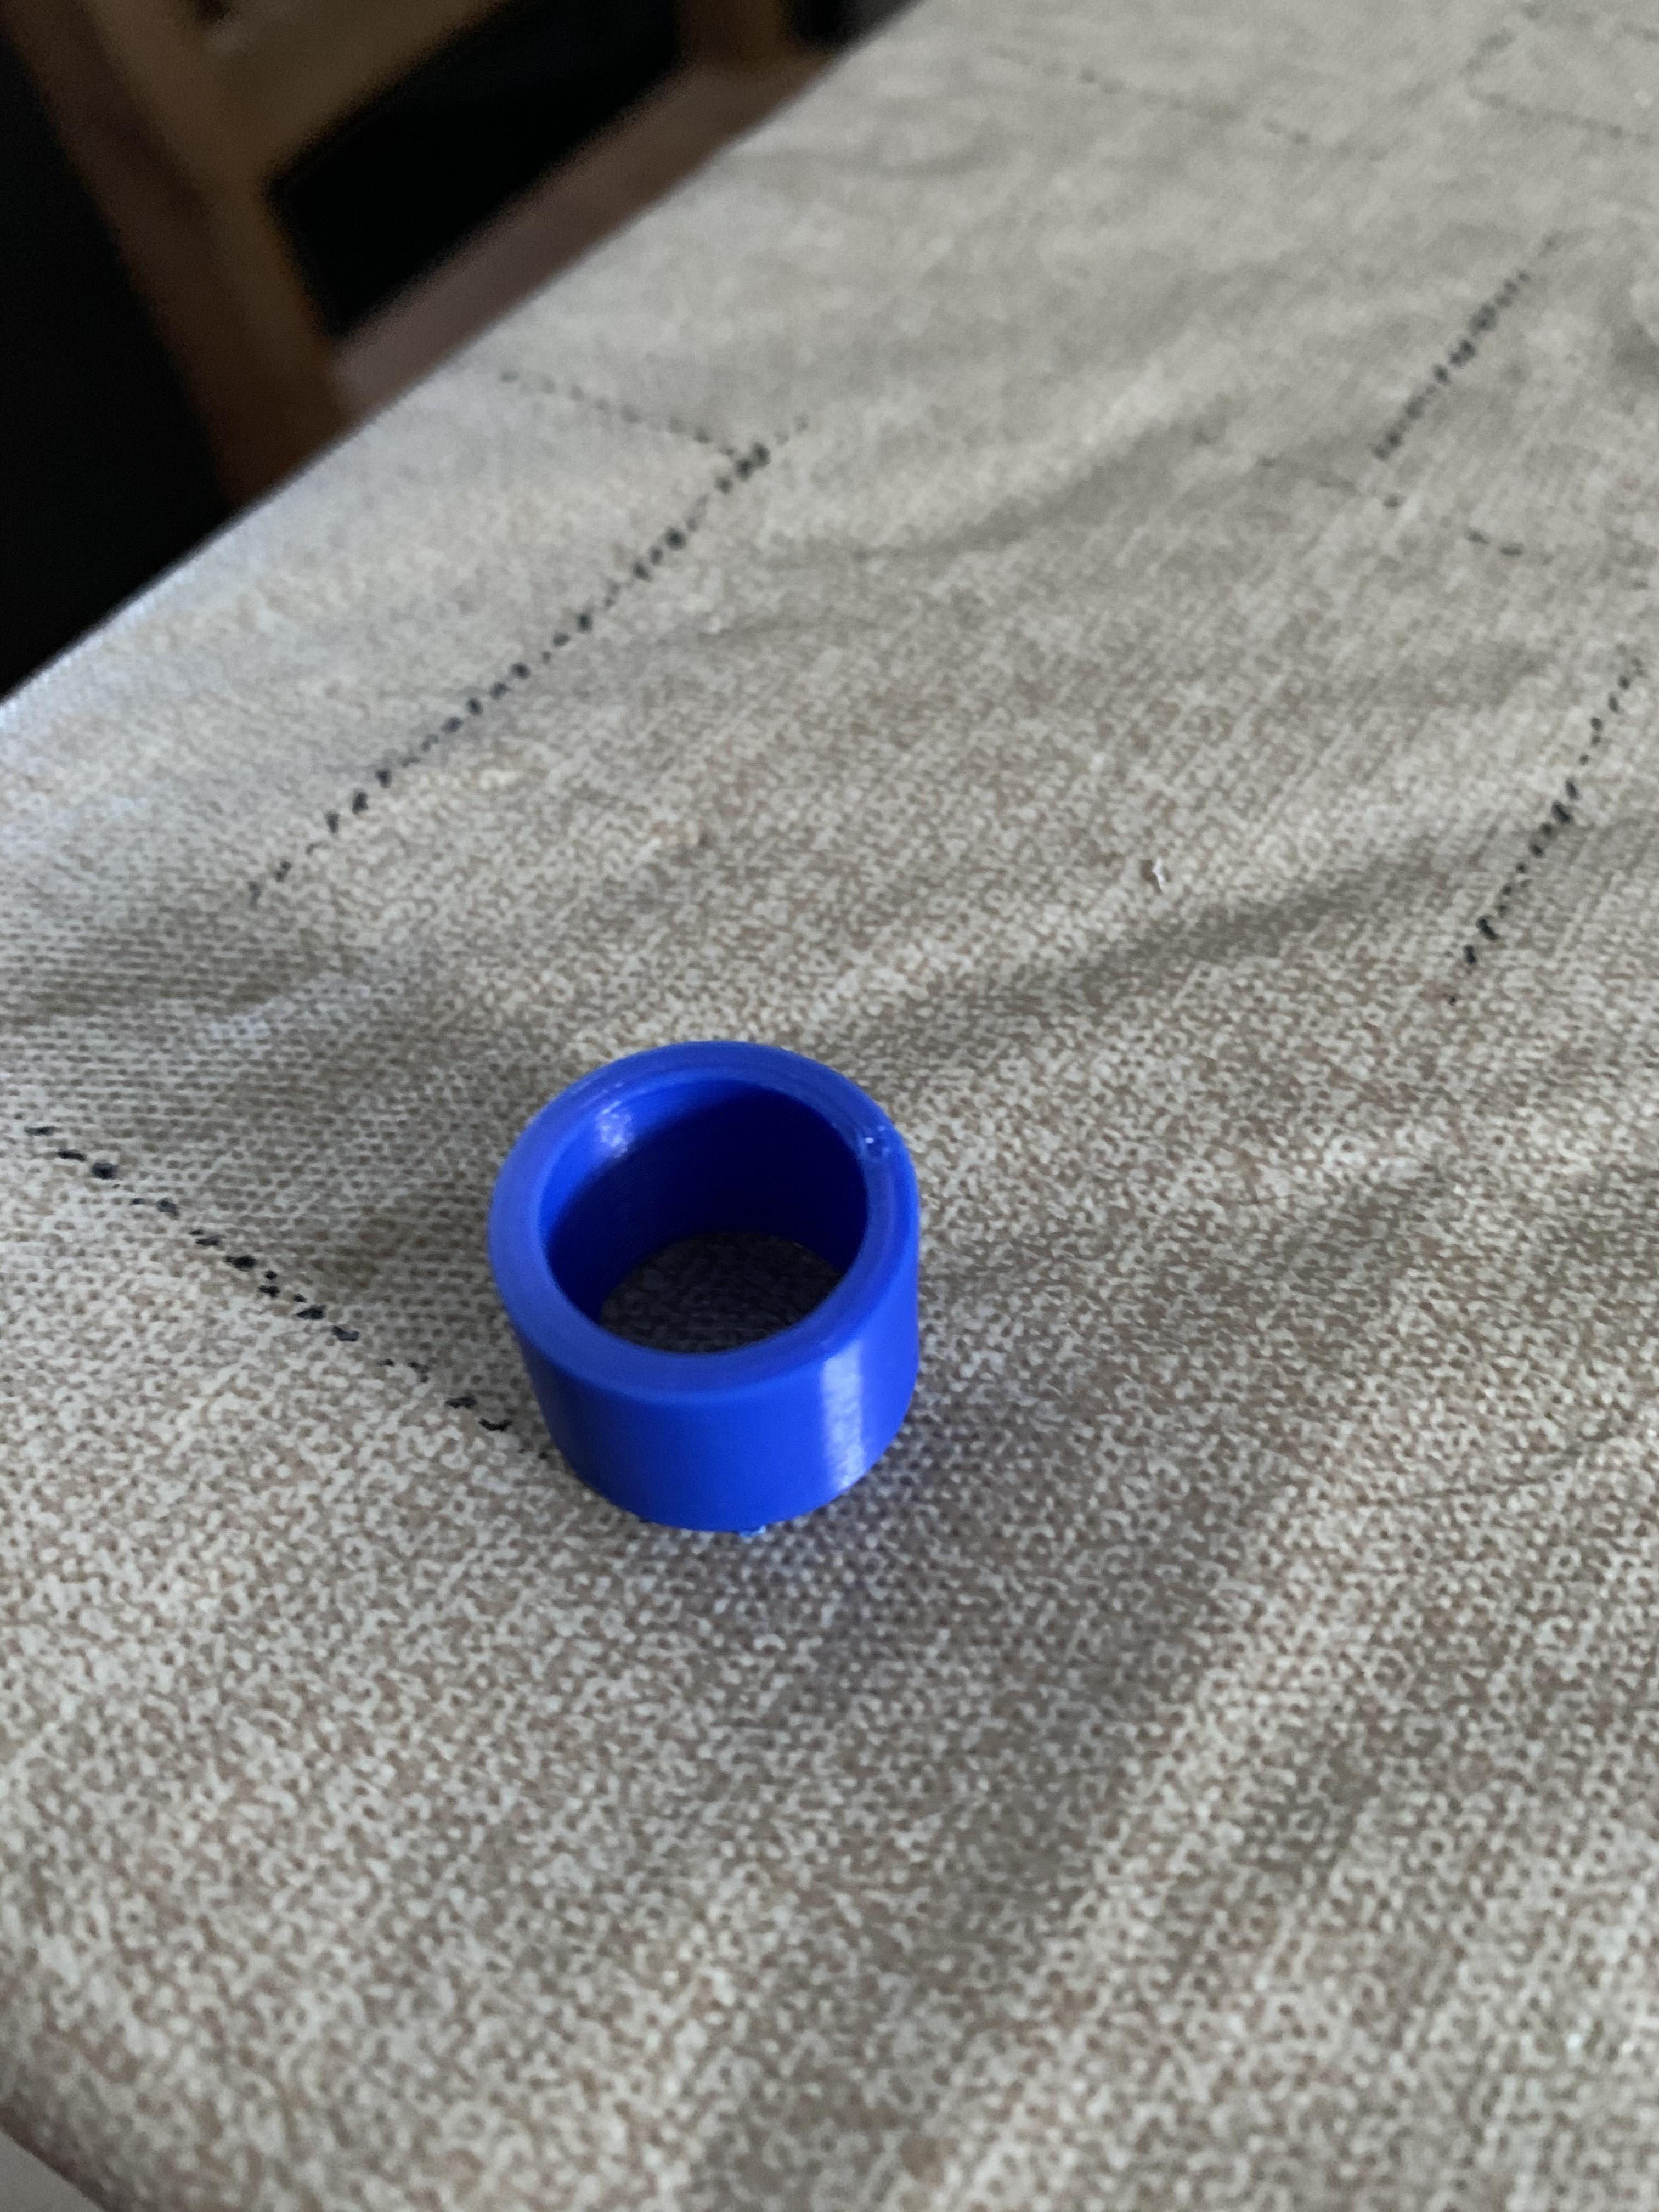
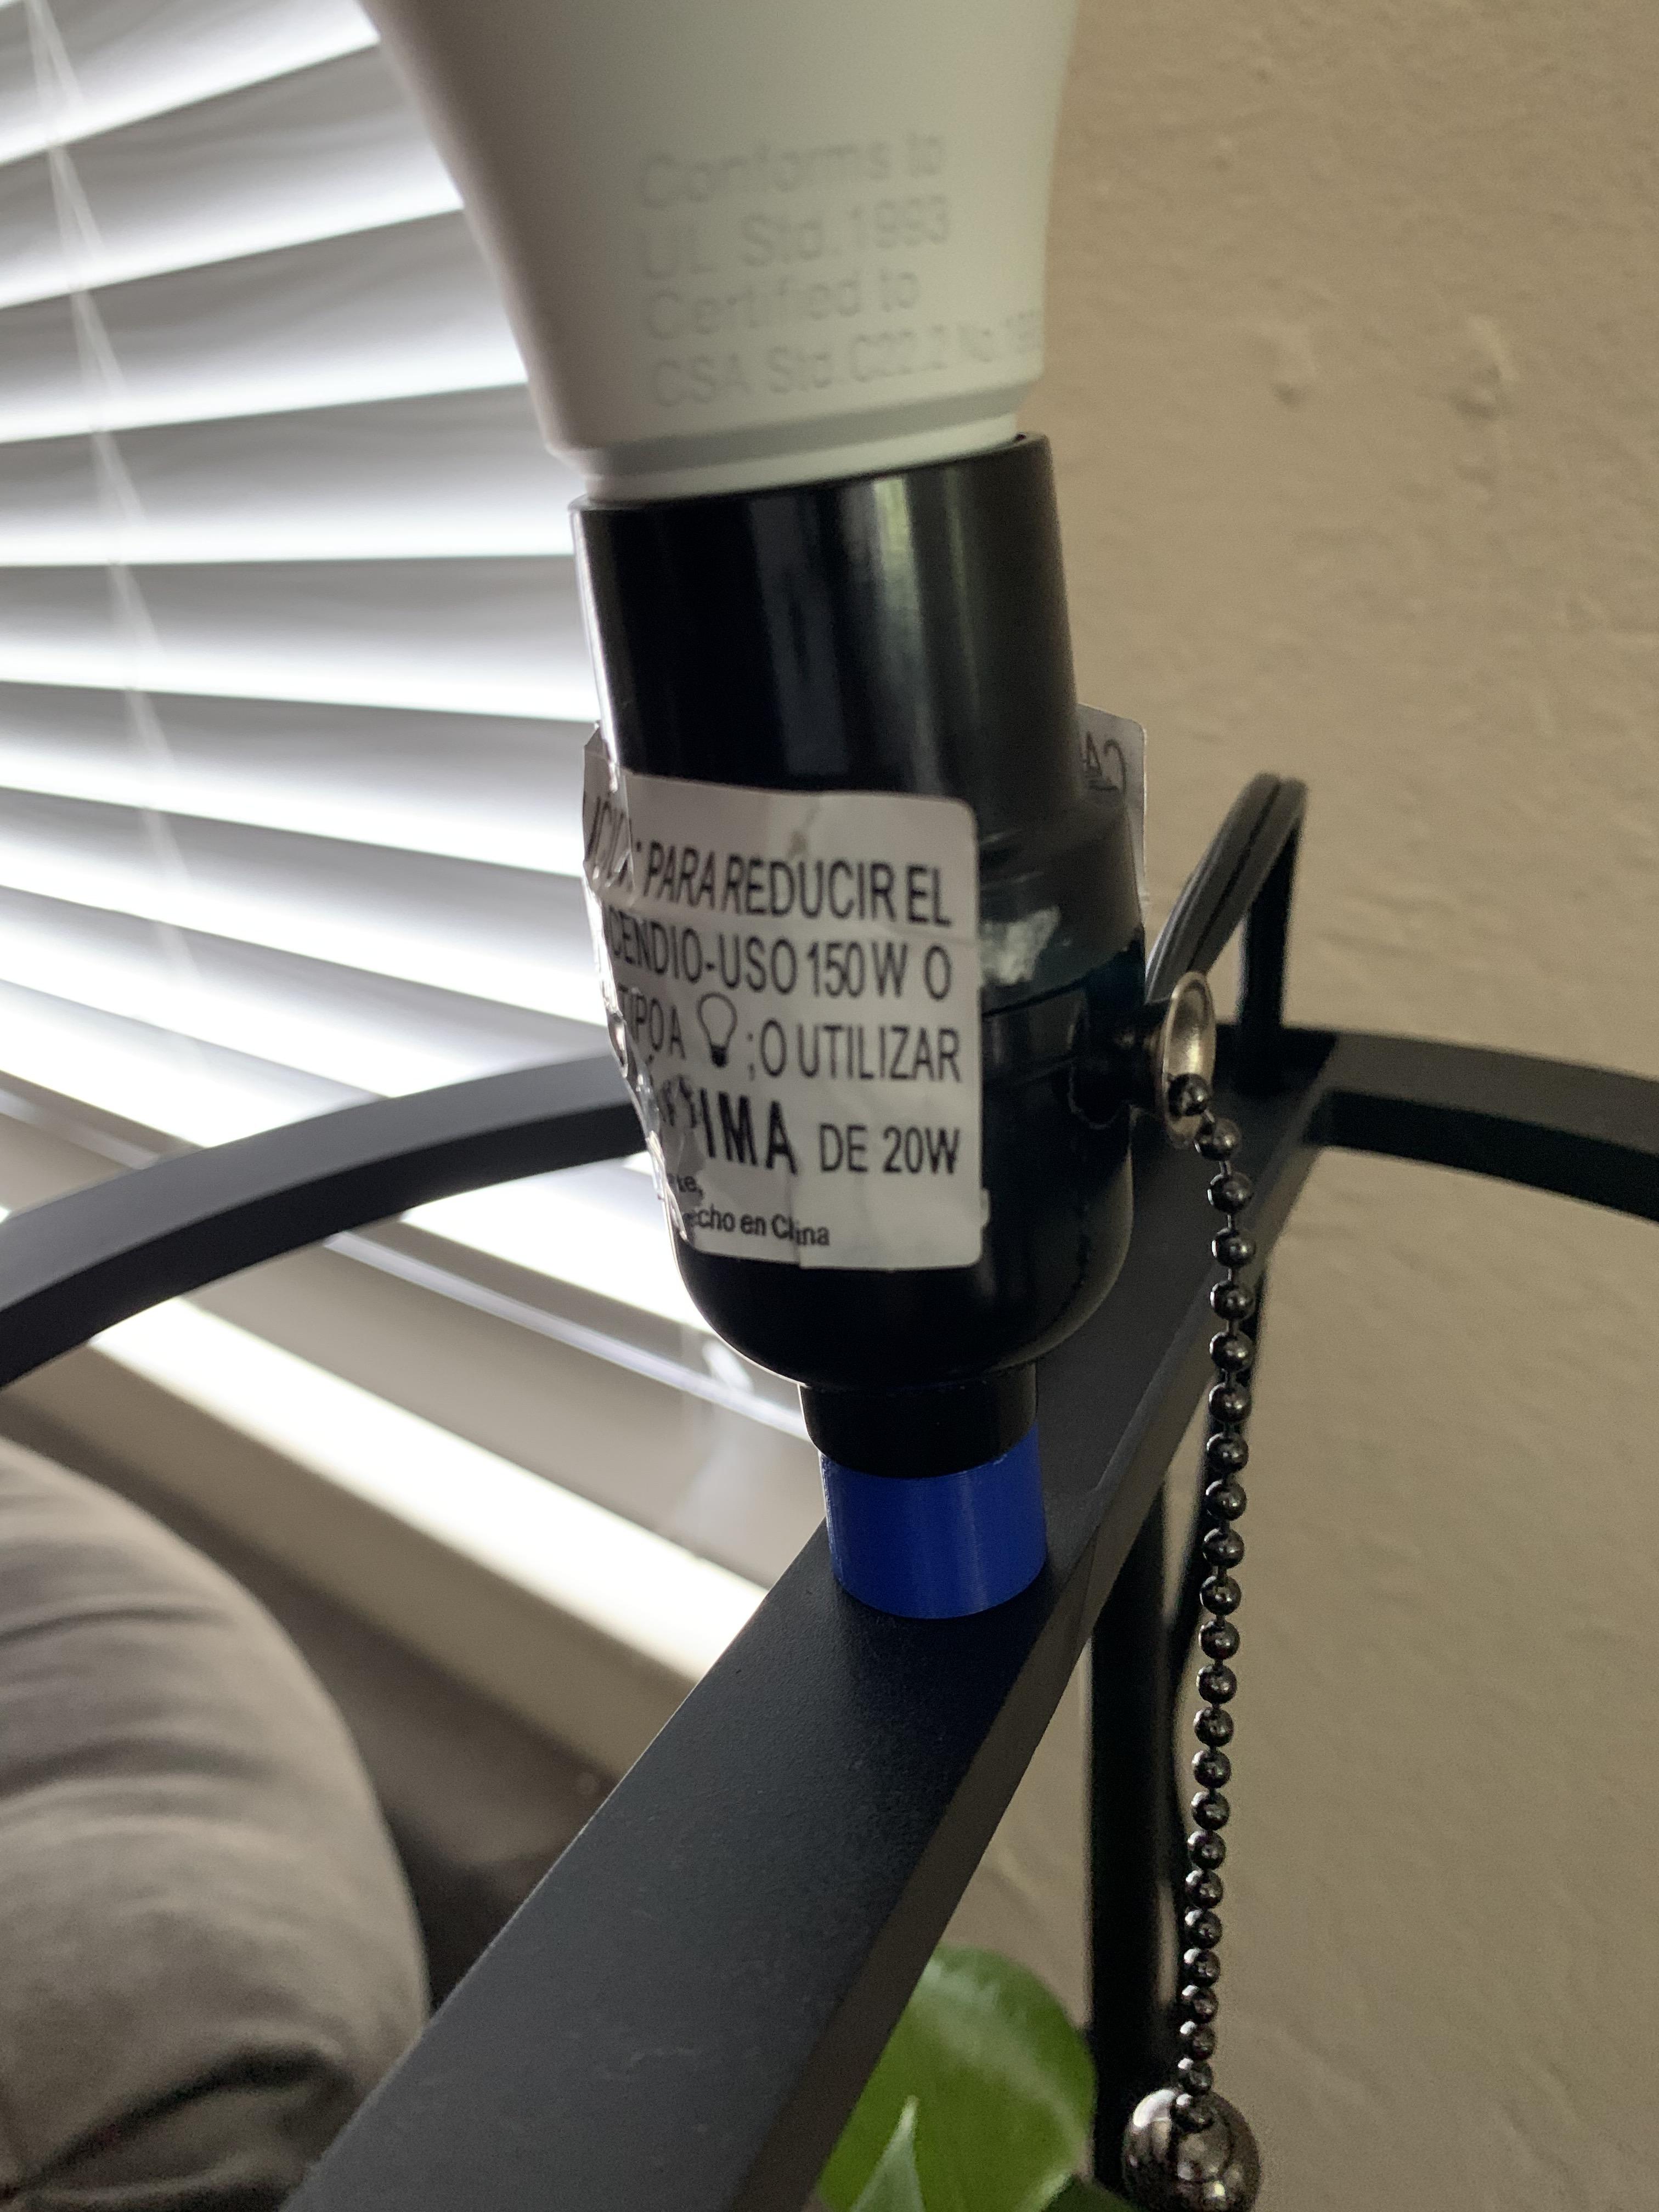
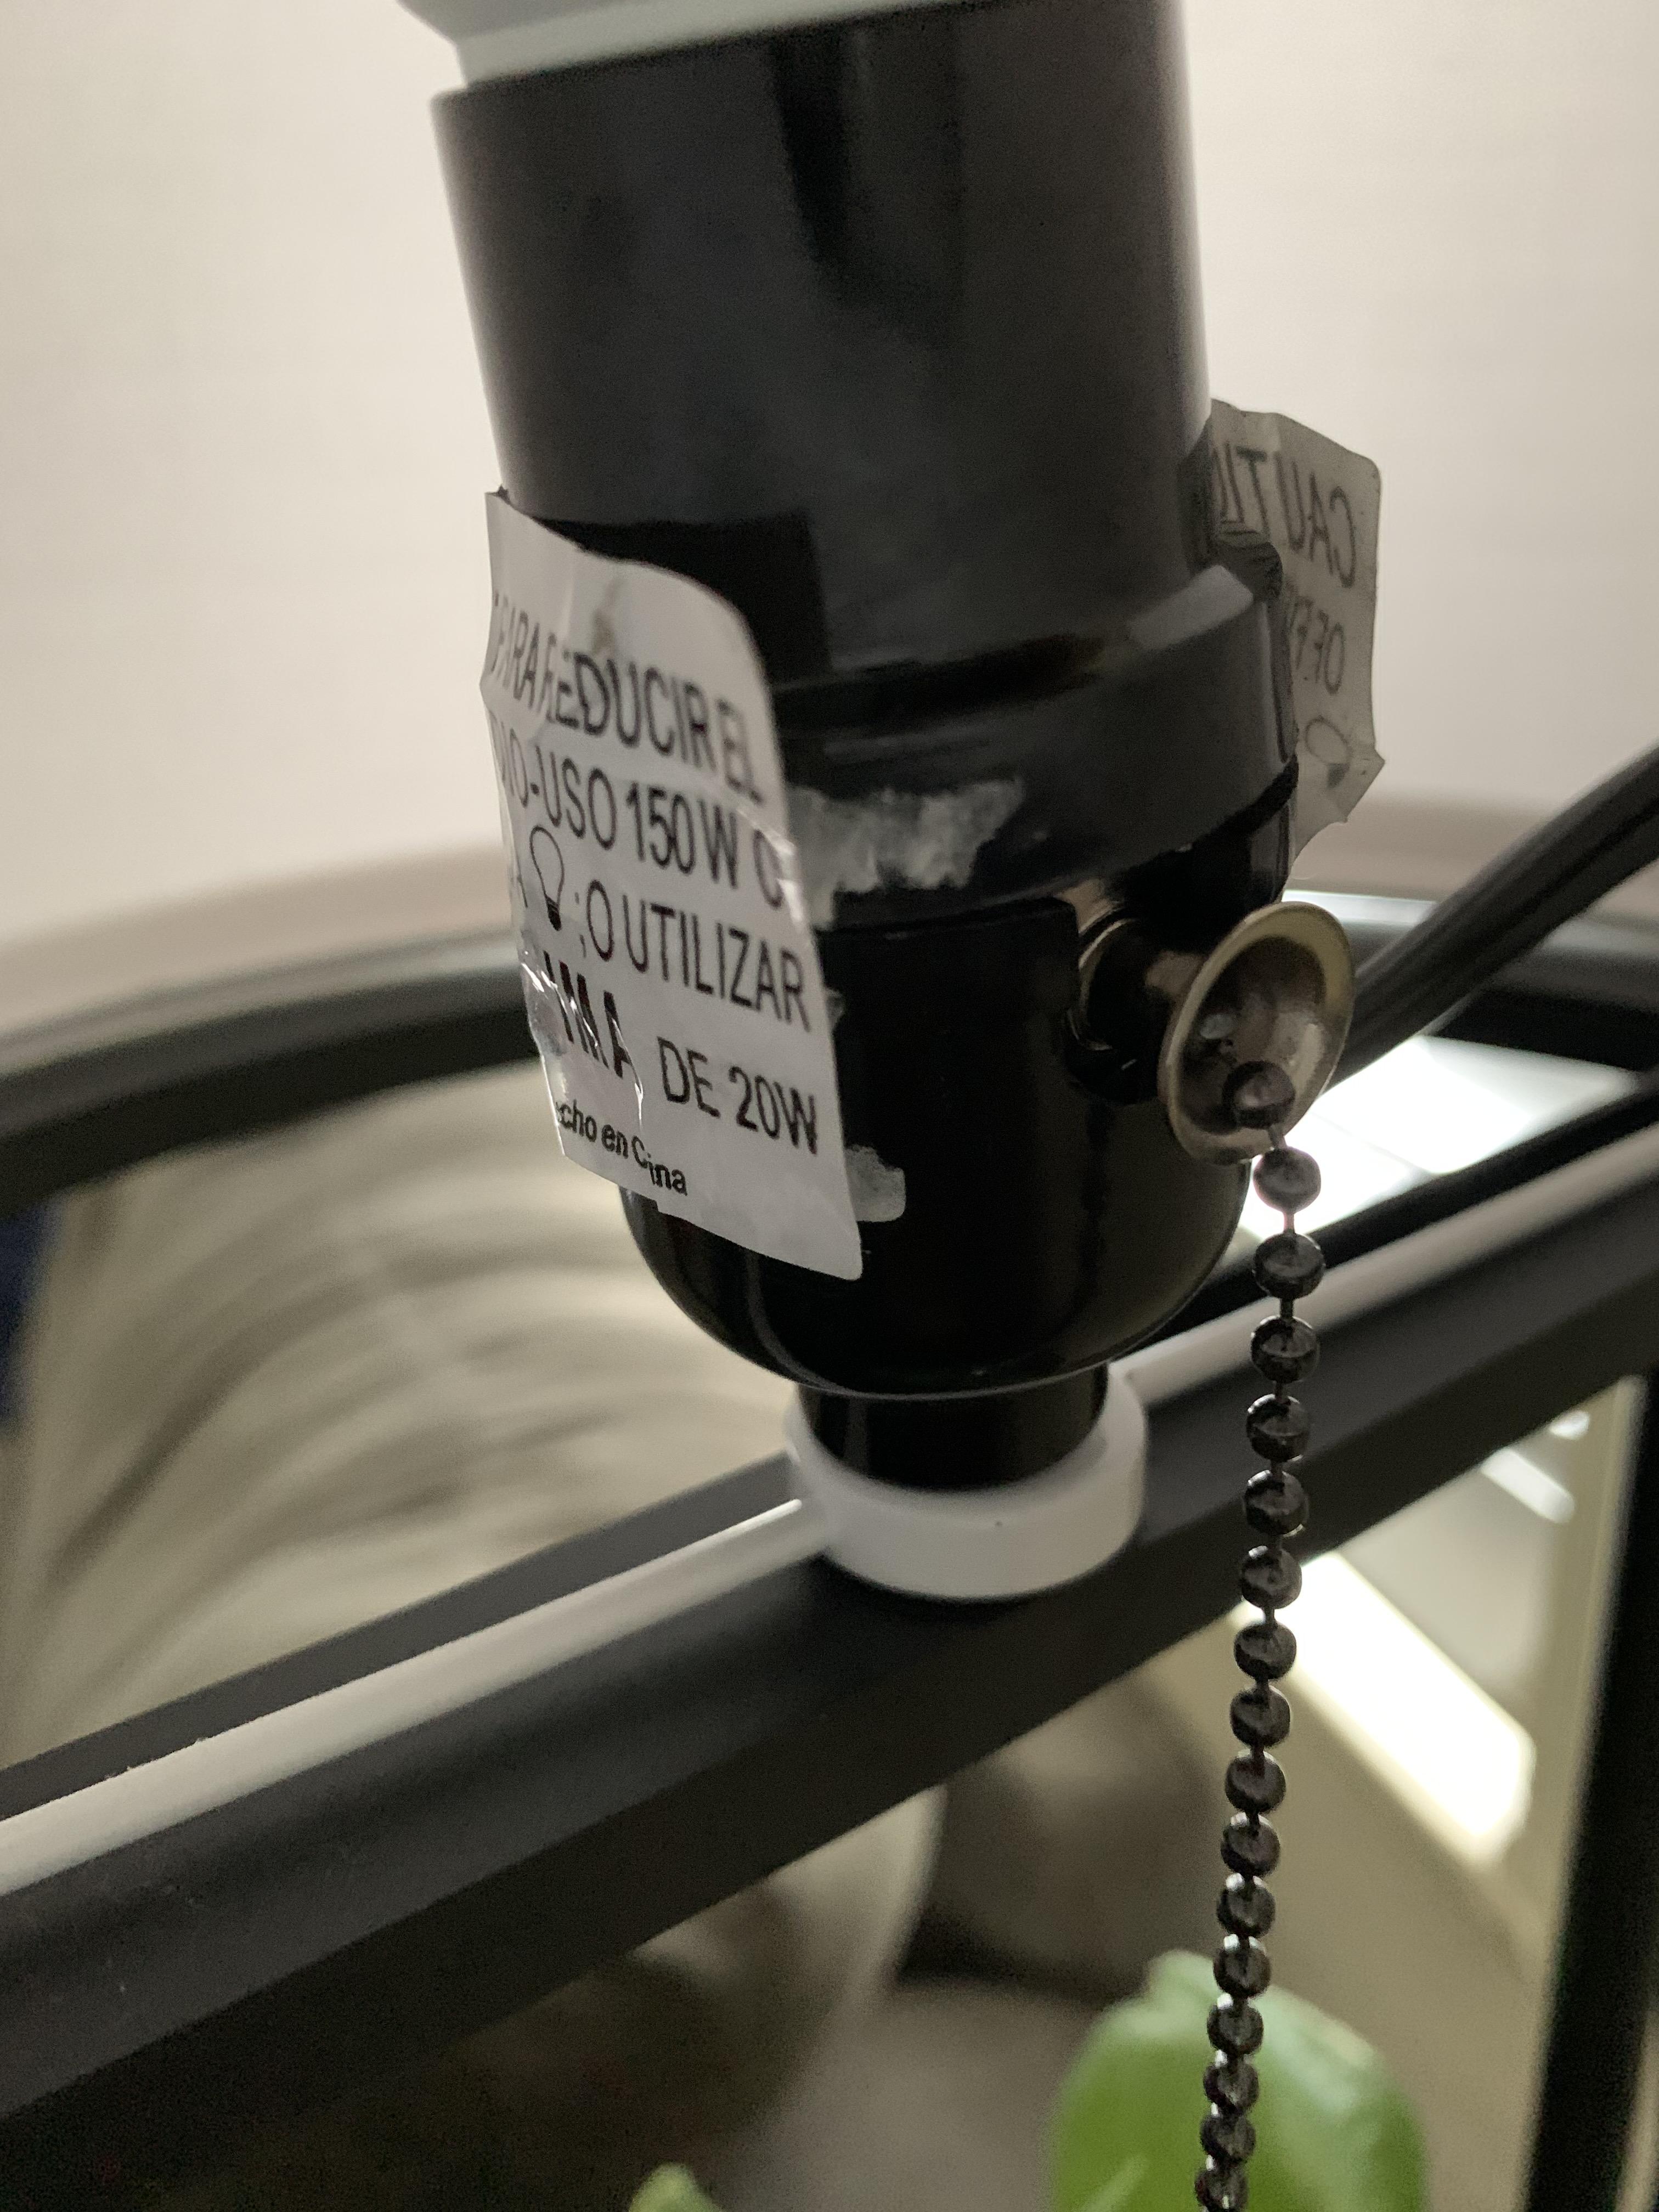
So, I printed the cap first to check if it fits perfectly at the base. The printed and the existing cap were found to be of same dimension. So, further I performed Boolean Union on 2 surfaces (the shade and the cap) and it was successful. I then exported as stl file to do the next steps on CURA.
Editting and Slicing on CURA
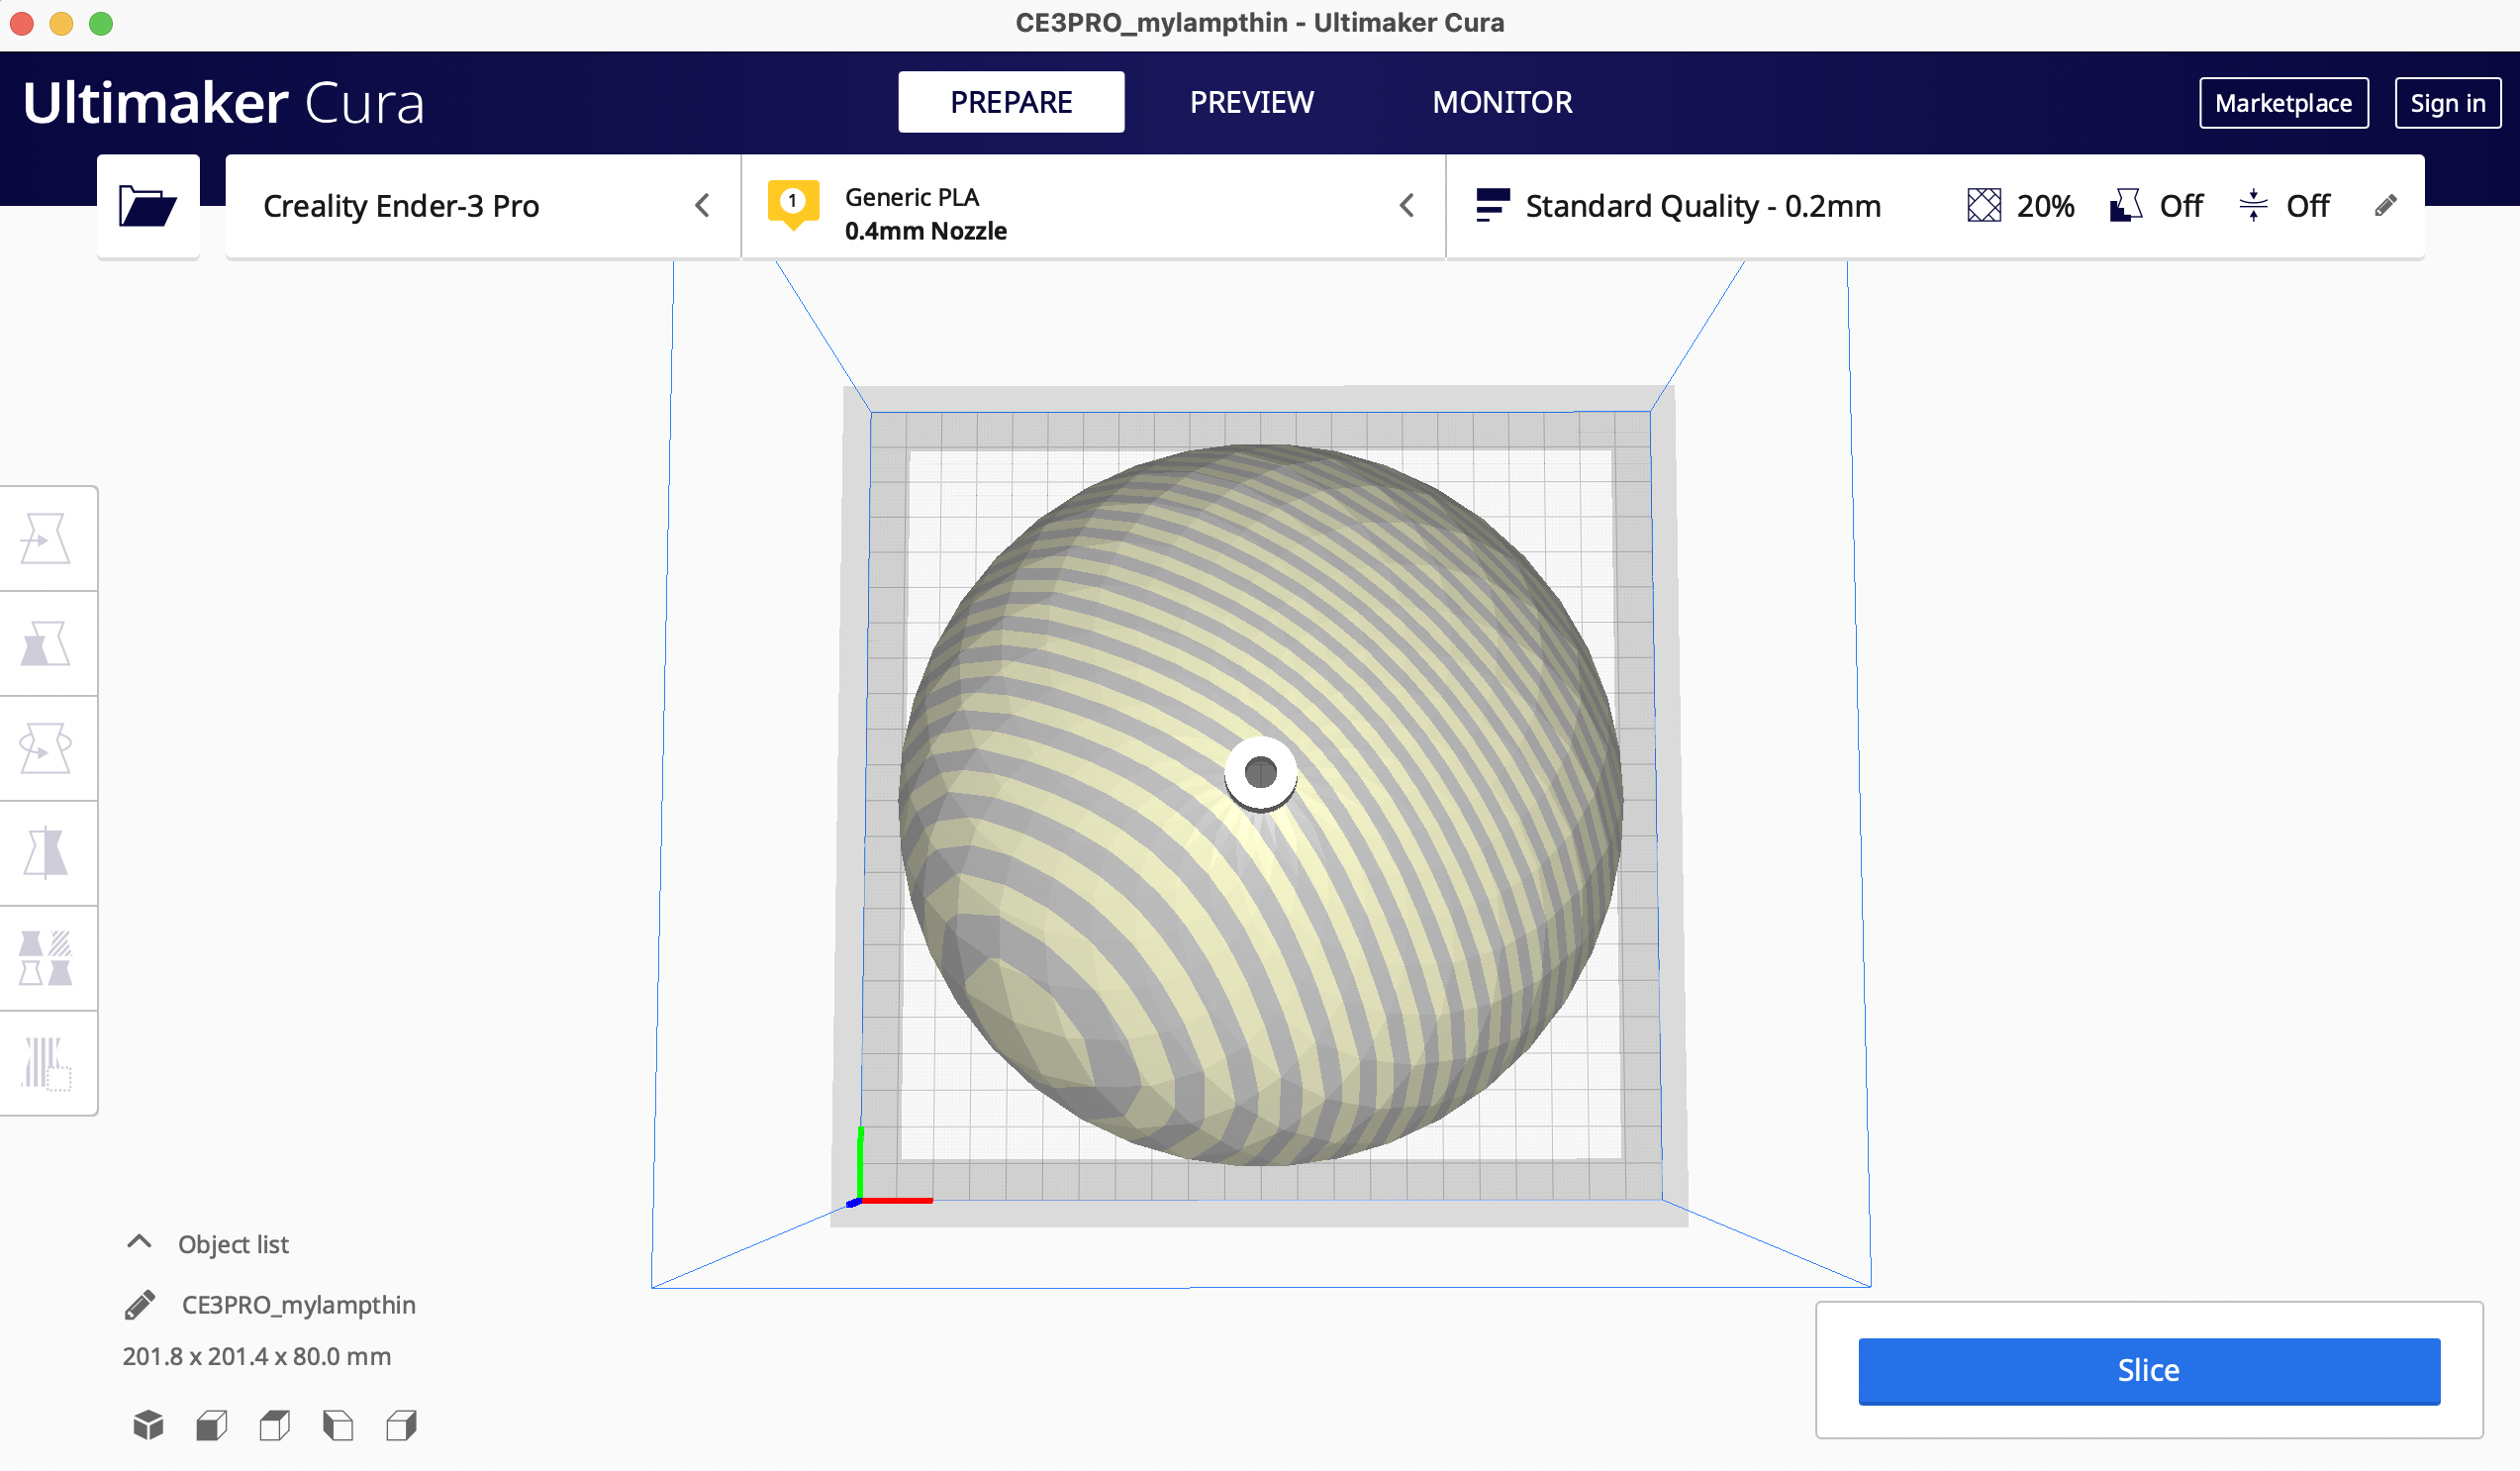
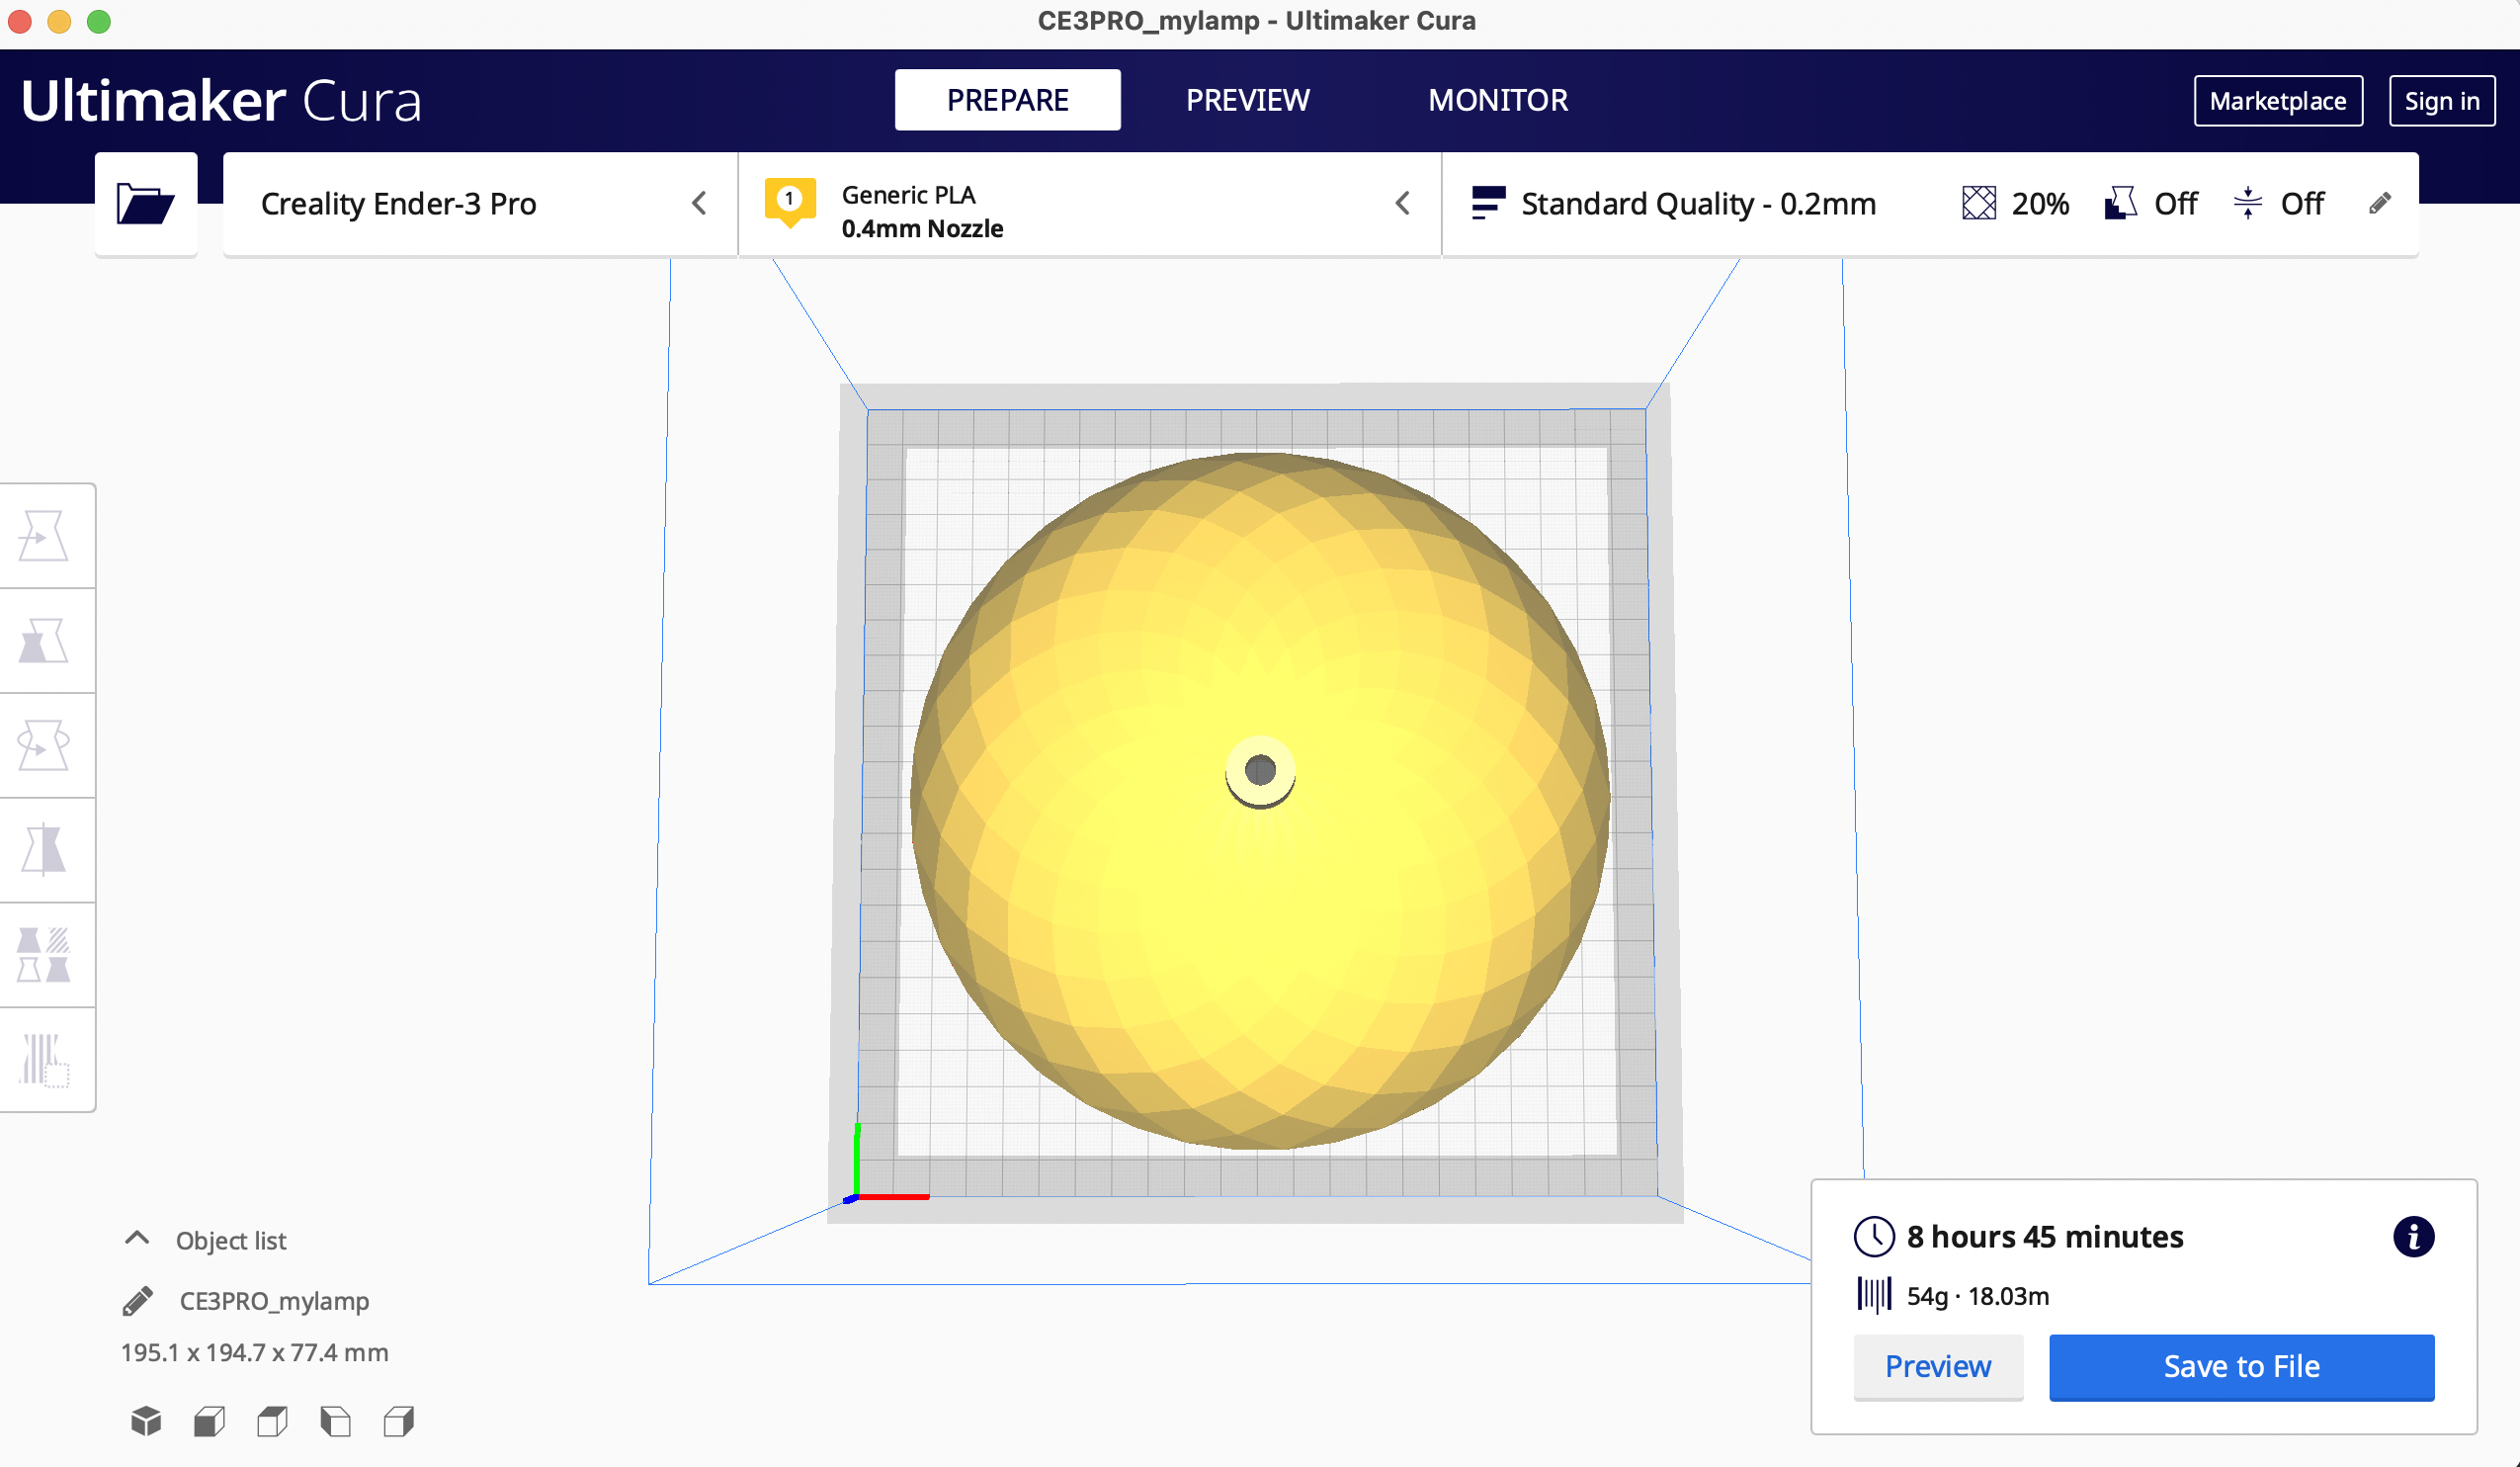
Now, I came across a challenge as my lamp shade edge exceeded printing base marginally. So, I had to scale it down to fit in the plate. Now, the print time was 8hrs and 45 mins. I checked for any support structures' requirement. Although it was 1 mm thick, it did not need any. Further, I started the print.
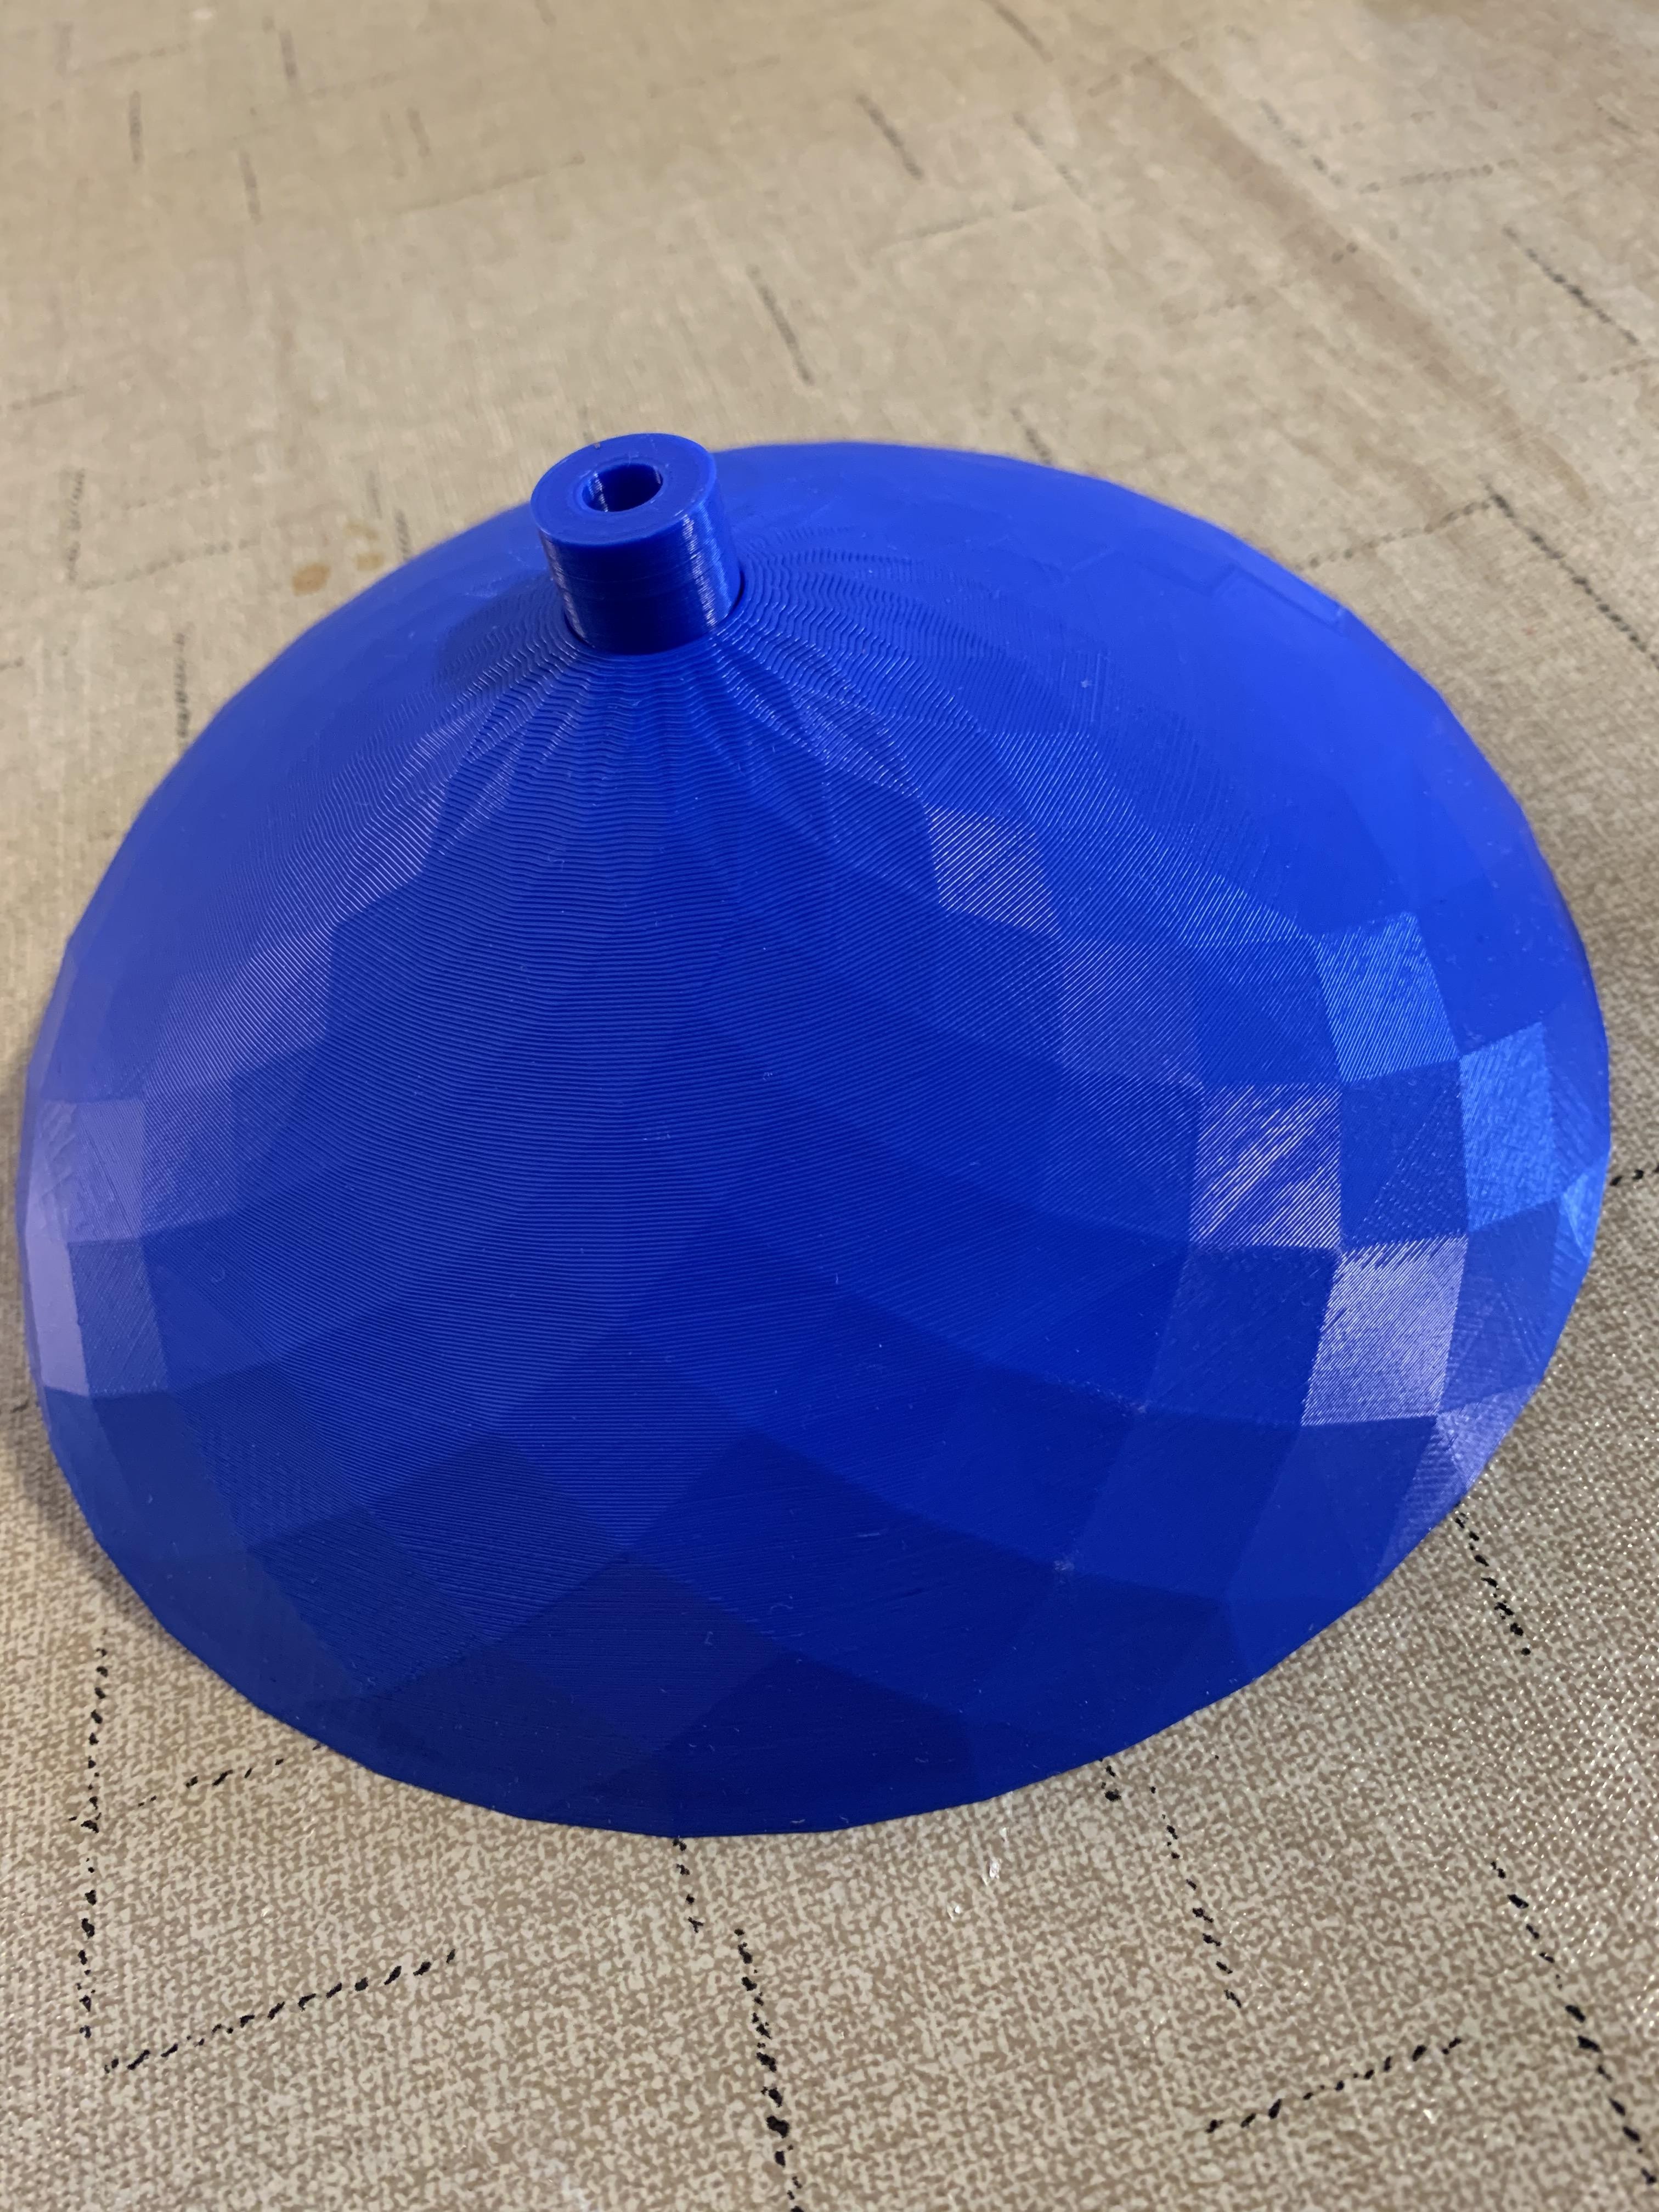
Final Object
With this, the final step is finished.
Evaluation Time
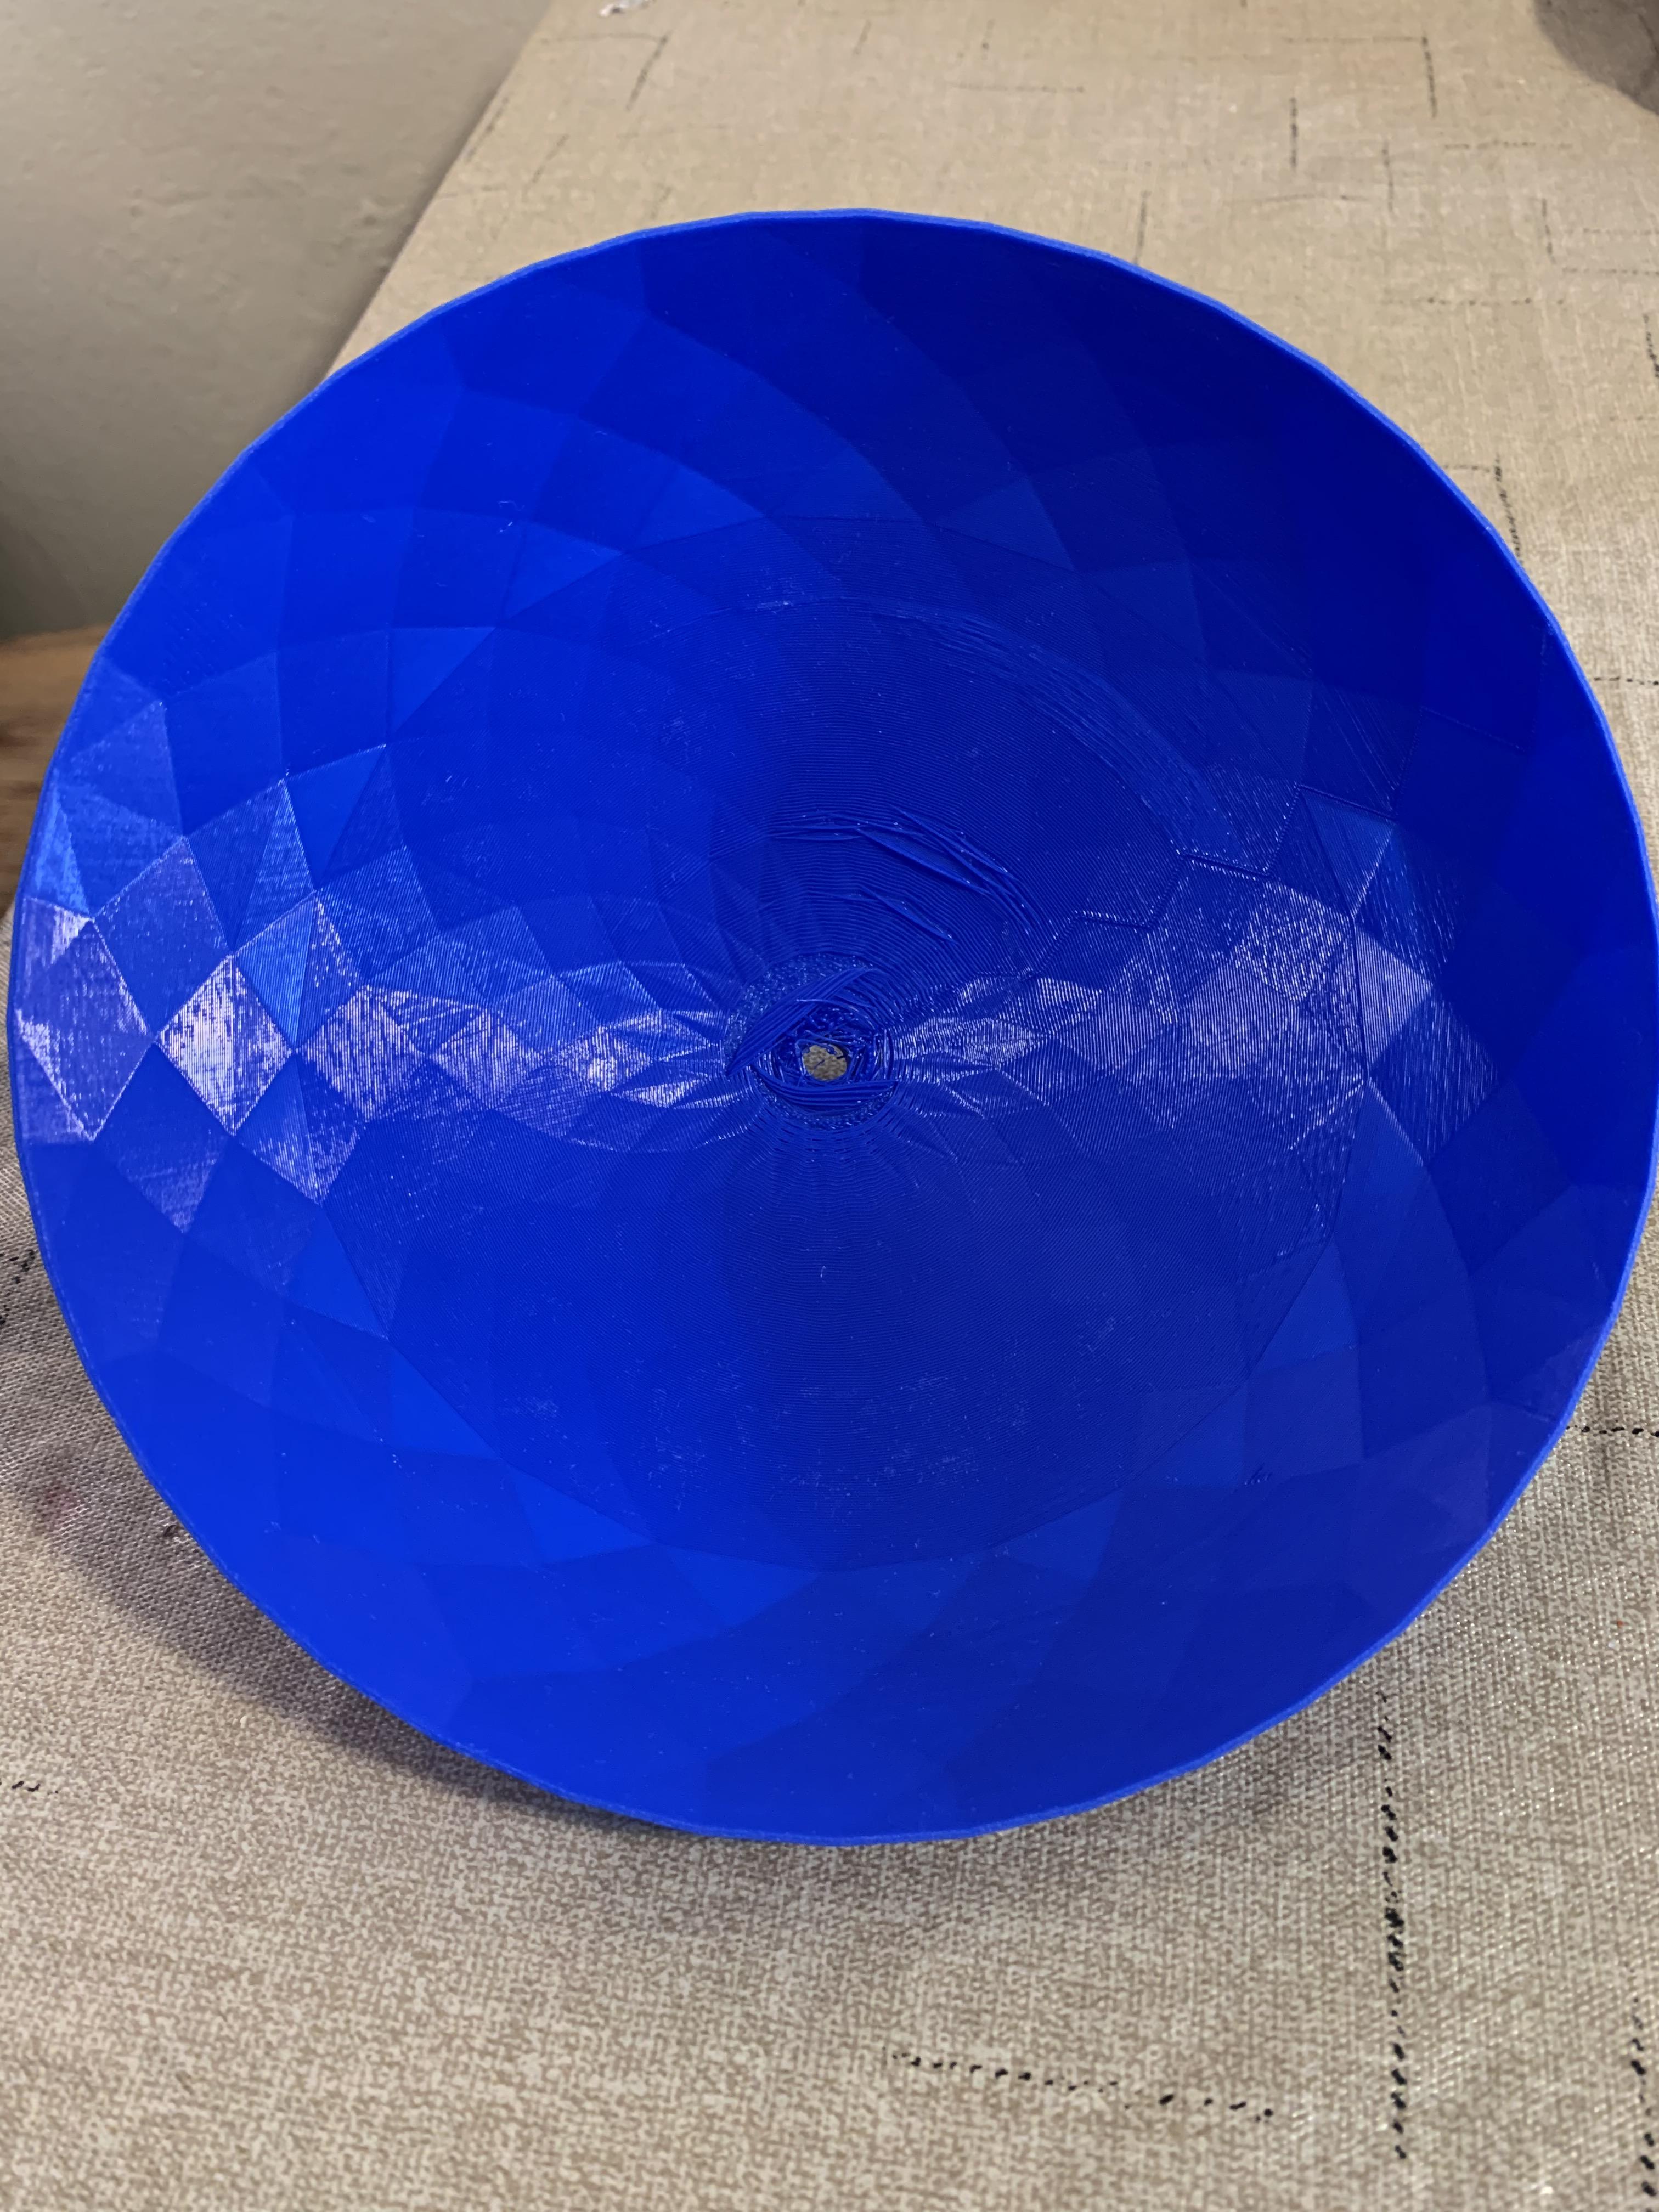
The upper surface was really smooth and the pattern looked nice. The lower surface had some print errors as can be seen in the diagram.