3D Print Dinner Fork
by nguyenminhthy7897 in Workshop > 3D Printing
199 Views, 0 Favorites, 0 Comments
3D Print Dinner Fork

This is a fork that you can use to eat with. I don't recommend using it as bits of plastic may fall into your food and that would be really bad, this is your warning as if you read this and then choke on a bit of plastic because you didn't heed my warning then you can't sue me. I make the fork on Onshape and printed it through MakerBot. Also this project is in INCHES
Supplies
- Computer to make the thing
- 3D Printer
- Plastic Filament
- MakerBot or any software that can link to a 3d Printer
- Onshape
- Mouse
Before Drawing
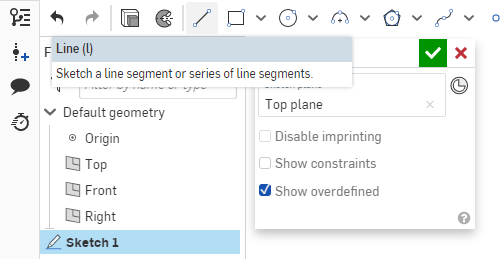
First of all we will be in ICNCHES so check if your measurements are different. Once you check create a sketch on the TOP plane.
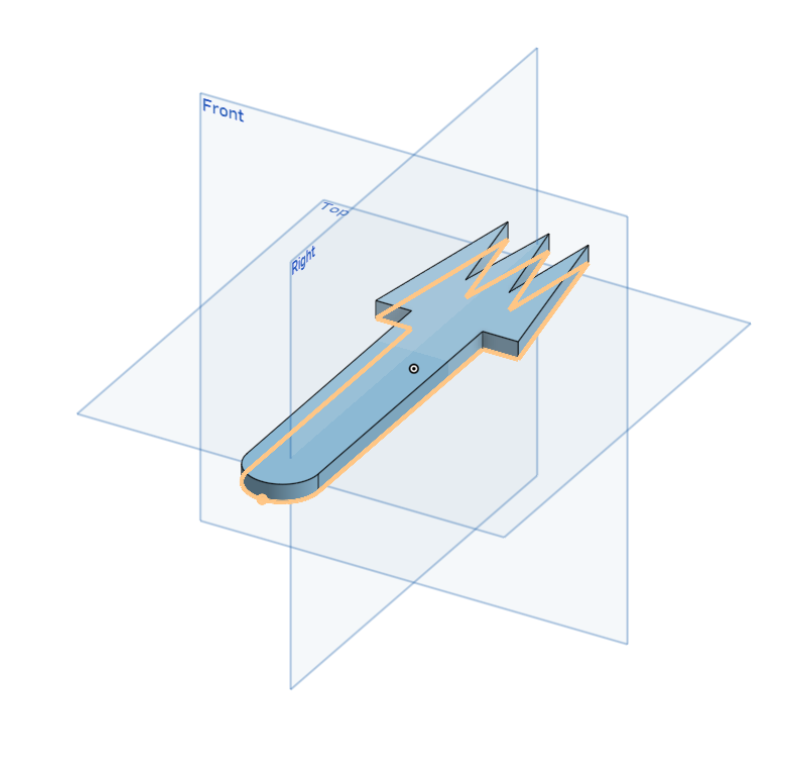
Drawing the Base
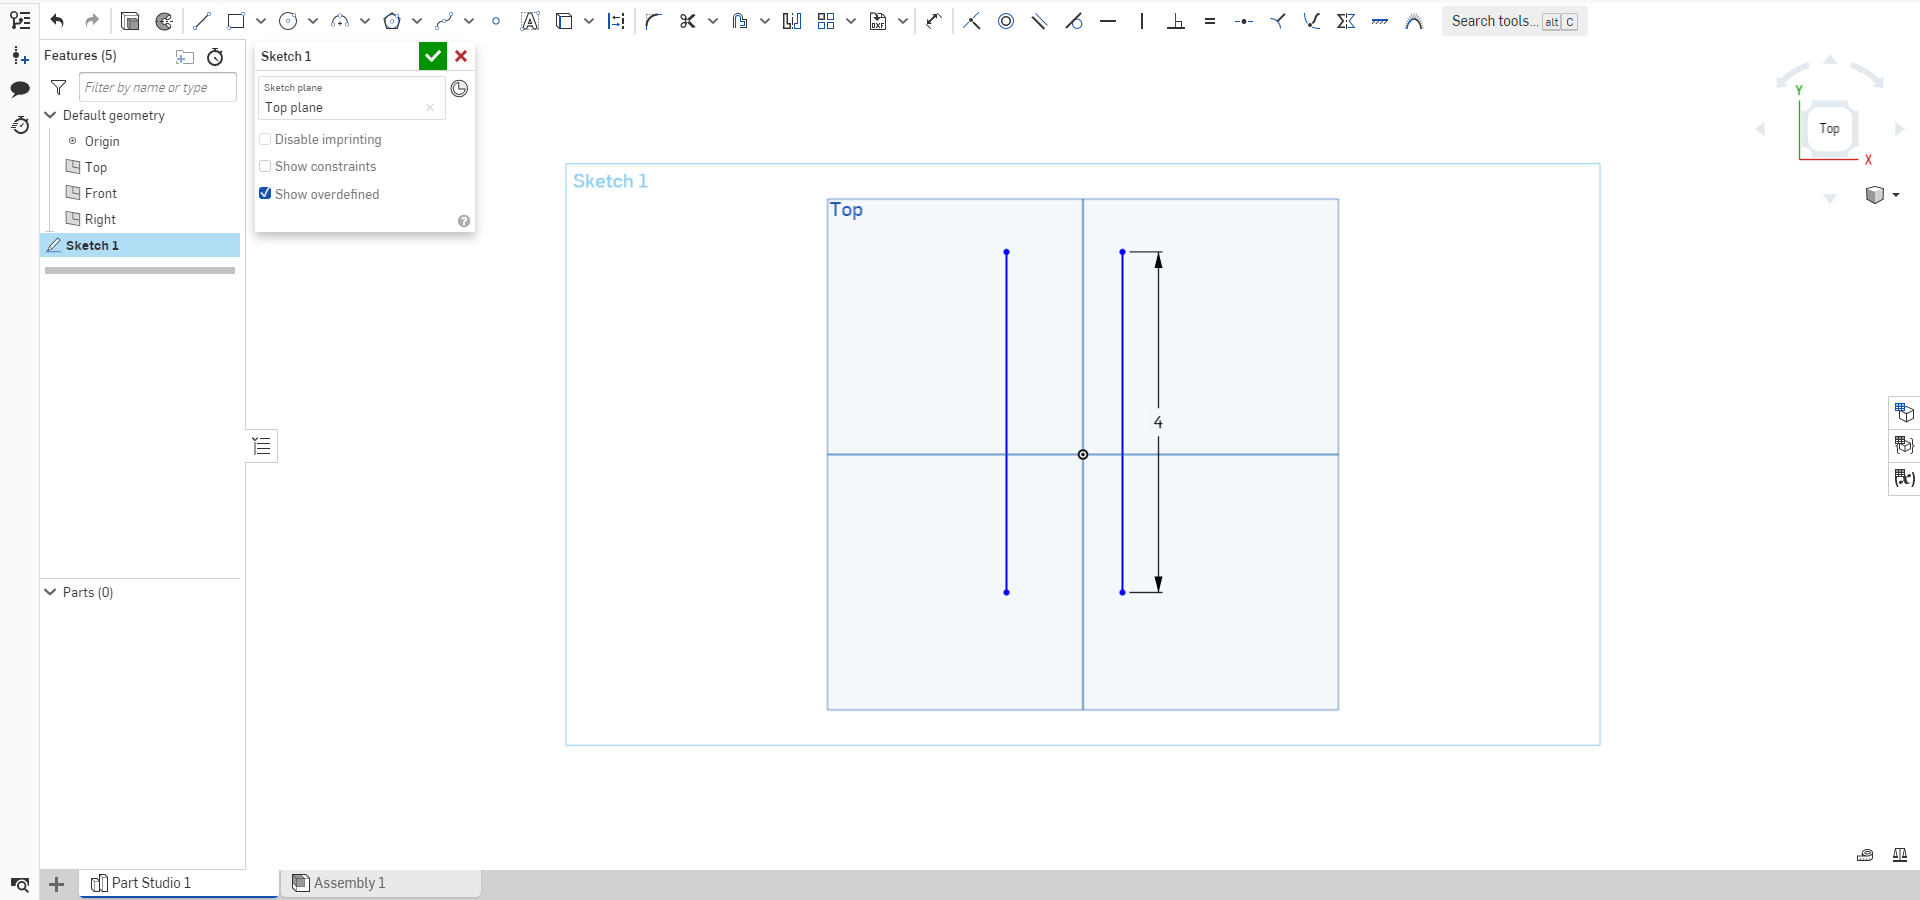
On the sketch draw two parallel lines both being 4 inches long. Make sure the lines' endpoints match each others.
Body
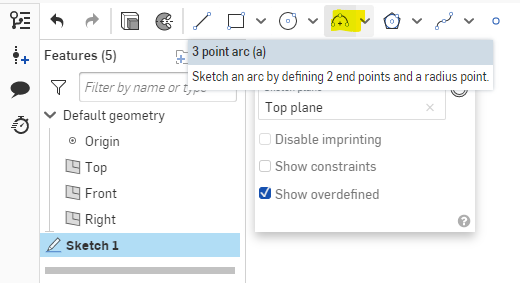
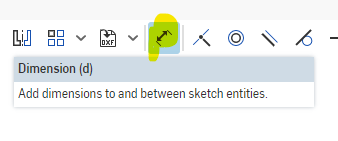
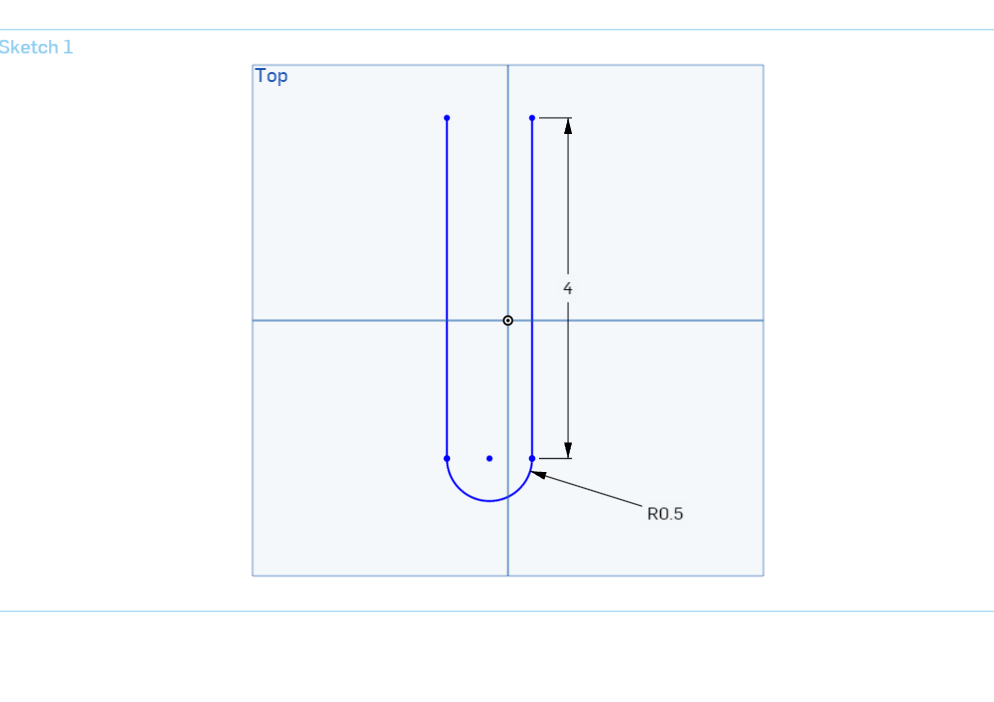
Go to the 3-point arc tool and select an endpoint of each line. Then click onto the dimension tool then click on the newly created arc. Once you click on the arc then put in 0.5 inches and enter.
Head
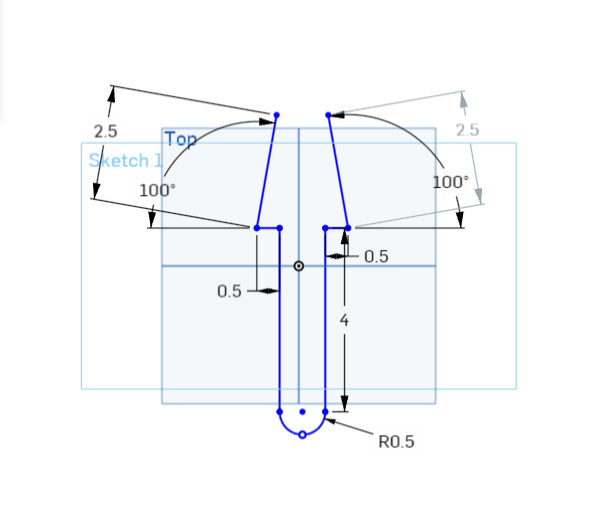
First draw two 2.5 INCH lines near the top of the body. Then draw two connecting lines between the end point of the recently created line and the open section of the body, which should be 0.5 INCHES in length. After that make the 2.5 inch lines angled to 100 degrees. In order to do that use the dimension tool and click both the 2.5 inch line and 0.5 inch connecter line. Do that to both lines.
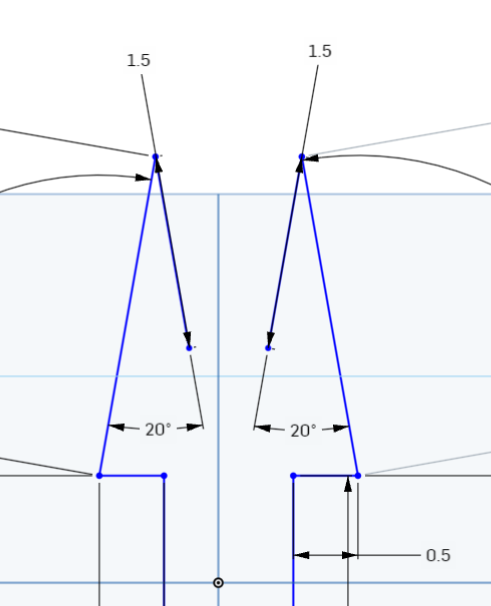
Second, draw two lines connecting from the second endpoint of the 2.5 INCH lines and make sure to draw them inward towards the inner body. Make those lines 1.5 INCHES long and angle them 20 degrees from your 2.5 IN lines.
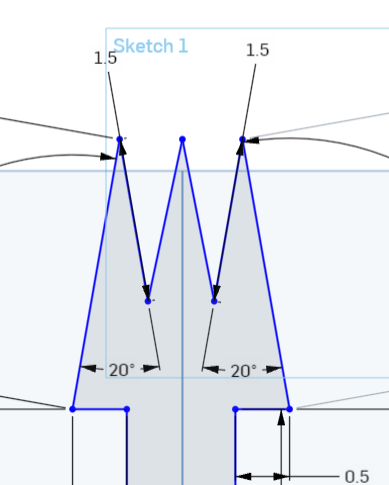
Third, draw the last prick of the fork. In order to do so just draw two lines connecting from the last step lines and in an upward slop connect together.
Extrude
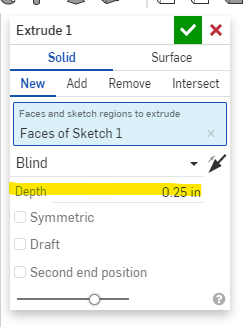
Press the extrude tool when you're still in your sketch then once the extrude button pops up change the depth into 0.25 Inches.
Time to 3D Print!
Export your file as a STL file through right clicking the Part Studio where you made the fork on. Then upload it onto whatever software you use for printing.