3D Pocket Brush
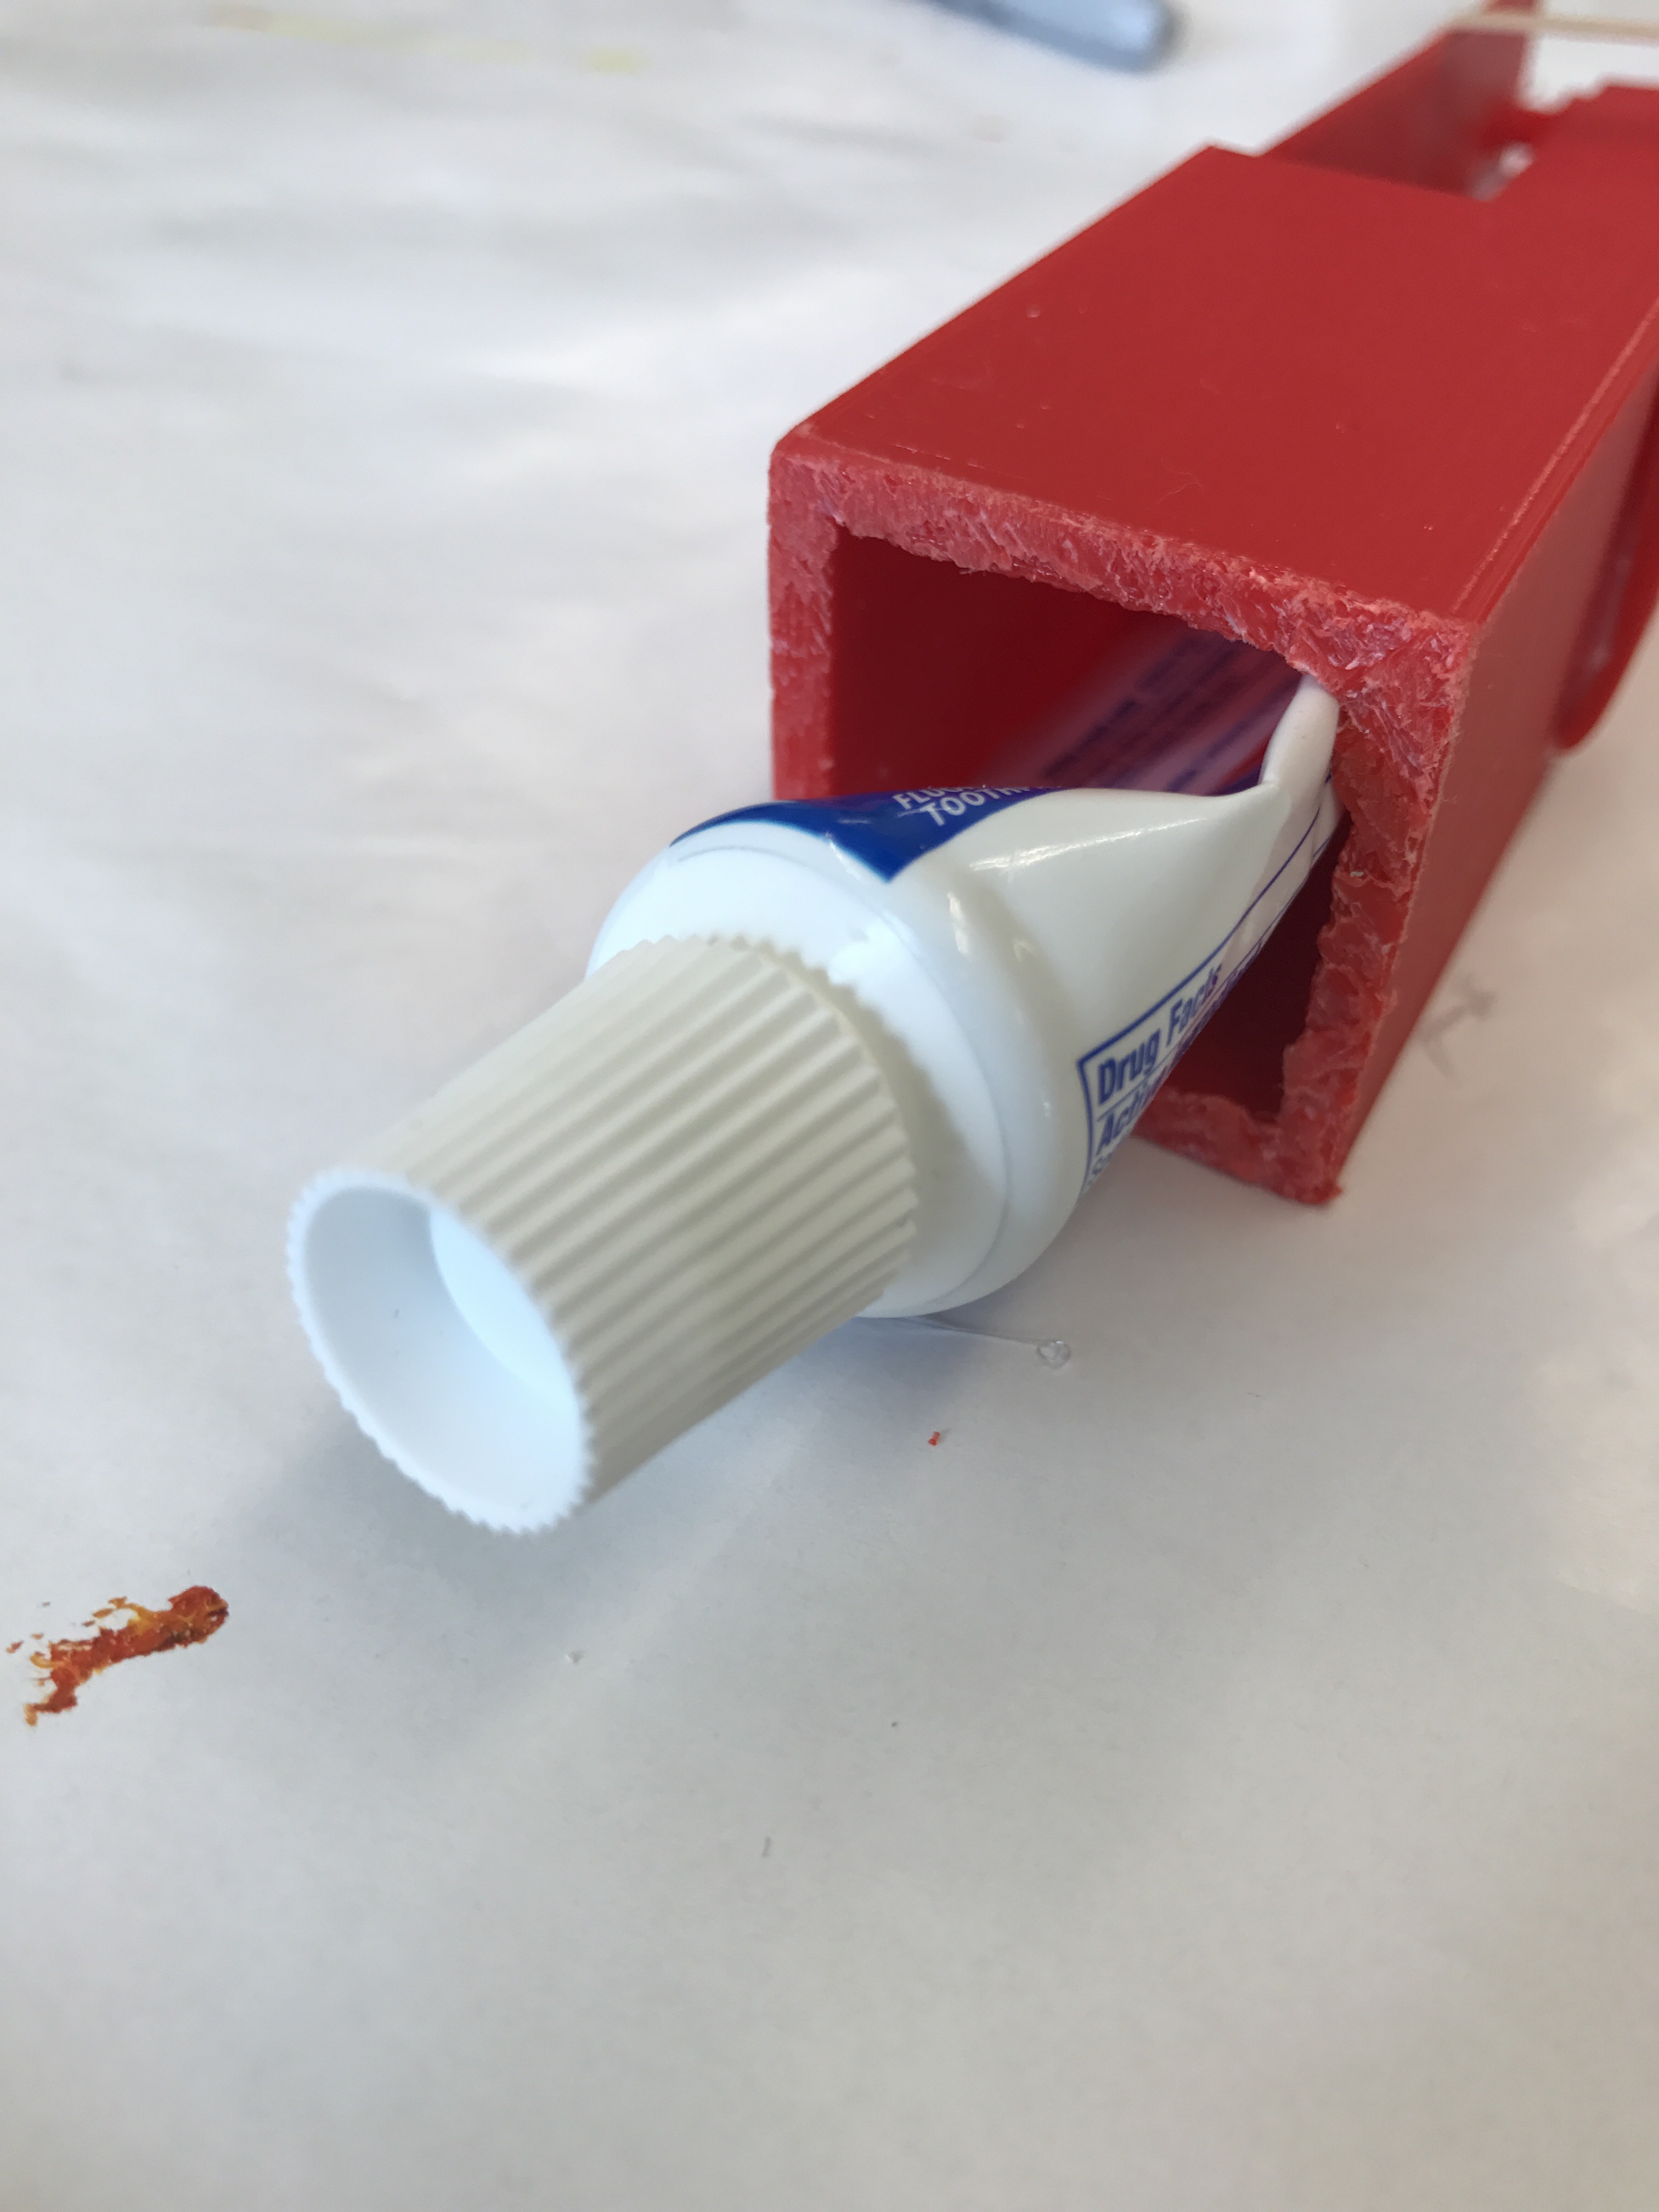
The Pocket Brush is used for traveling on business or vacation! I decided to make this because i usually travel a lot with my family and we always have to pack our toiletries in these big bags that we had to shove into suitcases. So i thought it would make packing easier.
Tools/items you're going to need: TinkerCAD, pliers, wire, toothbrush head, hot glue, gorilla glue, toothpaste, and mouthwash.
Design Your 3D Print
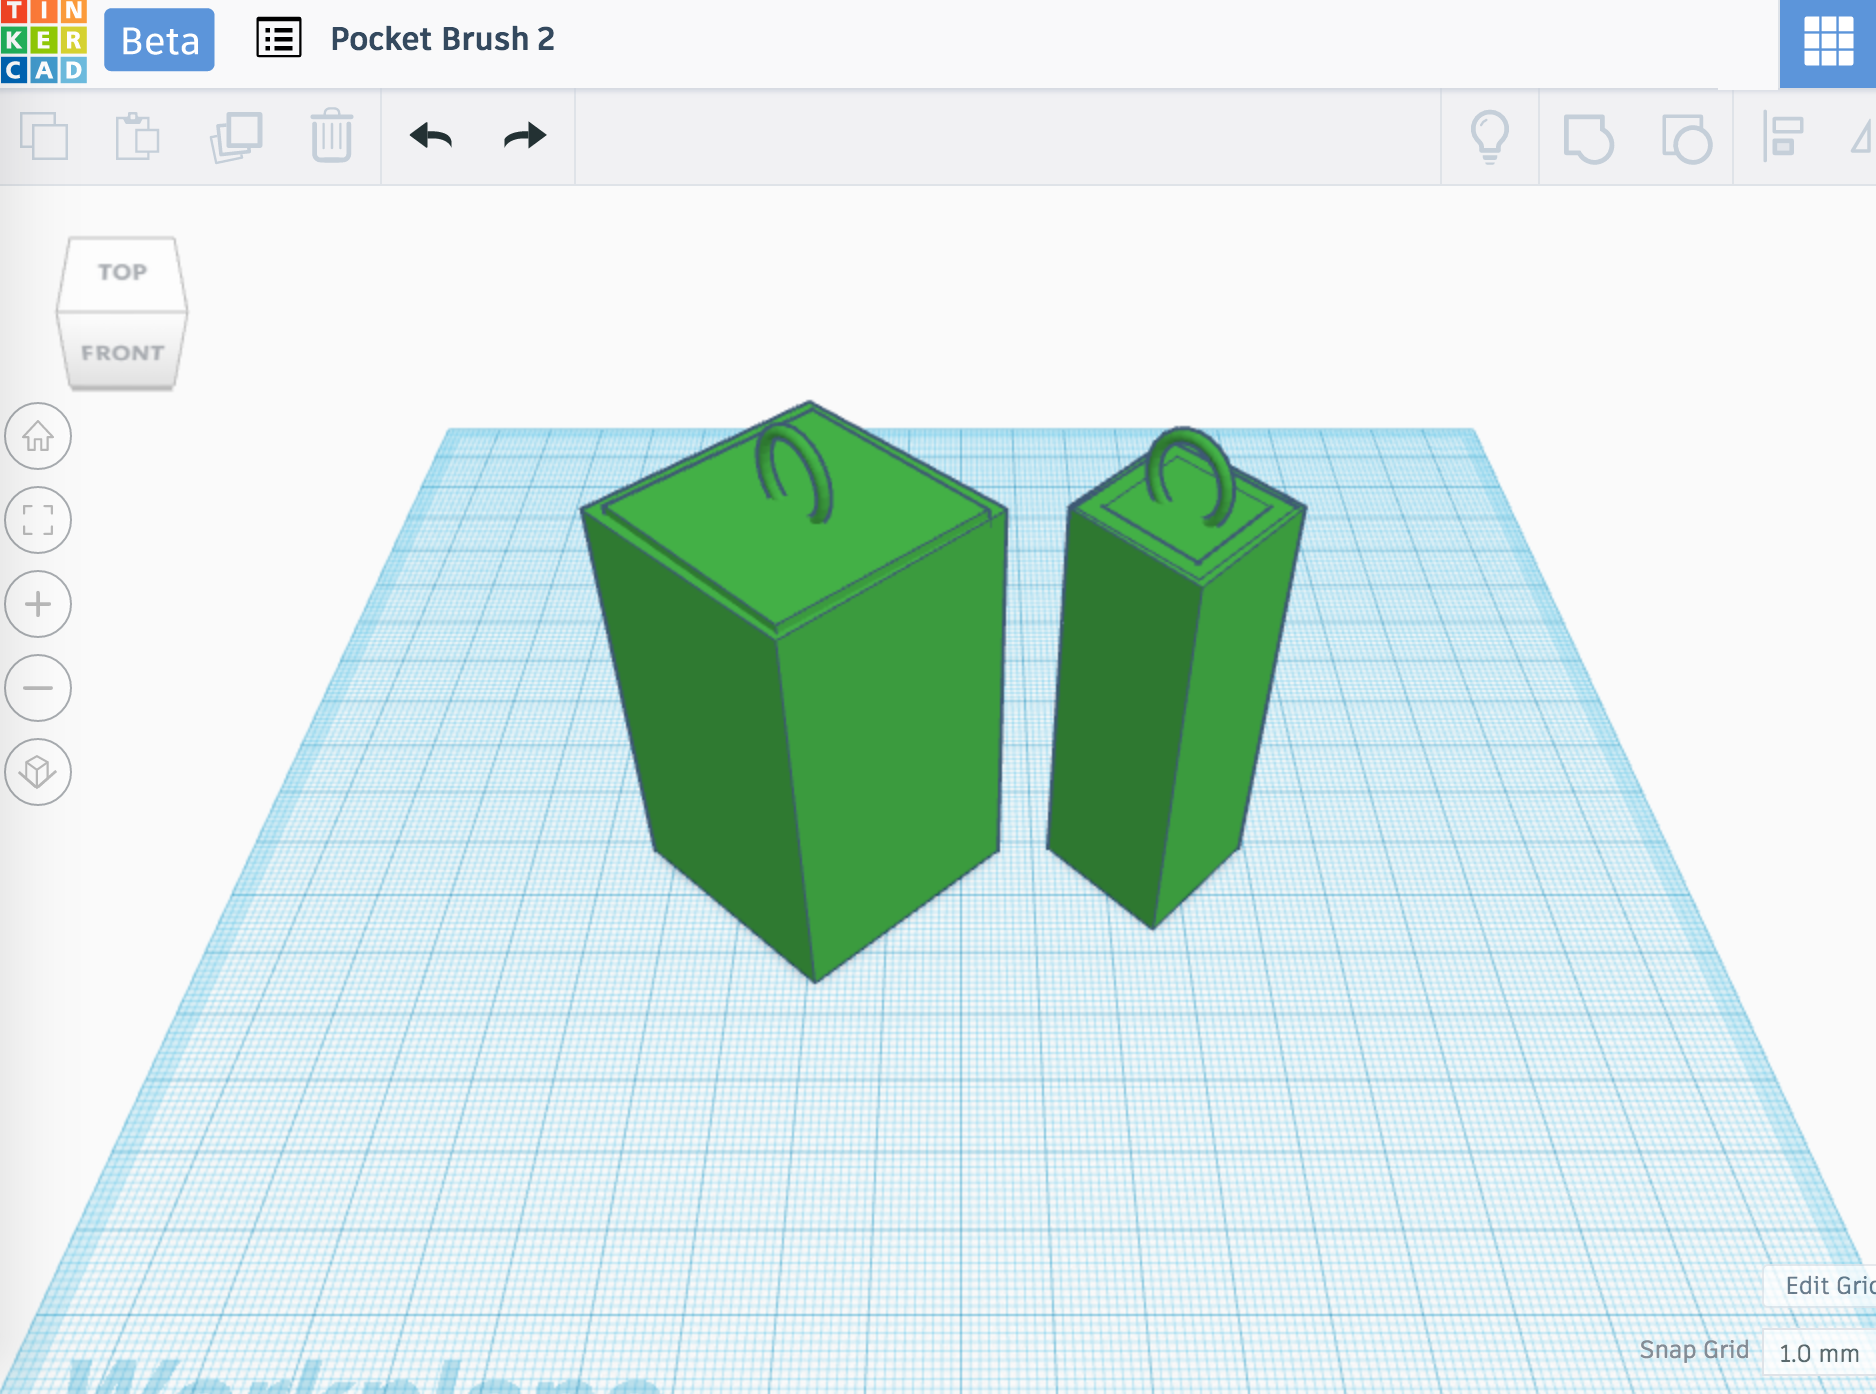
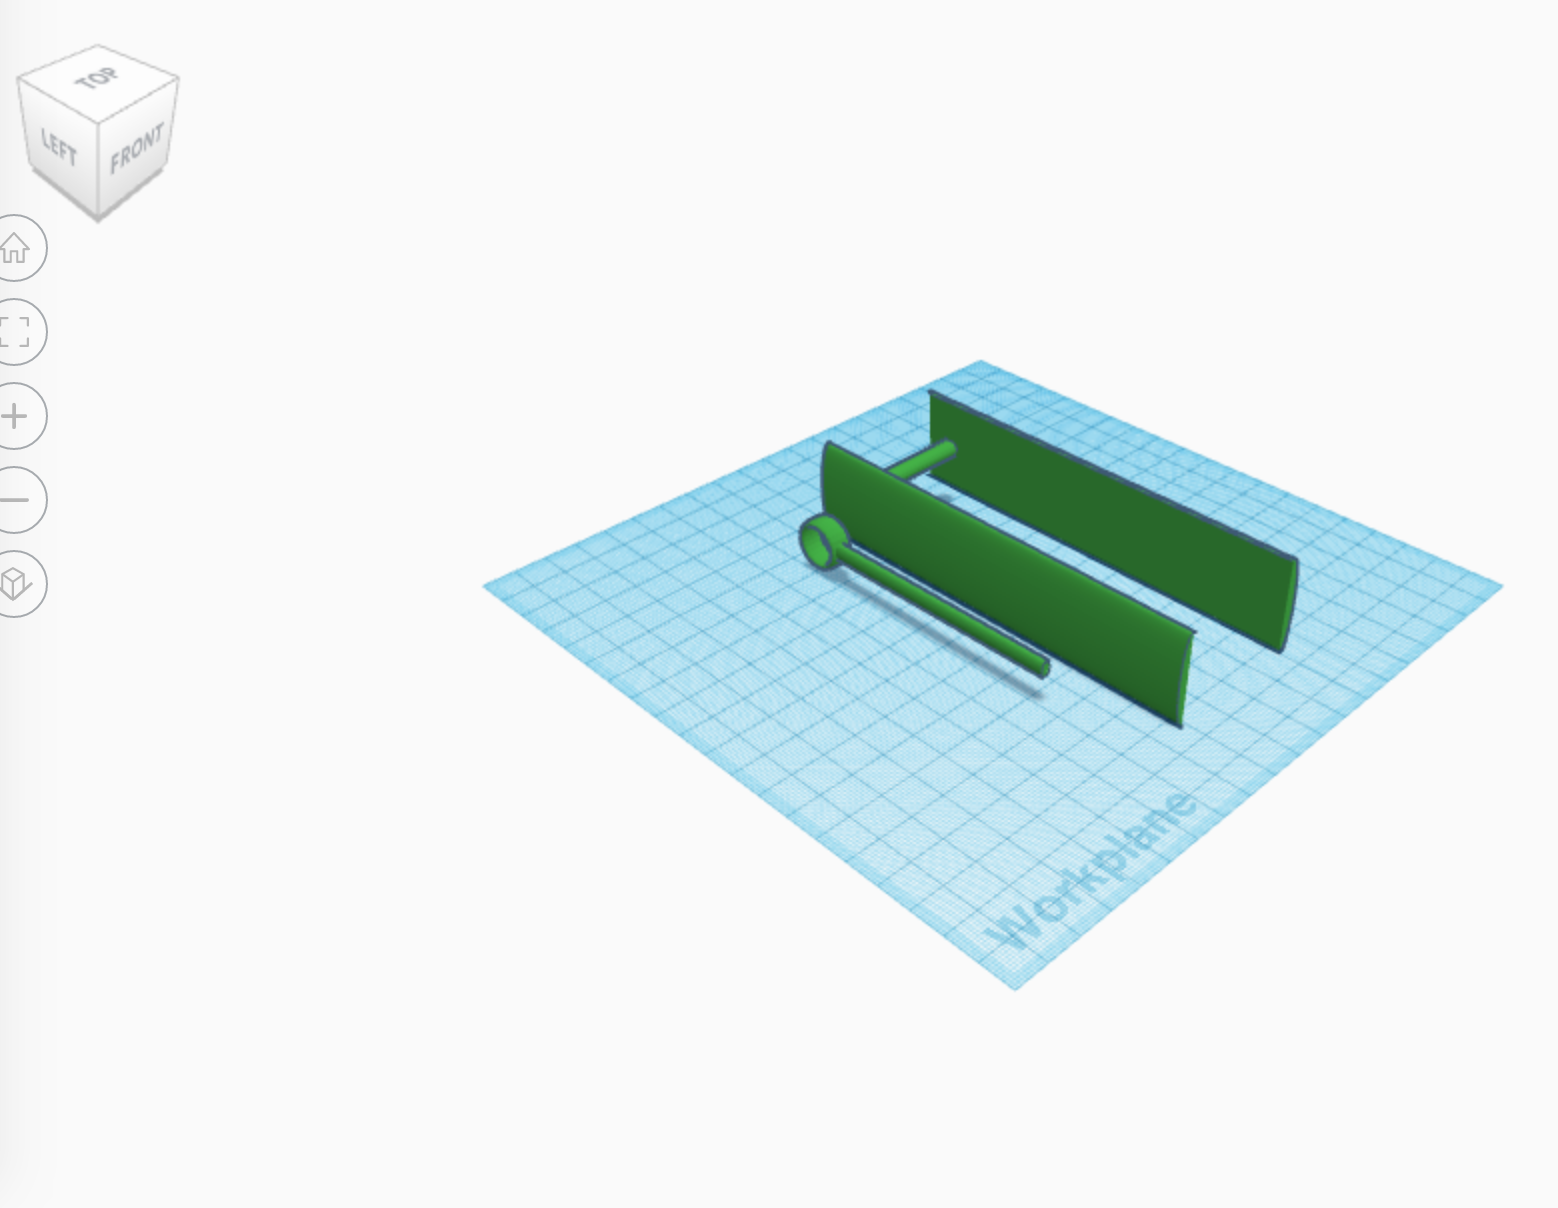
First you need to Design what it needs to look like. I used TinkerCAD because it's easier to use than most 3D printing programs.
Make sure larger items are in two different files because sometimes they wont print if they're all together.
Design You're 3D Print Part 2
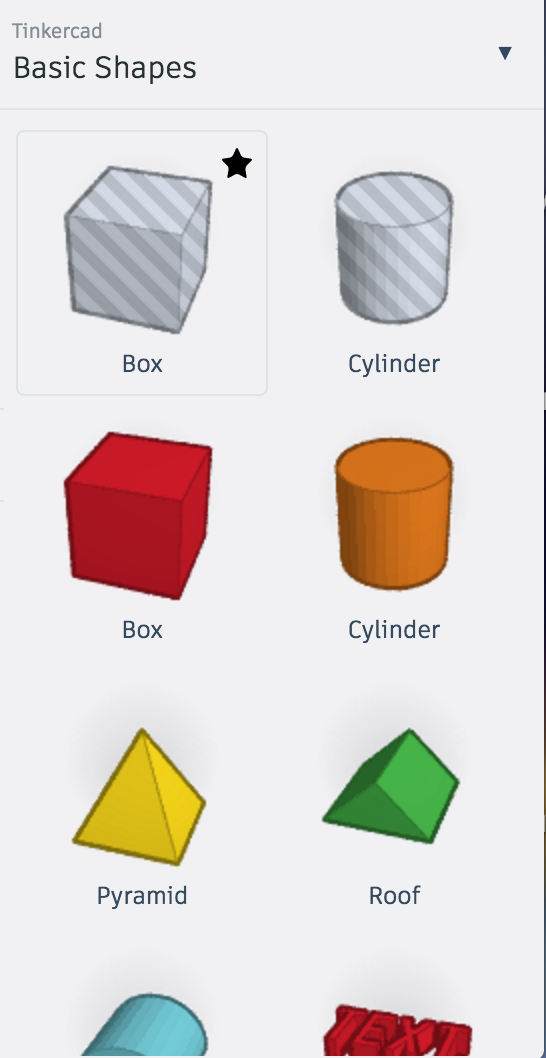
You can use the shapes on the side bar to created the boxes for the toothbrush, toothpaste, and other oriental needs.
You can scroll down and use the semi cylender
Downloading the Print for You're Design

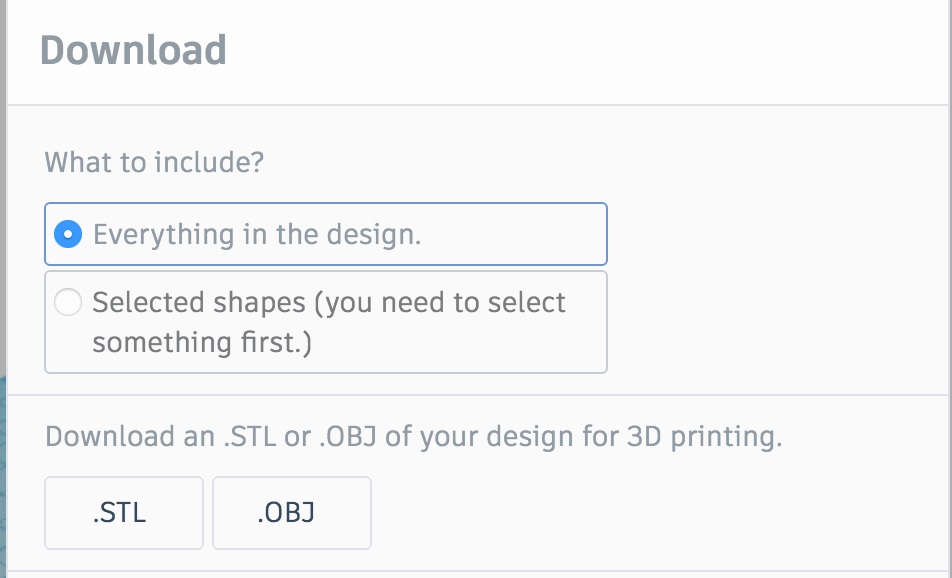
Click the Export button on the top right of the File and save everything into ans STL file. and you can start printing after that. (Depending on if you have a 3D printer or not, you might need to send it someone so they can print it.)
Attaching the Pieces
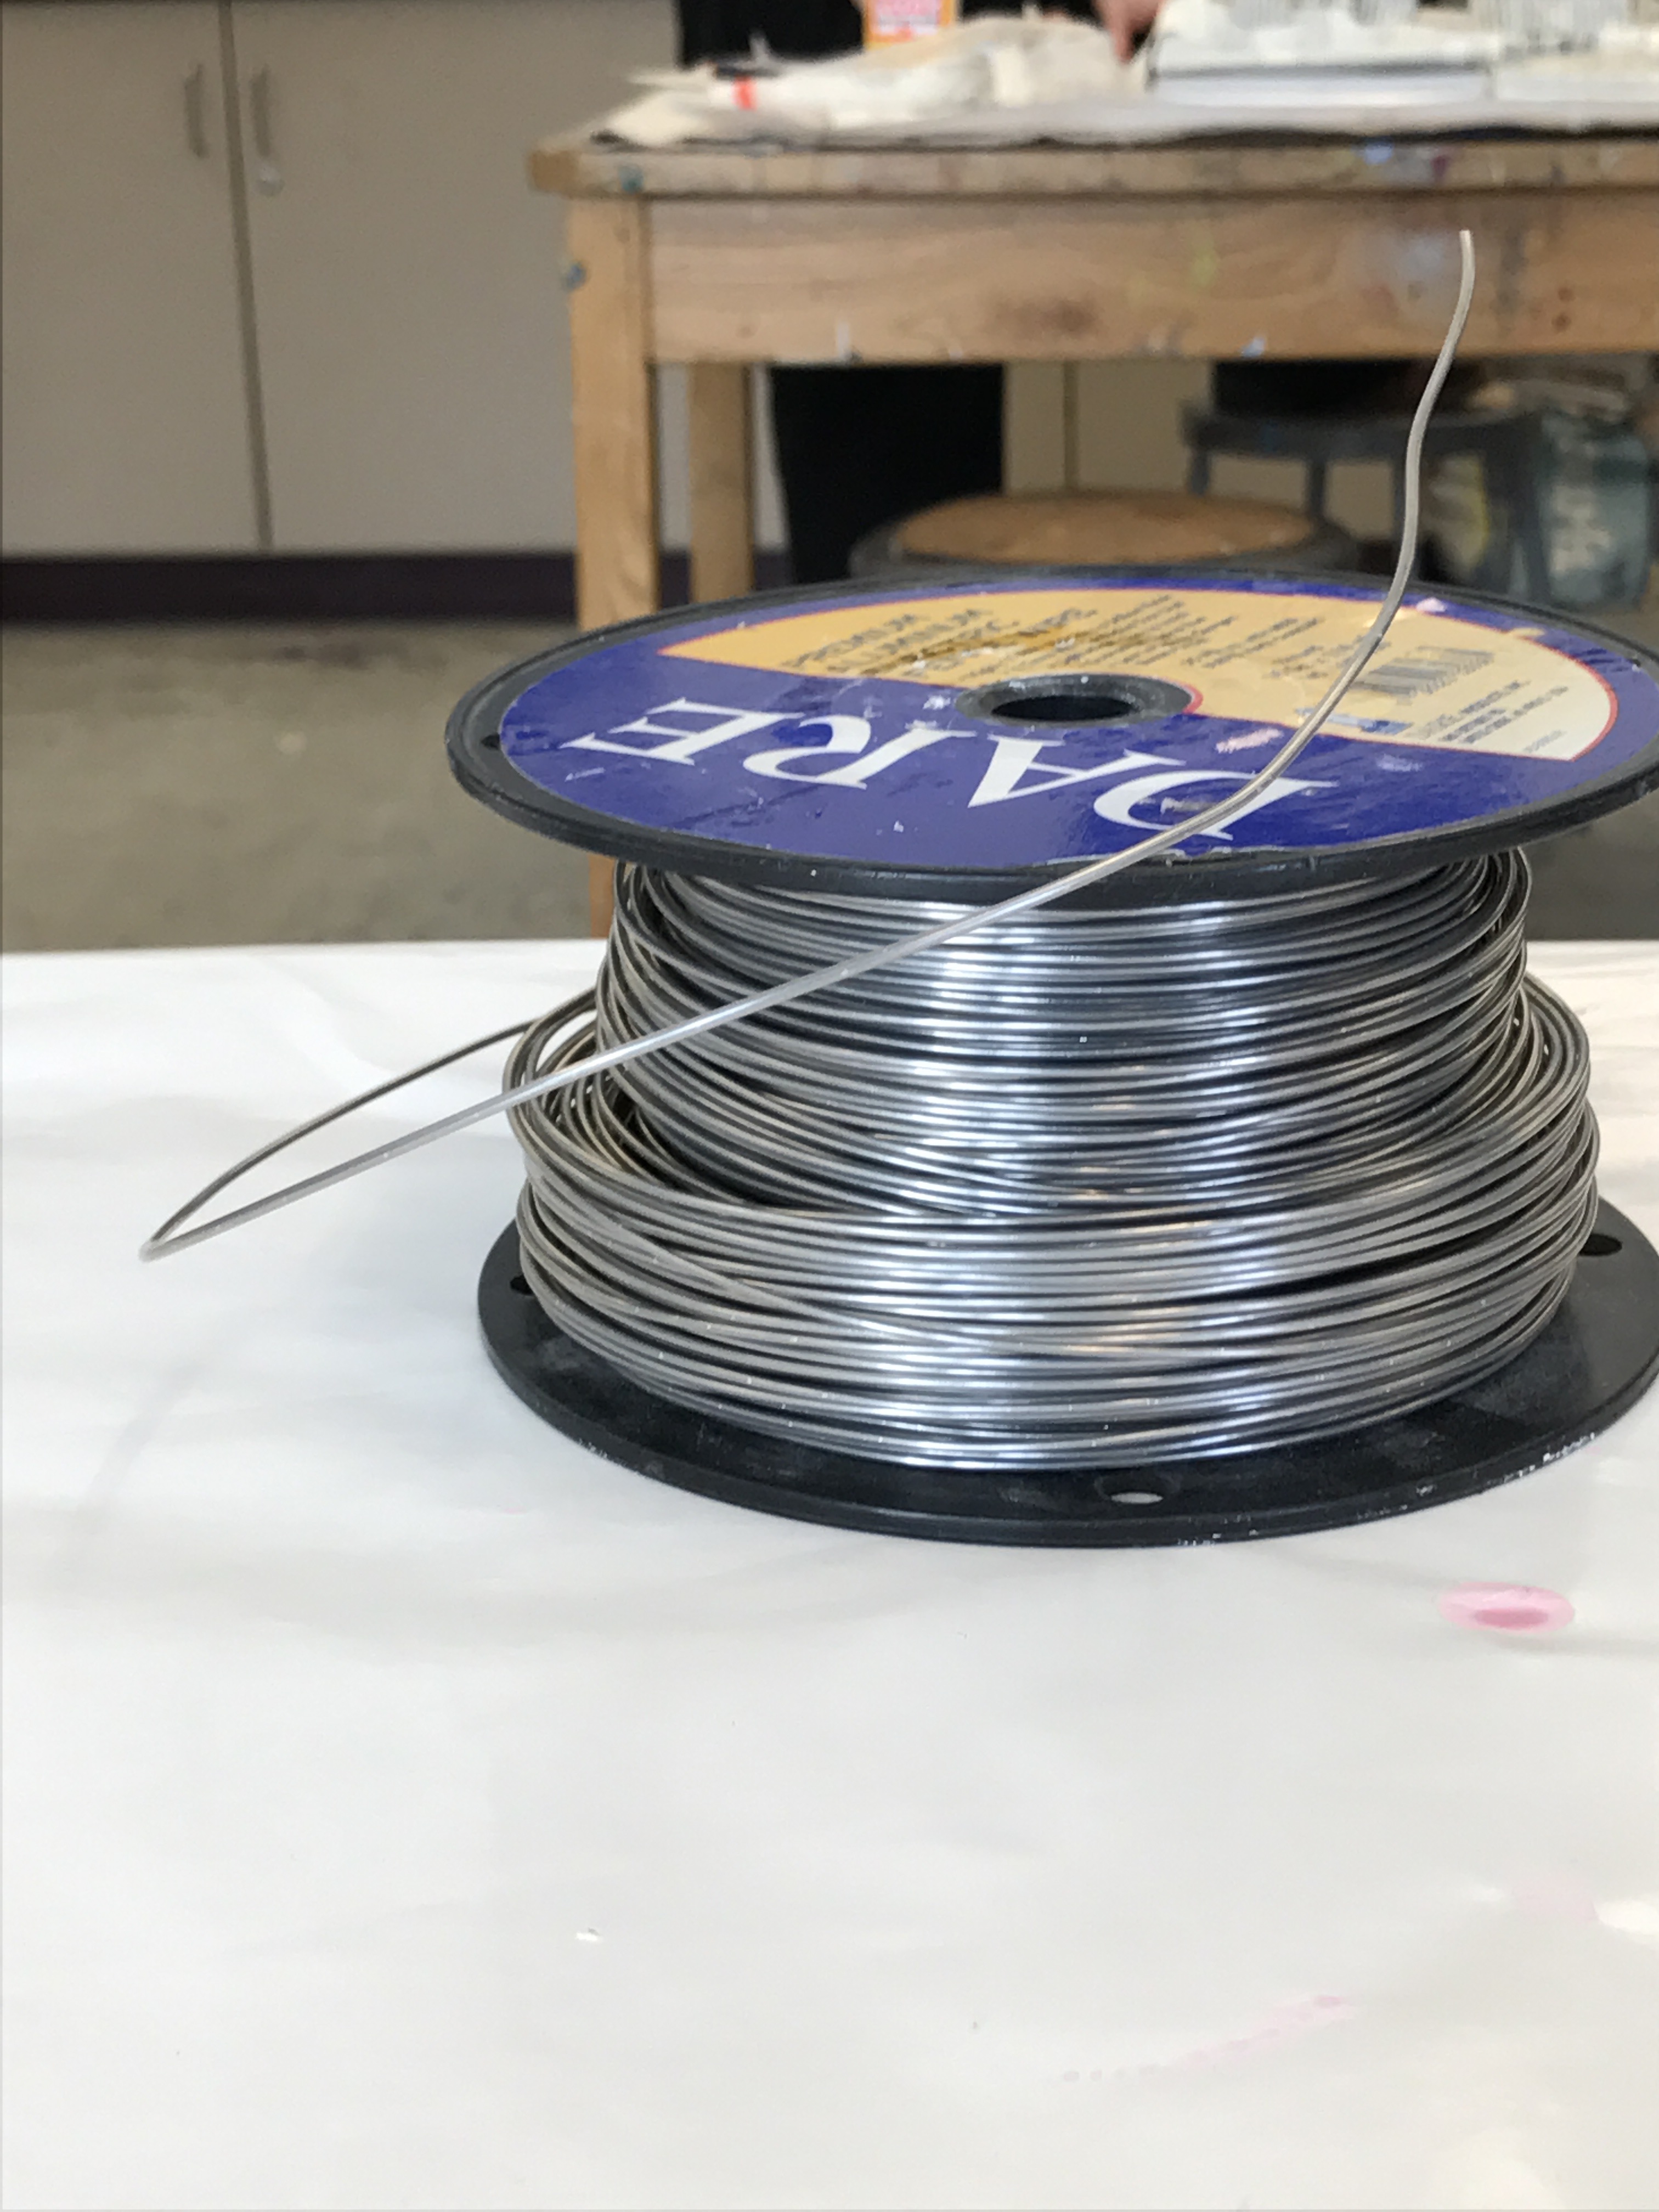
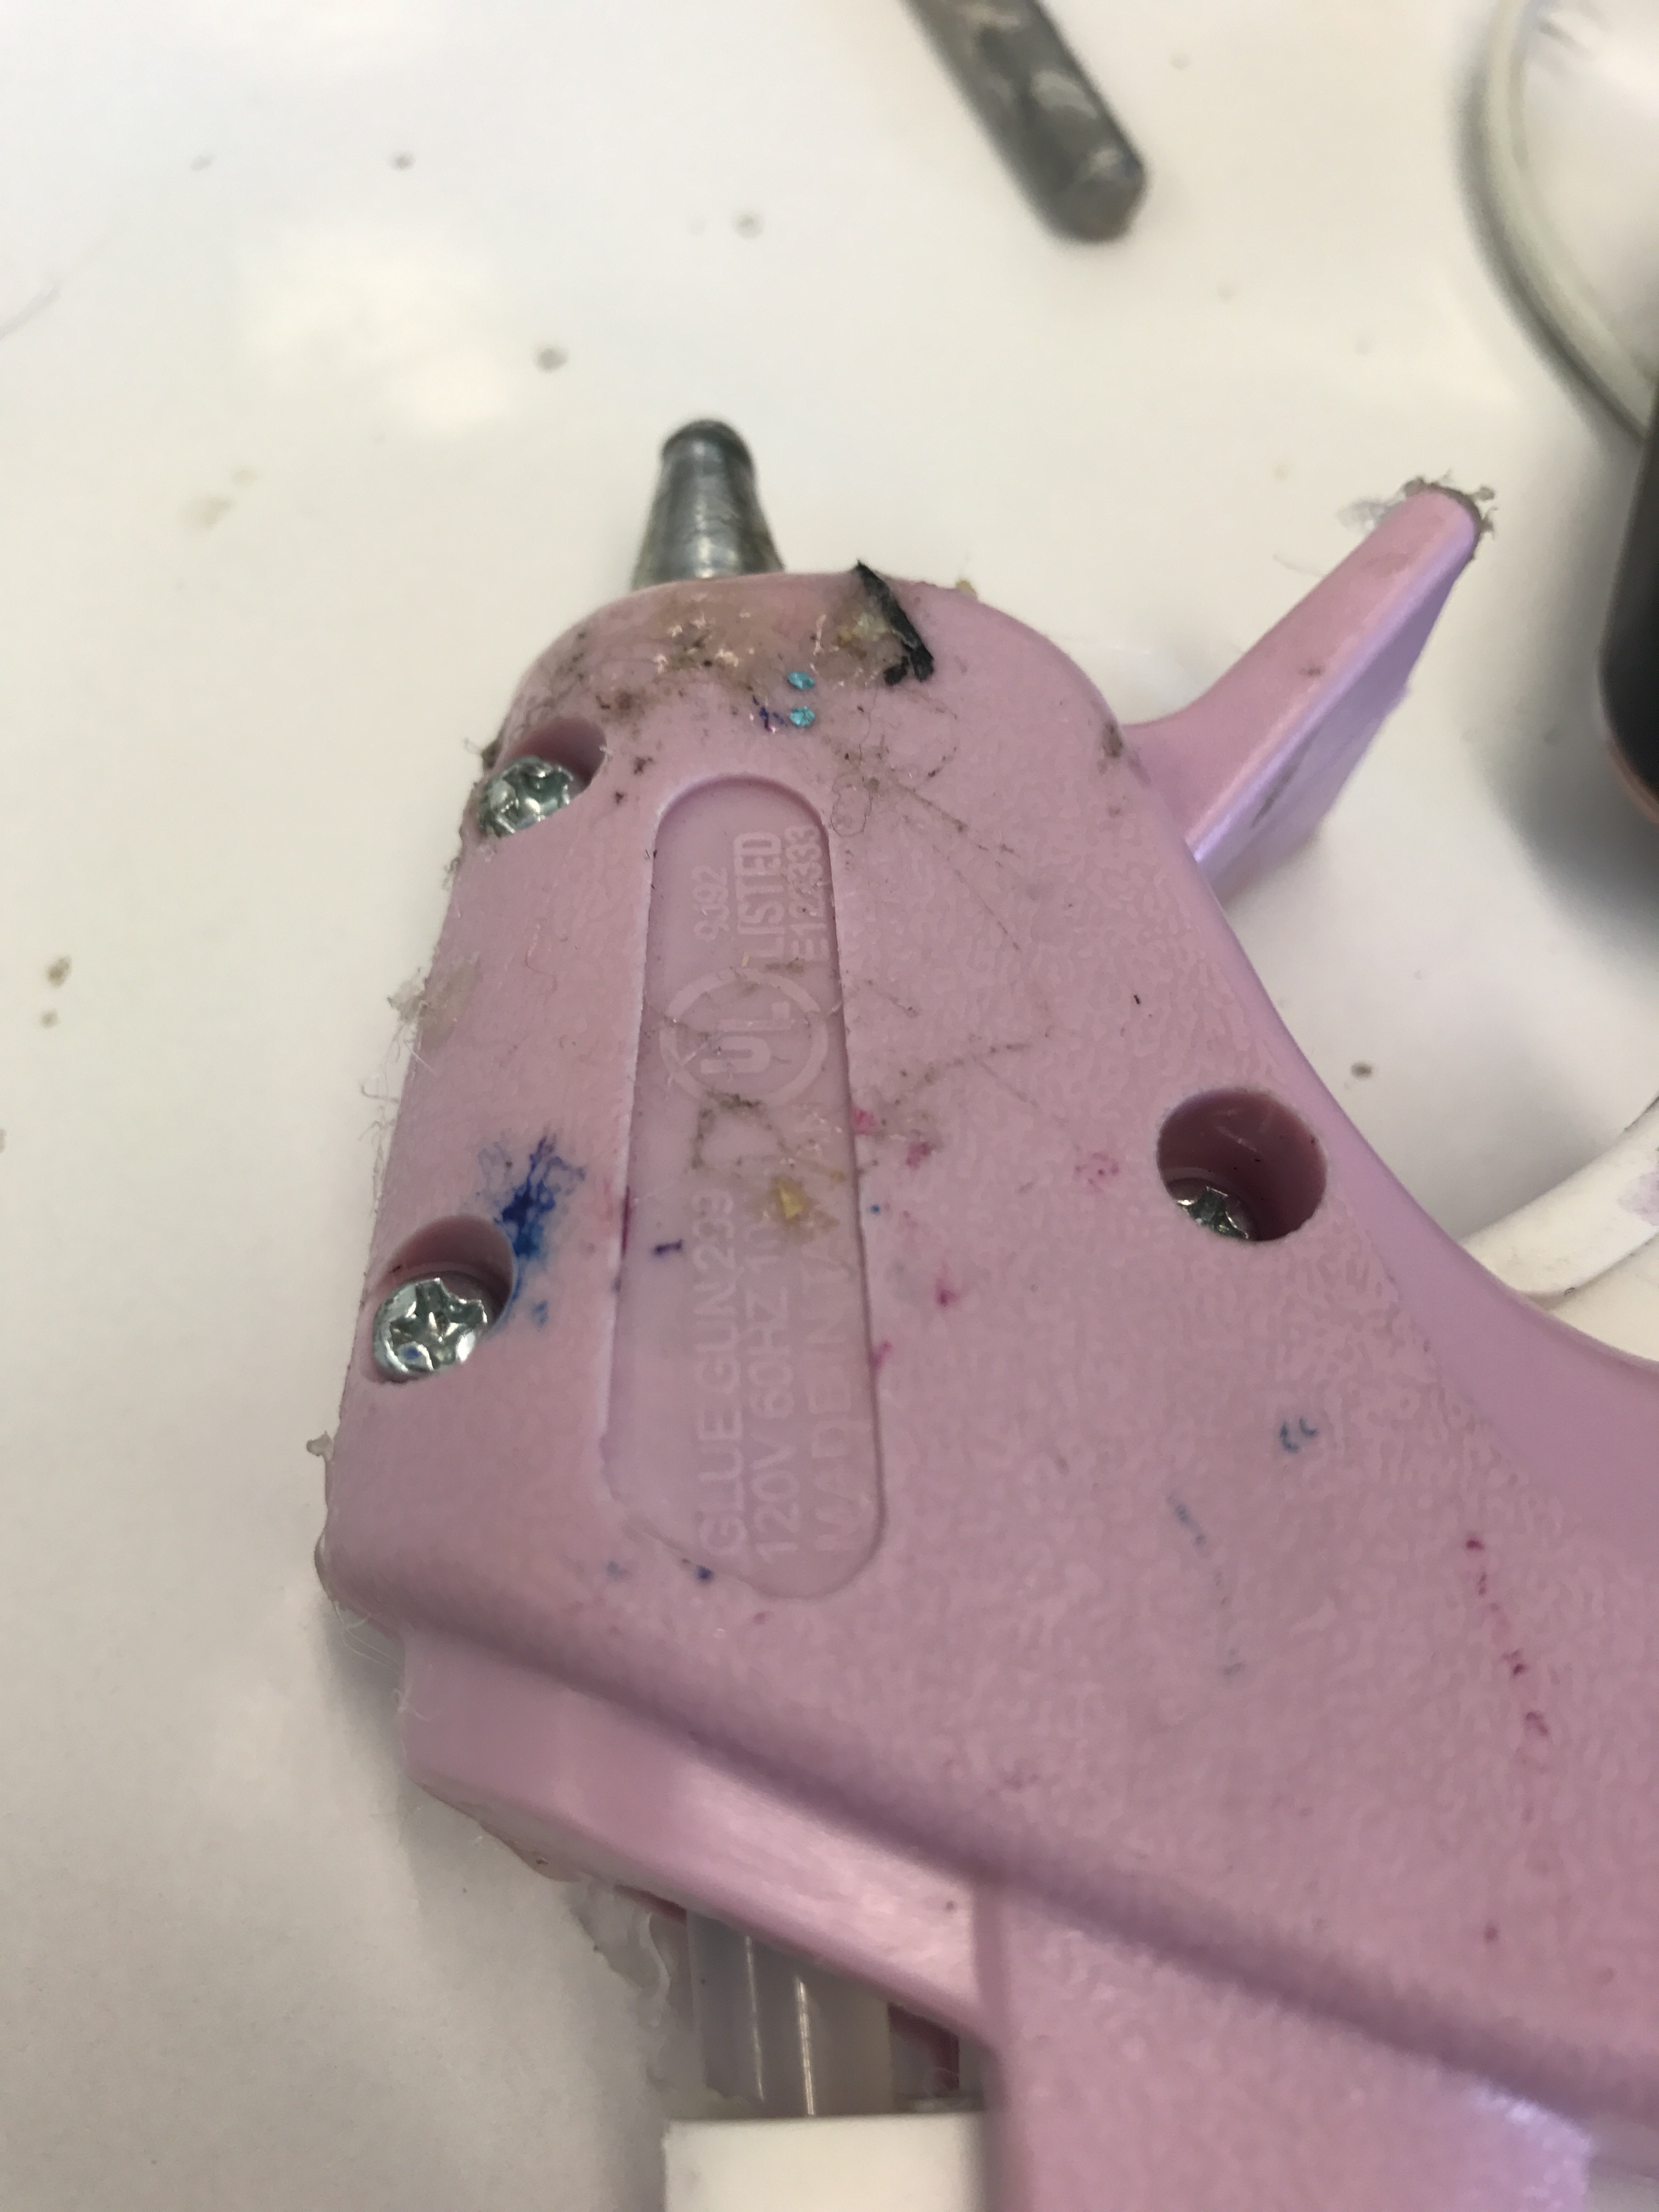
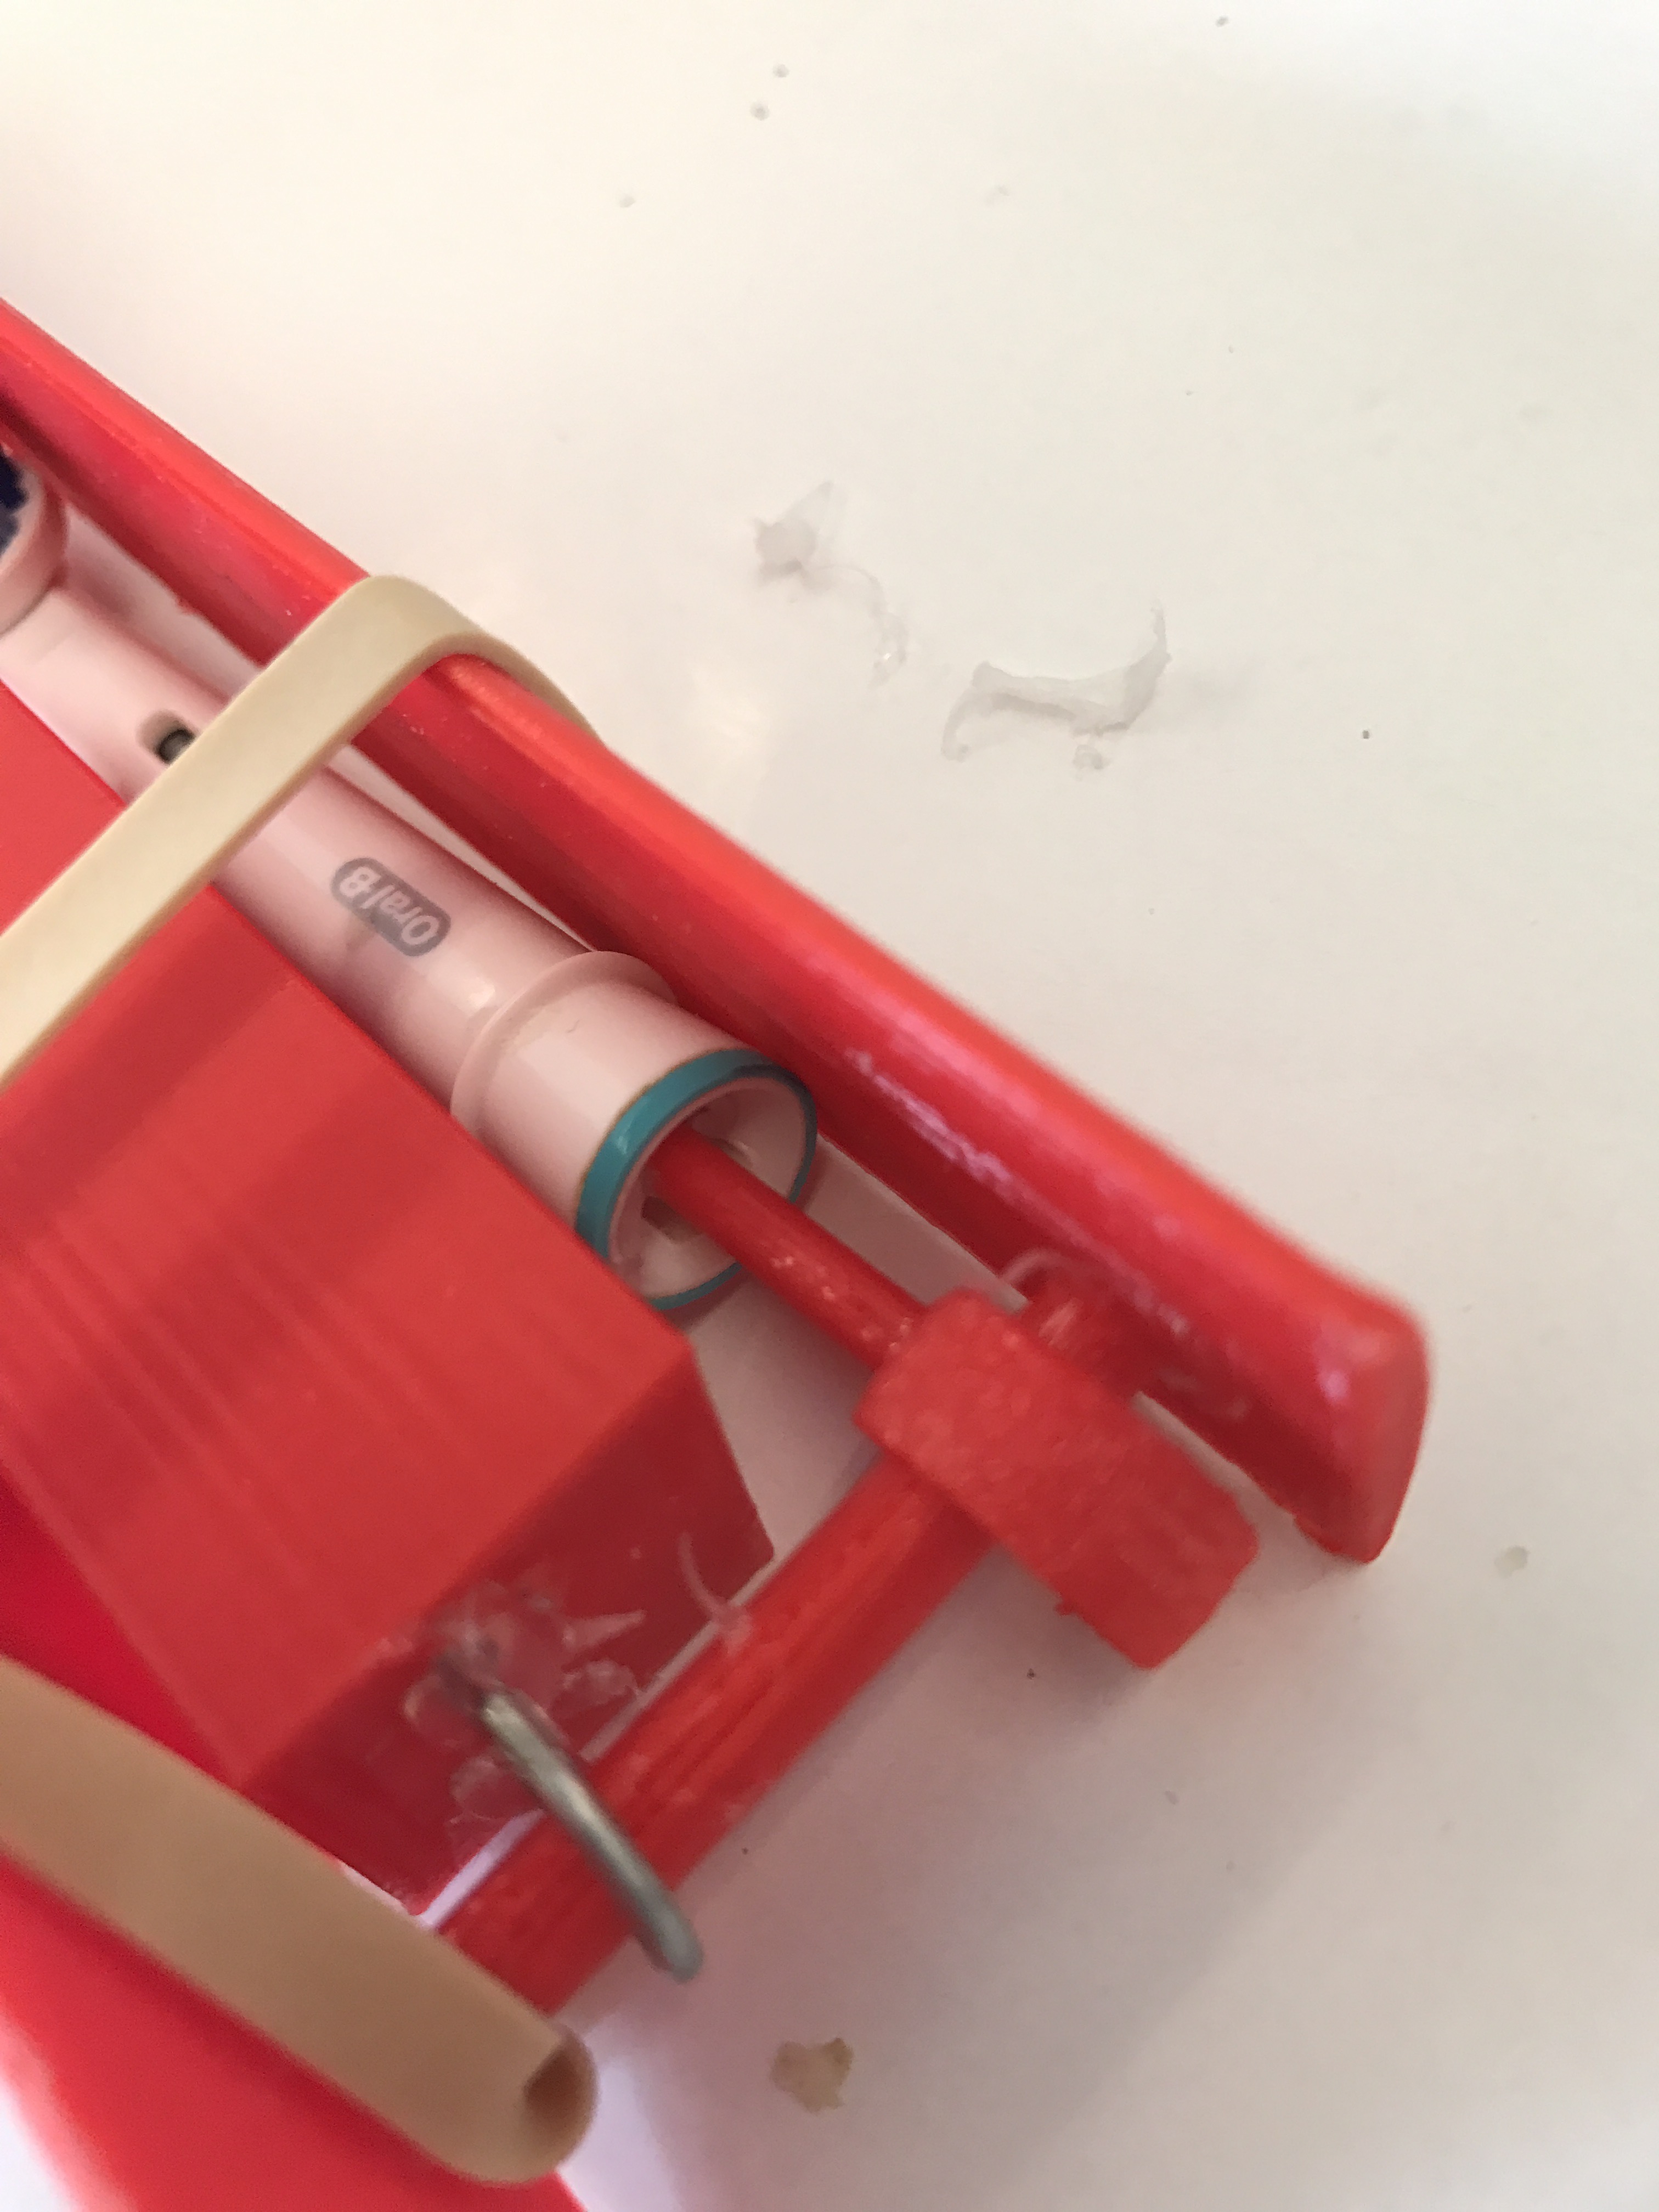
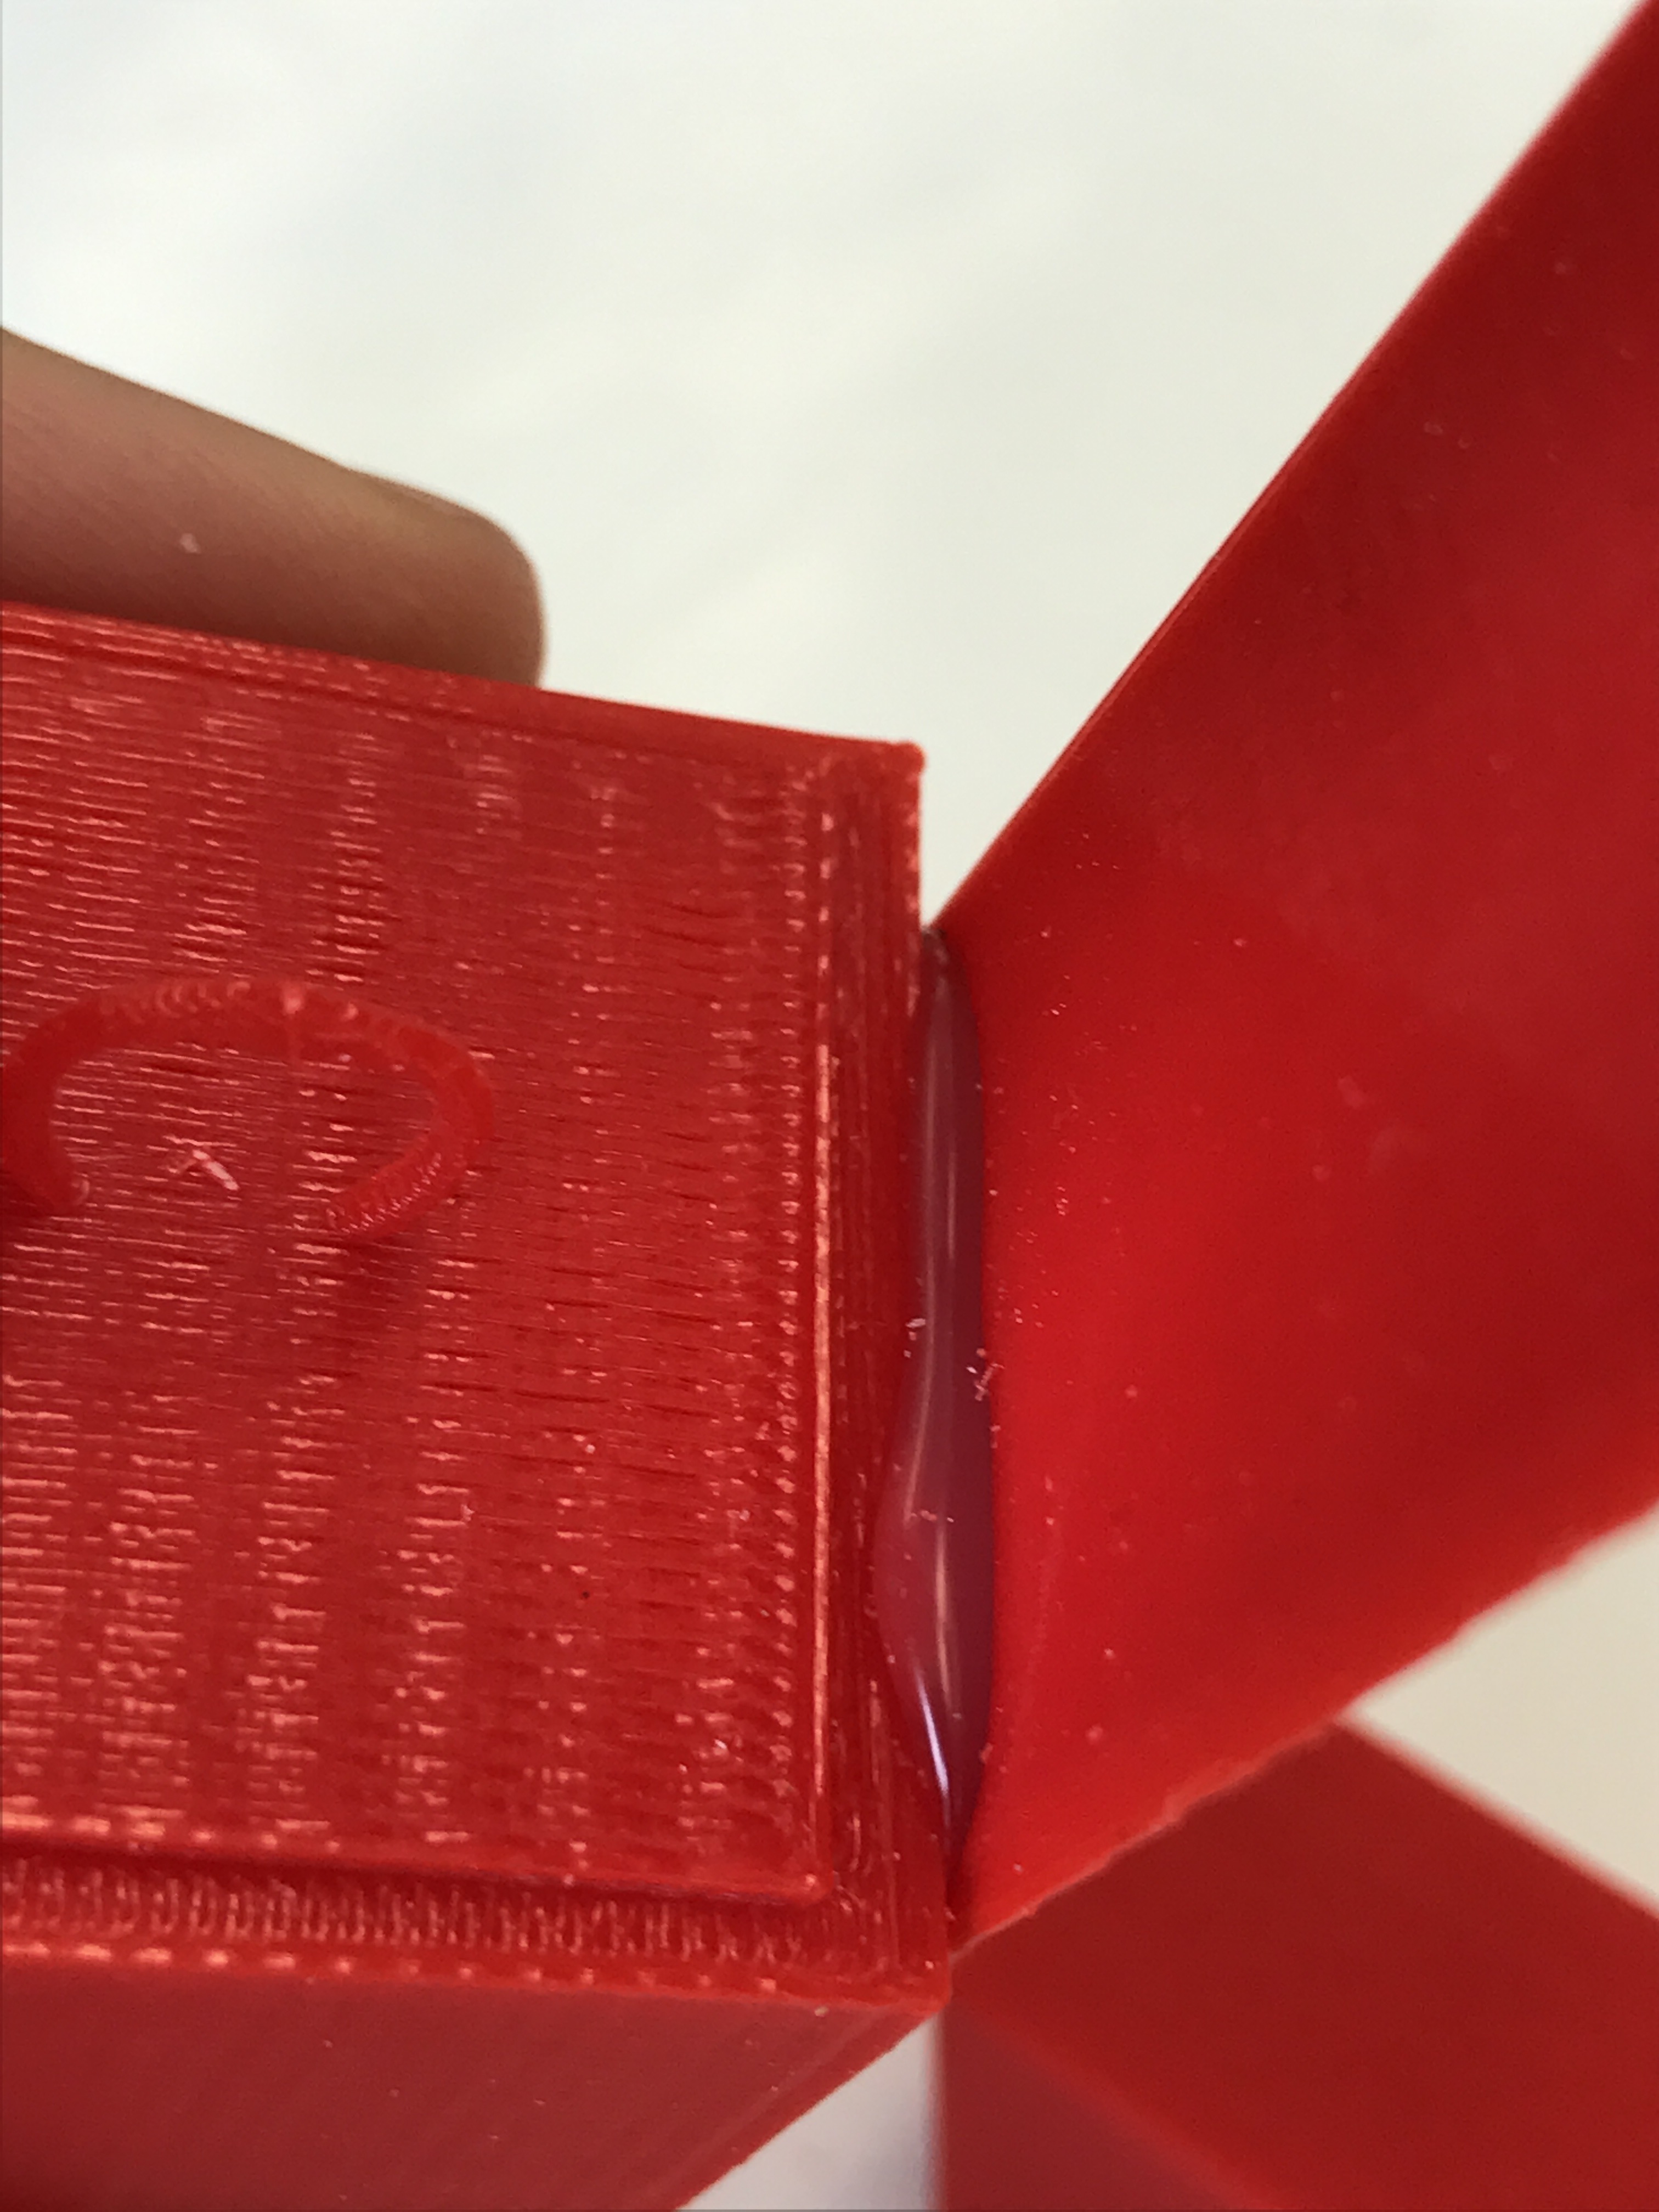
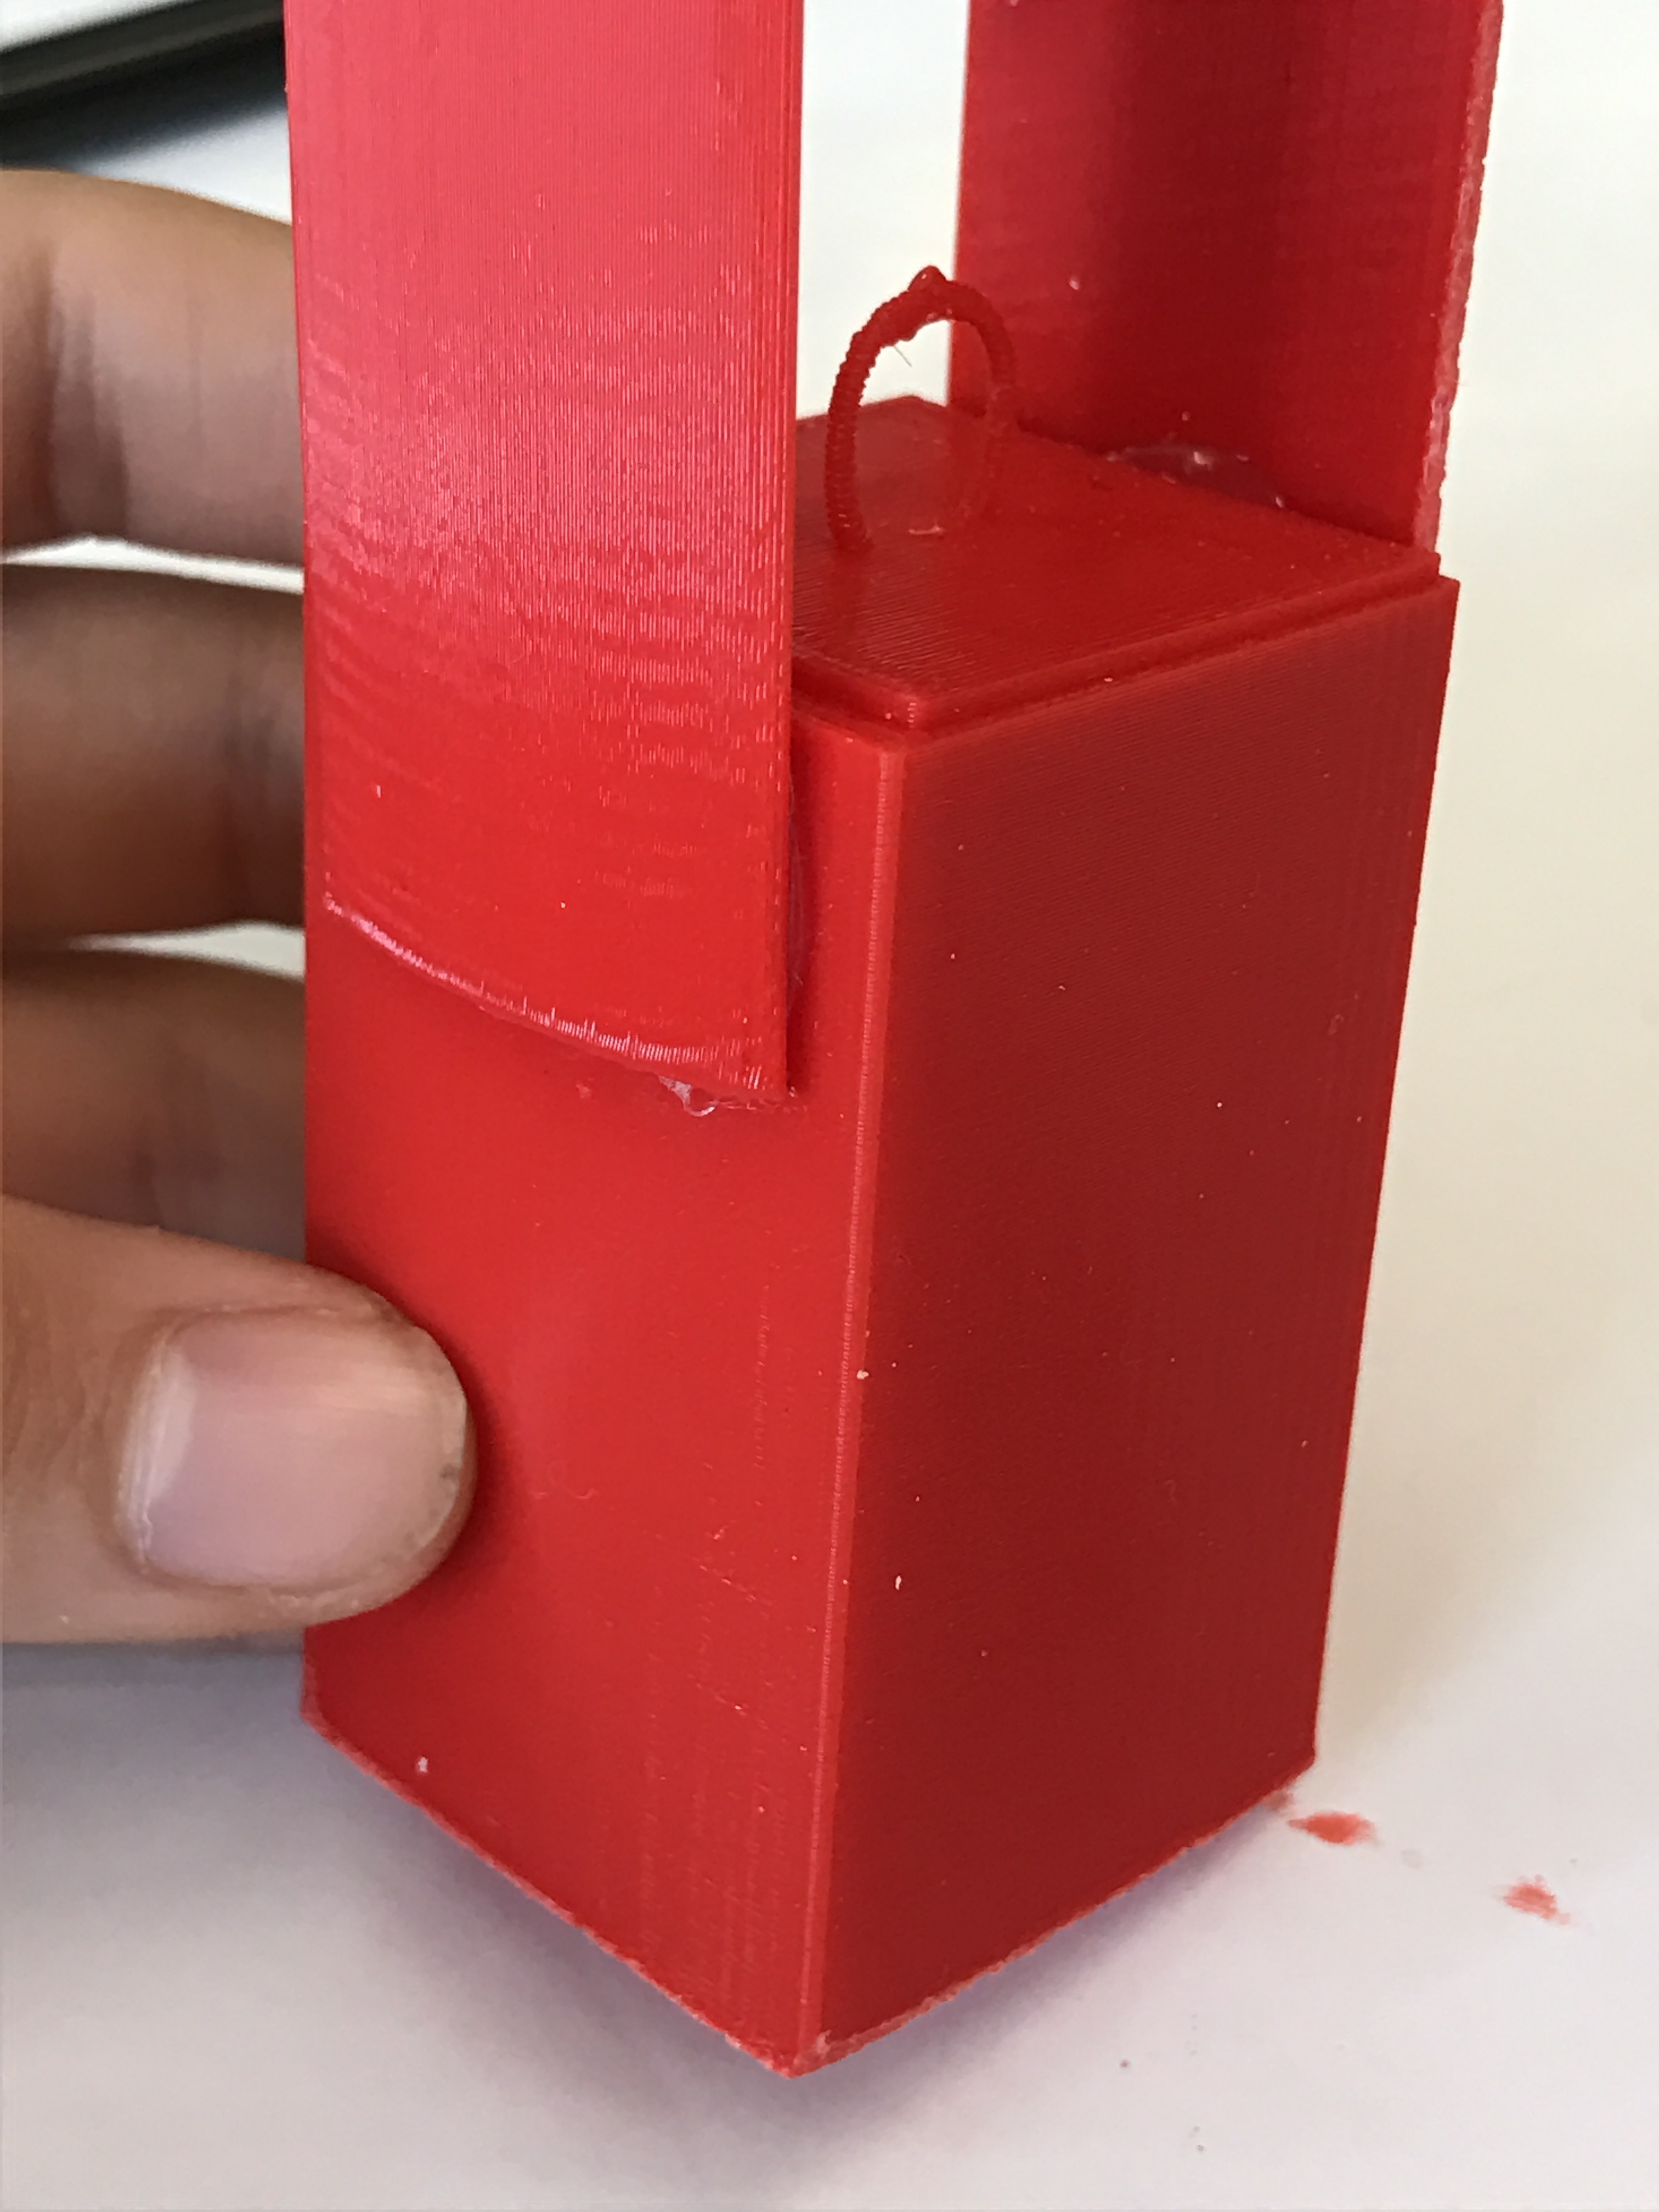
Once you're pieces are printed, it's time to attached the pieces to the appropriate places.
- Loop the wire with pliers and attack it to the smaller box with hot glue or gorilla glue and attach that to the connector.
- Get a hot glue and glue the tooth brush head to the small cylinder switch.
- glue the bigger box to the bottom of the semi Cylinder shell to hold mouth wash or toothpaste.
- wait for the glue to harden, (hot glue, a couple of seconds; gorilla glue a couple of minutes)
Once that done with, You're done!