3D Modeling a Vintage Computer Planter
by district_crafts in Workshop > 3D Printing
532 Views, 2 Favorites, 0 Comments
3D Modeling a Vintage Computer Planter
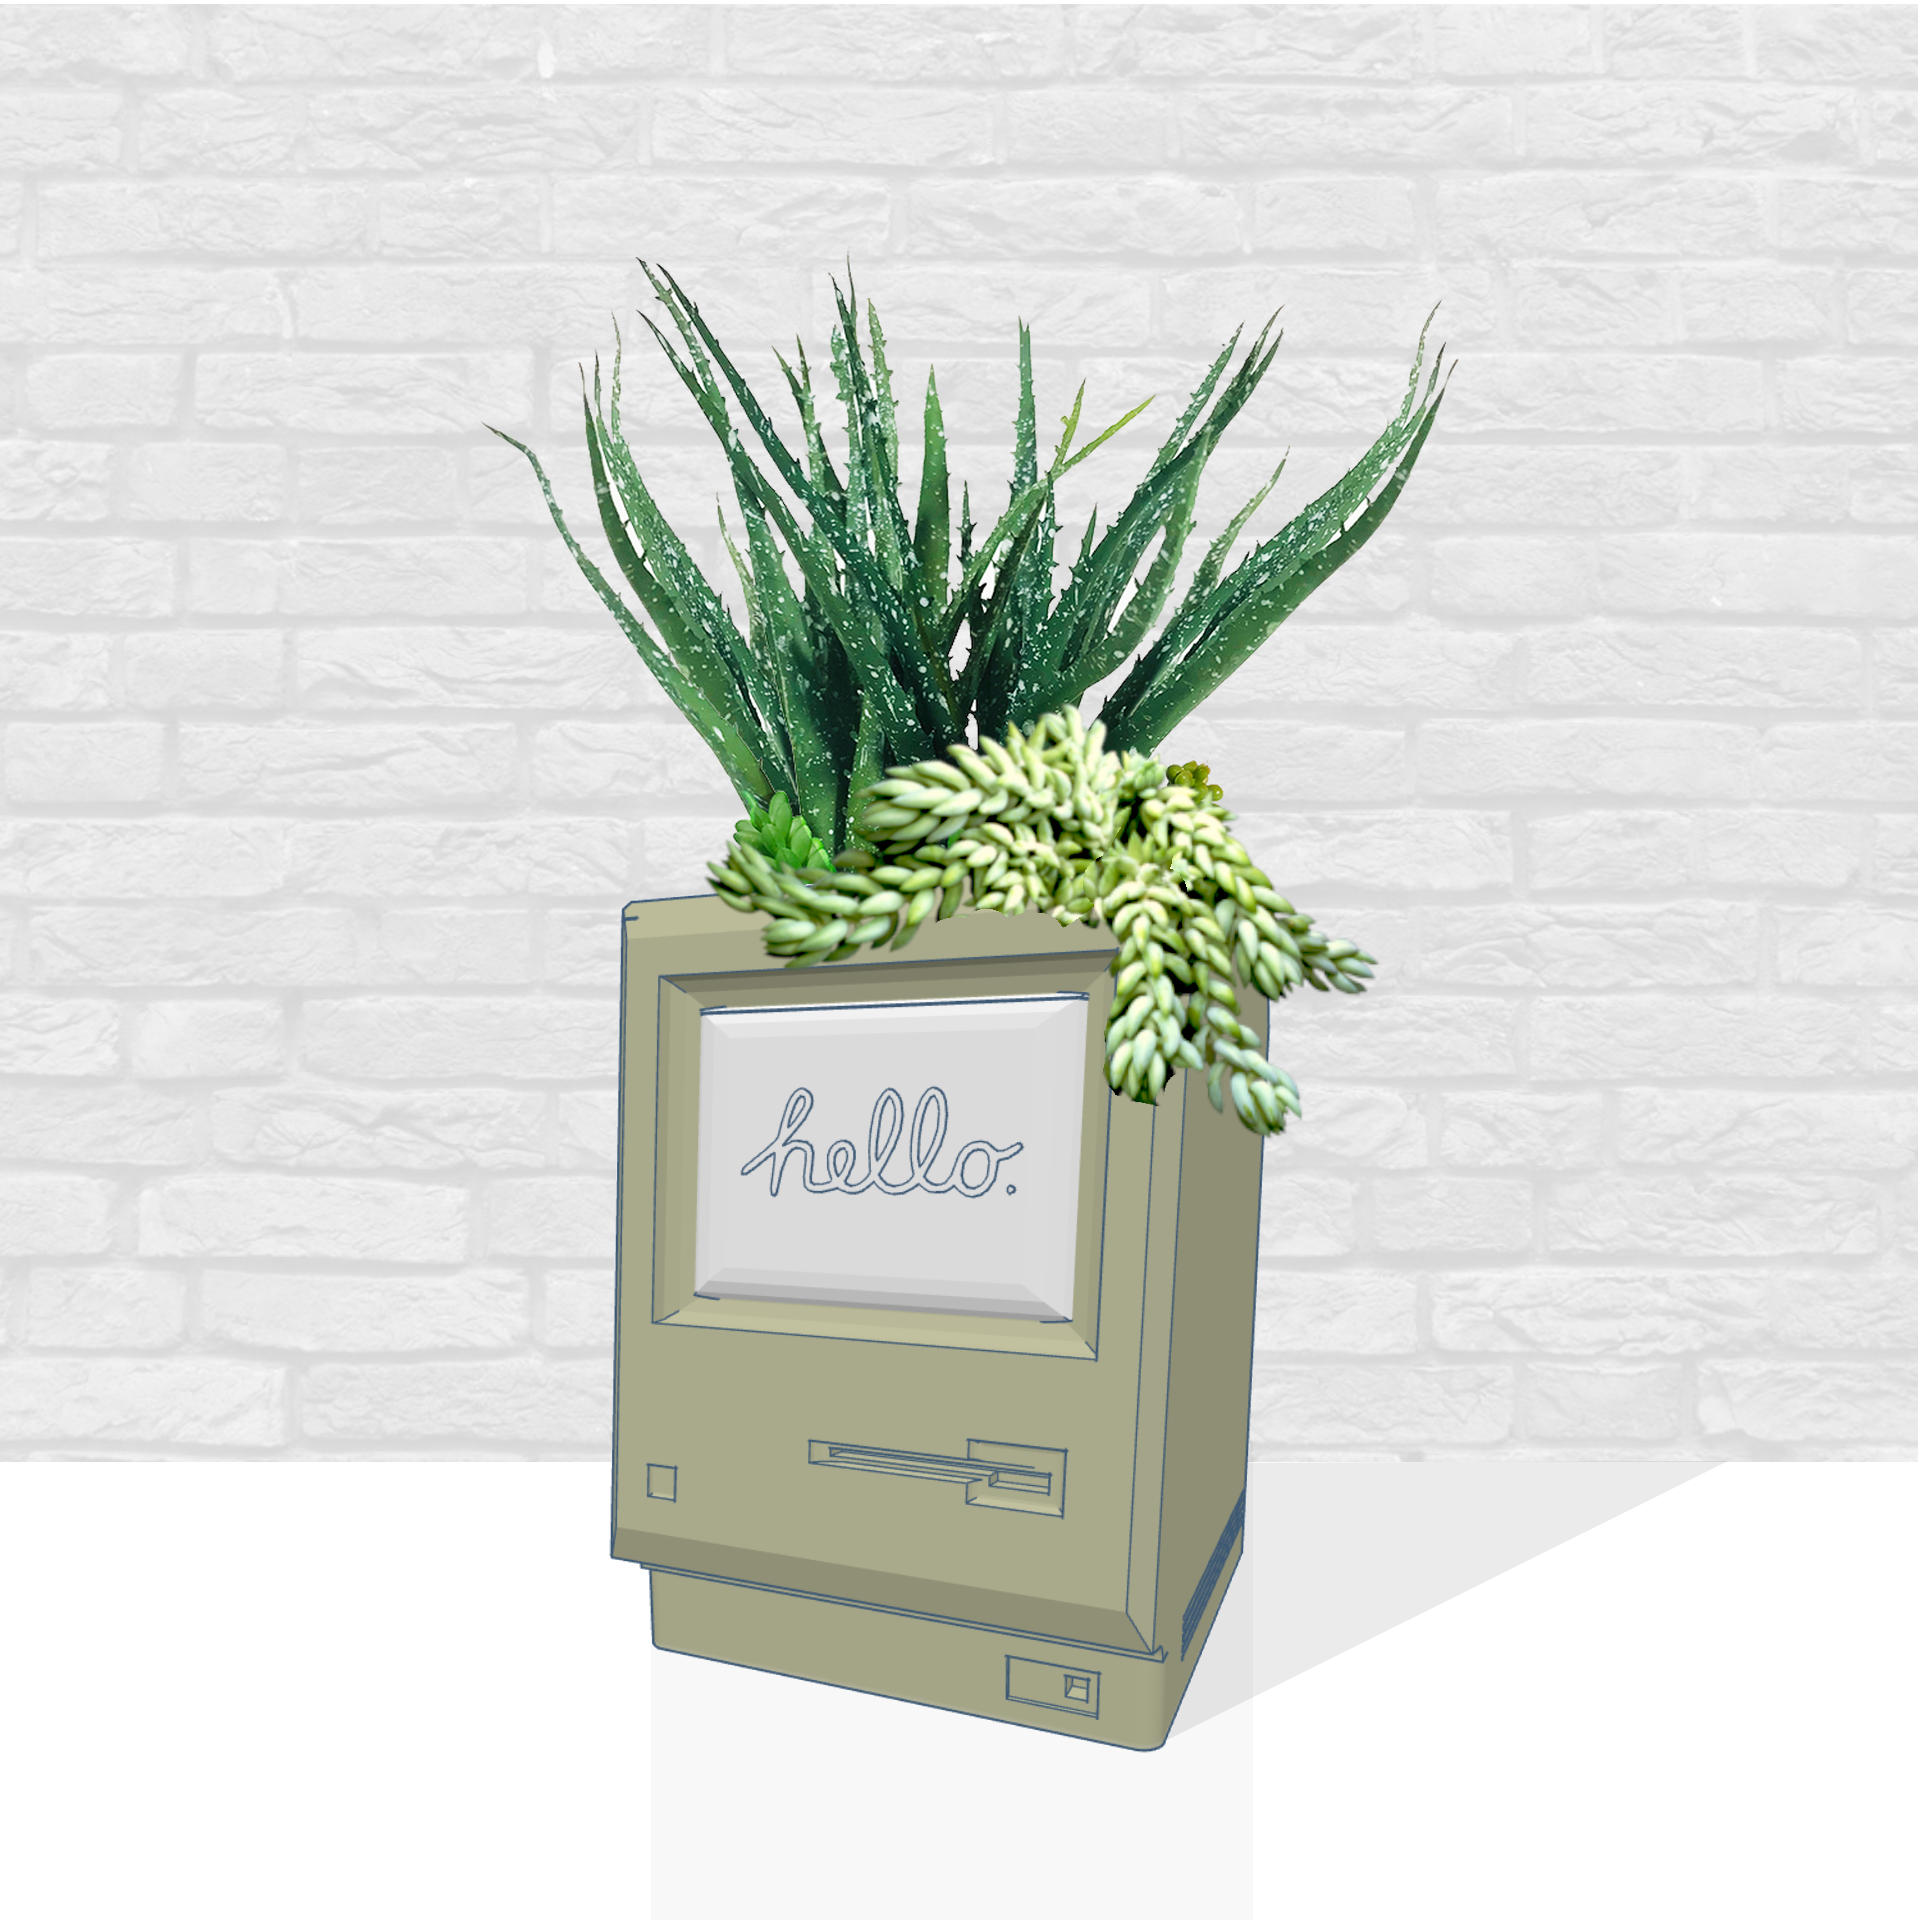
This Instructable will show you how to 3D model a planter shaped like a vintage computer. In this case, one inspired by the classic Apple Macintosh 128k.
To be more precise, this Instructable will show the steps and principles I used as somebody trying Tinkercad--and 3D modeling in general--for first time to create this project. By following these principles and by utilizing other Tinkercad tutorials on the internet, you too can use this beginner-friendly software to model anything you imagine!
Supplies
- Autodesk Tinkercad (https://www.tinkercad.com/)
Optional
- Inkscape (https://inkscape.org/)
- Physical References
Collect Your Reference Images
If you do not have access to an actual physical copy of the object you are modeling, you will need to find reference images. Here are some things to look for as you fire up your favorite search engine:
- Pictures from different angles;
- Pictures that show the object to scale compared to objects with known dimensions; or
- Websites that give the dimensions of the object.
Getting the Rough Shape
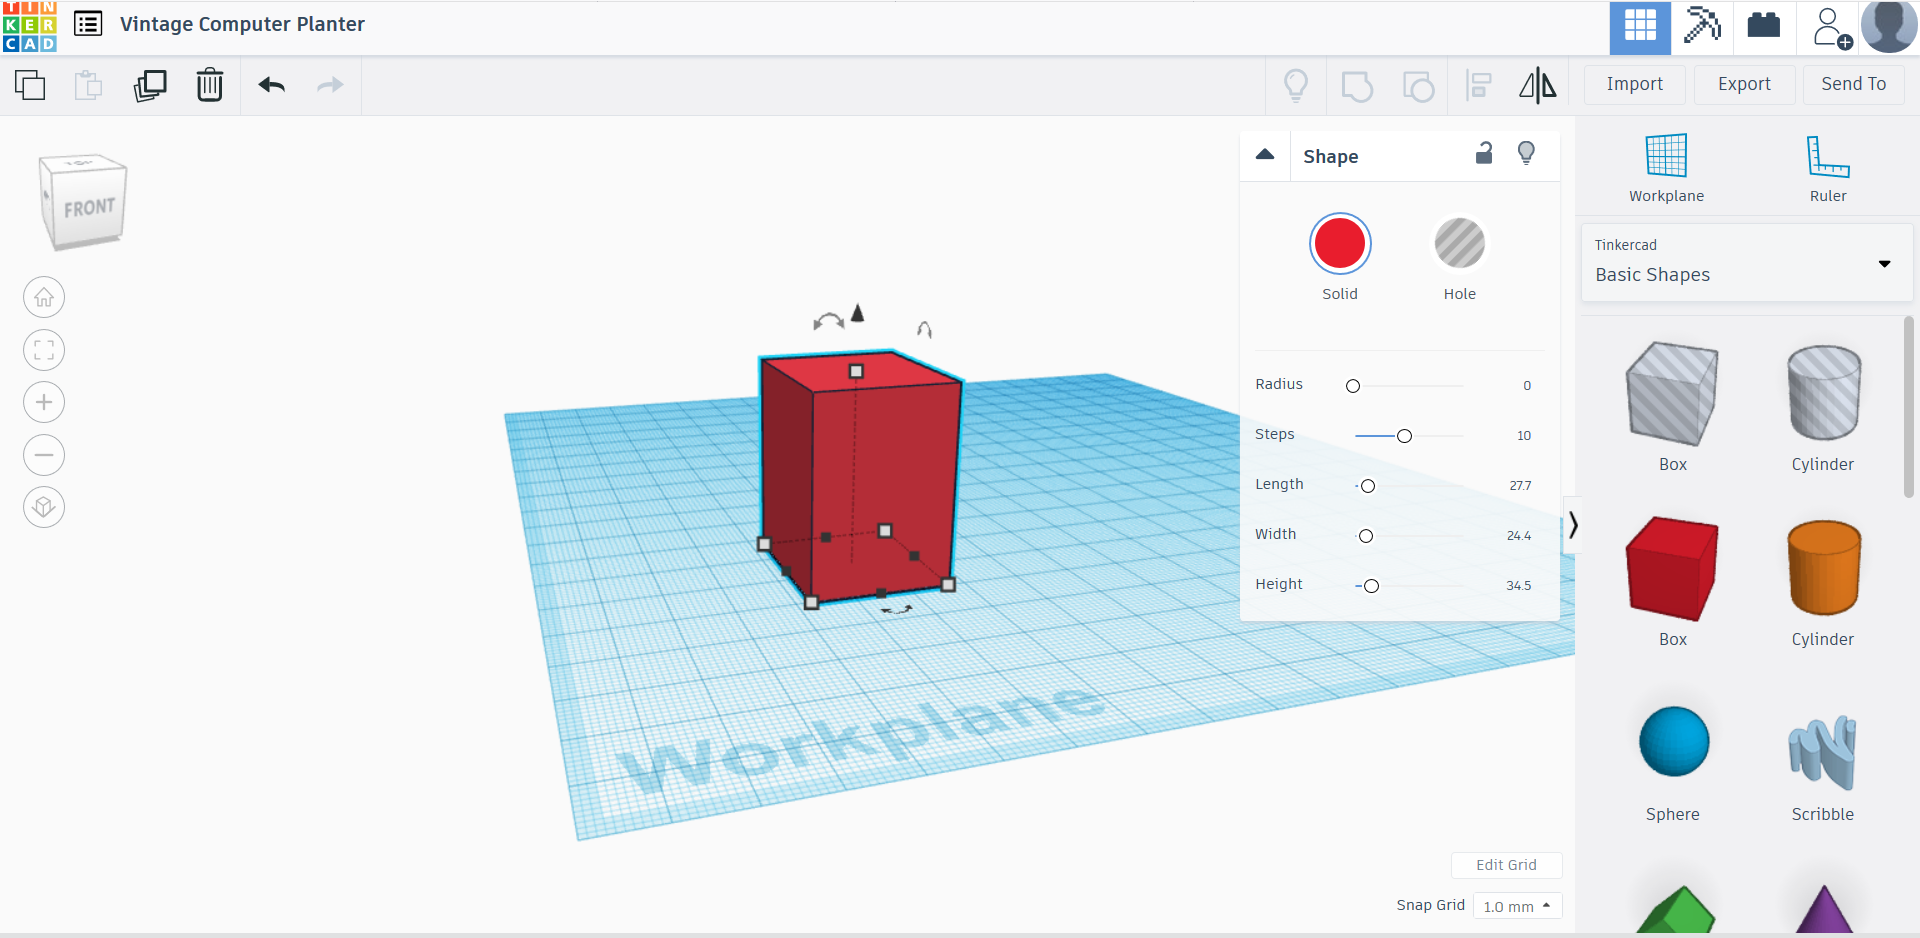
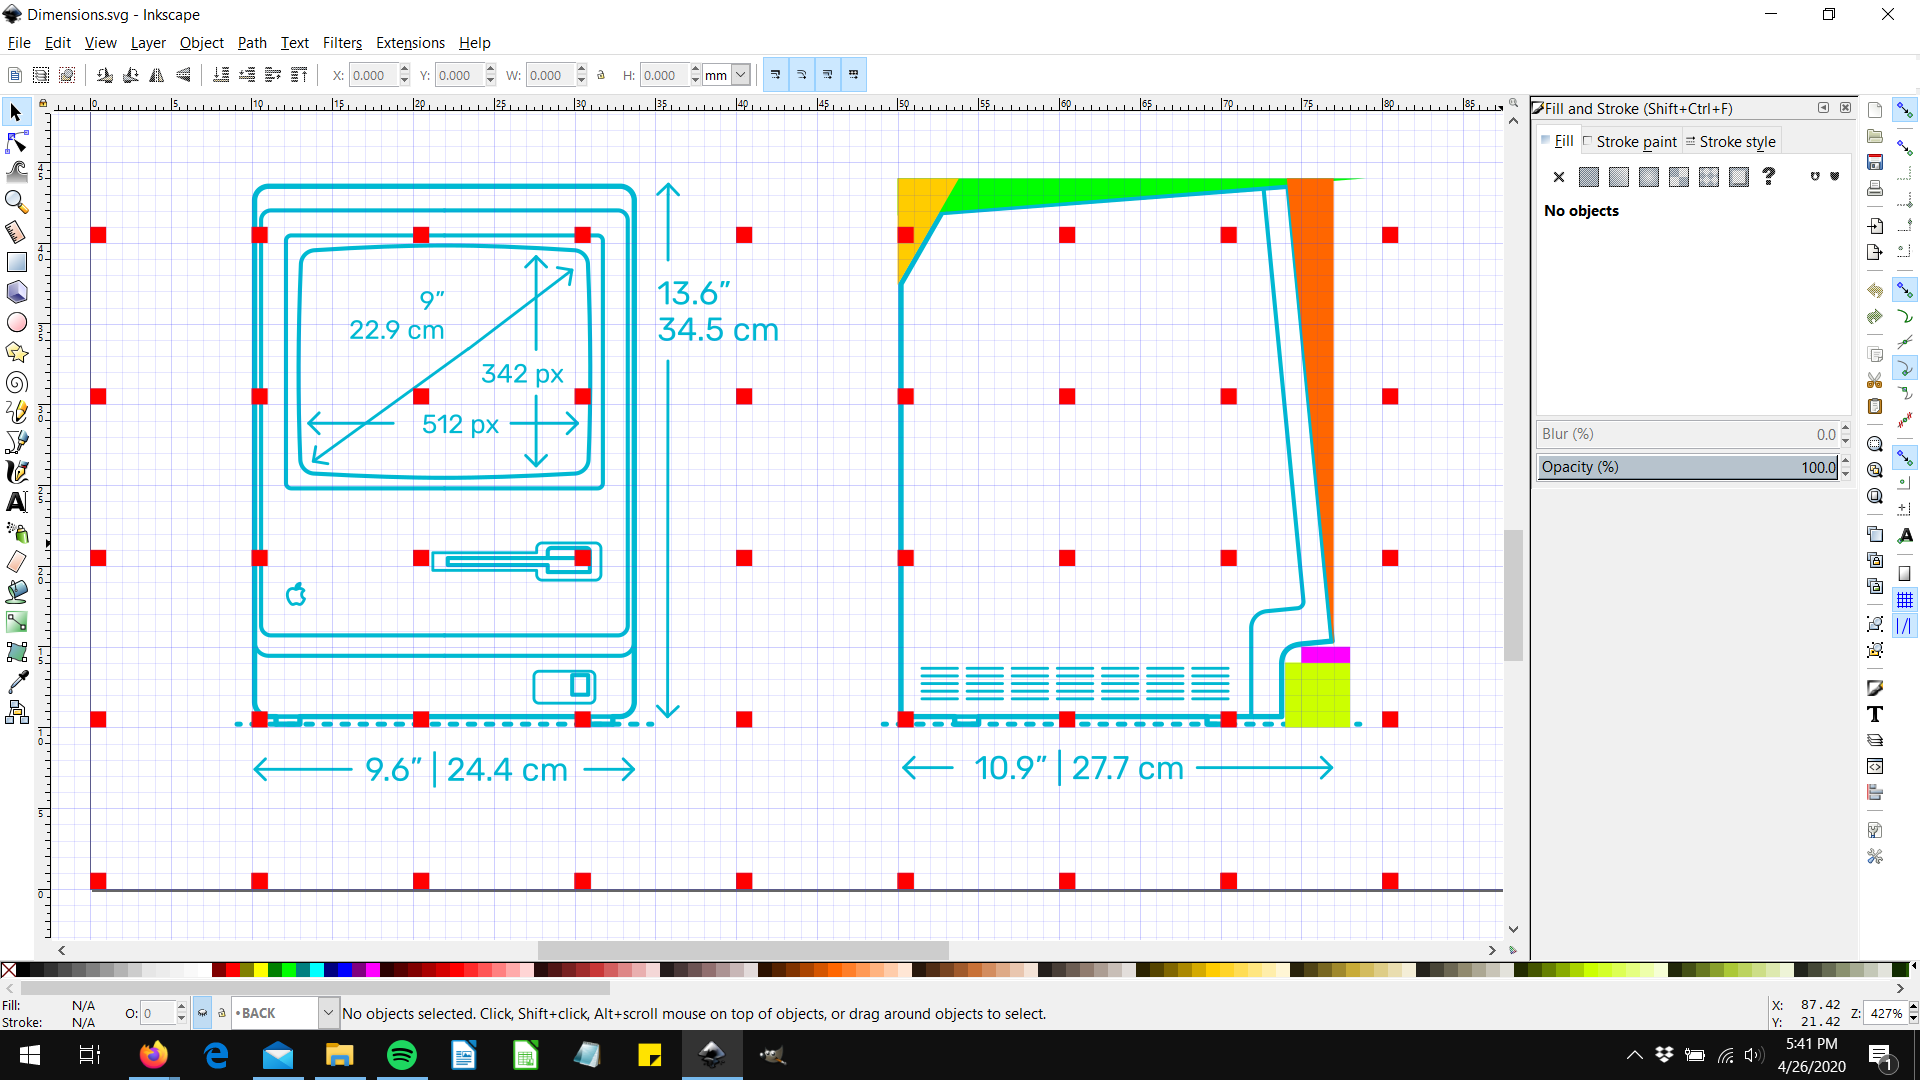
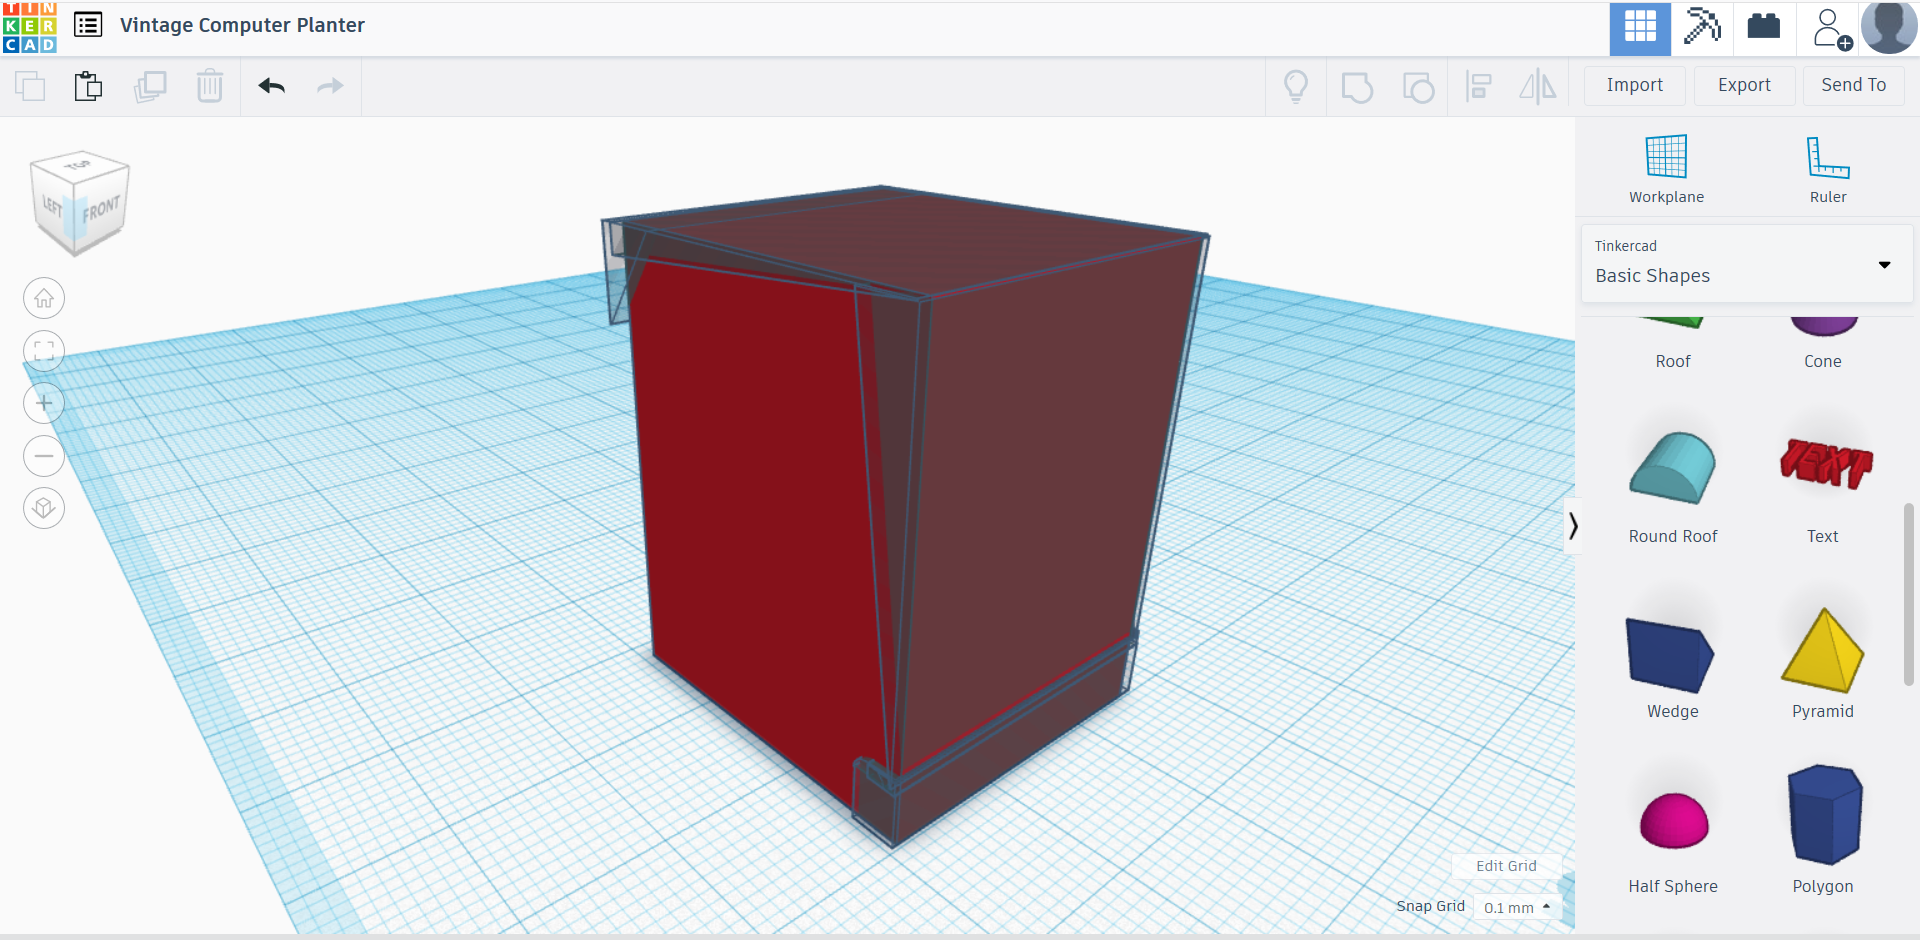
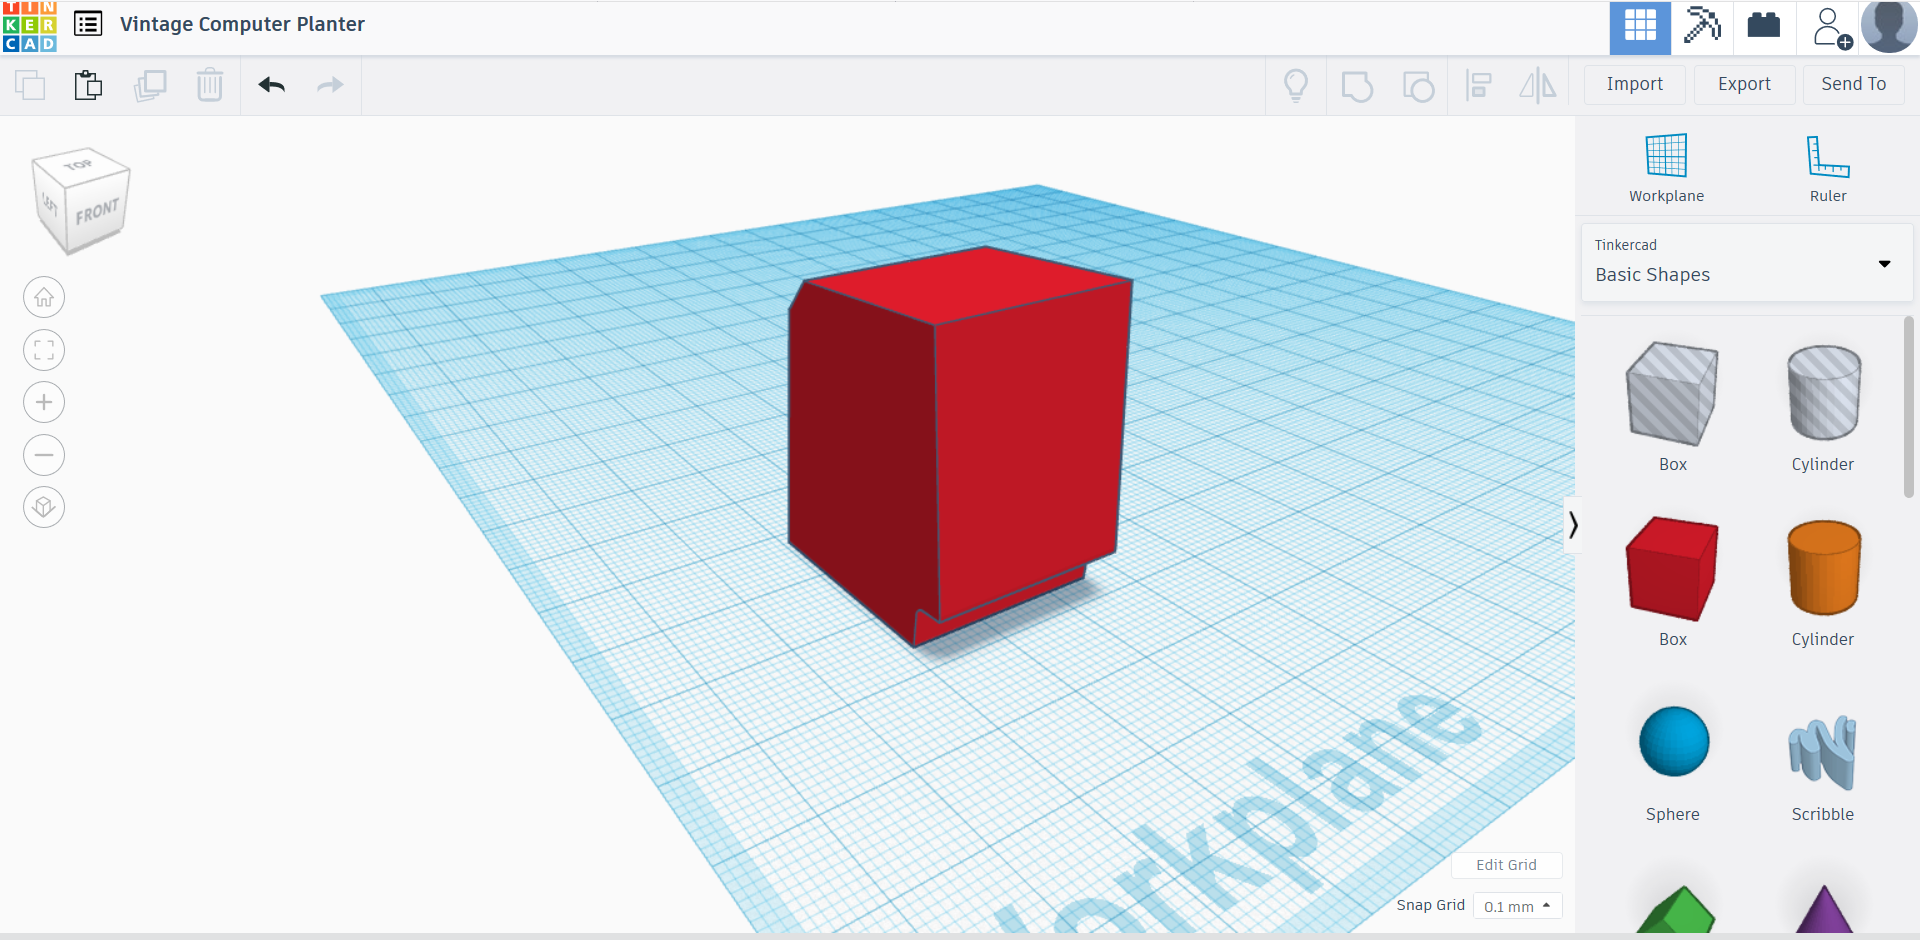
Once you have a good number of references, it is time to begin modeling. One of Tinkercad's beginner-friendly features is that you have a select array of shapes to play with.
The first step is to create a shape with the overall dimensions of the object. For the classic Apple Macintosh 128k, the entire computer fits in a rectangular box with the following dimensions: 34.5cm x 24.4cm x 27.7cm.
Some tips I found handy:
- Don't worry about the final dimensions of your physical object just yet because the software will allow you to easily re-scale the model when you are done. For example, since the Tinkercad default workplane is 100x100mm made up of 1x1mm squares, for this project I used the scale of 1cm = 1mm.
- Since you are making an artistic interpretation and not an exact scale replica, feel free to fudge the dimensions a little bit as a beginner to make things easier. For example, I rounded up the dimensions to 35 x 25 x 28.
When you have the overall dimensions, start "chipping away" at it with smaller shapes. For example, the various slopes of the computer can be shaped by using a number of wedges and other shapes. Combine them with your large box to get the rough shape of the computer.
Create and Assemble the Details
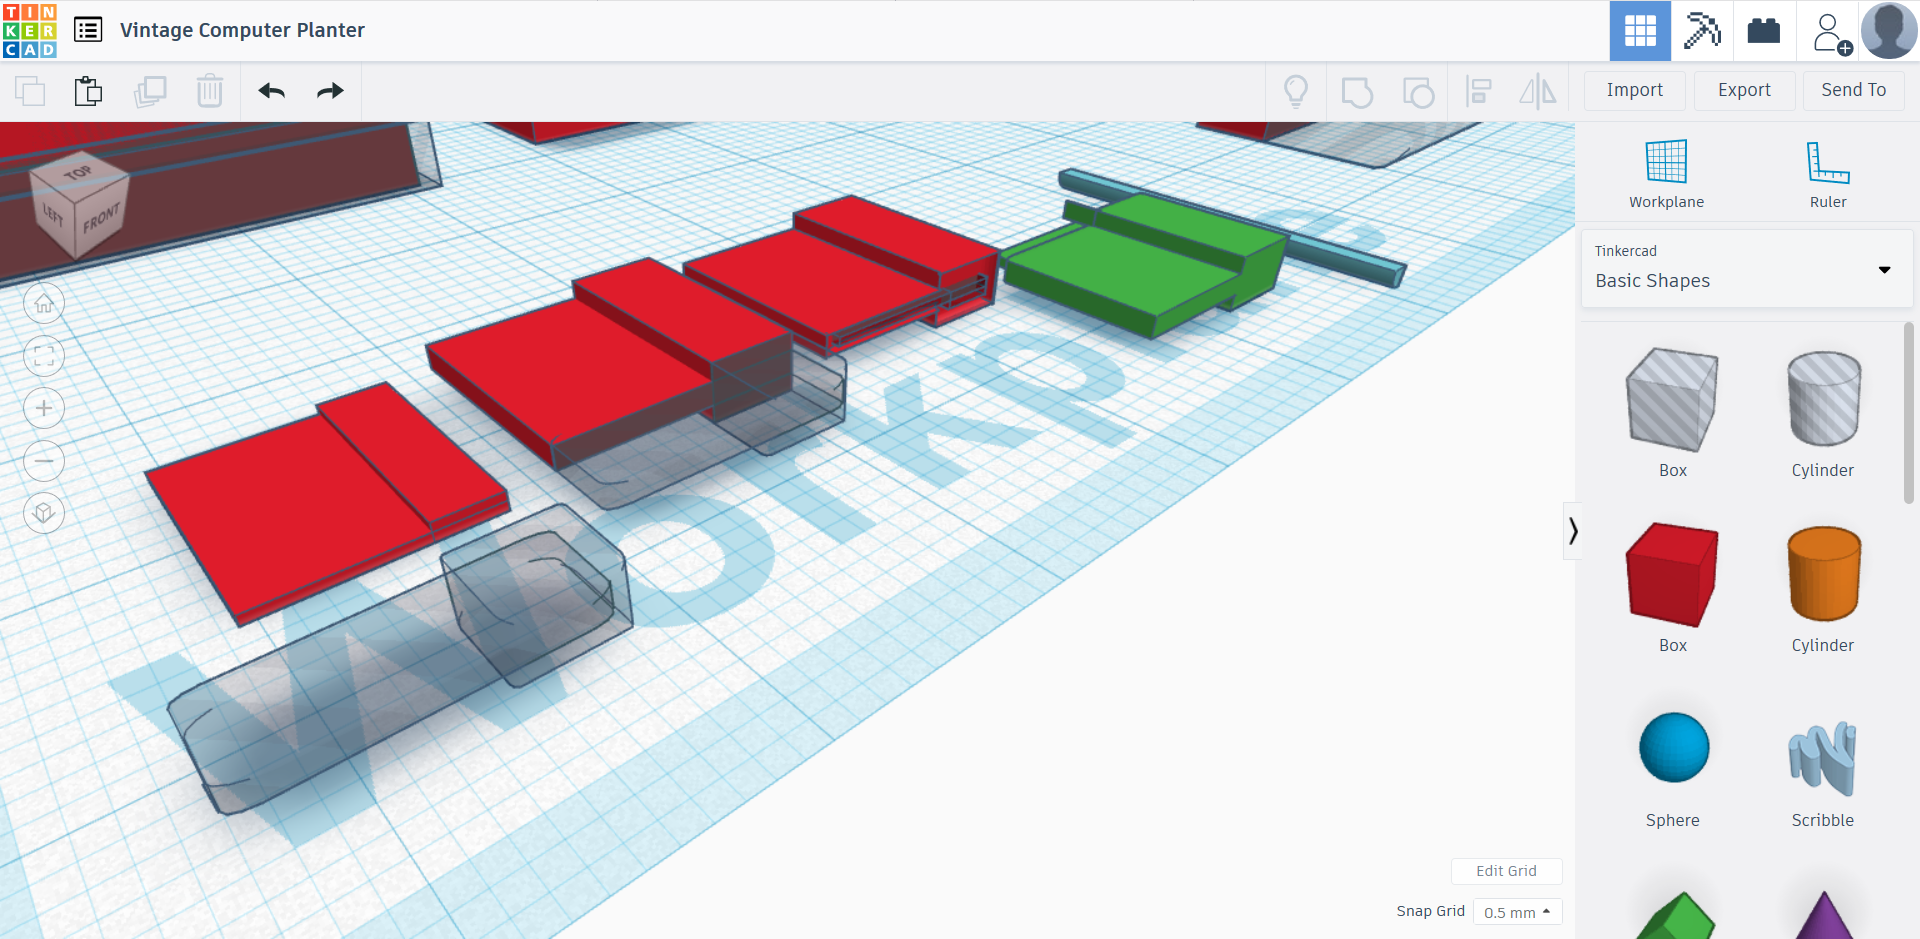
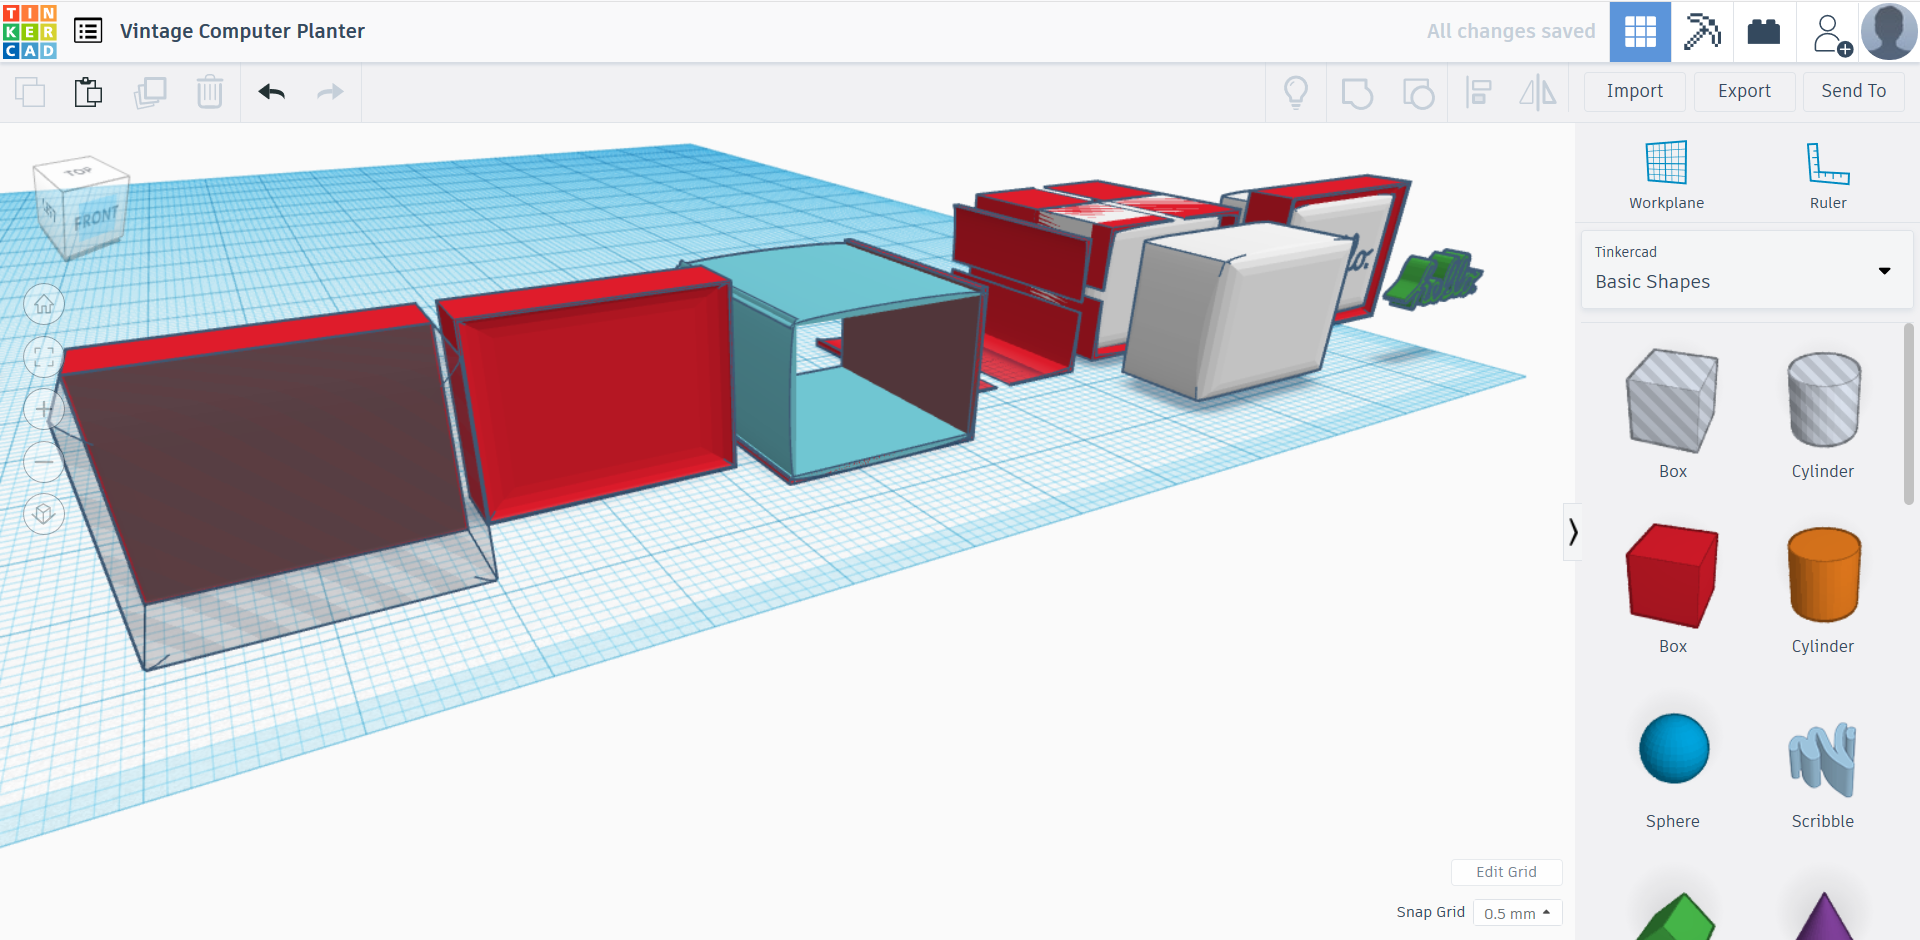
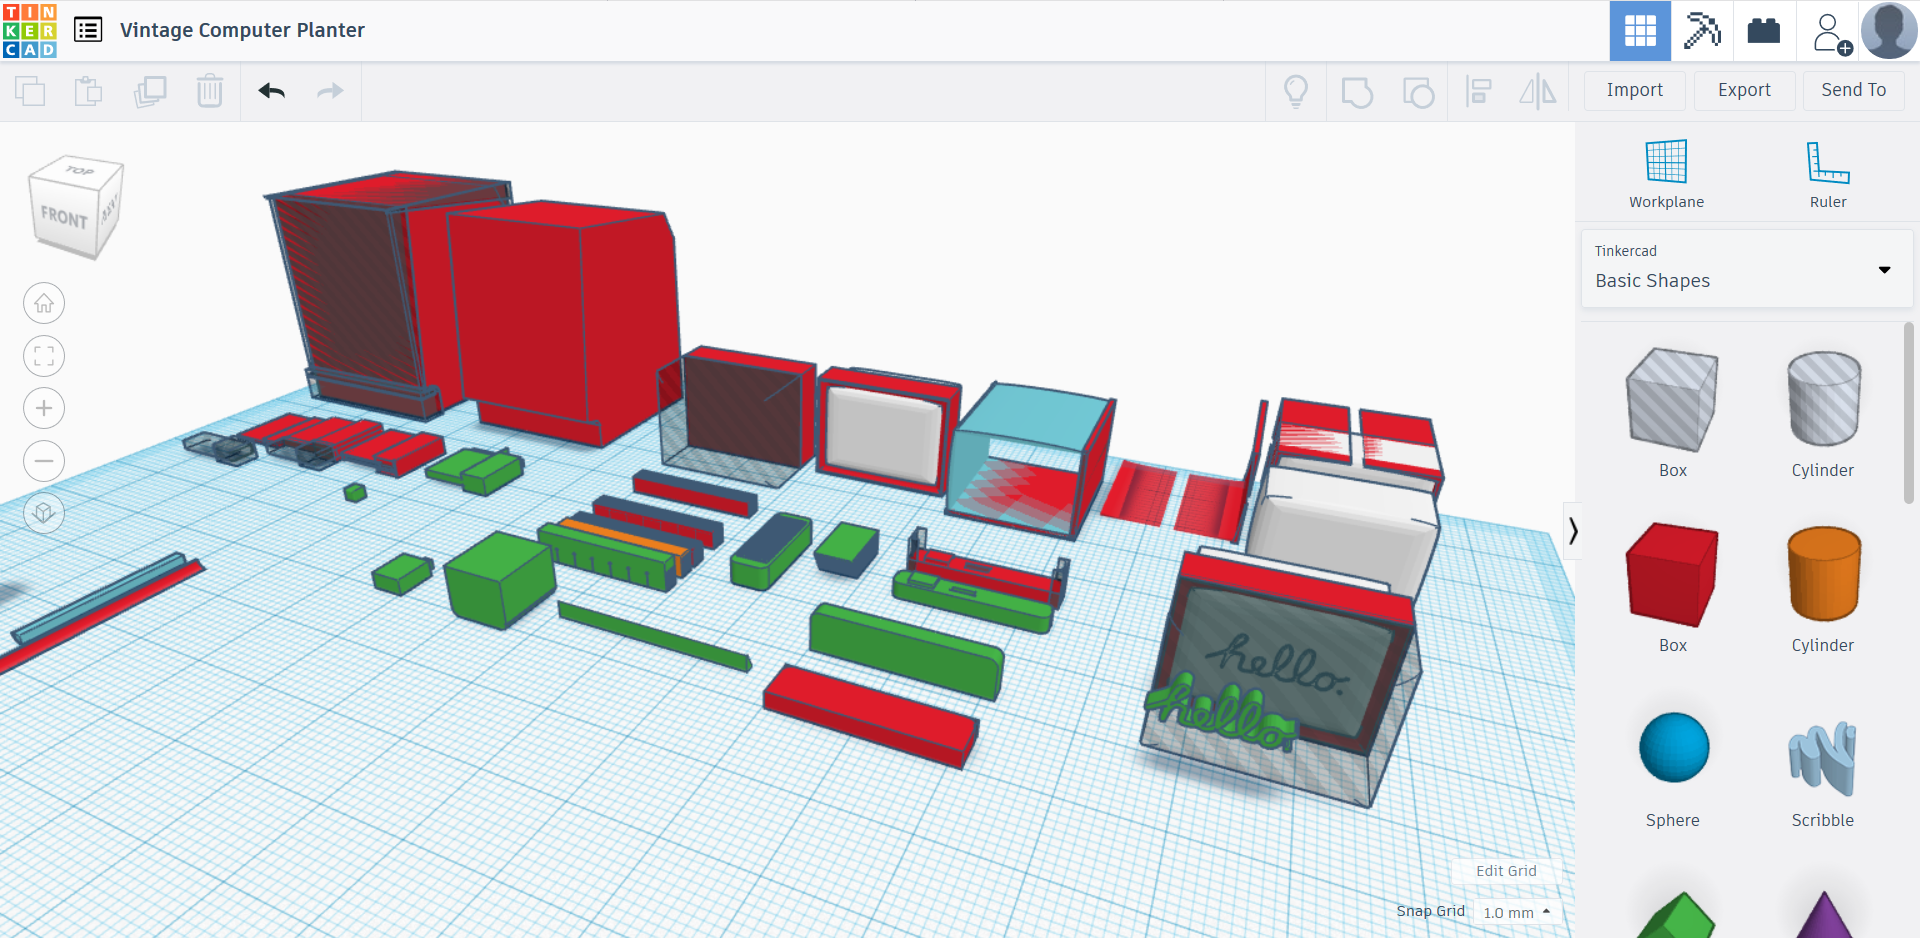
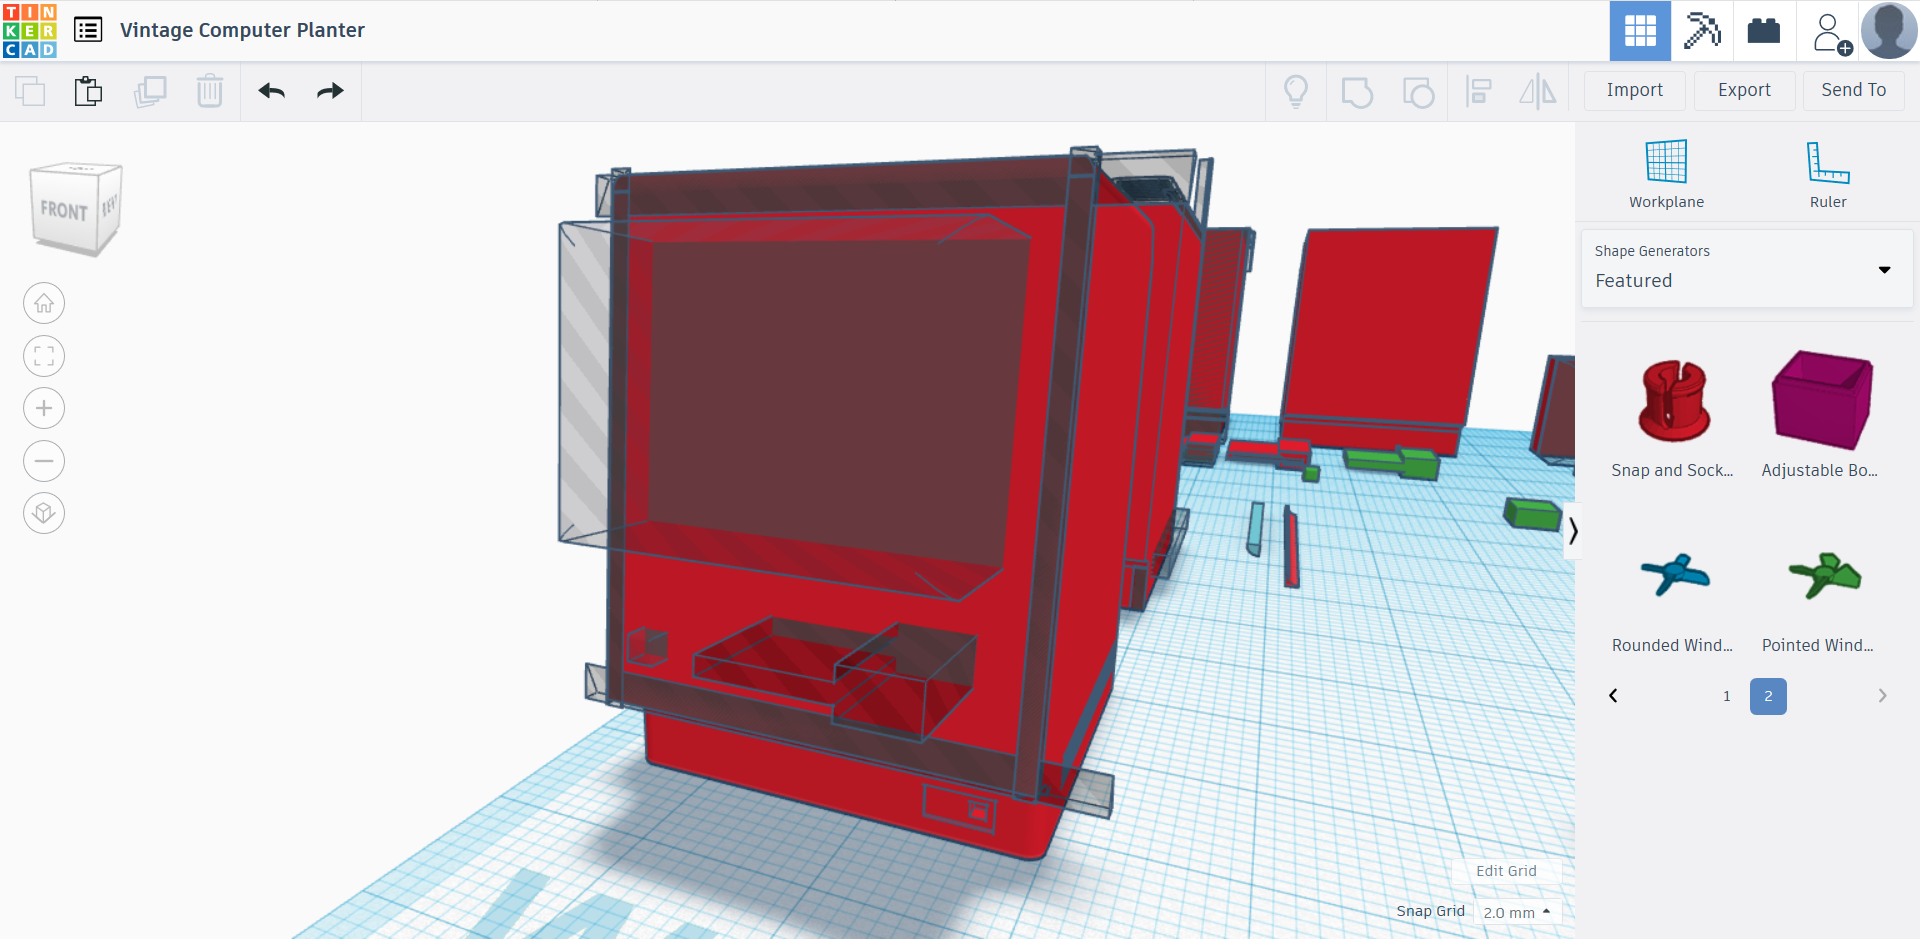
Once you have the rough shape, it is time to start modeling the details. You can generally create details in one of two ways:
- details that you can "stick" on the shape (as if you were sculpting something out of clay and adding more clay onto your sculpture), or
- "carving" or "stamping" details out of the shapes you have already (as if you were carving something out of stone or wood and removing the excess material).
By using the different shapes available in Tinkercad in these two ways, you can create all sorts of complex shapes. For example, as you can see in the attached pictures, the complex shape of the computer screen is created by:
- Creating a rectangular box the size of the screen + screen housing;
- Stamping out the screen housing bezels with a beveled polygon;
- Creating a stamp of this shape;
- Using several shapes to create a stamp of the curved edges of the screen glass;
- Stamping that shape onto a smooth beveled polygon to create the curved screen glass;
- Creating a "hello." stamp by importing a "hello." drawn in Inkscape;
- Stamping the "hello." shape into the screen;
- Setting the glass part of the screen into the rough computer shape and placing the screen housing stamp over it so that when this piece is taken away the screen glass with the "hello." message is revealed.
Depending on the amount of detail you decide to include, this step might take some time. But remember, it is your artistic choice about how much detail to include--sometimes less is more!
A tip I found handy:
- Make copies of the shapes you use to create details--you might end up using certain elements over and over again.
Finished!
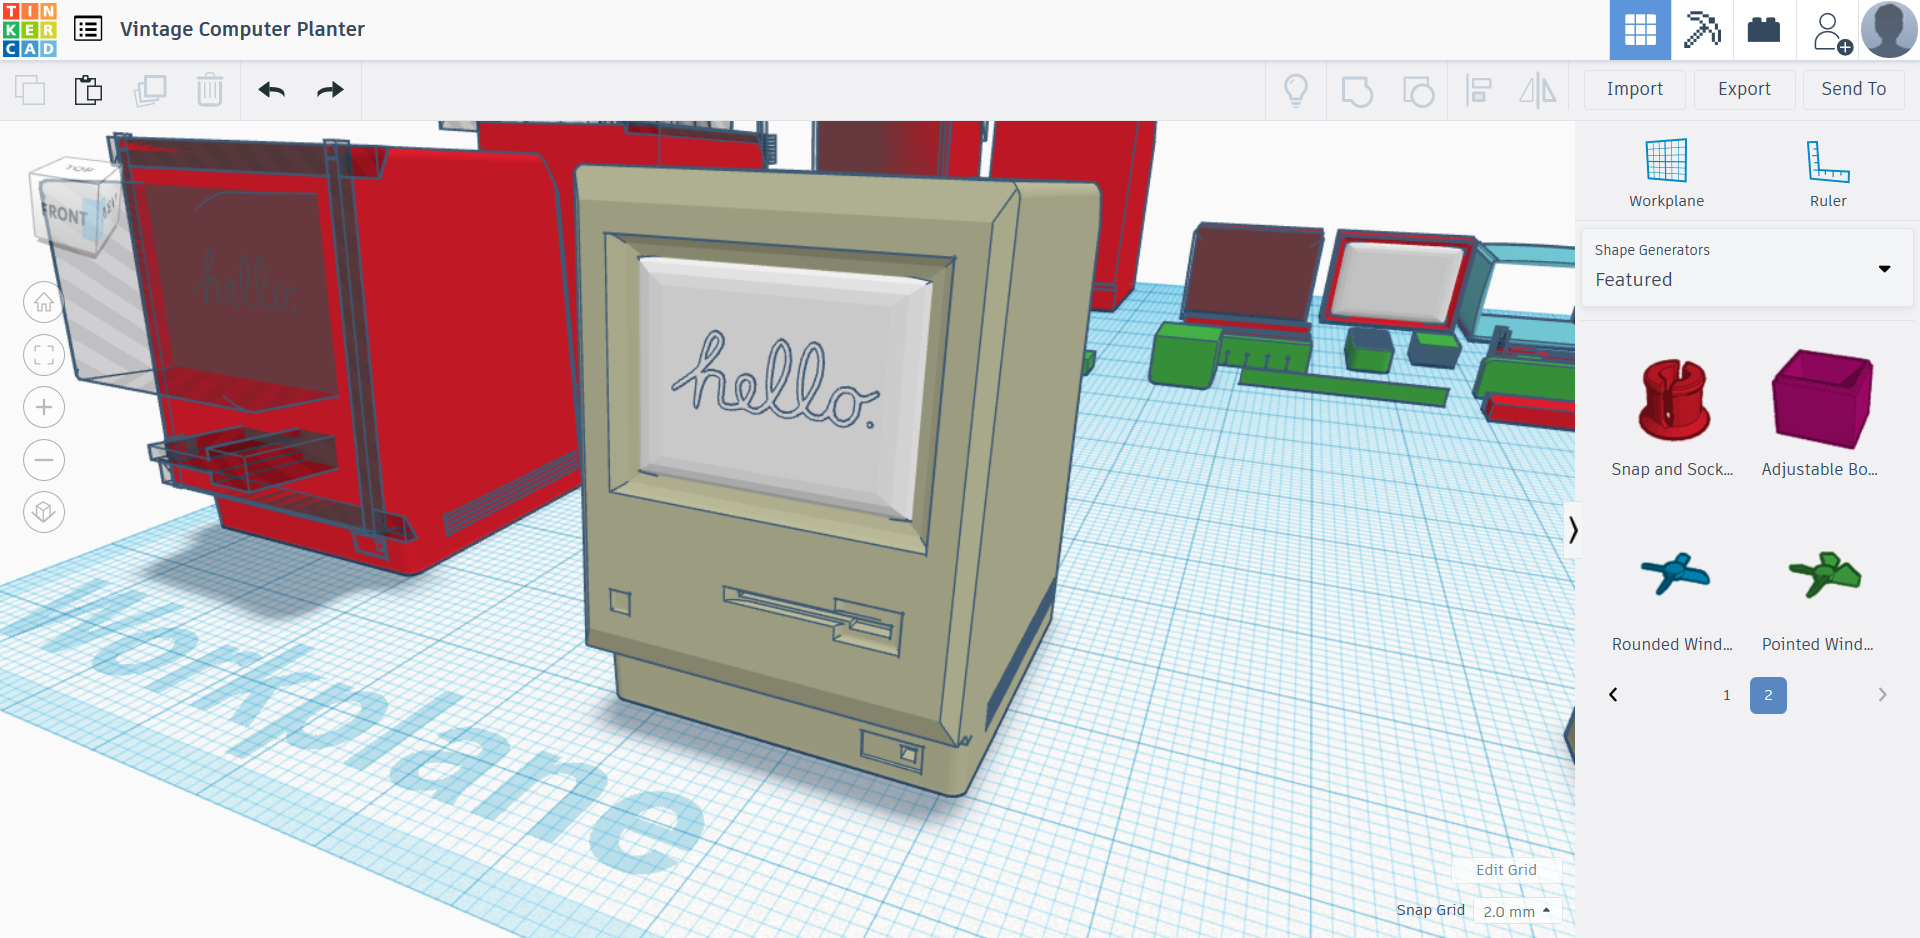
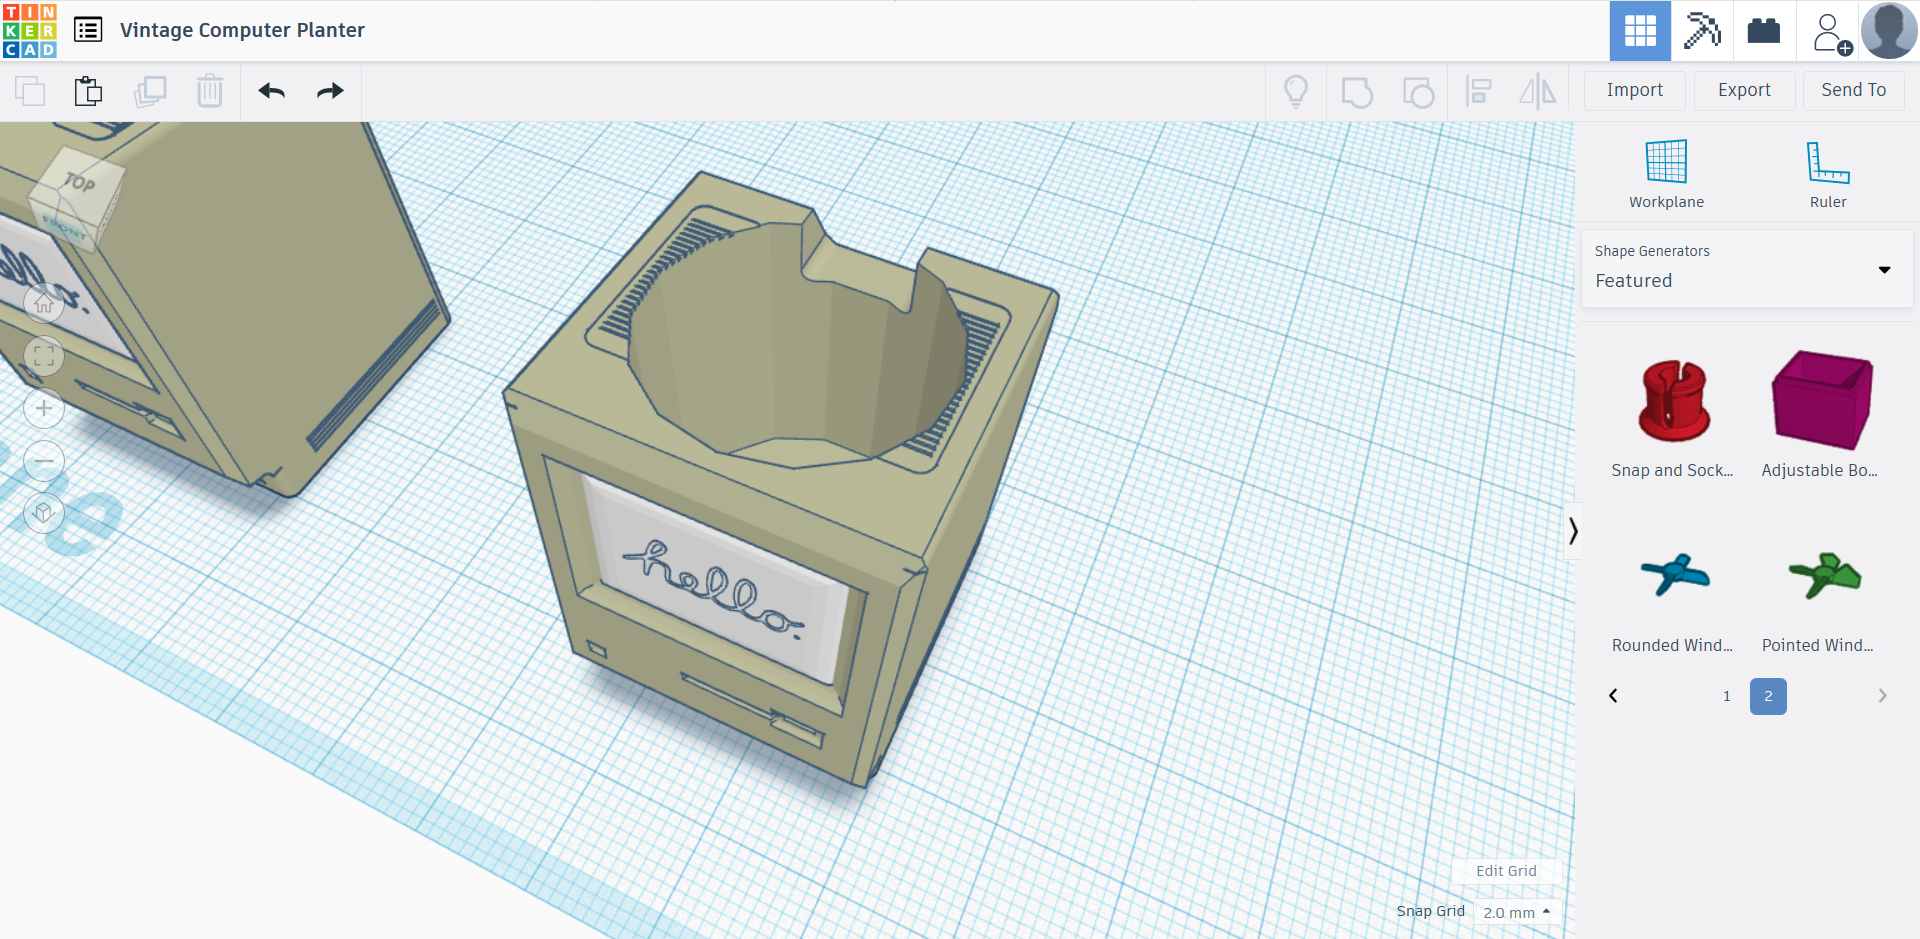
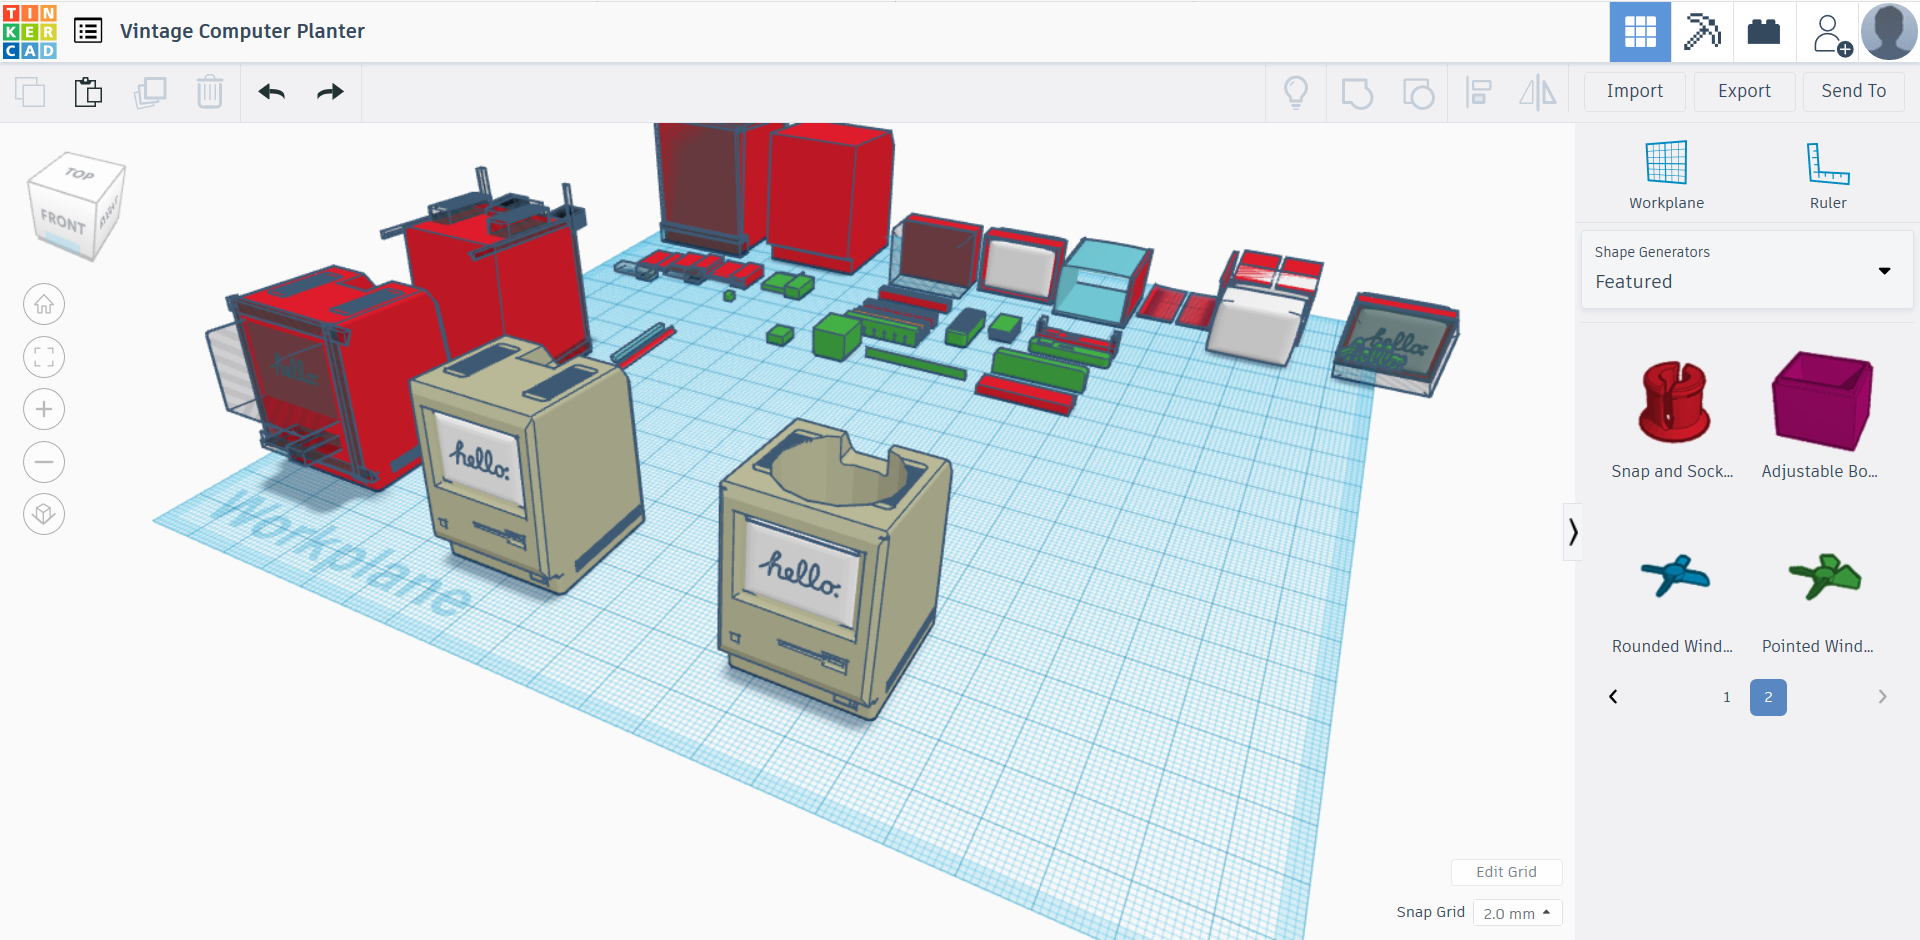
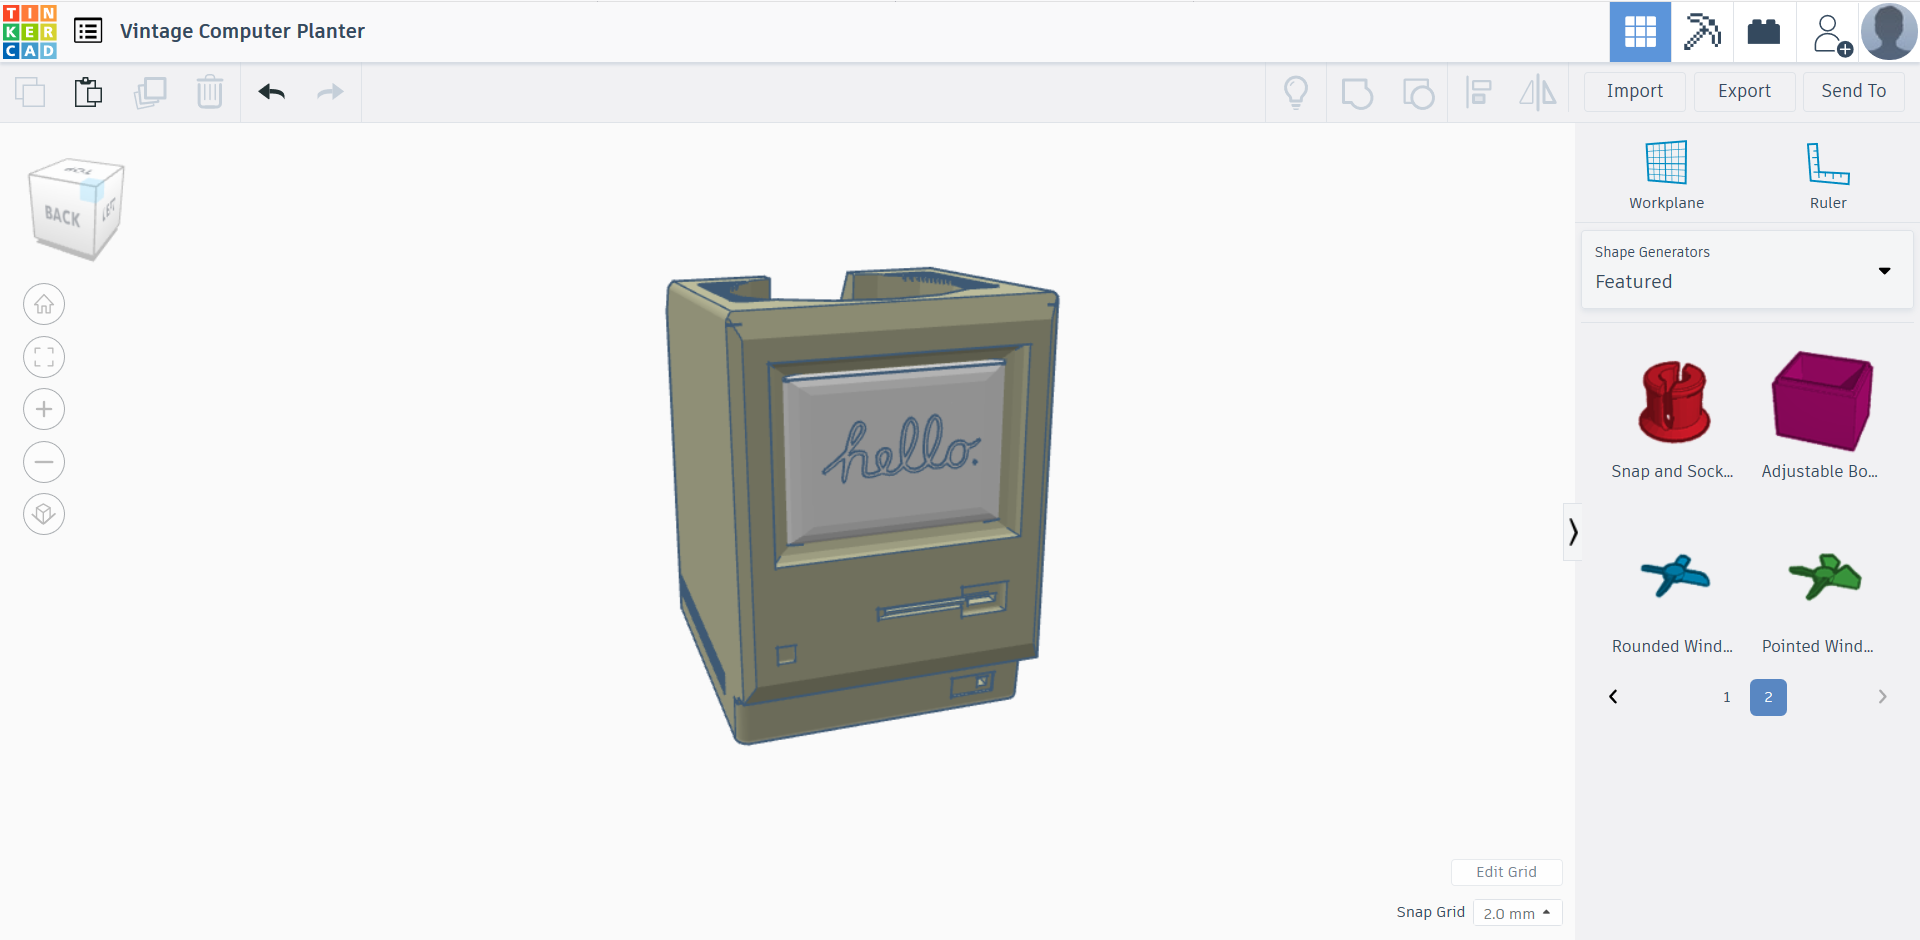
Once you have stamped our your details, you should have a completed 3D model of a Macintosh 128k computer. Add in a cylinder hole on top of the computer (and maybe a drain hole out of one of the "ports", if you plan to place your plant directly in the planter), and you have yourself a planter! There are only few last things to do before hitting "print" on your 3D printer:
- Delete any extra items you do not want printed; and
- Scale the planter to the size you want.
You've done it!