3D Letter Cube
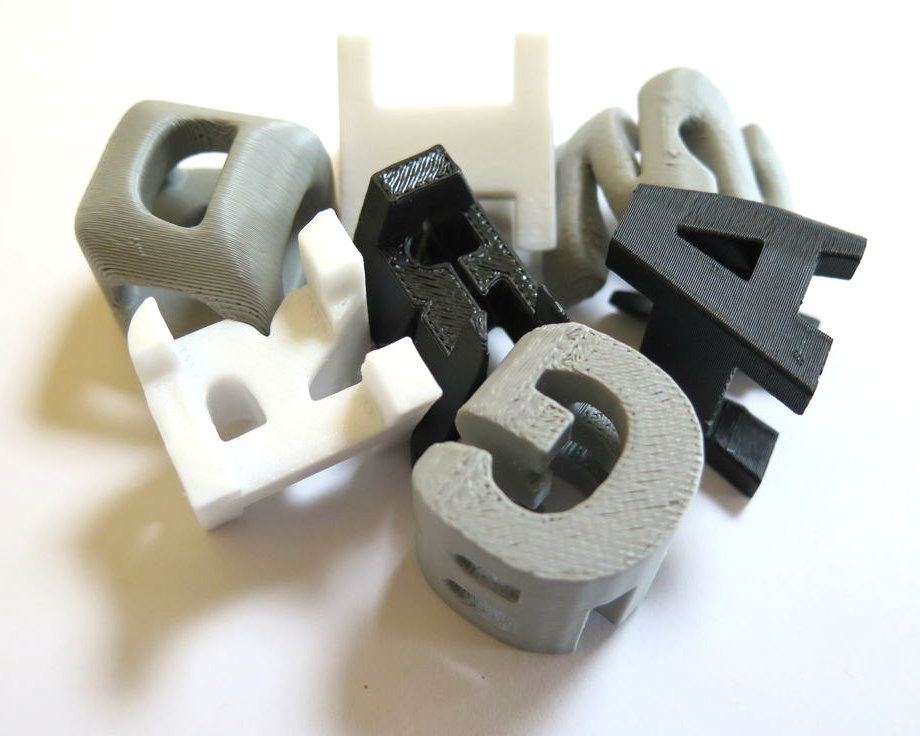
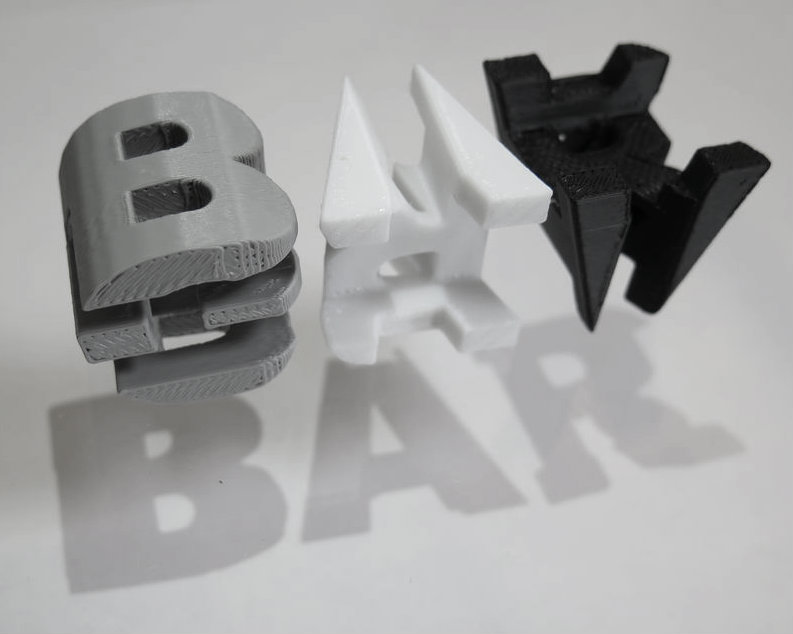
I made a simple 3D puzzle that has similarities to the cover of Douglas Hofstadler's cult 1979 book Gödel, Escher, Bach: An Eternal Golden Braid, which features two unusually carved cubes whose shadows spell out GEB and EGB. It occurred to me that the software I'd used, TinkerCad, could perform the same trick with any shape and that TinkerCad has a built-in character set. I tried using it to reproduce Hofstadler's GEB cube, and 5 minutes later I had the shape and an hour after that a small print. This tutorial will show you how to do it for any set of 3 characters or shapes.*
I recommend checking out 3D Modeling and Printing Your Own Shadow Cube by printeraction, which is very similar to this tutorial but more sophisticated as it eschews the TinkerCad character set and shows how to make a shadow cube from scratch using either TinkerCad or Fusion360.
* it's not quite that simple. Some letters don't play nicely together - if you try this trick with characters that are less substantial, it often won't work. So B is excellent but an unmodified I is terrible. The GEB cube is particularly good because all three letters do a good job of filling each face.
TinkerCad: Make Four Cubes
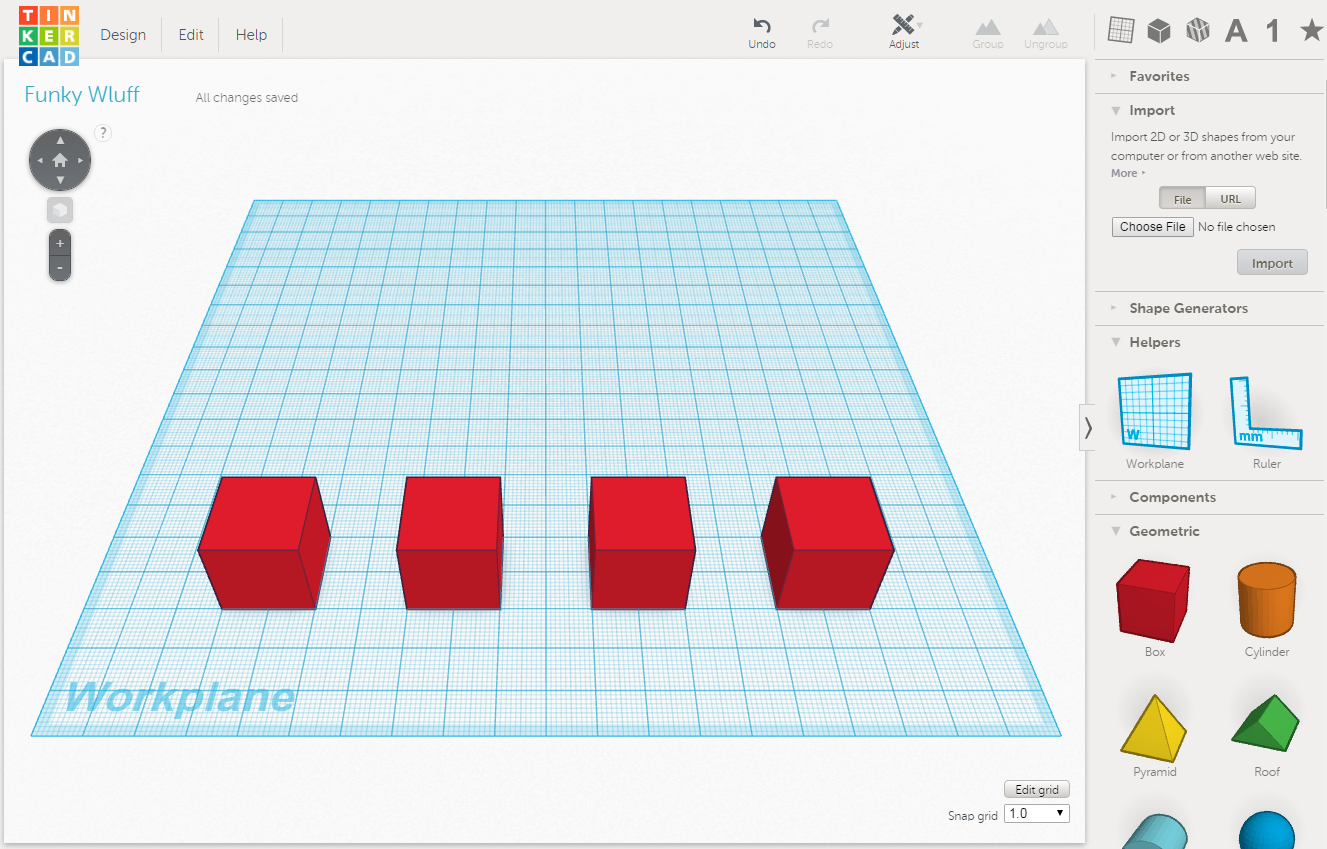
TinkerCad runs in your web browser and allows you to quickly create 3D plans. Go to https://www.tinkercad.com/ and sign up for an account. Click on "Create New Design".
Drag 4 red cubes on to the build area. They will all be 20 × 20 × 20 mm by default; that's fine for our purposes. You can always resize it later if you want it bigger or smaller.
Three Letters
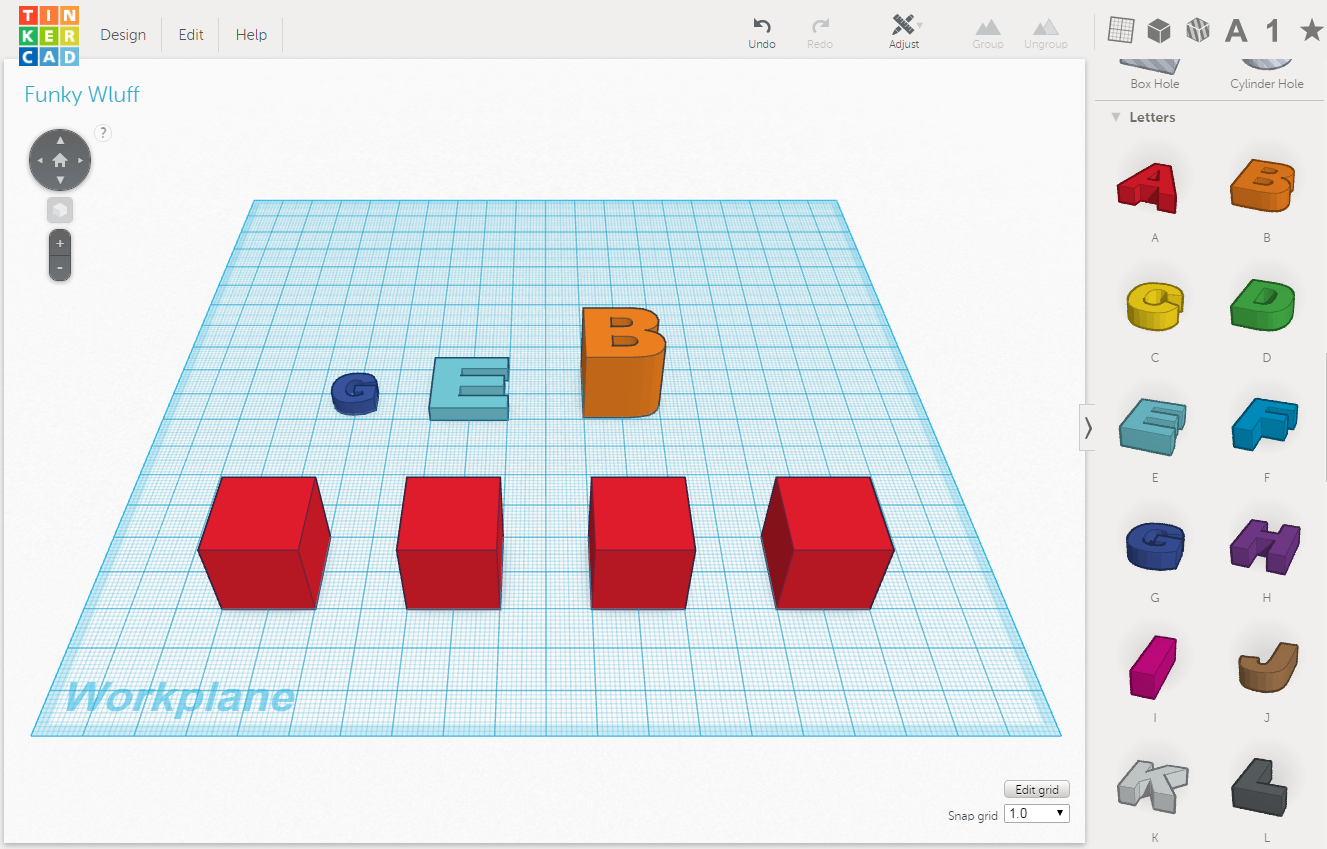
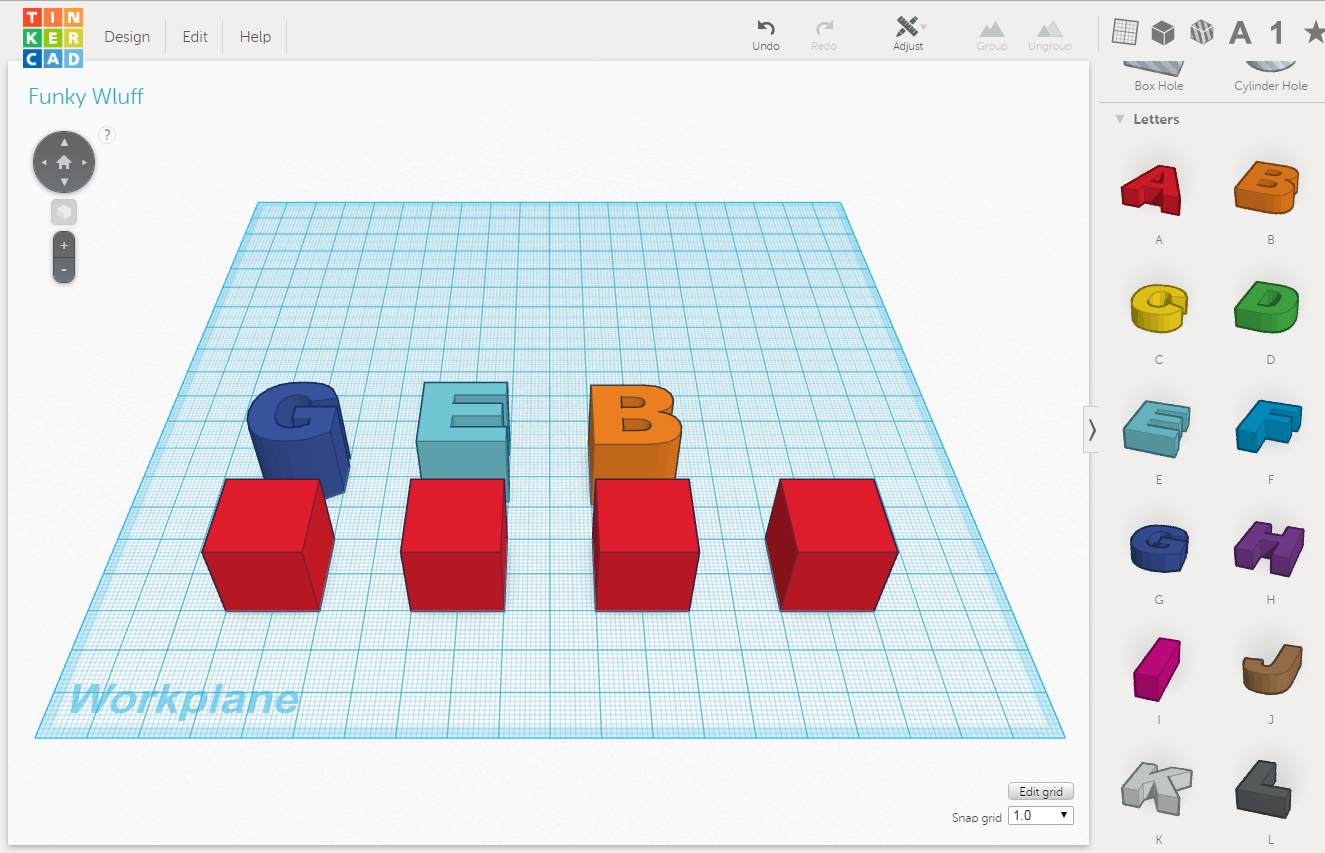
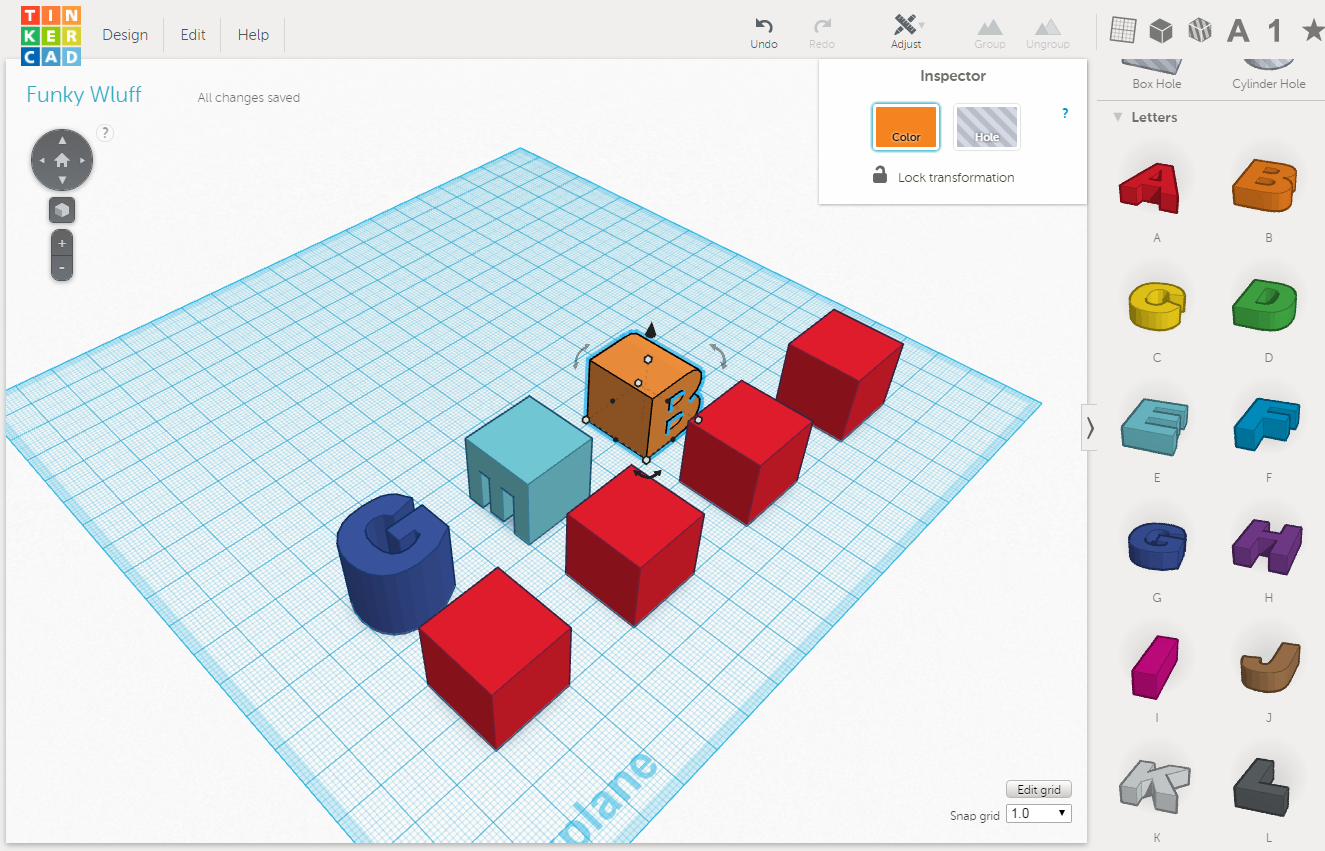
Drag three letters on to the build area. Enlarge them all to 20 × 20 × 20 mm.* Rotate one 90°, and another 90° in the other direction.
Note that when you resize an object, sometimes it will snap it to whole mm values, sometimes to fractions. Just resize the from the other side of the shape to make it behave.
* This operation won't really work for the I. If you want something with an I in it, I suggest custom-making one with large serifs (i.e. like an H turned on its side). The one in the public TinkerCad file at the end of this instructable has been custom made in this fashion.
Grouping and Holes
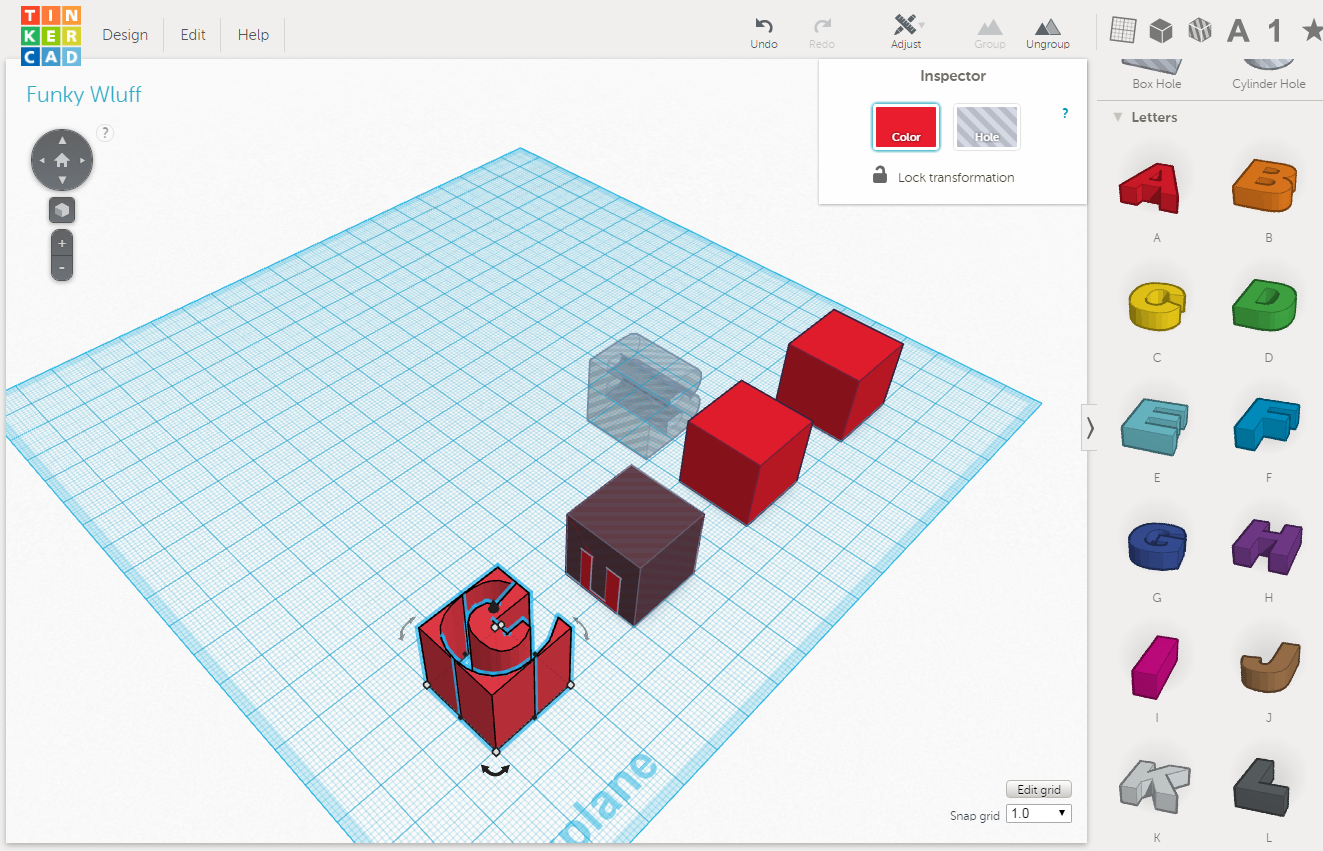
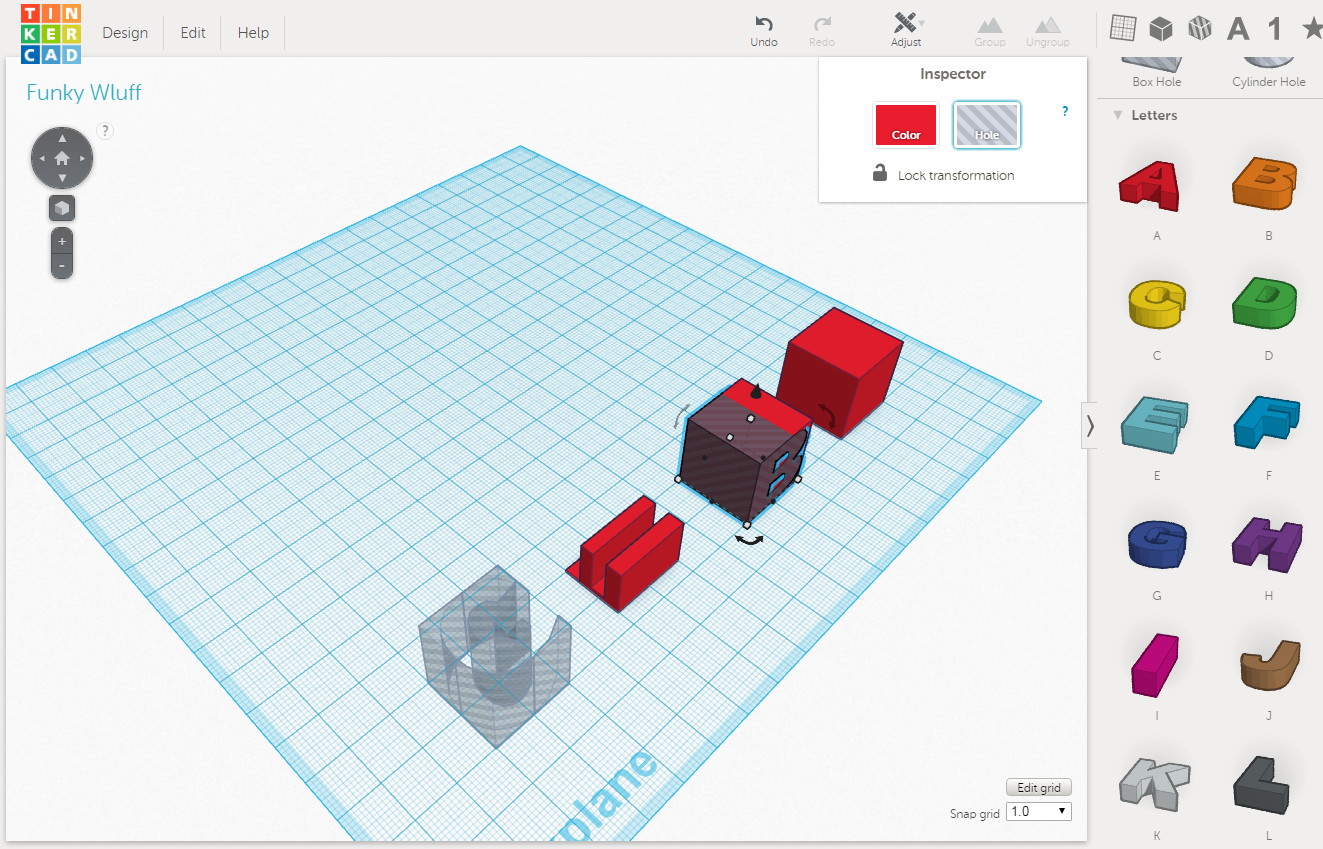
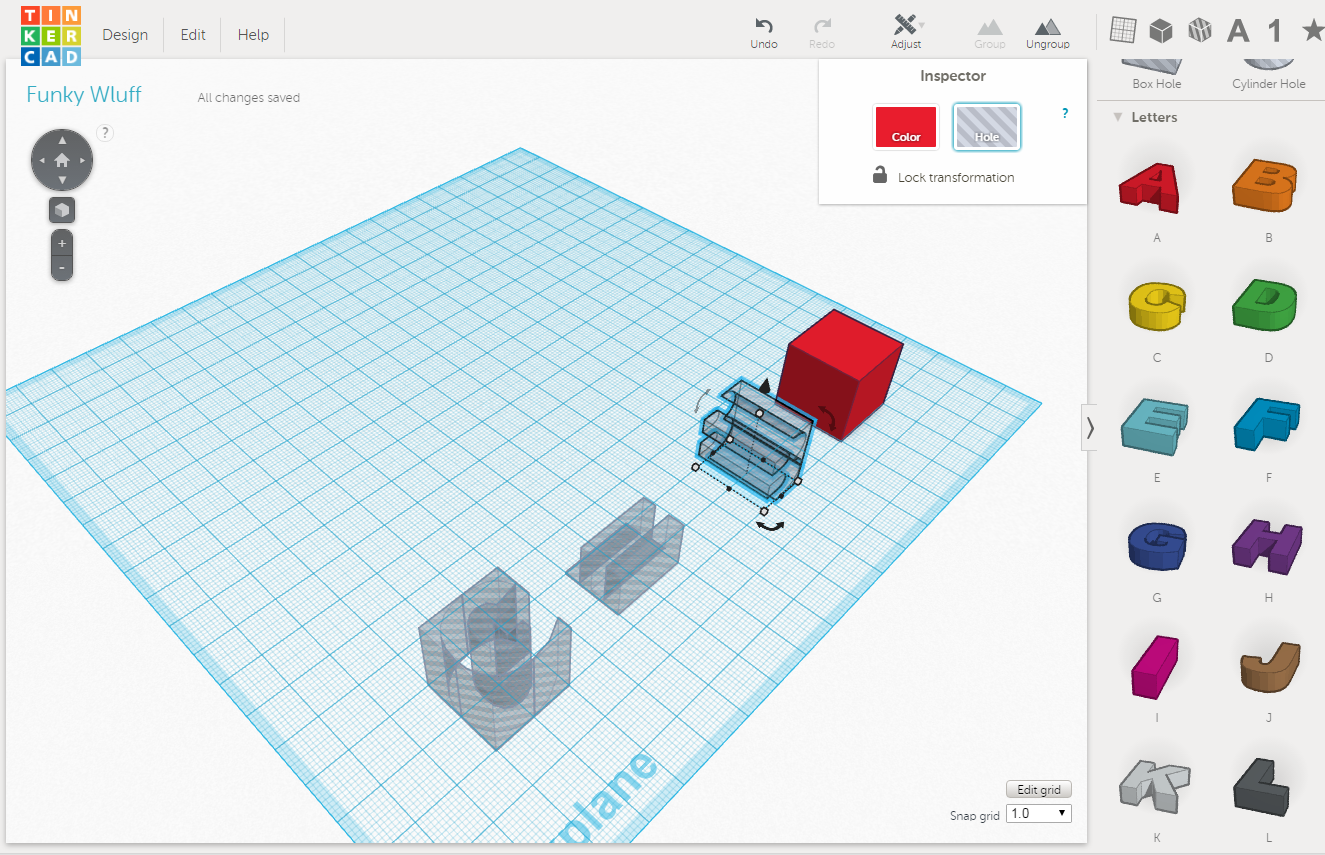
Click on one of your letters. Turn it into a hole, and drag it over to one of the red cubes so it occupies exactly the same volume. Select the cube and the funny shaped hole, and hit "Group". Then hit "Hole". You now have a shape that will remove the right volume from your final cube for that particular letter. Repeat for the other two letters.
Assemble
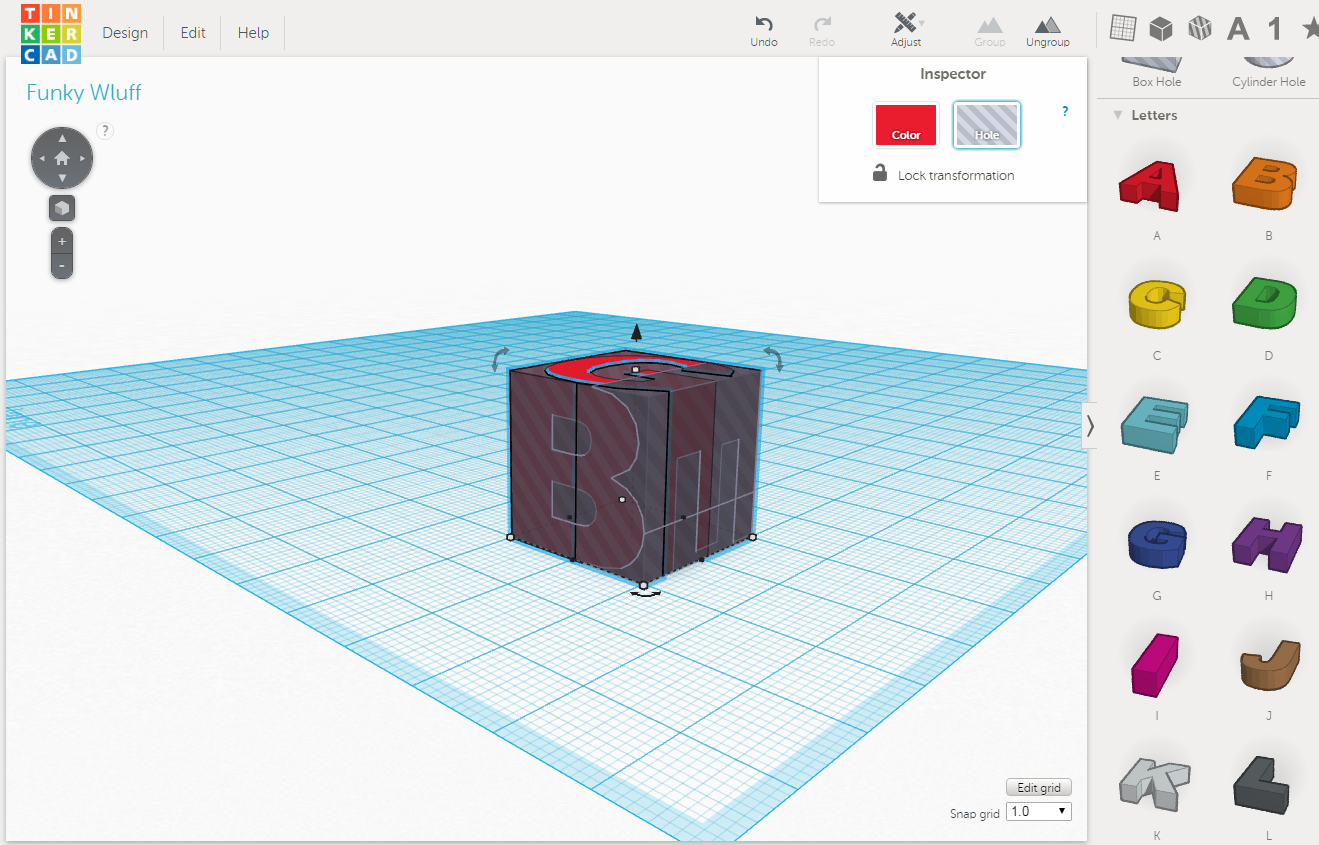
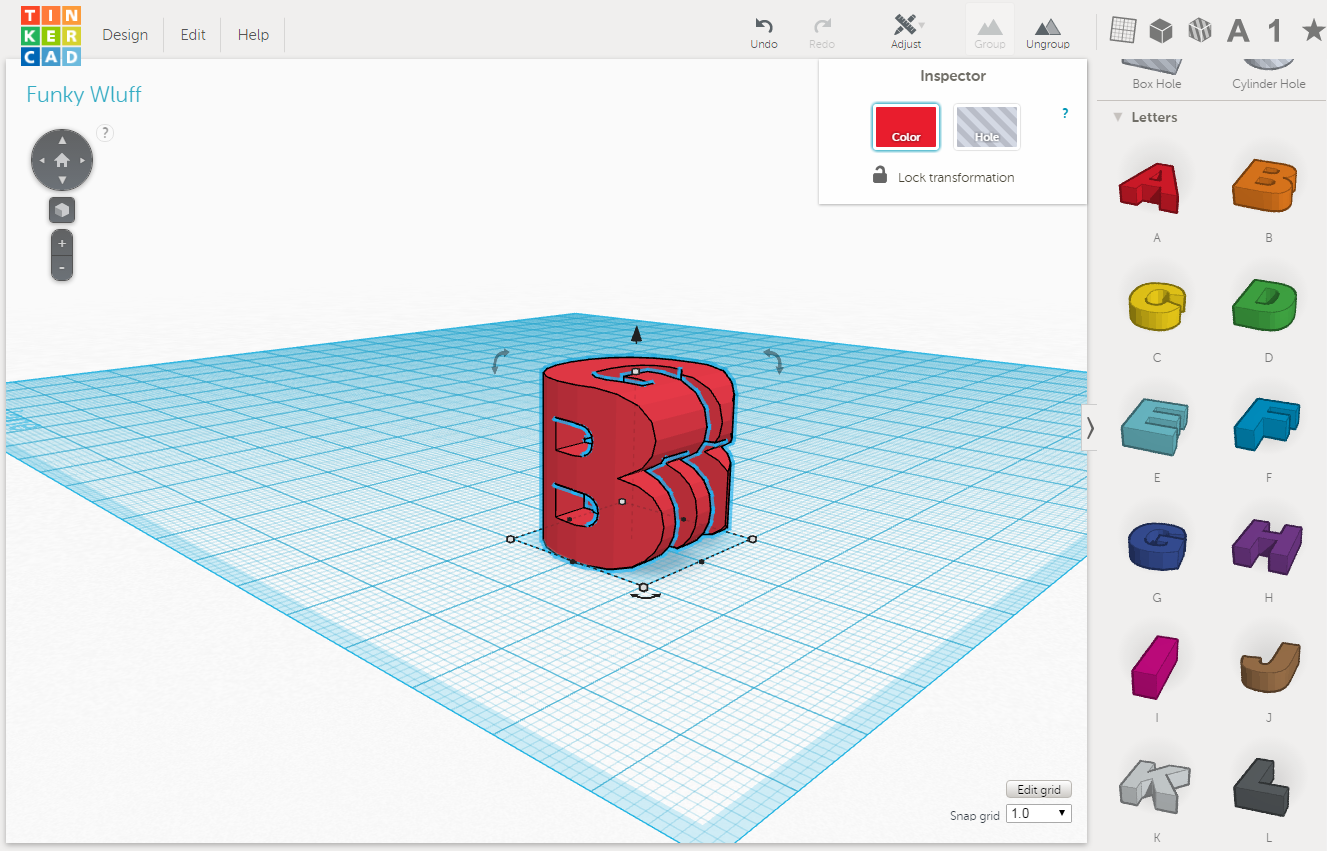
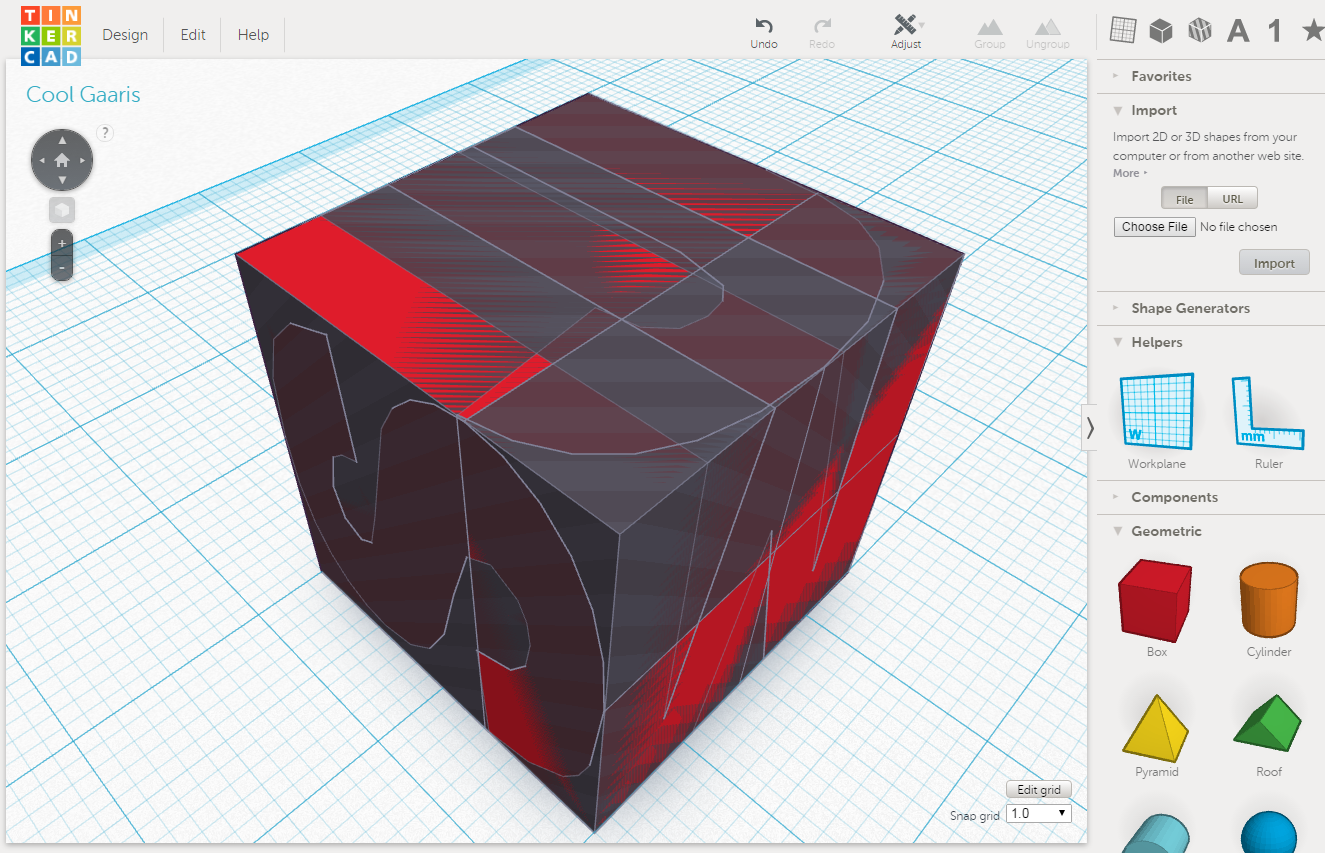
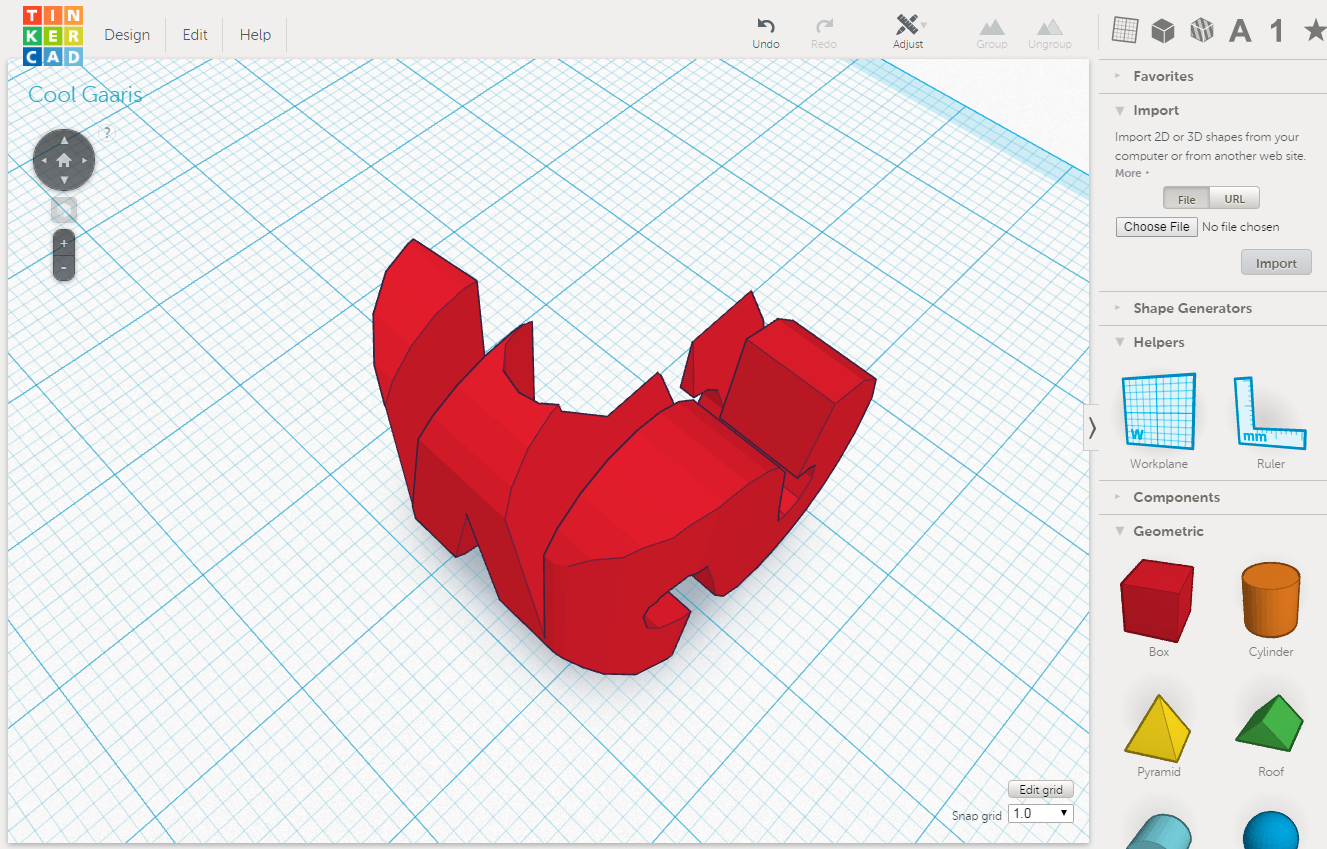
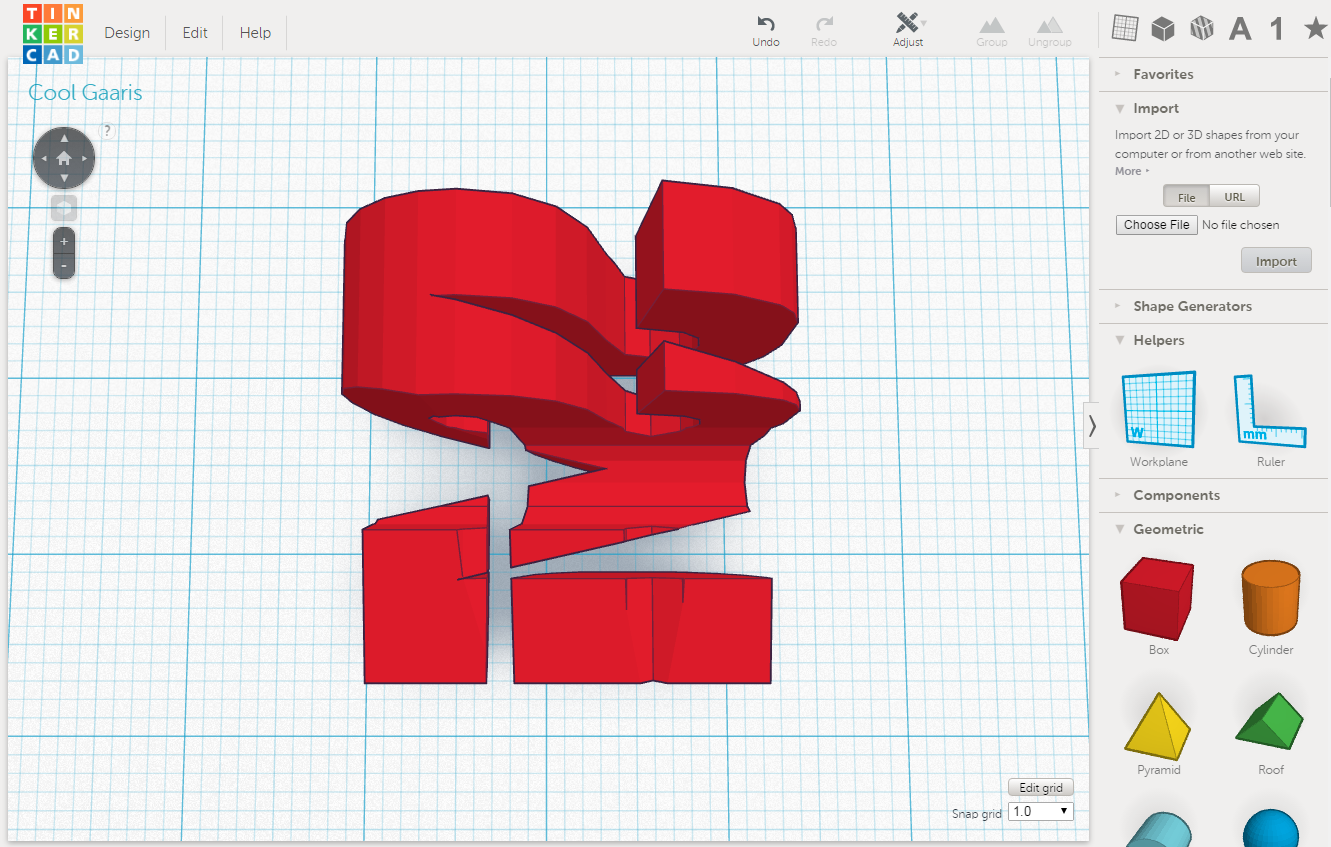
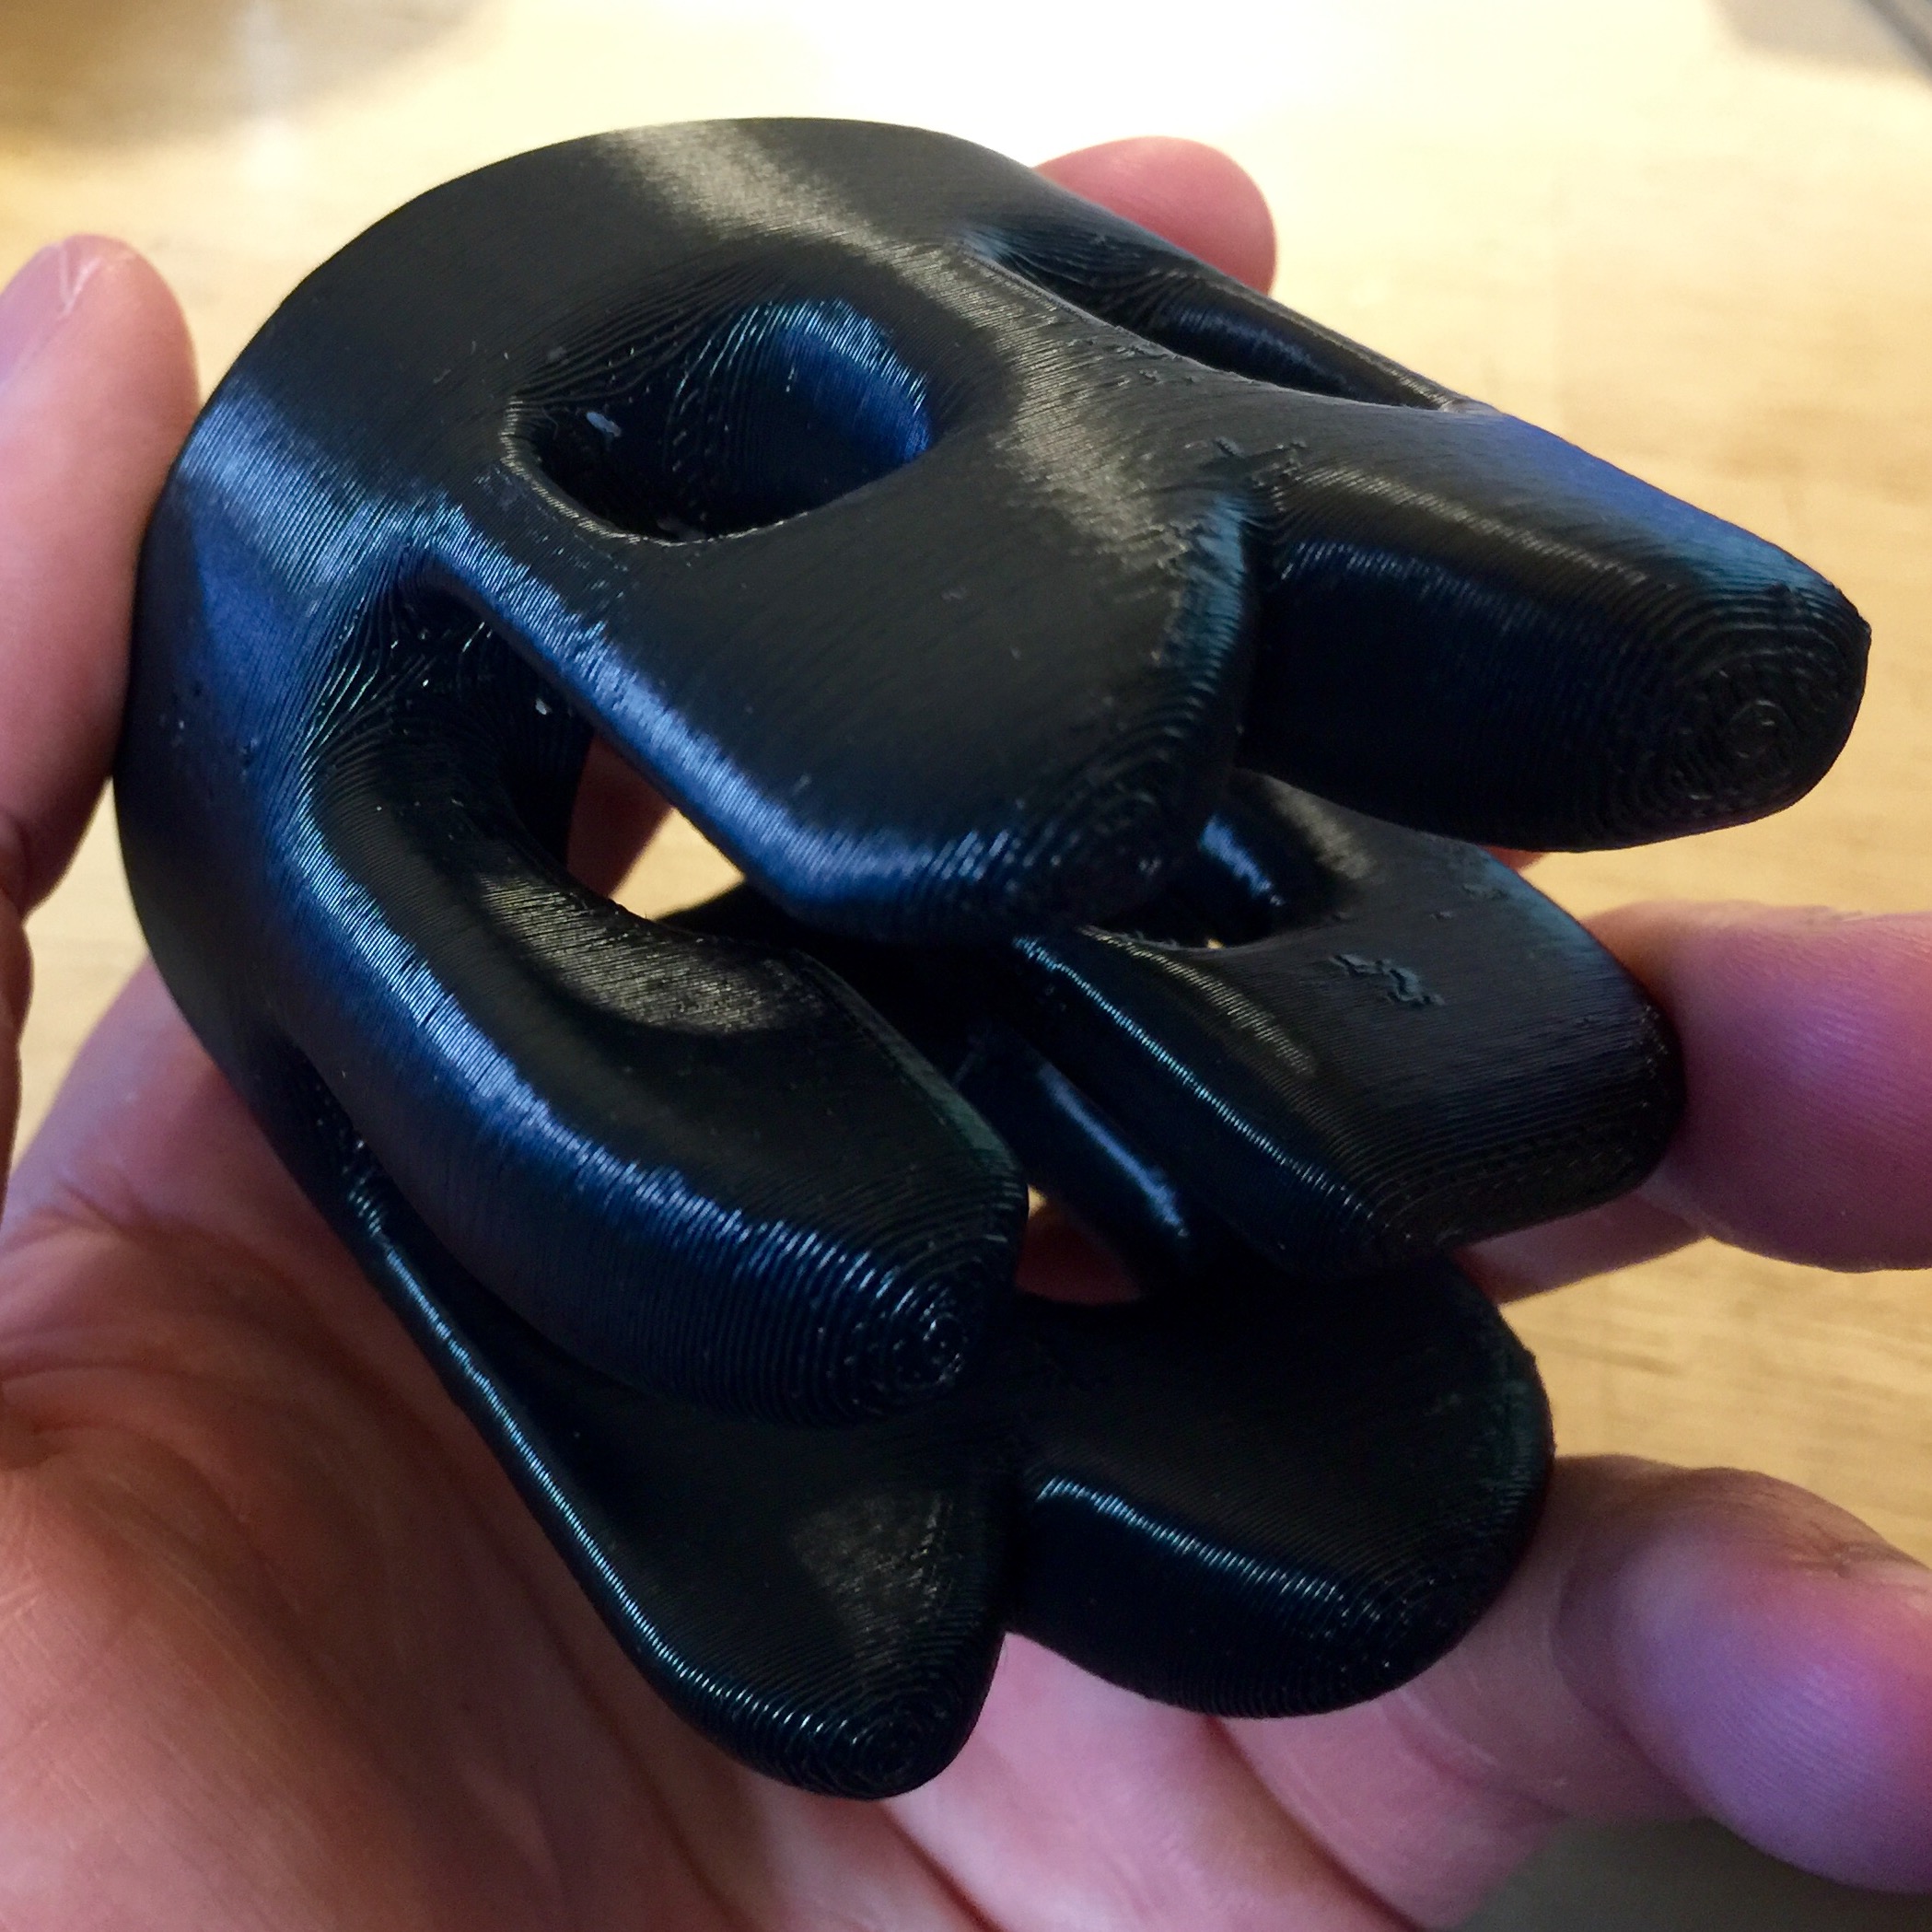
You should now have one red cube and three funny shaped holes. Drag them all together so they occupy exactly the same volume. Click "Group". Examine the shape - there is every chance it is not printable (there may be bits floating in space) or not legible (bits of one or more letters are missing). You may be able to salvage the print by executing a few undo operations, rotating one of the letter holes 90, 180 or 270 degrees in the direction you extruded it, and trying again. My own initials (JSM) work in some orientations but not others; the last 3 photos show a combination that works (3rd and 4th images) and one that doesn't (5th). Experiment!
Get Started Now Without the Hassle
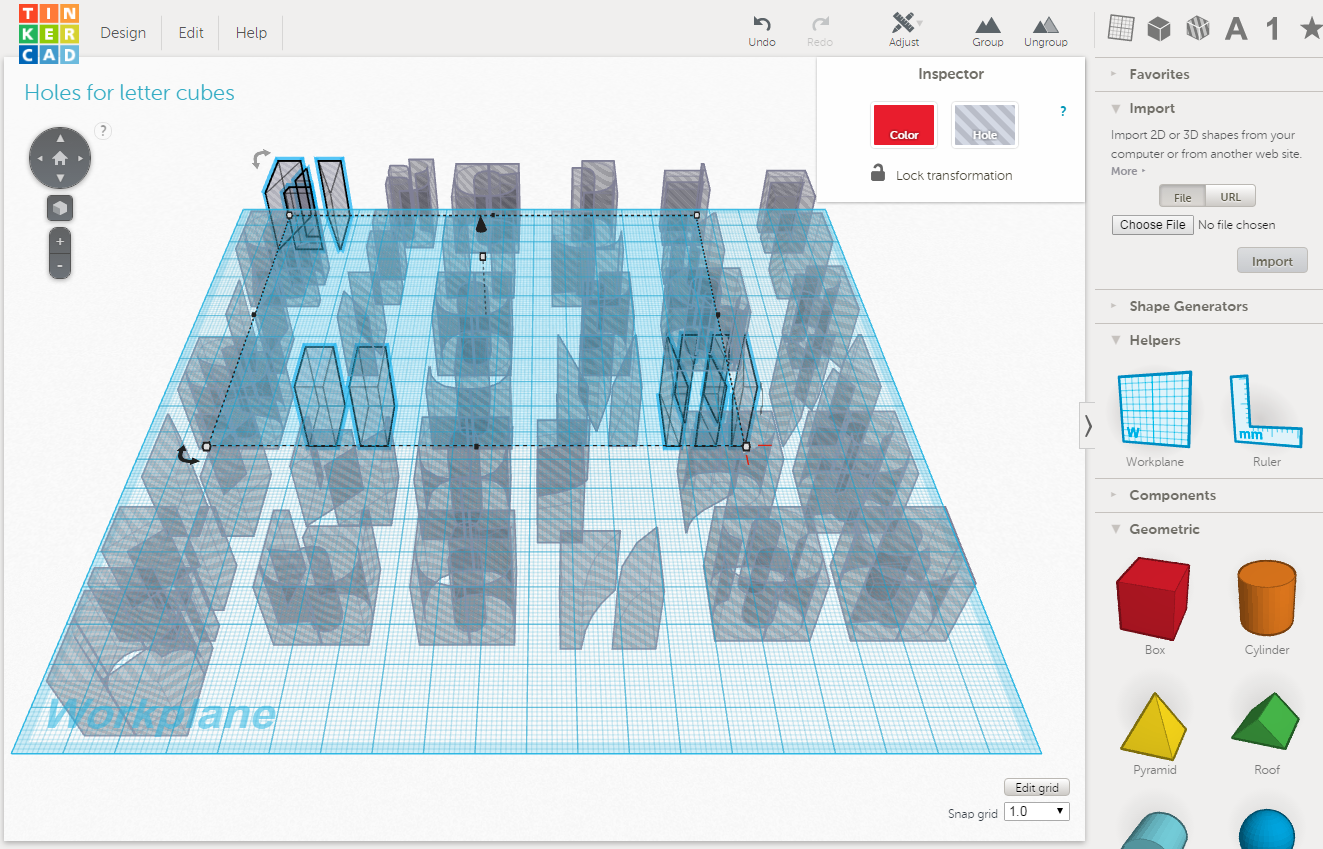
If you want to just jump straight in and make some 3D letter cubes with a minimum of fuss, go straight to this TinkerCad file. It has all of the holes for each letter pre-made for you (I did this to save myself time if I ever wanted to custom-make a new one, and I figured I should just share it). The layout is as follows:
ABCDEF
GHIJKL
MNOPQR
STUVWX
YZ0123
456789
♥
Hold down SHIFT and click on the three characters you want. Hit CTRL+C to copy them. Open a new file, and paste the holes in. You need to rotate one of the shapes 90 and one 90 in a different direction. Drag them all on top of each other, and group together. Drag a red cube onto that collection of holes, and group again.
.jpg)
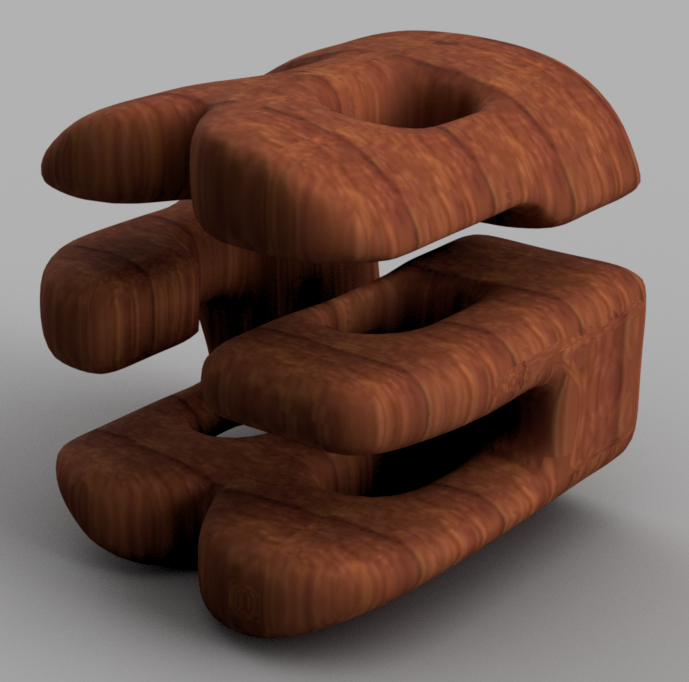
If you want to smooth the edges of the cube a bit, open it in Fusion 360 (free to hobbyists) and perform the following steps:
Create > Create Mesh > Create > Insert Mesh (choose your downloaded STL file) > OK
Modify > Make Closed Mesh > (choose value 50, select model) > OK
If you want further smoothing:
Modify > Smooth > (choose value 4, select model) > OK
Mess around with meshing and smoothing values to get the look you want. Don't try to smooth the initial mesh - it is not dense enough.
The smoothed GEB cube is attached as an STL file if you just want a copy of that. The second photo in this step is that model rendered in cherry using Fusion360.
3D print the shape yourself if you have a printer (the one in my hand is 2.35" across), or send it to one of the many services out there. Leave it lying around and watch people puzzle it out. Give it as a customized gift to a friend. Post a picture of your creation below using the "I made it" feature, and I'll send you a premium instructables membership.