3D Kirby Print for Moto:Bit and Waving Hand Code
by auds in Workshop > 3D Printing
333 Views, 1 Favorites, 0 Comments
3D Kirby Print for Moto:Bit and Waving Hand Code
My name is Audrey Nguyen and this is my project for EHMS. In this instructable, I will be showing you how to make a 3D print of Kirby from Nintendo. This will also be helpful to attach to any moto:bits or other robots to put on display. I also added a bit of code for Kirby to wave its hand/sword.
Supplies
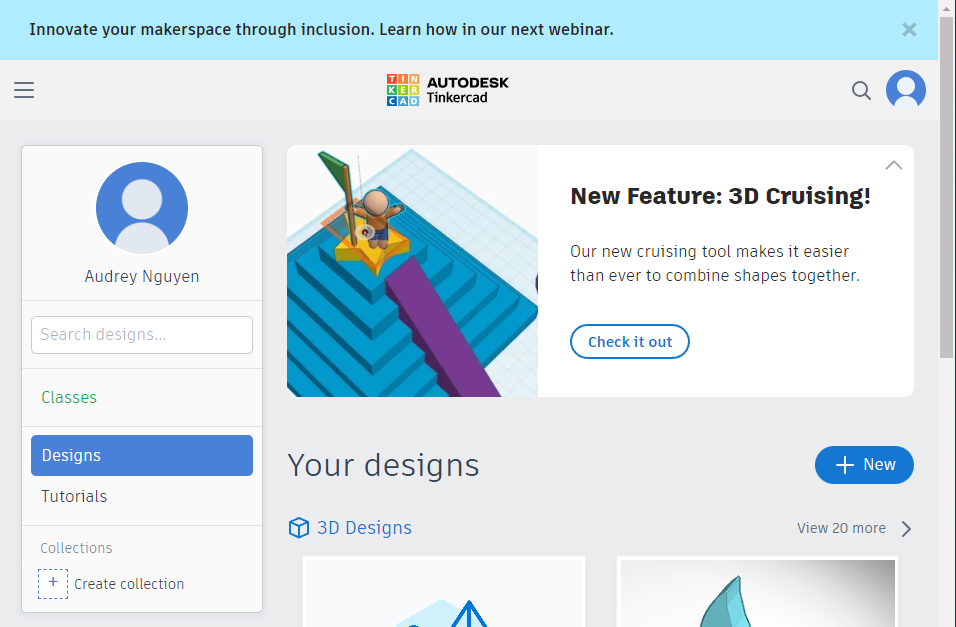
Before you start, make sure to have a Tinkercad account, and a monitor or computer.
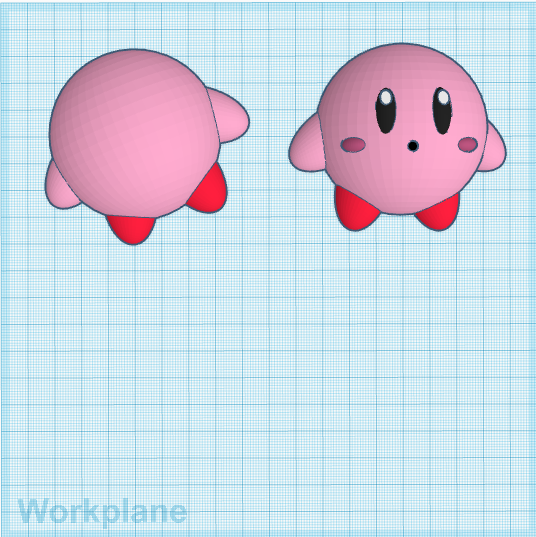
Making the Body
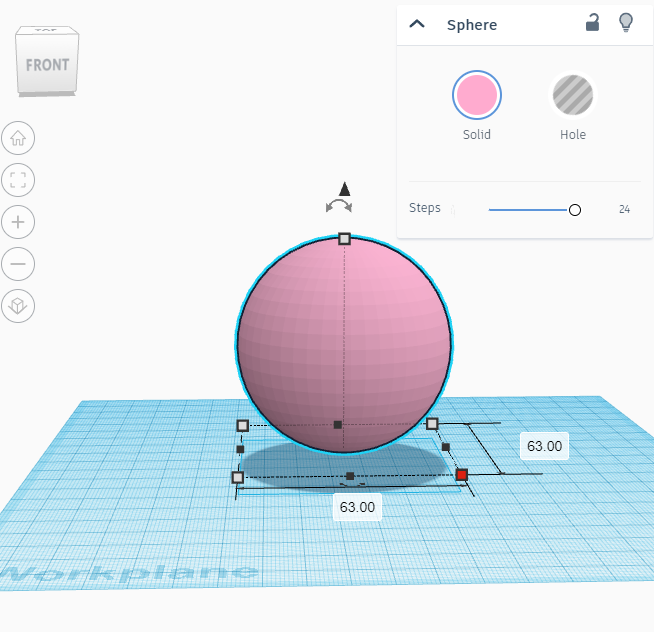
Body:
- Add a sphere into the workplane, and make the length, width, and height 63mm.
- Lift the sphere up 5mm. This will give us more room for its feet.
- Change the color of the sphere to any color you want. I made it pink (Hex #ffabcf).
Making the Feet
.png)
.png)
.png)
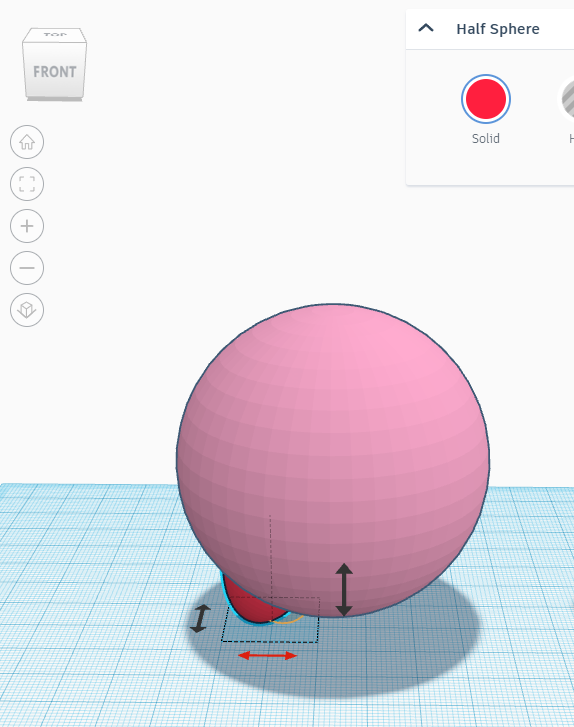
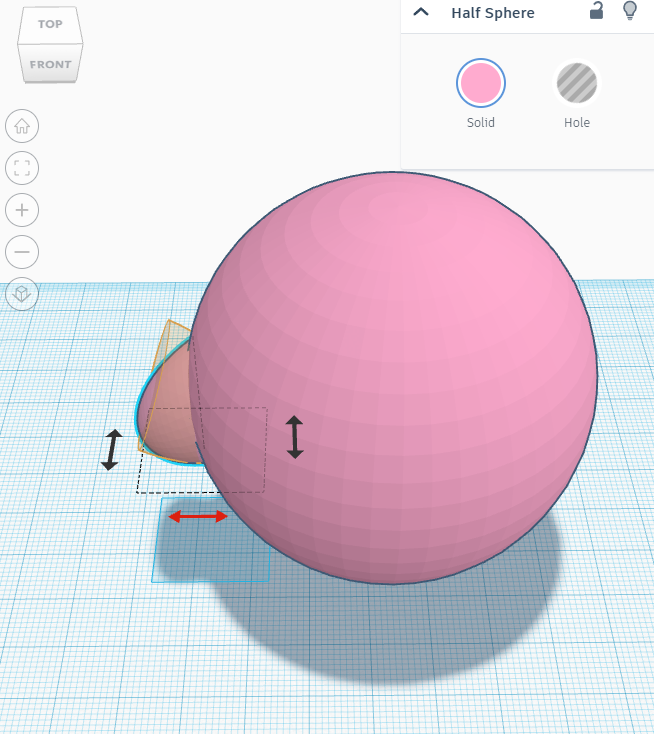
Feet:
- Add a half-sphere into the workplane. Make the width of the sphere 19.93mm, the length 20mm, and the height 24.46mm.
- Rotate the half-sphere about -157.5 degrees
- Change the color of the half-sphere to any color you want. I made it red (Hex #ff1f3e).
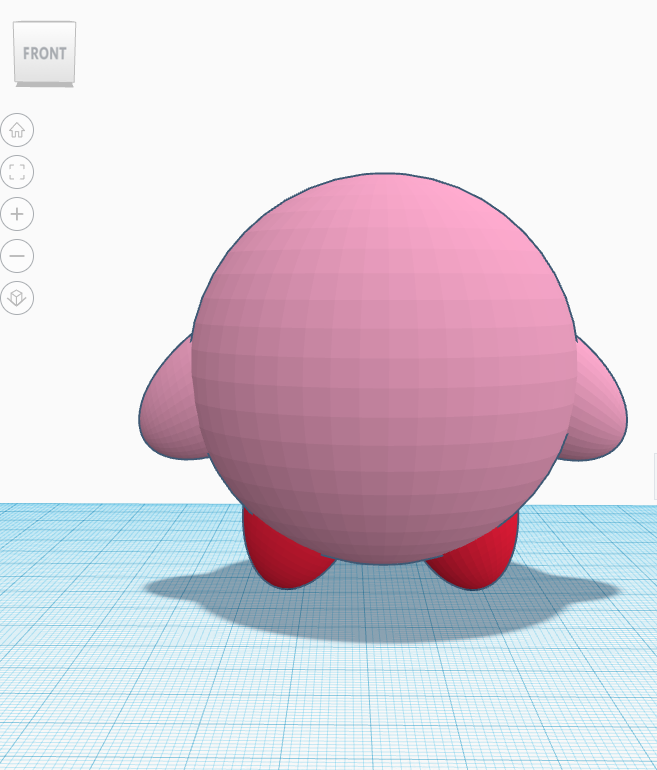
- Move the foot to the left side of the body.
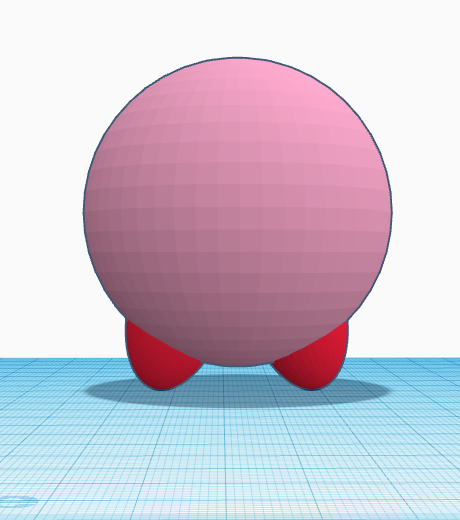
- Then, duplicate the shape and mirror it.
- Move the foot to the right side of the body.
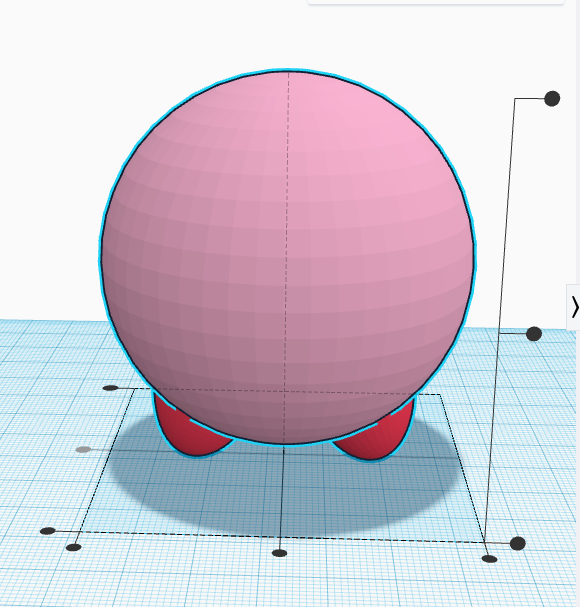
- Make sure to align the body with the feet, or else it will look wonky.
- Then, group the shapes together and make it multicolored (unless you want them to be the same color).
Making the Arms
.png)
.png)
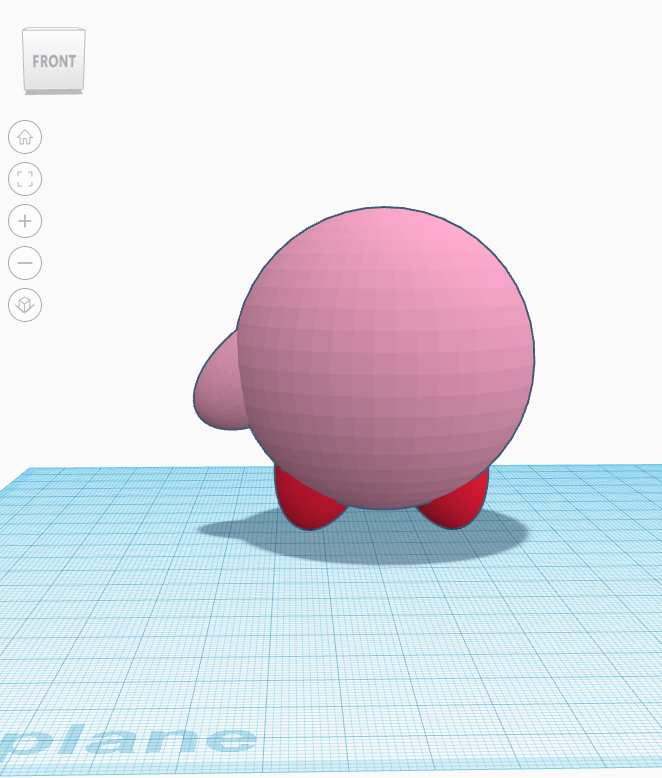
Arms:
- Add a half-sphere into the workplane. Make the width 20.14mm, the length 20mm, and the height 23.79mm.
- Rotate the half-sphere at about 45 degrees.
- Change the color of the half-sphere to whatever color you made your body.
- Move the arm to the left side of the body, and a little bit above the middle of the body.
- Then, duplicate the shape and mirror it.
- Move the arm to the right side of the body.
- Make sure to align the arms with the body.
- Then, group the shapes together.
Making the Face
.png)
.png)
.png)
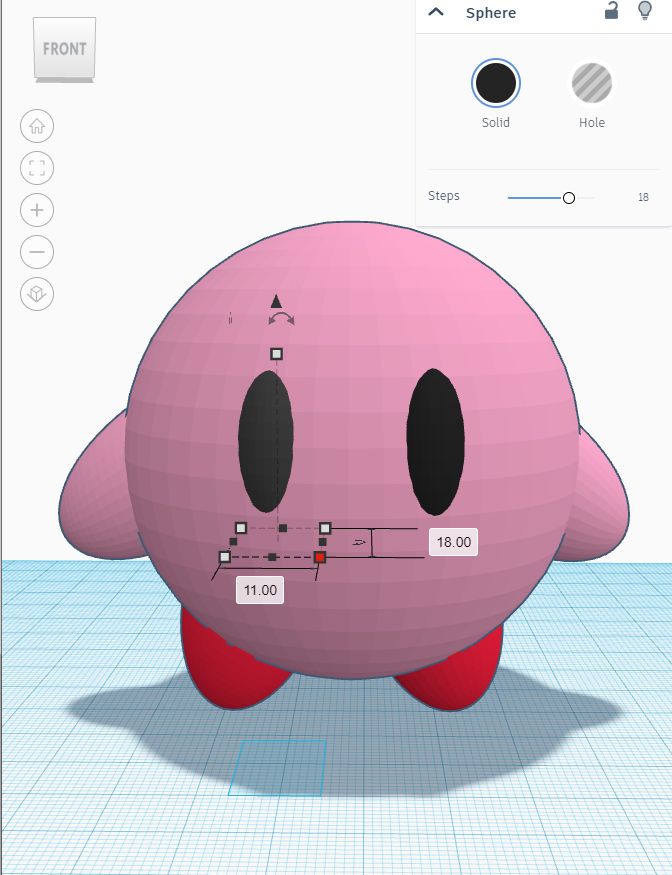
Eyes:
- Add a sphere into the workplane. Make the width 11mm, the length 18mm, and the height 23mm.
- Rotate the half-sphere about -3 degrees.
- Change the color of the eyes to black or dark gray.
- Move the eye a little bit to the left of the middle of the body.
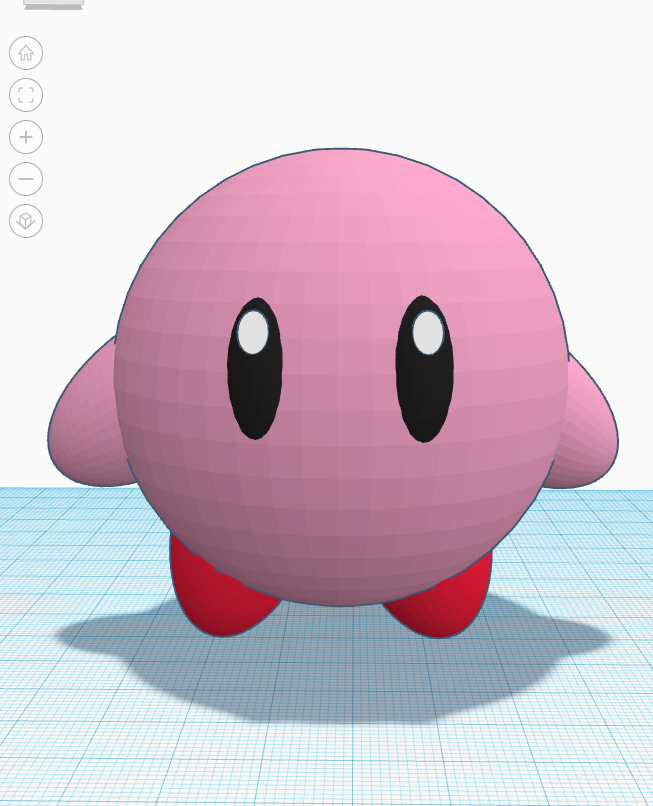
- Then, add a cylinder to the workplane and make the width 3.40mm, the length 5.54mm, and the height 12.48mm.
- Rotate the cylinder about 67.5 degrees.
- Position the cylinder so it is near the top of the eye.
- Change the color of the cylinder to white.
- Group the two shapes together and make it multicolor.
- Then, duplicate the object and mirror it.
- Then, position it a little bit to the right of the middle of the body.
Making the Mouth and Blush
.png)
.png)
.png)
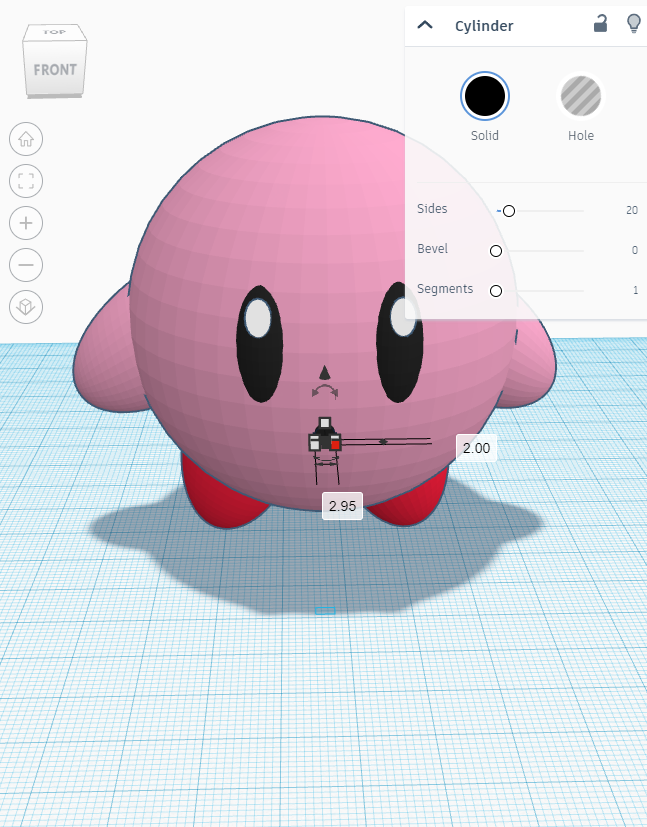
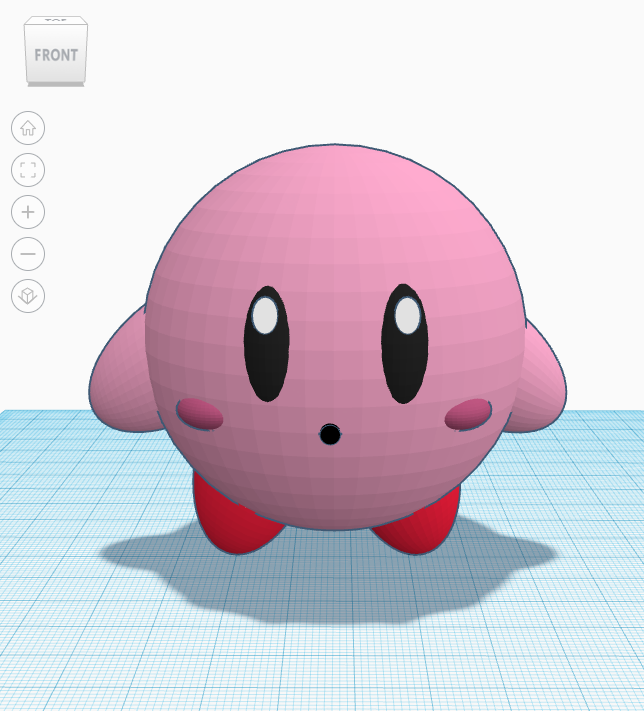
Mouth:
- Add a cylinder into the workplane. Make the width 3mm, the length 2.95mm, and the height 2mm.
- Rotate the cylinder 90 degrees.
- Make the mouth centered in the middle of the body, but make it a bit lower.
- Change the color of the mouth black.
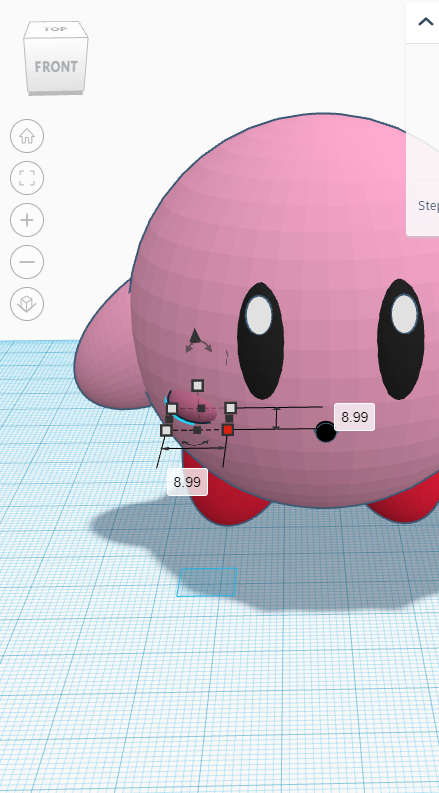
Blush:
- Add a sphere into the workplane. Make the width 8.99mm, the length 8.99mm, and the height 5.30mm.
- Rotate the sphere -45 degrees.
- Position it so it's to the left of its mouth.
- Duplicate the blush and mirror it.
- Then, move it to the right of the mouth.
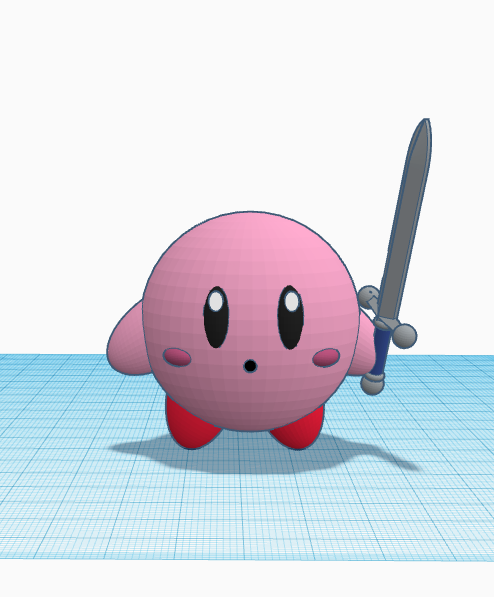
Making the Waving Hand Code
.png)
I just used some code I saw on another Instructable.
Link: https://www.instructables.com/Servo-A-Go-Go/
Waving Hand:
- You can duplicate one arm off of the Kirby and leave it to the side for you to print separately.
- Then, attach it on the servo motors and it's ready to use!
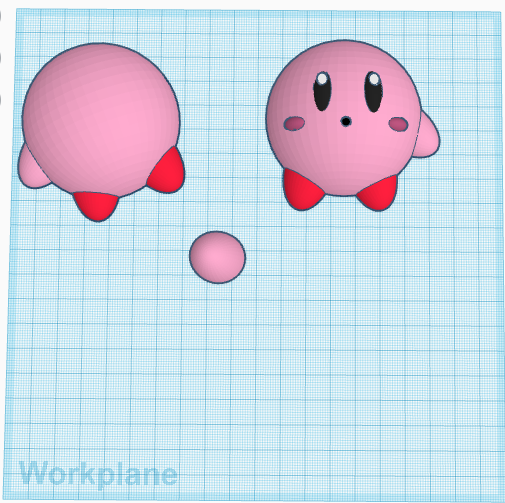
To split the body in half to make it easier to print, duplicate the Kirby and get two boxes. Make the boxes into holes and position them so they're on both sides of the body. Then, group one Kirby with one box, and the other into another box. Then, rotate both halves of the Kirby 90 degrees and it's ready to print!